
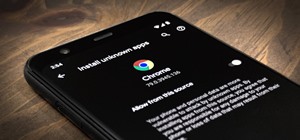
So you spent all day customizing your phone. You tinkered with all the settings, searched the web high and low for the perfect wallpaper, and found an ideal icon pack to complement the color scheme. You go to sleep, proud of the work you accomplished when the unspeakable happens — your phone freezes and tech support is telling you to do a factory reset to fix the problem.
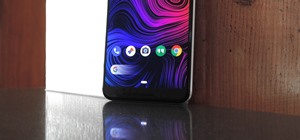
What do you do? Your photos and videos are stored in the cloud using Google Photos. Your contacts, email, apps, and text messages are all saved thanks to Android's built-in backup system — but what about your beautiful home screen? Well, with Nova Launcher, you can back up the layout and all of your settings so that you don't ever have to spend another day trying to replicate your genius work.
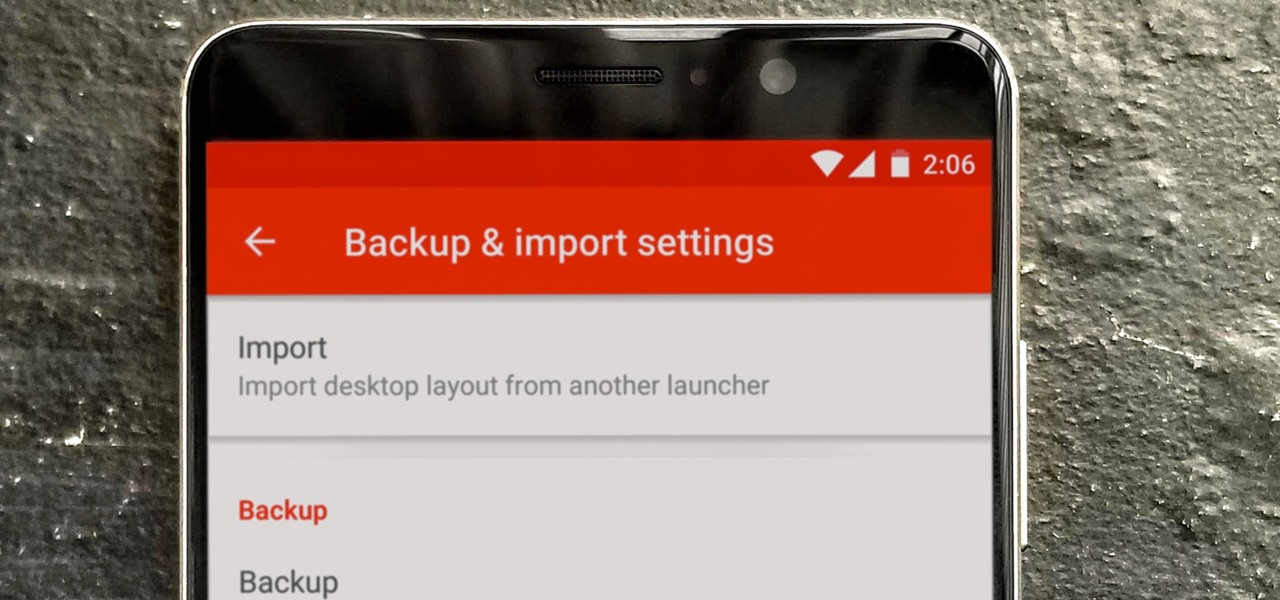
Step 1: Locate the Backup Menu
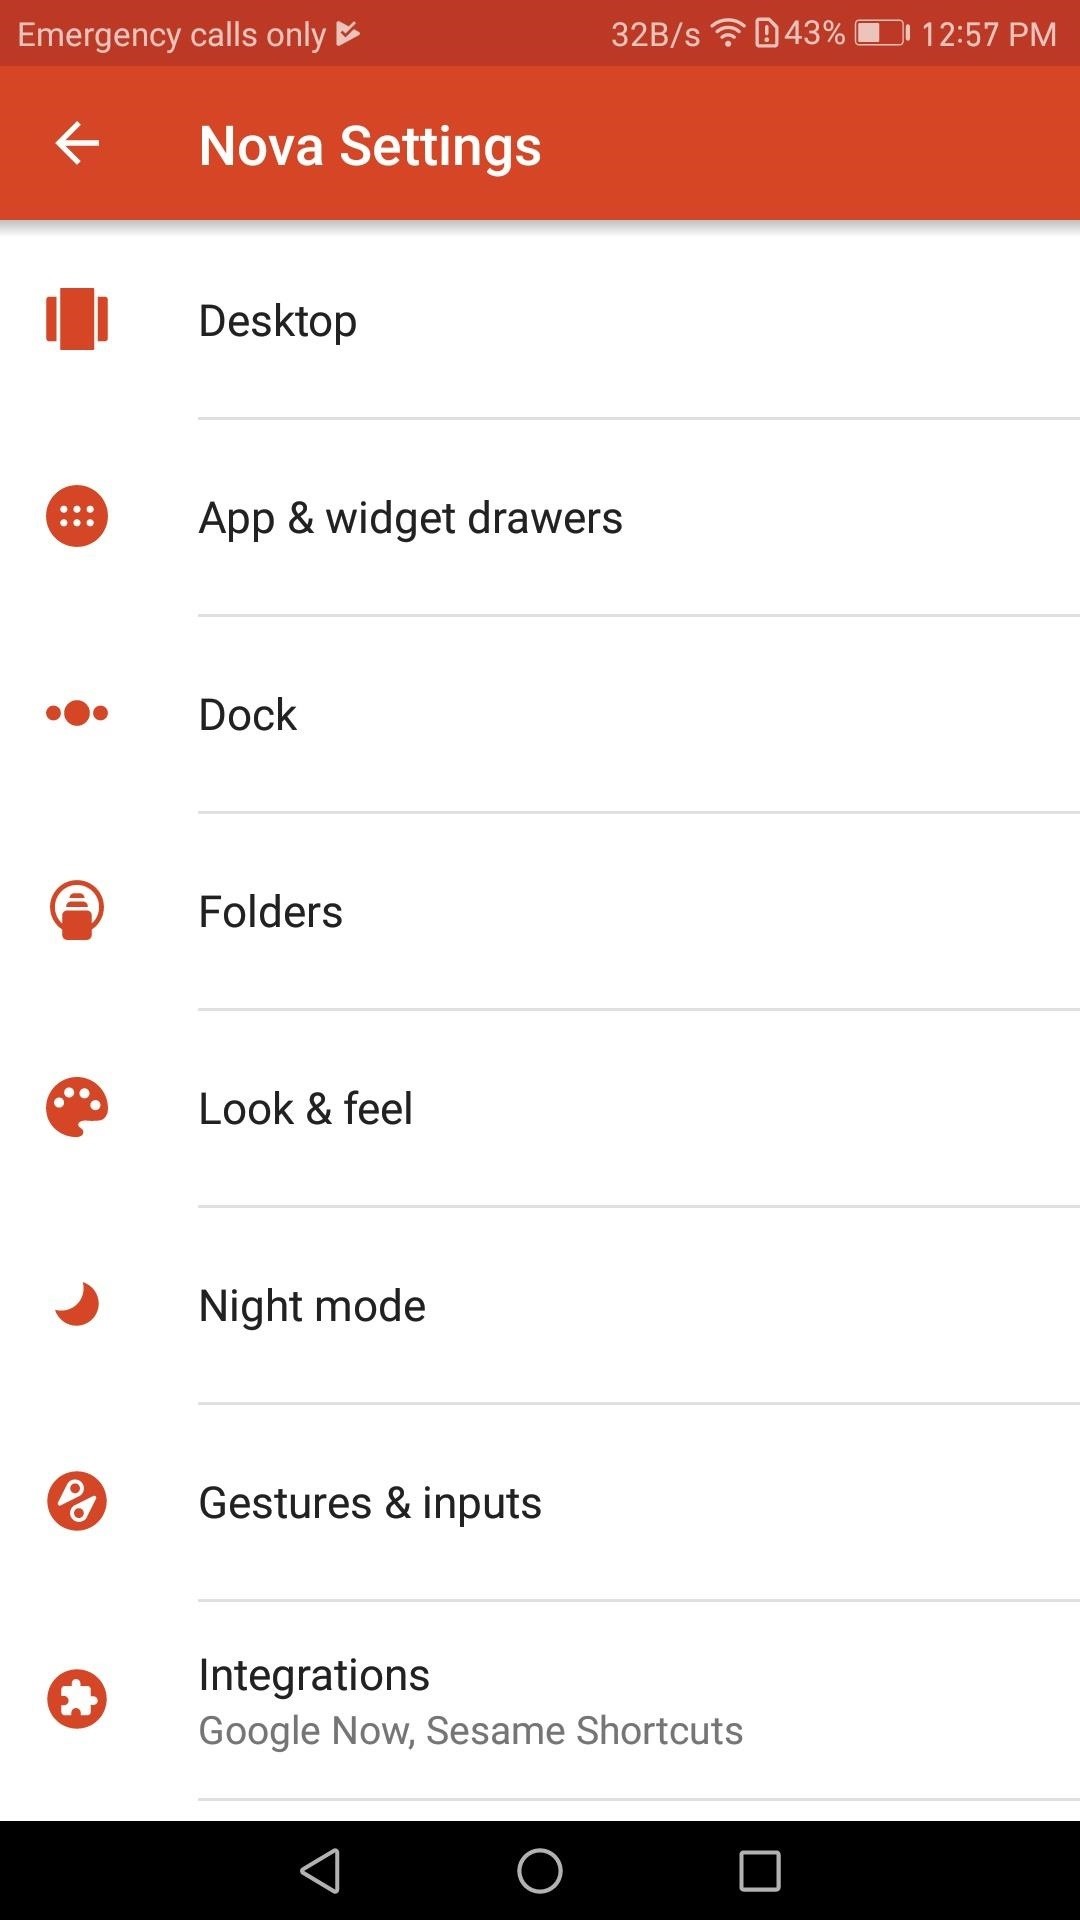
To start, you'll need to access Nova Launcher's main settings menu. While in Nova Launcher, you have two choices to reach the settings menu. You can either long-press any empty area on your home screen and select the settings icon, or you can tap the "Nova Settings" icon in your app drawer.
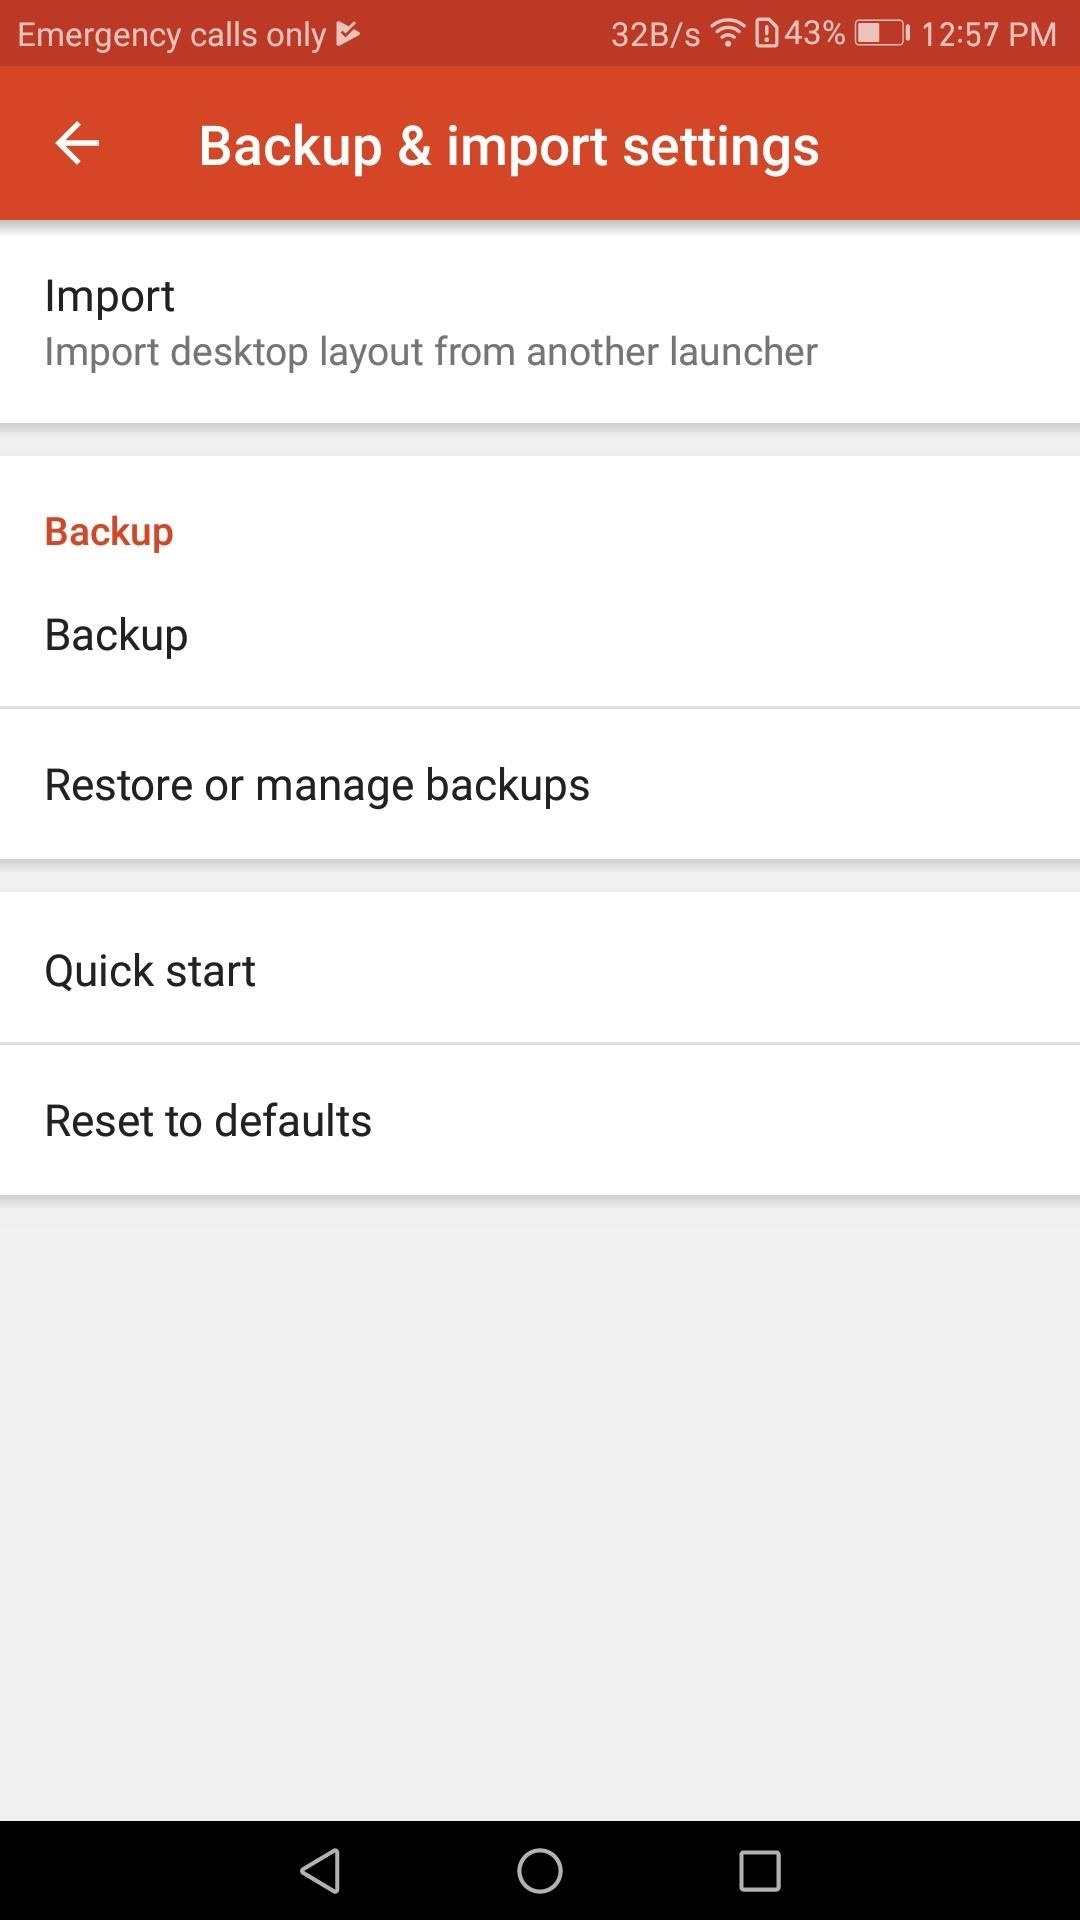
Once in the settings menu, locate the Backup & import settings menu and open it.
Step 2: Decide Where to Store the Backup
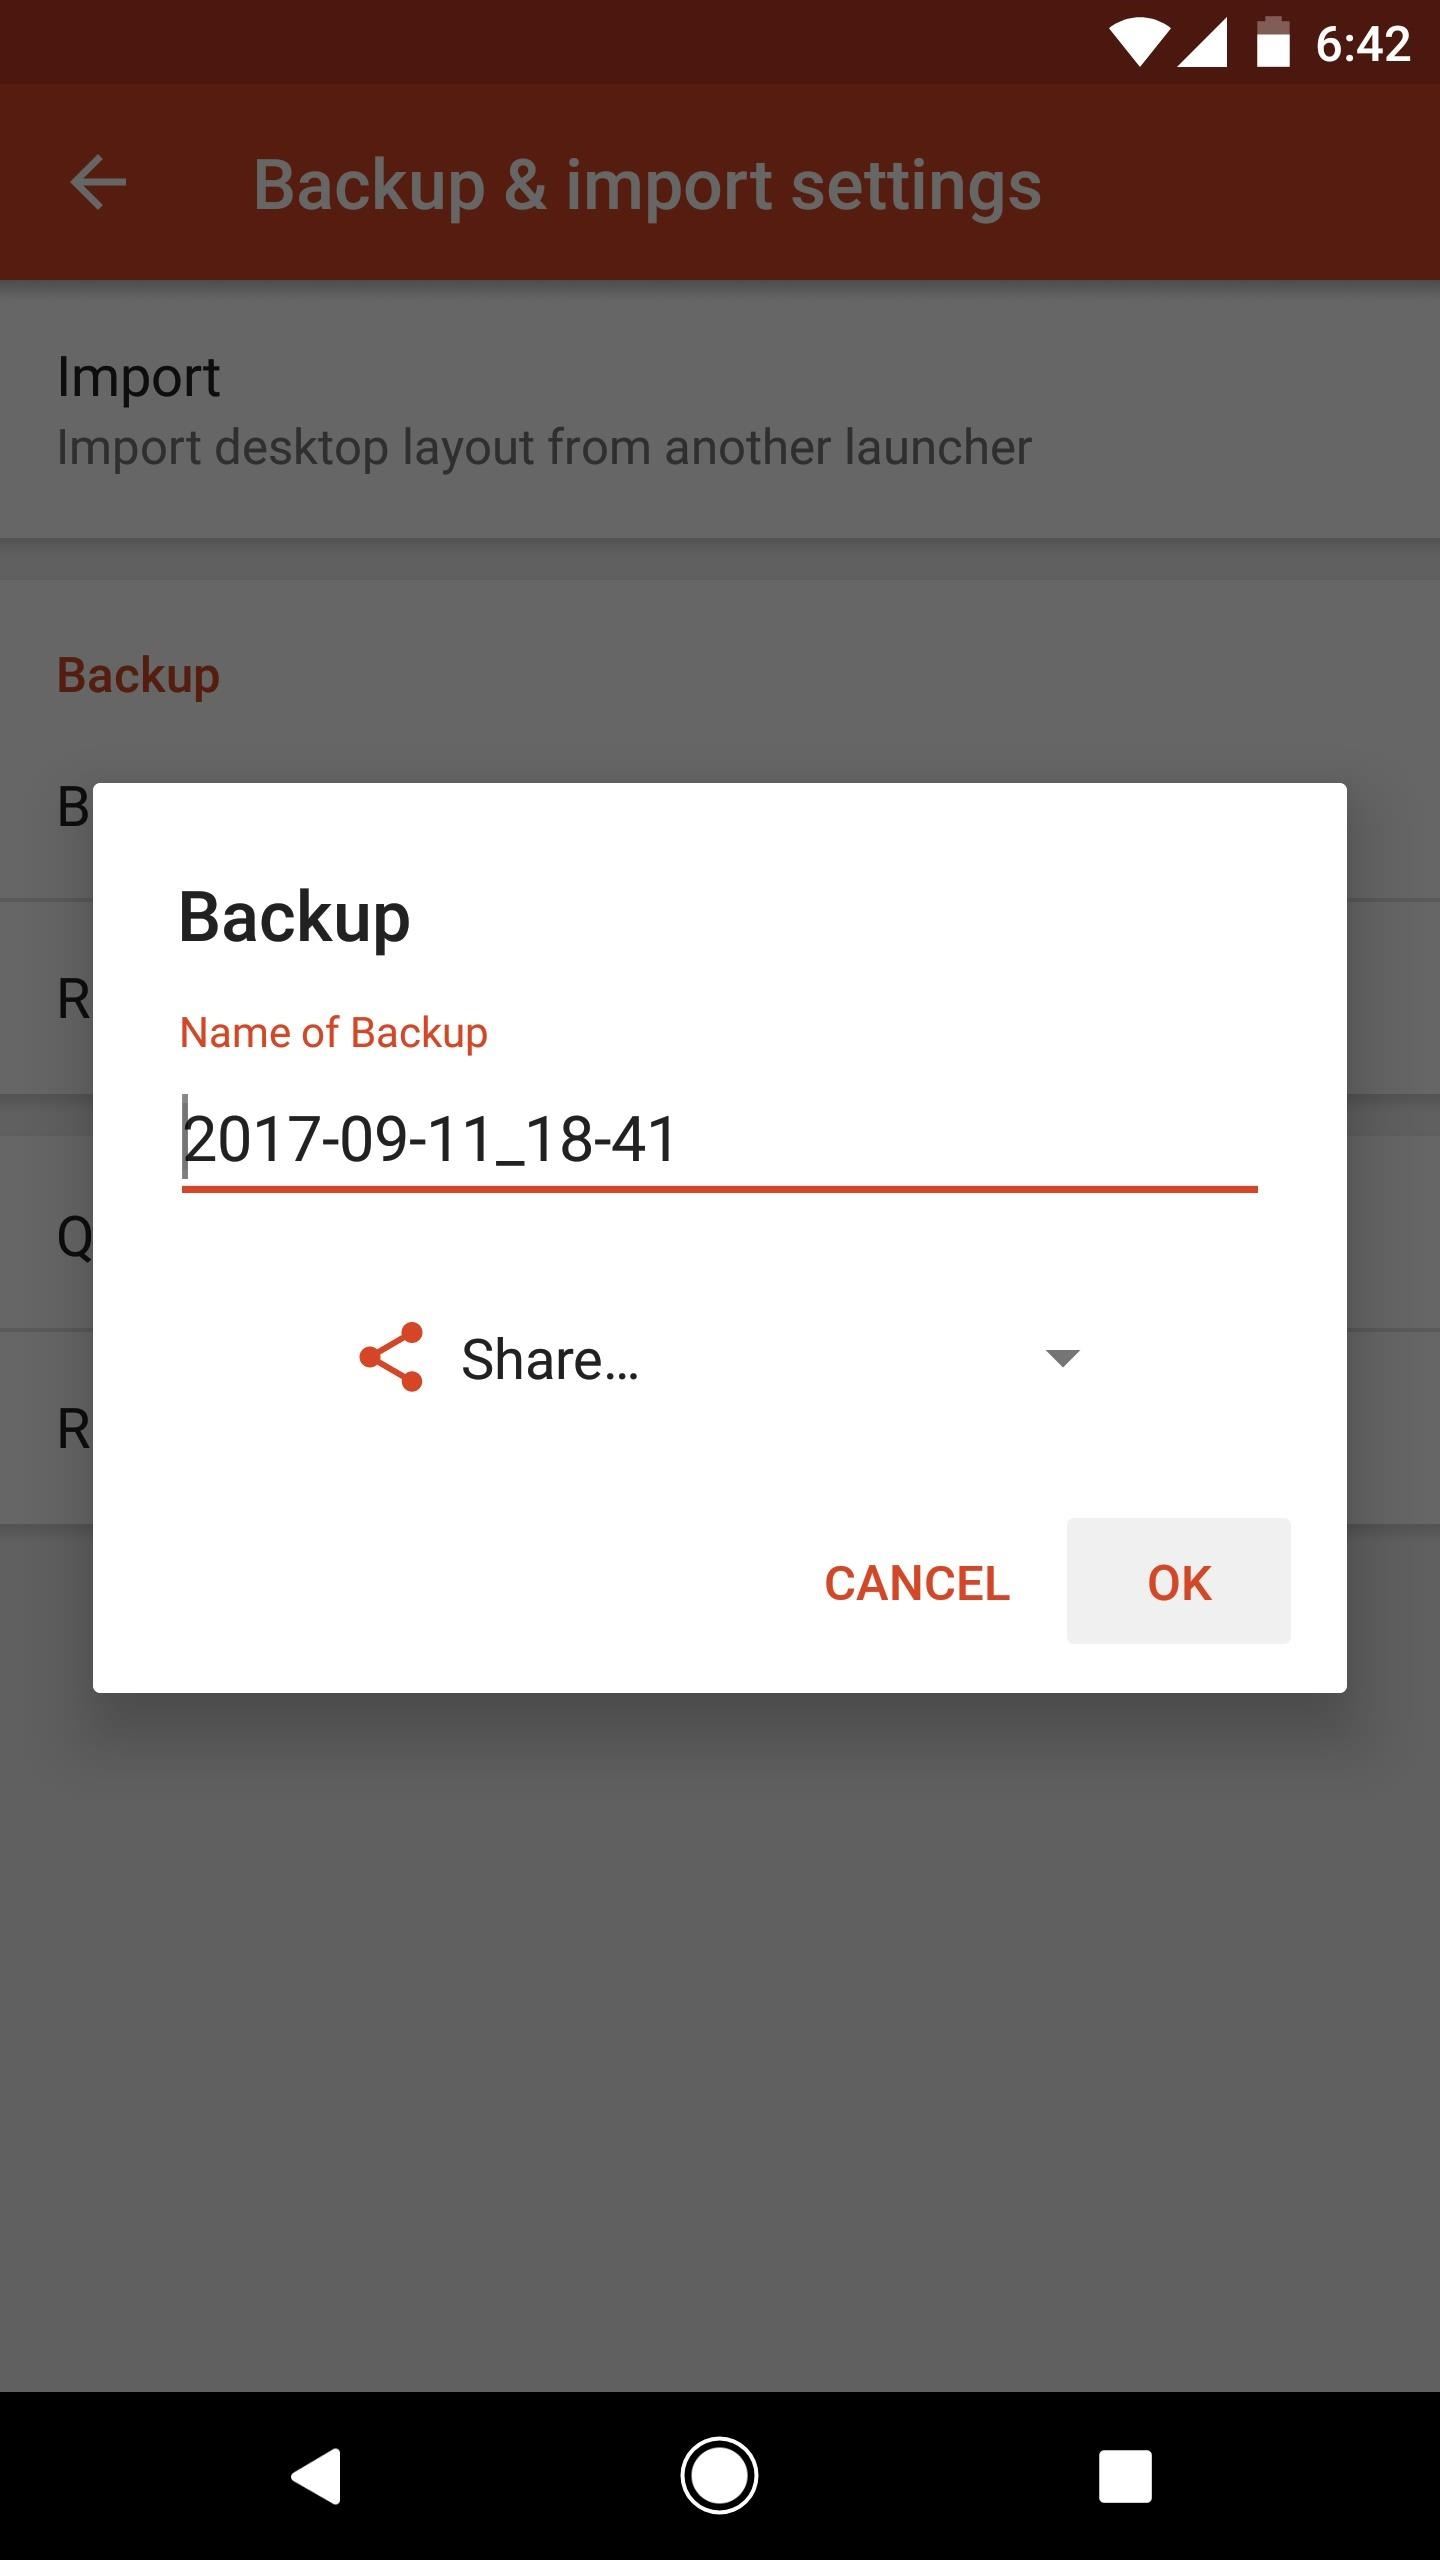
With Nova, you have options as to where you will back up your layout and settings. When you tap on the "Backup" option in the Backup & import menu, you will see the default name of the backup (which is the current date and time) and a down arrow. Selecting the down arrow shows you the options available for backup storage. Choosing "Device Storage" or "Document Storage" will save the backup locally on the phone's internal storage or SD card, while "Share" lets you store it in the cloud.
If you decide to save your backup locally, just tap either "Device Storage" or "Document Storage," then tap "OK" and you'll be all set. However, with cloud storage, there is an additional step.

If you decide to store it in the cloud, just select "Share," then press "OK." Once selected, your options are displayed. These options will include e-mail and other communications apps installed on your device. However, ideally, you'll want to save it on whatever personal cloud service you use the most. Since Google provides every Android user access to Google Drive, let use that to demonstrate.
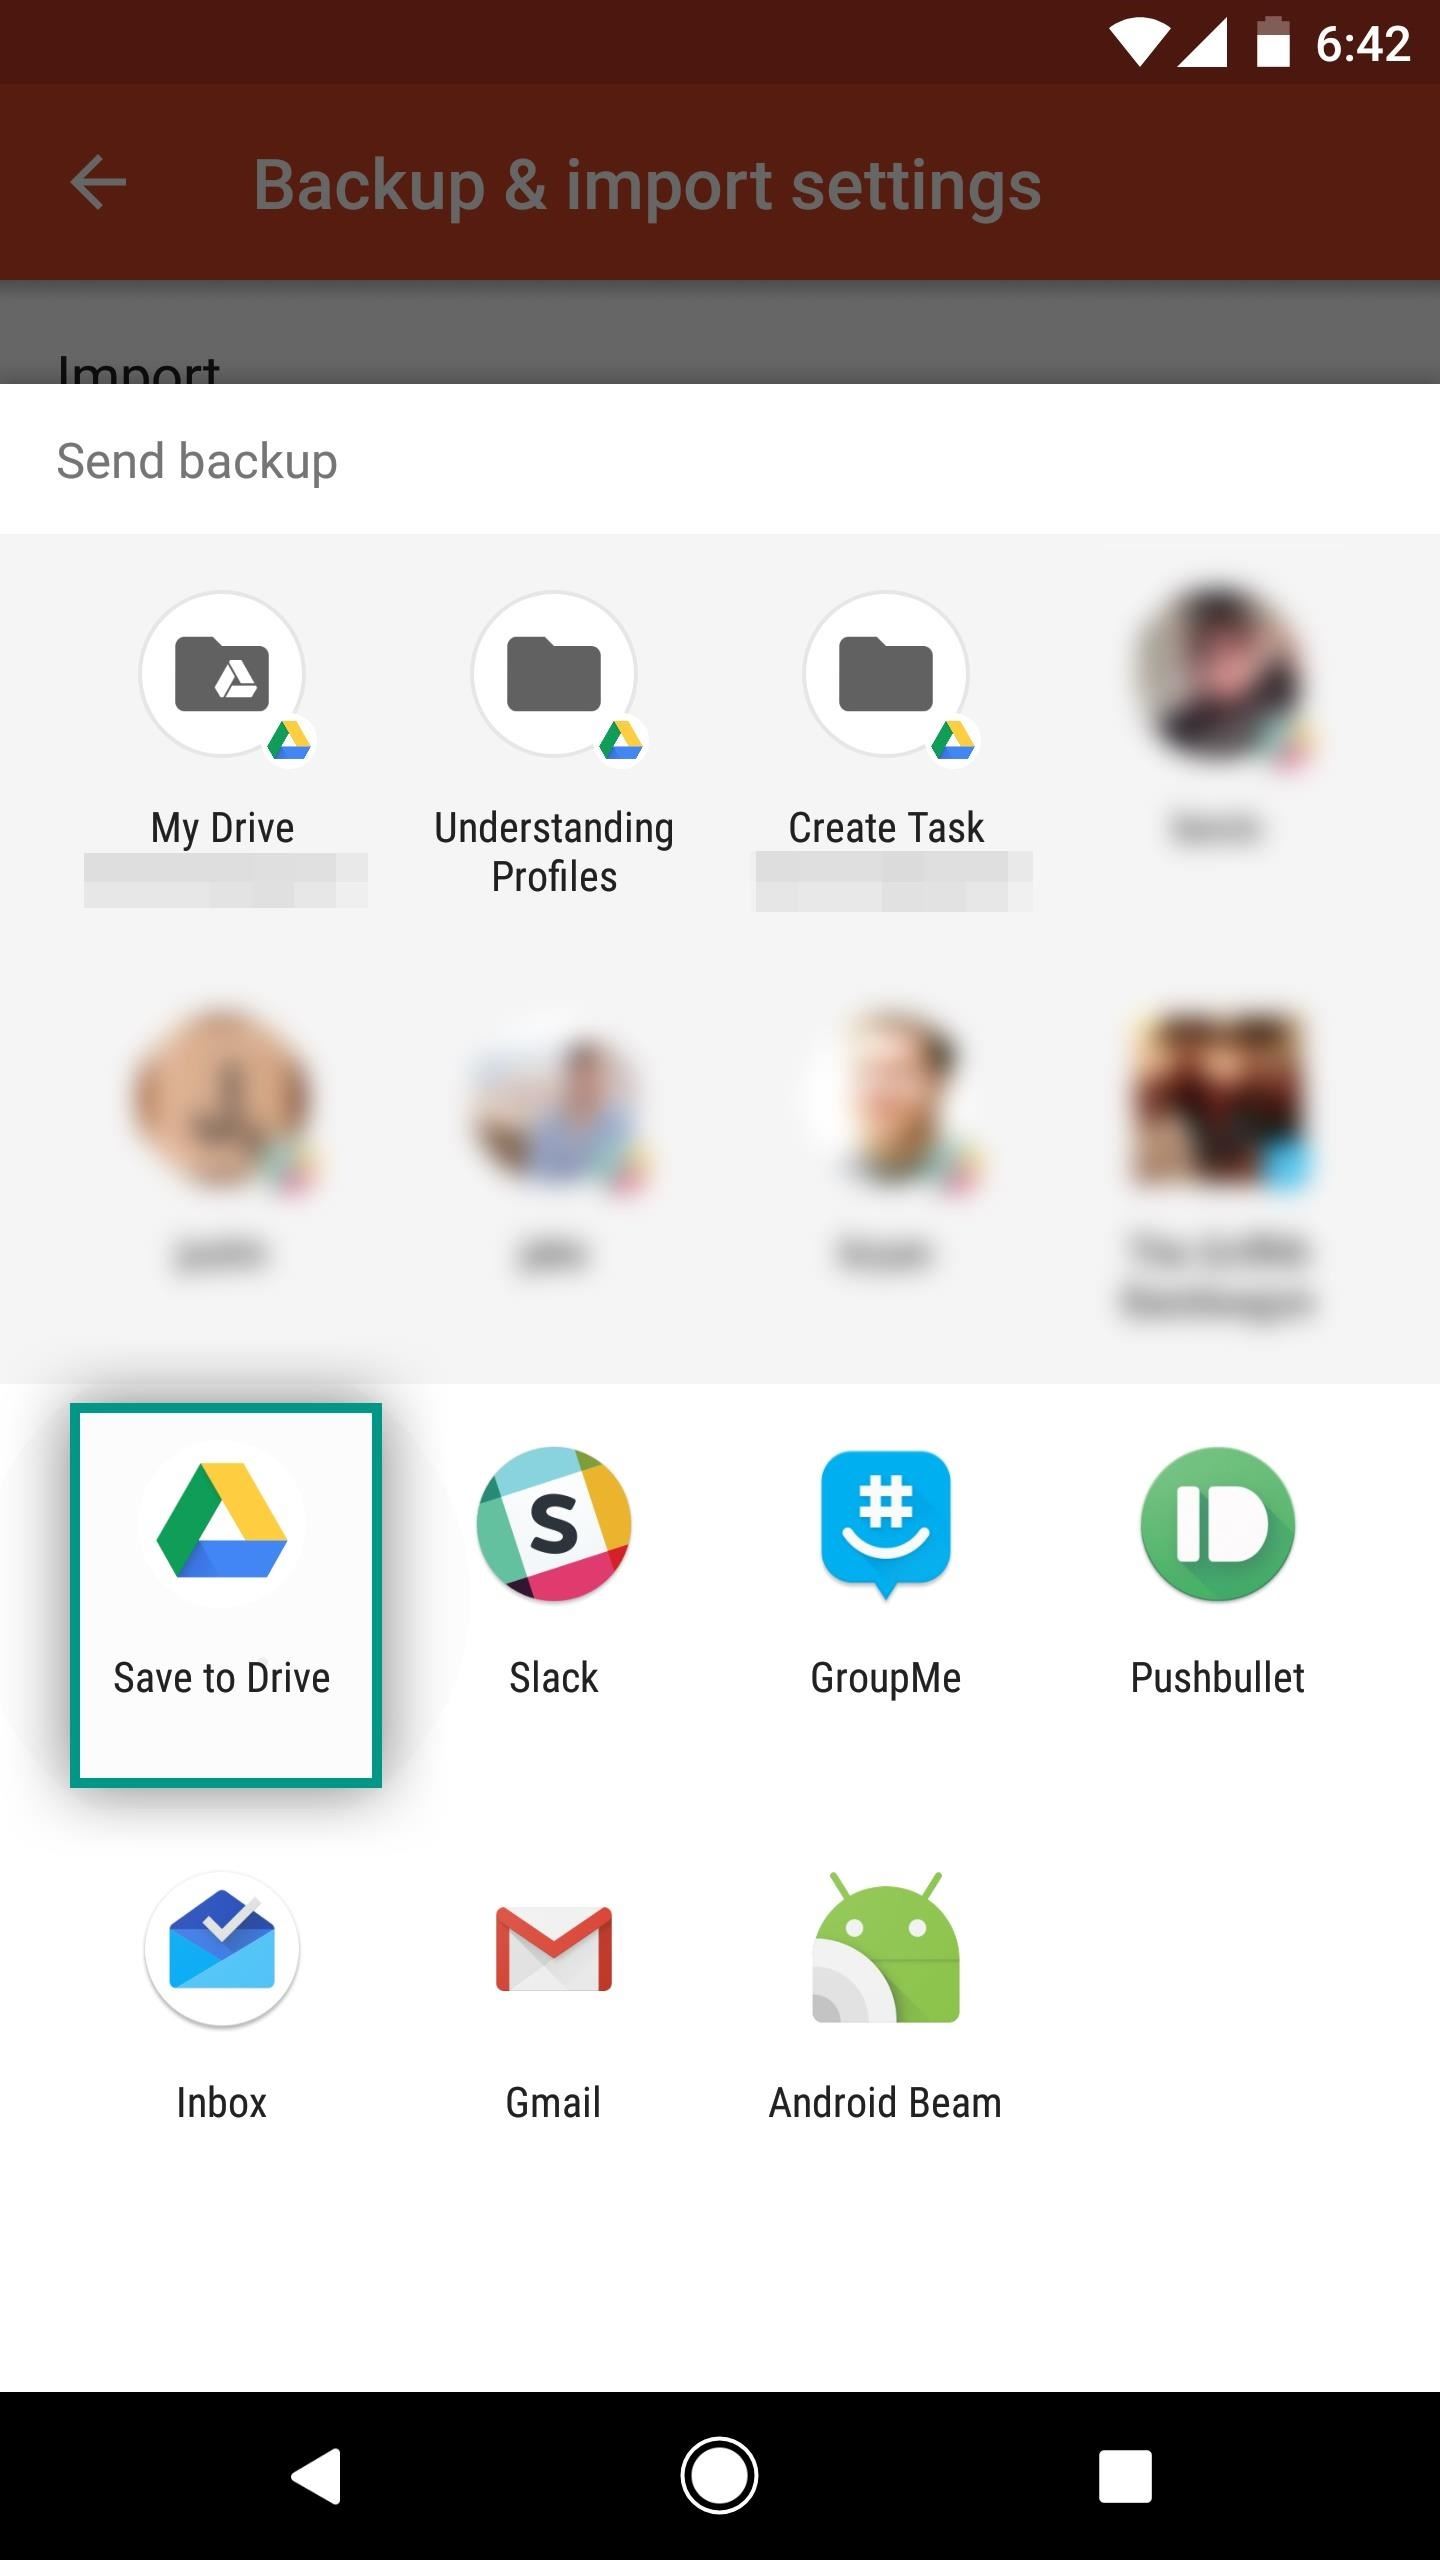
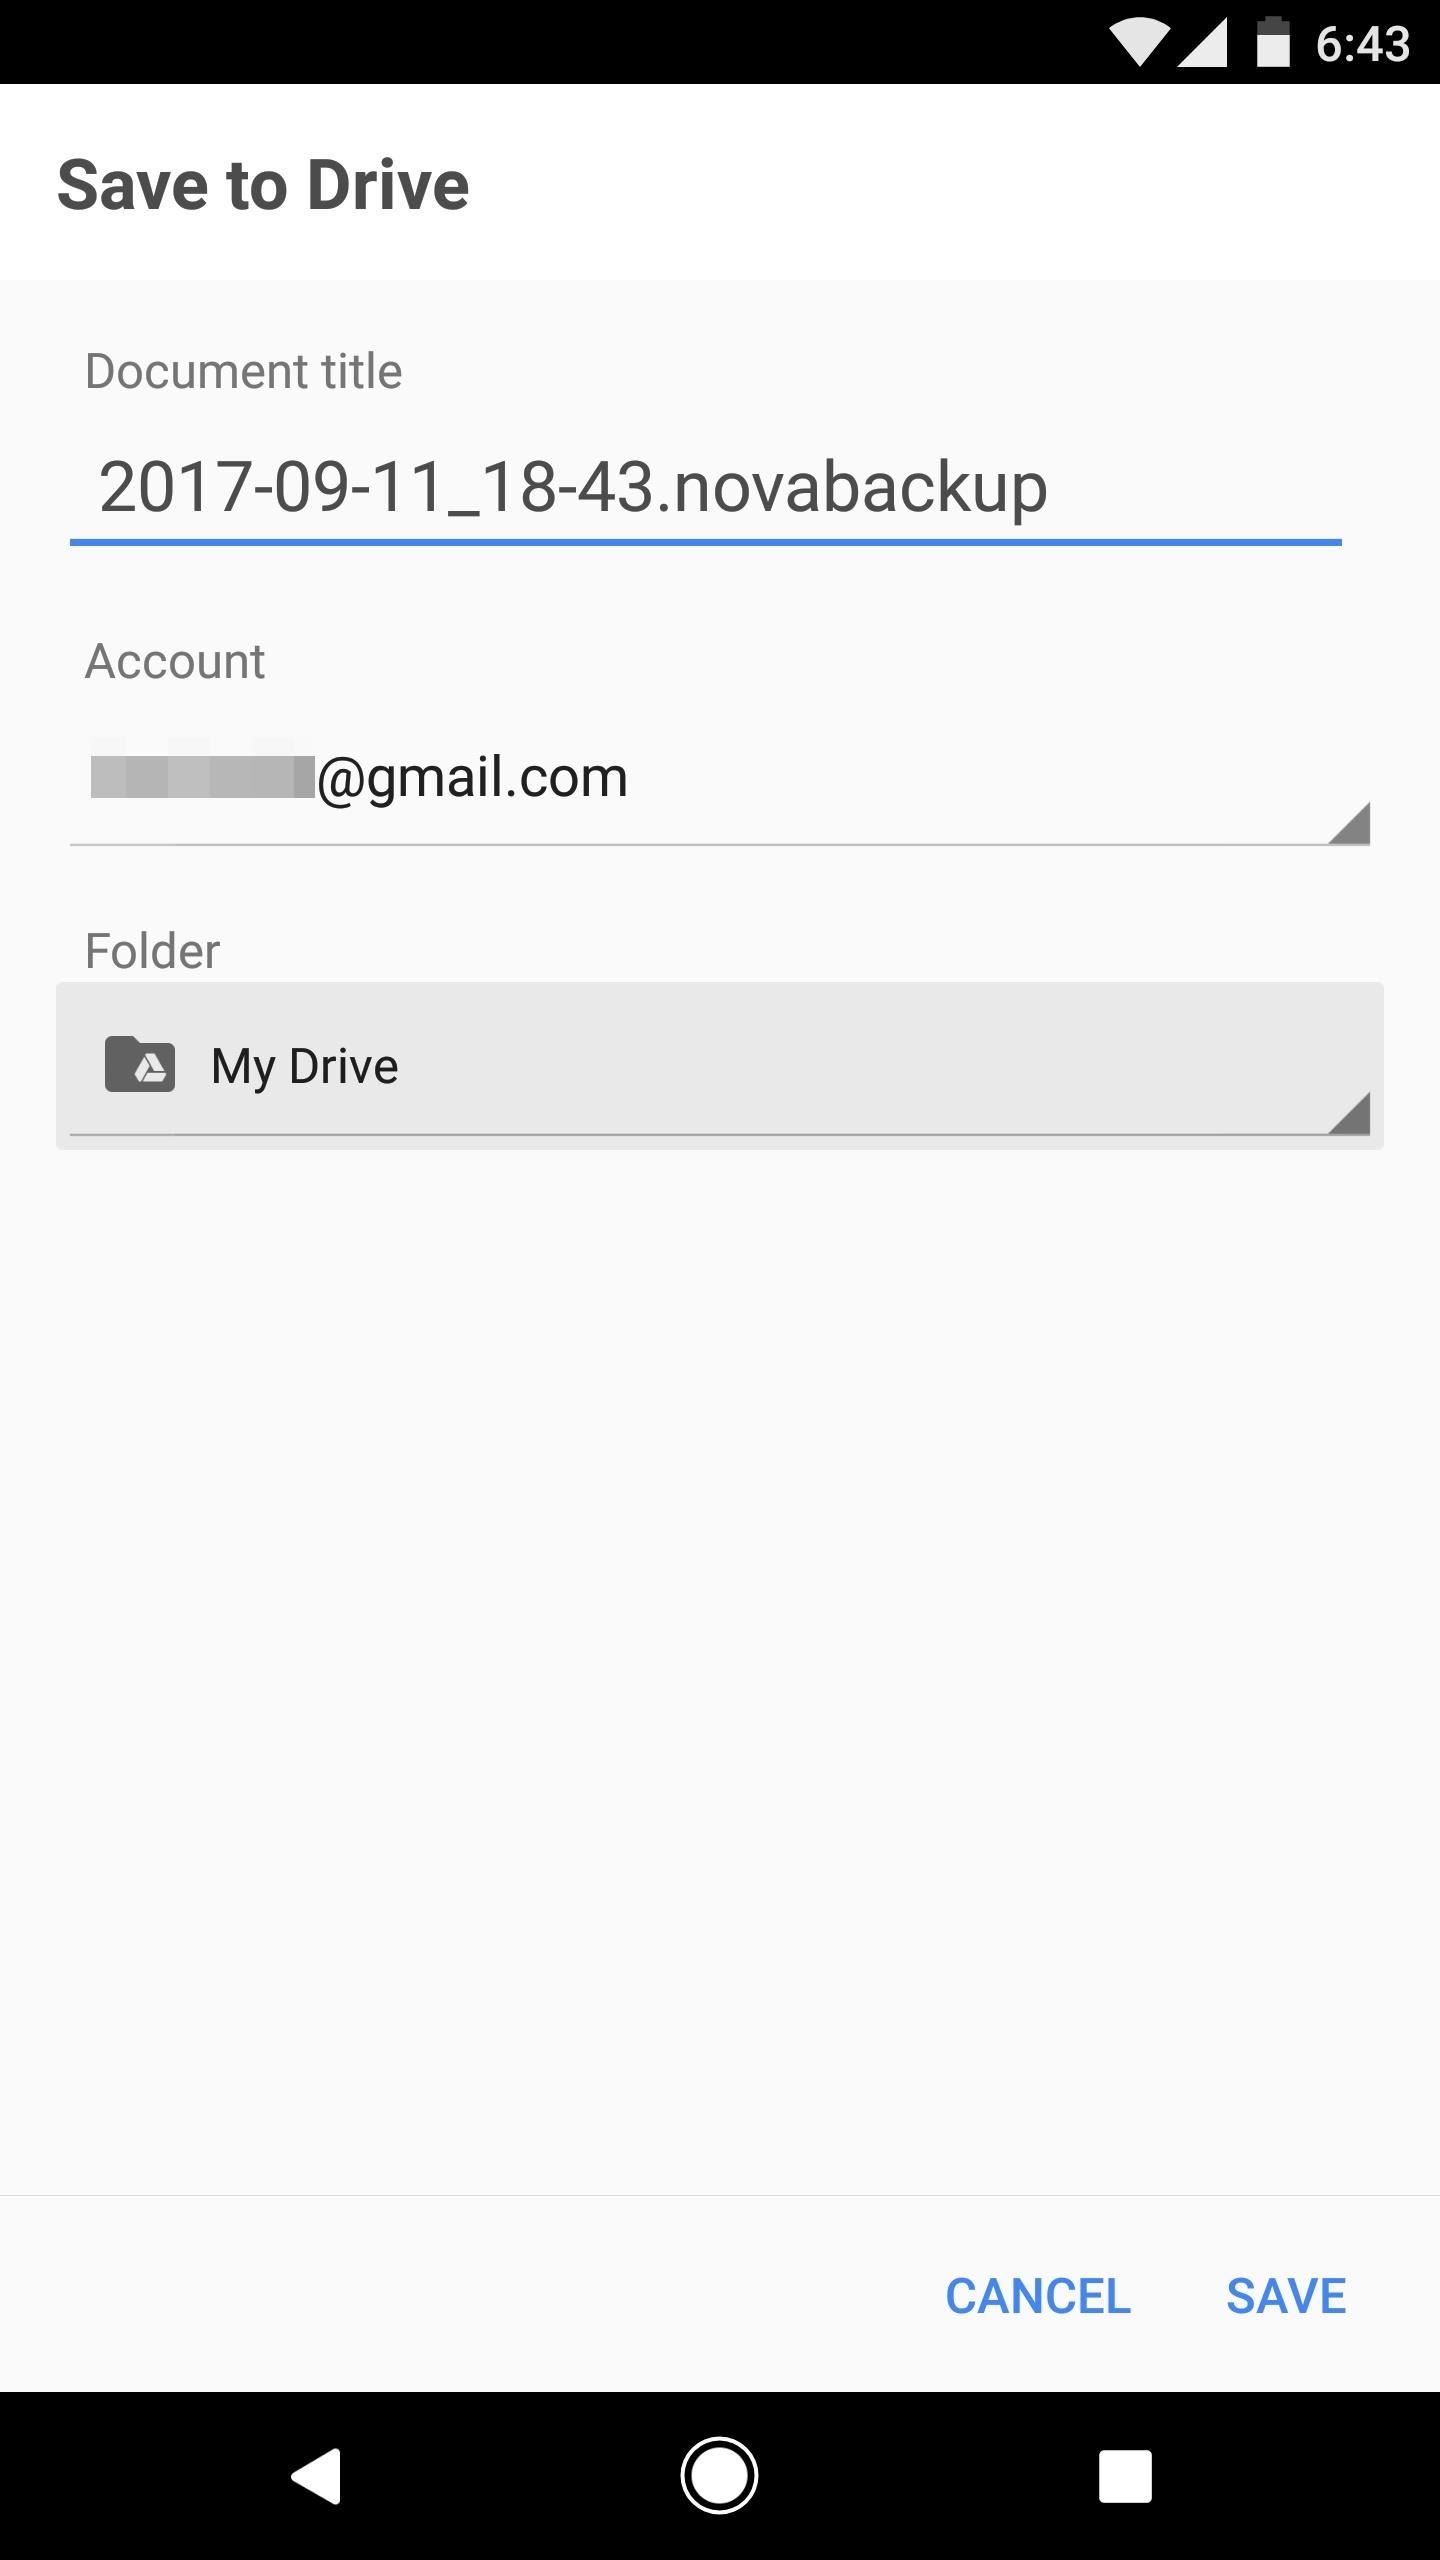
Once you tap on "Save to Drive," you will see several options. You can modify the name of the backup as you could with device or document storage. If you have multiple Google accounts on your phone, you can choose which Google Drive account you want to use. Finally, you can pick the folder within Google Drive where you want to store the backup. Personally, organized directories make the most sense, so let us create a folder called "Nova Backups" to store our backups.
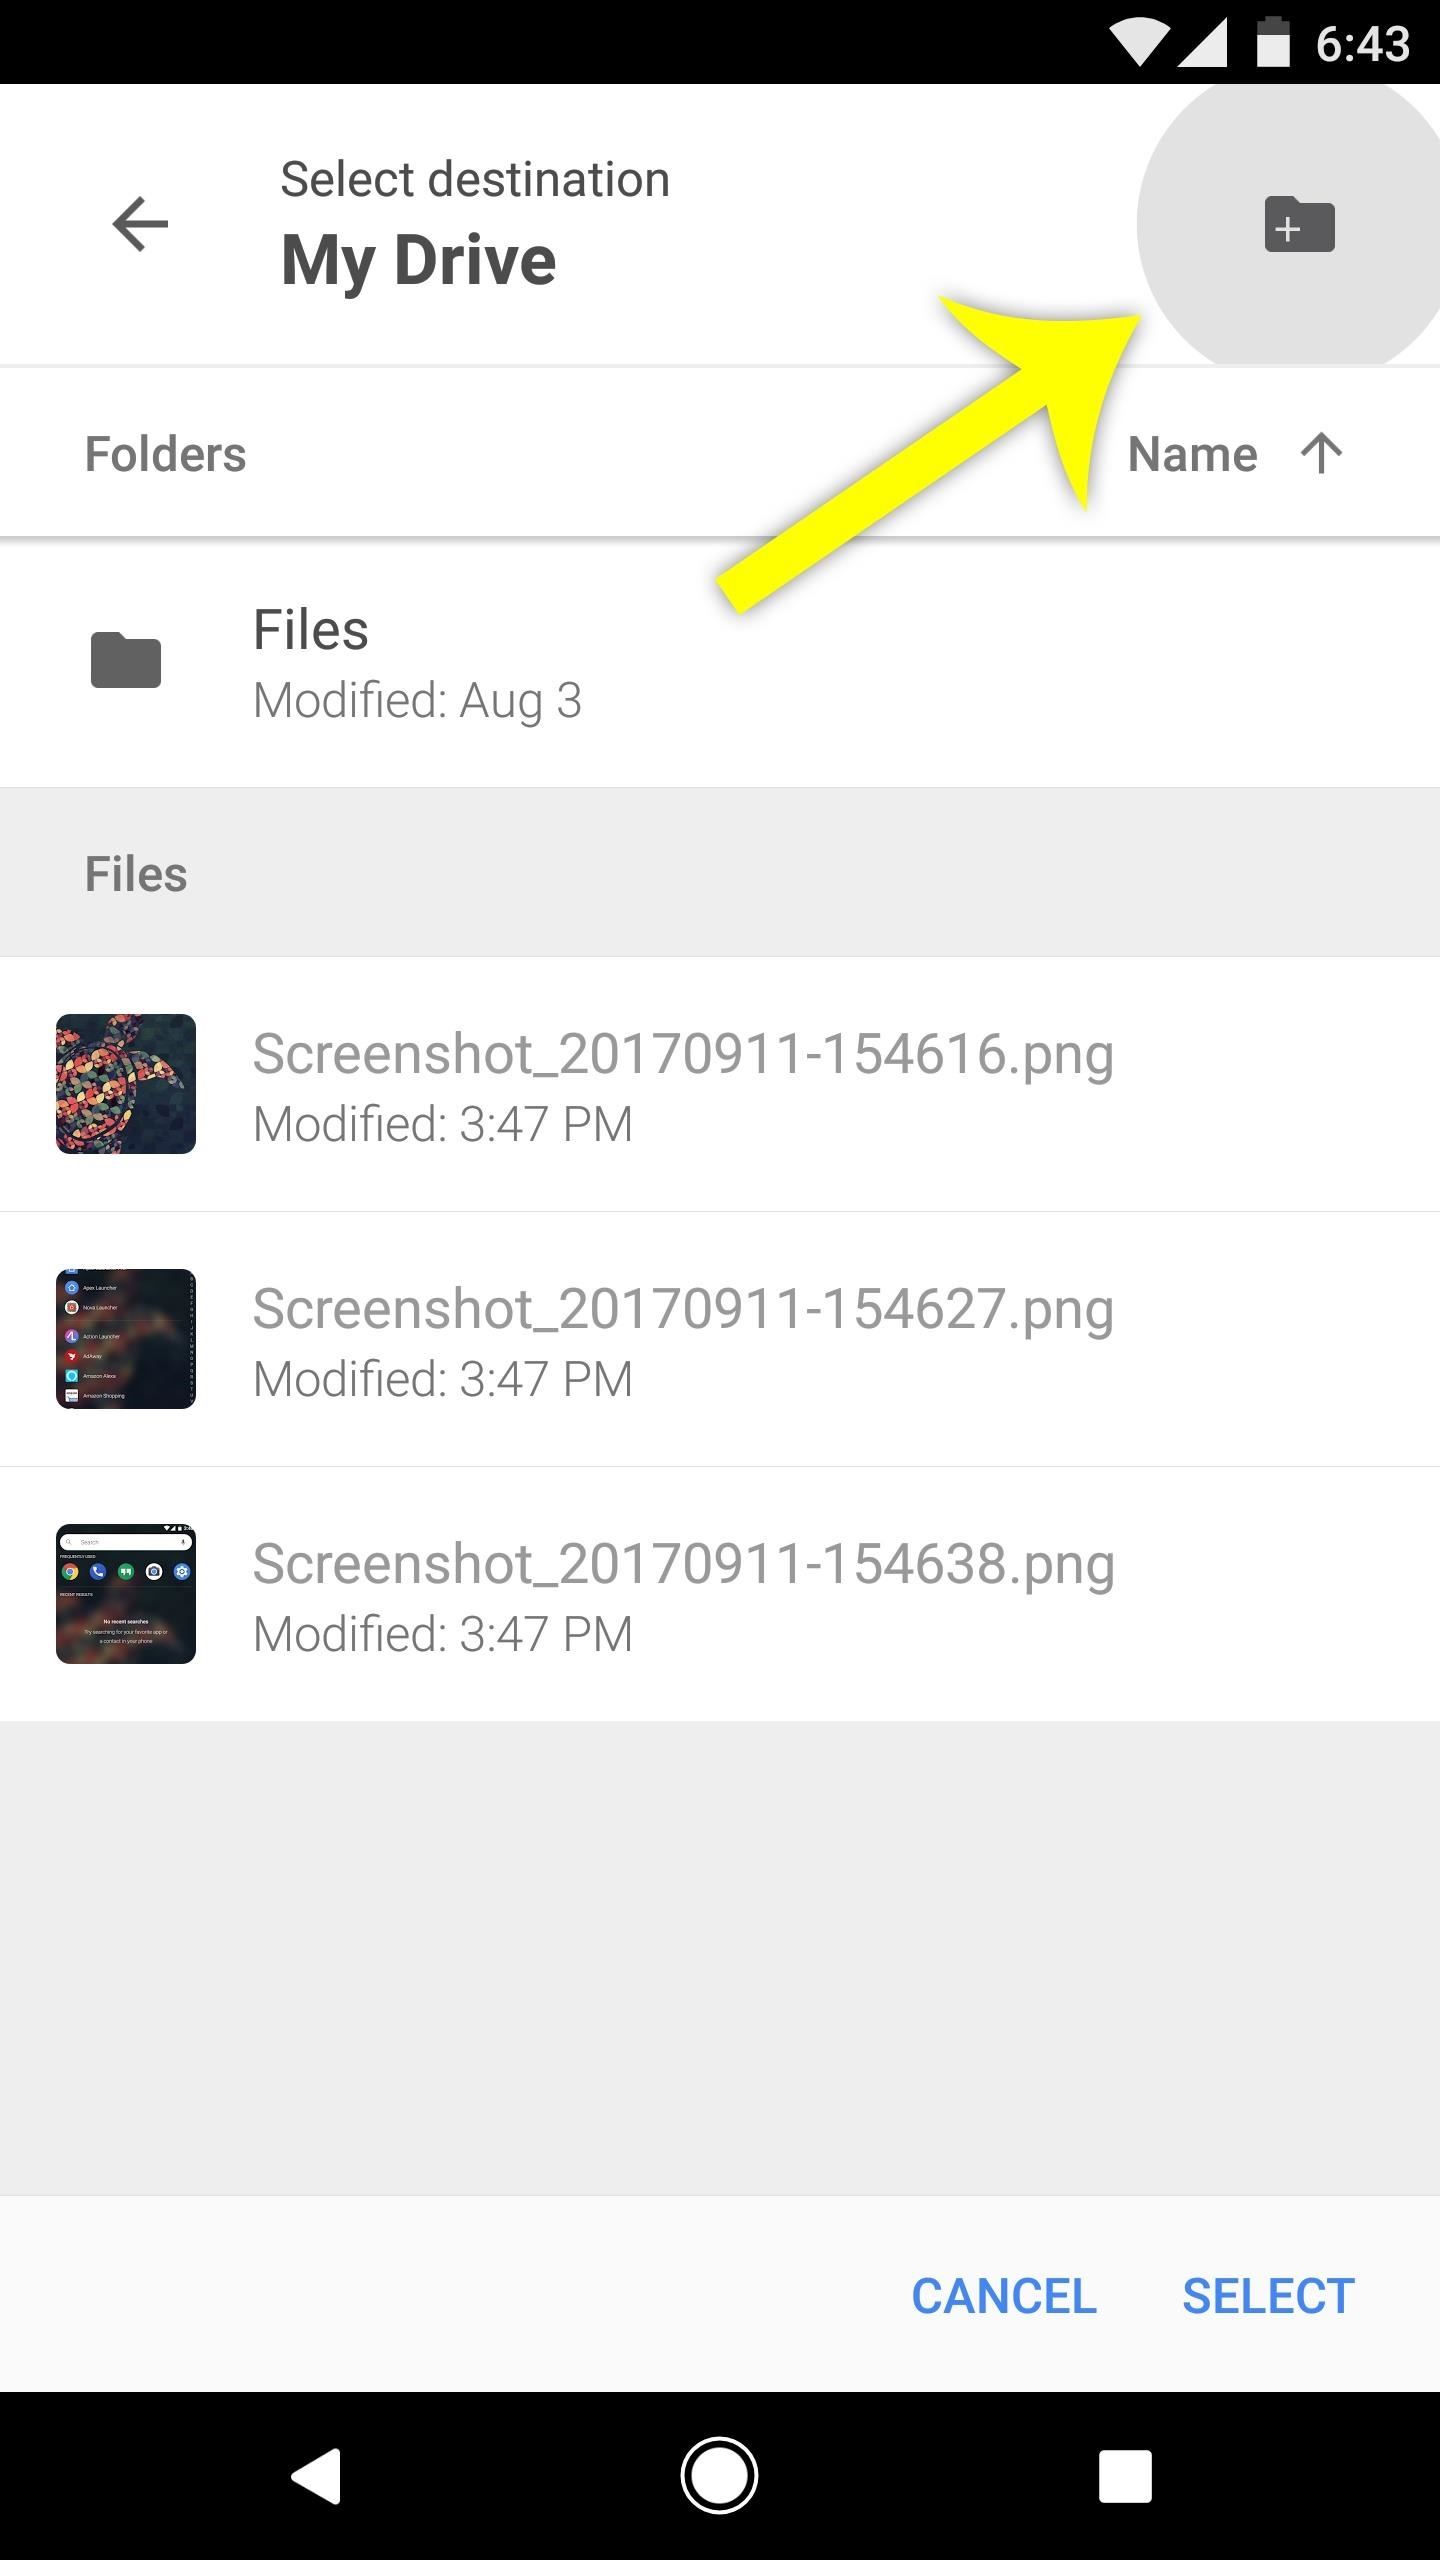
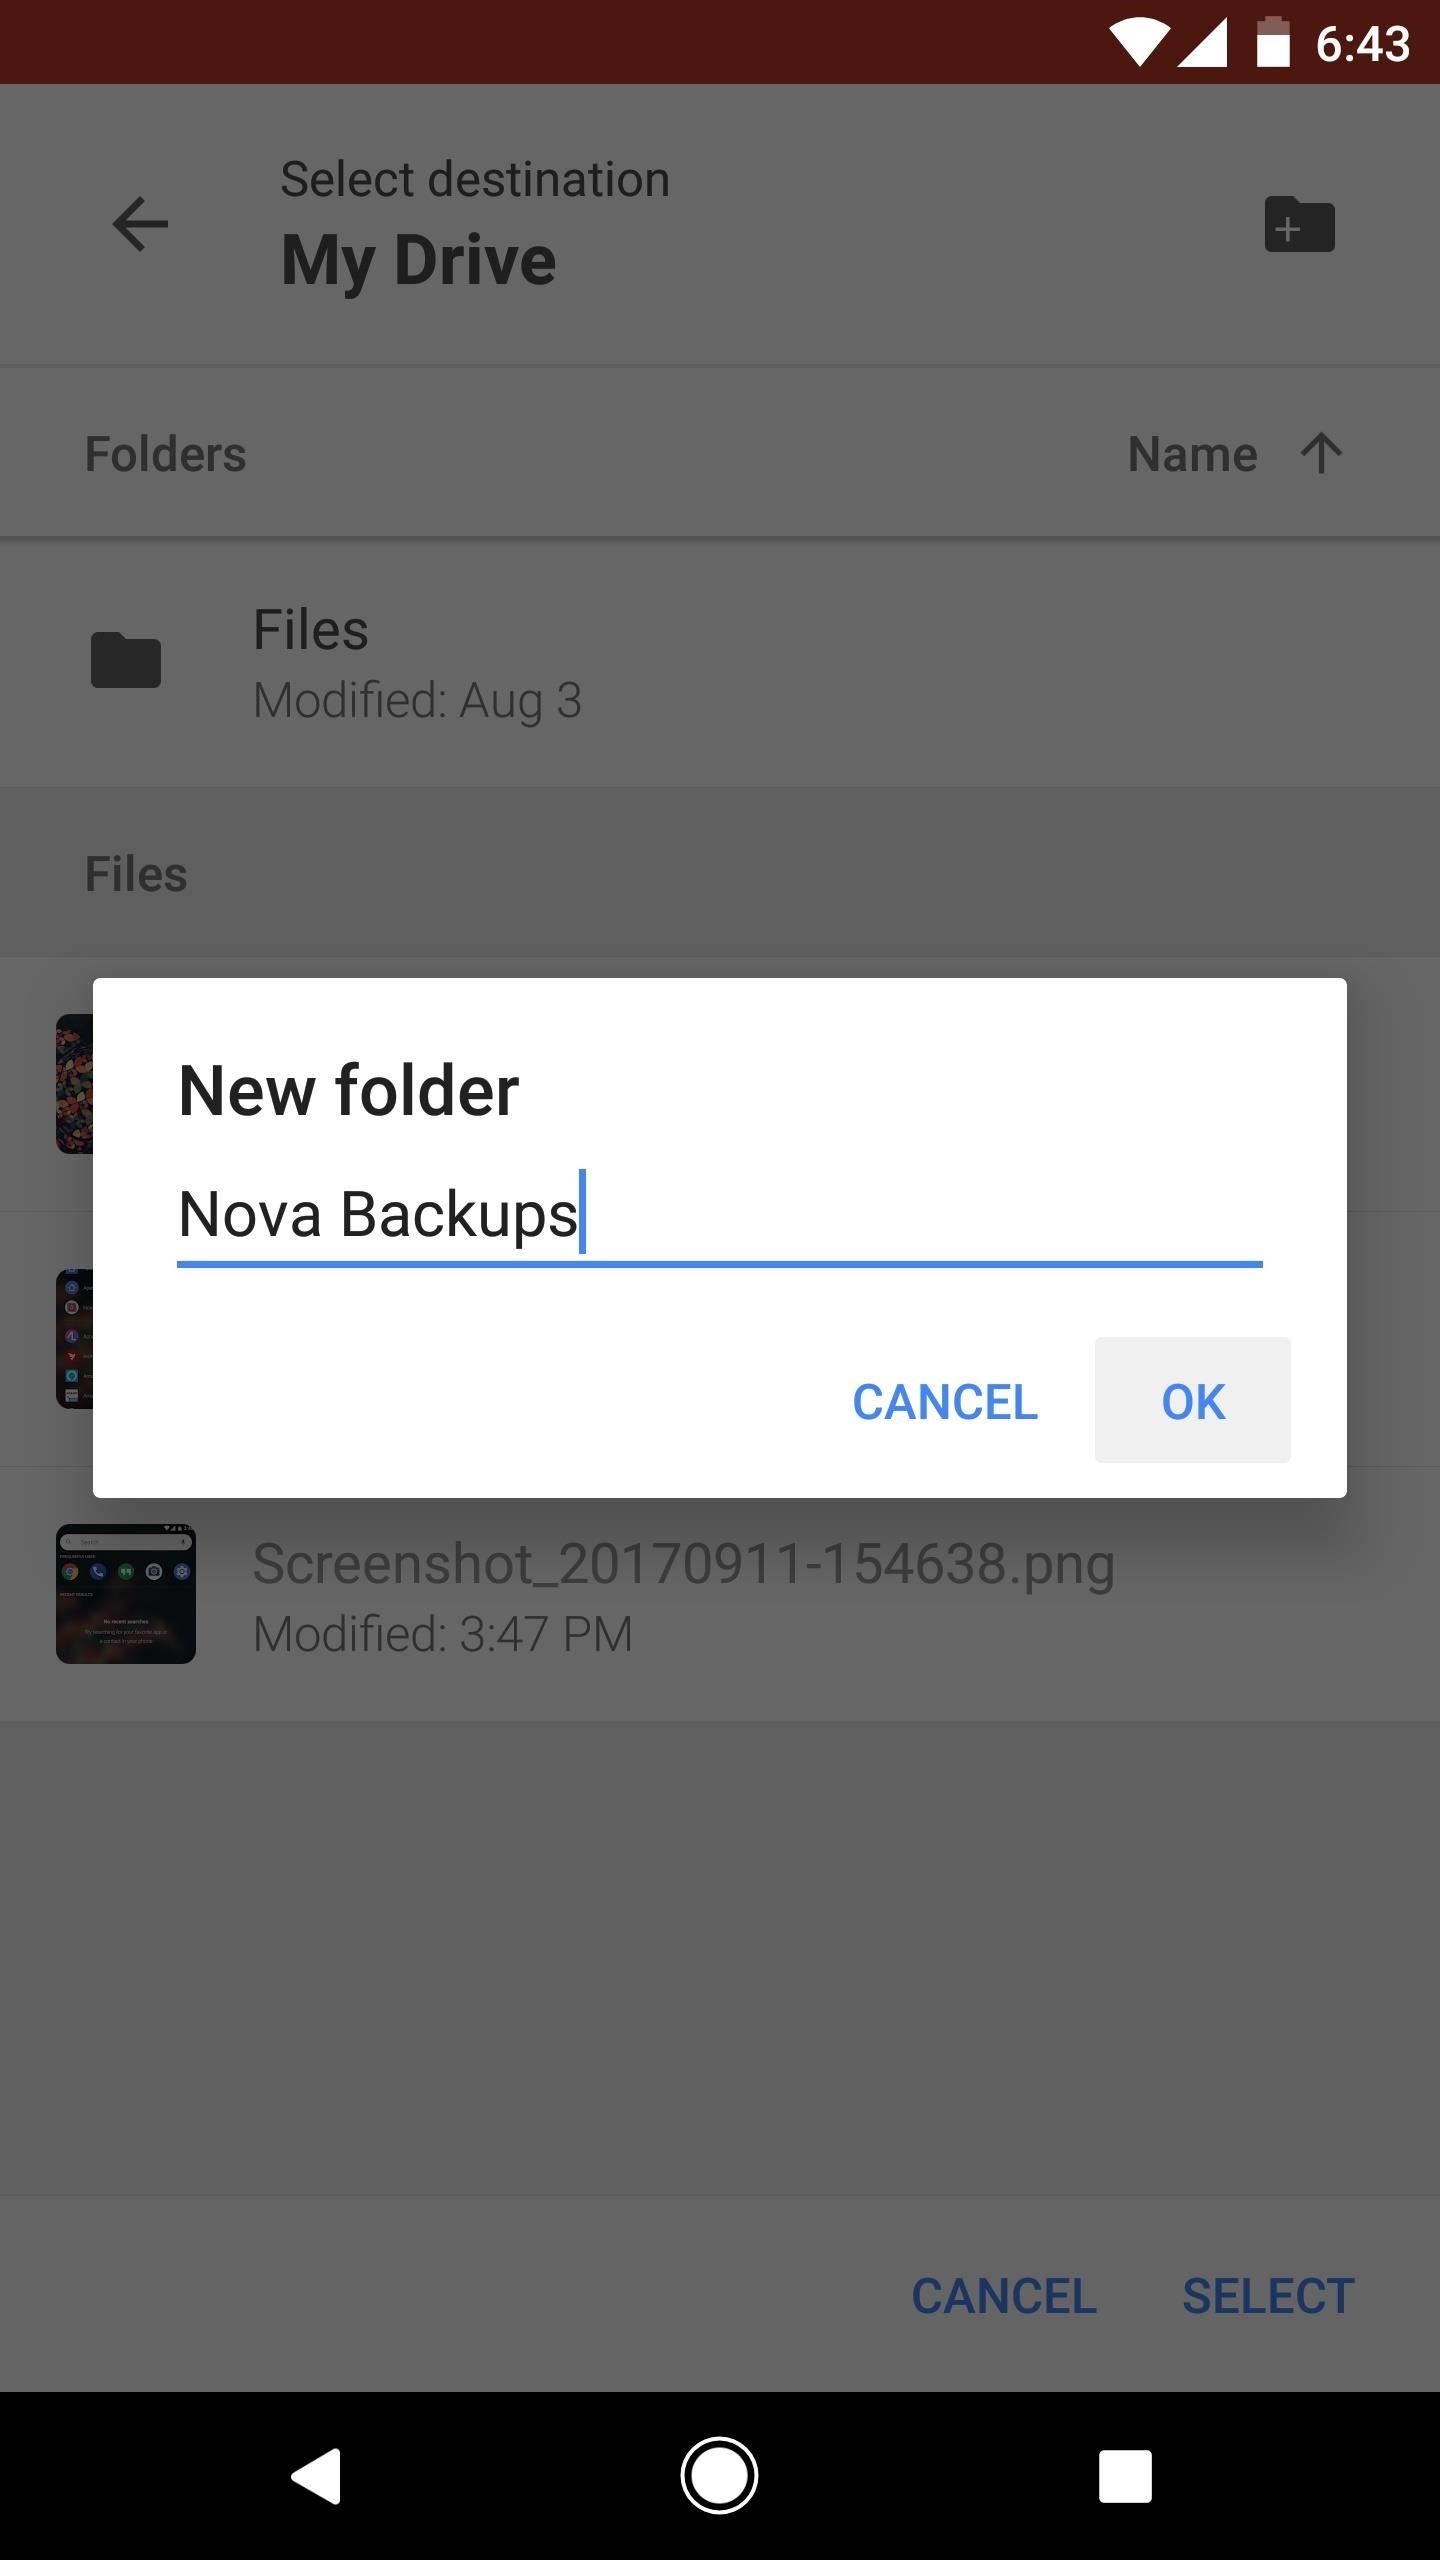
To do that, tap on "My Drive," which should bring up a screen showing the contents of your Google Drive cloud storage. Locate the folder with the plus sign in it, which is in the upper-right corner. When you tap this icon, it will create a new folder and give you the option to name it. Name this new folder "Nova Backups." Once you've created this folder, a new page will appear, with the button "Select Folder." Once you press this, it should return you to the previous screen. Once you select "Save" in the lower-right corner, you'll have successfully backed up your launcher.
Step 3: Restore from a Backup
So you have successfully created a backup file, but you'll probably want to test it to see if it works. Well, you have two options:
- Delete your current setup and try to restore everything (riskier option).
- Make a small change to the design of the home screen and try to restore it back.
The first option will help illustrate what happens if you lose your Nova setup and need to restore from scratch. Although it's riskier than the second option, it will show us the steps need to restore our backup if this ever happens.
However, if you wish to follow the second option, after making the small alteration, skip the next paragraph and pick up with the instructions after the following image gallery.
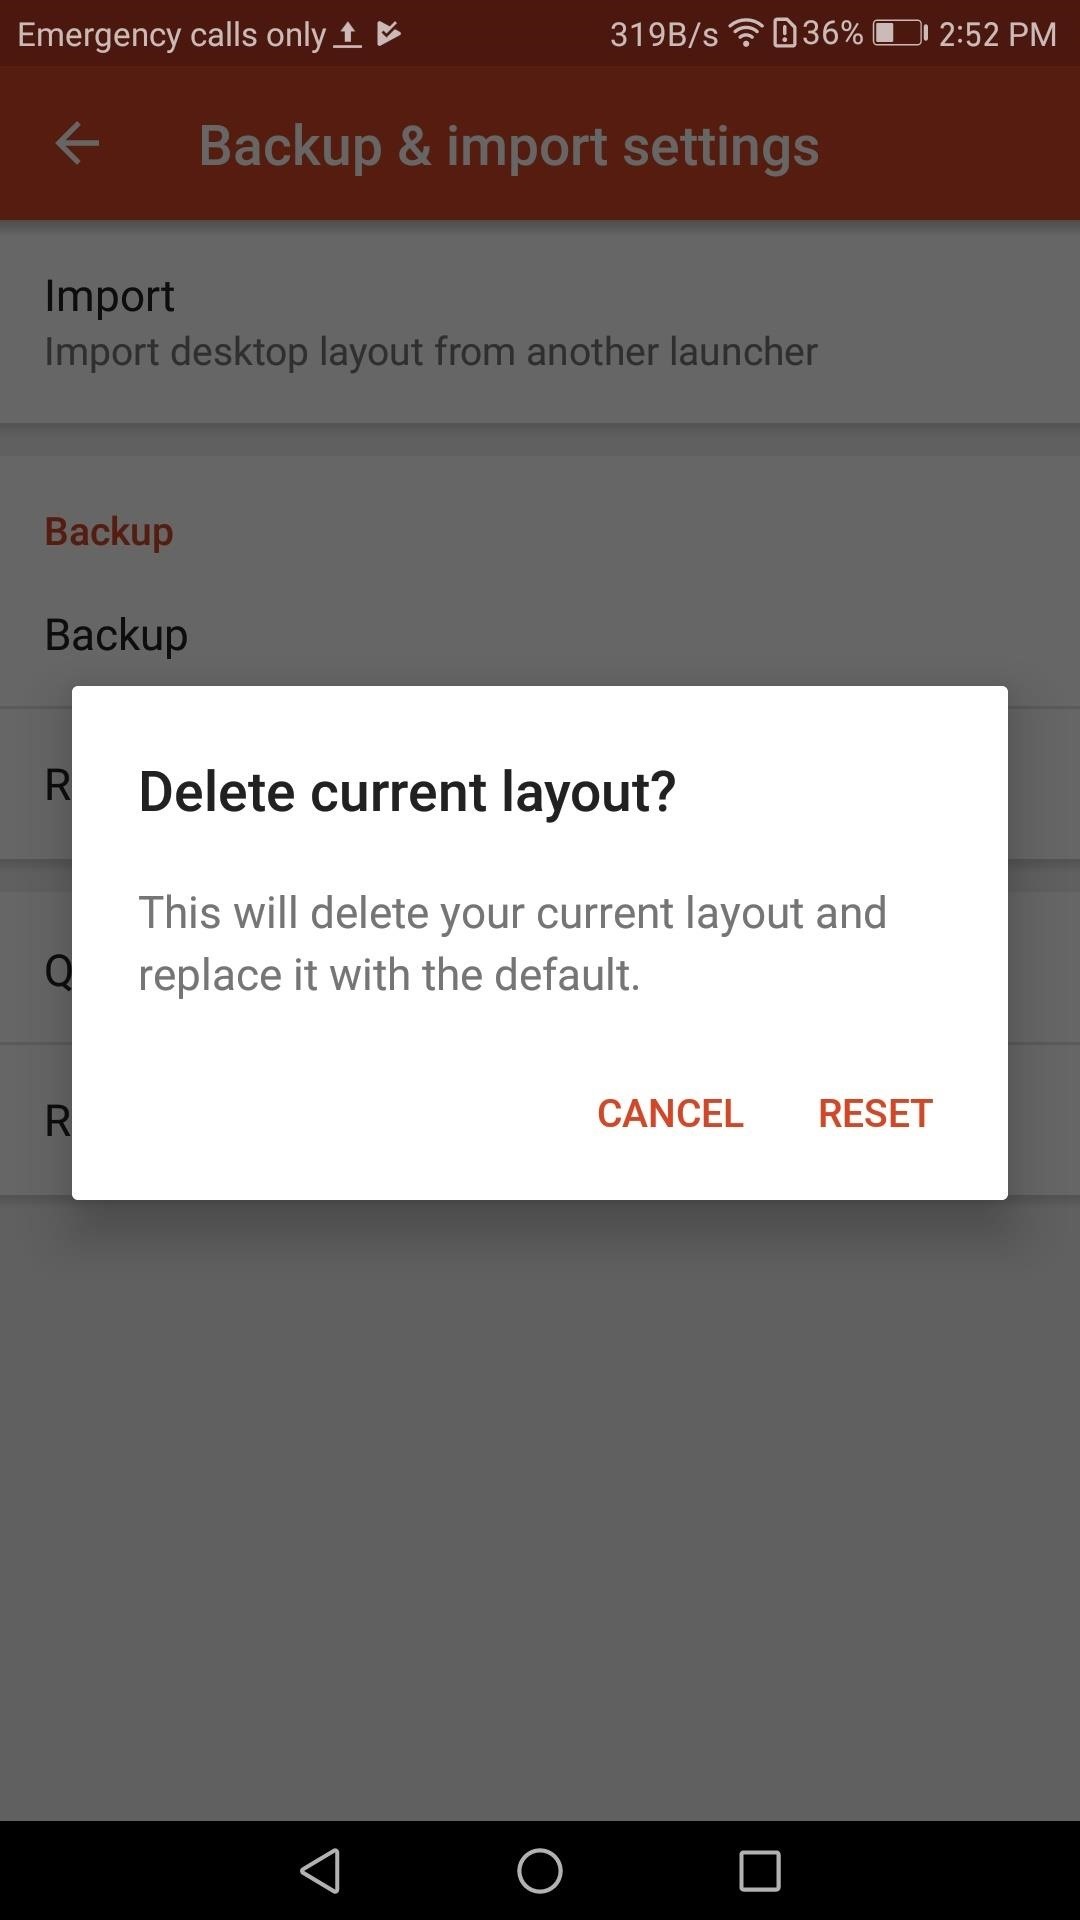
First, head to the Backup & import settings menu in Nova as depicted in Step 1. From here, tap "Reset to defaults" to start fresh. Nova will ask if you're sure (no turning back now), so tap "Reset" if you are. From there, you'll be taken to the same welcome screen you saw when you first installed the app. Since the point of restoring is that you don't have to redo everything manually, just press "Skip" to return to a bare-bones home screen.

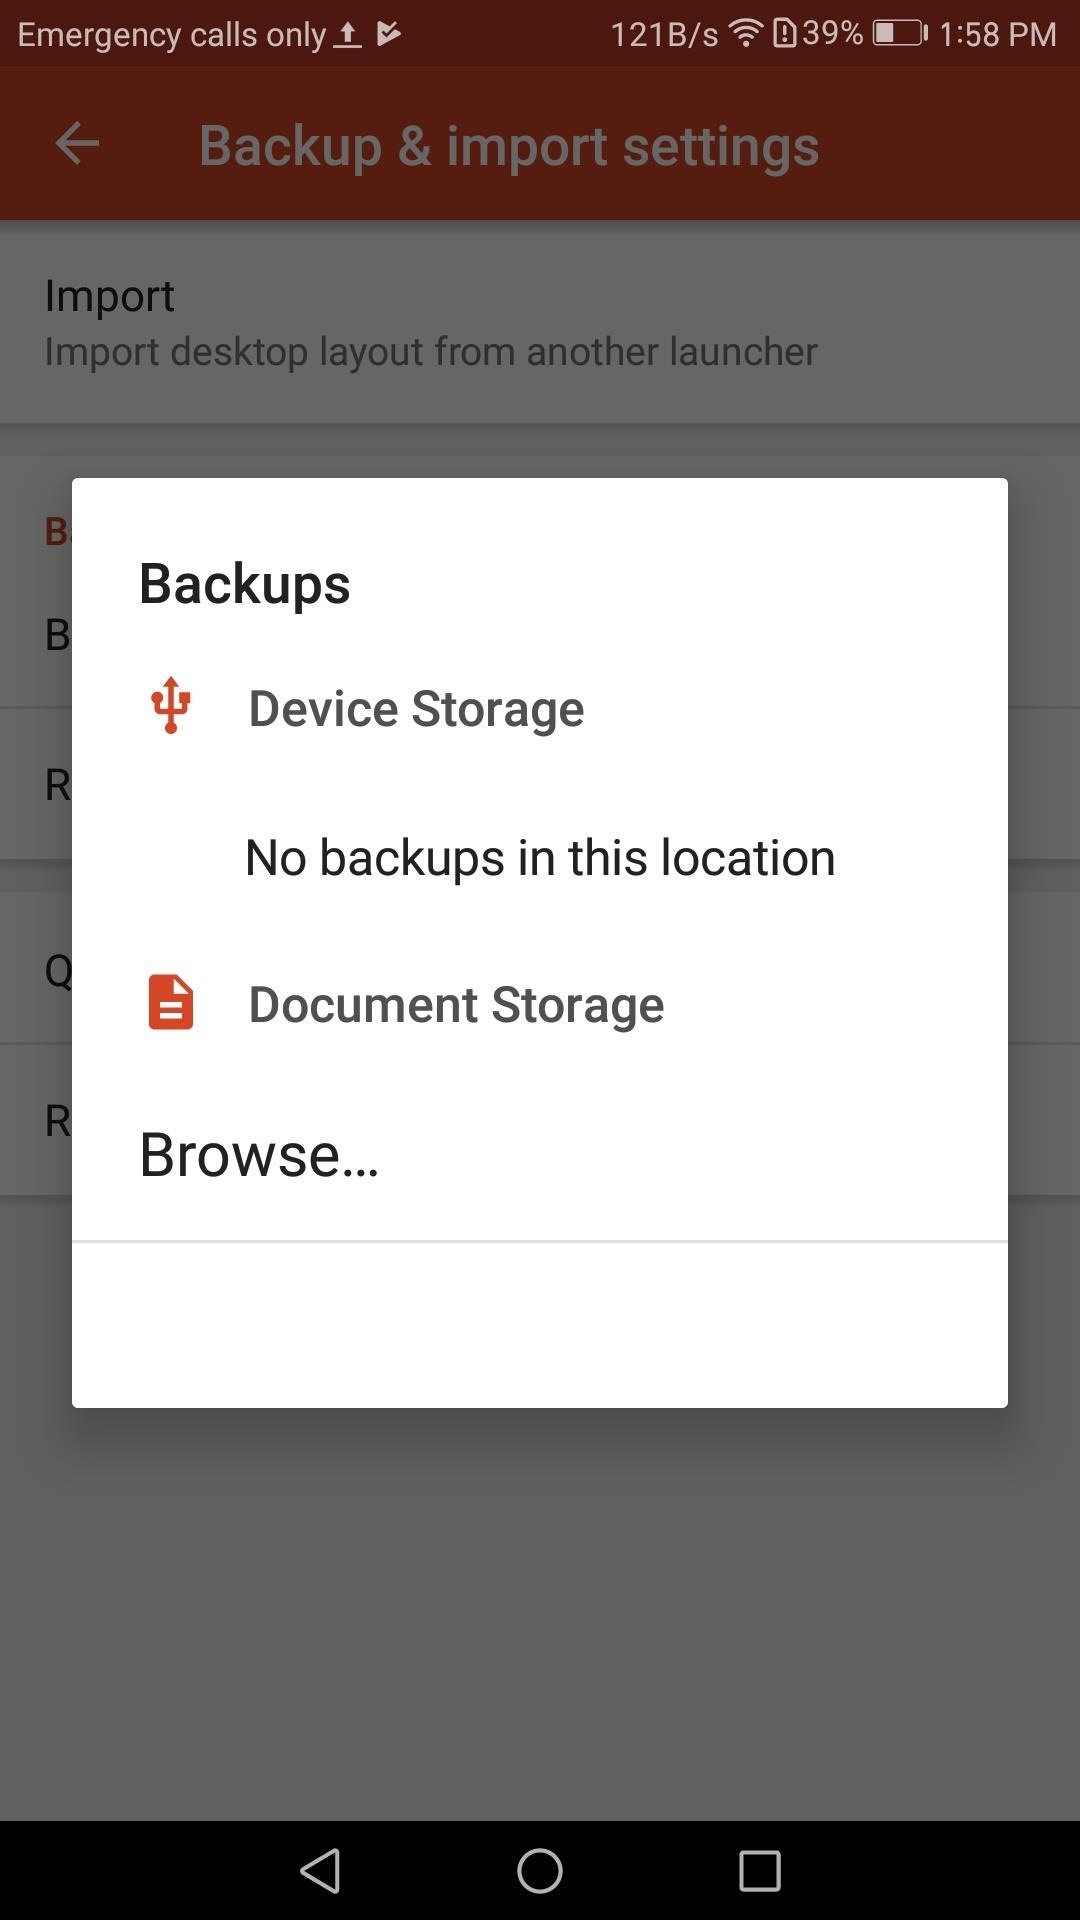
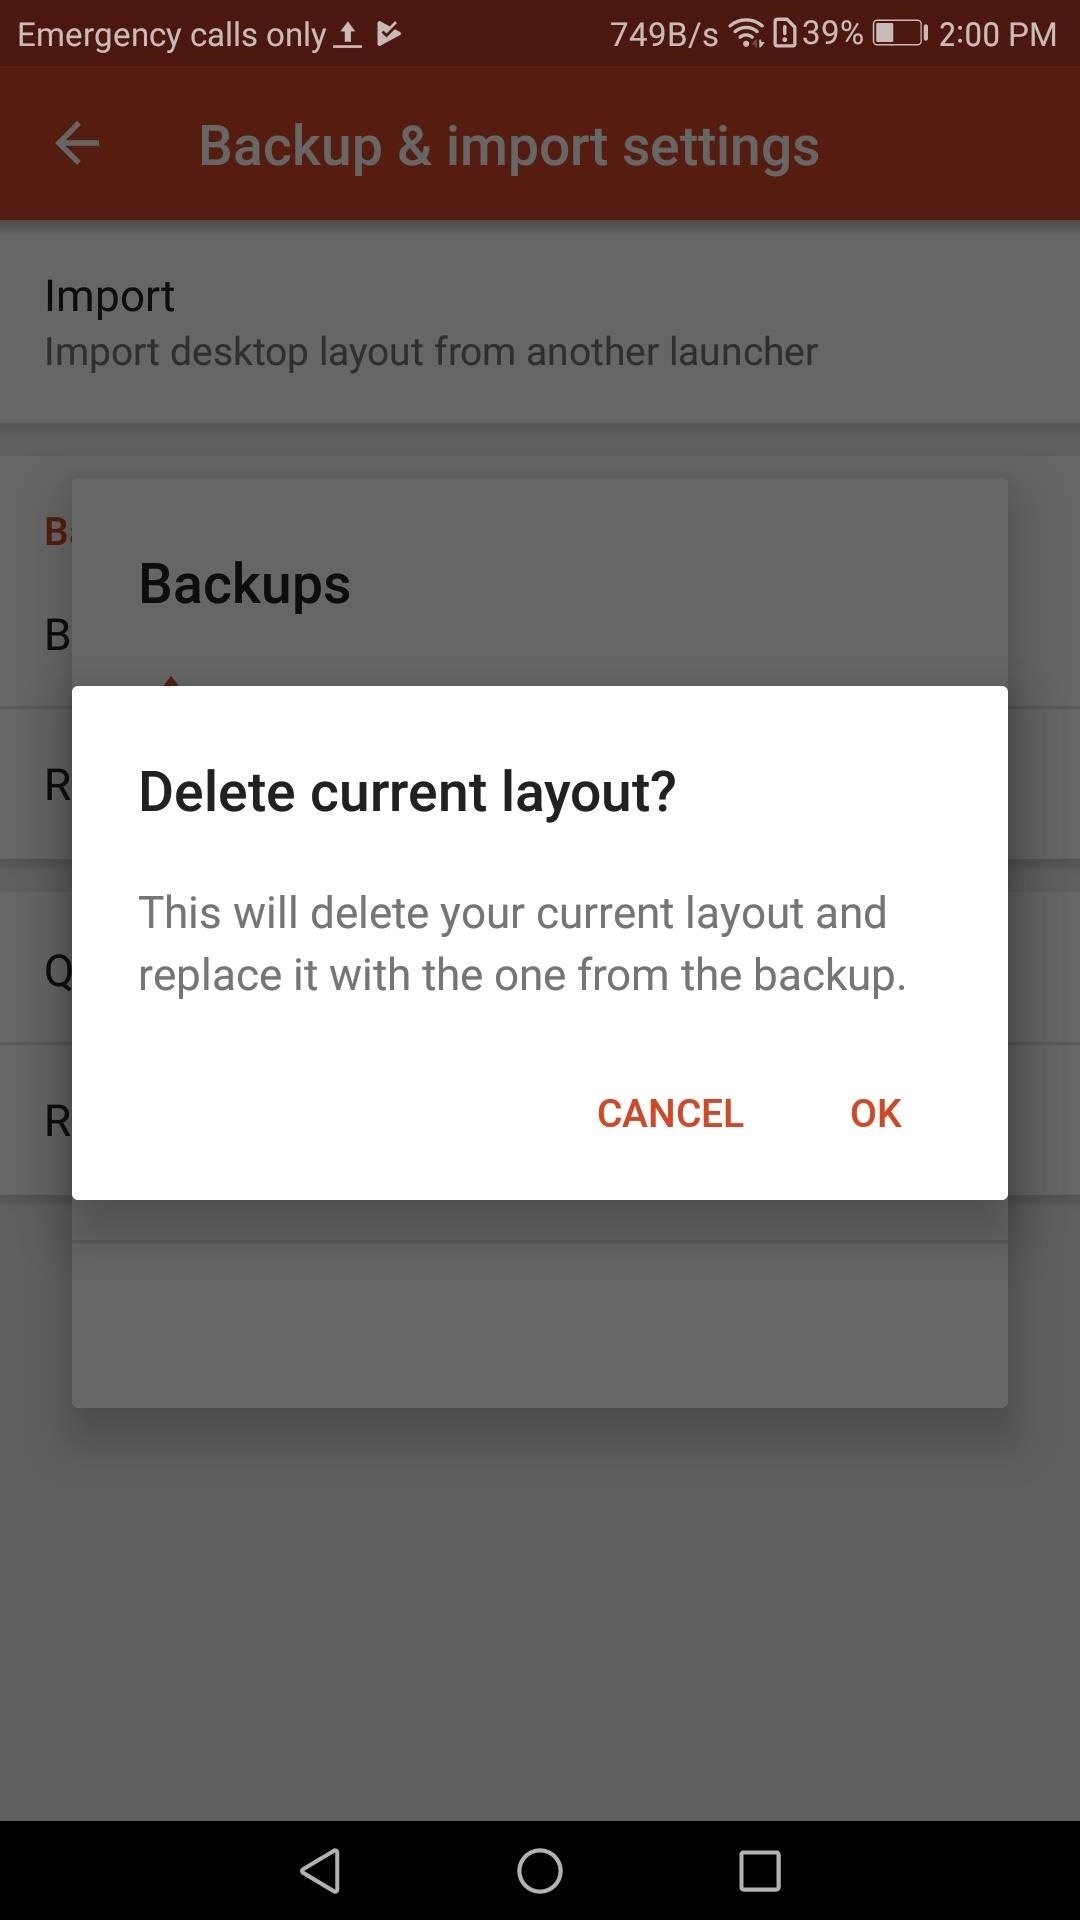
If you decided to use the second method, please follow along from this point. Next, return to the Backup & import settings screen and tap "Restore or manage backups." Because Nova's default option is local storage, you will see the same thing as the first image below. Don't panic if you stored the file elsewhere — you just have to locate the backup file. Tap on "Browse," which should open up a list of storage options on your device. Since, in this example, we stored it on Google Drive, tap that, then select "My Drive," which is your cloud storage.
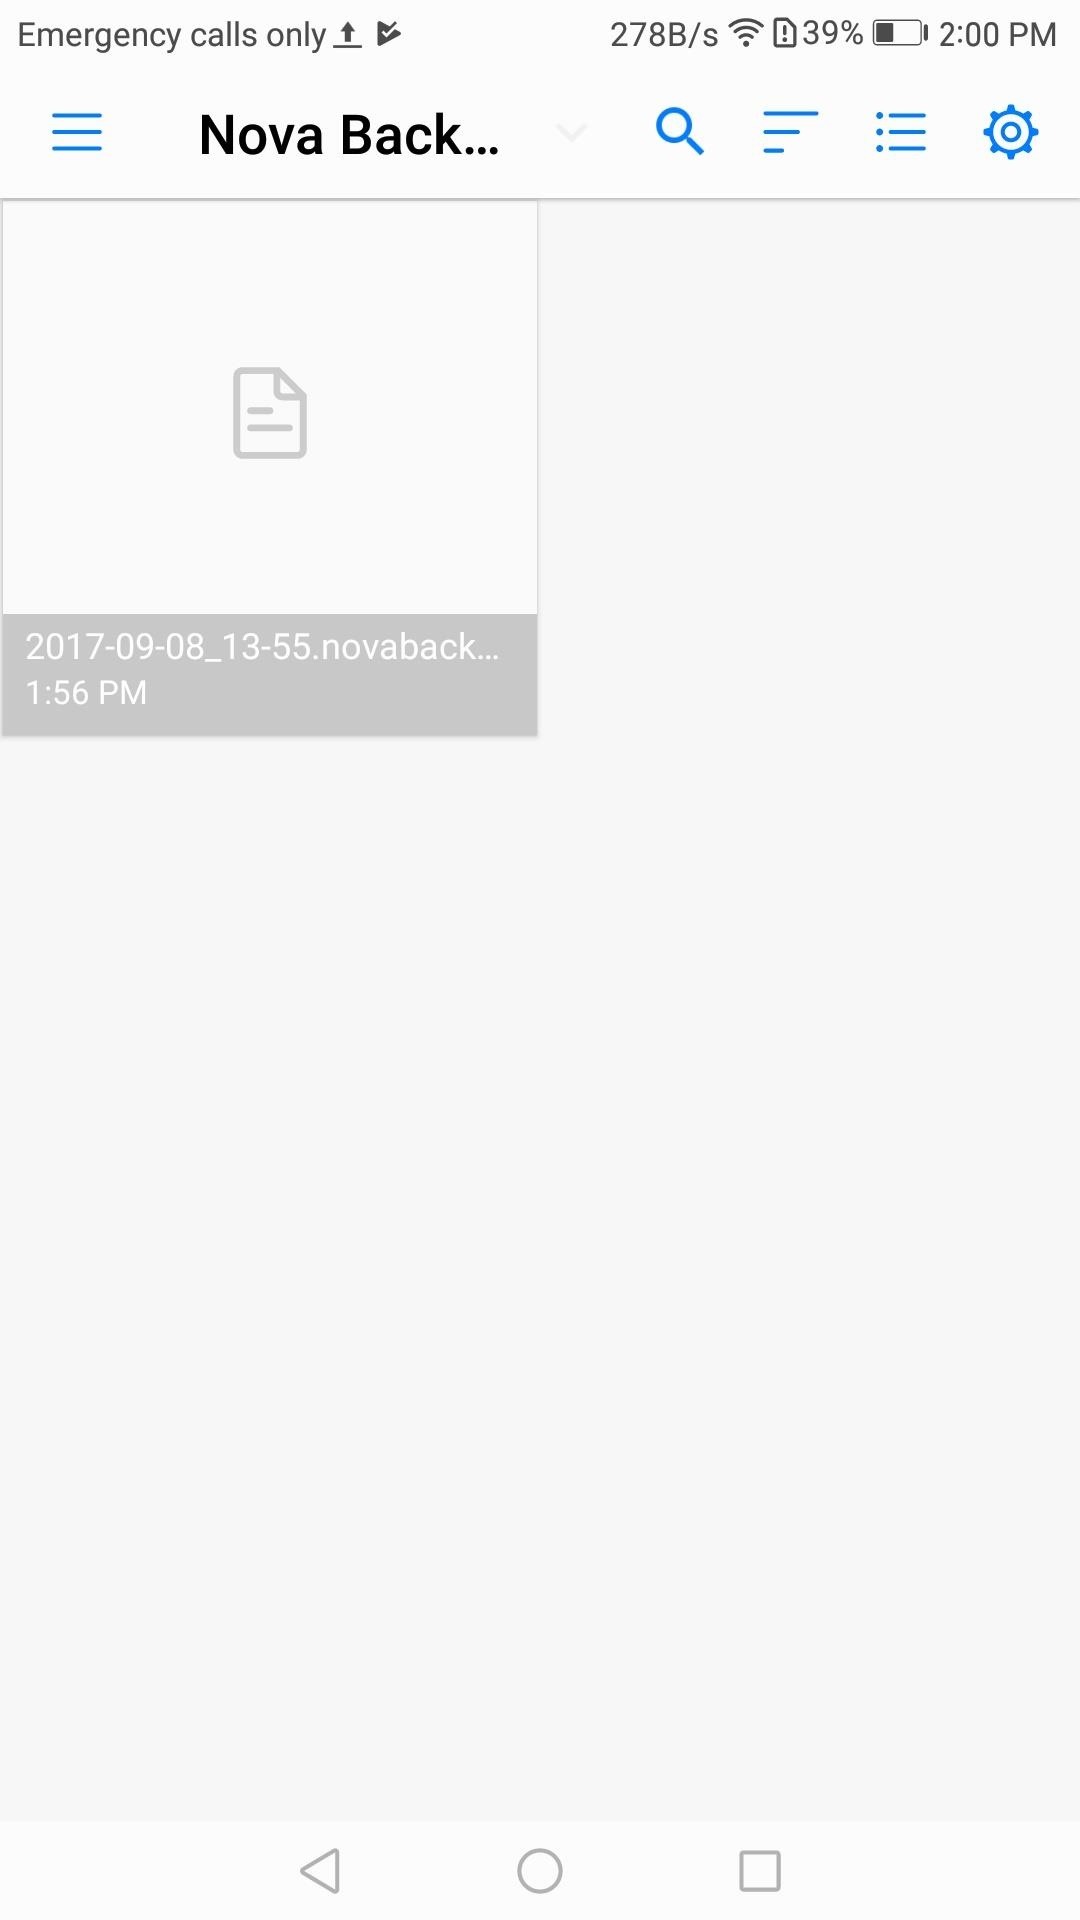
If you followed the instructions in Step 2, you should see the folder we created called "Nova Backups." If you decided to skip creating the folder, you would see a list of all the files you currently have on Google Drive. Either tap on "Nova Backups" and select your Nova backup file or find the Nova backup file in My Drive.
Once you've selected your Nova backup file, you'll see another confirmation pop-up. Don't worry; Nova is just telling you that it will delete the default home screen to upload your backed up home screen. So press "OK," then exit out of the settings menu and return to your home screen, where a perfectly restored layout should greet you. Voila!
Now that you've successfully saved a backup of your current home screen layout, you can rest a bit easier knowing that it'll only take a minute to get things back to normal if you have to wipe or replace your phone. Which method did you use to save your Nova backup? Let us know in the comment section below.
Who needs a wand? Unlock your magical powers and transform yourself from a Muggle into a Wizard or Witch just by using your Android phone. See how:


Be the First to Comment
Share Your Thoughts