


Razer just released their first flagship Android smartphone, appropriately named the Razer Phone. While mobile gaming fans are sure to enjoy the Razer Phone, the buttery-smooth 120 Hz display makes this an appealing option for anyone in the market for a new phone. If you've just picked up the Razer Phone or it's piqued your interest, here are ten awesome tips to hit the ground running.
Whether you're an expert on Android or a newcomer, each new phone brings some unique features that require a bit of tweaking. We're going to take a look at a few old favorites, in addition to the new display and gaming features that are specific to the Razer Phone.
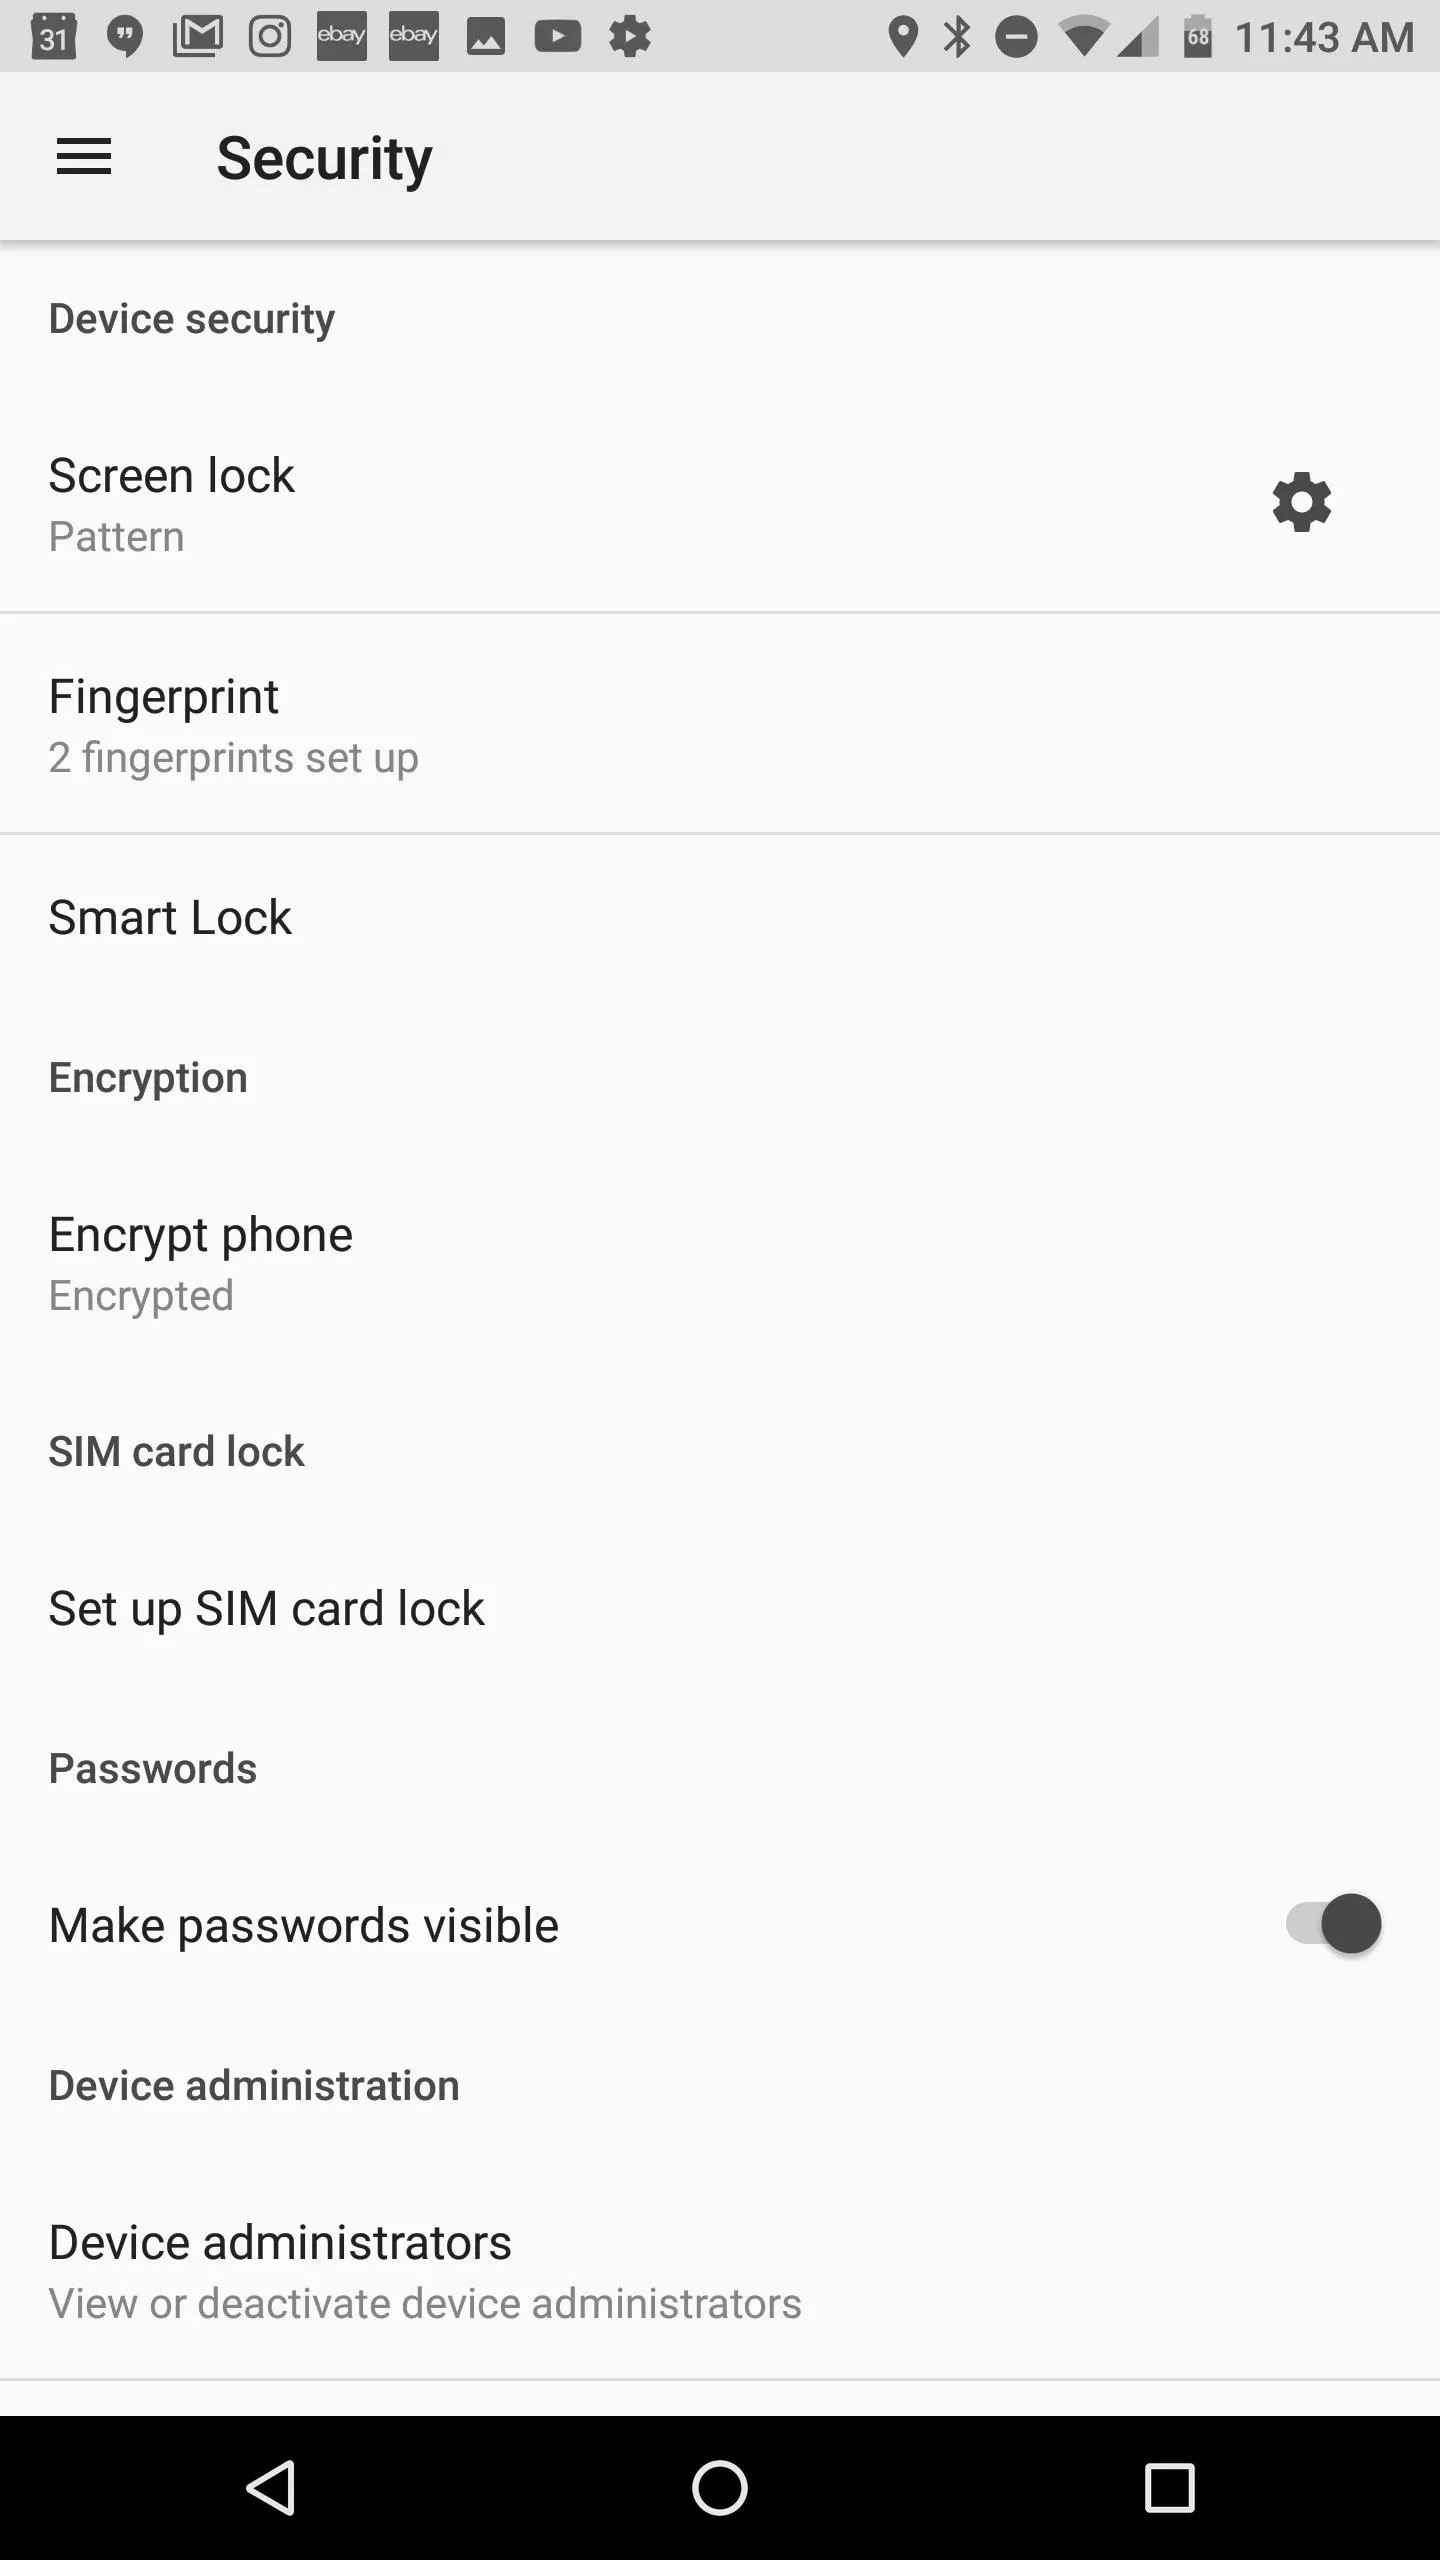
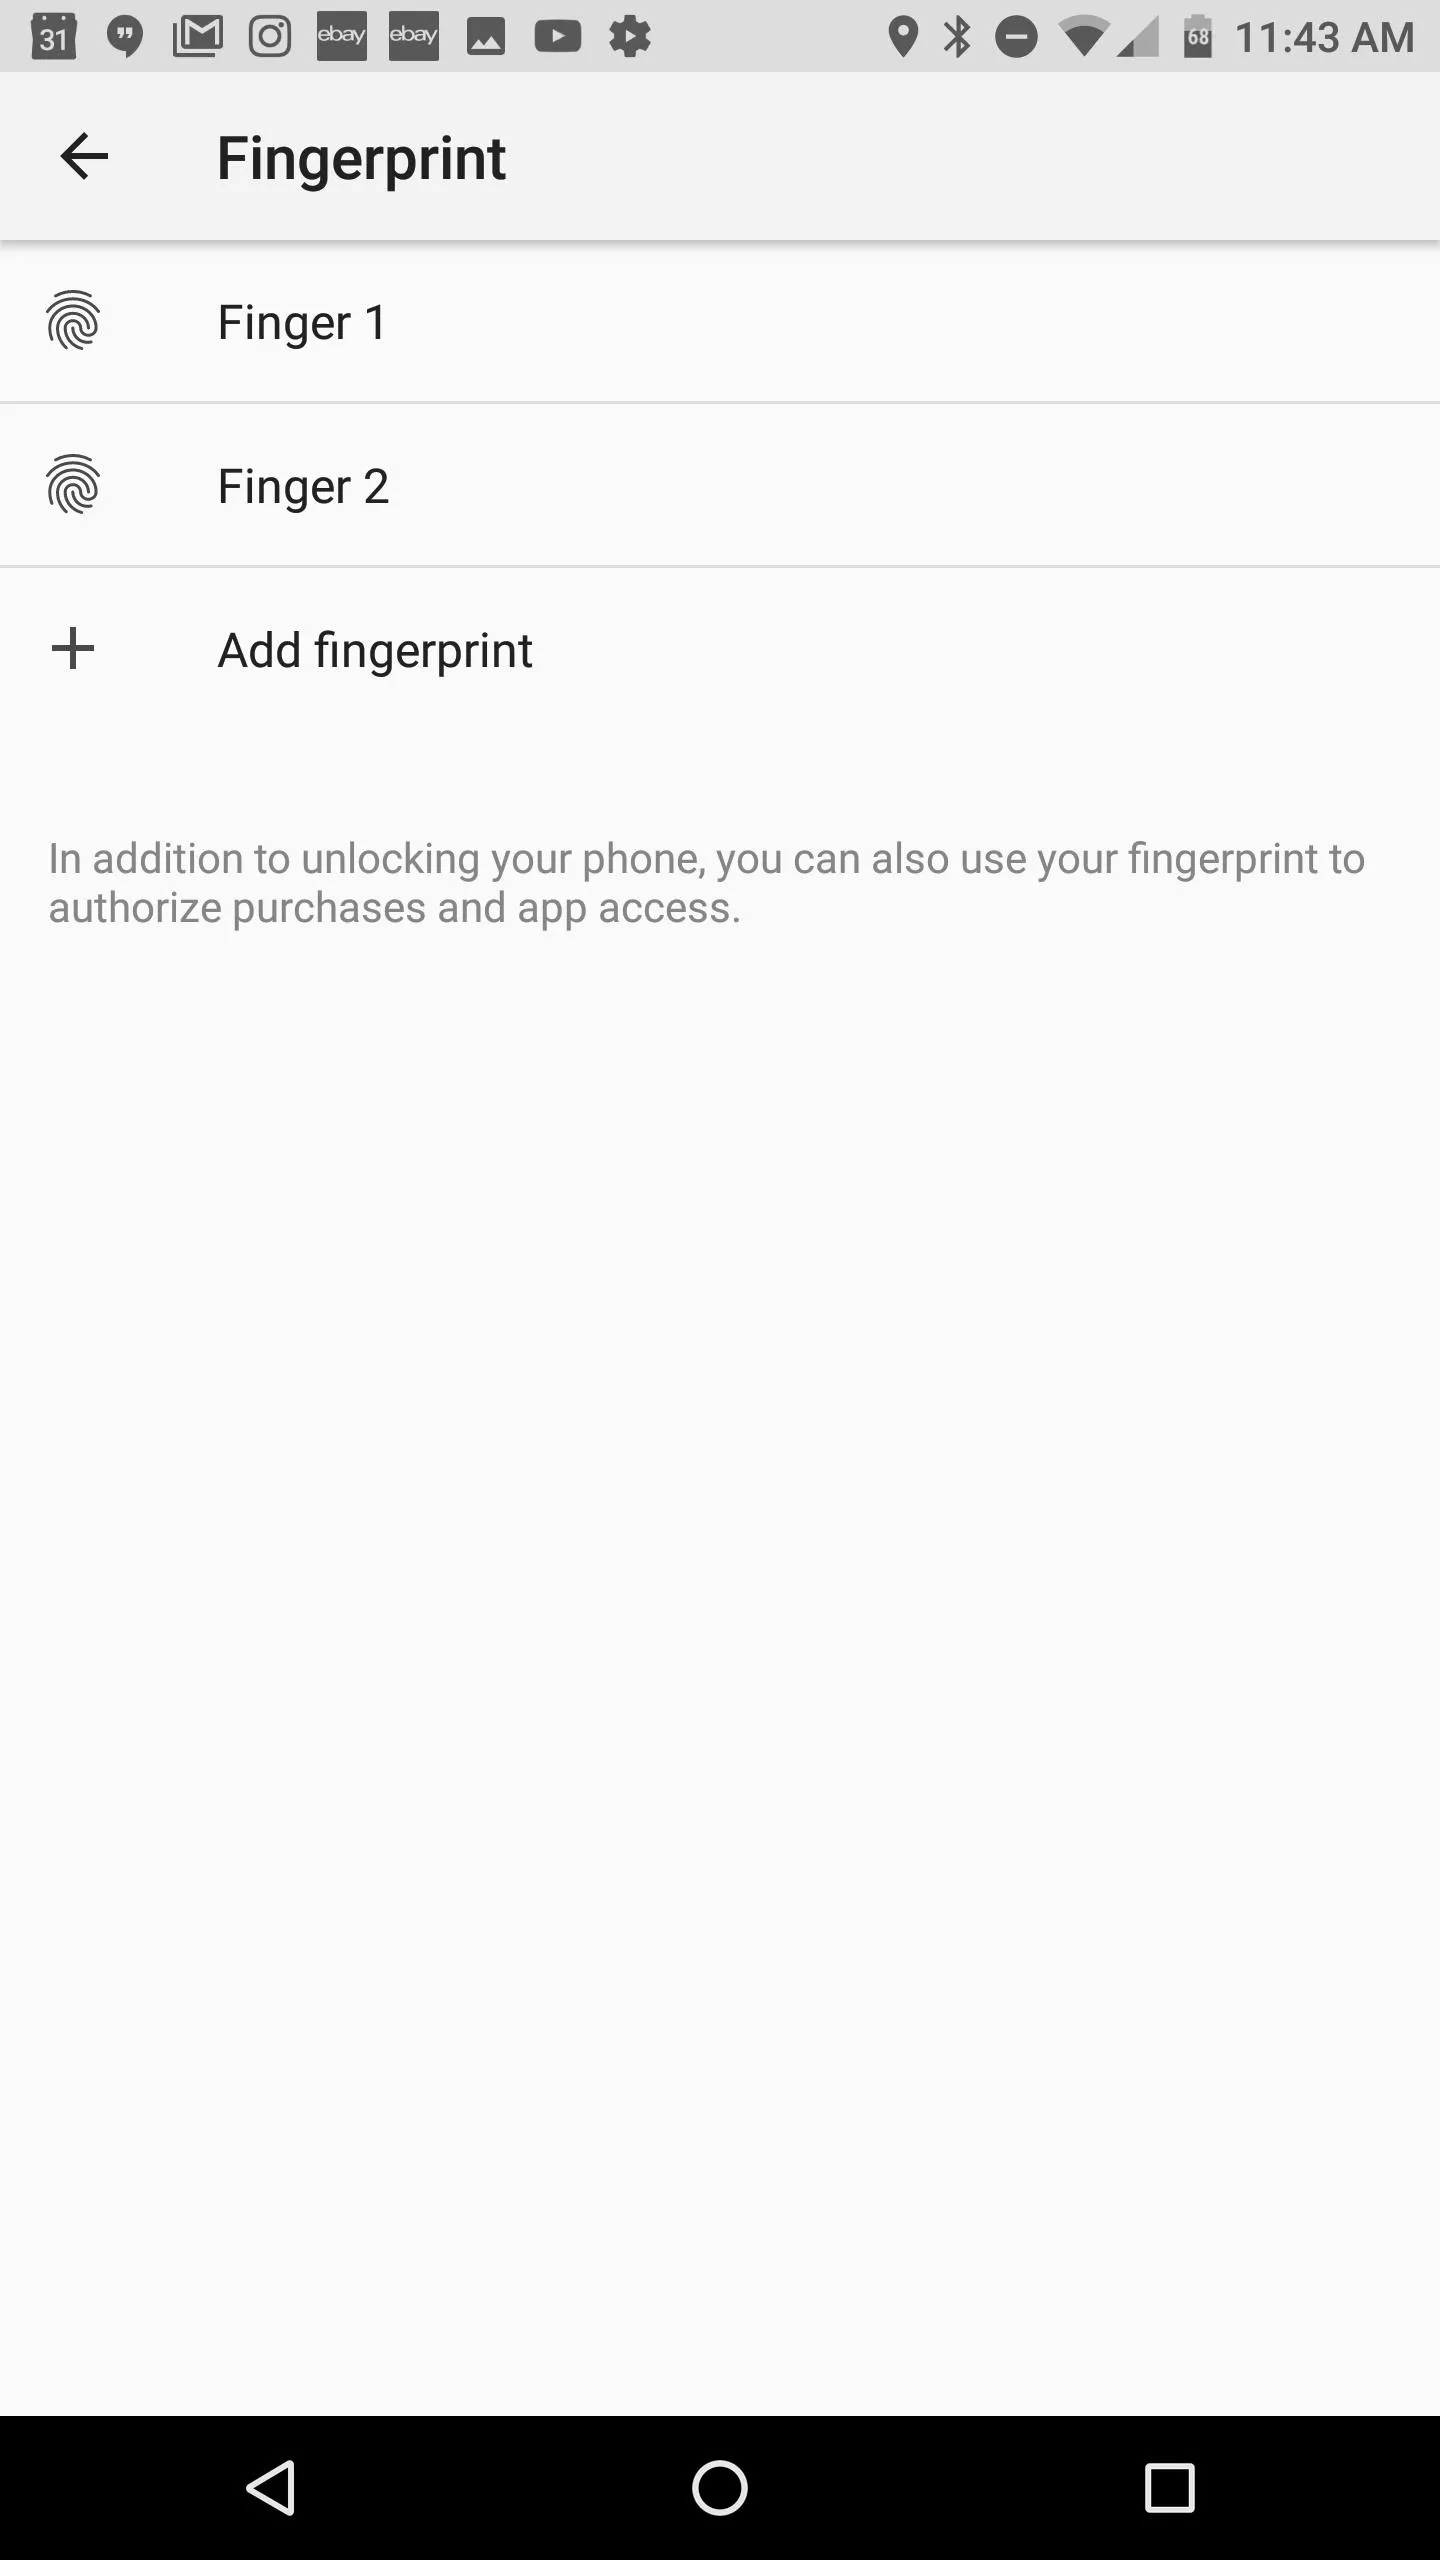
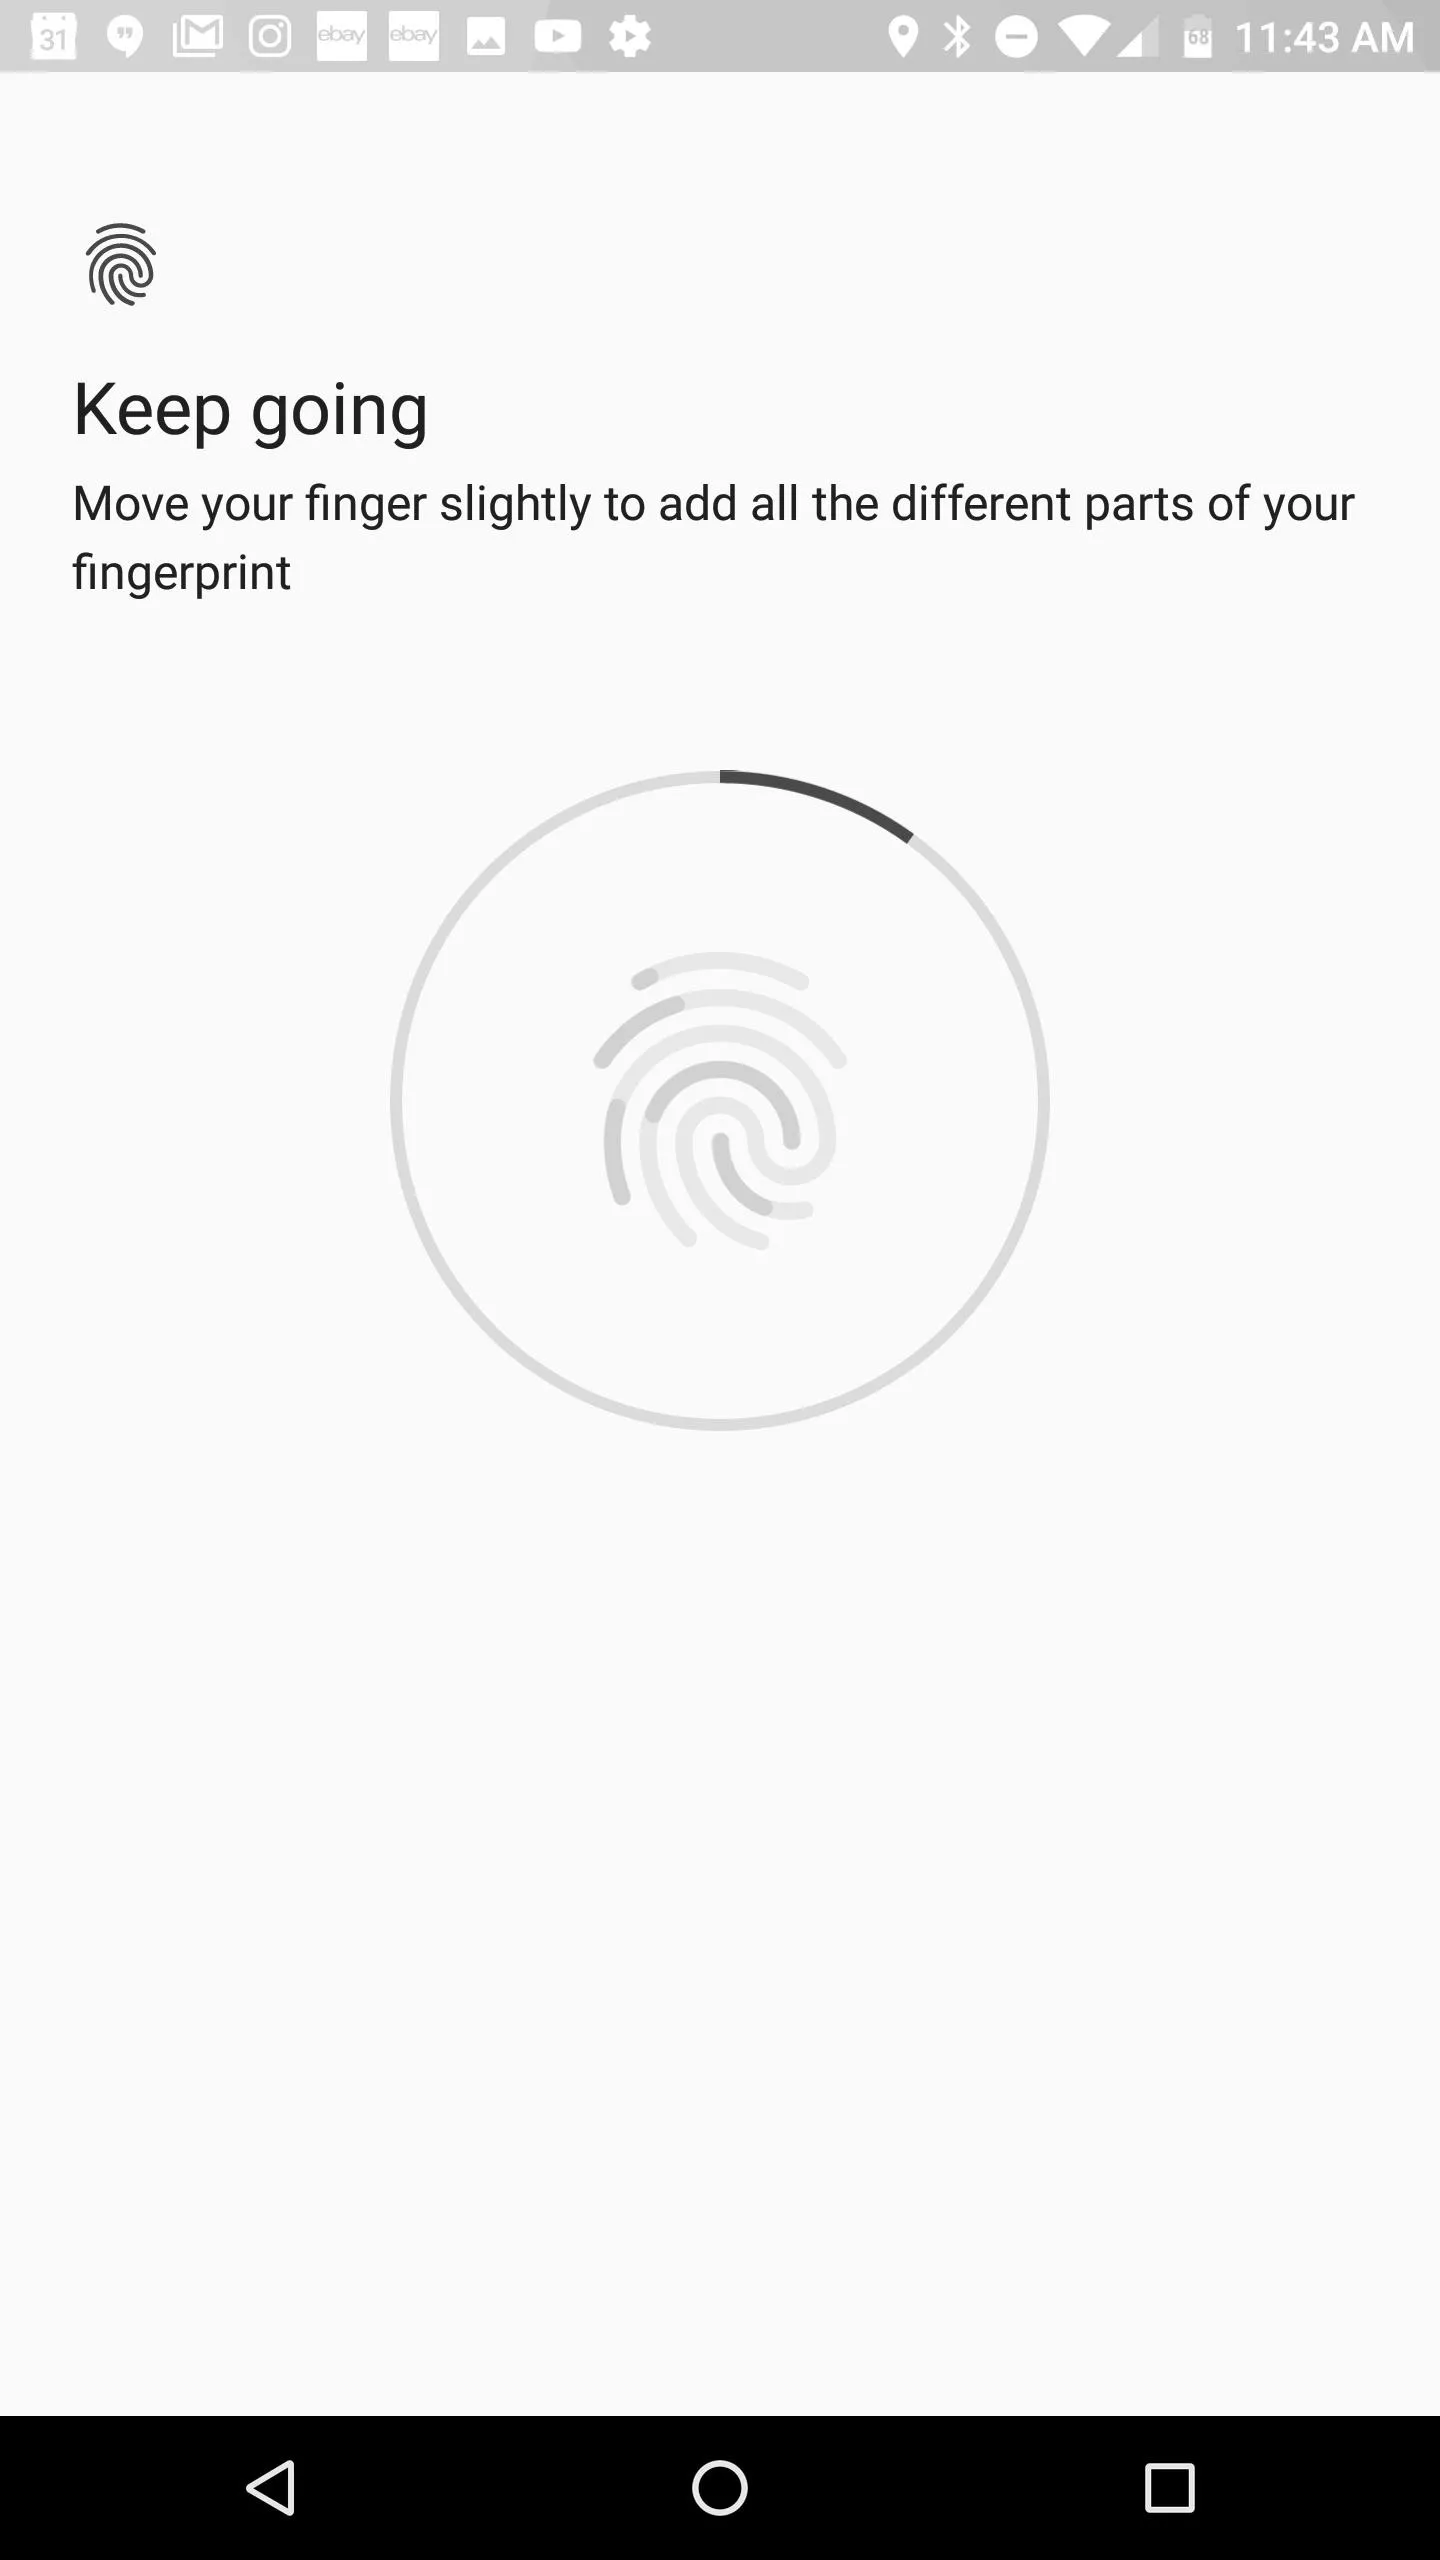
1. Set Up Multiple Fingerprints
The Razer Phone is unique with its side-mounted fingerprint sensor. This non-standard placement leads to a decision about which fingers to use with the scanner. The thumb is an obvious choice for right-handed users, but which other fingers should you try?
We've found that setting up the left index finger is very helpful. When picking up the phone with your left hand, the left index finger naturally drapes over the left edge of the phone, almost resting perfectly on the scanner.
2. Choose Your Display Refresh Rate
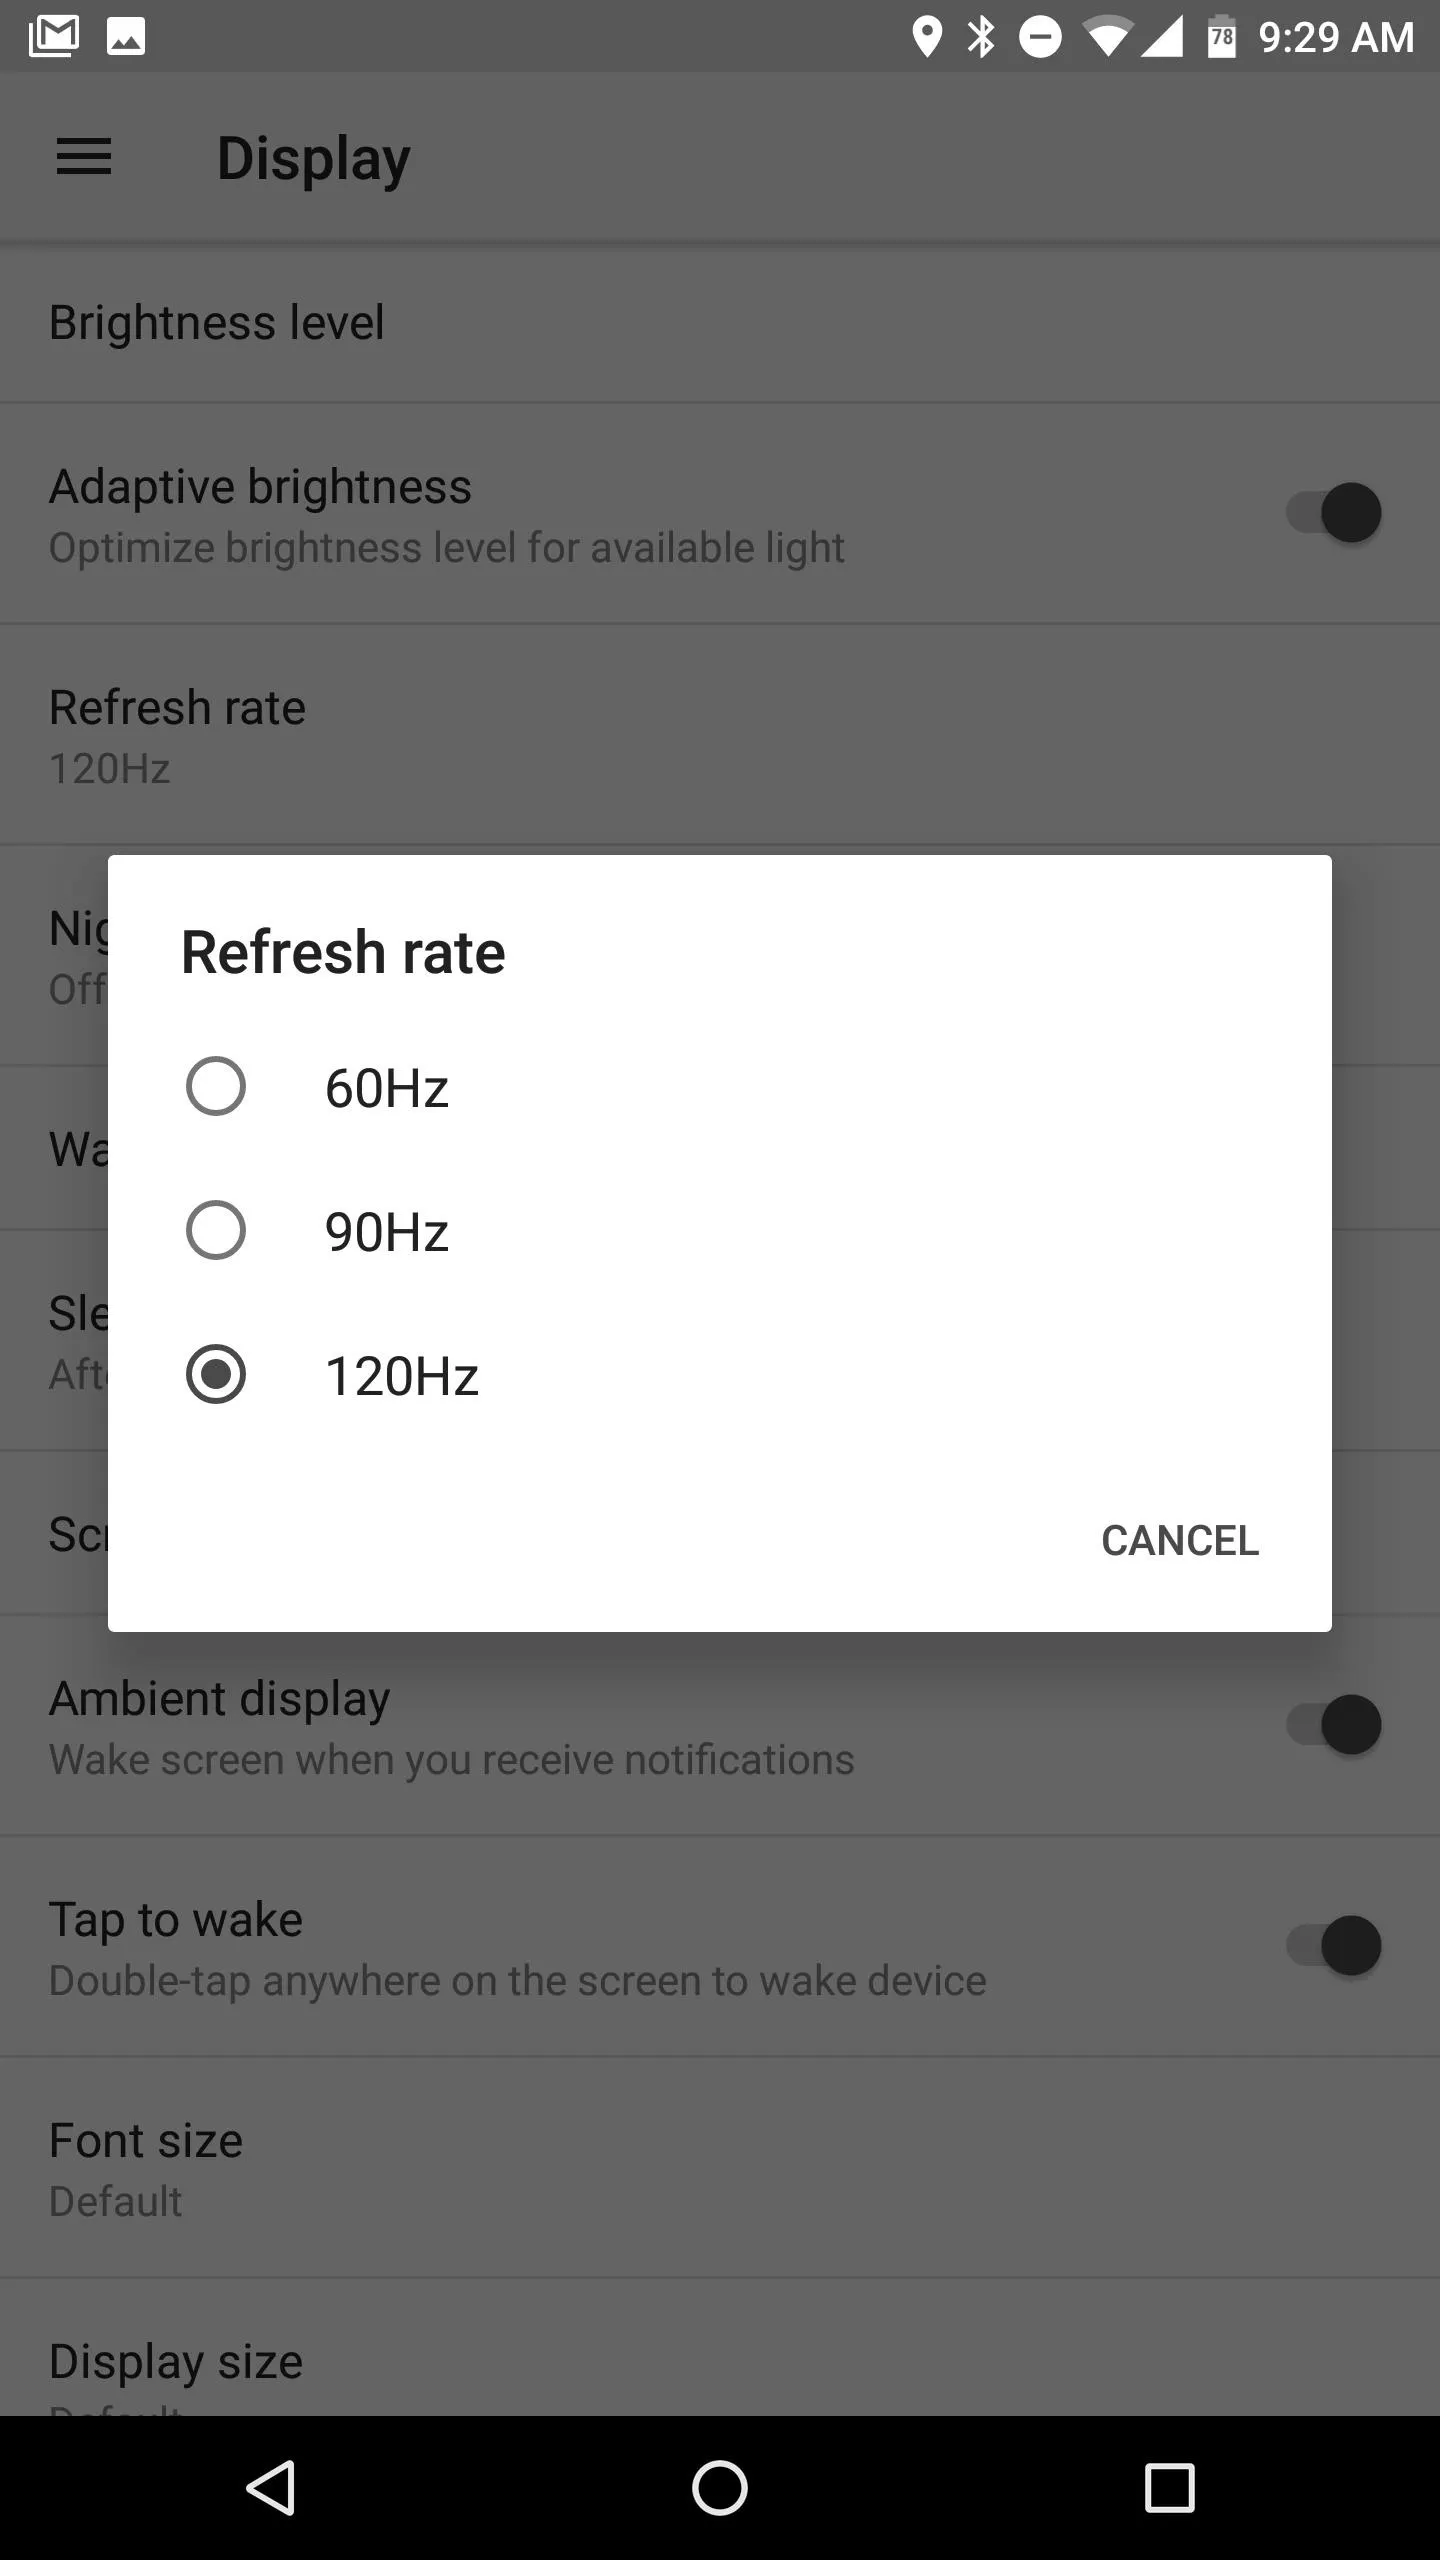
Most Android phones ship with a native 60 Hz refresh rate for the display. Razer kicked things up a notch by offering the first 120 Hz display on a smartphone. Unfortunately, the Razer Phone doesn't ship with the 120 Hz refresh rate enabled out of the box. The default refresh rate is set to 90 Hz, so you'll need to change this if you want to enjoy epic smoothness.
To change the refresh rate, head to Settings –> Display –> Refresh Rate. You can ramp the rate up to 120 or bump it down for 60 if you want to save a bit of battery life. In our use thus far, there isn't much to suggest that running at 120 Hz significantly degrades battery life, so we recommend choosing 120 Hz here to get the full benefit of your display.
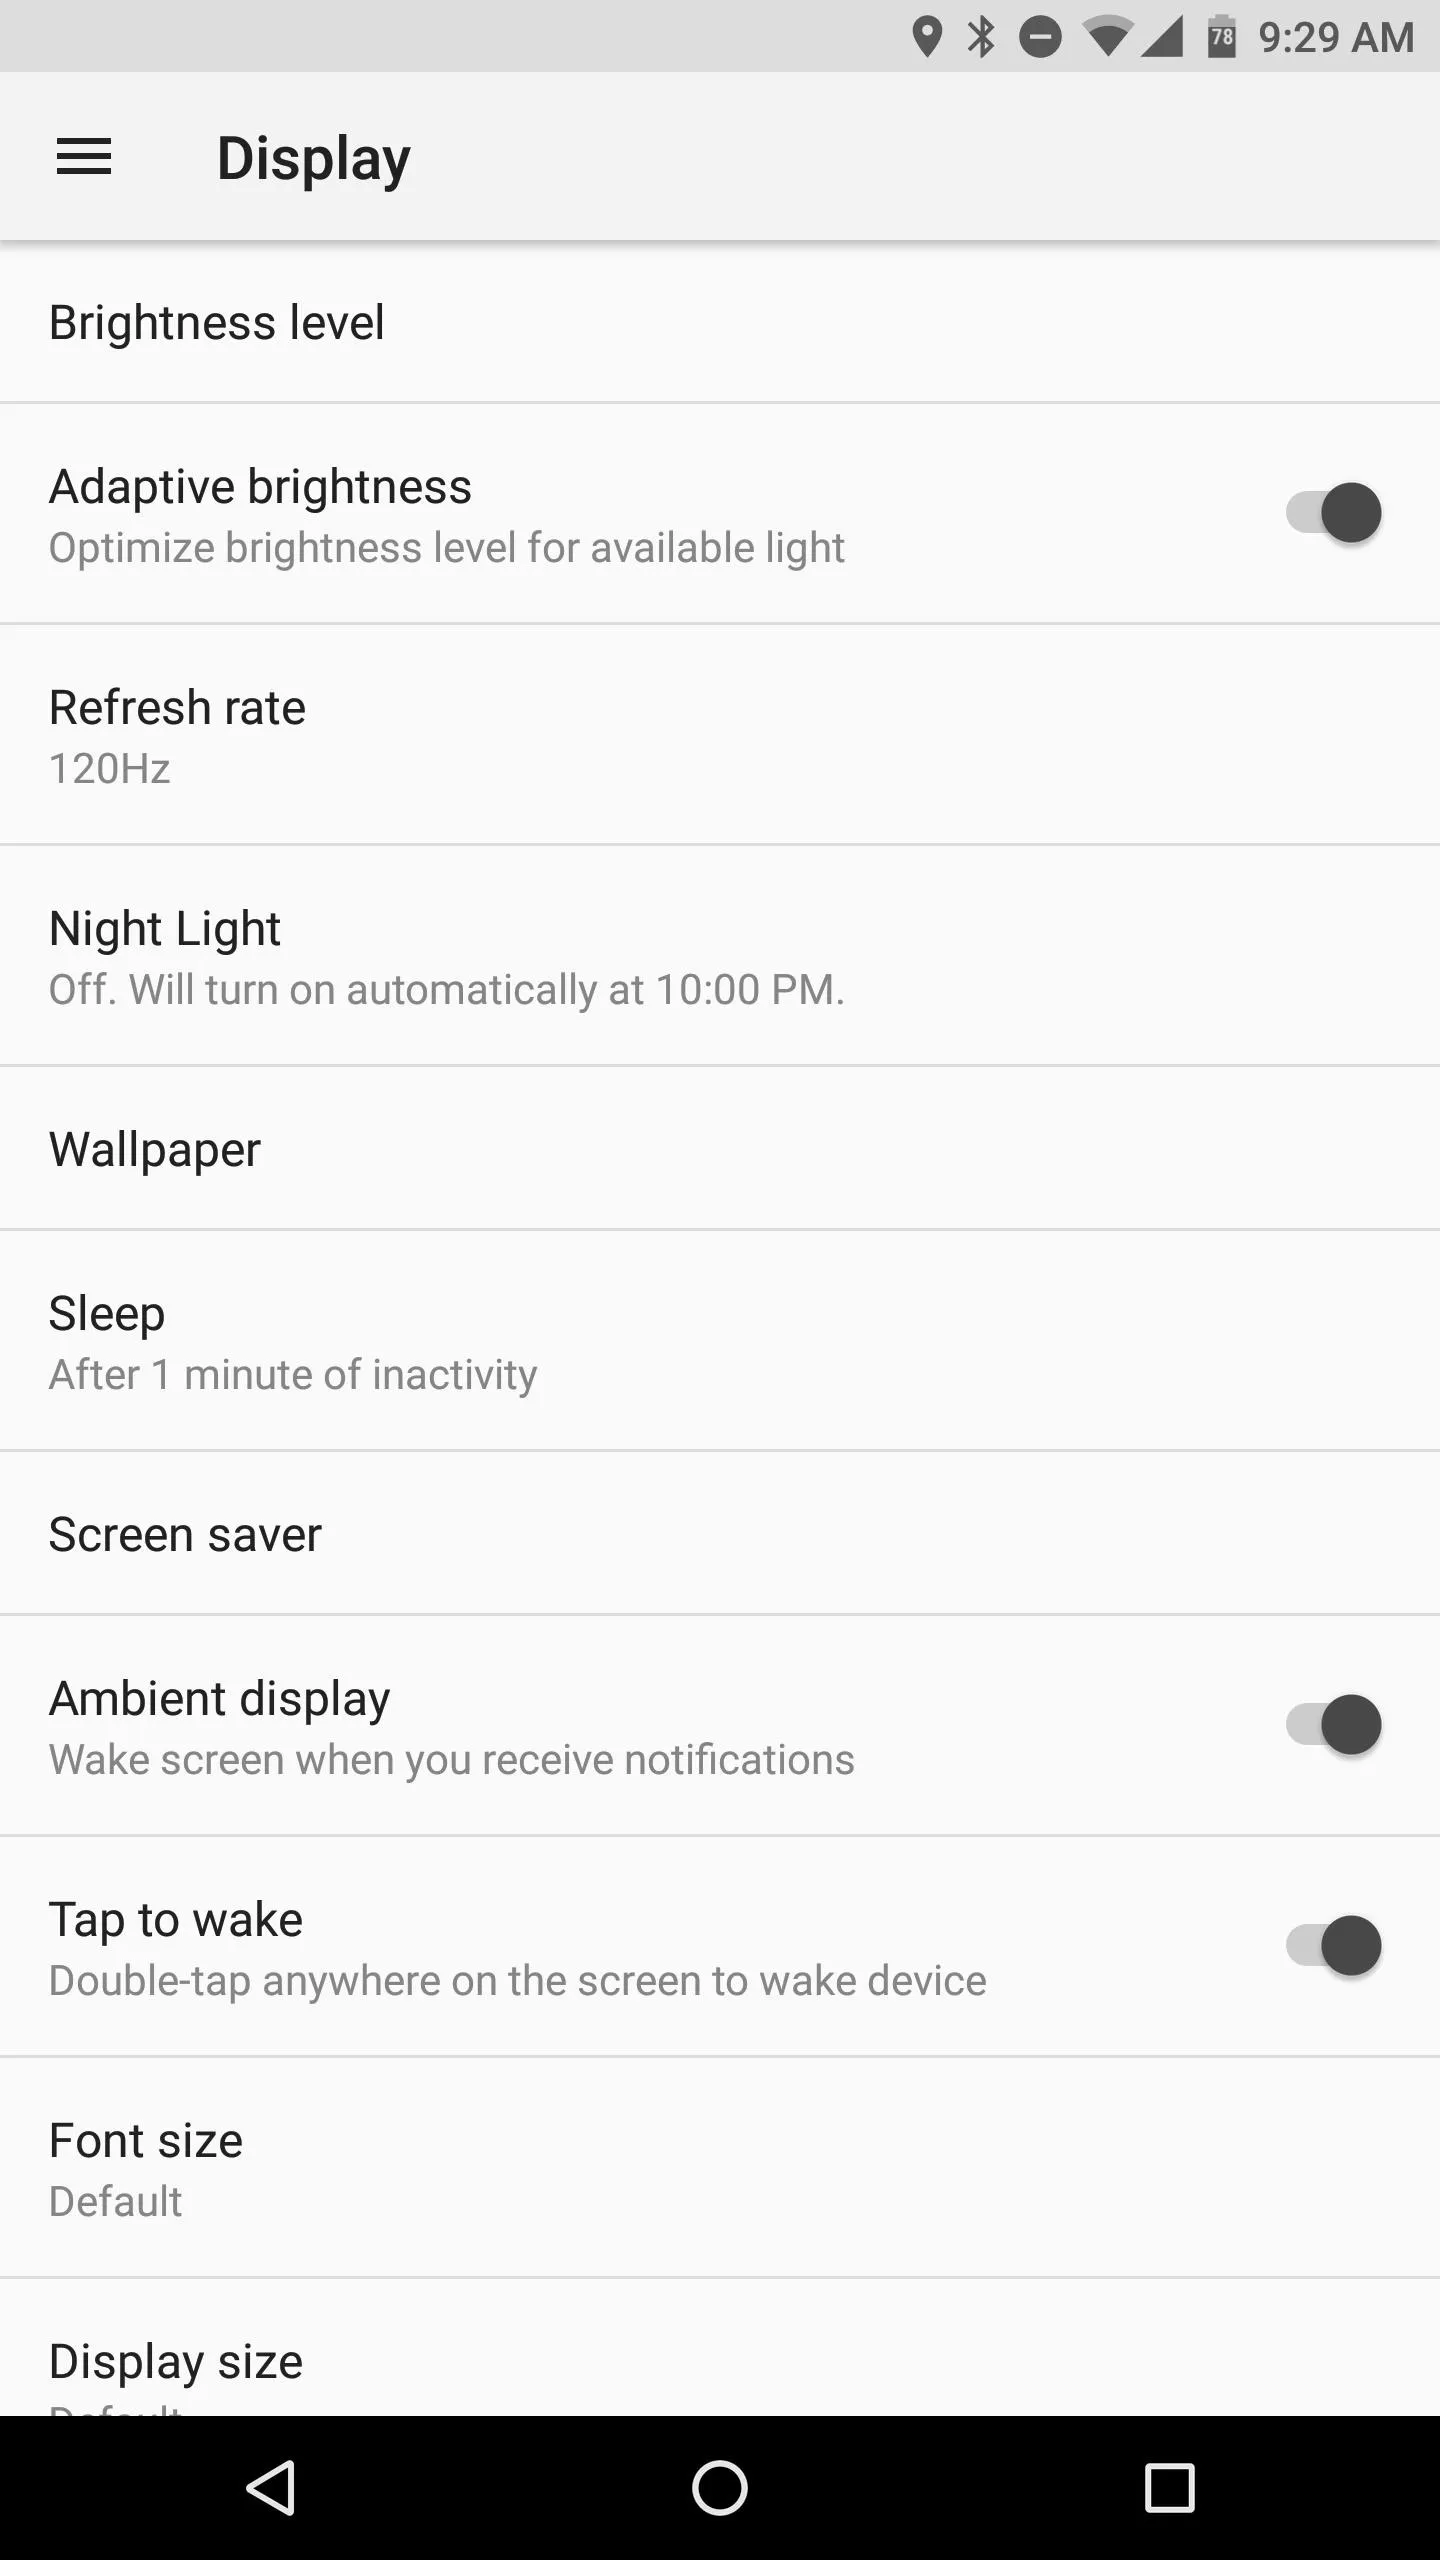
3. Enable Double Tap to Wake & Ambient Display
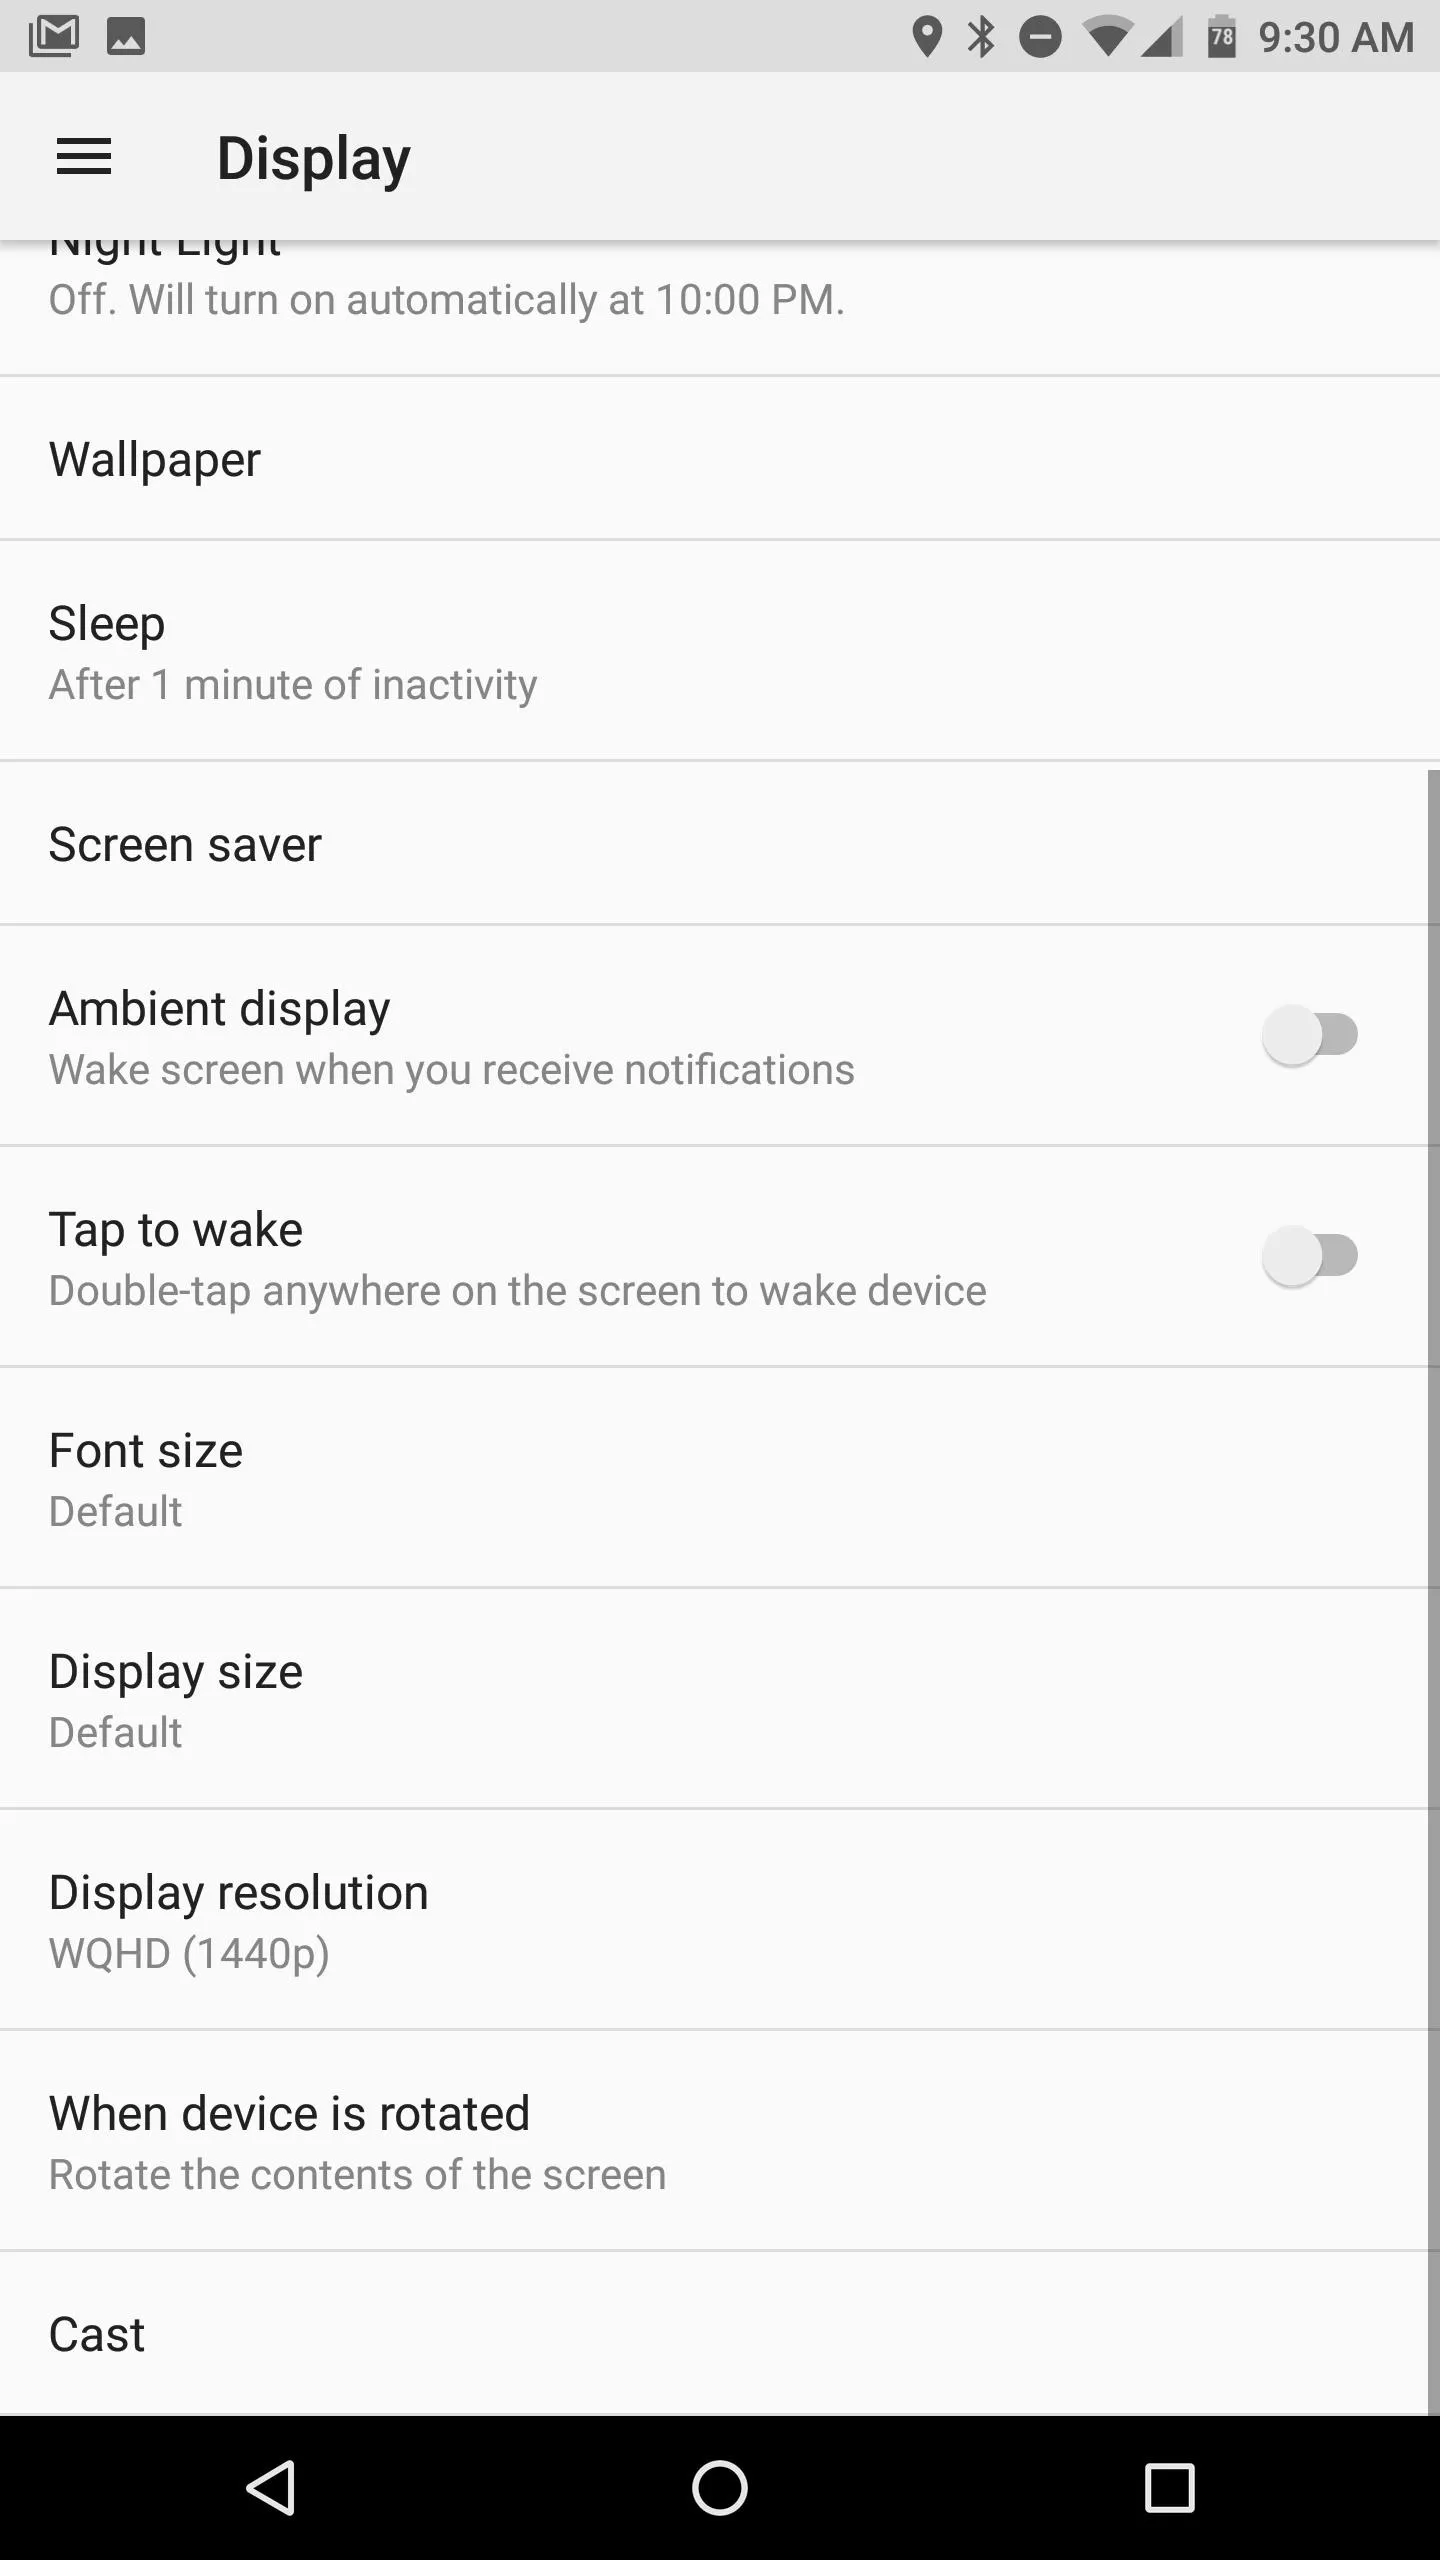
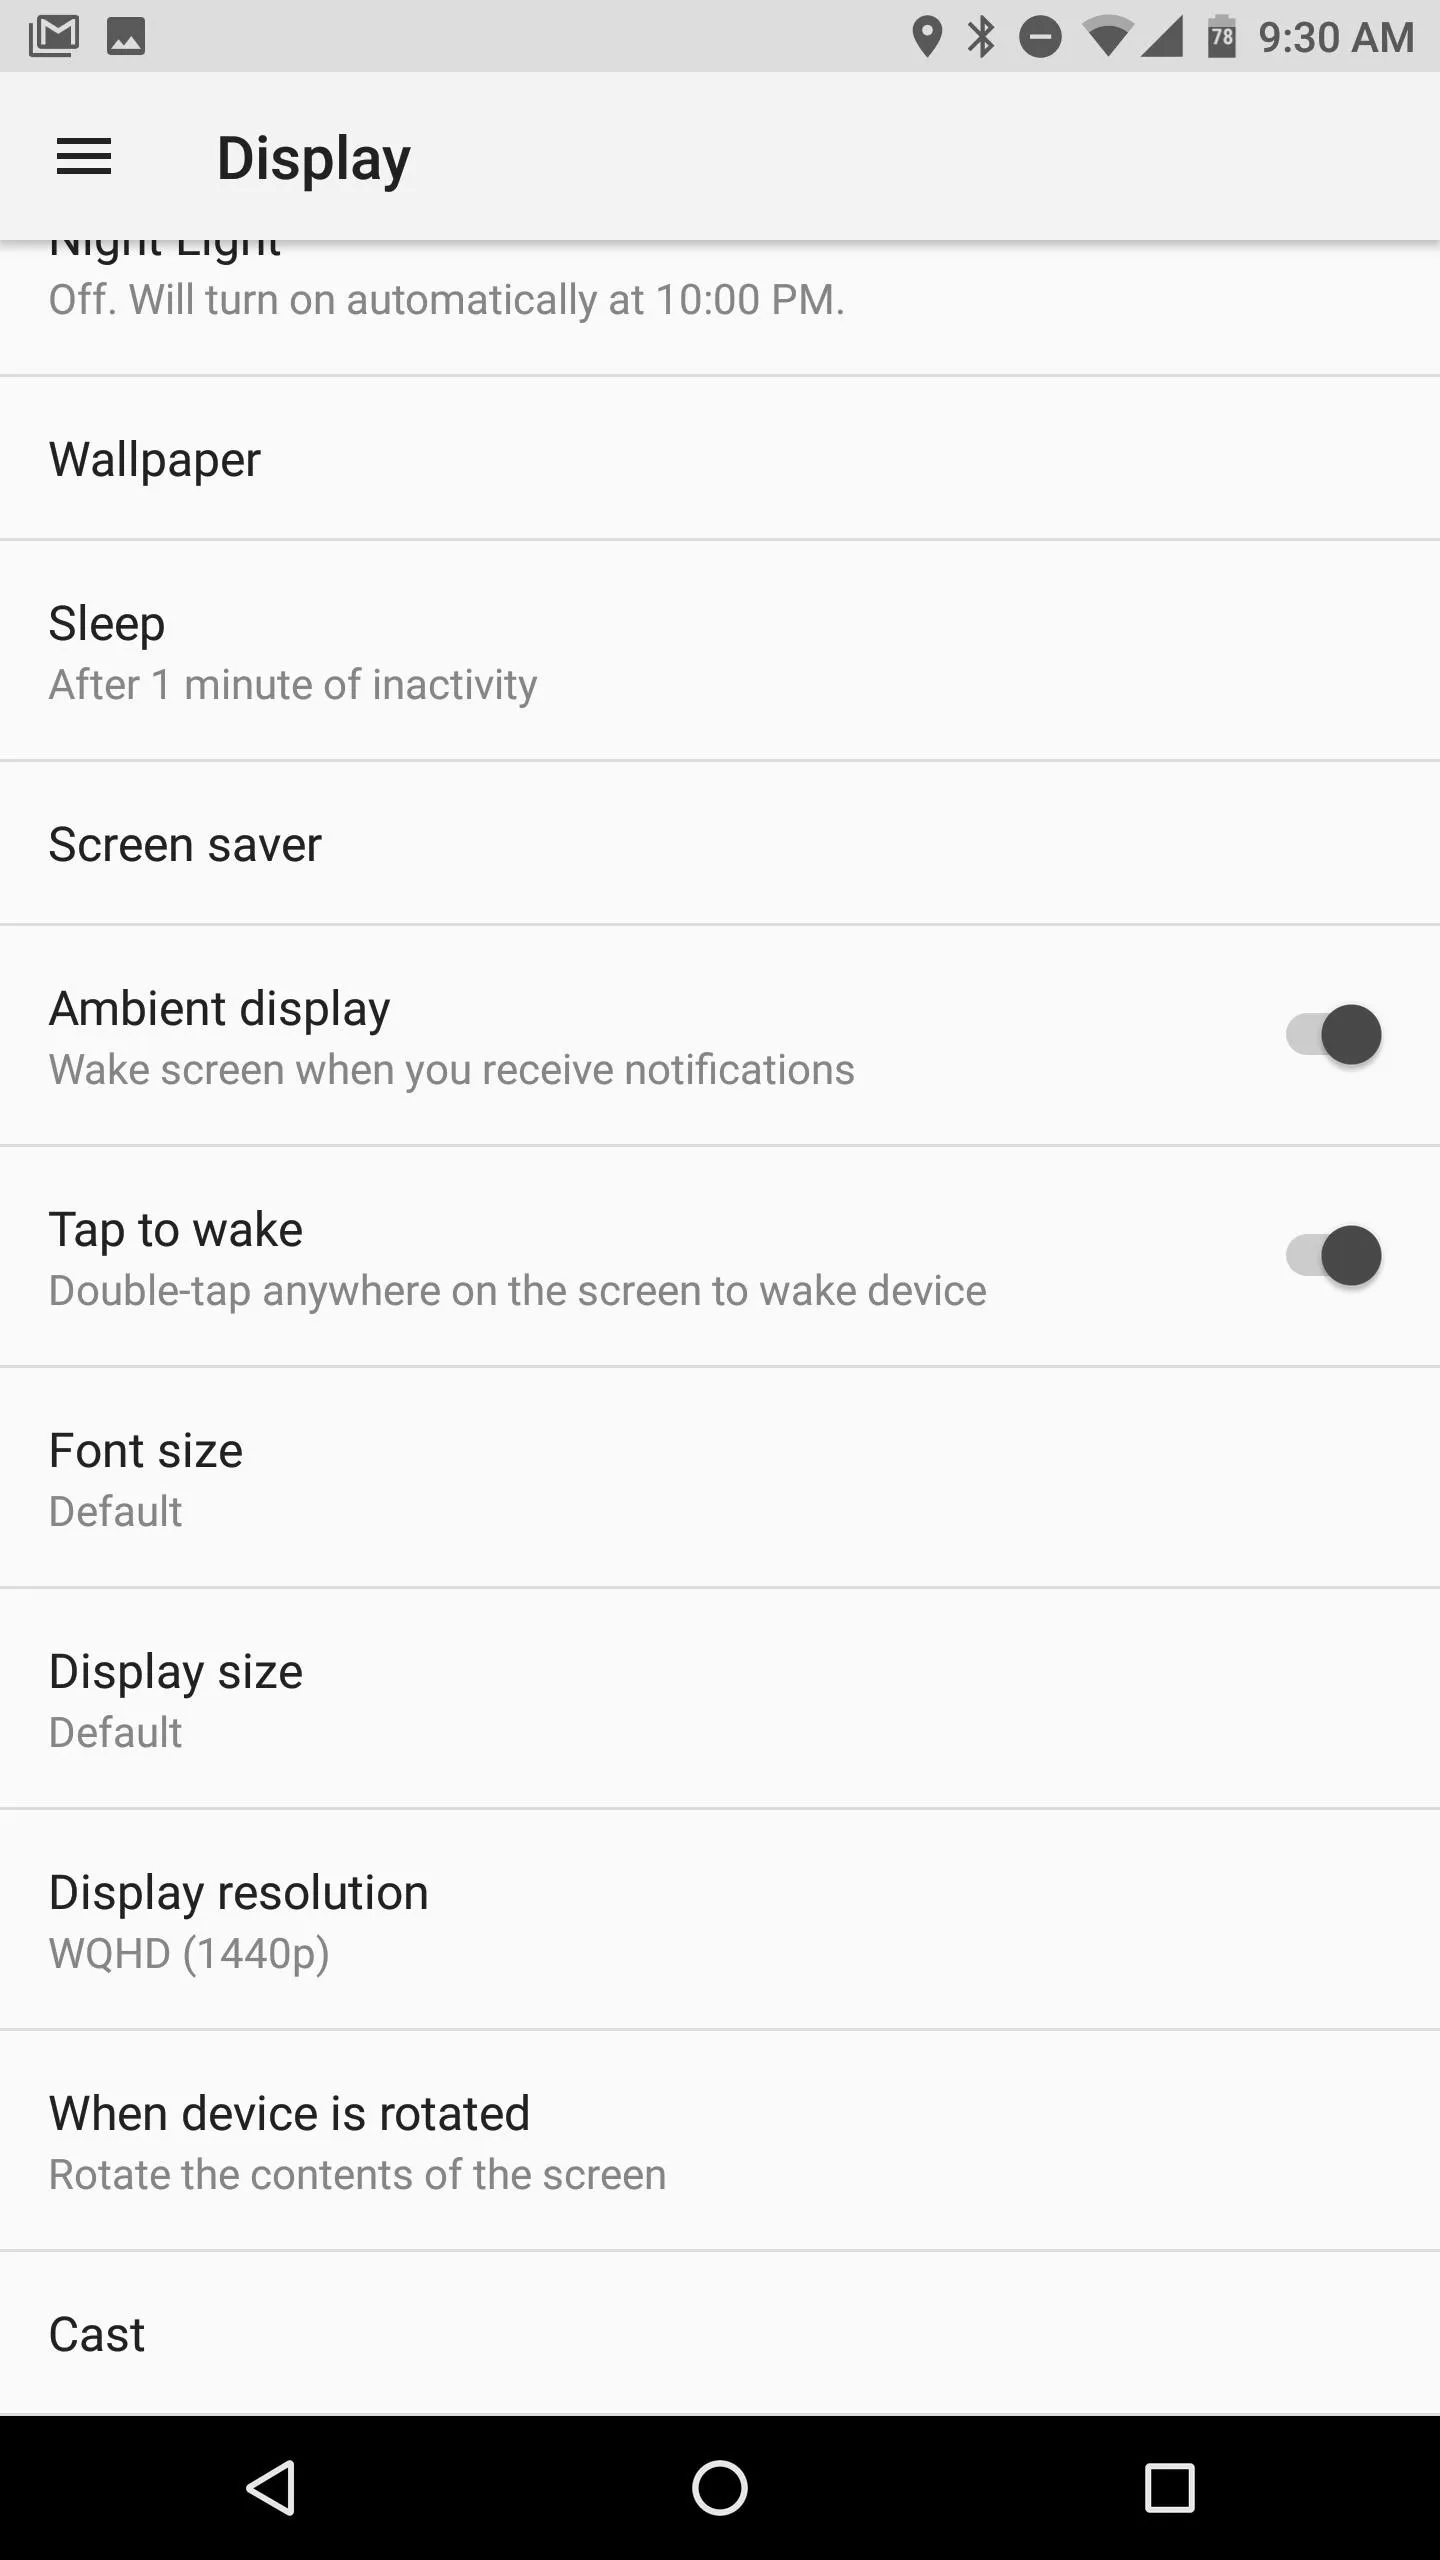
One of the best ways to interact with your lock screen notifications is through the use of double tap gestures or ambient display functionality. The Razer Phone features both of these options. You can choose to enable one, or both! Simply head to Settings –> Display and toggle on "Ambient Display" and "Tap to wake."
4. Create a Custom Schedule for Night Light
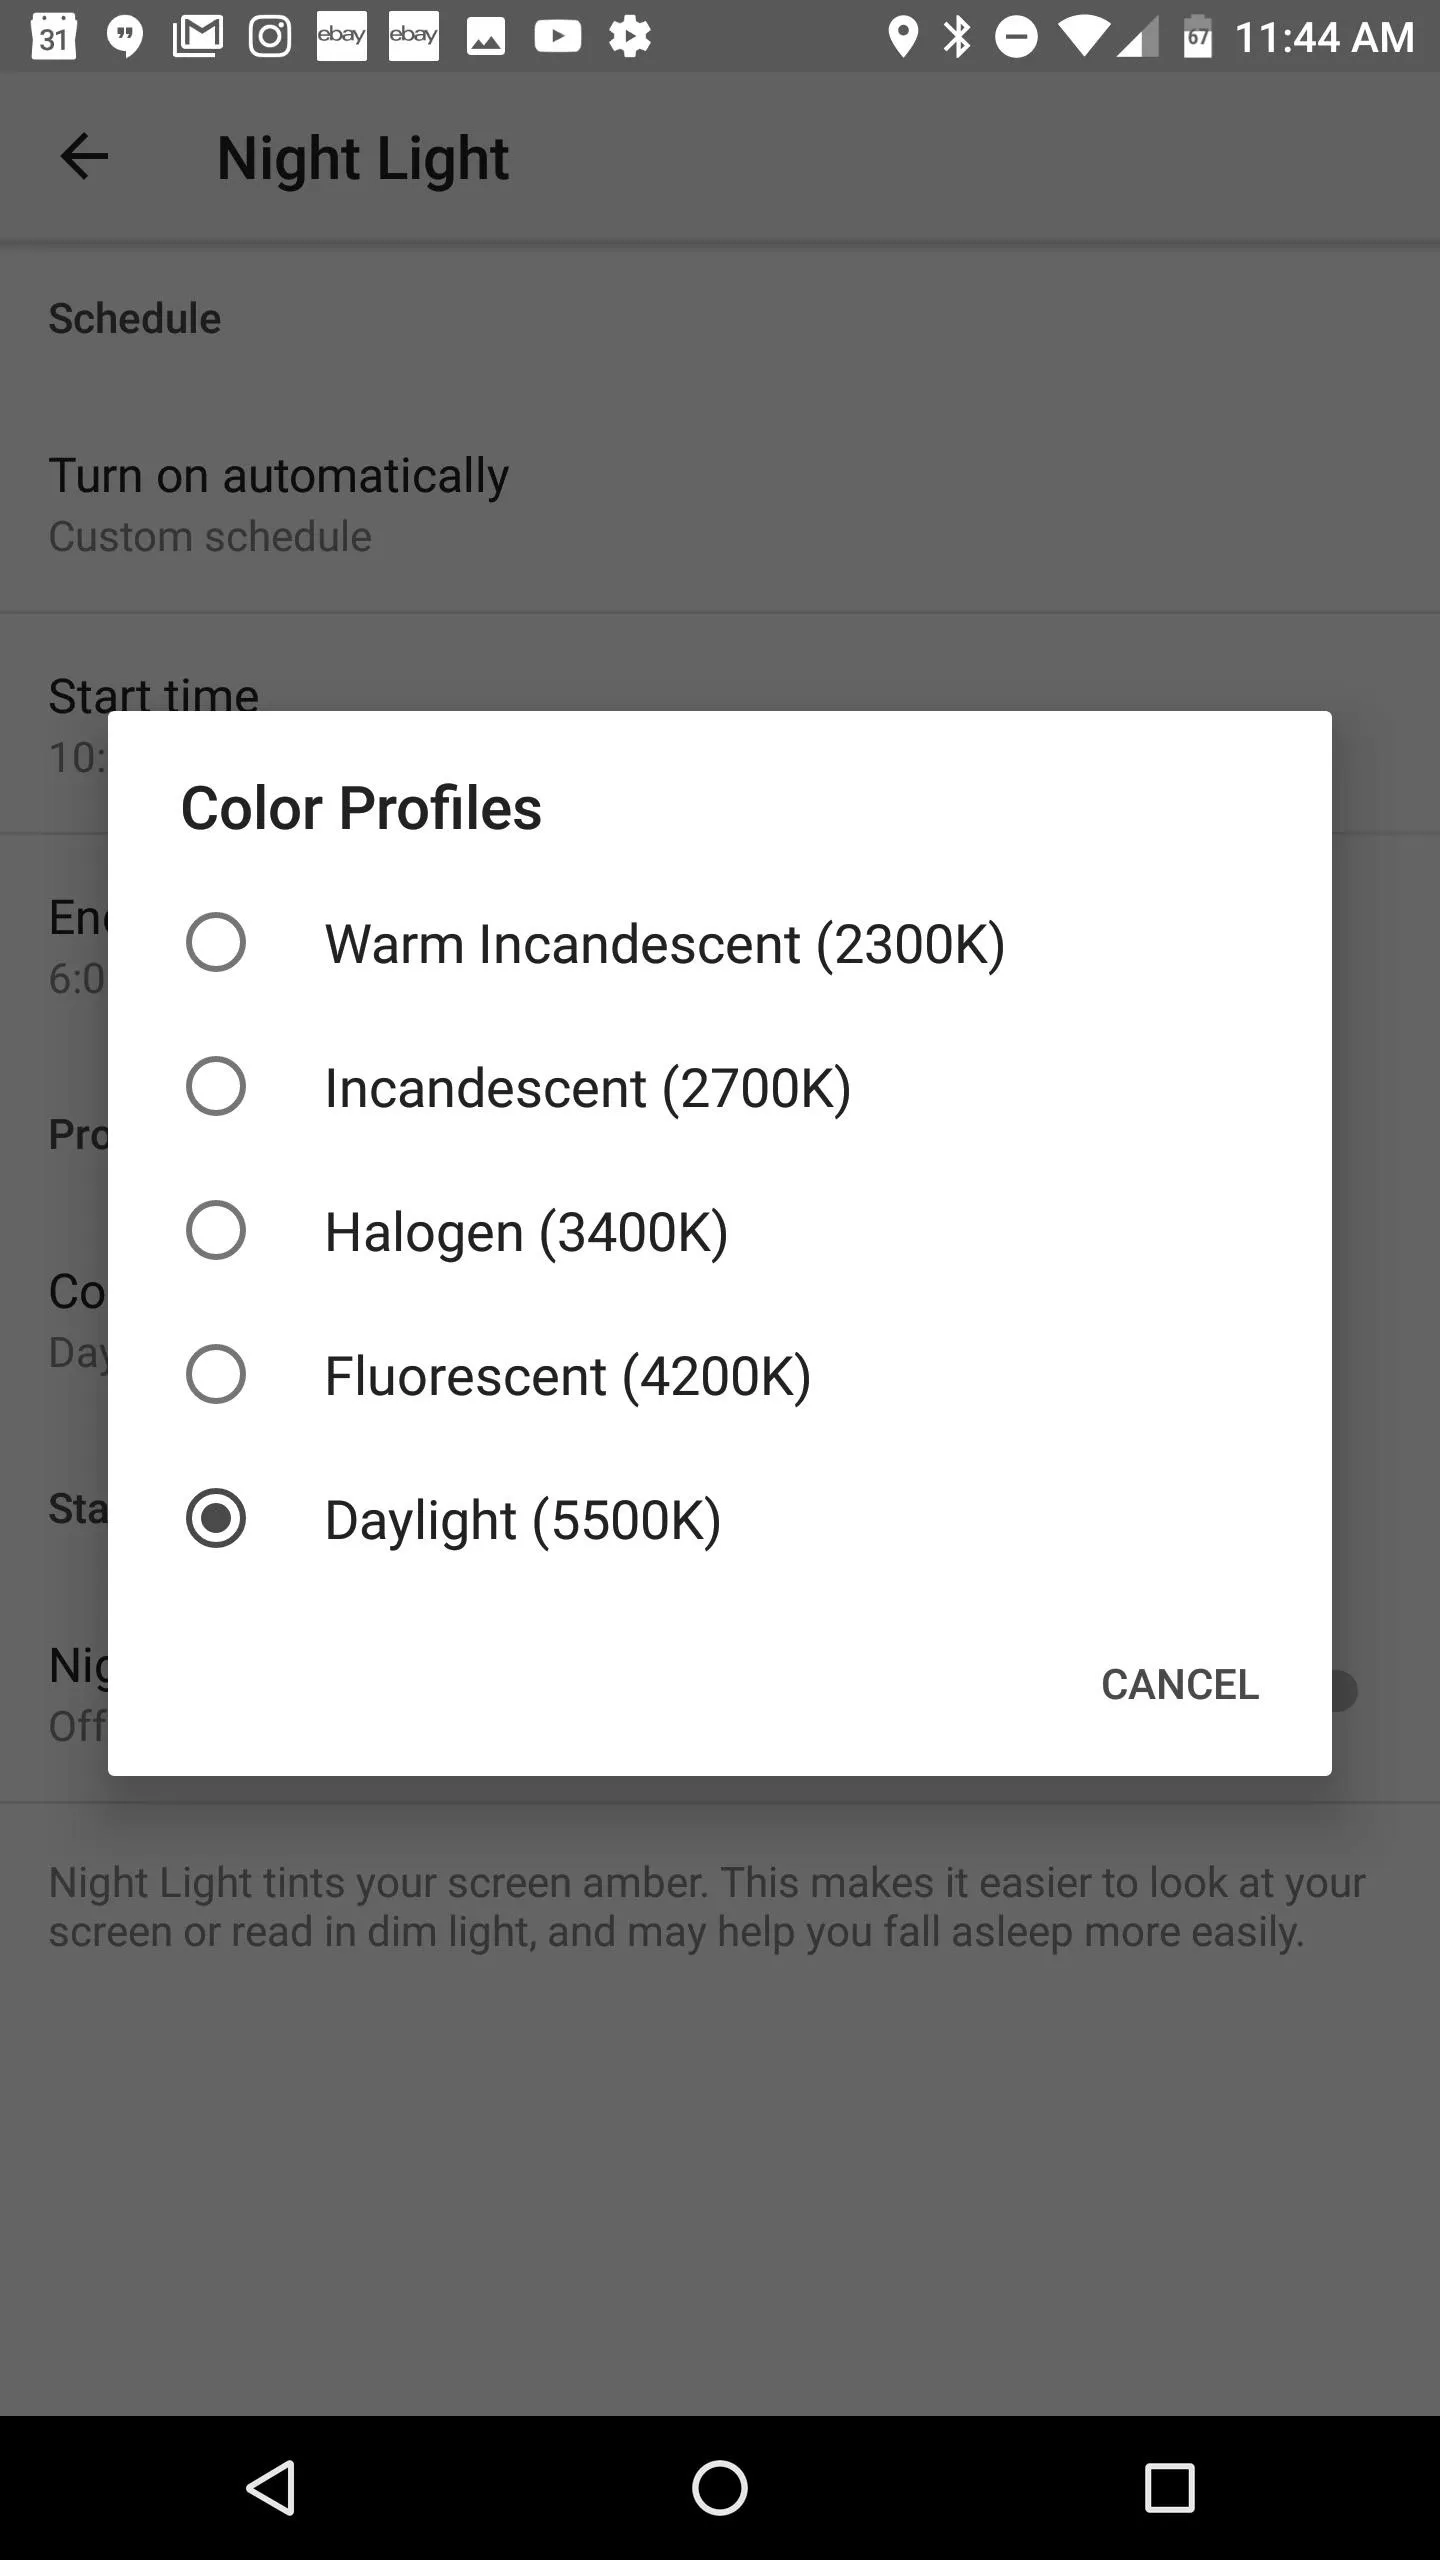
Night Light is an excellent feature for preserving your eyes when reading content from your phone at night. The blue light emitted by a smartphone display can disrupt your circadian rhythm by tricking your brain into thinking it's still daytime. To mitigate this problem, Night Light allows you to reduce the blue light emitted, producing the effect of a more yellow hue on your display.
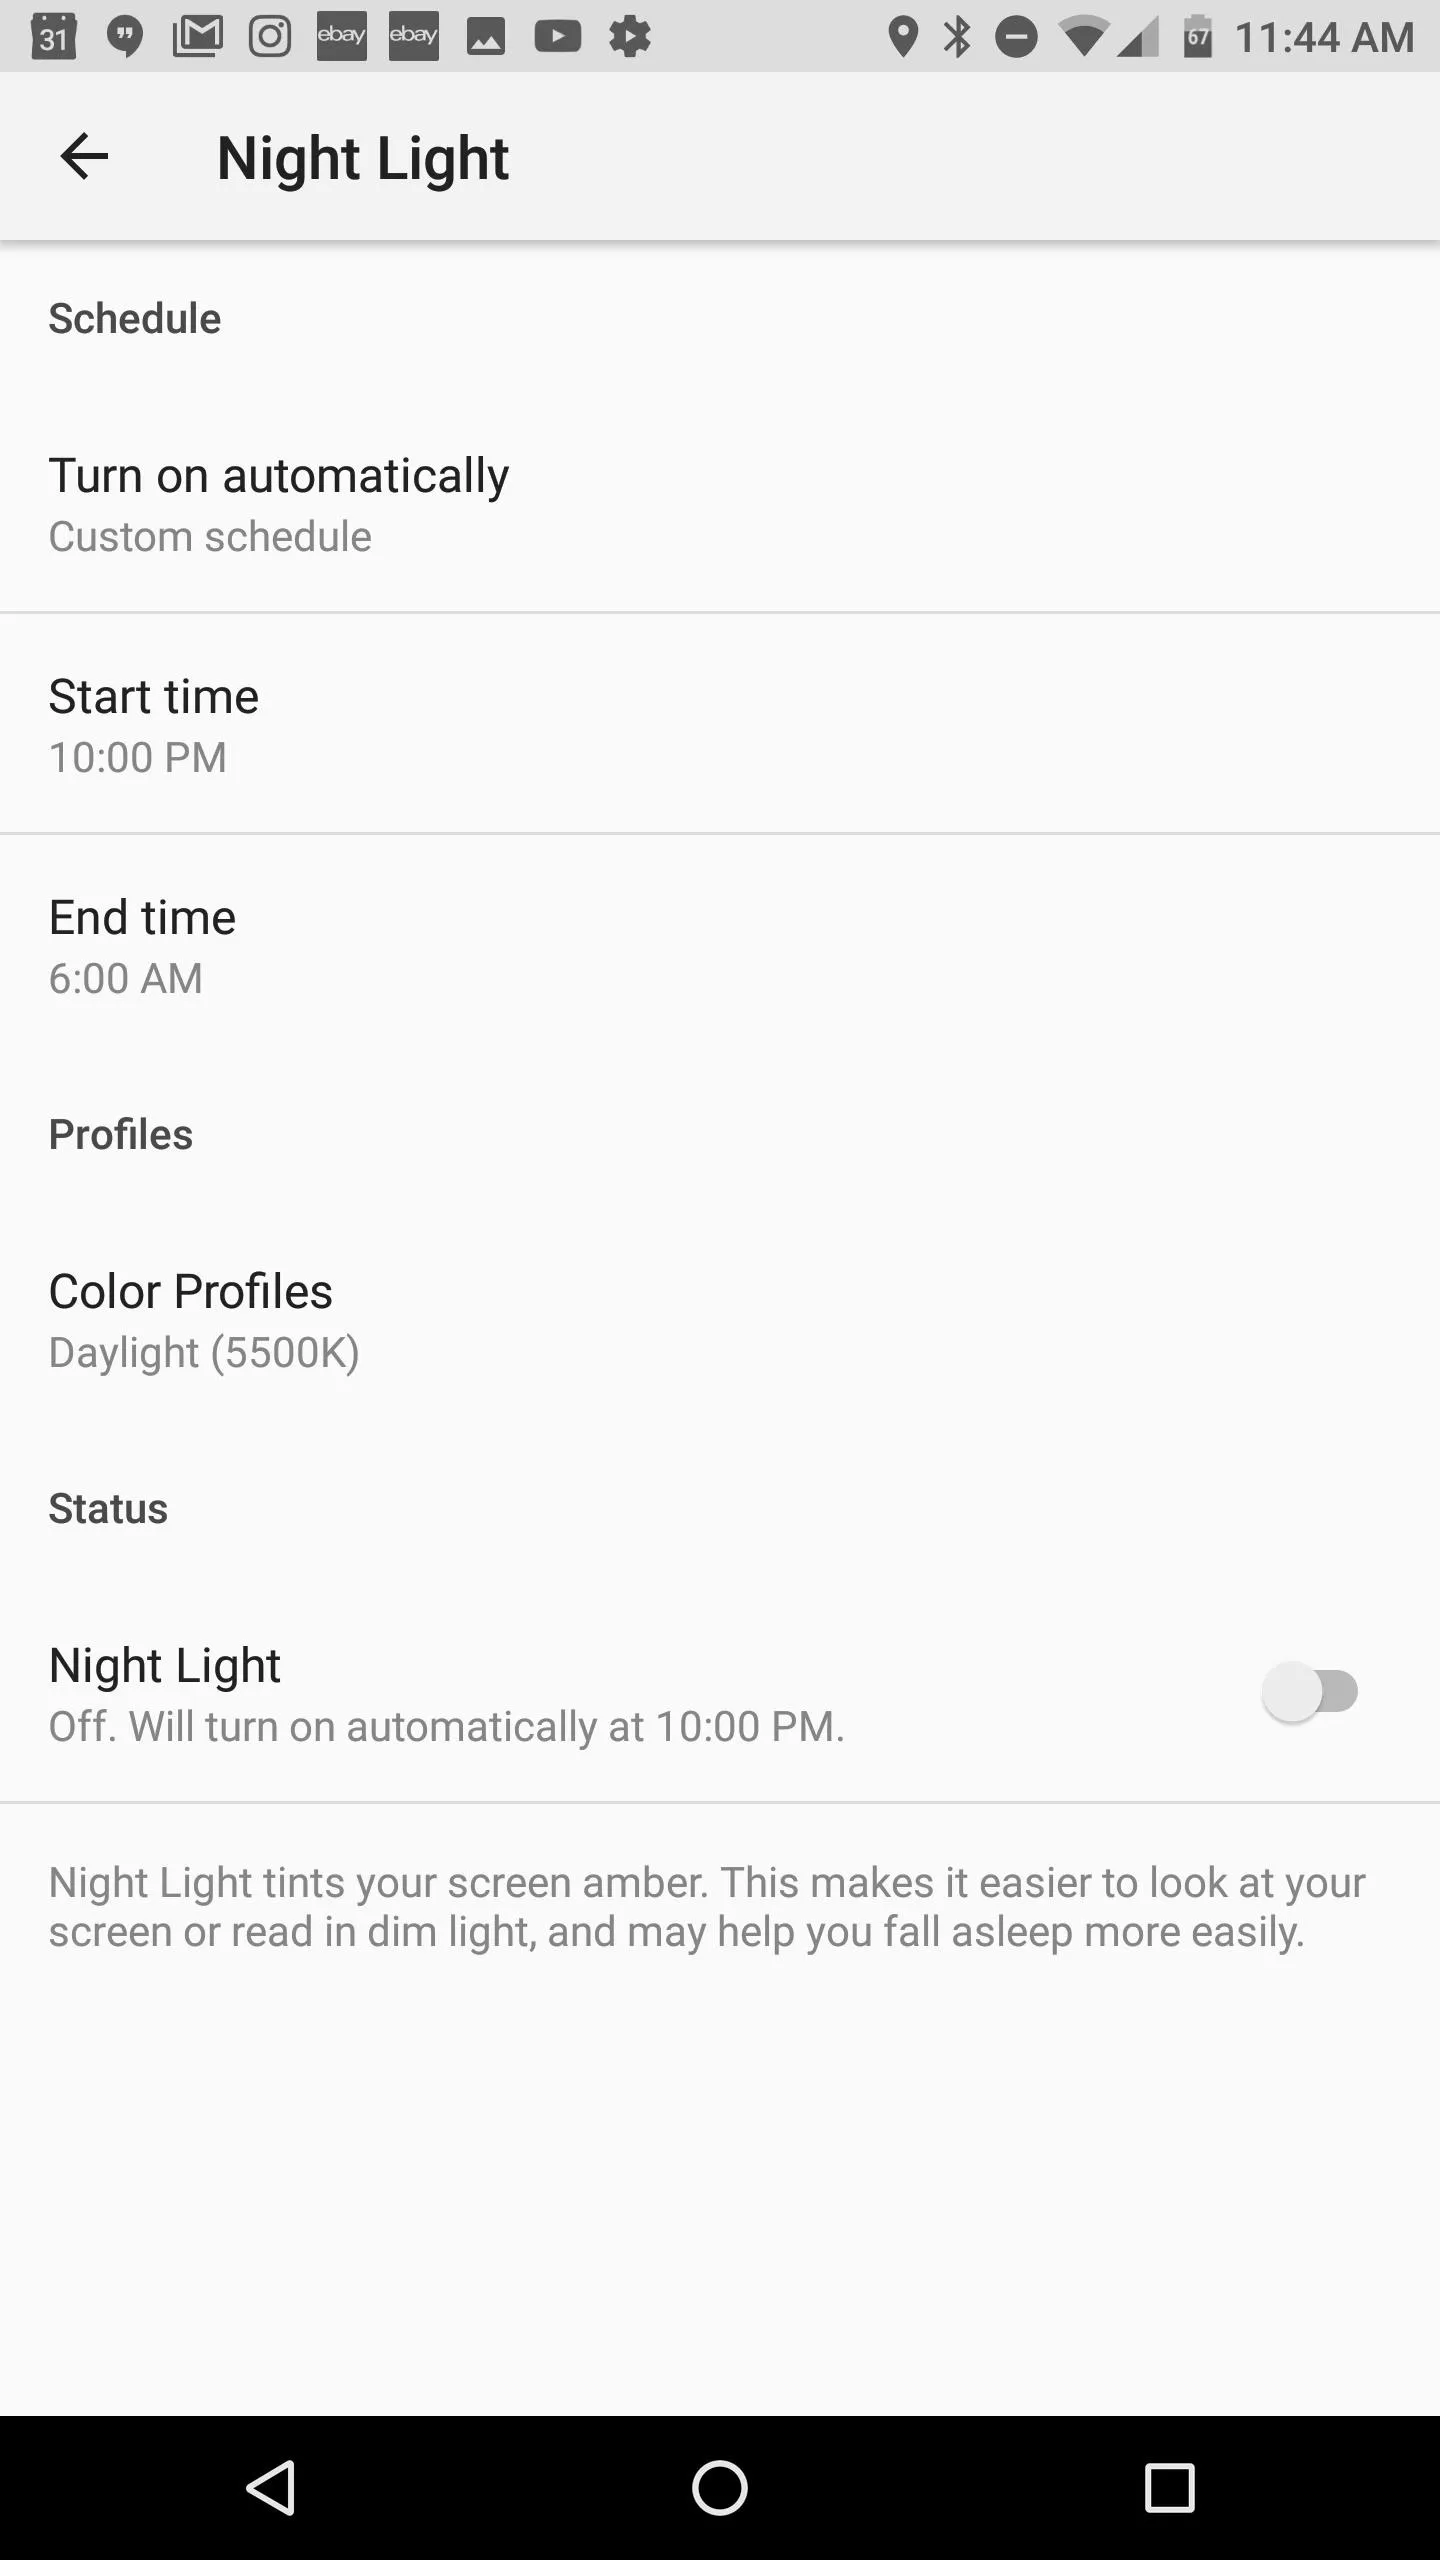
The Razer Phone allows you to customize both the schedule for Night Light and the color temperature that the display will switch to at night. To set up your custom Night Light, head to Settings –> Display –> Night Light. Next, tap on "Turn On Automatically" and choose "Custom Schedule." This will allow you to specify when the feature is enabled. If you'd also like a custom color temperature, tap on "Color Profiles" to test out the available options.
5. Customize Game Booster Settings
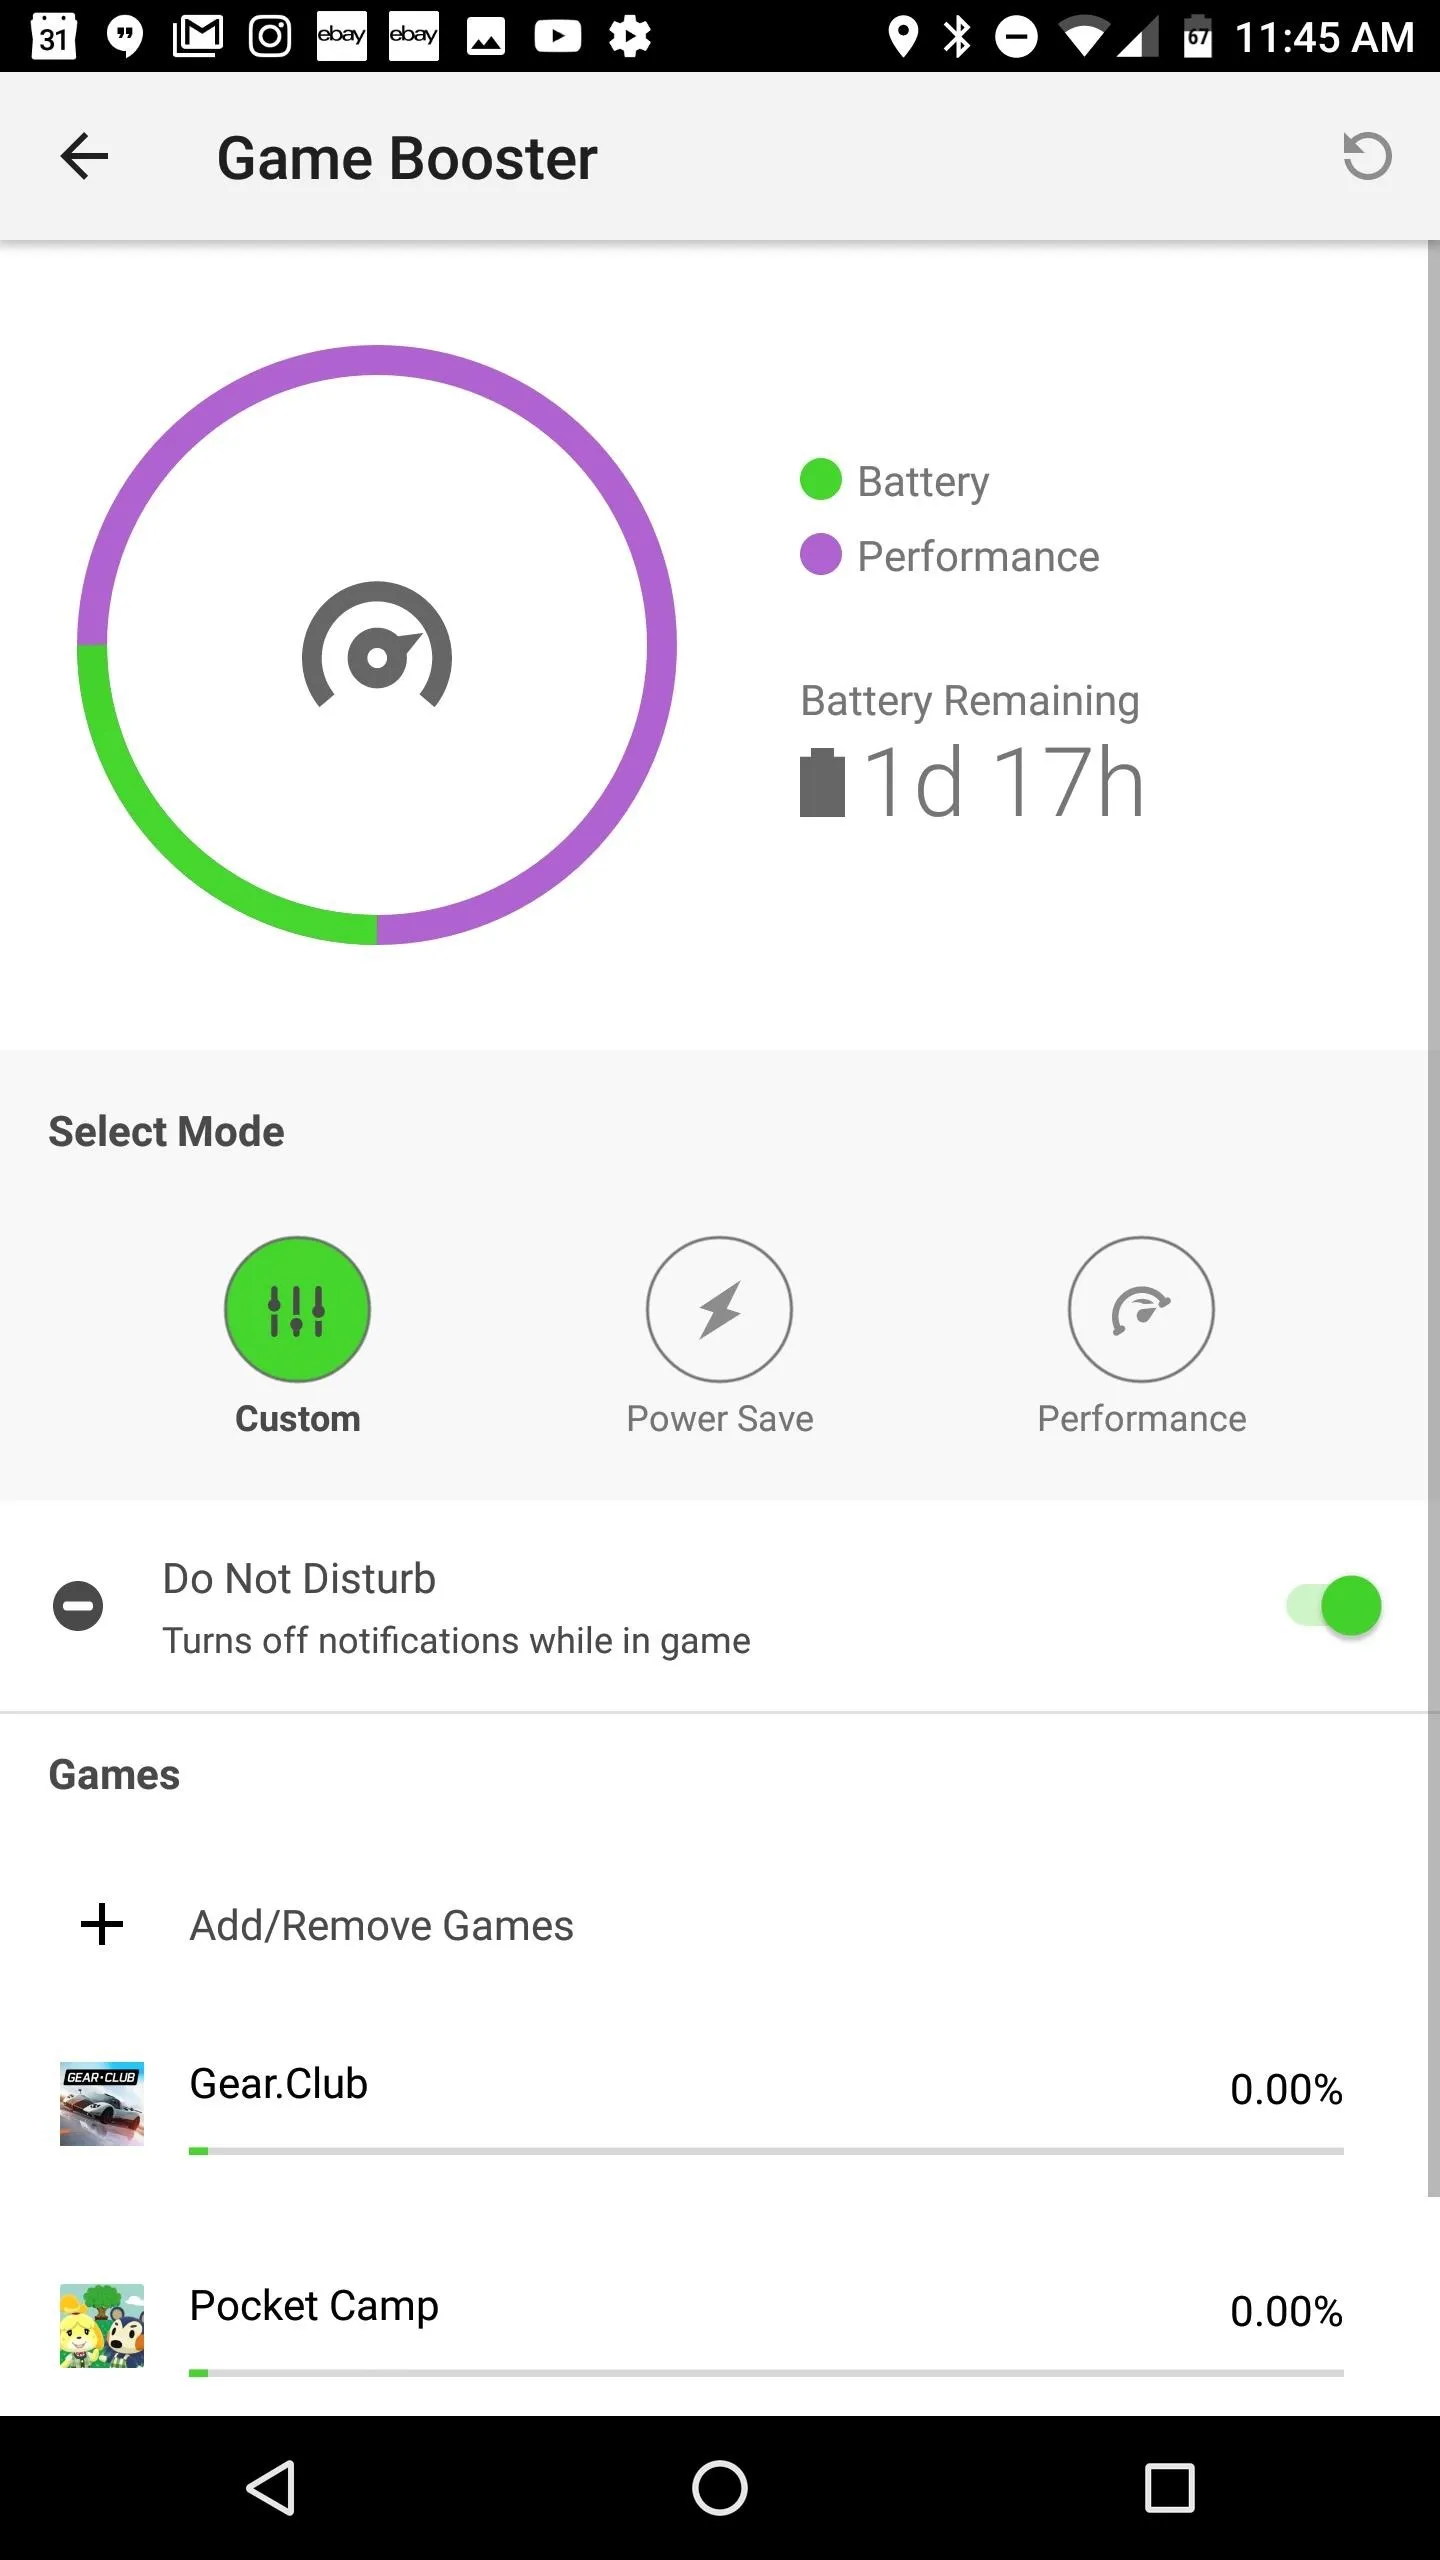
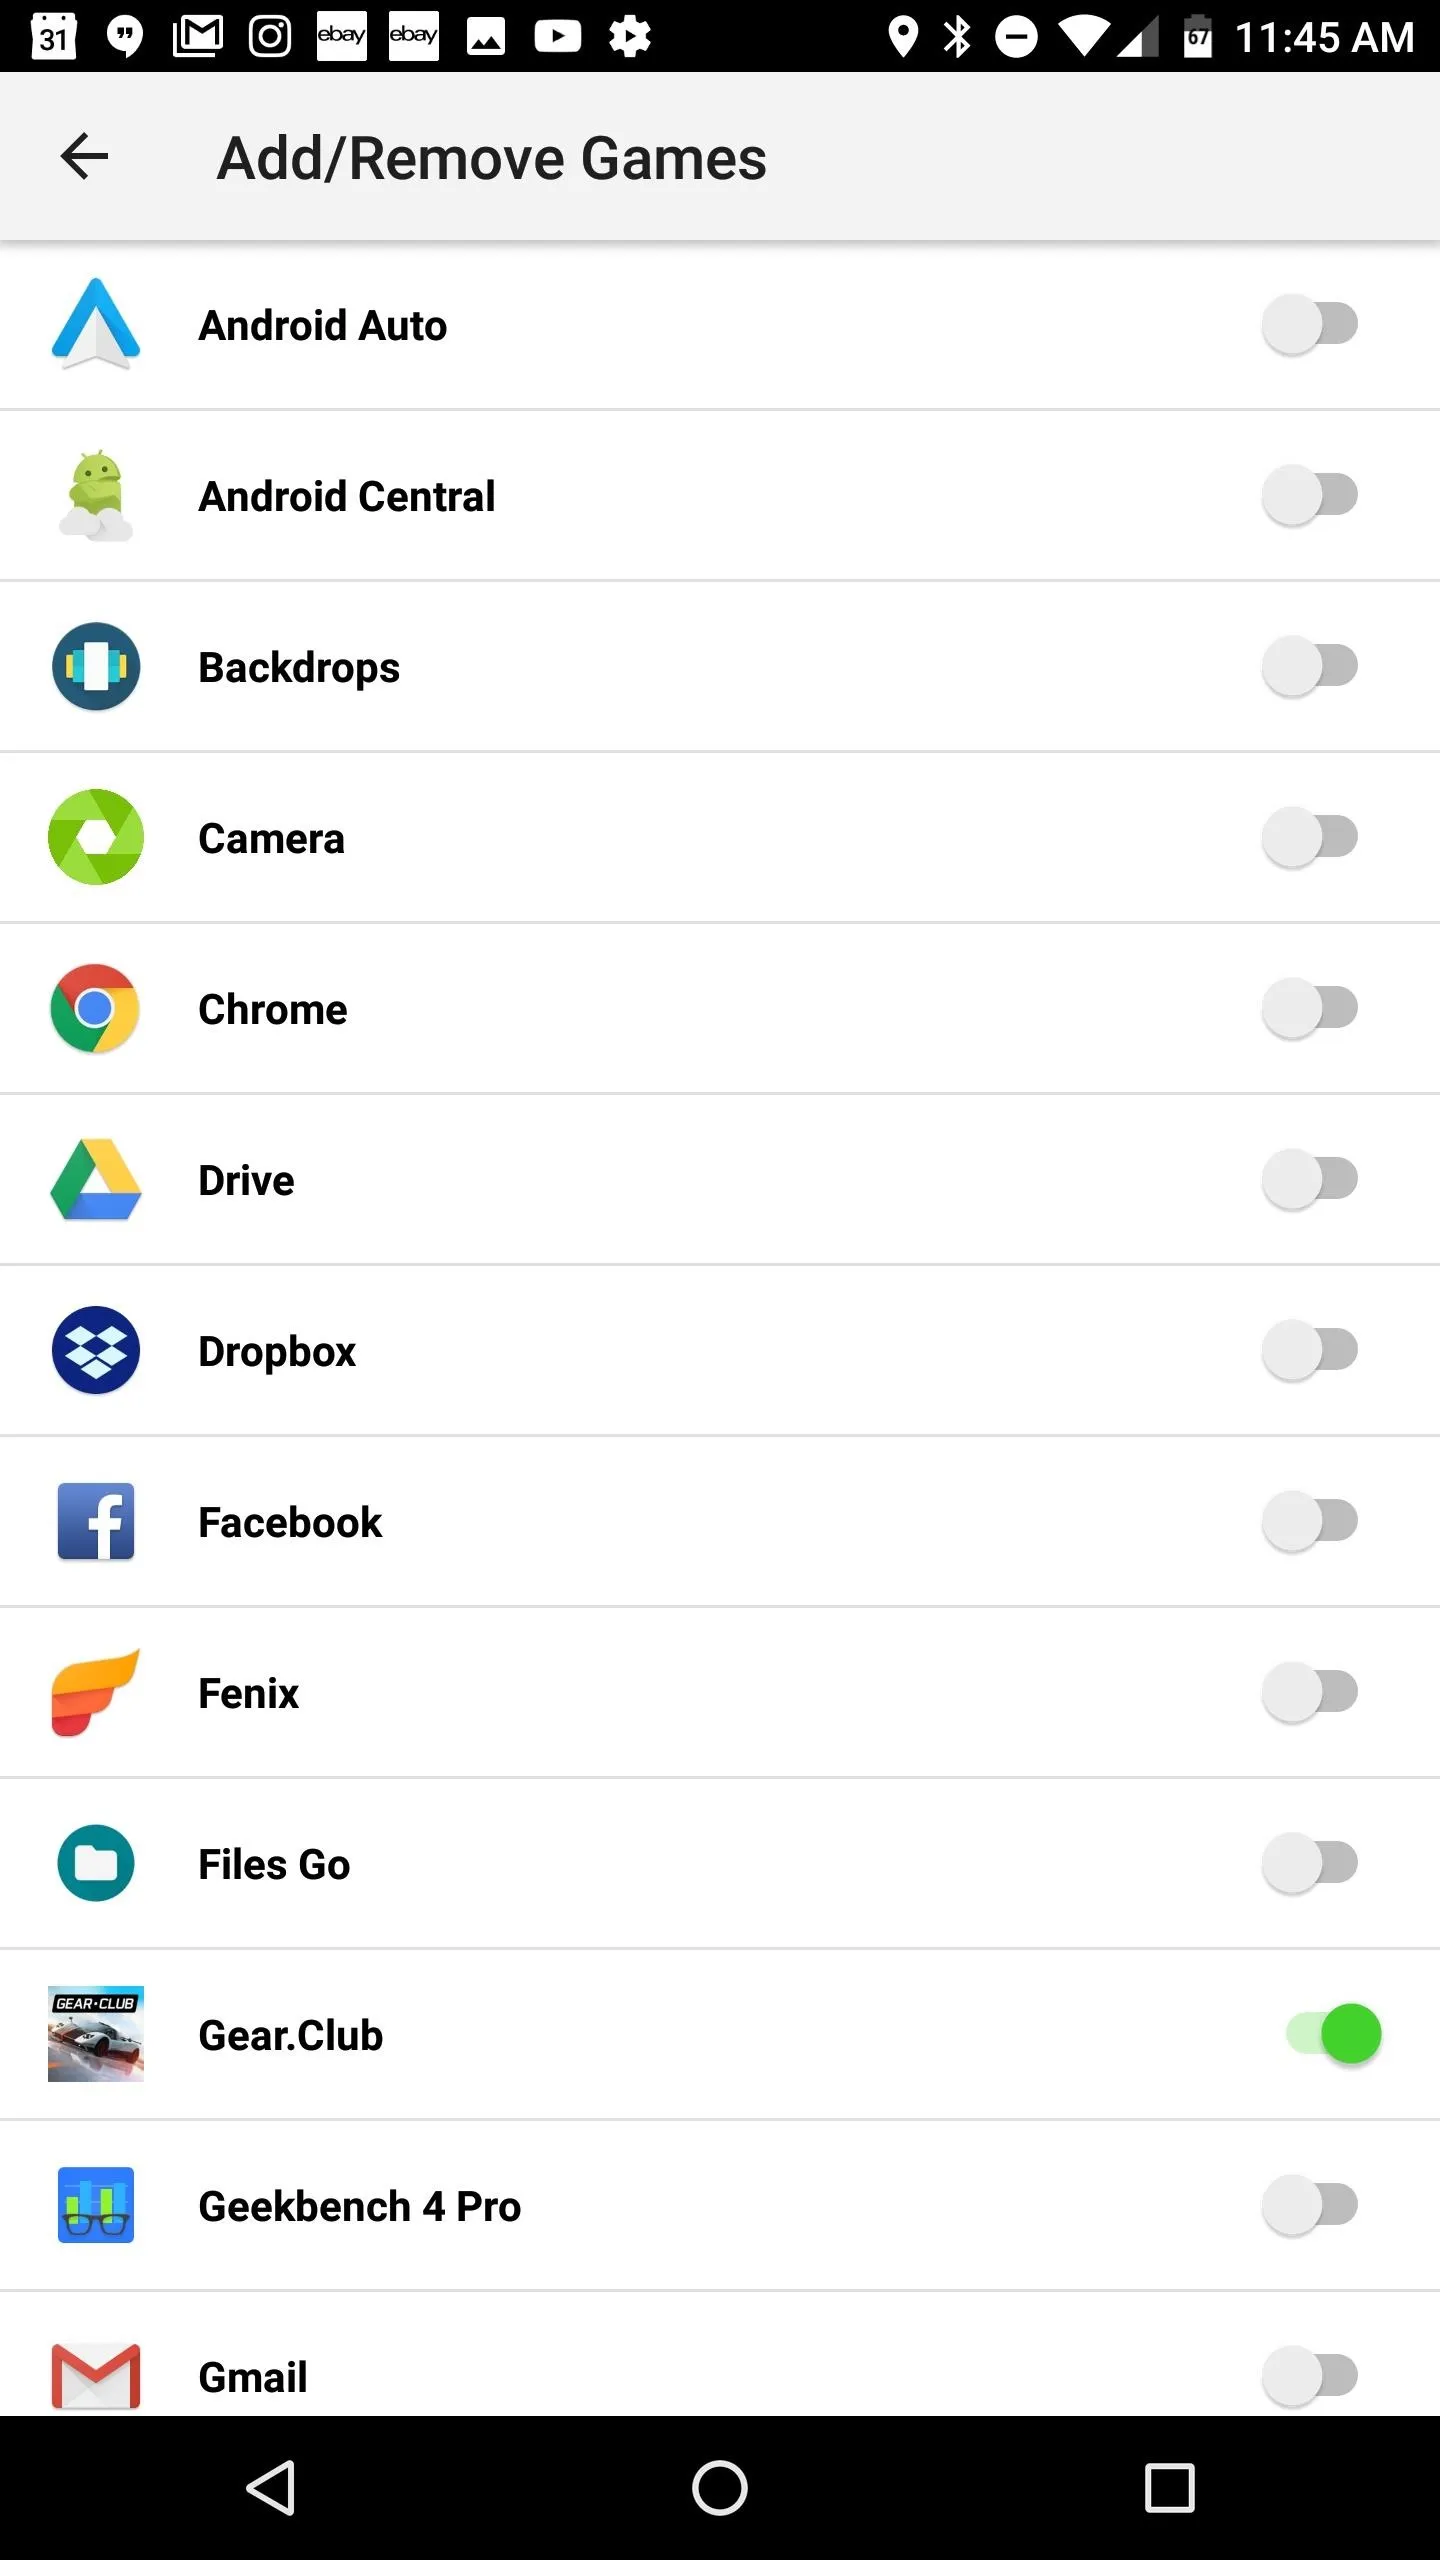
Gaming is definitely front and center on the Razer Phone, so naturally, you would expect a few options to customize your gaming experience. Head to Settings –> Game Booster to get started.
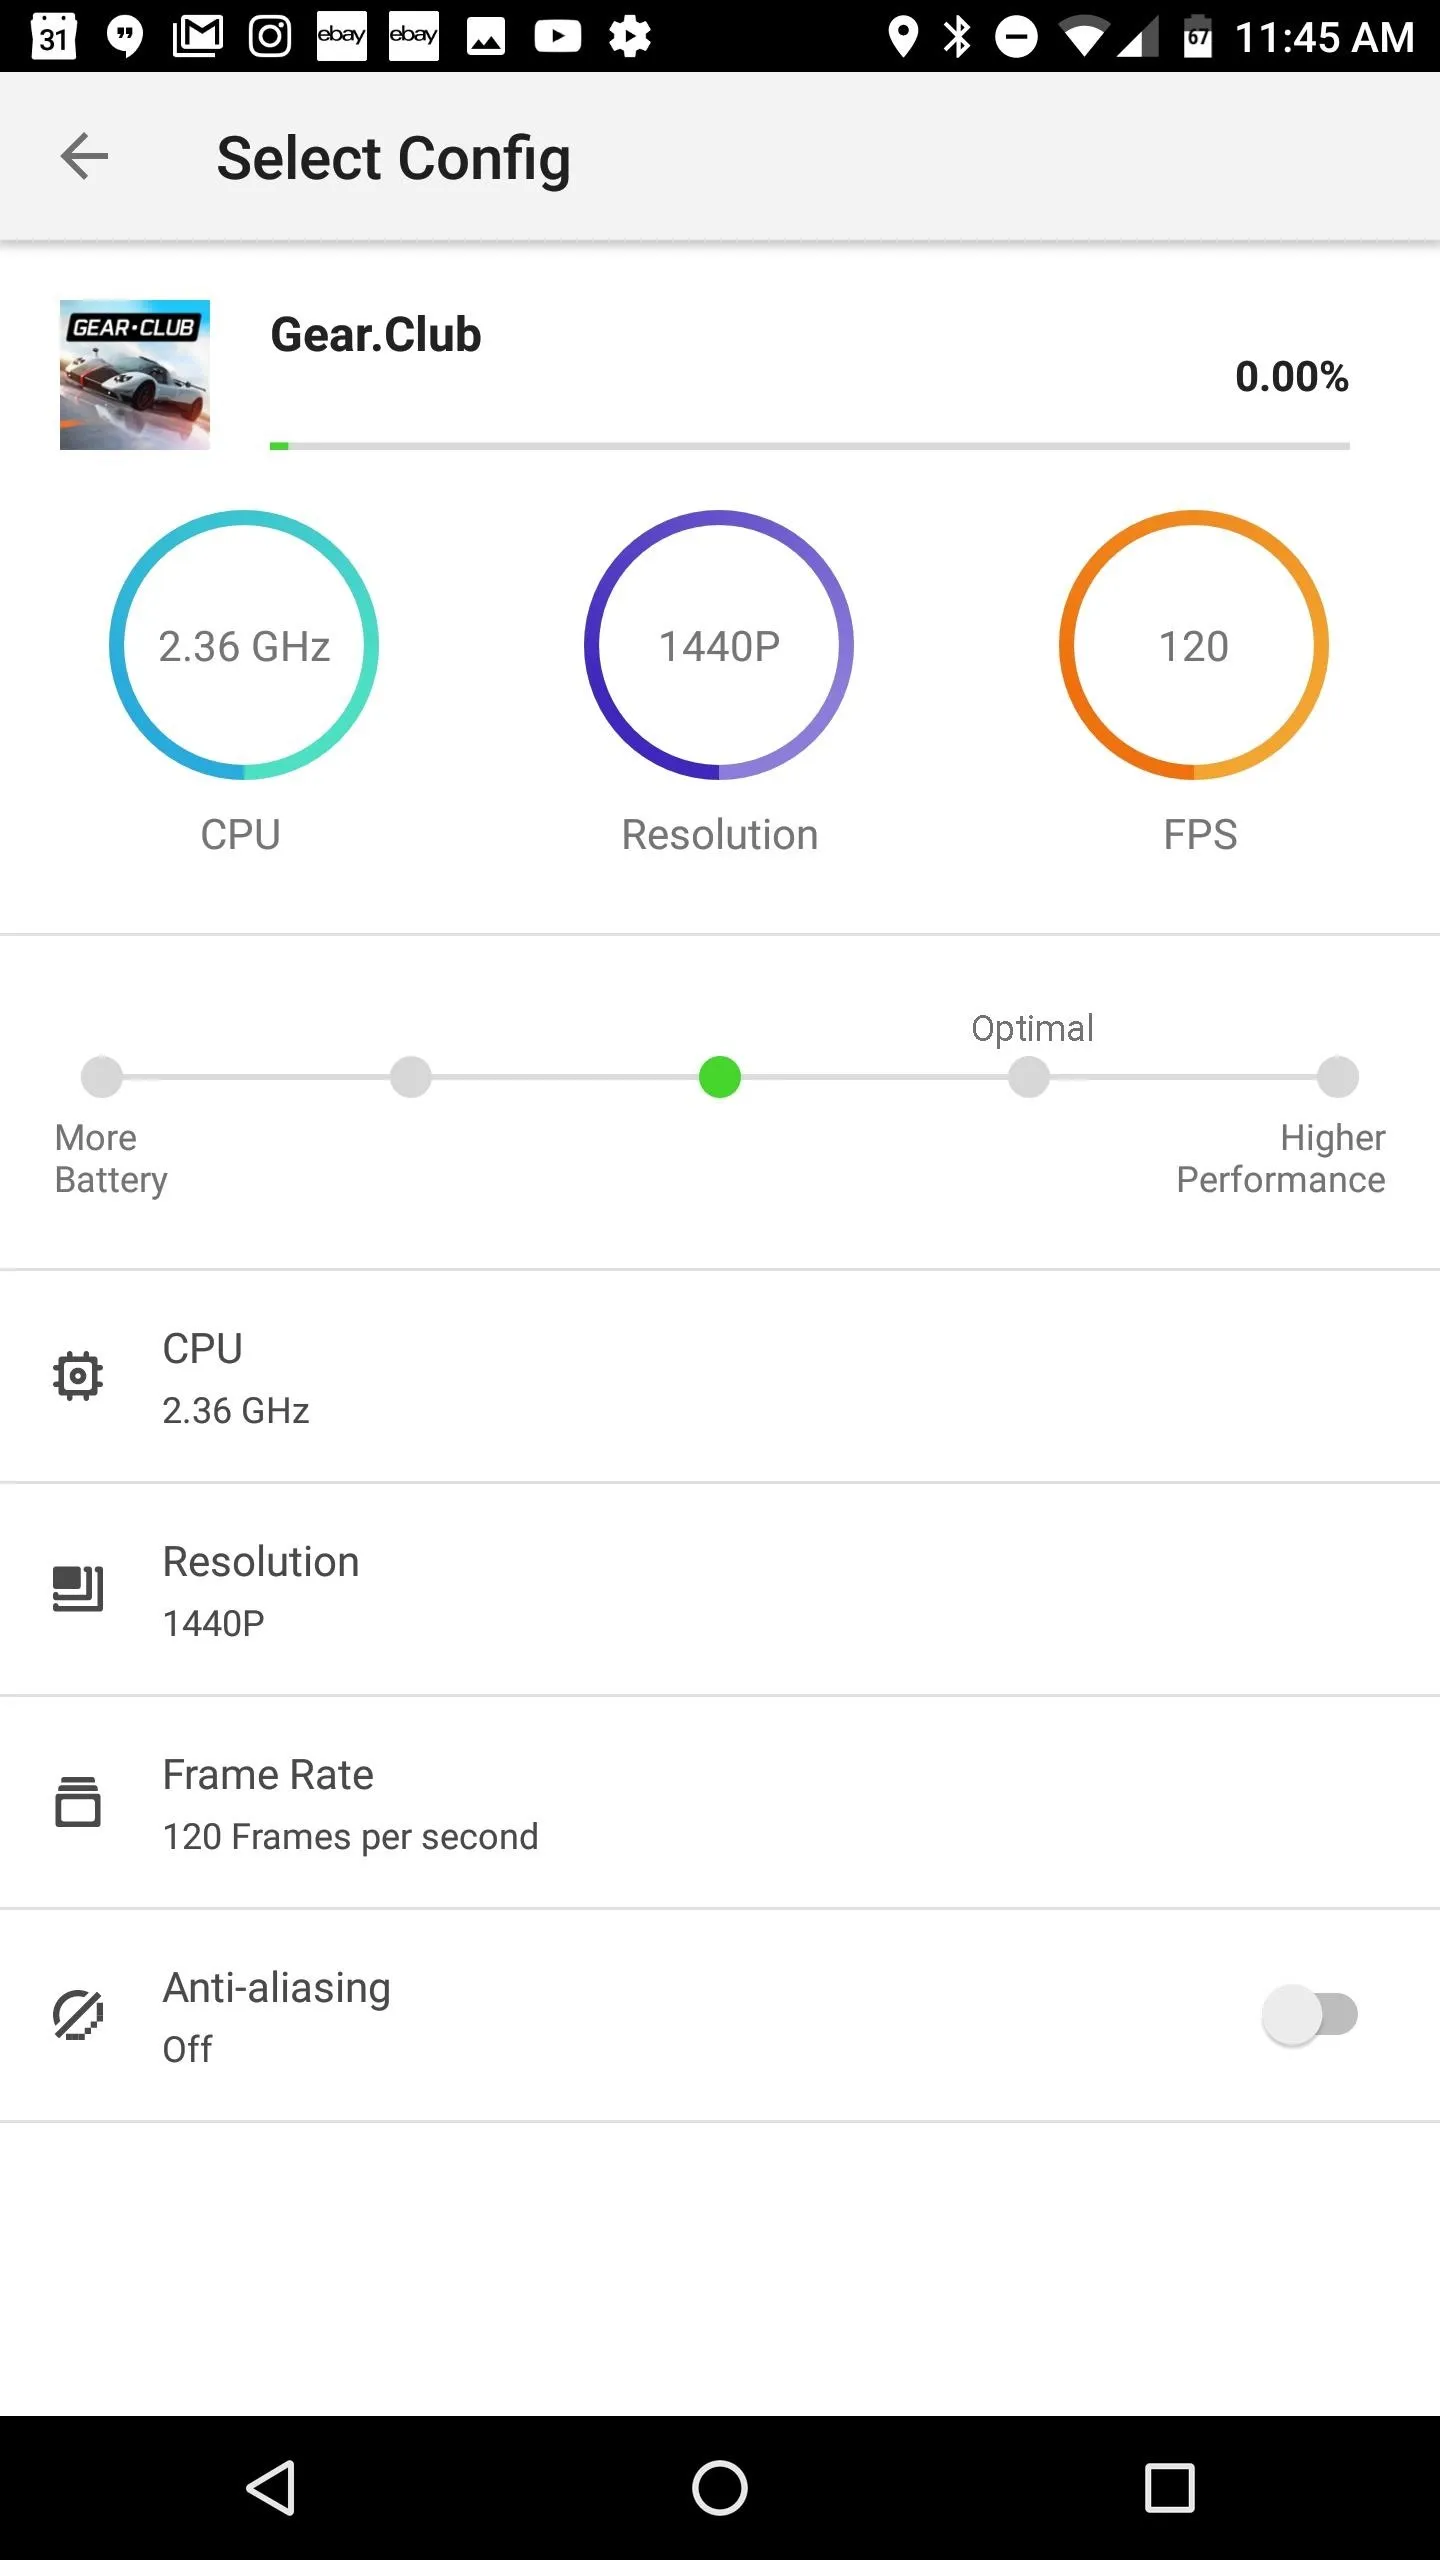
From here, you have a few options. If you would like to fine tune your gaming settings for each individual game, you can do this with custom profiles. This option allows you to set a custom CPU speed, frame rate, and resolution for each game. Razer even included a convenient slider in each menu to let users choose whether performance or battery life is most important in their gaming session.
If performance is your main concern all the time, you can also turn all specs to the maximum by choosing "Performance" from the options at the top menu.
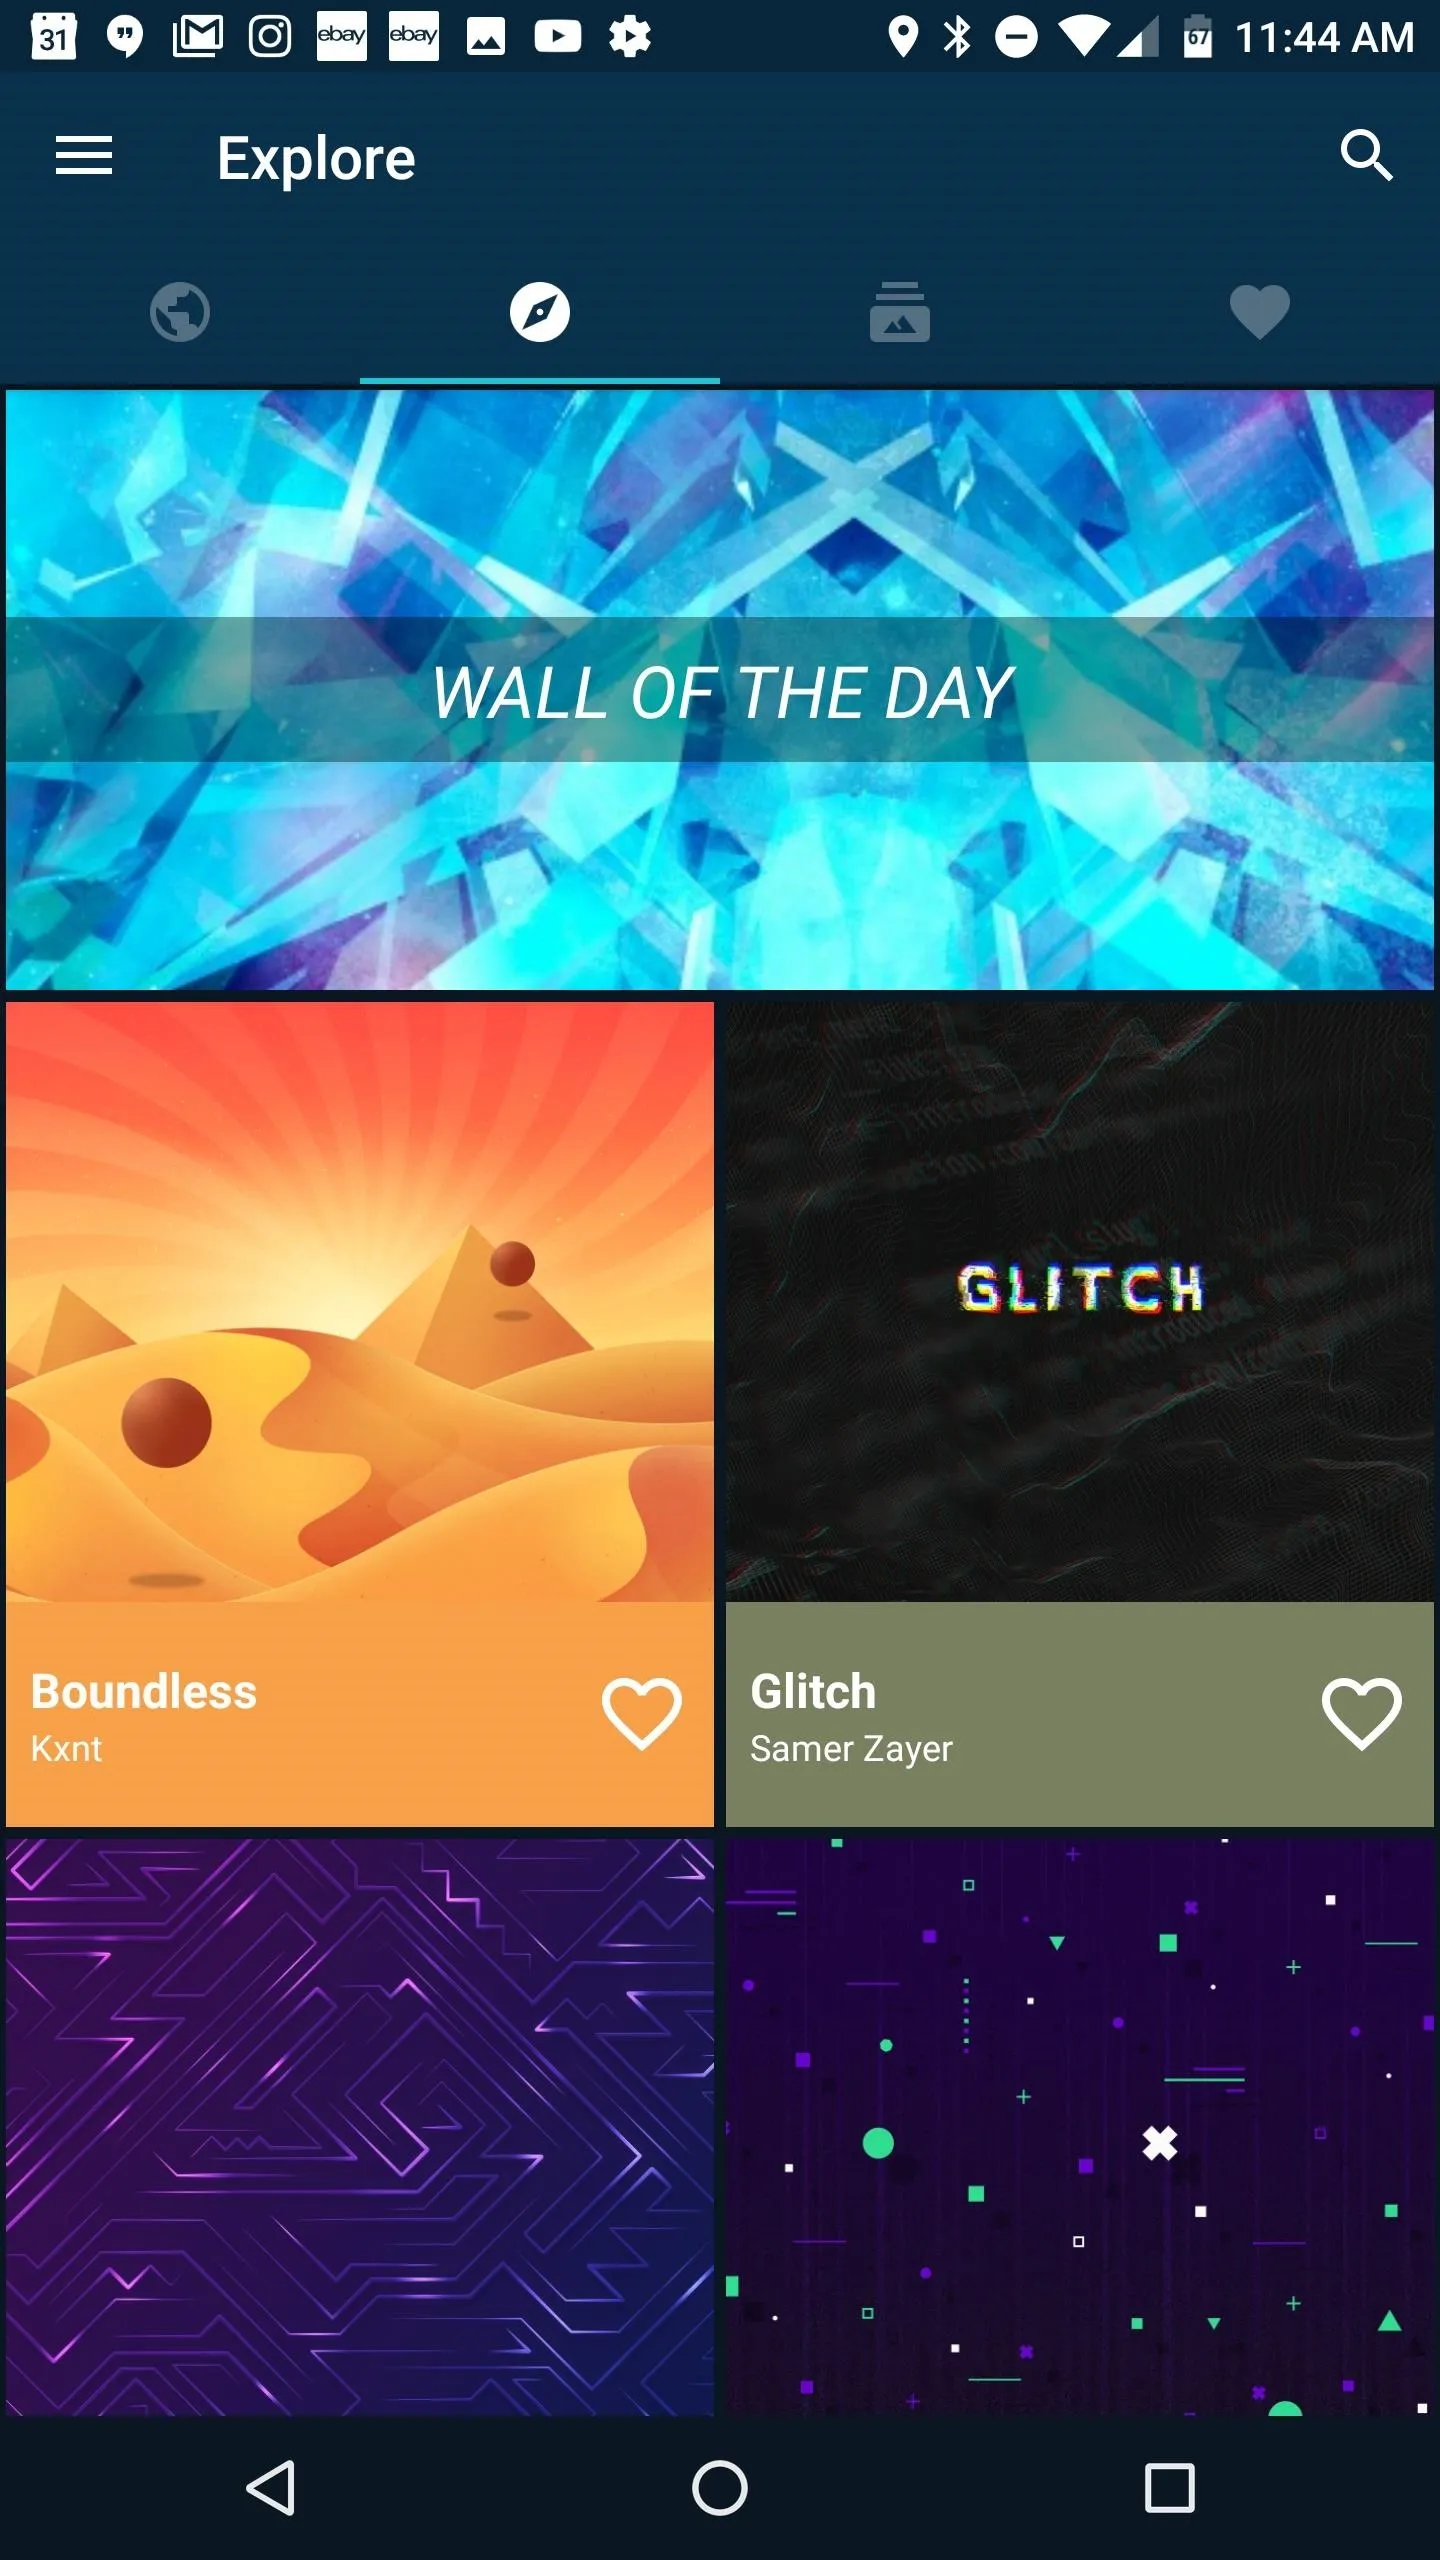
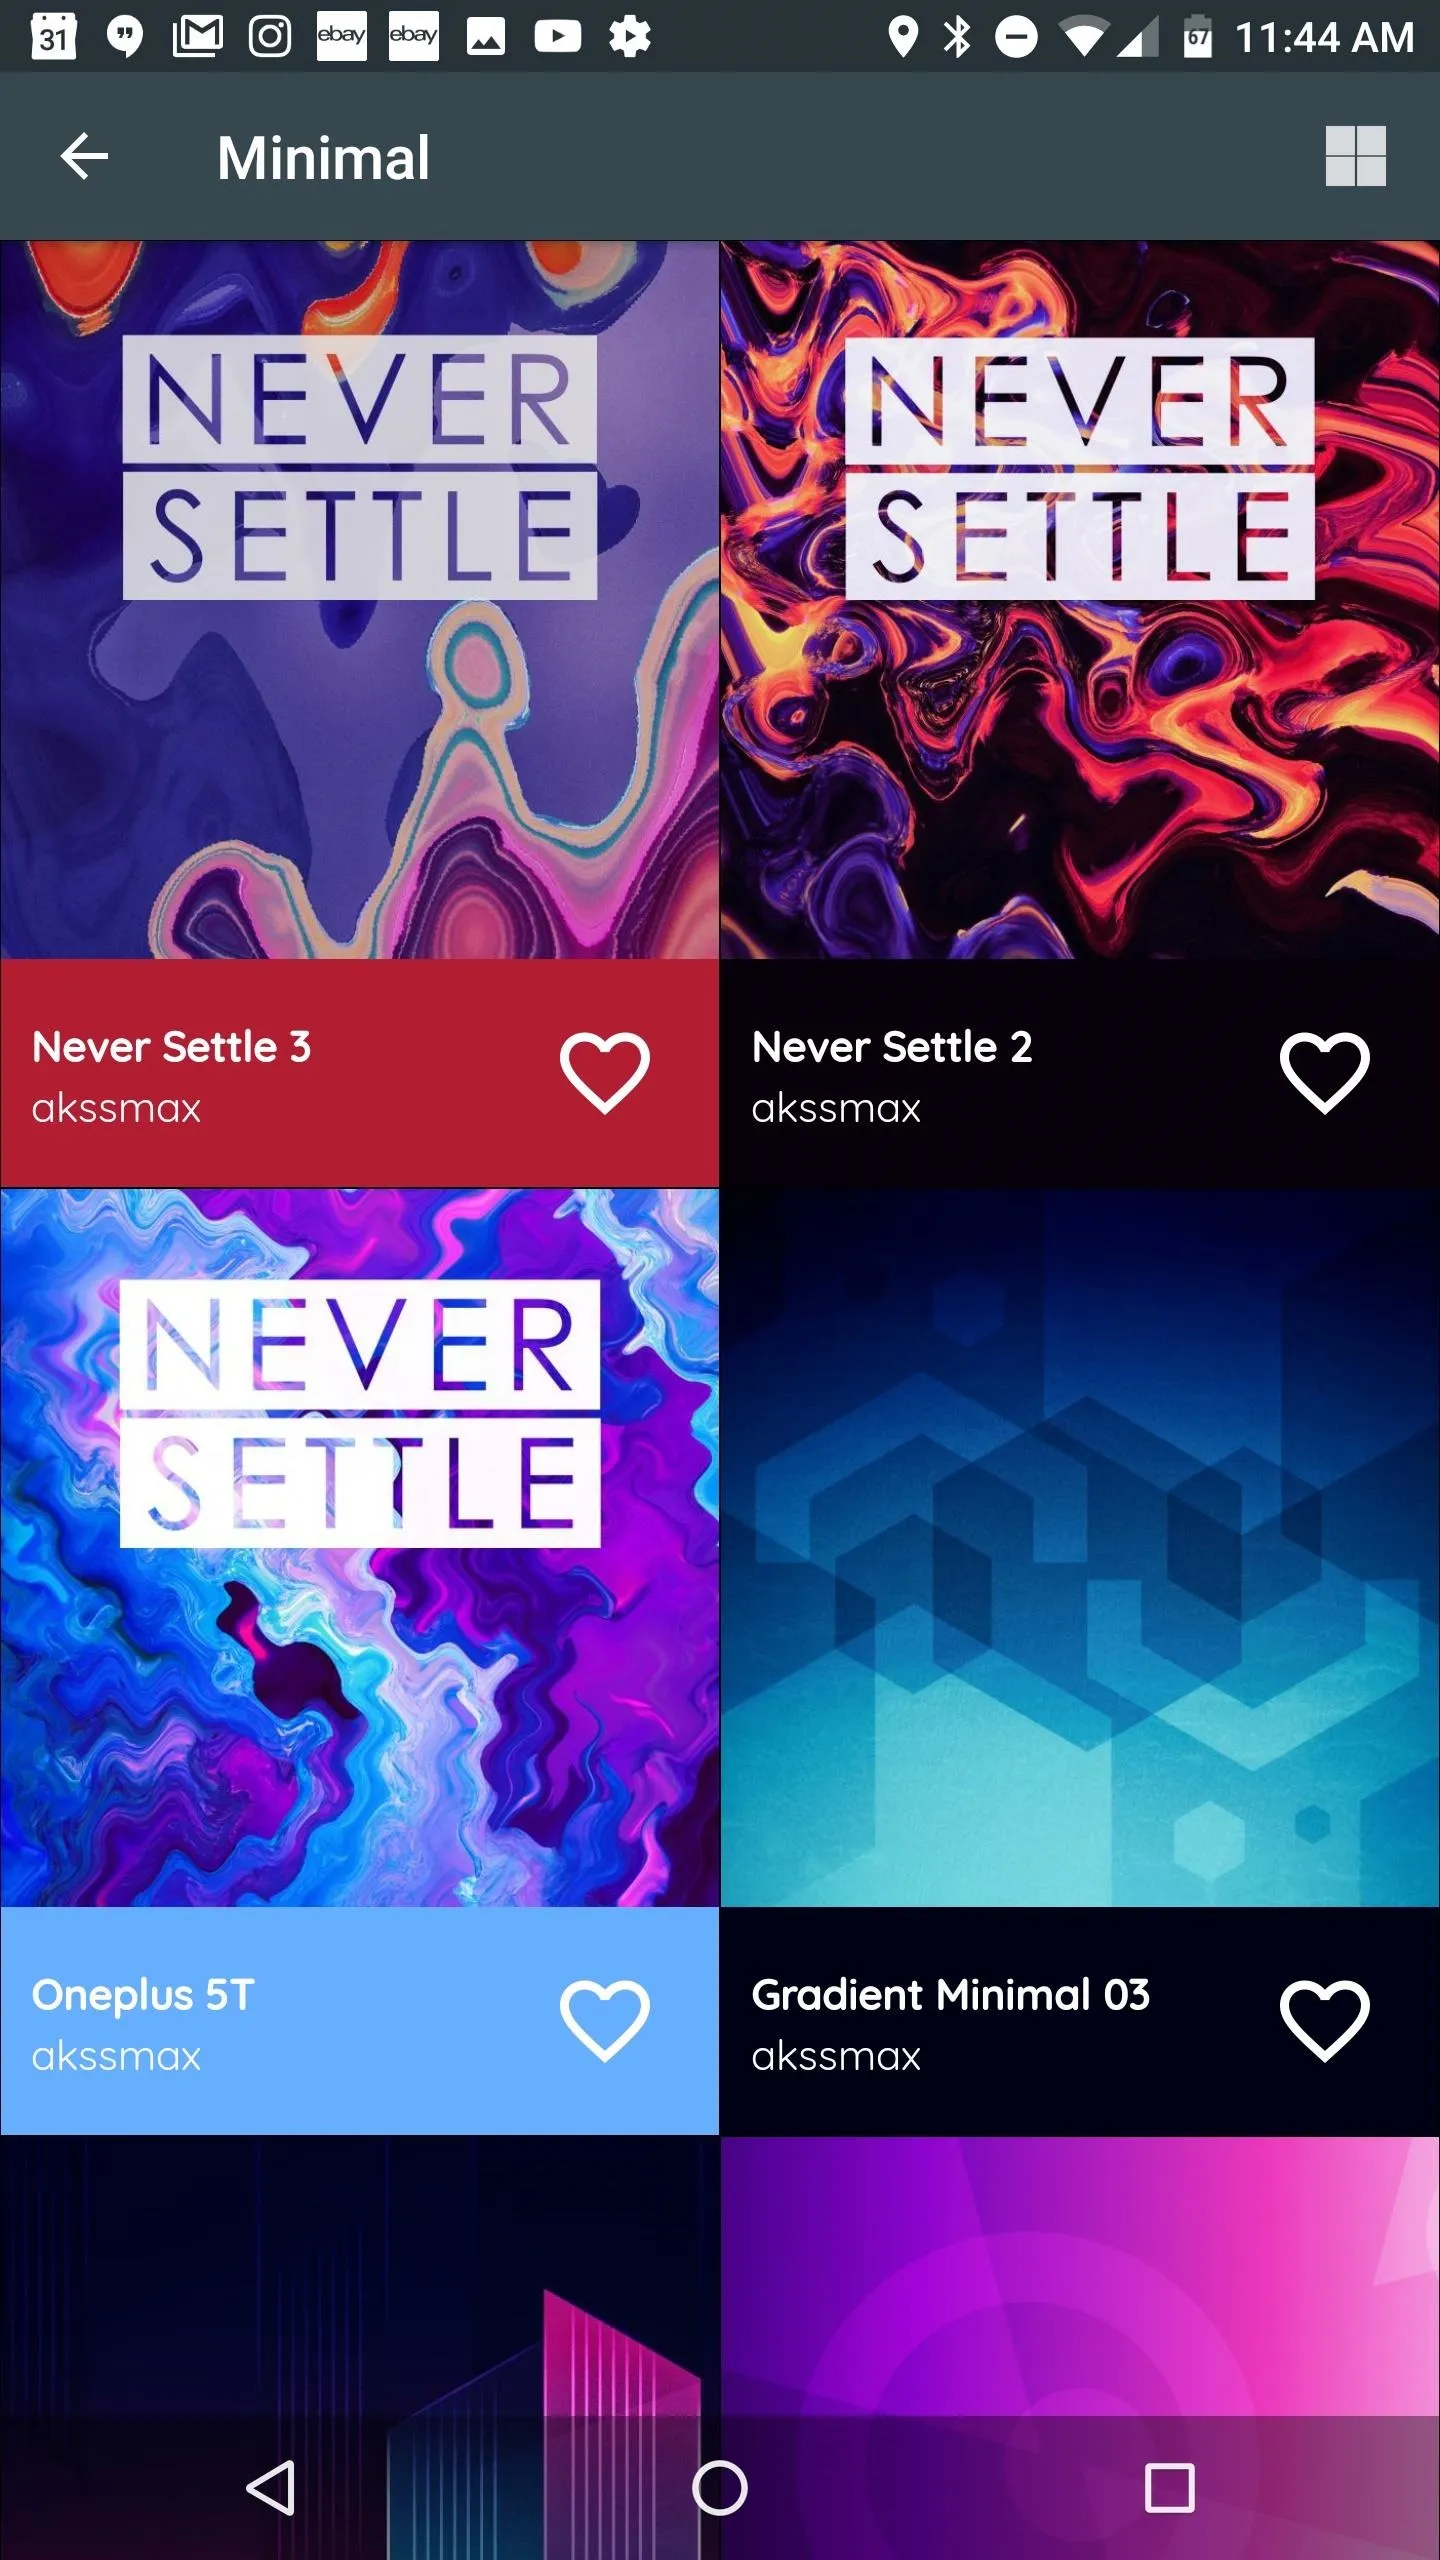
6. Get a Custom Wallpaper
A new wallpaper is almost like having a new phone, so you'll definitely want to slap something slick on your new Razer. Two of our favorite wallpaper apps are Backdrops and Wallzy. Both of these apps offer free and paid options, with a large number of wallpapers to suit all tastes. Perhaps the best part is that both offer minimal wallpapers that will fit with any customization scheme or icon pack you choose.
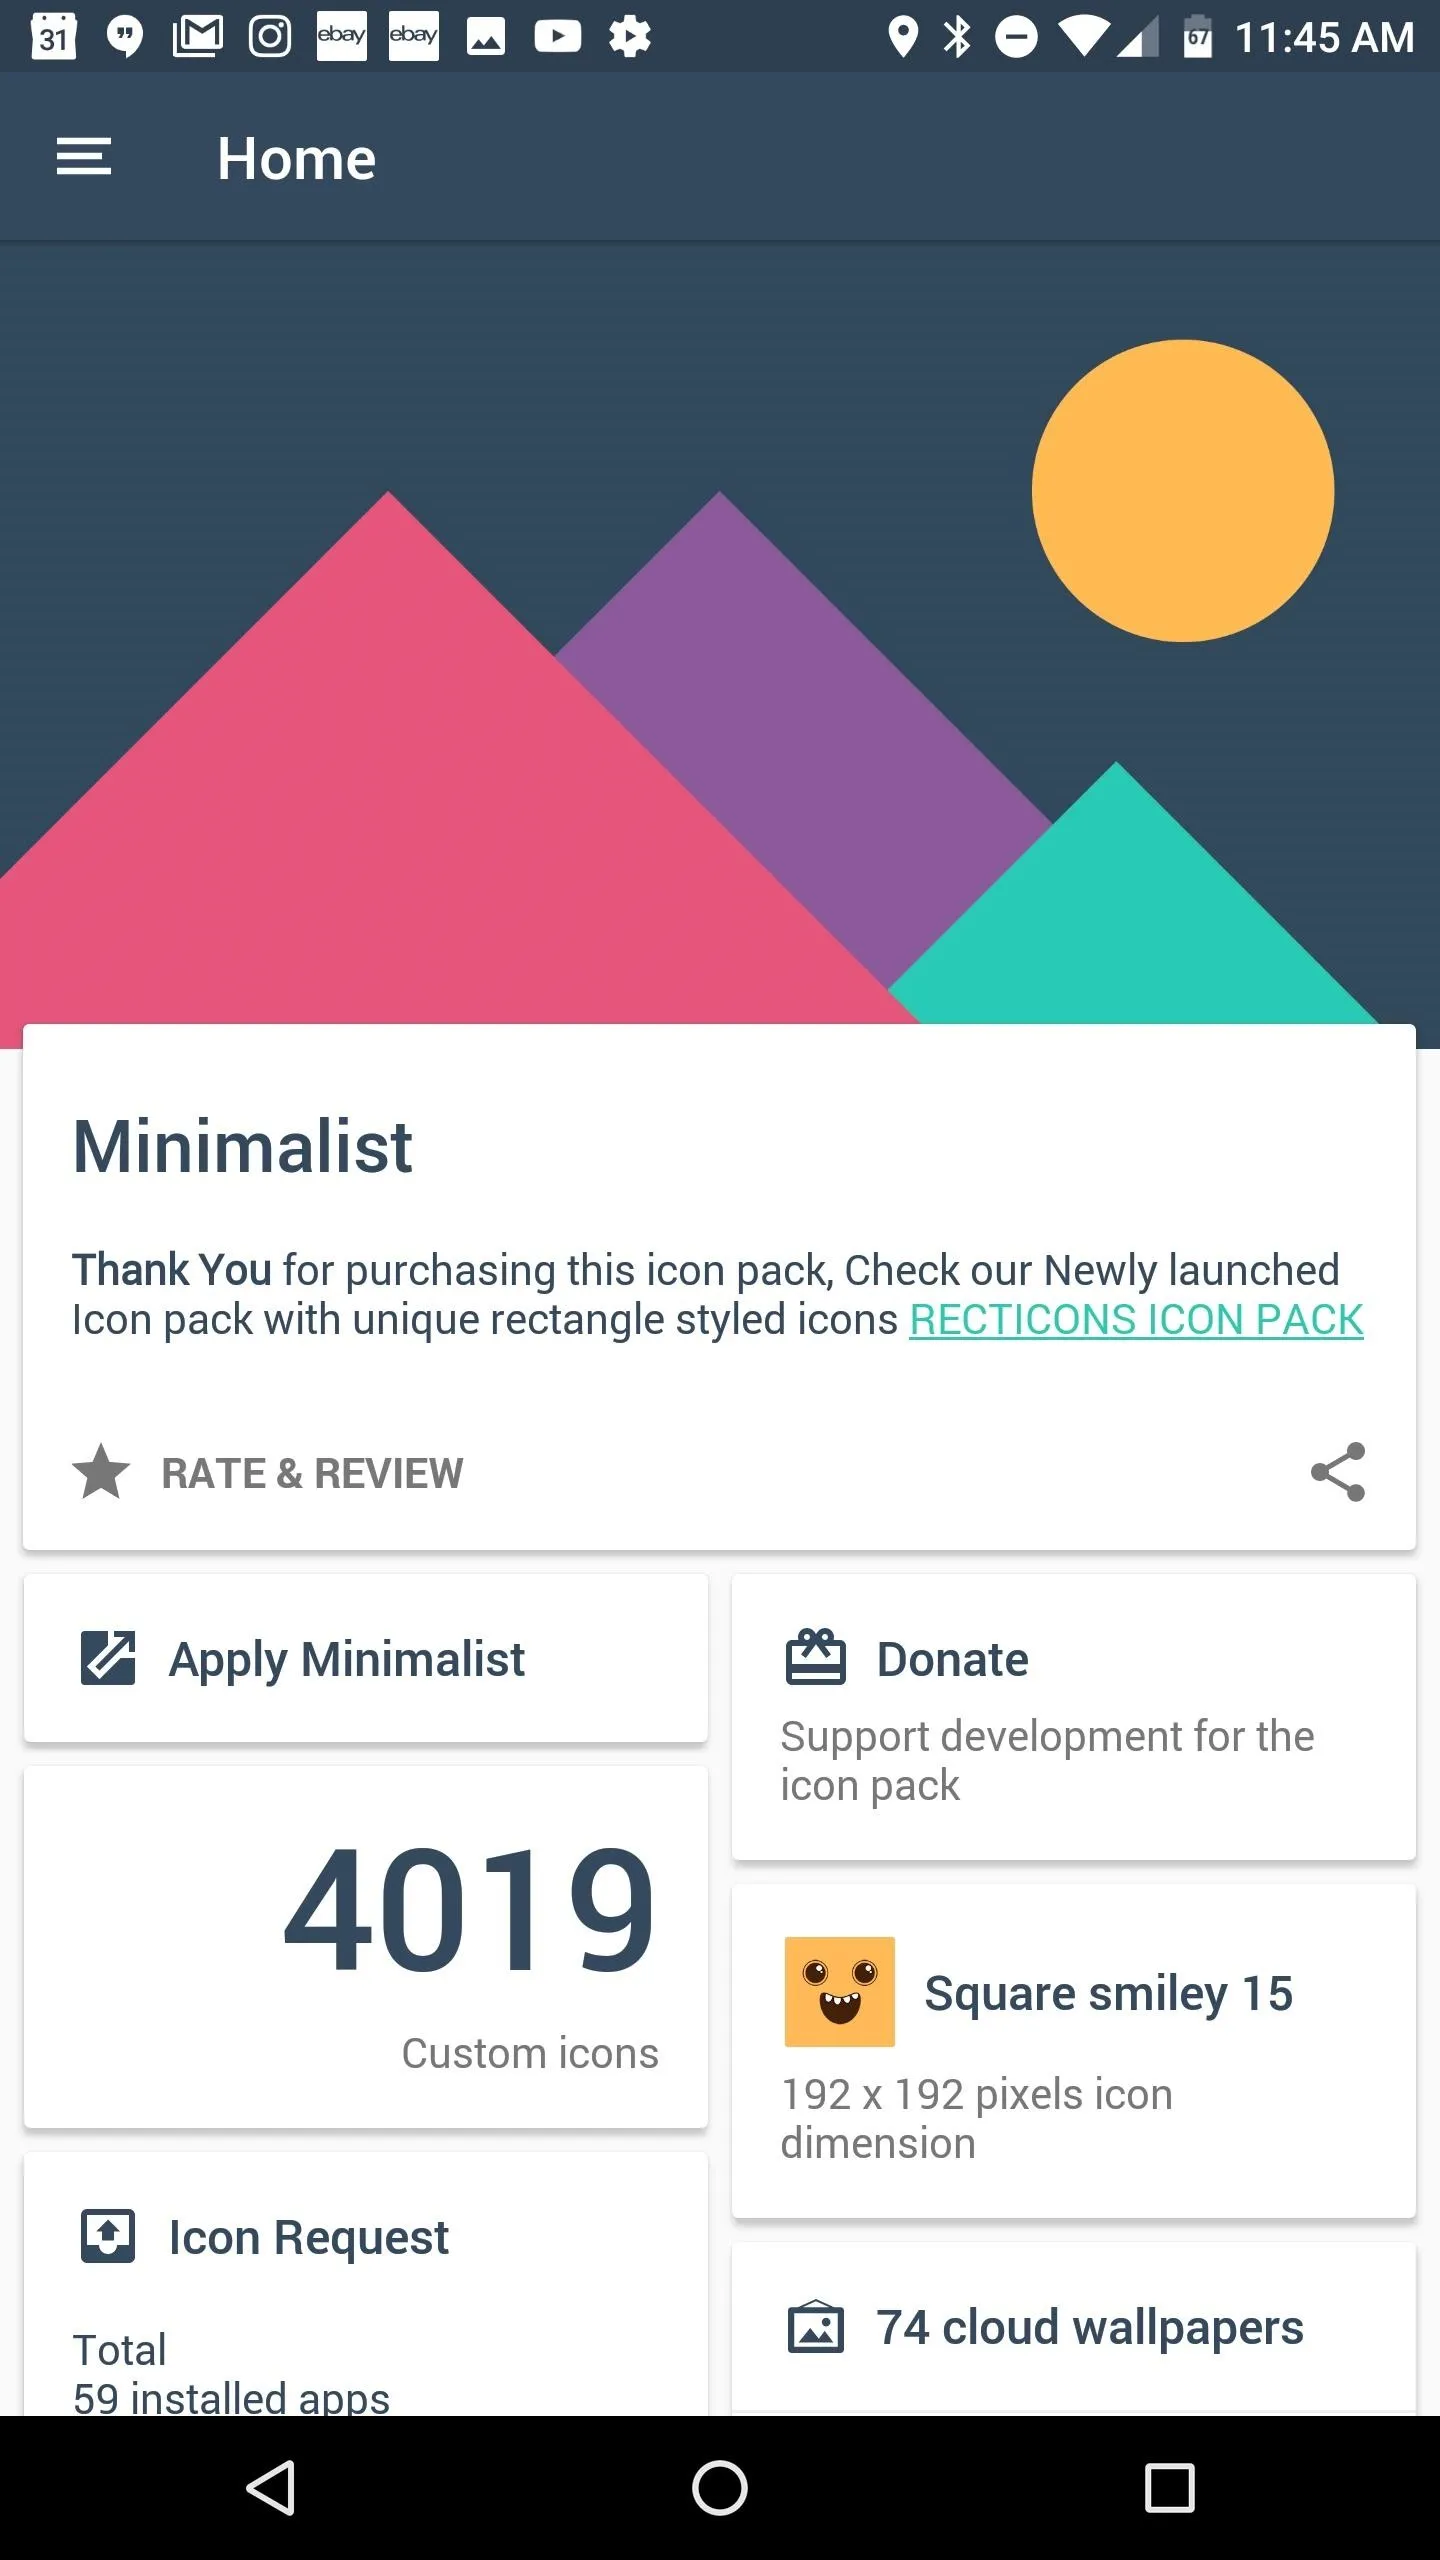
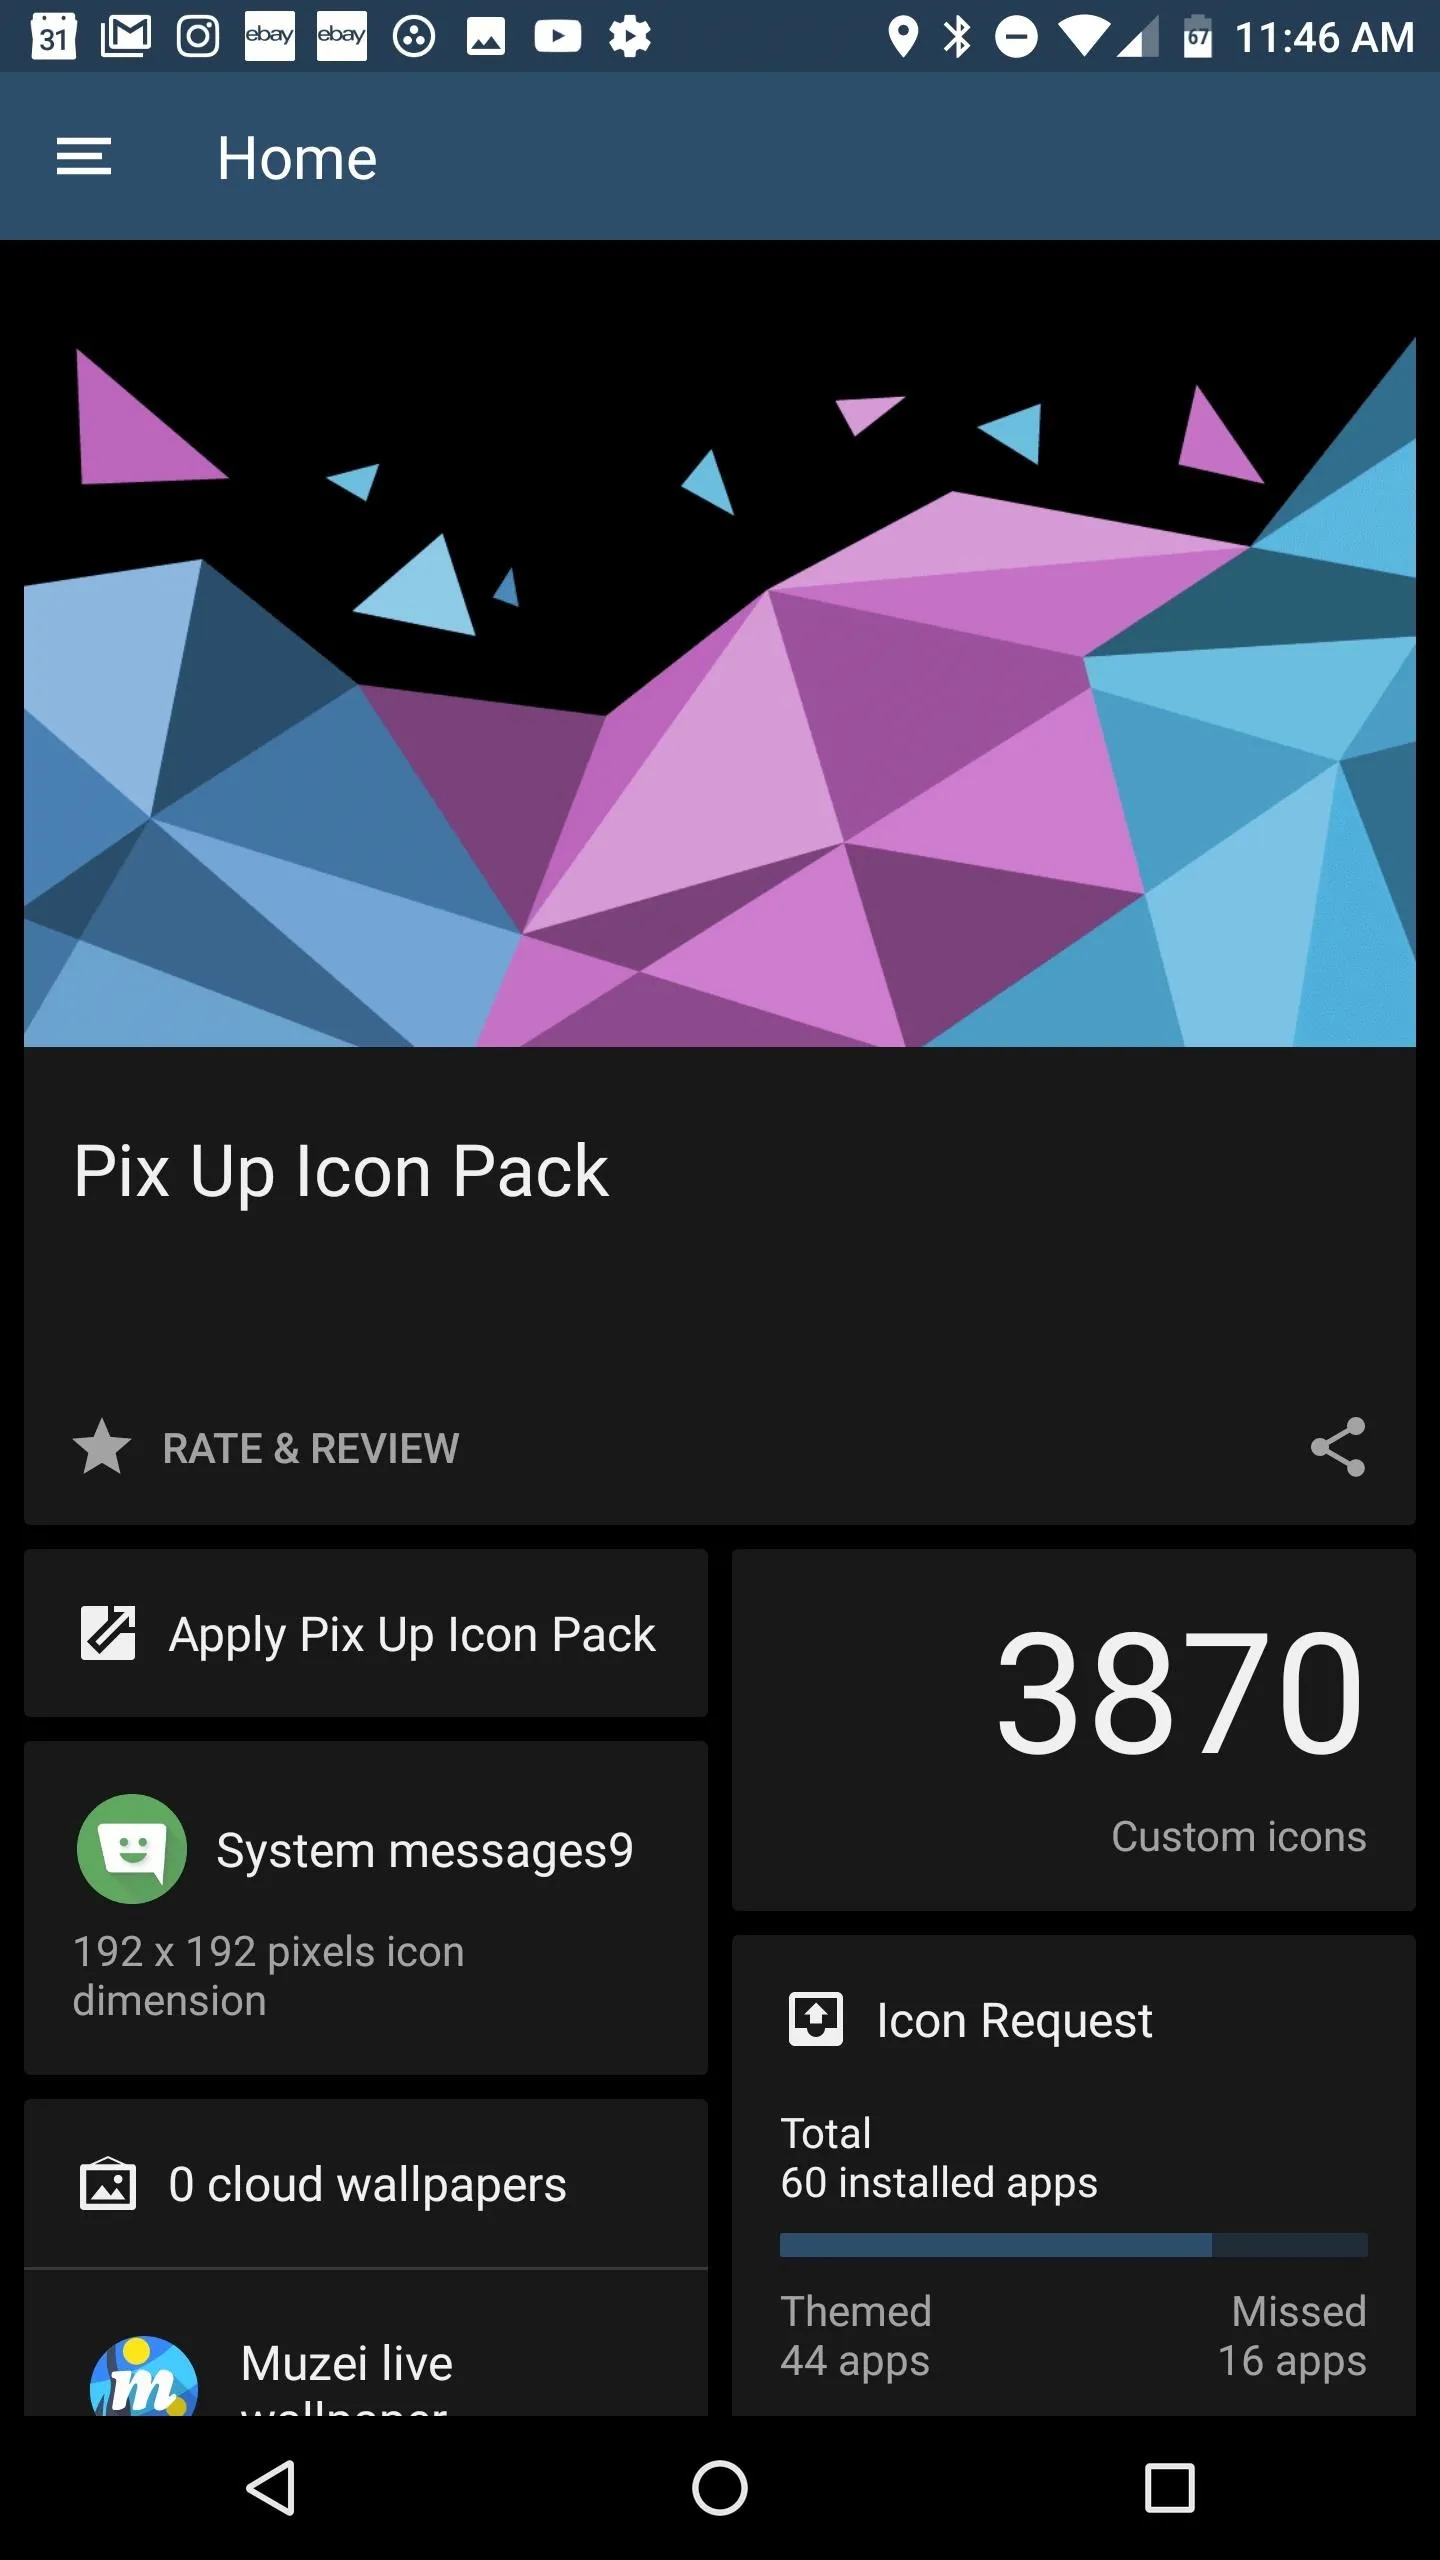
7. Grab a Custom Icon Pack
The Razer Phone ships with Nova Launcher Prime out of the box, one of the premiere third-party launchers available on the Play Store. This allows an incredible amount of customization for your desktop, dock, and app drawer. When we fire up Nova on our phones, the first stop is always a shiny custom icon pack.
There are a plethora of great icon packs on the Play Store, but two of our current favorites are Pix Up and Minimalist. Both packs offer a number of themed icons and excellent minimal wallpapers to compliment them as well. To apply your custom icon pack, simply head to Nova Launcher's settings by long-pressing any empty space on your home screen and choosing "Settings." From there, just tap on "Look & Feel," then select "Icon Theme."
- Don't Miss: Nova Launcher Tips & Tricks
8. Choose a Desktop Grid Size in Nova Launcher
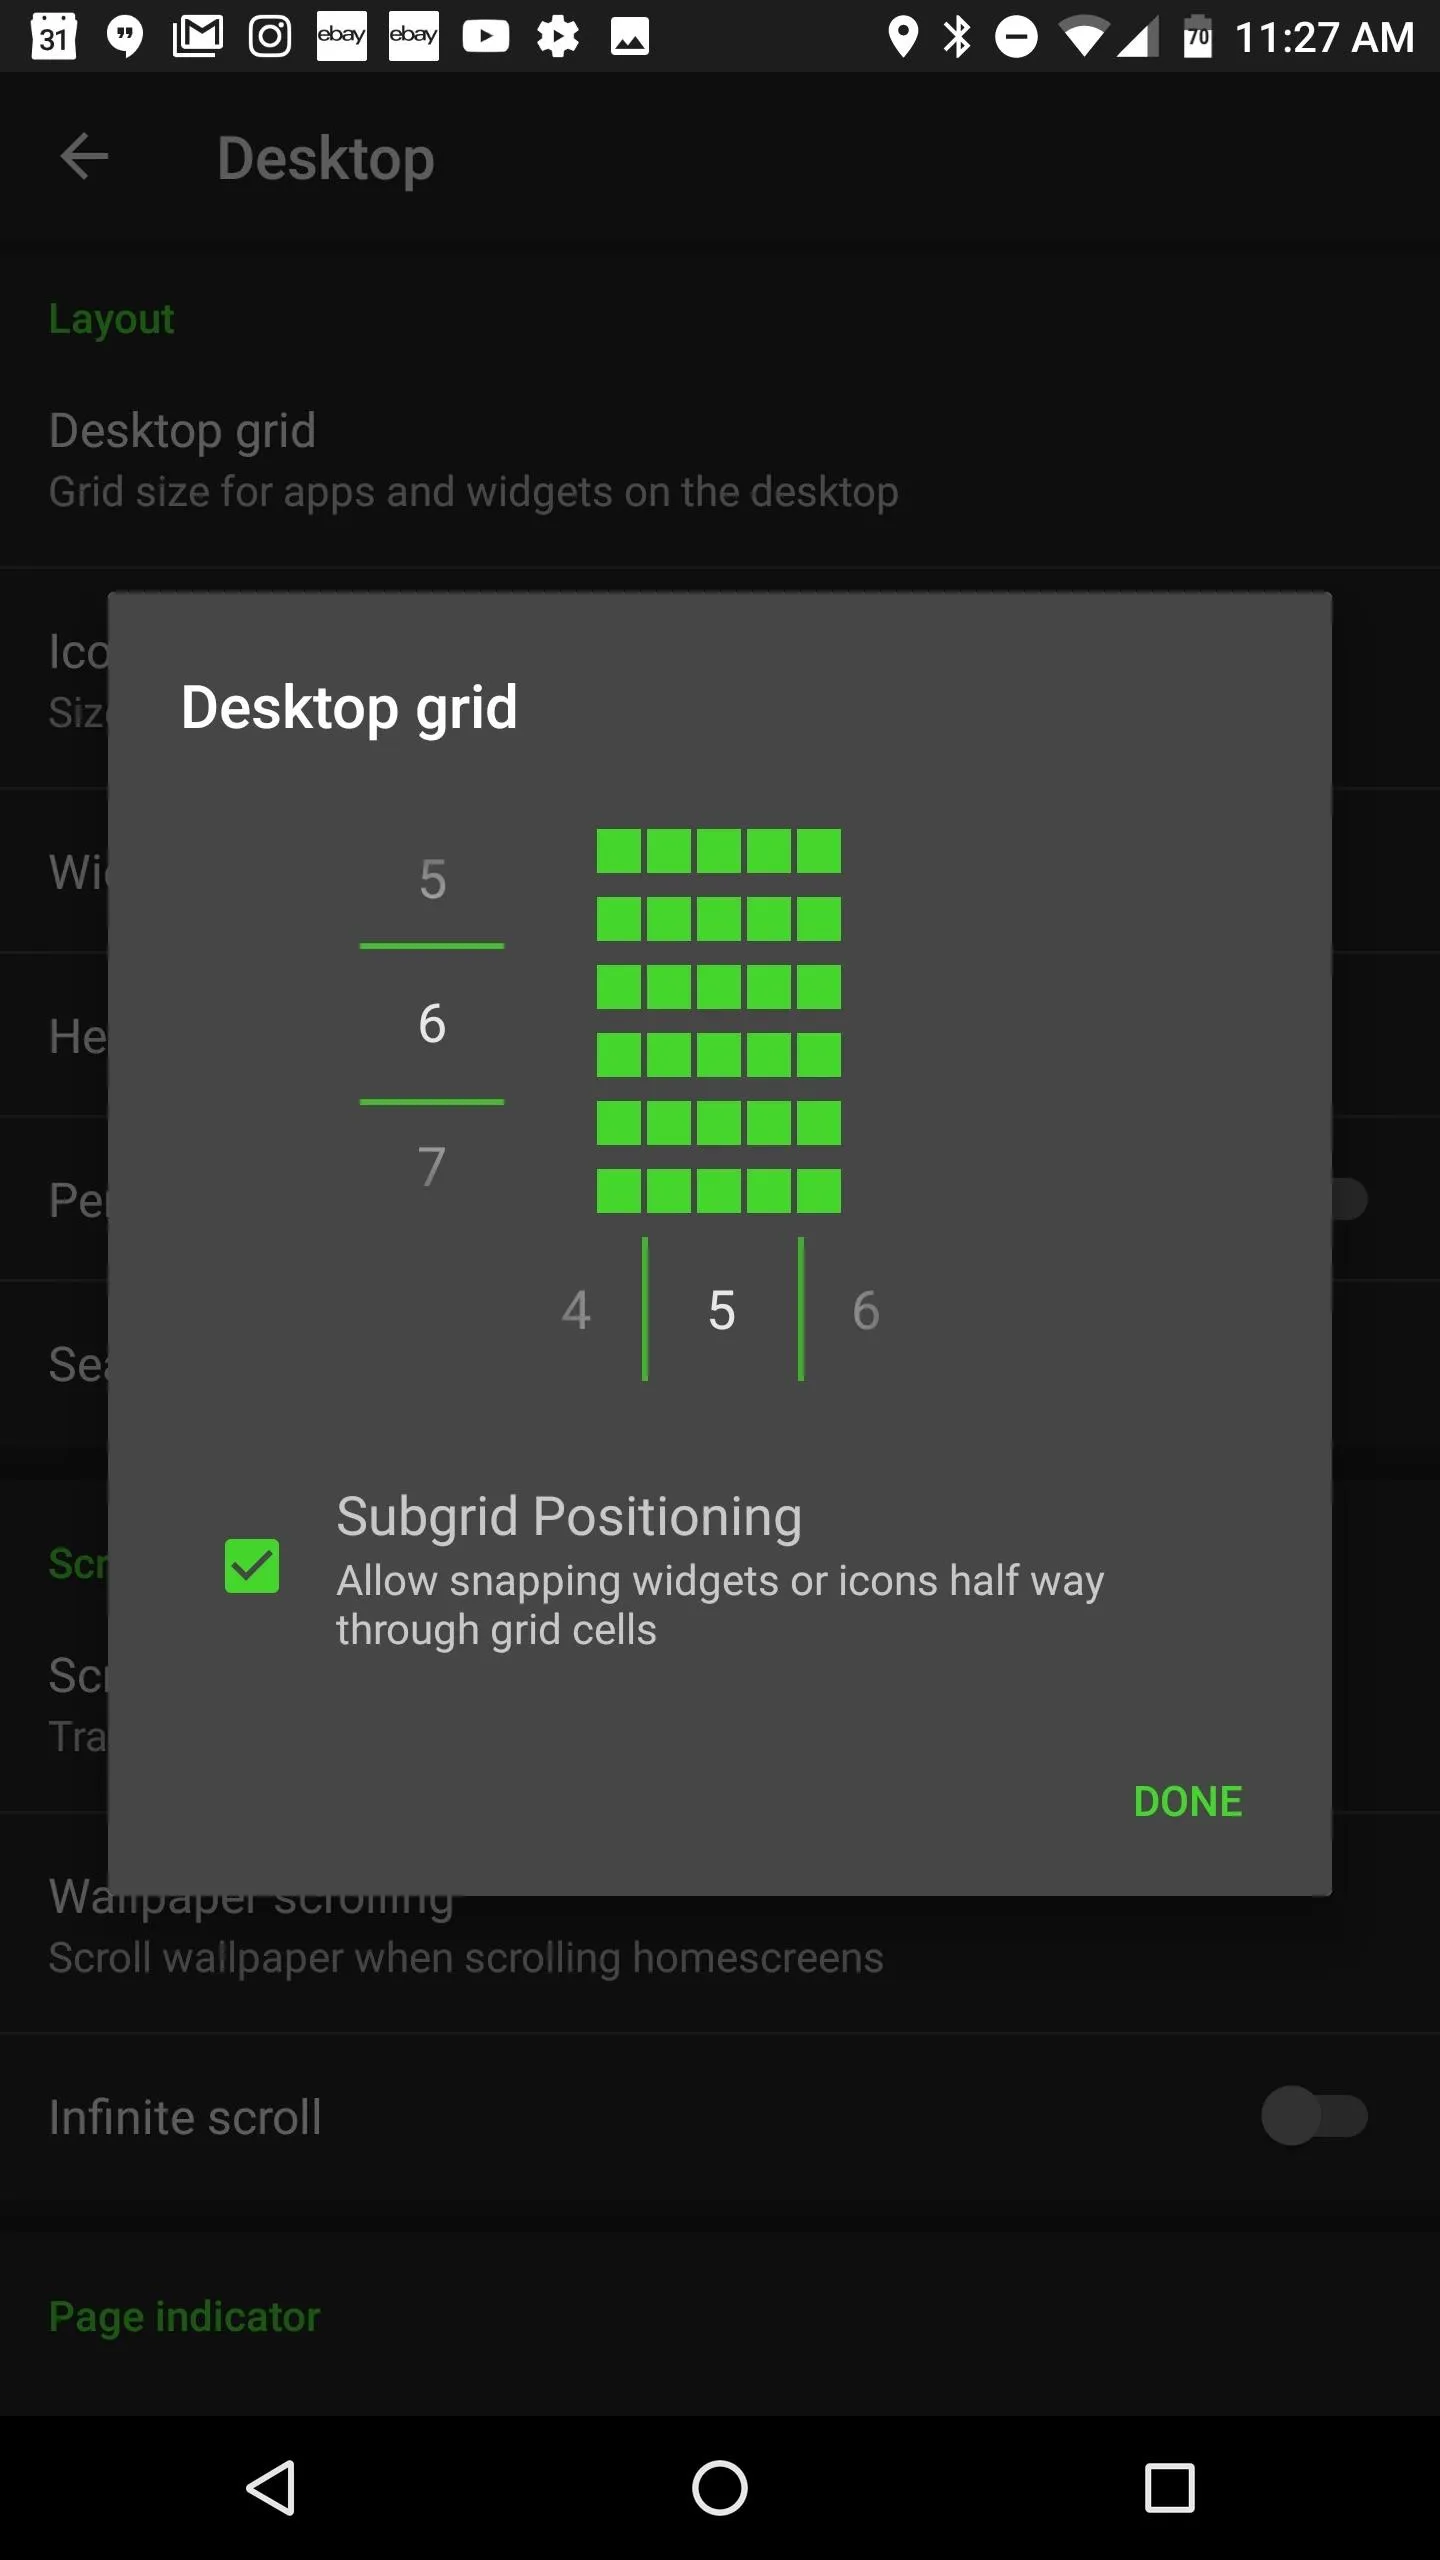
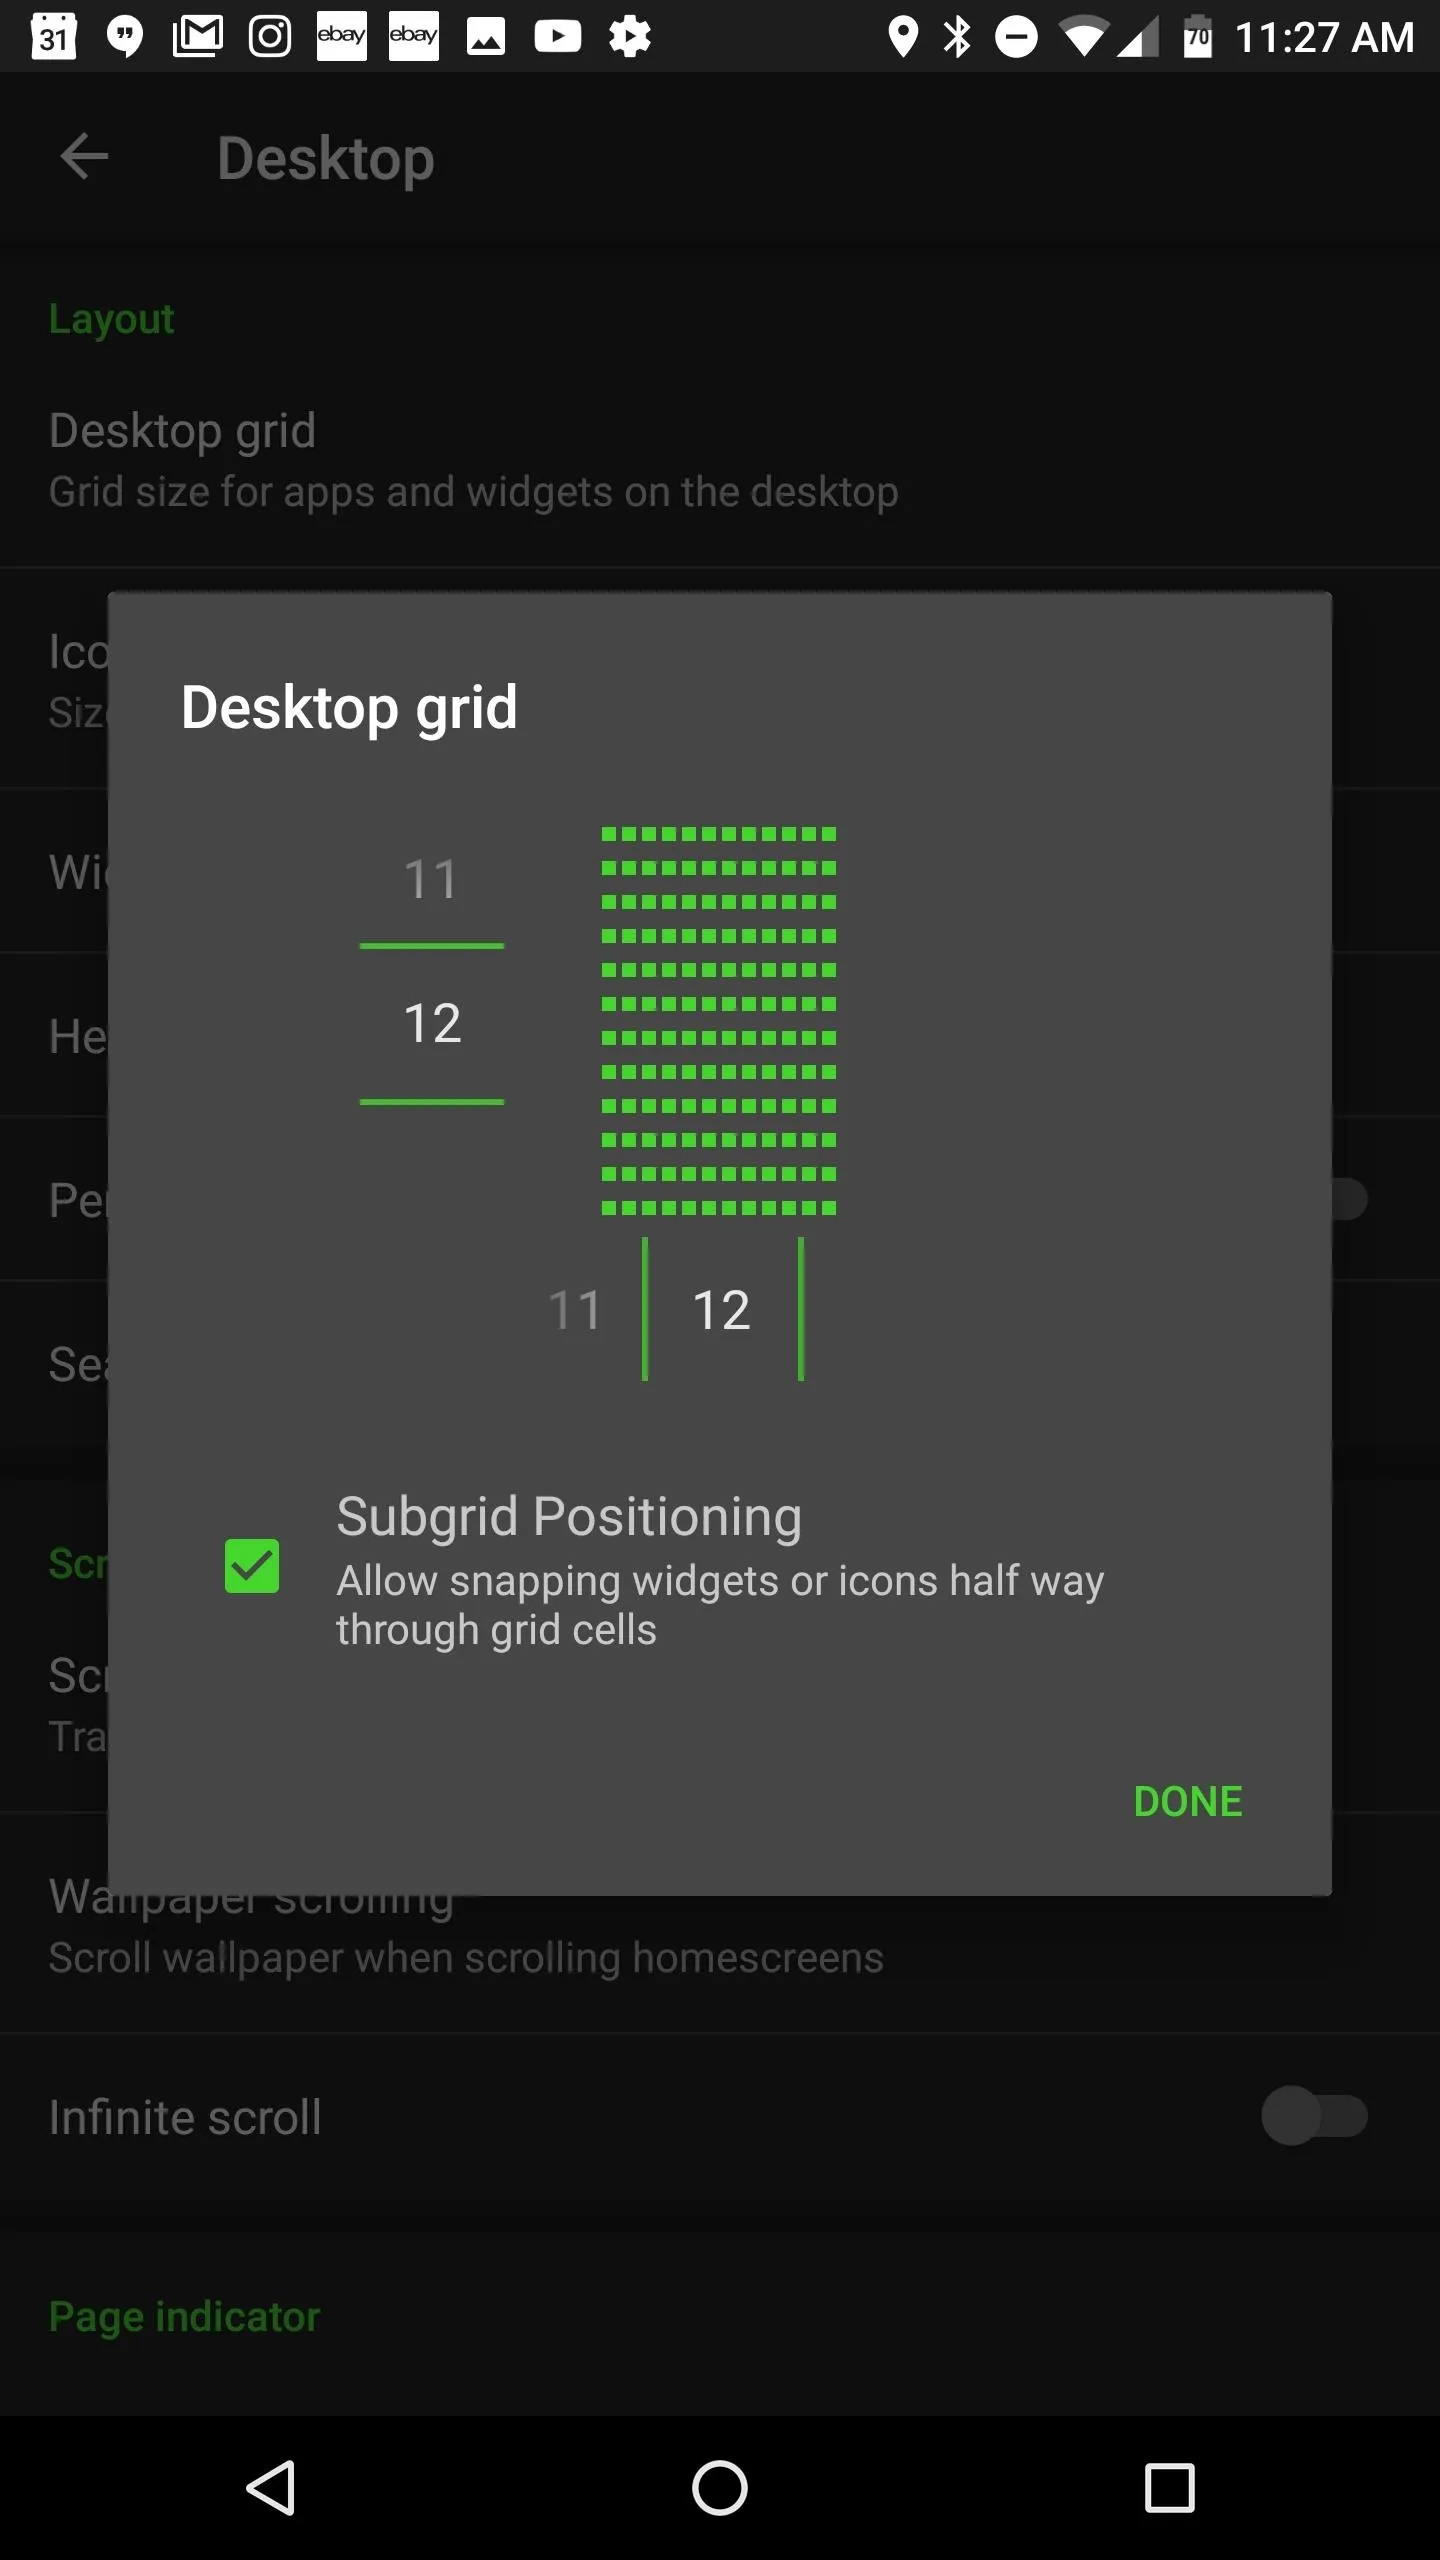
In addition to the custom icon pack, Nova also affords the option to customize your desktop grid to fit your needs. If you like to cram a ton of icons on your first page, you can now do so! Minimalist designs can also be achieved with smaller grid sizes.
Once again, head to Nova's settings menu, but this time select "Desktop grid." From here, you can customize the number of rows and columns in your grid. The maximum number of apps on the desktop is 144 (12 x 12 grid), but that should be plenty for anyone.
9. Turn on Notification Dots or Badges in Nova Launcher
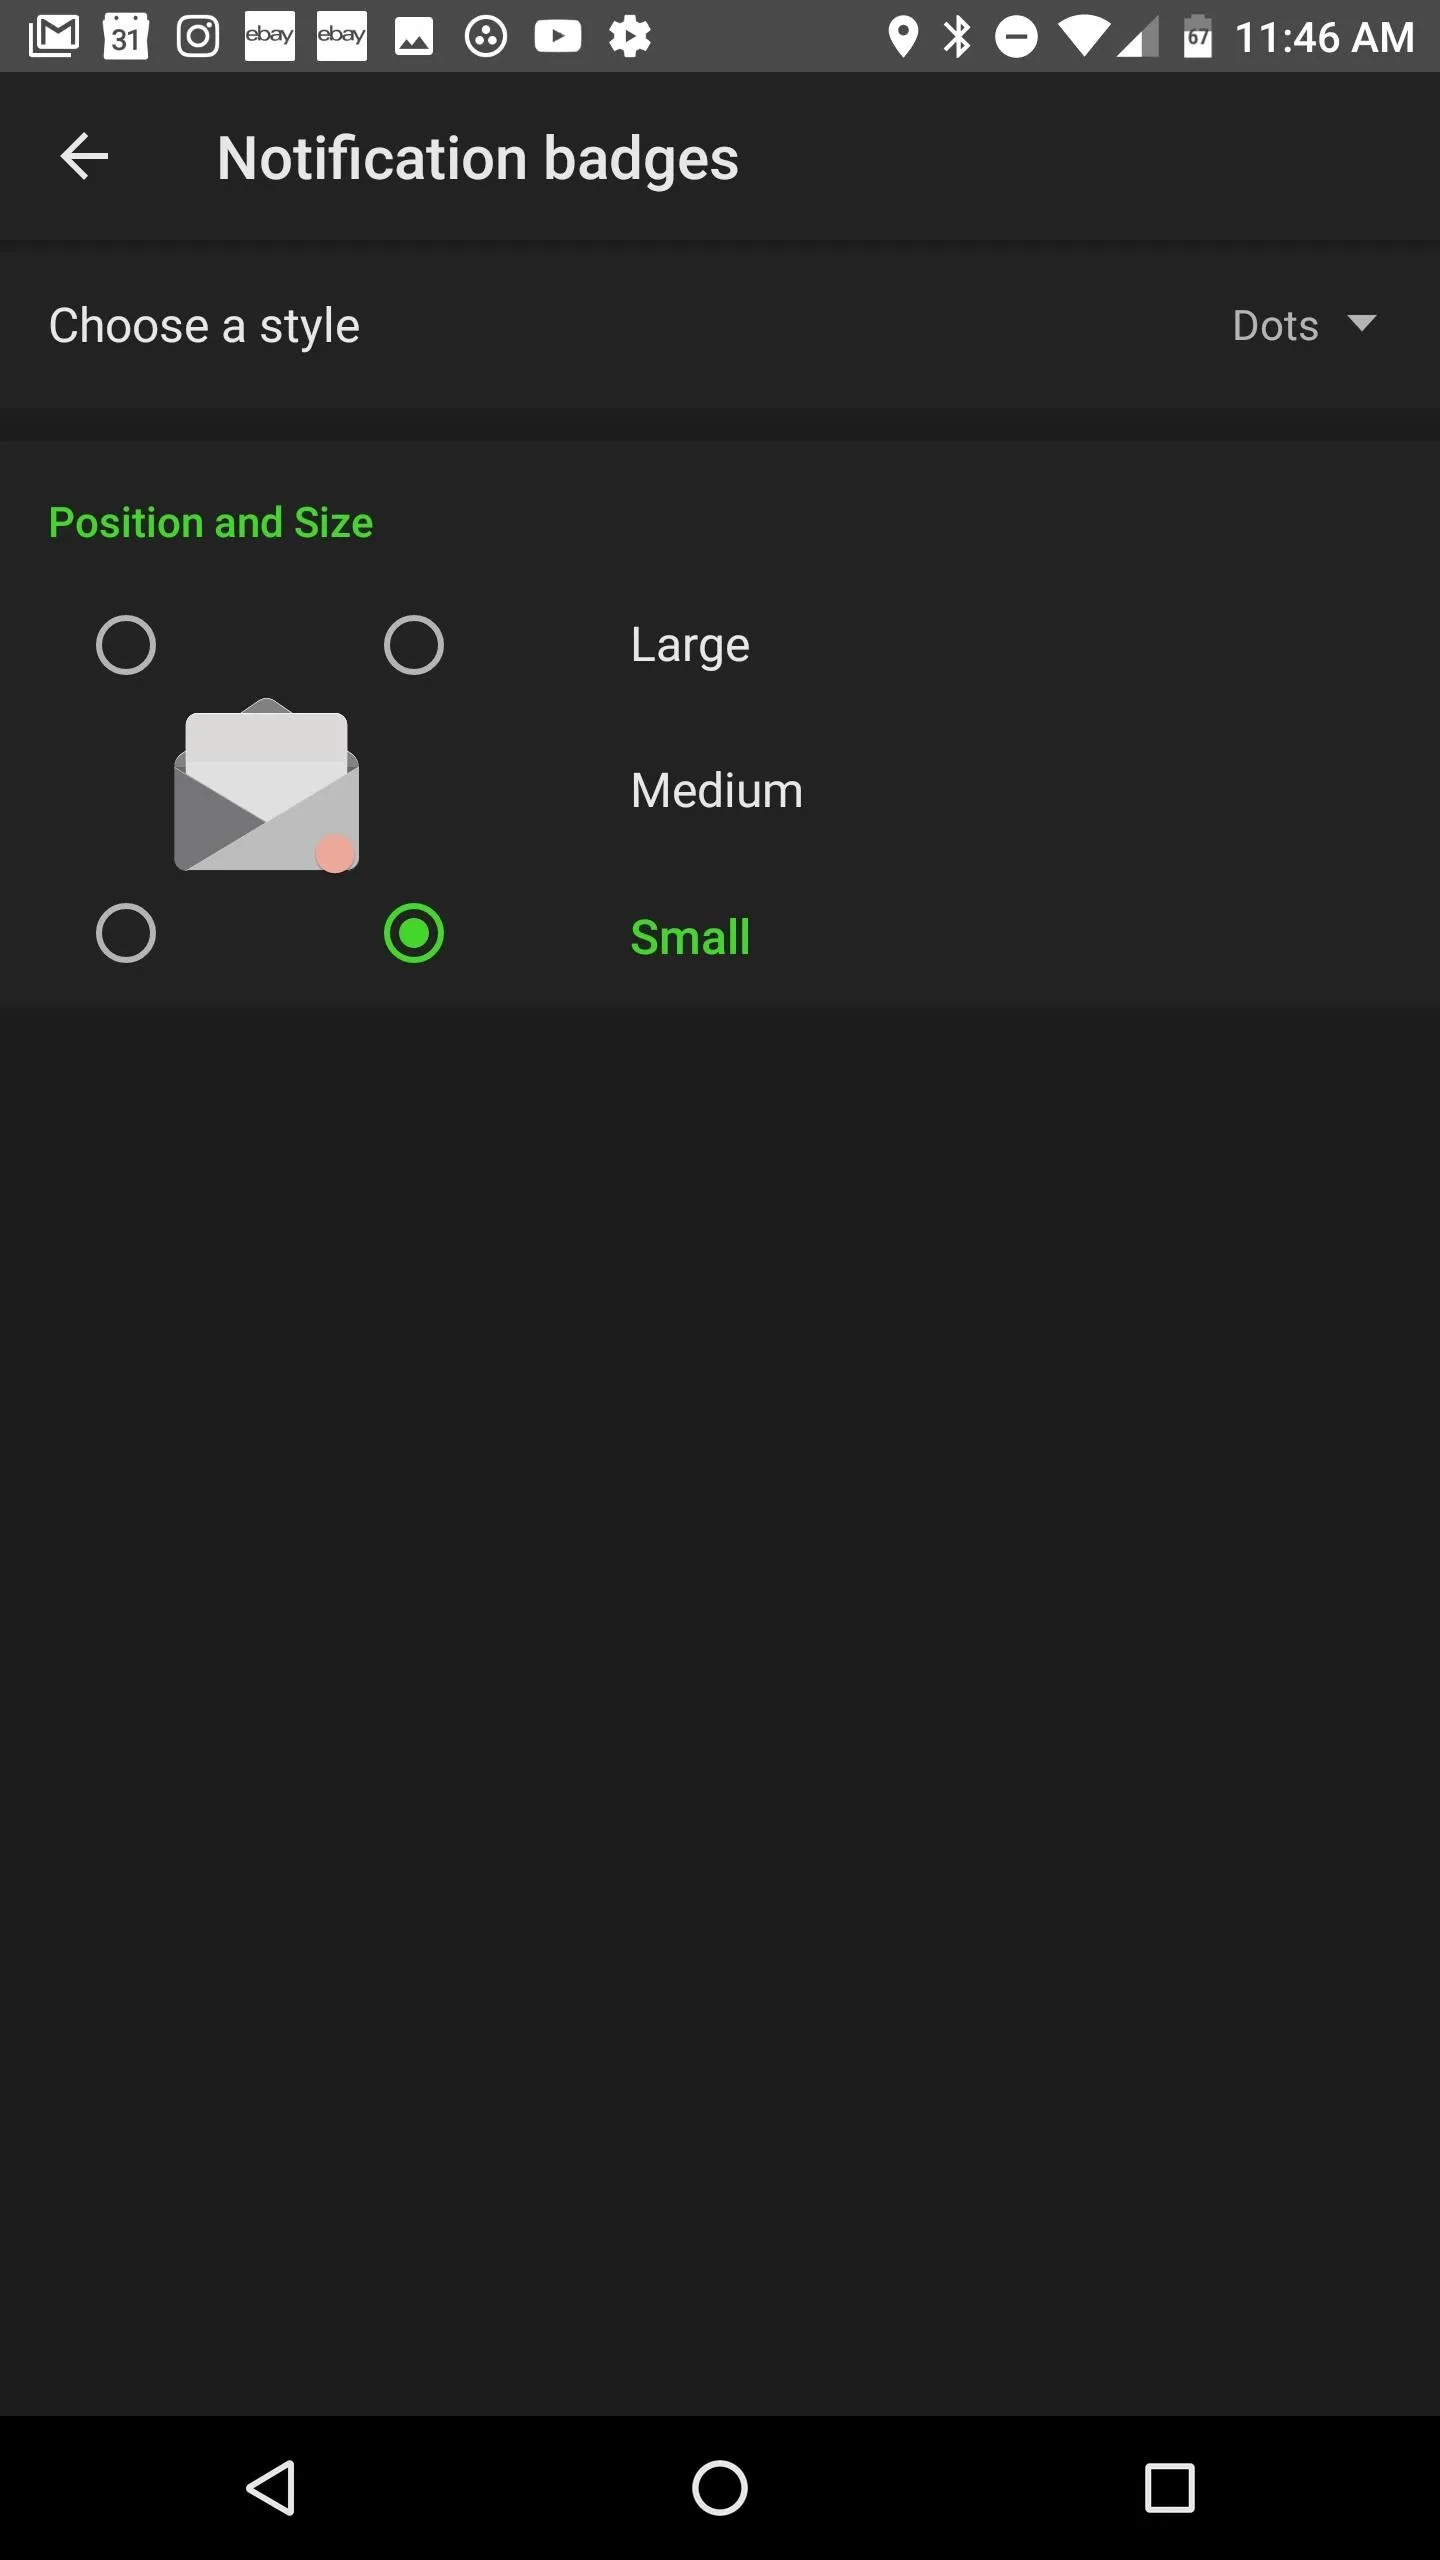
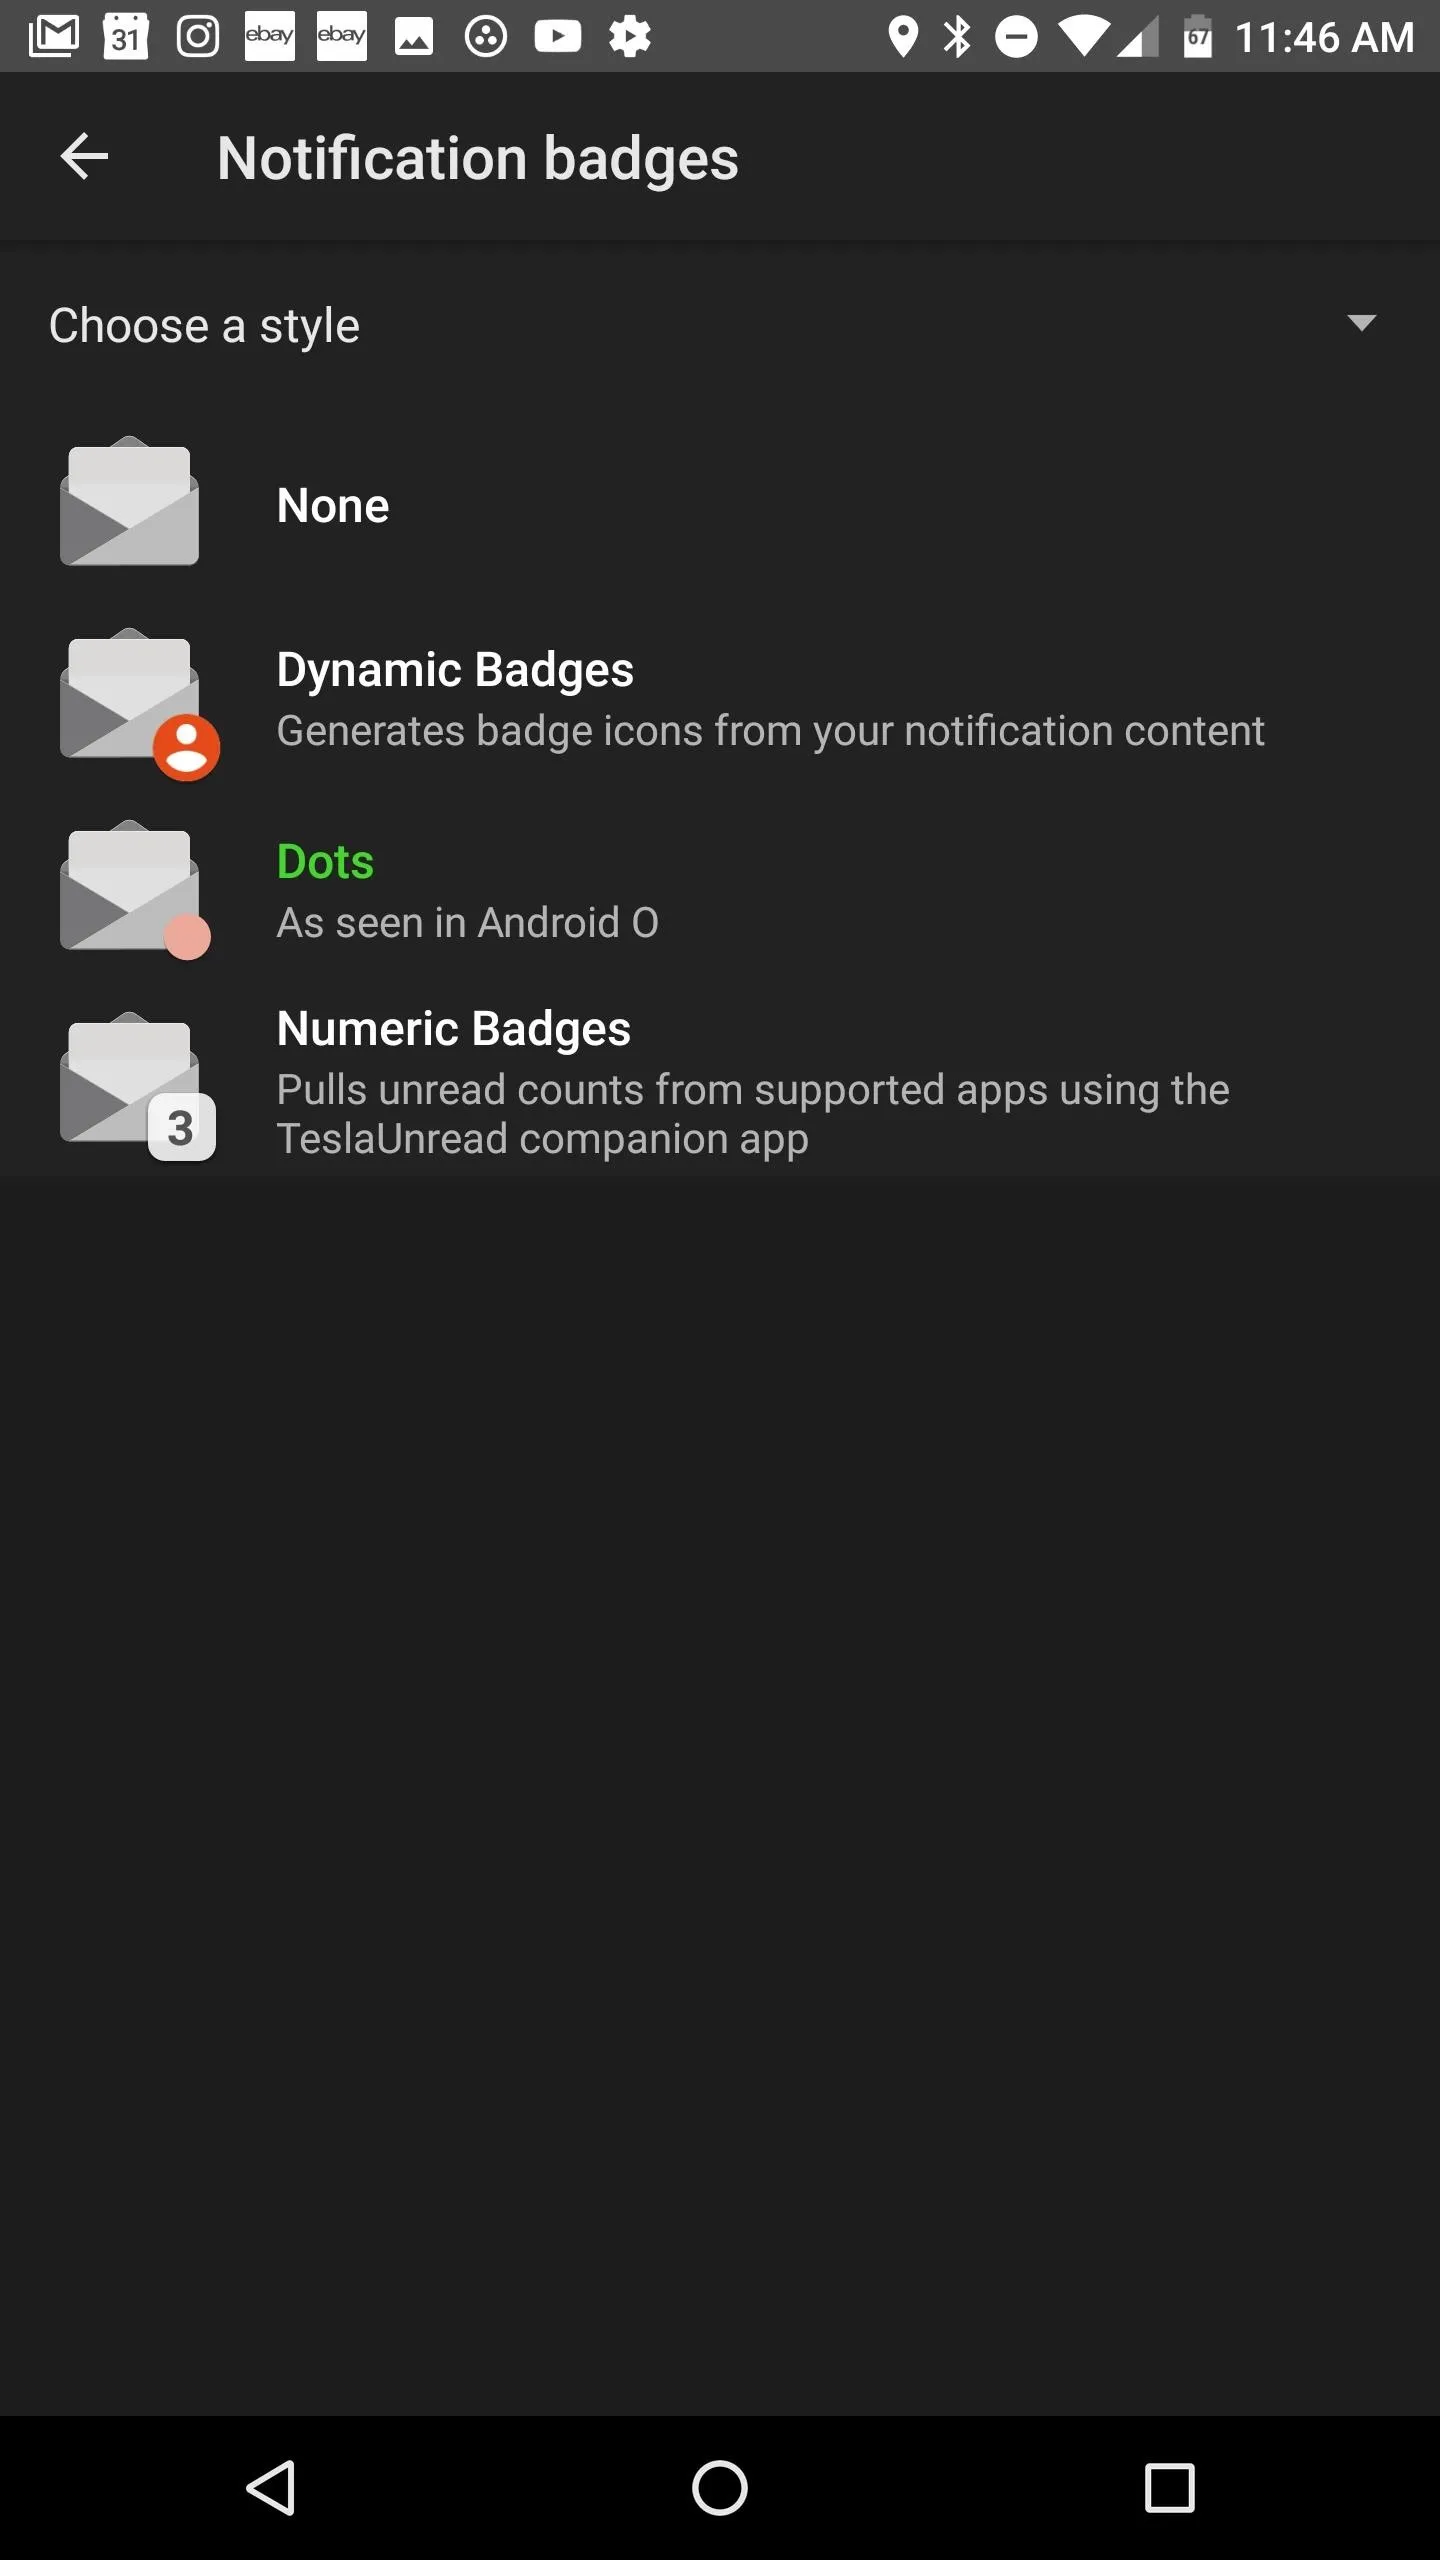
Interacting with notifications is another area where Nova comes in handy. Notifications badges come standard in Nova, whereas many Android OEMs choose to omit them. If you like the look of the new notification dots in Android Oreo, you can even enable this feature on your Razer phone!
Return back to Nova's settings, tap on "Notification Badges," then "Choose a style." The three available options are Dynamic Badges, Dots, or Numeric Badges. If you want contextual information on your notifications, Dynamic Badges is a solid choice, but we like the aesthetic simplicity of Dots. After choosing your style, you can also tweak the size and position of the badge.
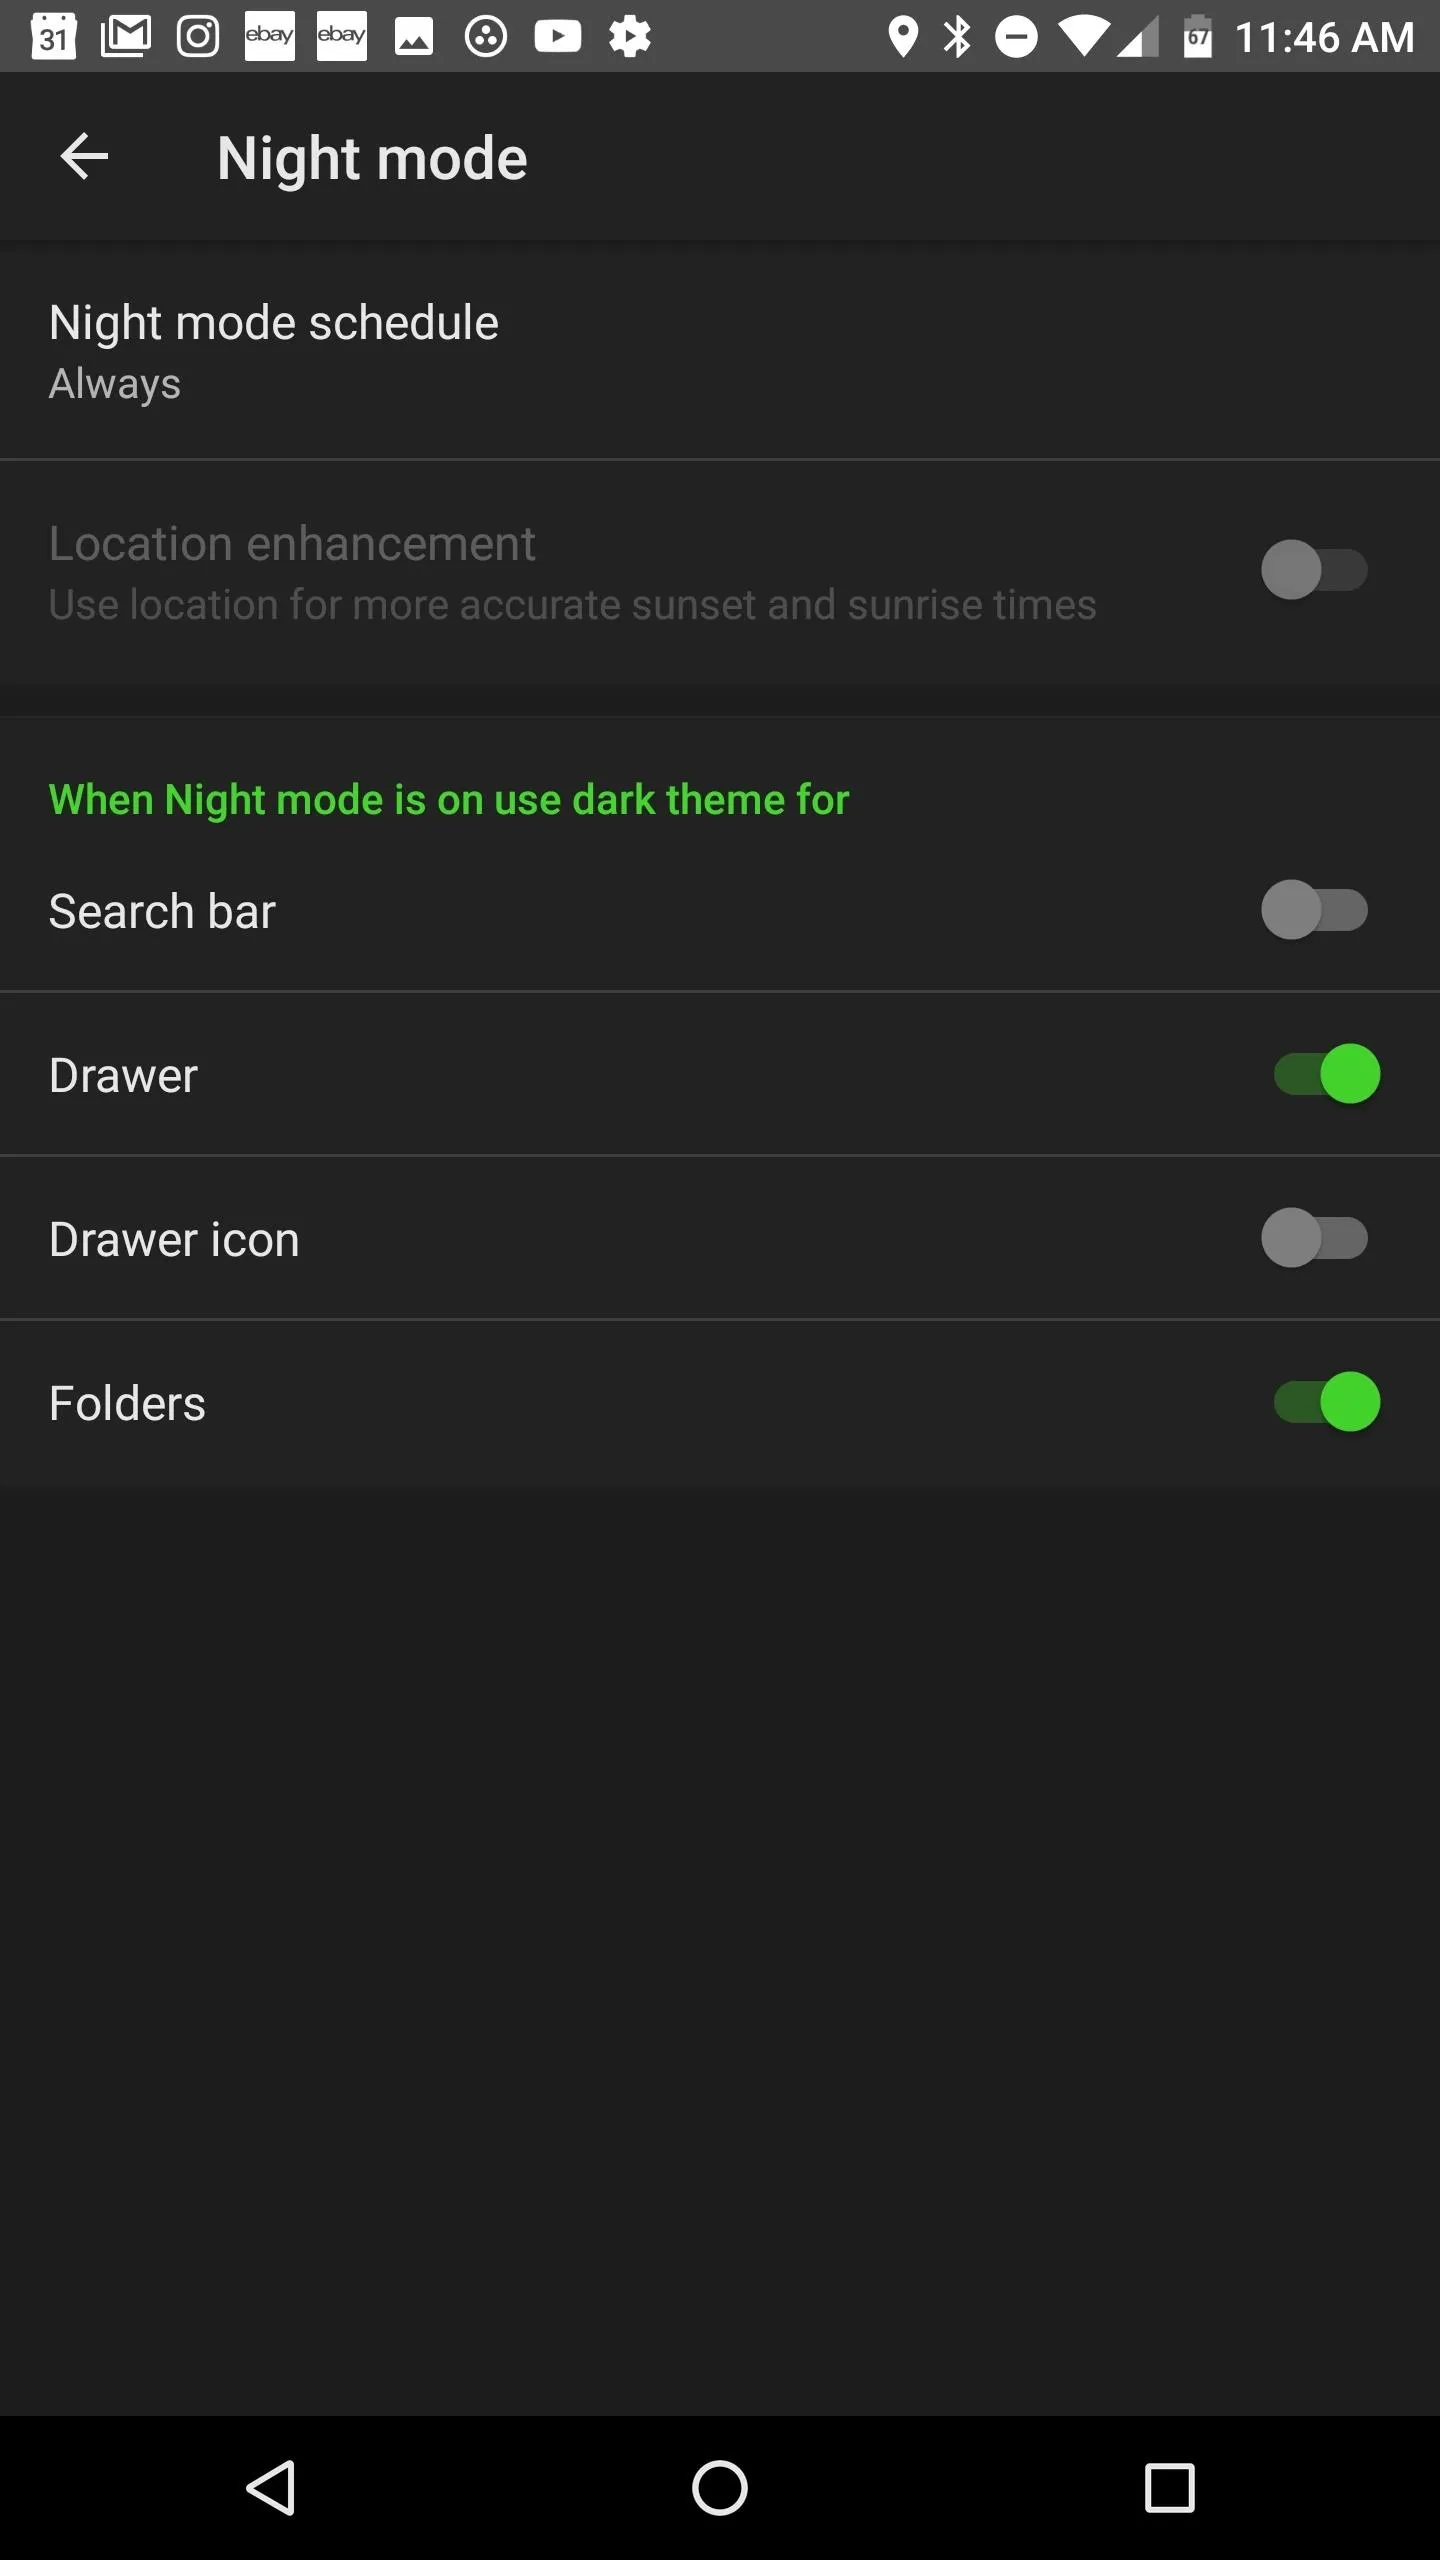
10. Customize Night Mode in Nova Launcher
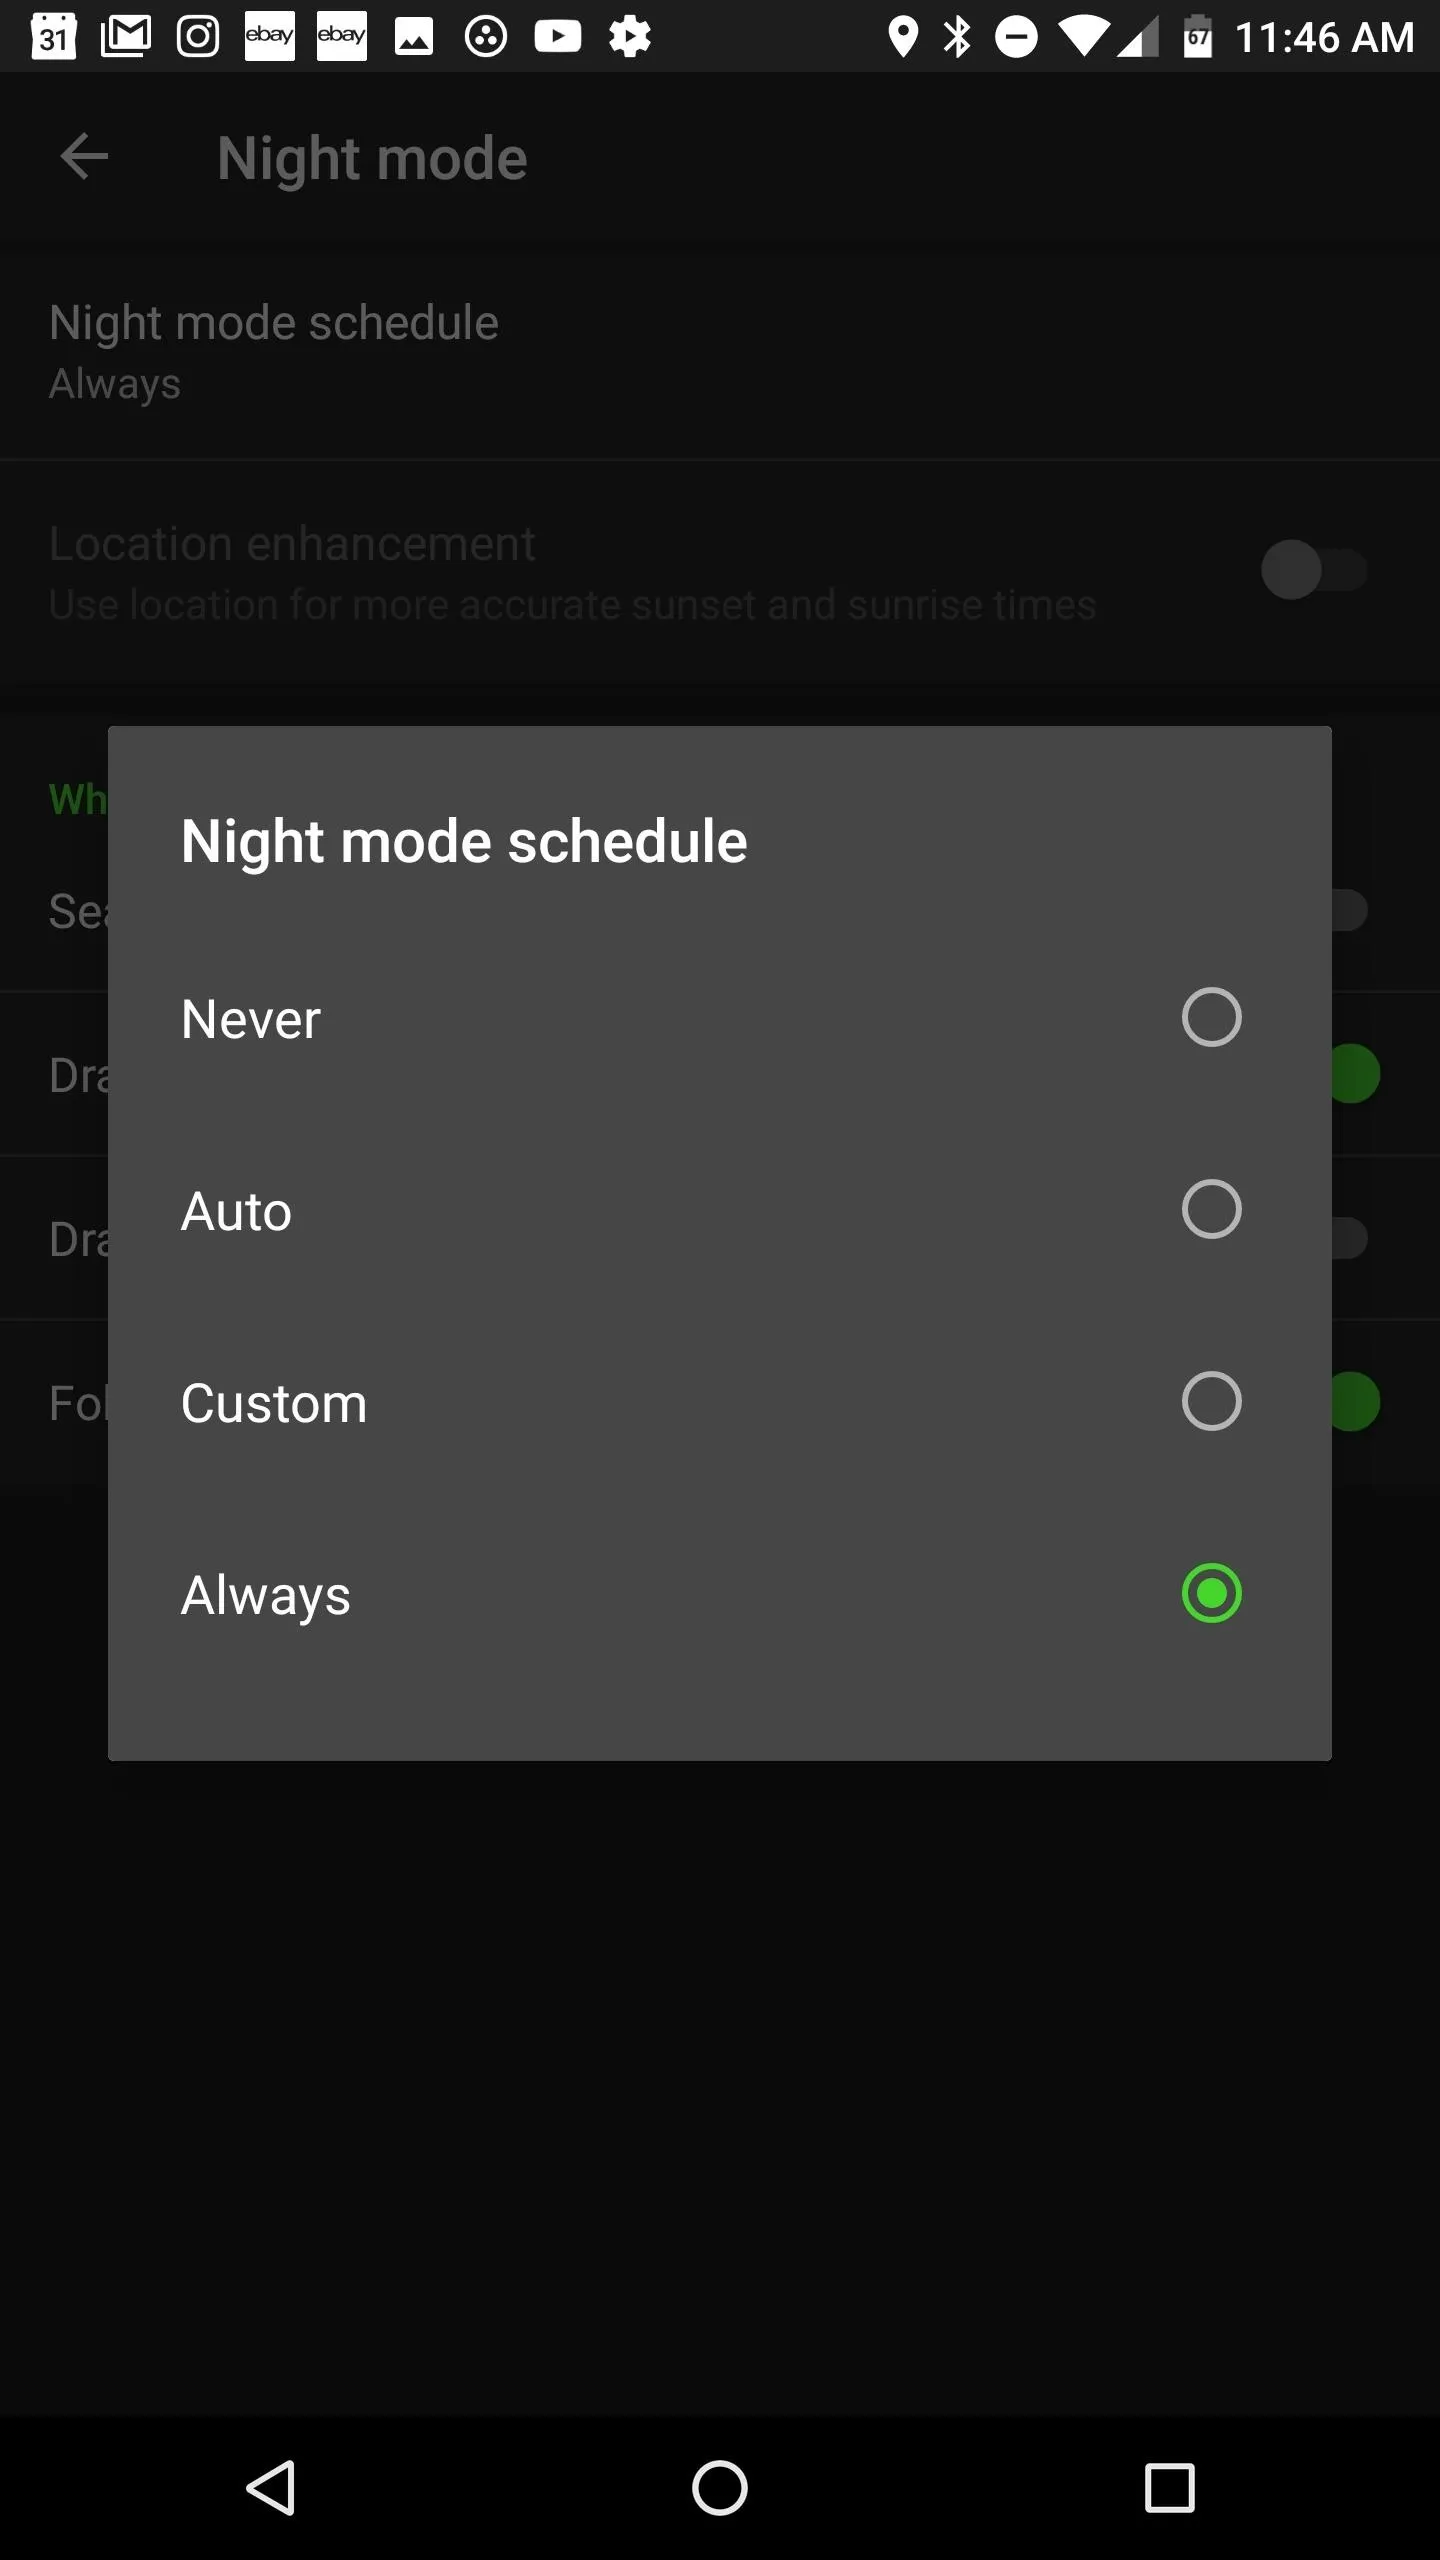
If you like dark themes in apps, you'll love Nova's Night Mode feature. With Night Mode, you can get a dark background for your Nova Launcher settings, app drawer, drawer icon, and even the search bar! There is an option to set up Night Mode on a custom schedule (similar to Night Light), or leave it on all the time. We have chosen to enable the feature all the time because it looks so sweet with the Razer-green accent color.
To access Night Mode, head back to Nova's settings menu, tap on "Night Mode", and choose your settings. It's worth noting that if you're using the default launcher style, the "Drawer icon" options won't do anything, as the Pixel-style app drawer does not feature a drawer icon.
Those are our top ten tips for setting up your new Razer Phone fresh out of the box! With the numerous customization options afforded by Nova, you'll never get bored with your daily setup. Let us know in the comments below if you have other customization tips to share. Also, feel free to share your customized home screen setup with us!
- Follow Gadget Hacks on Facebook, Twitter, Google+, YouTube, and Instagram
- Follow WonderHowTo on Facebook, Twitter, Pinterest, and Google+
Cover image and Screenshots by Jeff Springer/Gadget Hacks


Comments
Be the first, drop a comment!