


If you love to take selfies and post them online for all the world to see, then it's important to ensure that you are always sharing your best side. It's pretty common for people to just open up their stock camera app and snap a quick photo, wherever they may be — but there's a bet
ter camera you could be using.
Your stock camera is fine, of course. But if you're a frequent Instagrammer or social media user and build your reputation and maybe even your brand off of your face, then why not take the best selfie ever, right?
One really easy way is to start shooting in VSCO, an all-powerful camera and photo editing app. It comes with a number of basic and advanced manual camera controls that allow you to set up that perfect shot. VSCO's camera provides you with high-quality results, and it's a camera that once you use it, you'll never shoot from your phone's stock camera app again.
For this tutorial, I'm going to walk you through VSCO's basic front-facing camera features for Android so you can quickly start upping the quality of your selfies today. If you don't already have VSCO on your Android device, then you can install the app from the Google Play Store.
The features for VSCO on Android differ from iOS. You won't find all VSCO's advanced camera features available on Android devices, but similar basic camera features are available for you to use.
Also, VSCO's camera on the LG V20, V10, and G6 devices have dual camera lenses so your VSCO camera may look a bit fish-eyed. If you don't want a fish-eyed look, then, unfortunately, it may be better to shoot your selfie from within your device's stock camera app.
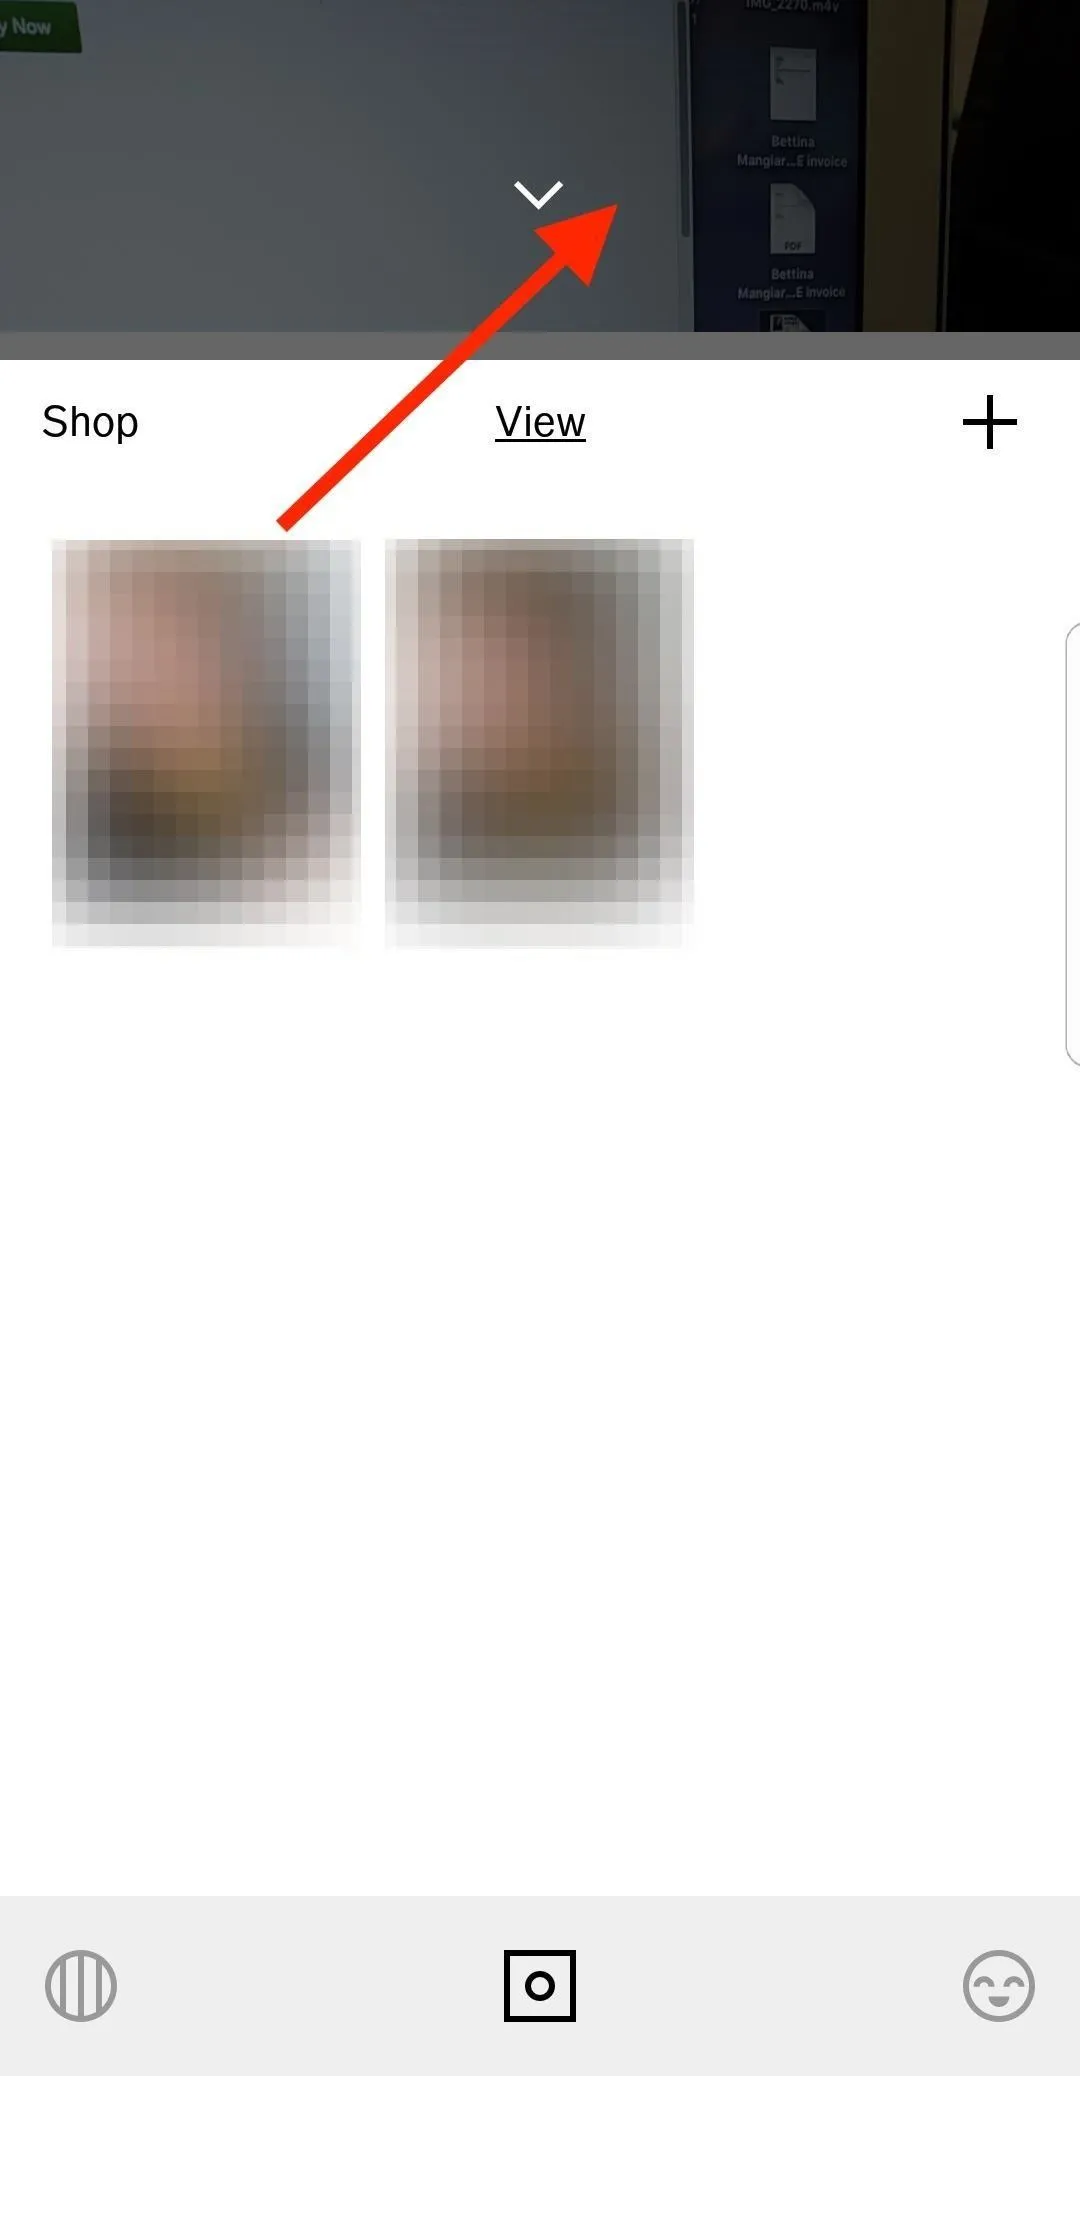
Access VSCO's Selfie Cam
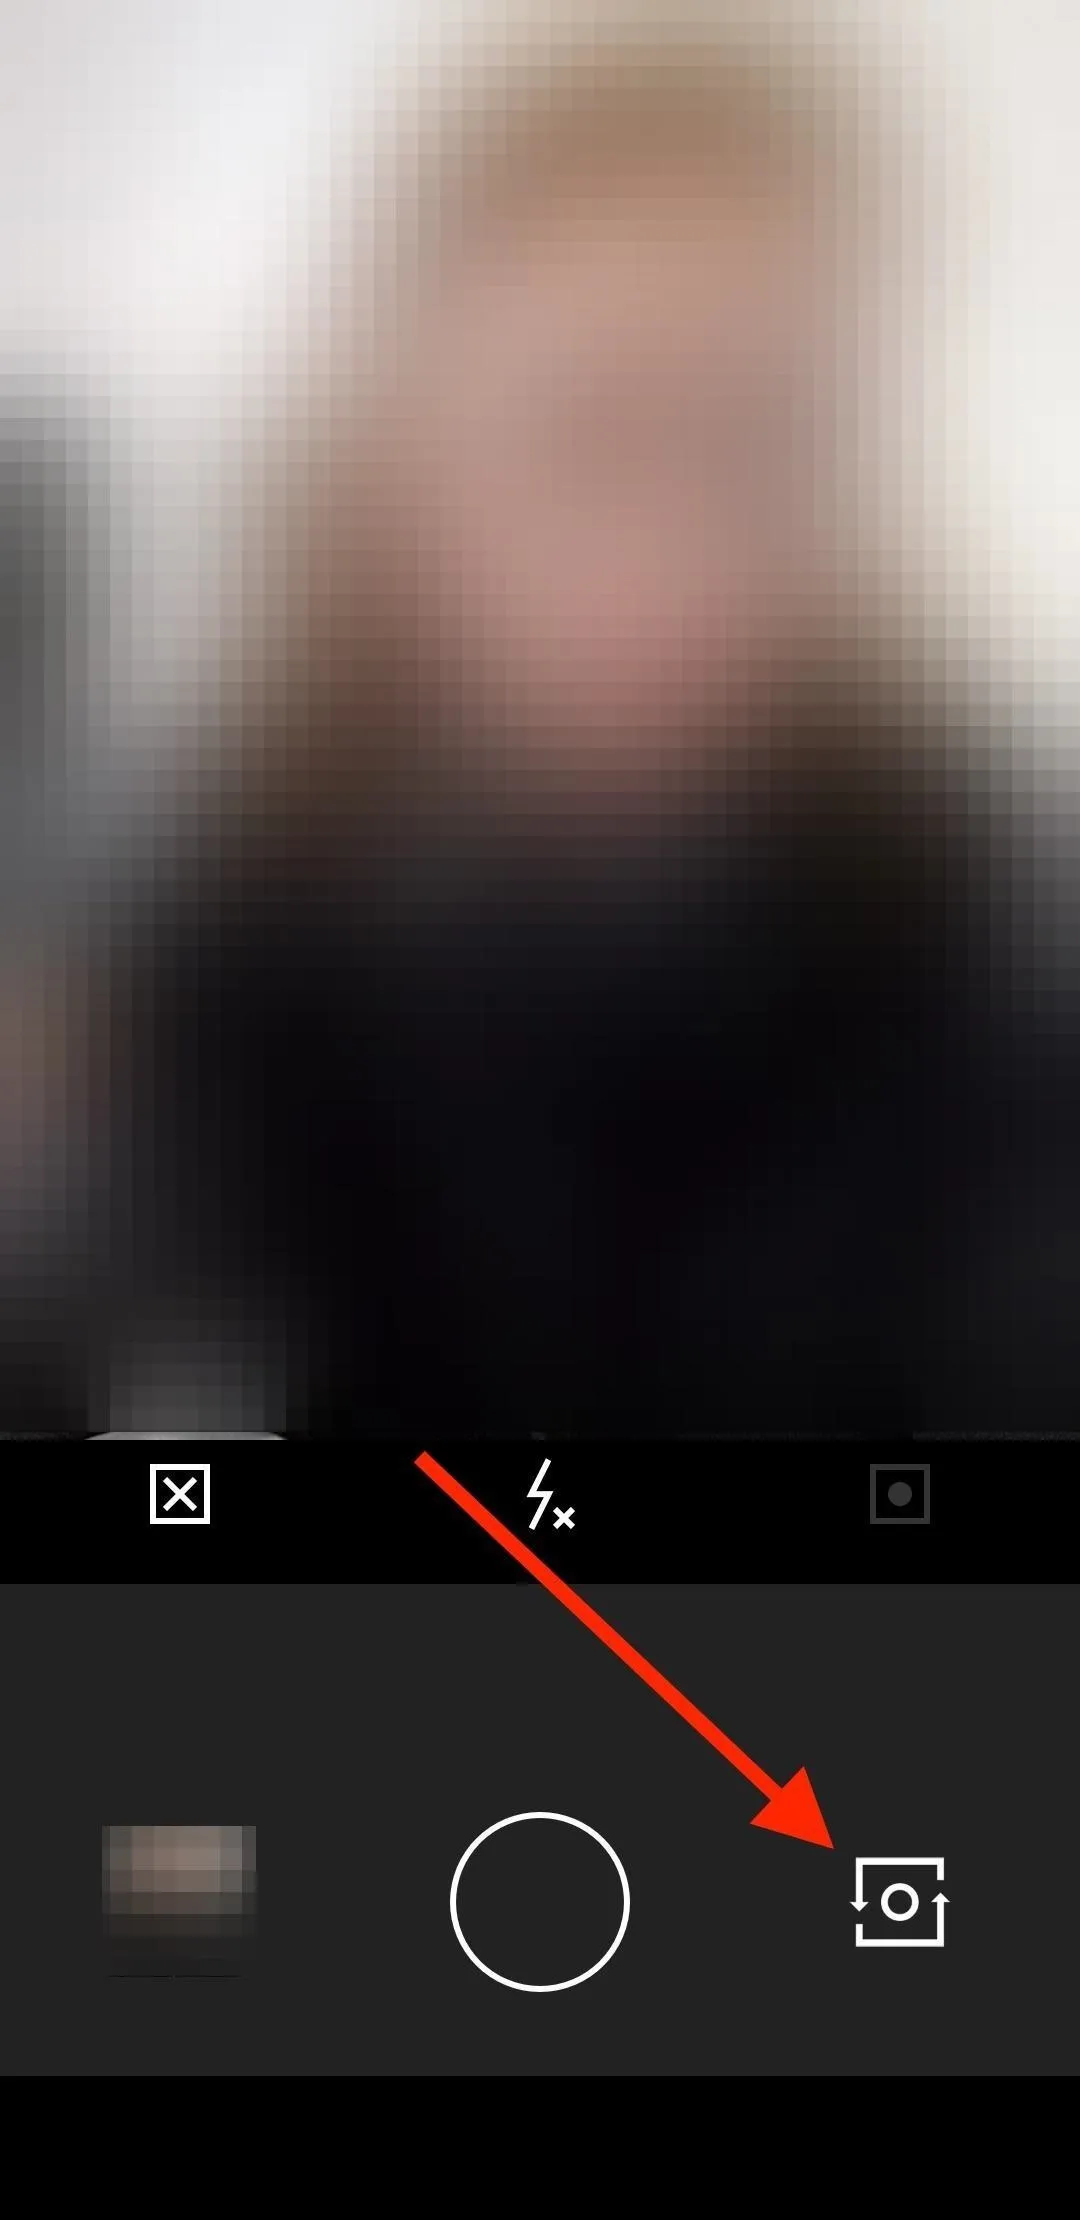
From the app's main home screen, tap on the square camera icon on the bottom toolbar to access your image gallery. To access VSCO's camera, tap just above the white image gallery on the viewfinder, then tap on the circle with two arrows around it in the bottom right to access selfie mode.

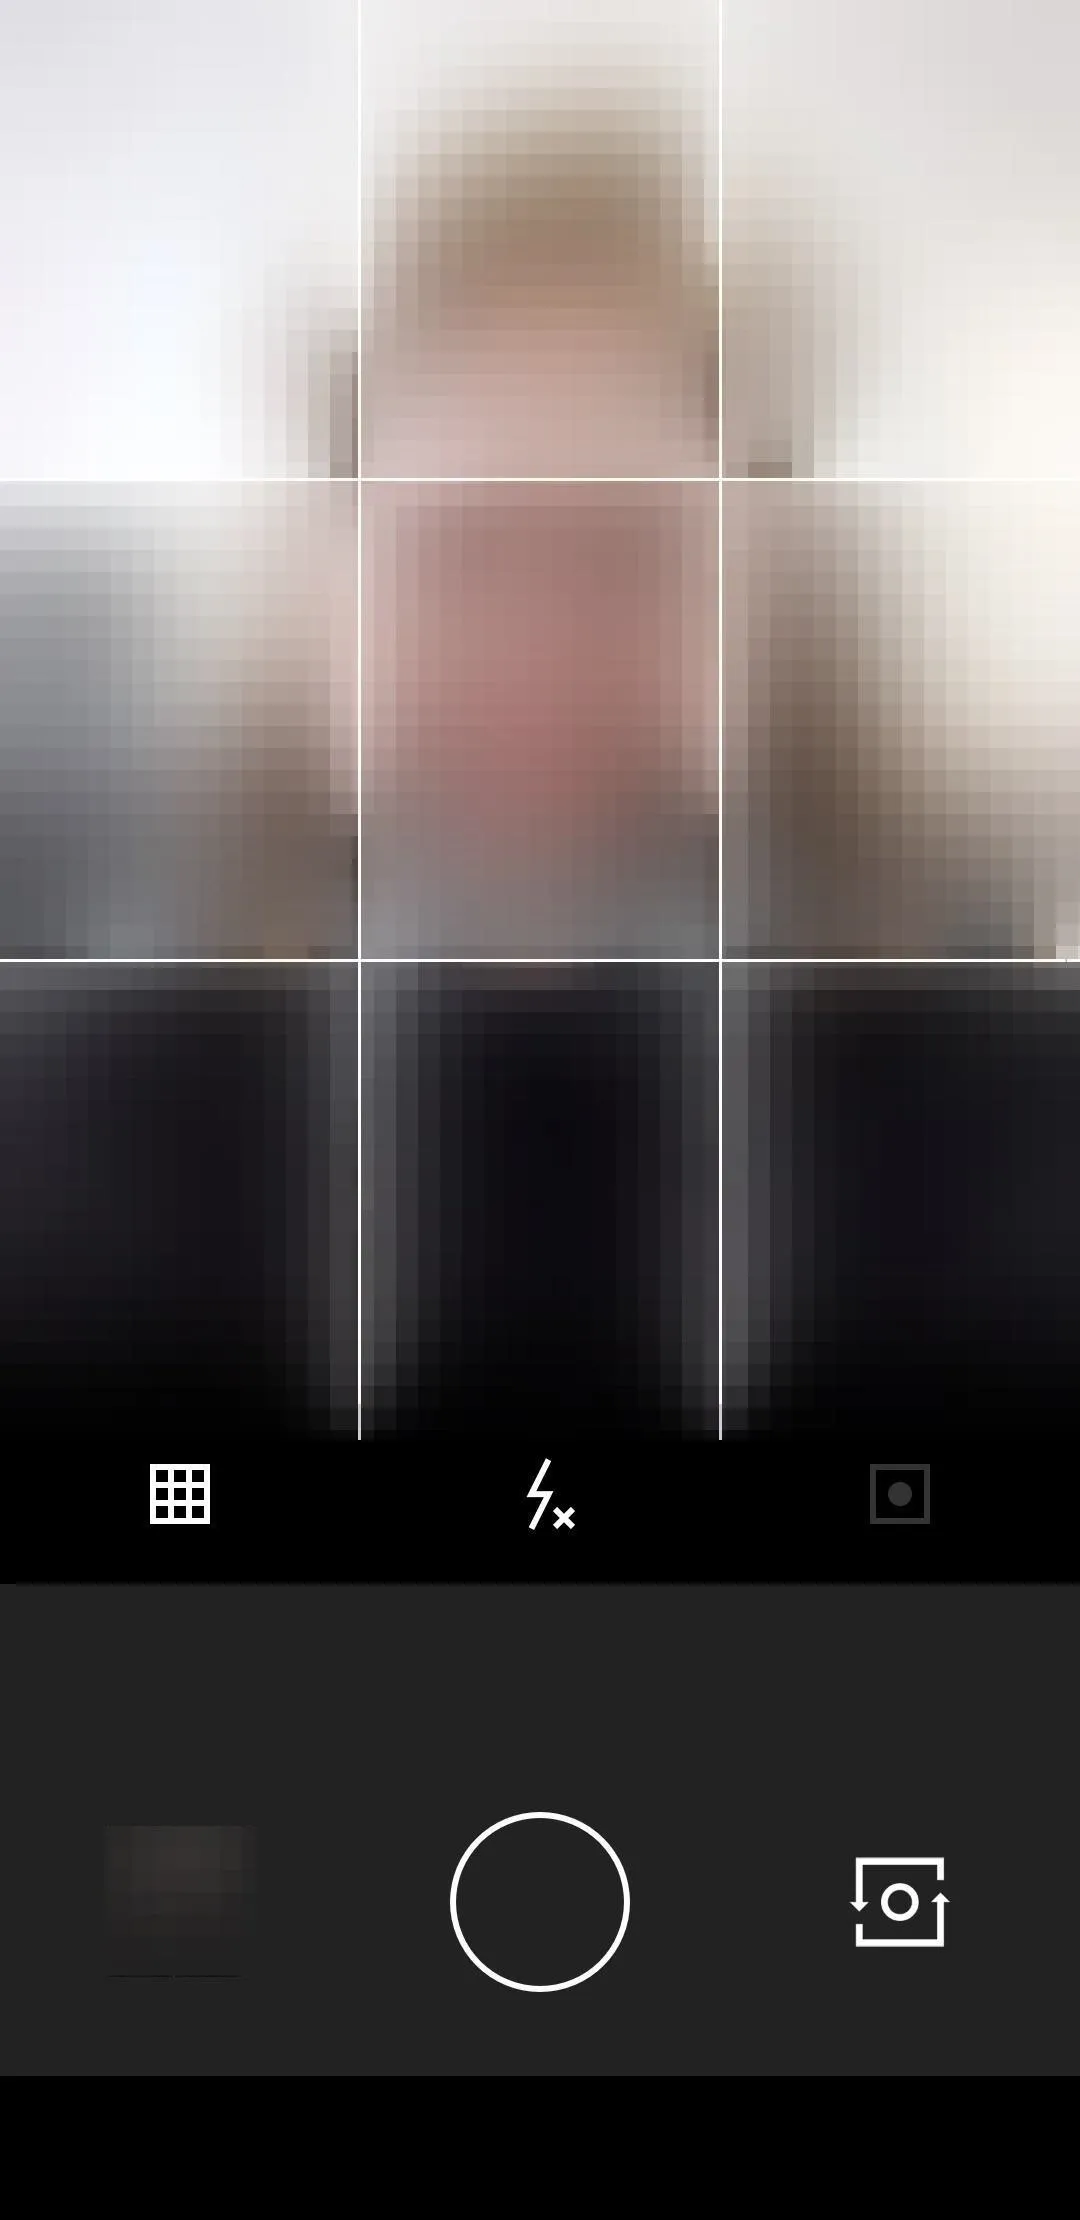
Frame Your Face
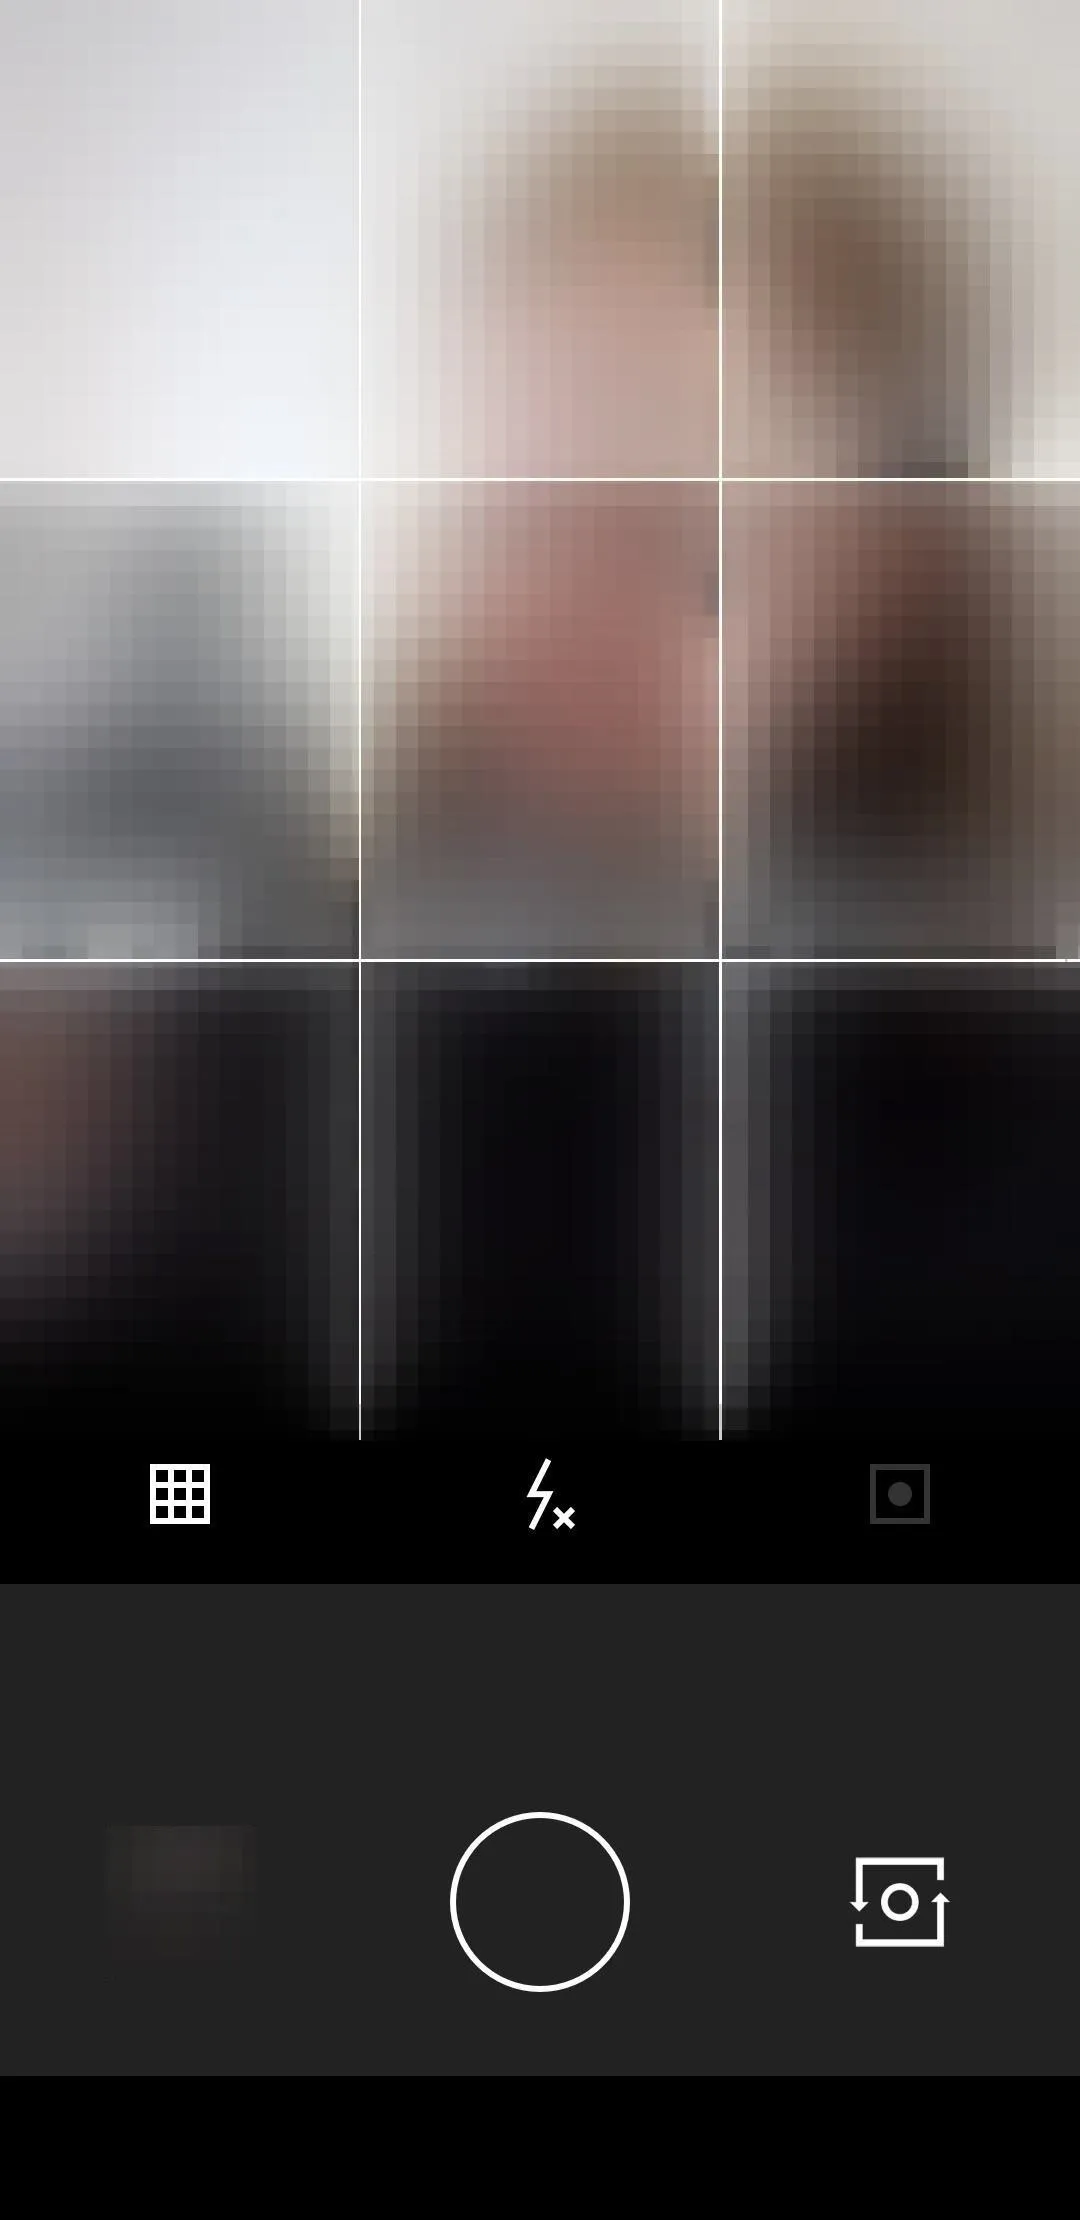
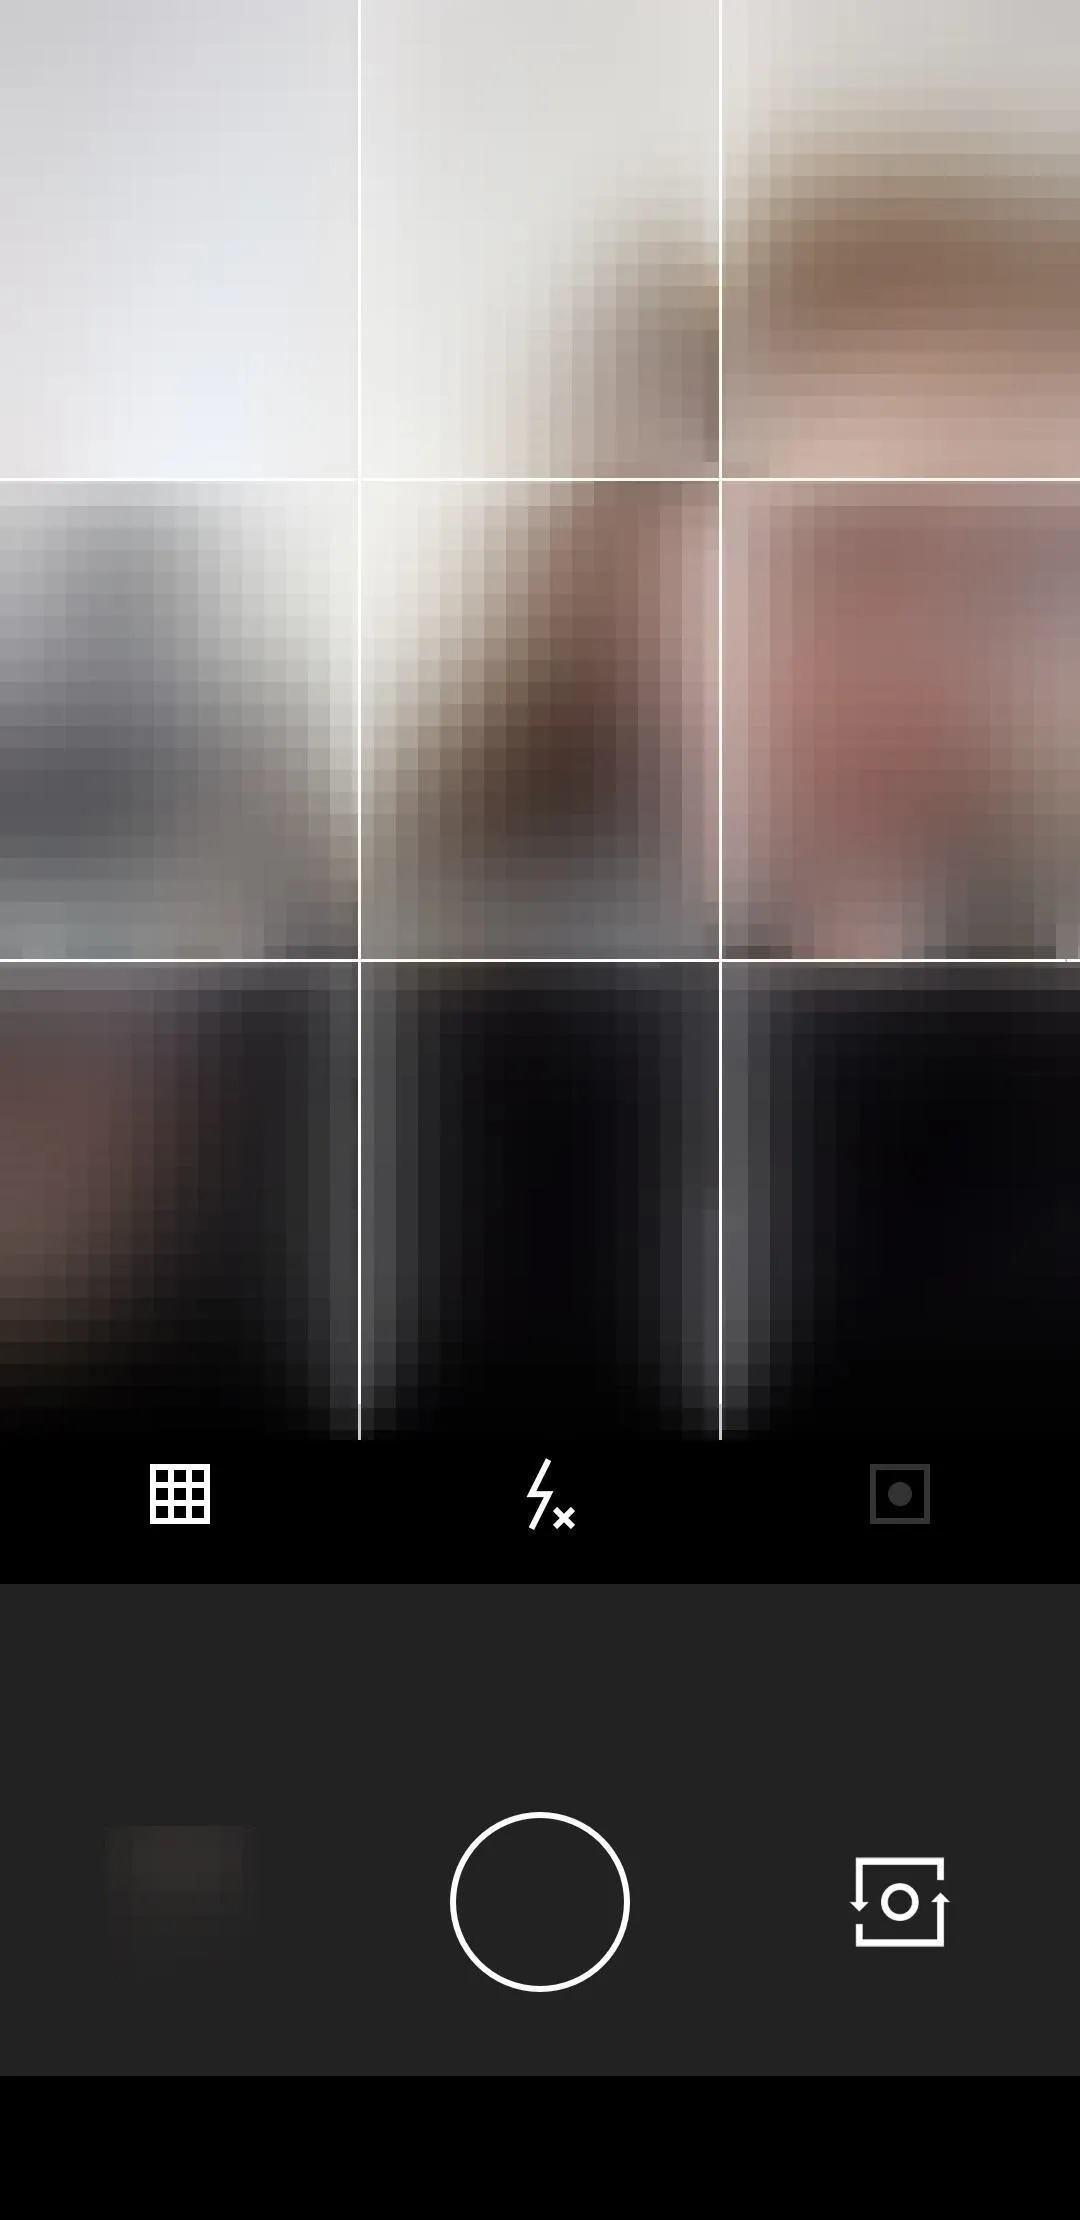
To make sure your face is in the perfect spot in your selfie, you'll want to enable the rule-of-thirds grid on the viewfinder. In the toolbar, tap on the far left icon that's either an empty square or a square with an "x" in it, until you see four intercrossing lines appear on your face. The resulting icon will look similar.
The grid is useful if you're taking a selfie and want to ensure that your face is centered and perfectly straight or in a good spot with any other subjects in the frame, according to good rule-of-thirds photography.
Square It
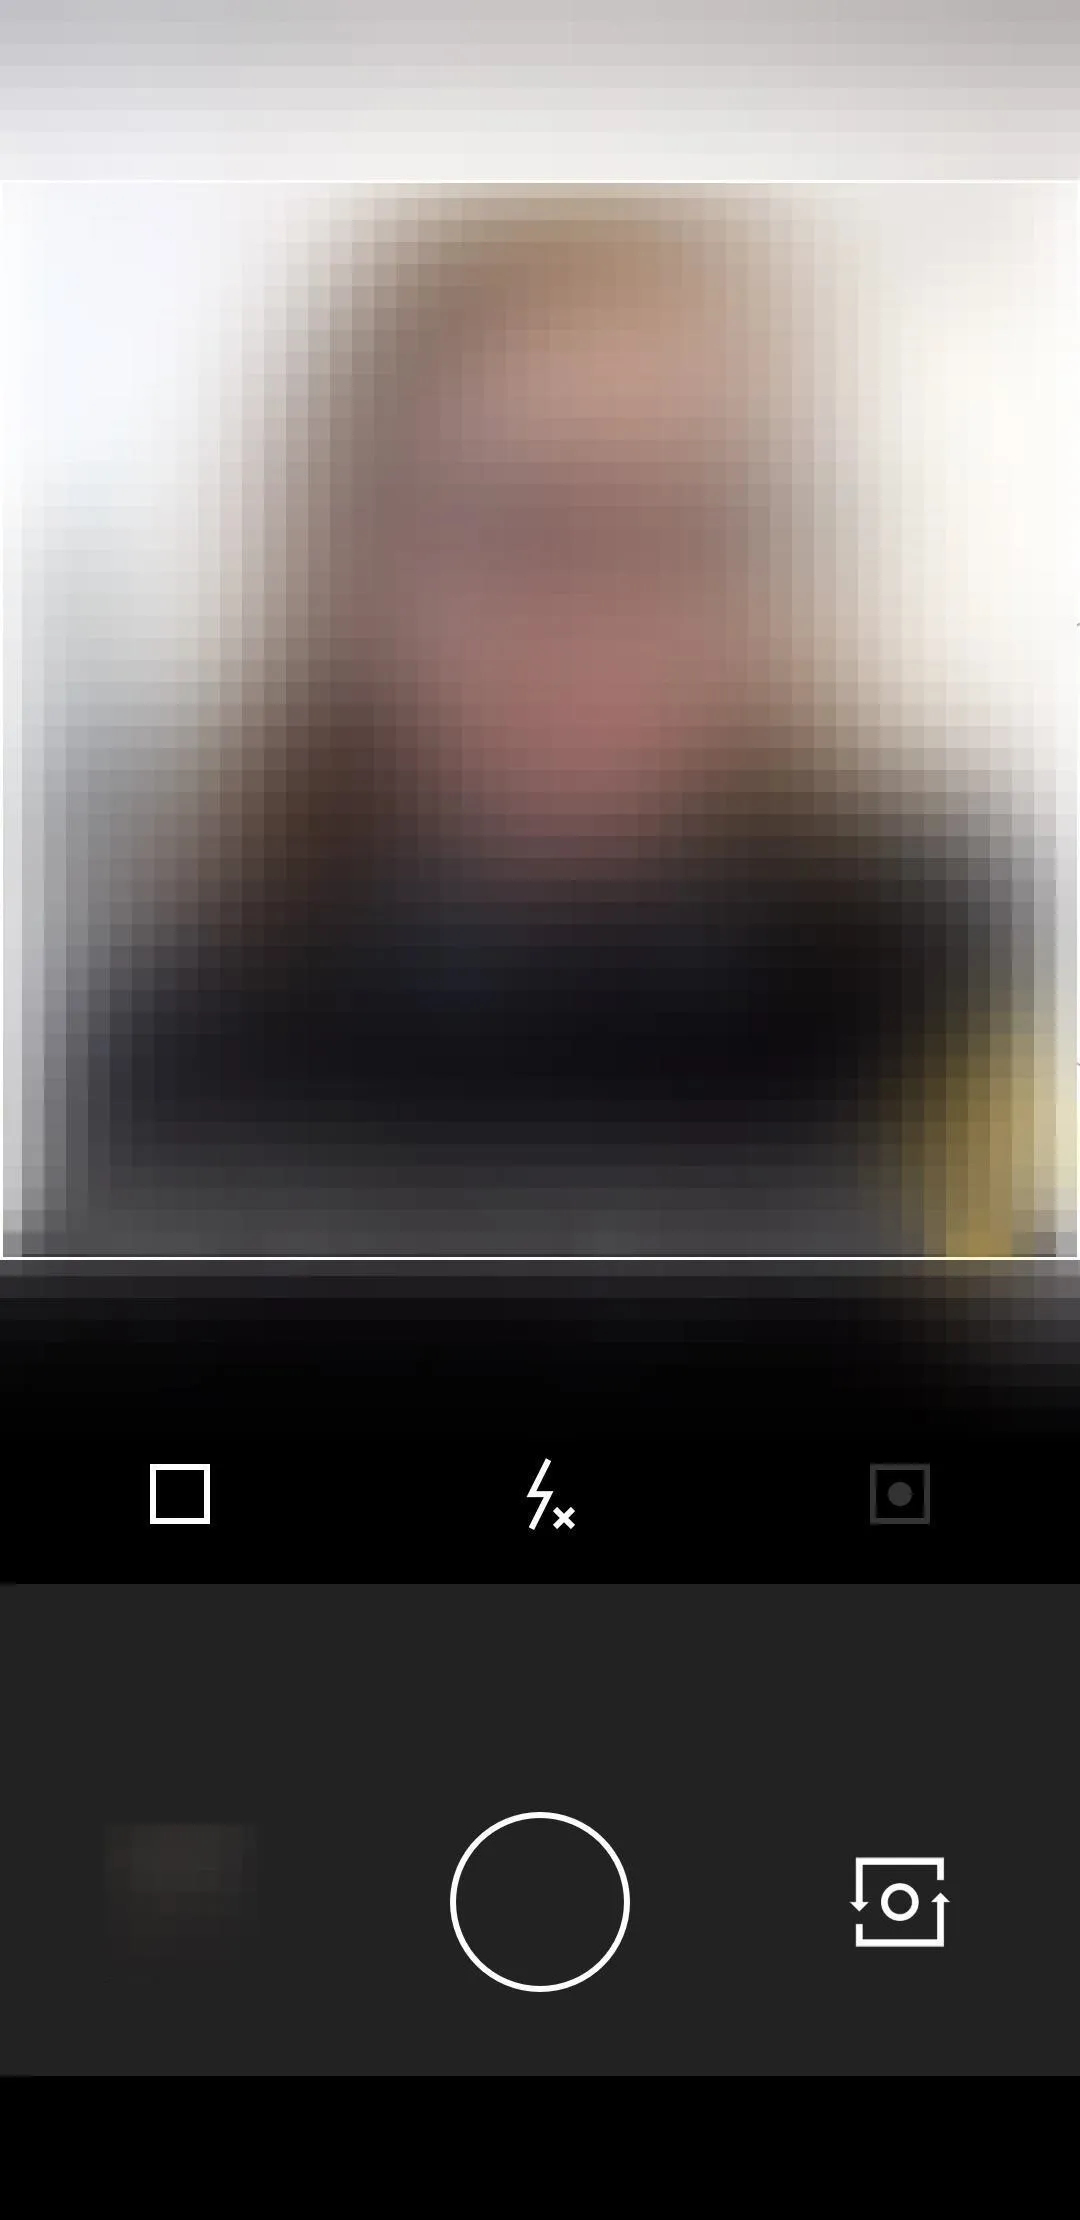
Apps such as Instagram favor images using the square aspect ratio, so if your selfie is going to end up there, you can enable the square view in the camera. Just tap the grid icon or the icon with the "x" in it until it's an empty square. A square will appear in the viewfinder to help you prepare the image for cropping later.
Note that the image won't actually come out as a square — it only helps you make sure your face is in the frame when you're ready to crop to a square later.
Shutter Up
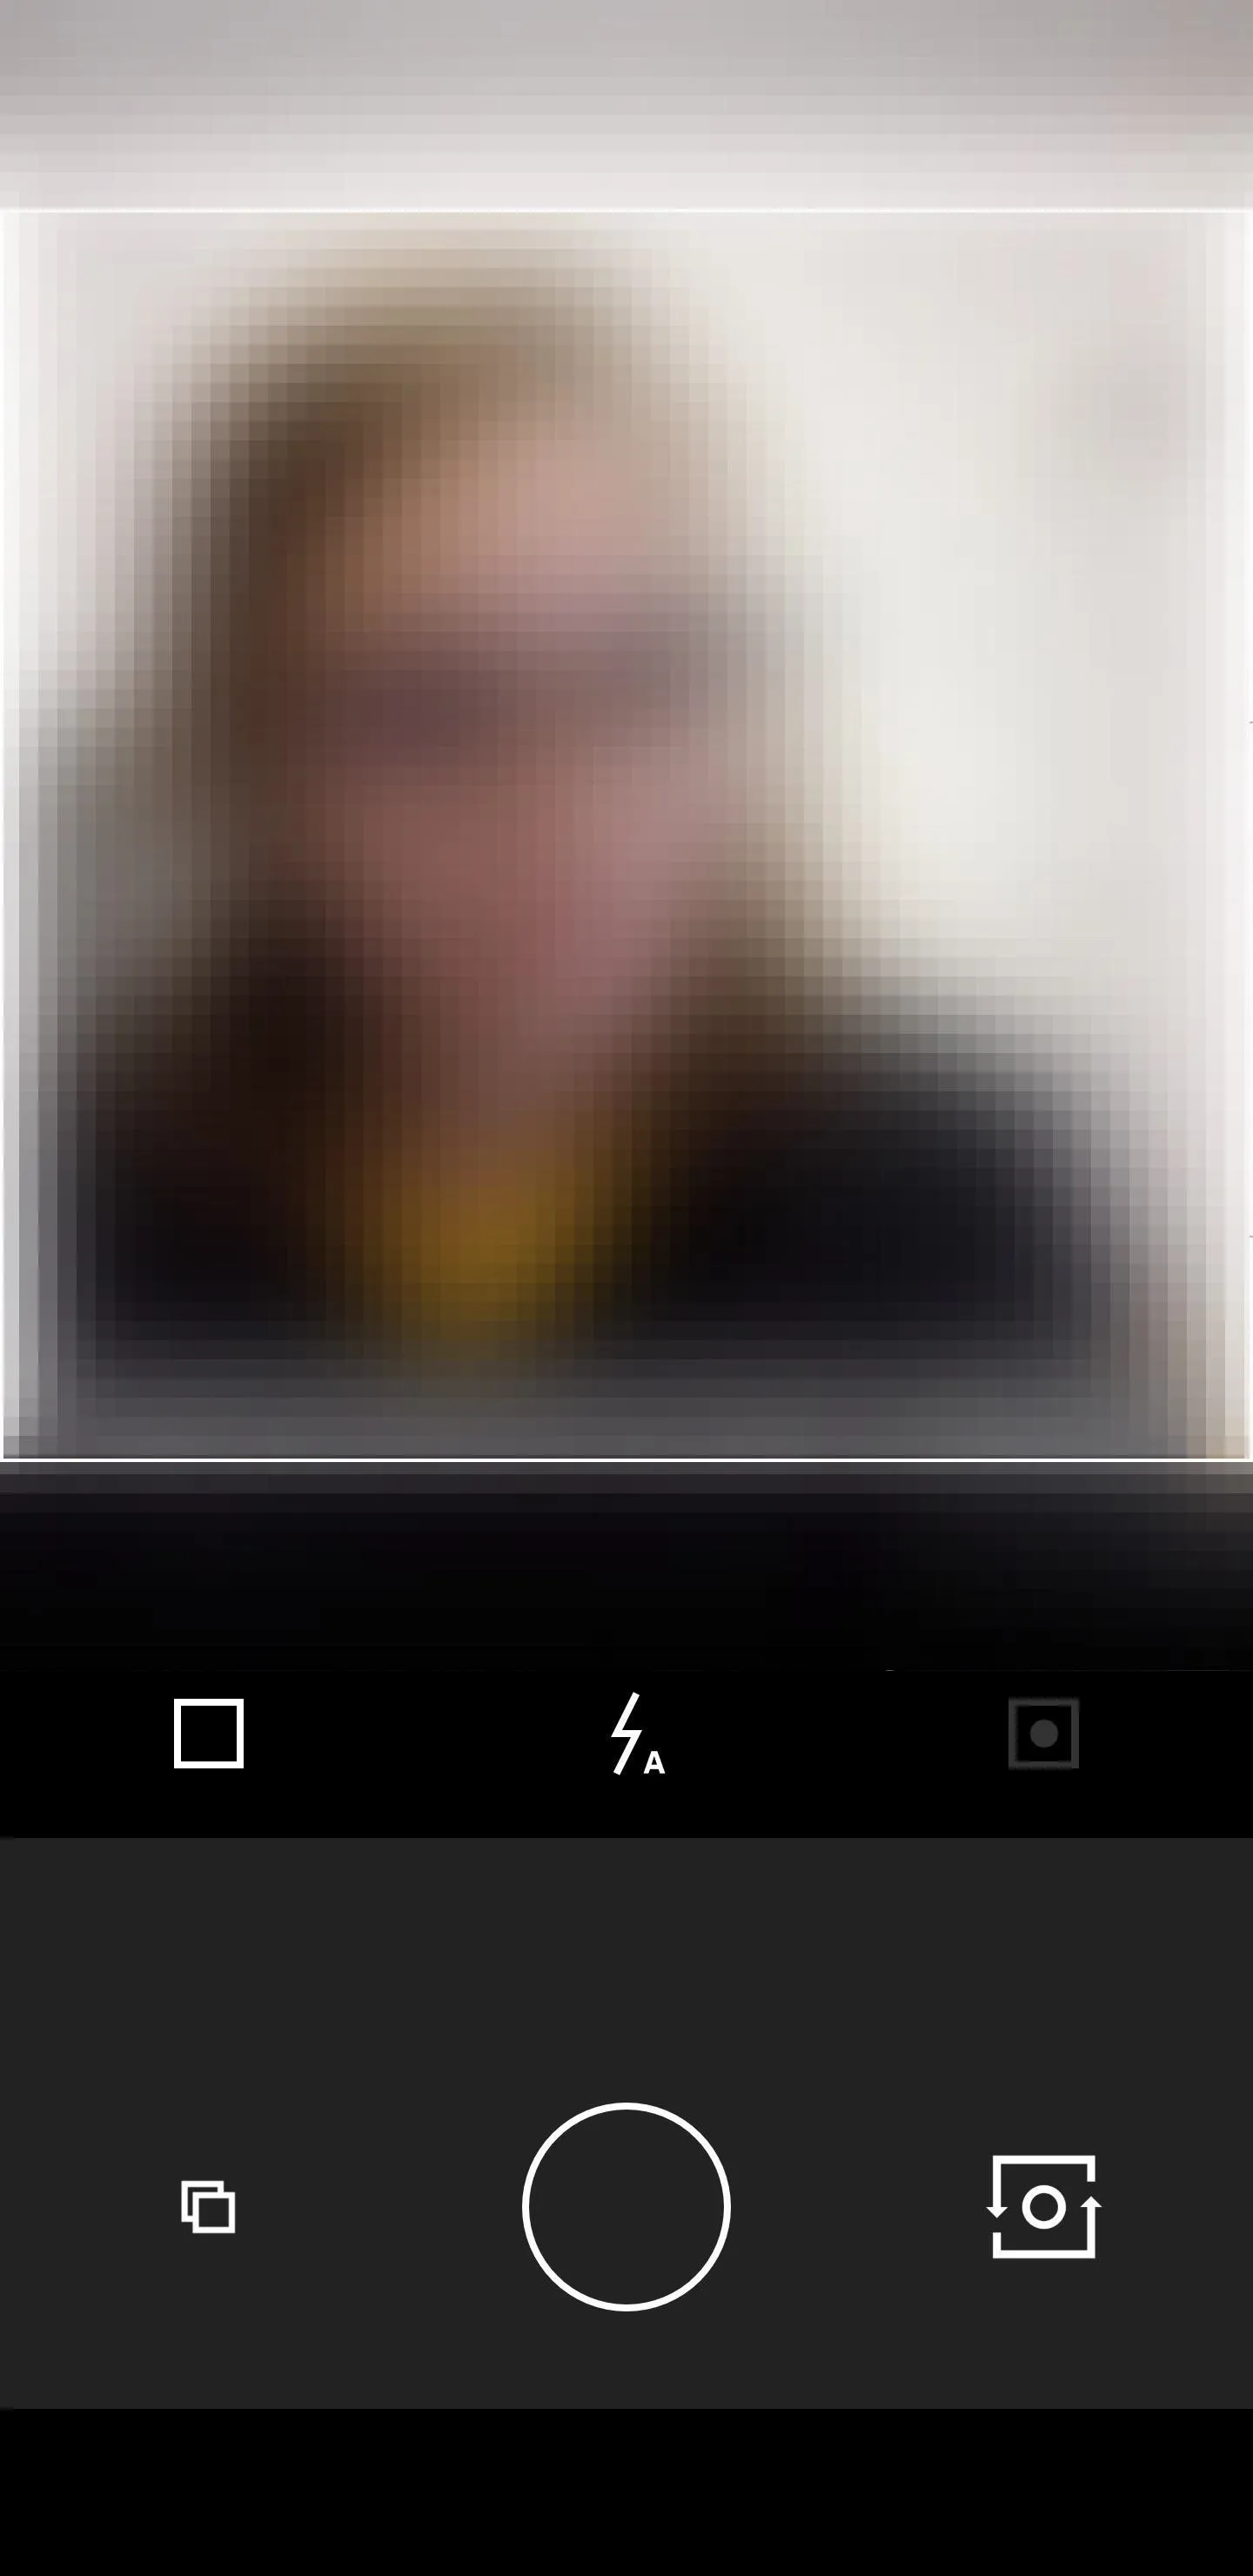
The last big front-facing camera feature you'll want to use is the full-screen shutter button. This is the grayed-out square icon with a circle in it. Tap on it to enable the full-screen shutter button.
Your phone's screen will now have a red rectangle surrounding it. When taking selfies, you don't want to put much effort into making sure you're tapping the small circular shutter button or accidentally missing it. The full-screen shutter allows you to tap anywhere on the screen to take a photo, so you can concentrate more on the selfie and not snapping it.
Just note that the manual focus option will be turned off when this is on, so you won't be able to tap to focus on your face anymore. However, even with the full-screen shutter off, when you tap to focus, when you let go the image will be taken. But not all Android phones support the focus feature though.
If you'd like to disable the full-screen shutter, then just tap the icon once more to gray it out again.
Ignore the Flash
In the middle of the toolbar, you'll see a flash icon. You can simply ignore this, because it won't work in selfie mode on an Android phone. At least, not on any Android phones we've tried out. This seems to be an iPhone-only feature.
Selfie on, My Friend
Once you've taken your photo, it will automatically save to your image gallery. To see the photo you just took, tap on the image thumbnail next to your camera's main shutter button. From here, tap on the ellipsis ( ... ) icon to share it, save it to your phone's gallery app, or delete (remove) it. You can also access these menu options from within your VSCO image gallery by tapping on the image, then tapping on the ellipsis at the bottom-right corner.
If you'd like more tips on how to take a better selfie, like ways to angle your face and light your photo, then check out our guide below.
Cover photo and screenshots by Bettina Mangiaracina/Gadget Hacks


Comments
Be the first, drop a comment!