


Setting up a new Android phone can be a pain. Although Google has some automated features, it does not restore everything. When it comes to transferring certain types of data like files and SMS logs, it's even trickier. By following our steps, you can be sure that you all your data will follow you to your new device.
We strongly recommend that you double check both phones to make sure that all data from the old phone made it to the new one. Unless you are pressed for time (such as if you are selling the previous phone), don't factory reset the old one until you know all your data has transferred.
Make a List of What You Need to Move
When first preparing to transfer over your data, you should break down all the different types of personal data you will need for the new device. When listed, you can check off items once they are transferred and can be sure to not forget anything. For your convenience, we created one for you. While this list isn't a one-size-fits-all, they are the common items that users want to retain:
- Apps (and their login information)
- Wi-Fi passwords
- Call history
- System settings
- SMS/MMS
- Local files (such as music)
- Photos/Videos
- Home screen layout
Restore Using Google
When first setting up a phone, Android will offer to restore your data from either NFC or from the cloud. While NFC is easier as it only requires you to physically touch each phone where their NFC chip is (which is normally on the back cover), it doesn't always work (if you have my luck, it never works).
Therefore, the more reliable restore method is cloud storage. With cloud storage, all your data from Google-based software (such as Google developed apps) will be restored. In recent years, Google has expanded this to include your Settings configurations and your Wi-Fi passwords, and several third-party apps will also pull data from this backup.
Google's backup service is only available for devices running Android Marshmallow or higher, meaning this step will only work if your old phone is running at least Android 6.0. To figure out what version of Android your old device is using, check out the following guide.
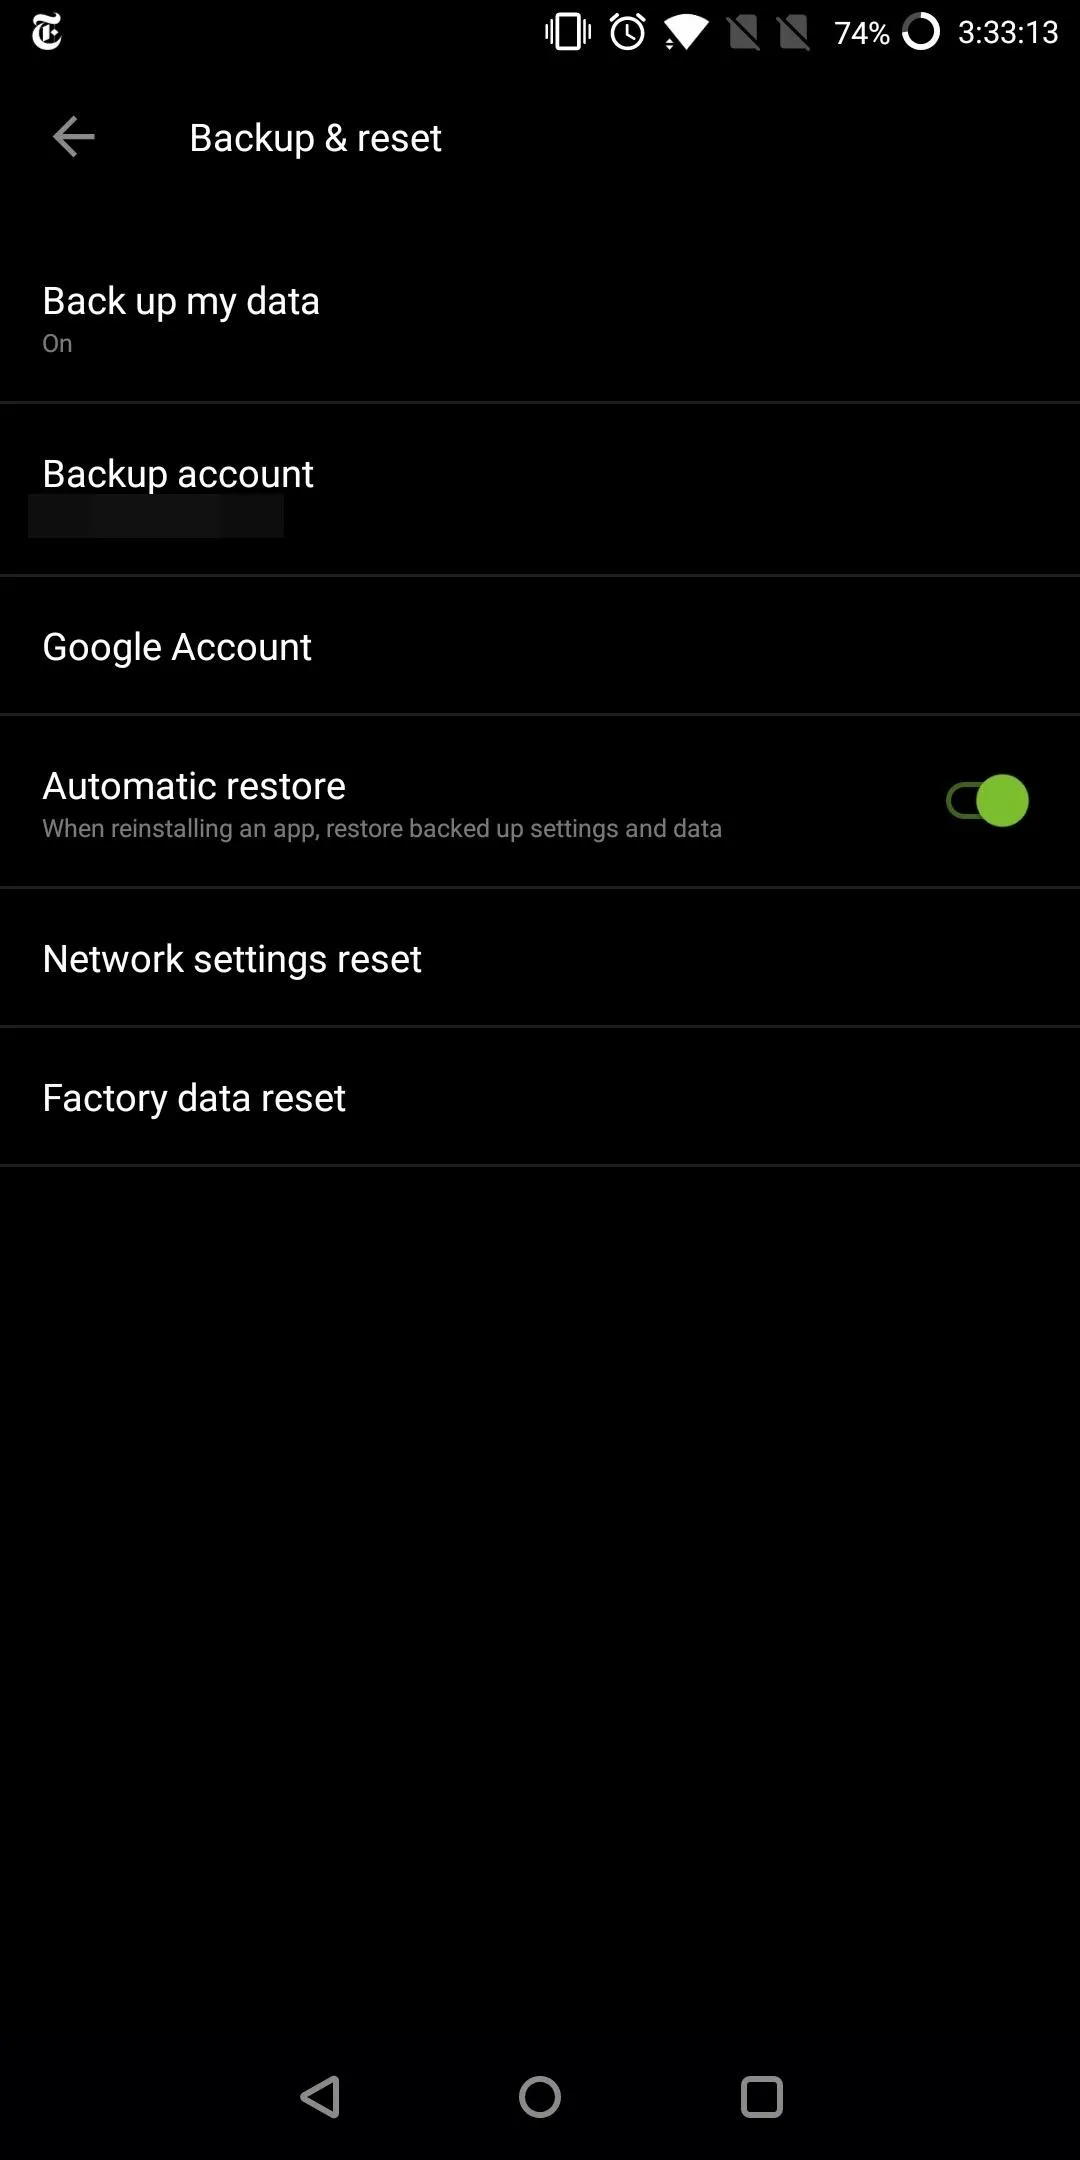
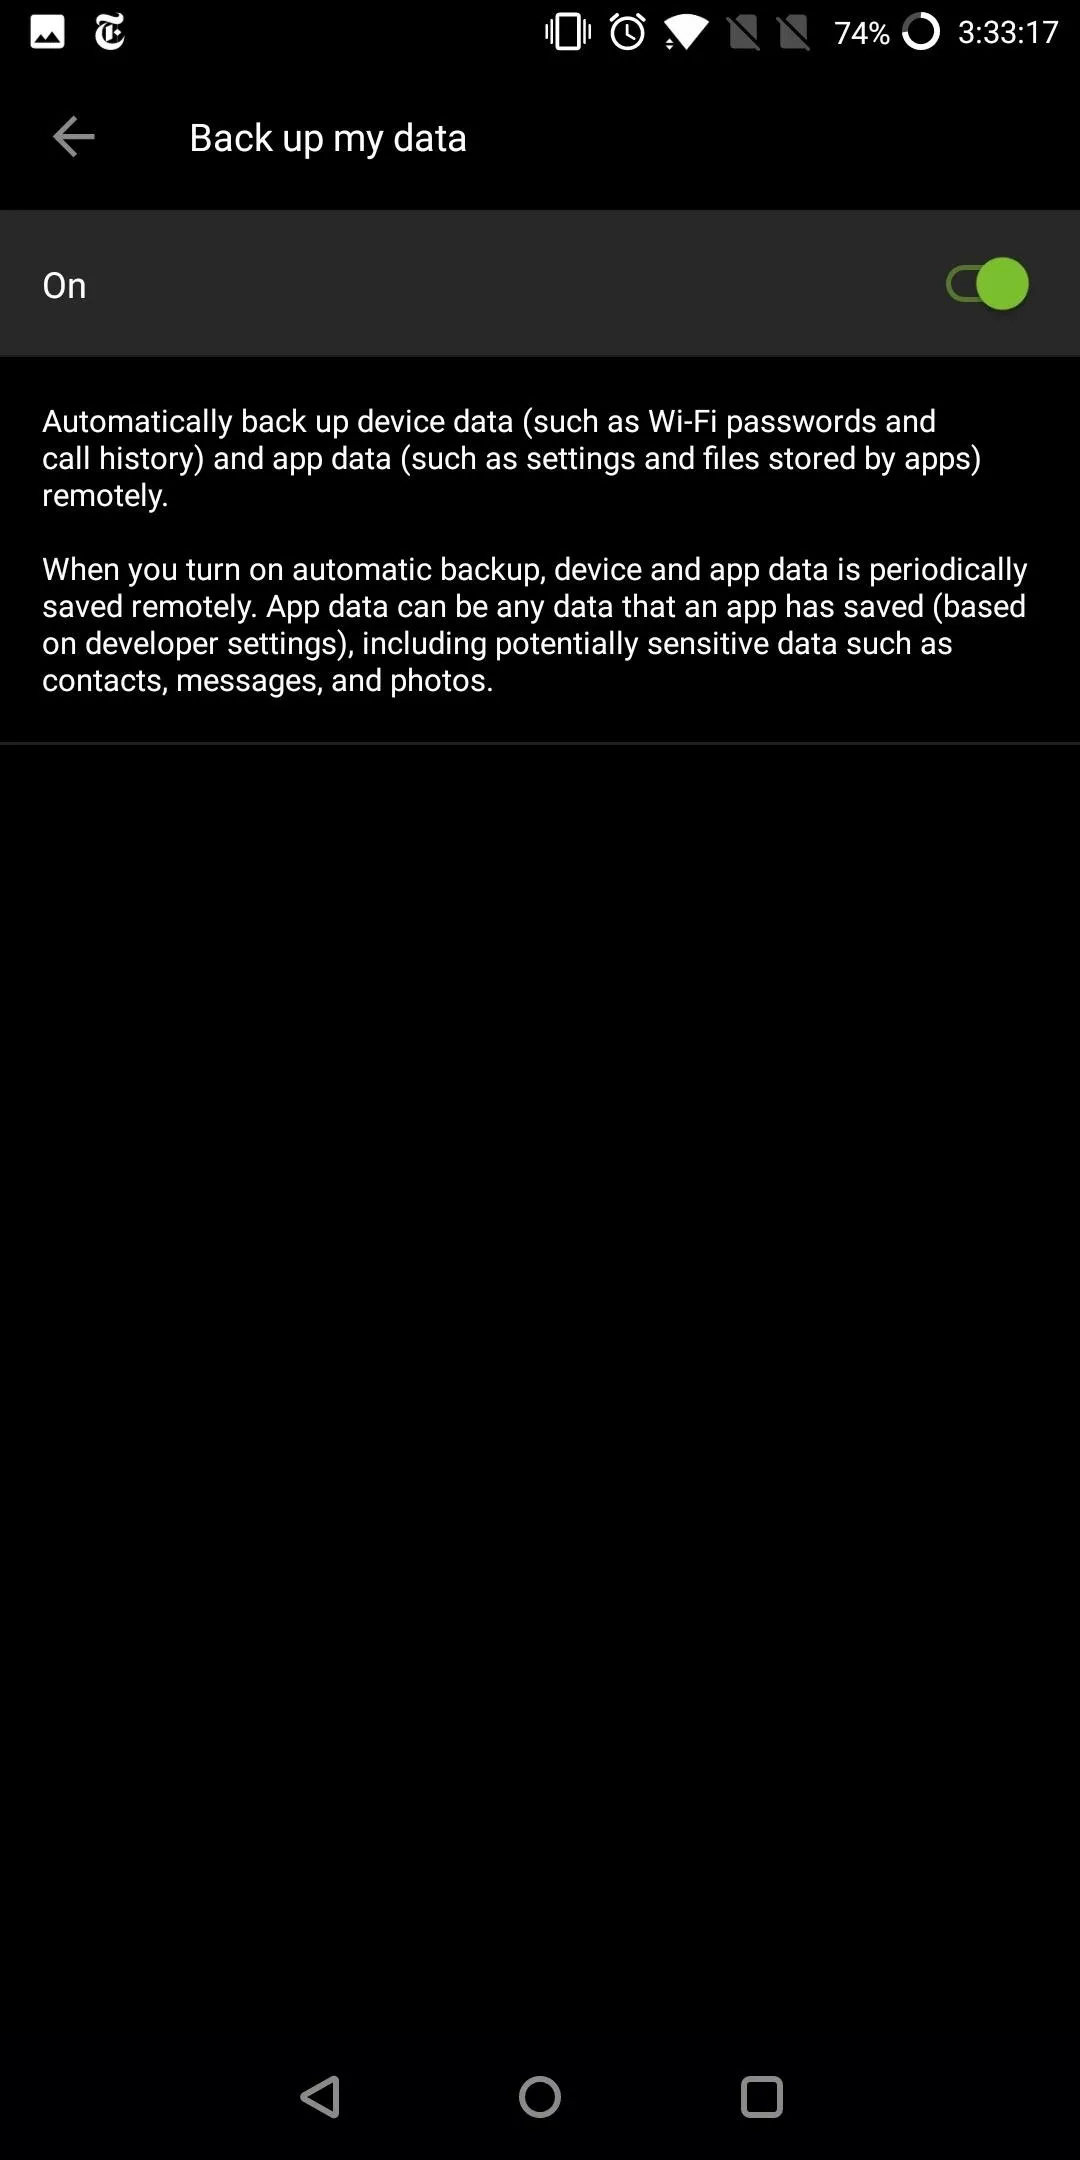
Using your old Android device, open up Settings and select "Backup & reset." On the next page, you should see an option called "Back up my data." Select this option and verify that this toggle is activated. If not, select the toggle to enable it.
If this feature was disabled, it will take Android some time to back up your data. Additionally, Google doesn't allow you to manually backup your data. Therefore, before restoring, it is good practice to verify how recent your data is.
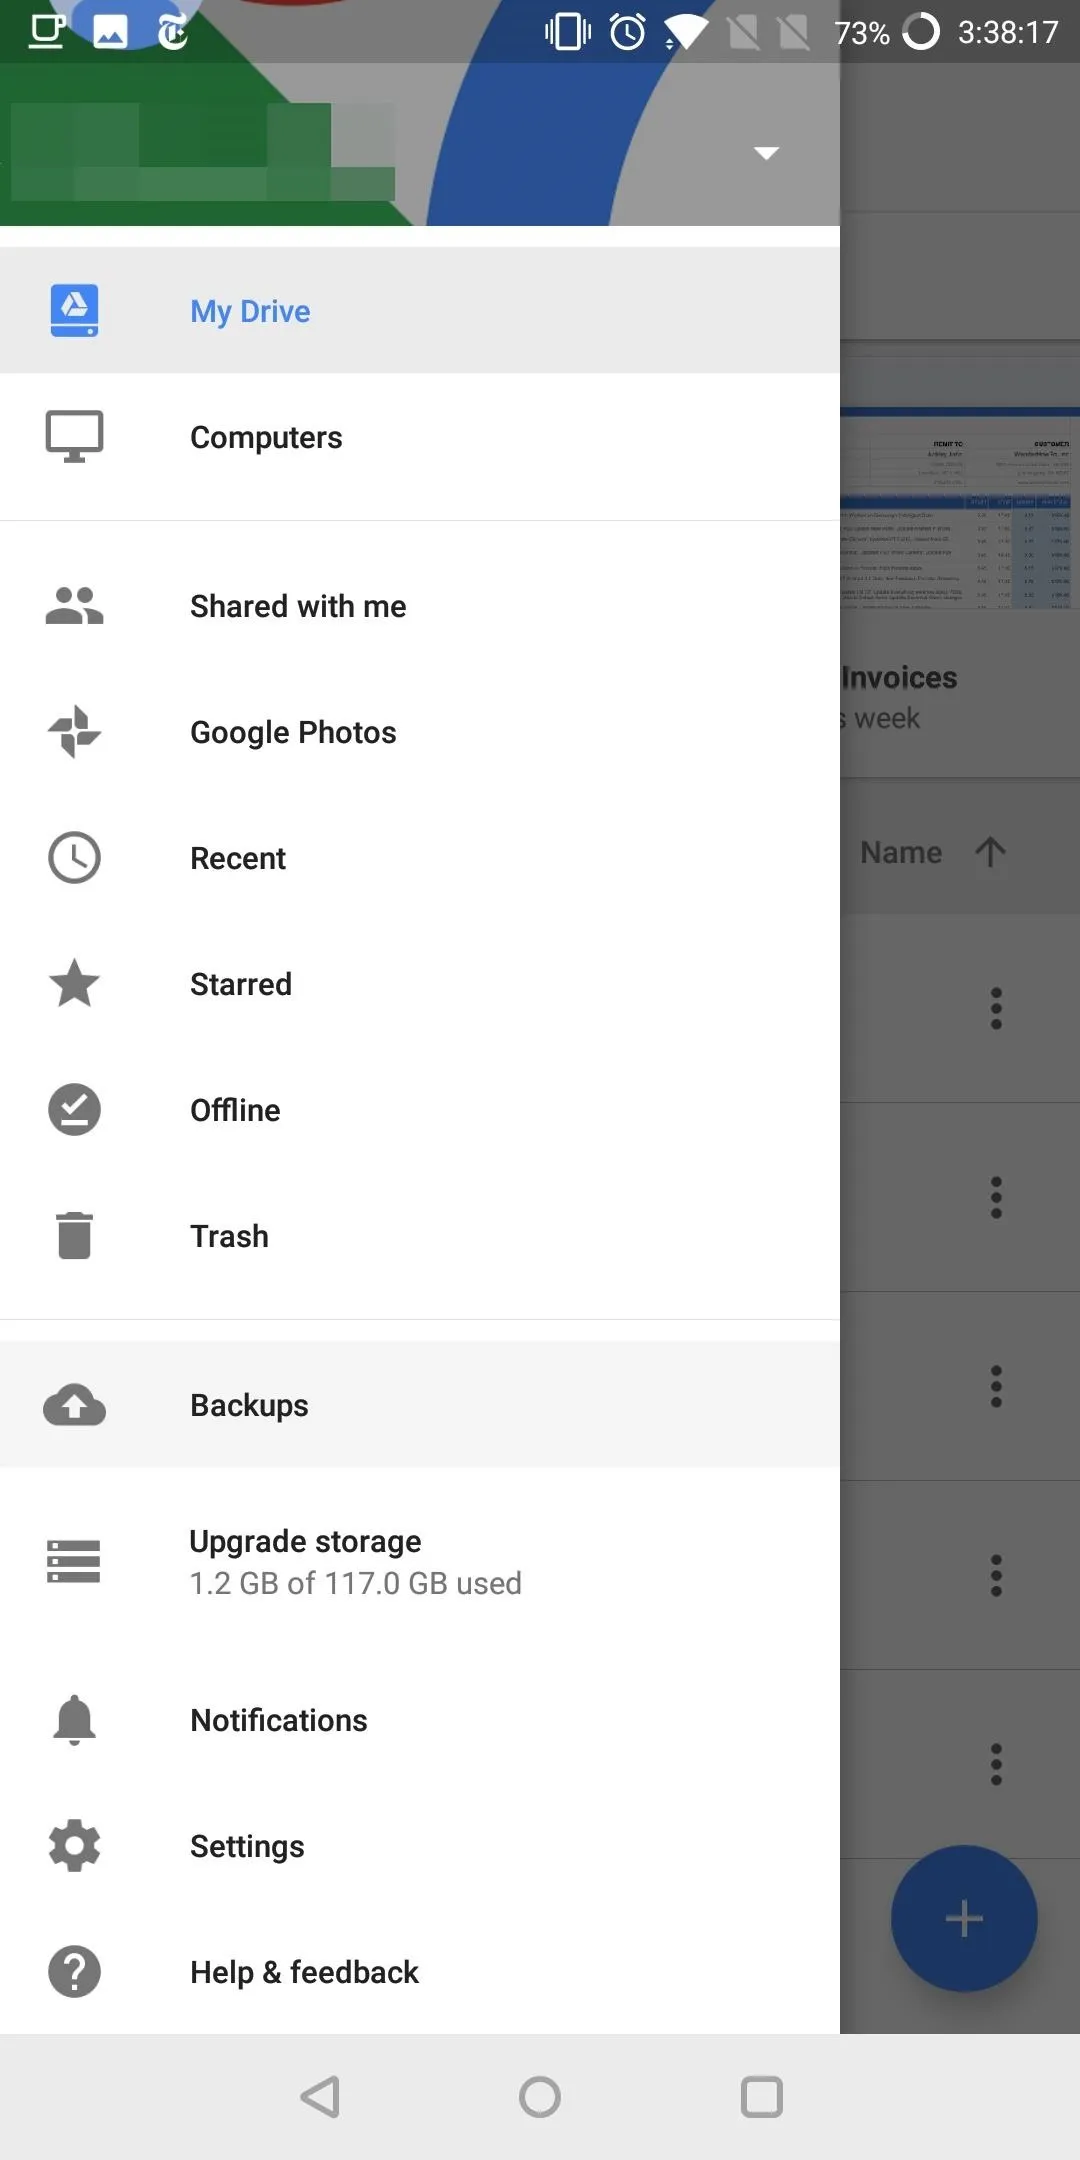
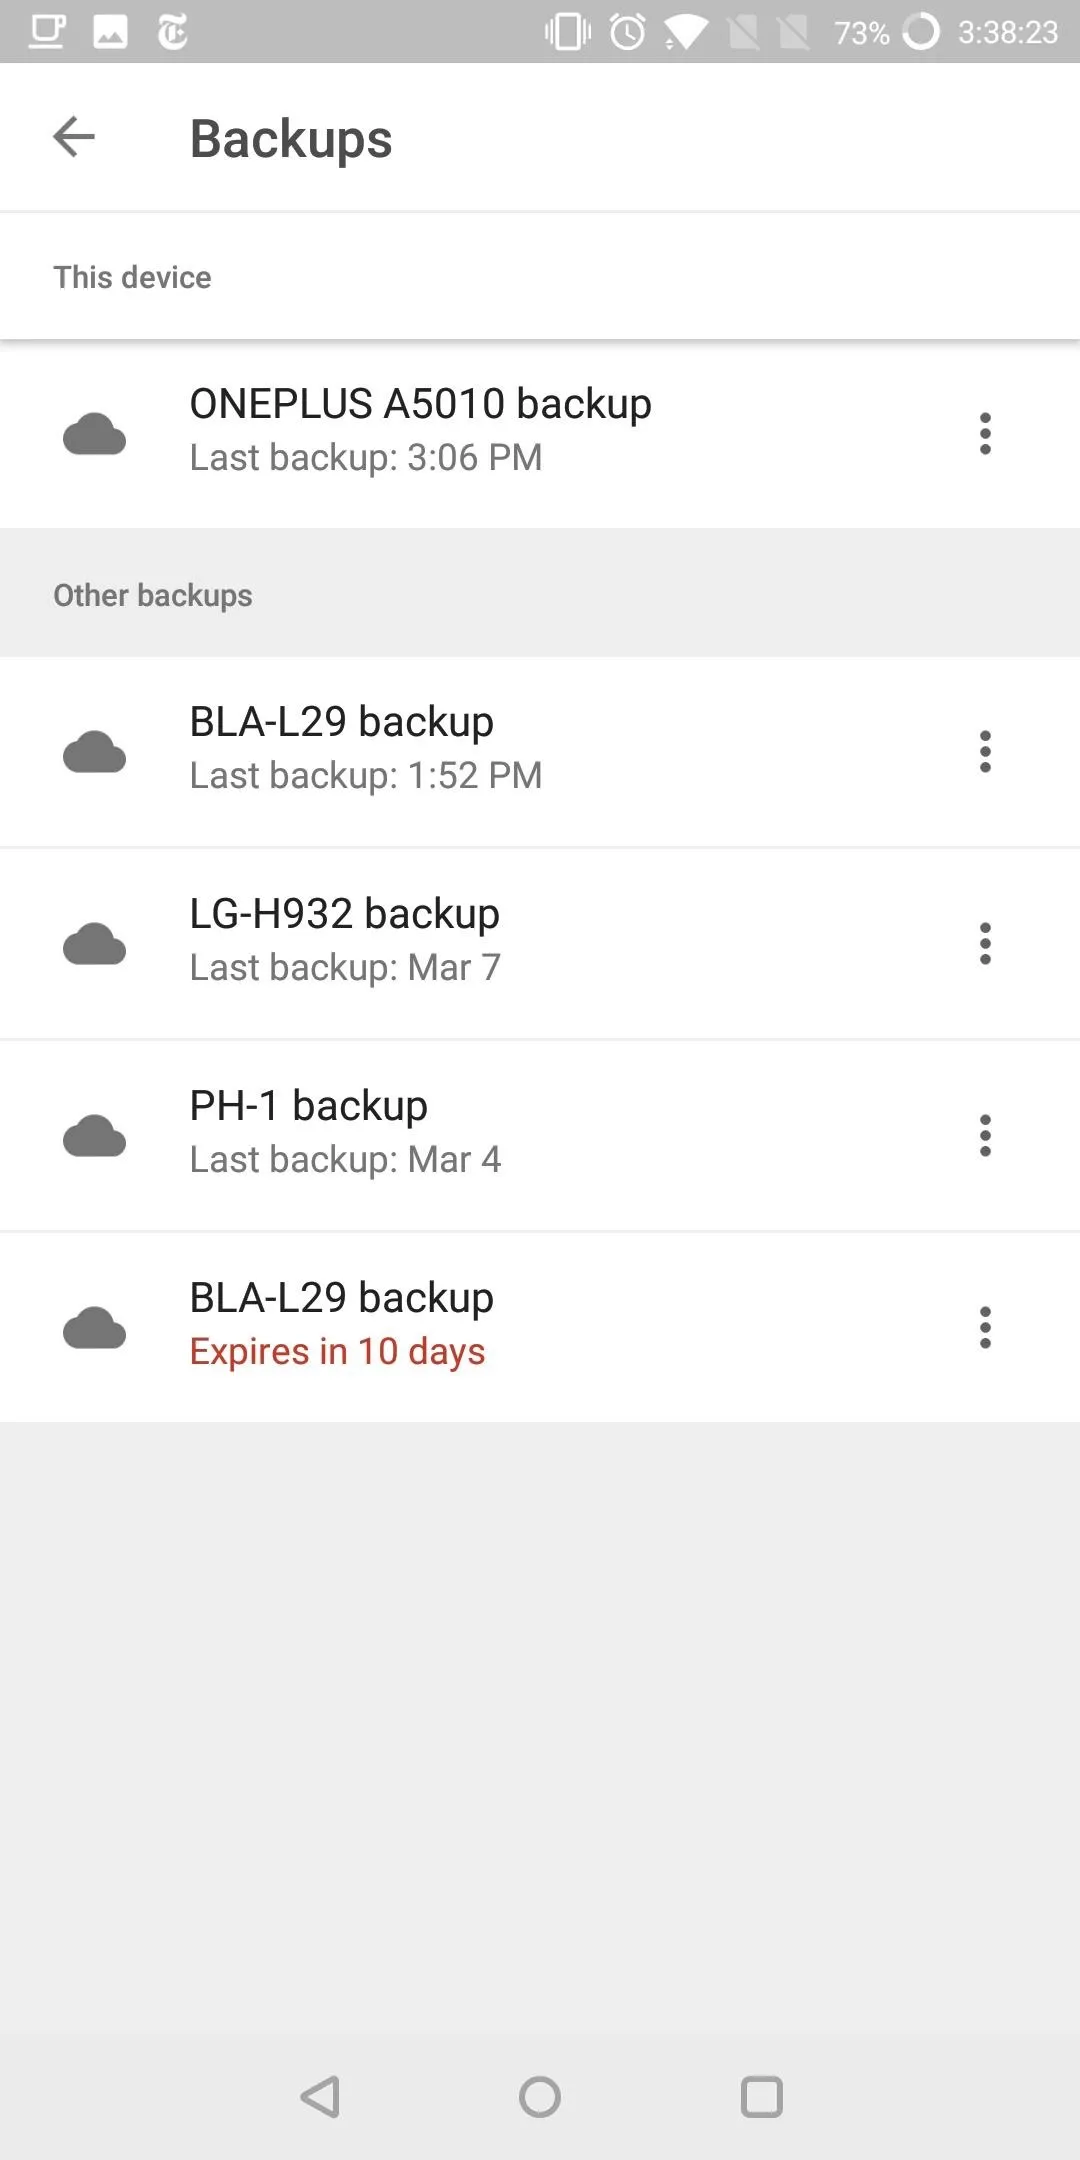
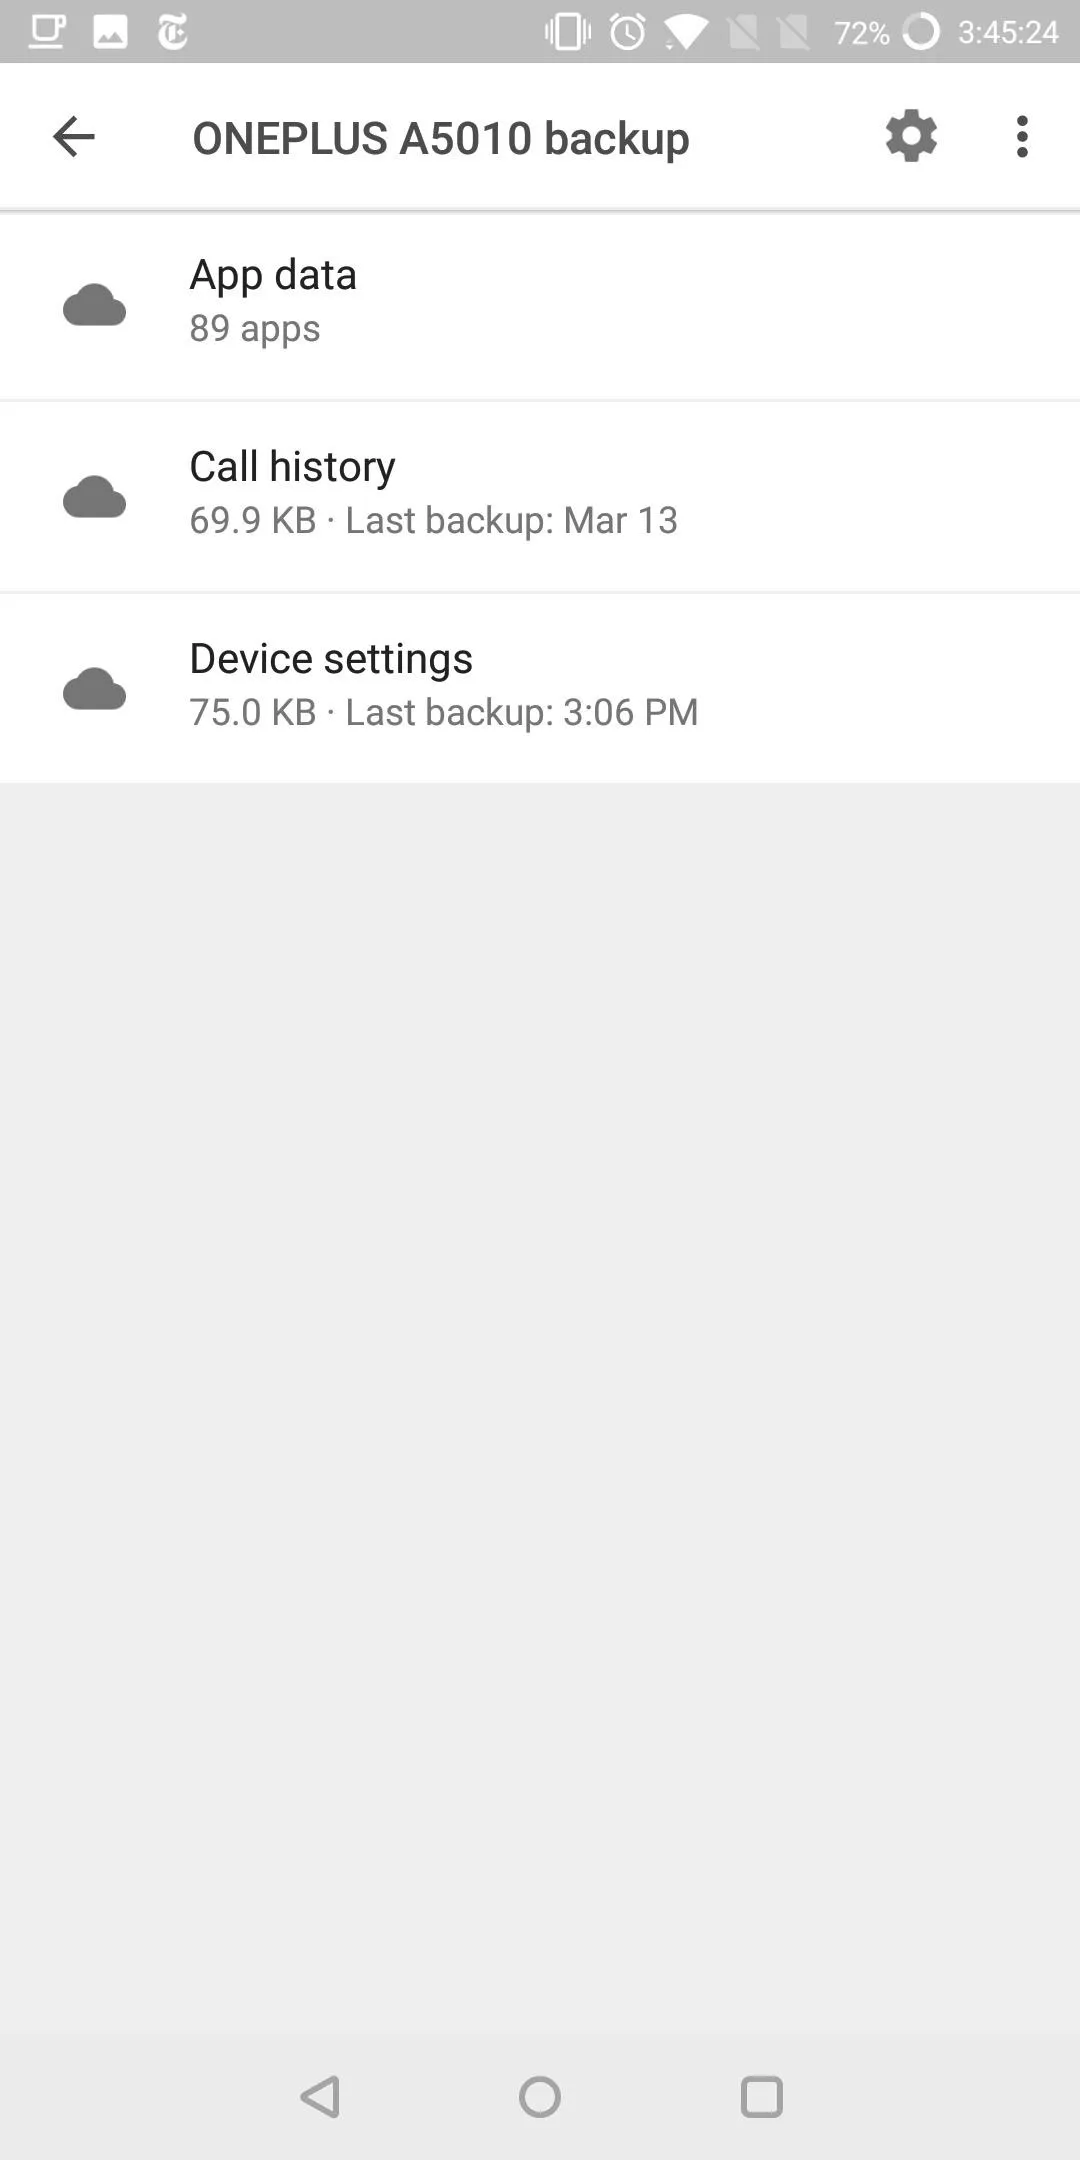
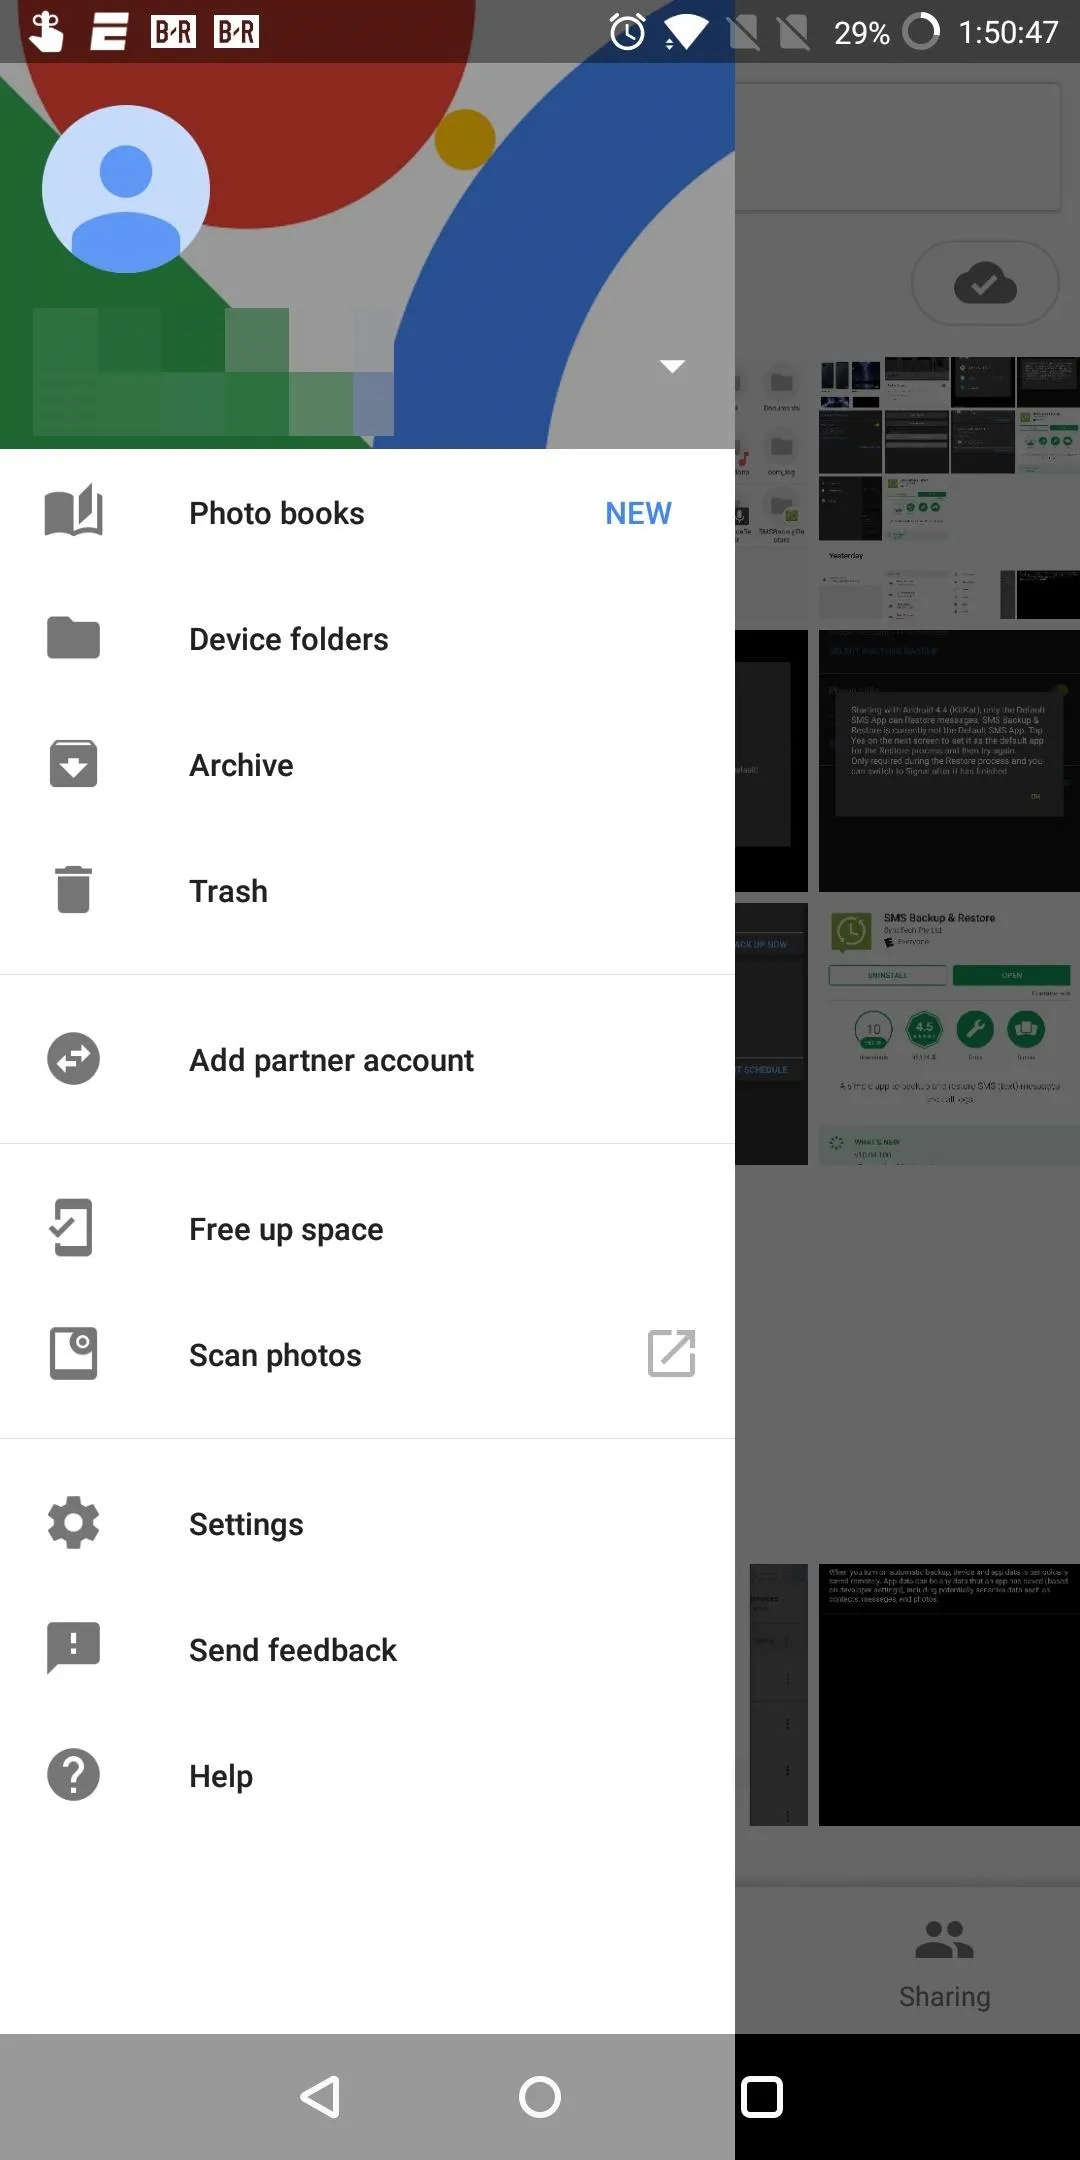
To see your backup files, open up the Google Drive app on your old Android device and select the hamburger menu in the top-left corner of your display. Choose the "Backup" option (next to the cloud-shaped icon with an upward facing arrow in the middle) to see all available backups. These will include not only your current phones but past phones as well (although Google begin the process of deleting them for phones not used in two weeks).
Not only is the date of backup displayed below the phone's model name, but when you select the backup, Google will show all of its contents. When you select App data, you can even view which apps (and their data) are included with this file.
Once you verify that your old data has been backed up to Google Drive, choose the option "Restore from backup" on your new phone and follow the directions provided.
Restore Your Home Screen
After restoring your apps, go ahead and finish the initial setup process on your new Android device. The next thing you'll probably notice is the disarray of your home screen. Unfortunately, Google doesn't save this arrangement in most cases, but third-party apps do.
We recent reviewed the top home screen launchers available on the Play Store, with each one offering an option to back up your arrangement and settings options. Since Nova Launcher was our winner, we'll link out a tutorial on how to both back up your home screen on your old phone and how to restore it on the new one.
As a side note, your widgets won't restore with Nova Launcher's restoration process. While their position will be retained, each one will need to be individually setup first. Luckily, most widgets can be setup by simply tapping the unfilled widget. However, for those which don't retain the data, you may have to delete the widget and redo it.
Restore Your Text Messages & Call History
For some of us, the single most important piece of data we need to be restored is our text messages. Since Google doesn't have a true alternative to Apple's iMessage, our messages are only available locally on our devices and will not automatically transfer (unless you use a cloud-based third-party messenger such as WhatsApp). Therefore, in order to transfer SMS and MMS history, we need to back up our SMS logs to the cloud first. And for that, we need assistance from a third-party app.
With SMS Backup & Restore, you can create a saved copy of all your text messages (including picture messages). One of the advantages of SMS Backup & Restore over other similar apps is its versatility when it comes to saving locations. SMS Backup & Restore allows you to save this backup copy locally, in your email, or on cloud services such as Dropbox and Google Drive. Despite the name, this app also allows you to save your call history as well. You can schedule automatic backup and manually initiate.
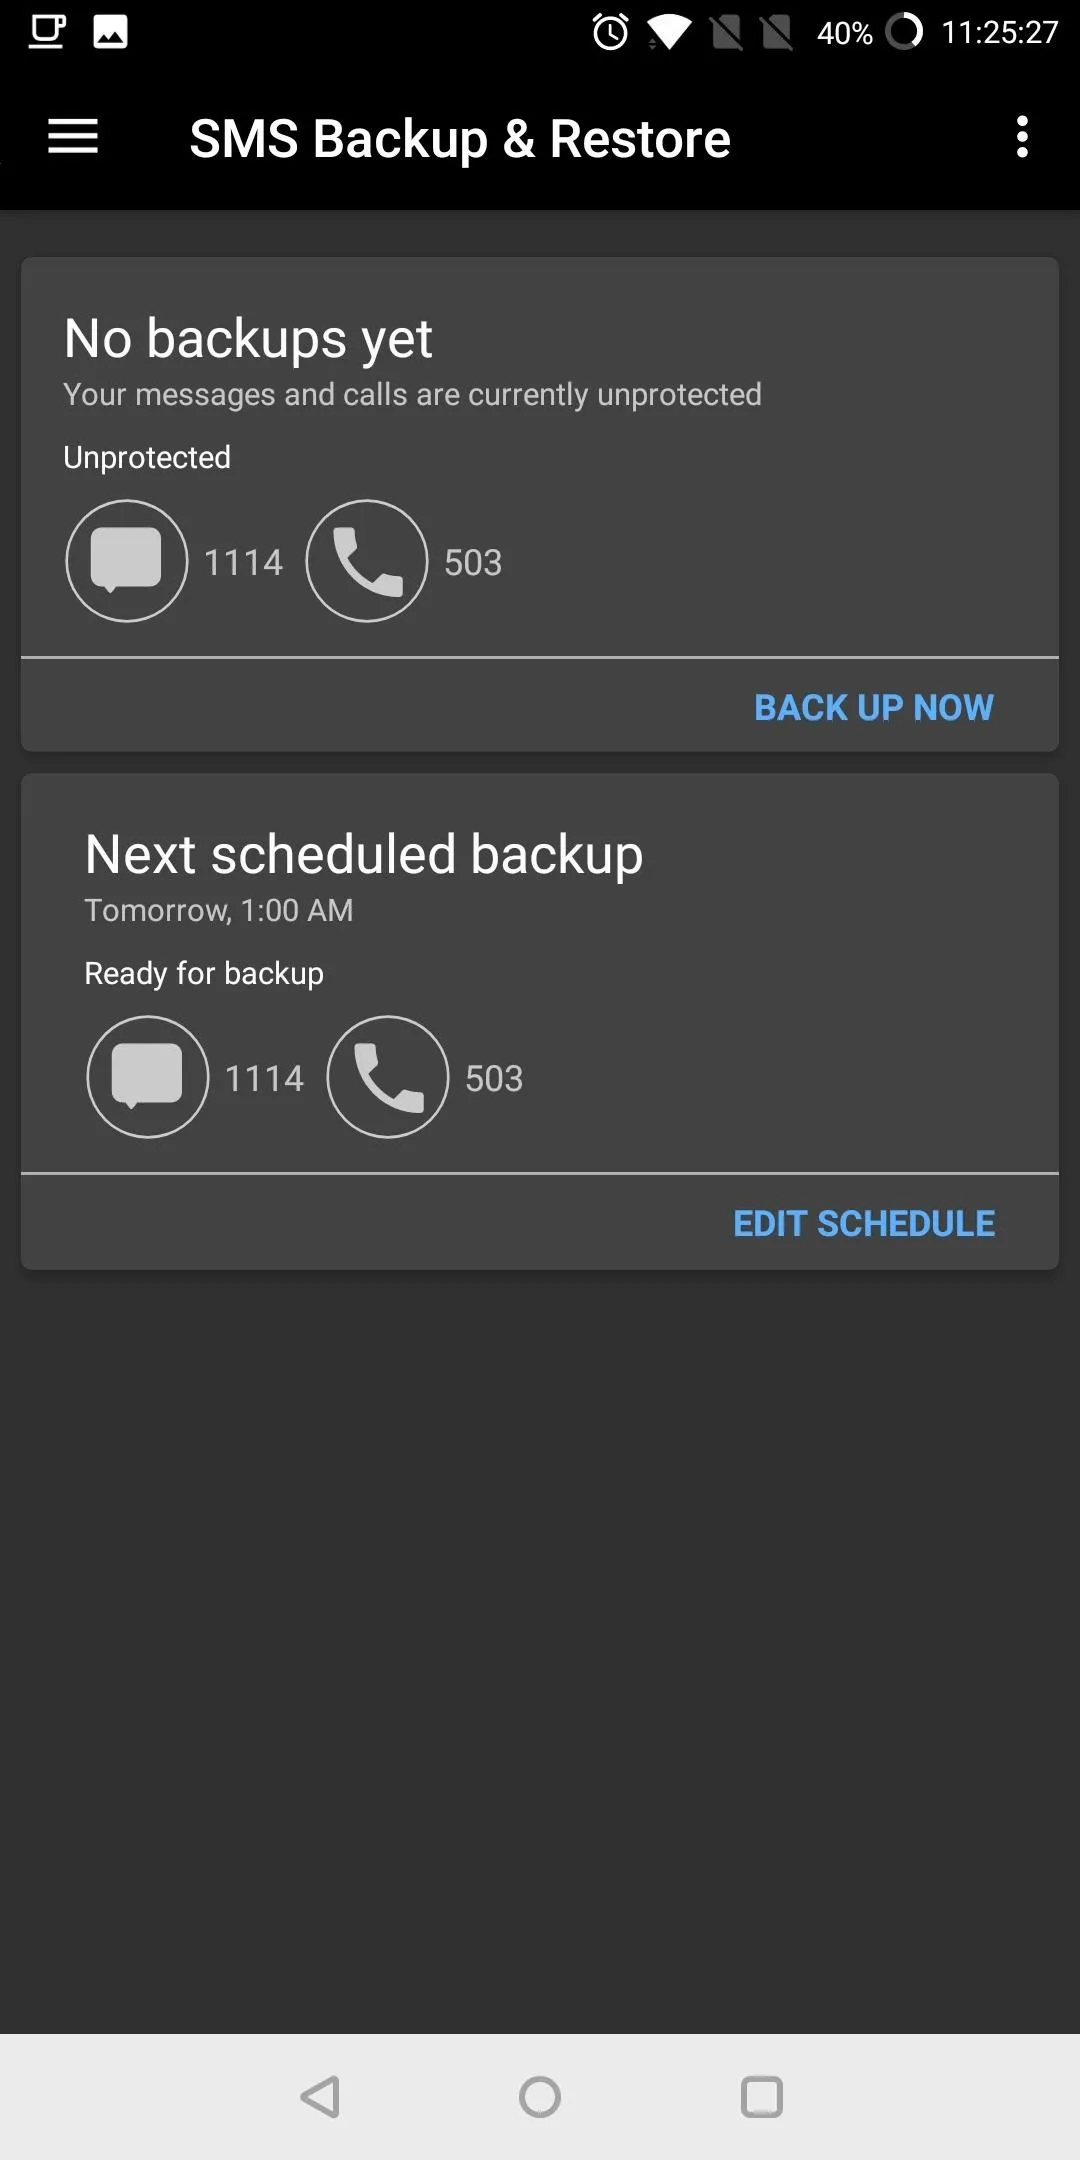
After installing the app on your old phone and granting the requested permissions, head to the side menu and choose "Back up now," then enable the first two toggles. By default, the backup location will be your Google Drive, the free cloud service available to all Android users, which is ideal as your new device will also have this app.
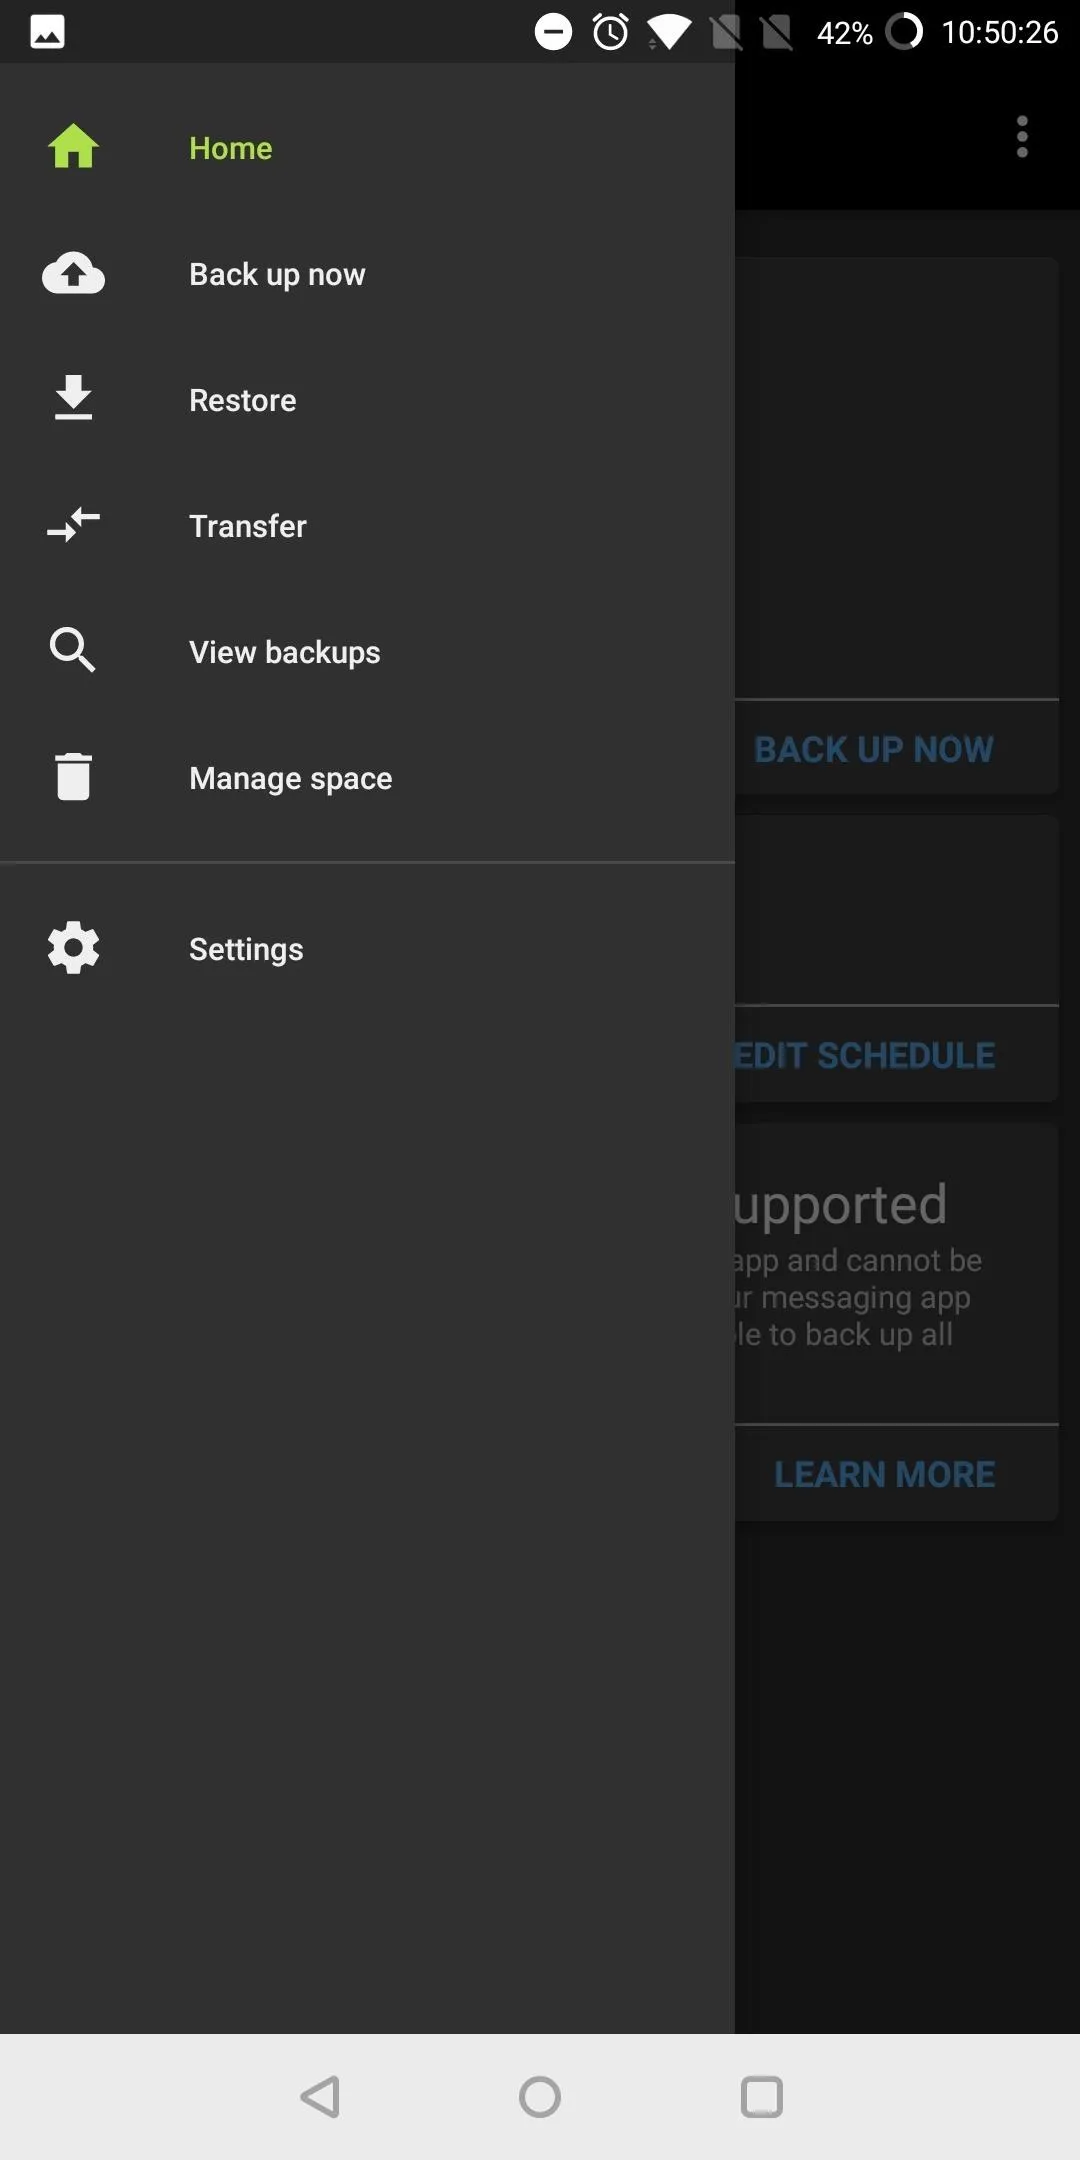
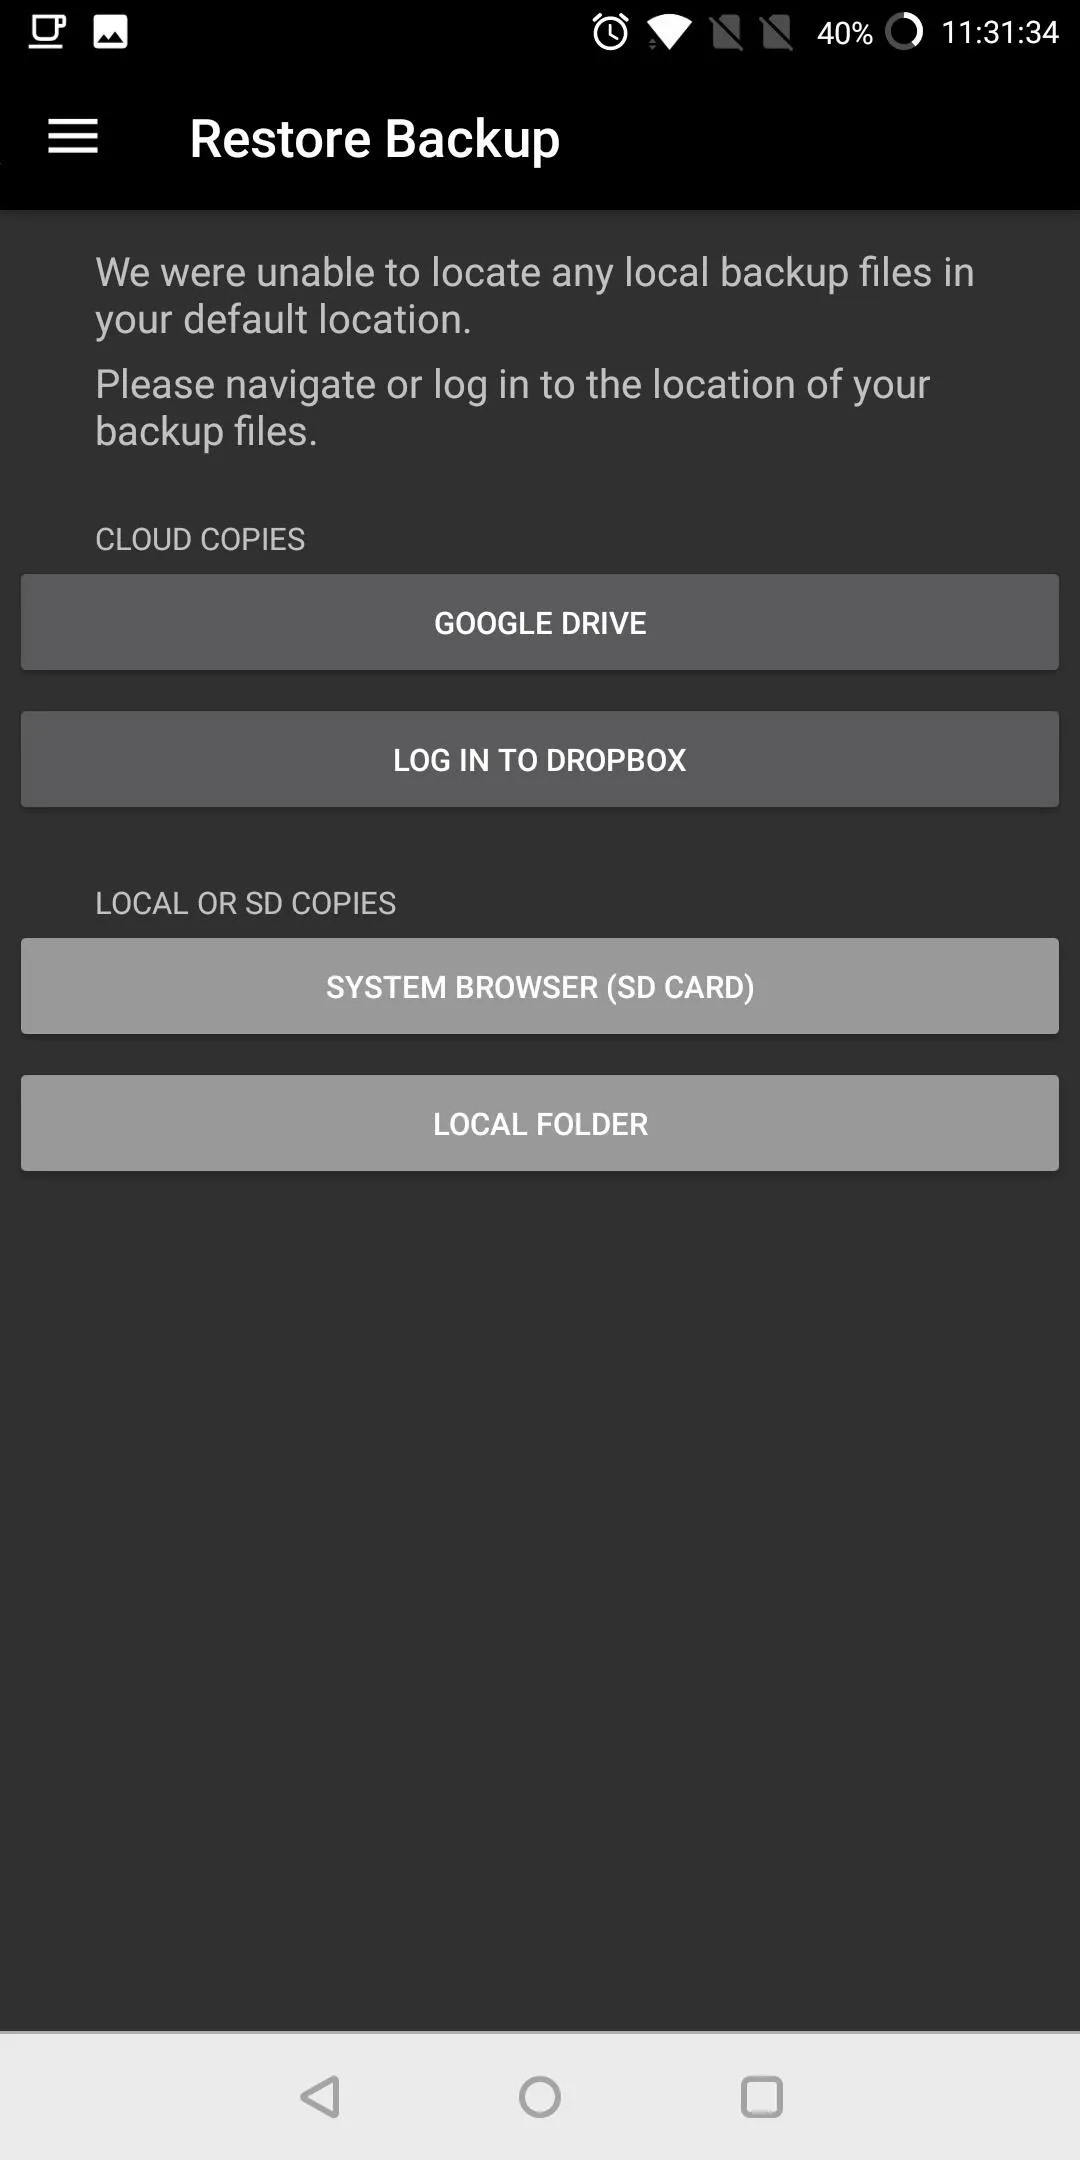
After backing up your messages and call history, move to the new phone and install SMS Backup & Restore over there as well. Again, head to the side menu by tapping the hamburger icon in the top-left, but this time select "Restore."
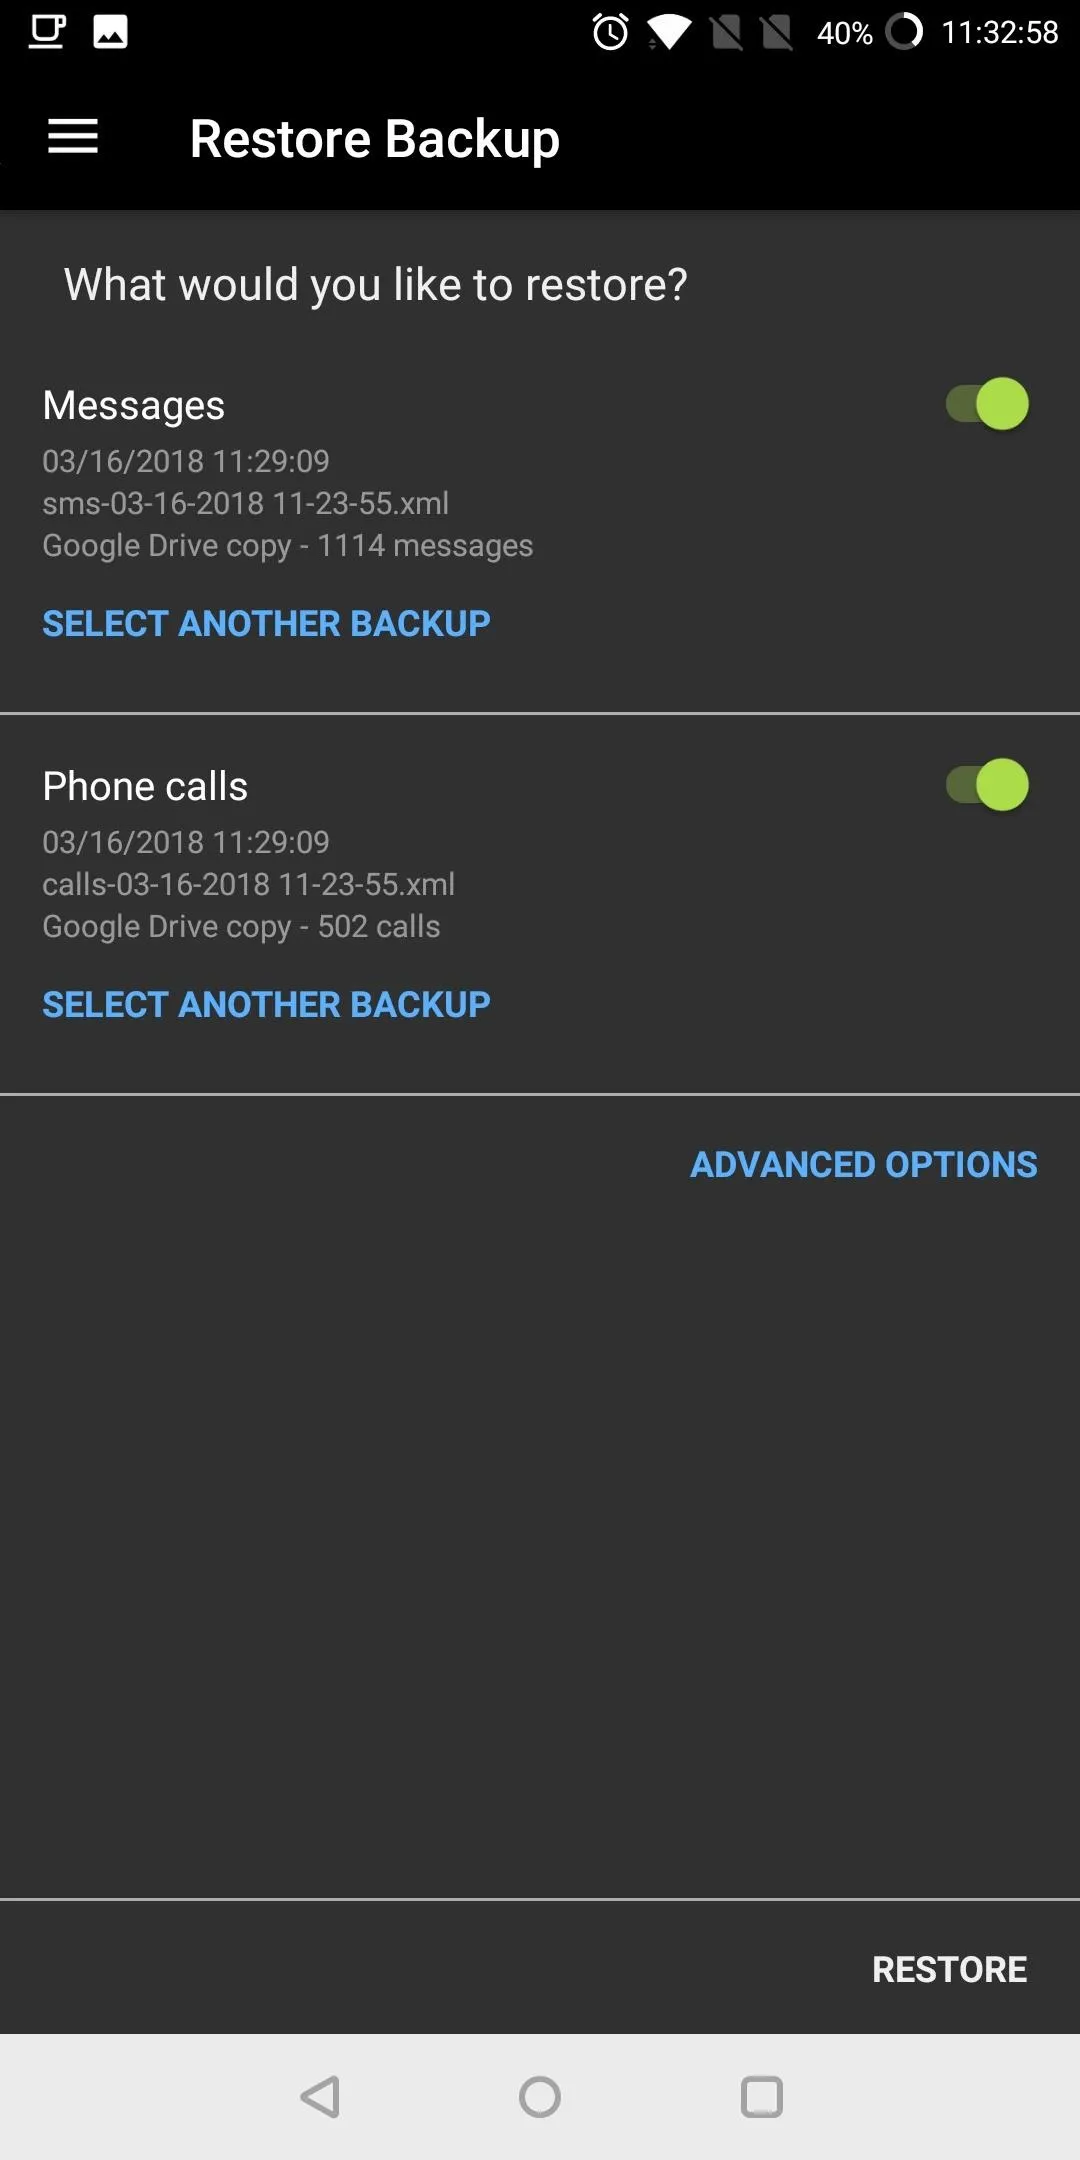
The next page will list potential locations for your backup file. Since we used Google Drive, select the corresponding button. Once selected, the app will search your cloud storage and find the most recent backup file available (even if you placed the file in a folder). Once it finds the file, both the "Messages" and "Phone calls" toggles should be enabled. Verify the date of each backup. If this isn't the most recent file, use "select another backup" to locate the file in Google Drive. However, if this is the right file, choose "Restore" to begin the process of transferring your data.
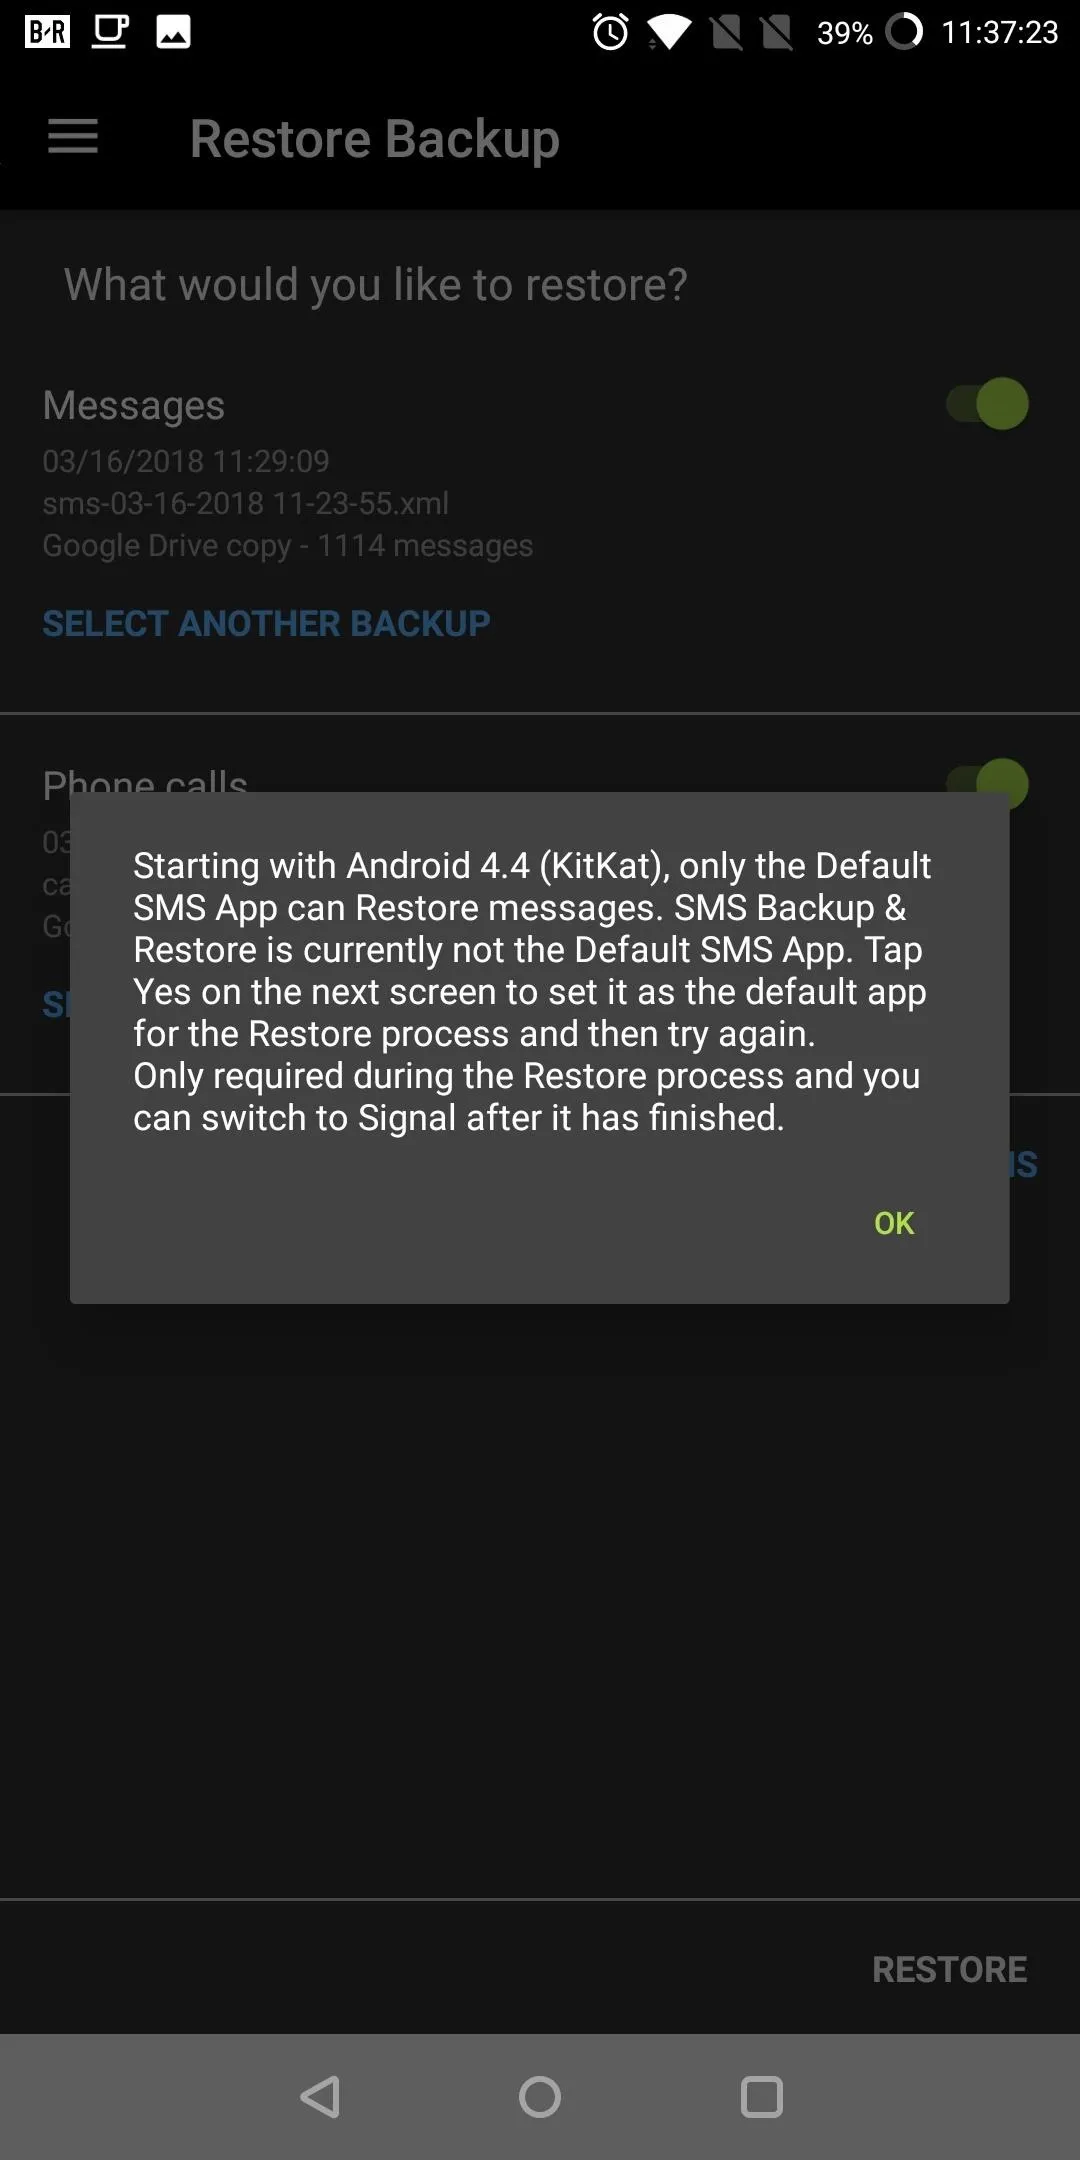
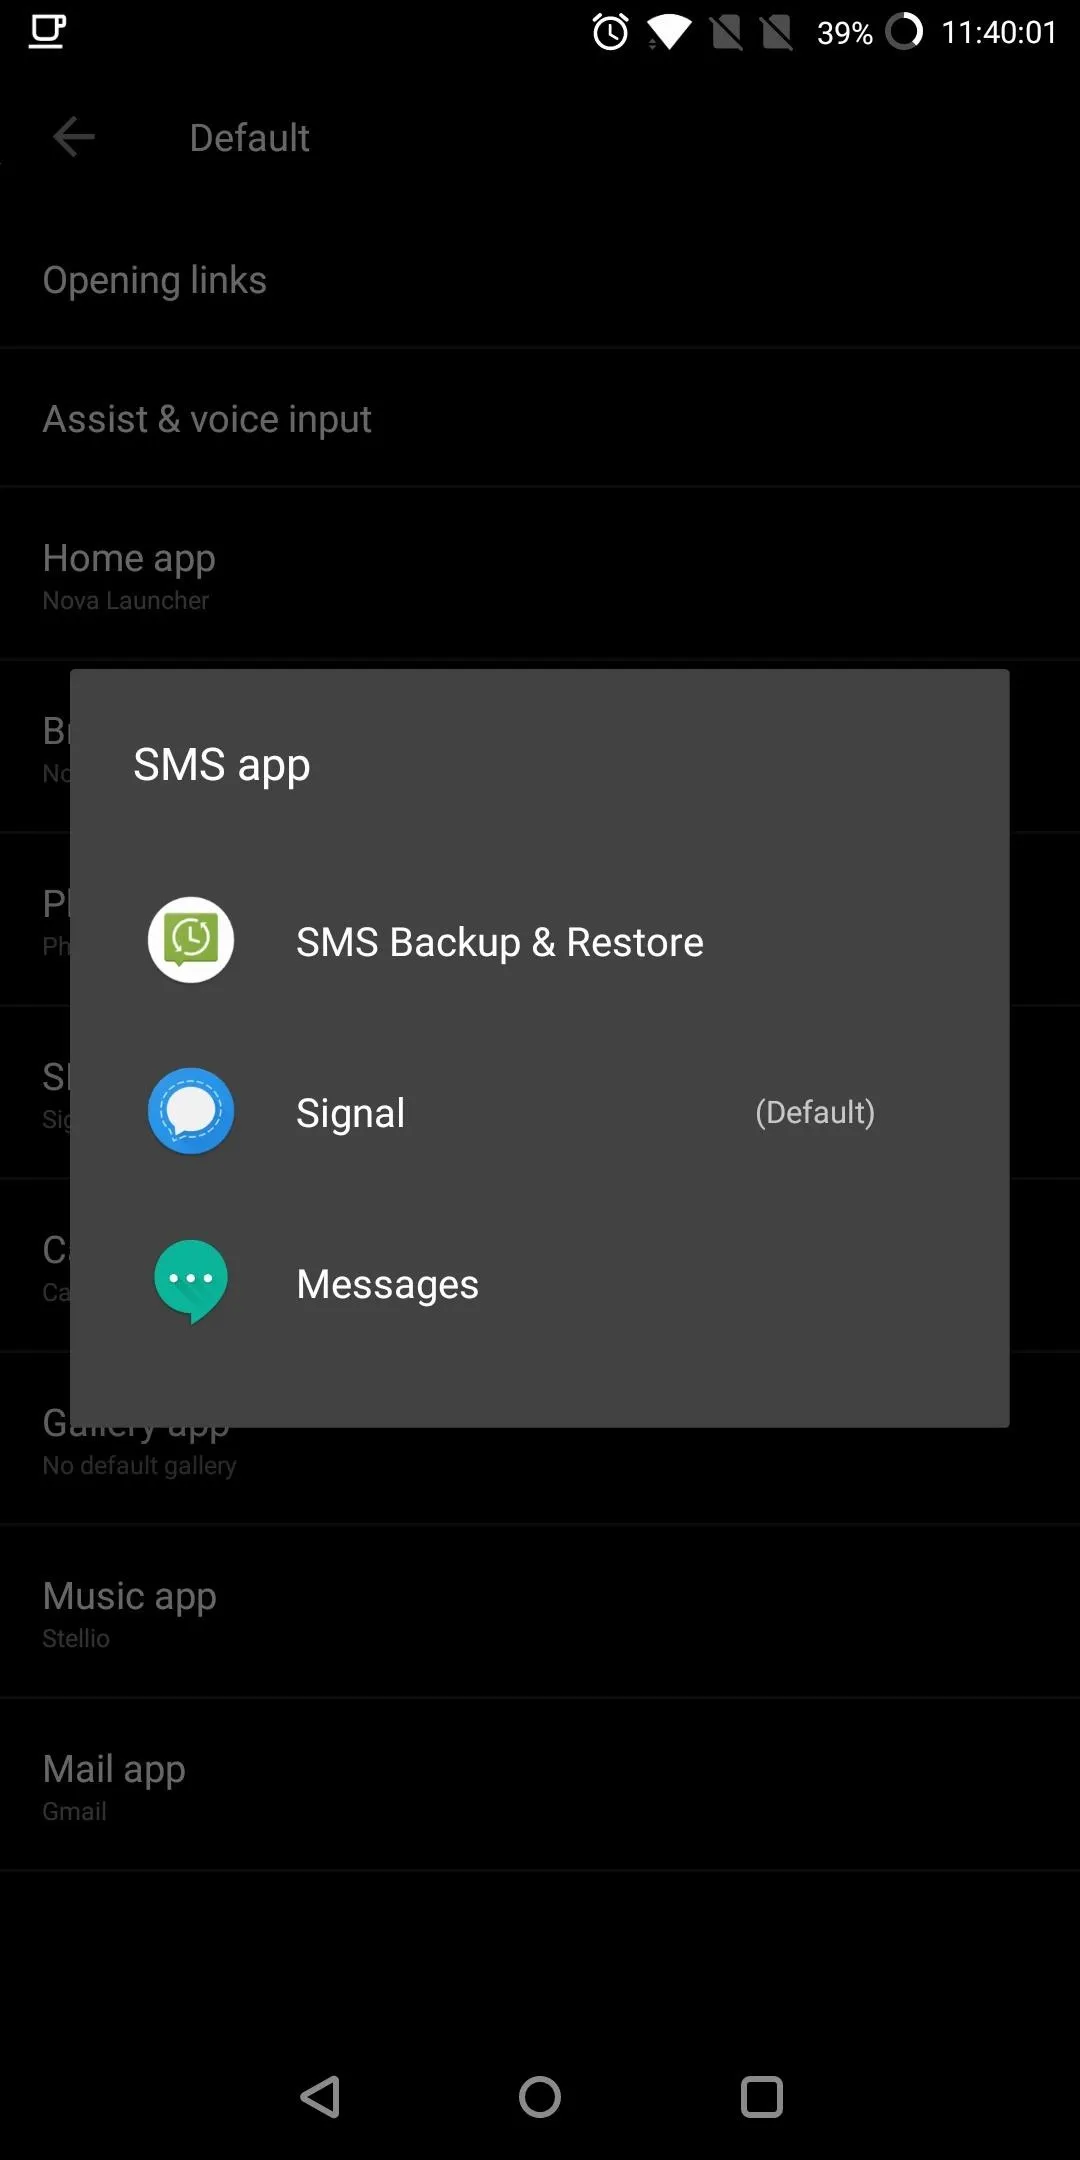
A popup will emerge informing you that due to changes in Android, SMS Backup & Restore must become the default SMS app in order for your messages to transfer. Choose "Yes" to make it the default app. After restoration is finished, SMS Backup & Restore will remind to change your default SMS app back to whatever it previously was in order to view your incoming messages.
Restore Your Photos & Videos
Previously, any photos and videos taken with your smartphone were locally stored and lost unless you transferred them using a micro SD card or your computer. However, thanks to Google Photos, photos and videos are now a lot easier to retrieve.
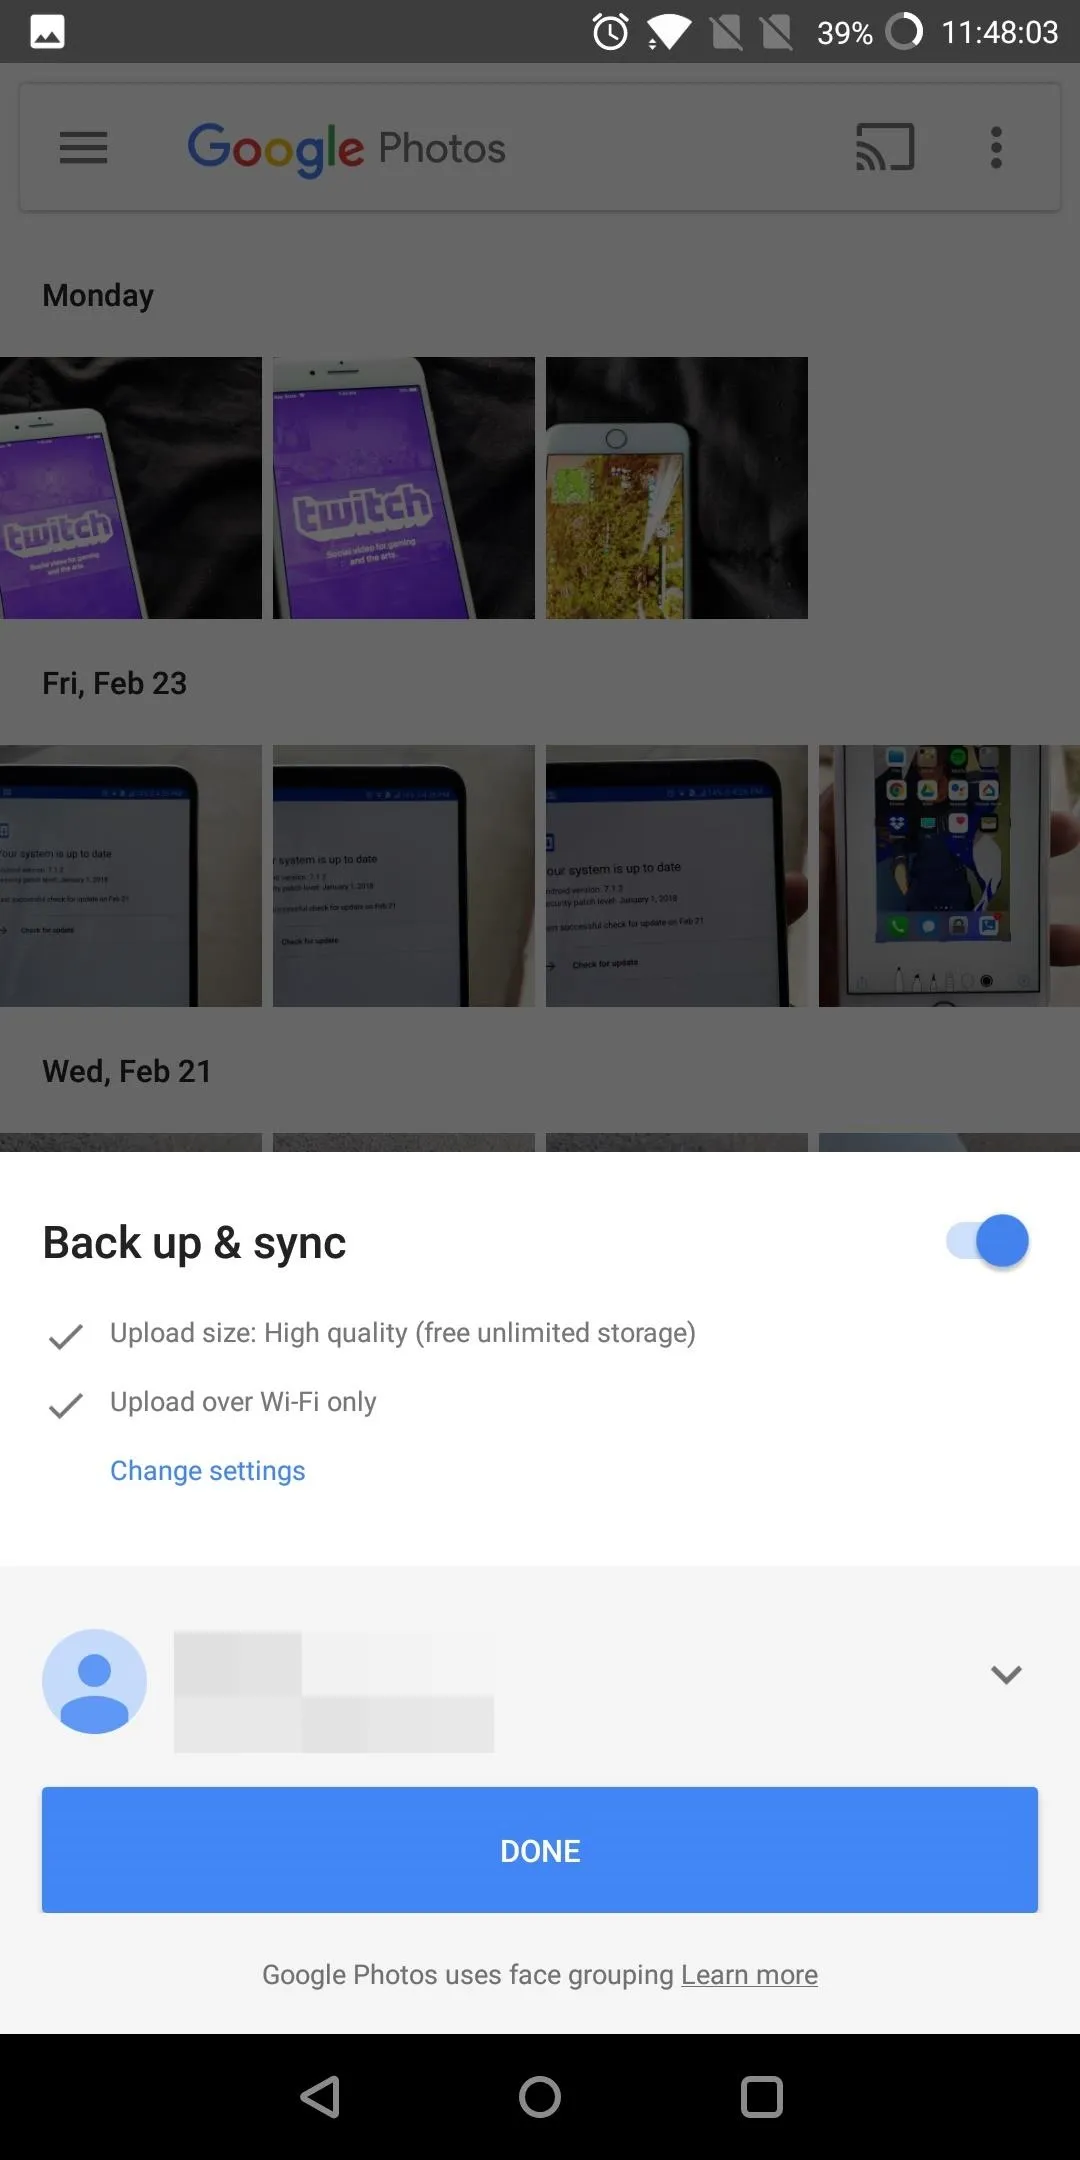
You old phone should have Google Photos pre-installed, but if not, you can use this link to grab it. If you've never used Google Photos before, the app will prompt you to allow automatic backup of photos and videos taken with this device. Make sure the toggle switch is enabled on this prompt, then press "Done." Once enabled, as long as Wi-Fi is on, your media will be backed up to the cloud and retrievable on any device.
By default, Google Photos won't back up media from folders outside the camera's main folder and will instead ask you beforehand if you want to enable backup whenever it detects new images or videos. You can also manually choose folders.
Tap the hamburger menu button in the top-left corner and select "Device Folders." On the next page will be a list of folders containing either images or videos which can be uploaded to Google Photos' servers as a backup. When you see a small crossed out cloud icon in the bottom-right corner of the folder, this indicates this folder isn't currently backed up. To back it up, select the folder and enable to the toggle next to "Back up & sync."
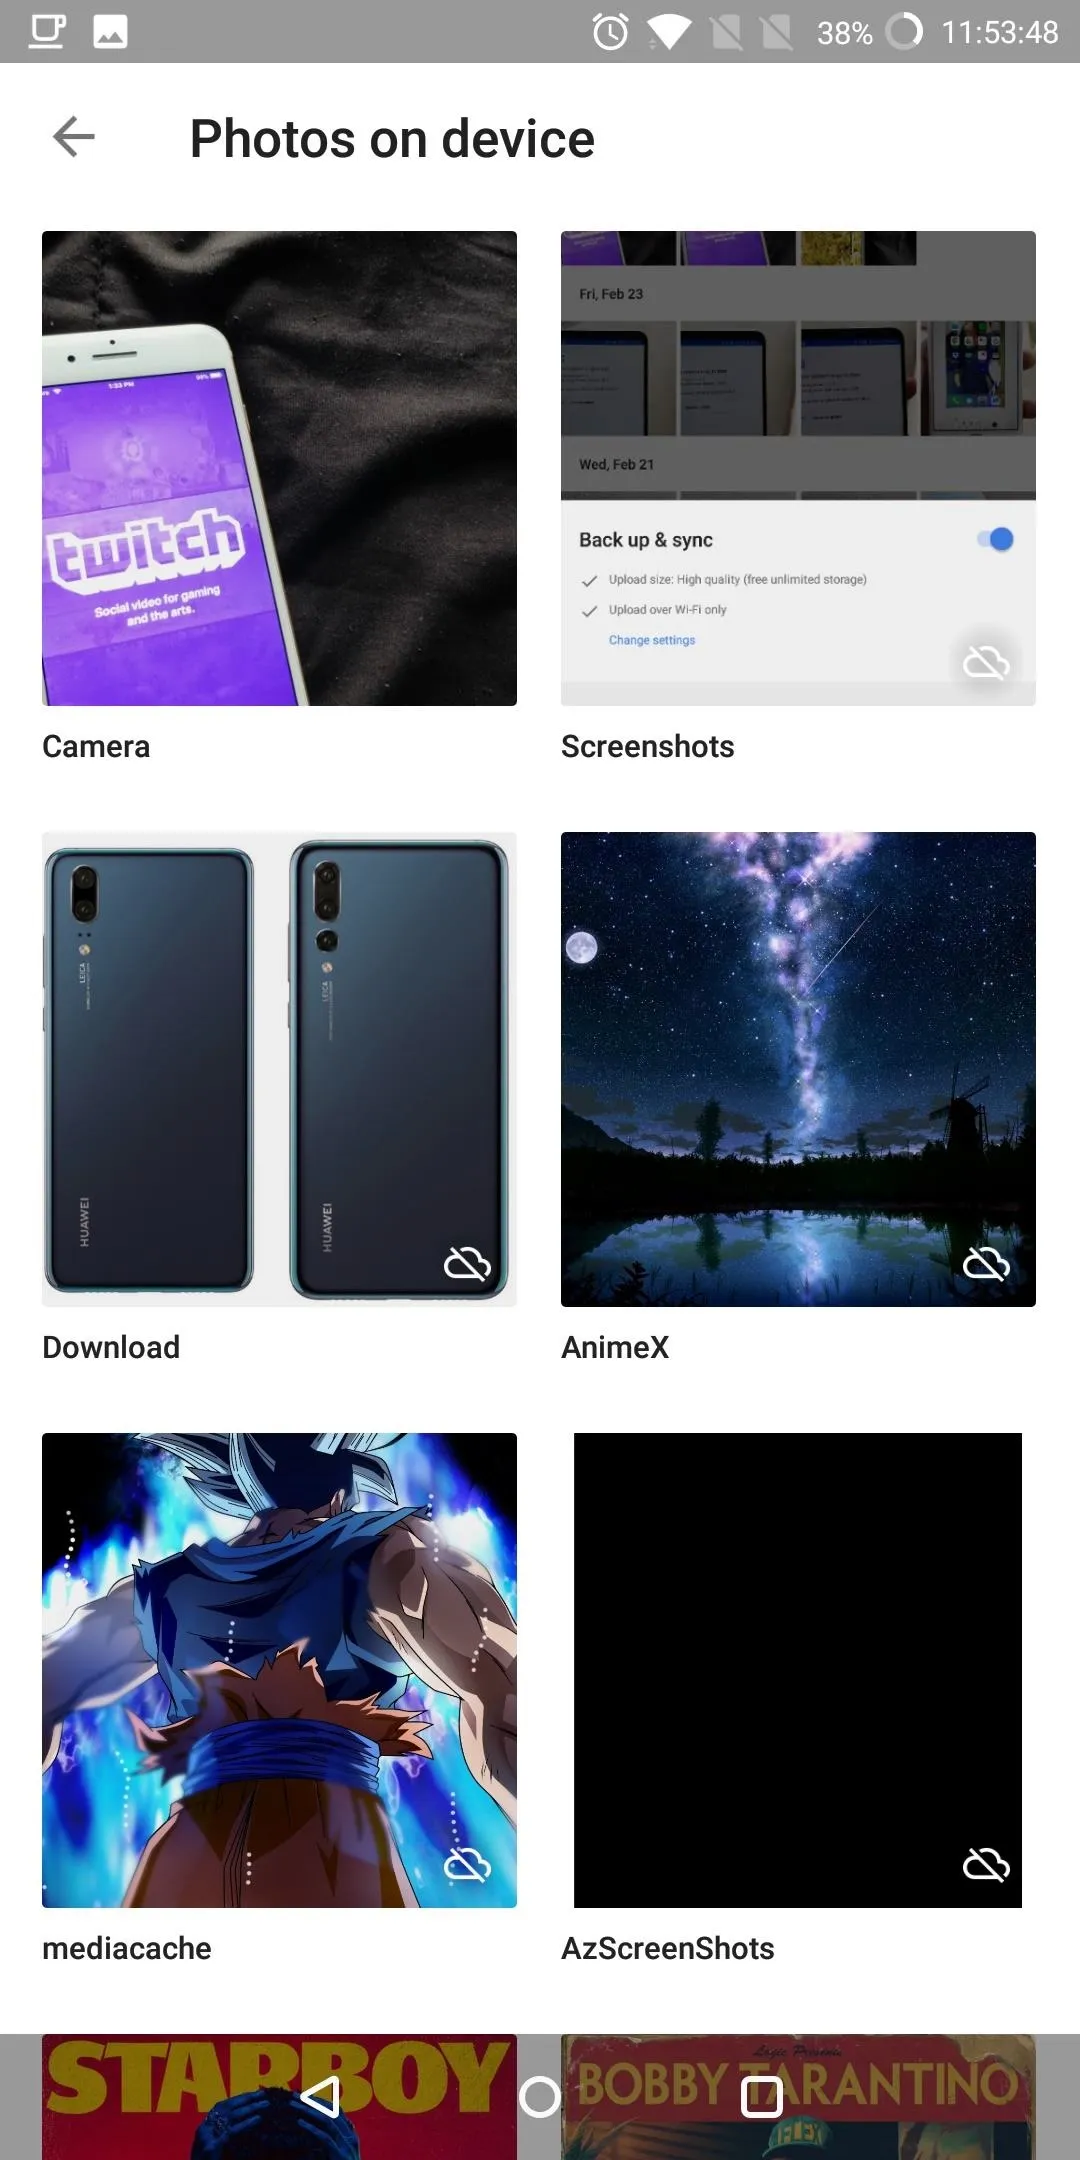

Again, you may have to wait until all of your photos have been backed up to the cloud, but you can check their progress by heading to the folder in question an looking for that cloud icon — if it's filled in instead of crossed out, you're good to go.
Once everything's been backed up, just open the Google Photos app on your new device (it comes pre-installed), then all your photos and videos will be displayed in a scrollable list on the main screen. From there, you can access and manage your files as if they were locally stored on your device.
Transfer Local Files Wirelessly
Even after restoring all the major categories of your data, there are some apps and files which don't have the option to be stored in the cloud. Either the app doesn't support cloud storage or the files (such as some videos) are too large for cloud storage (without paying a fee).
In order to move these, you can either use a computer and the USB cable to first transfer the data from your old phone to the computer, and then from the computer to the new phone. However, there is a much easier way, and it is wireless. To begin, grab an app called MiXplorer from the link below — but since it's not on the Play Store, you'll need to be set up for sideloading apps to install it. You'll also need an XDA account, but if you don't have one, you can sign up for free here.
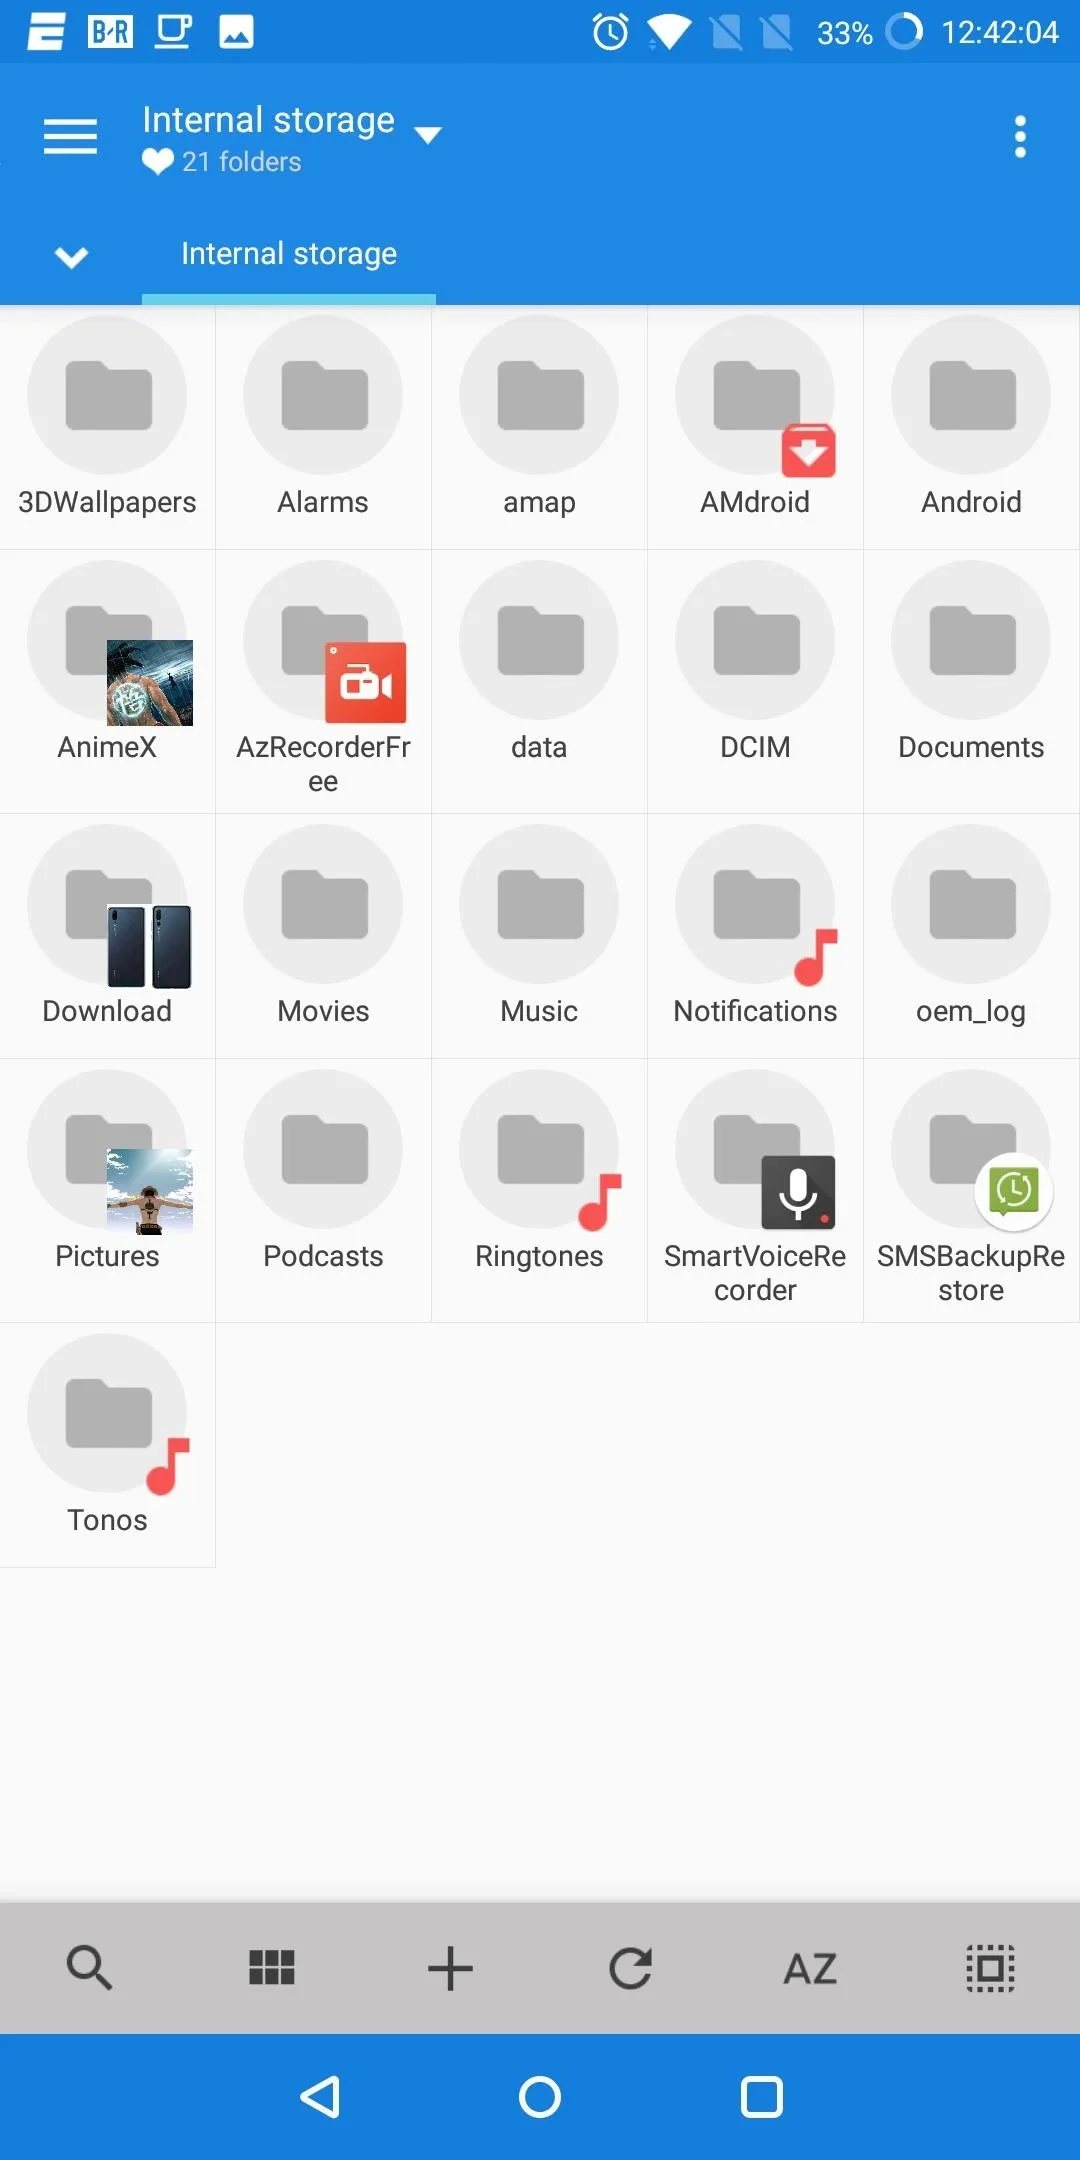
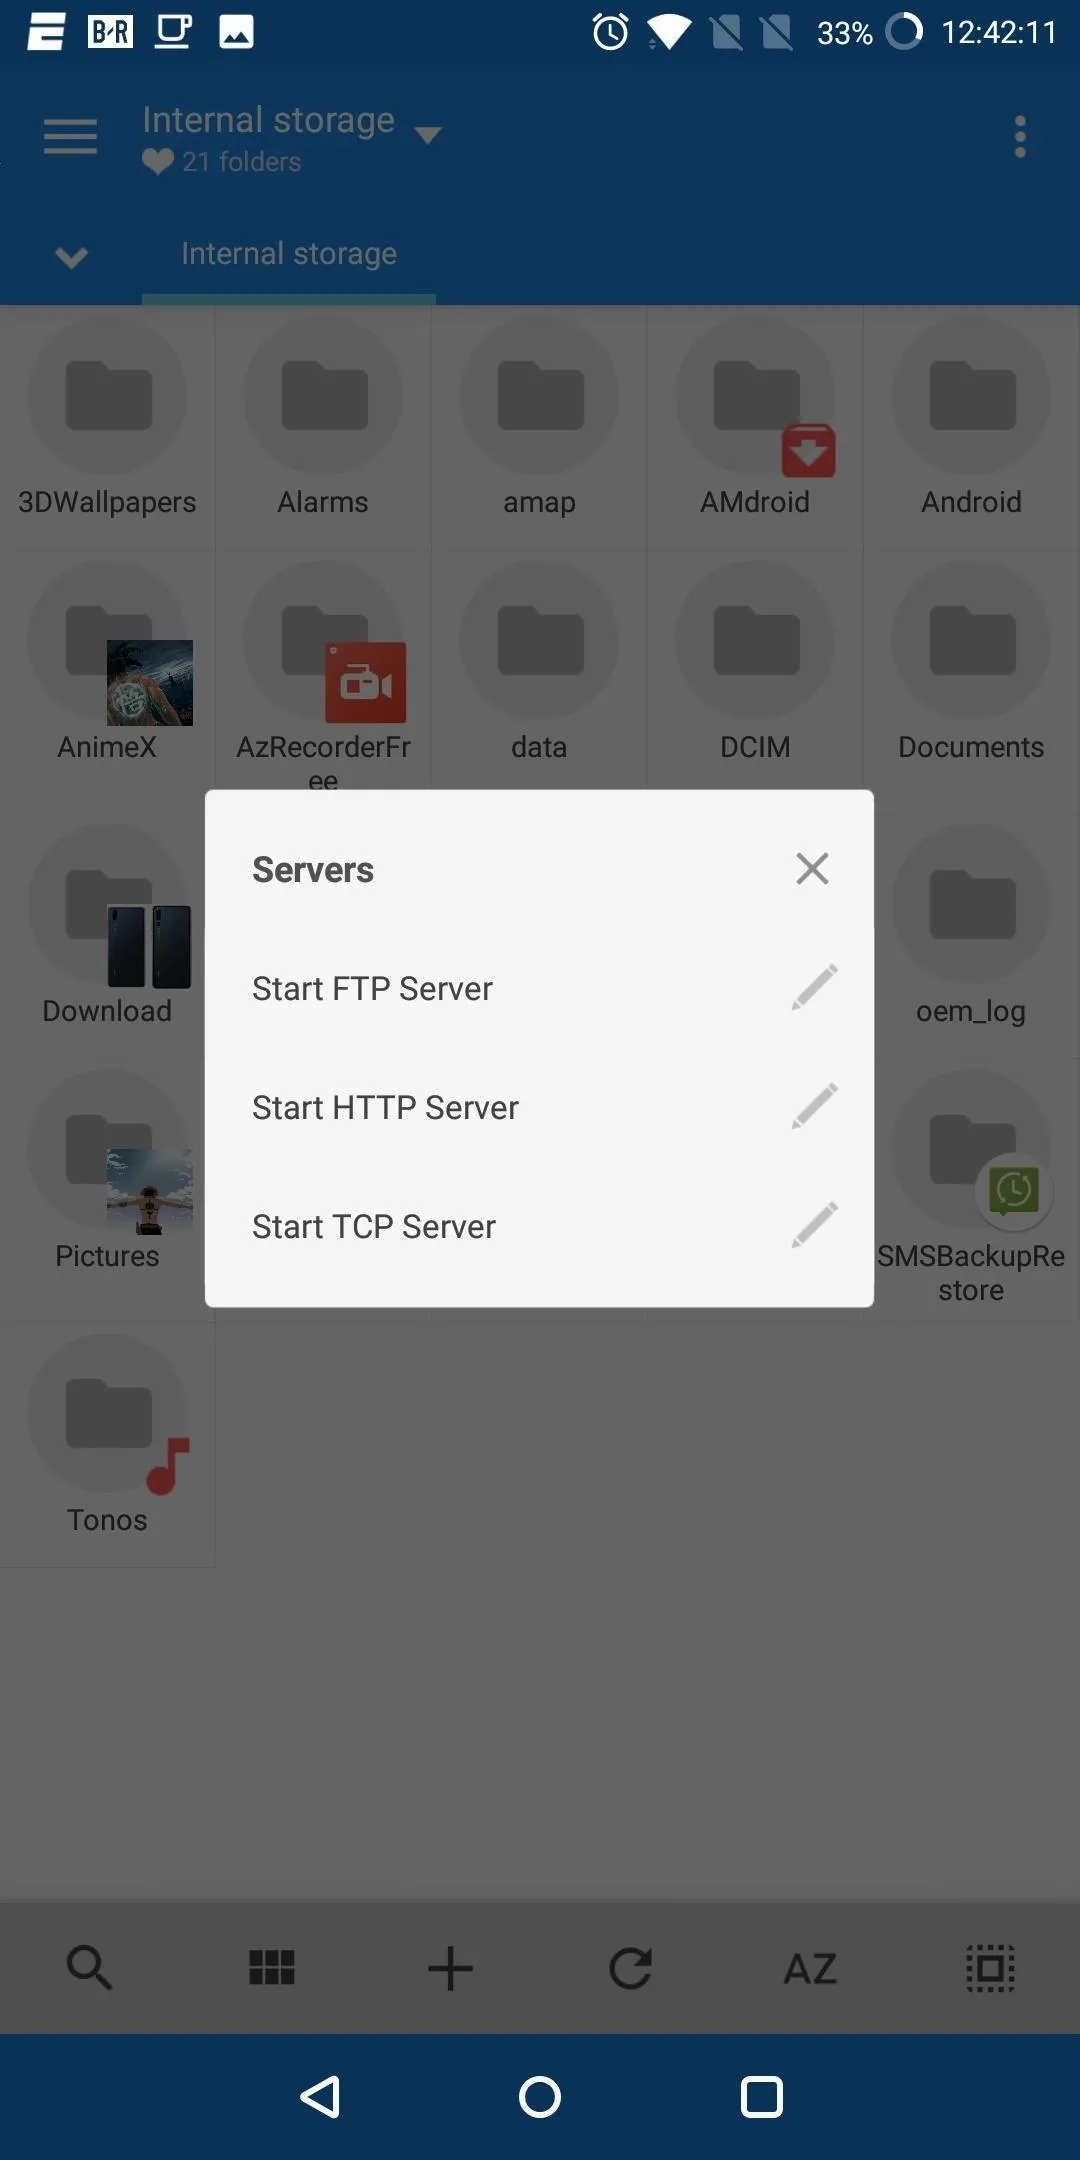
MiXplorer is a file manager that includes free wireless file transfer. As long as both phones have the app open, transporting is pretty simple. To begin, open the app on the new phone and tap the menu button in the top-right corner of your display. Choose "Servers" and select "Start TCP Server."
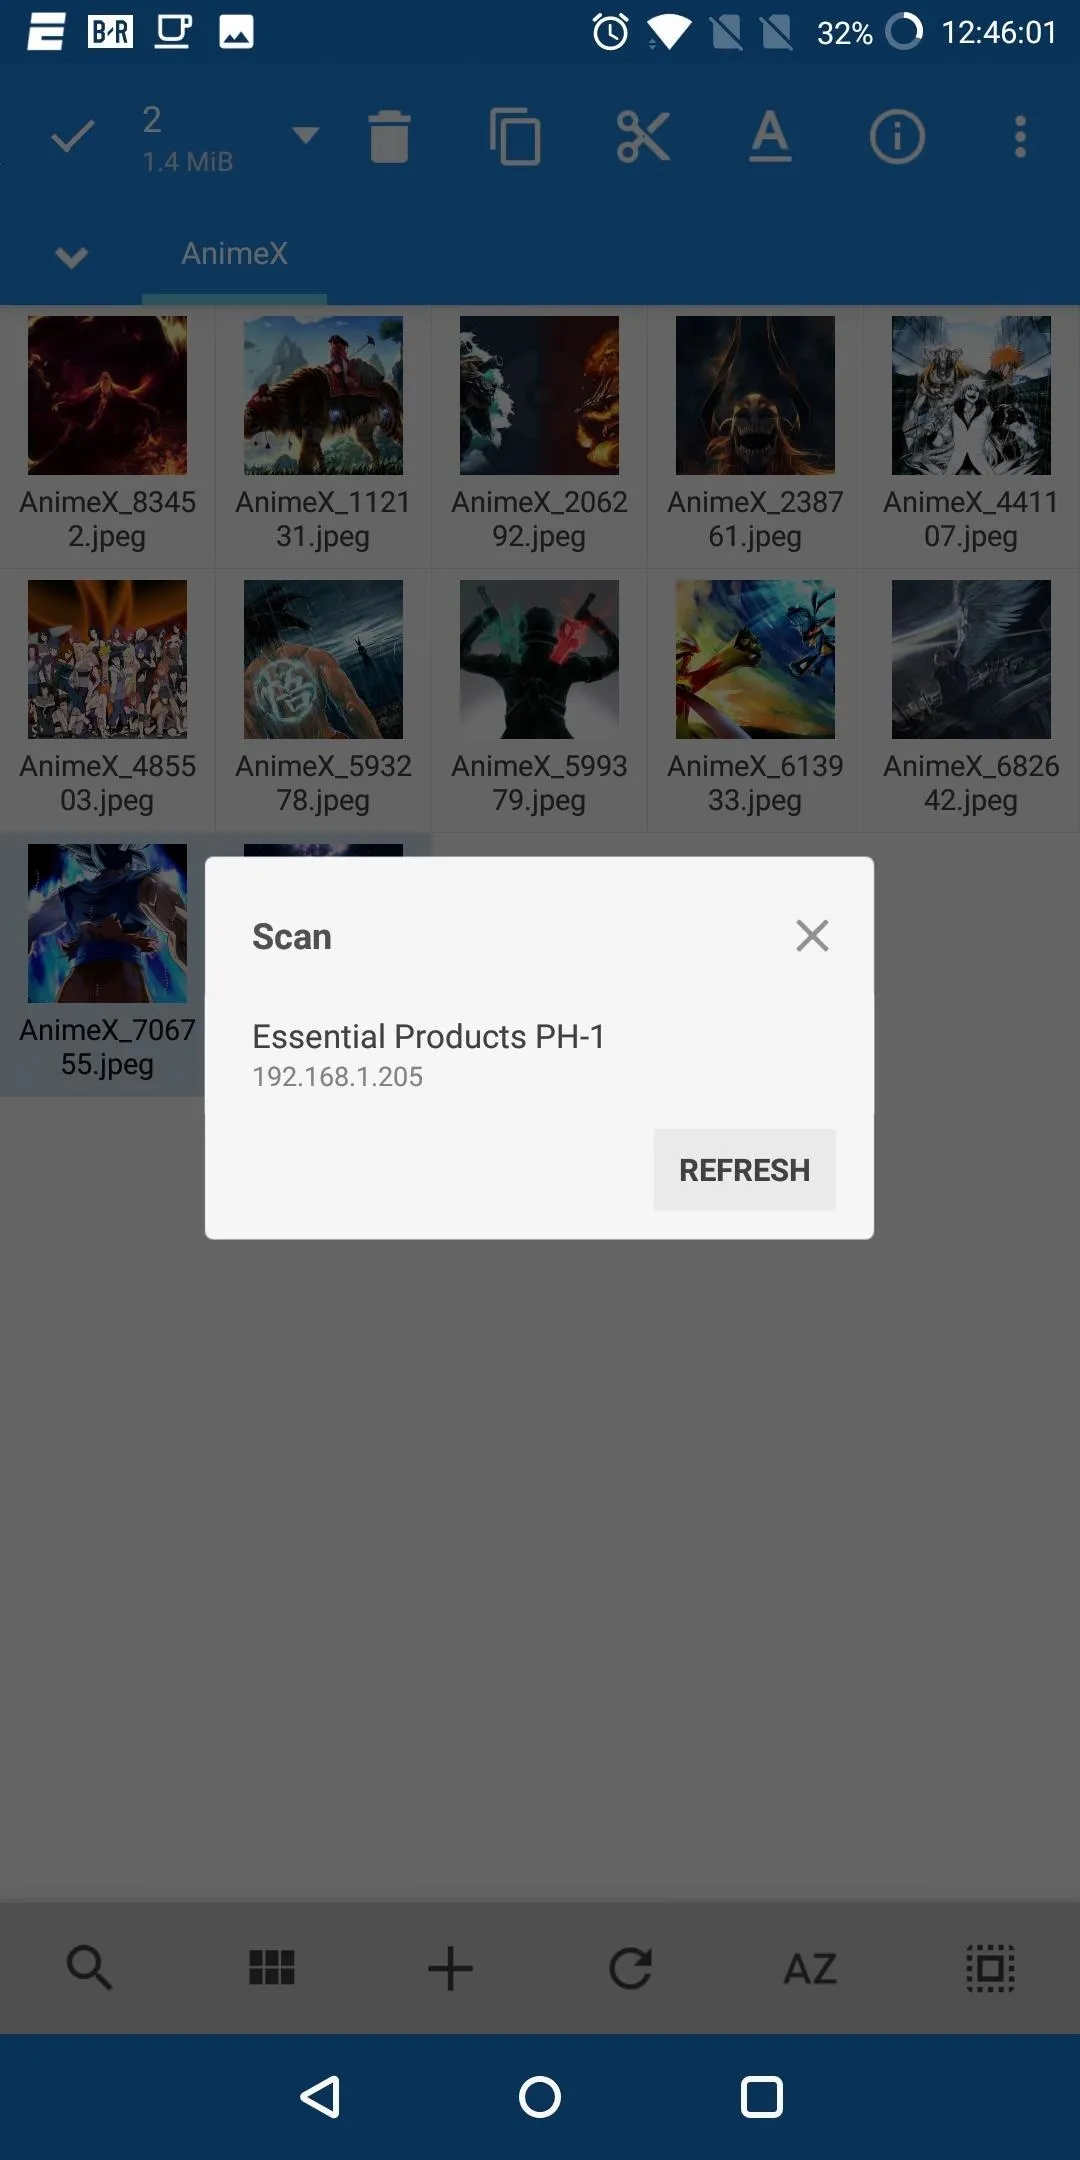
One the old phone, open the app and navigate to the files you wish to transfer. Long-press one of the files until a blue background surrounds it. You can now also select any other file as well with a simple touch which also adds the blue background. Once all the files you want to transfer have been selected, tap the menu button again, but this time choose "Send to." After a second of scanning, your new phone should appear — select it and your files will begin transferring.
MiXplorer can transfer any files locally stored on your device, allowing you to move any file you may have missed beforehand. Personally, I have been using this file manager to retain my video game ringtones on each new phone I use.
With these steps, you can be sure that all your data is transferred and you will lose nothing with your new phone. All that's left to do is to verify that all data was transferred before factory resetting the old phone.
- Follow Gadget Hacks on Facebook, Twitter, YouTube, and Flipboard
- Follow WonderHowTo on Facebook, Twitter, Pinterest, and Flipboard
Cover image and screenshots by Jon Knight/Gadget Hacks


Comments
Be the first, drop a comment!