


After setting up your phone, there are a number of things you should do immediately before download your favorite apps. Specifically, now that your data is on the device, you need to take steps now to ensure it's both protected and retained. Fortunately, most of these steps are a one-time process.
The reason this should be done with your new device is that oftentimes, we will ignore the protection and retention of our data until it is too late. By making these modifications now, you can be sure that for the entire life of your new phone, your data will be both private and accessible by you.
Back Up Your Photos & Videos
The first thing any new phone users should do is set up automatic backup of their data. While 99% of the time you may never use it, it takes only one to make you regret not having it. Google automatically backs up a lot of your data (unless you specifically disable the feature during setup), but it doesn't back up everything. Specifically, your photos, videos, and your text messages.
For photos and videos, Google does provide an app to automate the process, but it isn't enabled by default. Google Photos will automatically back up any files located in the Camera's main folder (which means any image or video taken with your camera). To enable this, just open up Google Photos and select "Done" on the initial prompt.
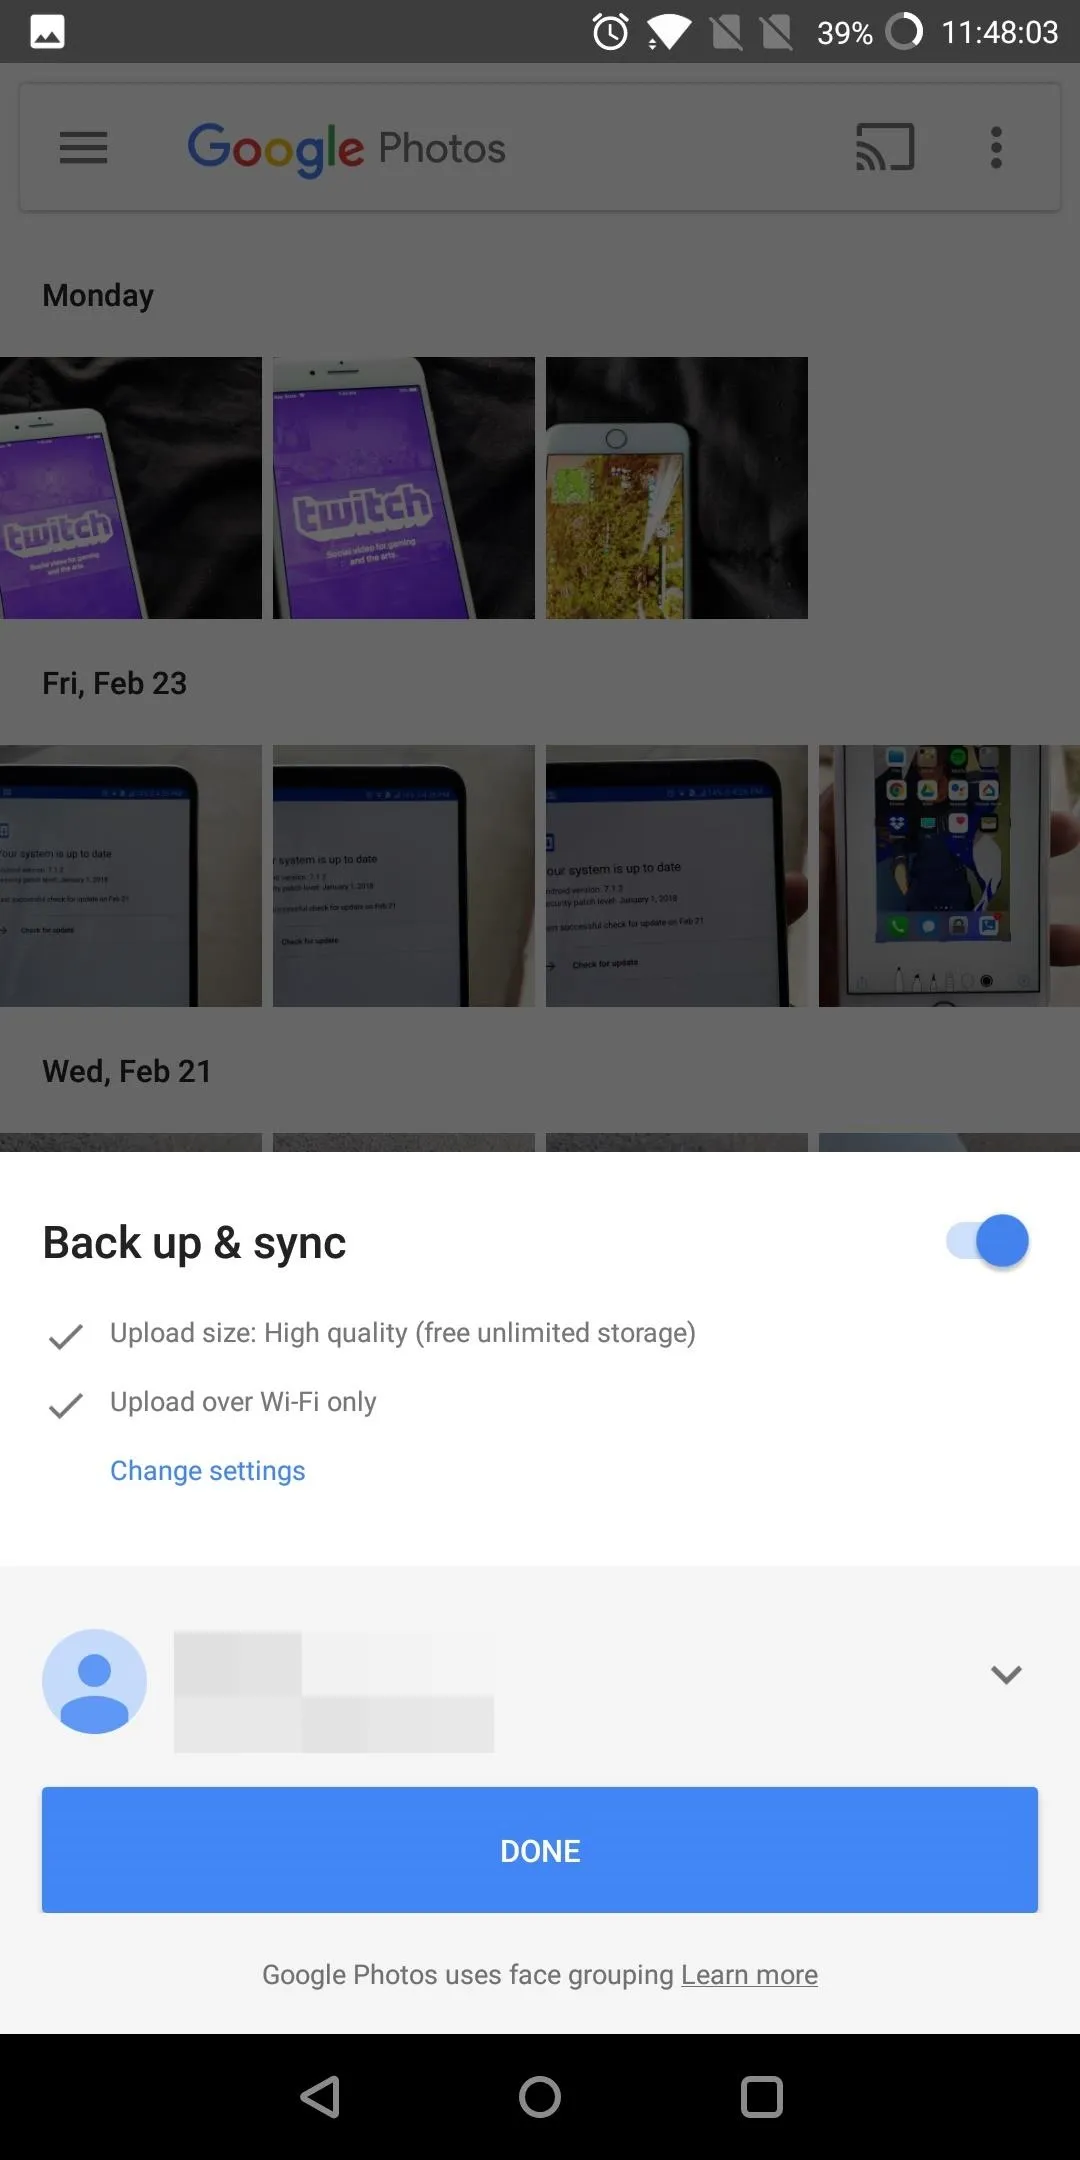
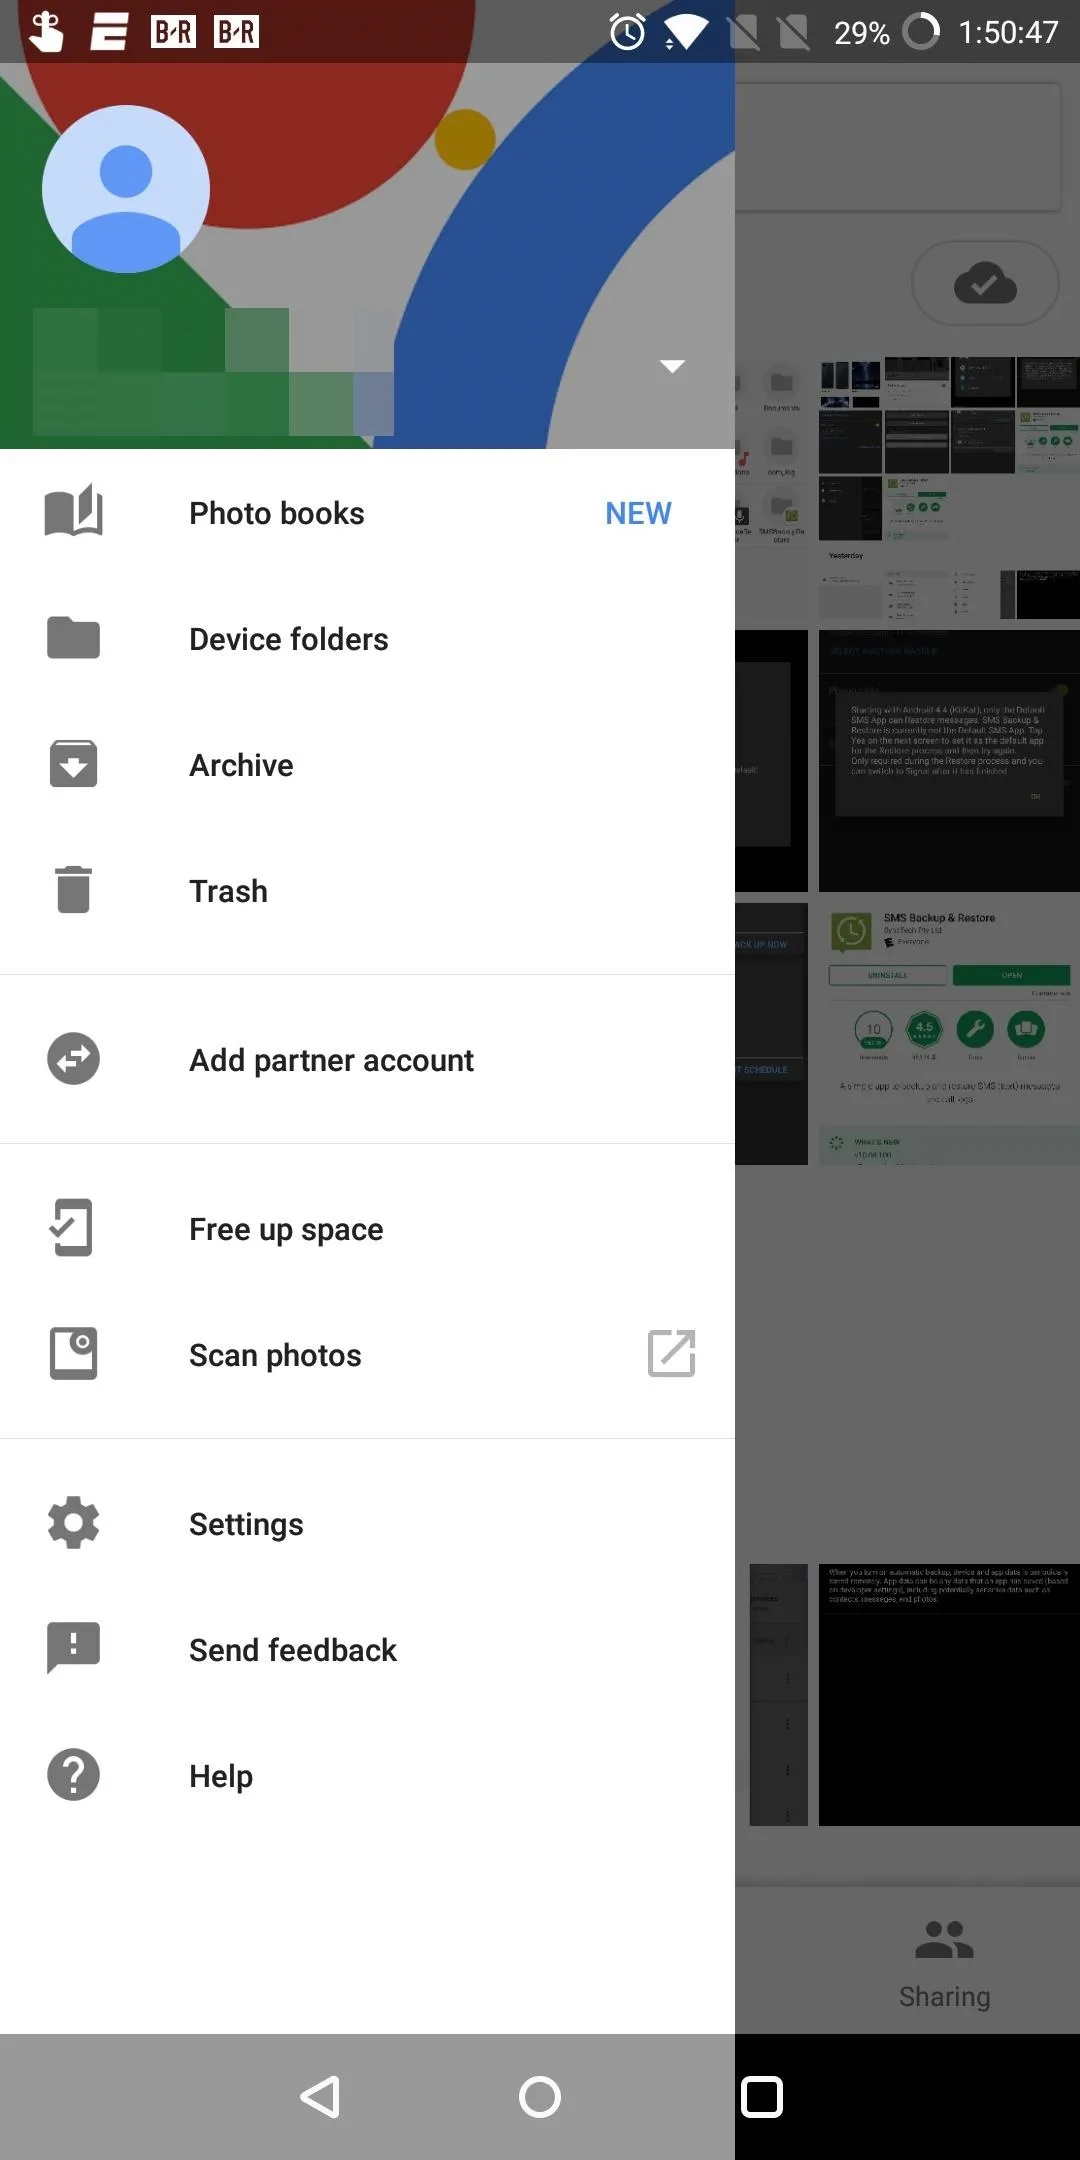
The default settings will only back up your media when you're on Wi-Fi, but if you have an unlimited cellular data plan, you may want to enable cellular data backup so that your media is backed up immediately. To do that, head to the side menu and choose "Settings." Select "Back up & sync" and enable the toggle for Photos and Videos under the Cellular data backup grouping.
Schedule Backups for SMS, MMS & Call History
Another aspect of your data which isn't backed up automatically by Google is your SMS (and MMS) messages and your call history. In order to back these up, you will need the assistance of a third-party app.
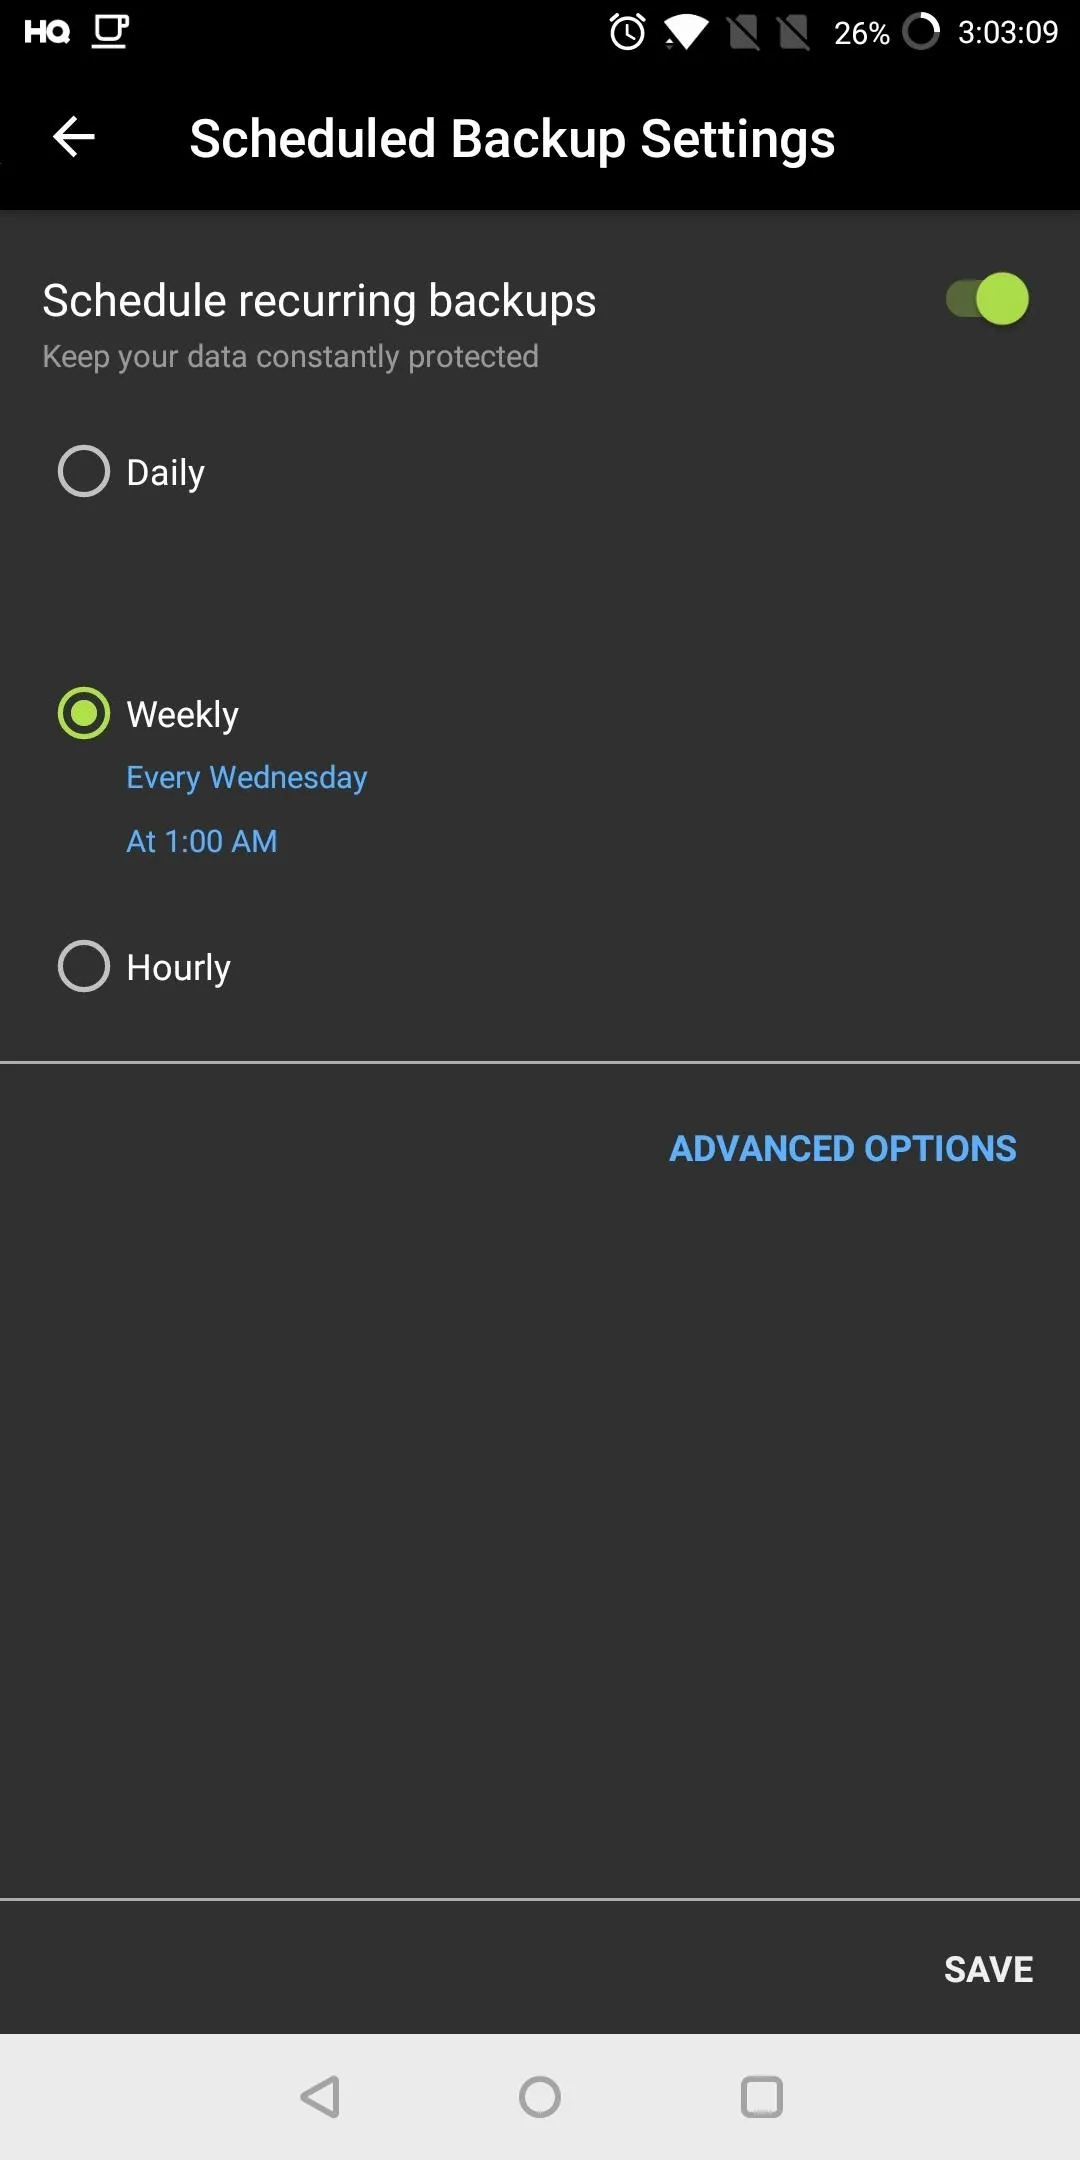
With SMS Backup & Restore, you can automatically back up your text messages, pictures messages, and your call history. To schedule your first backup, select "Edit Schedule" on the main page. Choose whether you want daily, weekly, or even hourly backups. For the daily and weekly options, the default time will be 1:00 am. Once you chose the frequency, tap "Save."
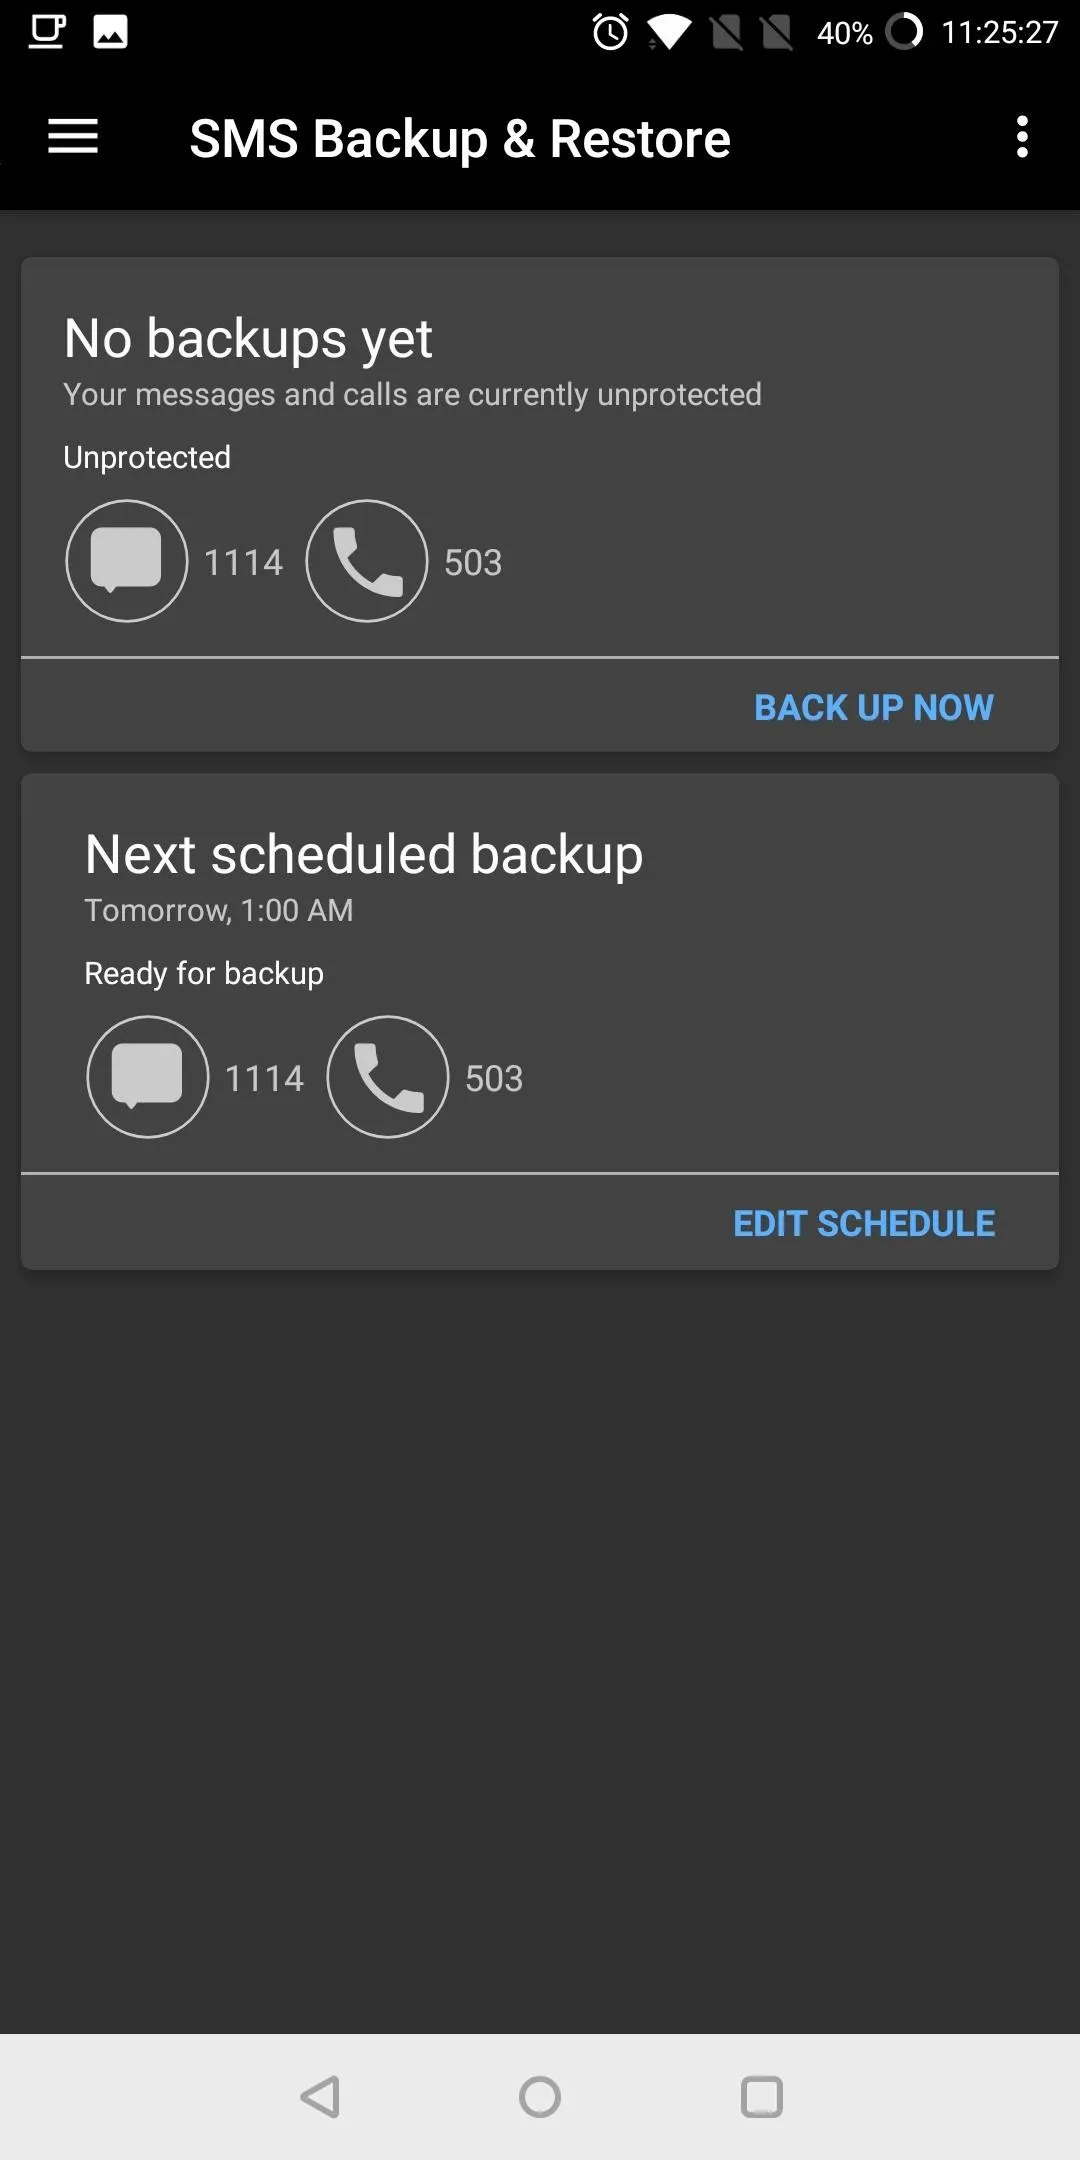
By default, the backup location will be your Google Drive. This is a great option because your data is safe even if your phone becomes compromised. For example, if you lose your phone or if you need to factory reset your phone, local copies are no good as the data is tied to your phone. But with cloud storage, as soon as your sign in, you'll have immediate access to your data again.
Disable Location History
Now that your data is properly backed up, you'll want to keep your data private. There are a number of default settings enabled that sacrifice your privacy which should to be disabled. One of these options is Location History.
Location History keeps a log of your location to provide you personalize ads based on your whereabouts and provide GPS directions to your saved locations (such as your home or workplace). That may be fine for some users, but if you're a privacy-minded individual, you can see how to disable it at the link below.
Stop Personalized Ads
Every Android device has something known as an advertising ID which is used to identify your device as you browse the web and use apps. Using this data, Google serves up ads that are specifically targeted at you. You can instructs apps not to use this advertising ID by opting out the program.
Besides the advertising ID, Google collects data from a variety of sources, including Chrome and YouTube. It is recommended that you turn off these collections to keep your data private. You can read how to disable all of these options at the following link.
Review App Permissions
Whether you started your device clean or imported your app information from a previous phone, an important step for any new phone user is to review app permissions. Apps on the Play Store have been known to enable a multitude of permissions that aren't necessary for functionality. Because of the severity of the misuse of this information, this should be done both when first setting up your device and periodically to ensure any new apps aren't stealing your data.
- Don't Miss: How to Review App Permissions on Android
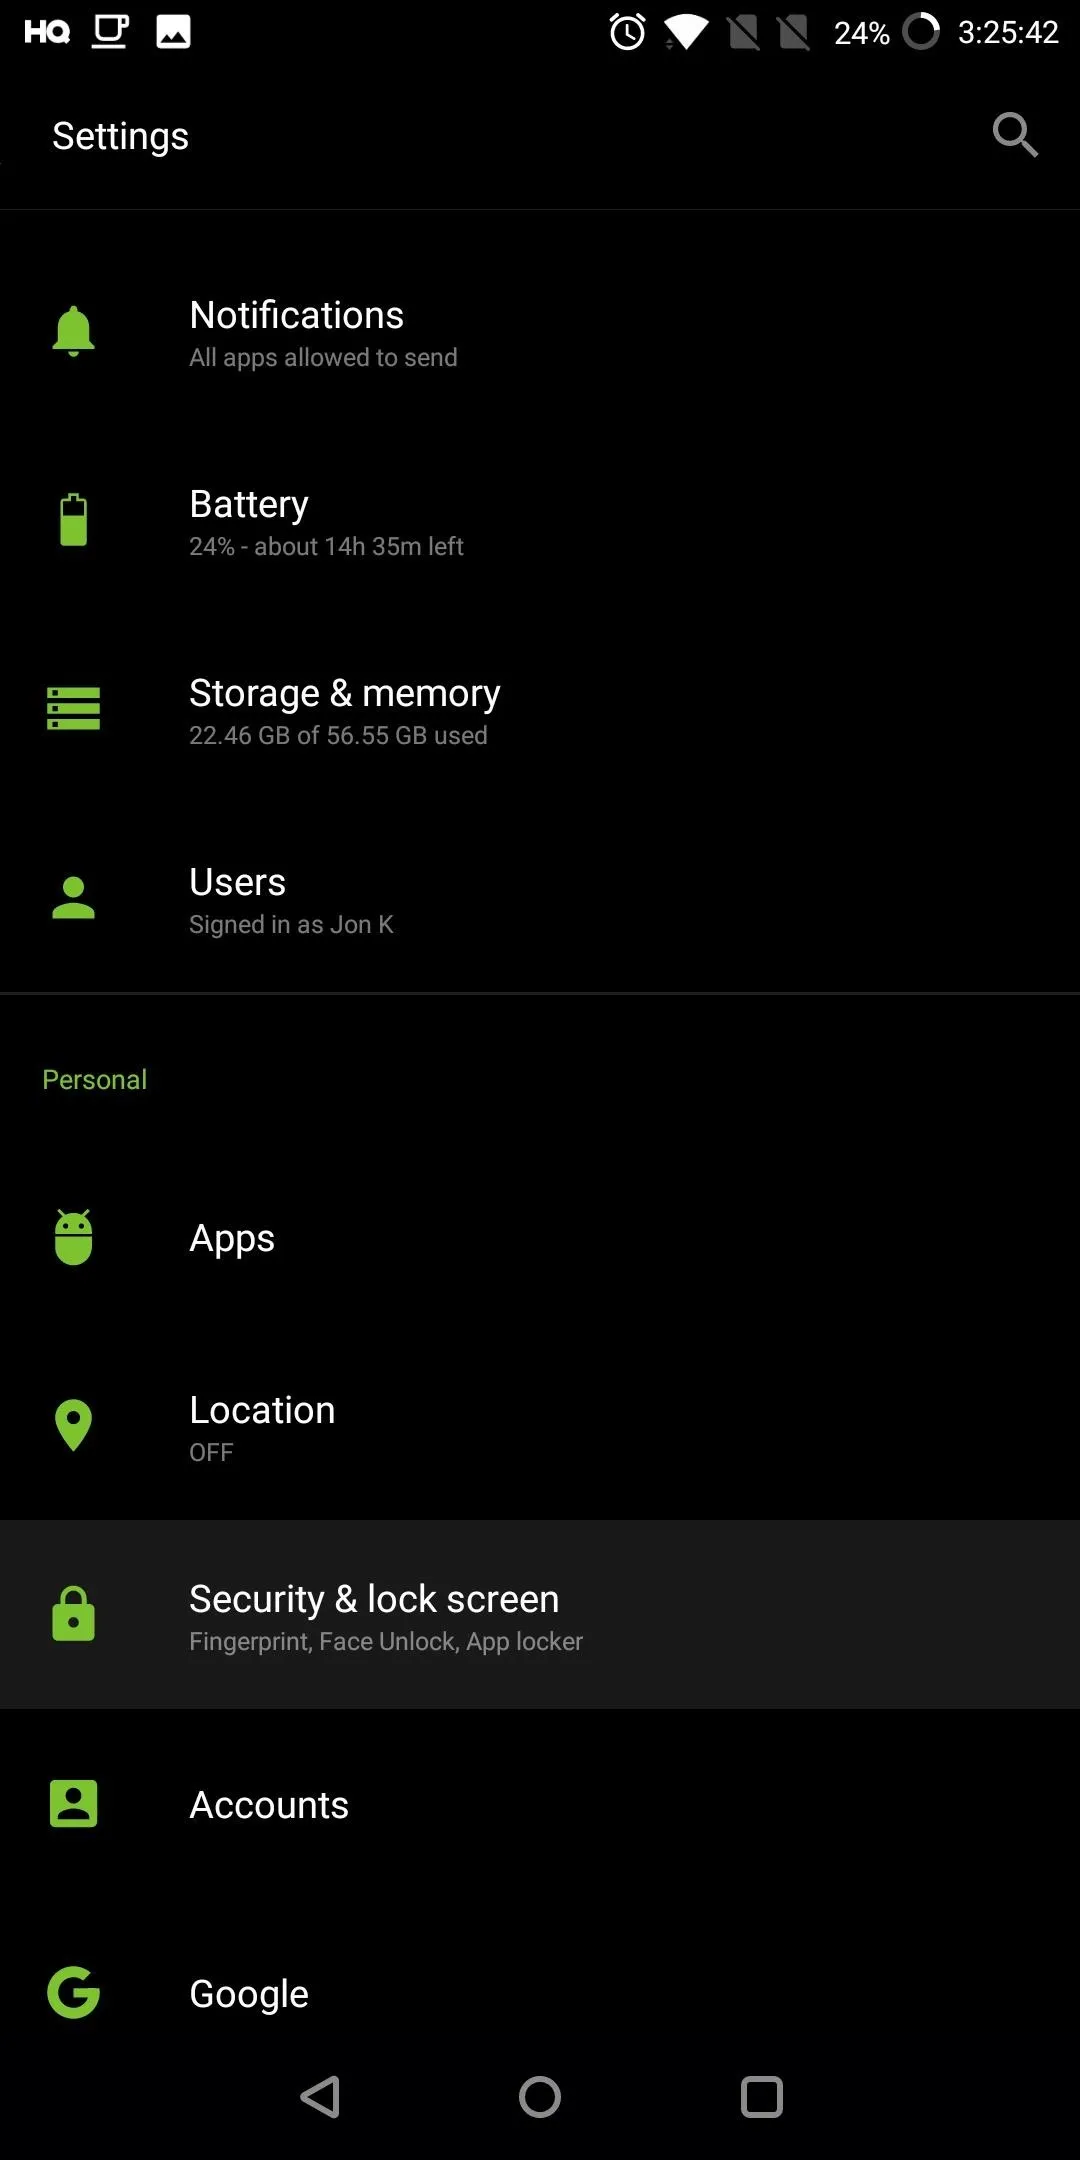
Secure Your Lock Screen
When you initially set up your device, Google suggests that you protect your lock screen by enabling one of the many authentication methods. Whether it's biometrics or a password, PIN, or pattern, you should have enabled one of them to keep your device safe.
Besides offering anti-theft protection, a lock screen can protect unauthorized individuals from accessing your data as they need to know the authentication method. However, sometimes new users forgo the lock screen, opting for either no lock screen or a swipe up gesture. If this was you, follow these steps to enable an actual lock screen.
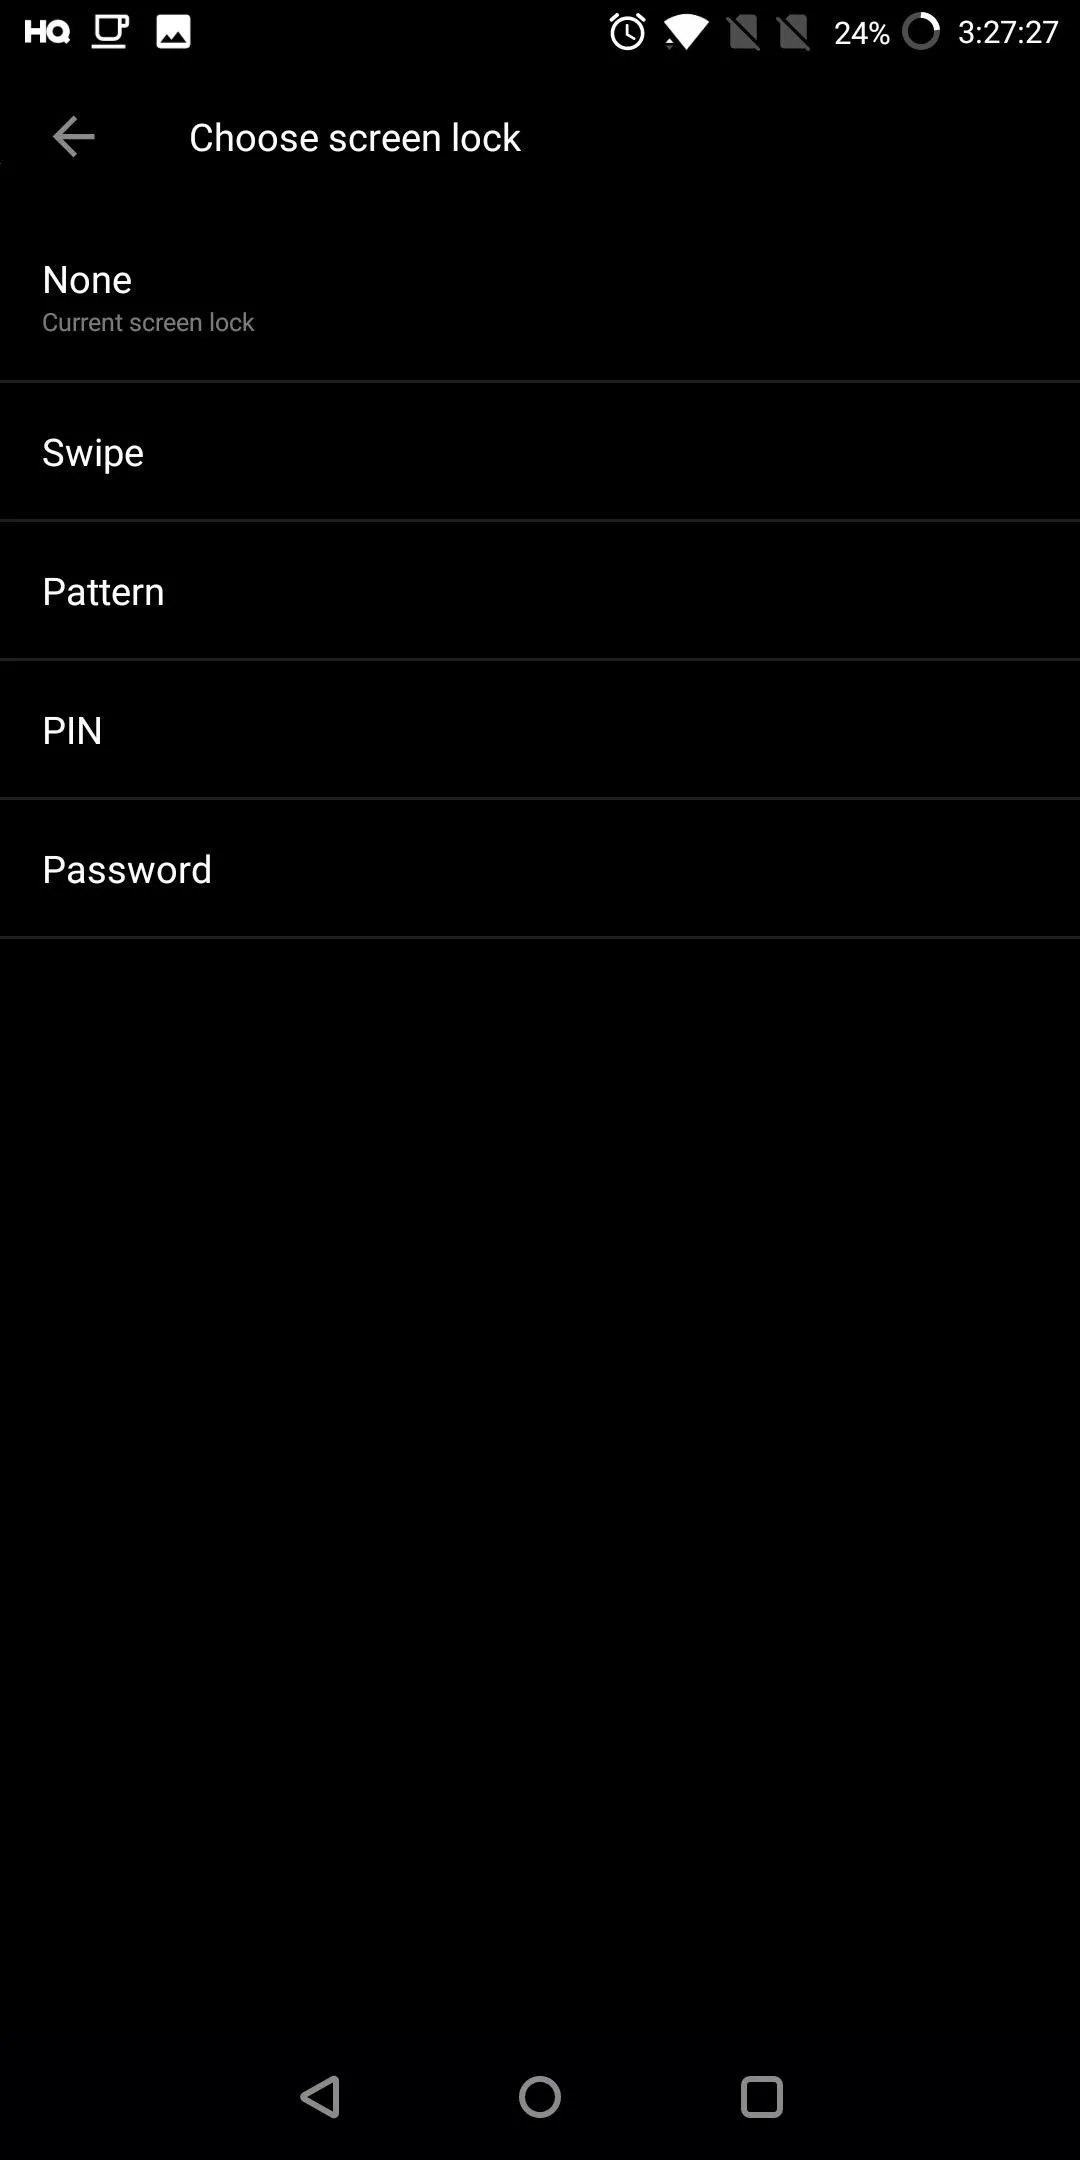
Enter Settings and select "Security & lock screen" or some other variation of those words (depends on the skin used by your device). Select "Screen Lock" and choose any method besides "Swipe" or "None." Follow the instructions to add this security layer to your device. For the fingerprint scanner, find the "Add fingerprint" option and follow the instructions to scan your fingerprint.
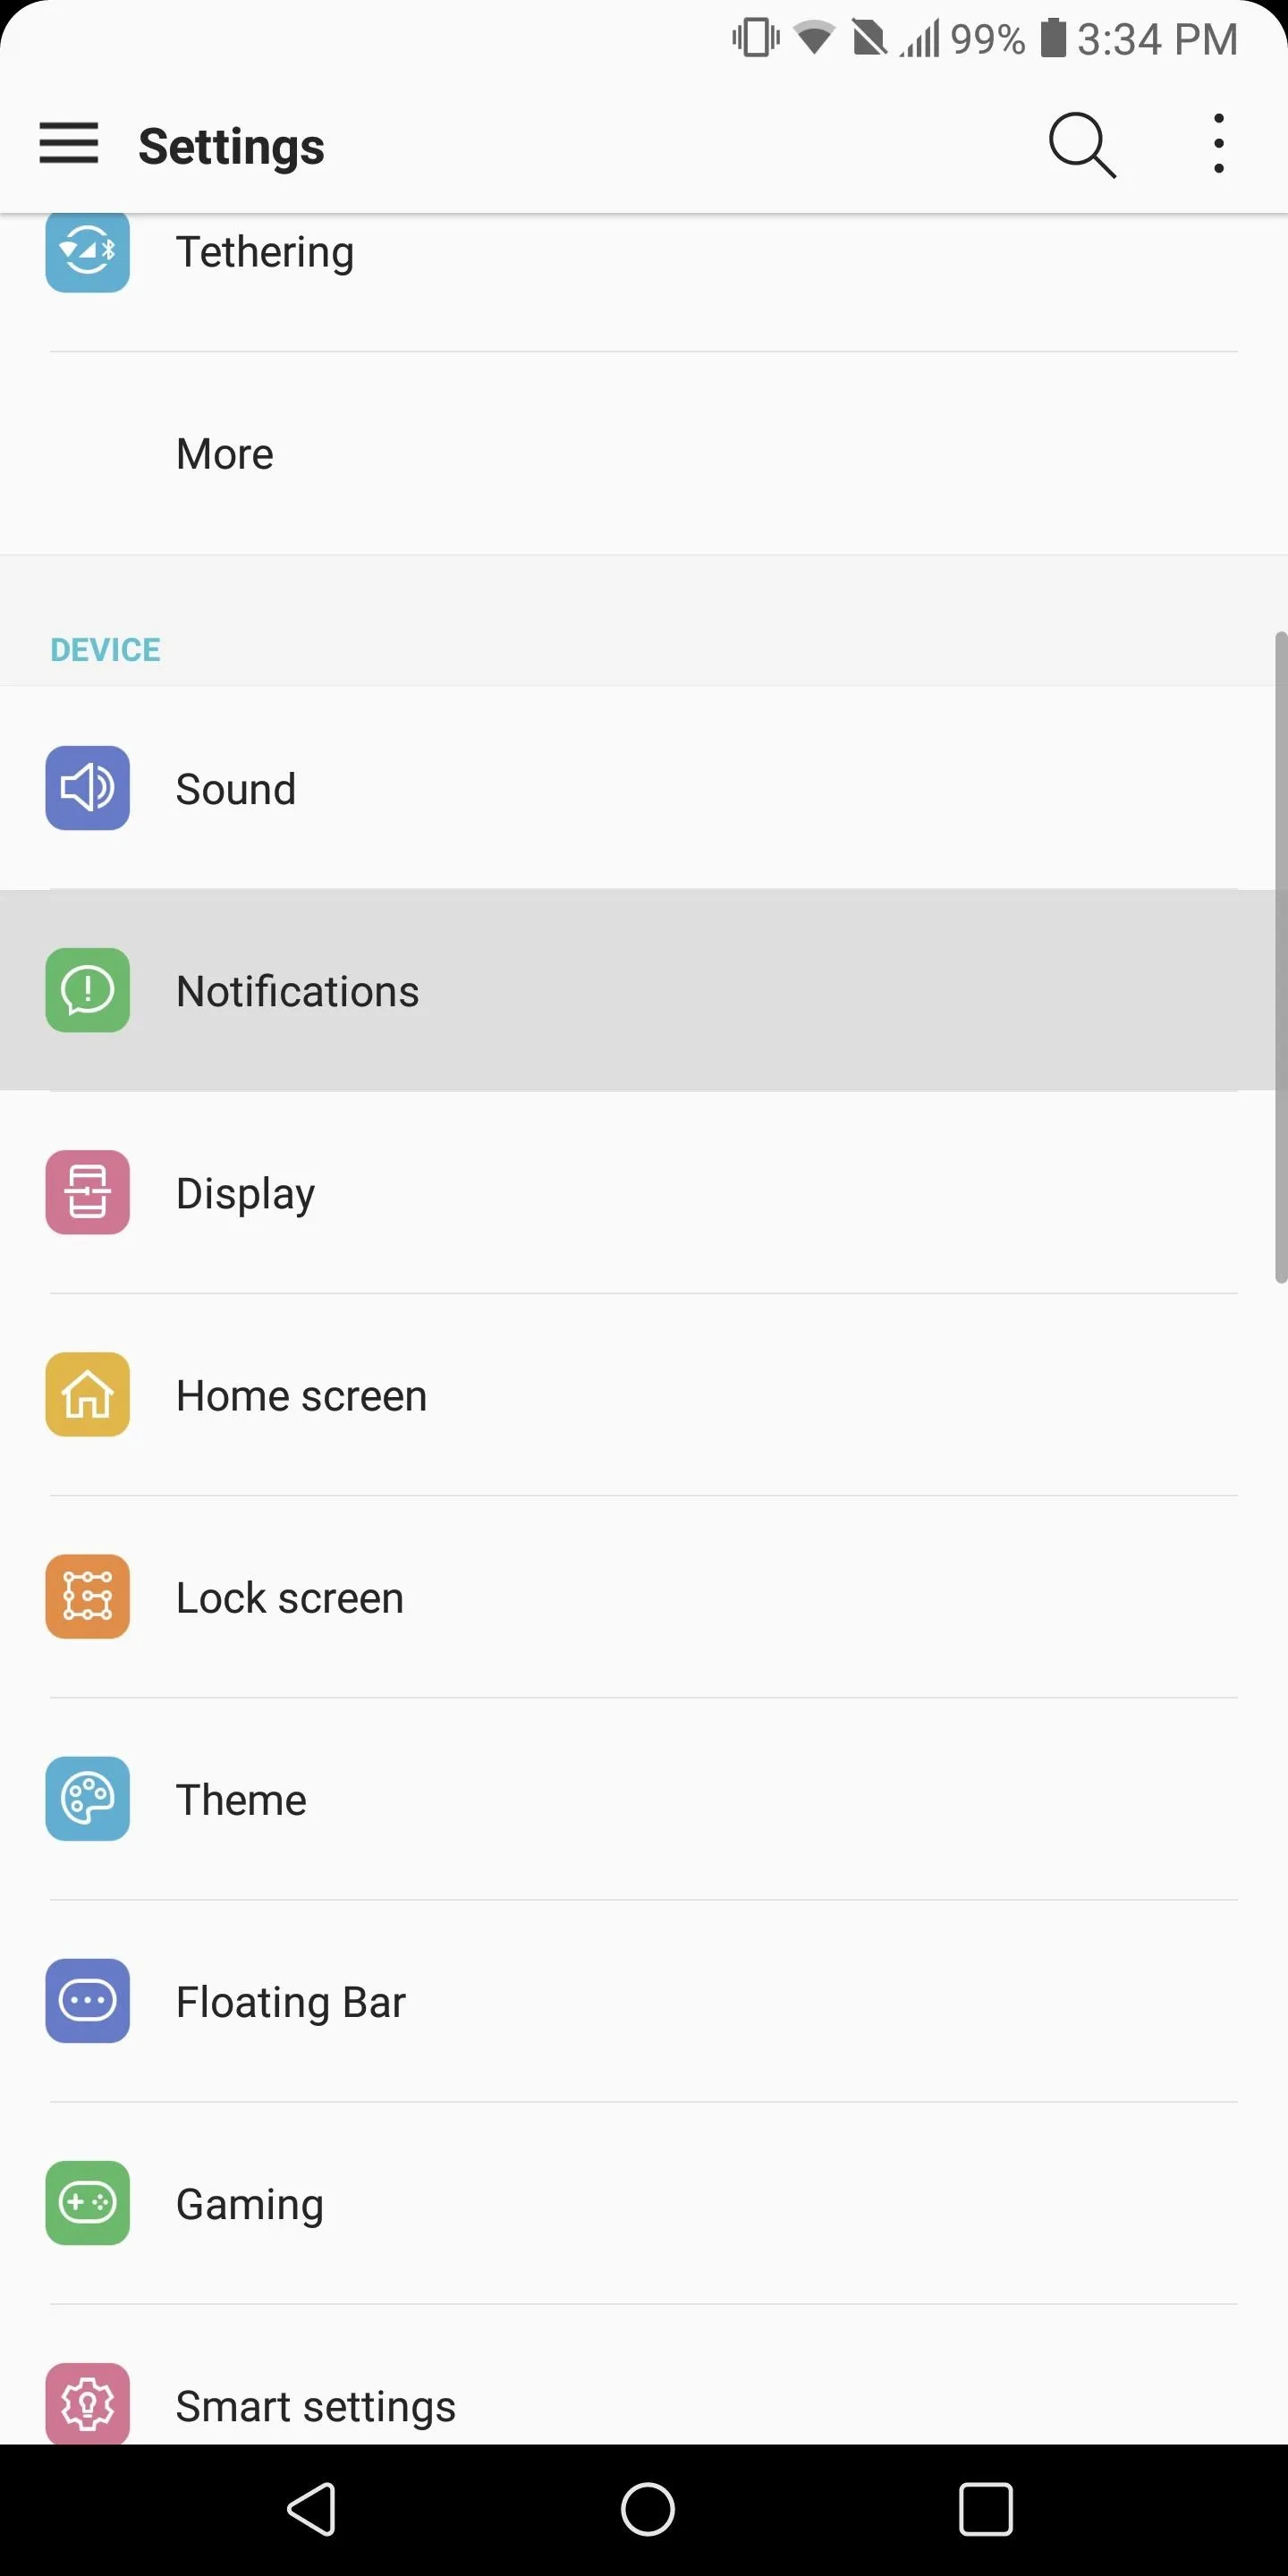
Limit How Notifications Are Displayed
One of the conveniences of Android's lock screen is the ability to read and manage notifications without unlocking your device. Unfortunately, this also leaves us vulnerable to someone else using that same convenience to read our notifications without having to unlock our device. Therefore, we recommend changing the default notification settings.
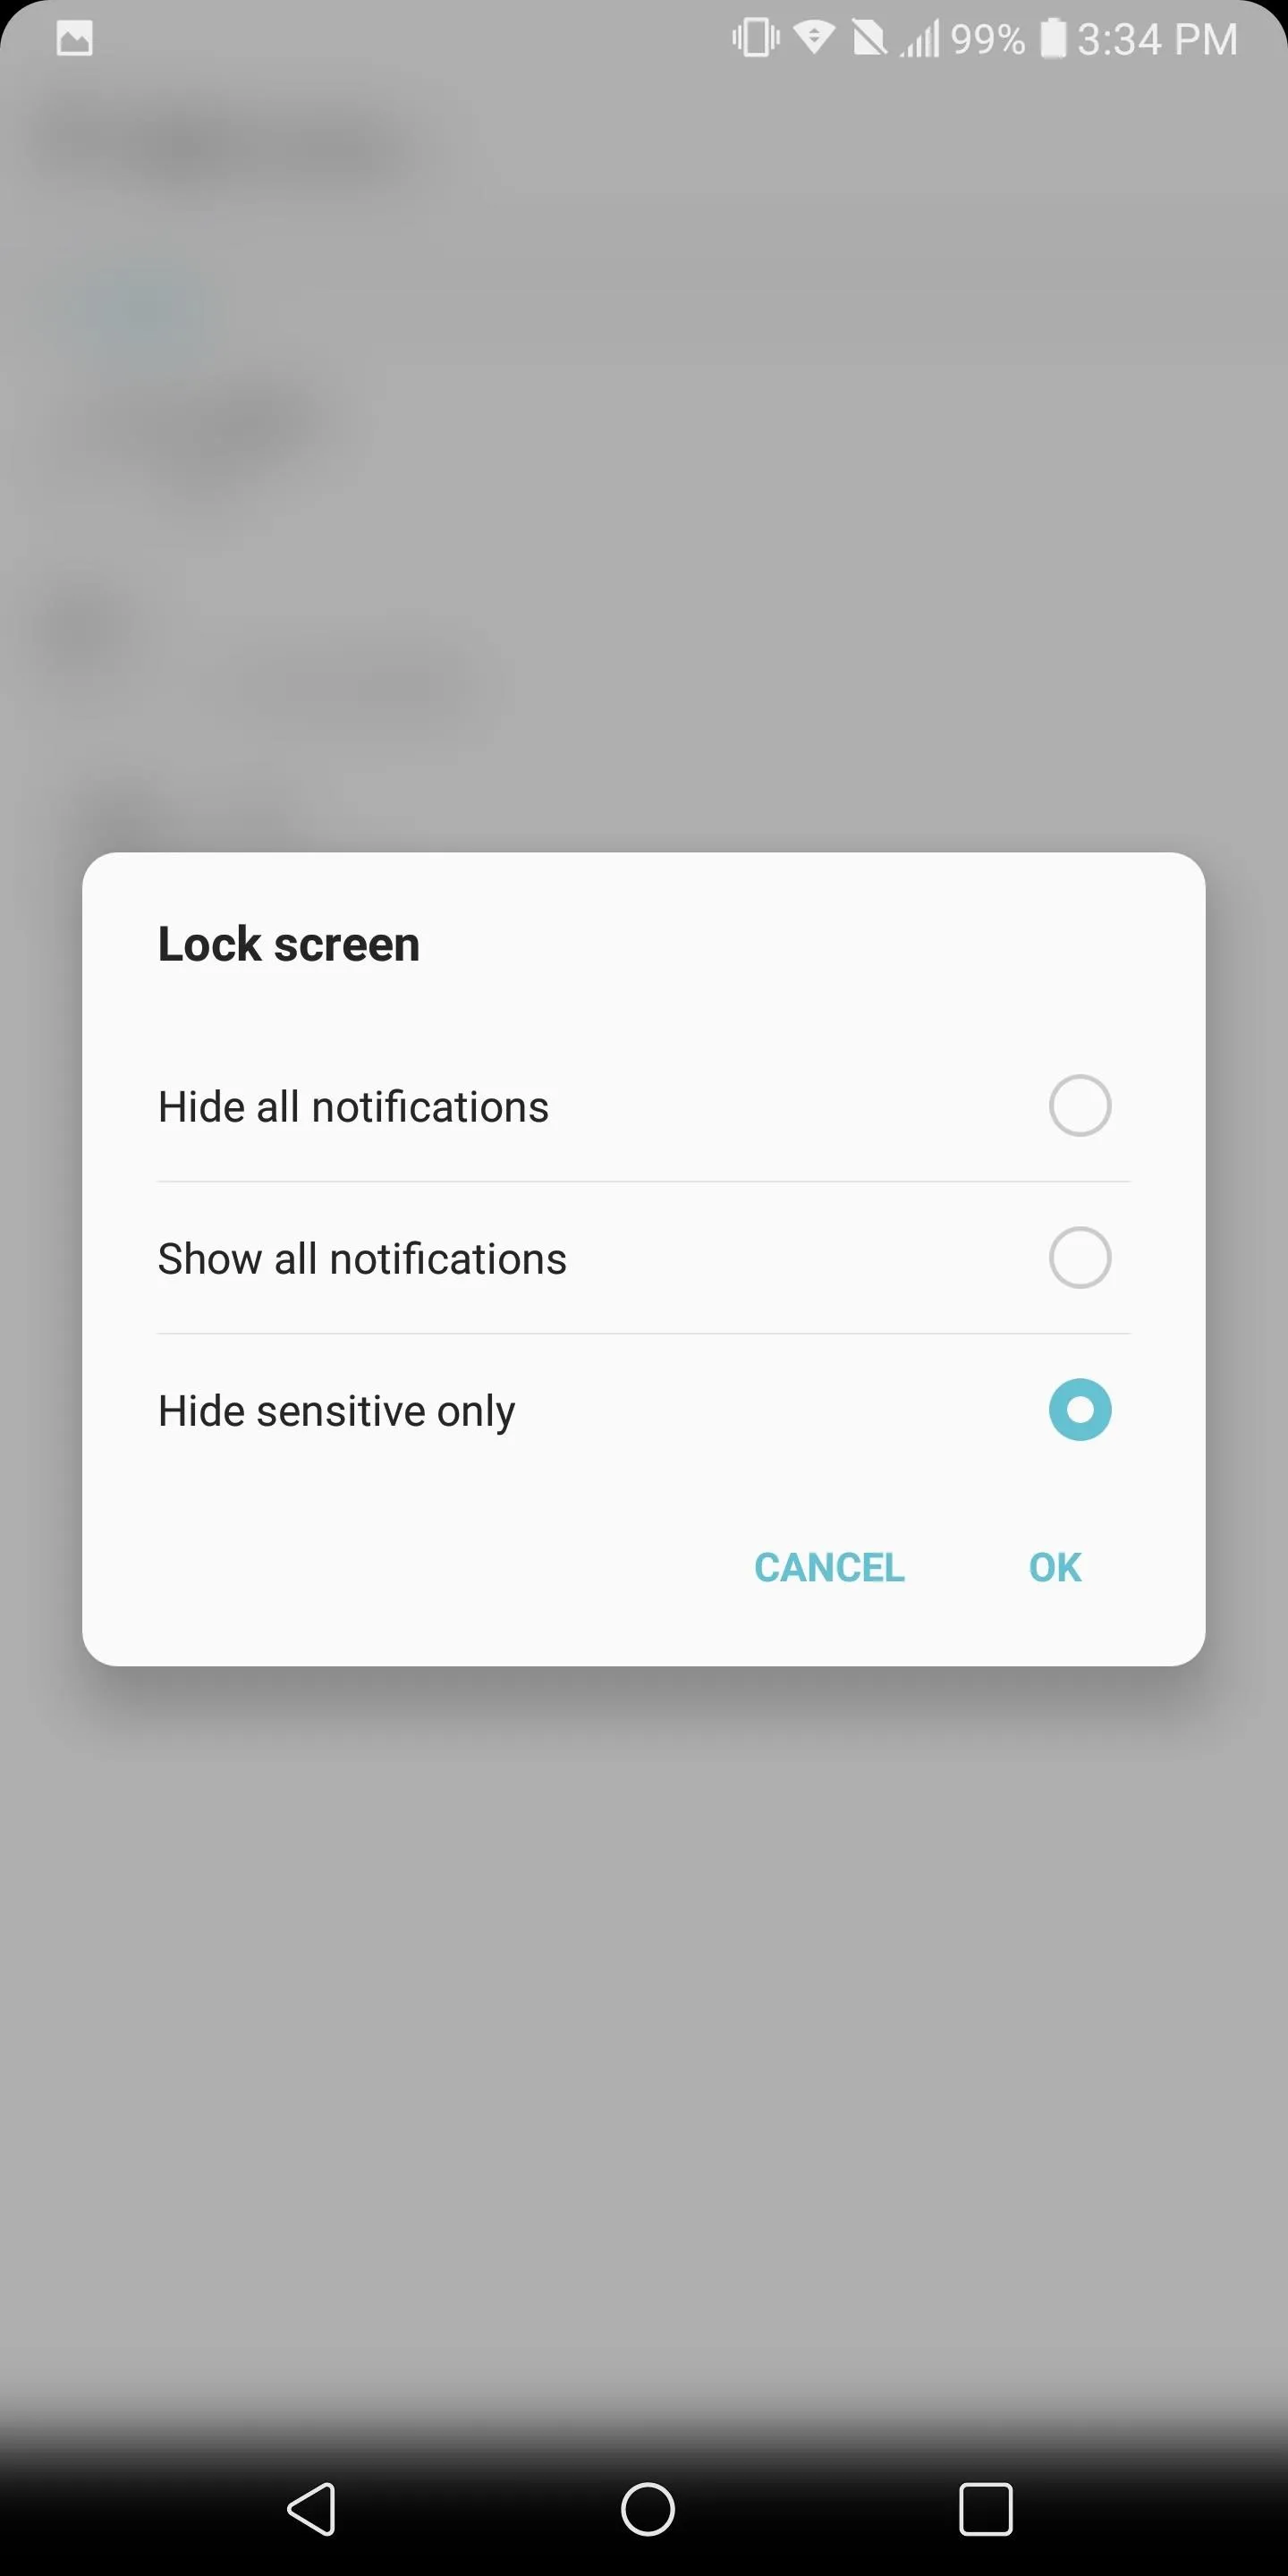
To do so, open Settings and select "Notifications" (or whatever variation is used by your OEM skin). Under the "Lock screen" option (this may be hidden behind a sub-menu which you can access using an icon in the upper-right corner of your display), choose "Hide sensitive only." With this enabled, notifications from apps such as messaging will alert you of a new notification, but won't display the message unless you unlock your phone.
After using these suggestions, your data will be both private and recoverable. By doing this immediately, you reduce the risk of losing your data and protect yourself in the event that Google ever became compromised. There are also more security steps you can take which we highlight in our Android Security 101 Collection. Check out the link below for information, and let us know in the comments below if you found these tips helpful!
- Follow Gadget Hacks on Facebook, Twitter, YouTube, and Flipboard
- Follow WonderHowTo on Facebook, Twitter, Pinterest, and Flipboard
Cover image and screenshots by Jon Knight/Gadget Hacks


Comments
Be the first, drop a comment!