


Since its introduction, the Bixby button has been a big point of contention among Galaxy fans. Many view the dedicated button as a wasted opportunity, which they argue could be put to better use if Samsung would let them use it for other commands. Thanks to an awesome app, you'll be able to remap the Bixby button on your Galaxy S9 to perform almost any function.
While there are a number of apps out there that allow you to customize your Galaxy's Bixby button, bxActions has proven to be among the most stable and intuitive apps to use. It's also updated on a fairly regular basis, and has been optimized for use on Samsung devices running on Android Oreo, which makes it a perfect fit for your S9 or S9+. So if you're itching to ditch Bixby, give this app a try.
Before We Begin
There are a few things you should know about bxActions begin. First, make sure that Bixby is fully enabled on your device — the app won't function at all if you have it disabled. Battery life is another factor to consider, as the app works by running a service in the background to constantly track for usage of the Bixby button.
Finally, future firmware updates may eventually block bxActions from working on the Galaxy S9. User reports have confirmed that the app works to remap the Bixby button on the firmware that ships with most variants of the Galaxy S9 and S9+, but this could change at any moment.
Install bxActions
bxActions is free to download from the Google Play Store, so either head on over there and search for it by name, or use the link below to grab the app and customize your S9's Bixby button to better suit your needs.
Grant Usage Access
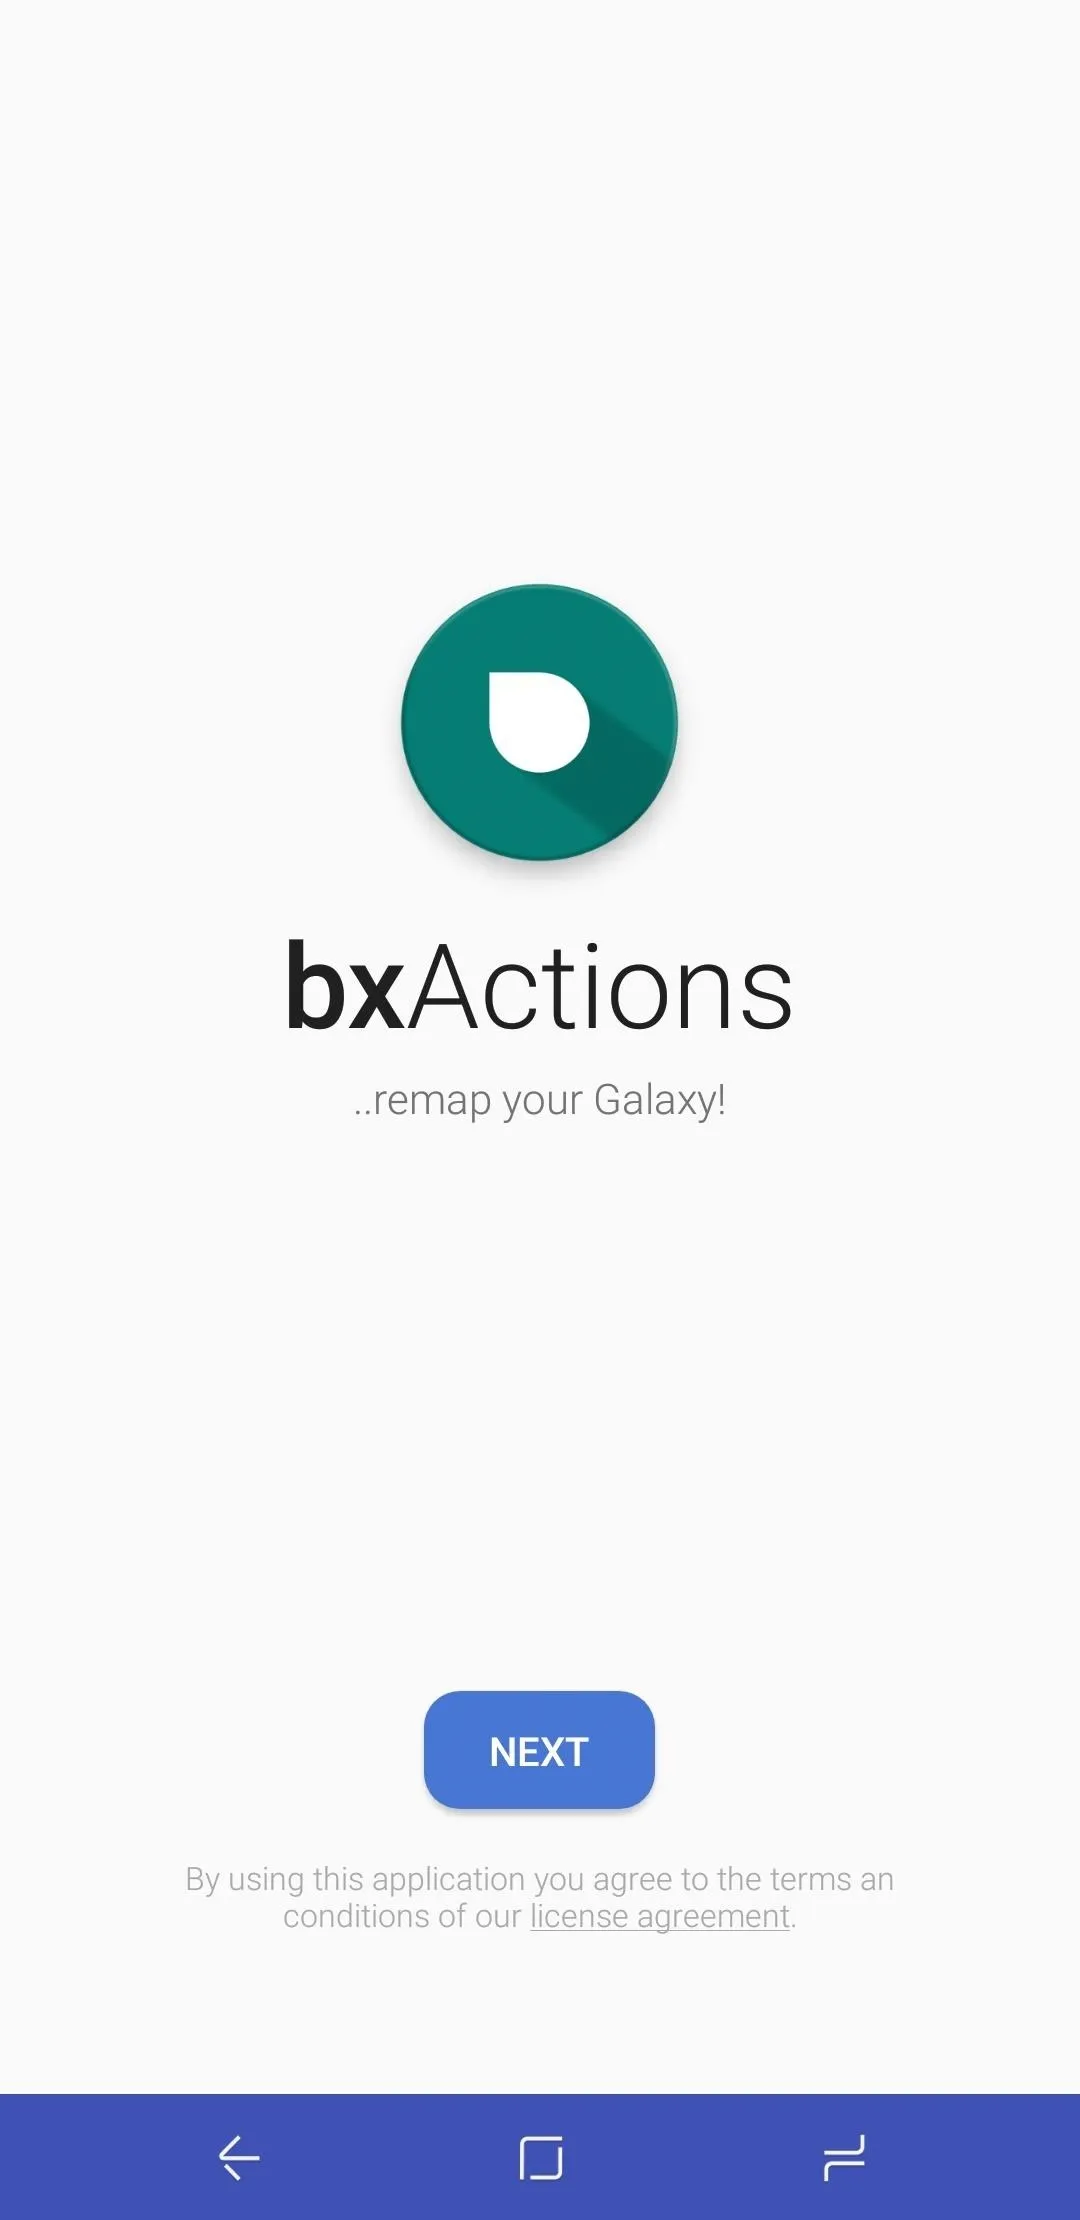
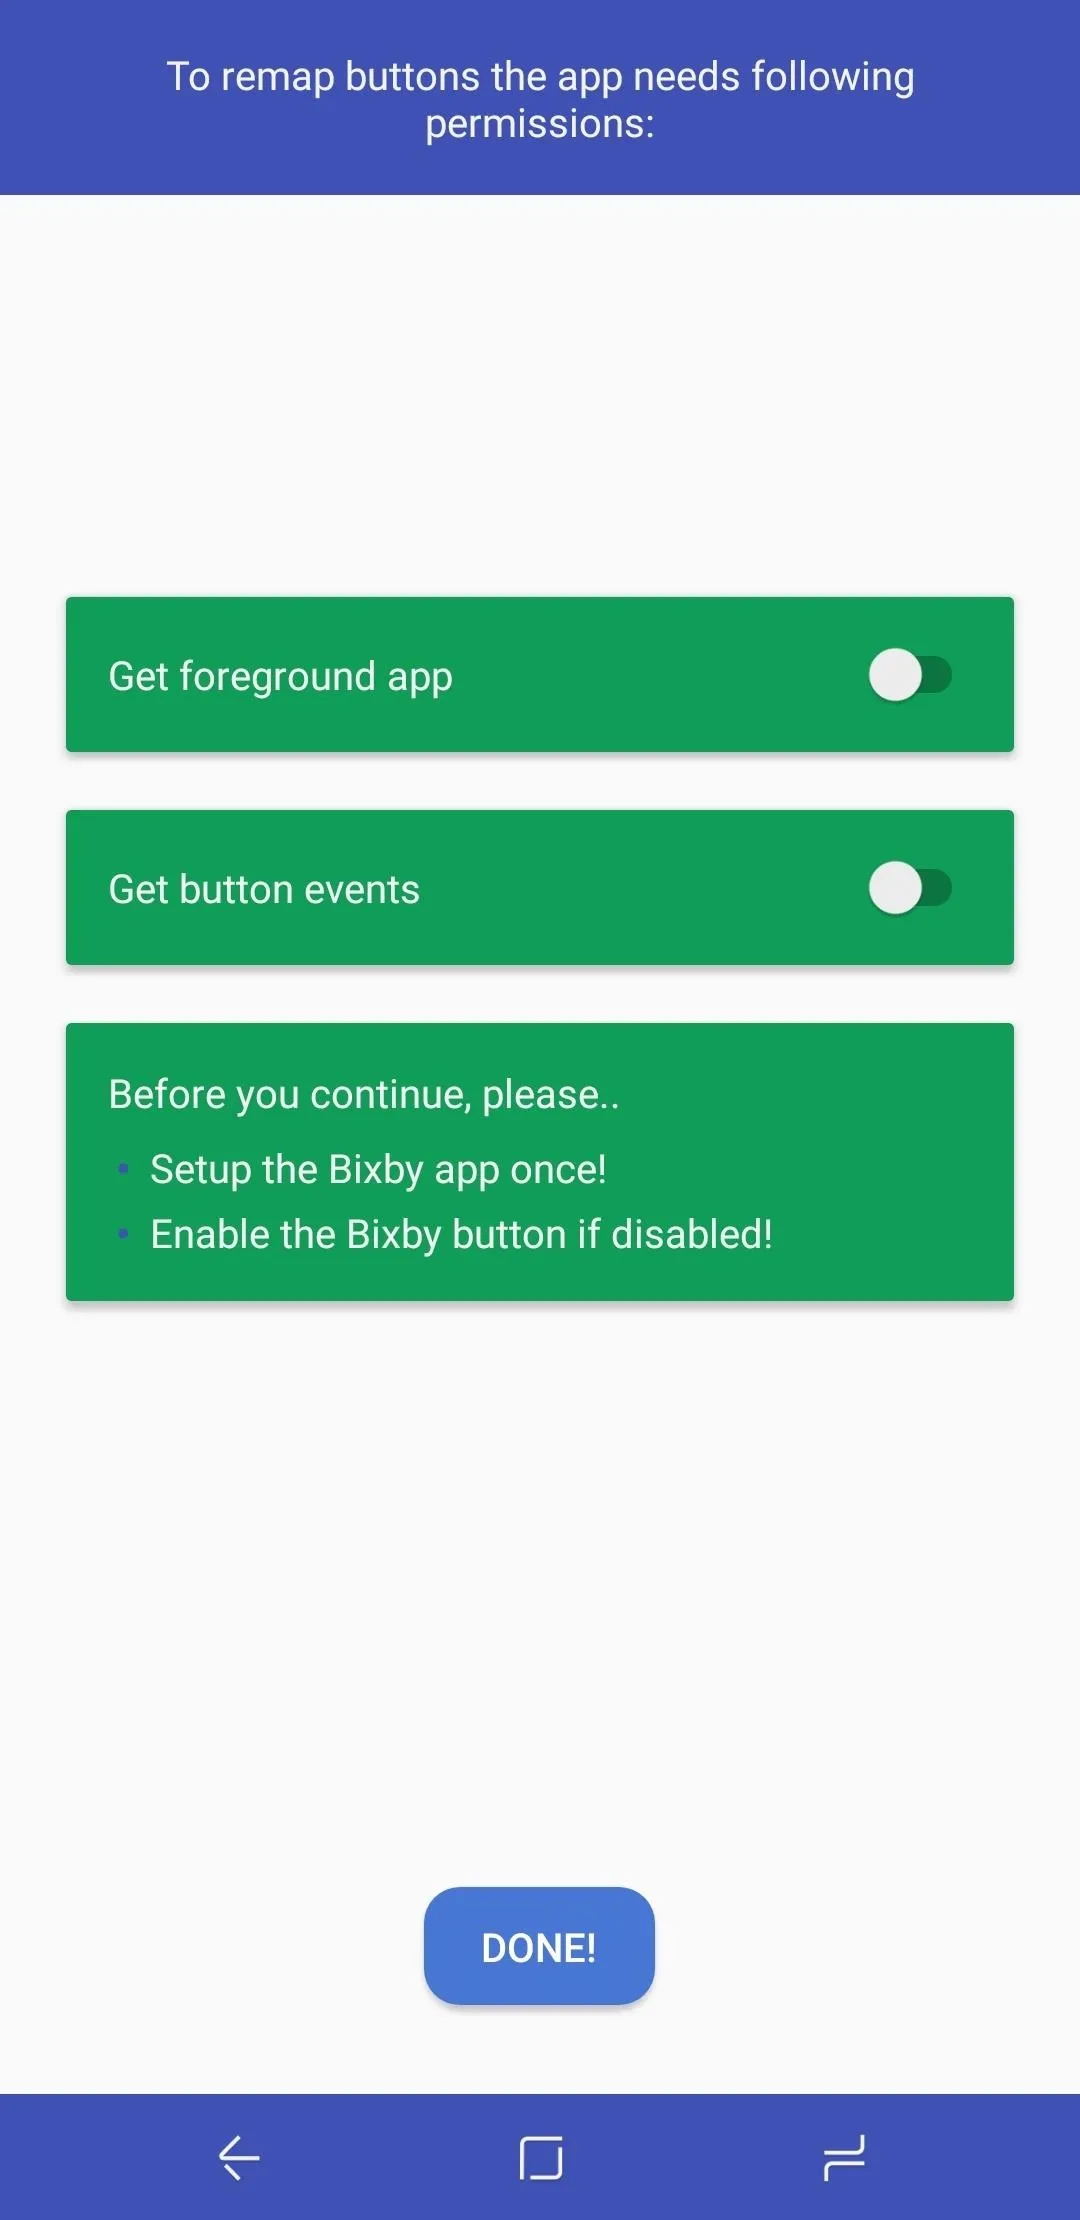
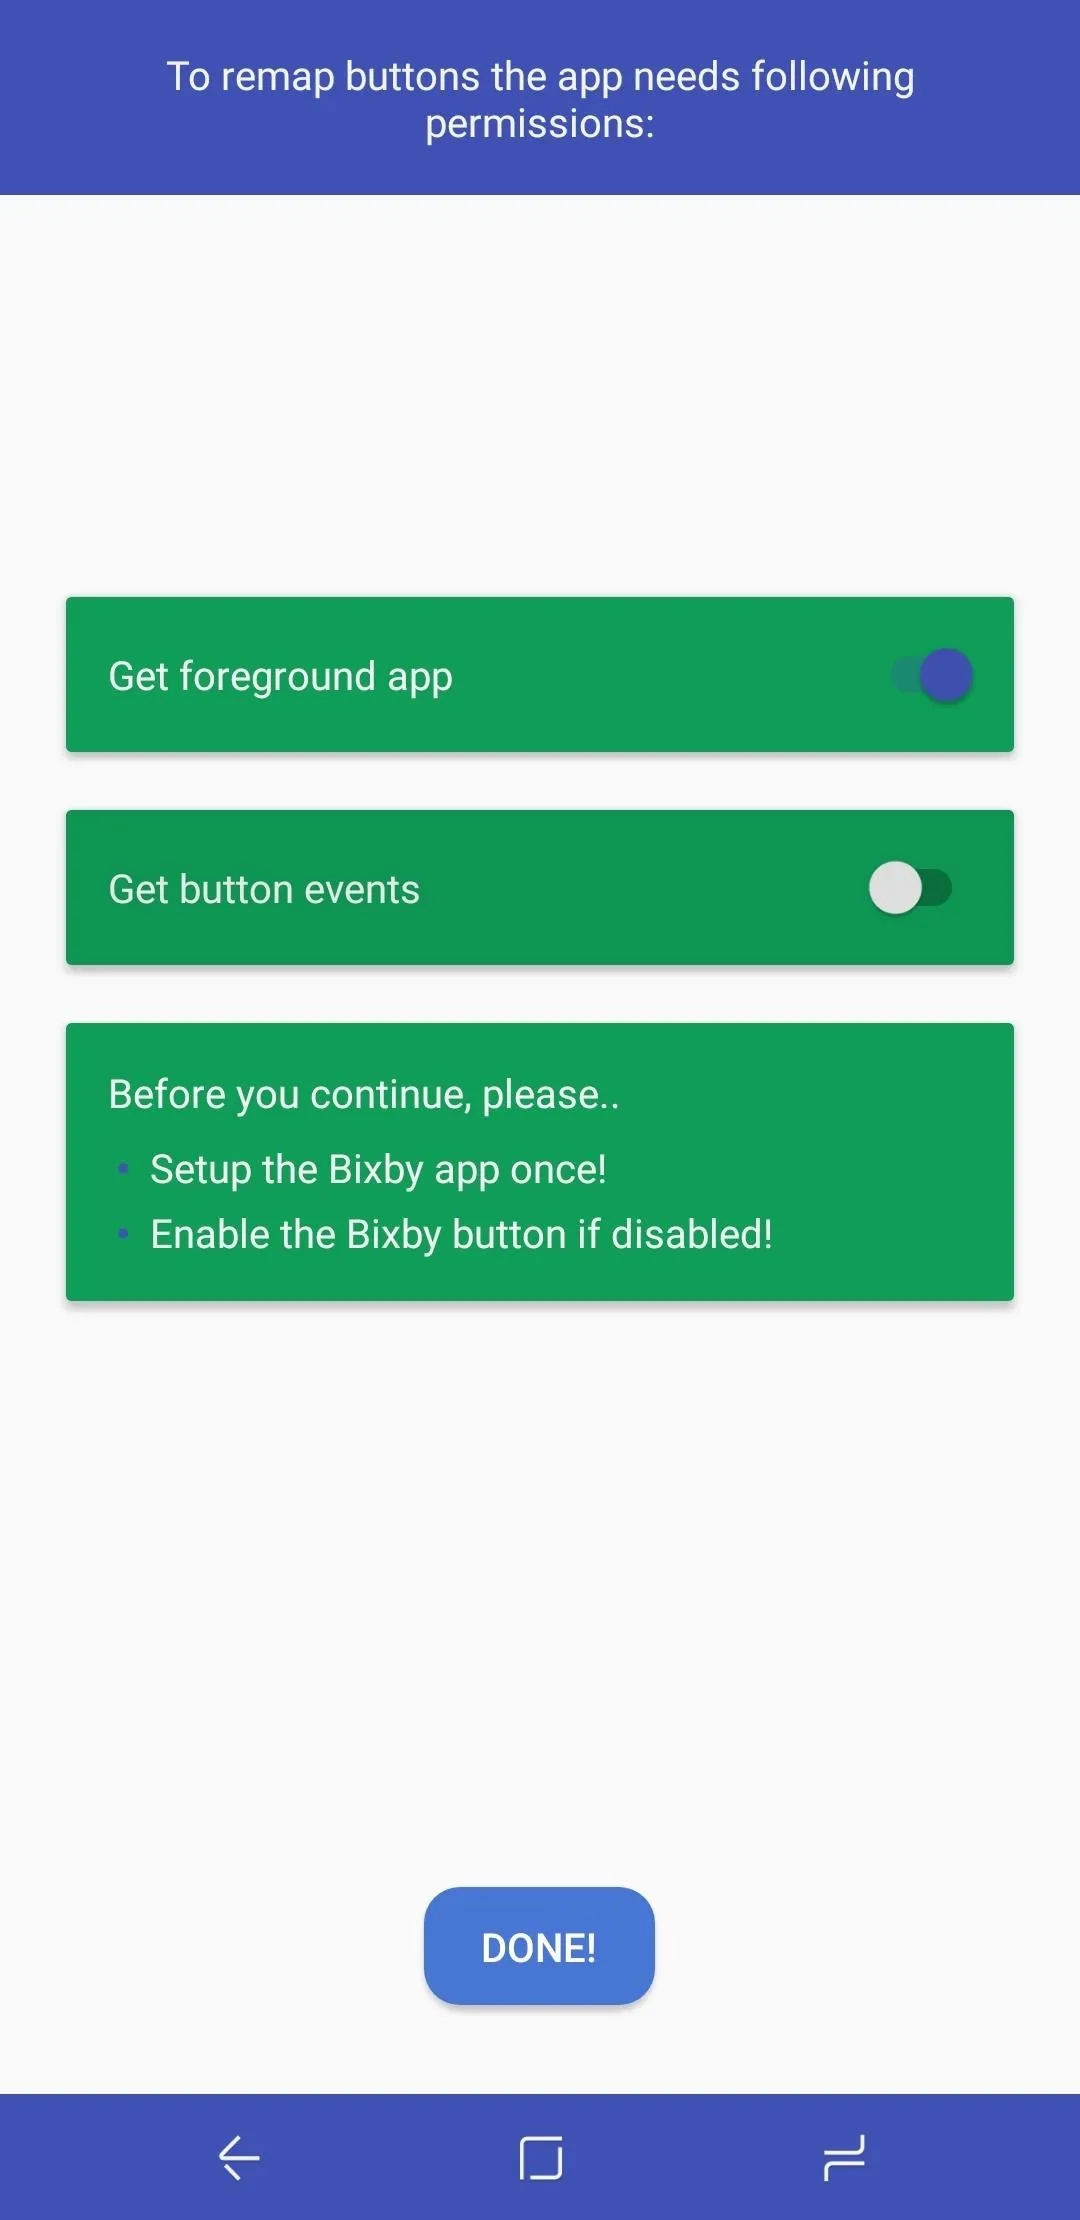
With bxActions successfully installed, open the app and tap "Next" on the welcome page. Before you can use it, you'll need to grant various permissions to get it to fully work. So tap on "Get foreground app" to enable it to access your usage data and get the ball rolling.
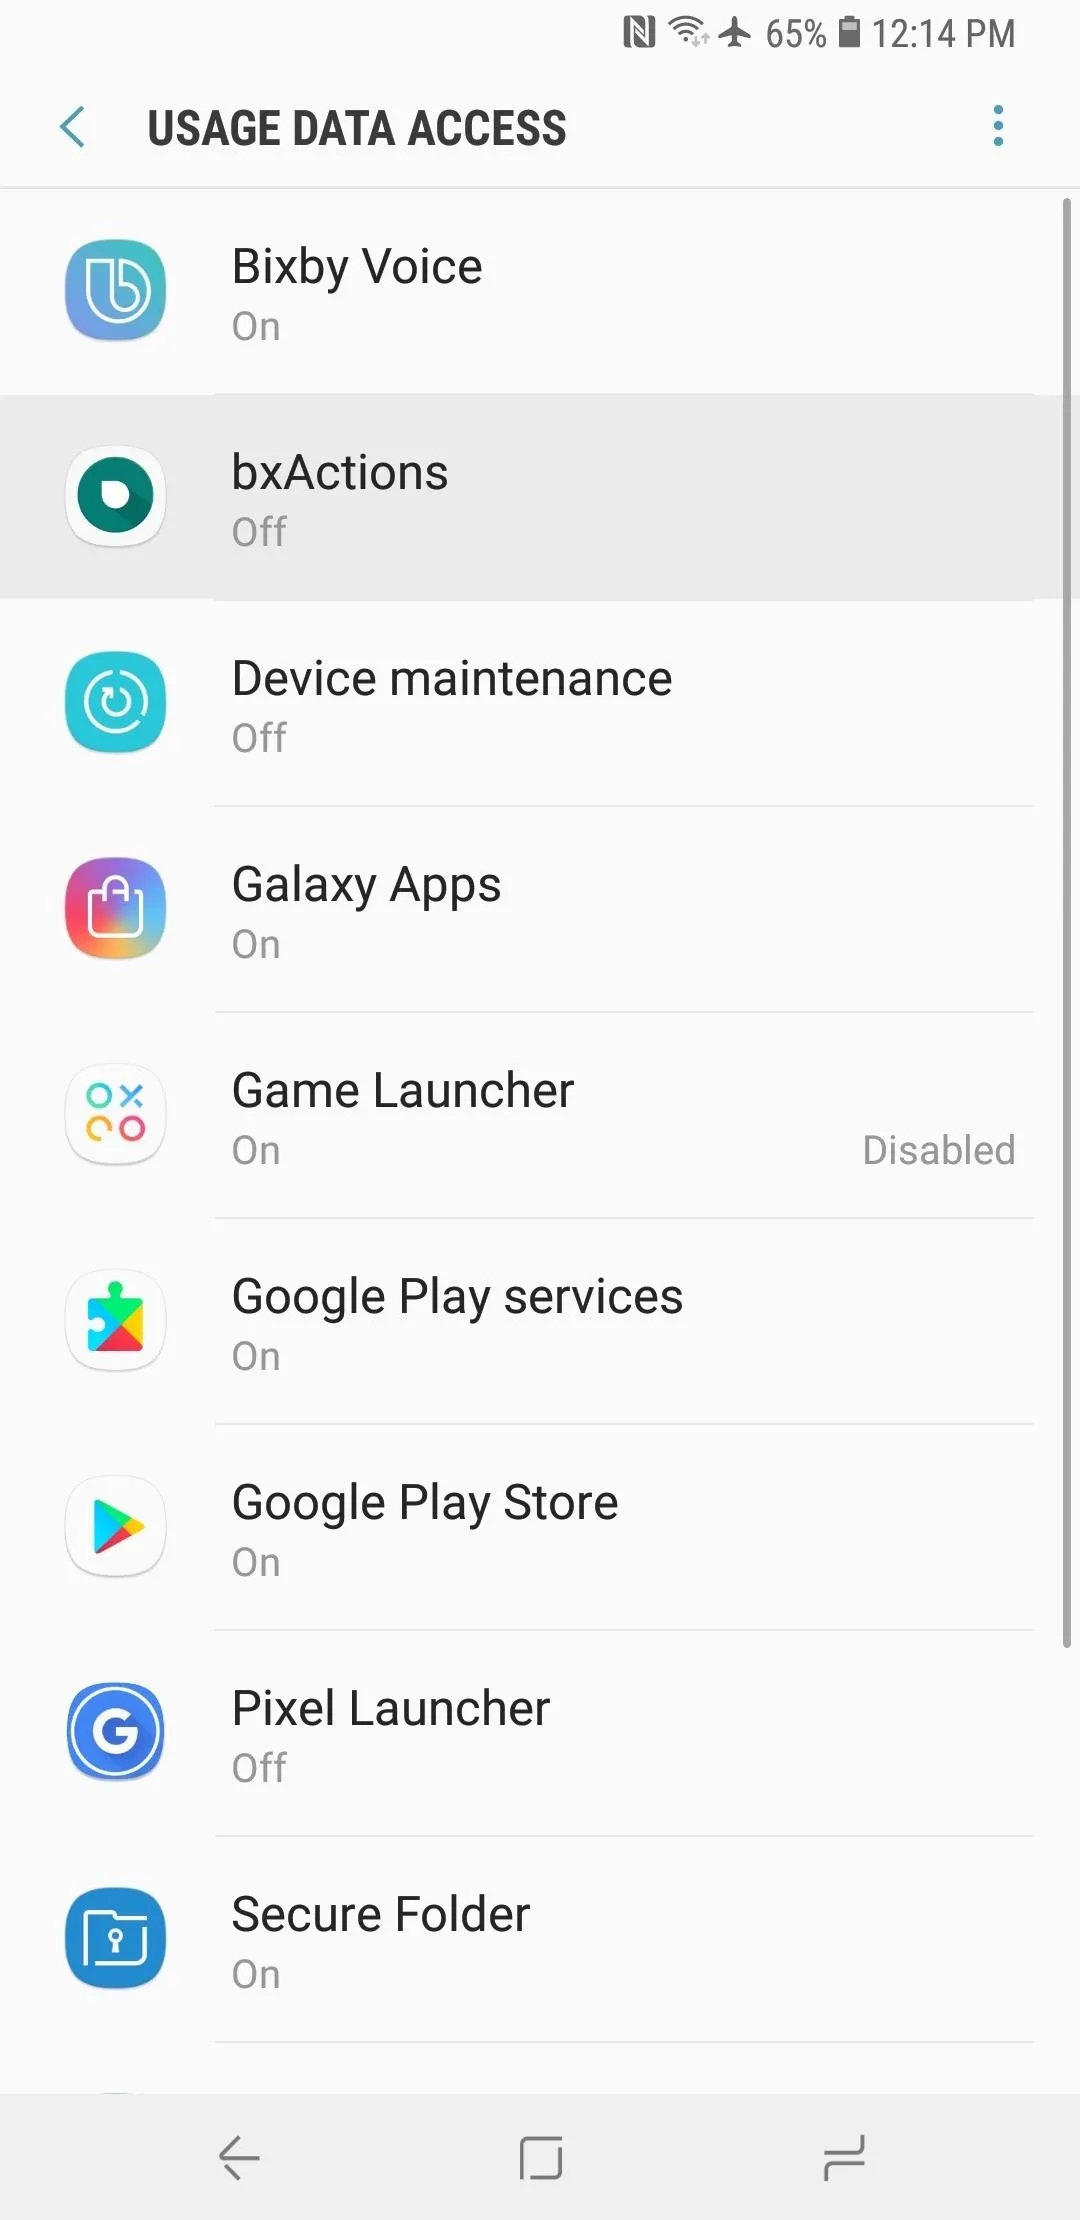
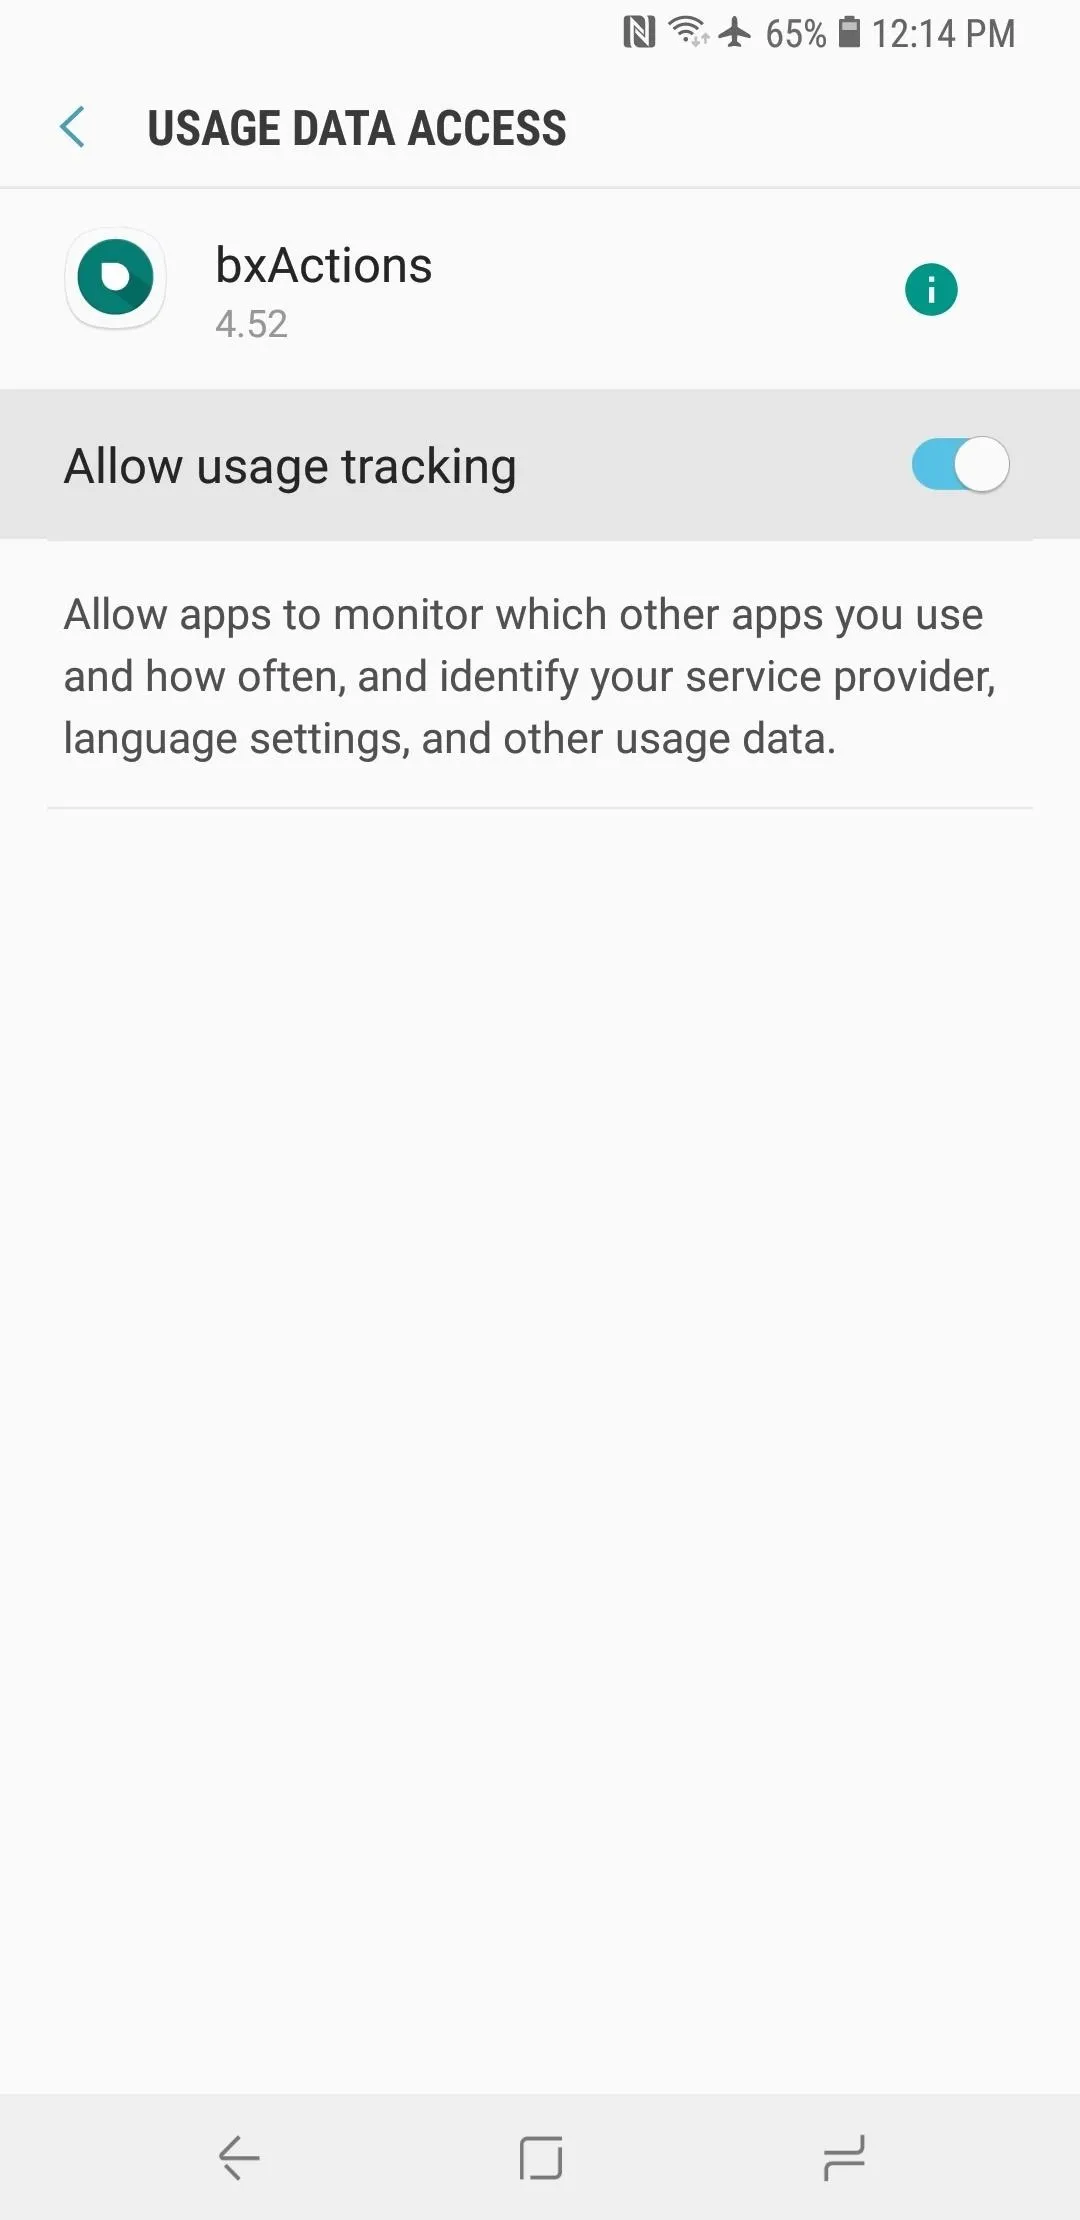
Selecting "Get foreground app" will automatically transfer you to the "Usage Data Access" page within your device's settings, so tap on the "bxActions" tab, then select "Allow usage tracking" to toggle it on.
Enable the Accessibility Plugin
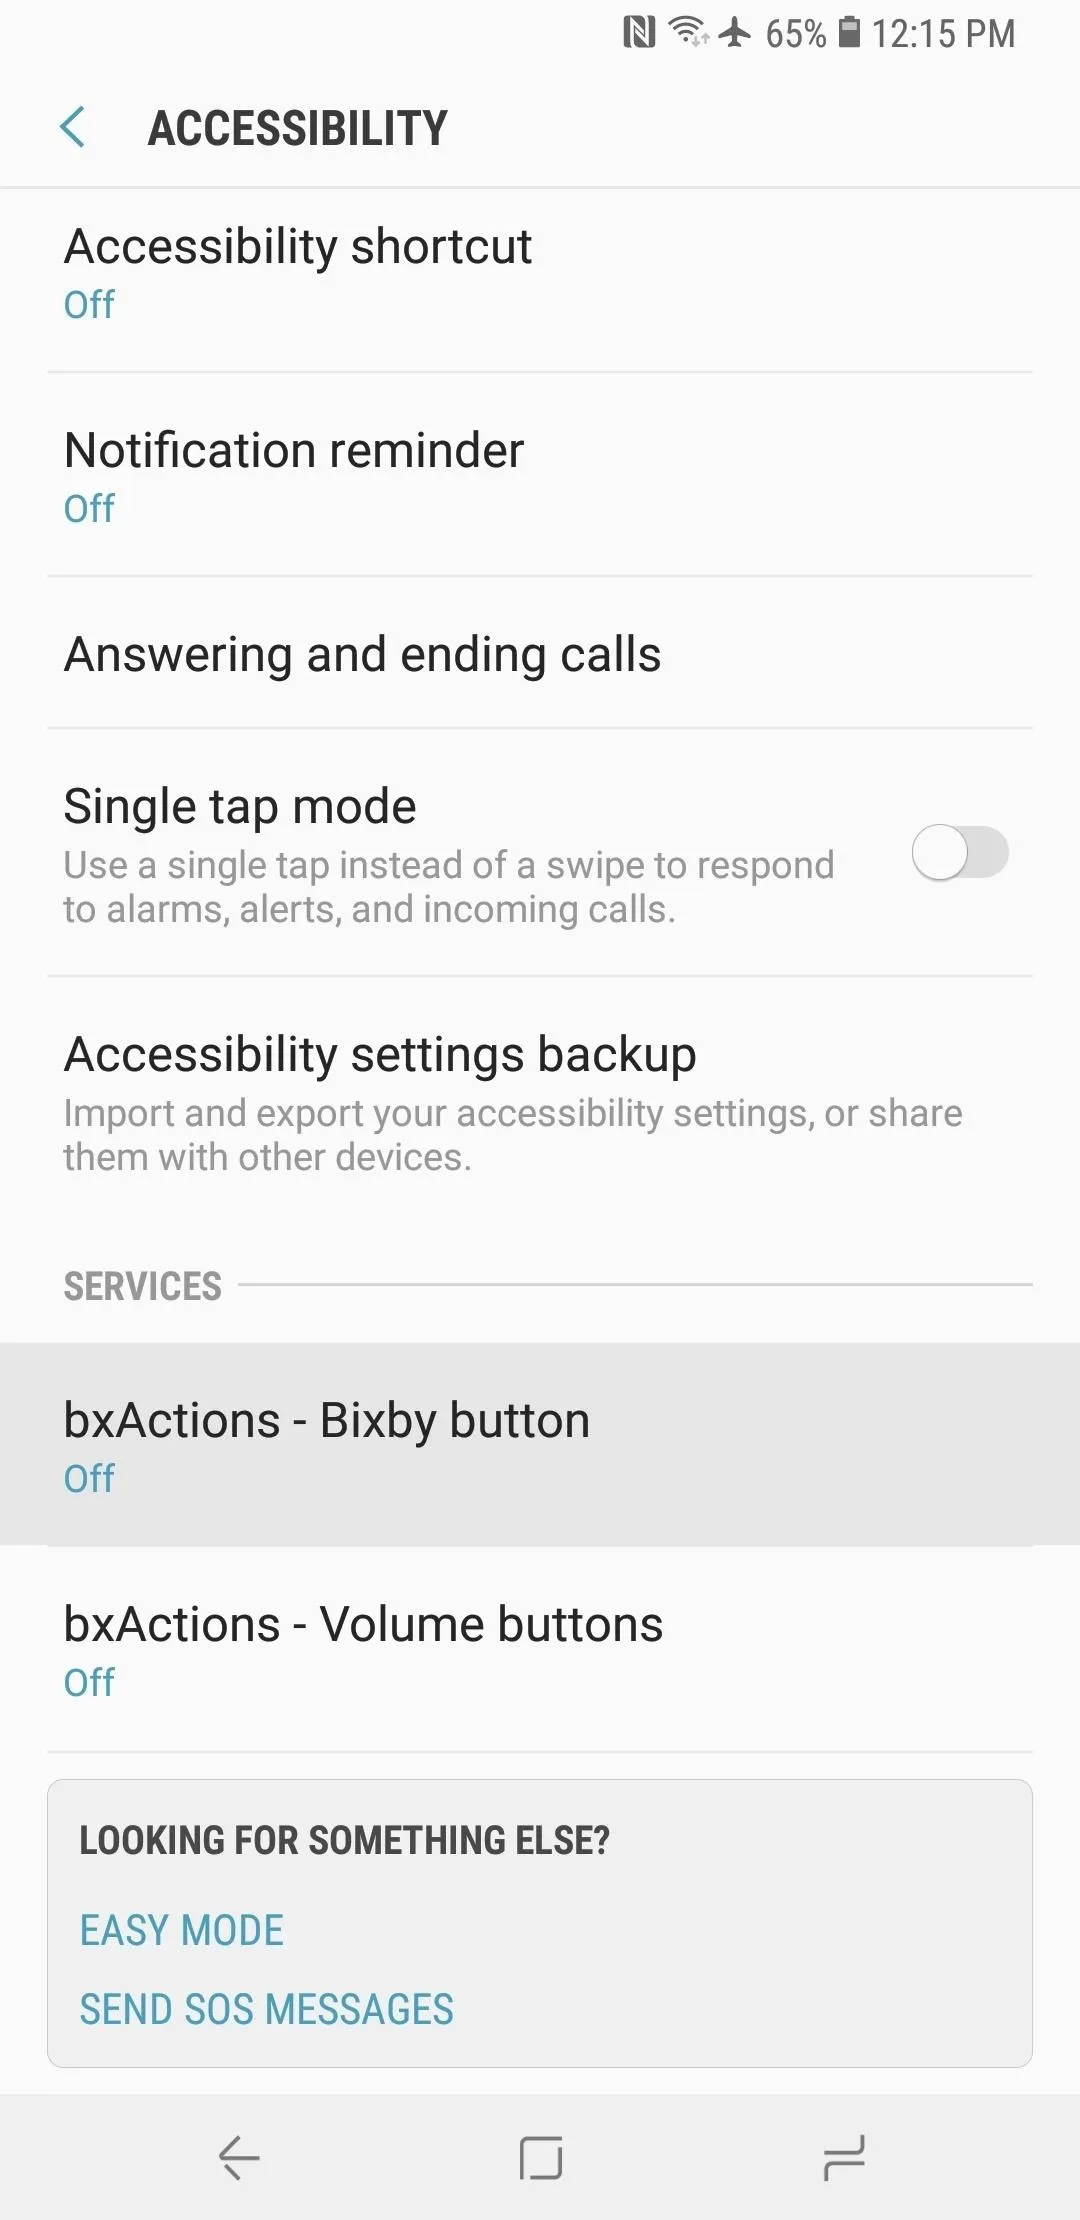
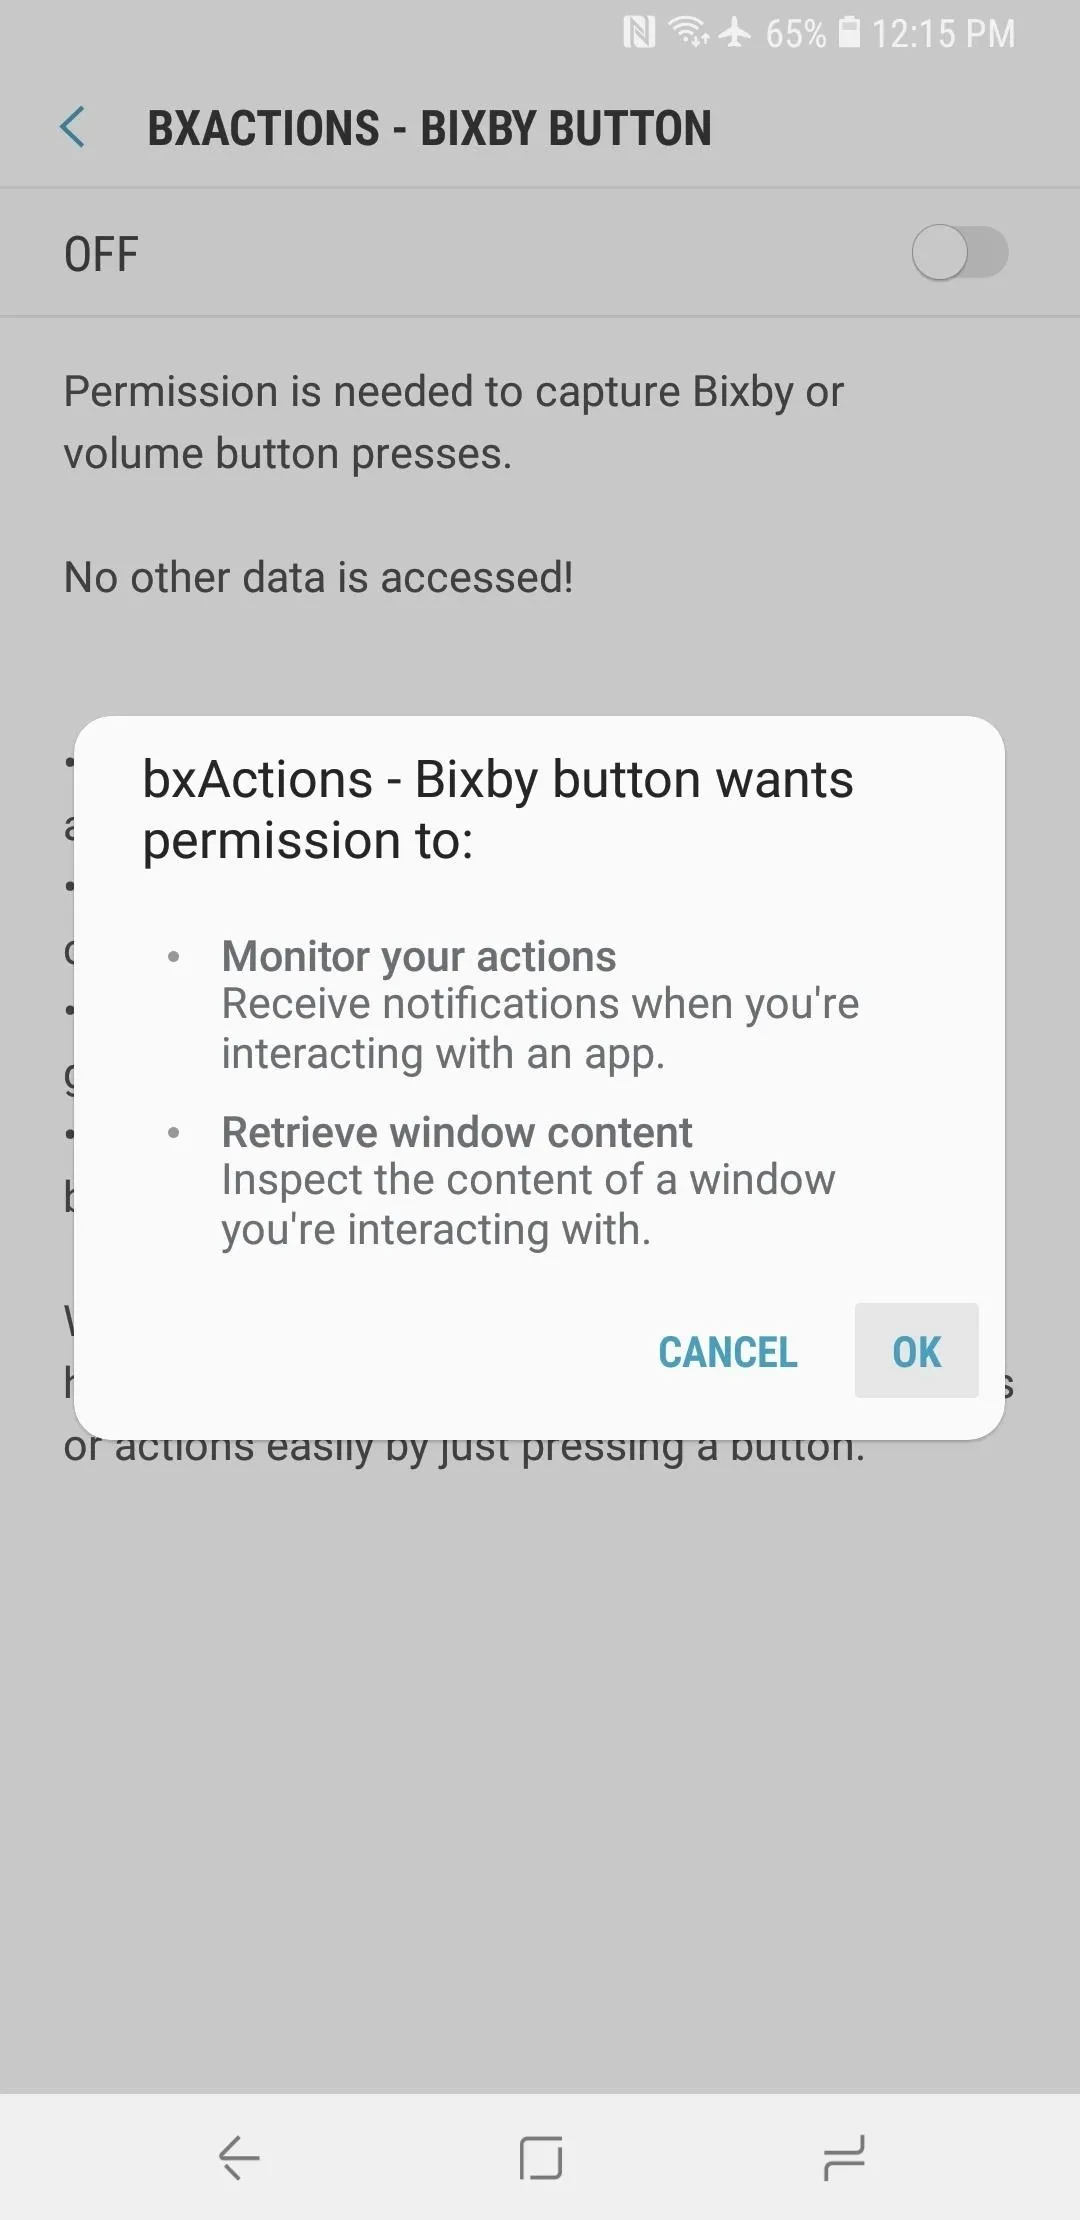
After granting bxActions permission to monitor your usage, you'll be taken back to the initial setup screen automatically. Tap the second toggle to enable the Accessibility plugin, then scroll down and select "bxActions - Bixby button." From there, tap the toggle at the top of the screen, then press "OK" on the popup. After that, tap on your back button to head back to the bxActions app, then select "Done."
Enable the Service
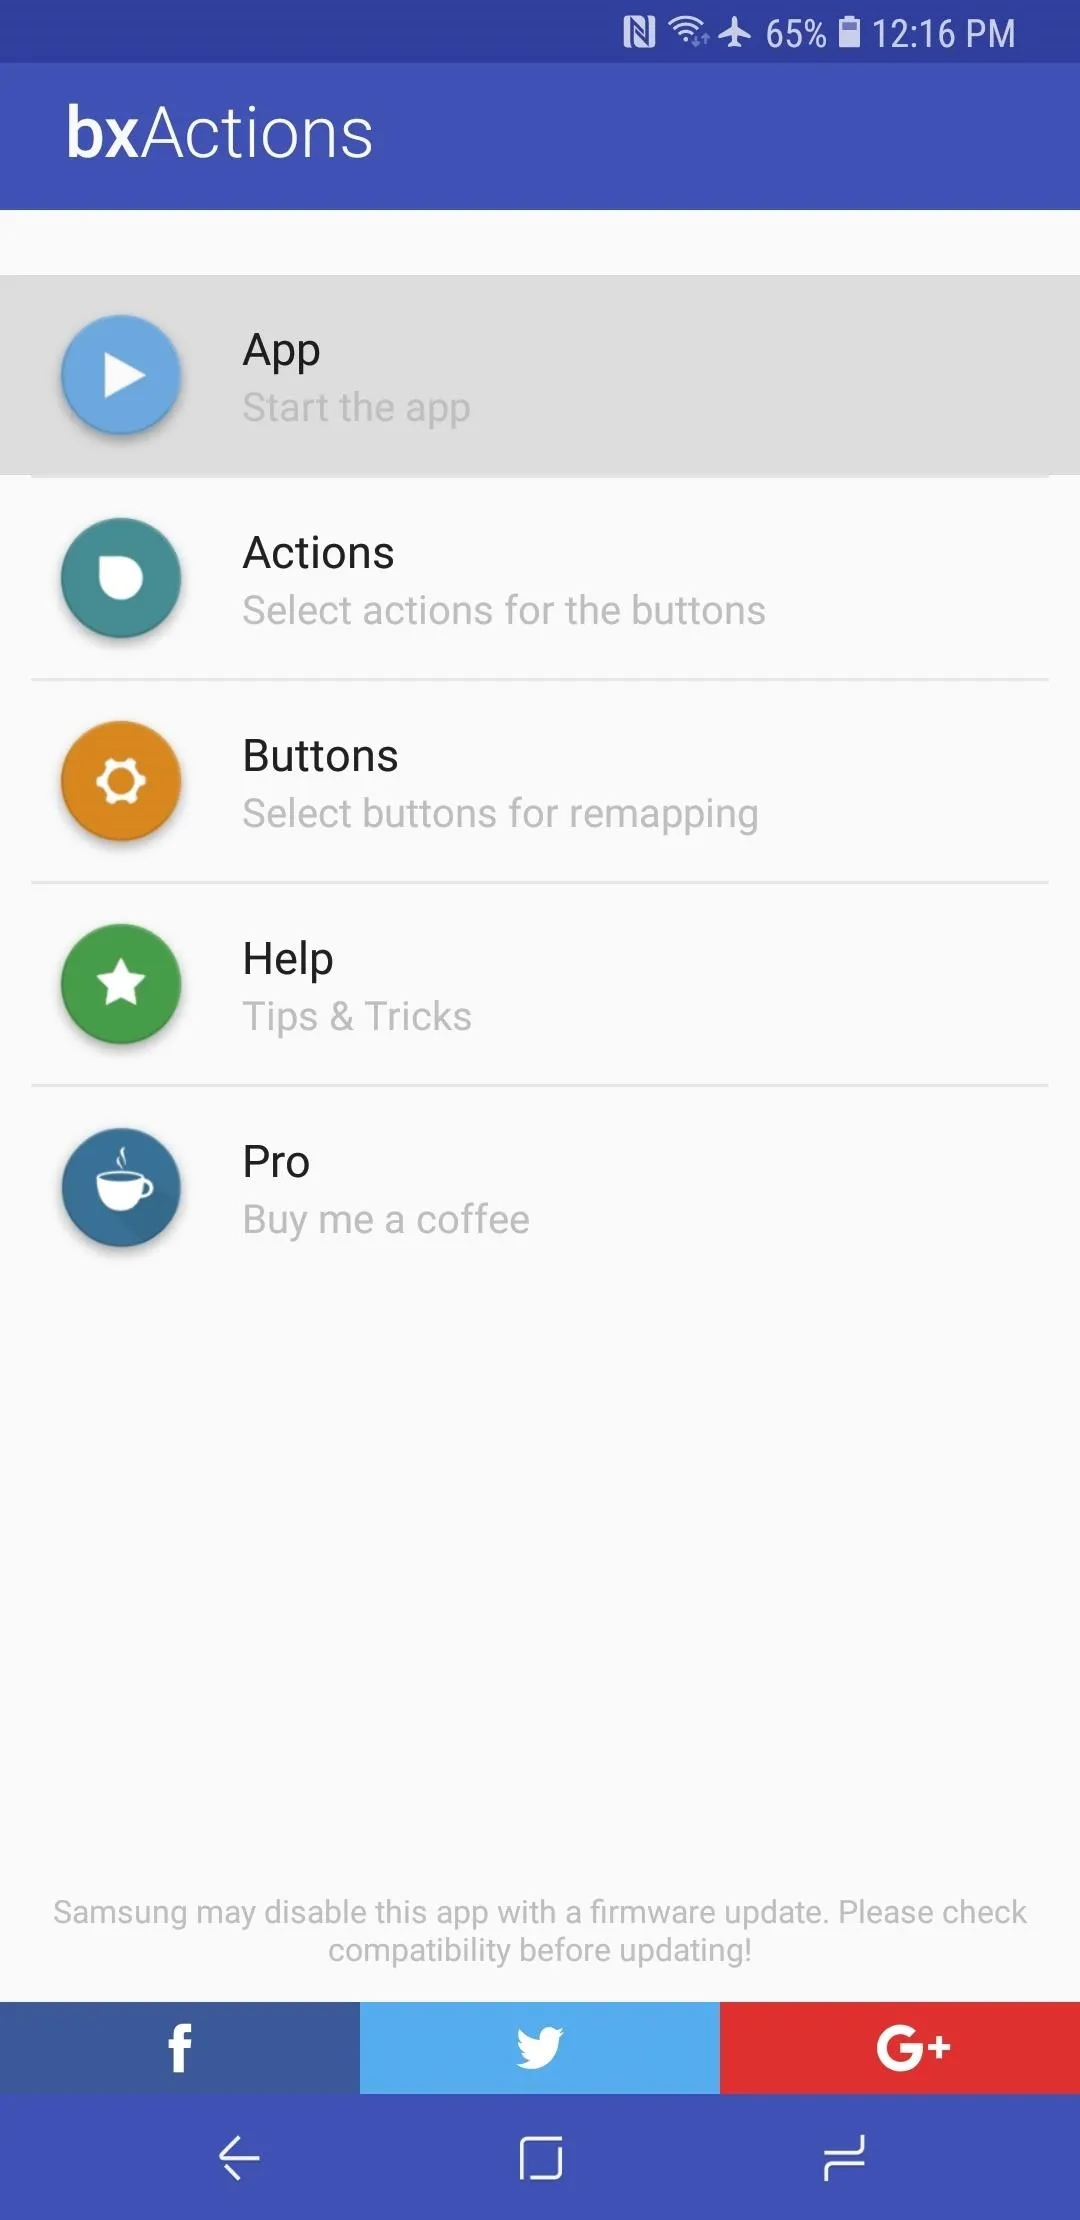
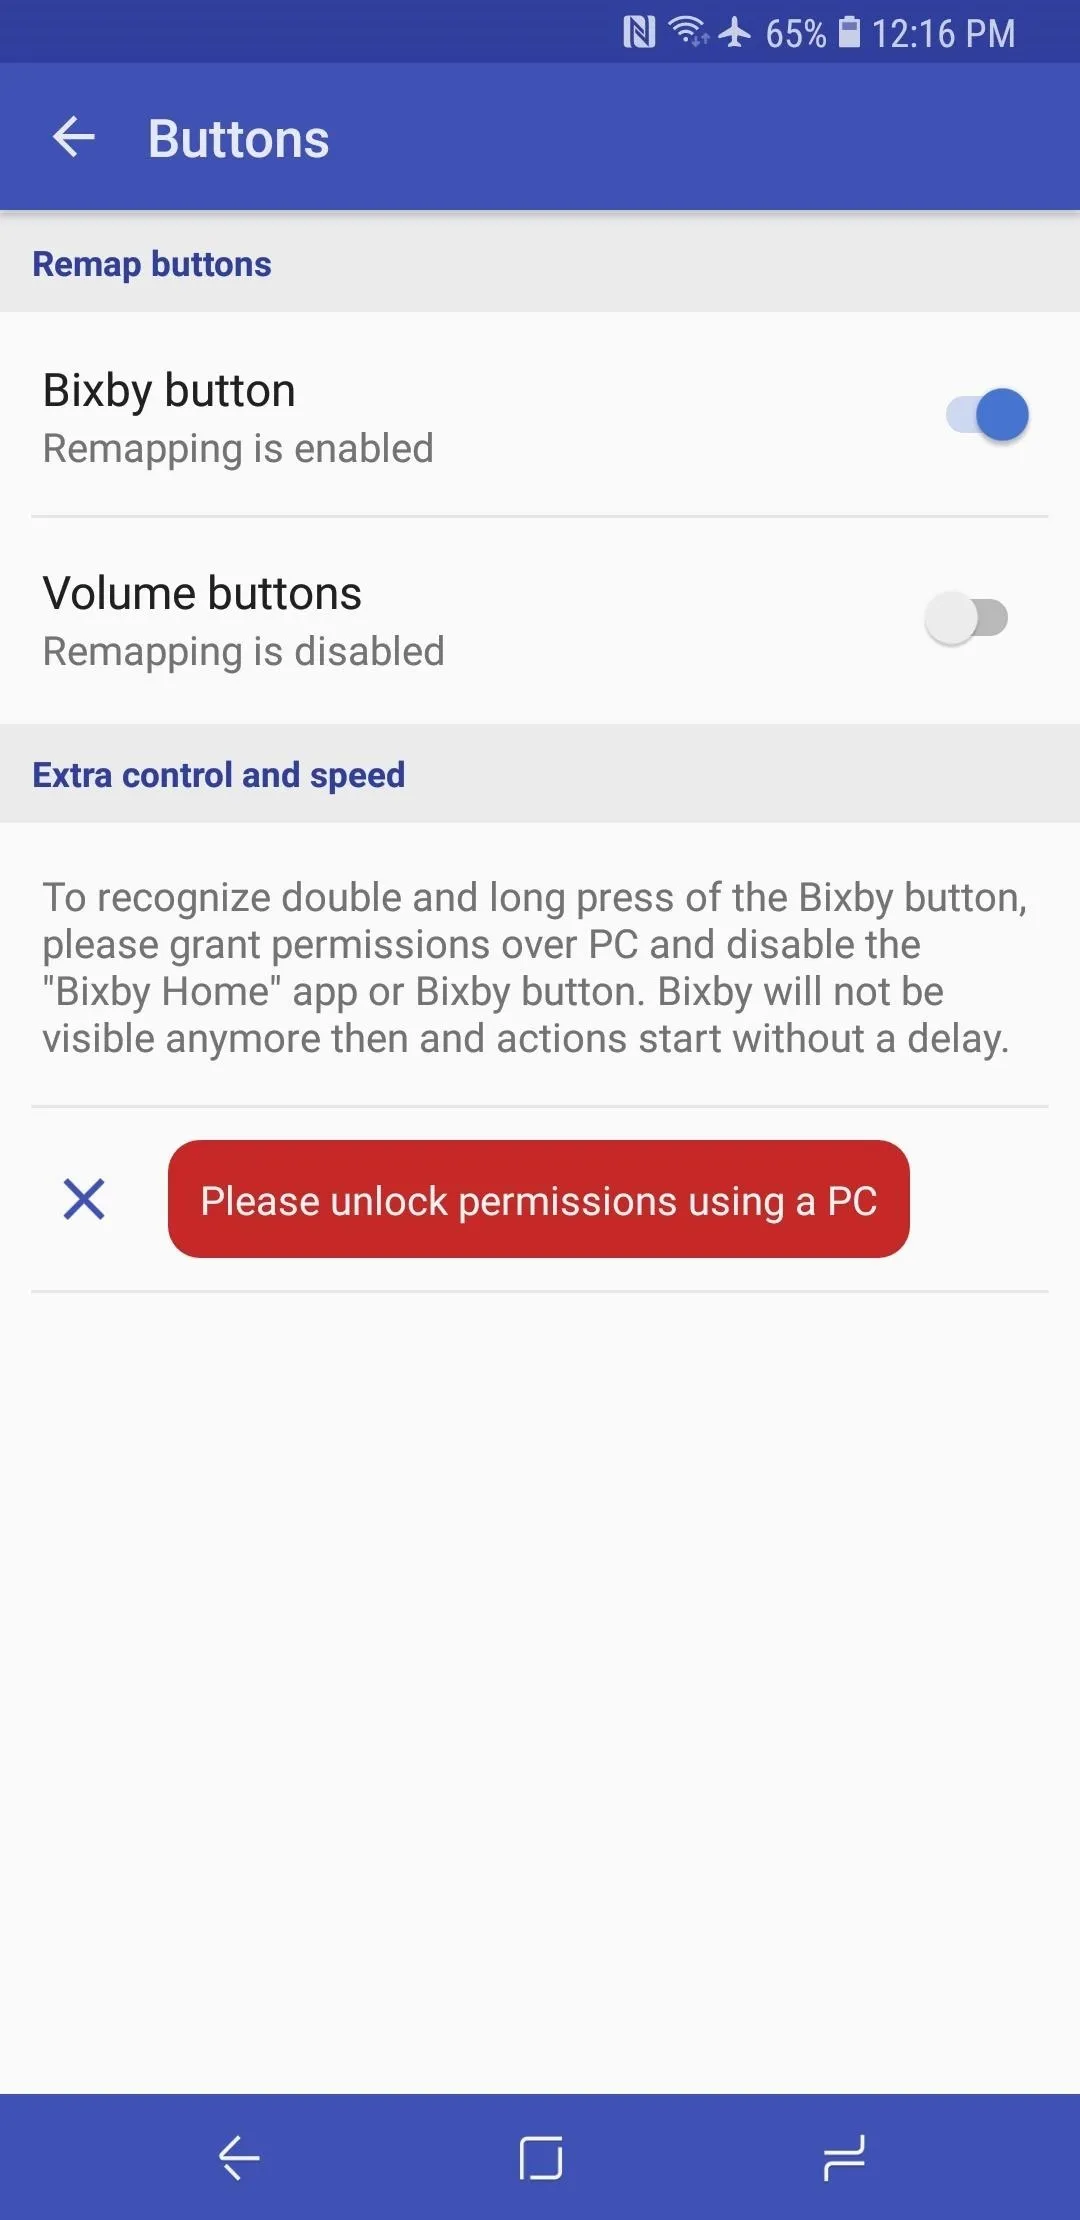
If it didn't do so automatically, tap on the play icon to start the service manually. Doing so will take you to a "Buttons" page, so follow the previous step to toggle "Bixby button" on. Exit out of "Buttons" once you're done granting permission and go back to the main page.
bxActions gives you an option to further optimize its performance by granting it more permissions via ADB commands. Once done, the app will be able to distinguish between long and short presses, and give it the ability to directly intercept commands as opposed to constant tracking via the usage access. Tapping on on "Please unlock permissions using a PC" reveals the instructions for this step.
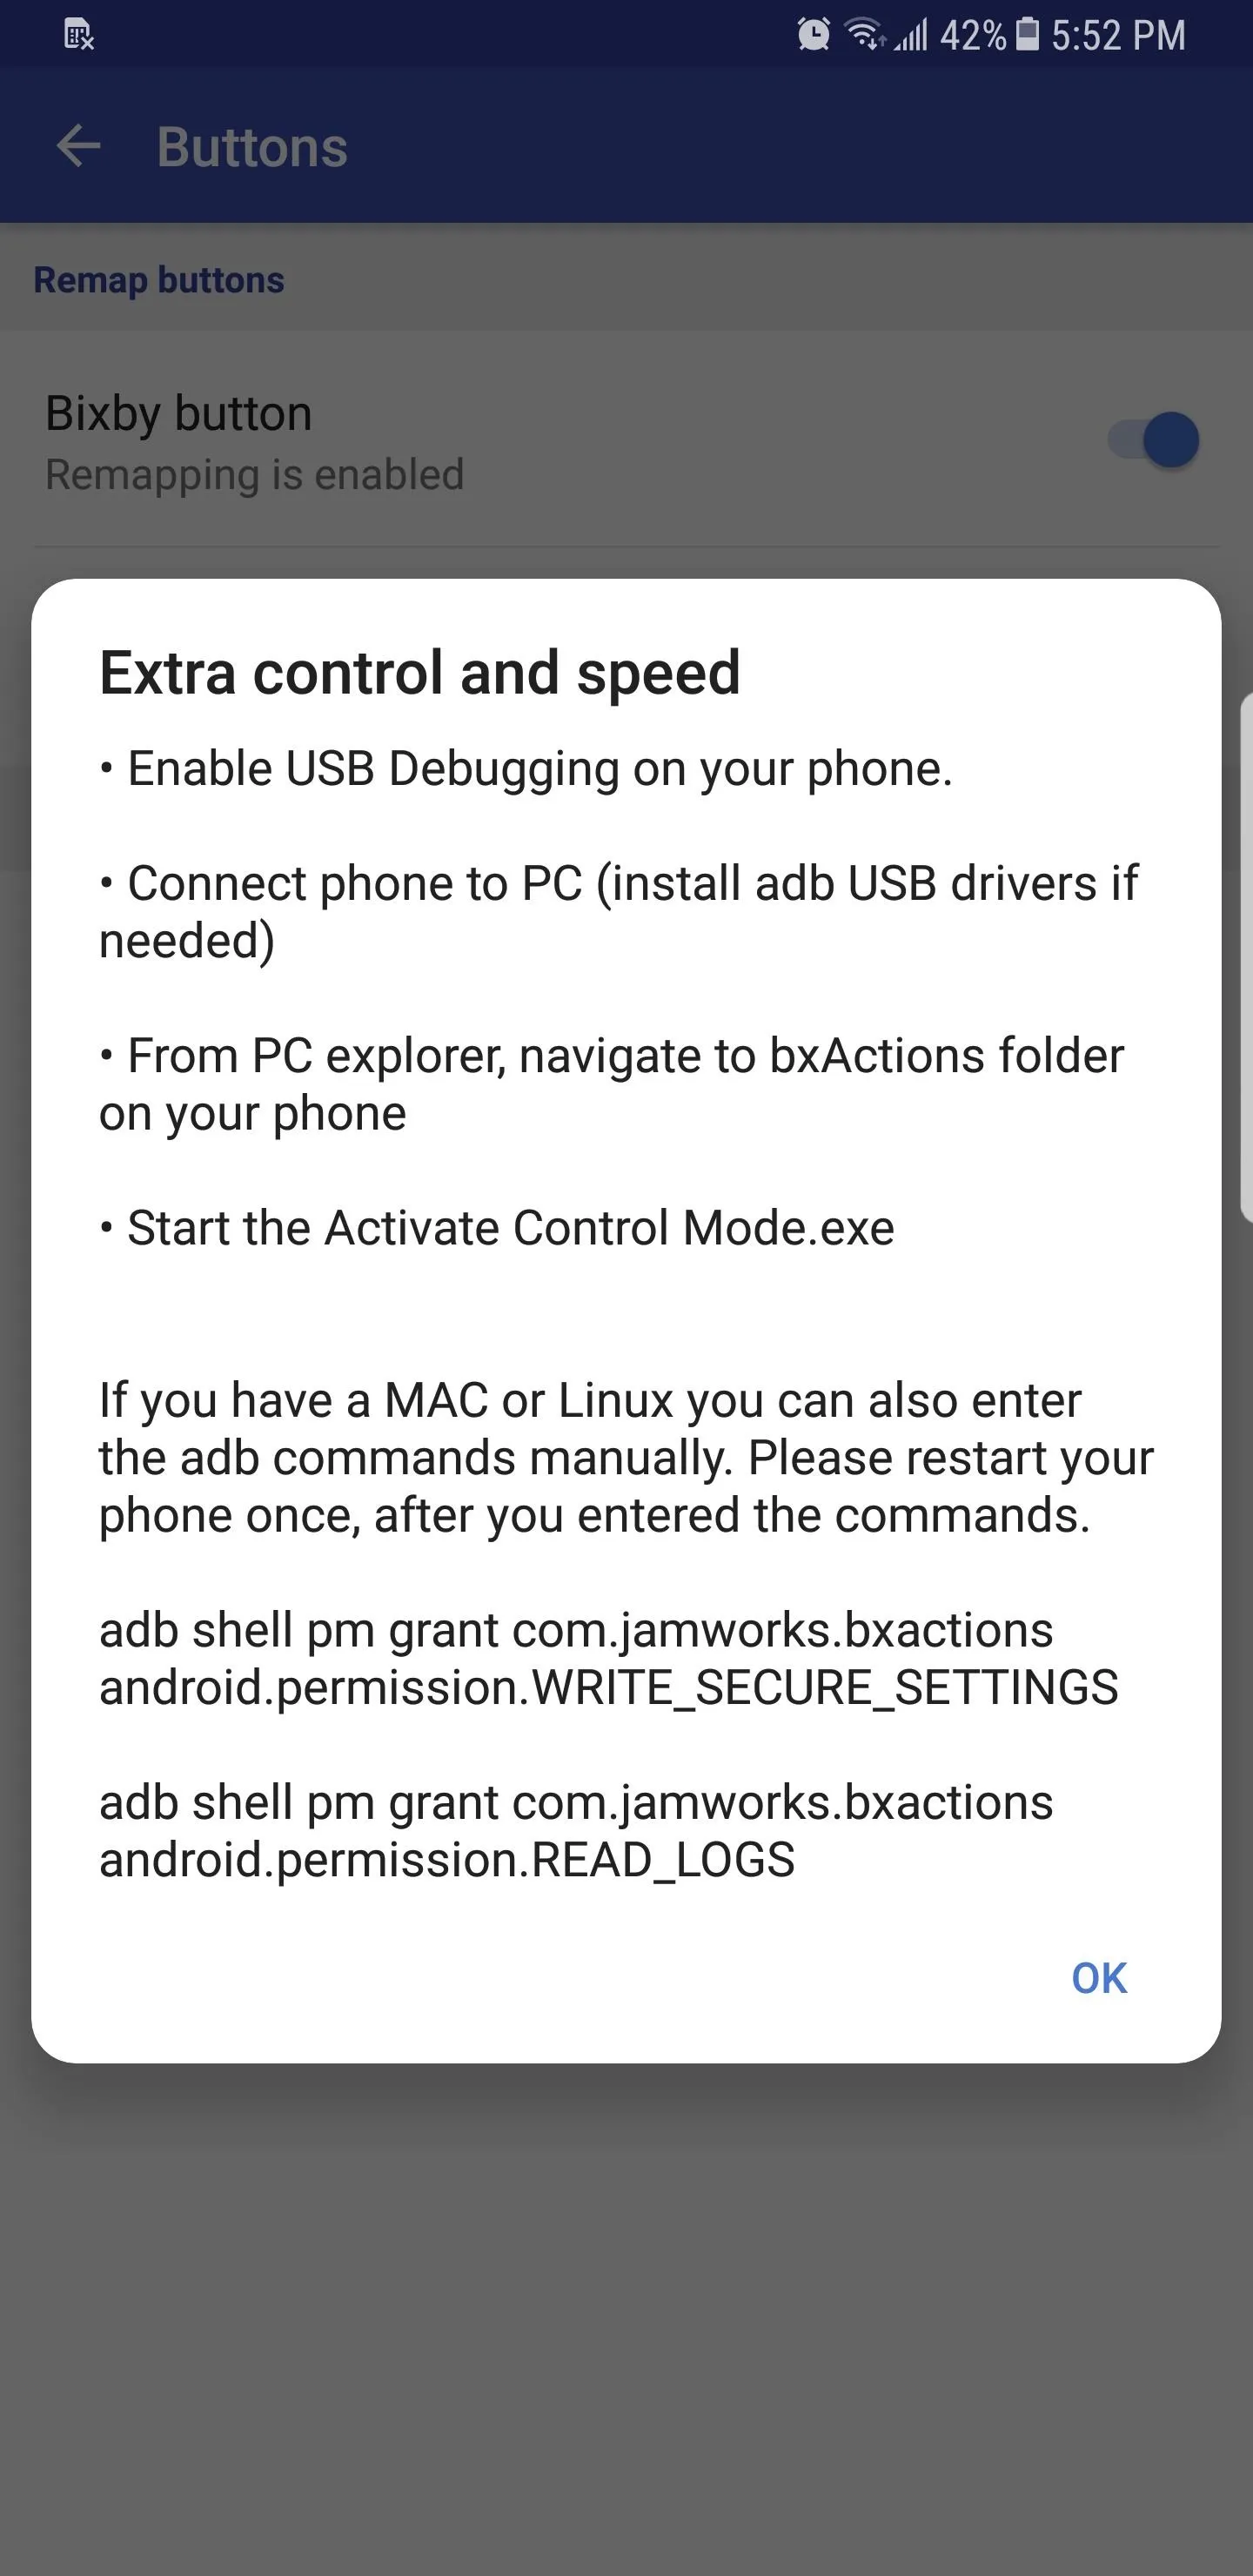
Please note that running ADB commands to grant bxActions further permissions it totally optional, and we've found that the app runs perfectly fine without it. If you want to perform this step, however, do so carefully, and be sure to check out our guide if you need to brush up on the subject.
Choose a New Action for Your Bixby Button
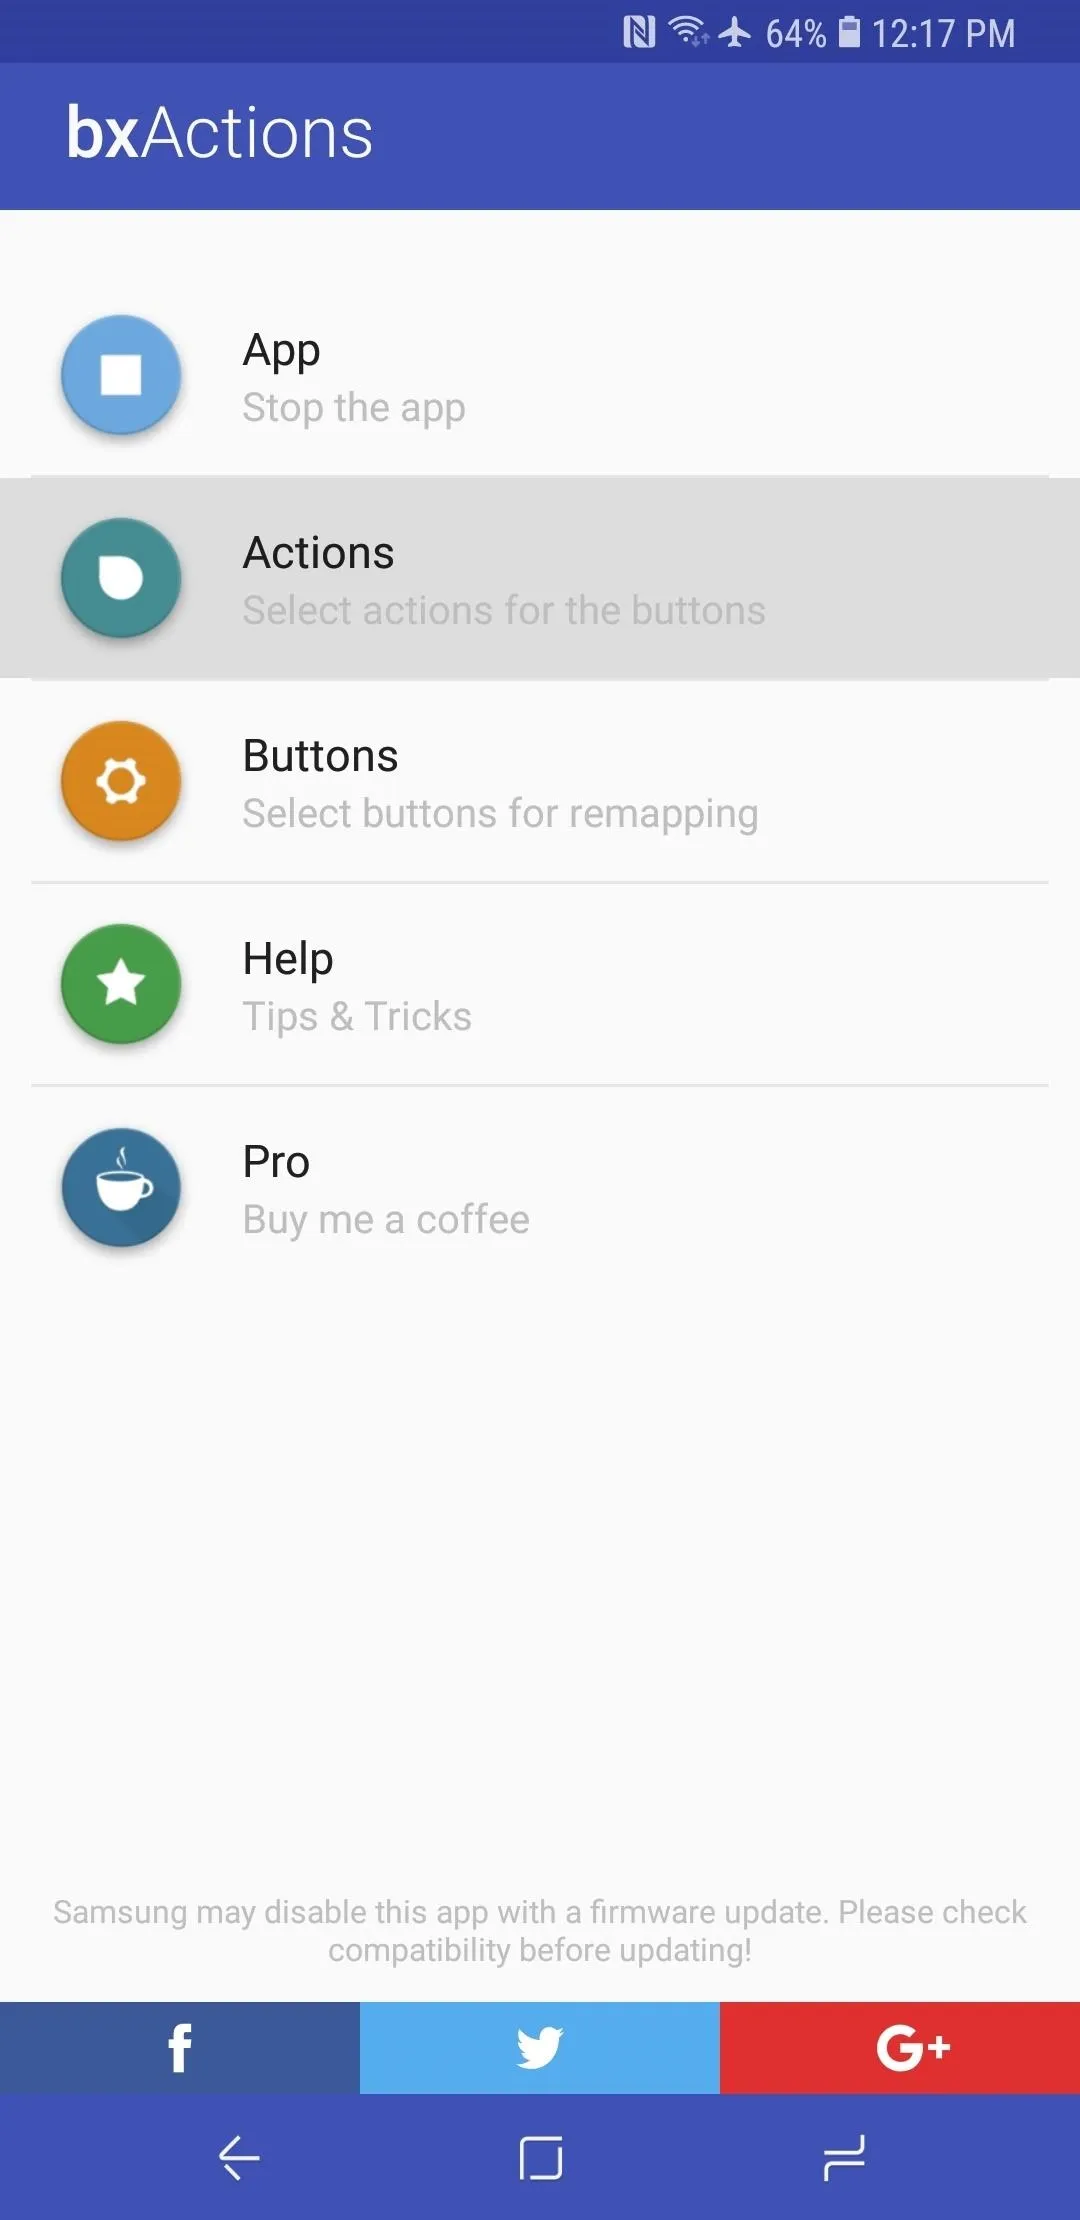
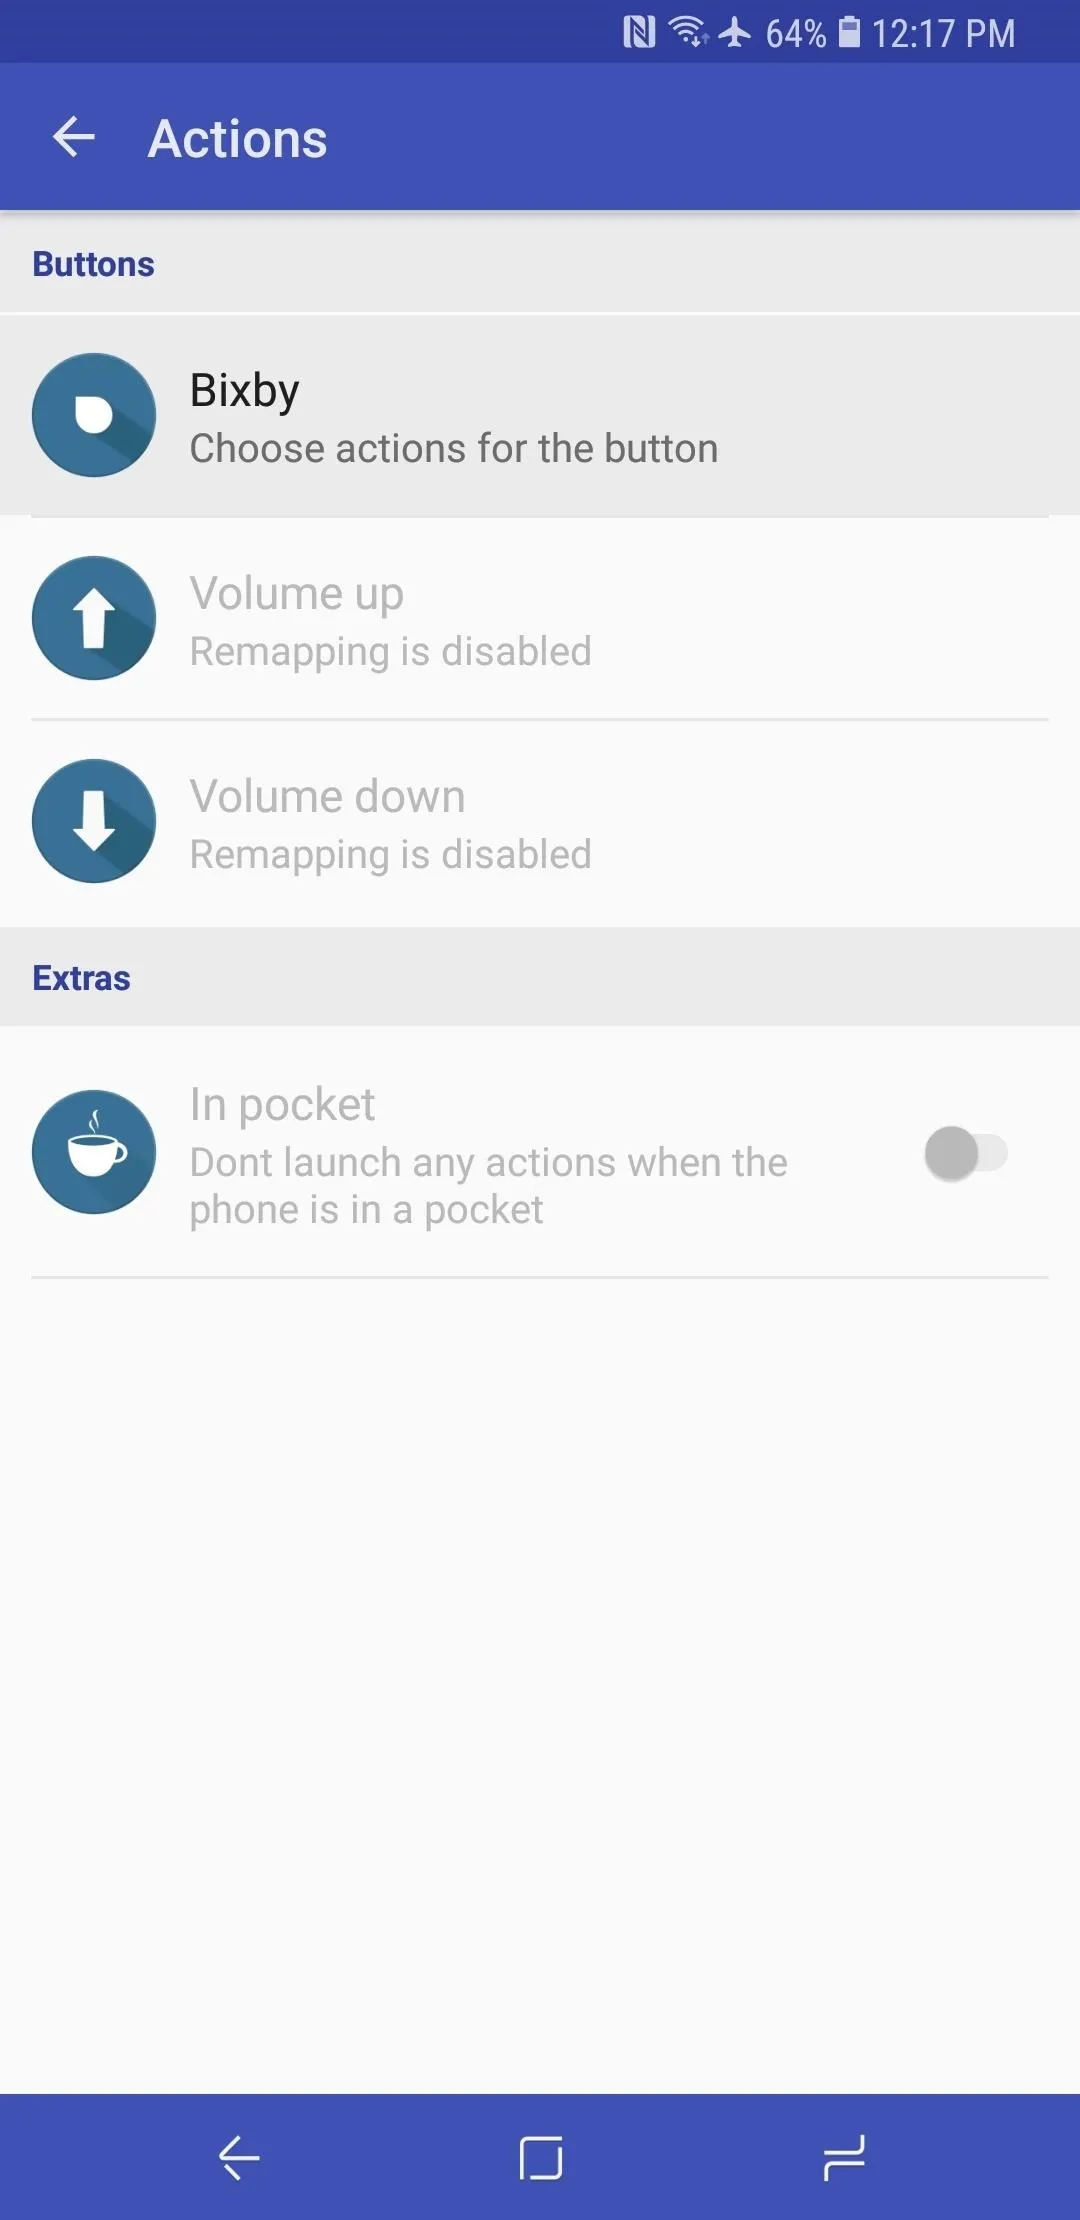
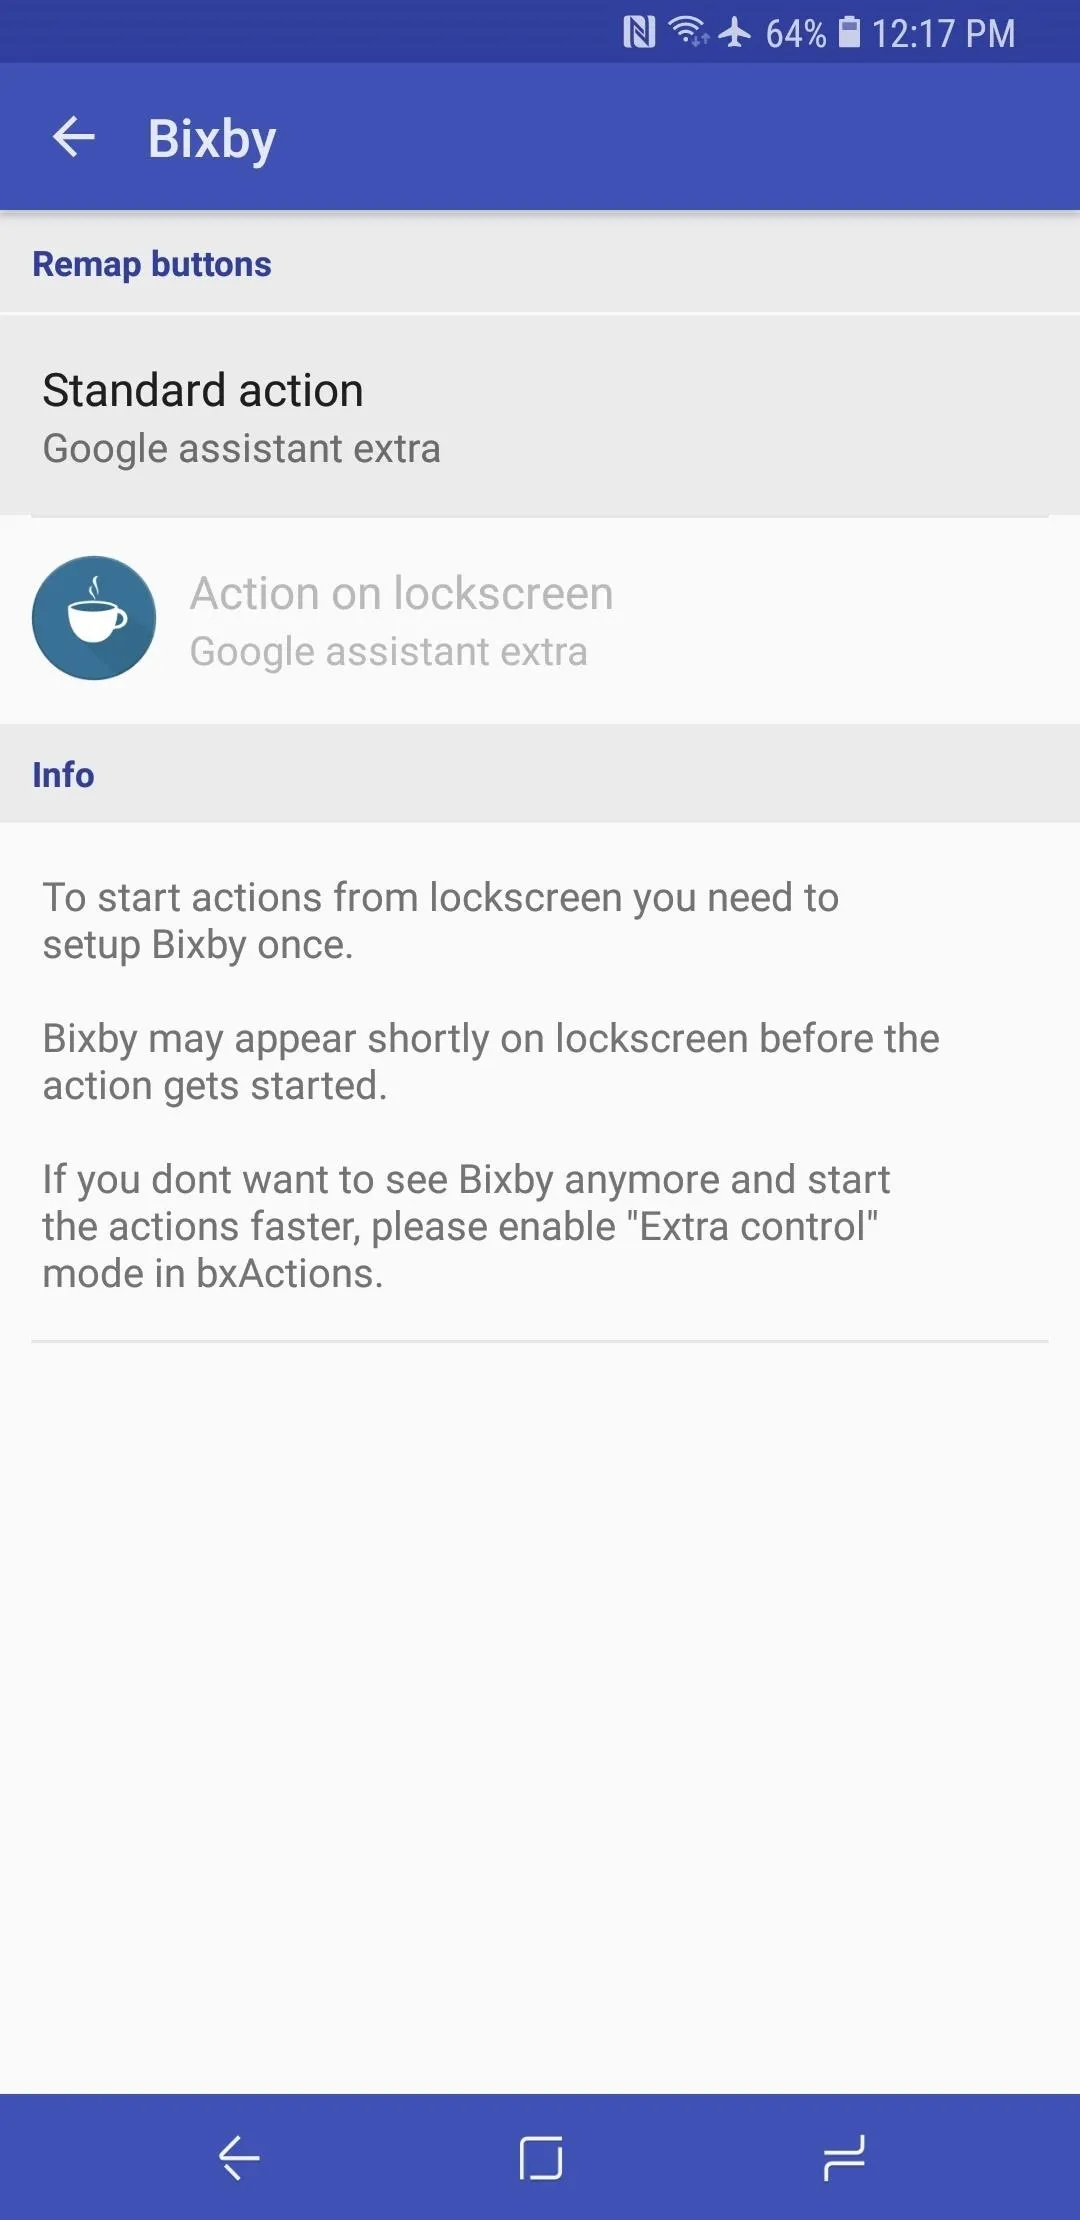
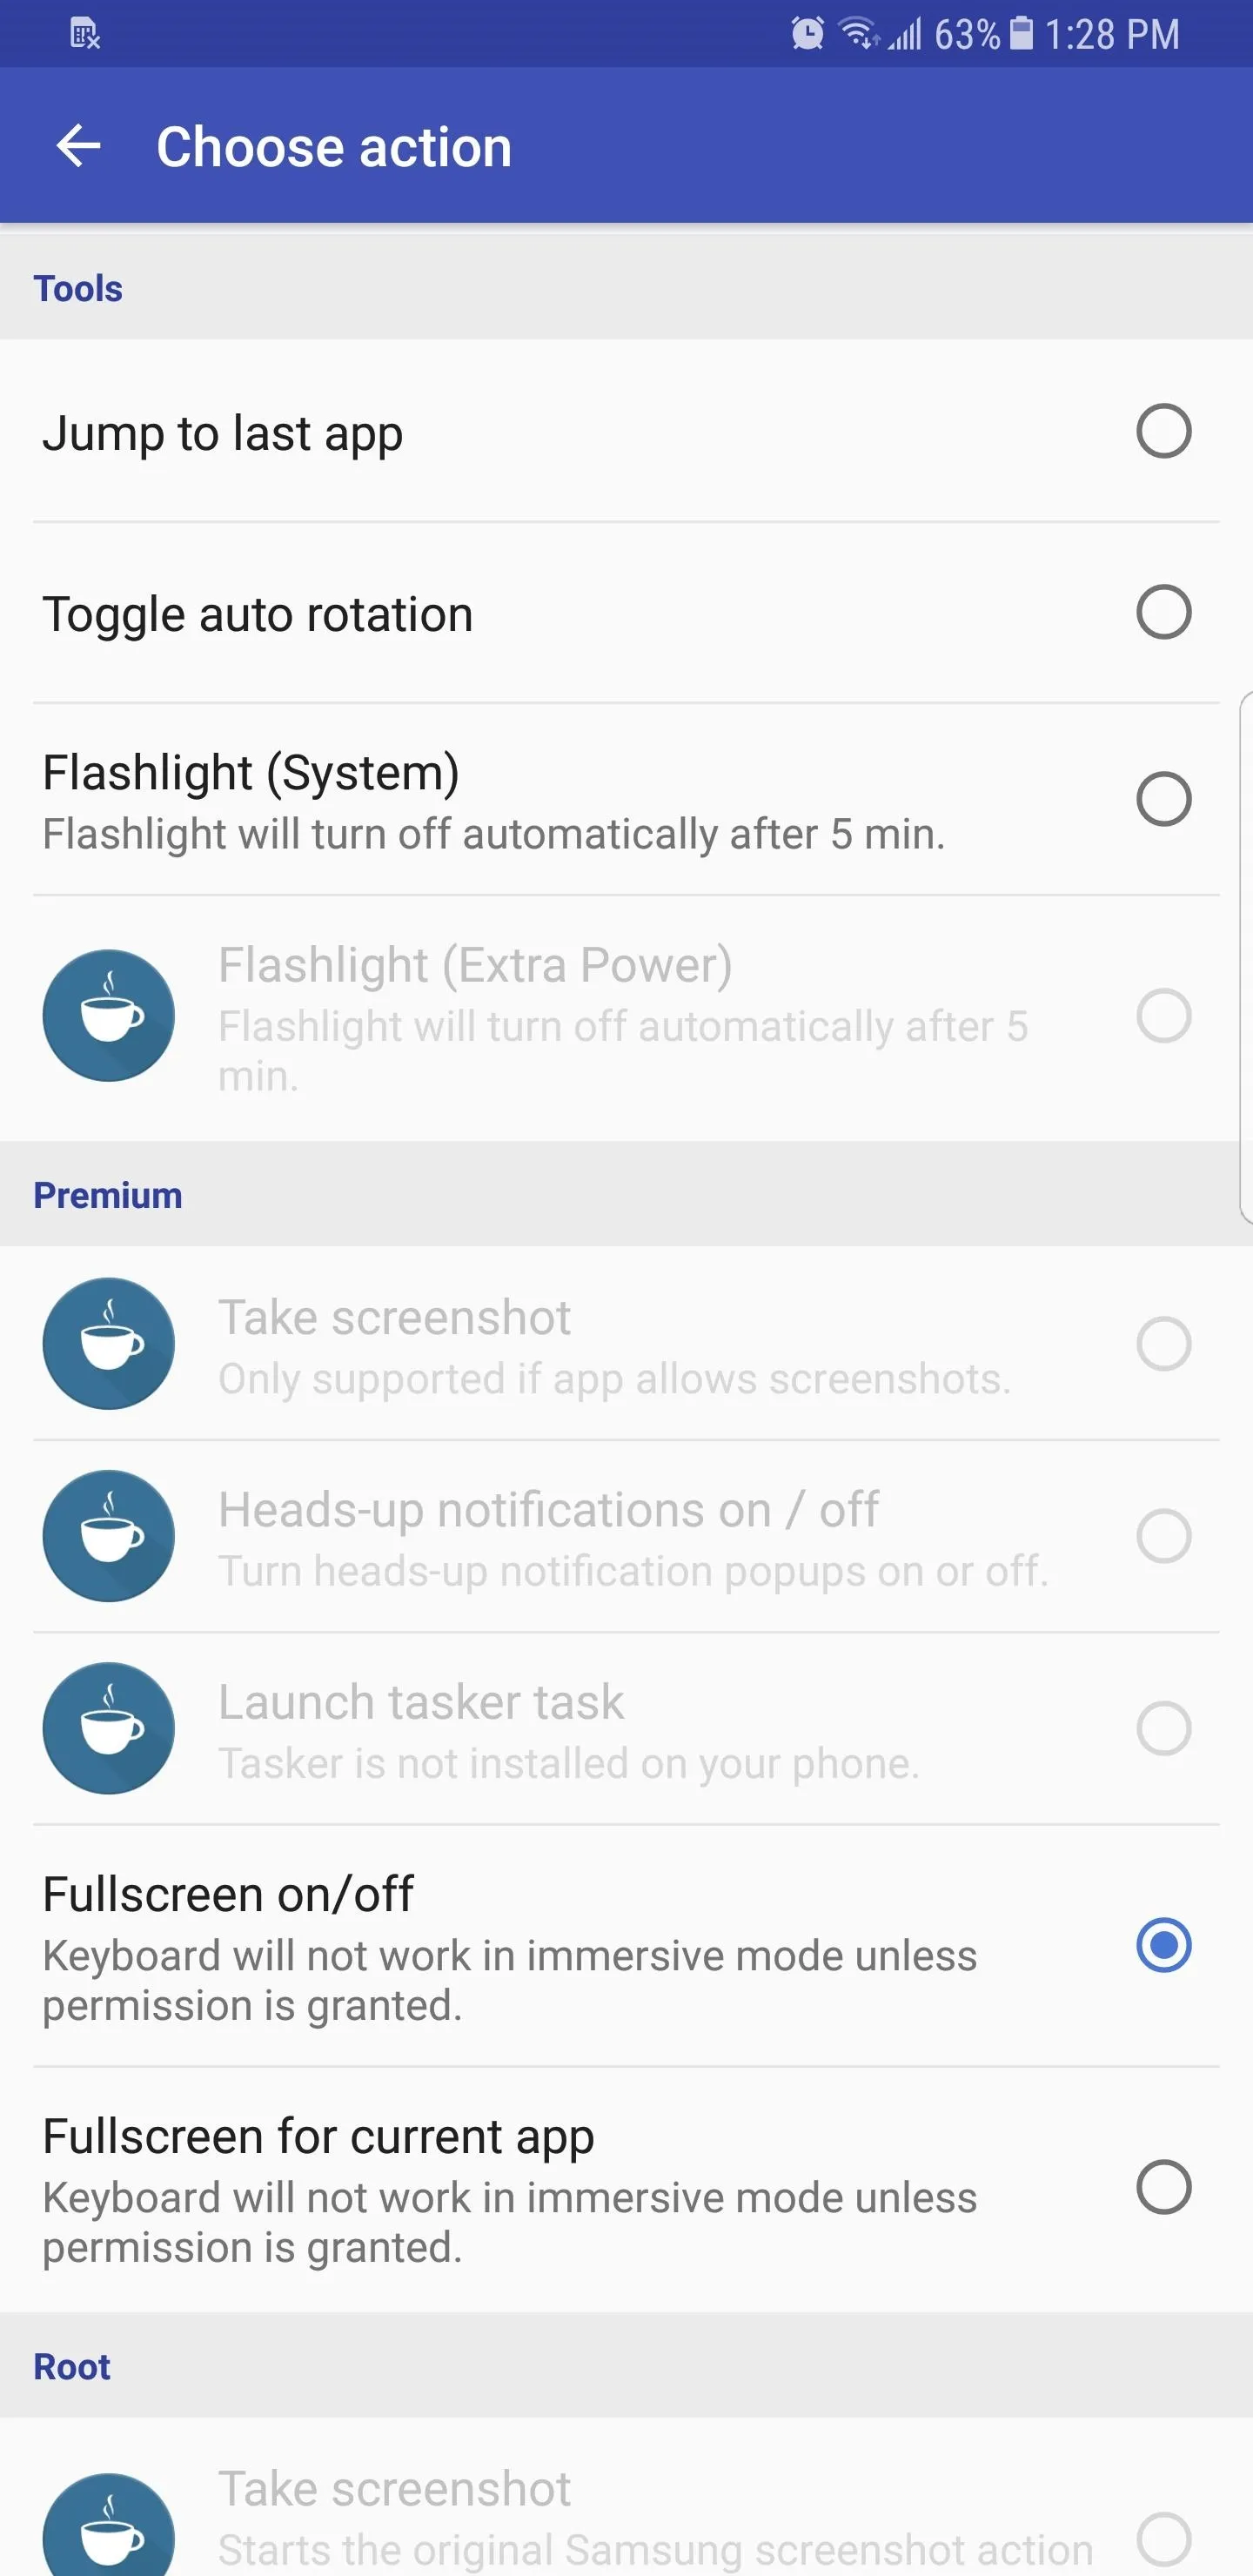
The Bixby button on your S9 is now ready for remapping. Tap on "Actions" within the main page to get started, then select "Bixby" once you're inside. From there, tap on "Standard action" to proceed to the "Choose action" page.
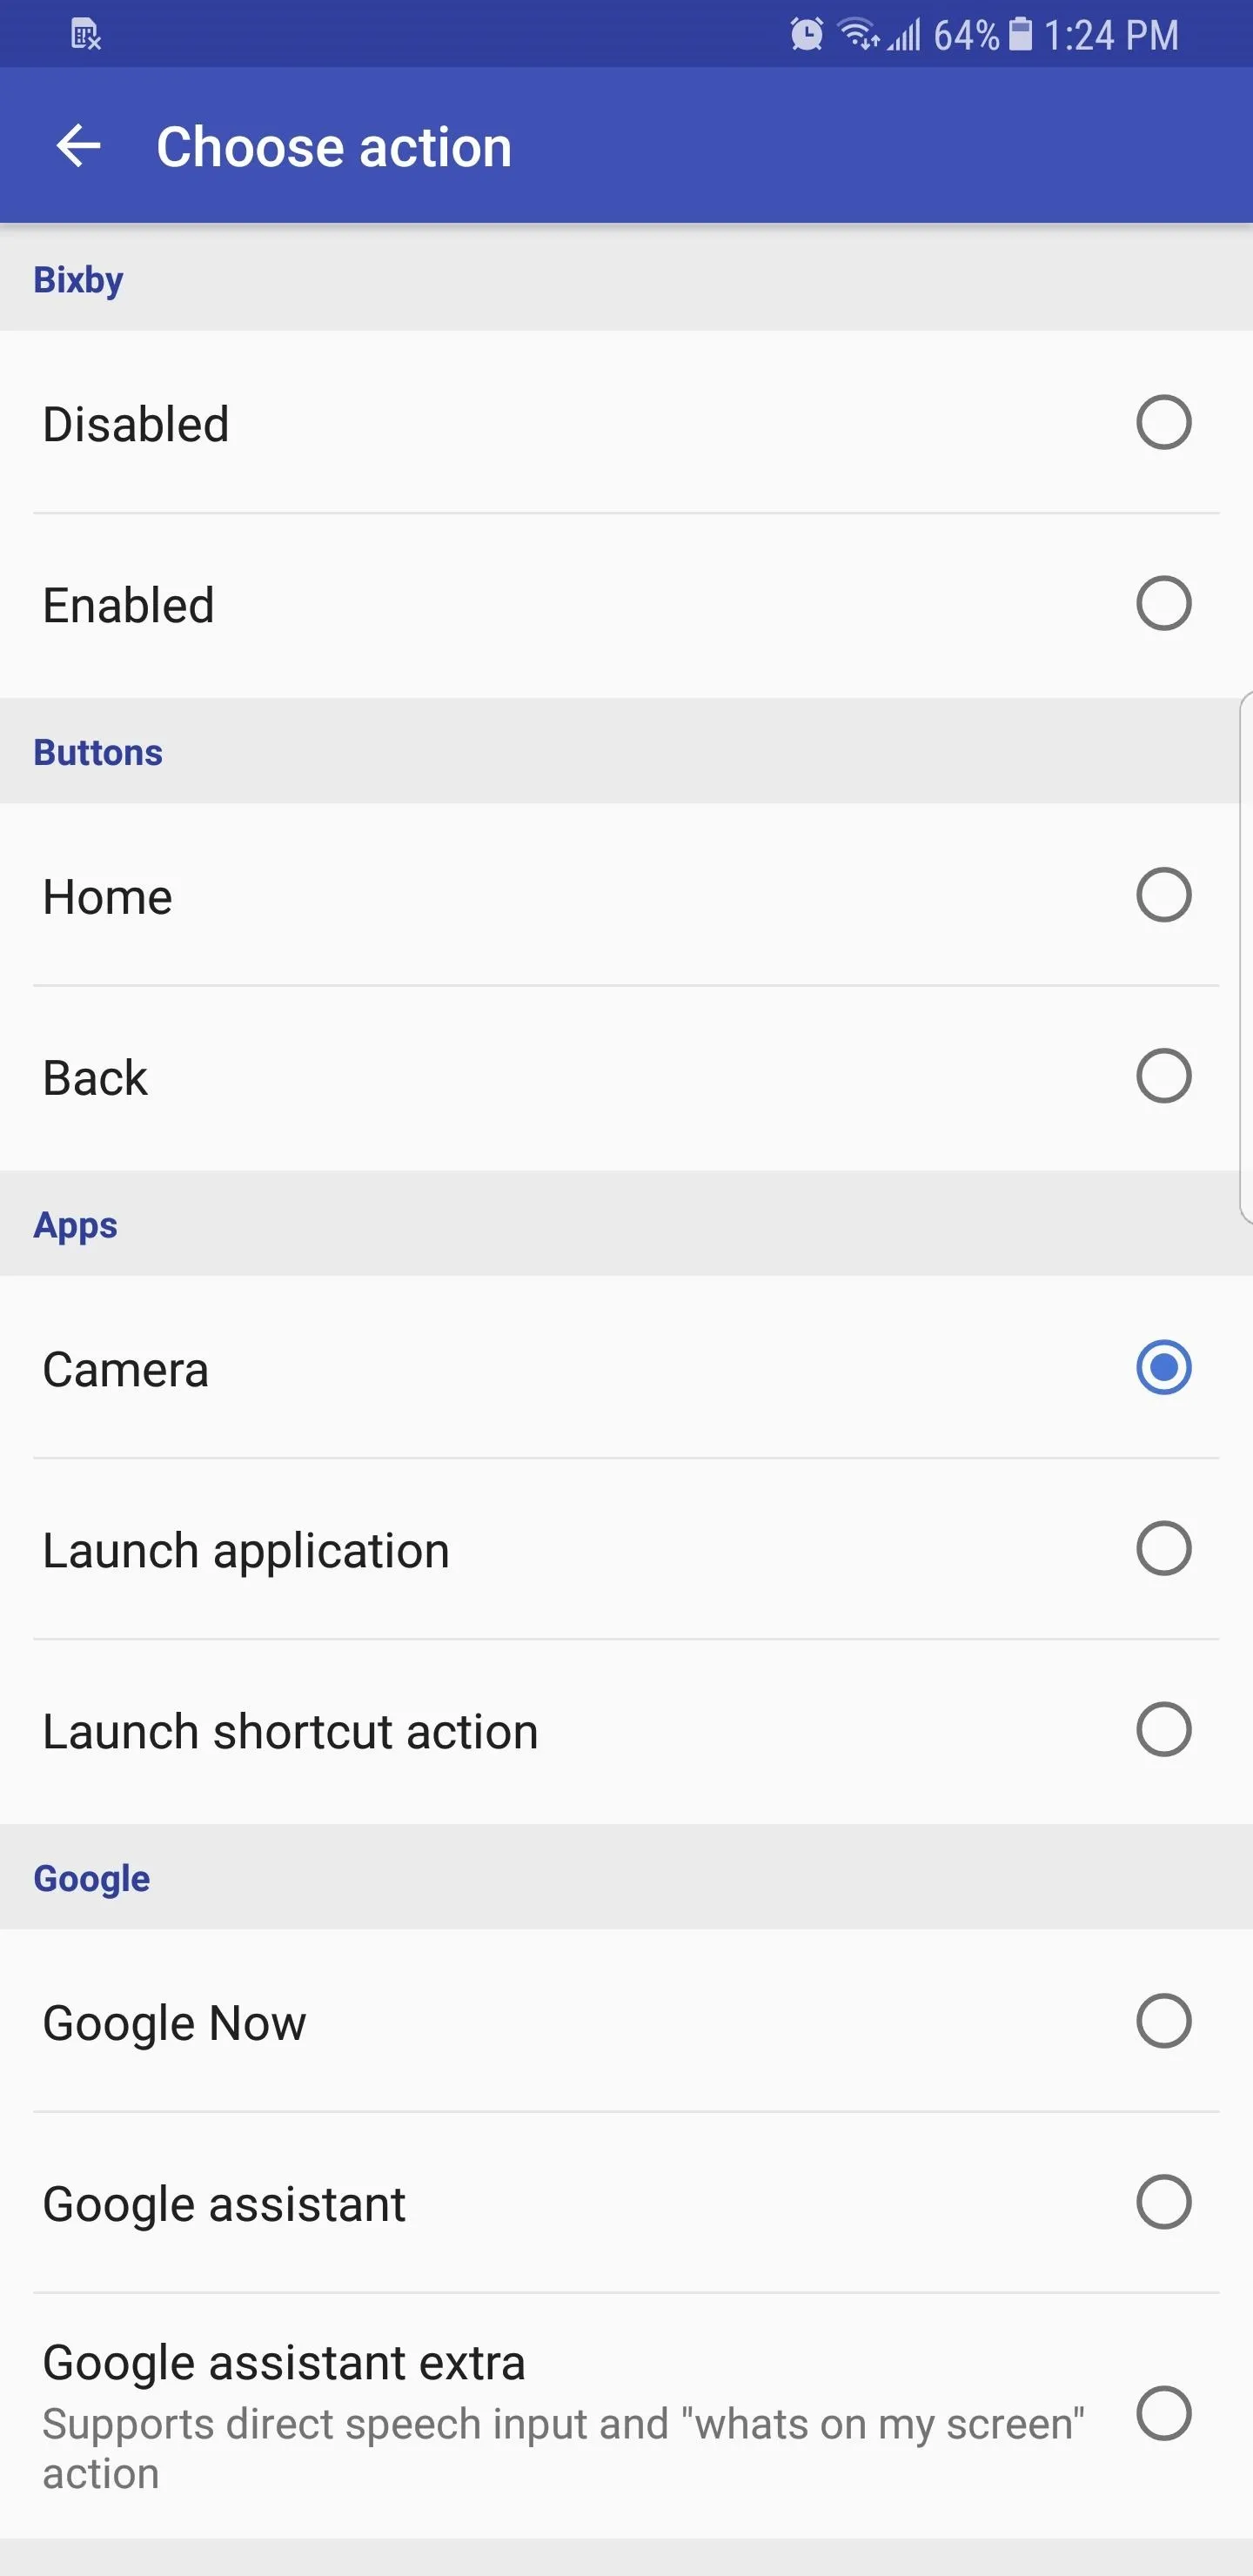
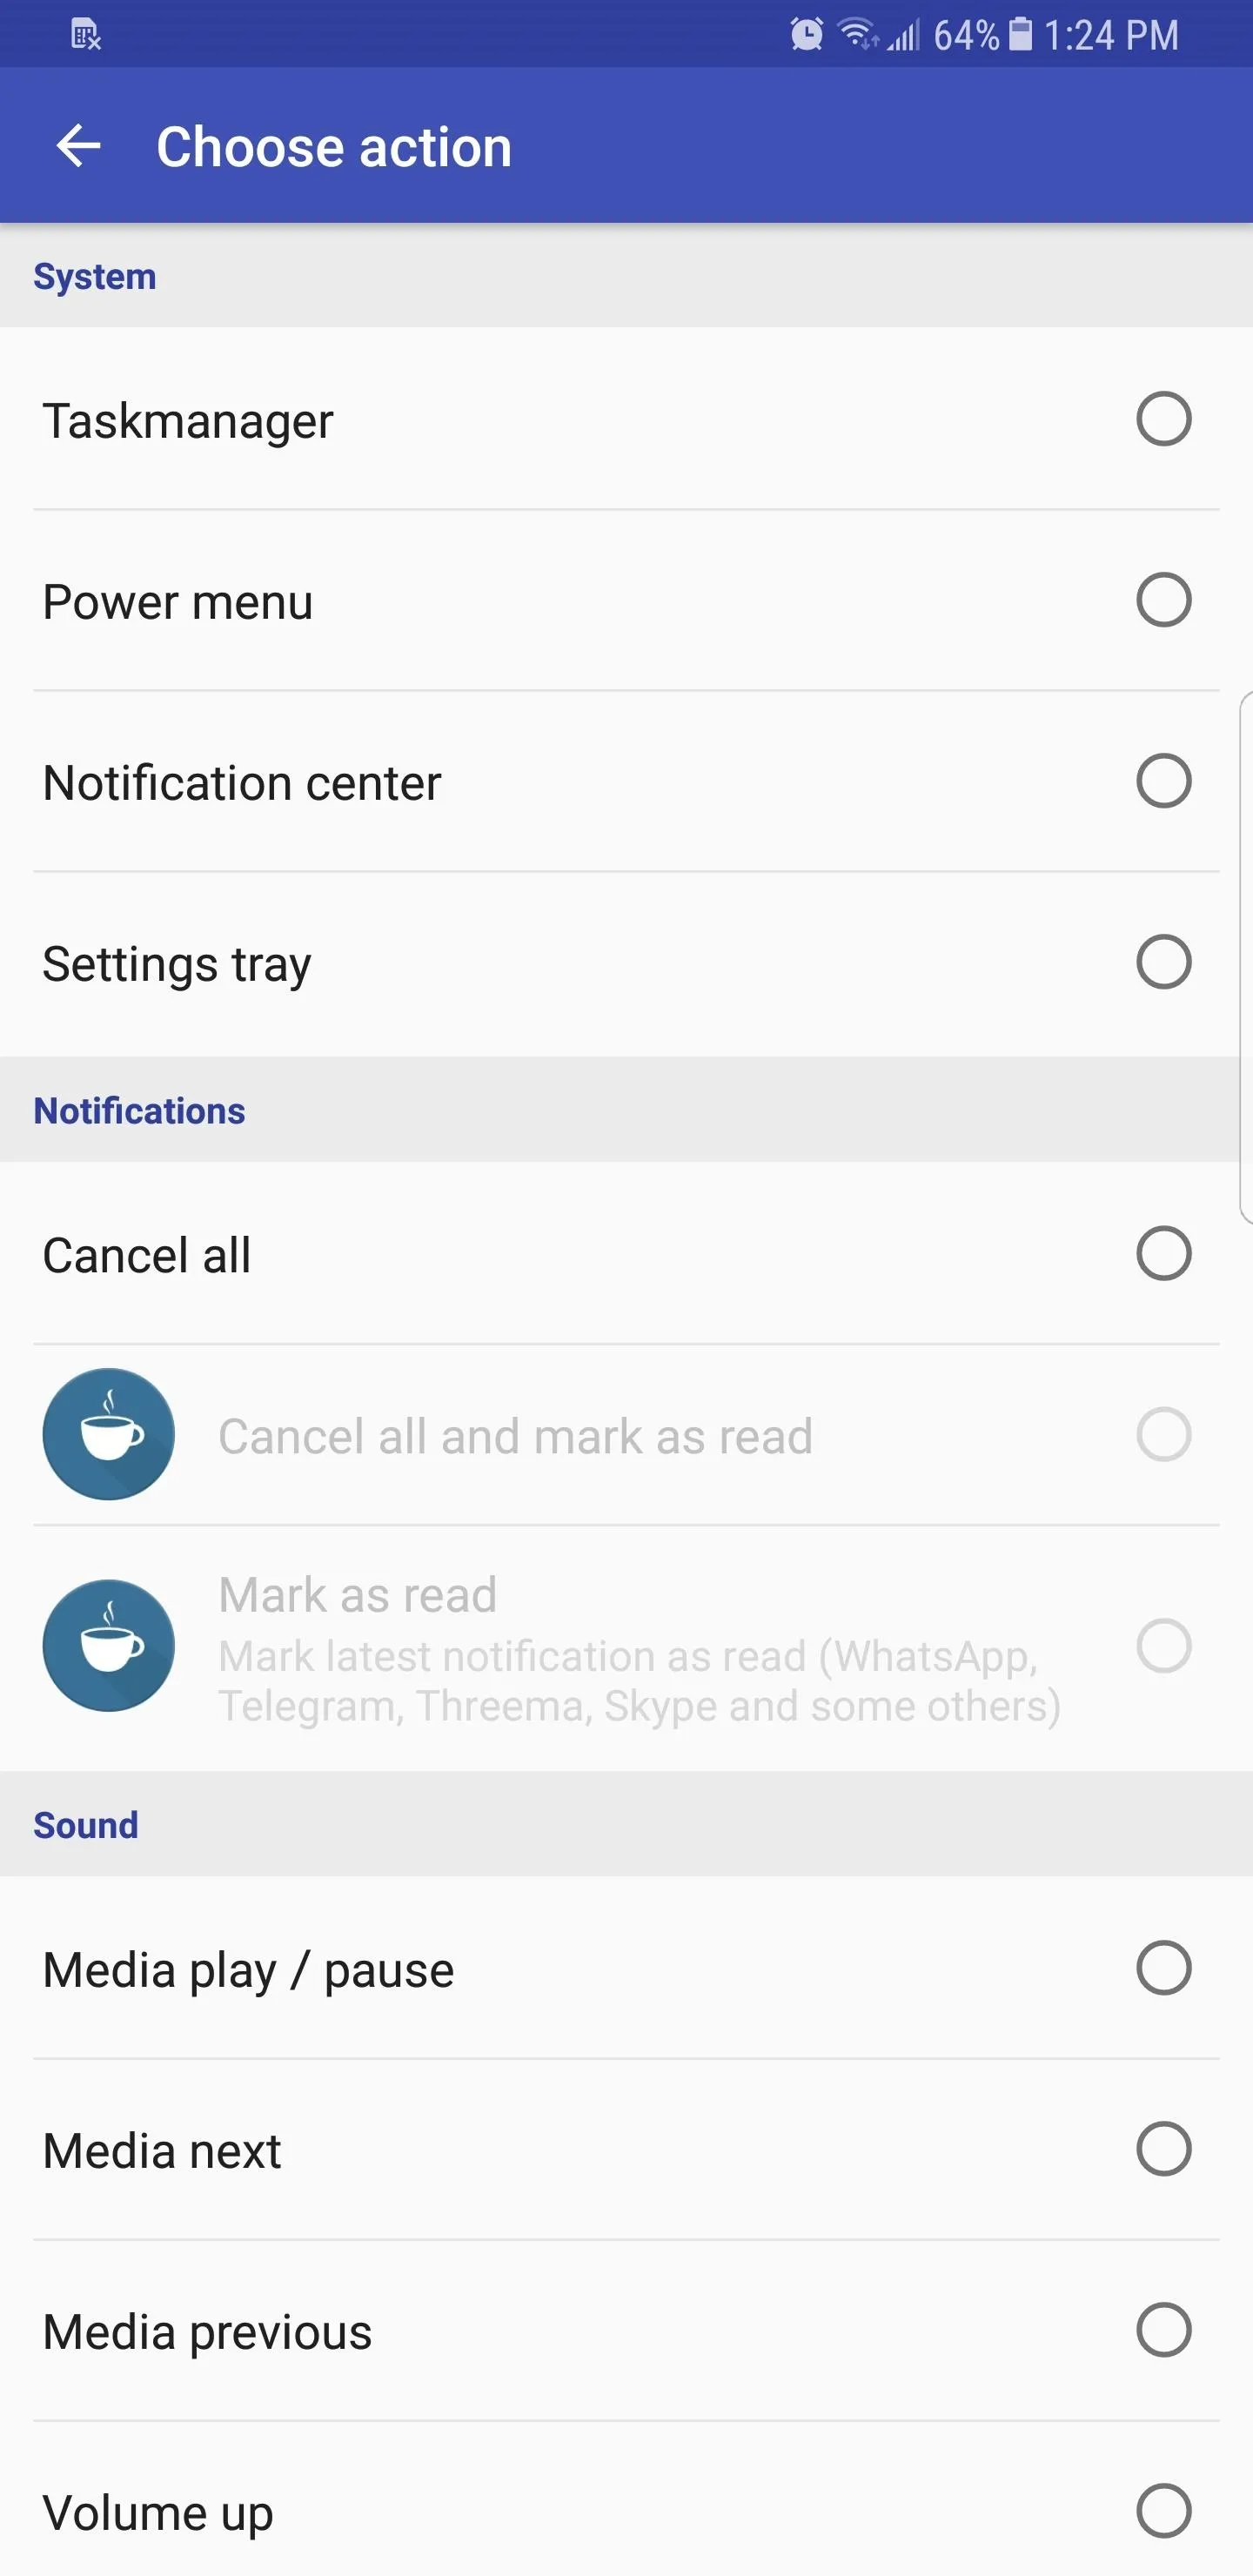
The "Choose action" page contains a list of all the available commands you can assign to your phone's Bixby button. Even if you opted to get the free version, you still have a slew of options to choose from. These functions include turning the button to either a home or back button, or making it open your camera app, bring up your power menu, toggle do not disturb on or off, and so much more.
Purchasing the premium version for $2.99 unlocks more features, which includes the added ability to remap both volume buttons for added commands, and perform actions — such as turning on your flashlight or launching Google Now — straight from the lock screen, as well as remapping buttons to take screenshots.
Use Your Custom Button
With a remapped Bixby button, you'll now have the ability to quickly launch your favorite app with a press of a button, and you've now added a layer of customization to your S9 or S9+ to truly make it your own. Which command did you use to replace your Bixby button? As always, don't hesitate to chime in by posting in the comment section below.
- Follow Gadget Hacks on Facebook, Twitter, YouTube, and Flipboard
- Follow WonderHowTo on Facebook, Twitter, Pinterest, and Flipboard
Cover image and screenshots by Amboy Manalo/Gadget Hacks


Comments
Be the first, drop a comment!