


Samsung's One UI 3.0 skin is built on top of Google's Android 11open source code base, which means you get all of the standard features, plus some cool bonus stuff from Samsung. However, it's one of those standard AOSP features that you might find most useful if you send a lot of ADB commands.
Google has gradually been building a system for sending ADB commands from your computer to your phone over a shared Wi-Fi network. In previous versions, it was there, but quite finicky. Now, the feature is finally complete and reliable enough to use as the default ADB connection, so it's high time you learn how to use it.
- Don't Miss: How to Use Samsung's Hidden Undo & Redo Gesture
Enable Developer Options
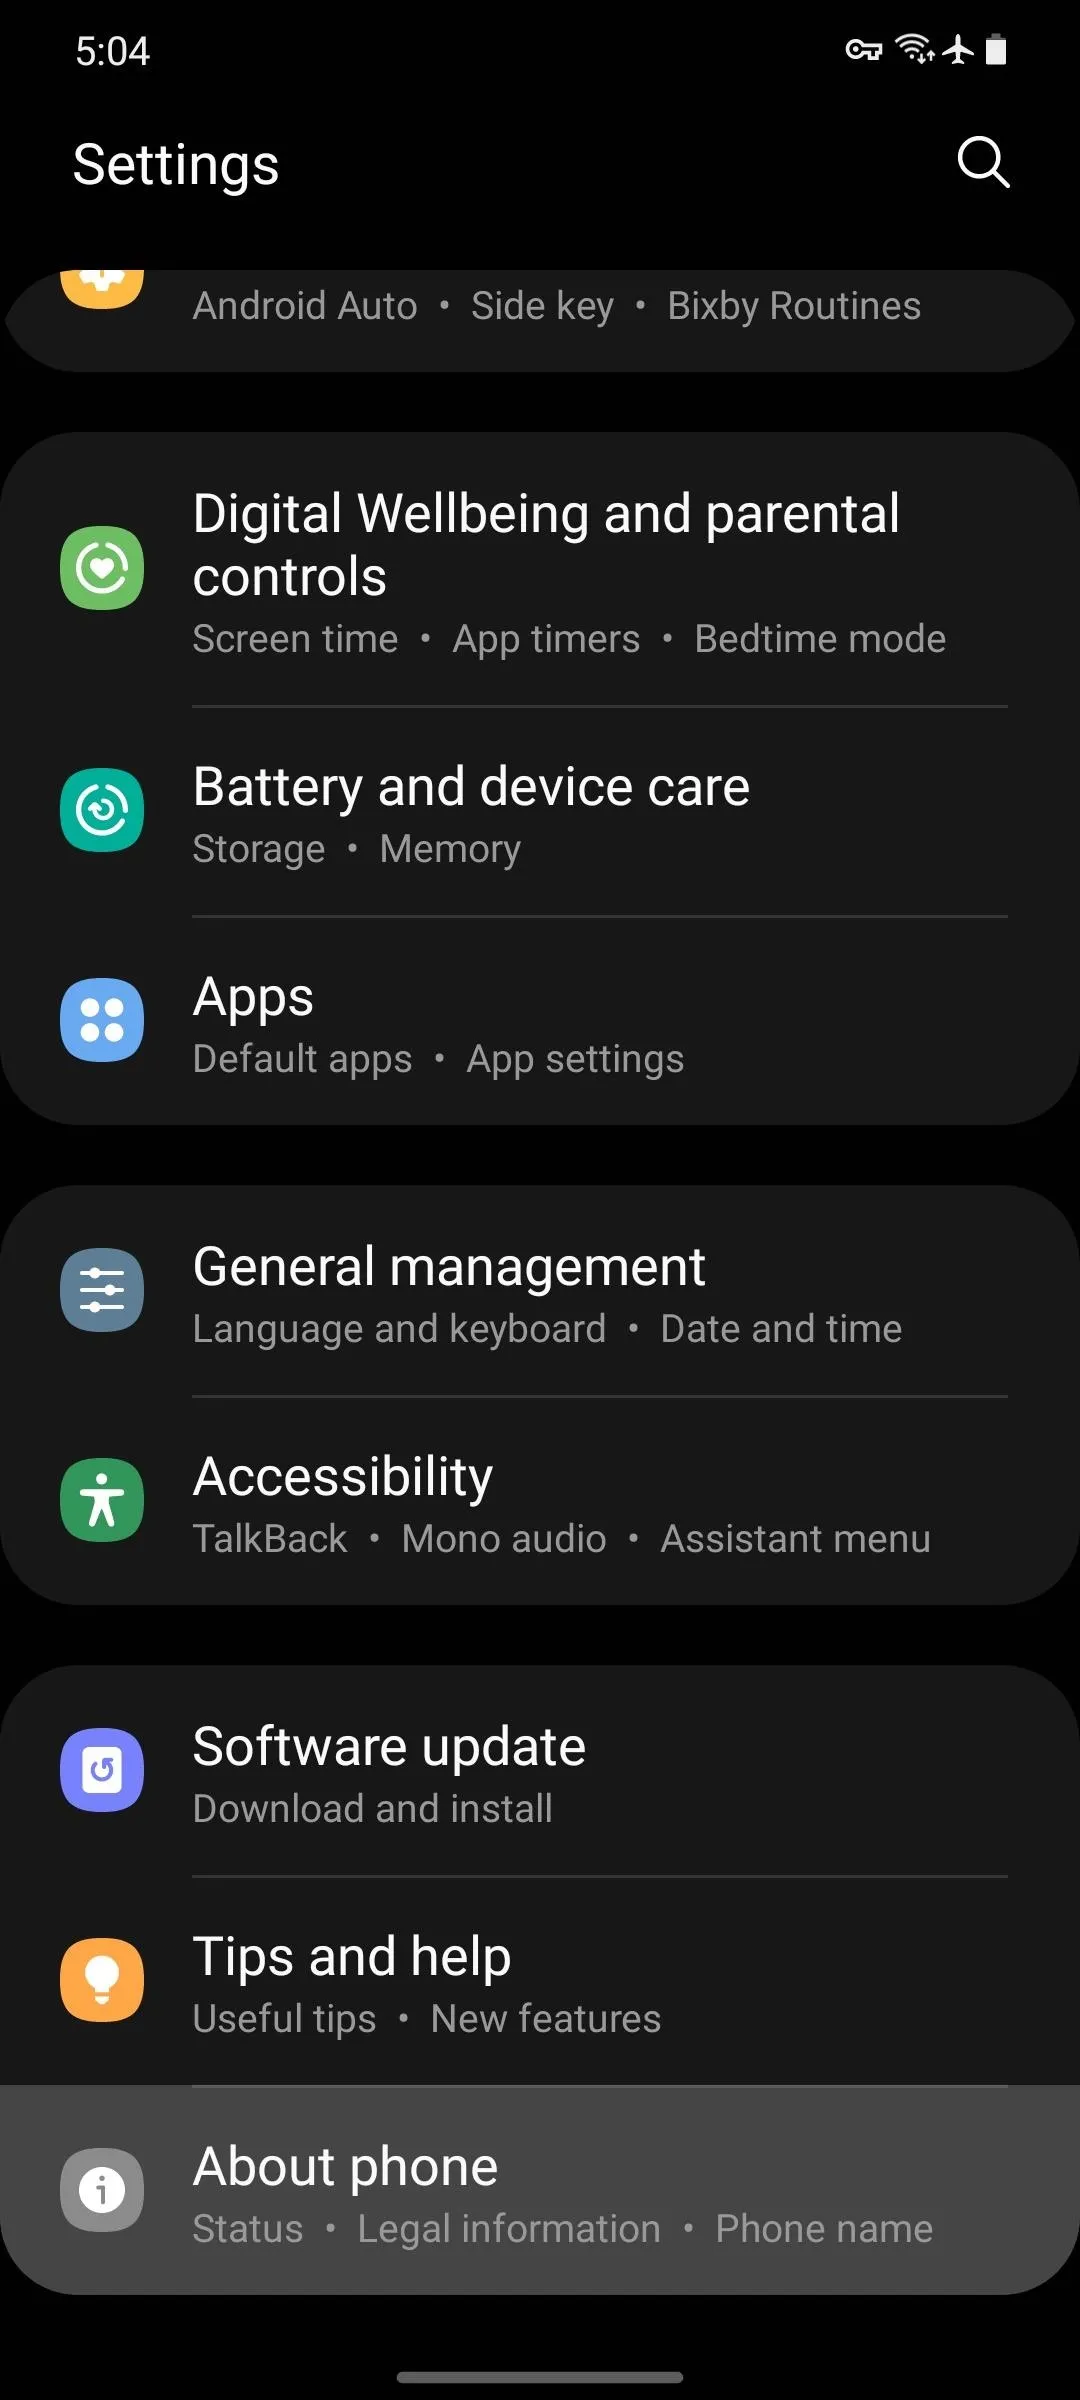
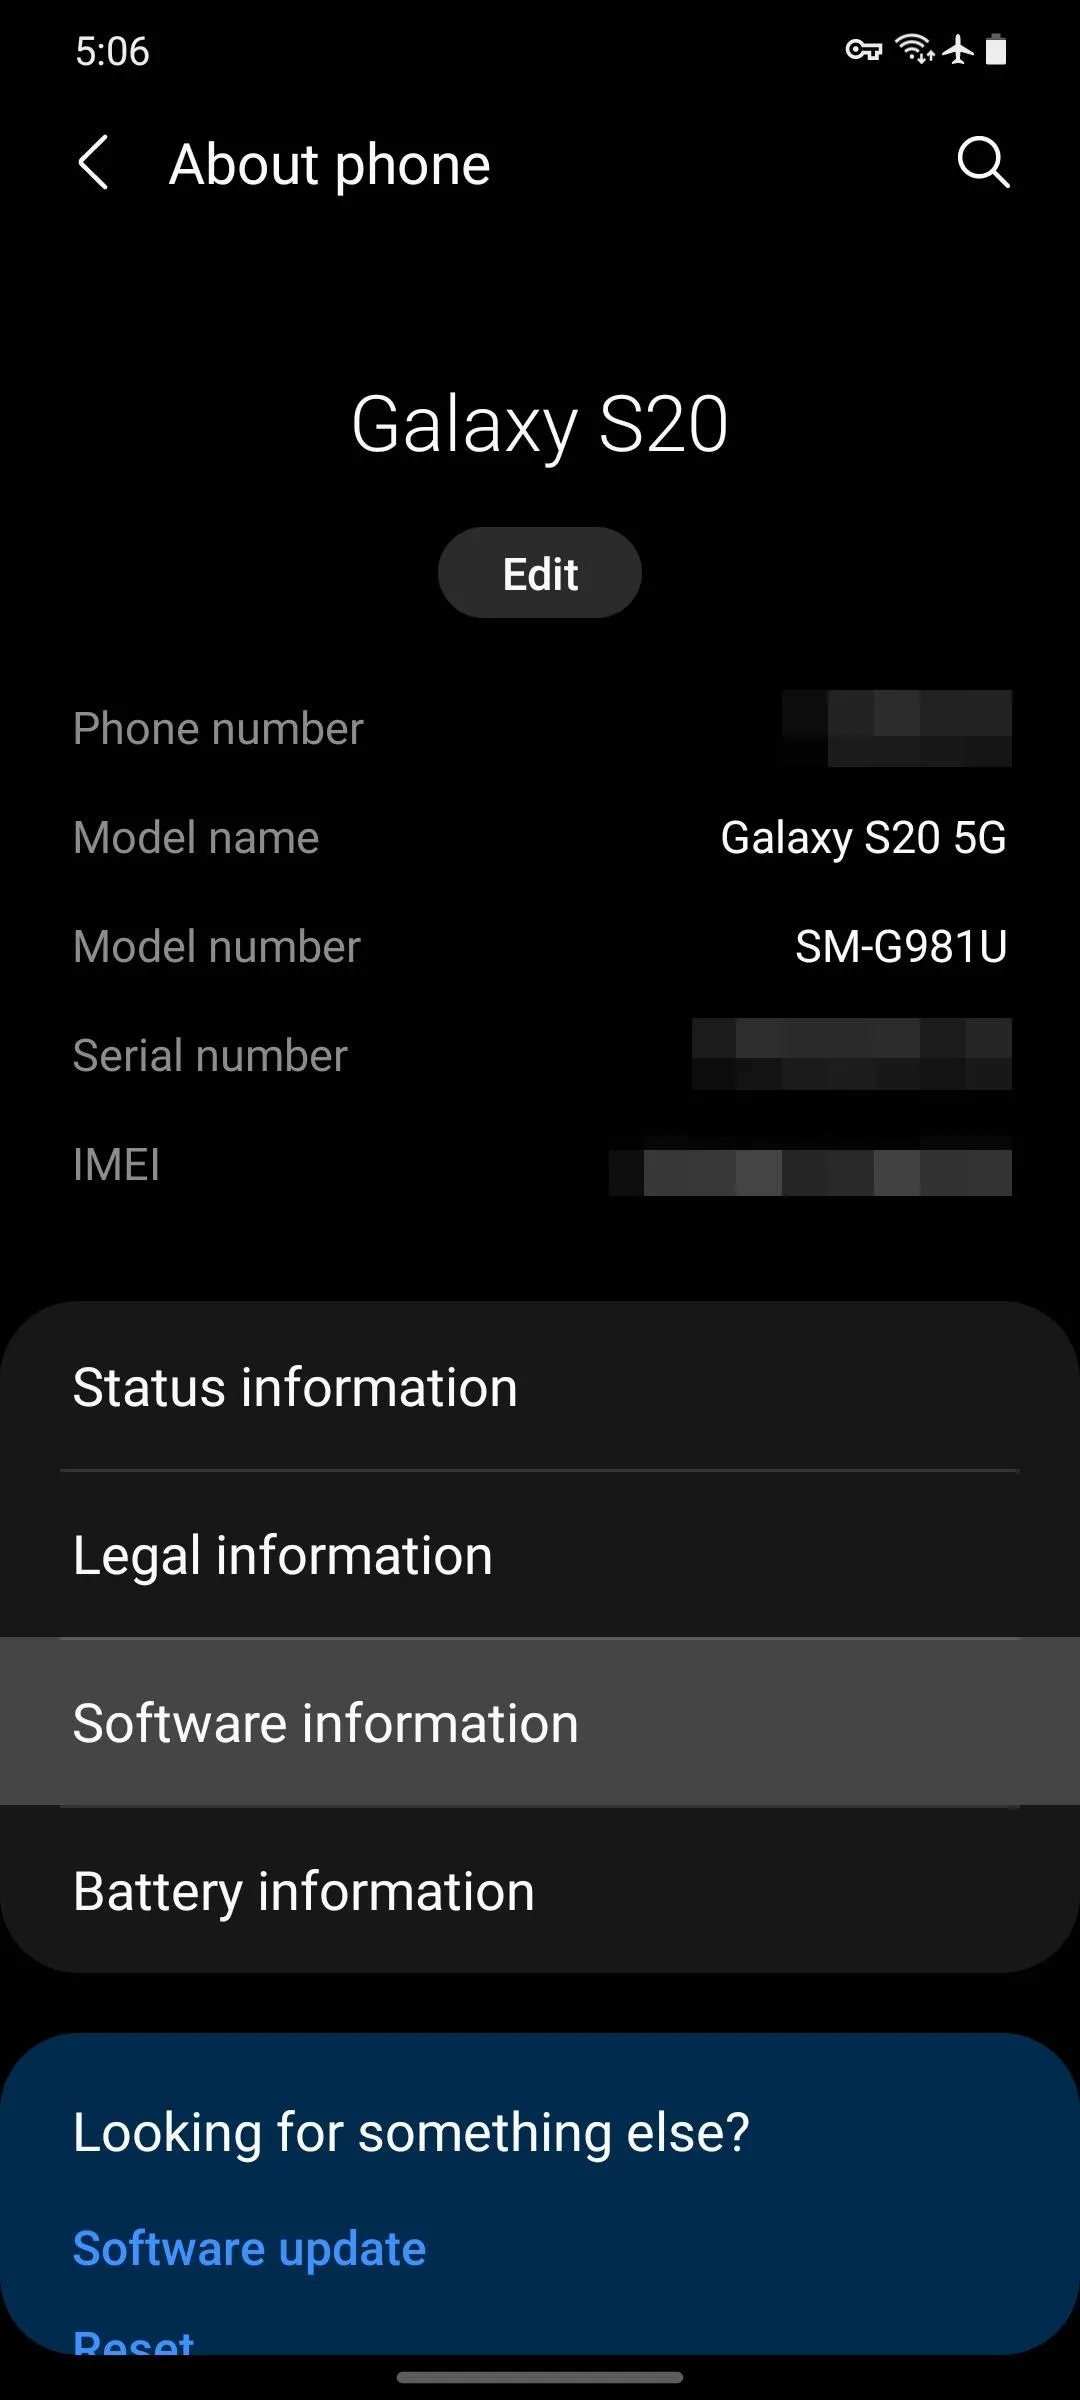
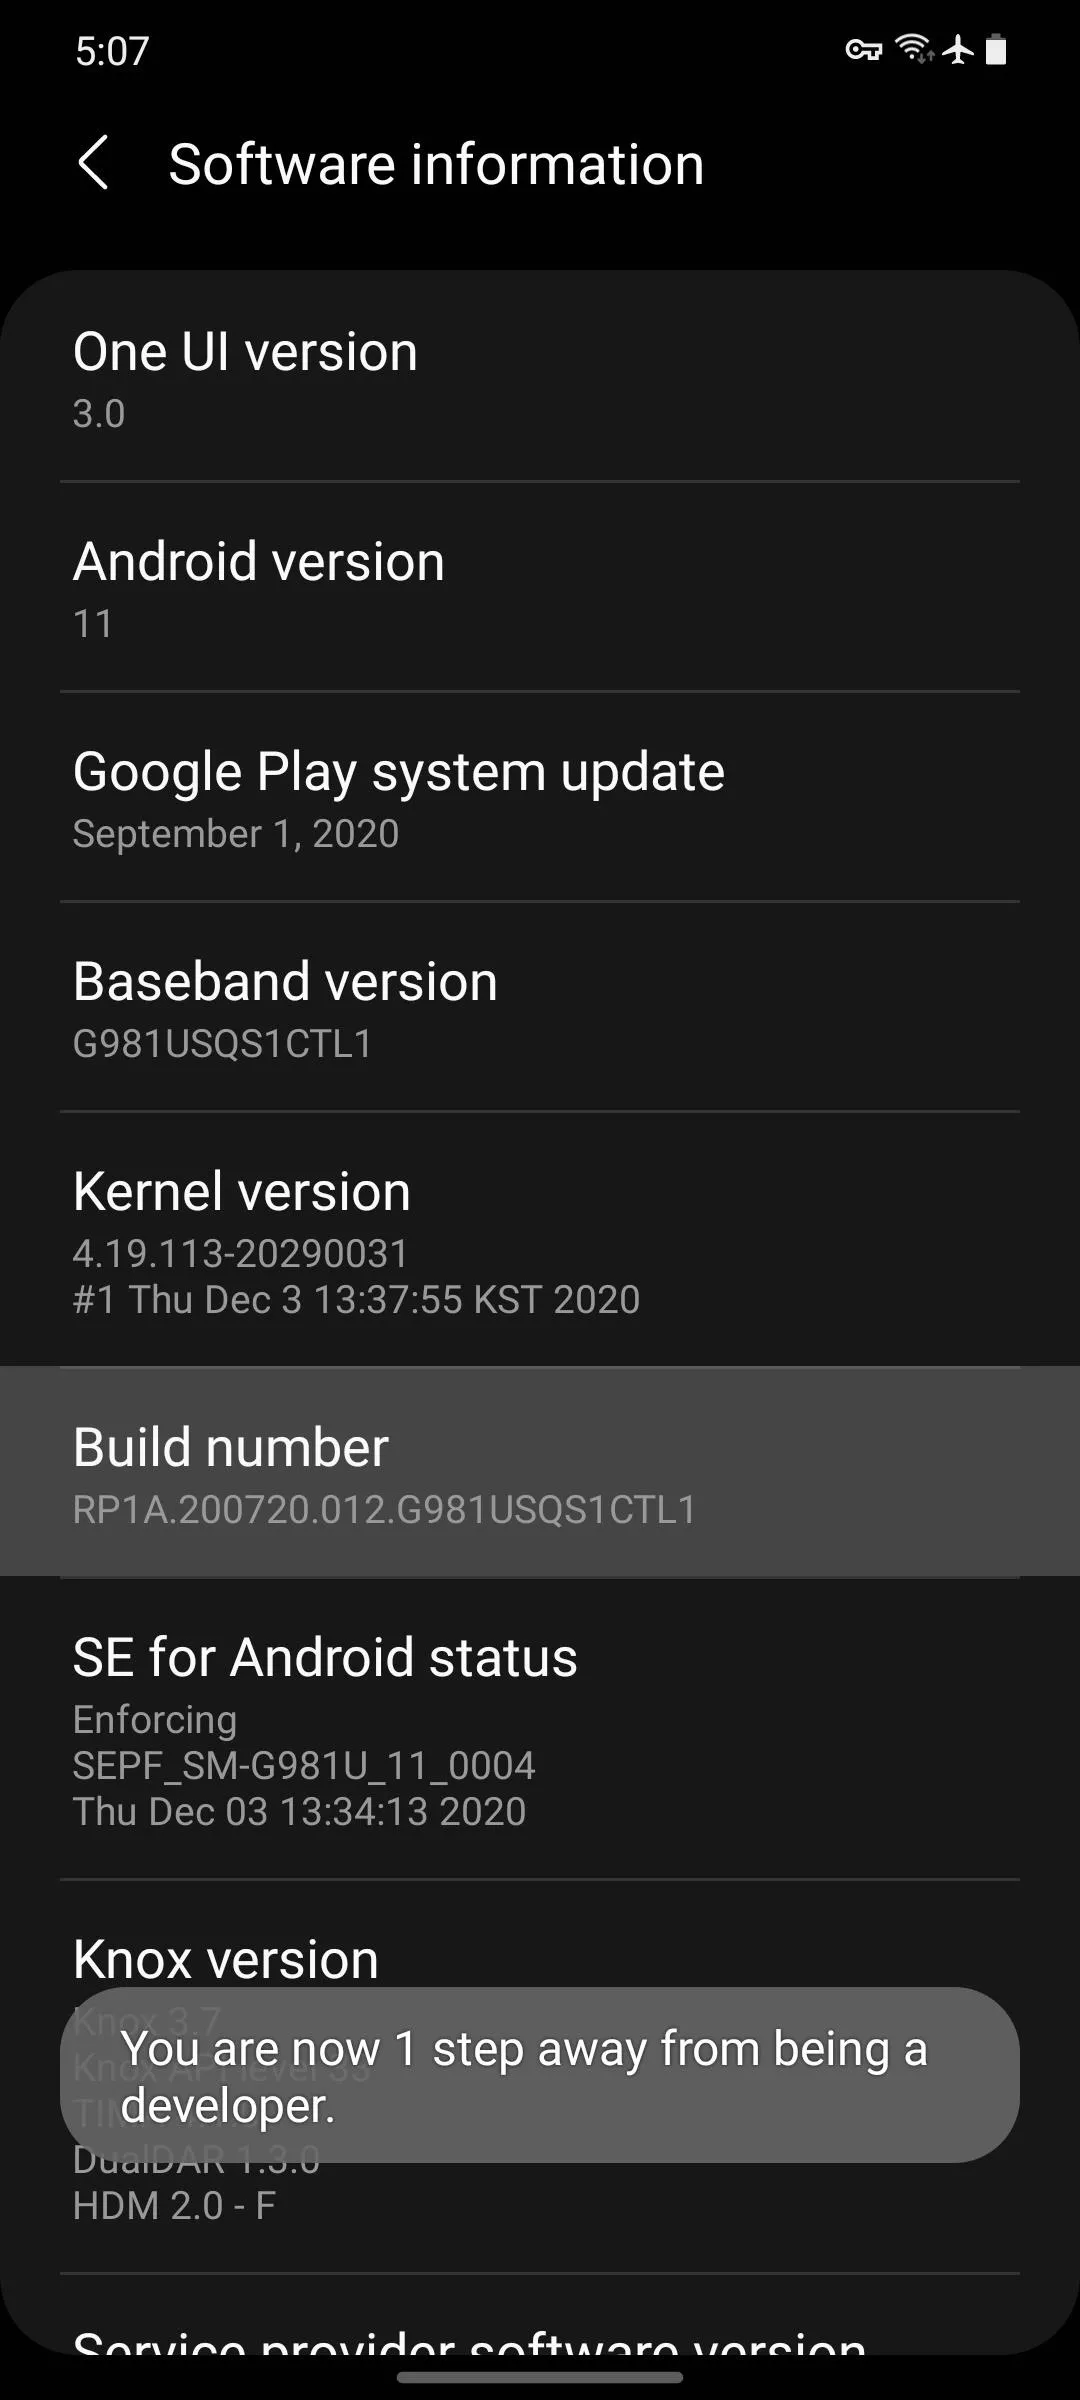
First, open your Settings app and scroll down to tap "About phone" at the very bottom. From there, tap "Software information." Once inside, tap the "Build number" entry seven times in quick succession to unlock Android's hidden Developer Options menu — this is where the wireless debugging settings will be found.
Enable Wireless Debugging
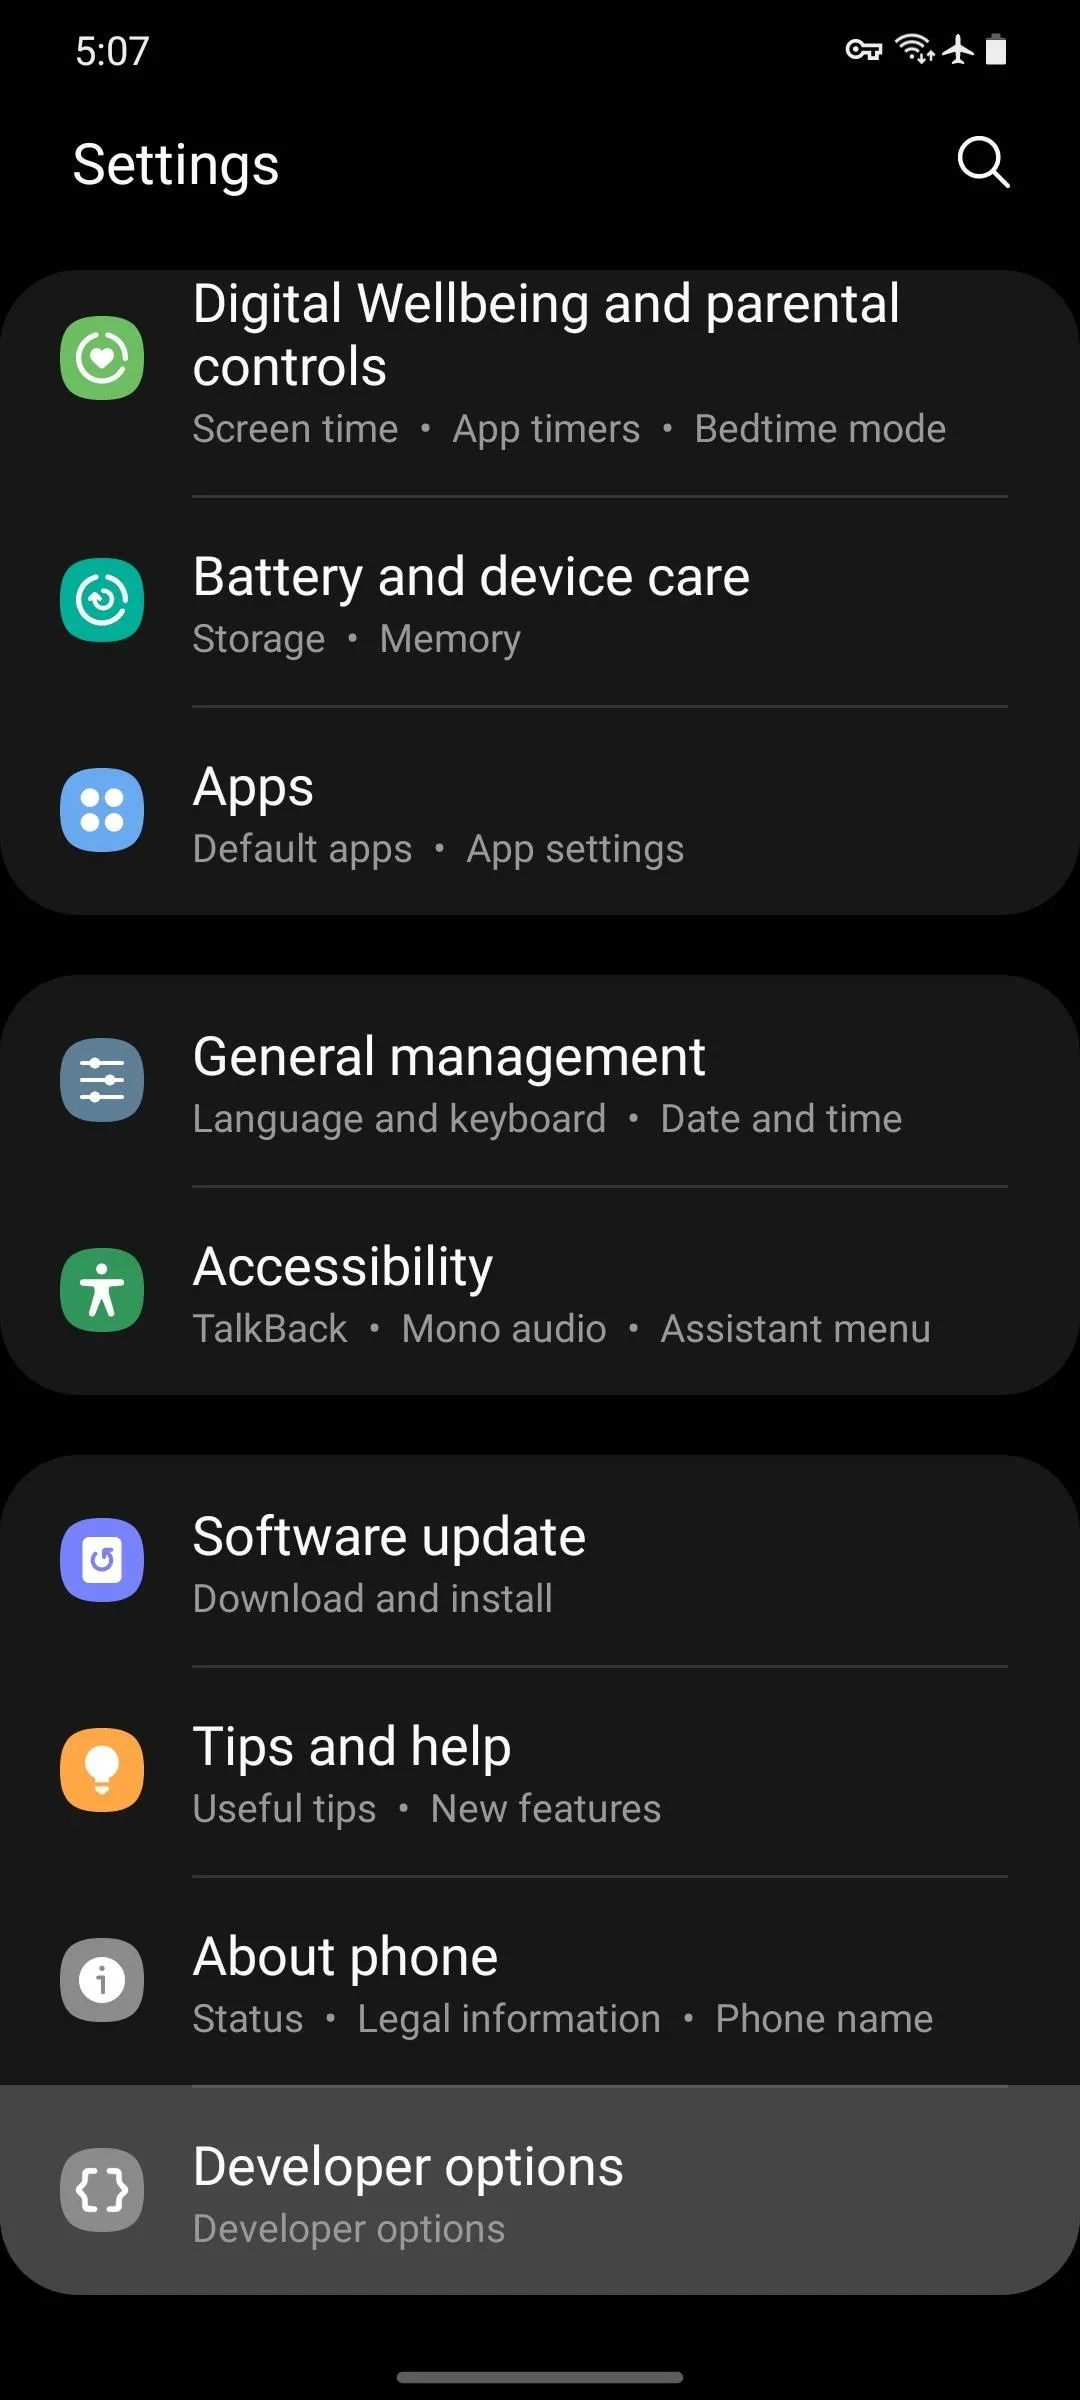
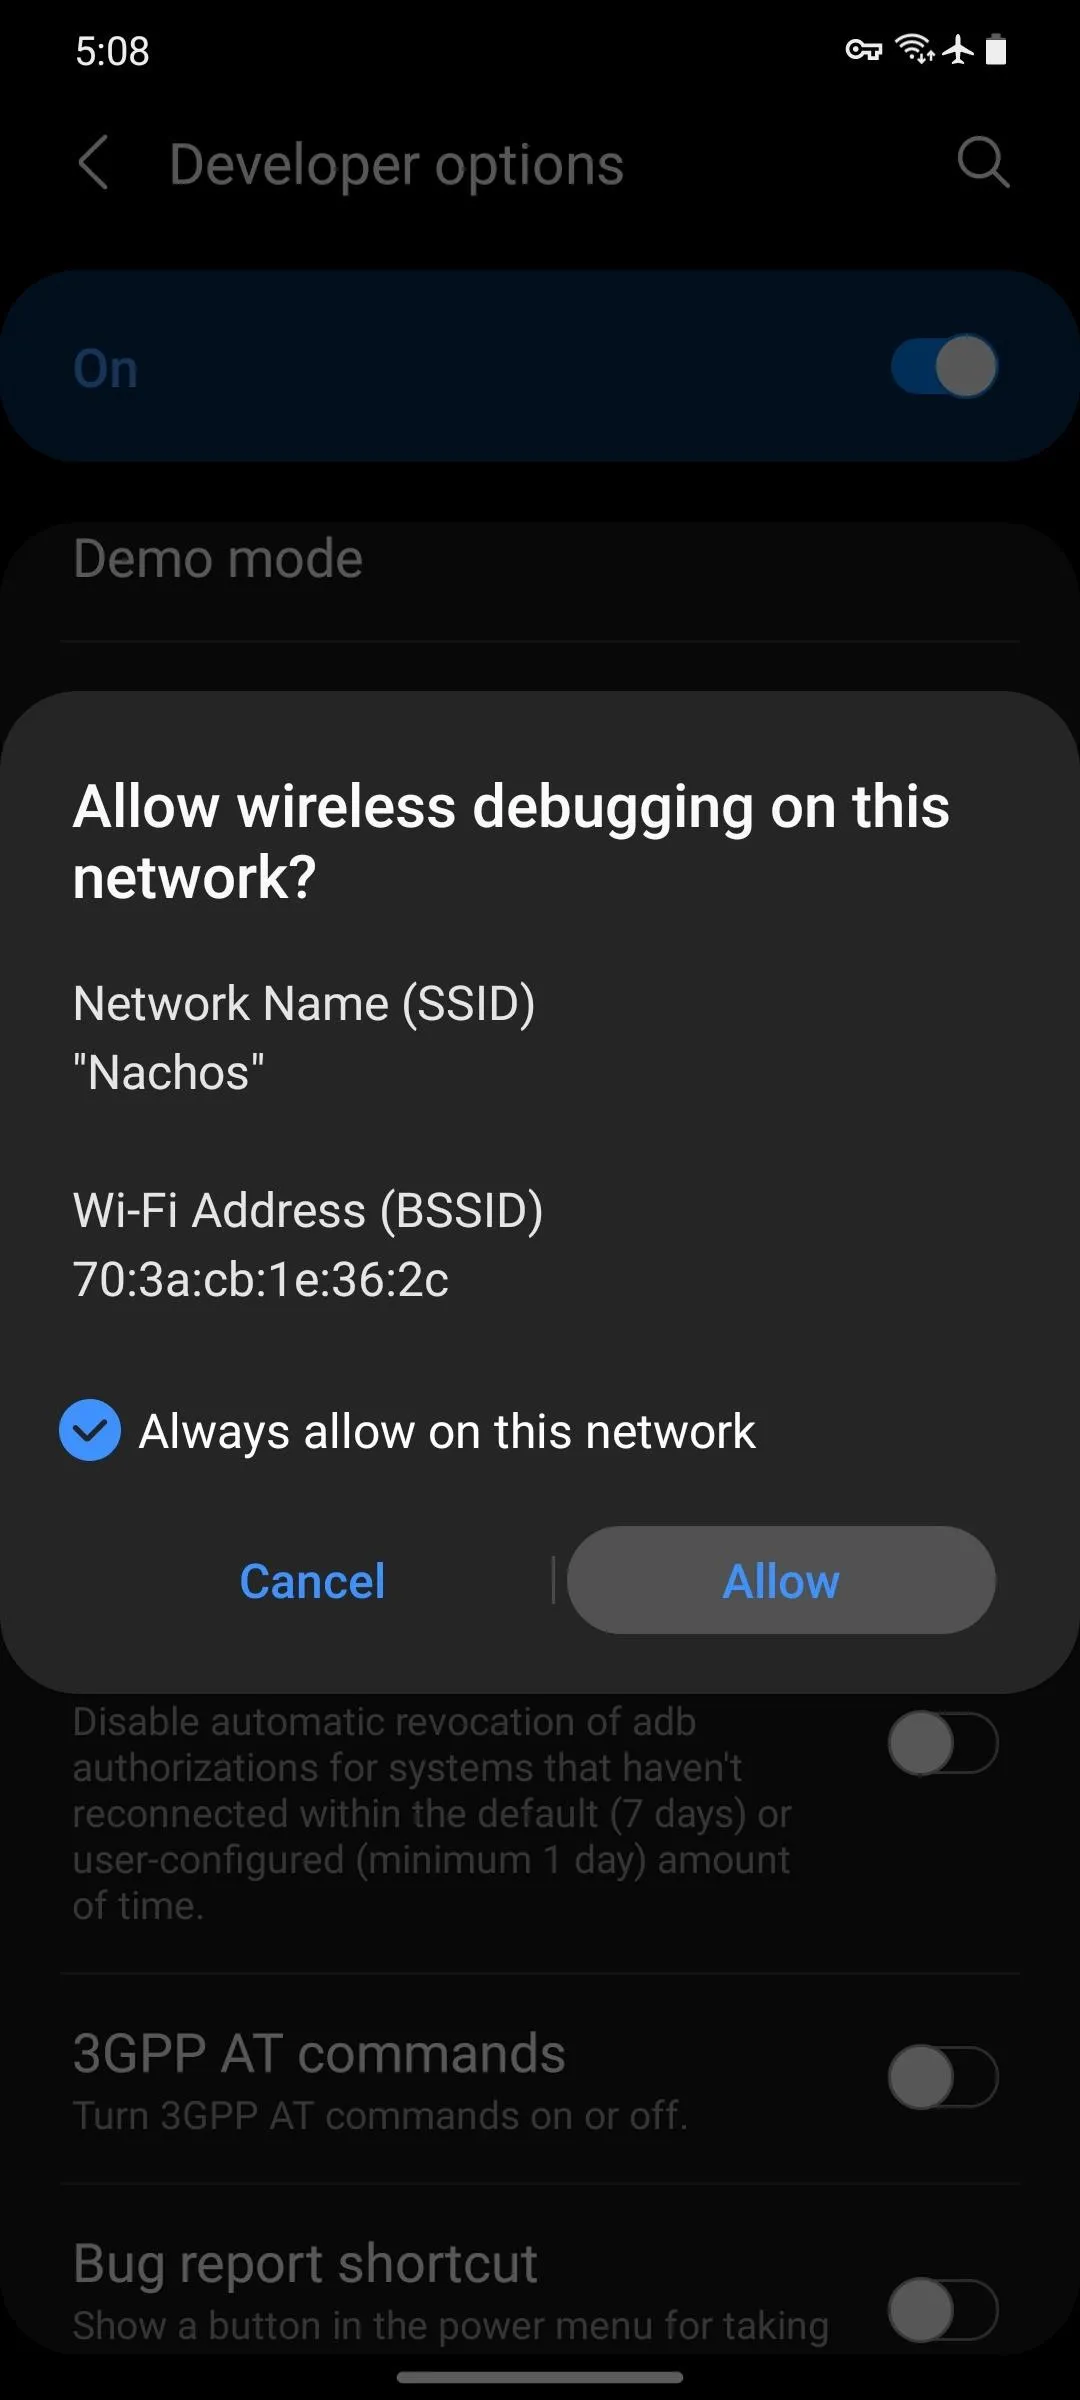
Now, you'll find the Developer Options menu at the very bottom of the main Settings screen. Open it, then scroll down to the Debugging section. Here, tap the toggle switch next to "Wireless debugging," then tick the box next to "Always allow" and tap "Allow" on the prompt.

Note that you will need to be connected to a Wi-Fi network before you can enable this feature. You'll want to be connected to the same network as the computer you're sending ADB commands from.
Set Up ADB on Your Computer
This is the part you're probably dreading most if you've ever used ADB in the past, but it's actually pretty easy now. Just download Google's standalone platform-tools package (Windows | Mac | Linux), then extract the folder to your desktop. From there, open Command Prompt, PowerShell, or Terminal, then type "cd" followed by a space. Finally, drag and drop the platform-tools folder right into the command window and press enter to get the computer side of things ready.
Get Your IP Address & Pairing Code
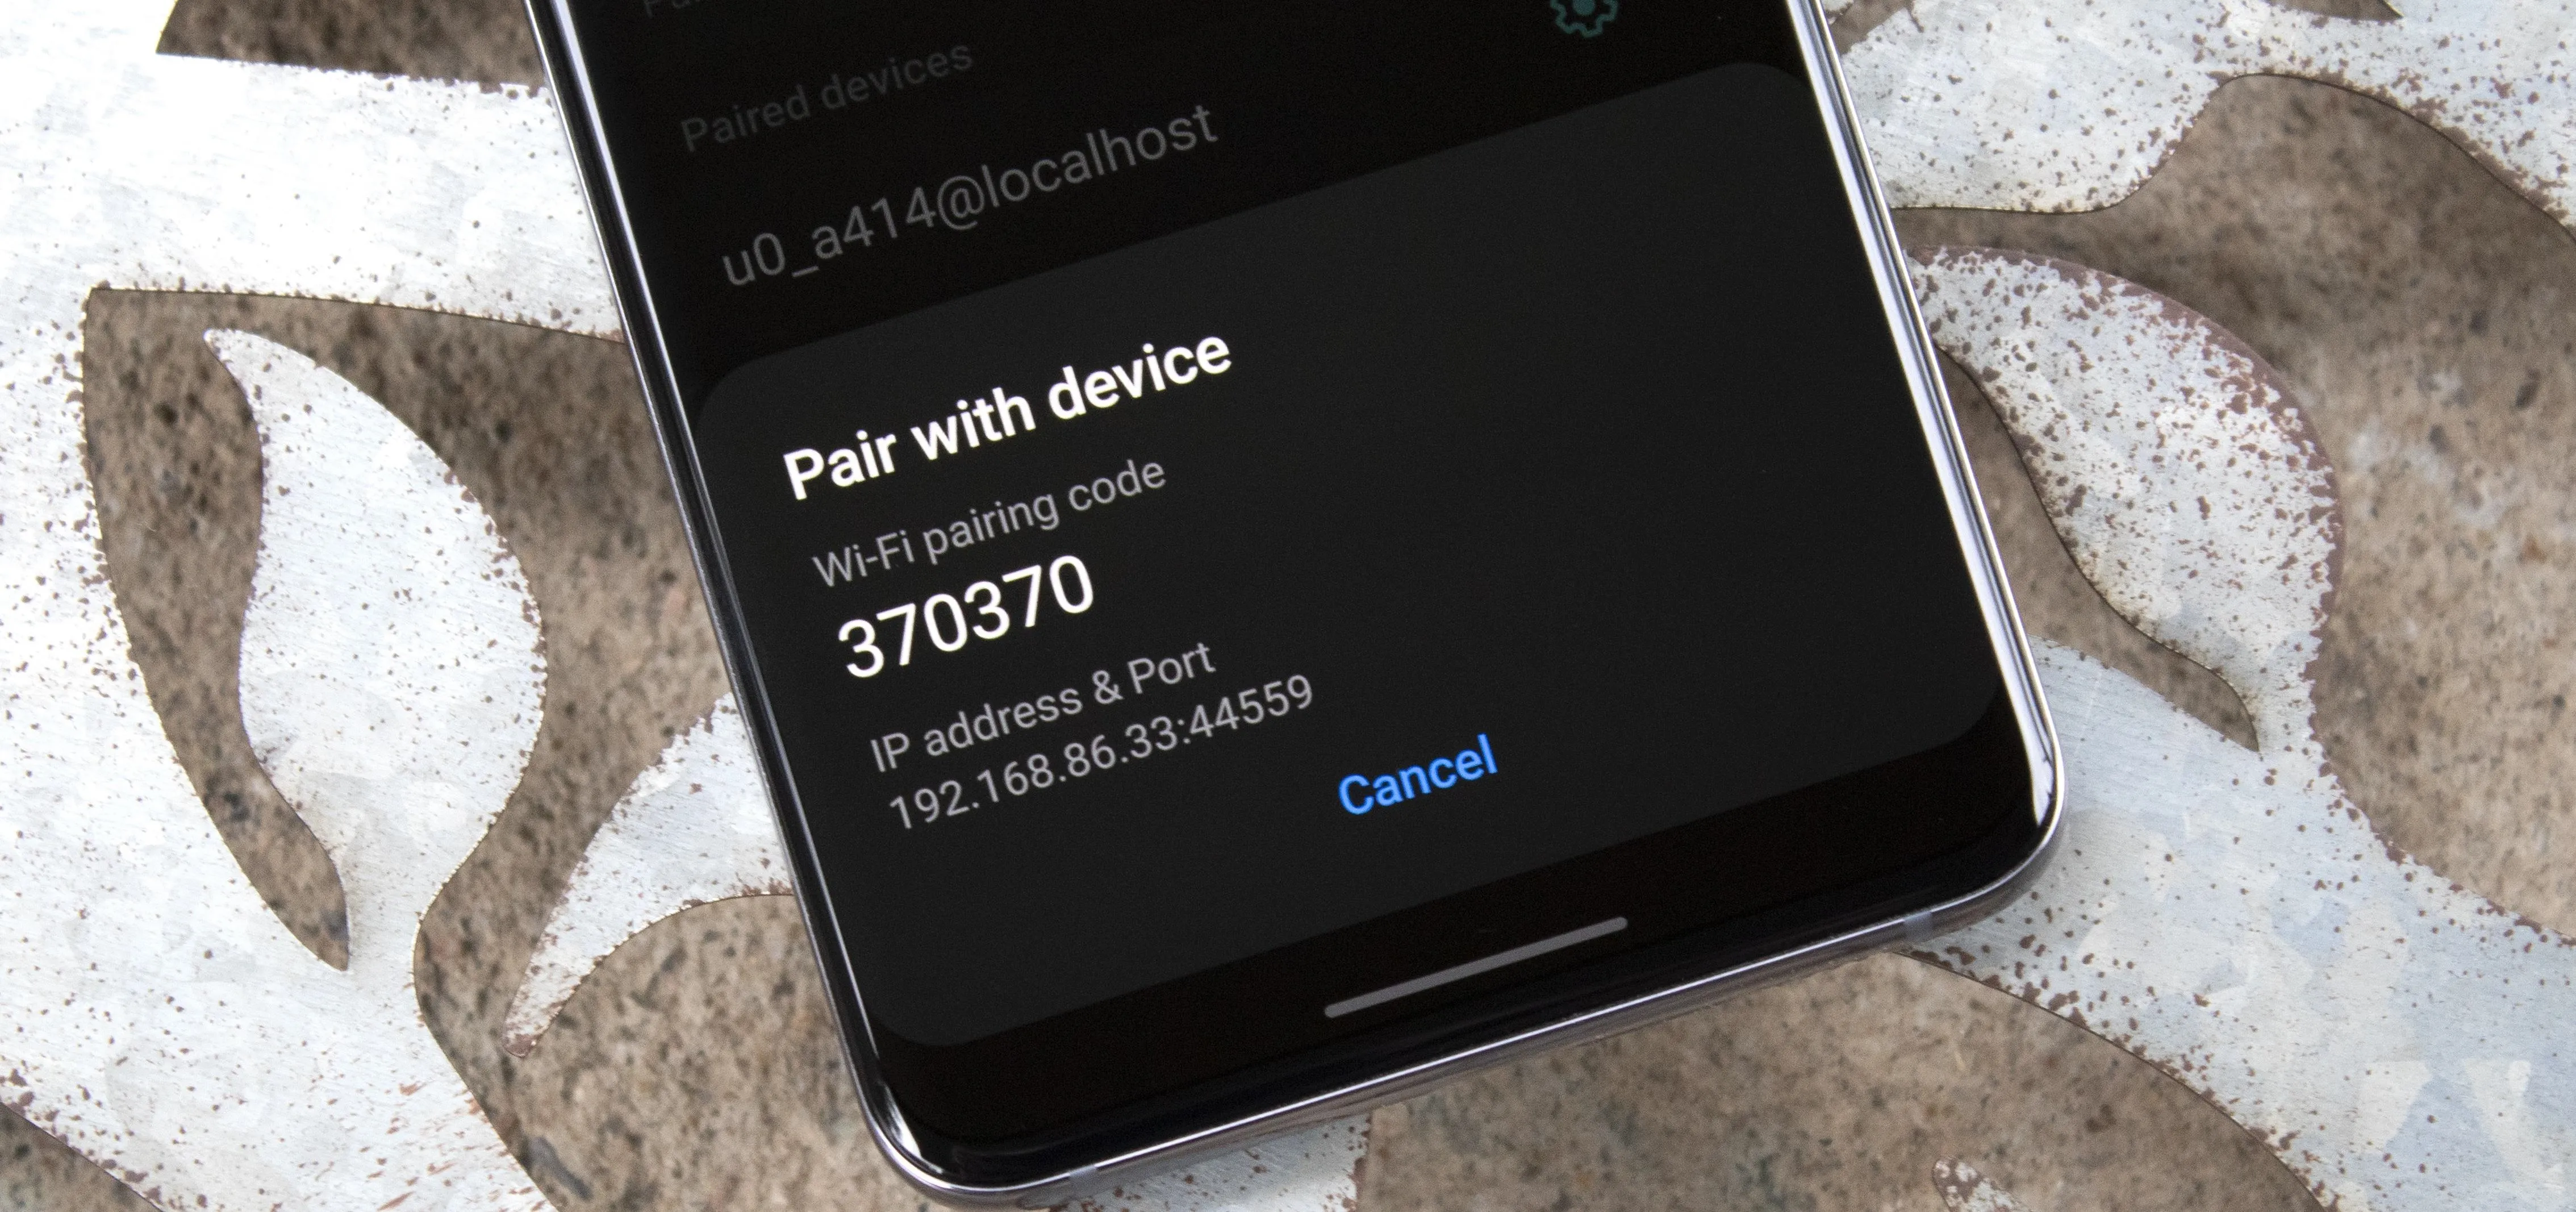
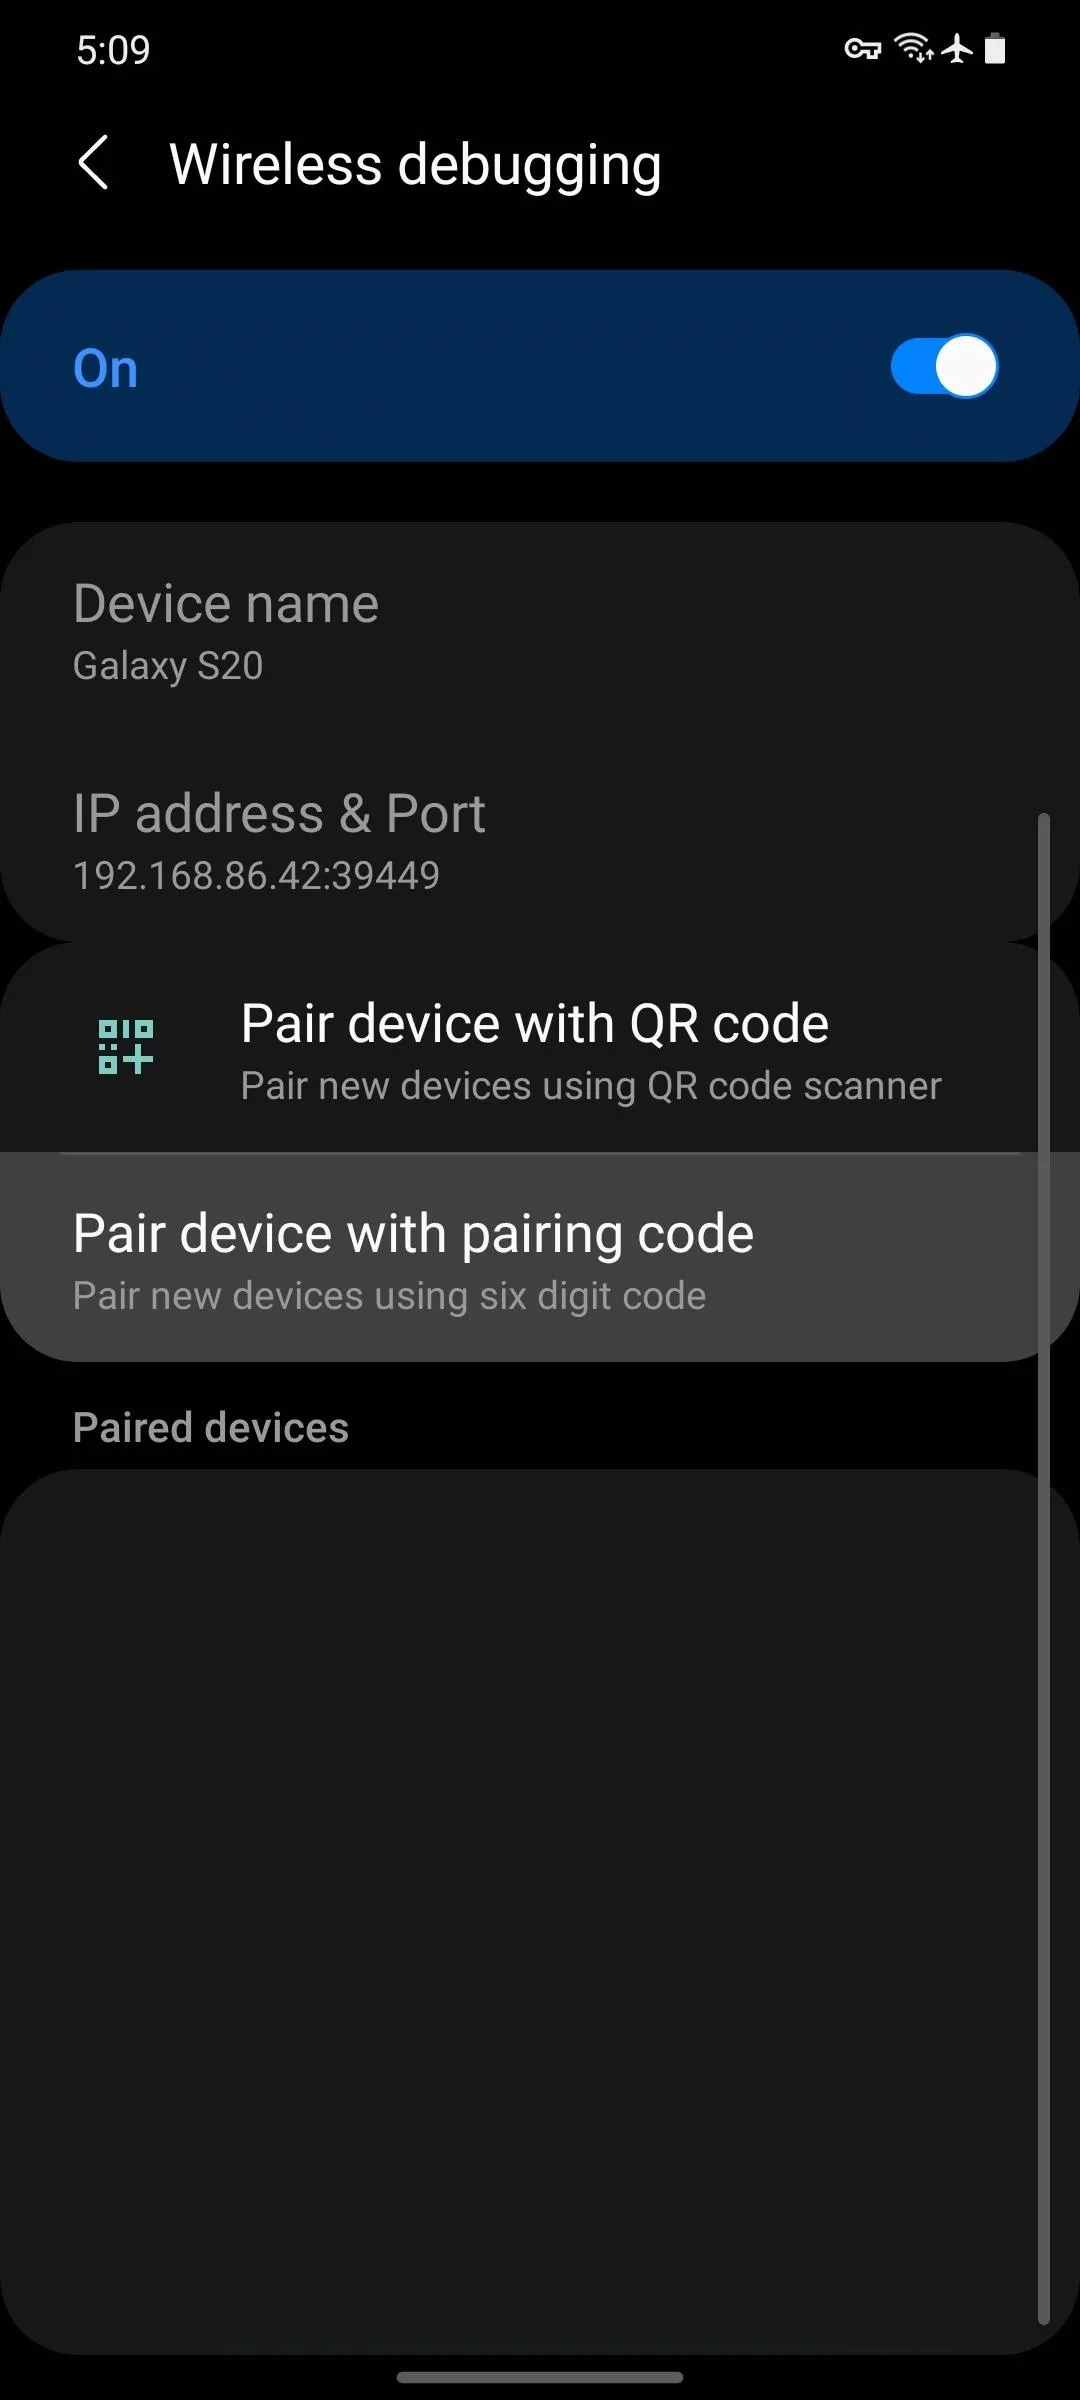
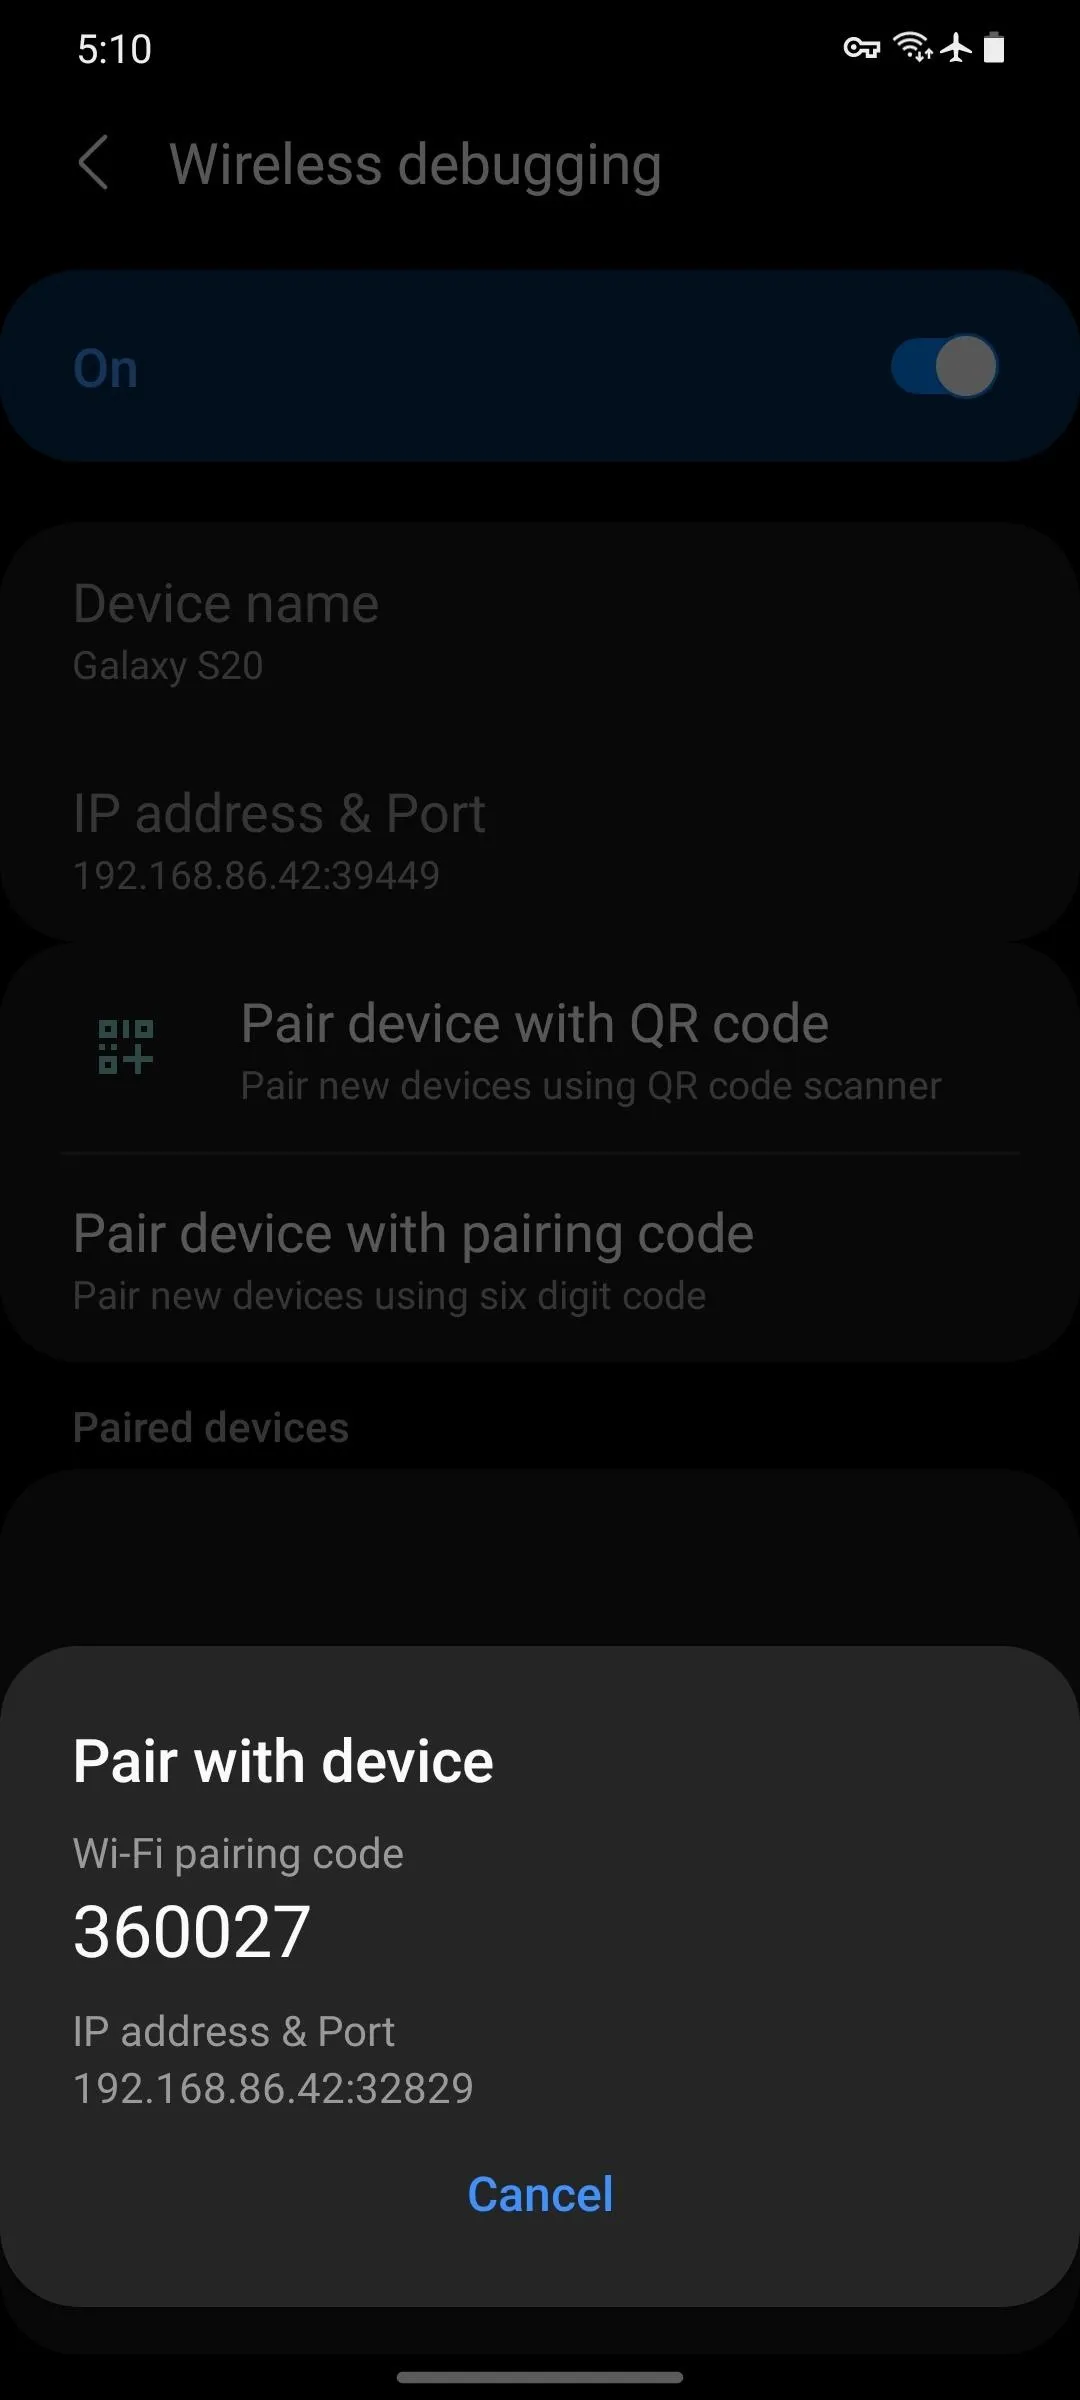
Back on your phone now, open Developer Options and head to the Debugging section again. Here, tap the actual "Wireless debugging" text (i.e., not the toggle switch next to it) to open a submenu. Once inside, tap "Pair device with pairing code" to see the IP address, port number, and pairing code you'll need in order to finish setup on the computer.
IMPORTANT: Don't close this popup, lock your screen, or allow your phone to auto-lock. As soon as that little popup is no longer in focus, Android automatically changes the wireless ADB port number and pairing code.
Get Connected
On the computer again, send the following command, substituting
adb pair <IP address & port>If that returns a "Command not found" error and you're on Mac, Linux, or Windows PowerShell, you'll need to add a period and a slash (./) to the beginning of this and all future ADB commands. So using my IP address and port for an example, that would look like this:
./adb pair 192.168.86.42:32829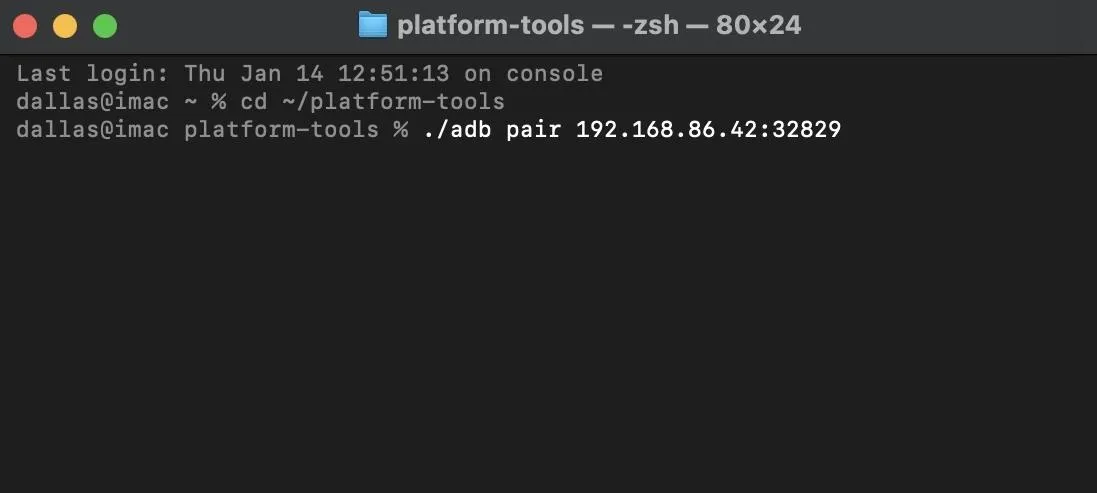
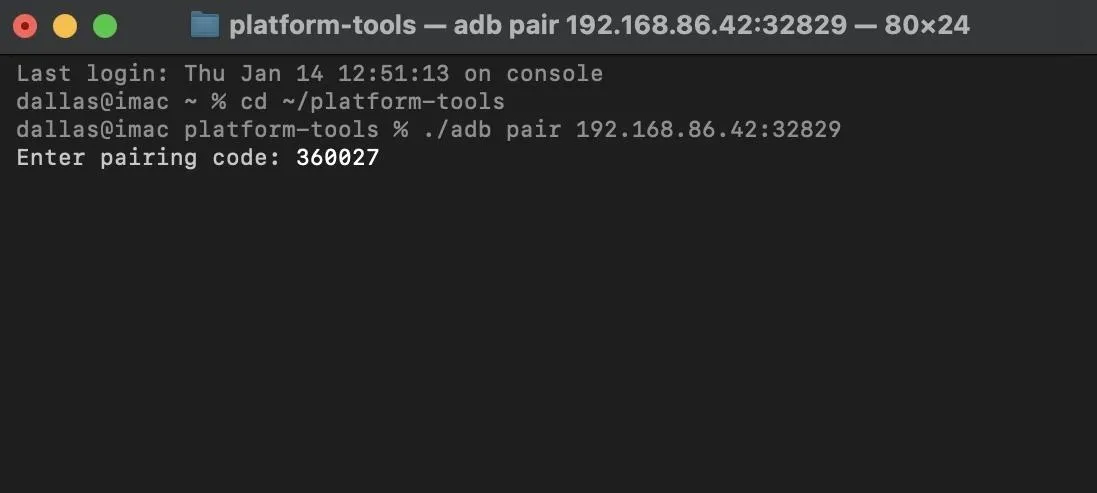
You should now be prompted to "Enter pairing code." Simply type out the code shown in the popup on your phone, then press enter to establish the connection.
Send ADB Commands Wirelessly
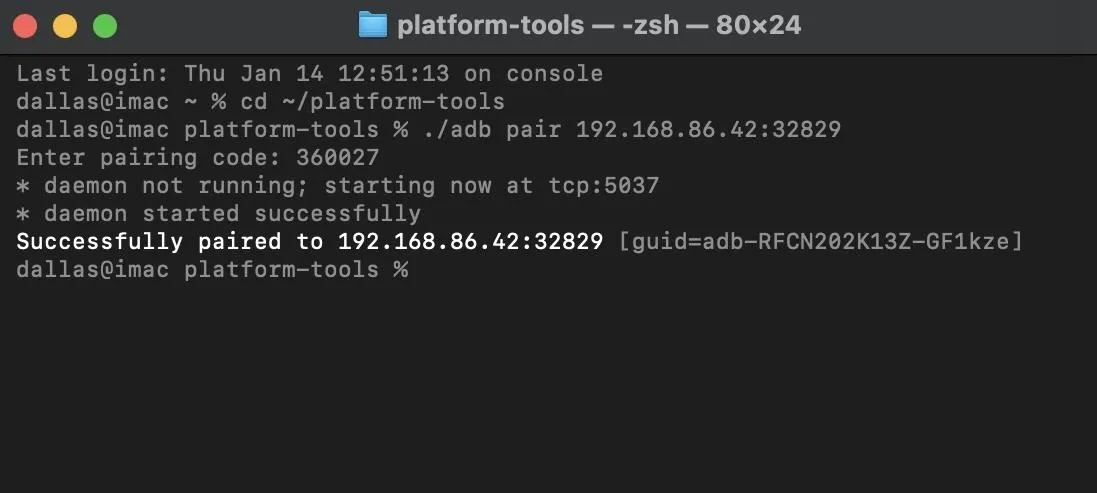
When the prompt returns a Successfully paired to
Final Notes
To end a wireless debugging session, tap the "Wireless debugging enabled" notification on your Android phone, then disable the toggle next to "Wireless debugging" to turn the feature off. If you would like to permanently disable the connection, tap the "Wireless debugging" text from Developer Options, then select your PC under Paired devices and tap "Forget."
When you want to connect again in the future (assuming you didn't "Forget" the connection yet), you'll have to turn the wireless debugging feature back on in Developer Options — it resets after every reboot. Once you do, wait about 30 seconds and you should get that "Wireless debugging connected" notification automatically, assuming your PC is online.
Cover image, screenshots, and GIF by Dallas Thomas/Gadget Hacks


Comments
Be the first, drop a comment!