


With the Galaxy S20, Samsung has officially removed the Bixby button from its flagships. While it was a controversial key, in its later days, it did give us the ability to launch an app or custom action at the press of a button. There's still a way to do something like that, but now, you'll have to use the power button instead.
You may have noticed that long pressing the power button no longer brings up the power menu on the Galaxy S20, S20+, and S20 Ultra. Instead, it launches Bixby by default. This is why Samsung actually changed the name of this button to the "side key," as it's no longer the default button for all things power related.
Samsung lets you turn the side key back into a power button in Settings, but with the assistance of a third-party app, you can have the side key launch any app, activate several shortcuts, toggle the flashlight, and much more. And you can do all this while still being able to turn off the screen with a single press and open the power menu with a long press.
Download sideActions
To remap the side key (aka power button), you will need the assistance of the app sideActions. Created by the same developer that brought us bxActions for remapping the Bixby button on older Galaxy phones, you can install sideActions for free on the Play Store.
- Play Store Link: sideActions (free)
Grant Permissions
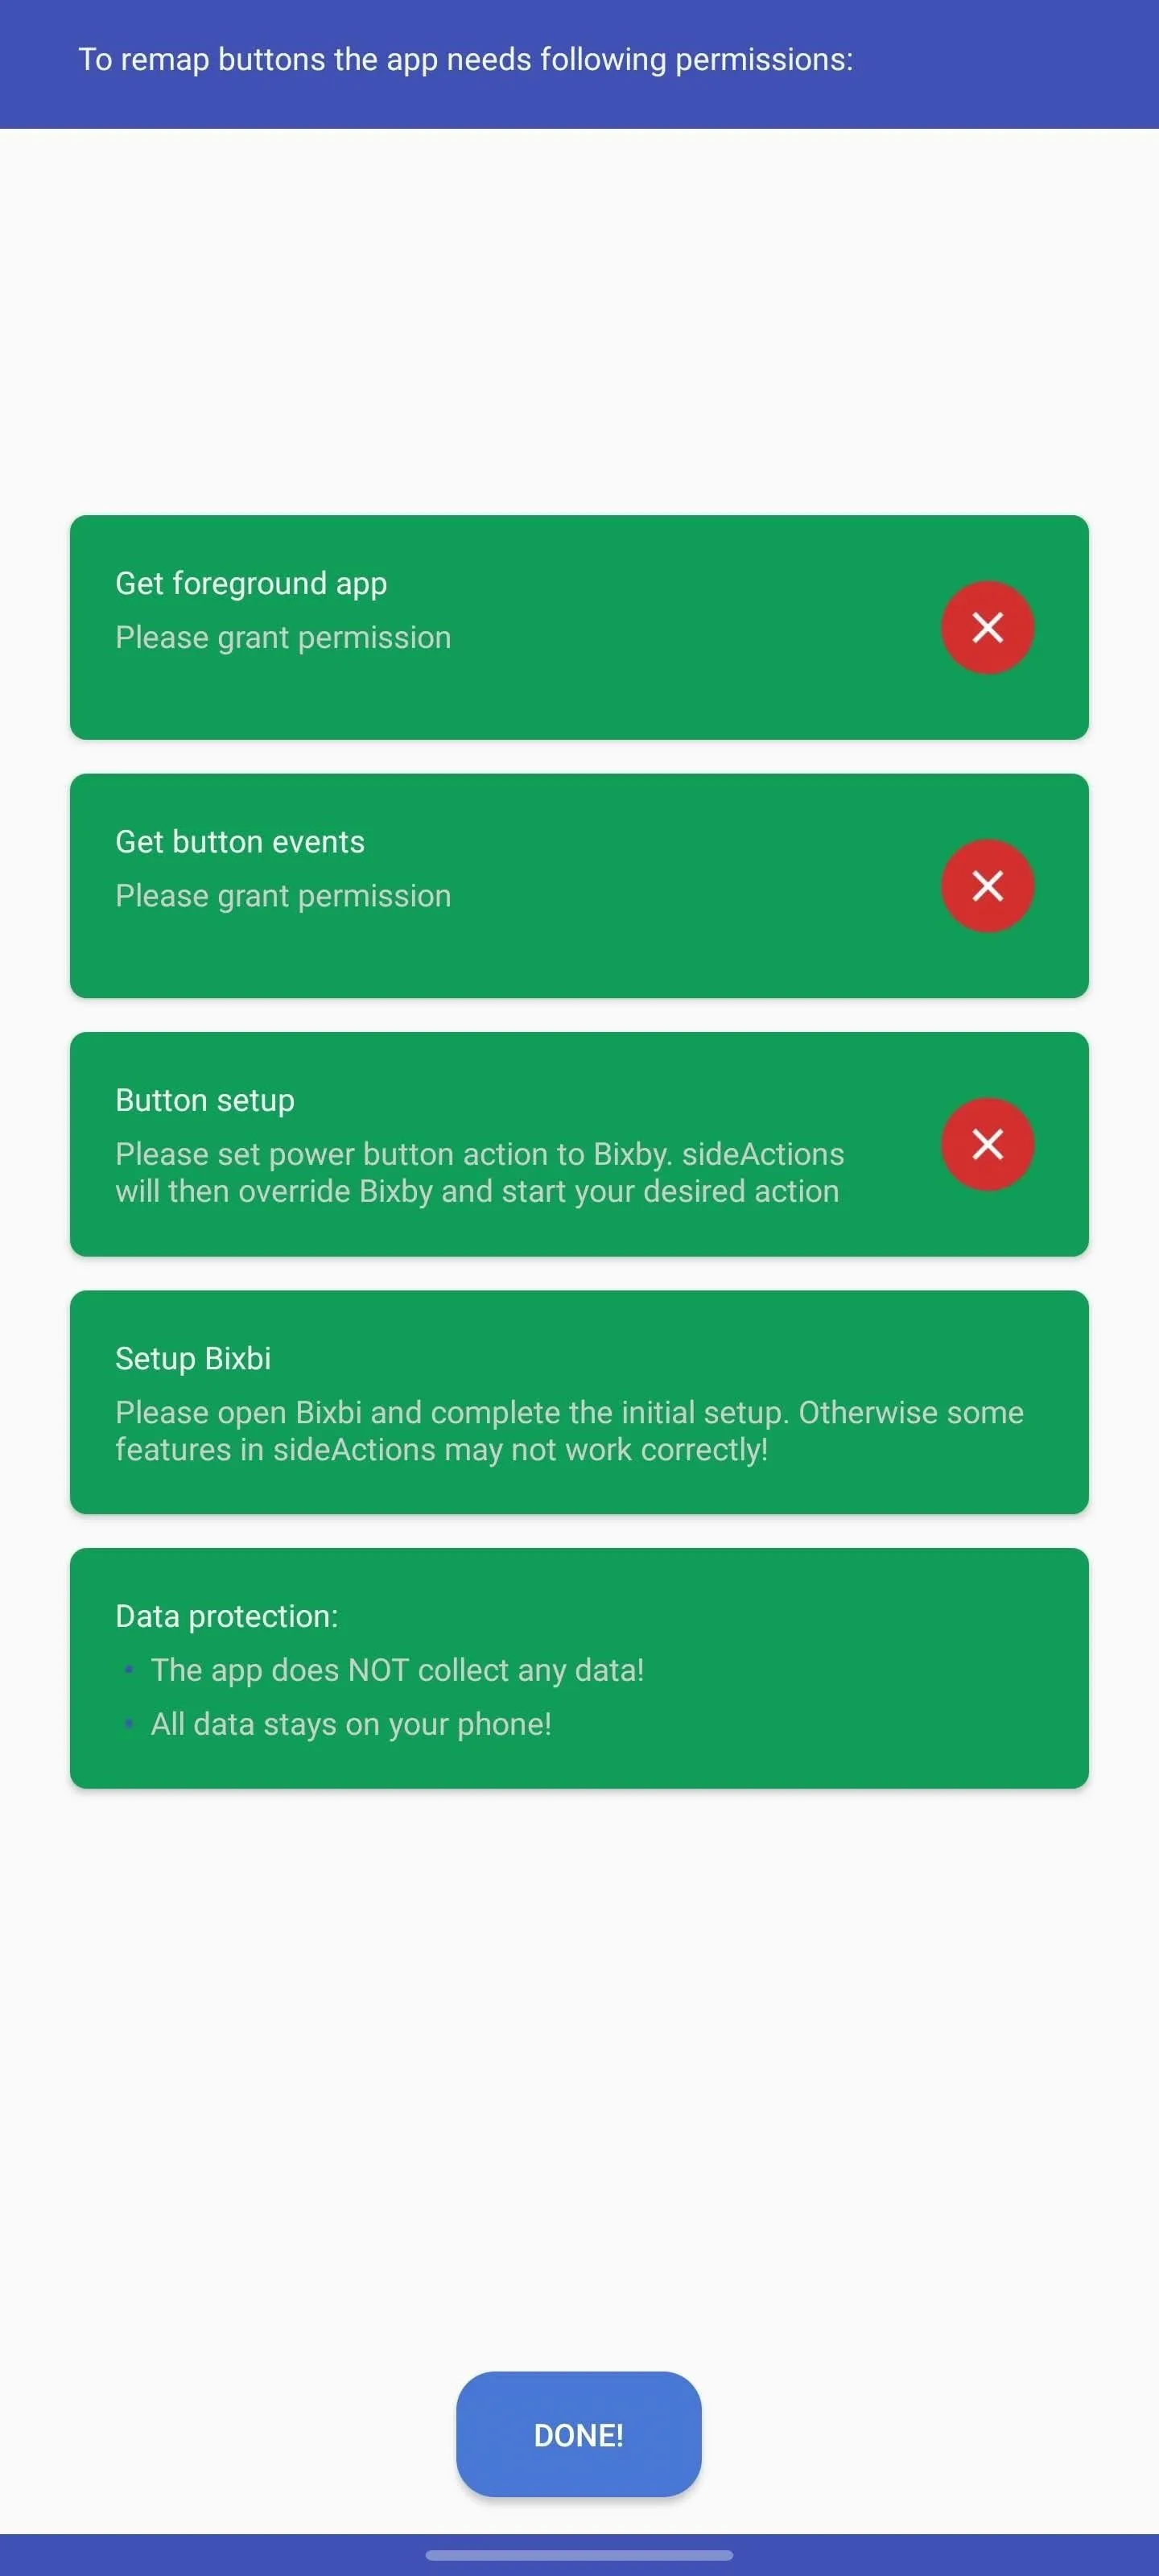
When you first open the app, you'll see an initial setup page. Hit "Next" on the splash screen and you'll see a set of green boxes. Tap the first box, then enable the "Usage data access" permission when prompted. The app even has a GIF showing you how exactly to enable the permission to avoid any confusion.
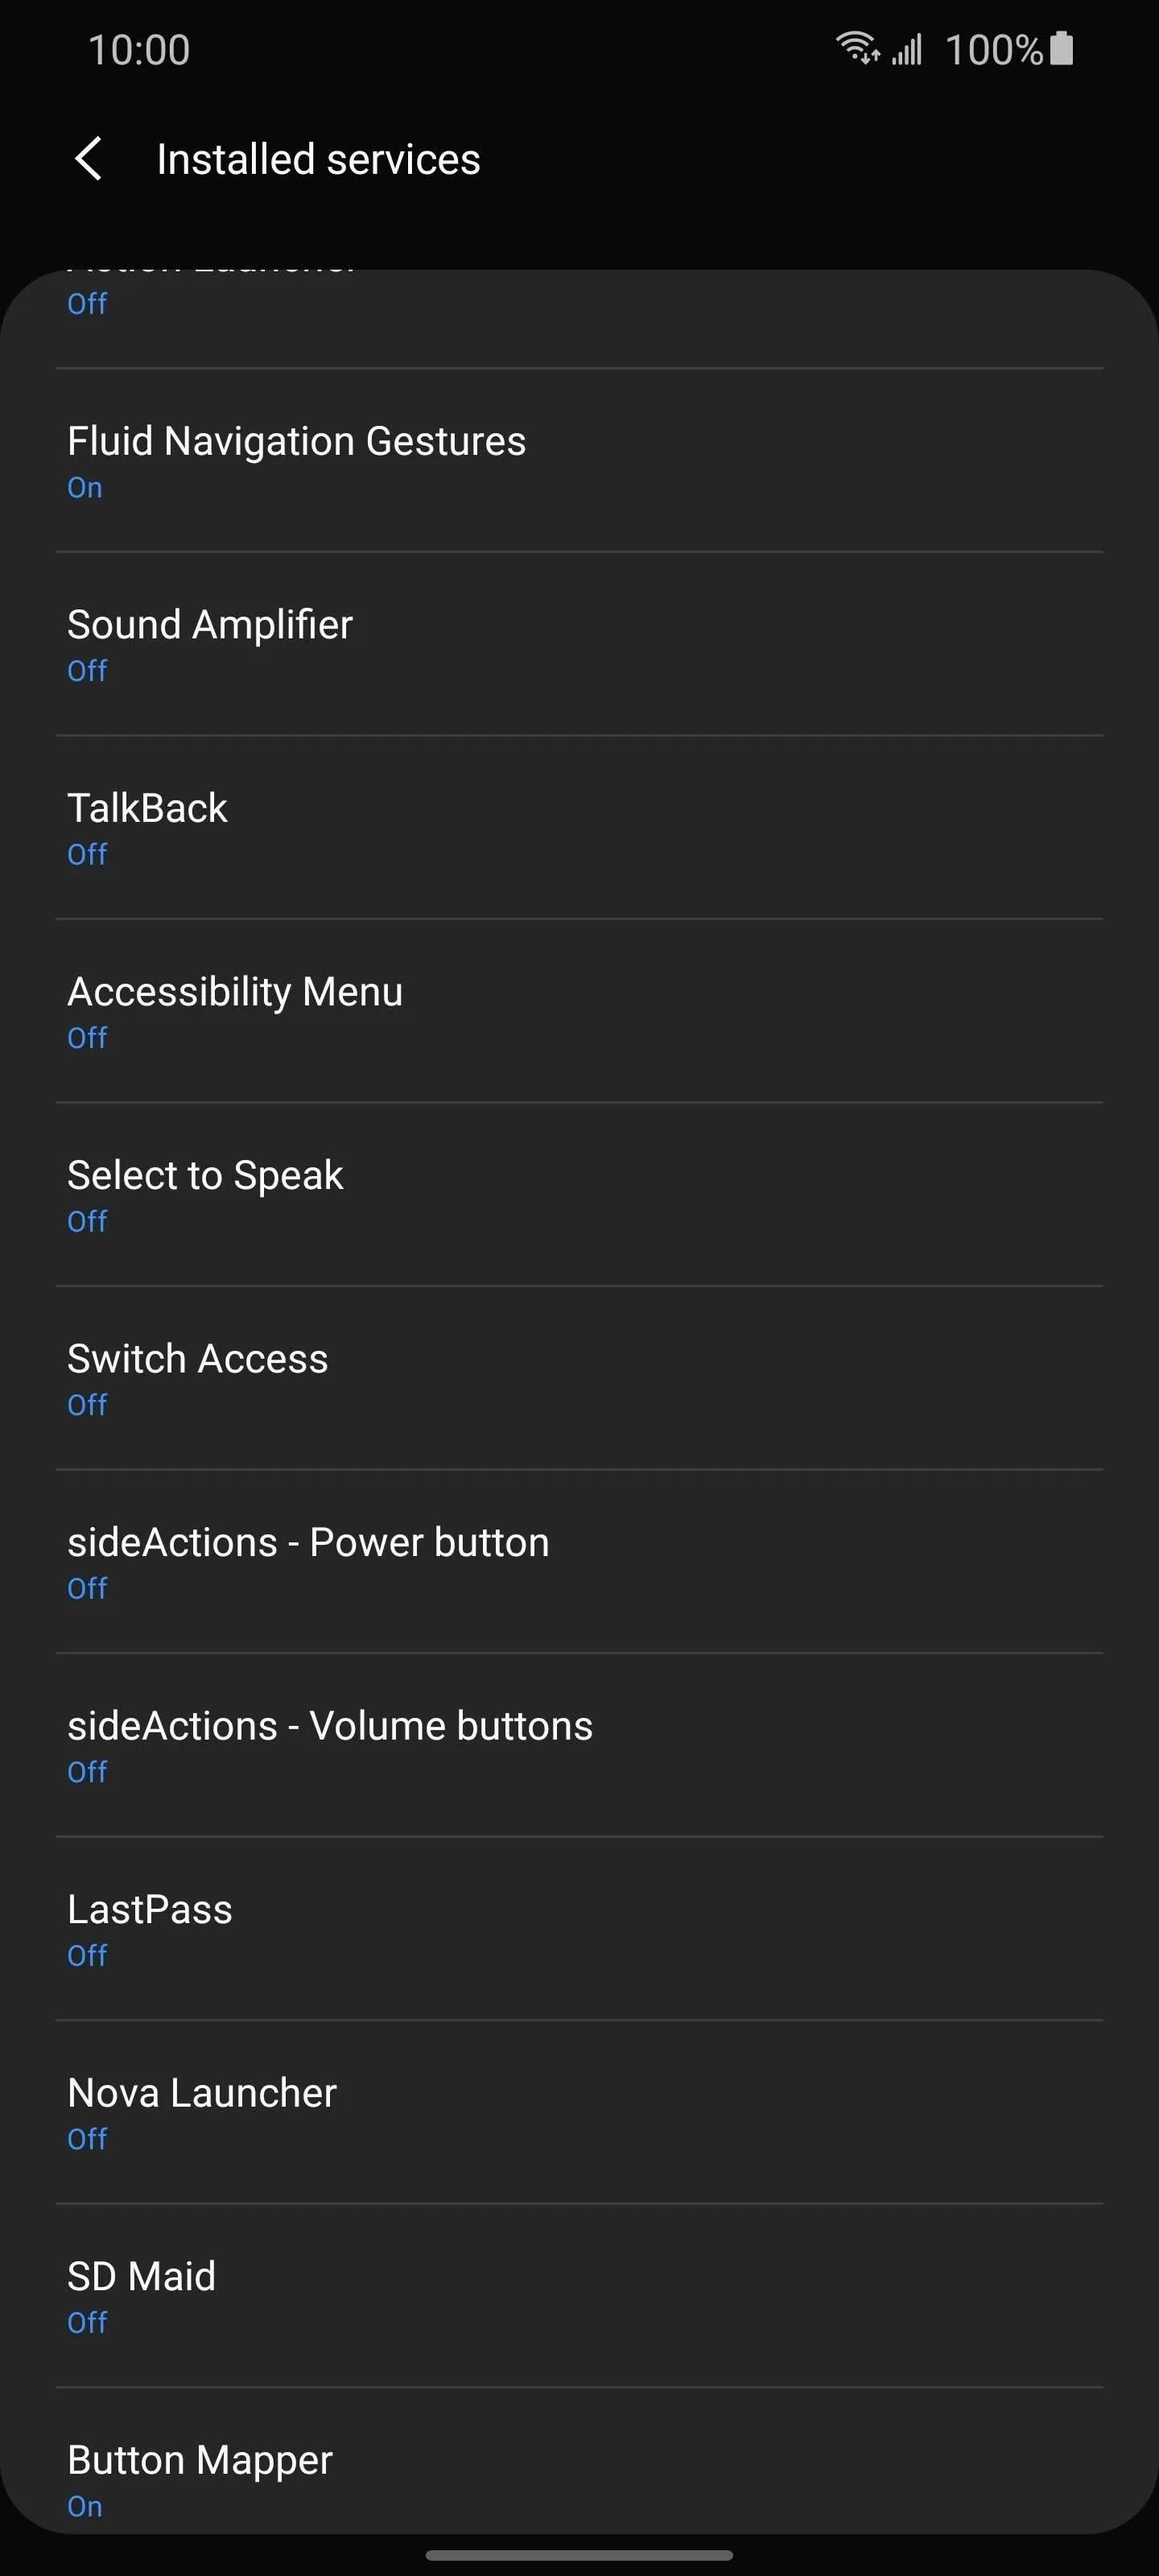
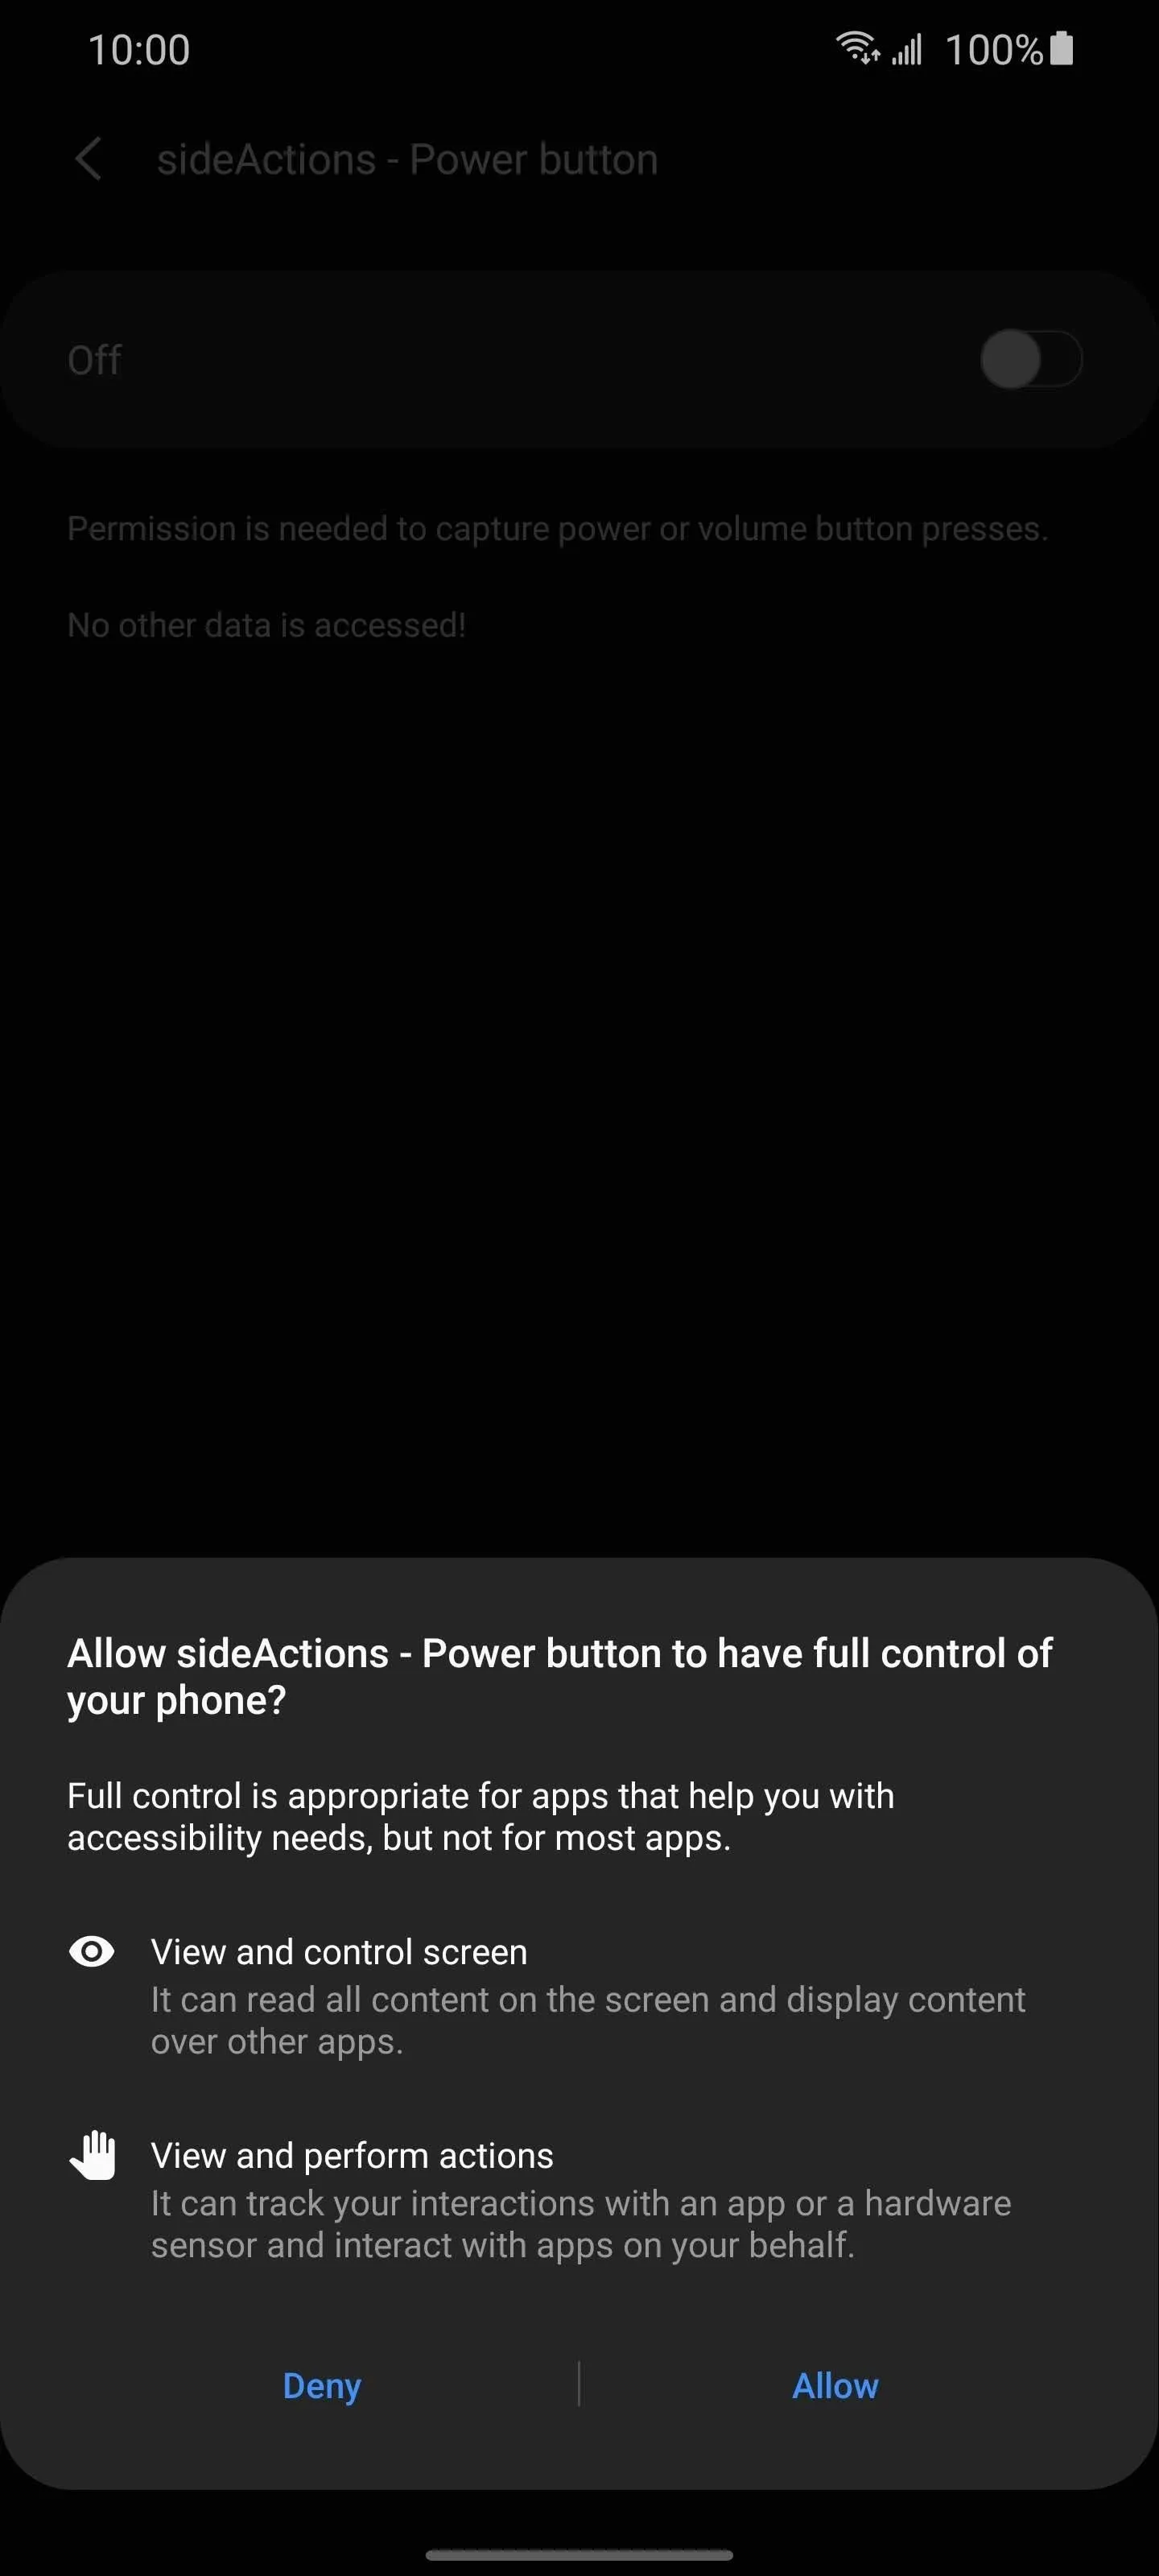
Back on the previous page, select the second green box and do the same thing. While there are two options for sideActions in this menu, you only need to enable the one titled "sideActions-Power button," as this is the button we are reconfiguring.
Enable Bixby
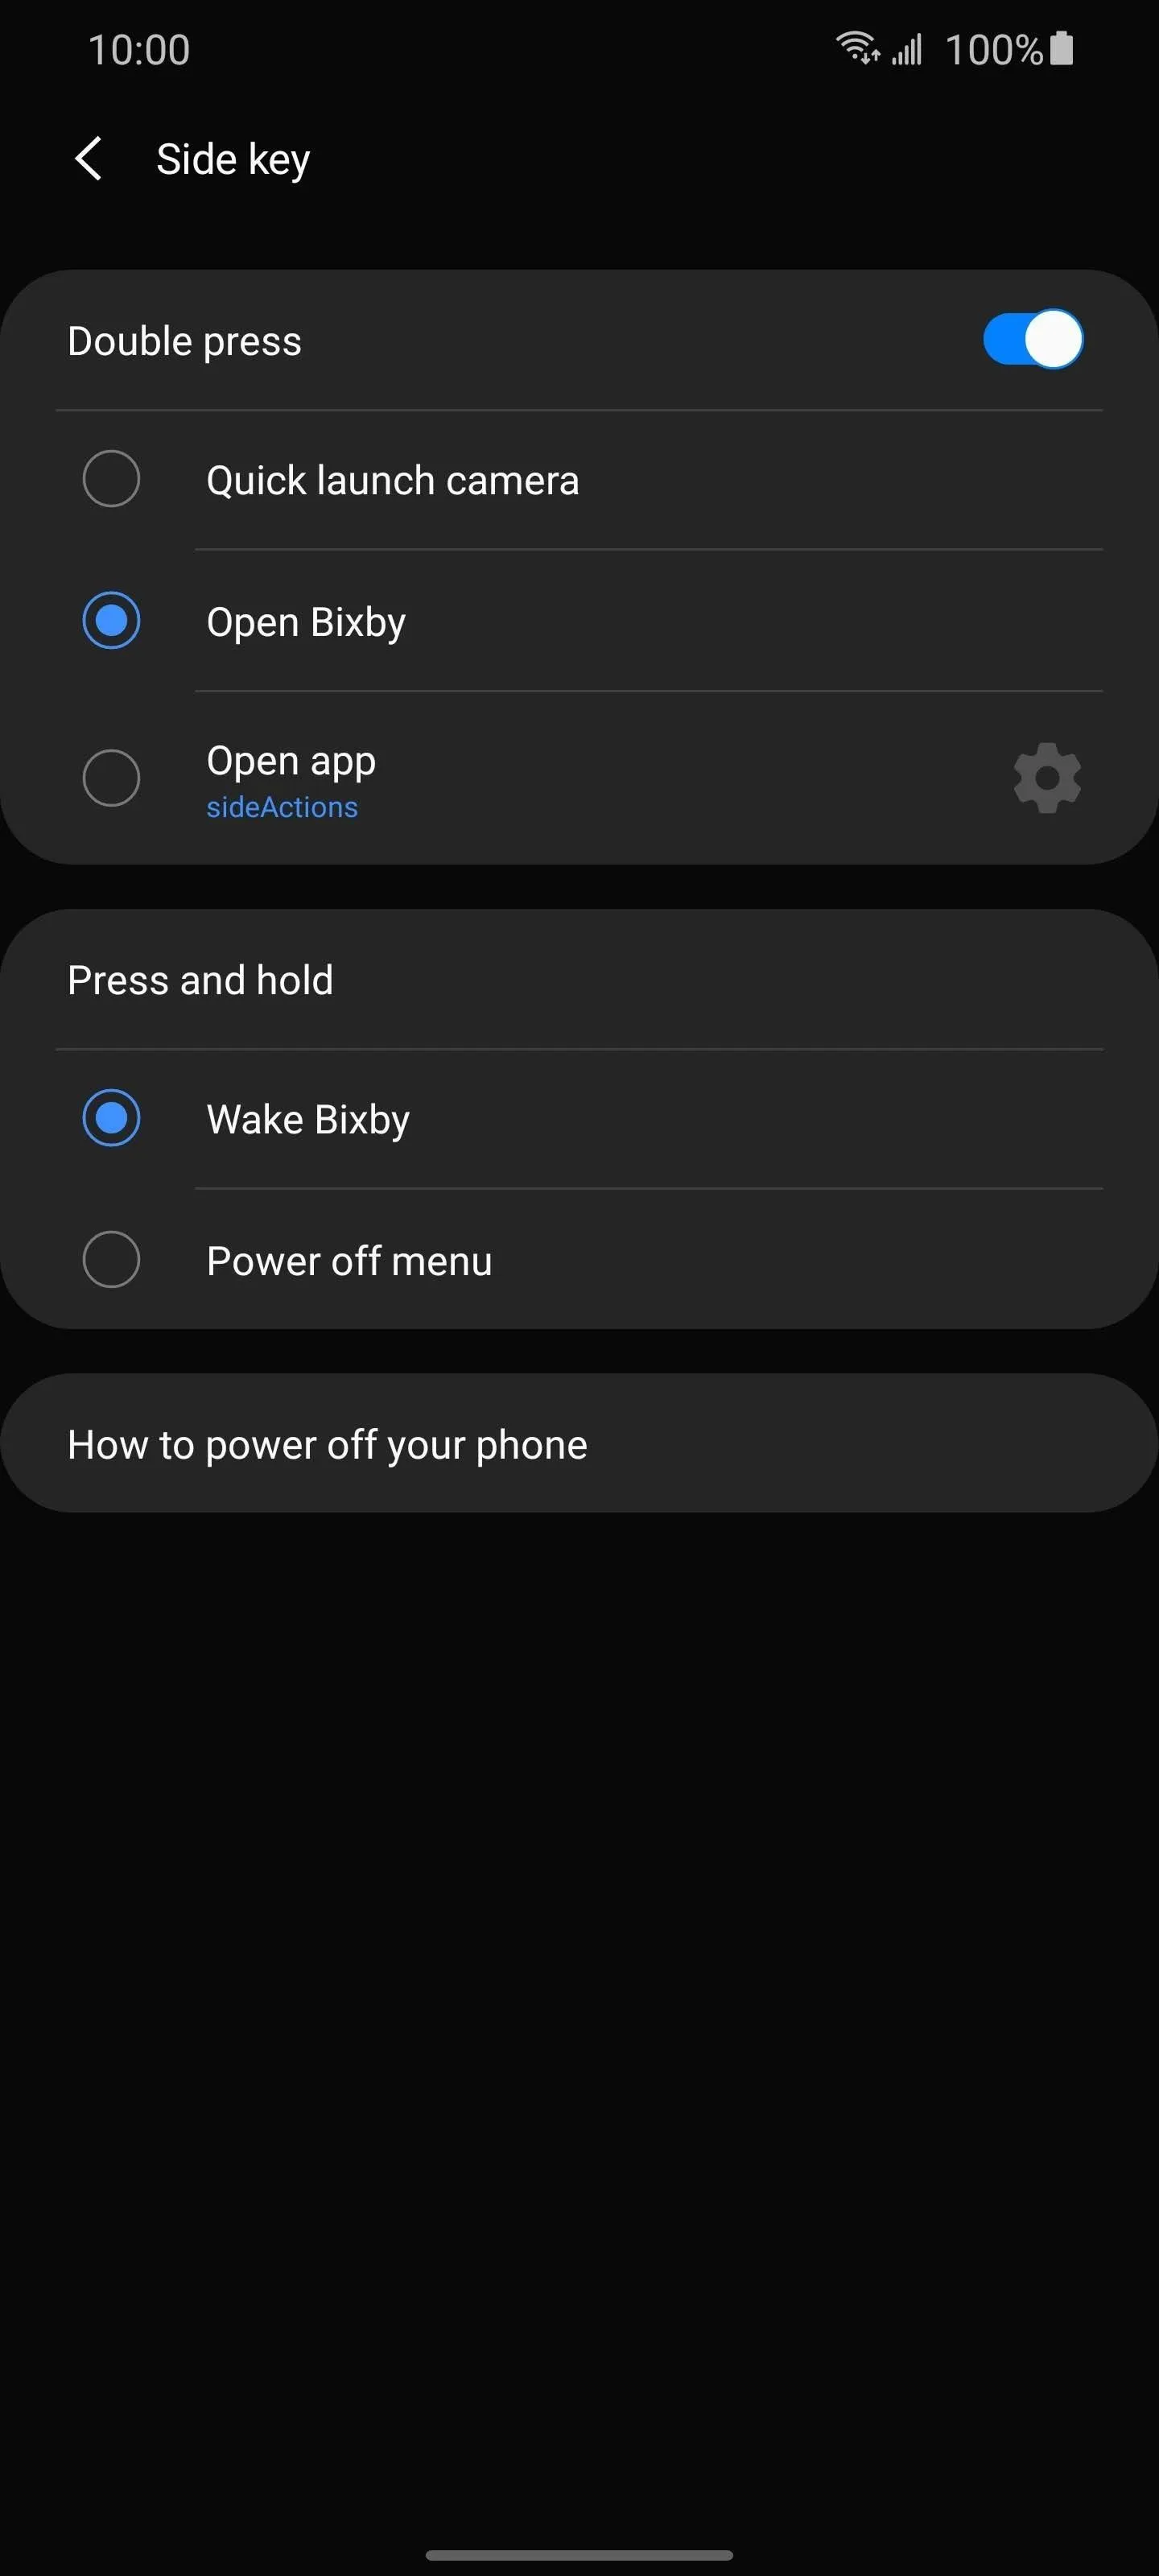
Now, tap "Button set up" (sic) and you'll be redirected to your phone's "Side key" Settings page. Here, you'll need to set "Double press" to "Open Bixby." If you plan to pay for the pro version (more on this later), change the "Press and hold" option to "Wake Bixby" as well.
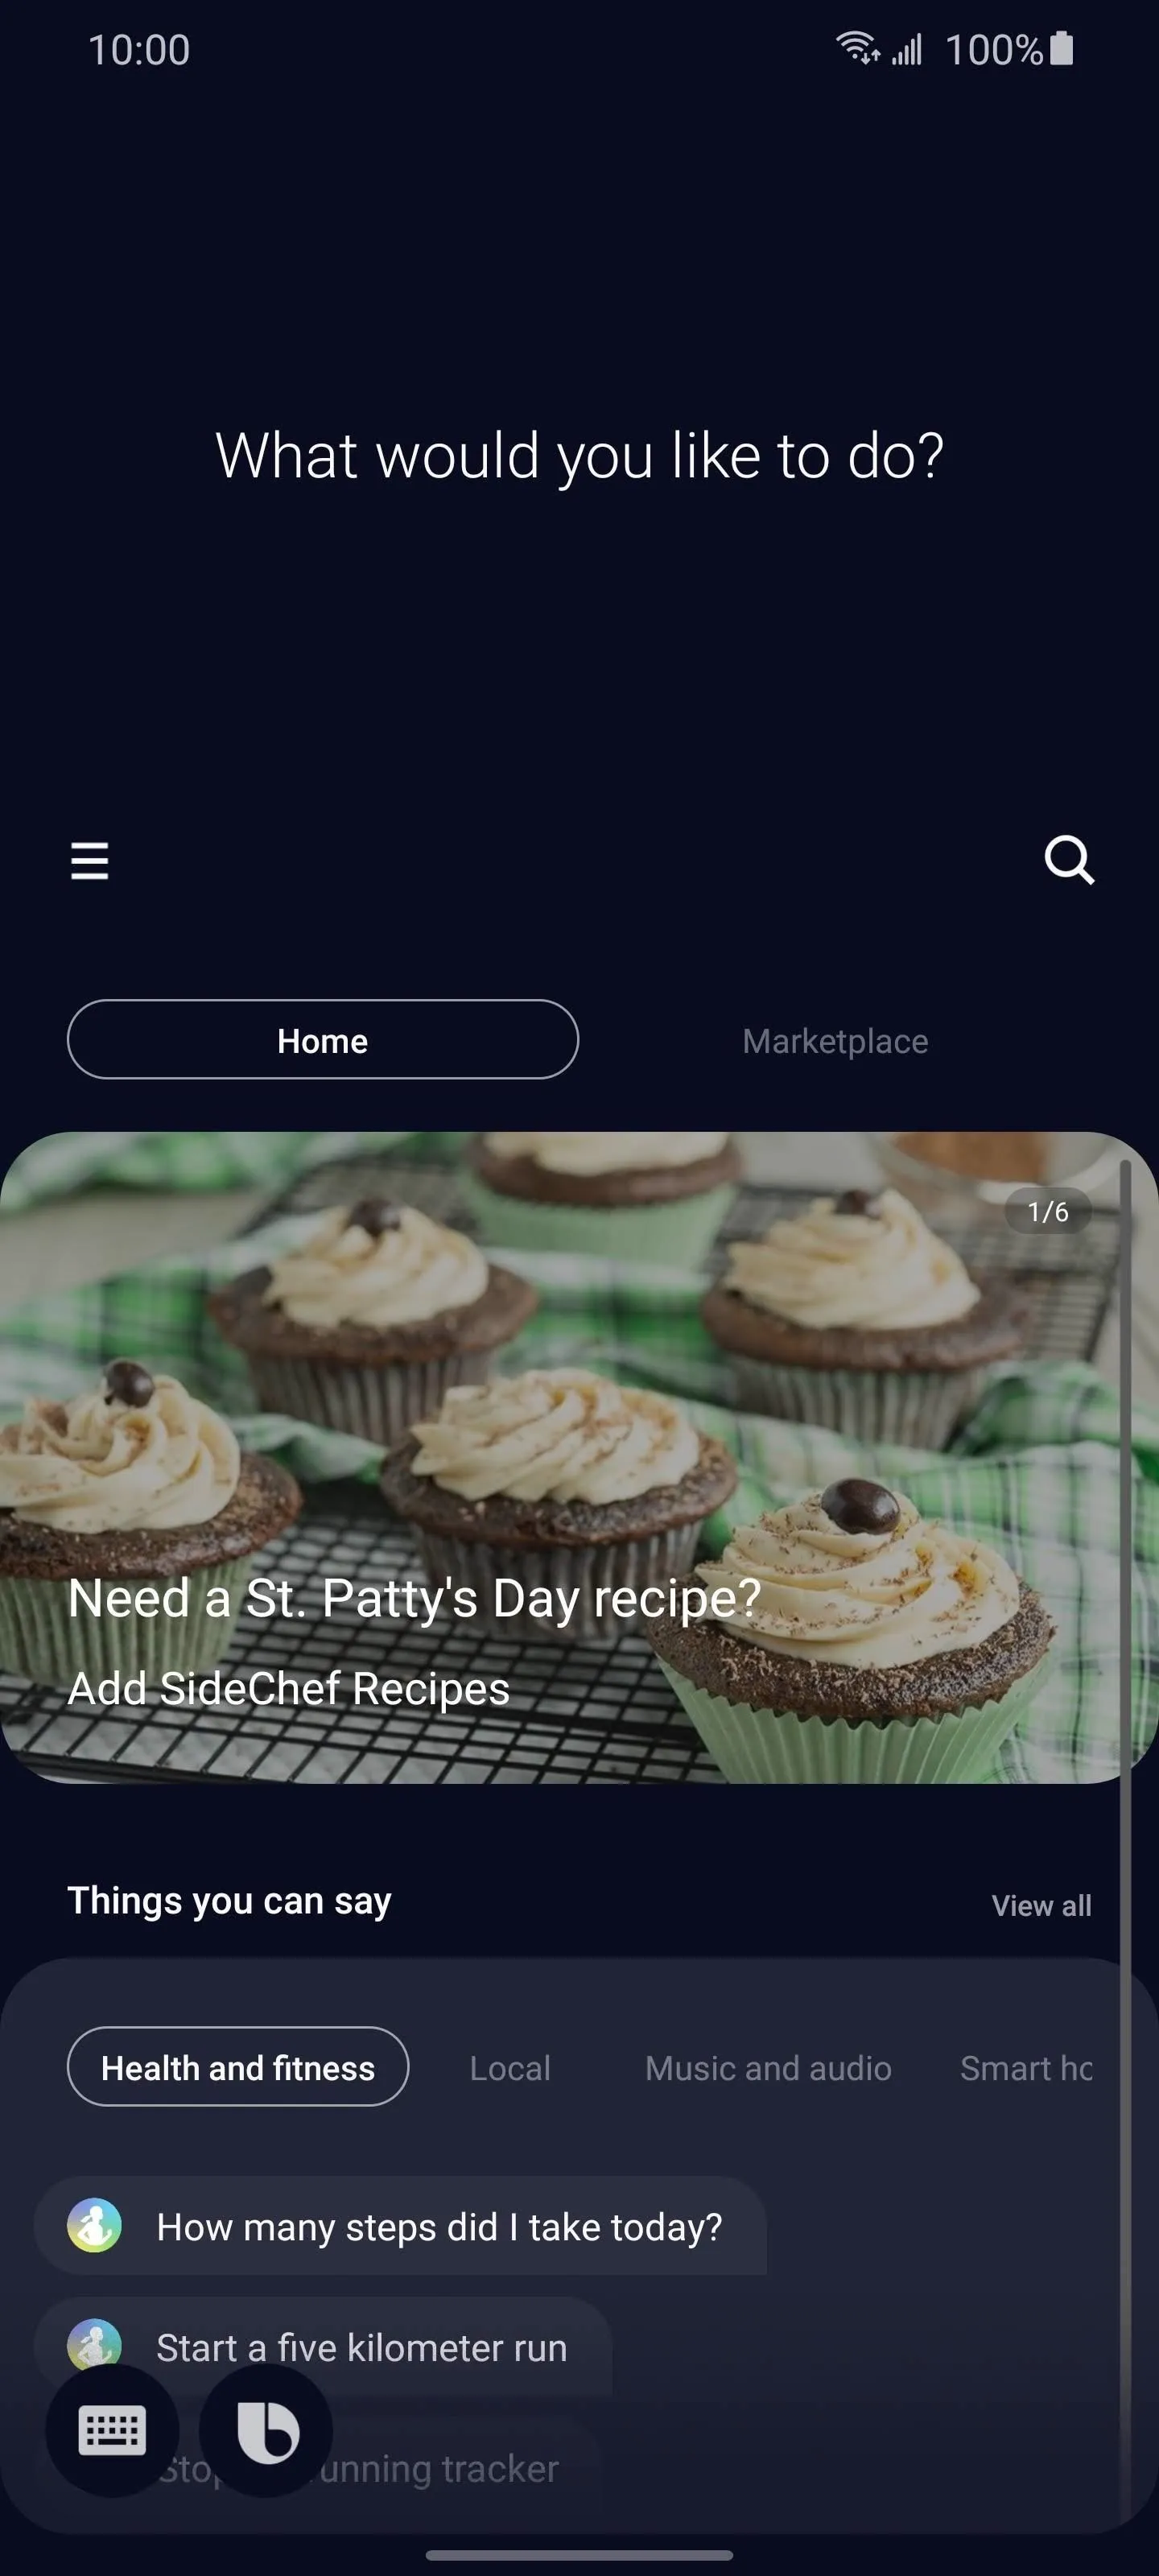
The last thing you need to configure is Bixby. The way sideActions work is by overriding the call to open Bixby with whatever actions you want. However, if Bixby isn't set up, it will not work. So back in sideActions, choose the green box titled "Setup Bixbi" and follow the instructions. After setup, return to the app and select "Done."
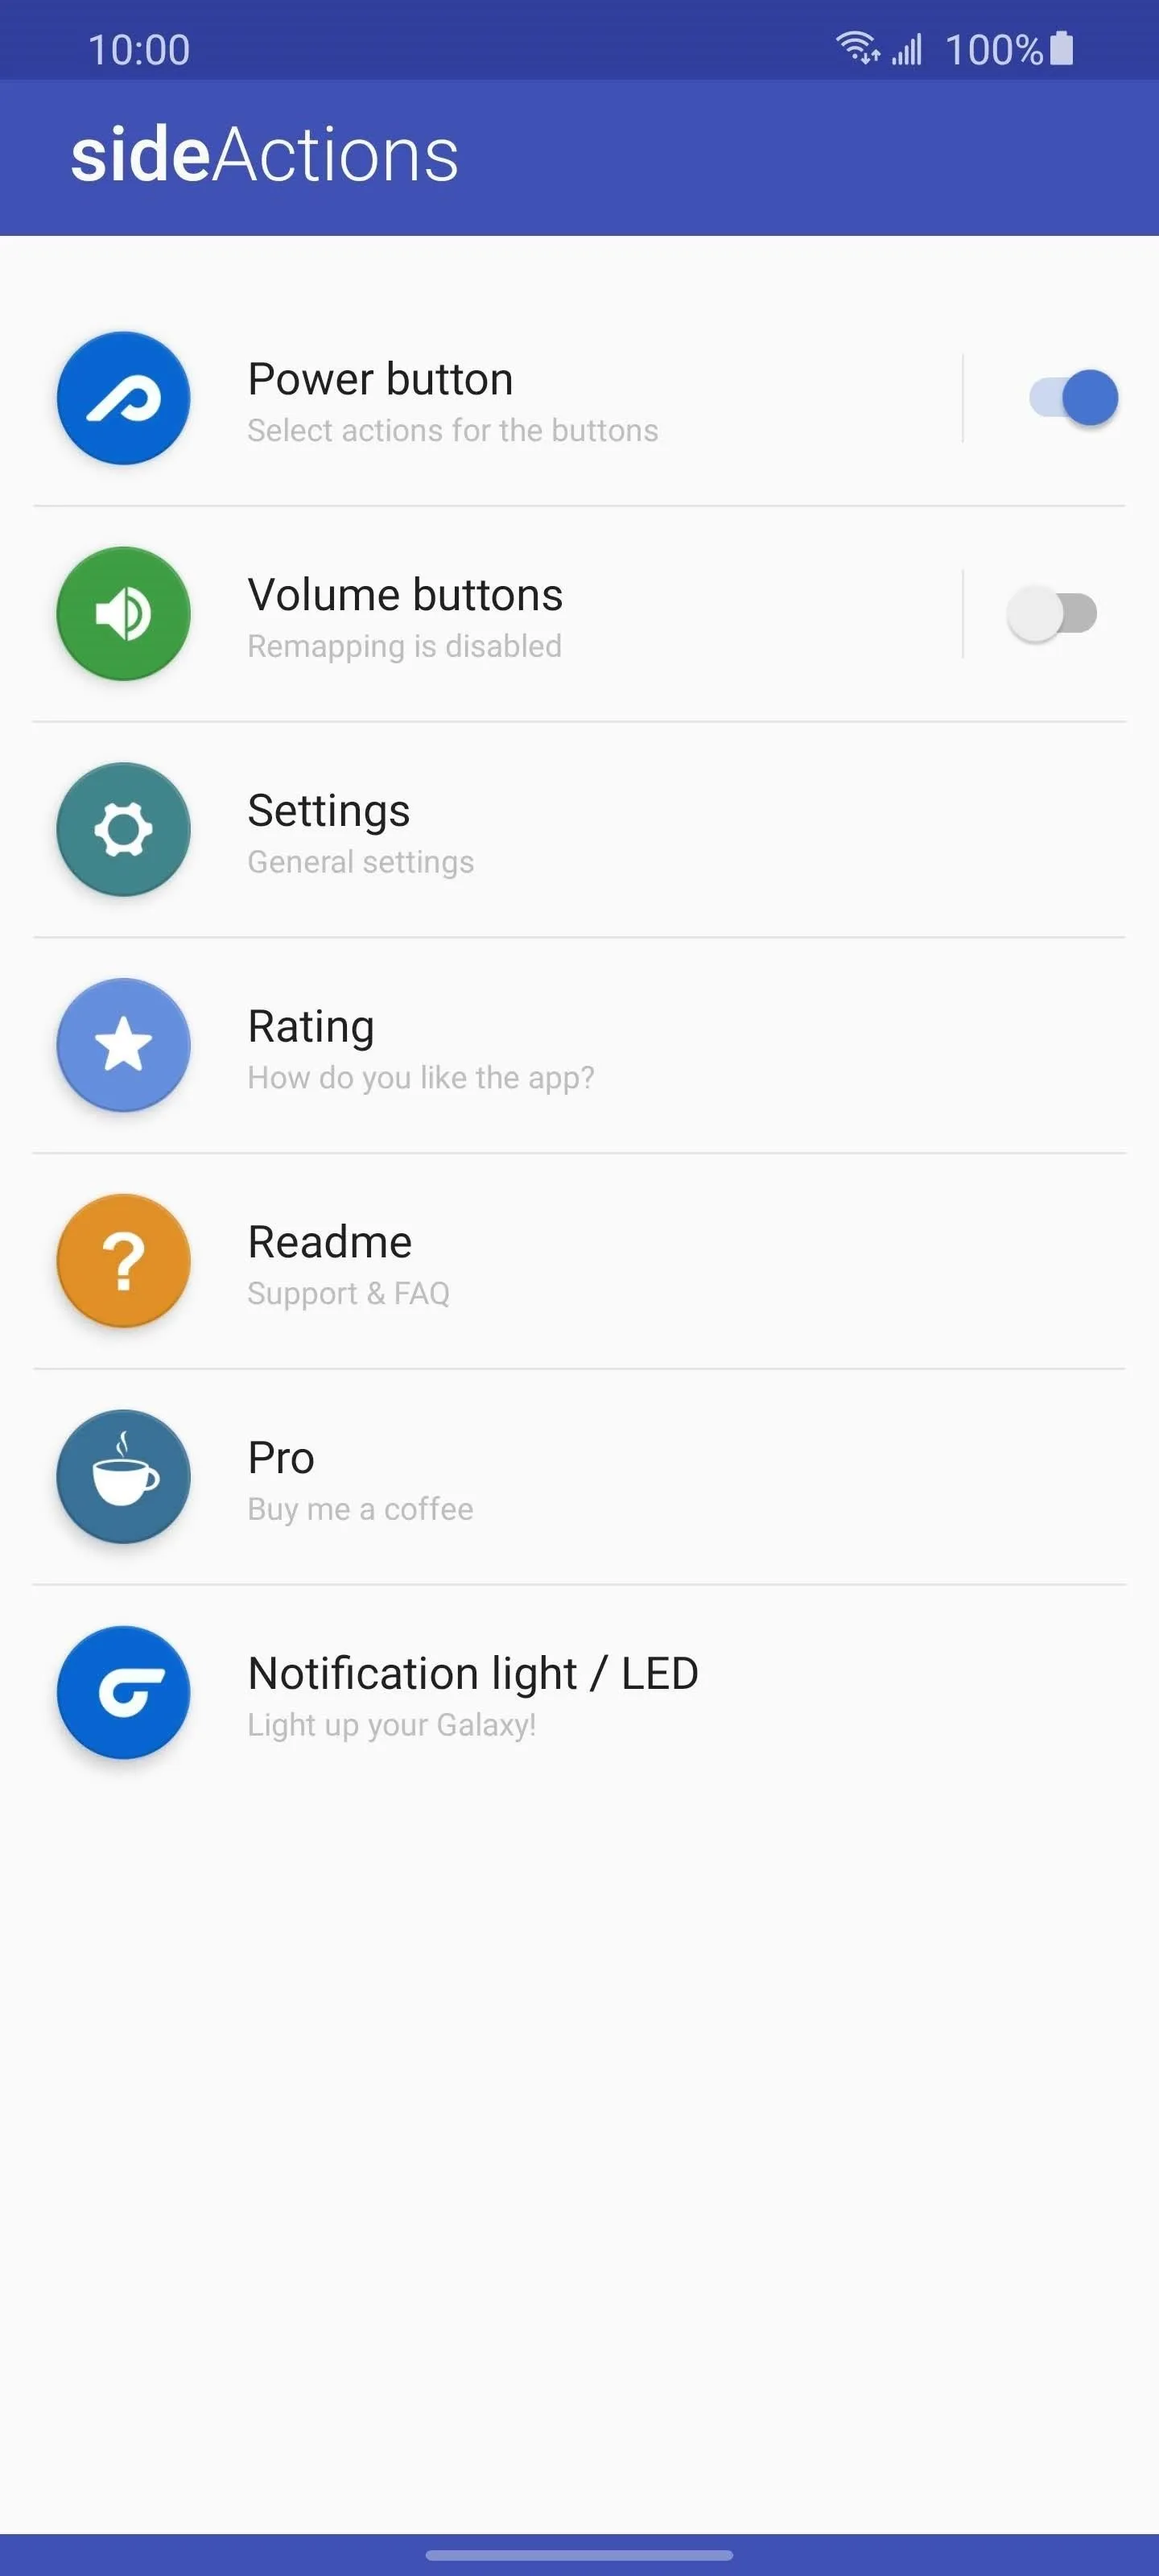
Remap the Power Button
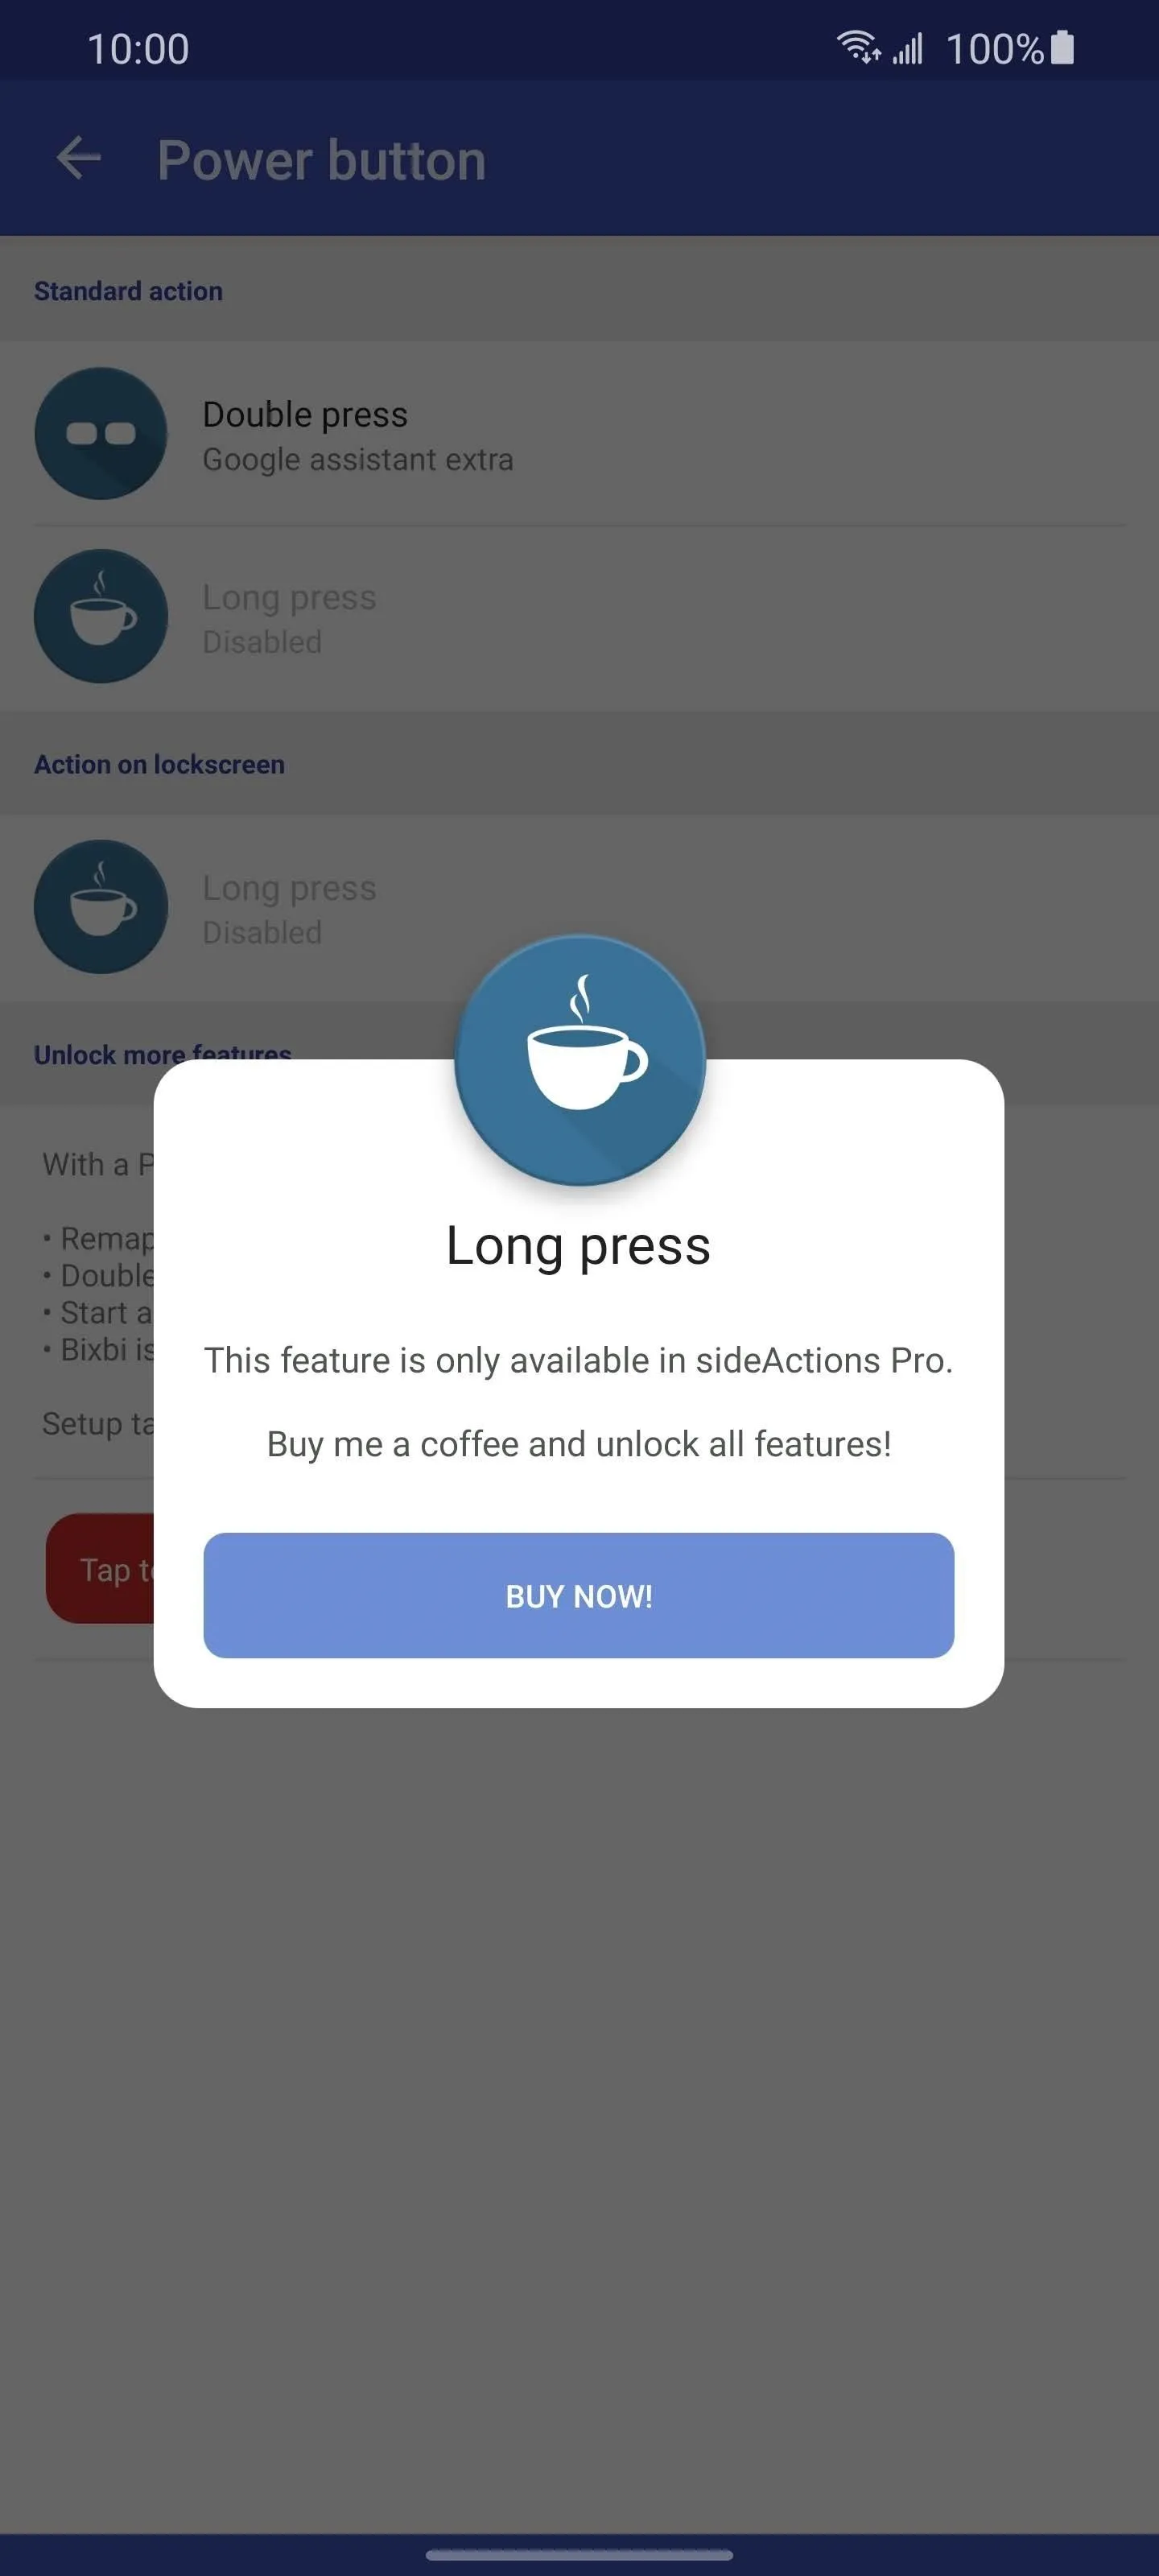
You should now see sideActions's main page. Select "Power button" to reveal three options, two of which are greyed out. The free version only lets you remap the double press action performed by the power button. If you want to repurpose the long press action or anything else, you will need to buy the pro version for $2.99.
Select "Double Press" and choose the new action from the list of options. There are several actions available to you that require the pro version, including launching Google Assistant, starting any app installed on your phone, jumping into review view, and more. Choose the action you want, and the button will be remapped.
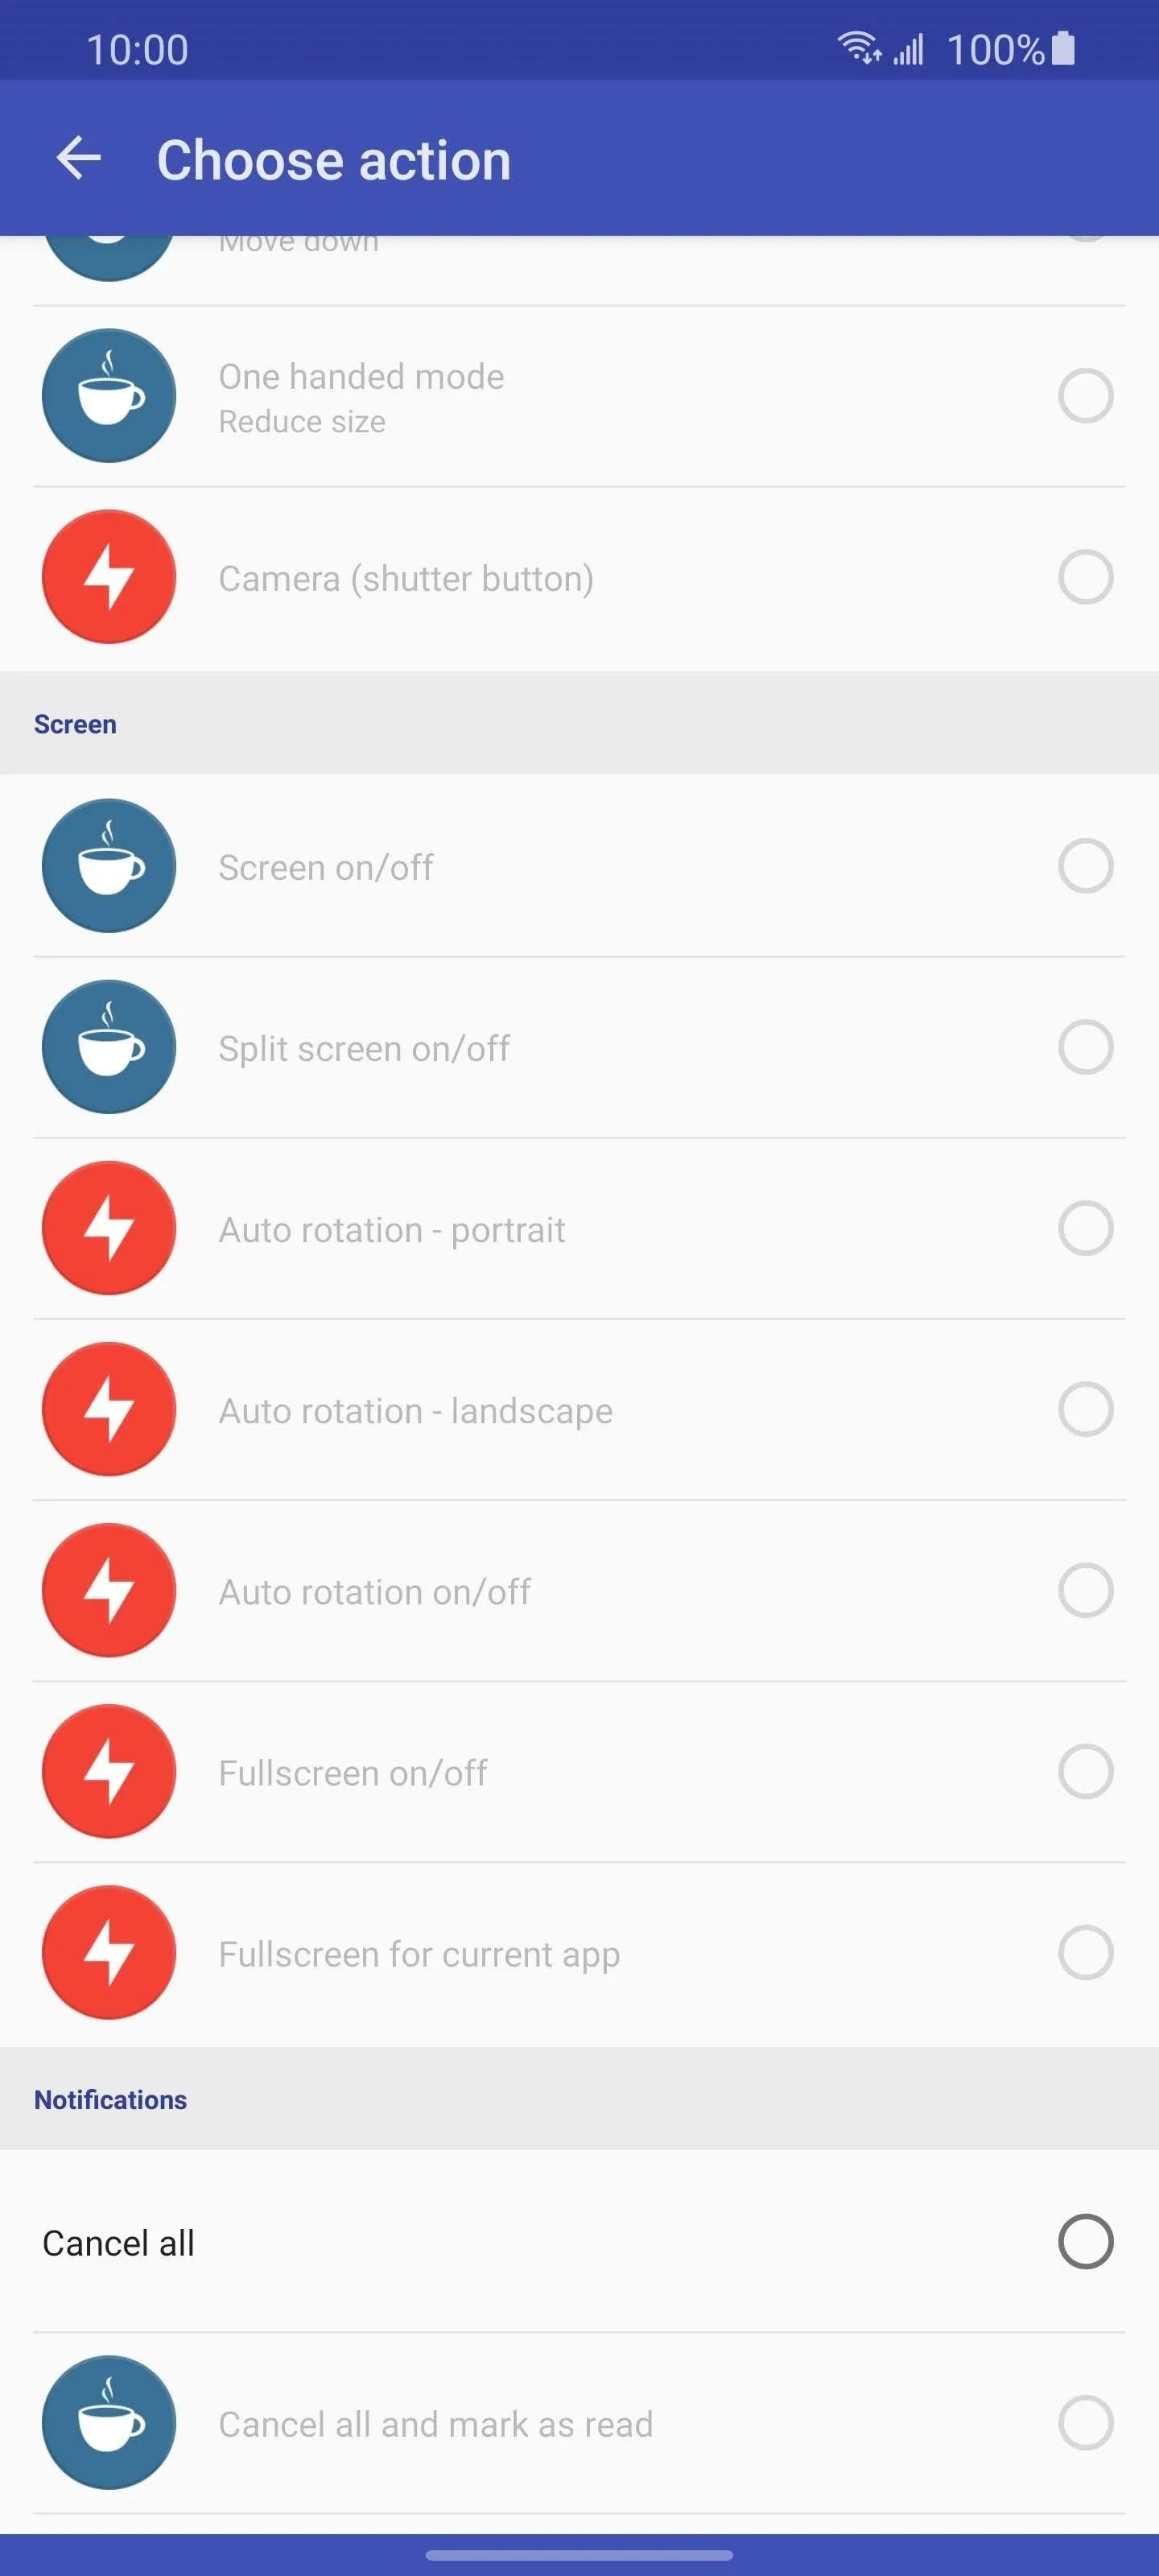
Before you go, there are a few things you should know when choosing an action. First, if want to launch the Google Assistant, we recommend using "Google assistant extra." This version supports "what on my screen" feature that lets you ask Google Assistant that phrase and get a summary based on your current screen content.
Second, you will see some actions have either a blue cup of coffee or an orange power symbol. The former means you need to pay for the pro version, which costs about a "cup of coffee." The latter means you need to use ADB commands, which opens more free and pro version commands.
Use ADB for More Commands (Optional)
If you have a computer nearby, you can grant sideActions elevated privileges using ADB. The app can then provide more powerful actions that will be performed when you press the side key.
Windows
If you're on Windows, just enable Developer Options and USB Debugging, then connect your phone to the computer via USB and use Windows Explorer to browse your phone's storage and locate the sideActions folder. Here, just double-click the sideActions.exe file to run a script that gives the app elevated permissions.
macOS & Linux
For macOS and Linux users, there is no executable file, so you'll need to send ADB commands manually. The first thing you need to do is get your computer ready to send ADB commands. We have a complete guide, including links you need, which you can find using the link below.
Once your computer has the necessary files, your phone is connected to it, and Terminal is open and redirected to the platform-tools folder, you are ready to input commands into Terminal.
If you don't want to reconfigure the power button to "Jump to the last app," input the following command:
./adb shell sh /data/data/com.jamworks.sidekeybuttoneremap/files/start_easy_remap.shIf you want the complete list including the "Jump to the last app" action then you'll have to input this command instead:
./adb shell sh /data/data/com.jamworks.sidekeybuttoneremap/files/start_full_remap.shReturn to the app, and all the actions with the orange/red "power" symbol should no longer be inaccessible, and you can now configure the double press to activate that function.
If you run into any issue or wish to remove this permission granted by ADB, input the following command into Terminal:
./adb shell sh /data/data/com.jamworks.sidekeybuttoneremap/files/stop_remap.sh
Jon Knight/Gadget Hacks
Cover image by Jon Knight/Gadget Hacks


Comments
Be the first, drop a comment!