


App updates bring new functionality, but they can also break old features or introduce changes no one wants. Unfortunately, if you're holding onto an older app version because you don't want to accept the update, it becomes a lot harder to keep the rest of your apps updated.
Sure, you could open the app's Play Store page and disable the "Automatic Updates" setting, but this has side effects. If you ever go to the My Apps section in the Play Store and hit "Update All," you'll be asked if you want to update the app in question, where it's easy to make the wrong choice. You'll also constantly see that you have an update available in the My Apps section.
Another option would be to disable automatic updates altogether, but then you'd need to constantly check for updates for all your other apps, and you'd still have to avoid the "Update All" button.
In the past, the only permanent solutions to this problem involved using root or modifying APK files on your computer, but neither of those is an option for everyone. With the method outlined below, you'll be able to stop automatic updates once and for all, and you can do it all from the comfort of your phone.
Before You Begin
This method should work to prevent any user-installed app from updating on the Play Store, but it won't work for pre-installed apps unless you're rooted.
The gist of it is you'll be re-sideloading a version of the app that you signed yourself. Since Android won't install a differently-signed app on top of another one (even if everything else is identical), this means you'll have to uninstall the official version of the app before you sign it yourself and install it again to prevent updates.
Therefore, the only way to prevent updates for pre-installed system apps is to remove the official version. You can only do that if you're rooted (but if you are, it's just a matter of deleting the APK file from /system/app/ or /system/priv-app/).
However, if you're doing this for an app you installed yourself, no root is needed.
Install the App Version You Want to Keep
The first thing you'll need to do is get the actual version of the app that you want to keep indefinitely. If you've been avoiding updates and the version in question is already installed, you can move on to Step 2.
If you've already updated, you'll have to start by uninstalling the updated version of the app, of course. From there, install the version you want to keep. A great way to find old versions is to look up the app on APKMirror, then sideload the older APK.
Install 2 New Apps
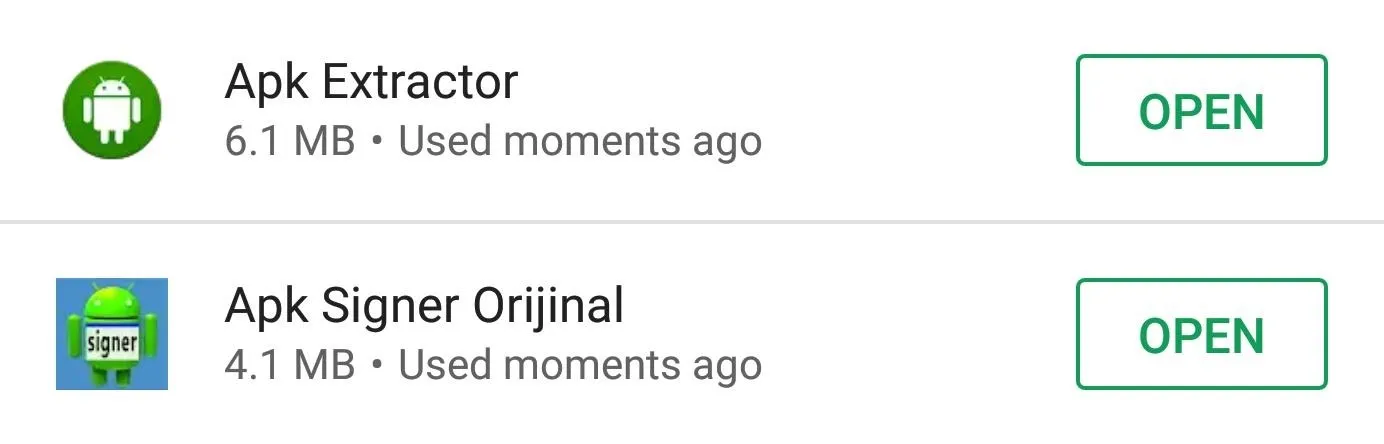
To do this all on your phone, you'll just need two apps. The first is called APK Extractor, and you'll use it to pull a copy of the app version that you want to keep installed. The second app is called APK Signer Orijinal, and you'll use that to prevent the app from updating.
To get both of these apps, search for them by name on the Play Store. Or if you're reading this on your phone, just tap each of the following links:
- Install APK Extractor for free from the Google Play Store
- Install APK Signer Orijinal for free from the Google Play Store
Extract the APK Version You Want to Keep
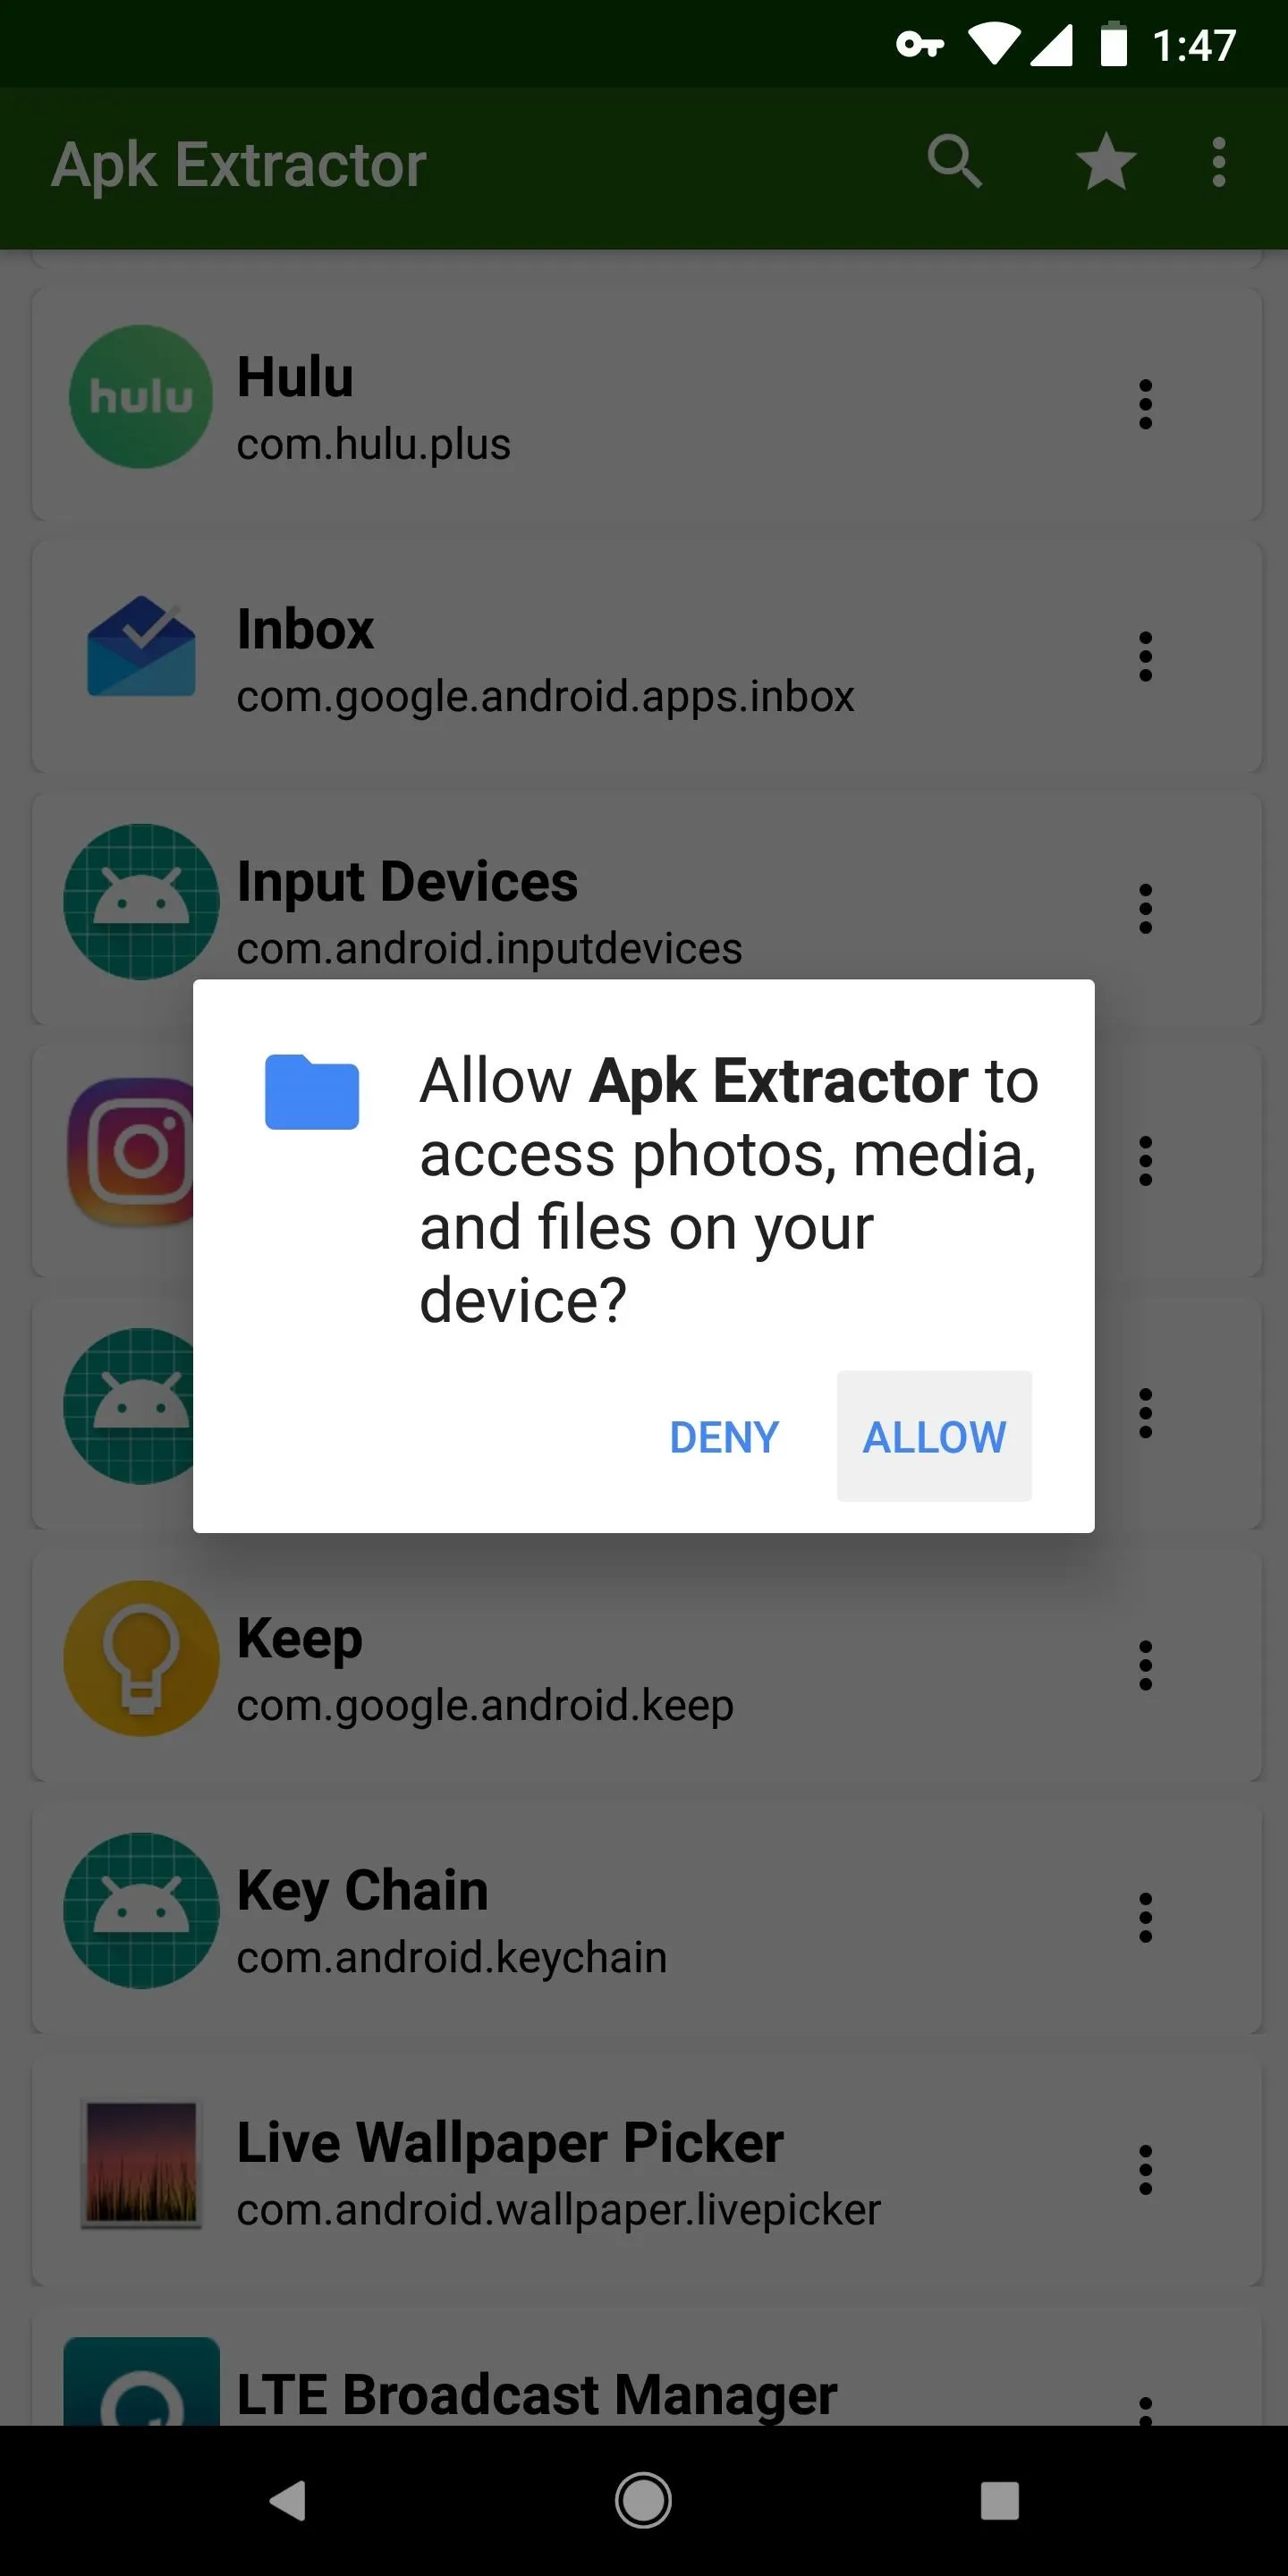
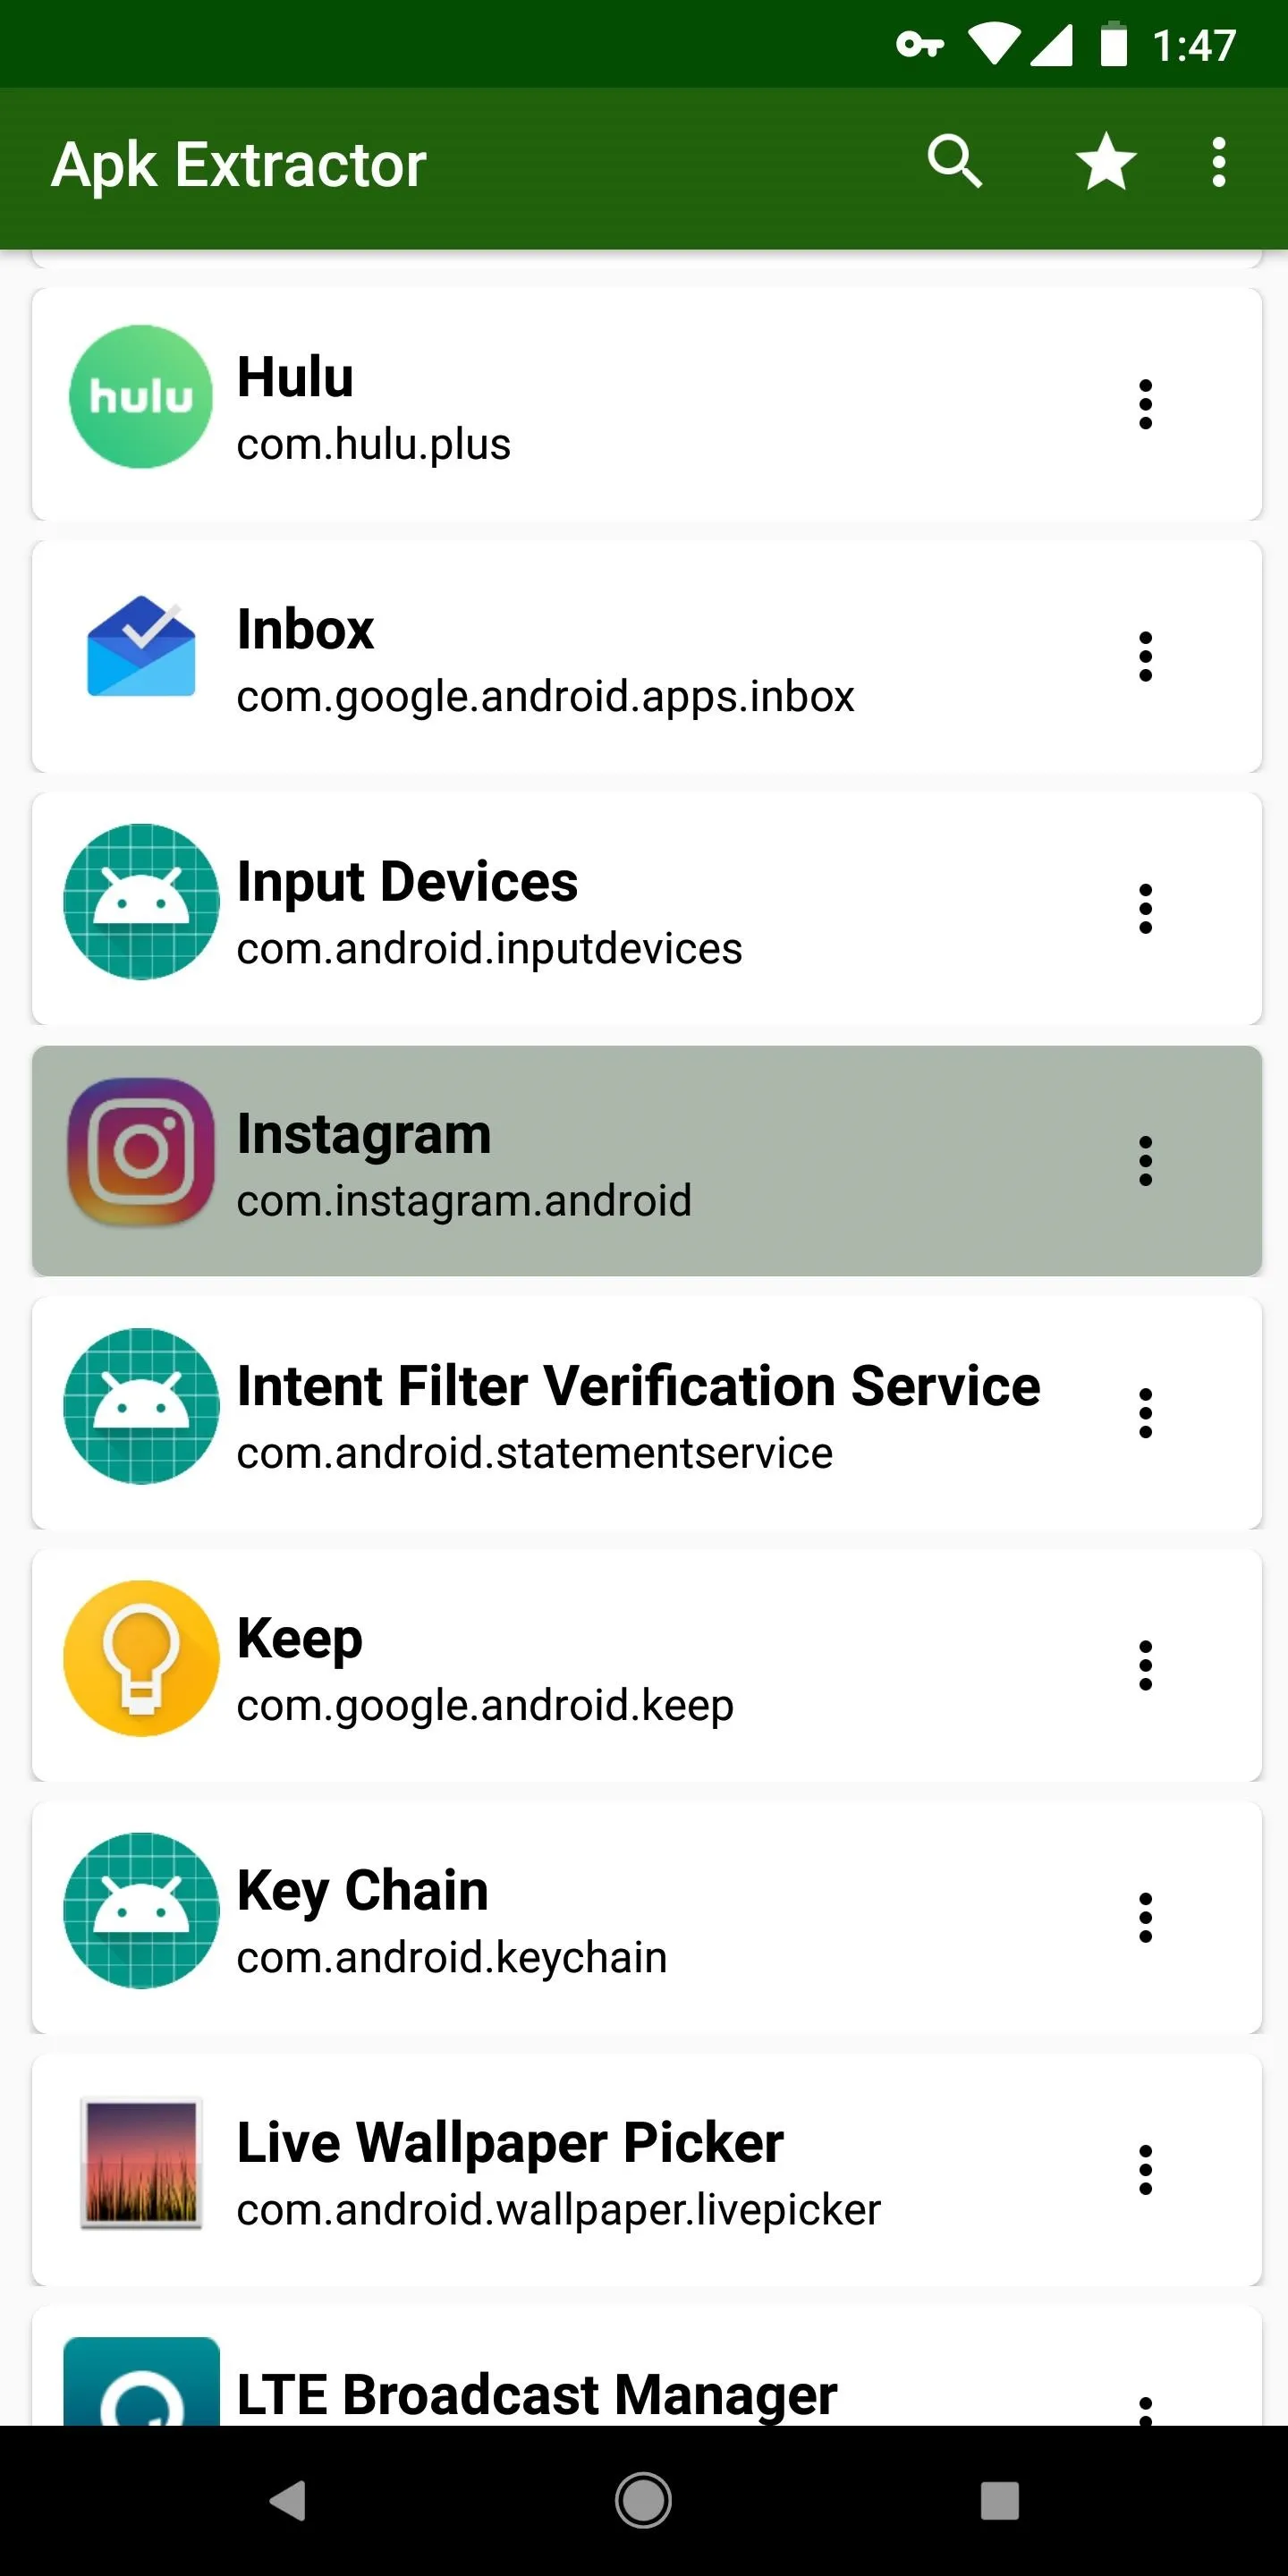
Next, open APK Extractor. From the main screen, scroll down and select the app you want to prevent from updating. You'll likely be prompted to give the app storage access, so tap "Allow" on the popup. Then, select the app you want to prevent from updating (one more time) and the app will extract its APK file.

At this point, you can uninstall APK Extractor if you'd like — its job is done.
Re-Sign the APK
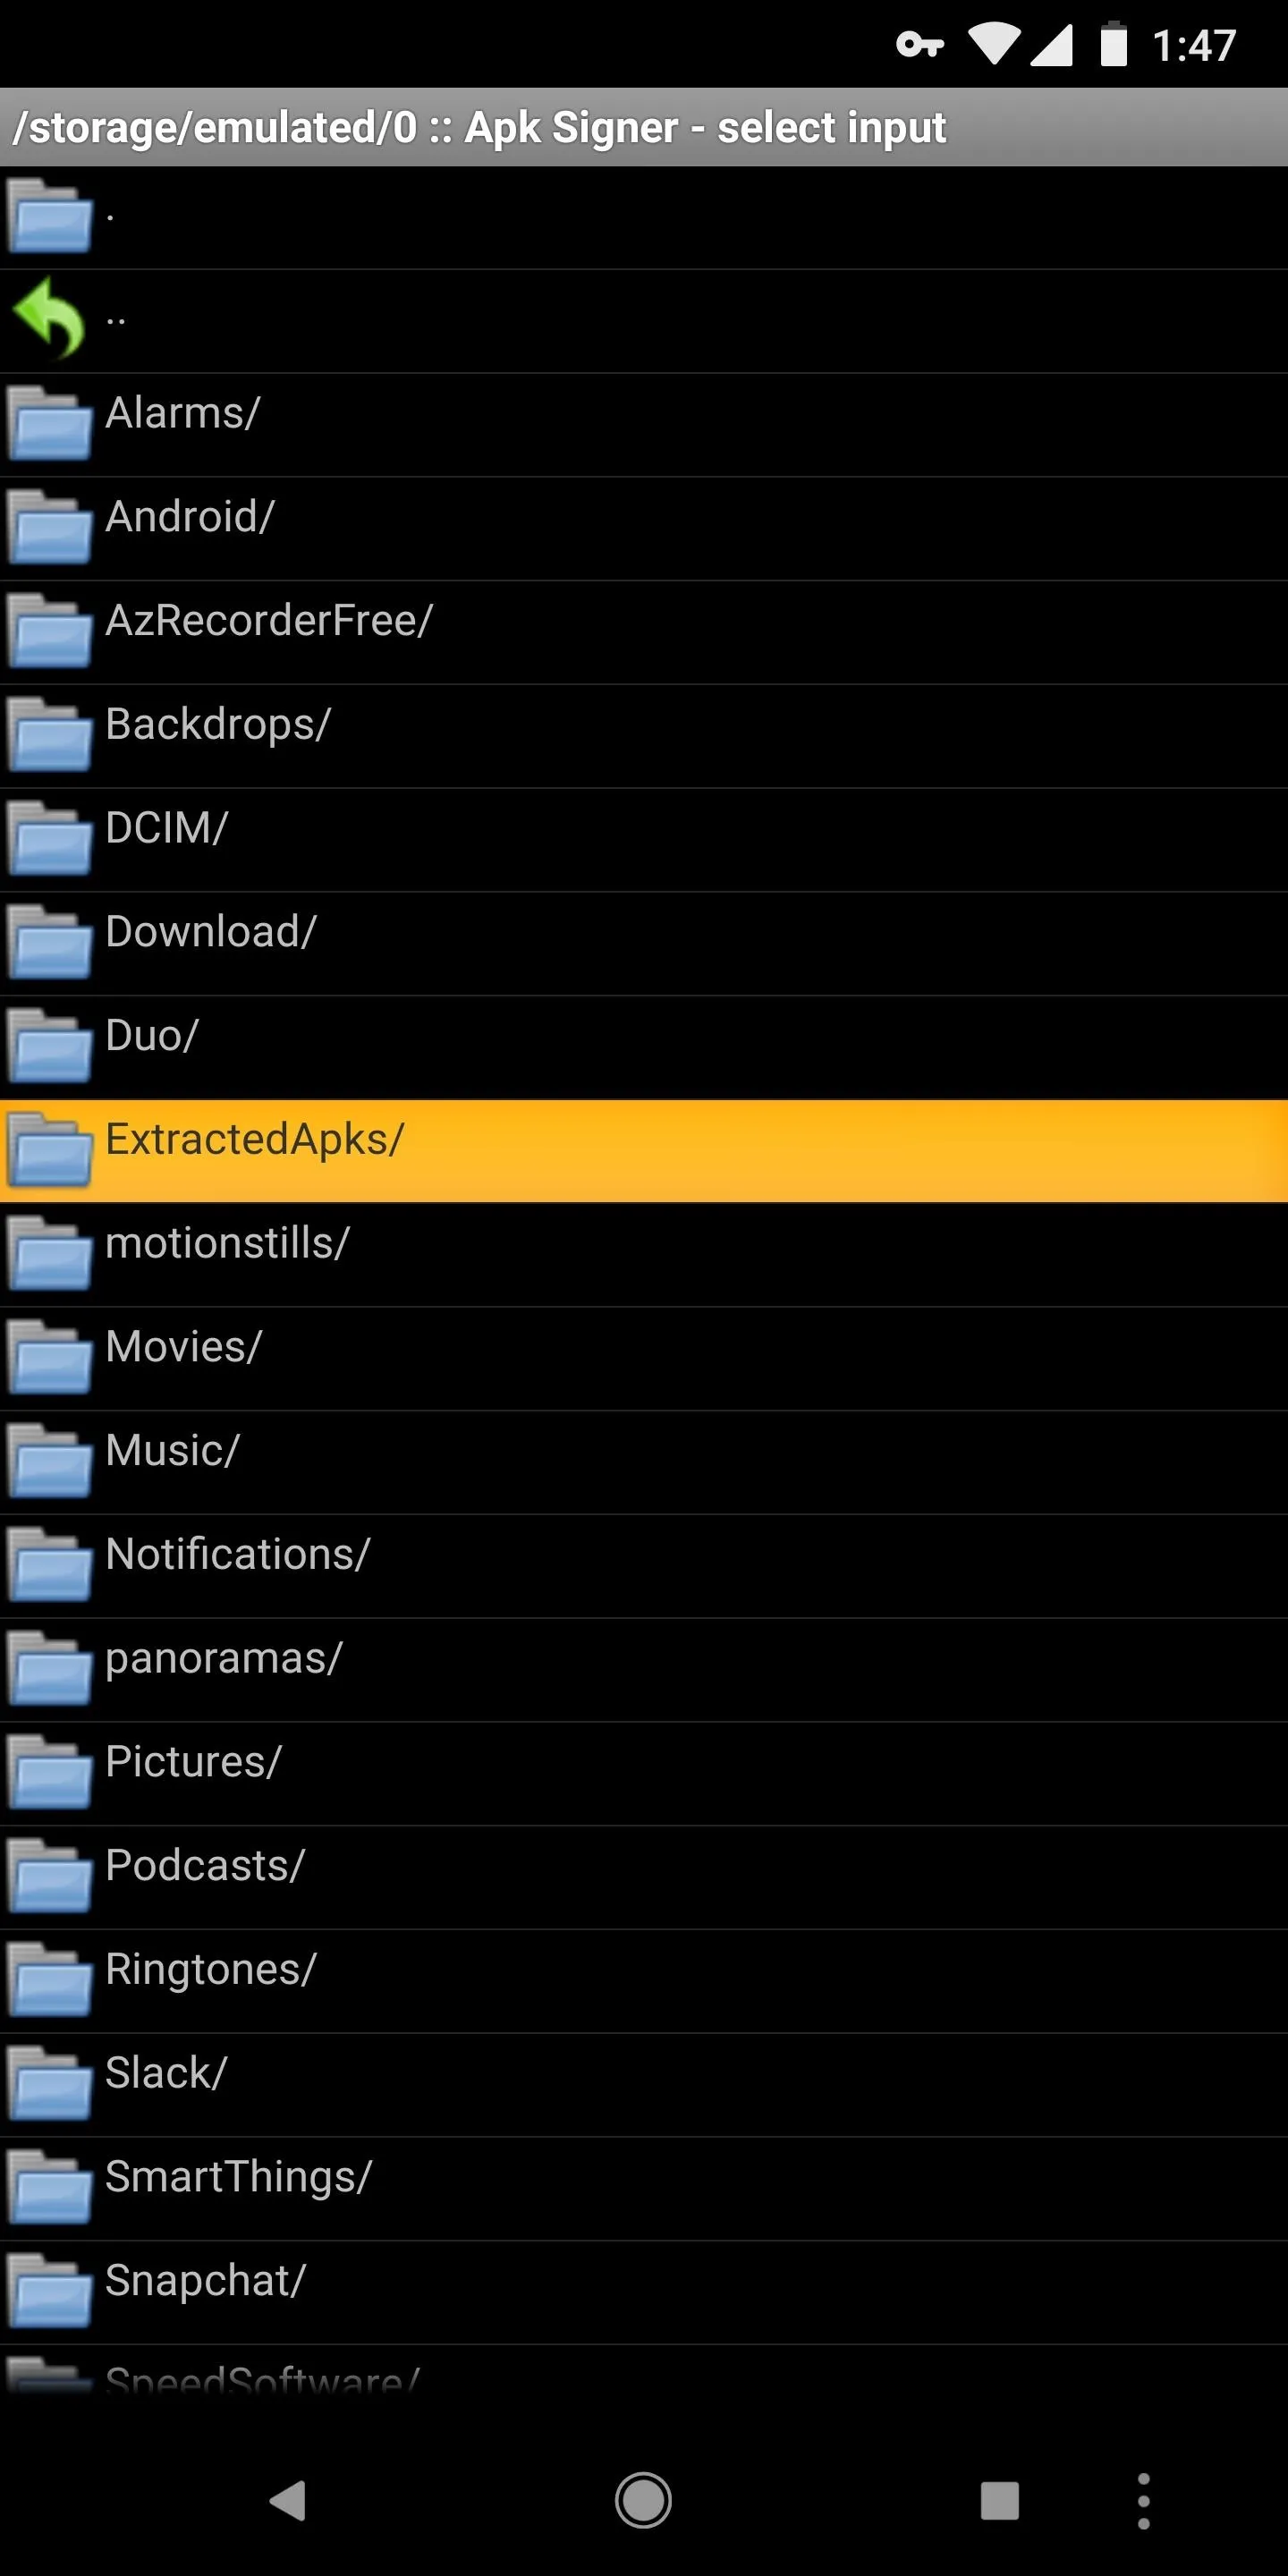
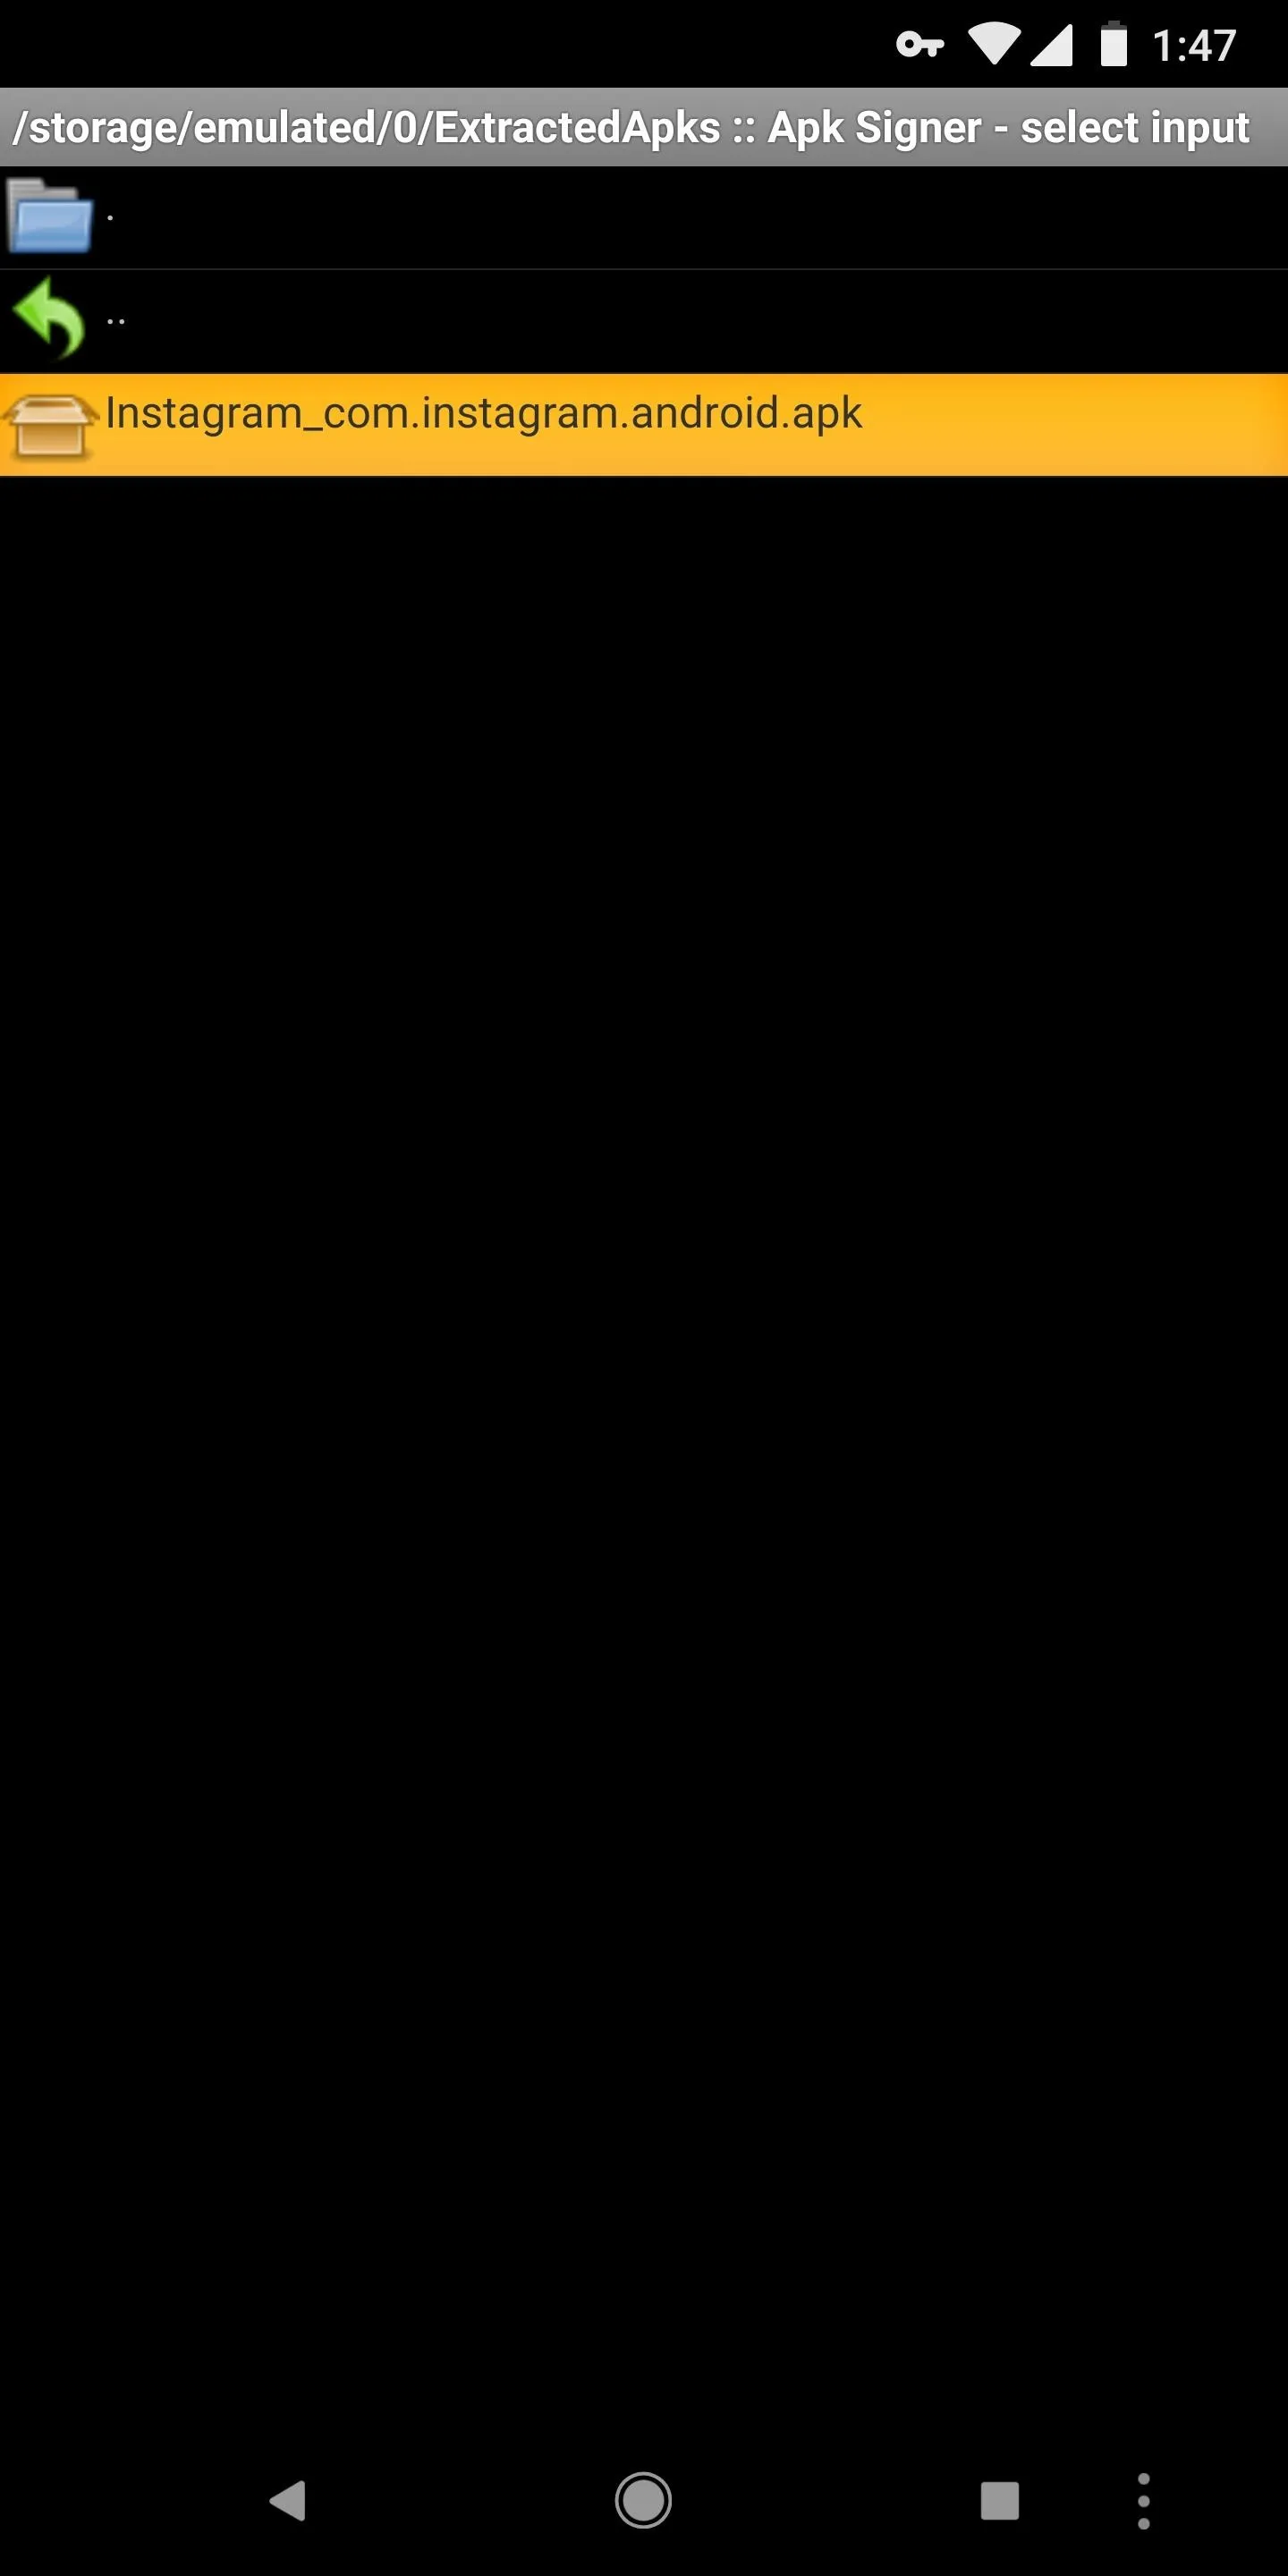
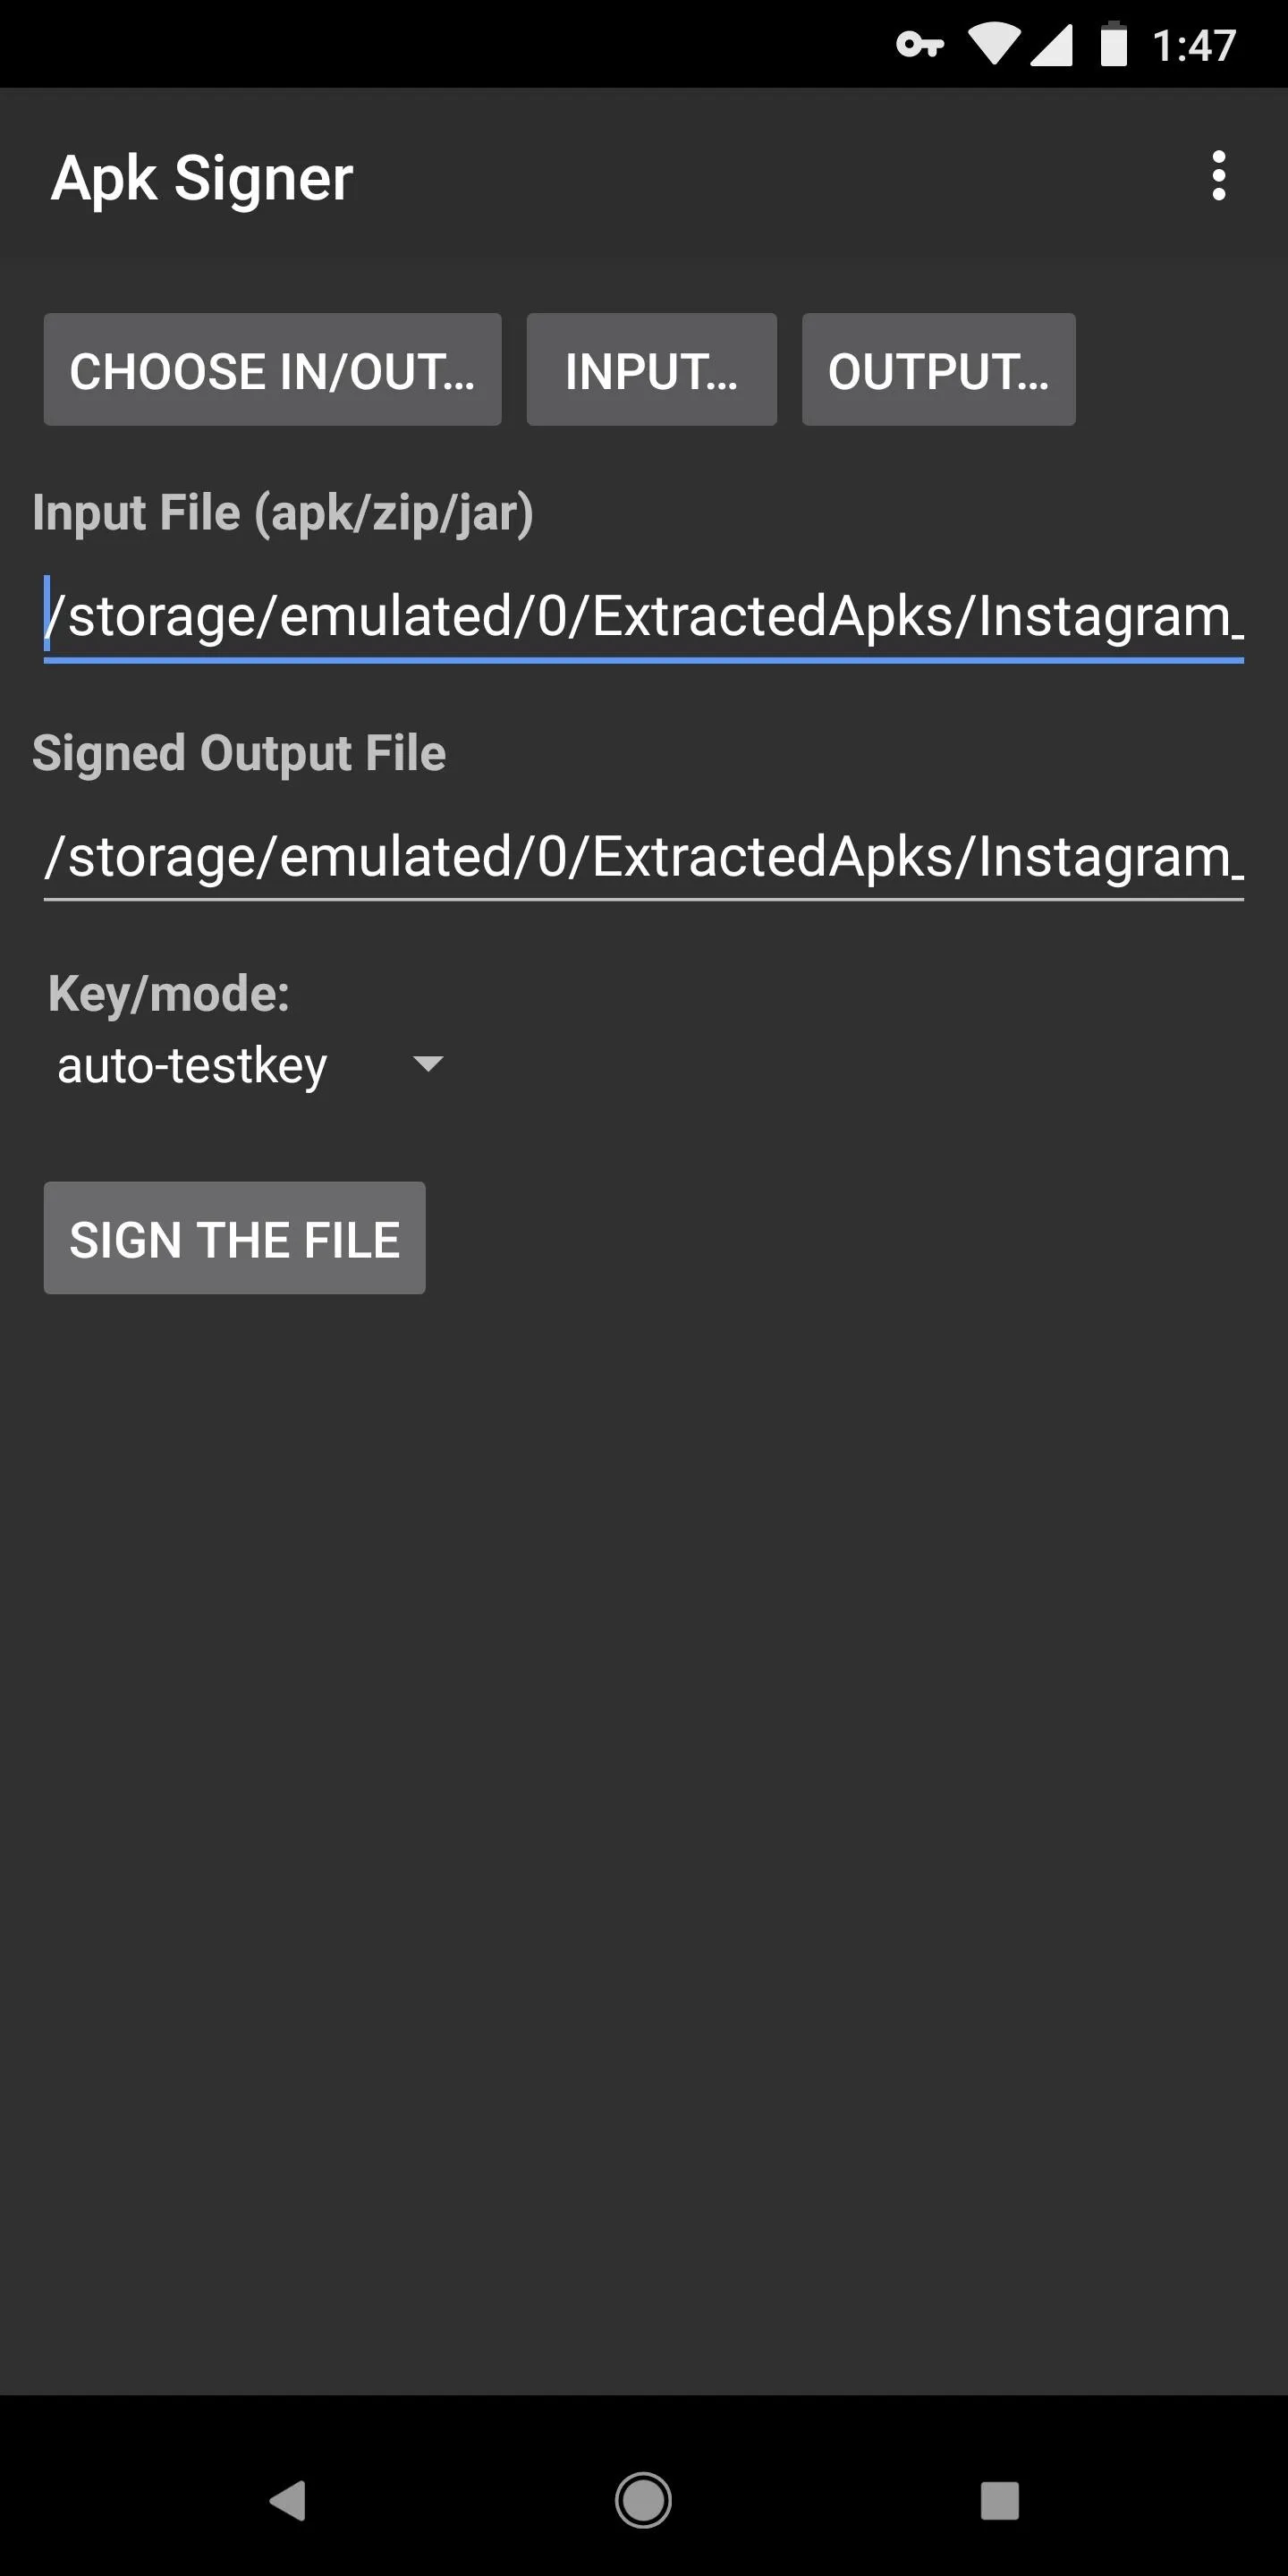
Next, open the APK Signer app and tap "Choose In/Out." From there, open the ExtractedApks folder, then select the app you extracted in Step 3.
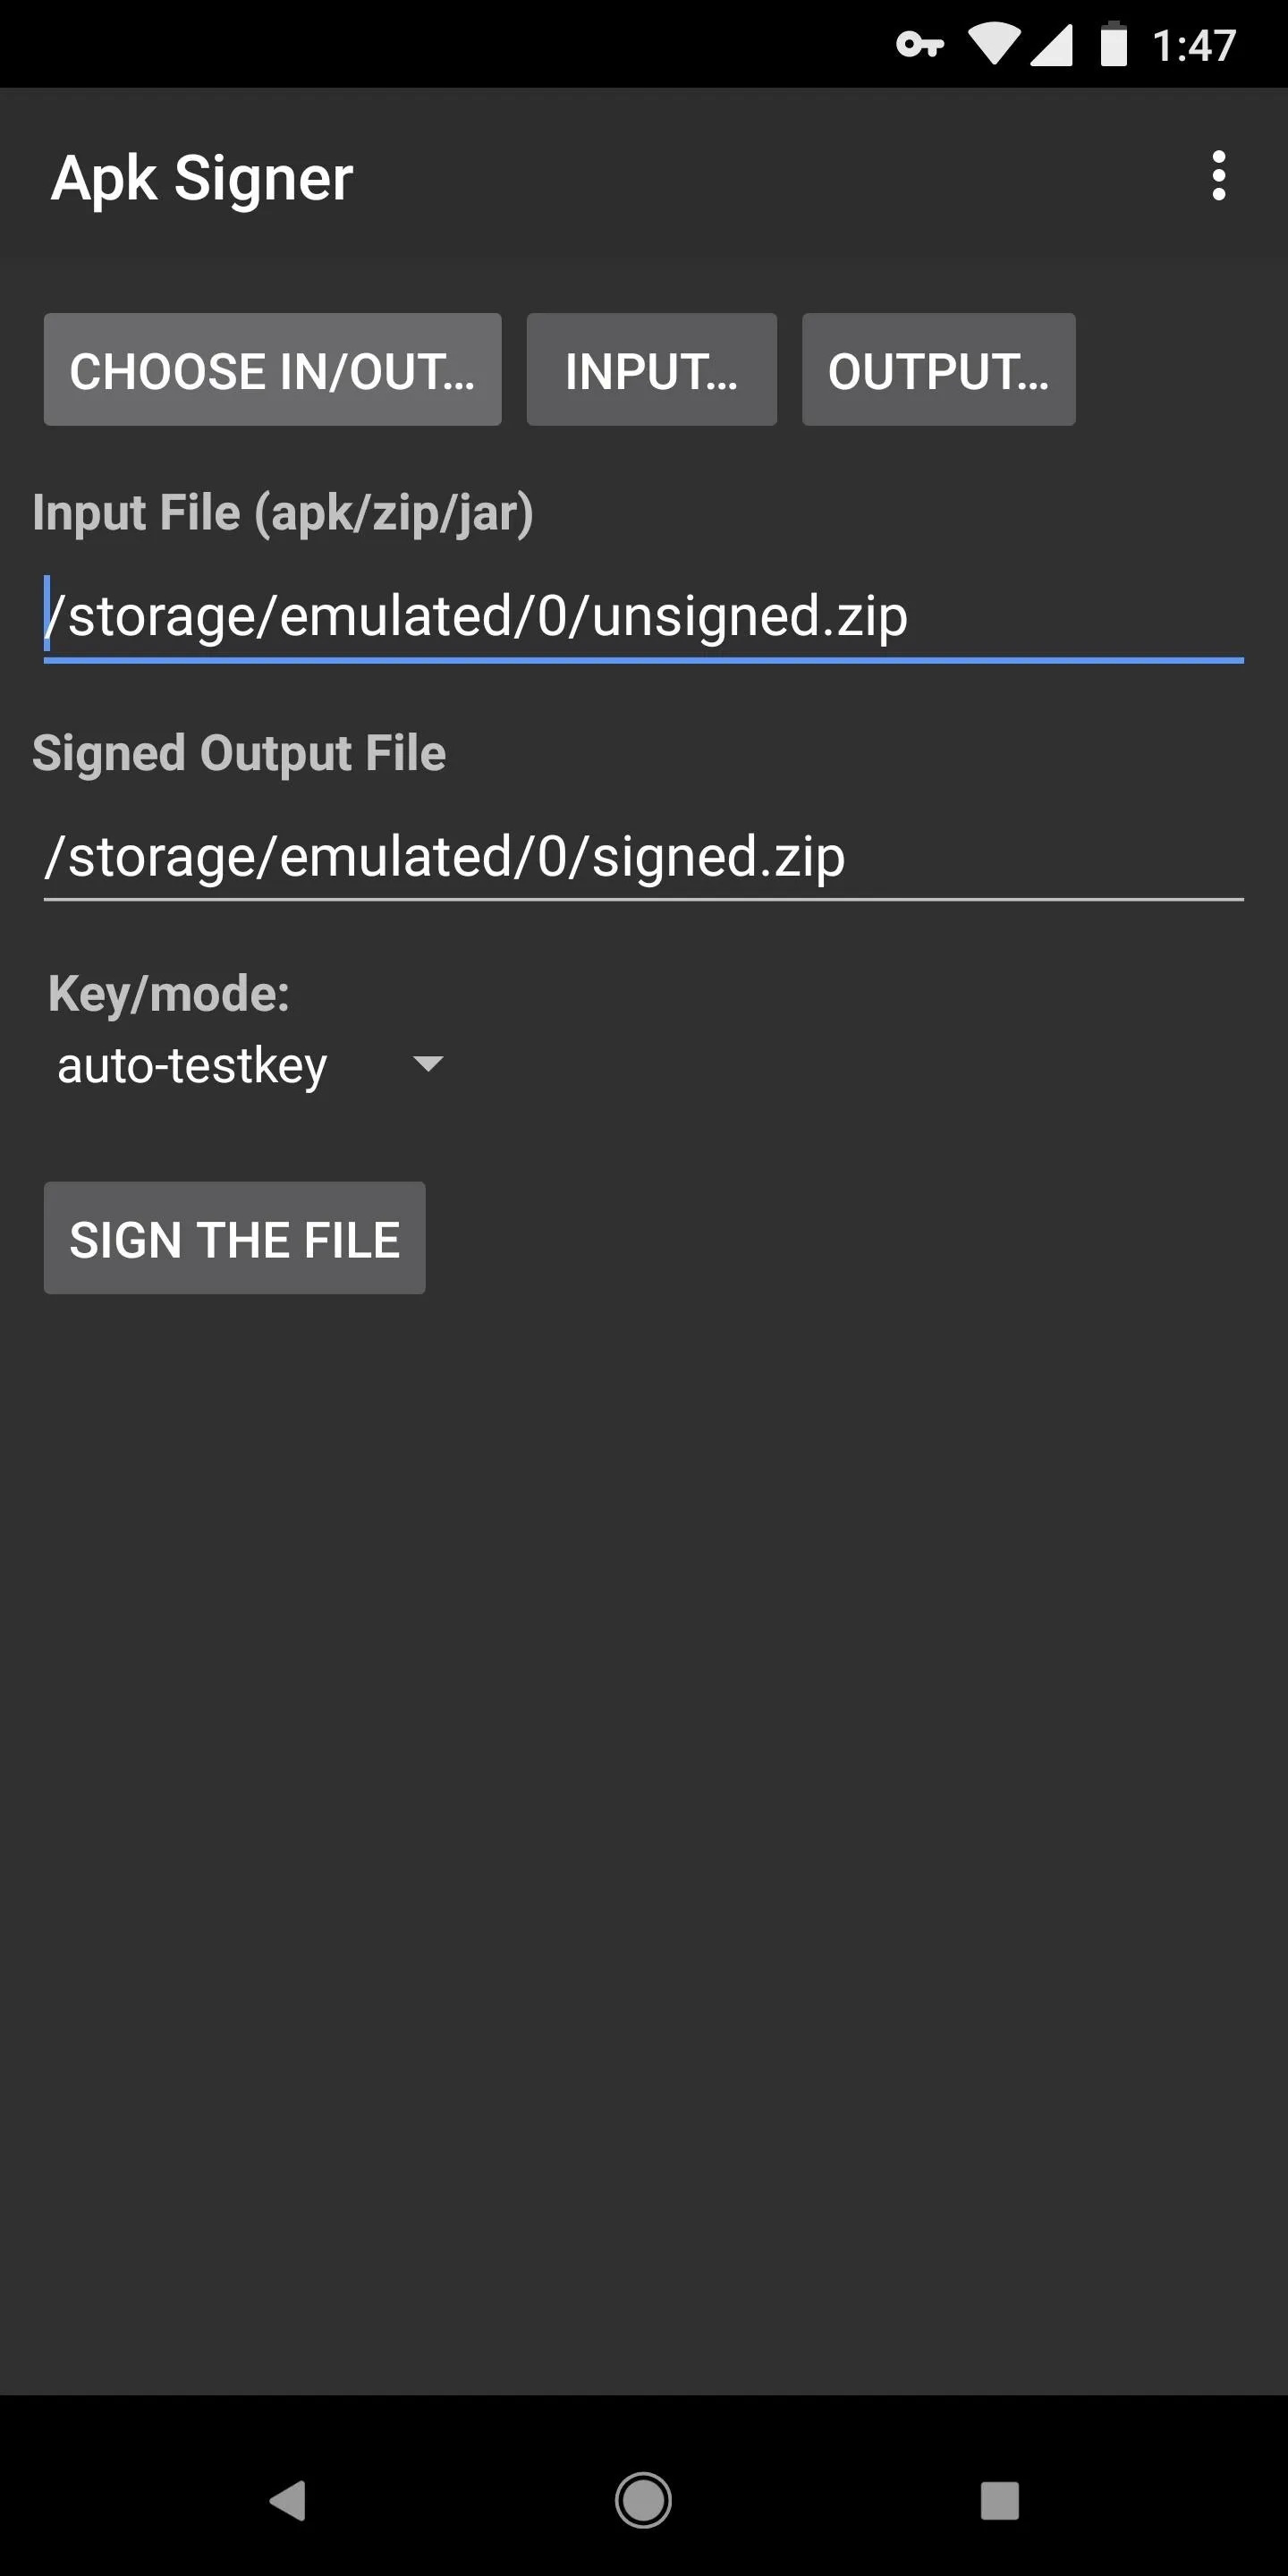
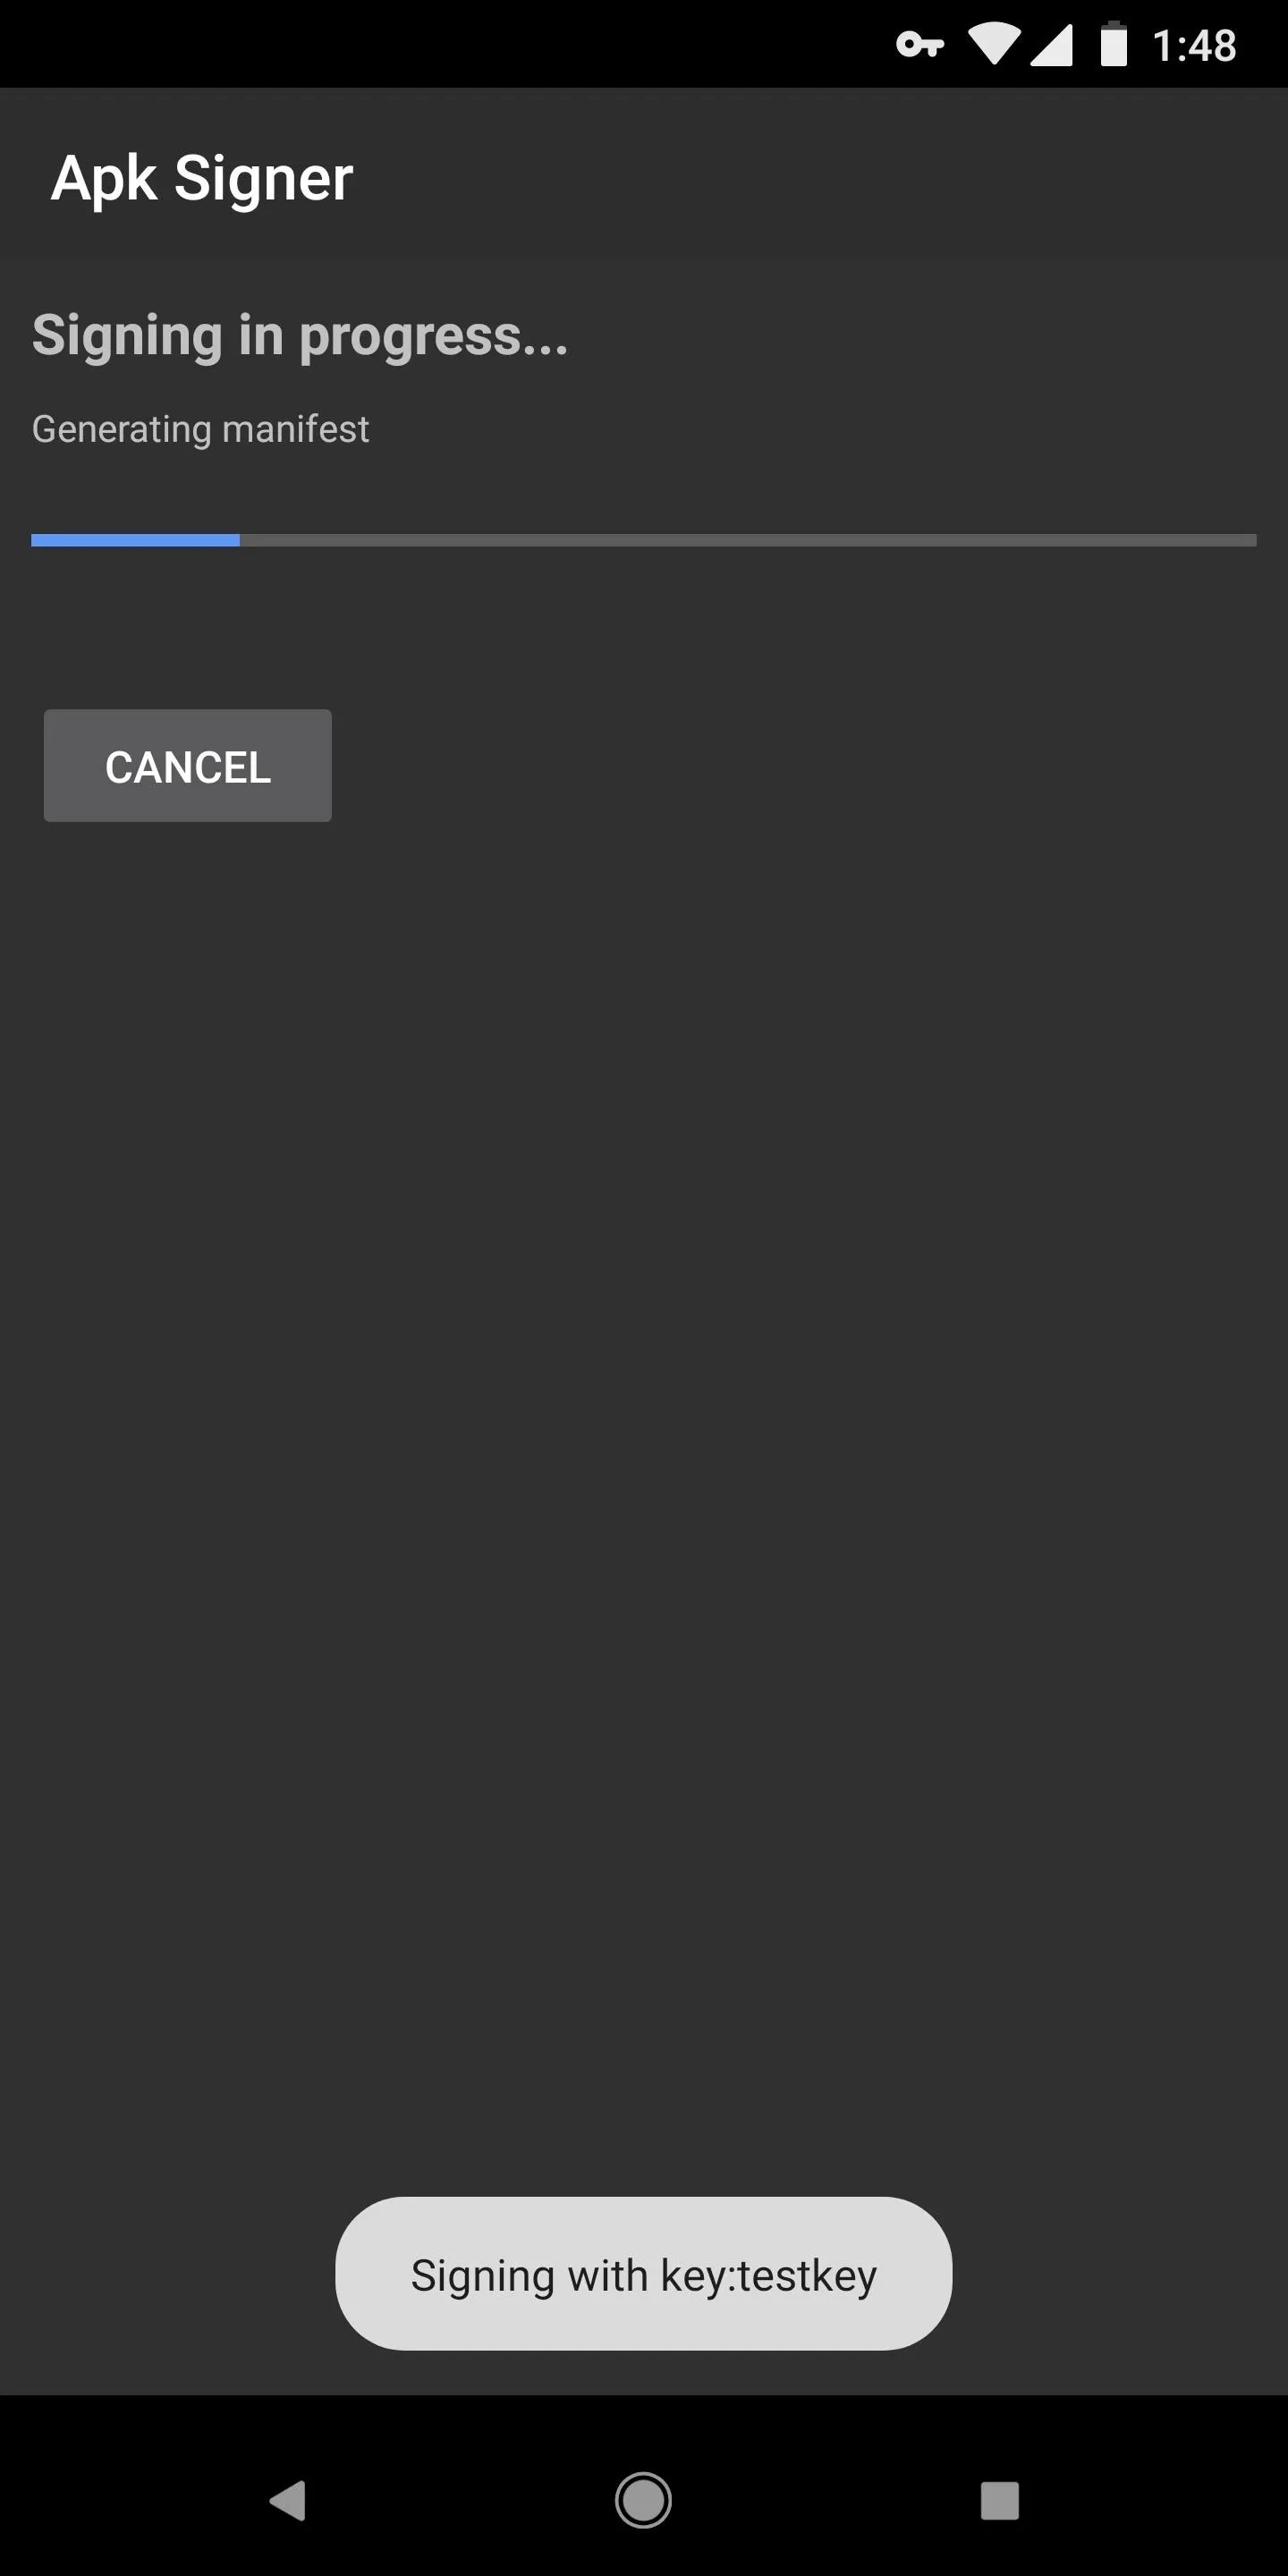
With the APK now queued up, leave all of the options selected as they are, then tap "Sign the file" towards the bottom of the screen. The process of signing the file can take up to one minute, but when it's done, you'll be done with the APK Signer app.
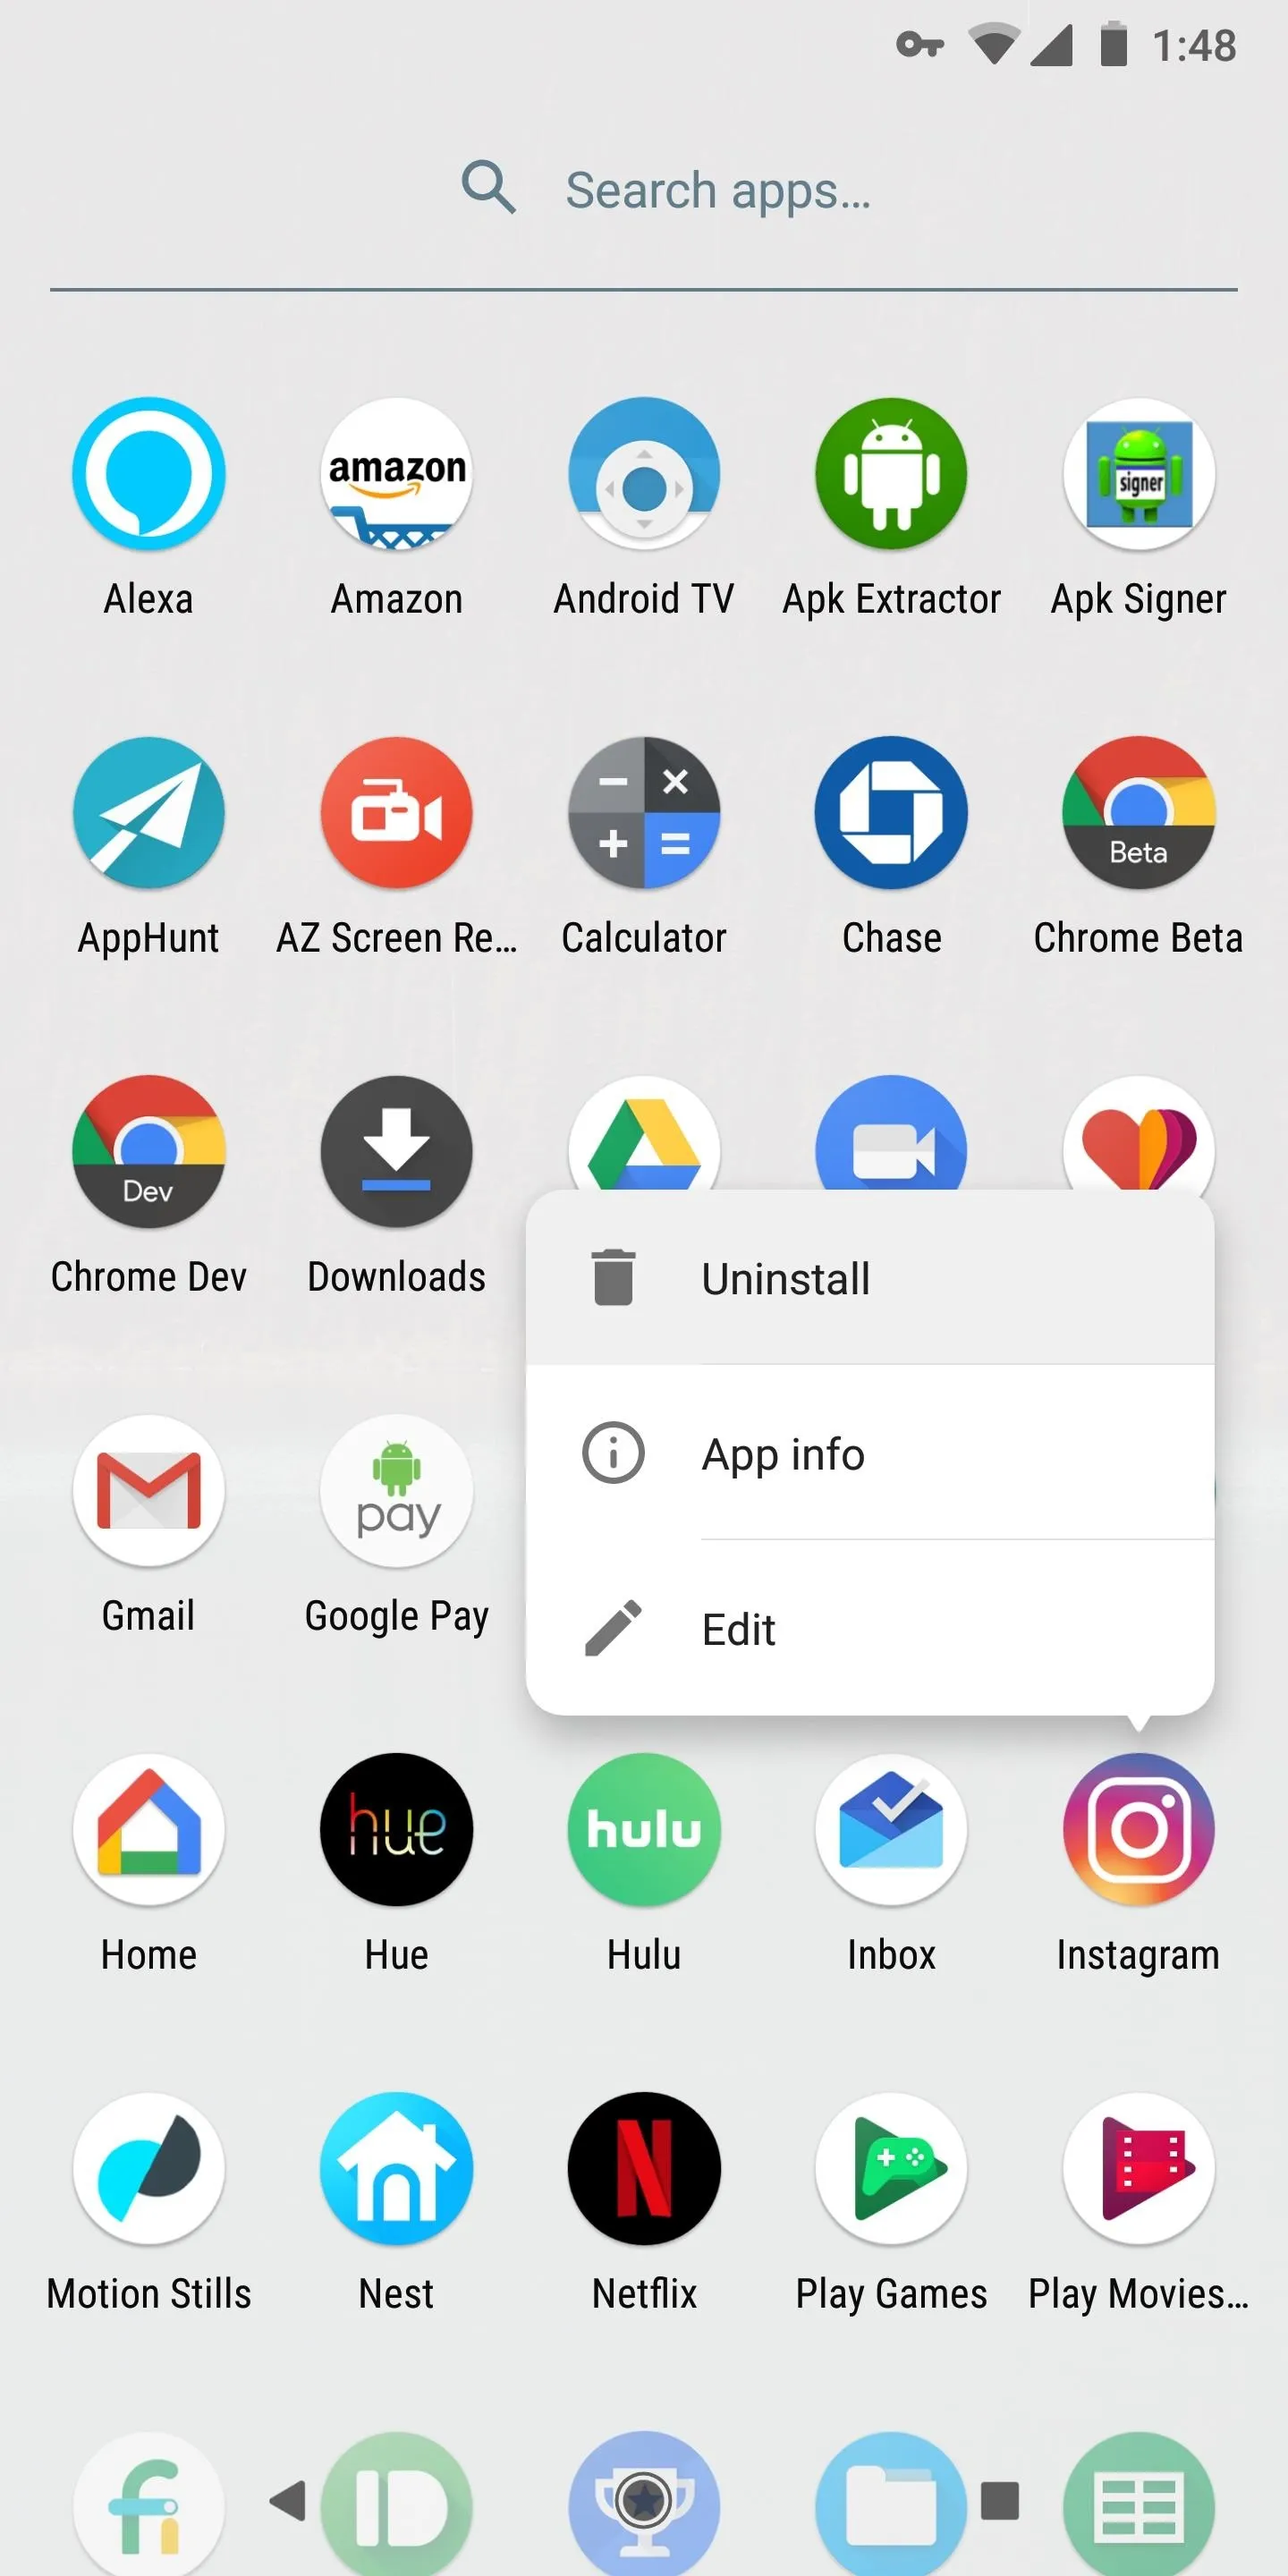
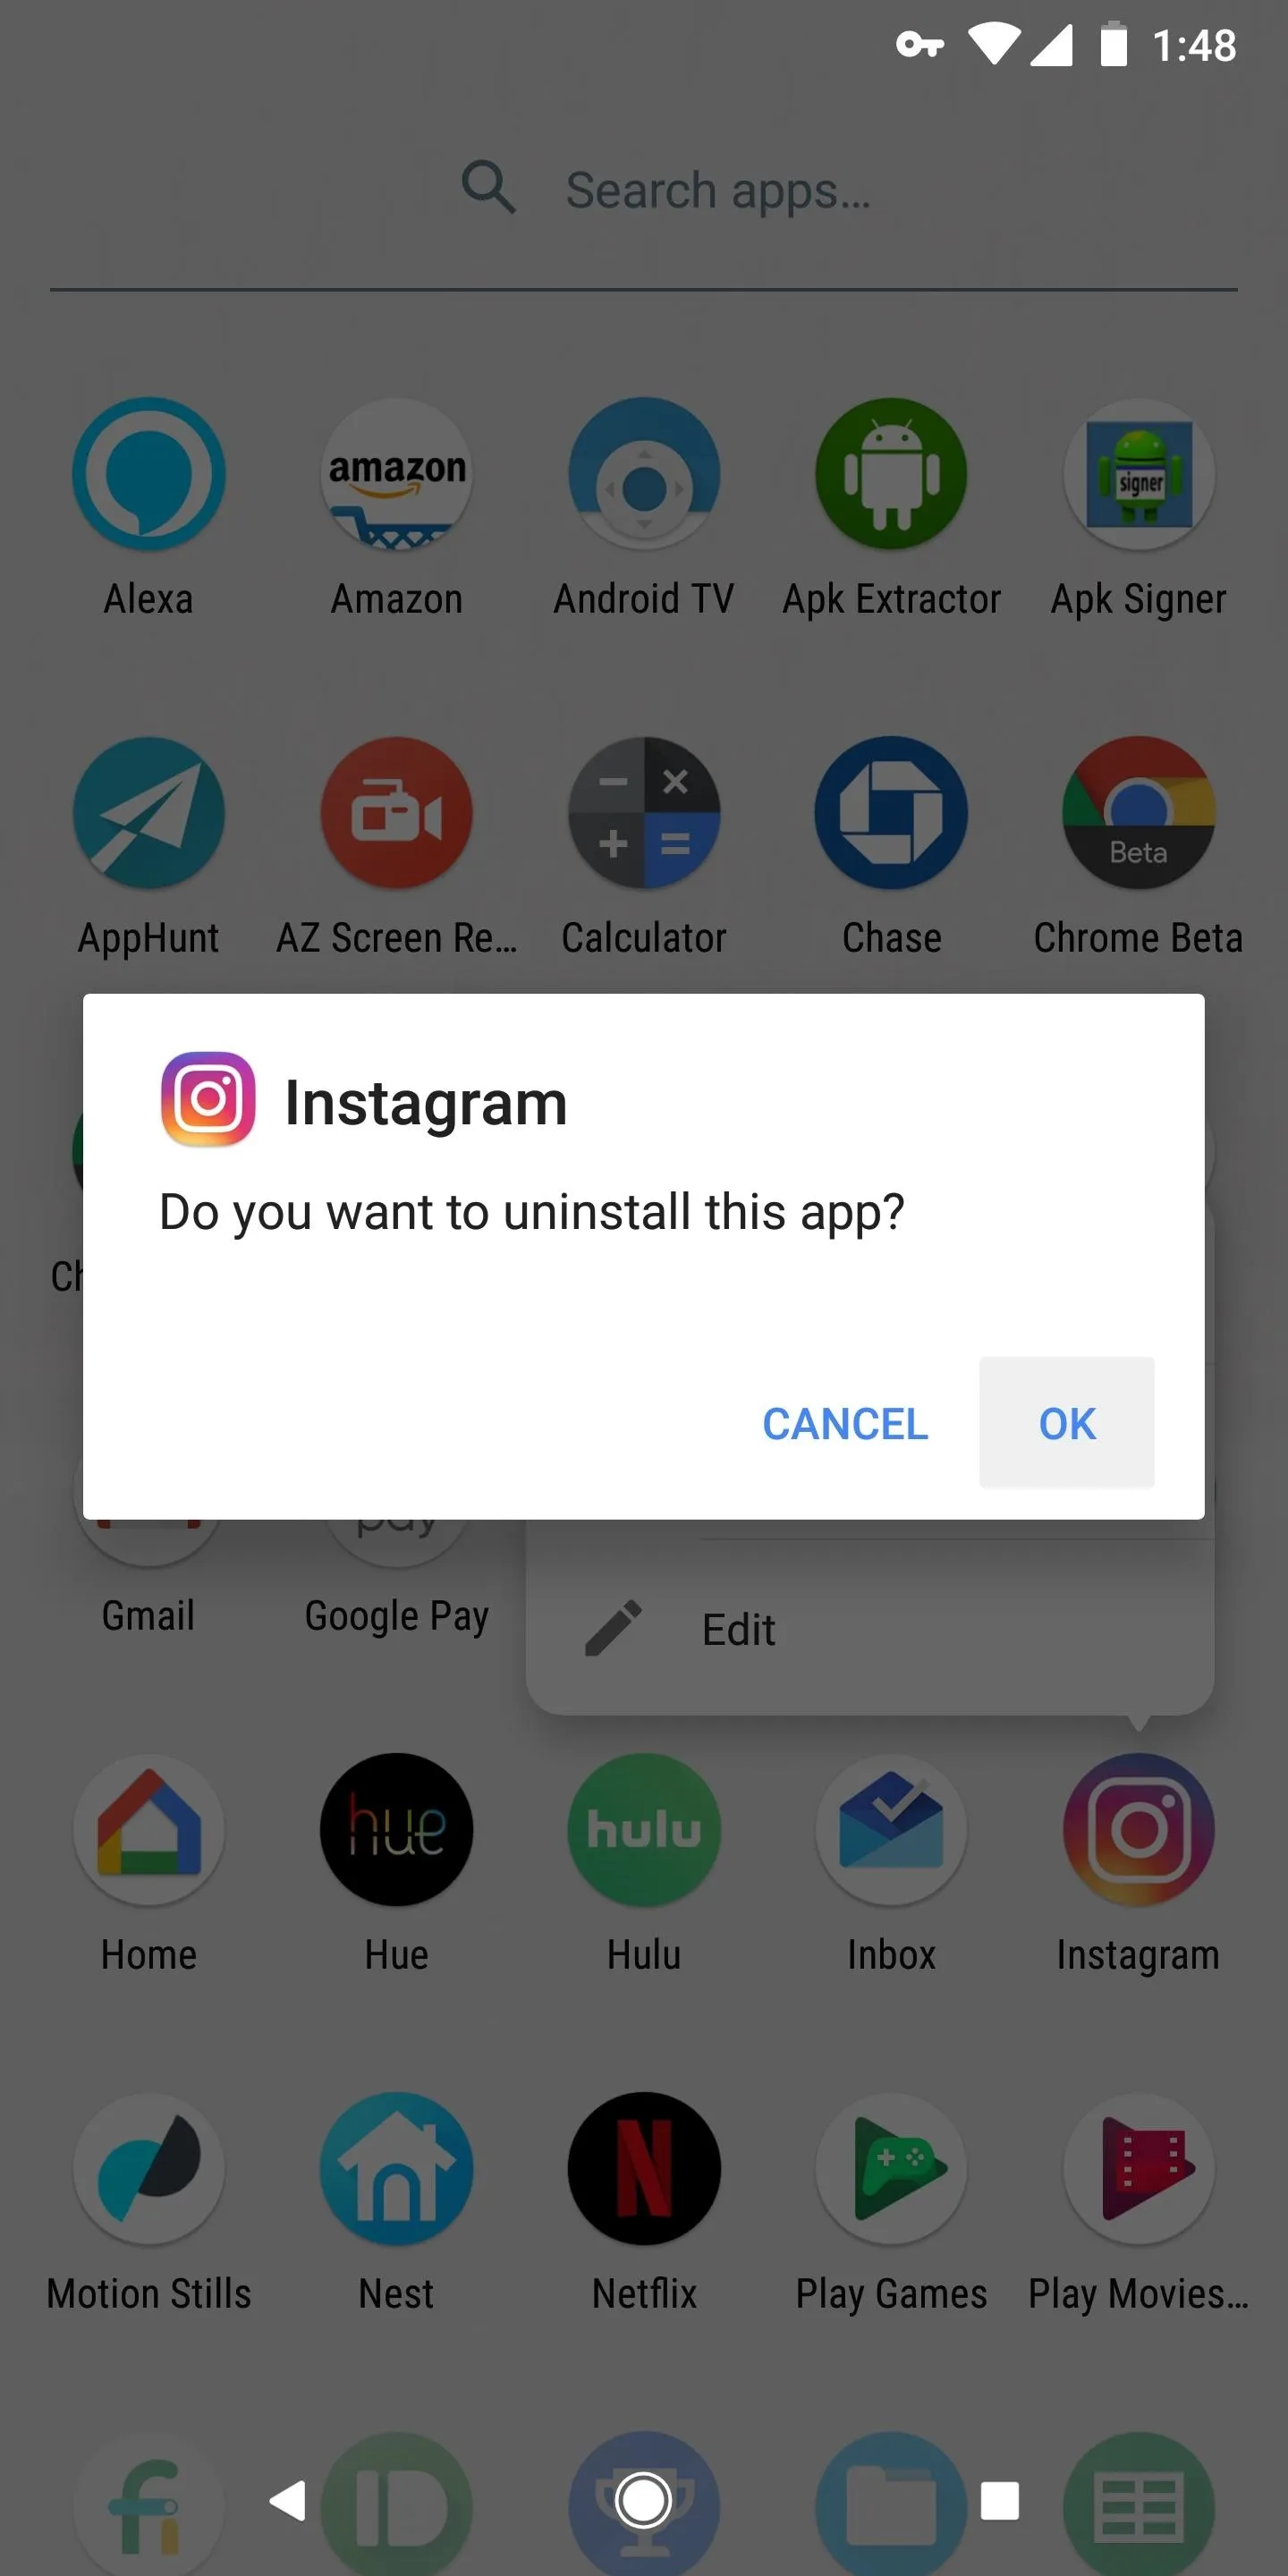
Uninstall the Official App
Next, you'll need to uninstall the version of the app you currently have installed. This version is signed with the developer's official signature, so your custom-signed version will not install on top of the existing app. Uninstall by long-pressing the app's icon and selecting "Uninstall," or by dropping it on the "Uninstall" option at the top of your home screen after long-pressing.
Sideload the Signed App
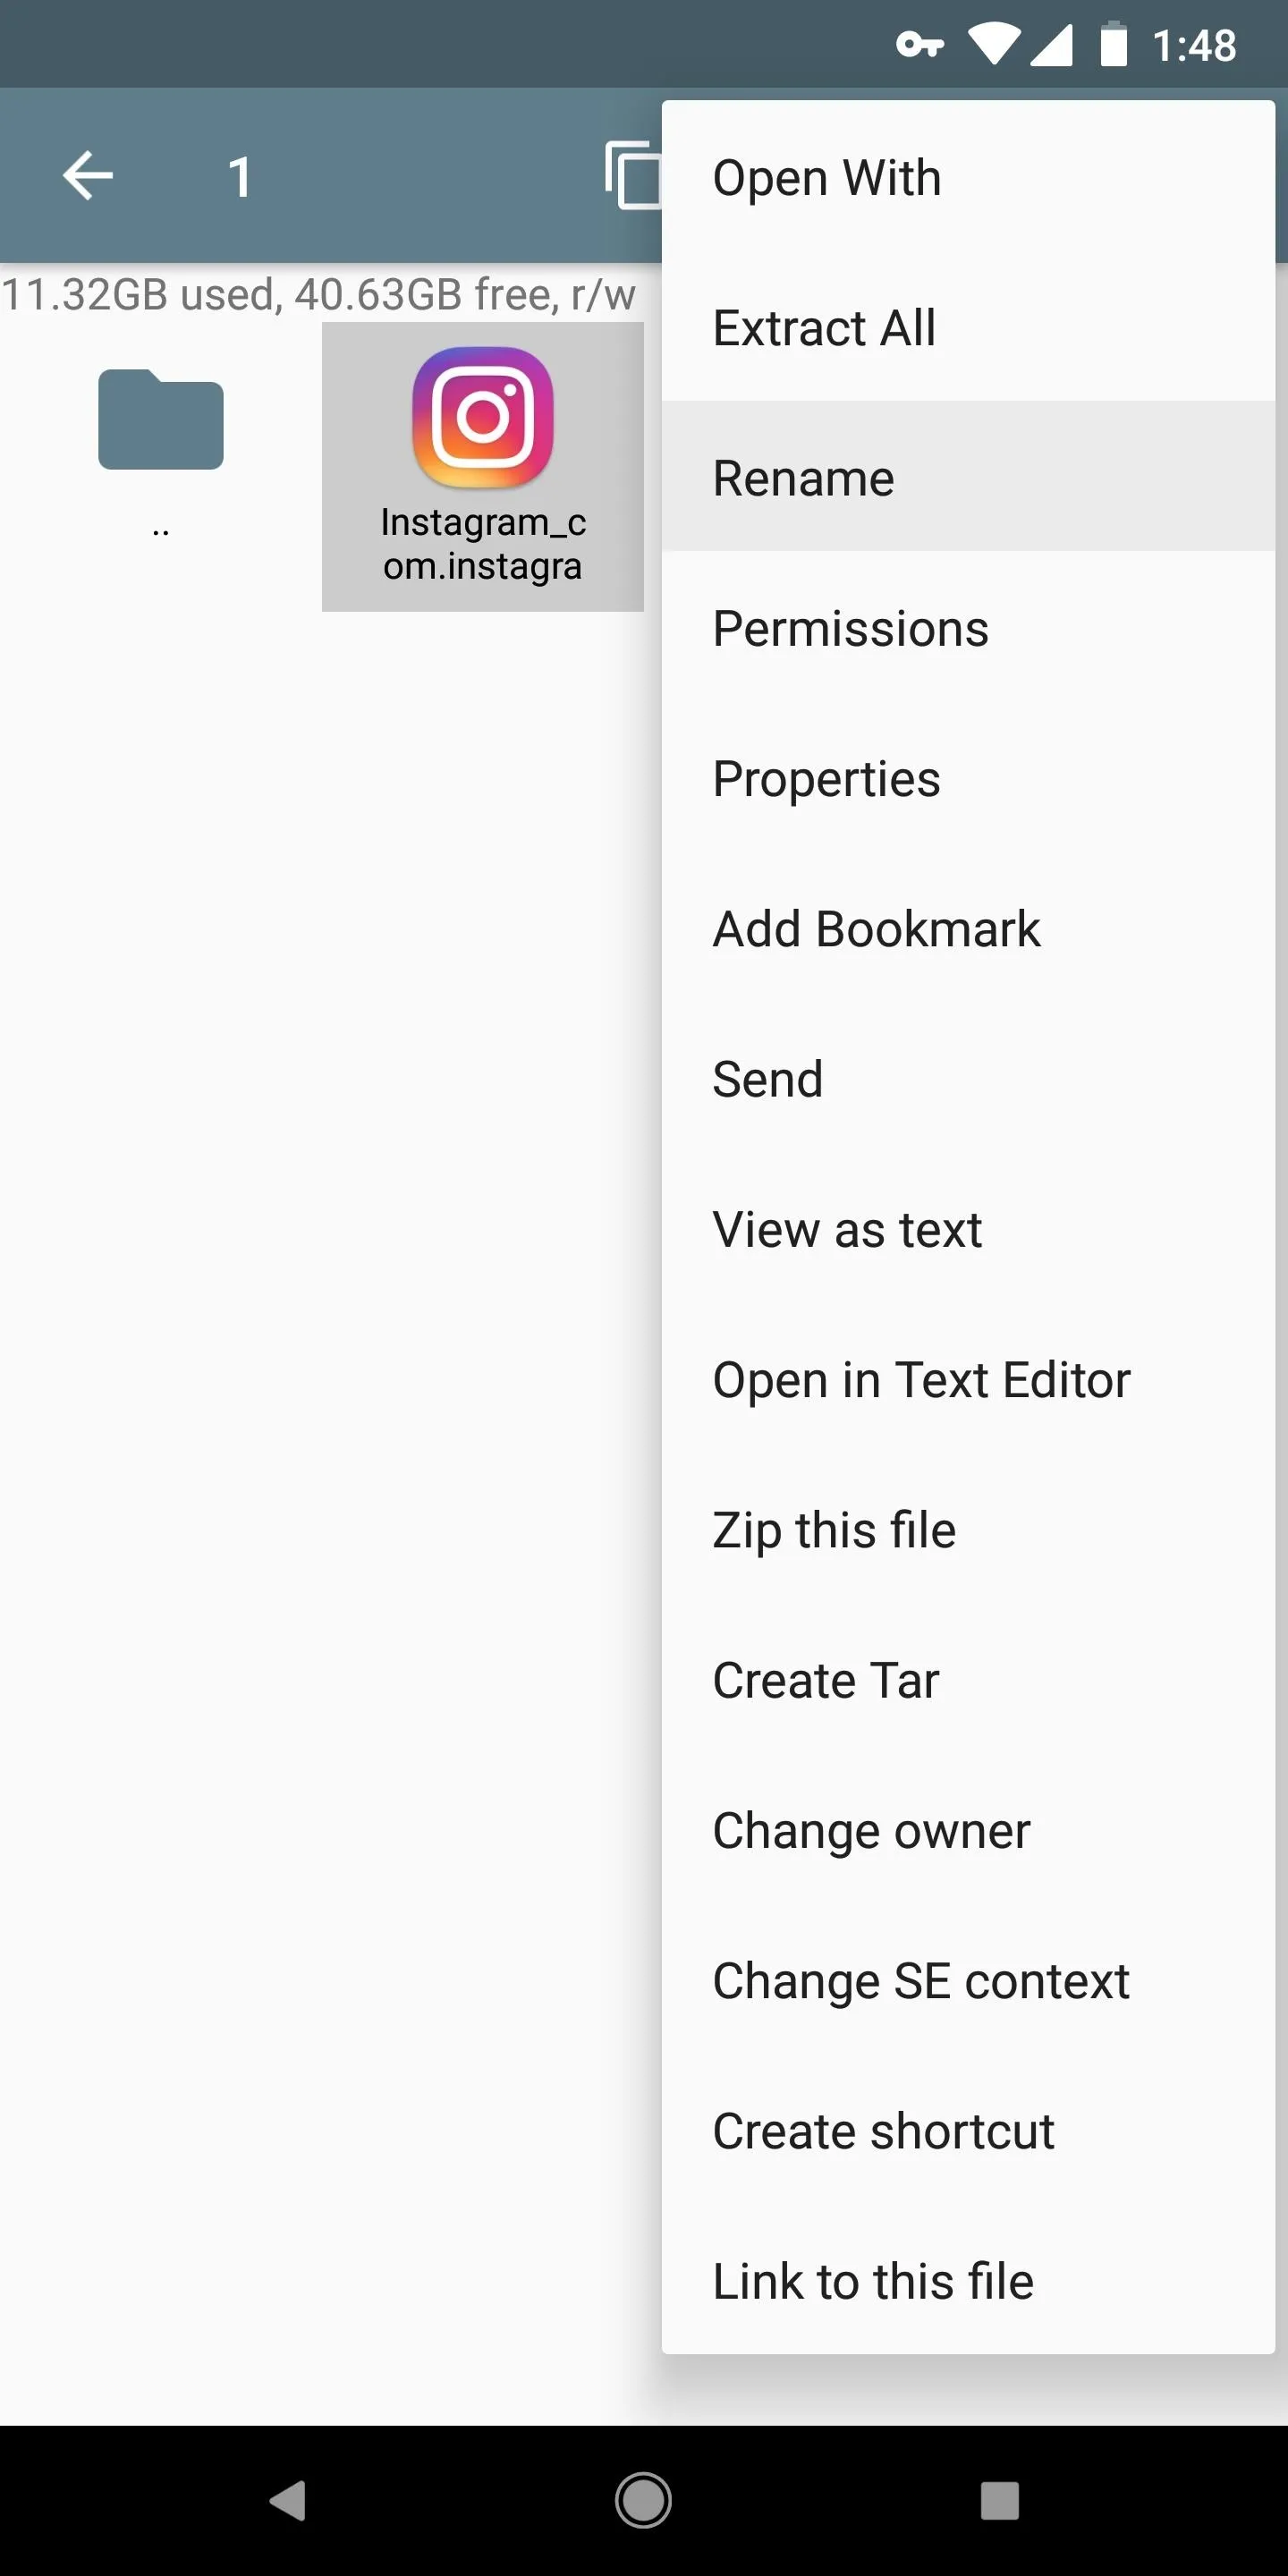
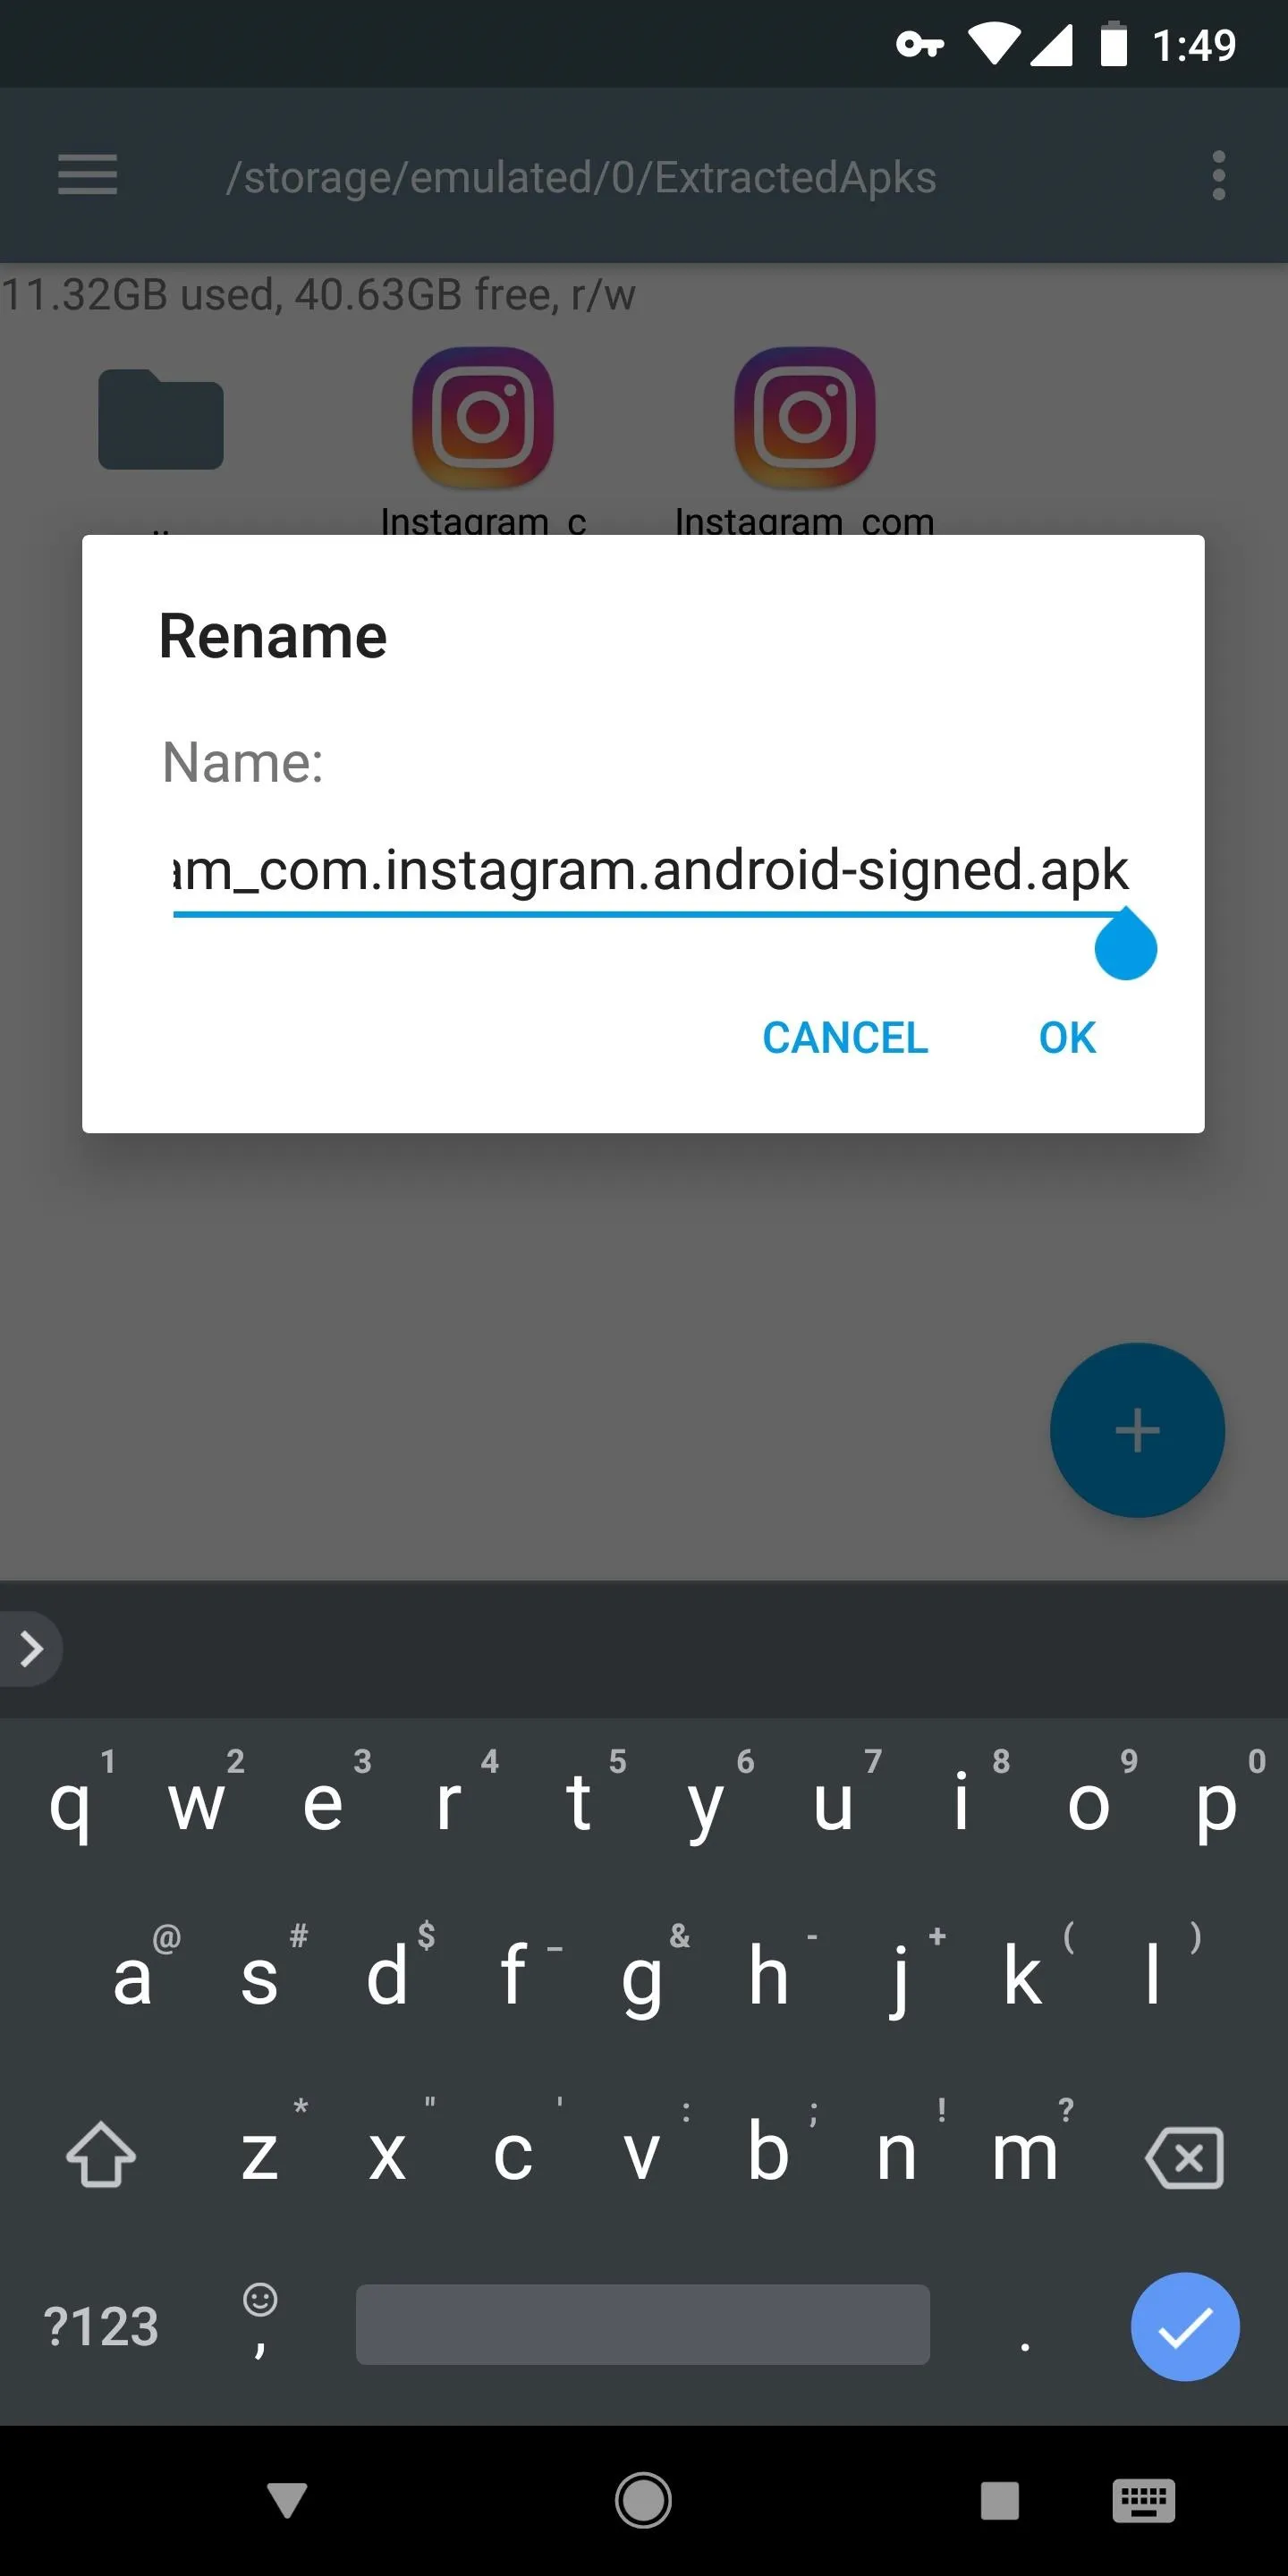
Next, use any file browser app to navigate to the ExtractedApks folder on your internal storage partition. You'll see two APKs here — one is the original that you extracted in Step 3, and the other is the version you signed in Step 4. The names will be very similar, so to be sure you're installing the right one, long press it and choose "Rename." Verify that the APK file name ends with the word "signed." If it doesn't, check the other APK.
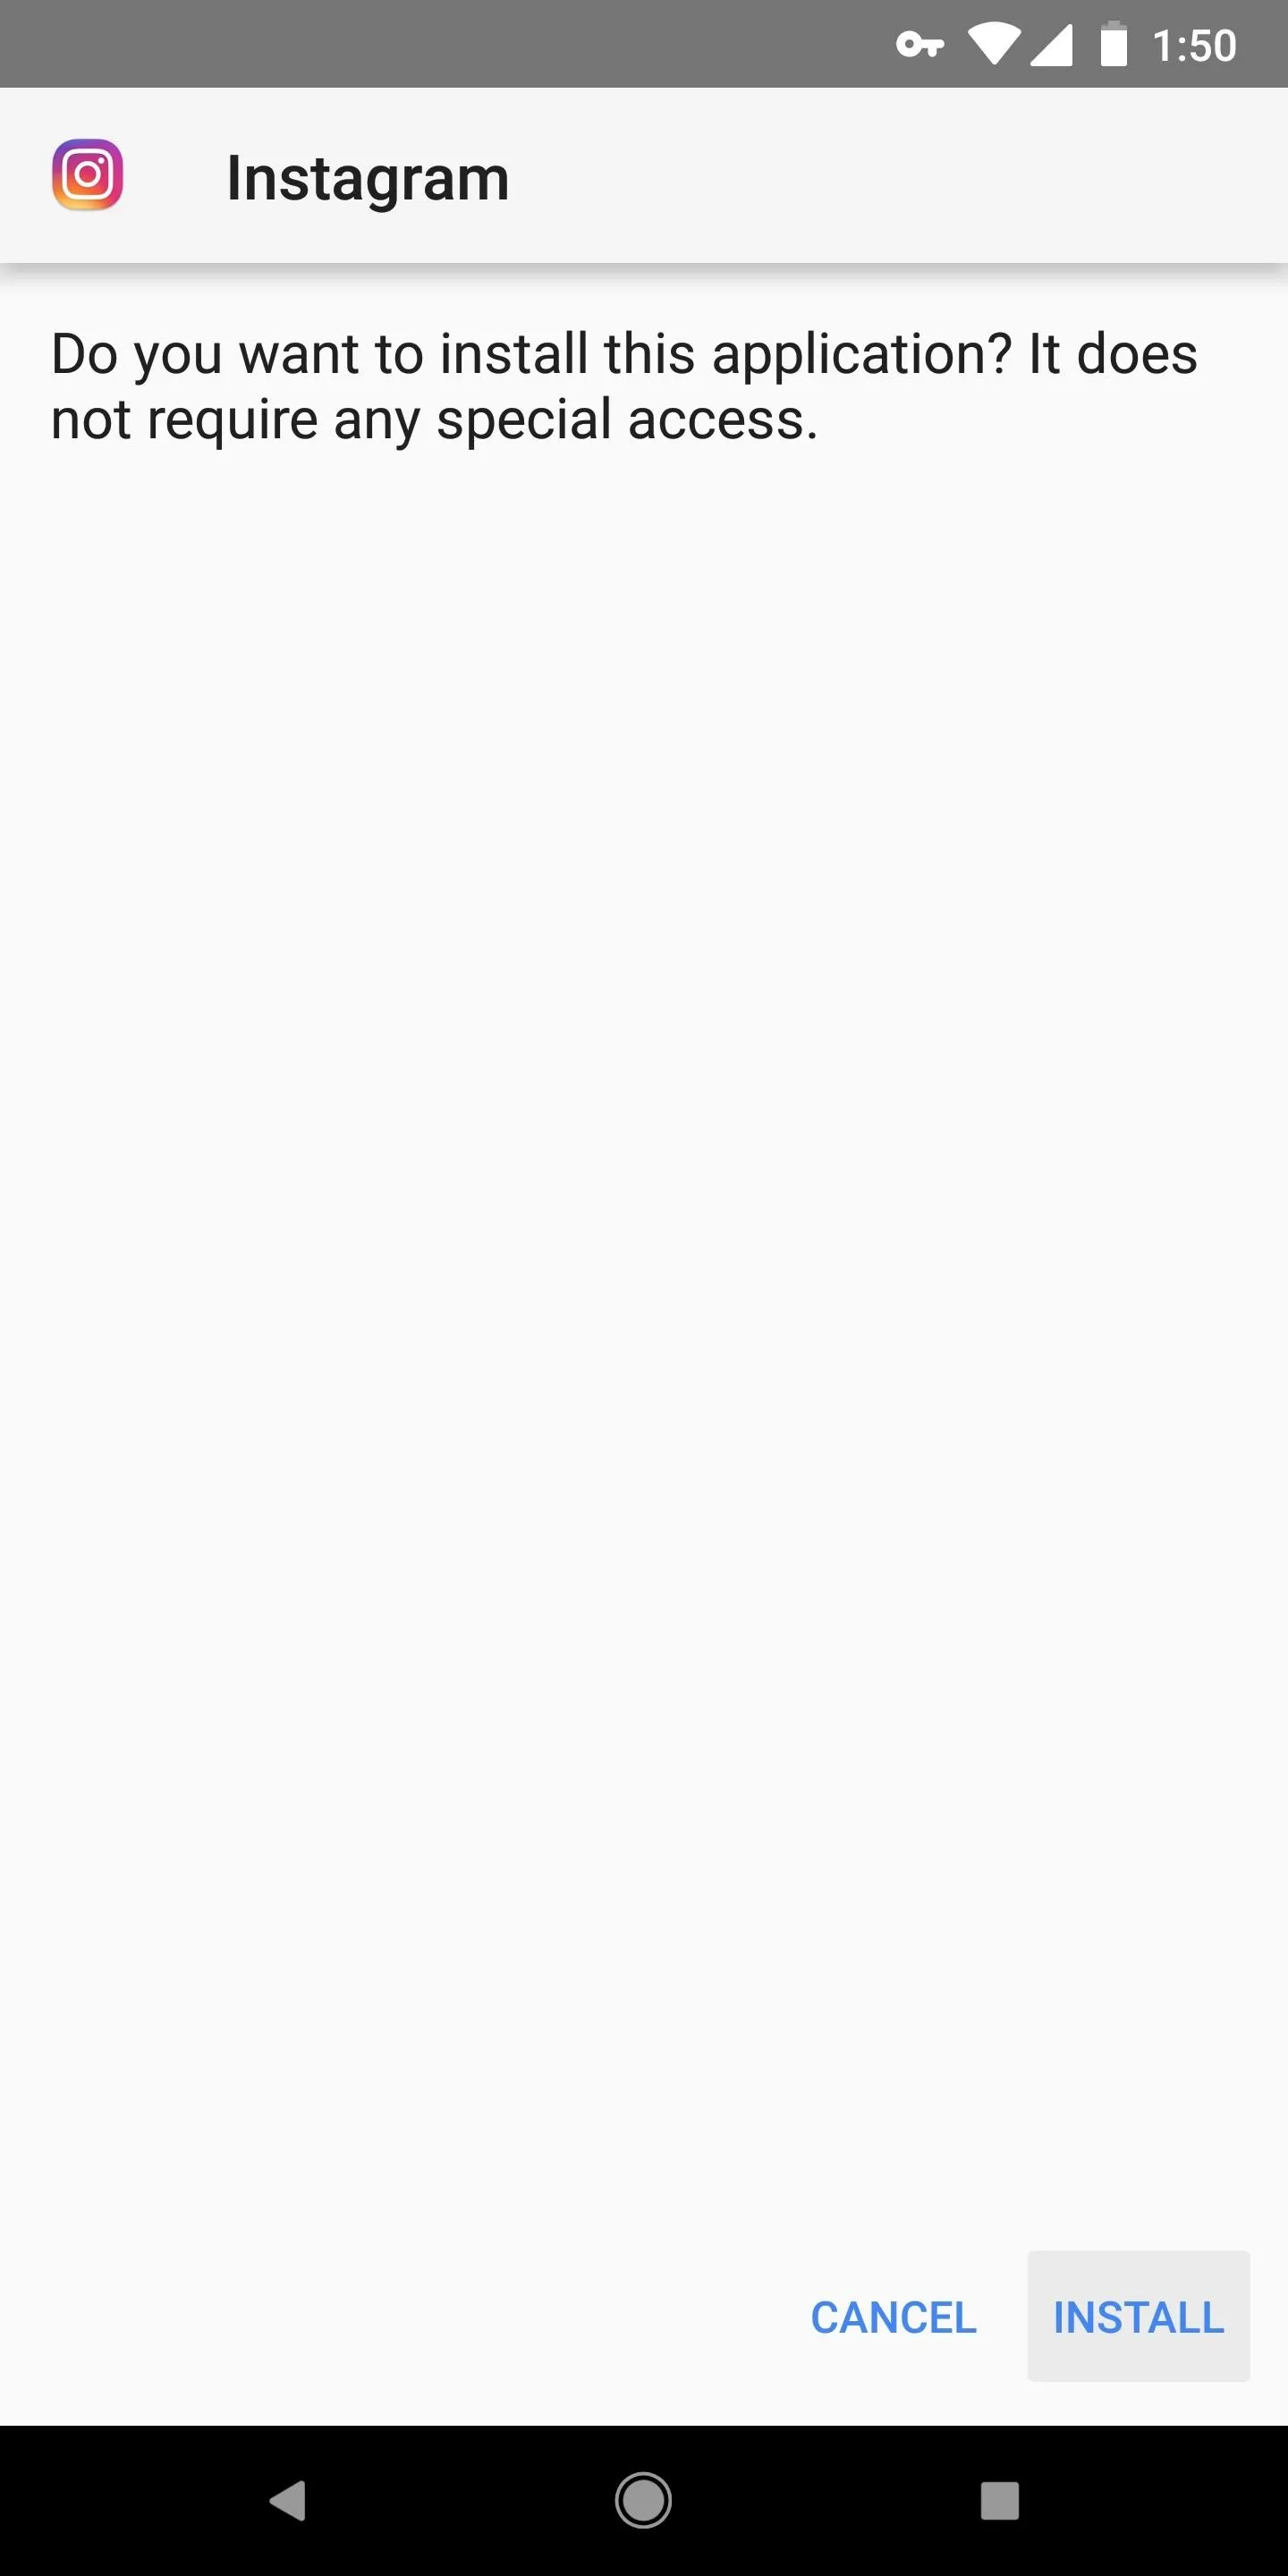
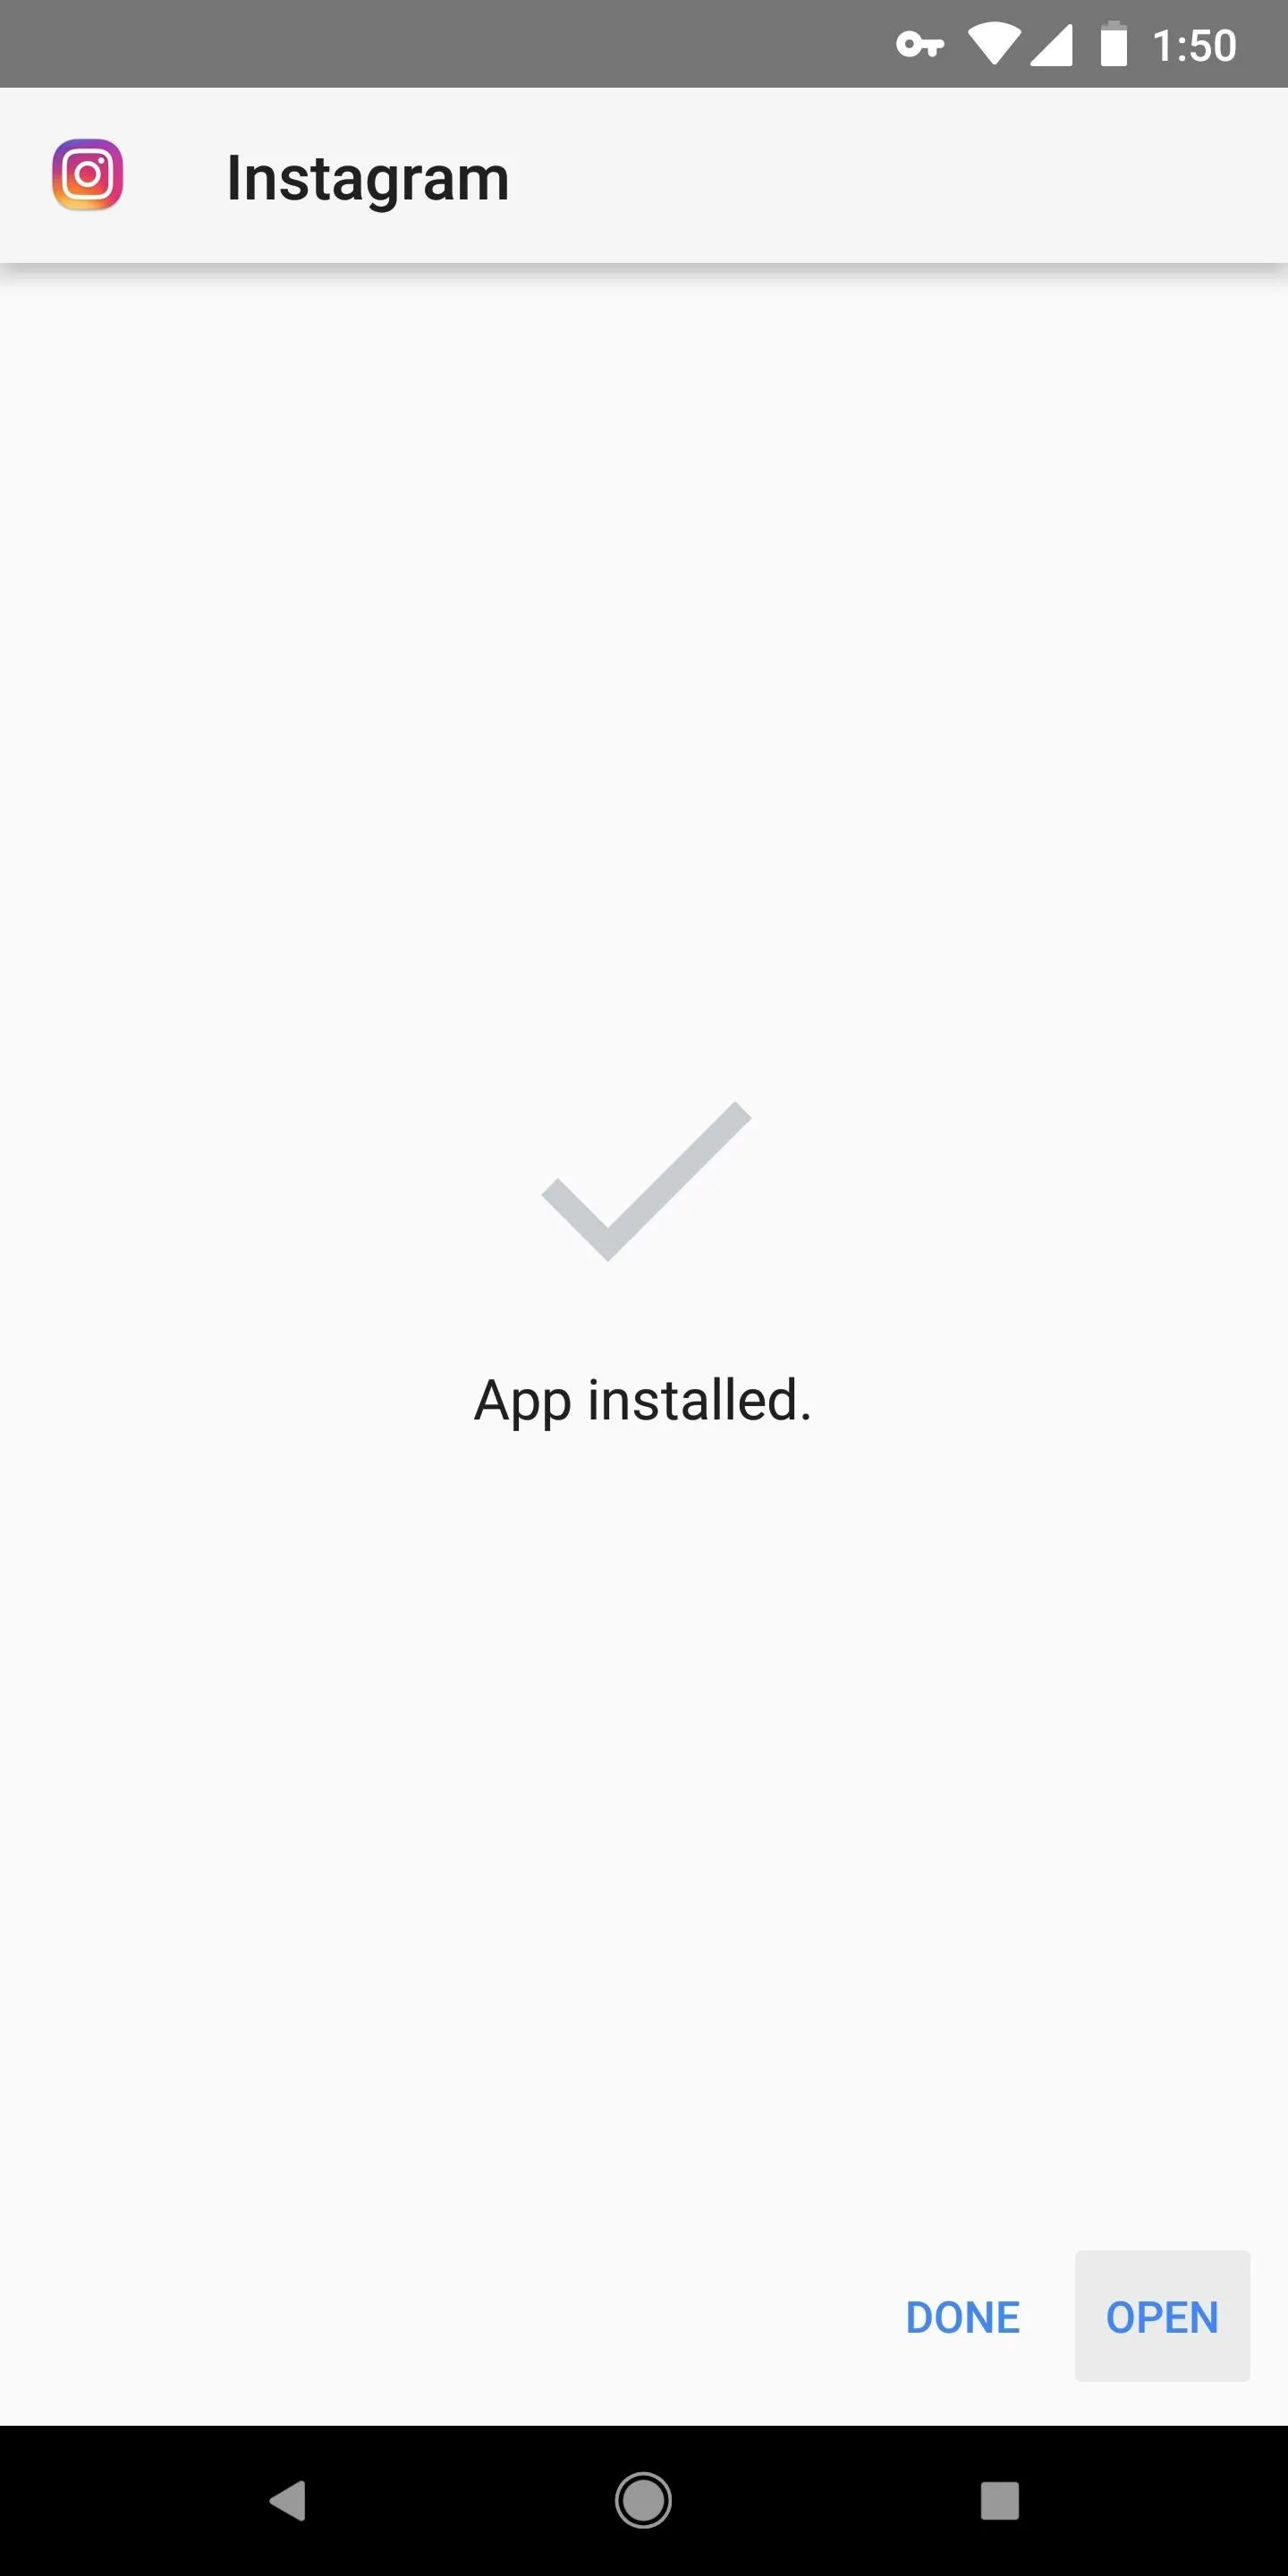
When you're sure you've located the signed APK, make sure you have Unknown Sources enabled. From there, simply tap the file to open it, and you'll be prompted to install your custom-signed version of the app. Press "Install" and then "Open."
Enjoy Automatic Updates Again
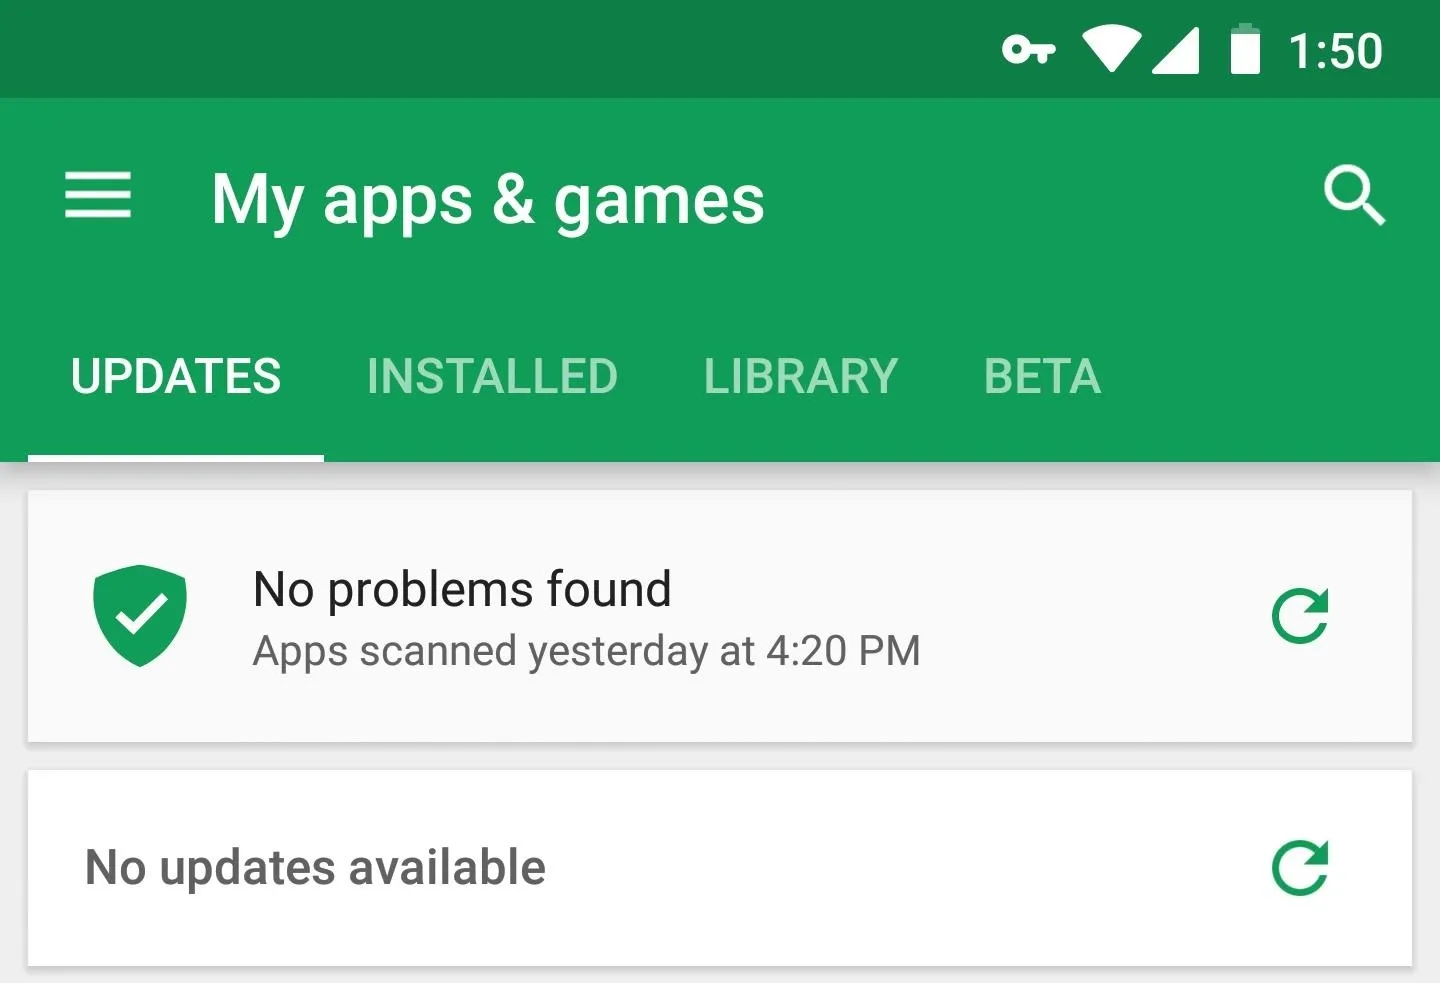
Finally, head to the "My Apps" section in your Play Store app. If everything went off without a hitch, you'll see that no updates are available — even though you have the older version of the app installed. From now on, you can tap that "Update All" button whenever you want, but your modified APK will not update. You can even enable automatic updates if you'd like!
This works because of the different signature you applied to the APK in Step 4. Signatures are a security measure Android uses to ensure that malicious developers can't impersonate other apps. If the signatures of two APKs don't match, even if everything else is the same, Android will refuse to install the update.
The only way to install an update to an existing app is if the signature matches the original, but matching signatures can only be created by the original developer. So by signing the APK with your own custom signature, you've essentially tricked the Play Store into thinking you don't have that exact app installed anymore, thus stopping updates.
- Follow Gadget Hacks on Facebook, Twitter, YouTube, and Flipboard
- Follow WonderHowTo on Facebook, Twitter, Pinterest, and Flipboard
Cover image and screenshots by Dallas Thomas/Gadget Hacks


Comments
Be the first, drop a comment!