
There are a few different ways to install Magisk. If you're already rooted and you just want access to Magisk modules, you can use Magisk Manager to install the Magisk framework. Or, if you want to pass SafetyNet on a rooted device, you can switch from SuperSU to Magisk SU. But the best way to do it is to start fresh by installing Magisk on a non-rooted phone using TWRP.
The main reason we prefer this method is because it's the cleanest. No need to remove old root binaries, just flash the Magisk ZIP and you'll be good to go. In doing so, you'll actually root your phone and install Magisk in one shot, plus you're far more likely to pass SafetyNet's CTS Profile check this way.
Step 1: Install TWRP
This method works by flashing the Magisk ZIP in TWRP, so you'll need to install the custom recovery before you begin. Much like Magisk itself, there are multiple ways to install TWRP. If you're rooted, you can use this method, but note that you'll have to do a full unroot in SuperSU after you're done.
If your phone has a Fastboot interface (most phones do), you can use this guide to install TWRP. Just follow steps 1–5 exactly as they're depicted, then use Method 2 in Step 7 to flash the TWRP image file for your particular model.
If your phone does not have a Fastboot interface, the instructions for installing TWRP will vary. We've covered many of these methods in separate tutorials that are linked out in the following guide, so this is a perfect place to start:
Step 2: Install Magisk Manager
Once you've got TWRP installed successfully, boot into Android and install the Magisk Manager app. This isn't the Magisk framework, which provides root access and the ability to install Magisk modules. It's simply an app for downloading and updating the Magisk framework and managing modules.
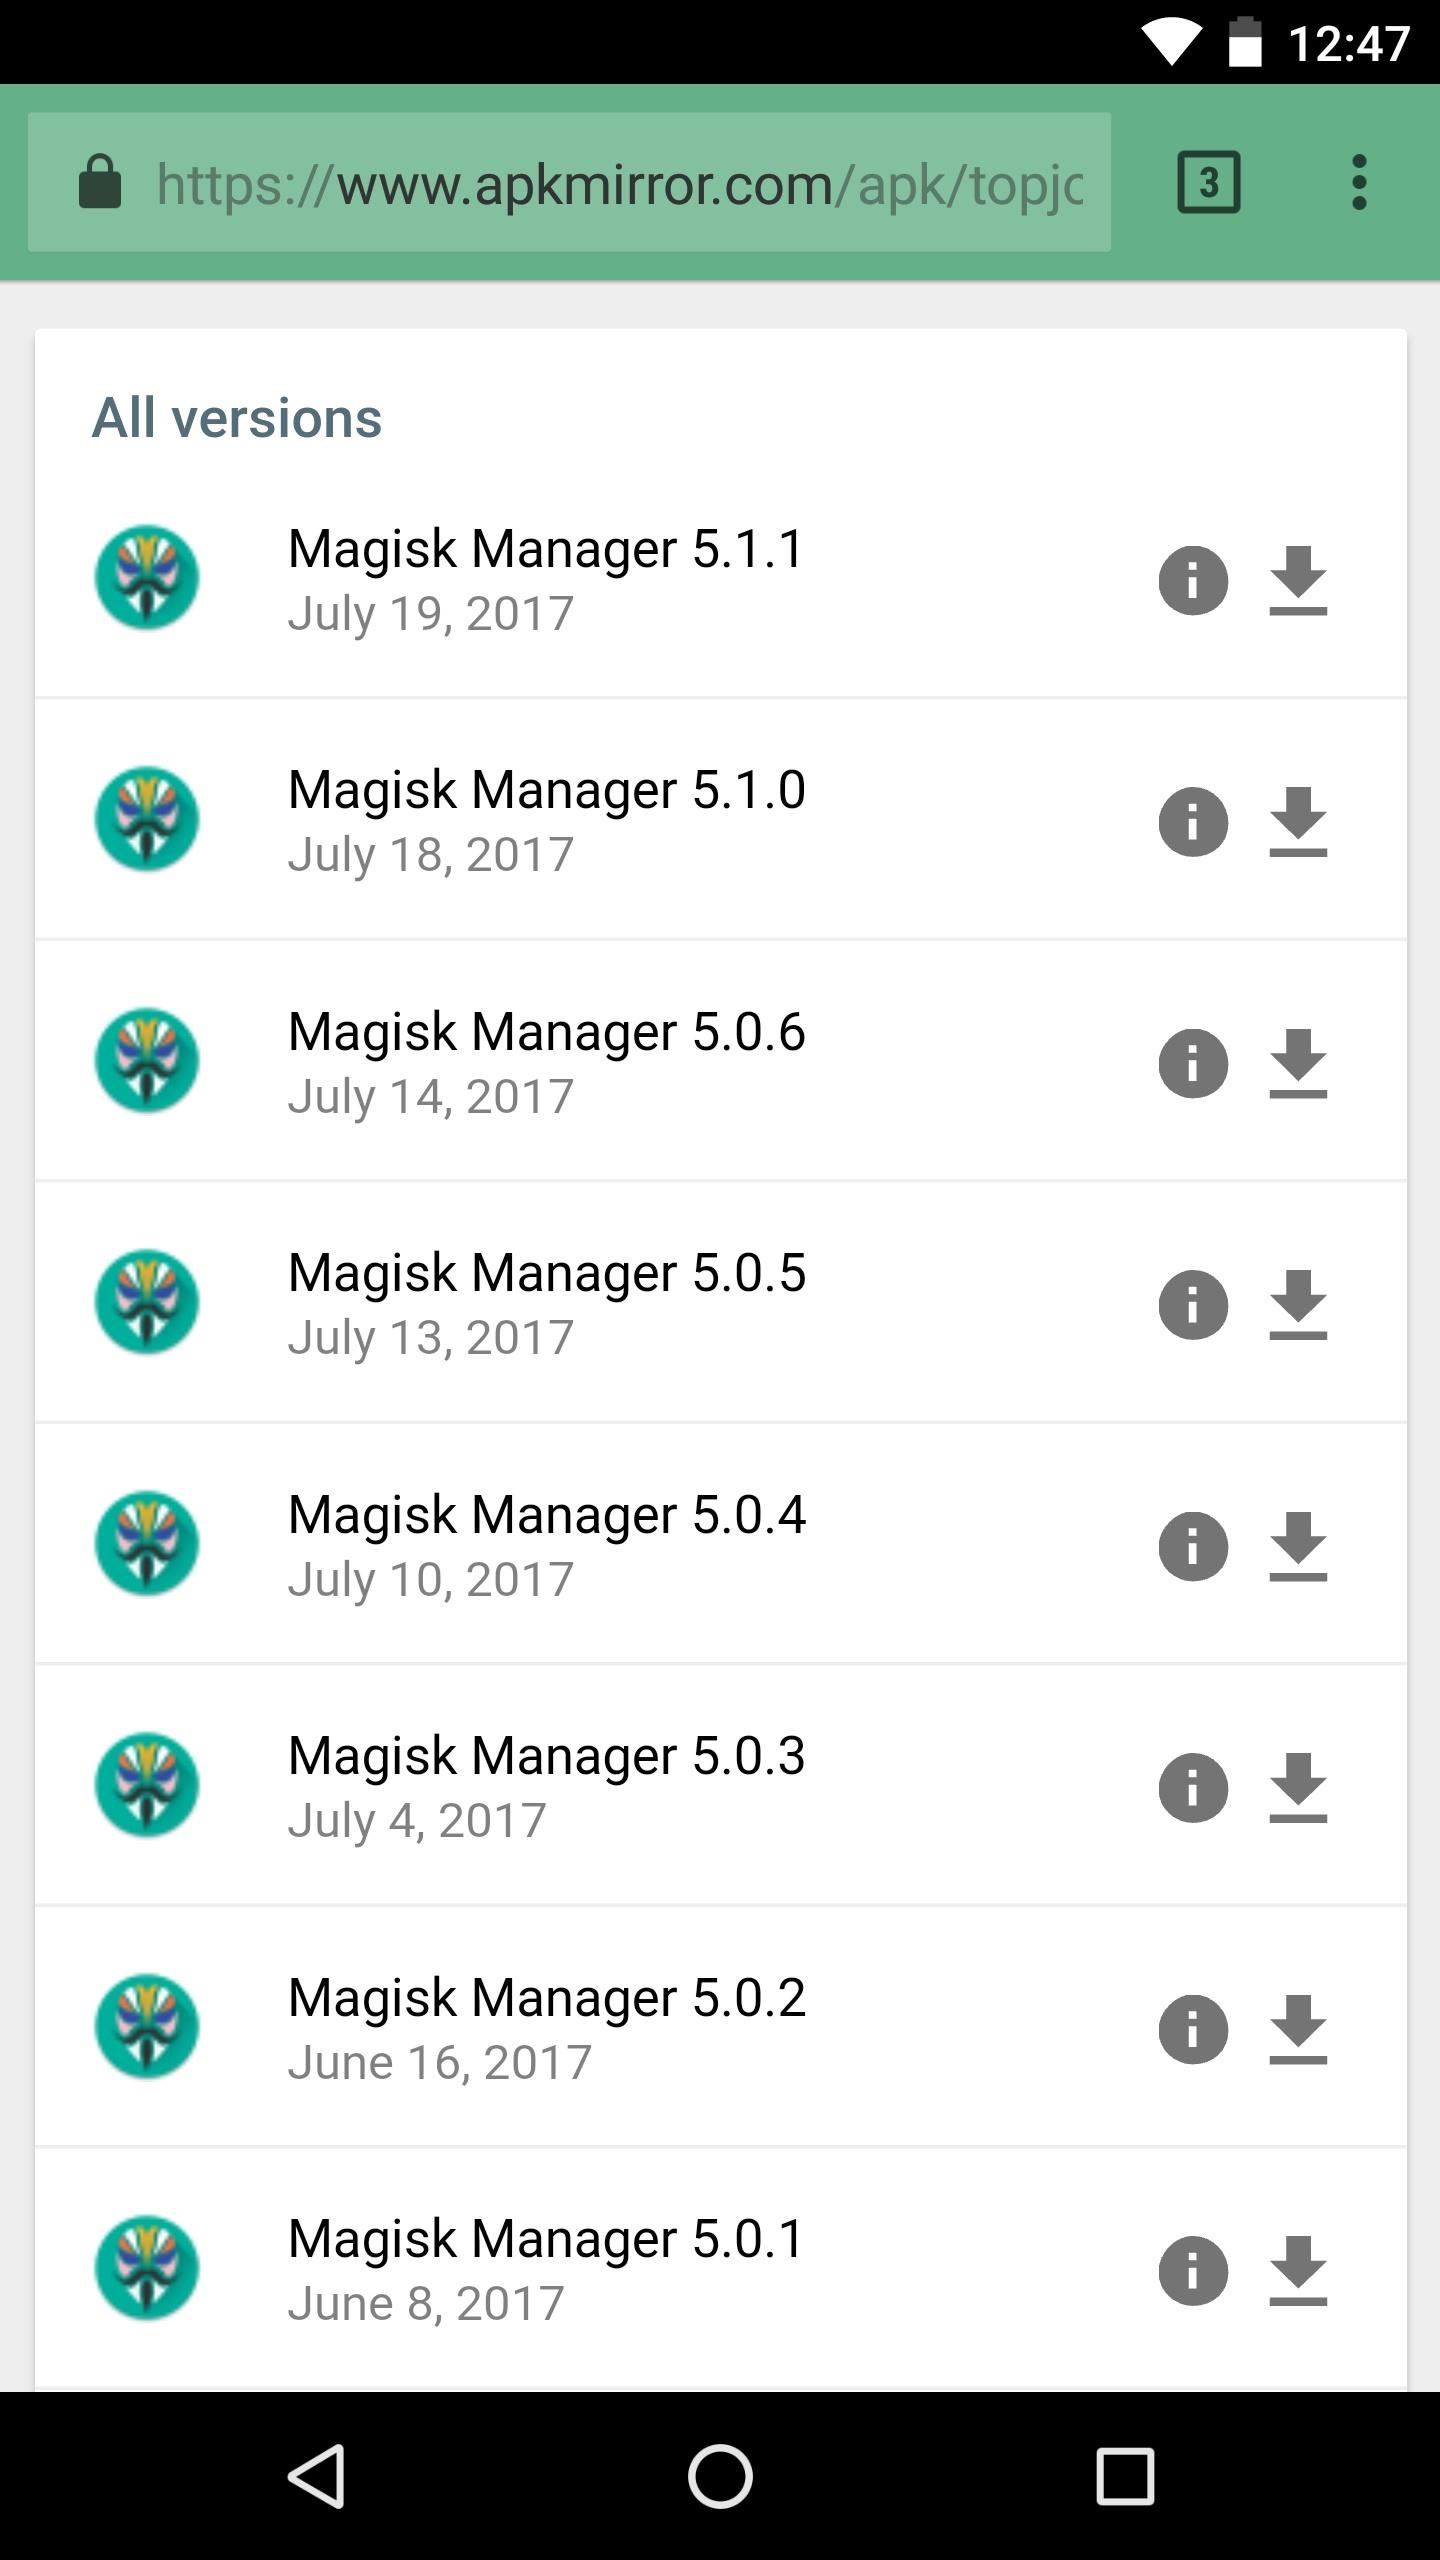
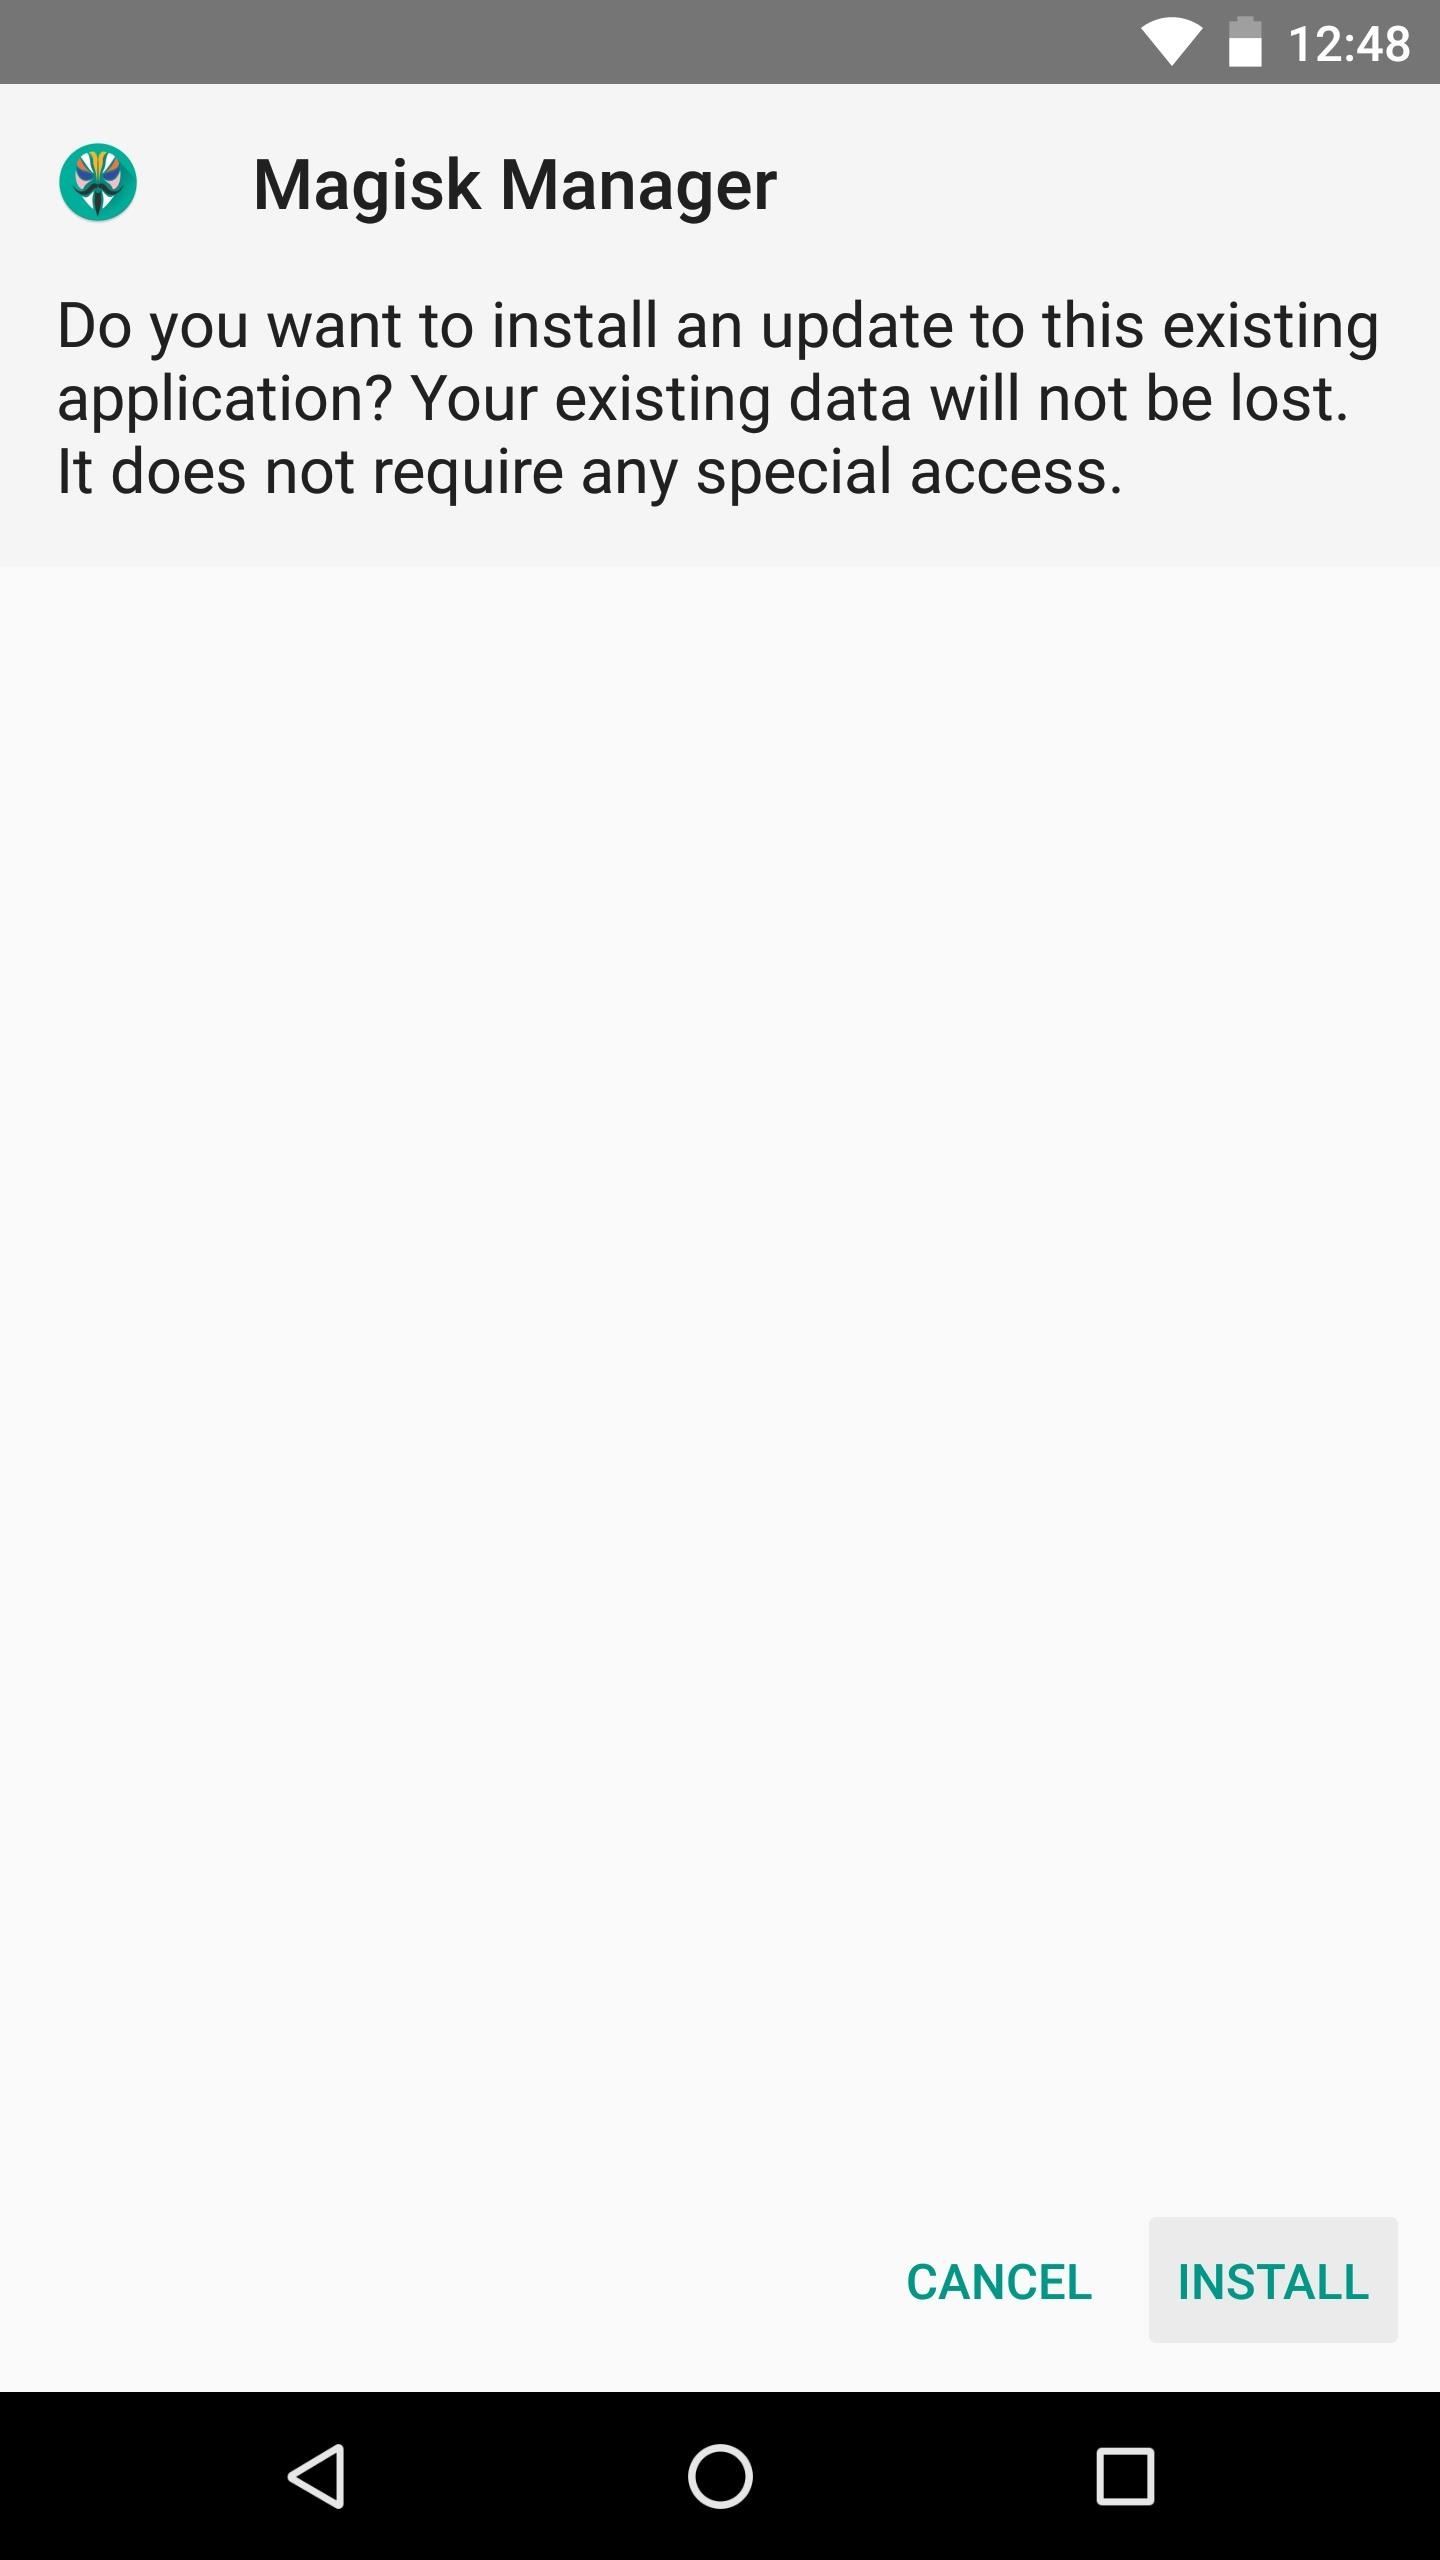
The Magisk Manager app is no longer available on the Play Store, so you'll need to have "Unknown Sources" enabled to install it. Other than that, just head to the following link, which will show you all available versions of the Magisk Manager app. Download the newest version, then when that's finished, tap the Download complete notification to launch the APK. Finally, press "Install" when prompted.
Step 3: Download the Magisk ZIP
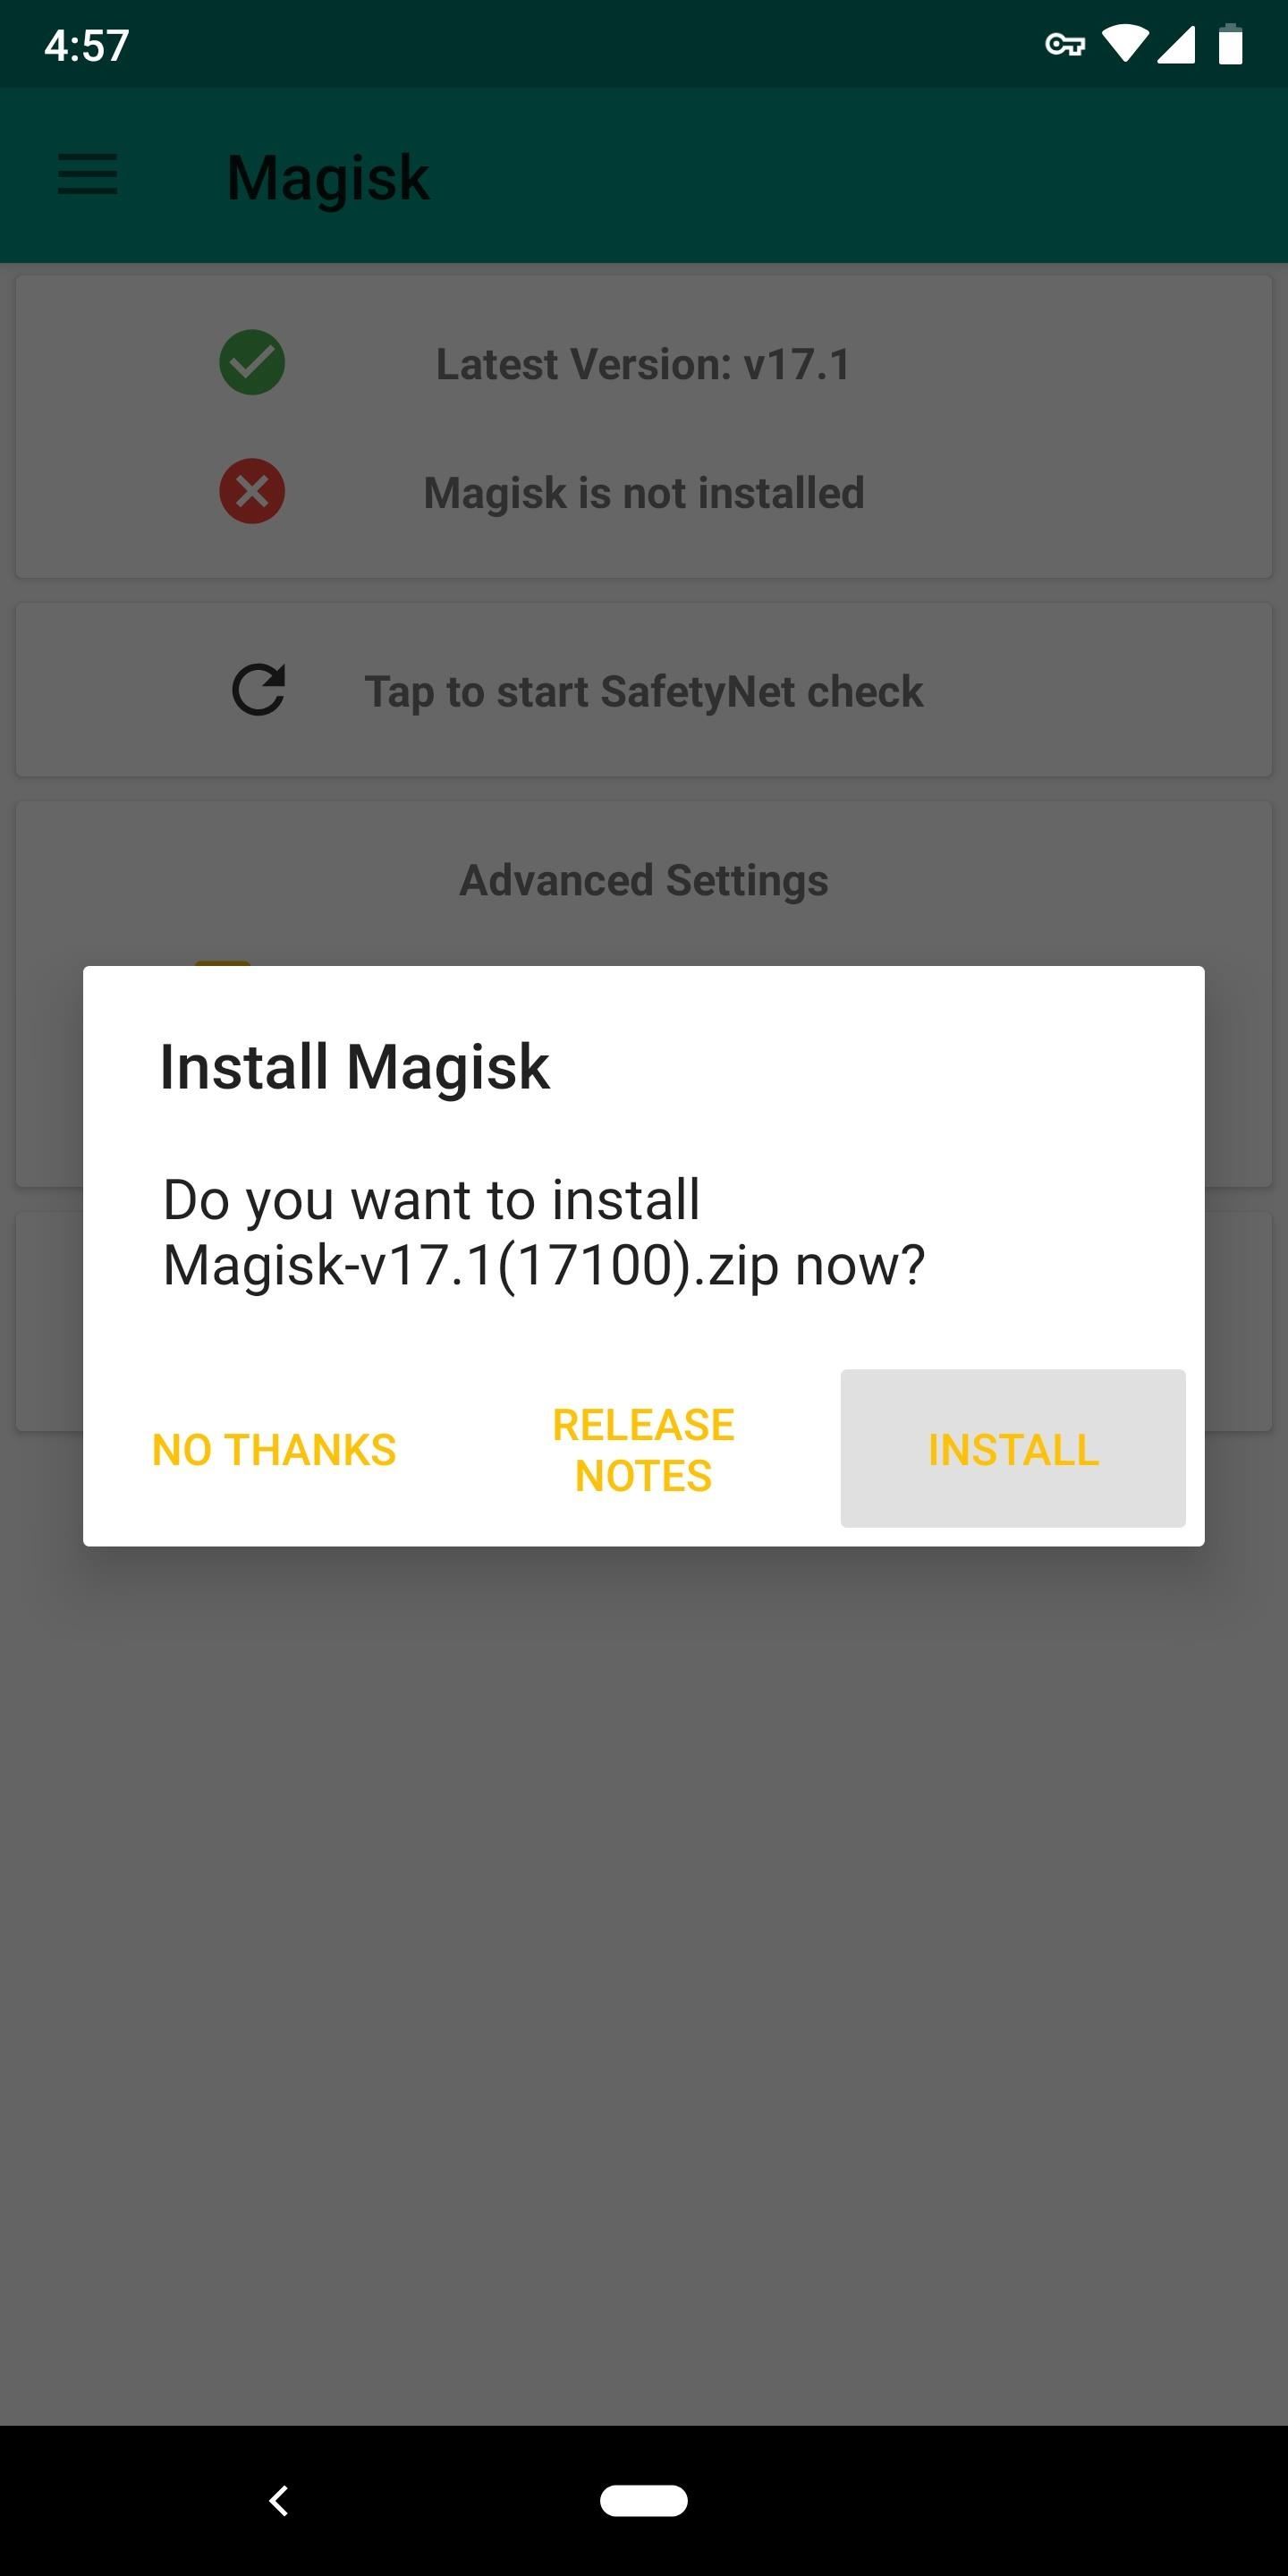
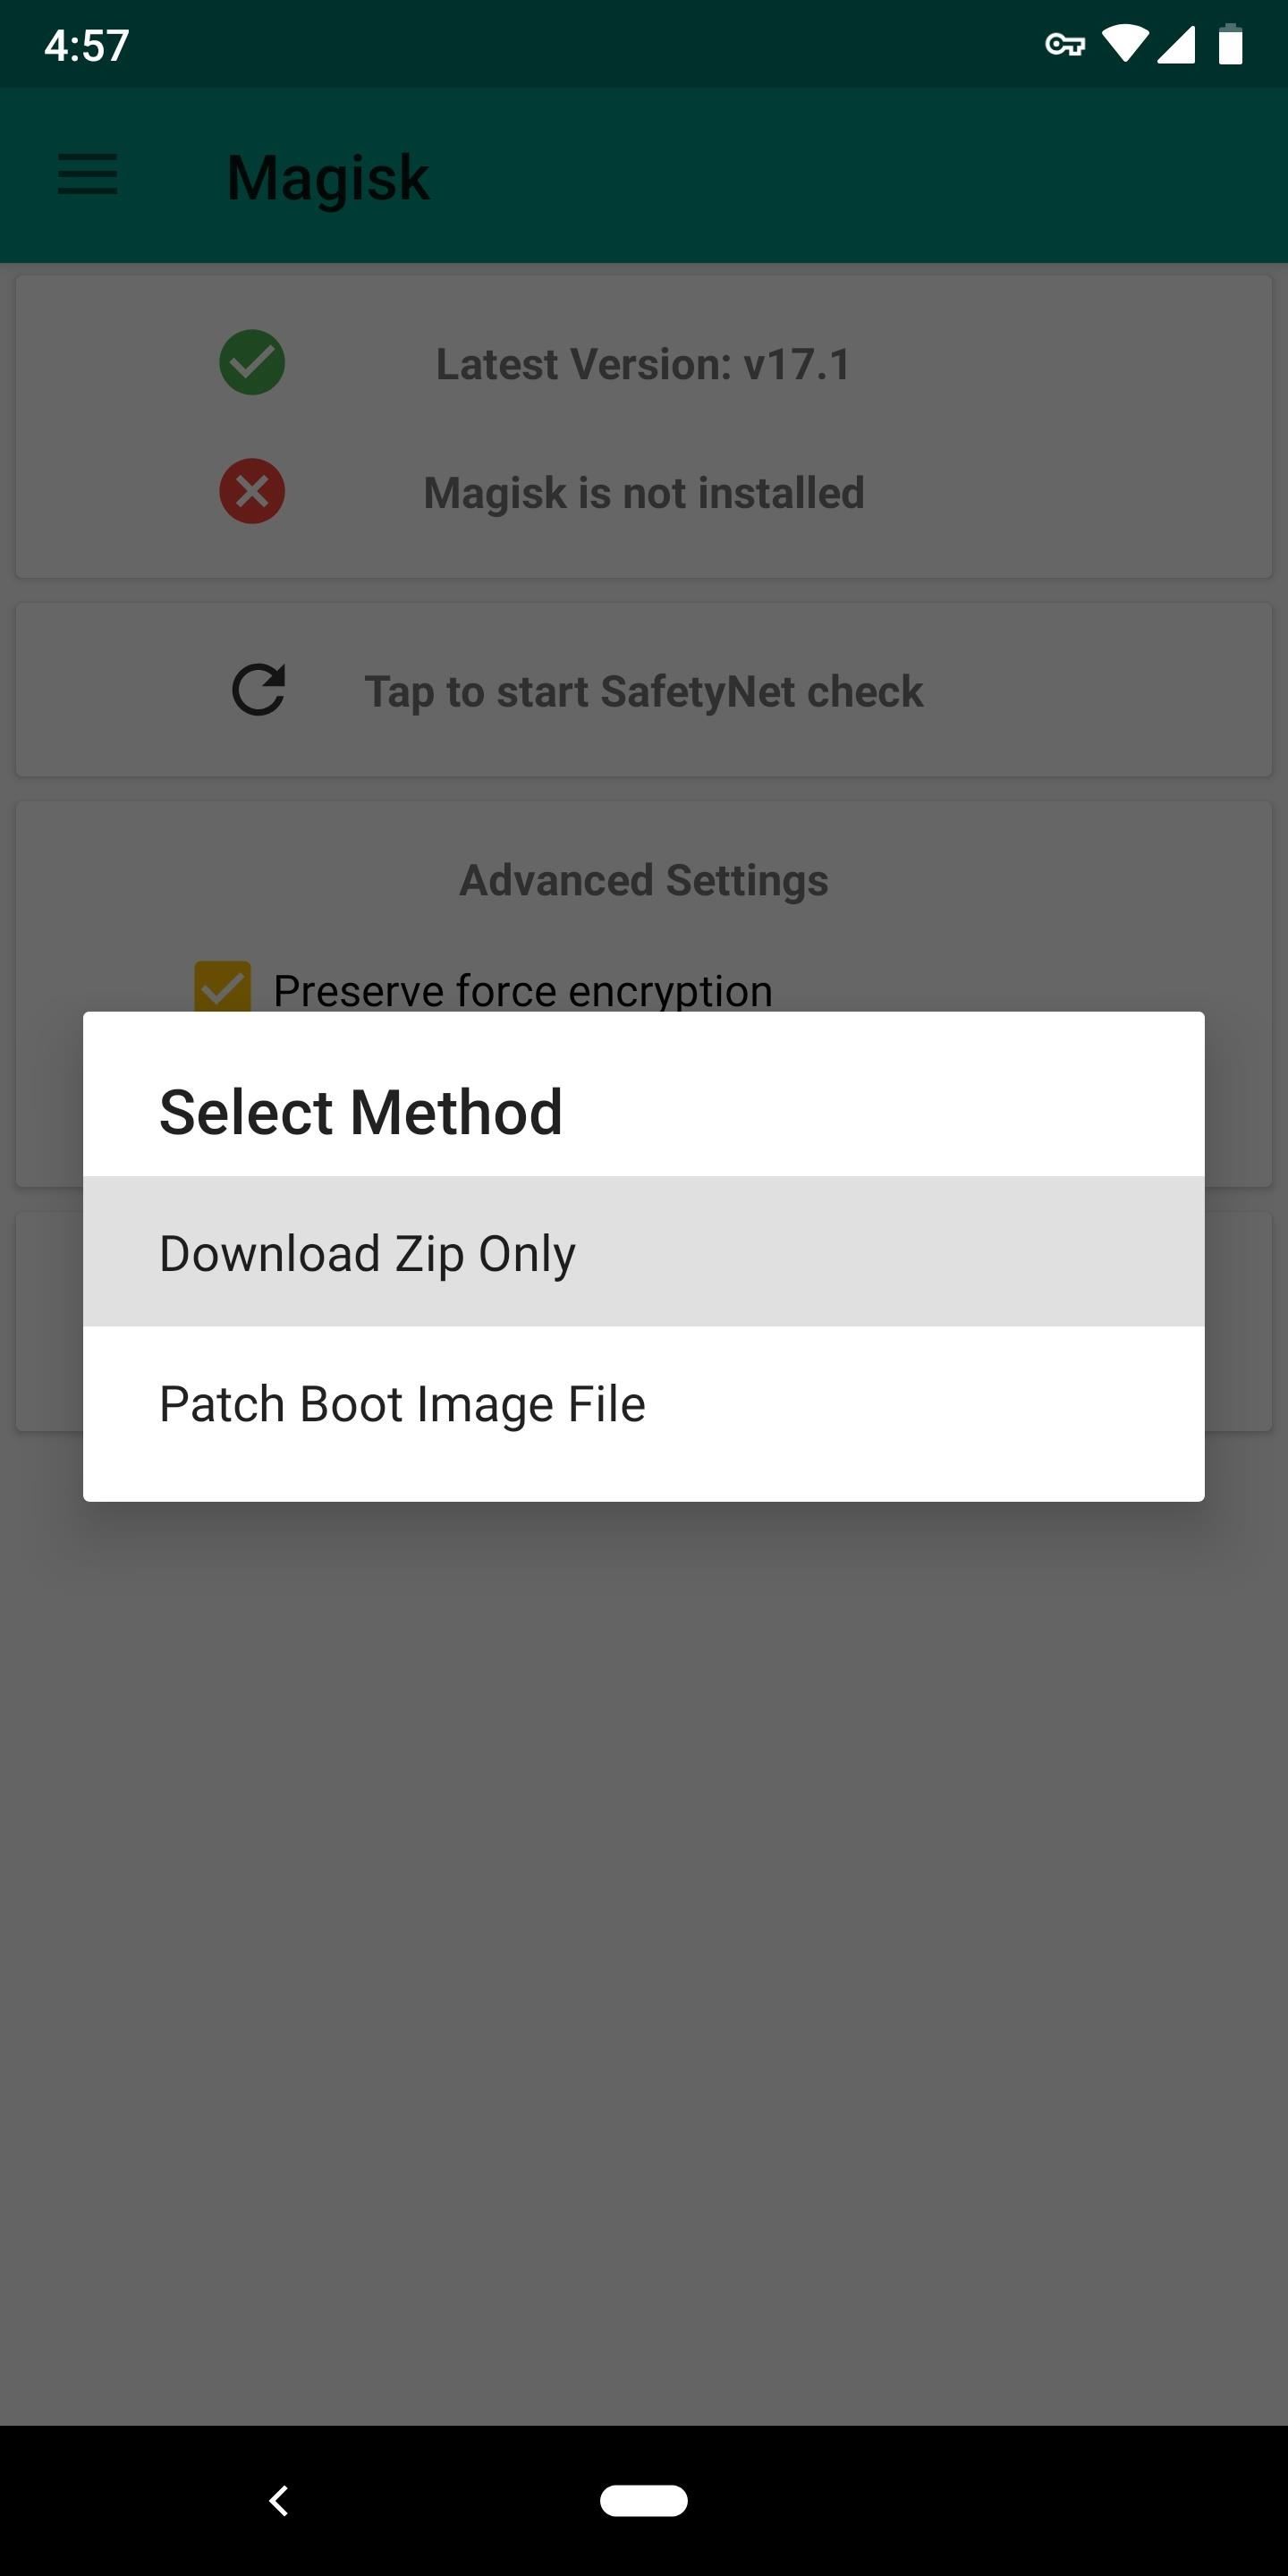
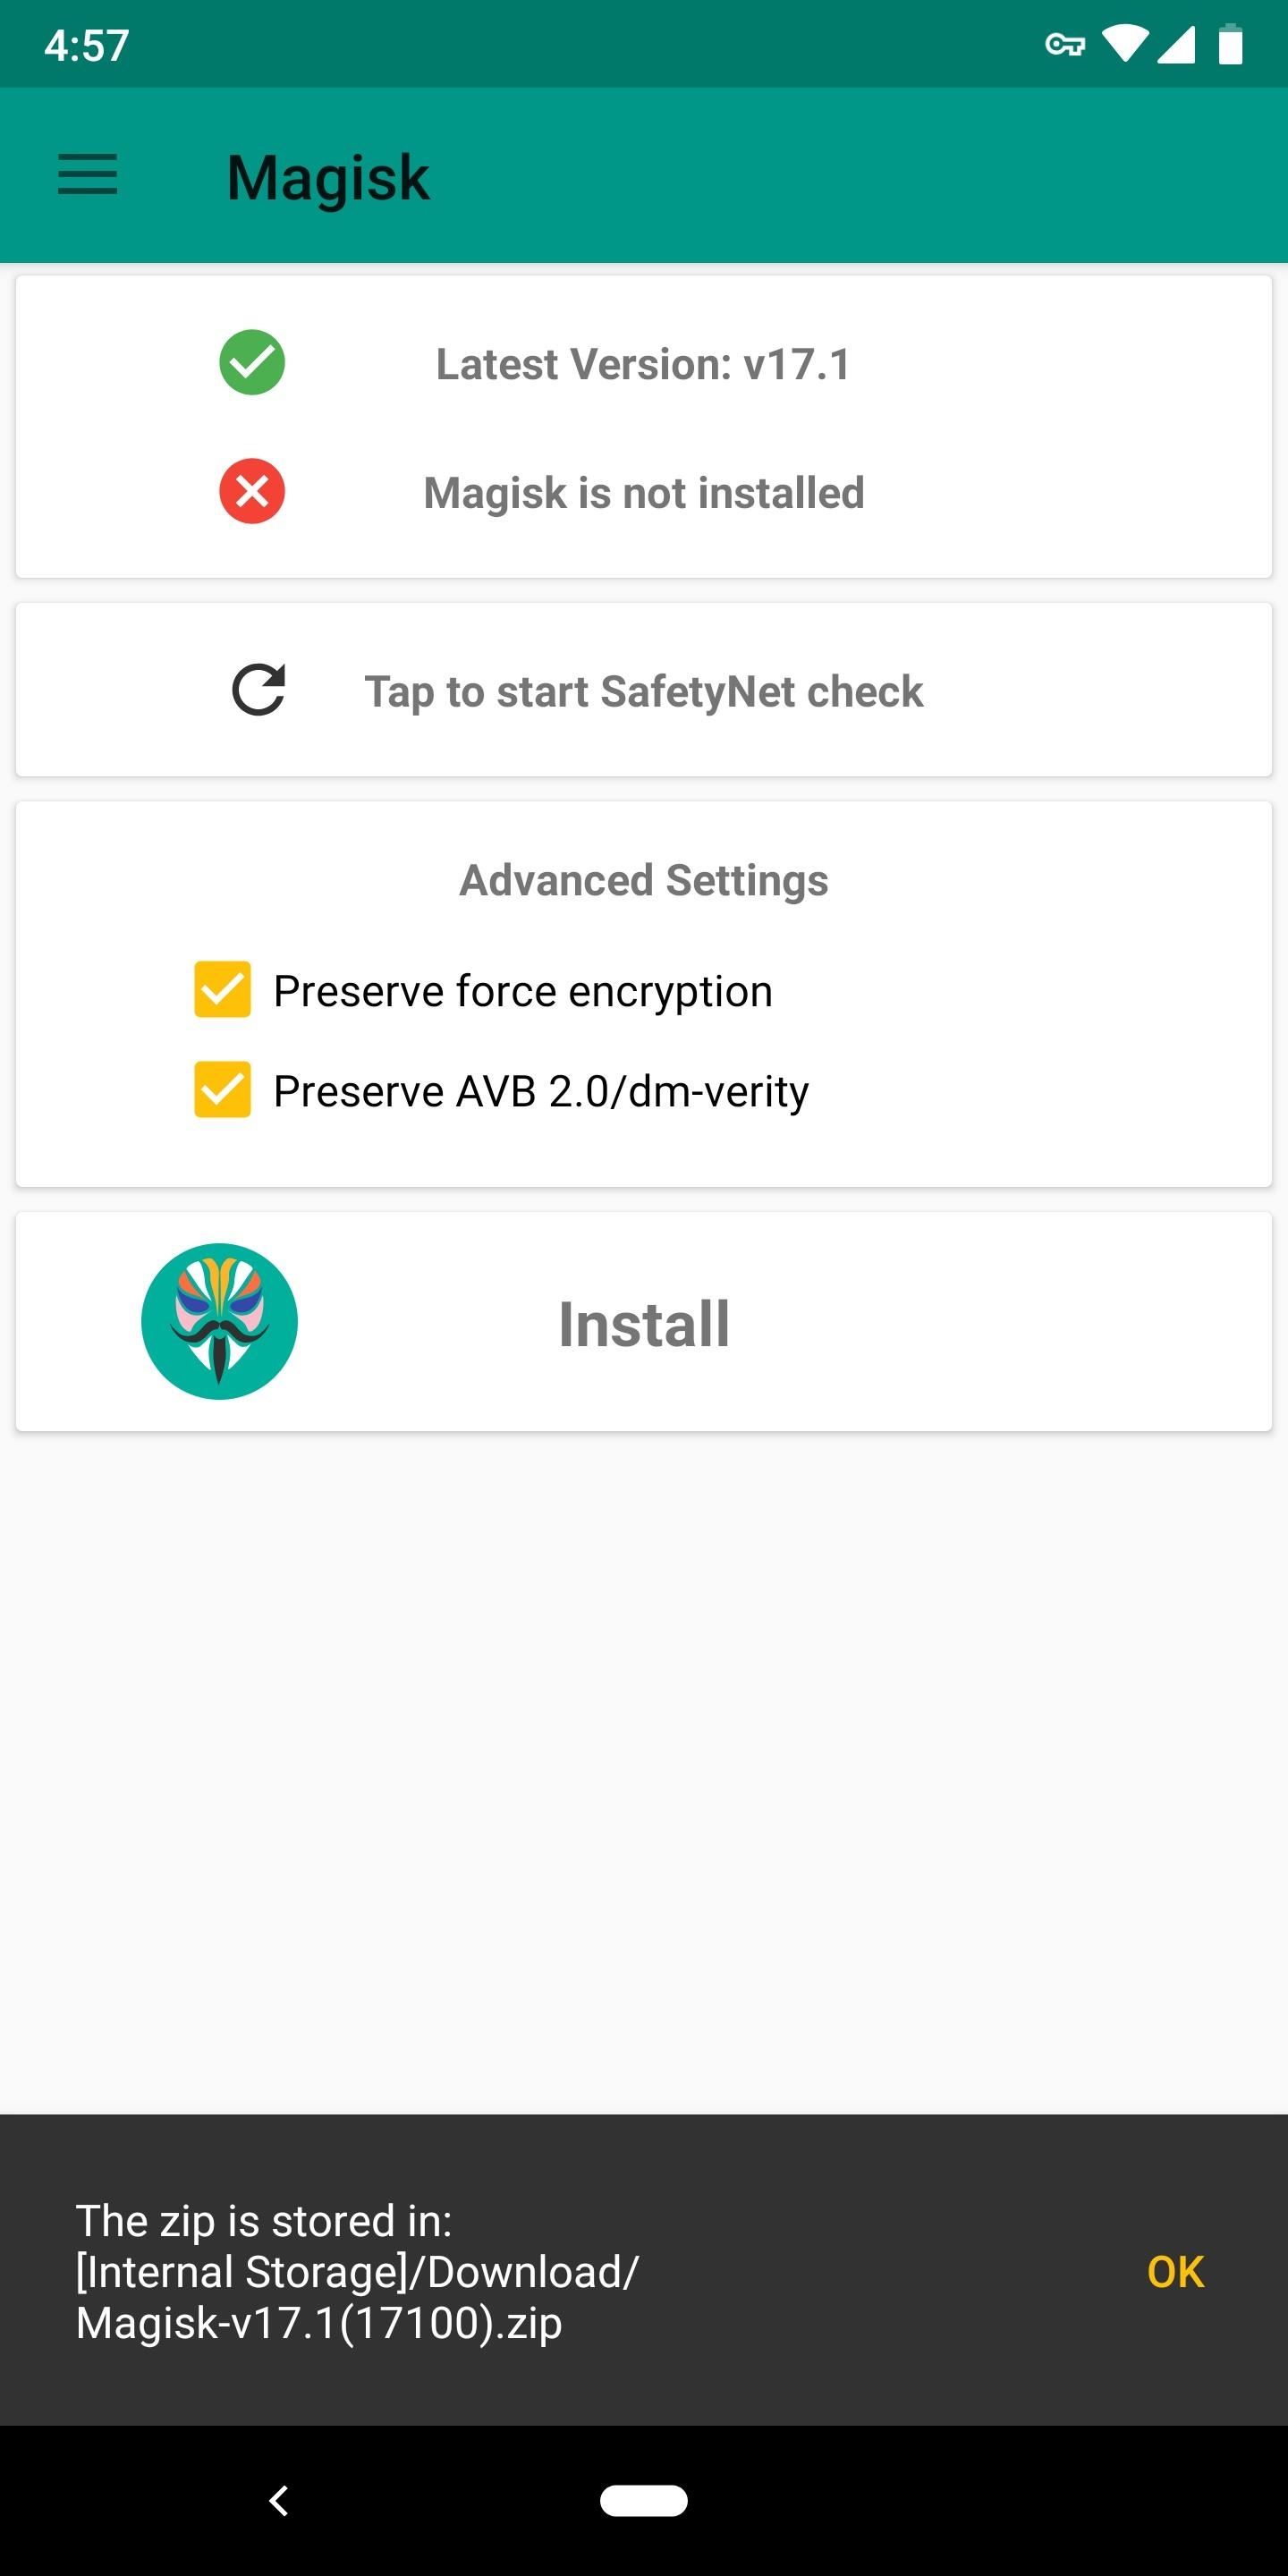
Next, open the Magisk Manager app. You'll get a popup asking if you'd like to install the Magisk framework. Tap "Install" here, then hit "Download Zip Only" on the subsequent popup. Wait until you see a message at the bottom of the app's main menu stating that the file has been downloaded.
Step 4: Flash Magisk in TWRP
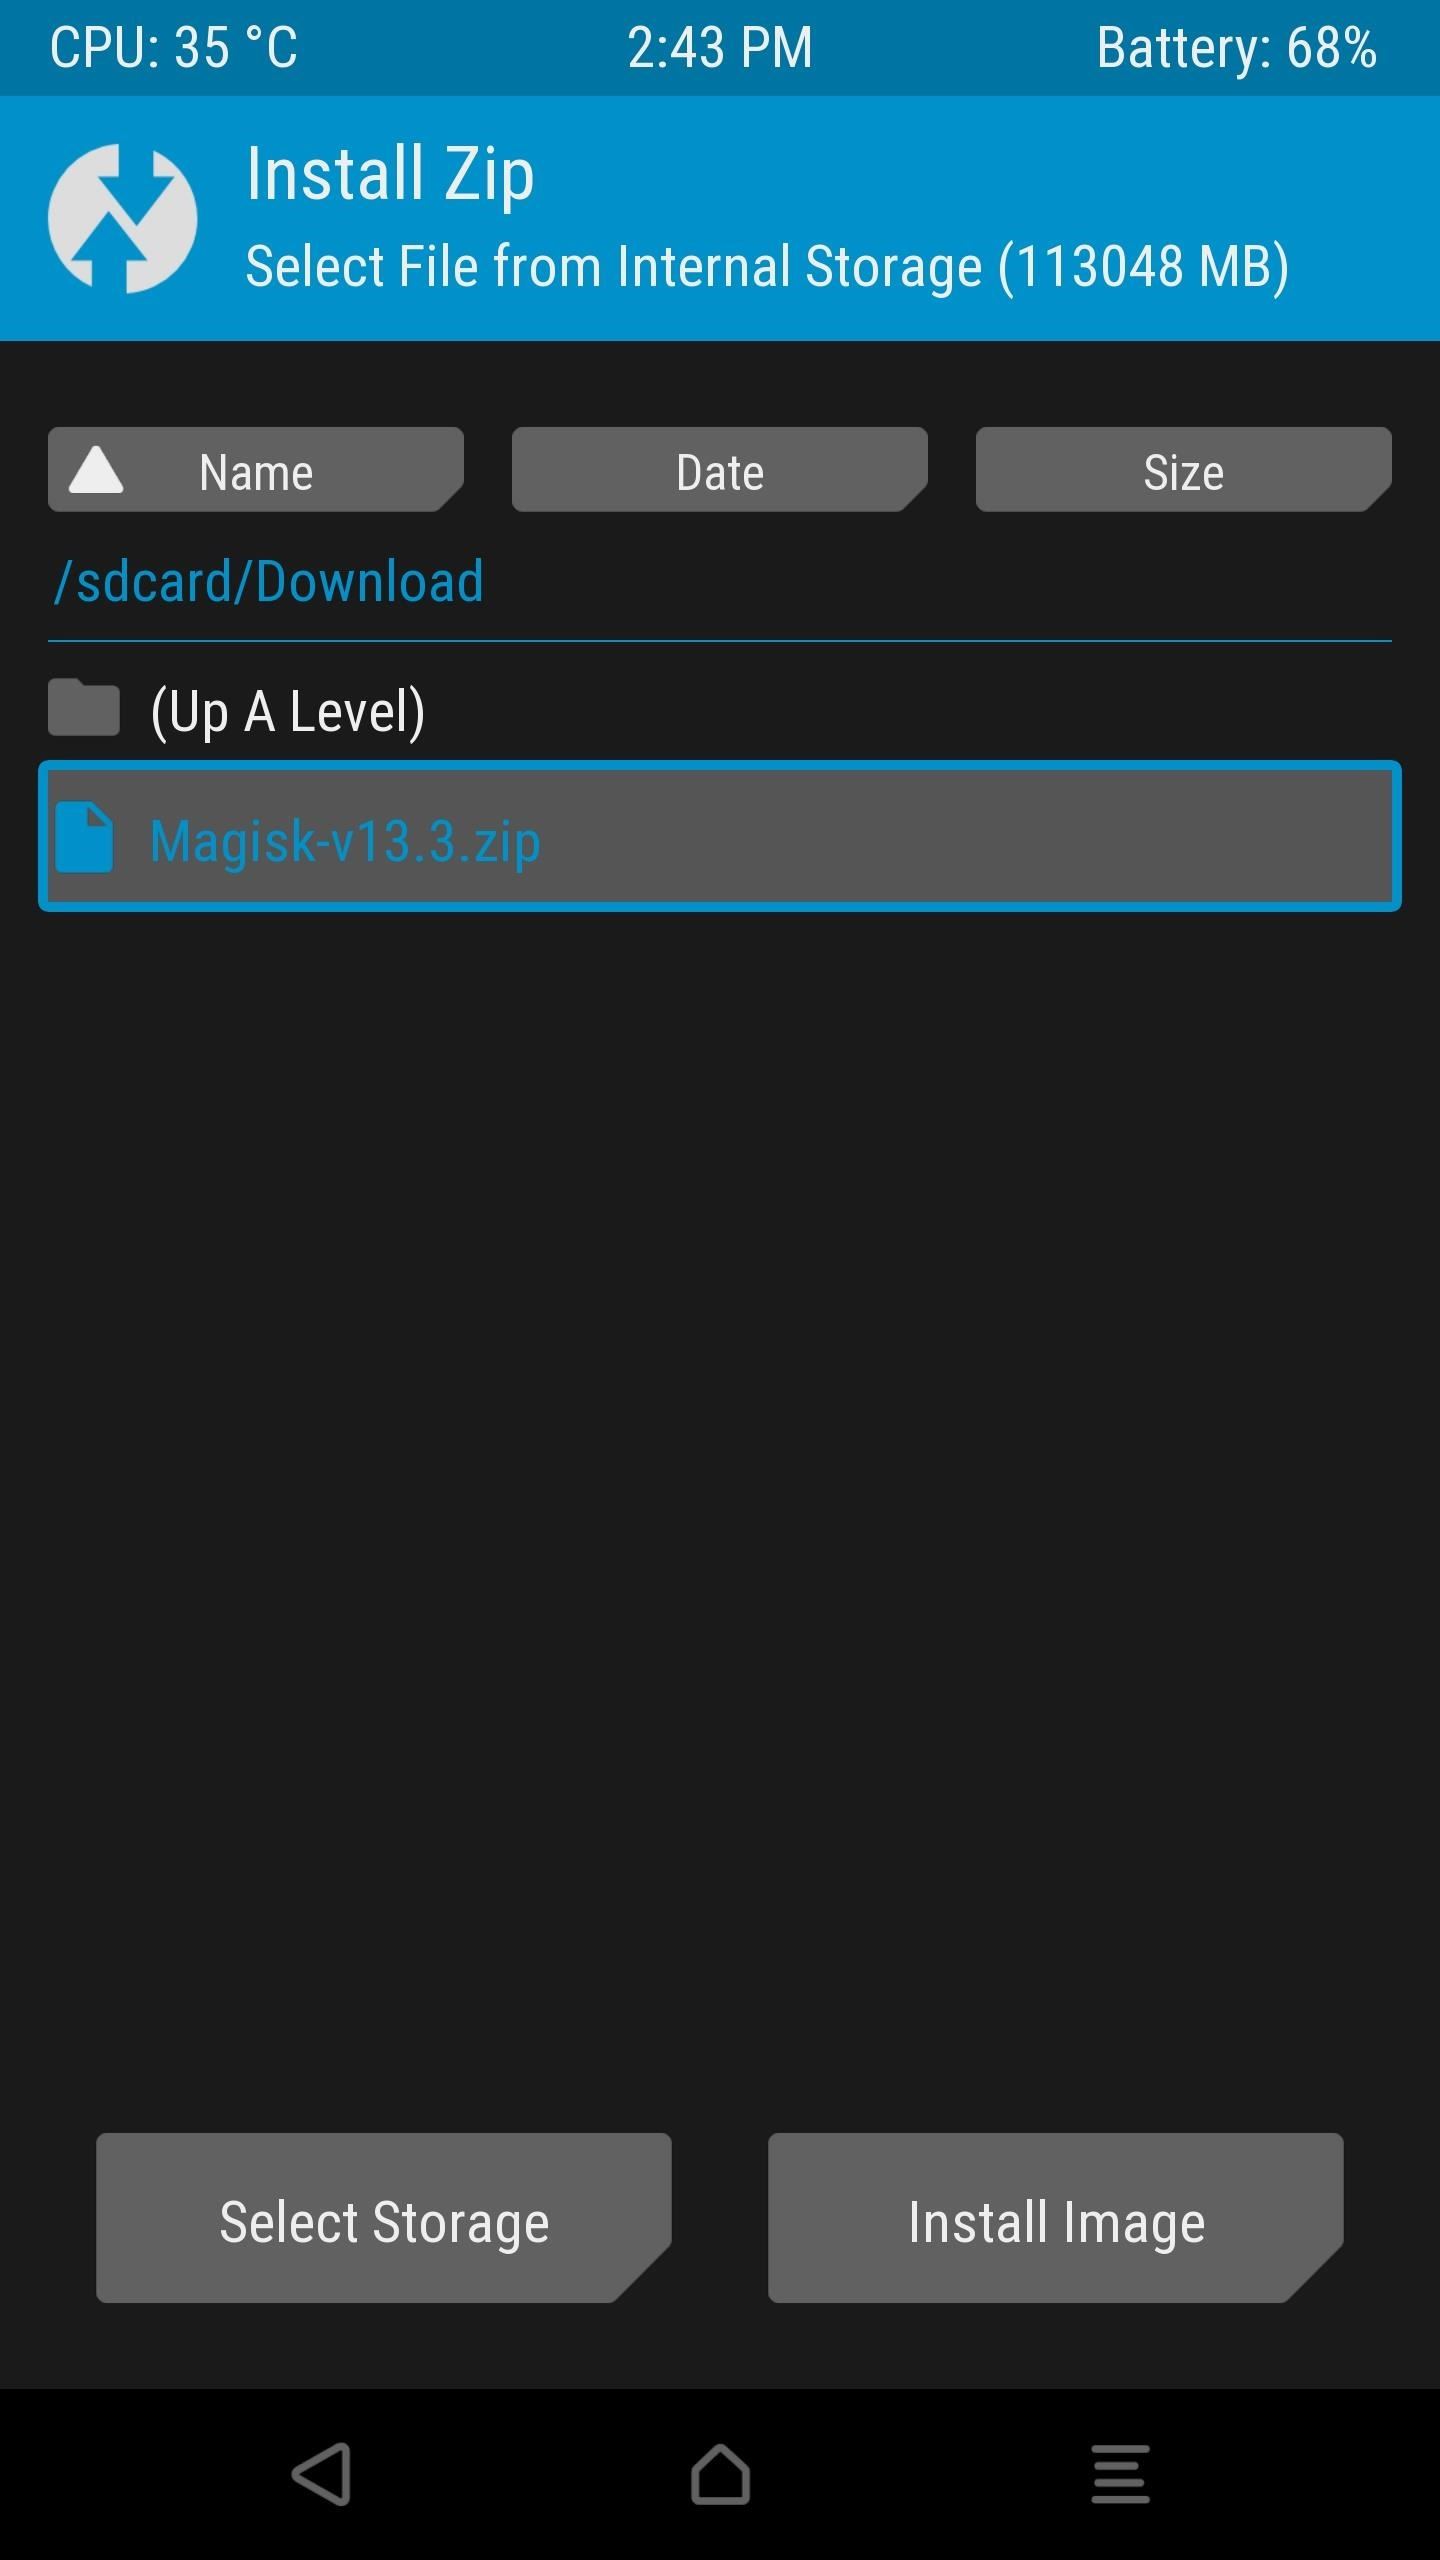
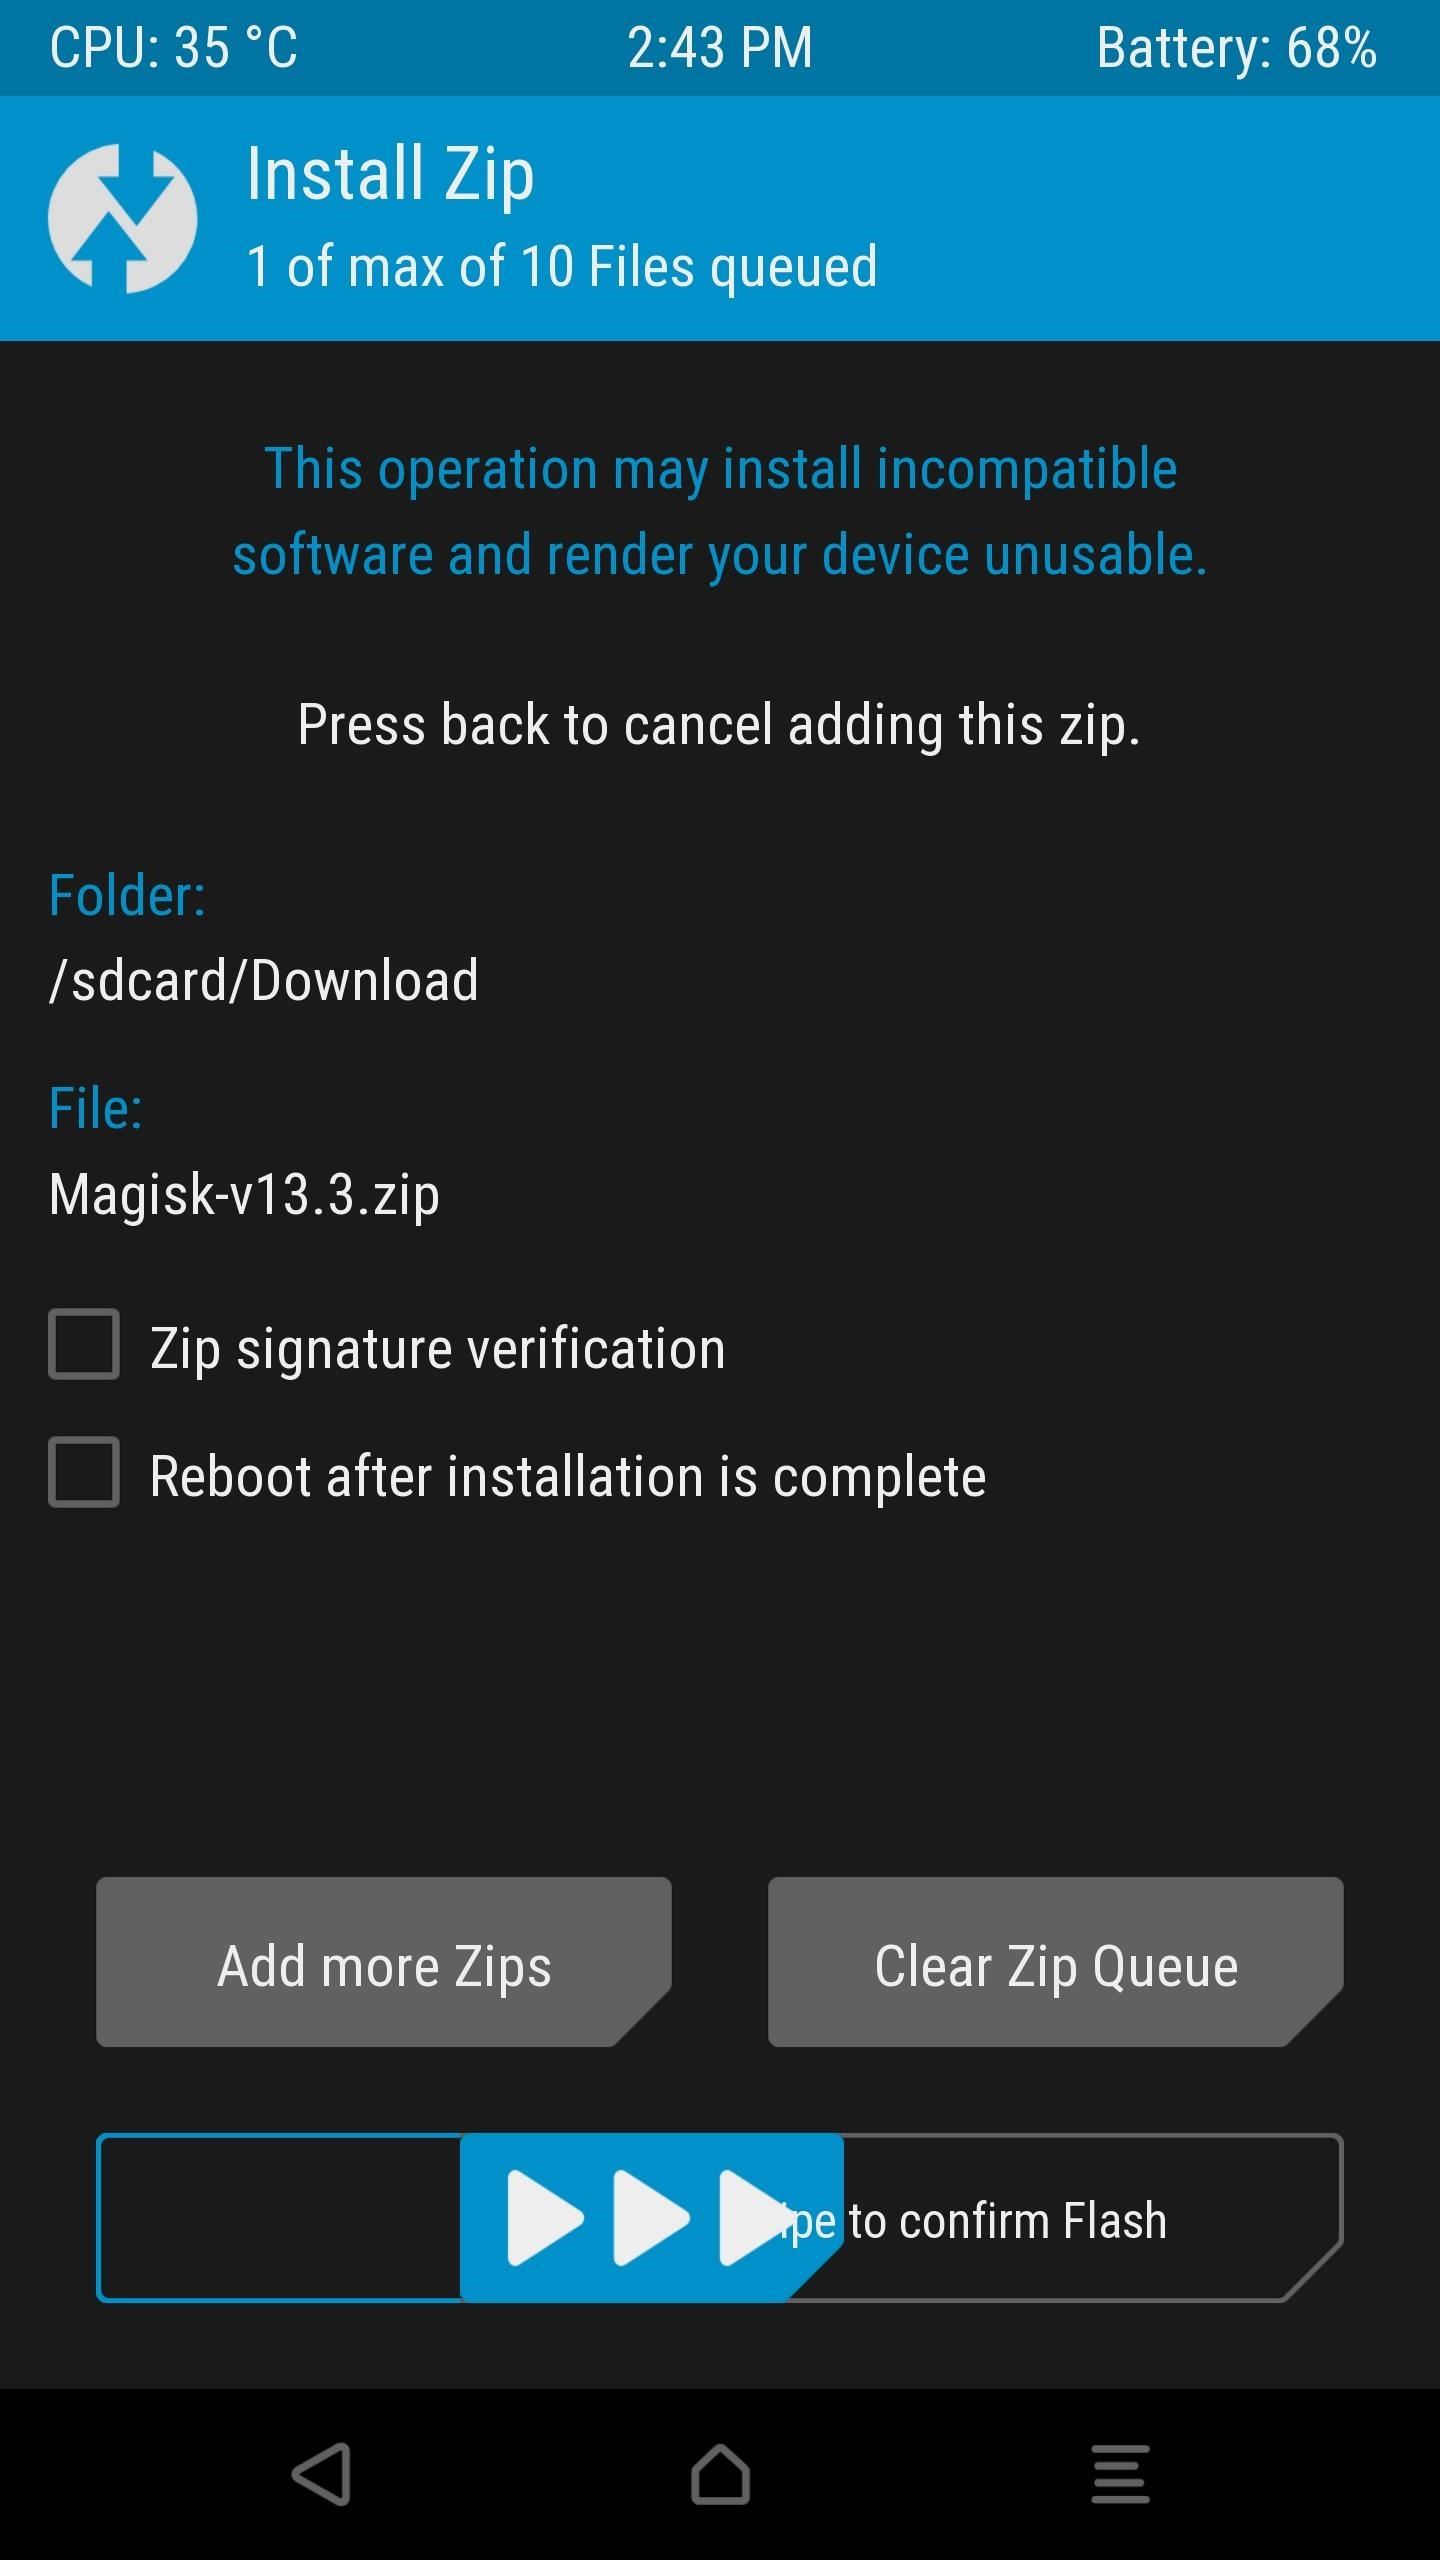
Next, boot your phone into recovery mode, then tap the "Install" button in TWRP's main menu. From there, navigate to your device's Download folder, then select the Magisk ZIP. After that, just swipe the slider at the bottom of the screen to install Magisk, then tap "Reboot System."

Step 5: Verify Root & SafetyNet Status
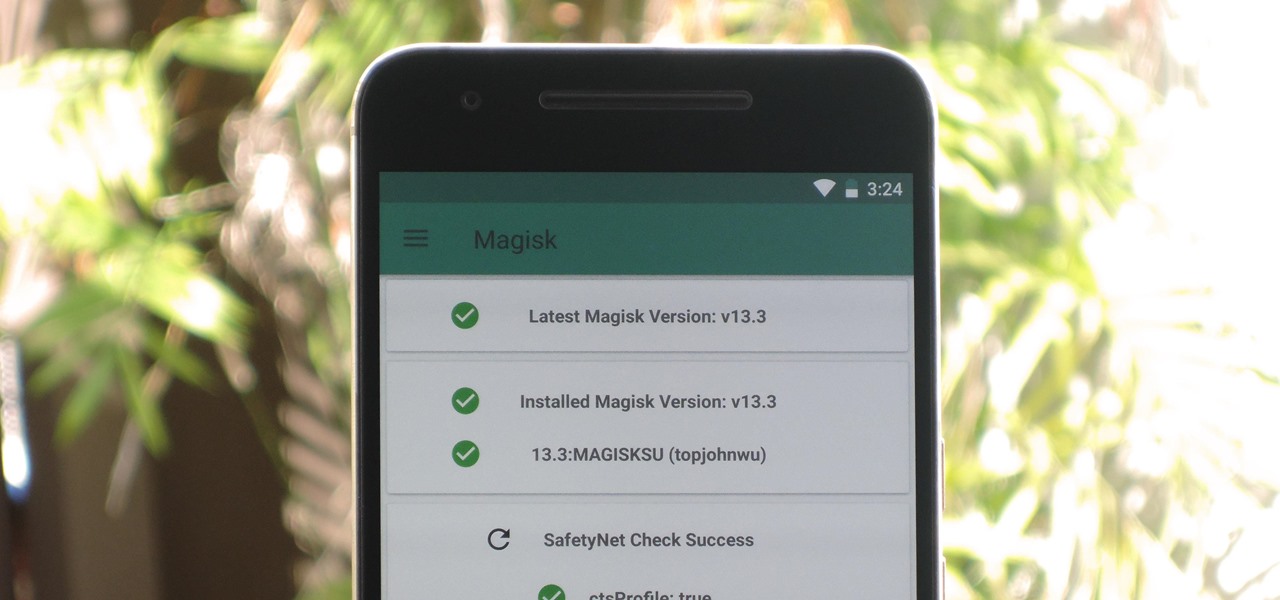
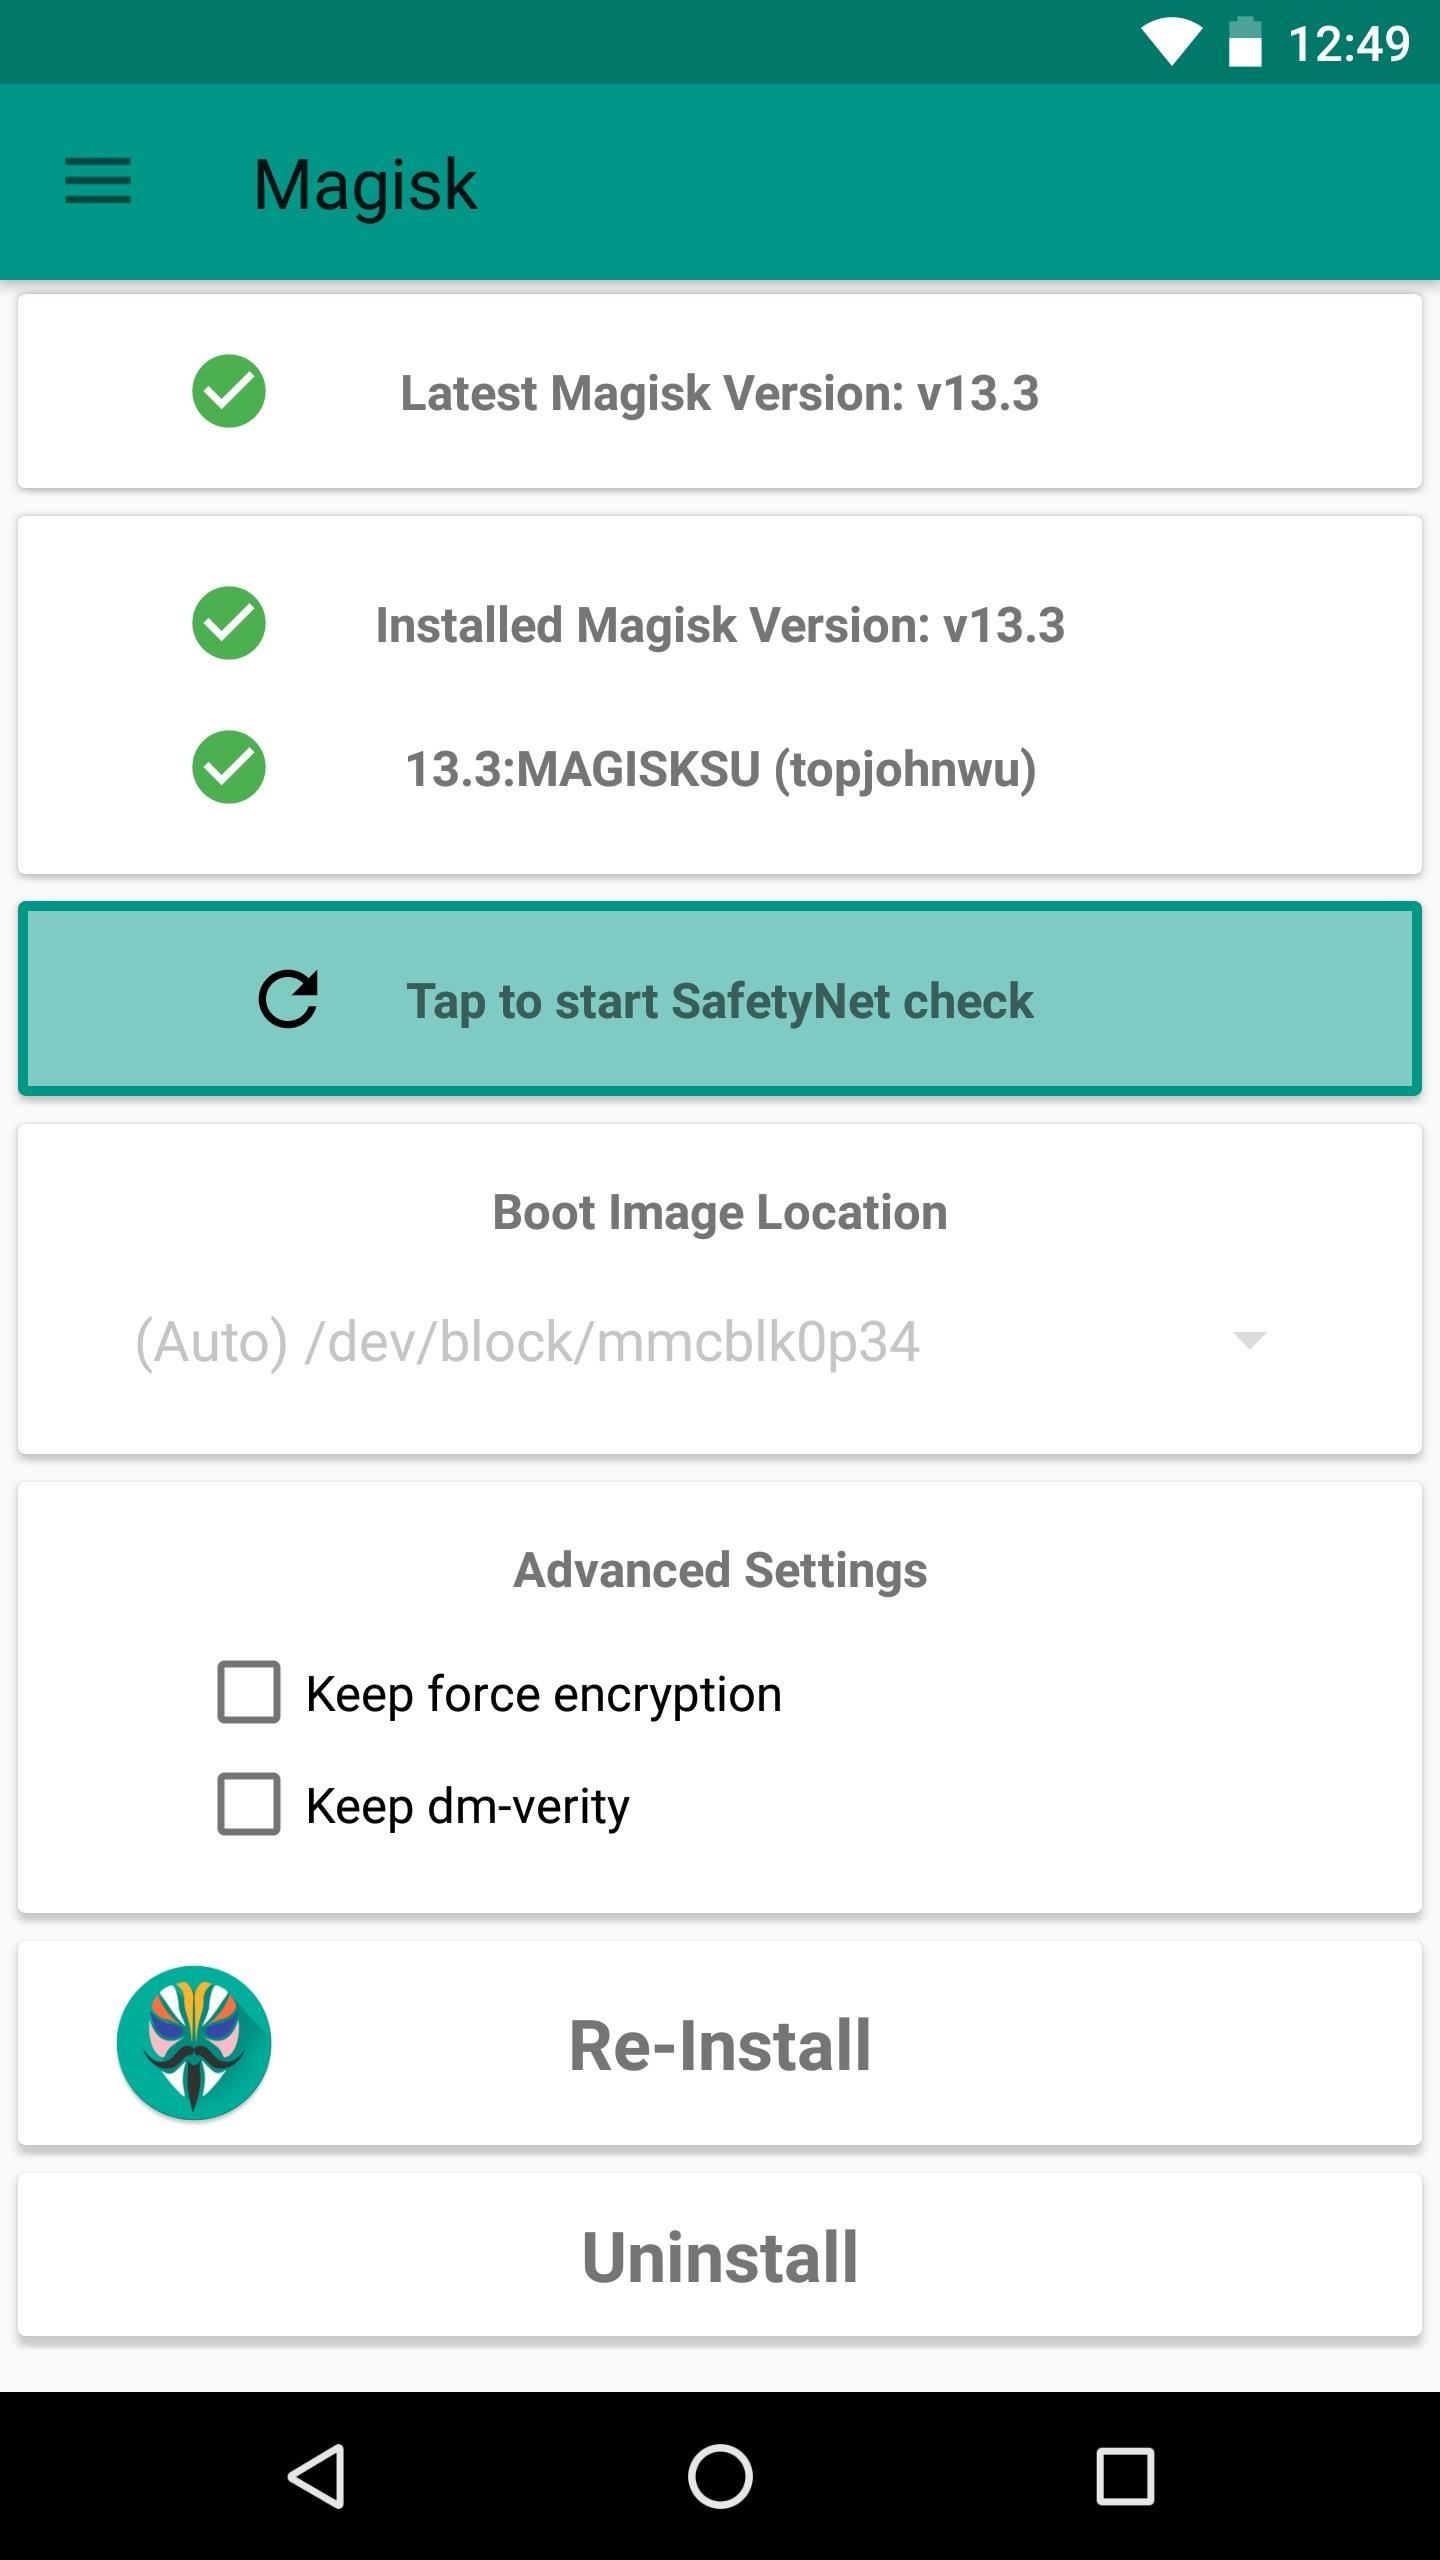
Next, go ahead and open the Magisk Manager app. If everything went off without a hitch, you'll see a message towards the top of the screen that says "MAGISKSU (topjohnwu)" with a green check mark next to it. This means your phone is now officially rooted, and since it was done with Magisk, it's a systemless root.
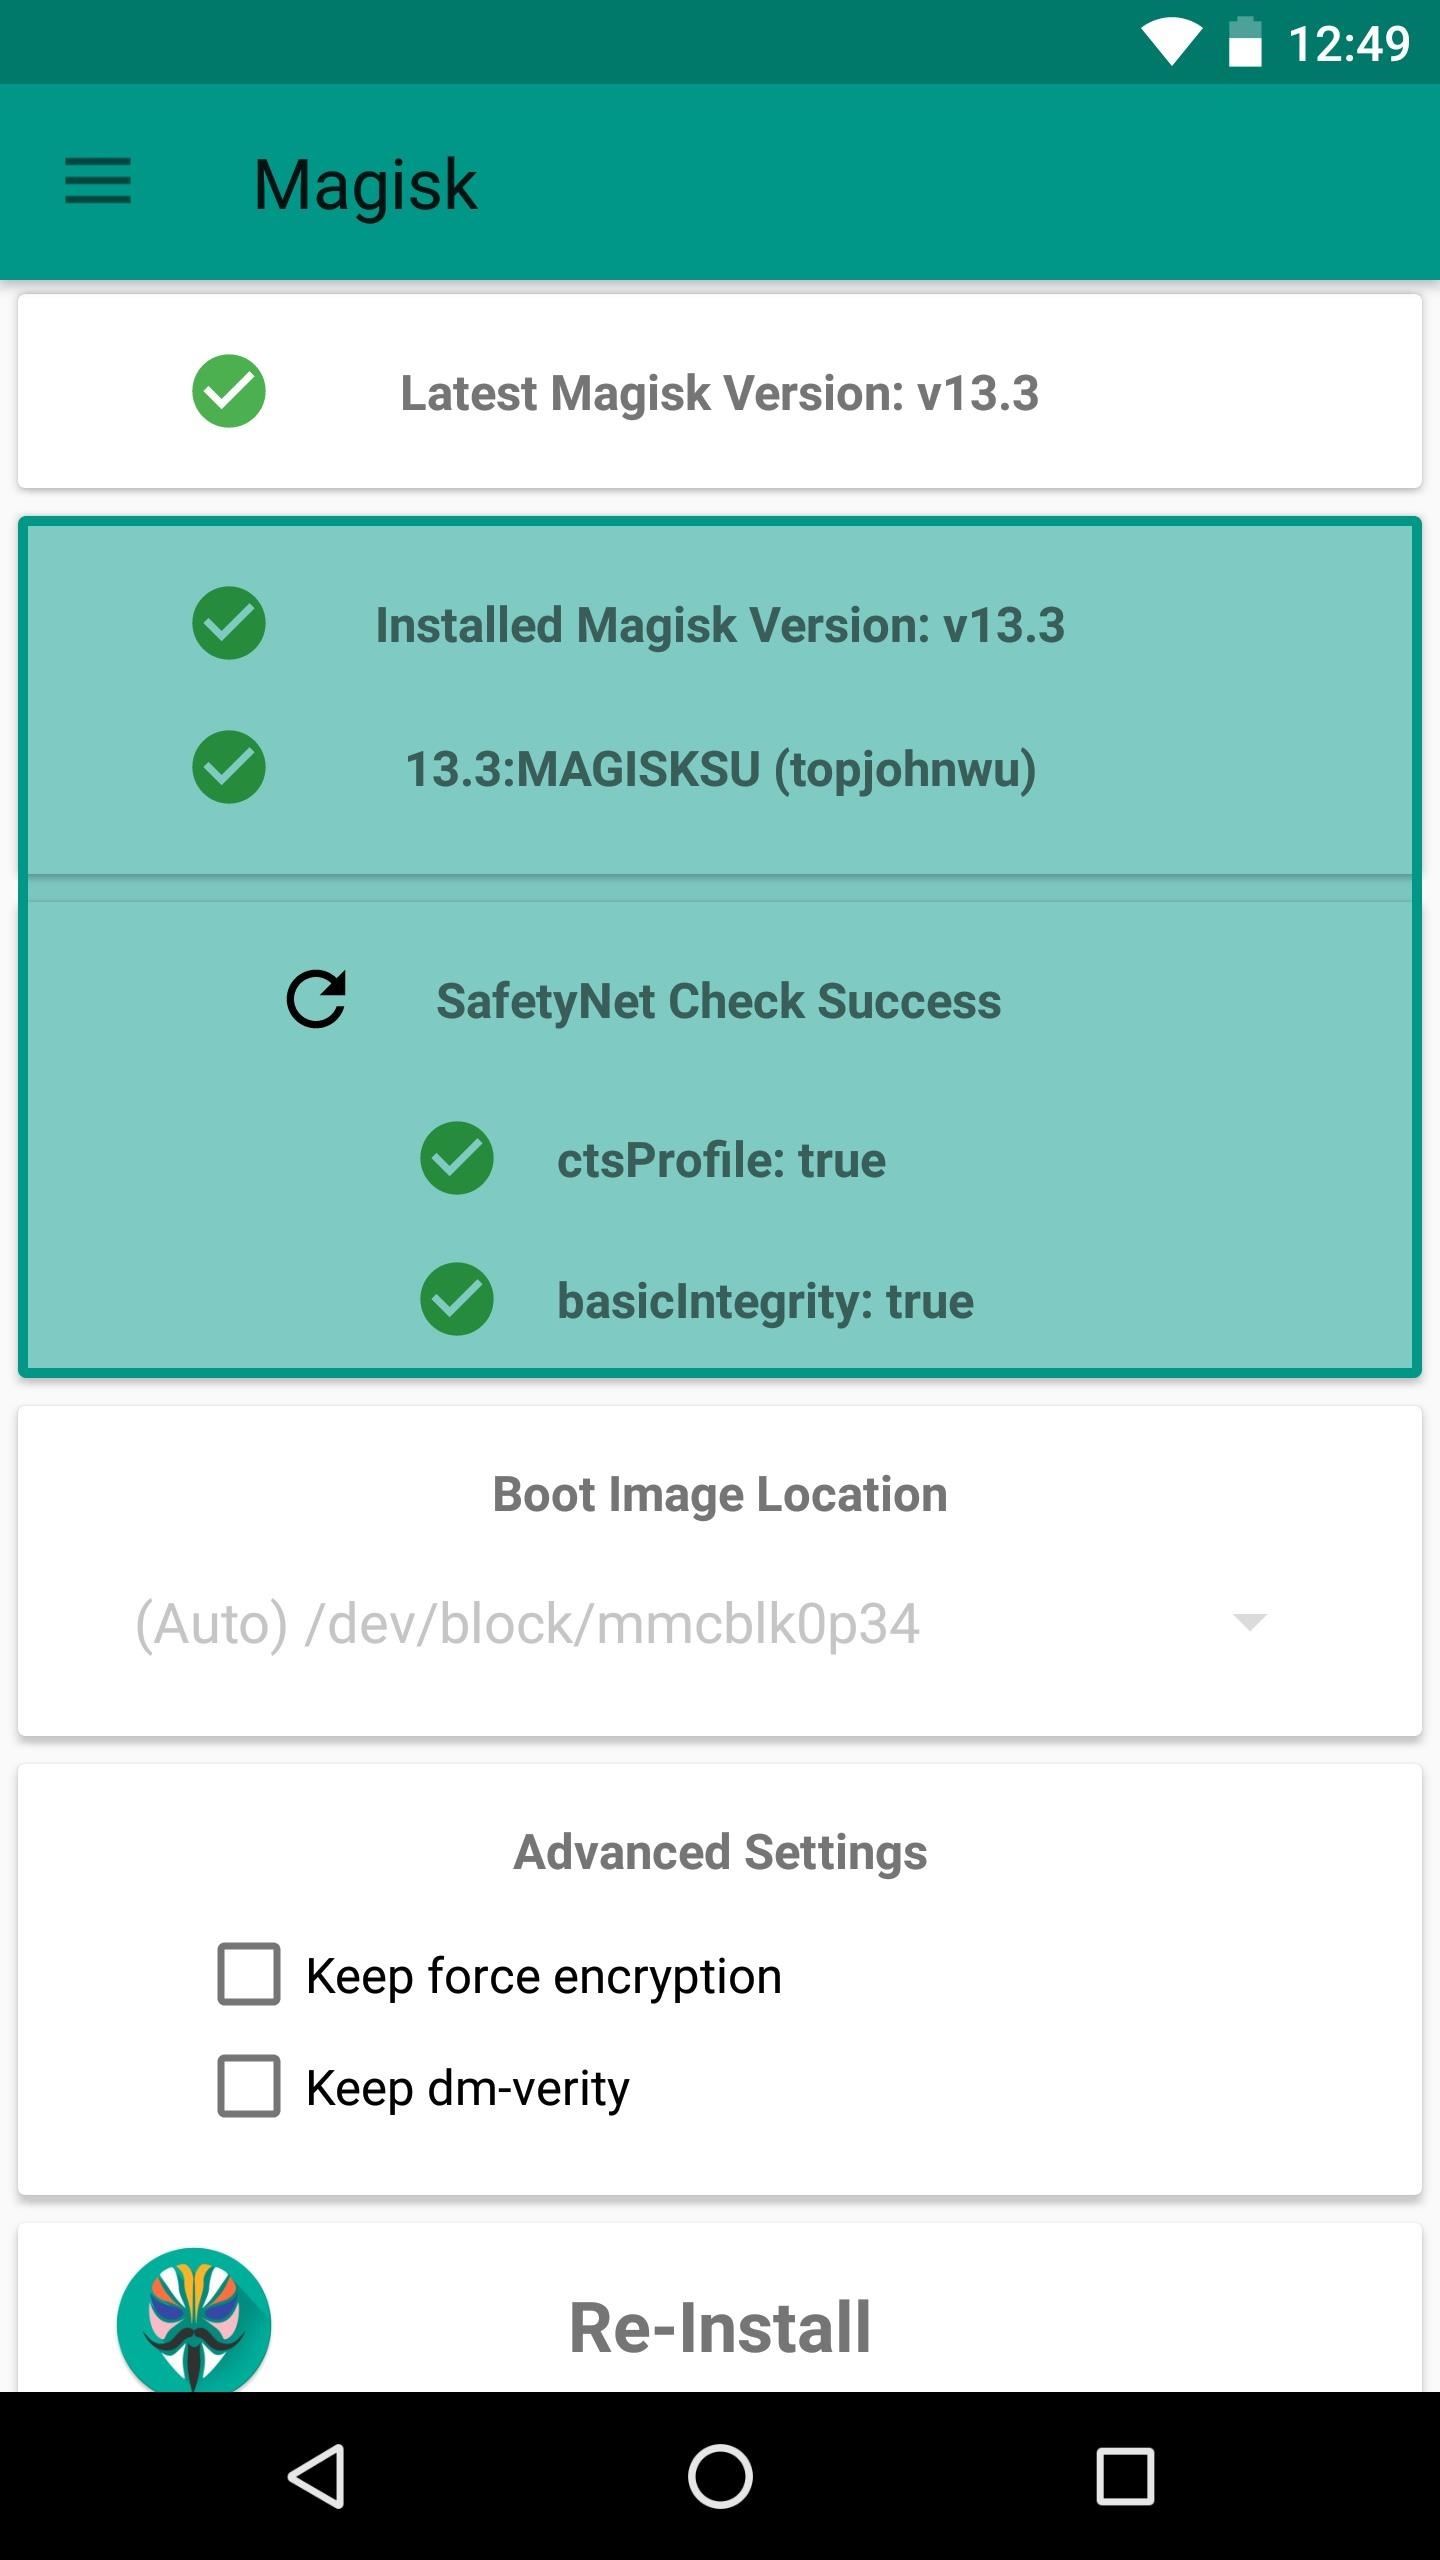
Aside from that, the main advantage of Magisk is that you can have root without tripping SafetyNet. To verify that your phone still passes Google's SafetyNet check, press the corresponding button towards the top of the screen. If you see two extra green check marks after this test is run, you're all set to go!
If your phone doesn't seem to want to pass the SafetyNet test at this point, it's likely because of leftover modified files from a previous root method or system mod. You'll have to do a bit of troubleshooting to fix it, but we've got you covered — just follow each of the steps at the following link:
Who needs a wand? Unlock your magical powers and transform yourself from a Muggle into a Wizard or Witch just by using your Android phone. See how:


10 Comments
When I unroot with supersu, I am unable to then boot into twrp (just get the andoid bot with red triangle). Probably because it needs root to boot. I'm stuck......Was able to flash Supersu and twrp from adb and get root back. If you unroot though now, how to you get to twrp recovery?
I'm guessing after I flash TWRP with adb I need to boot to TWRP right away (and flash Magisk) where in this instruction it said to reboot phone. It did not work when I went to boot to TWRP to flash magisk, it did not boot to recovery (darn bot with red triangle). We'll see.
This sounds like you're having problems with permanently installing TWRP. Some new devices require you to temporarily boot off of a TWRP image file (IMG), then use the booted TWRP to permanently flash a separate TWRP ZIP file. You can see if that's required by looking at the install instructions for your device on its TWRP download page (at twrp.me). After doing that, make sure to swipe the slider to allow modifications (make TWRP your permanent recovery... otherwise the stock recovery with the red triangle will take back over after a reboot).
Once you've got TWRP squared away, pick back up here at Step 2 and you should be good to go with Magisk/root.
Having an issue installing the .zip file via TWRP recovery program as well as the Magisk Manager, both options I've failed to install with now.
How can this method be used to root the Honor View 10. There was no mention above of having to unlock the Bootloader first?? (surely a prerequisite of any root) And mine is locked, with Huawei not providing codes anymore.. Any ideas please? Tnx
Sorry, installing TWRP does require an unlocked bootloader.
My phone doesn't pass security verification after magisk is installed. Eventually I wiped everything.
Have you tried any of these tips? android.gadgethacks.com/how-to/magisk-101-fix-safetynet-cts-profile-mismatch-errors-0178047/
Does this method work with Note 10 Plus EU version?
It doesn't look like there's a TWRP release for that model. So you'd have to get a copy of your stock boot image, then patch it in the Magisk Manager app. Then you could flash it in Download Mode with Odin. But definitely look into it some more, that's just the super short version.
Share Your Thoughts