


Despite its rocky start, the Essential PH-1 has a lot going for it. Not only does it get consistent security patches and system updates hours after the Pixels, but like the Google-developed lineup, it's also great for rooting. Not only is your warranty not void with rooting, but the process is pretty straightforward.
For those new to rooting, you may have heard some conflicting reports about it all. On one side, you will have a loud group declaring rooting useless at this point in Android's lifecycle. On the other side is the Android community who enjoy the additional freedom and control that comes with rooting. I assume that if you are reading this article, you lean toward the latter.
At the time of this writing, the preferred method of rooting is Magisk. This is a systemless root utility which will allow you to enjoy all the apps on the Play Store, even those like Netflix and Android Pay which attempt to block rooted users. Magisk also includes a framework for modules which enhance the phone's performance, such as improving the speaker and boosting battery life.
Unlock the Bootloader
To make any custom modification to your device, you will need to unlock the bootloader first. The good thing is unlike most Android phones, your PH-1's warranty isn't void when doing so. If this is not your first rodeo, here's the cliffs notes version:
- Back up important data (unlocking bootloader will wipe your device).
- Download the drivers (Windows only).
- Install ADB and Fastboot.
- Unlock Developer Options, enable "OEM Unlocking" & "USB Debugging."
- Connect to your computer and open Command Prompt or Terminal.
- Redirect Command Prompt or Terminal to platforms-tools.
- Use command "adb devices" to check connection.
- Use command "adb reboot bootloader" to boot into bootloader mode.
- Verify Fastboot connection by sending "fastboot devices" command.
- Use command "fastboot flashing unlock_critical" to initiate bootloader unlock.
- Choose "Yes" in the menu.
- Skip through the initial setup process.
- Open Developer Options, enable "OEM Unlocking" & "USB Debugging" again.
- Use command "adb reboot bootloader" to boot into bootloader mode.
- Use command "fastboot flashing unlock" to finalize bootloader unlock.
- Choose "Yes" in the menu.
However, since this process can stump new users, we create a detailed guide which you find at the link below.
Install TWRP Custom Recovery
Now you can start installing mods on your Essential PH-1, the first being TWRP. TWRP is a custom recovery which replaces the stock recovery interface with one that provides many more options. Specifically for rooting, we will be leveraging its ability to install custom ZIP files.
Because the Essential Phone supports seamless updates, the process of installing TWRP is a bit more complex than normal. However, for those comfortable with rooting, here a simplified outline of how to accomplish it:
- Download the TWRP ZIP file onto your phone.
- Download the TWRP IMG file onto your computer.
- Move IMG file to the platform-tools folder in your ADB installation directory.
- Switch your screen lock to either a PIN or password.
- Connect the Essential to your computer and enable "USB Debugging."
- Send the command "adb reboot bootloader" to boot into bootloader mode.
- Send the command "fastboot getvar current-slot" to find the current boot slot.
- If boot slot was A, send "fastboot flash boot_b twrp-3.2.3-0-mata.img" to flash TWRP. If it was B, send "fastboot flash boot_a twrp-3.2.3-0-mata.img" instead.
- If boot slot was A, send "fastboot --set-active=b" to switch boot slots. If it was B, send "fastboot --set-active=a" instead.
- Use the volume rocker to highlight "Recovery mode" on your phone and use the power button to select it.
- Select "Install," then find and install the TWRP ZIP file. Do not select "Reboot" after installation.
- Return to the main menu and select "Reboot."
- Choose the original boot slot (the one yielded in #7 above).
We would strongly recommend that you take a look at our guide even if you are familiar with rooting. Dealing with slots A and B can easily trip up even seasoned rooters, and our guide lays everything out to help avoid issues. Check out the link below for the in-depth tutorial.
- More Info: How to Install TWRP on the Essential PH-1
Install the Magisk Manager App
Next, you will need the Magisk Manager app. This app lets you grant or deny root privileges to other apps, install Magisk modules, and hide your root status from Google's SafetyNet.
Because this is a popular app, there are a lot of fake copies loaded with malware. This app is not on the Play Store, and there is not an official website hosting this app. We'll link out the official APK below. After downloading the app, install it on your device. If this is your first time sideloading an app, see how to do this here.

Note: If this is your first time sideloading an app on this device, you will see a warning about the danger of sideloading apps. This particular app is safe, so select "Continue" to proceed.
Download the Magisk ZIP File
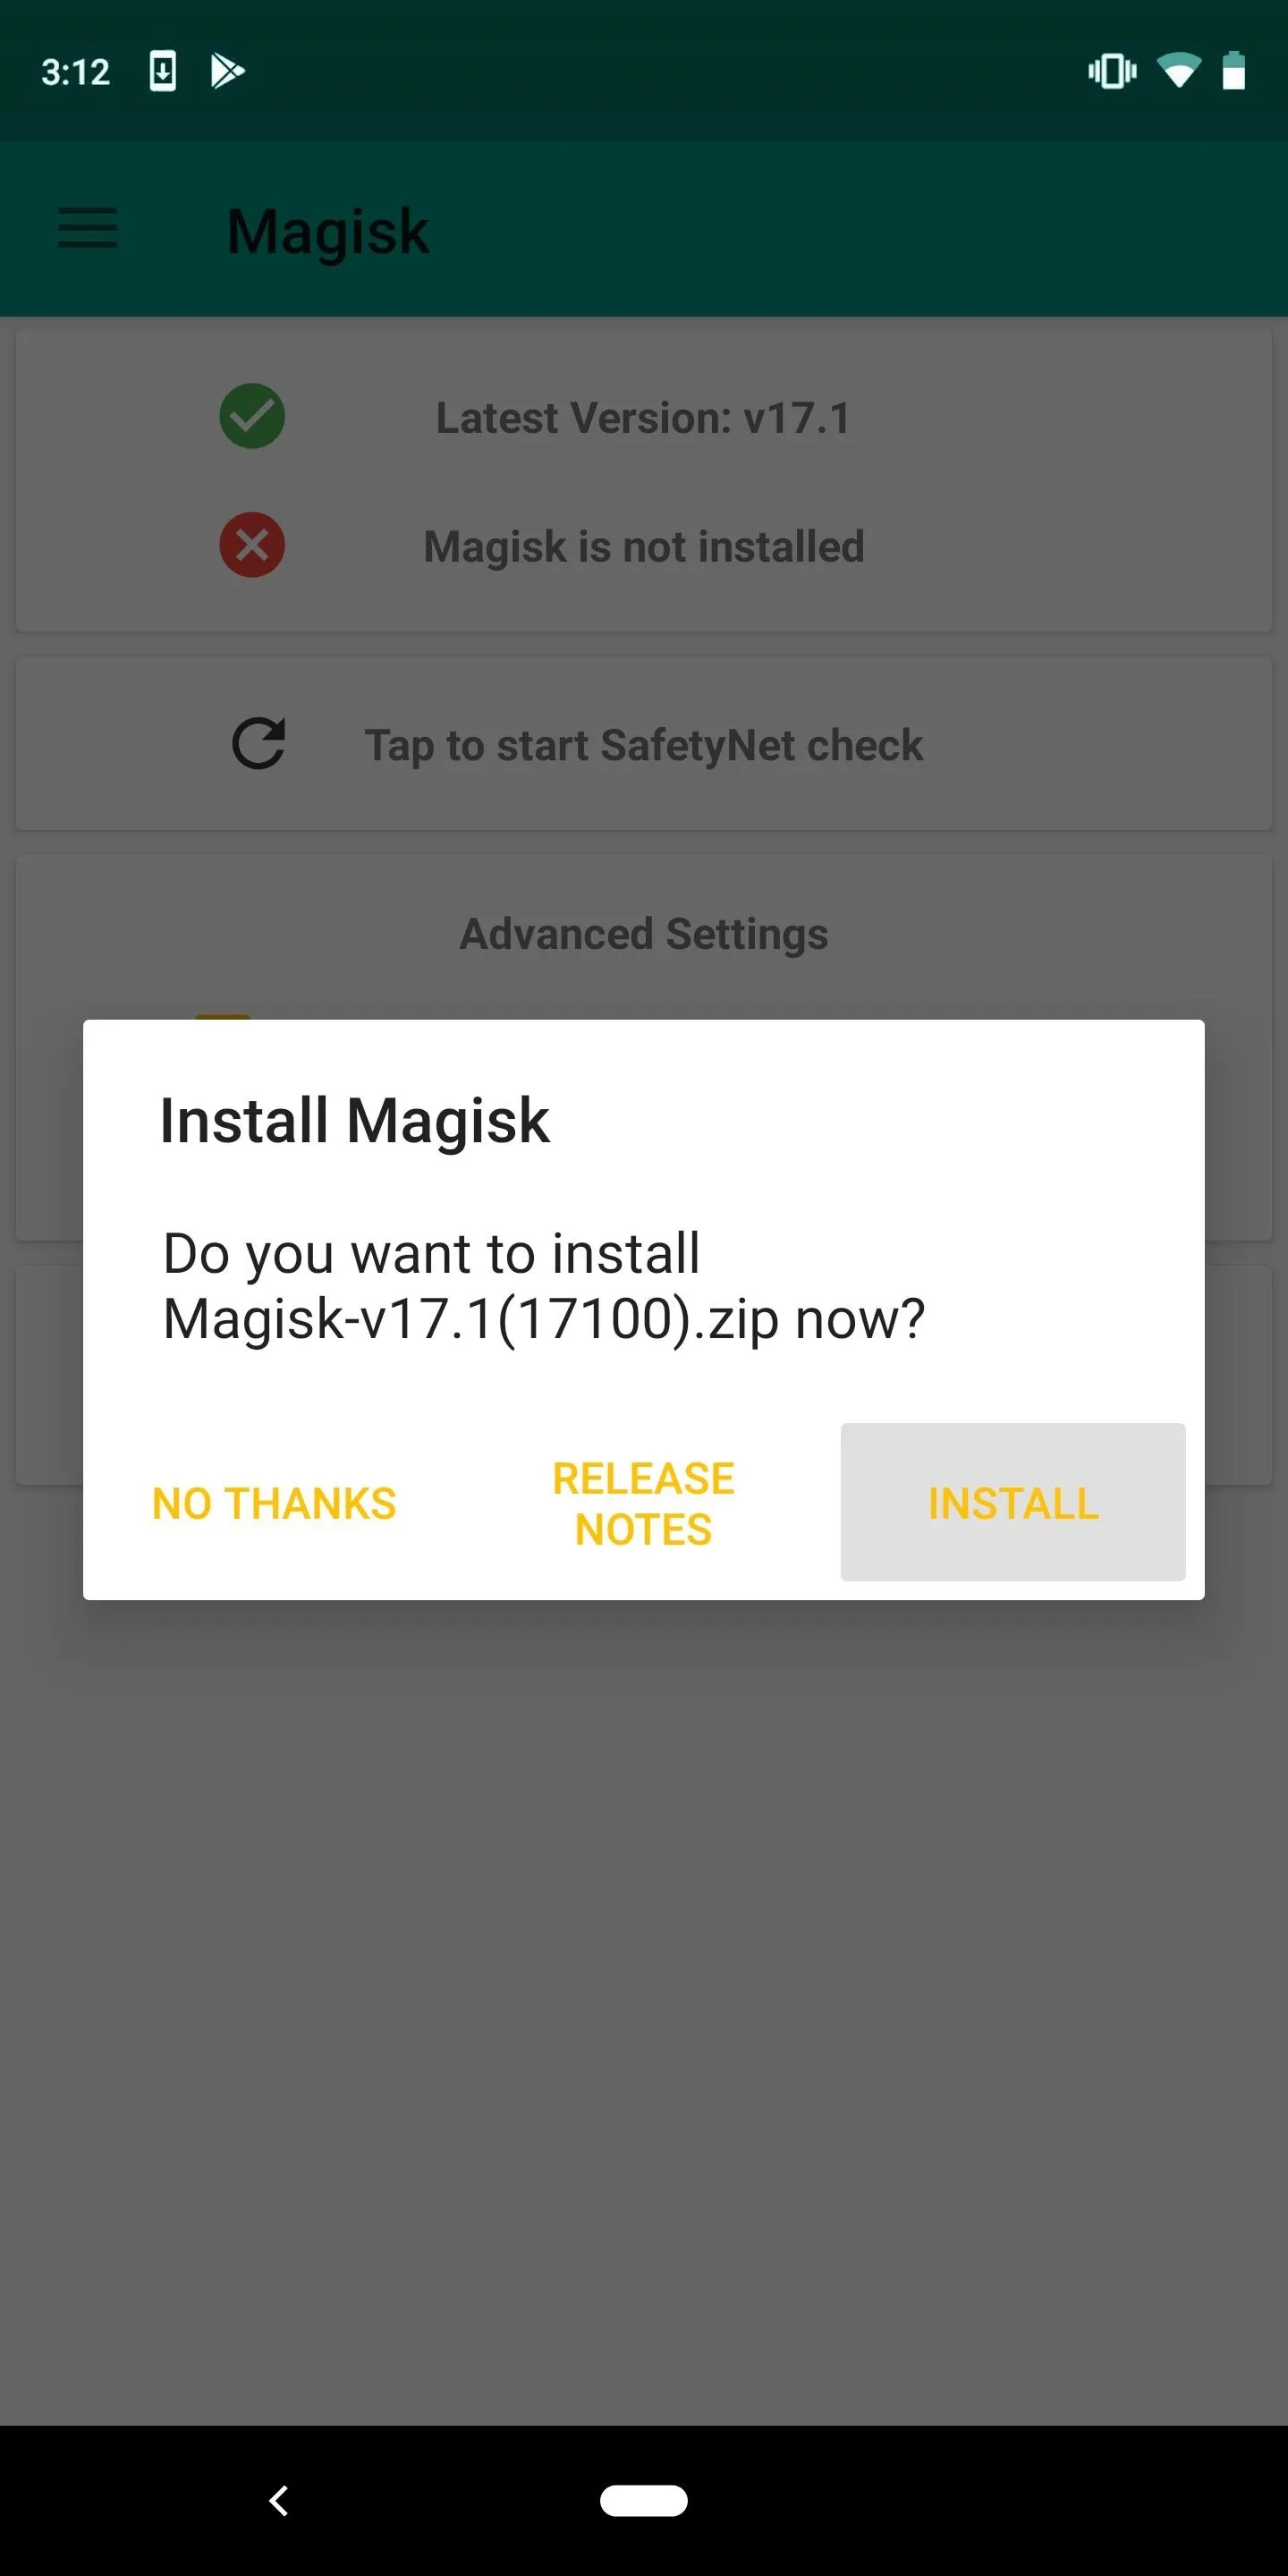
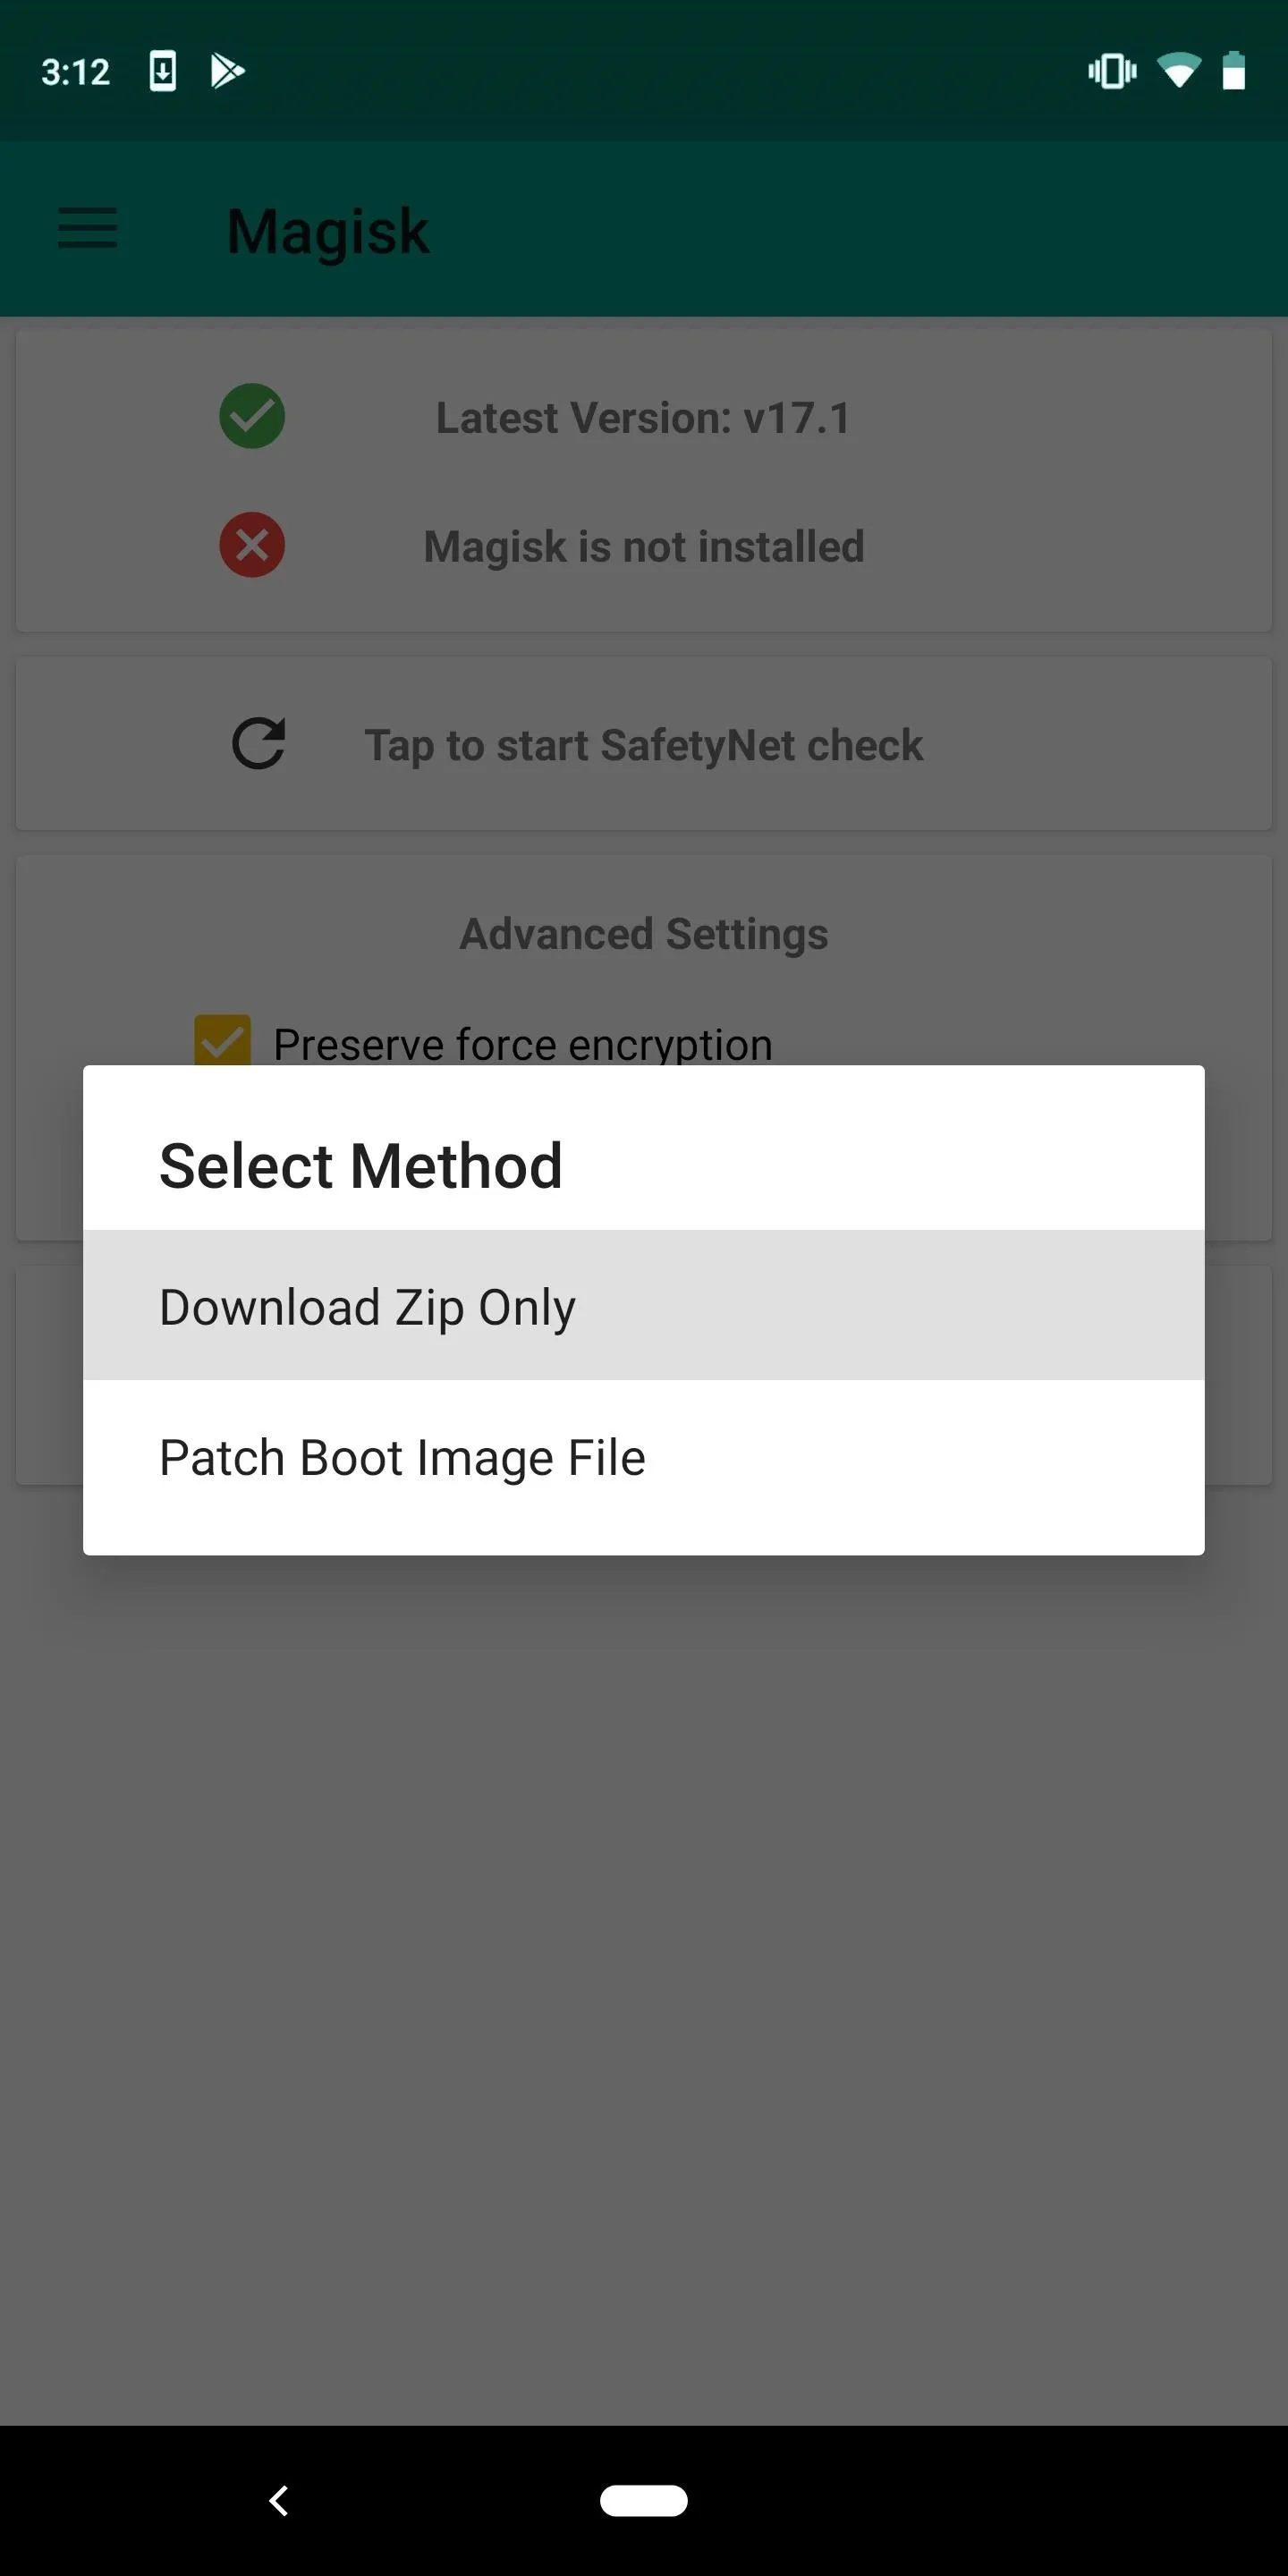
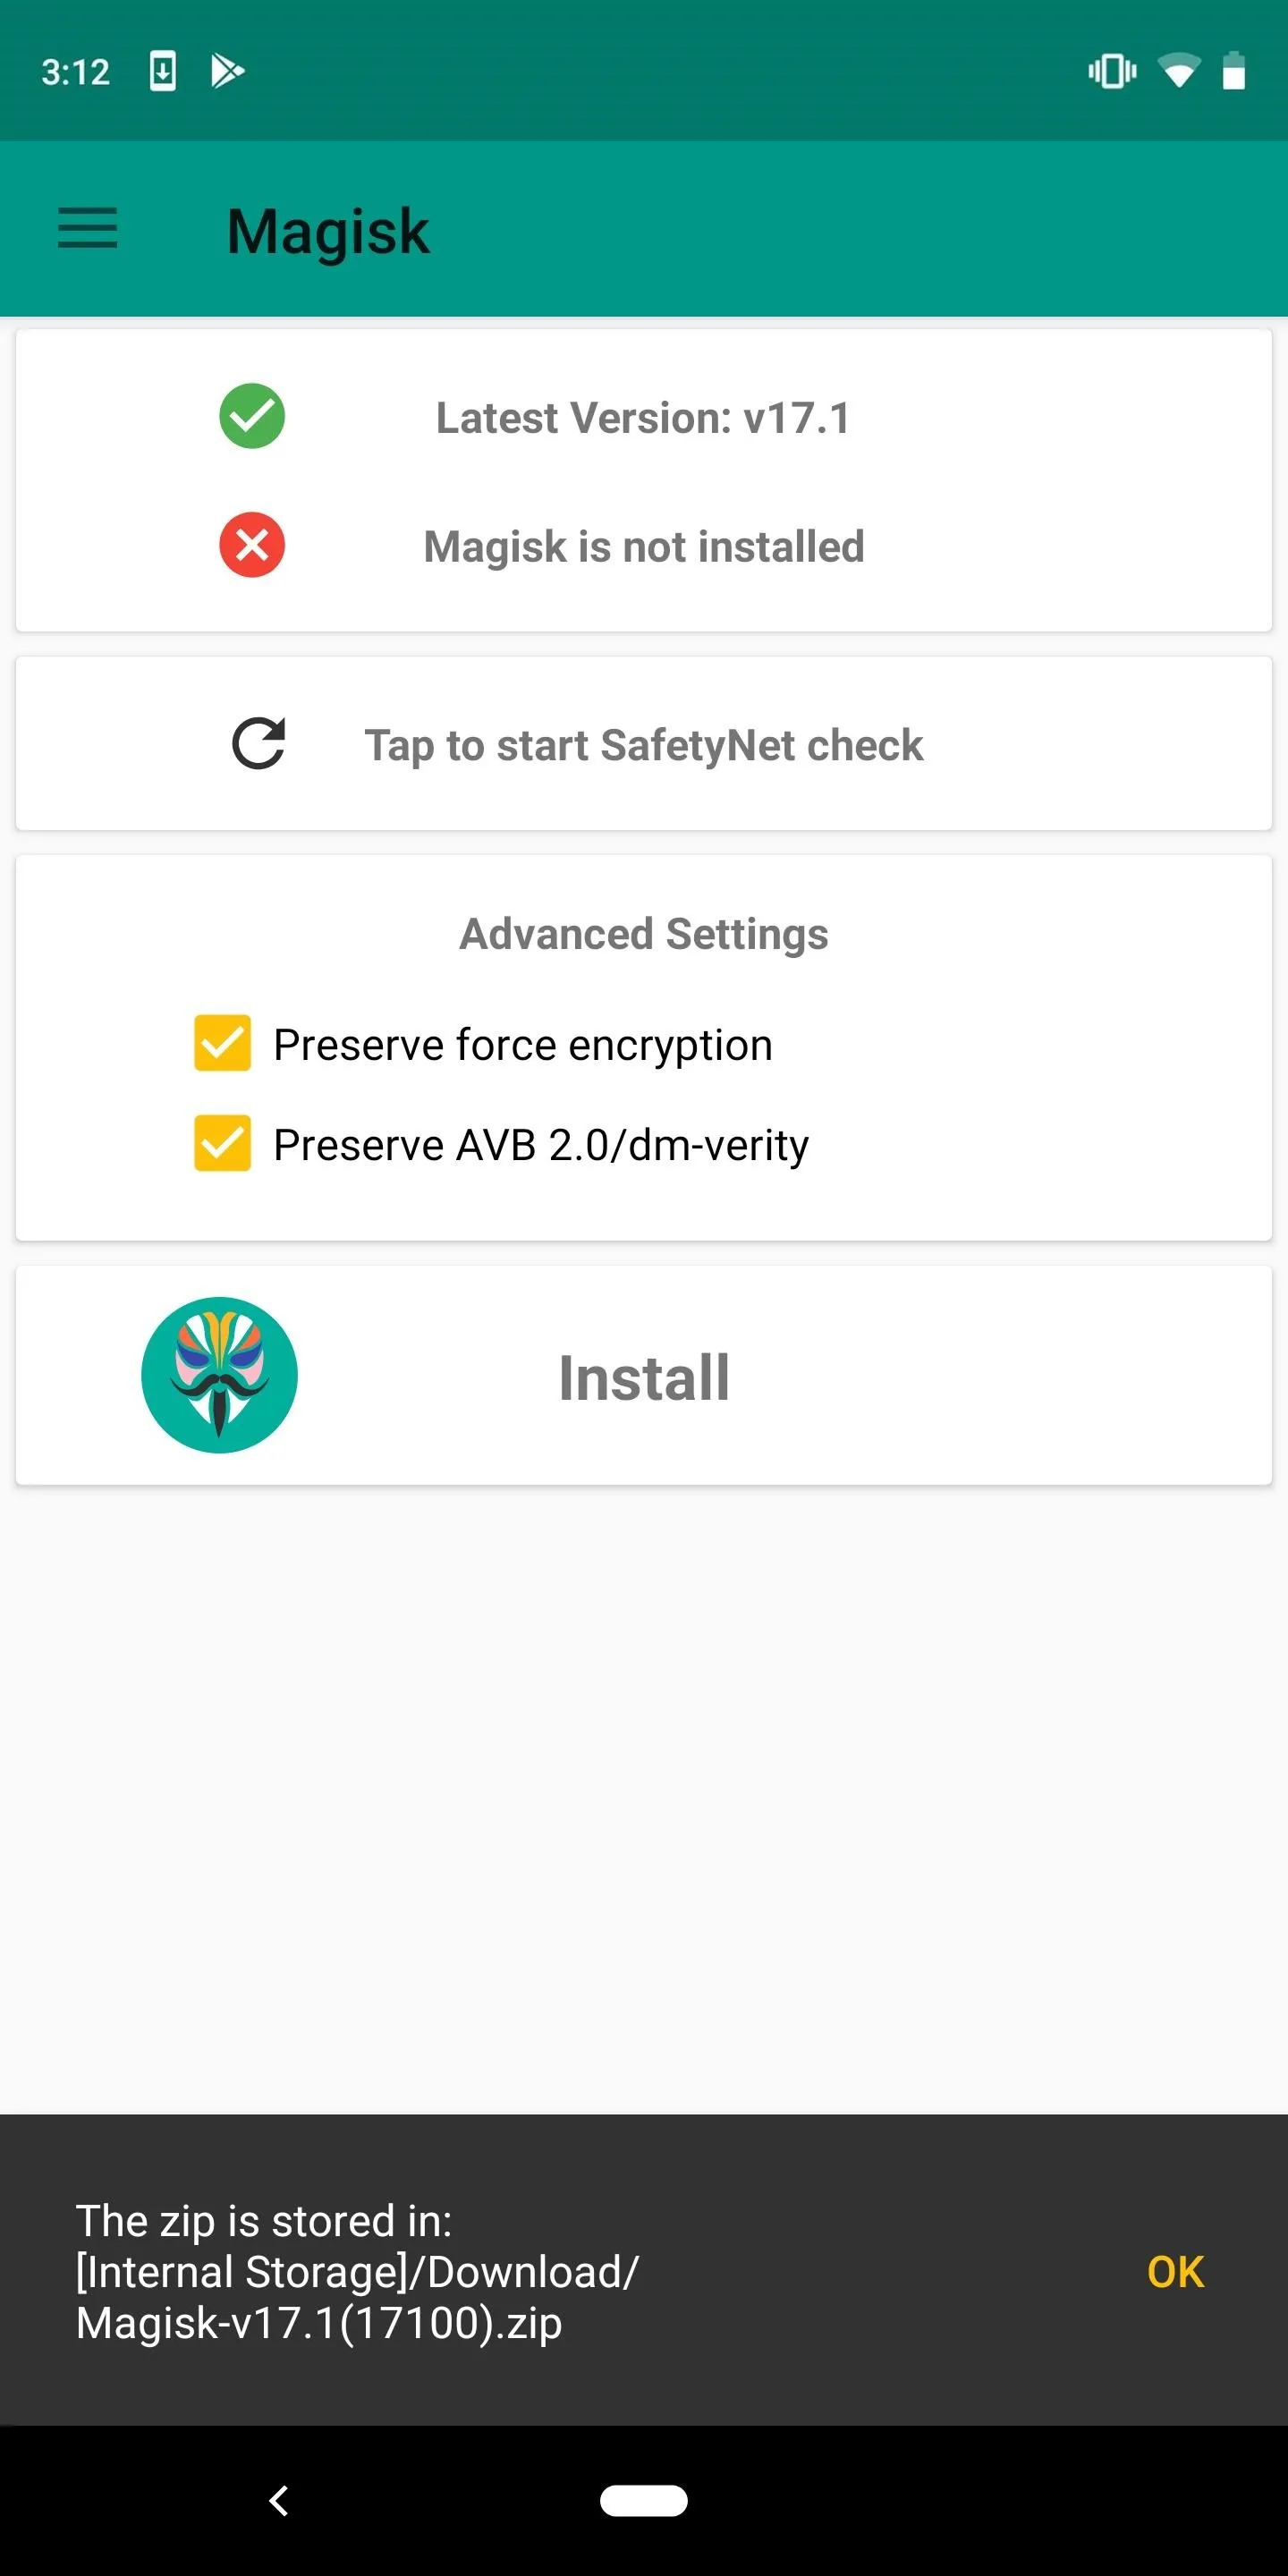
In addition to installing the Magisk Manager app, you'll also need to install Magisk itself which is done via a ZIP file. To get this ZIP file, open the Magisk Manager app, then tap "Install" on the popup. From there, choose "Download Zip Only," then tap "Allow" on the permission request. When the file finishes downloading, move to the next step.
Install Magisk
Next, use the power menu to reboot your phone. As soon as you tap the "Reboot" button, press and hold the volume down button on the side of your phone. After about ten seconds, you'll be greeted by the bootloader menu. From here, use the volume buttons to navigate to "Recovery mode" and select it using the power button. Your phone will restart again, this time in TWRP.
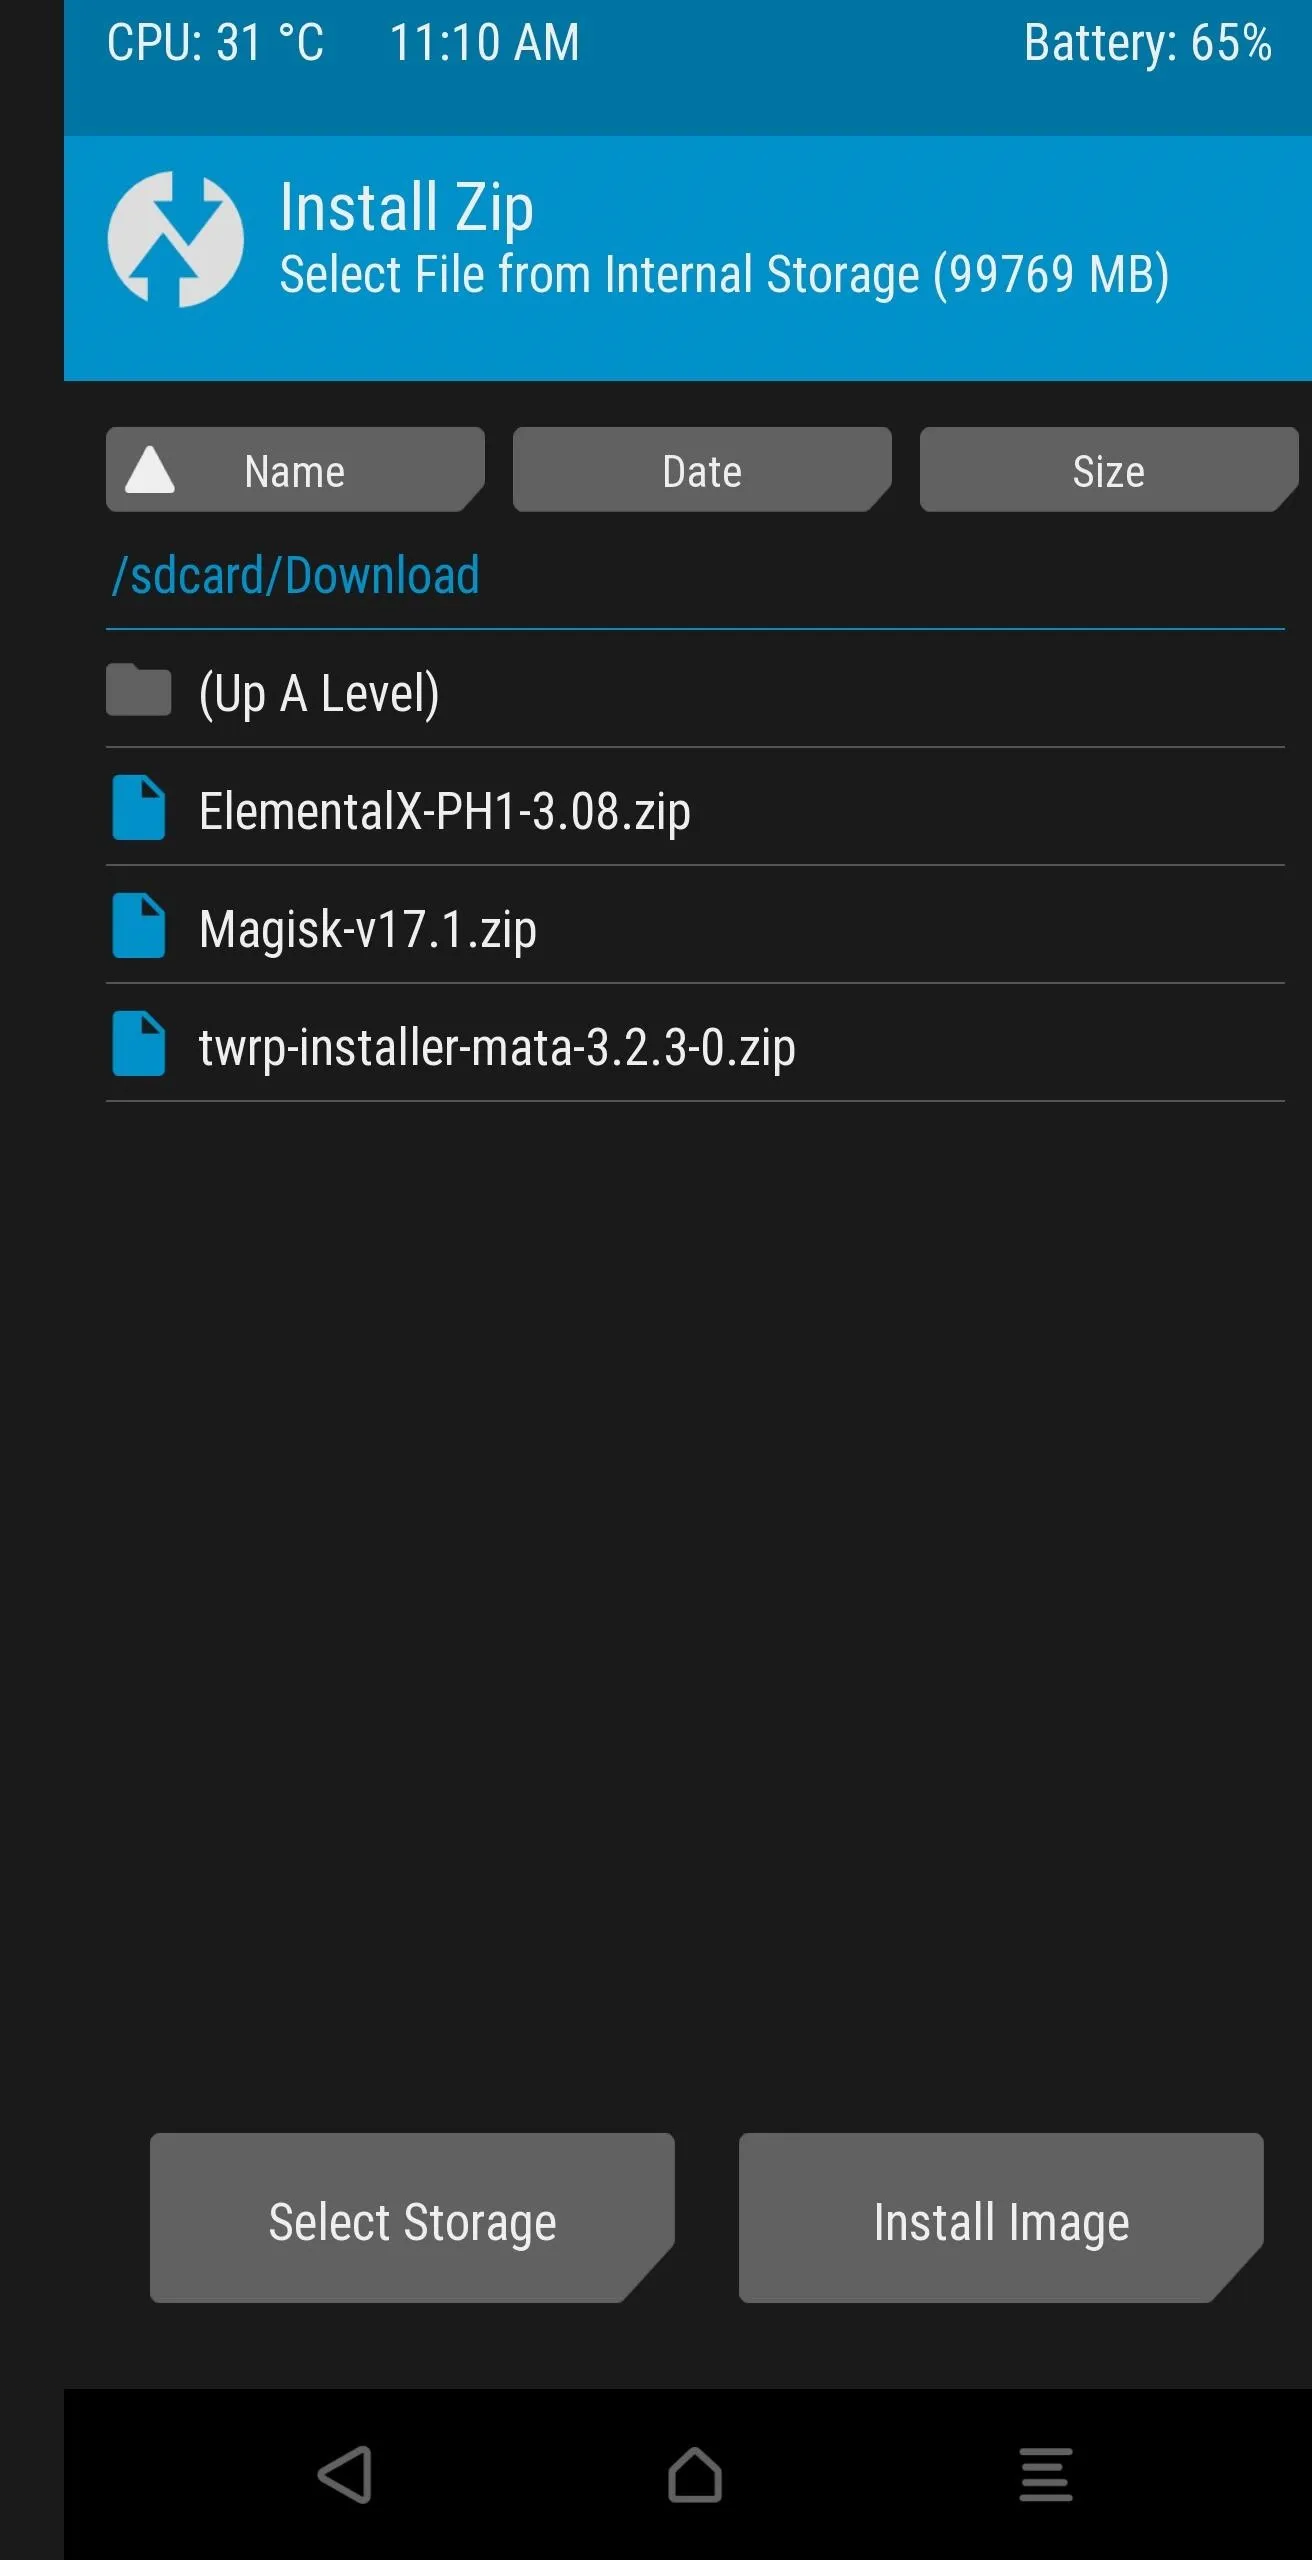
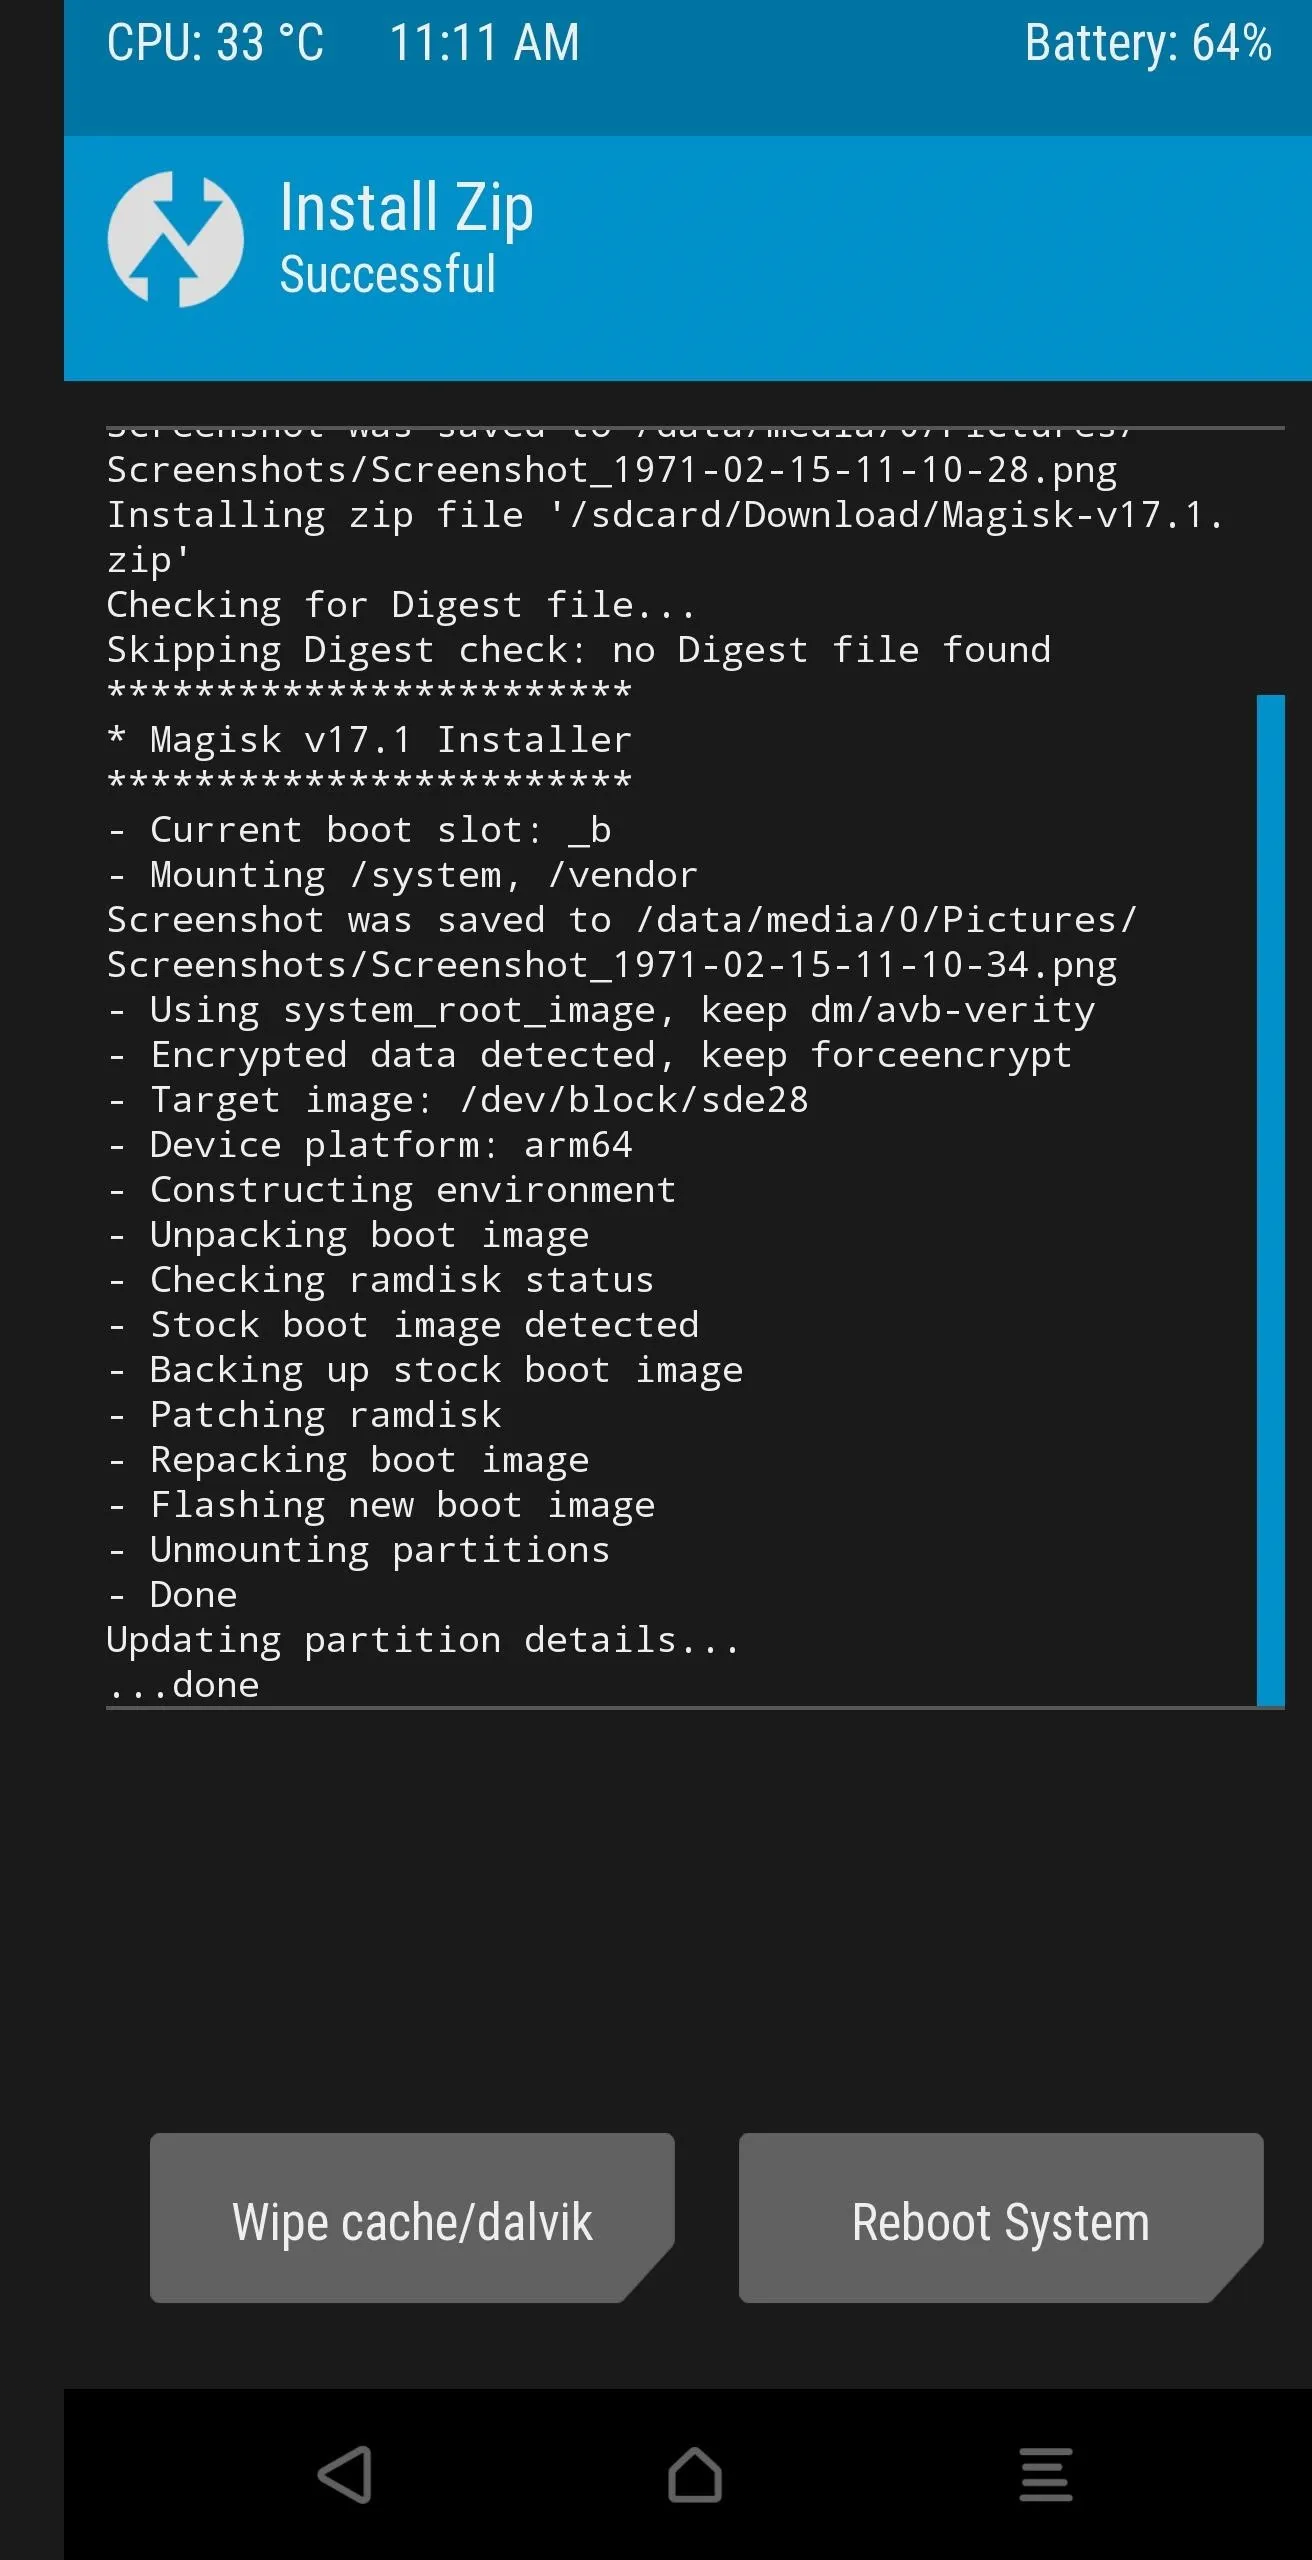
Once in TWRP, select "Install" and find the Magisk ZIP file located in the Download folder. Select the ZIP file and swipe right on the bottom slider to install the ZIP. Once the ZIP is installed, two buttons will appear below. Select "Reboot System" to return to the lock screen.
Verify Root
You should be rooted at this point. However, because things can go wrong, you should verify instead of assuming. With the app Root Checker by developer joeykrim, you can easily check this.
- Play Store Link: Root Checker (free)
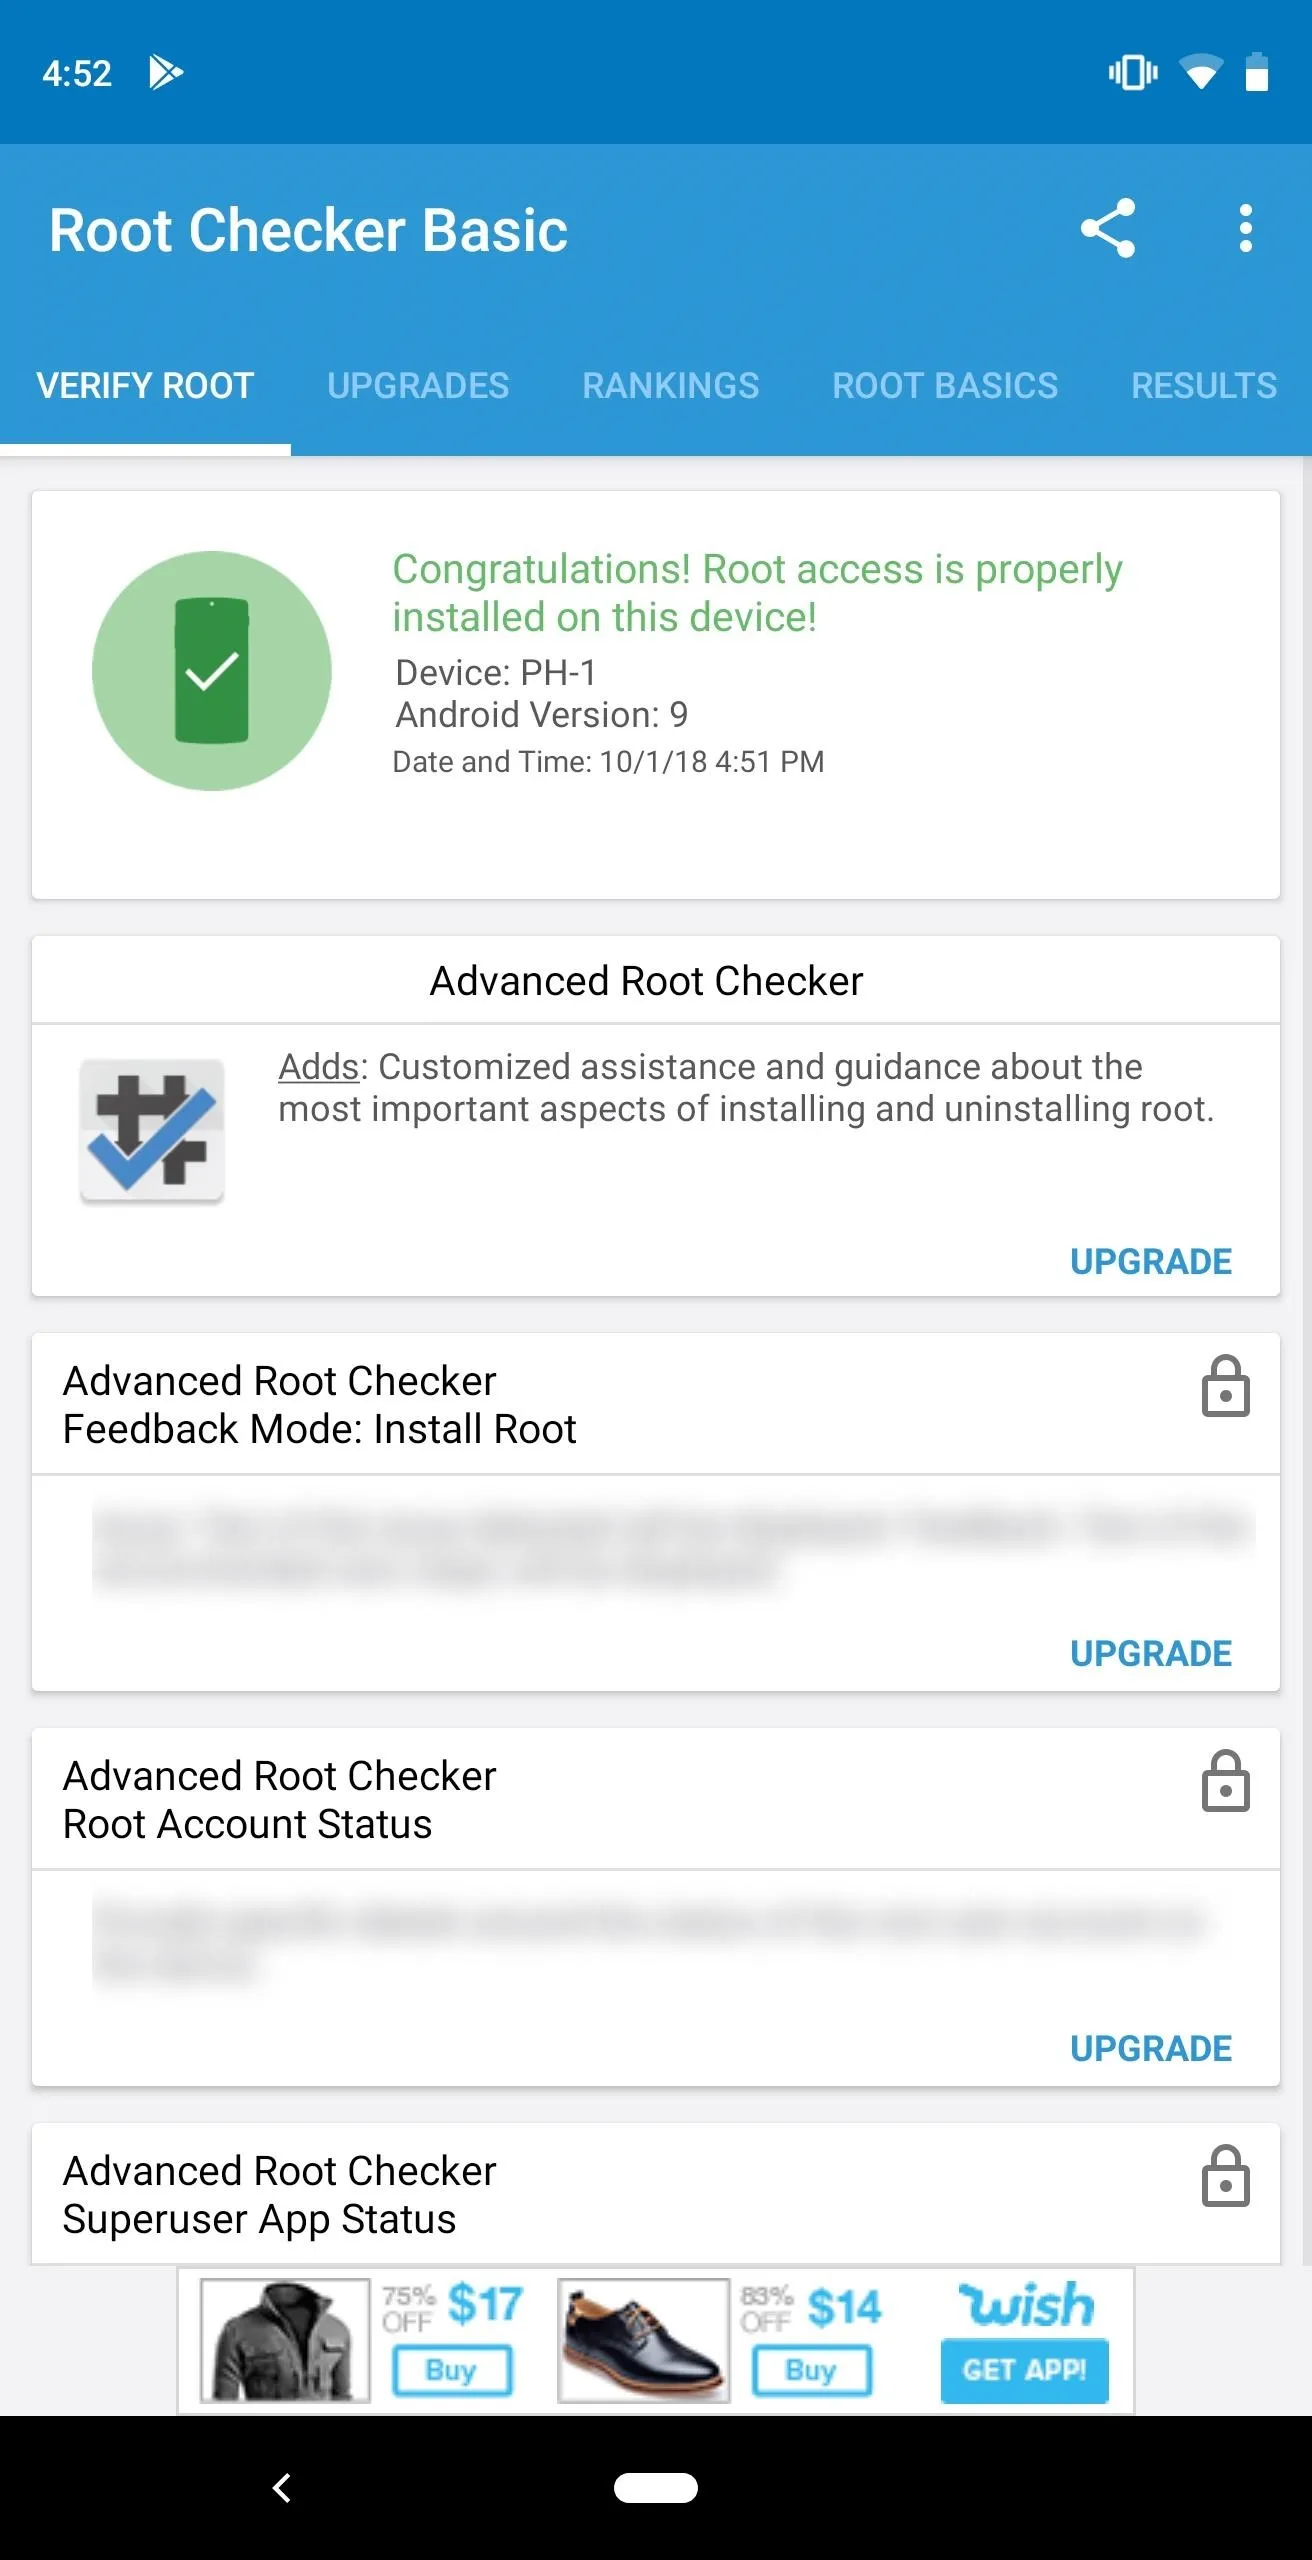
Open the app and select "Agree" on the prompt. Choose "Get Started," which brings you to the app's main menu. Select the "Verify Root" button which will bring up a popup asking you for superuser privileges. Select "Grant," and you should now see a message saying "Congratulations! Root access is properly installed on this device!"

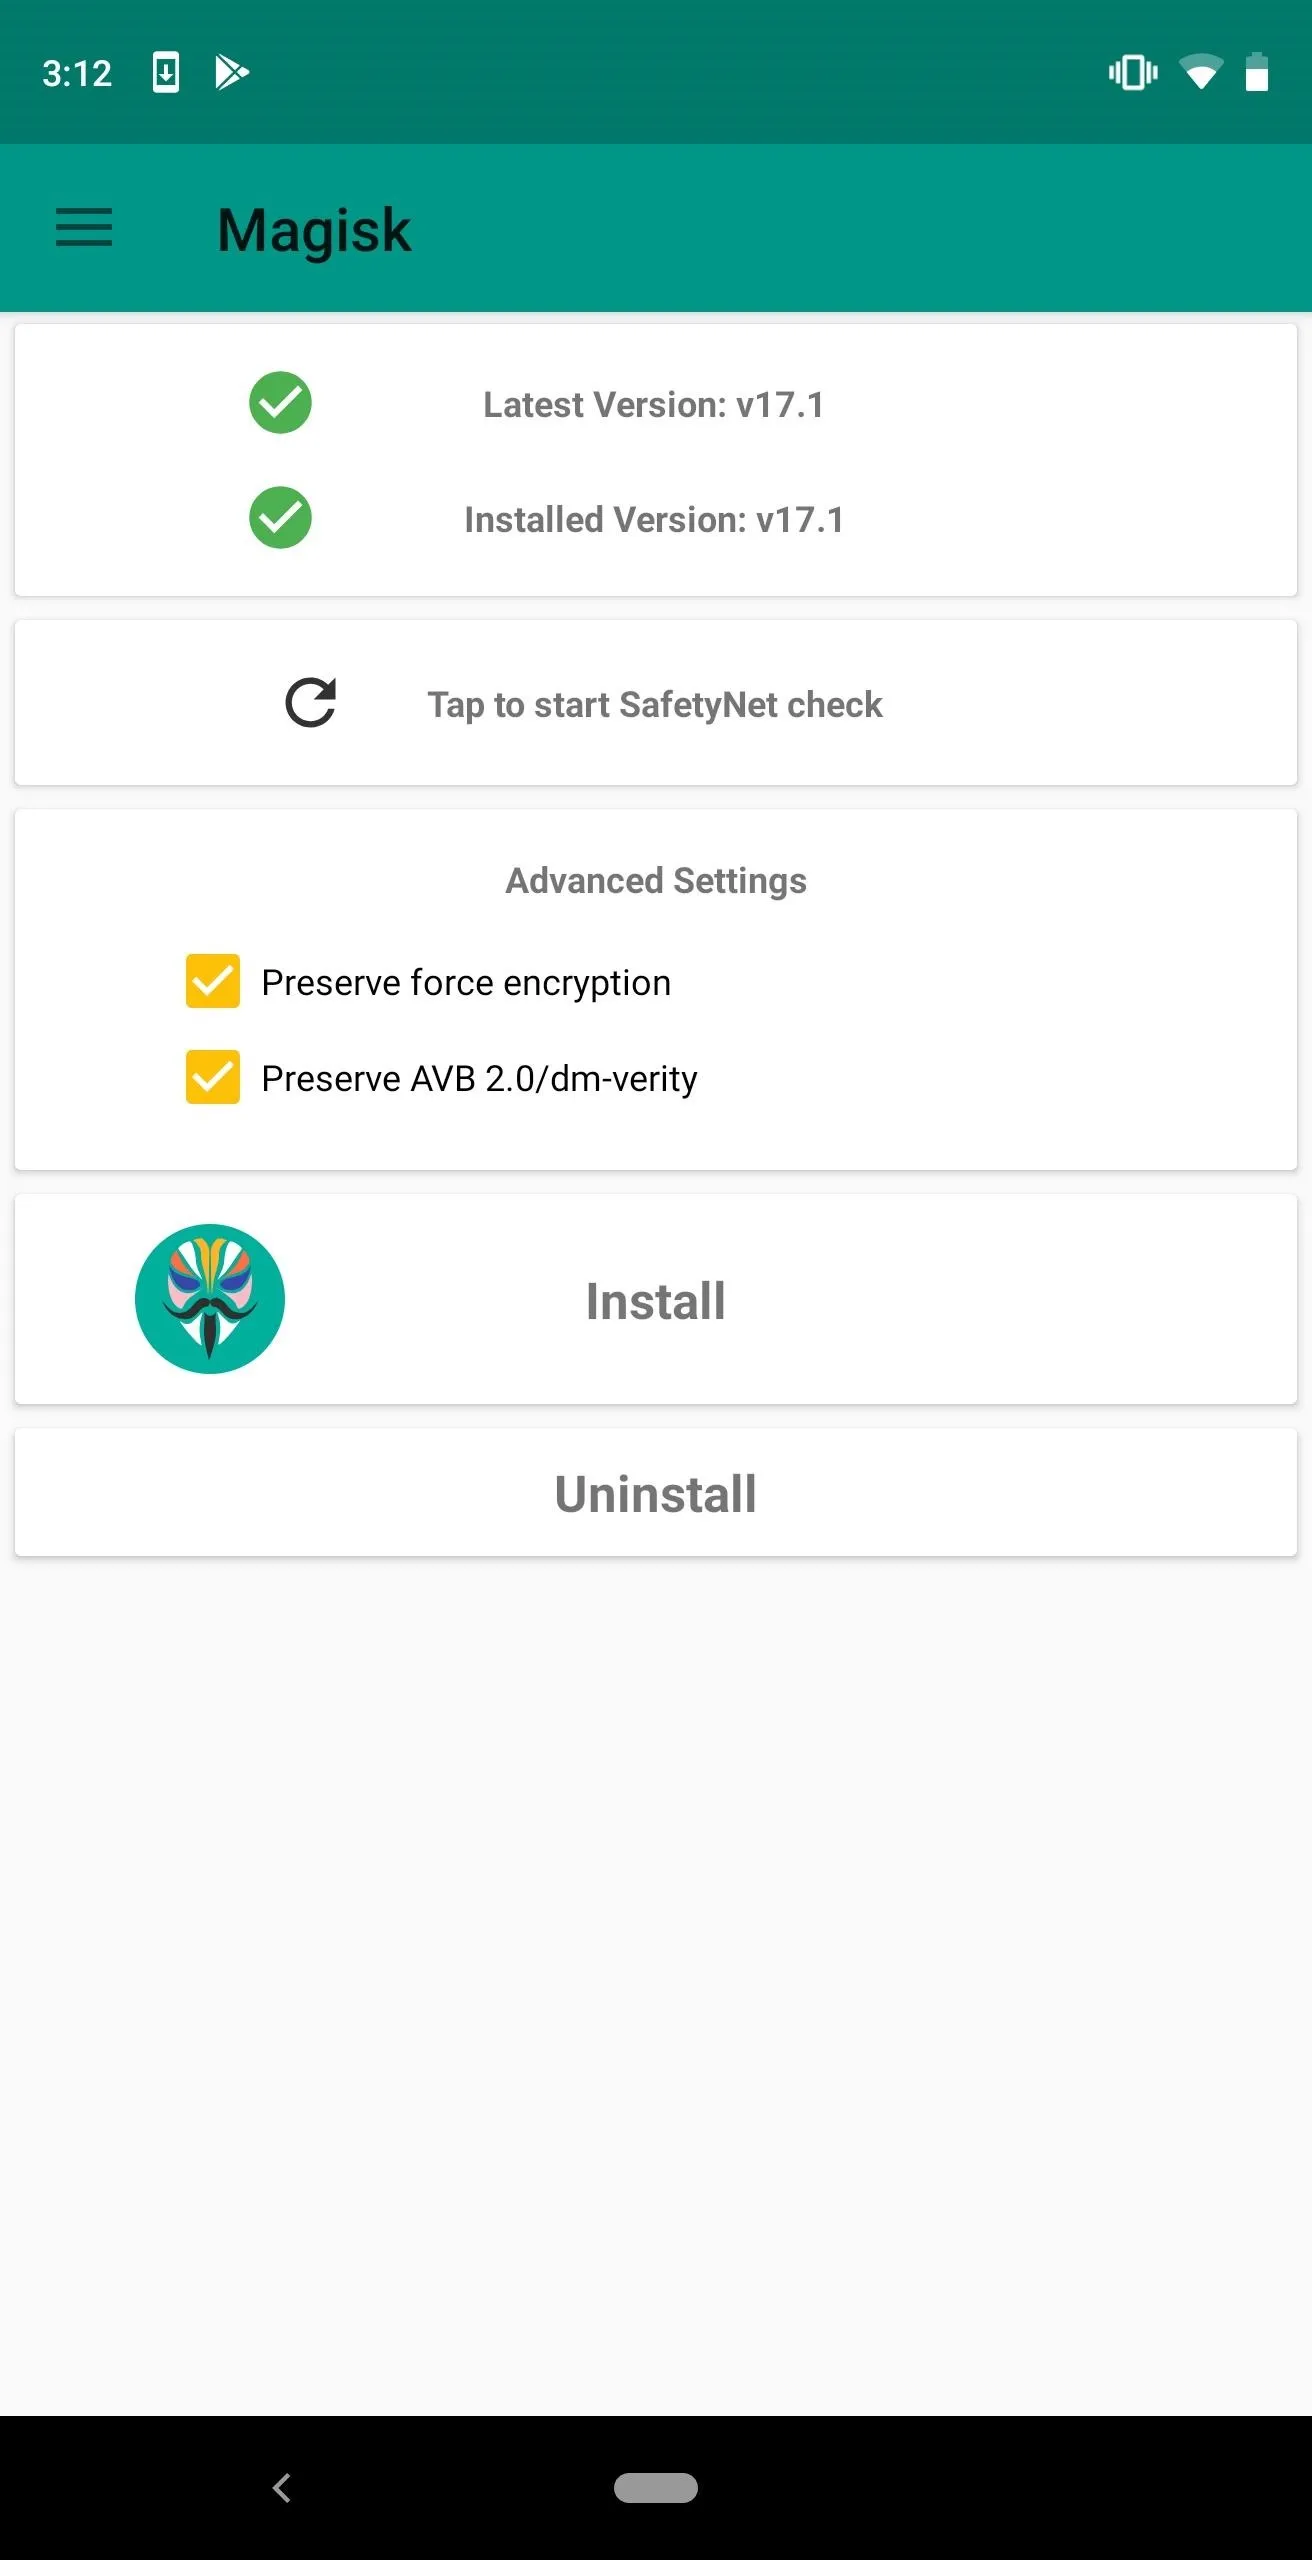
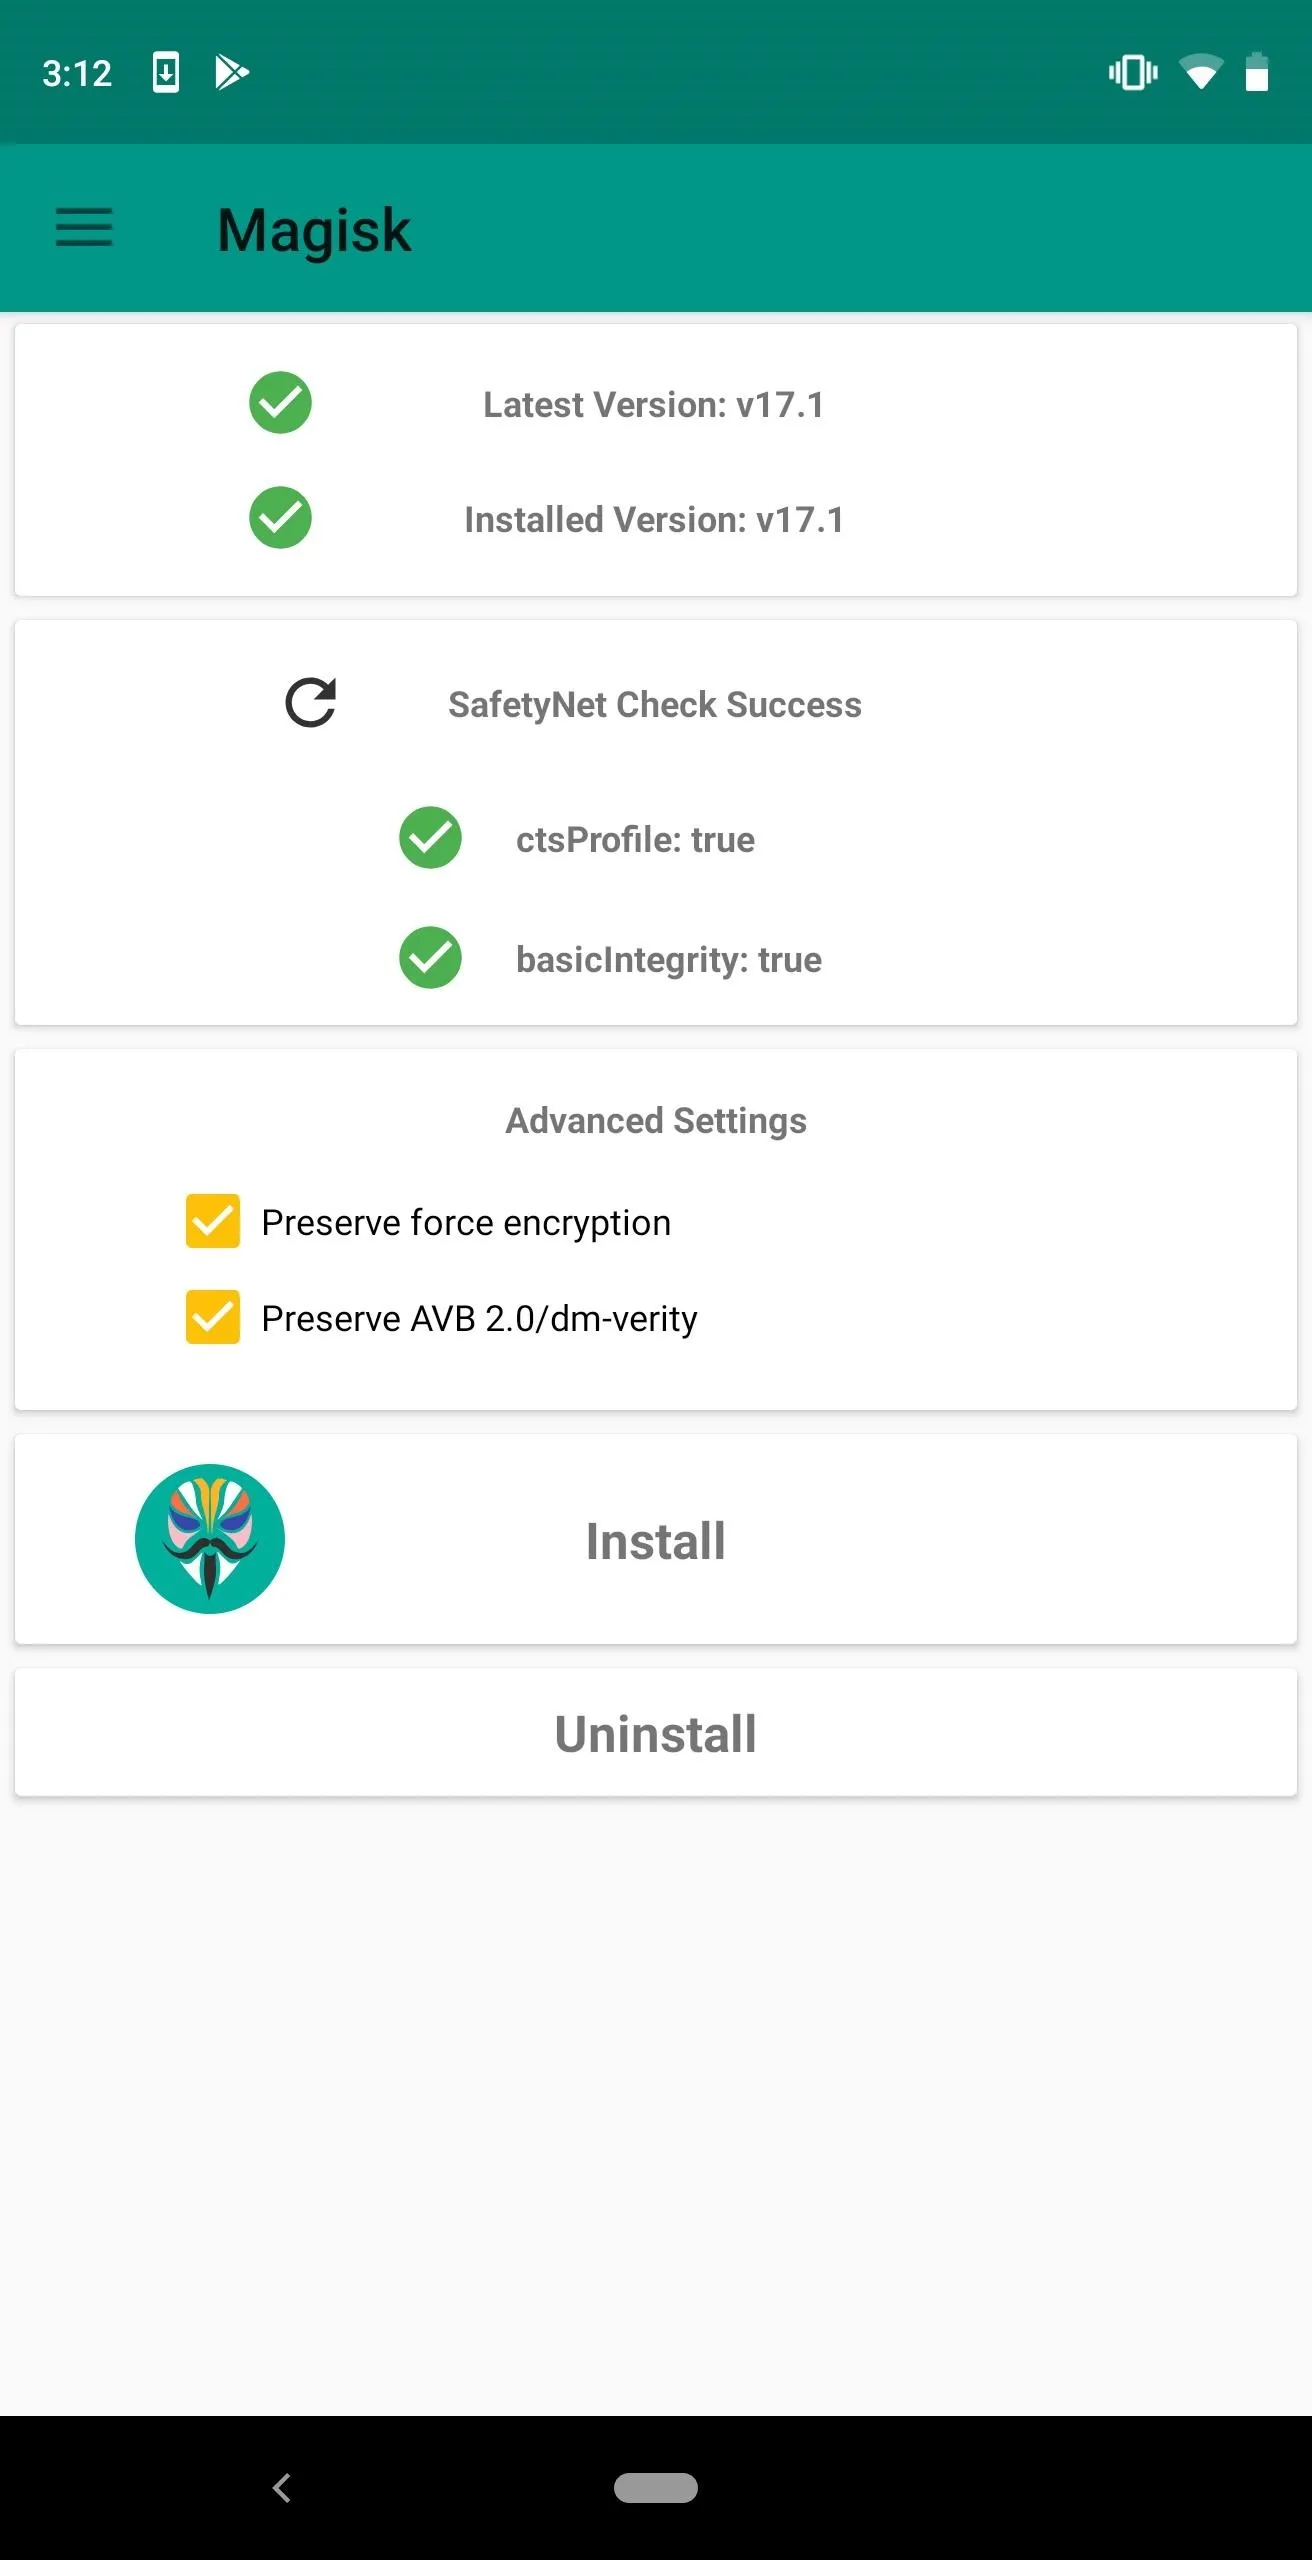
Check SafetyNet Status
The last step is to make sure you're still avoiding detection from SafetyNet. One of the best features of Magisk is that can hide itself from Google's anti-tampering system, allowing you to enjoy apps such as Android Pay and Netflix which rely on its detection.
To check, open Magisk Manager and select "Tap to start SafetyNet check." A popup will appear asking you to "Download Proprietary Code." Choose "Yes," and if everything was done right, you'll see two green check marks. If this is not the case, check out this guide for ways to fix this problem.
Now with root, you can access hundreds of new customization tools and features that were not accessible without it. Check out Magisk modules, which are an easy way to customize your device (see the link below on how to do this).
If you have been following our series of guides, we recommend opening EX Kernel Manager and granting superuser access to the app at this time. By doing so, you can gain an unprecedented level of control over the hardware of your phone, allowing you to boost game performance, improve battery life, and much more.
- Follow Gadget Hacks on Pinterest, Twitter, YouTube, and Flipboard
- Sign up for Gadget Hacks' daily newsletter or weekly Android and iOS updates
- Follow WonderHowTo on Facebook, Twitter, Pinterest, and Flipboard
Cover image and screenshots by Jon Knight/Gadget Hacks


Comments
Be the first, drop a comment!