


Screen pinning is a fairly unknown feature despite the fact that it's been around since 2014. It's a helpful security tool that limits access to your device to only one app — perfect for those times when someone asks to borrow your phone. While previous versions kept this feature exactly the same, Android 9.0 Pie's new multitasking UI changes the way it works.
Android Pie introduced gesture navigation. With this change, Google made adjustments to the UI, including a major revision to the recent apps screen. Because of this, Google knew that functions involving the recent apps screen would need to revised, including screen pinning. So for those of you who even know about the feature, here's how screen pinning works in Android 9.0.
Turn on Screen Pinning
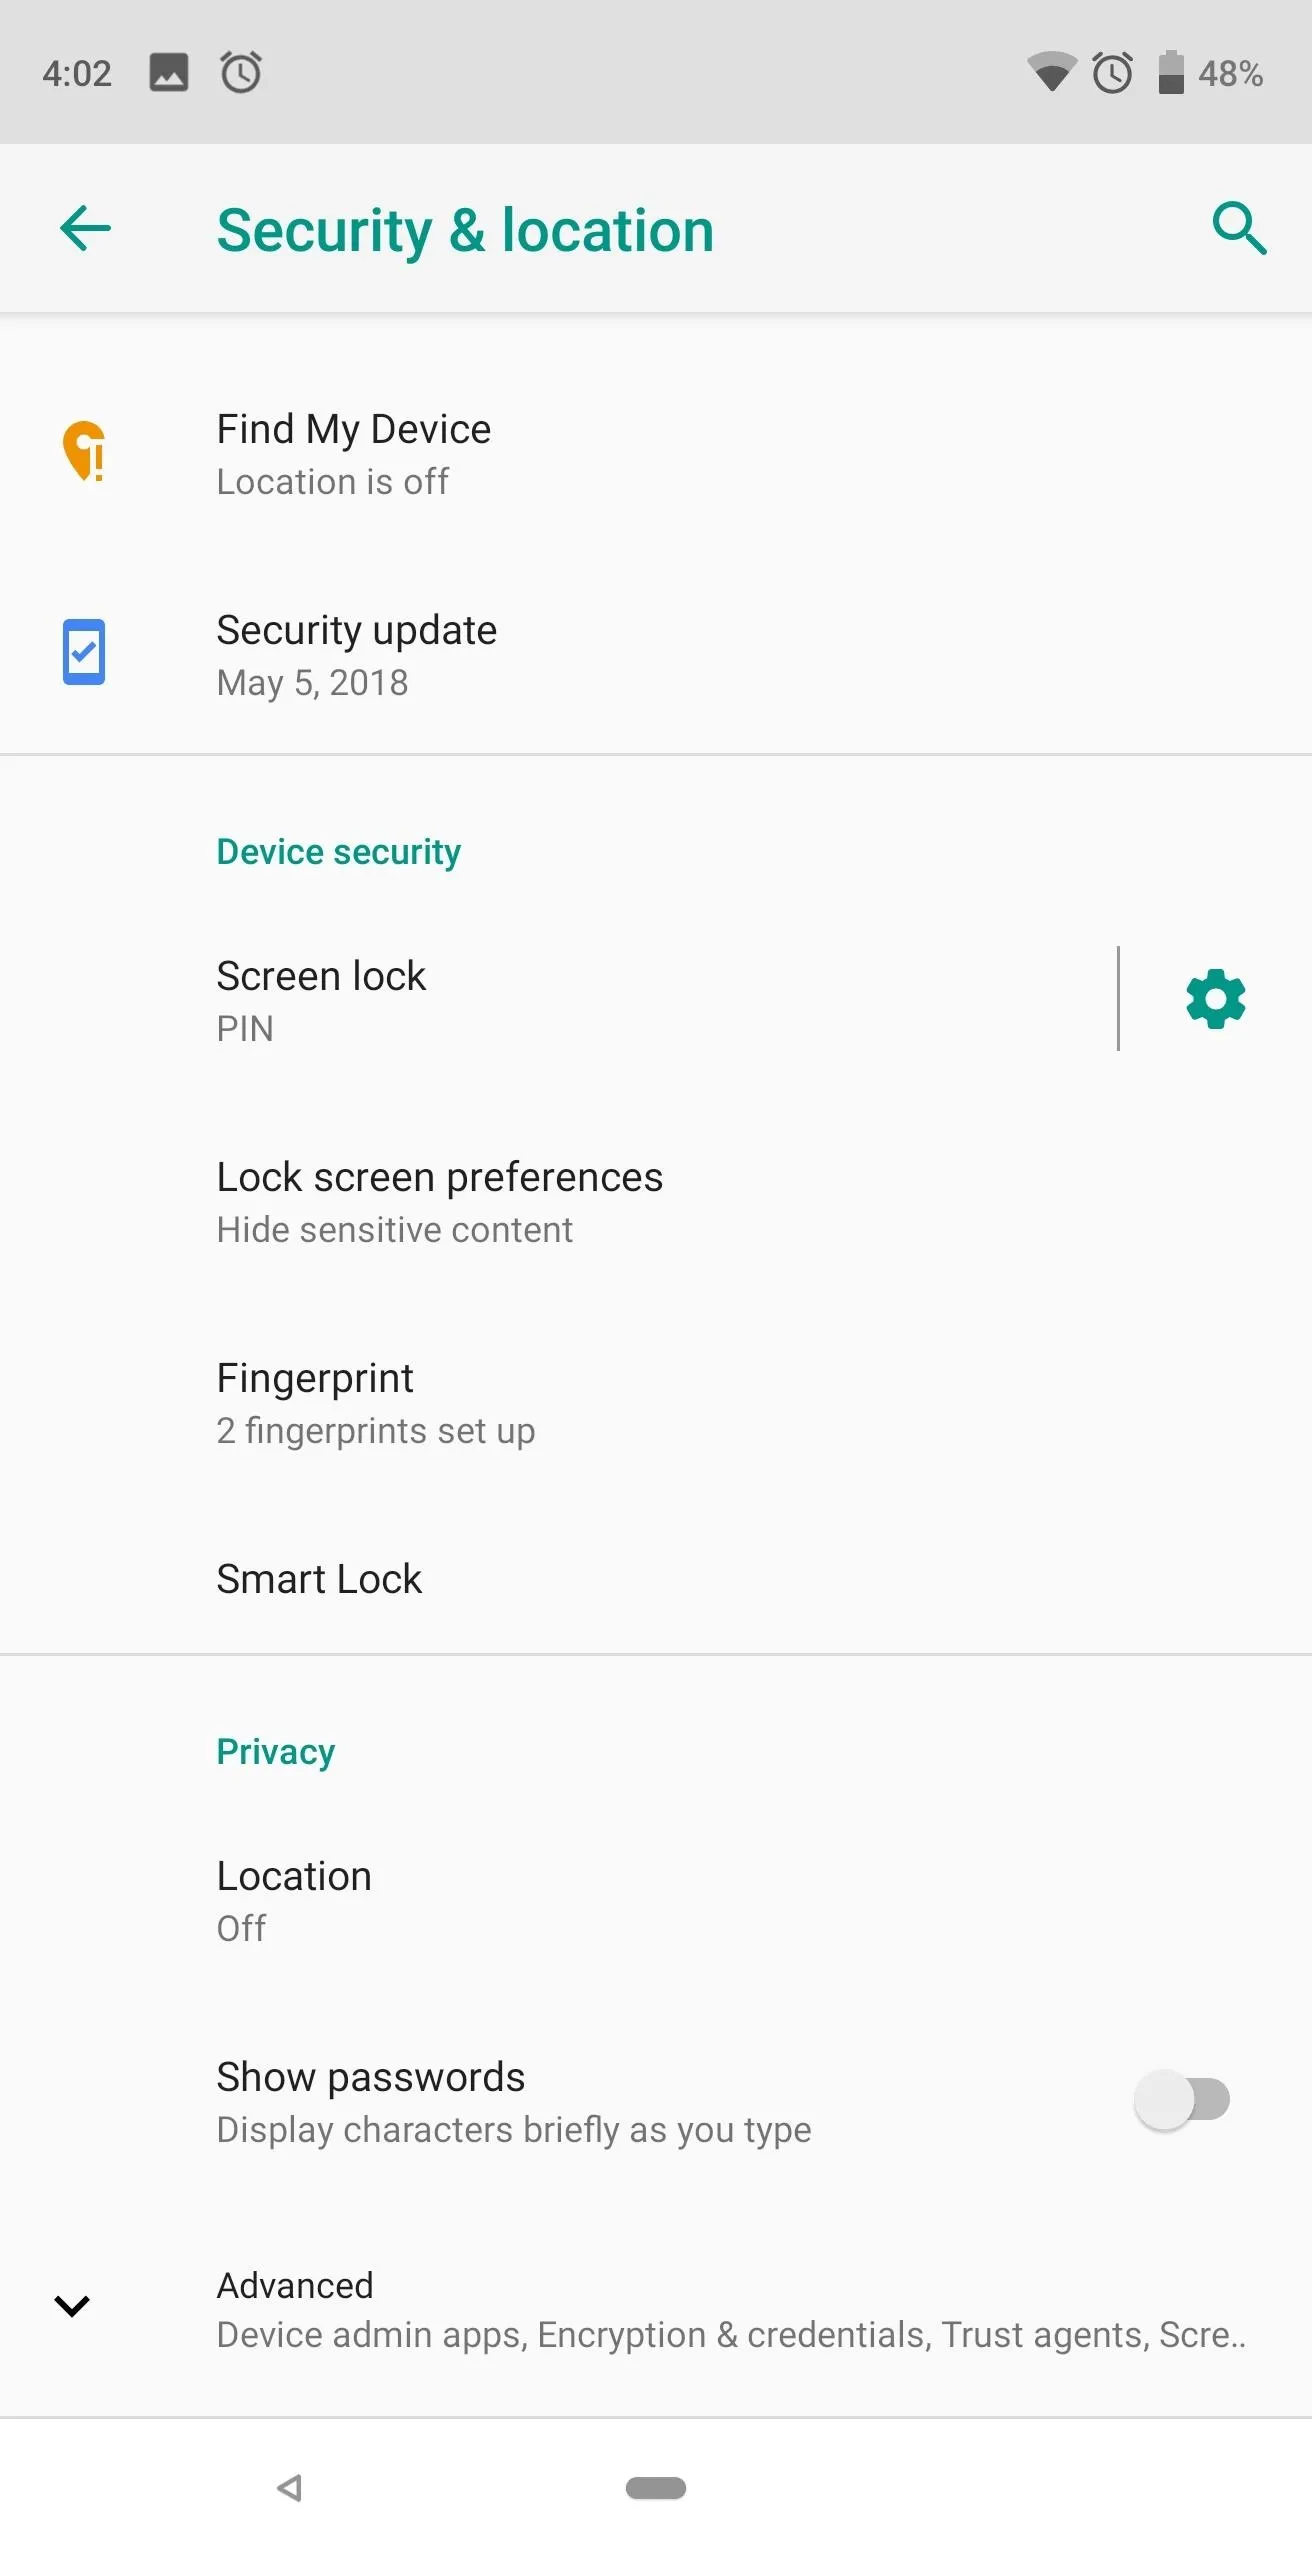
To enable screen pinning on Android Pie, start by heading to the main settings menu and selecting "Security & location." Scroll to the bottom and tap "Advanced" to reveal more options. The very last option (which is one reason many people miss it) is "Screen pinning." Choose this option and select the toggle to enable the feature.
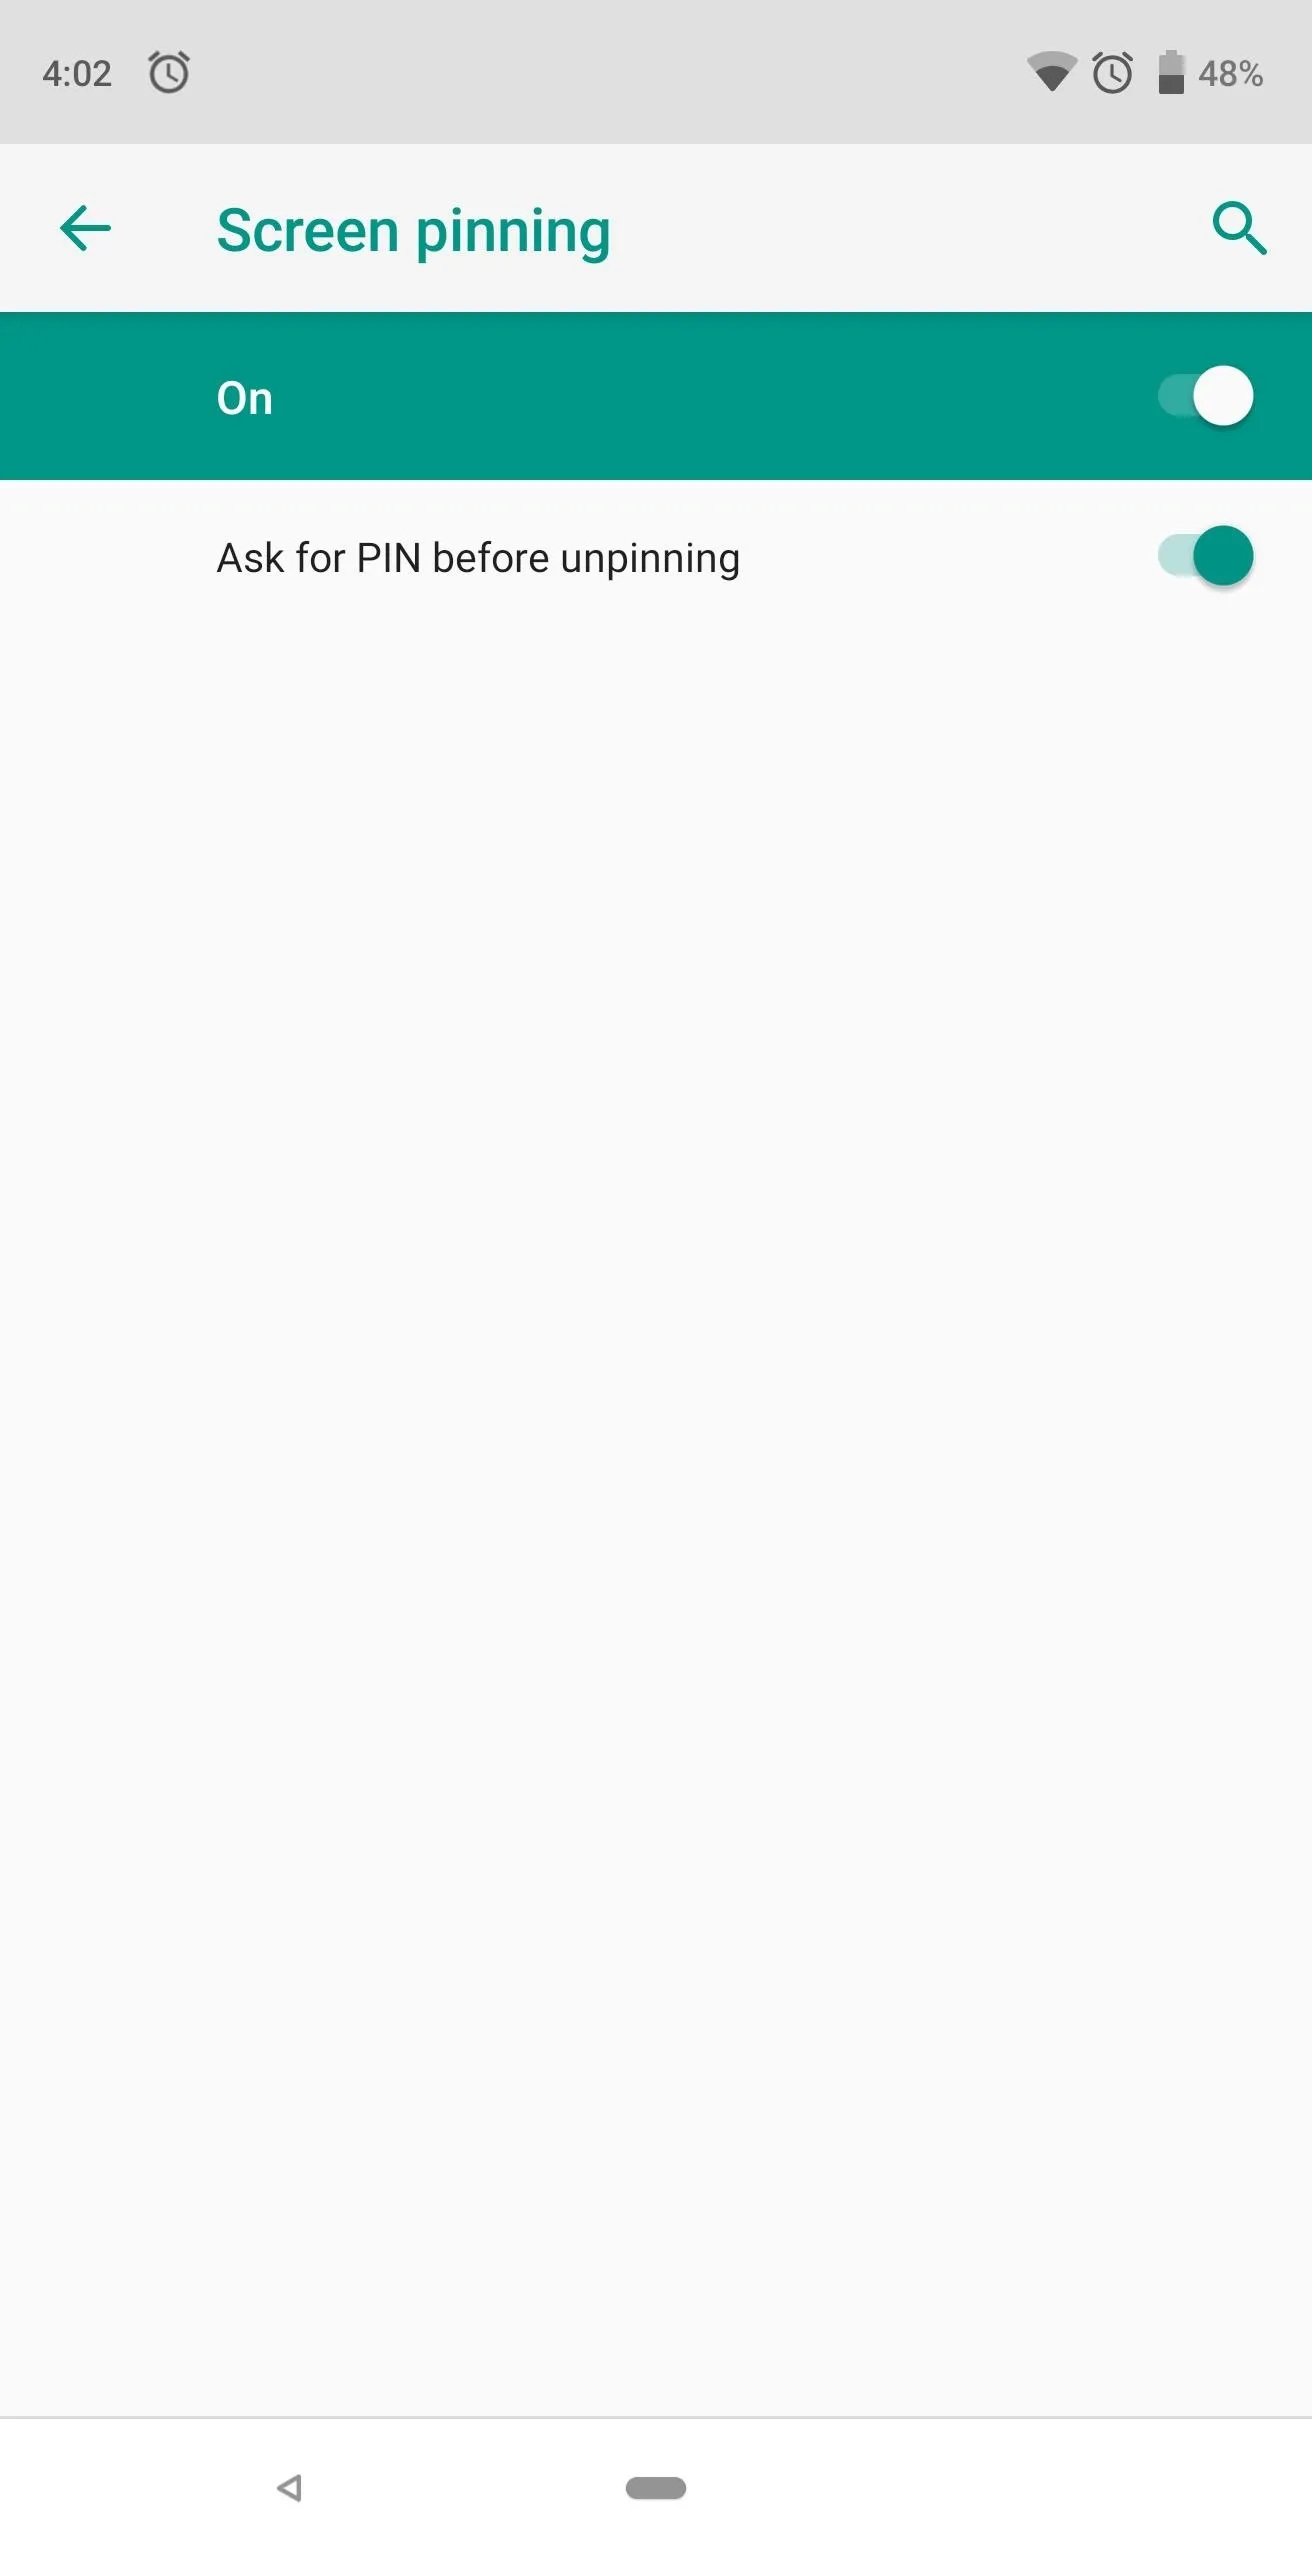
Once enabled, you'll notice a second toggle which previously wasn't there. This option controls where users can go once they attempt to unpin the app in the foreground. If you leave this option disabled, the person who borrowed your phone will be able to open other apps once they unpin the screen. If you enable this option, on the other hand, unpinning sends them to the lock screen.
The problem is that unpinning is as simple as holding two buttons, which Android informs you how to do when you enable screen pinning. Therefore, to protect your data, make sure this toggle is enabled.
Pin Your Screen
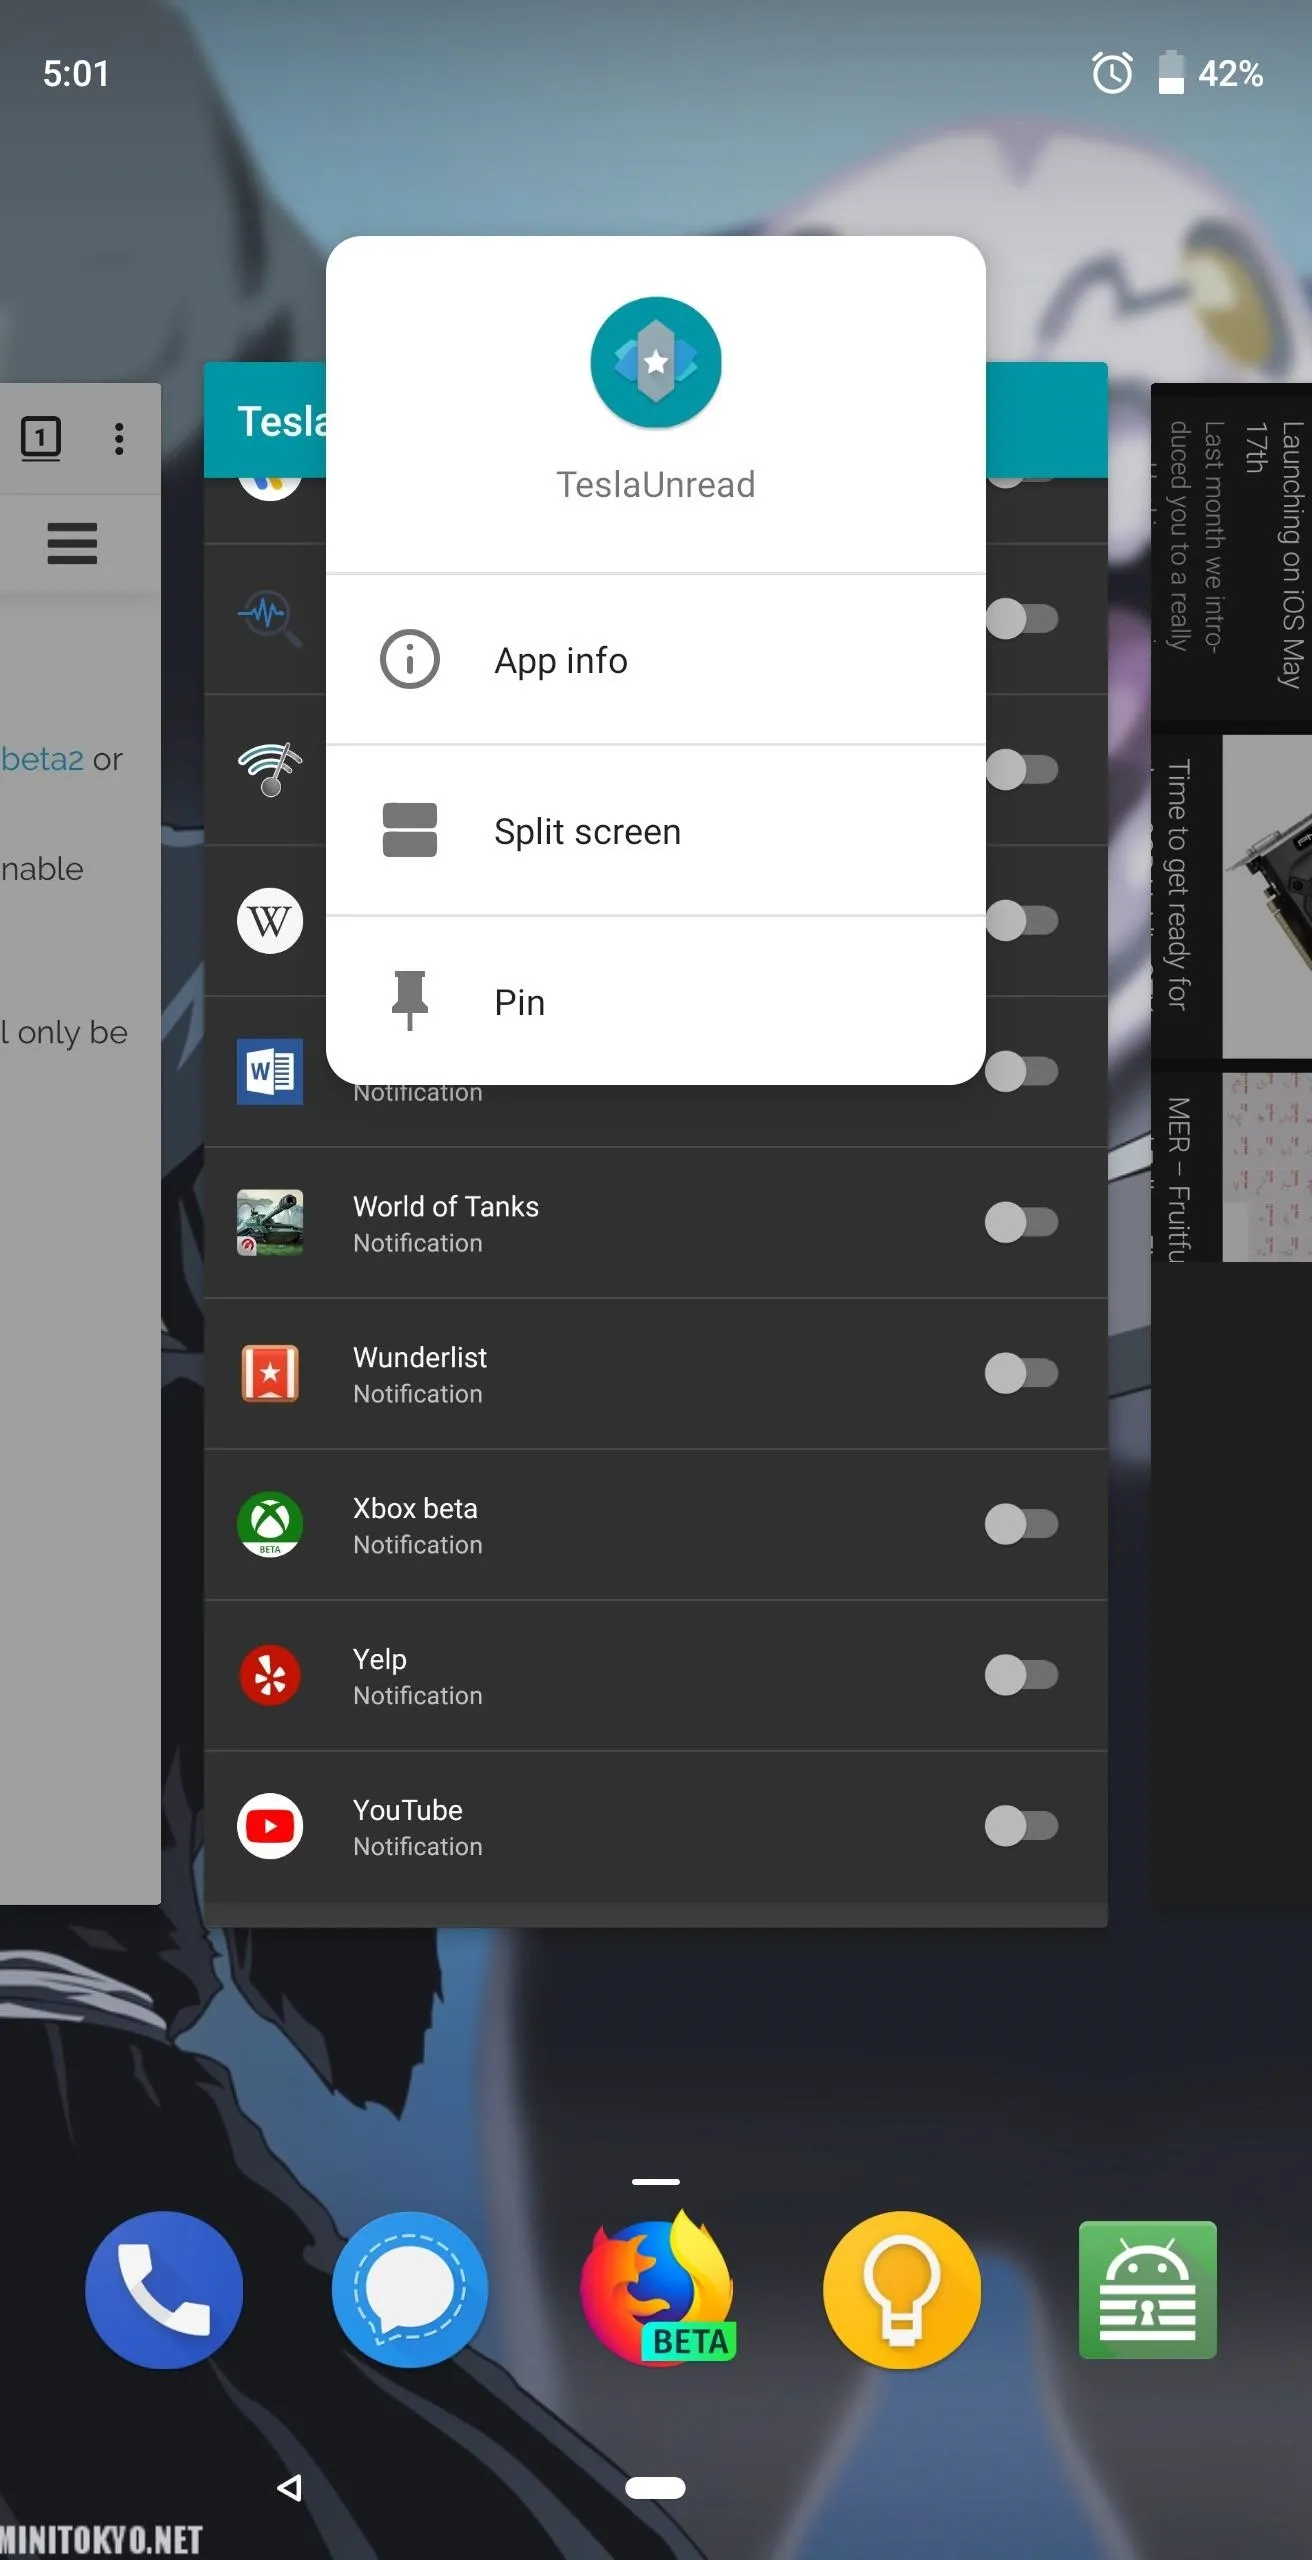
With screen pinning enabled, enter the multitasking menu using the recent apps button or the new swipe-up gesture. For the latter, swipe up from the home button. Swipe left to see all the apps you've previously opened on your device.
Once you locate the app you wish to pin, tap the icon on the top of the app (in the center). A submenu will appear with the option "Pin." Select this option, and when done correctly, a pop-up will emerge along the bottom informing you the screen is pinned.
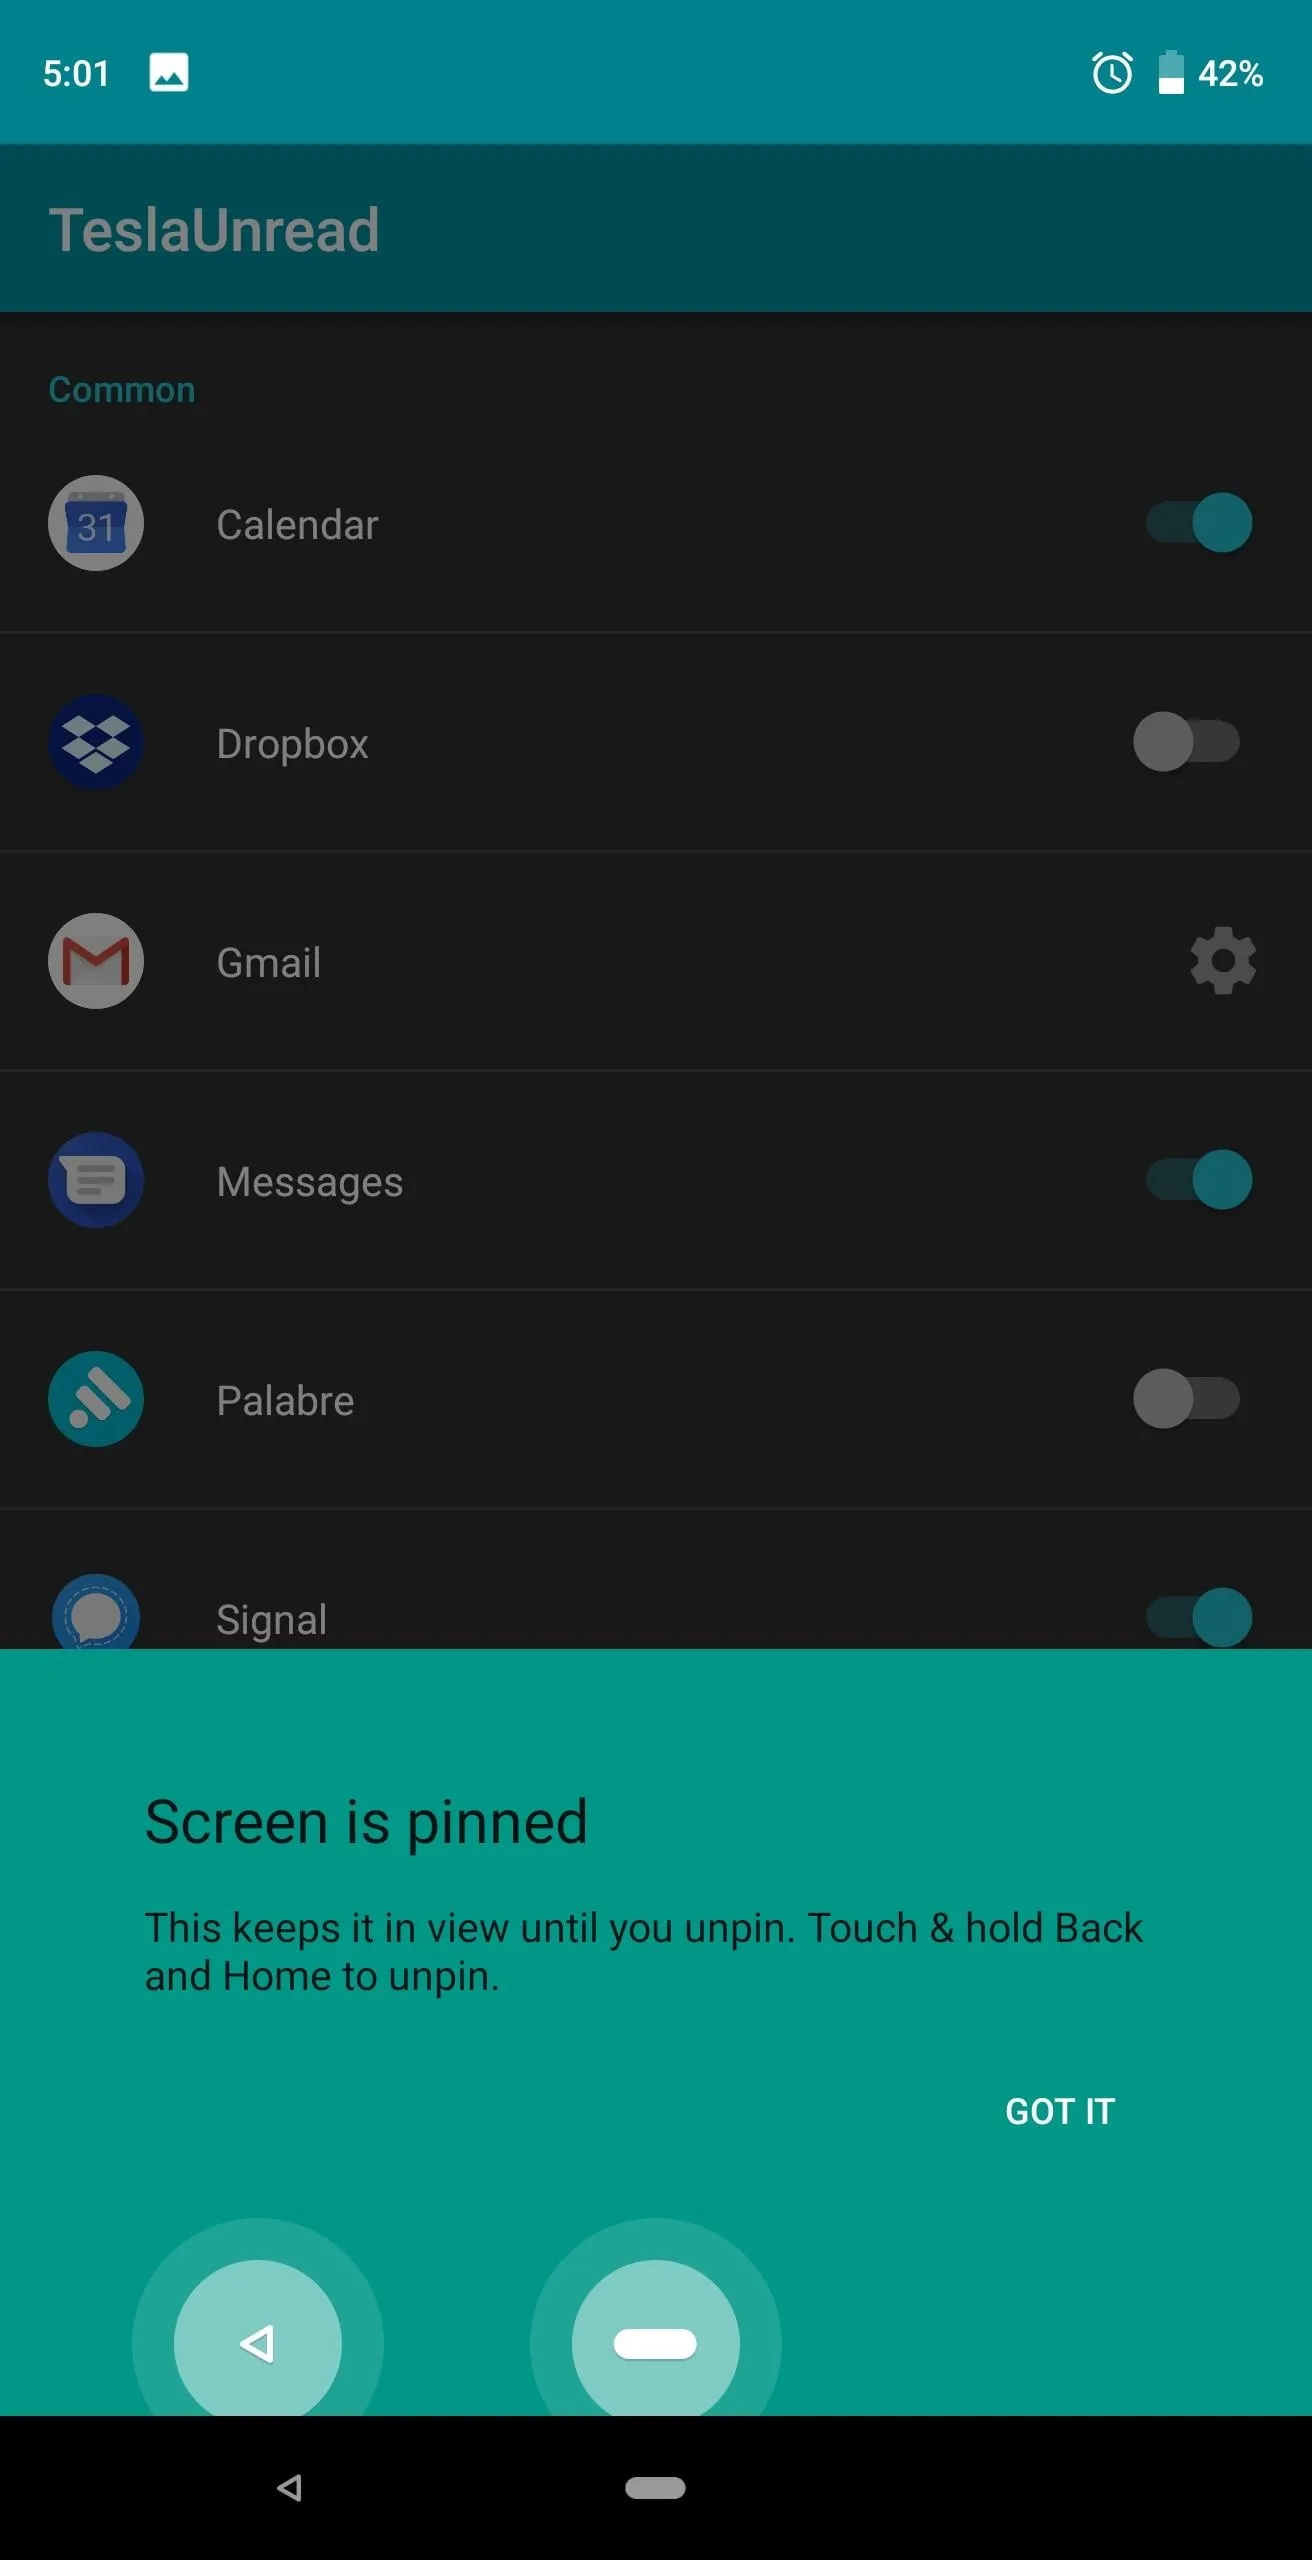
Once pinned, you can safely hand your phone over to coworkers, friends, or family members without having to worry about them digging around where they shouldn't be. Especially for nosey individuals, you can pin them to the dialer app so that all they can do is make that phone call they asked to make.
Unpin the Screen
With the screen pinned, you are limited to the confines of the app in the foreground. To unpin the app, hold the back and home buttons. This will unpin the screen and return you the lock screen. However, if you disabled the second option in Step 1, you will remain in the phone with ability to navigate freely.
Screen pinning is helpful in situations where someone asks to borrow your phone to make a call or shoot a text. No longer do you need to worry about a nosey individuals browsing throughout your phone when you lend it out. Just remember, they can navigate within the app you pinned, so double check what information they can access while in it.
- Follow Gadget Hacks on Facebook, Twitter, YouTube, and Flipboard
- Follow WonderHowTo on Facebook, Twitter, Pinterest, and Flipboard
Cover image and screenshots by Jon Knight/Gadget Hacks


Comments
Be the first, drop a comment!