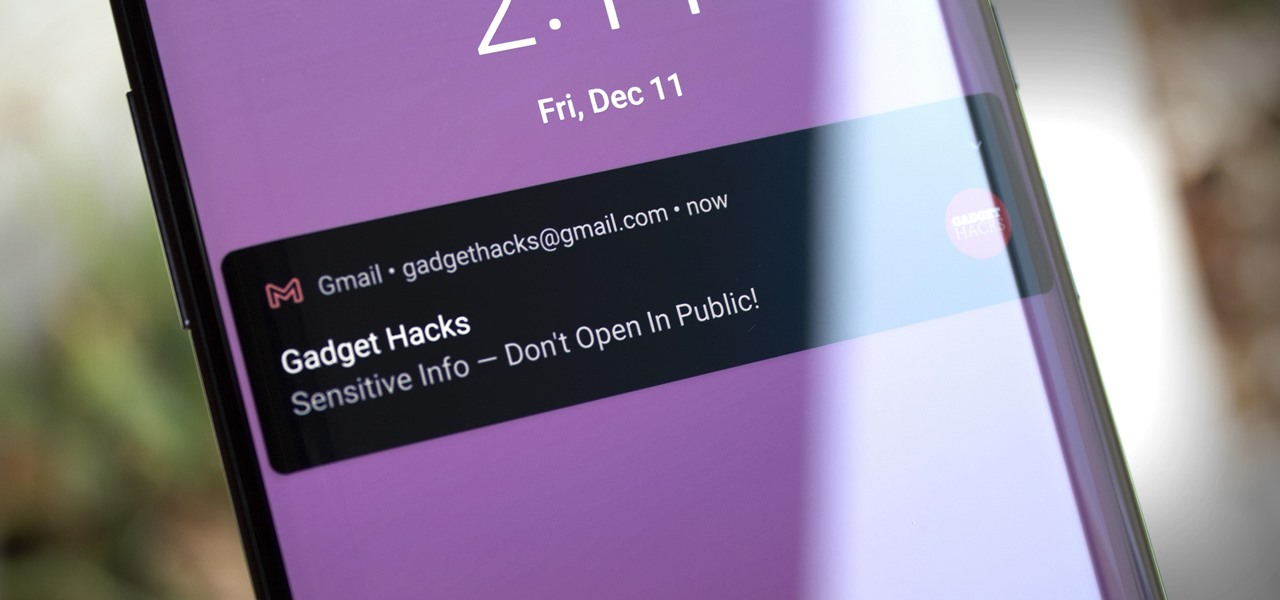

The iPhone has a setting that will obfuscate the content of notifications on its lock screen until you're recognized by Face ID. Google implemented this same feature in its Pixel phones, but many Android devices have no such option. At least, not by default.
If you use Android's Smart Lock feature to keep your device unlocked when it's in a trusted environment for easy access, you probably wouldn't mind having the full content of notifications appear on your lock screen in these situations. But when you're at work or out and about, your phone's fully locked down, so your notifications should be as well.
This is the premise behind a new app from developer K4CZP3R. Bottom line, it hides the sensitive content from all your notifications on the lock screen, unless your device is currently unlocked.
What You'll Need
- Android 9 or higher
- Windows, Mac, or Linux computer
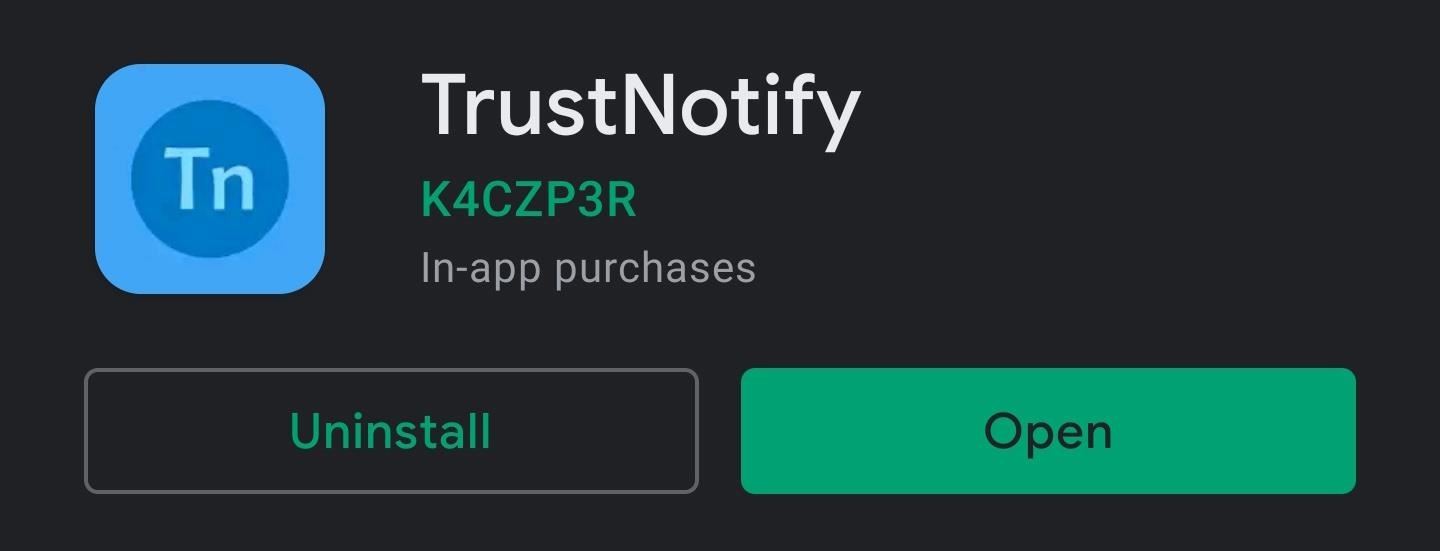
Step 1: Install TrustNotify
First, grab the app TrustNotify from the Google Play Store. Either search for it by name in your Play Store app to get it installed, or tap the link below to head directly to the download page.
- Play Store Link: TrustNotify (free)
Step 2: Enable Developer Options
In order to work, TrustNotify needs a permission that only ADB can grant. As such, you'll need to enable the hidden Developer Options menu on your phone. So go to Settings –> About Phone, then tap "Build Number" seven times in quick succession. If you'd like more help with this part, check out our full tutorial below.
Step 3: Enable USB Debugging
Now, open your Settings app and go to "System," then "Advanced" to locate the new Developer Options menu. On some phones, it may simply be at the very bottom of the Settings menu instead.
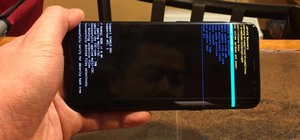
Once inside the Developer Options menu, scroll down and enable the switch next to "Allow USB Debugging," then press "OK" on the prompt. Now, connect your phone to your computer and you should see the popup shown below — here, select "Always Allow," then press "OK." And again, for more help, see our full tutorial below.

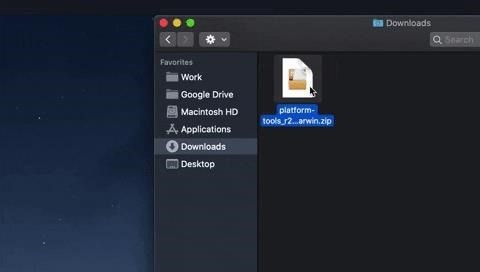
Step 4: Download Google's Platform-Tools ZIP on Your Computer
On your computer now, download the software that will make it possible to connect to your phone via ADB. This is a simple ZIP file, and it comes directly from Google. Once downloaded, extract the ZIP and place the platform-tools folder on your desktop.
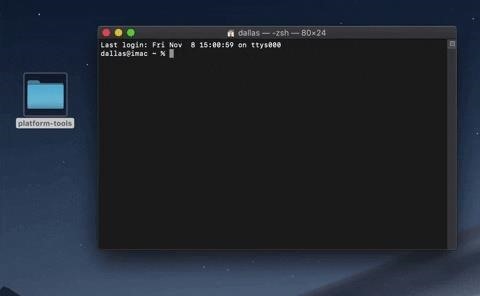
Step 5: Open a Command Prompt in the Platform-Tools Folder
Now, you'll need to open a command prompt on your computer and get it operating out of the right directory. On Windows, start by pressing the Windows key on your keyboard, then type "cmd" and hit enter to open the command utility. On Linux or Mac, simply open the Terminal app from your Applications folder.
Once your command line tool is open, type cd followed by a single space, but don't hit enter yet. Instead, drag the platform-tools folder from your desktop and drop it right on top of the command window to populate the full folder path. After that, go ahead and press enter. For more help with this part, check out our full guide:
Step 6: Grant Extra Permissions
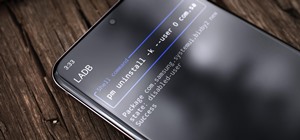
Now, copy and paste the following line of code into the command prompt, then hit enter on your keyboard.
adb shell pm grant xyz.k4czp3r.trustnotify android.permission.WRITE_SECURE_SETTINGSIf you see the standard prompt after sending that command, you're good to go. But if you get a "command not found" error, send the command listed below instead:
./adb shell pm grant xyz.k4czp3r.trustnotify android.permission.WRITE_SECURE_SETTINGSStep 7: Configure TrustNotify
Go ahead and open the TrustNotify app on your phone now. If you had already opened it before granting the permission via ADB, you'll need to close and re-open the app before it will realize the permission was granted.
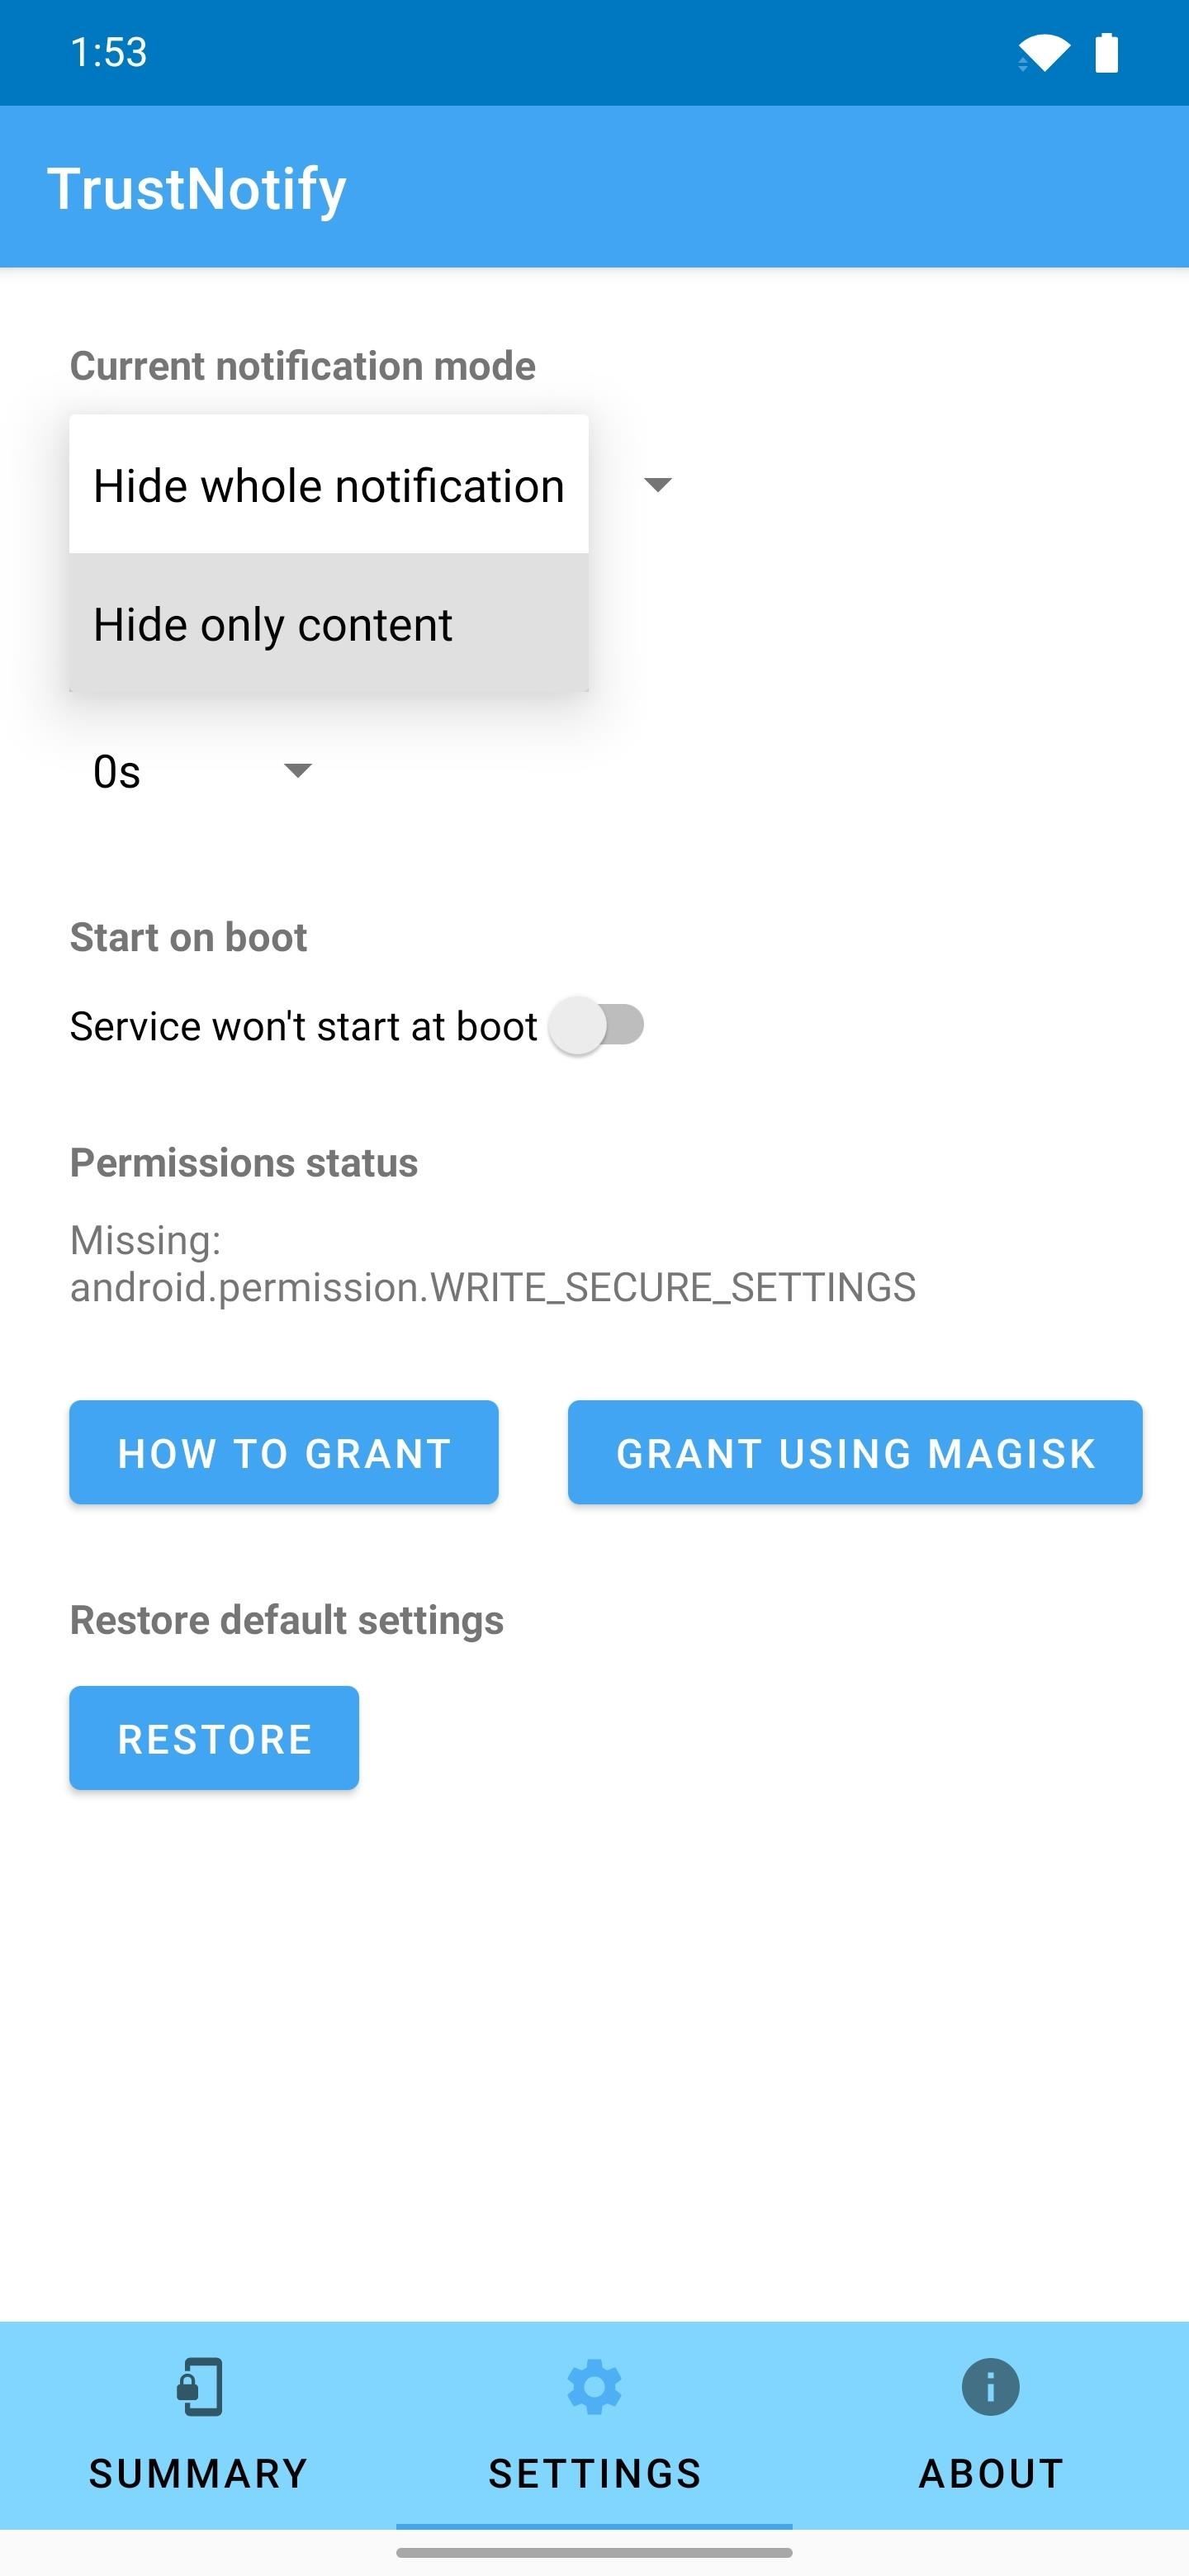
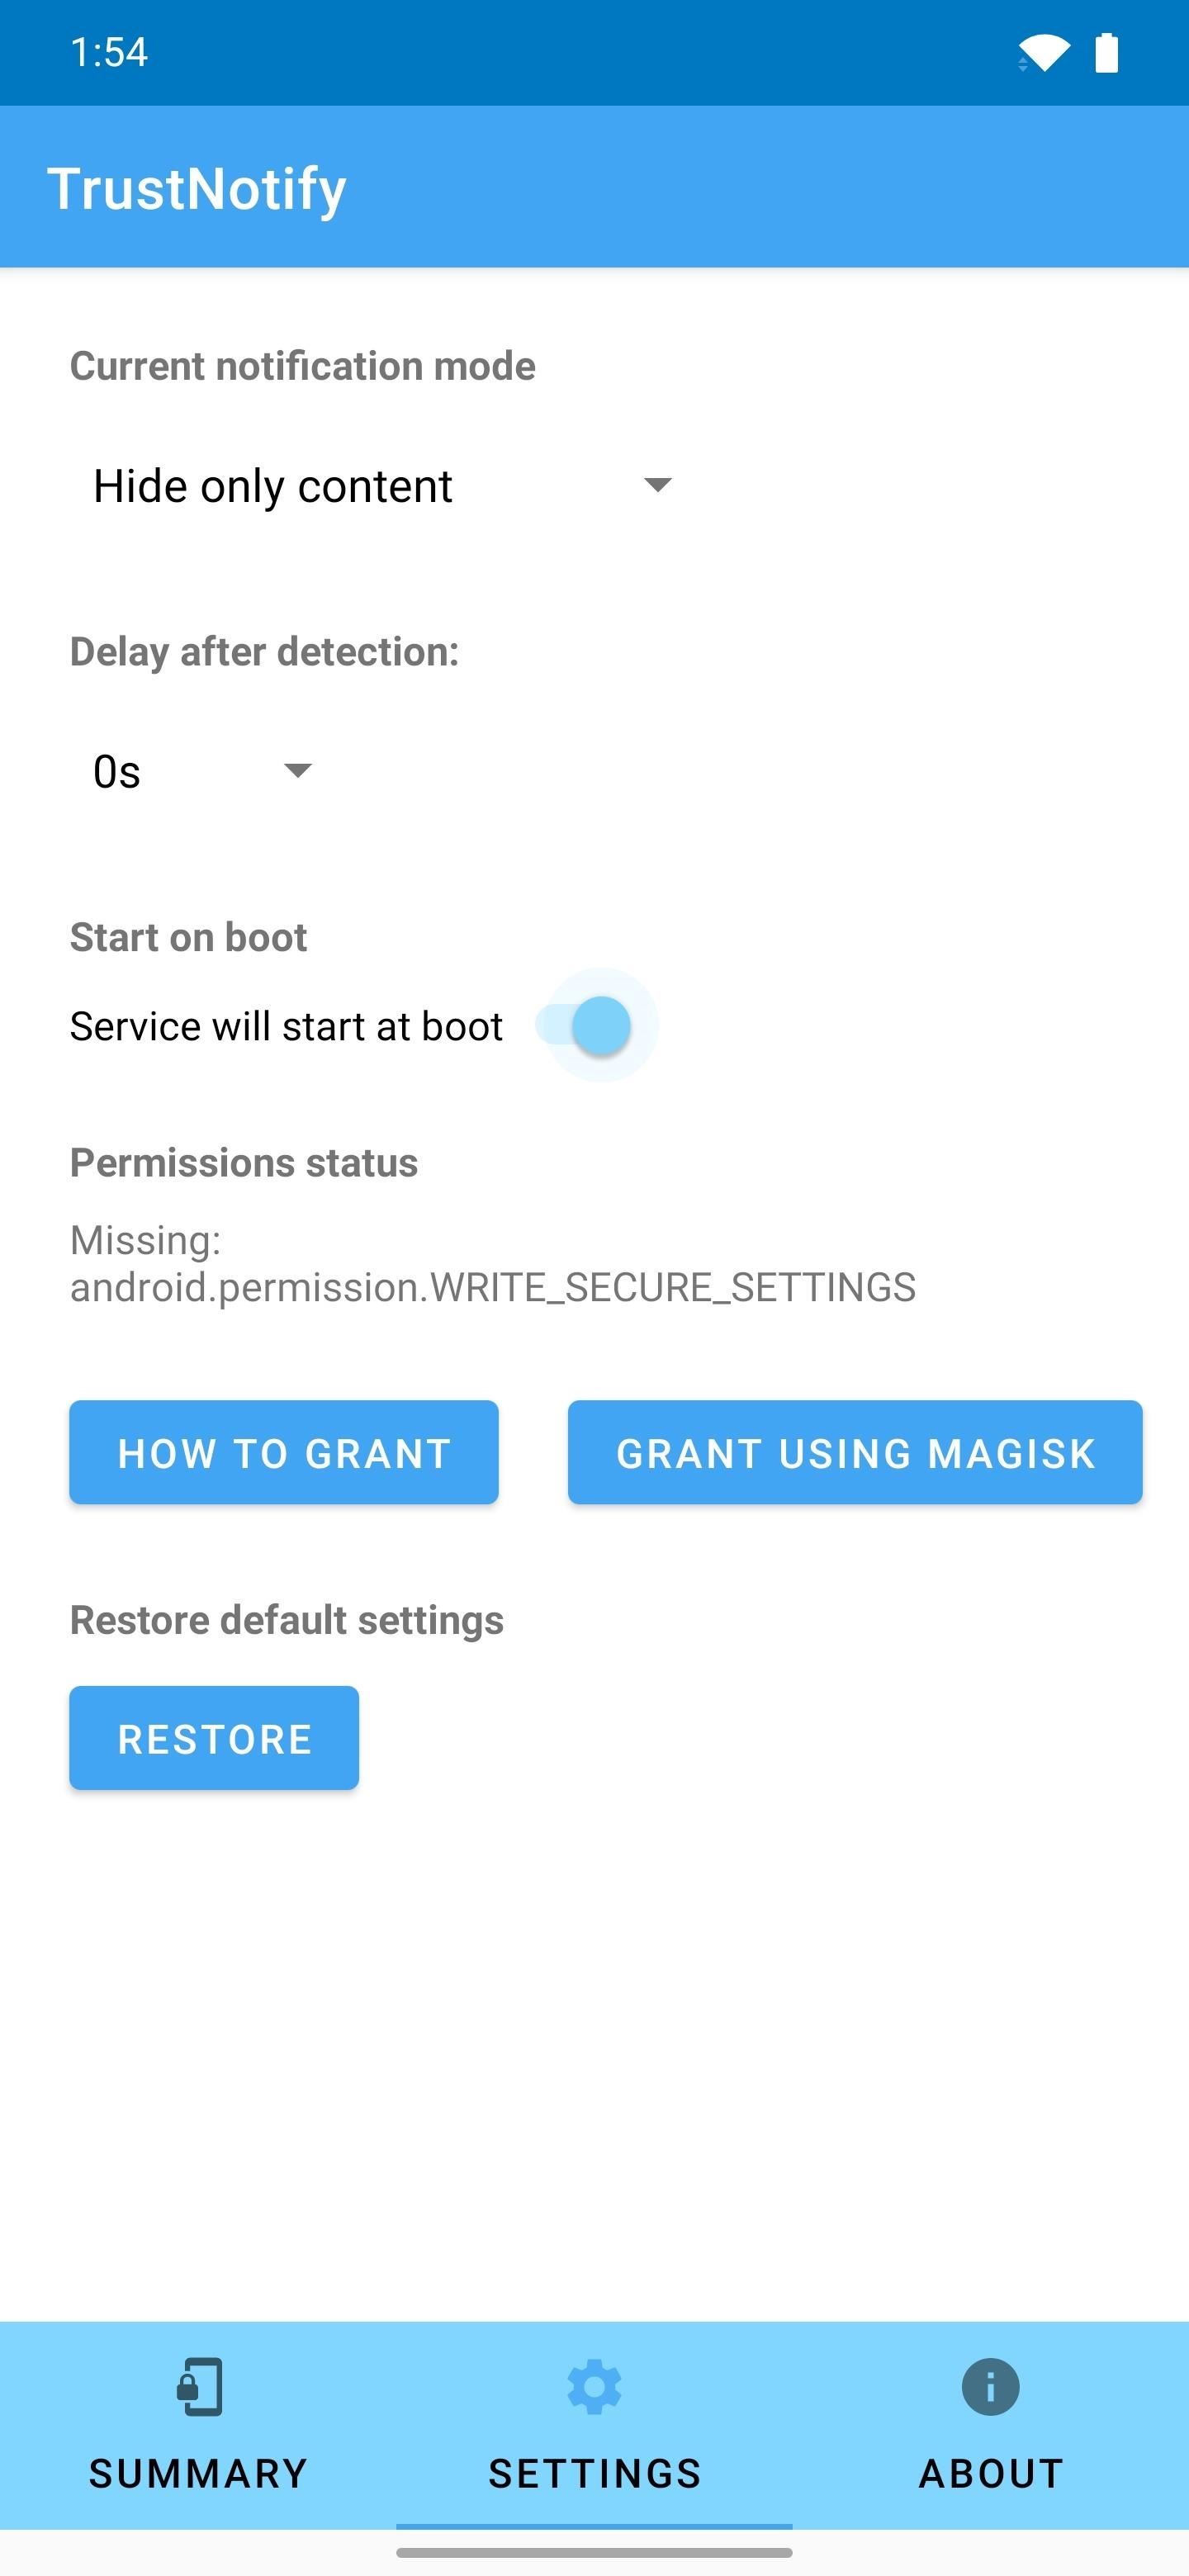
From the main screen, go ahead and tap the "Settings" button at the bottom. Here, tap the first drop-down menu to choose whether notifications will be completely hidden when your phone is locked or if only their content will be hidden. After that, make sure to enable the switch next to "Service will start at boot."
Step 8: Enable the Service
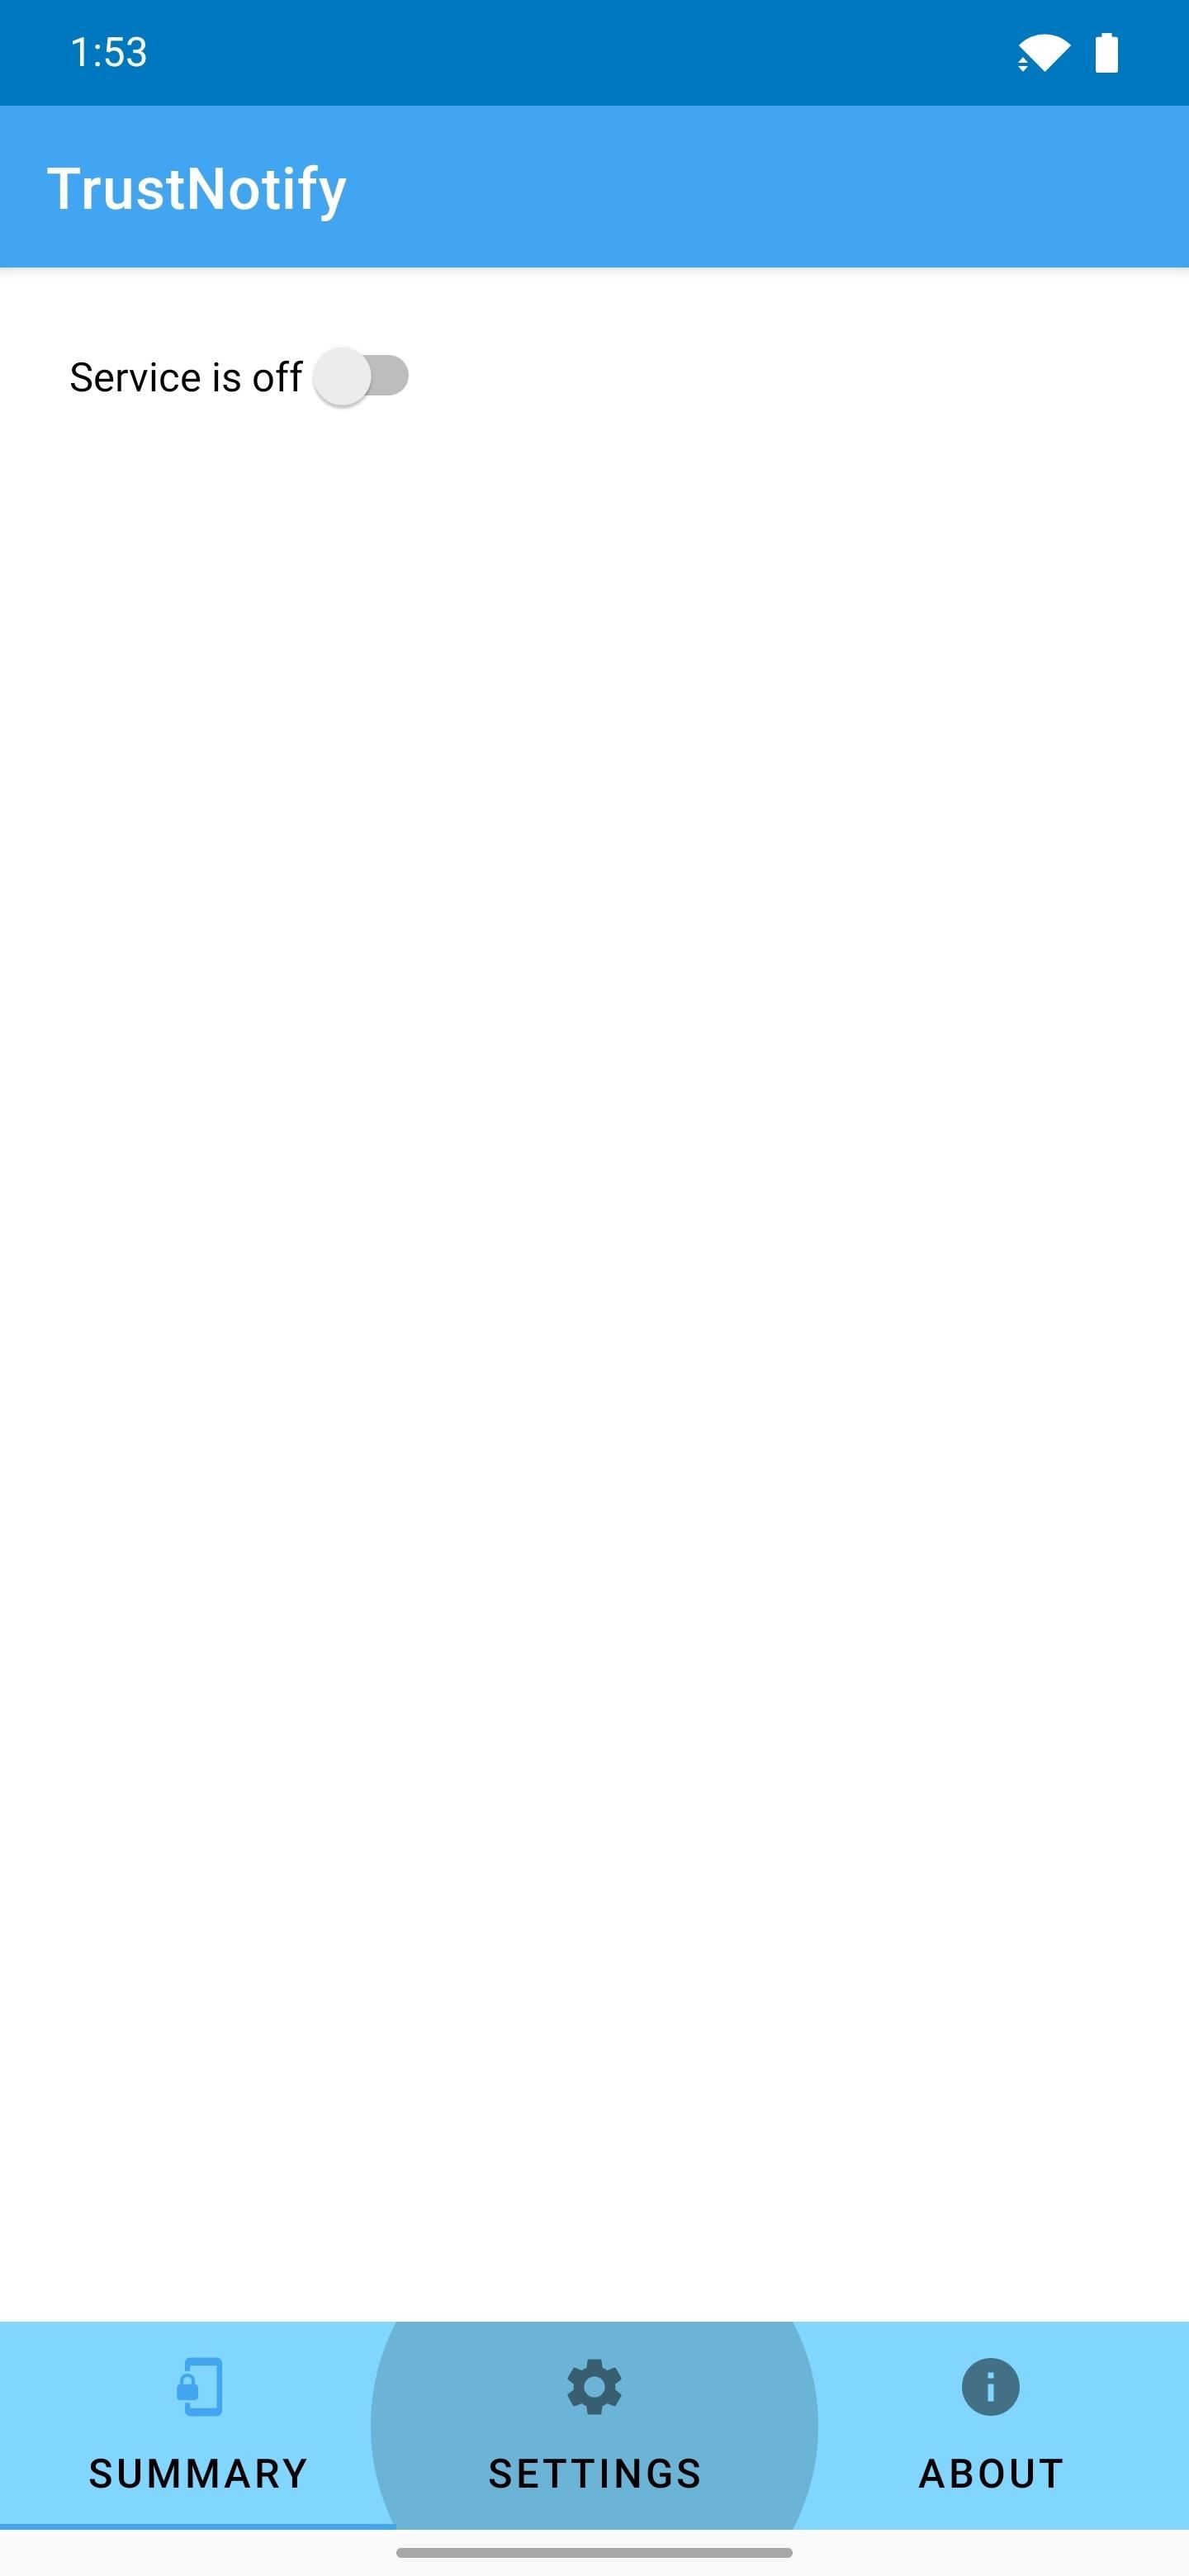
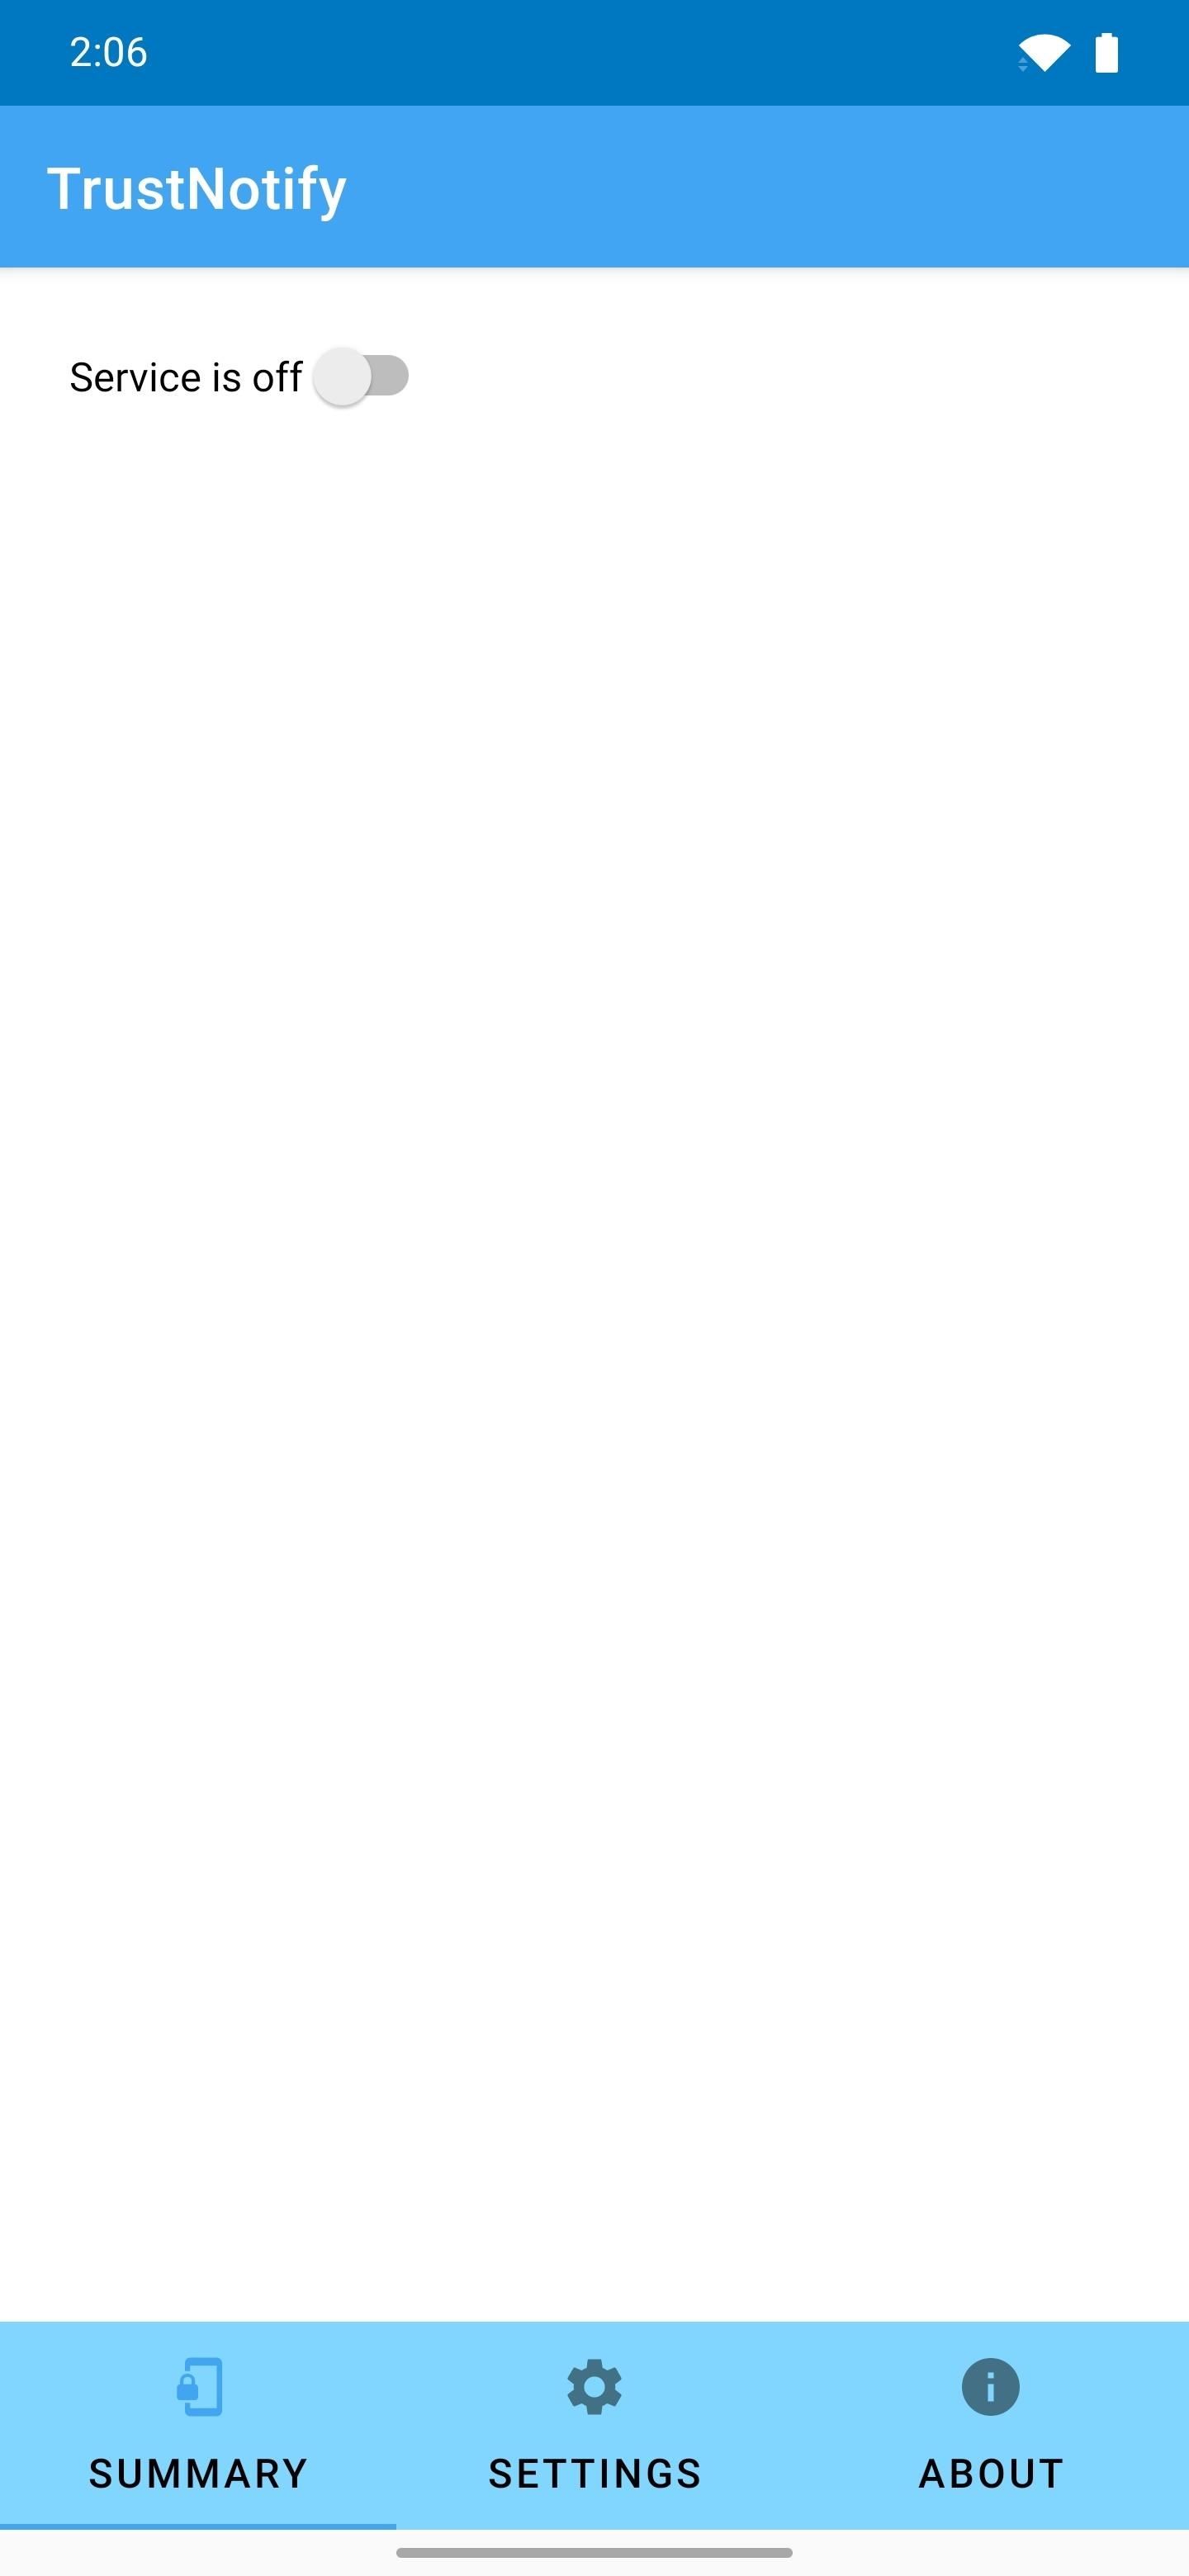
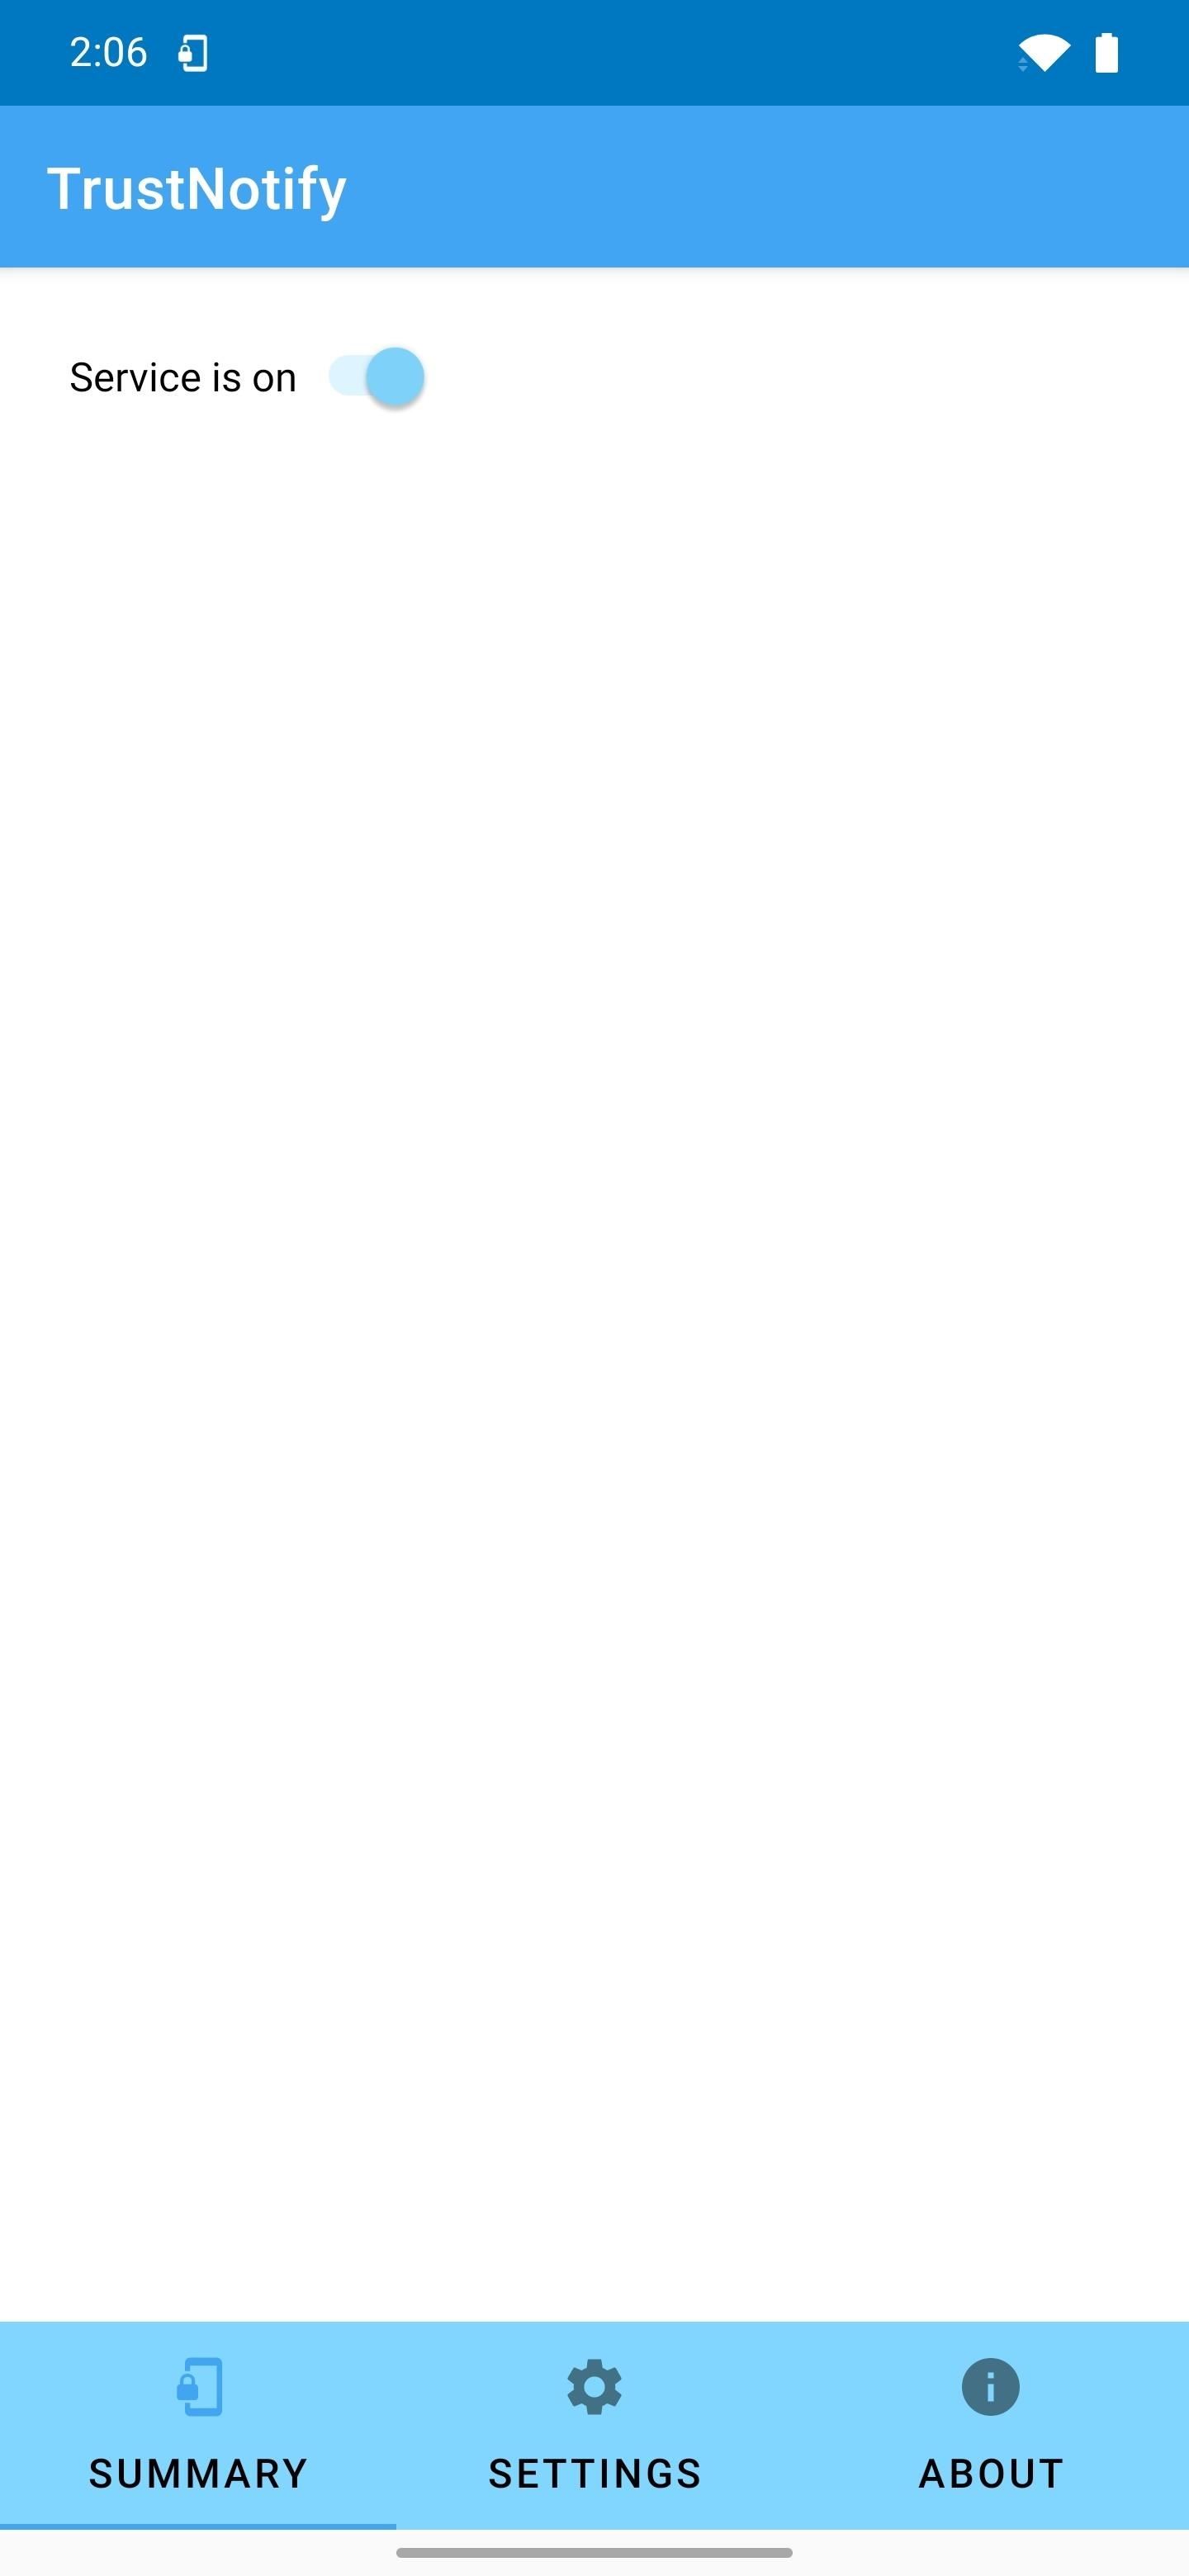
With everything set up, head back to the Summary tab in TrustNotify and enable the toggle next to "Service is off." If you're having any troubles with this app in the future, this is the first setting you'll want to check.
Step 9: Hide the Notification (Optional)
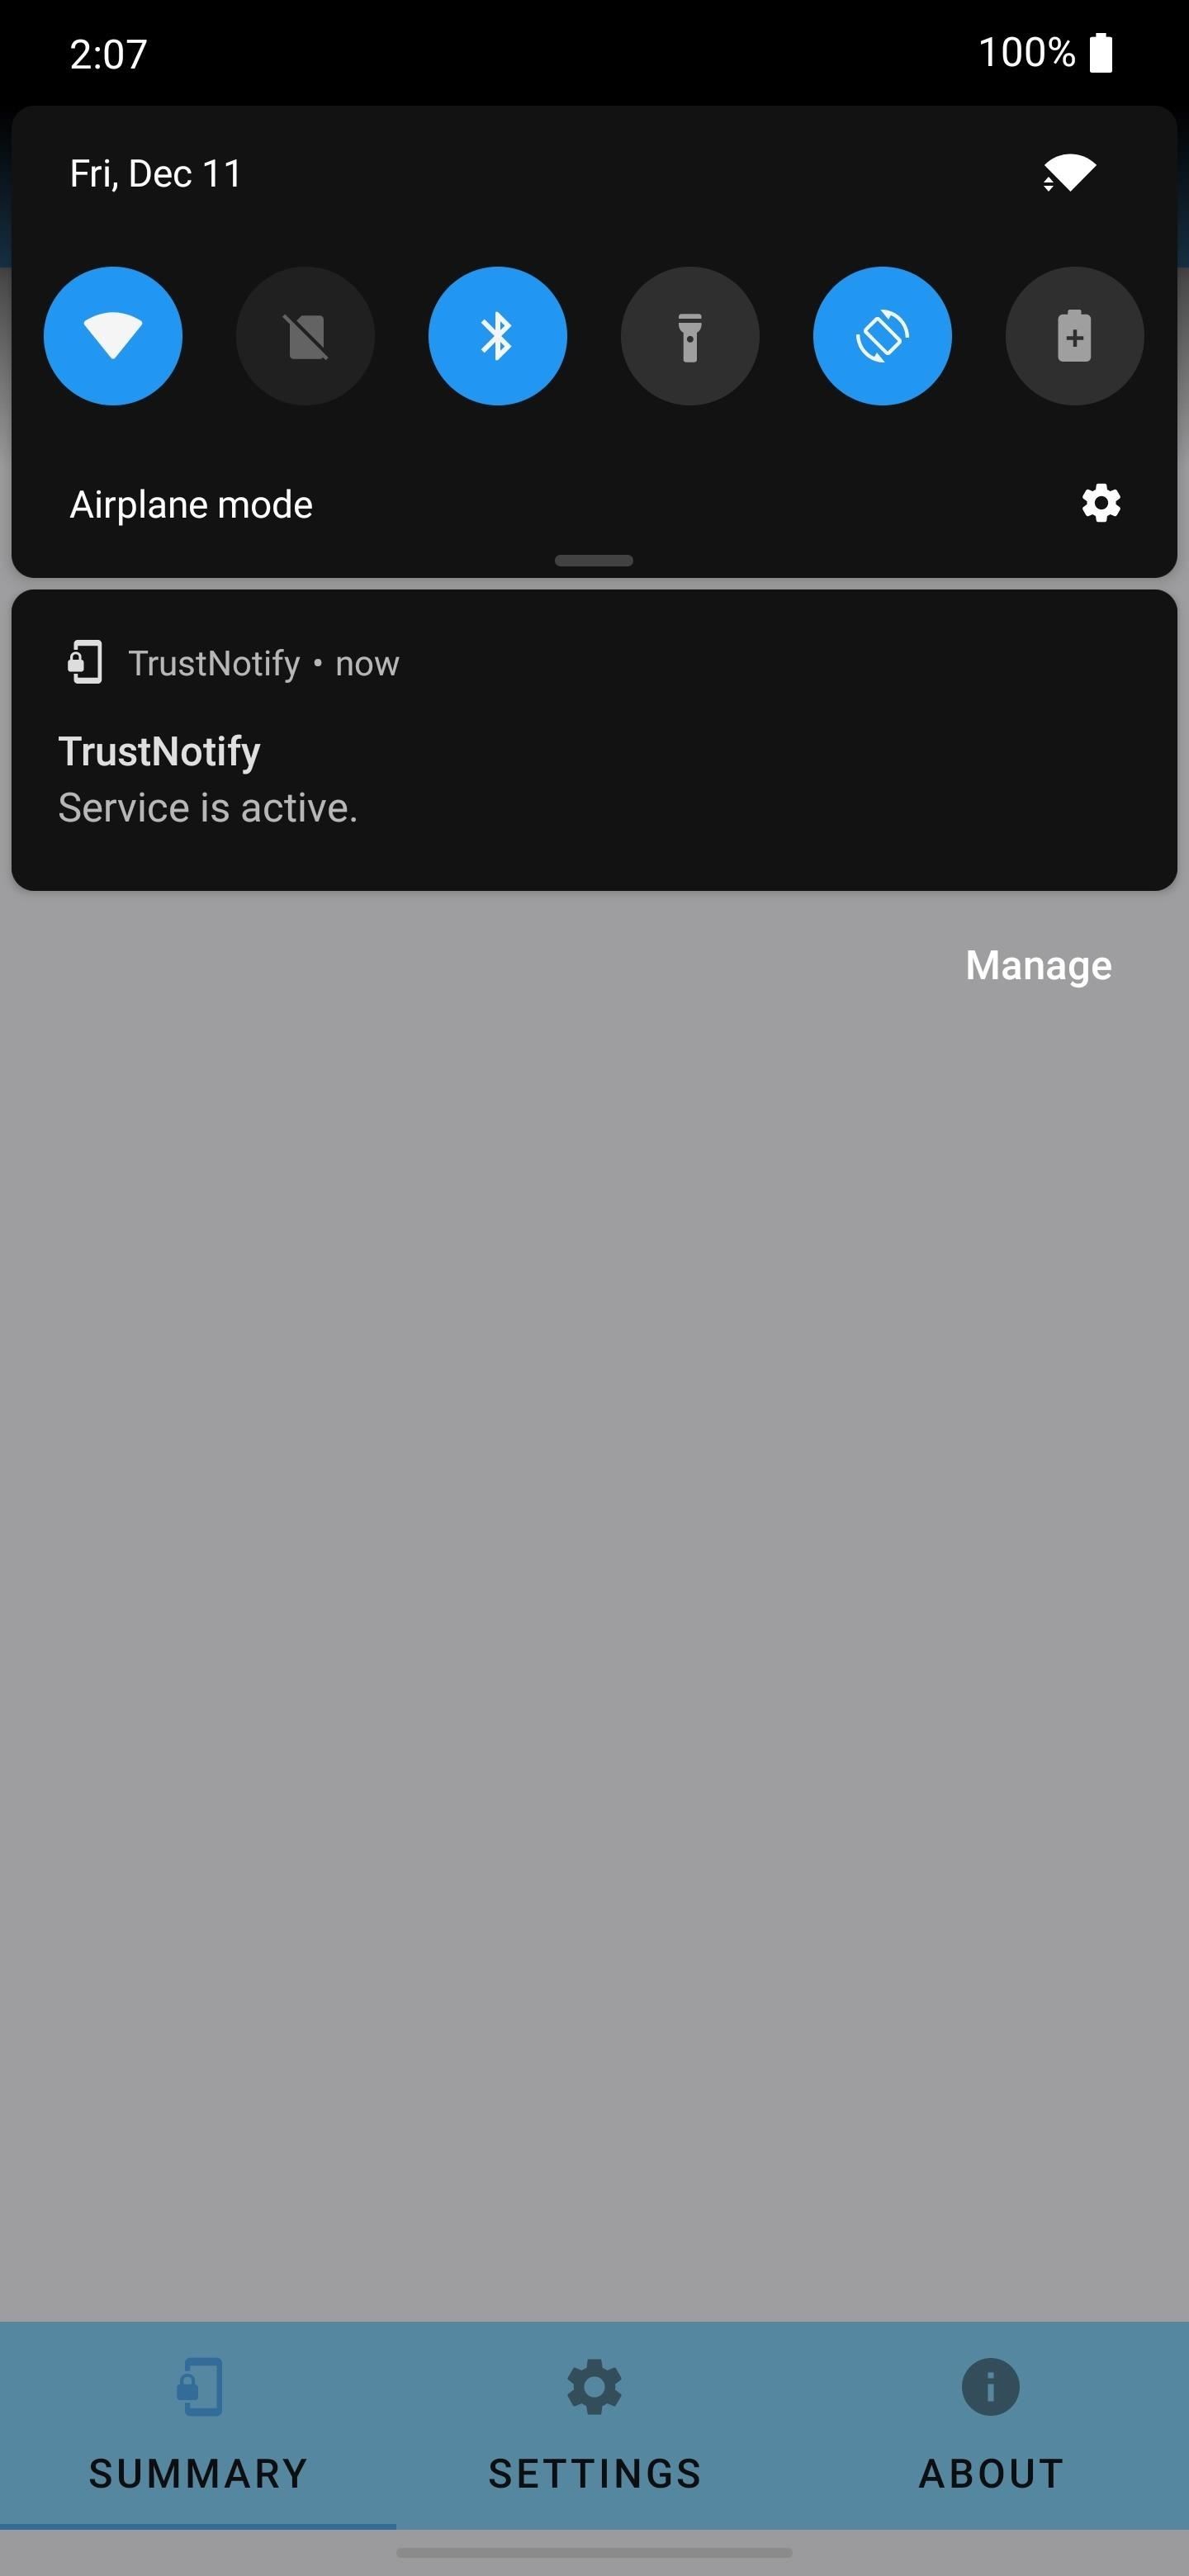
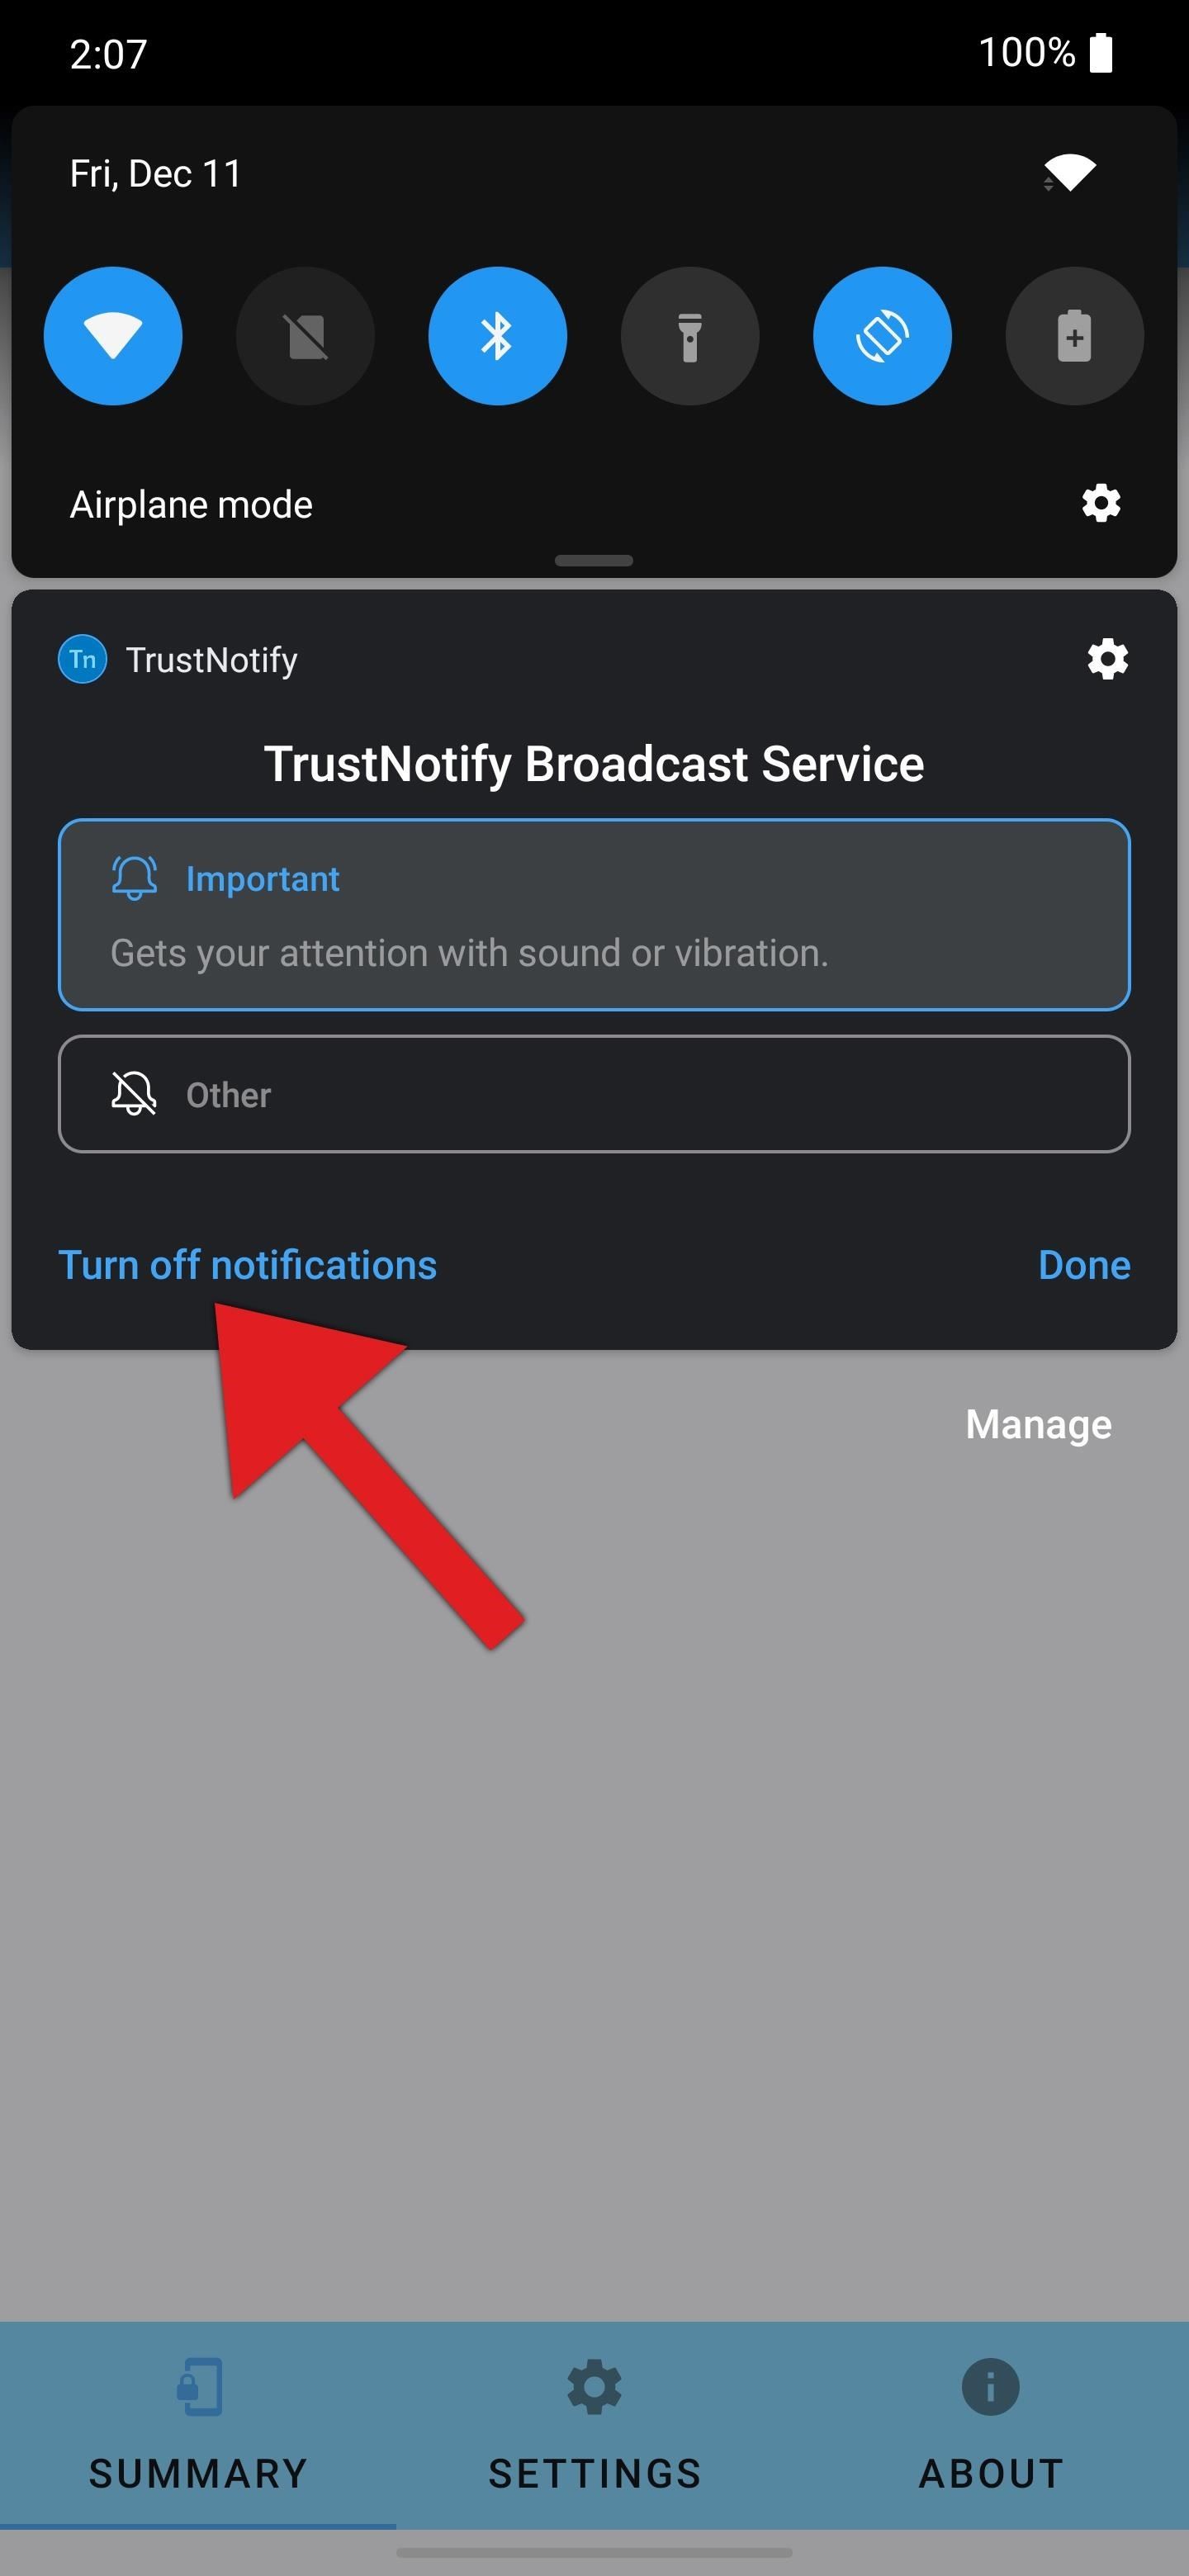
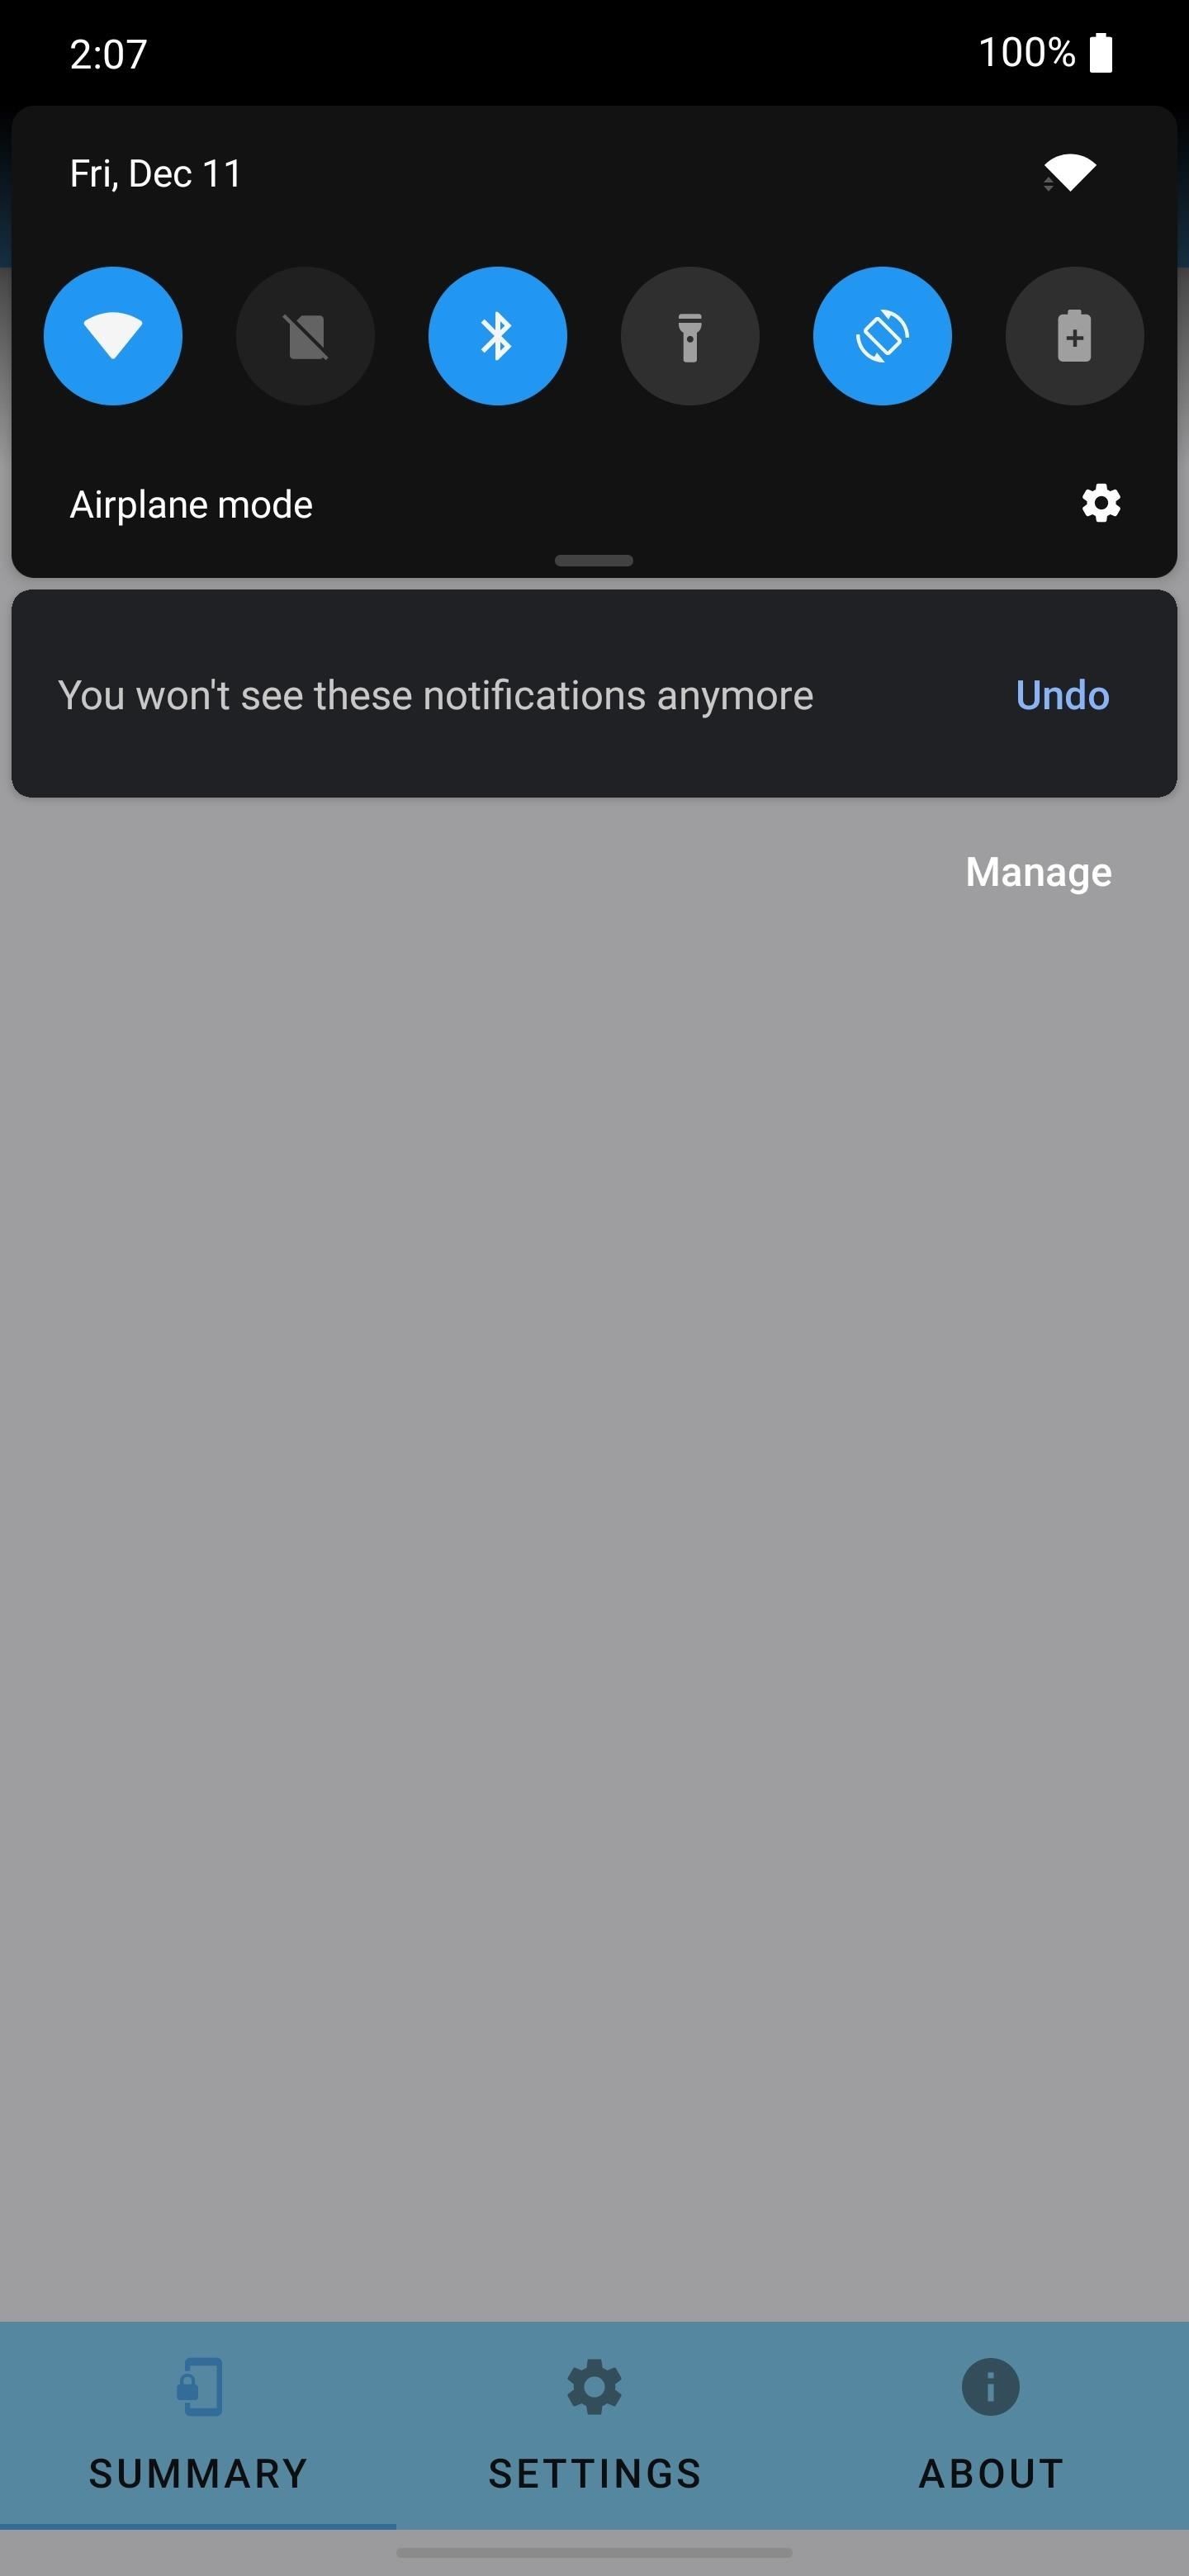
As soon as you enable the service, TrustNotify will post an ongoing notification to prevent it from being cleared from RAM by Android's memory management system. To hide this notification, long-press it, then select "Turn off notifications."
Step 10: Enjoy a More Private Lock Screen
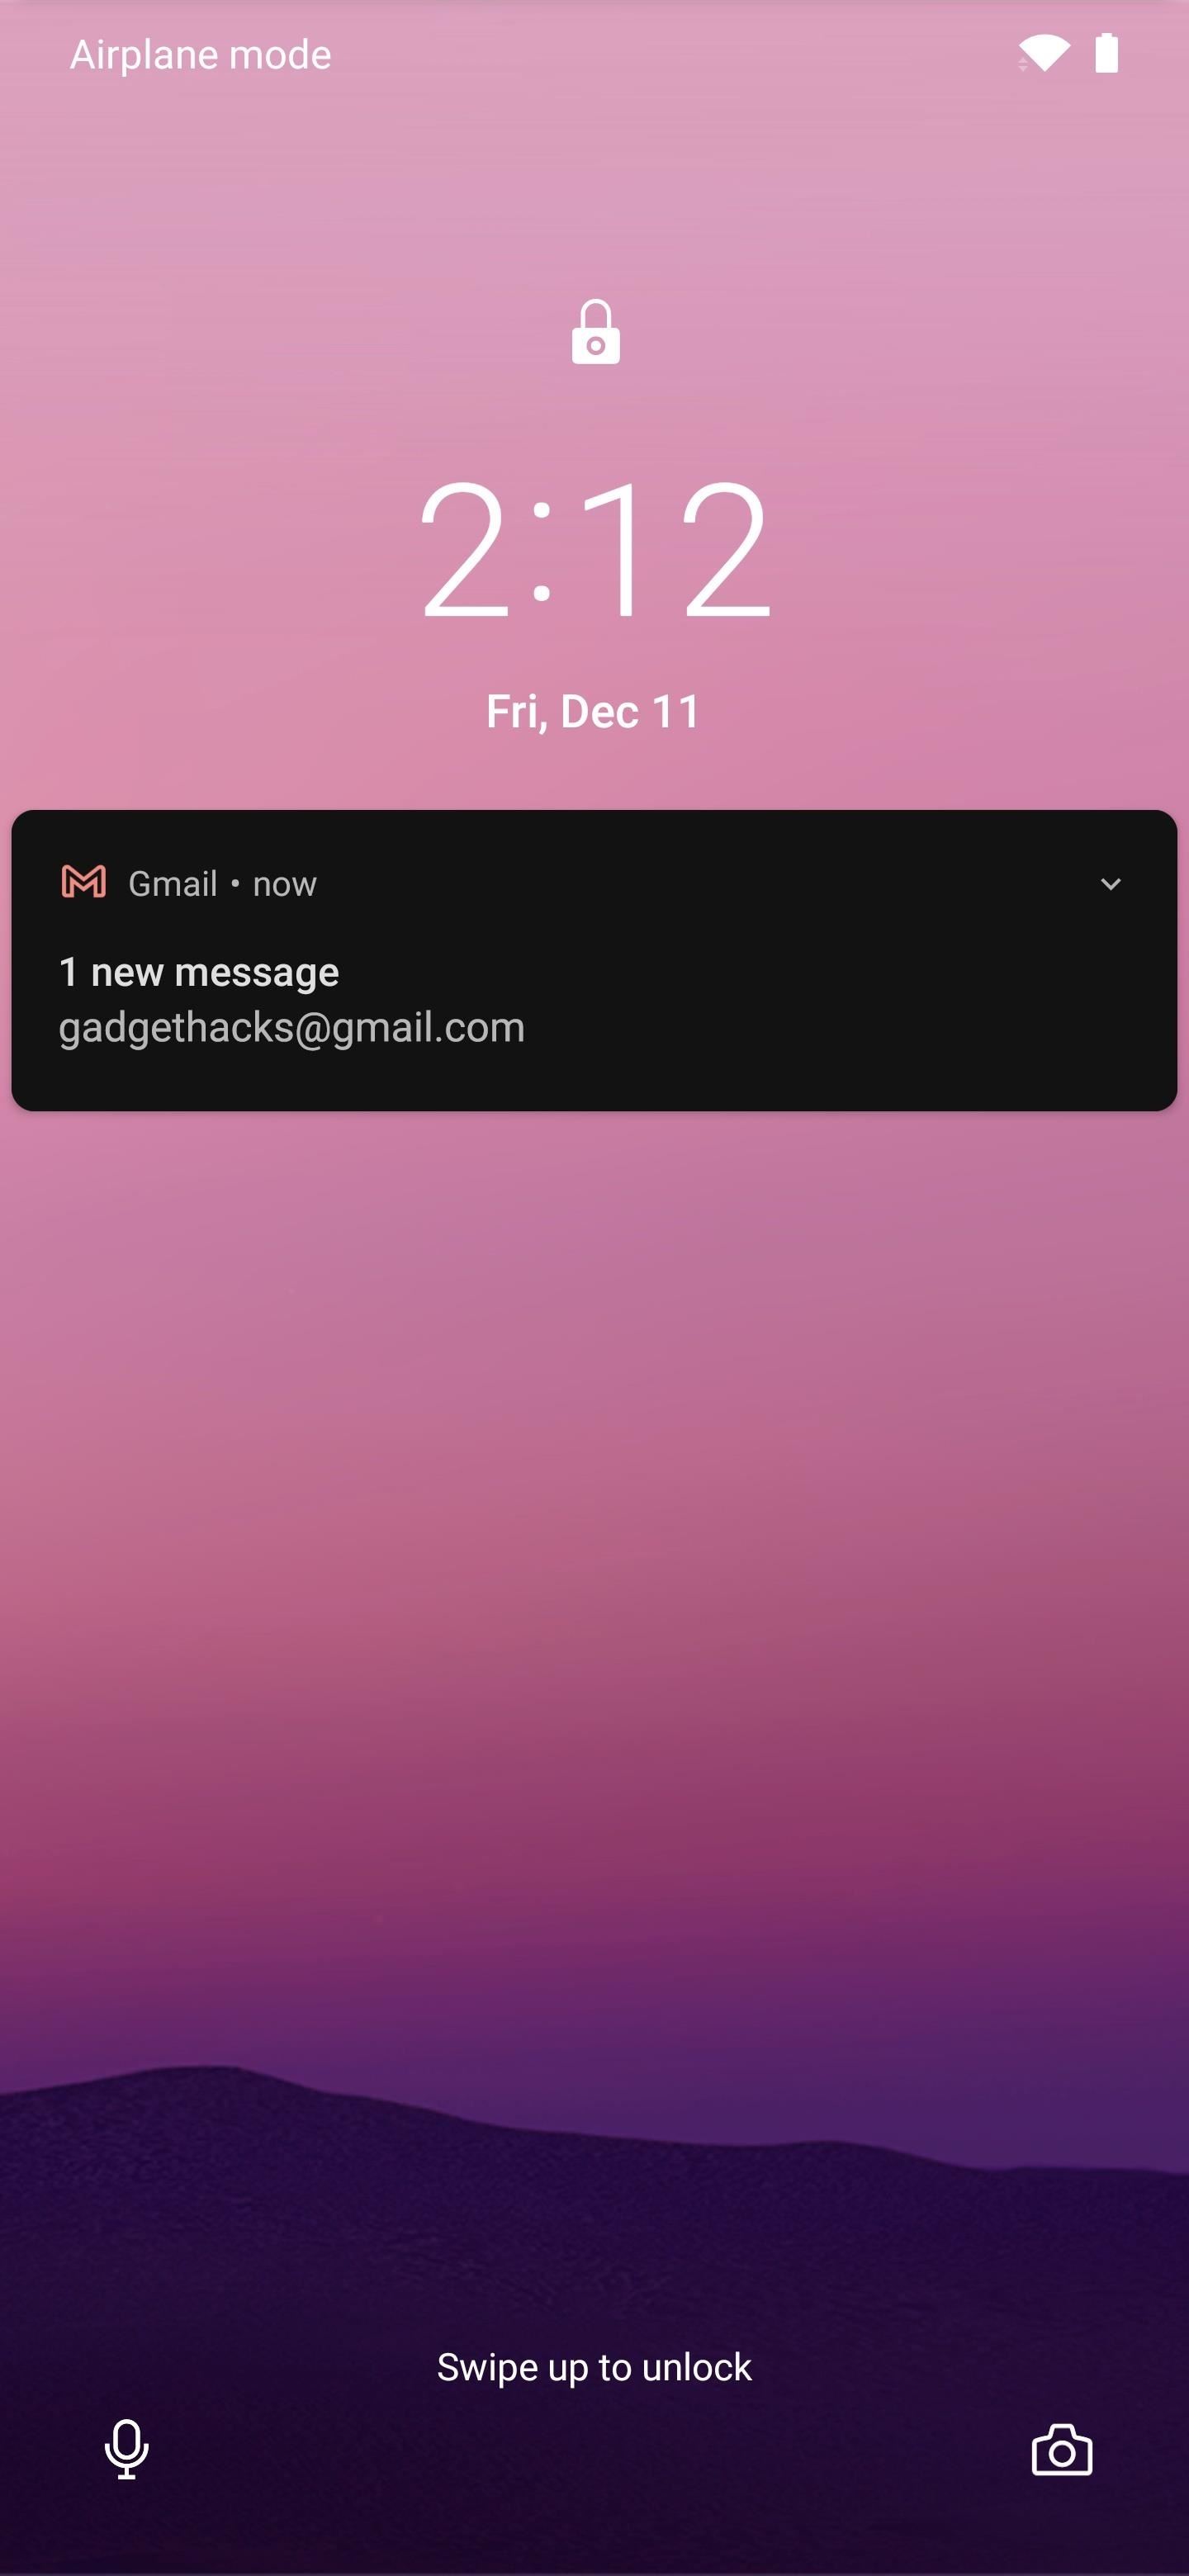
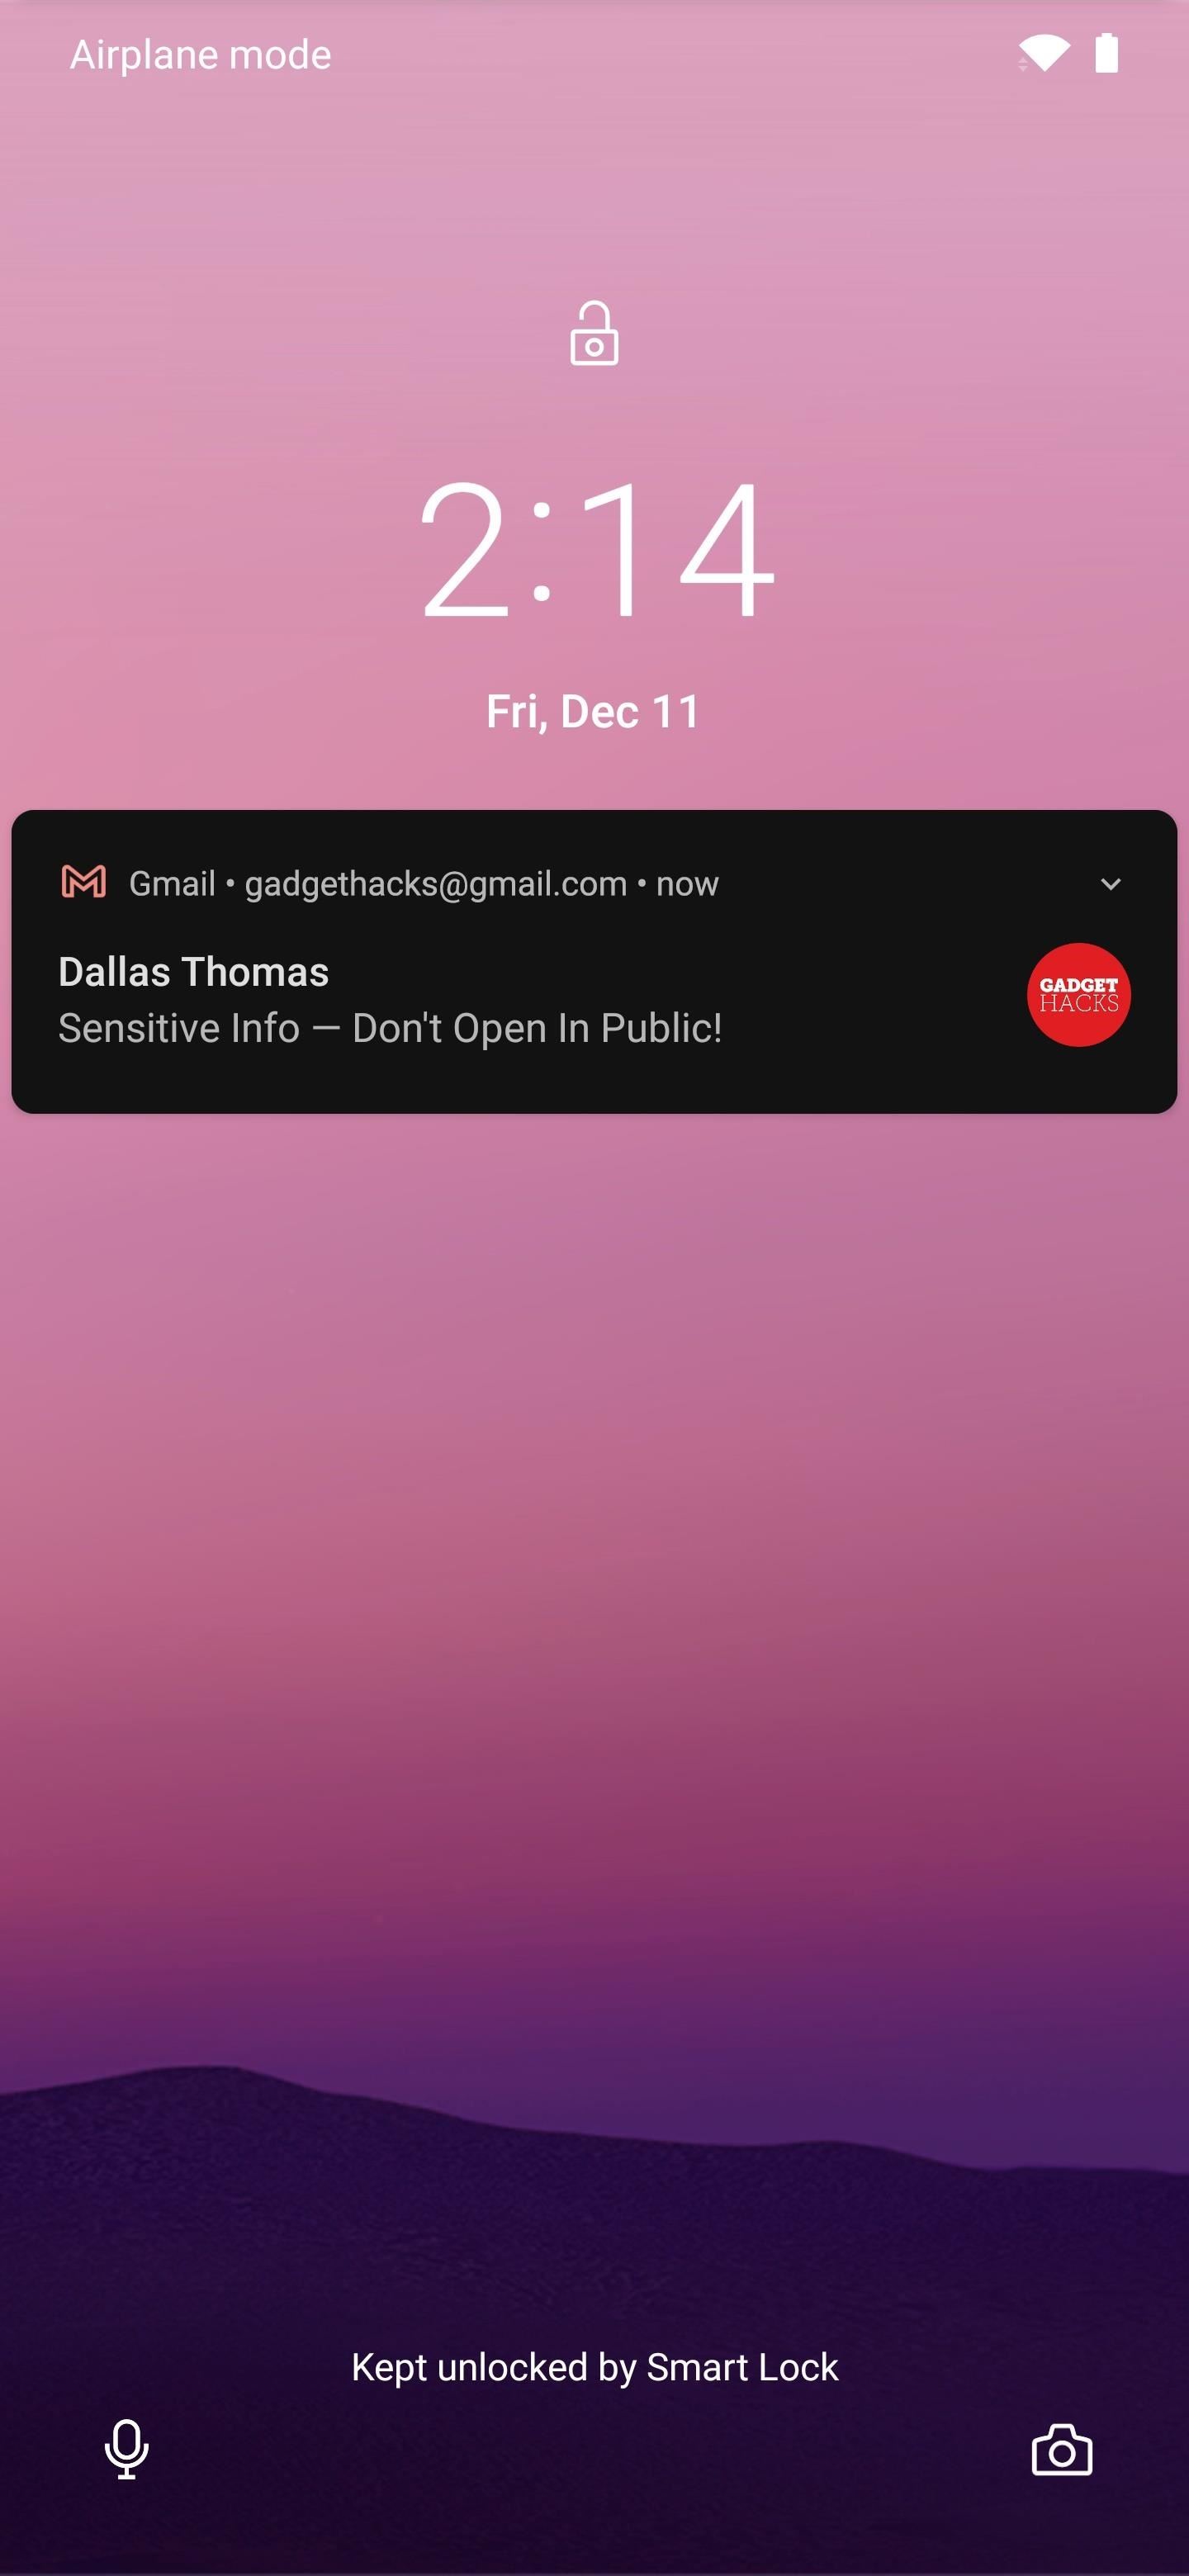
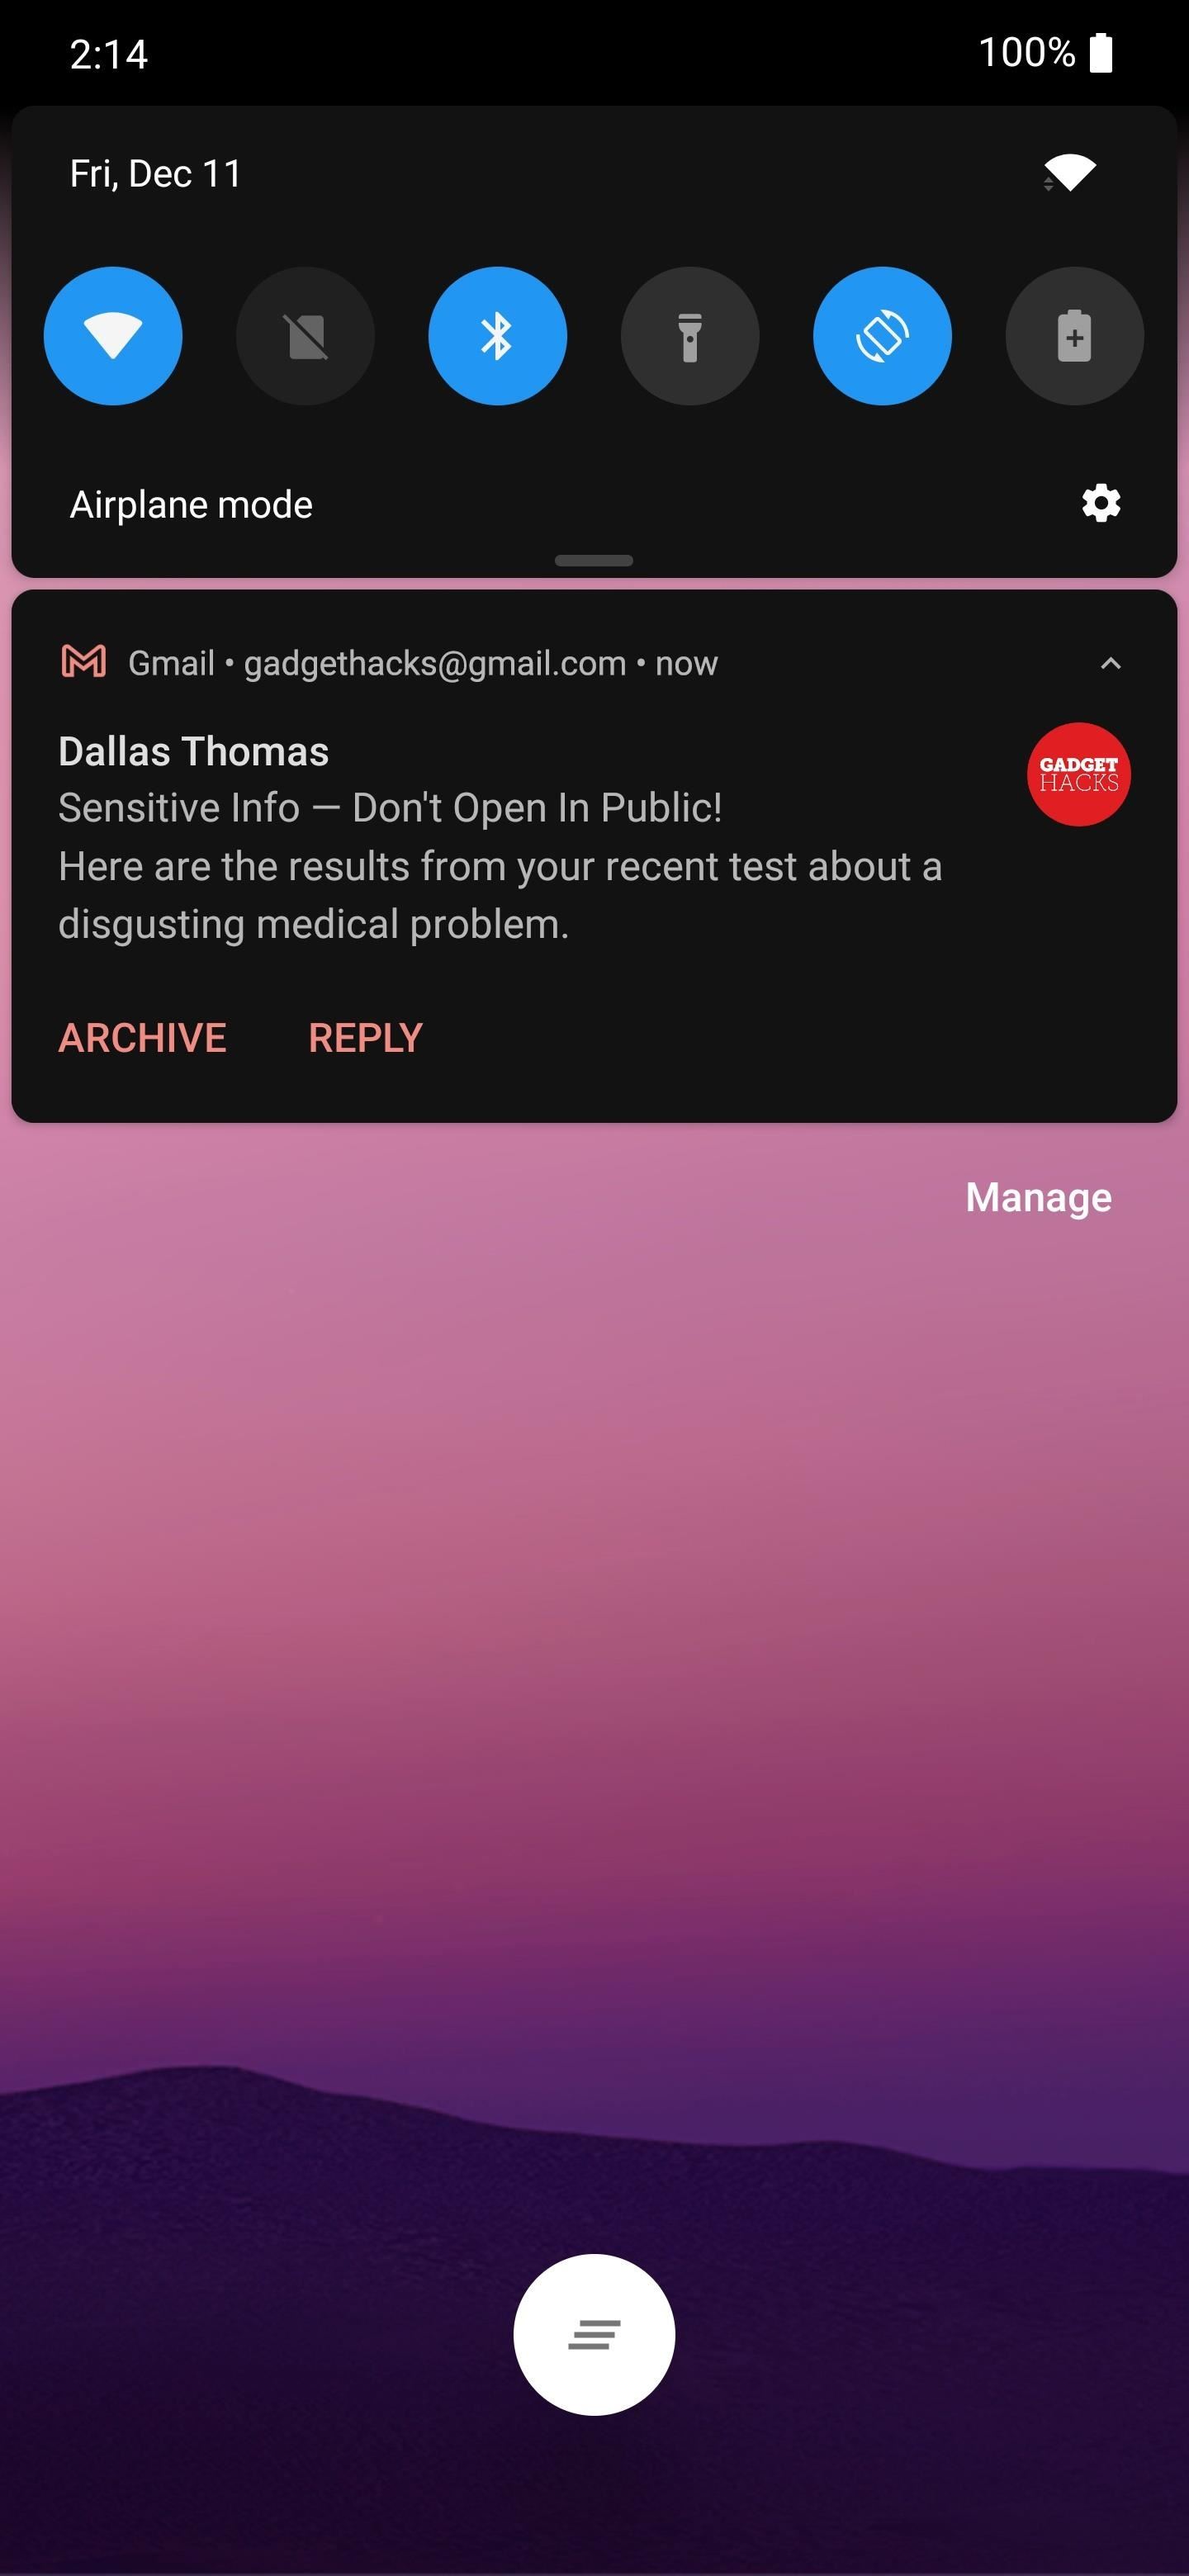
Now, your phone will behave just like the iPhone and Pixel! When you get a new notification and the device is locked, the contents of the notification will not be shown. But if you unlock the phone, or if it was already kept unlocked by Smart Lock, the contents will be clearly shown.
Who needs a wand? Unlock your magical powers and transform yourself from a Muggle into a Wizard or Witch just by using your Android phone. See how:


1 Comment
Especially on iPhones, these notifications get bored. a simple shutdown does not always help
Share Your Thoughts