


Connecting your devices with a cable is the fastest and most reliable way to transfer files between them. Now that most Android devices have either USB Type-C or a Micro-USB port that supports USB OTG, phones are capable of importing media files directly from a camera using a simple (and cheap) adapter.
This nifty feature allows you to shed your laptop for a tiny plug that you can use on the go. A photographer, for example, can now take high-quality photos with a DSLR and transfer them to his or her phone via USB cable, where they can then post artwork to social media sites like Instagram directly.
If that sounds like something you'd like to try, I'll show you how it works below. But as I mentioned, this method requires one of two adapters, depending on whether your phone uses USB Type-C or Micro-USB. If your phone didn't come with one of these adapters in the box, though, it's nothing to worry about, as you can get everything you need for less than $10.
Requirements
- Android device with a USB Type-C port or USB OTG-compatible Micro-USB
- Digital camera with USB cable
- USB-C to USB-A adapter or USB OTG cable for Micro-USB devices
Plug Your Camera into Your Phone
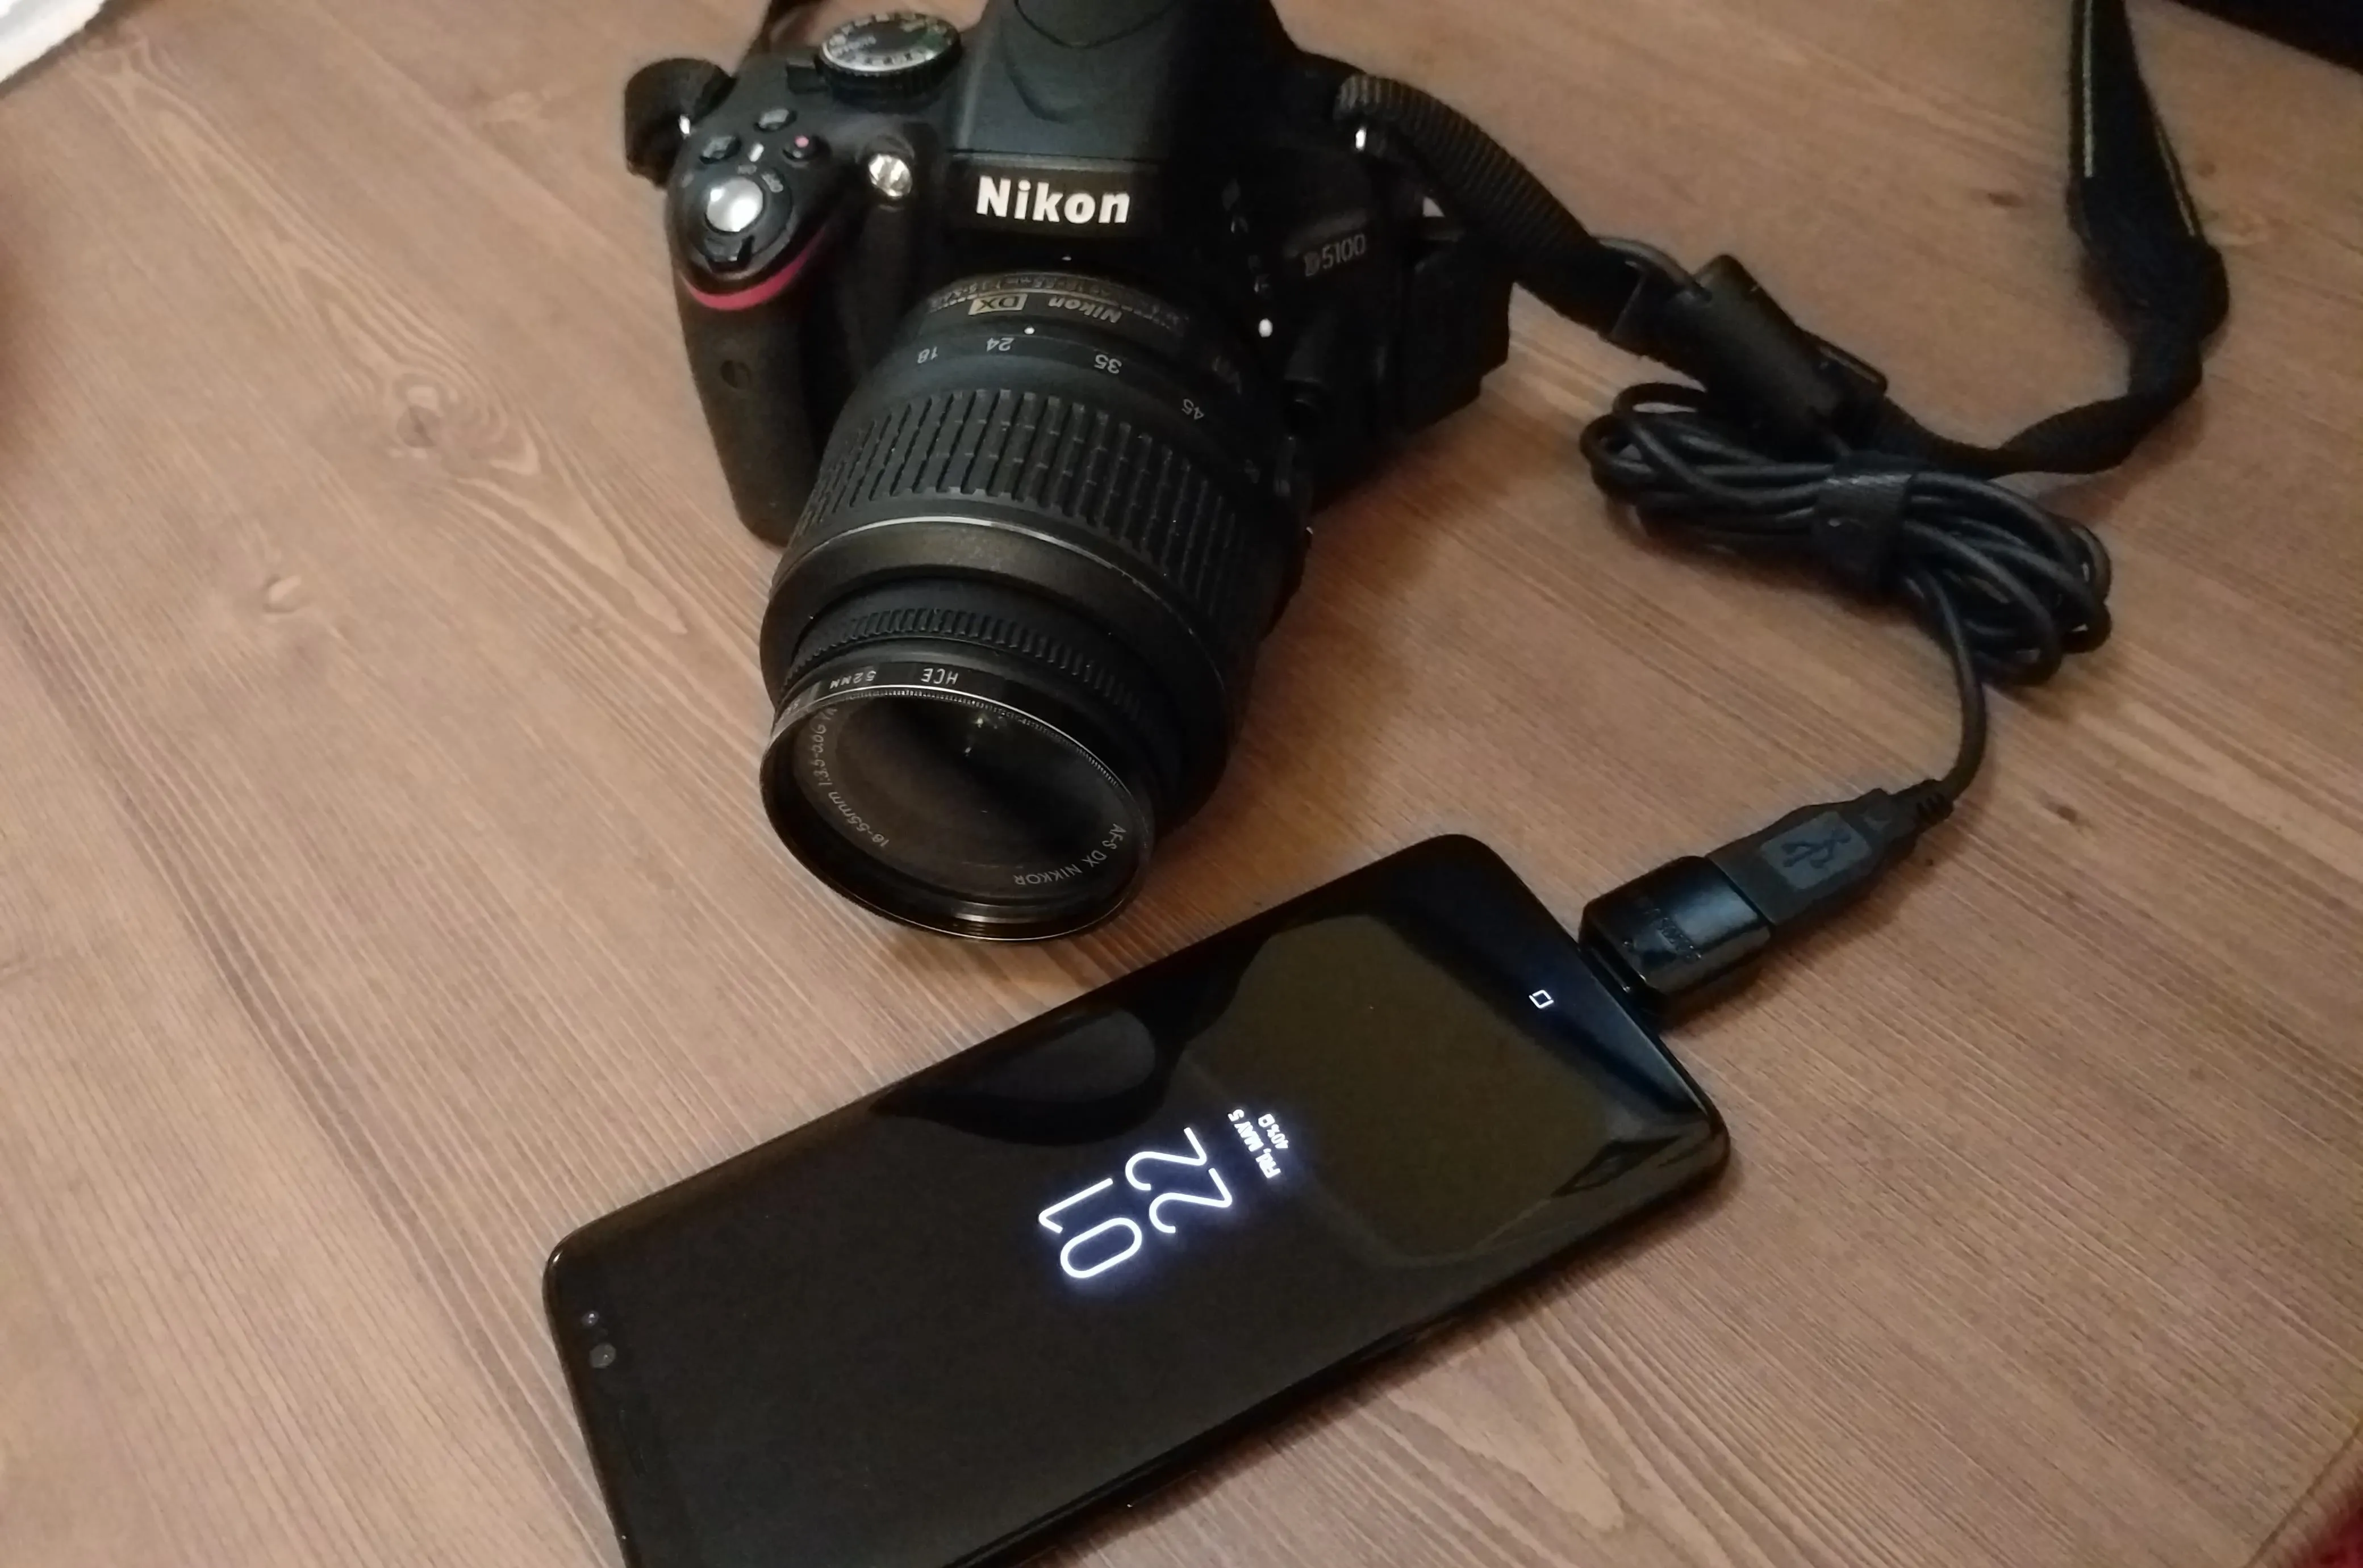
First off, make sure your camera is on. After that, it doesn't matter if your phone has a USB Type-C port or Micro-USB because the adapters will work the same way. So plug in your camera's USB cable, then attach the other end to your adapter. From there, simply plug the smaller end of the adapter into your smartphone.
Access Photos
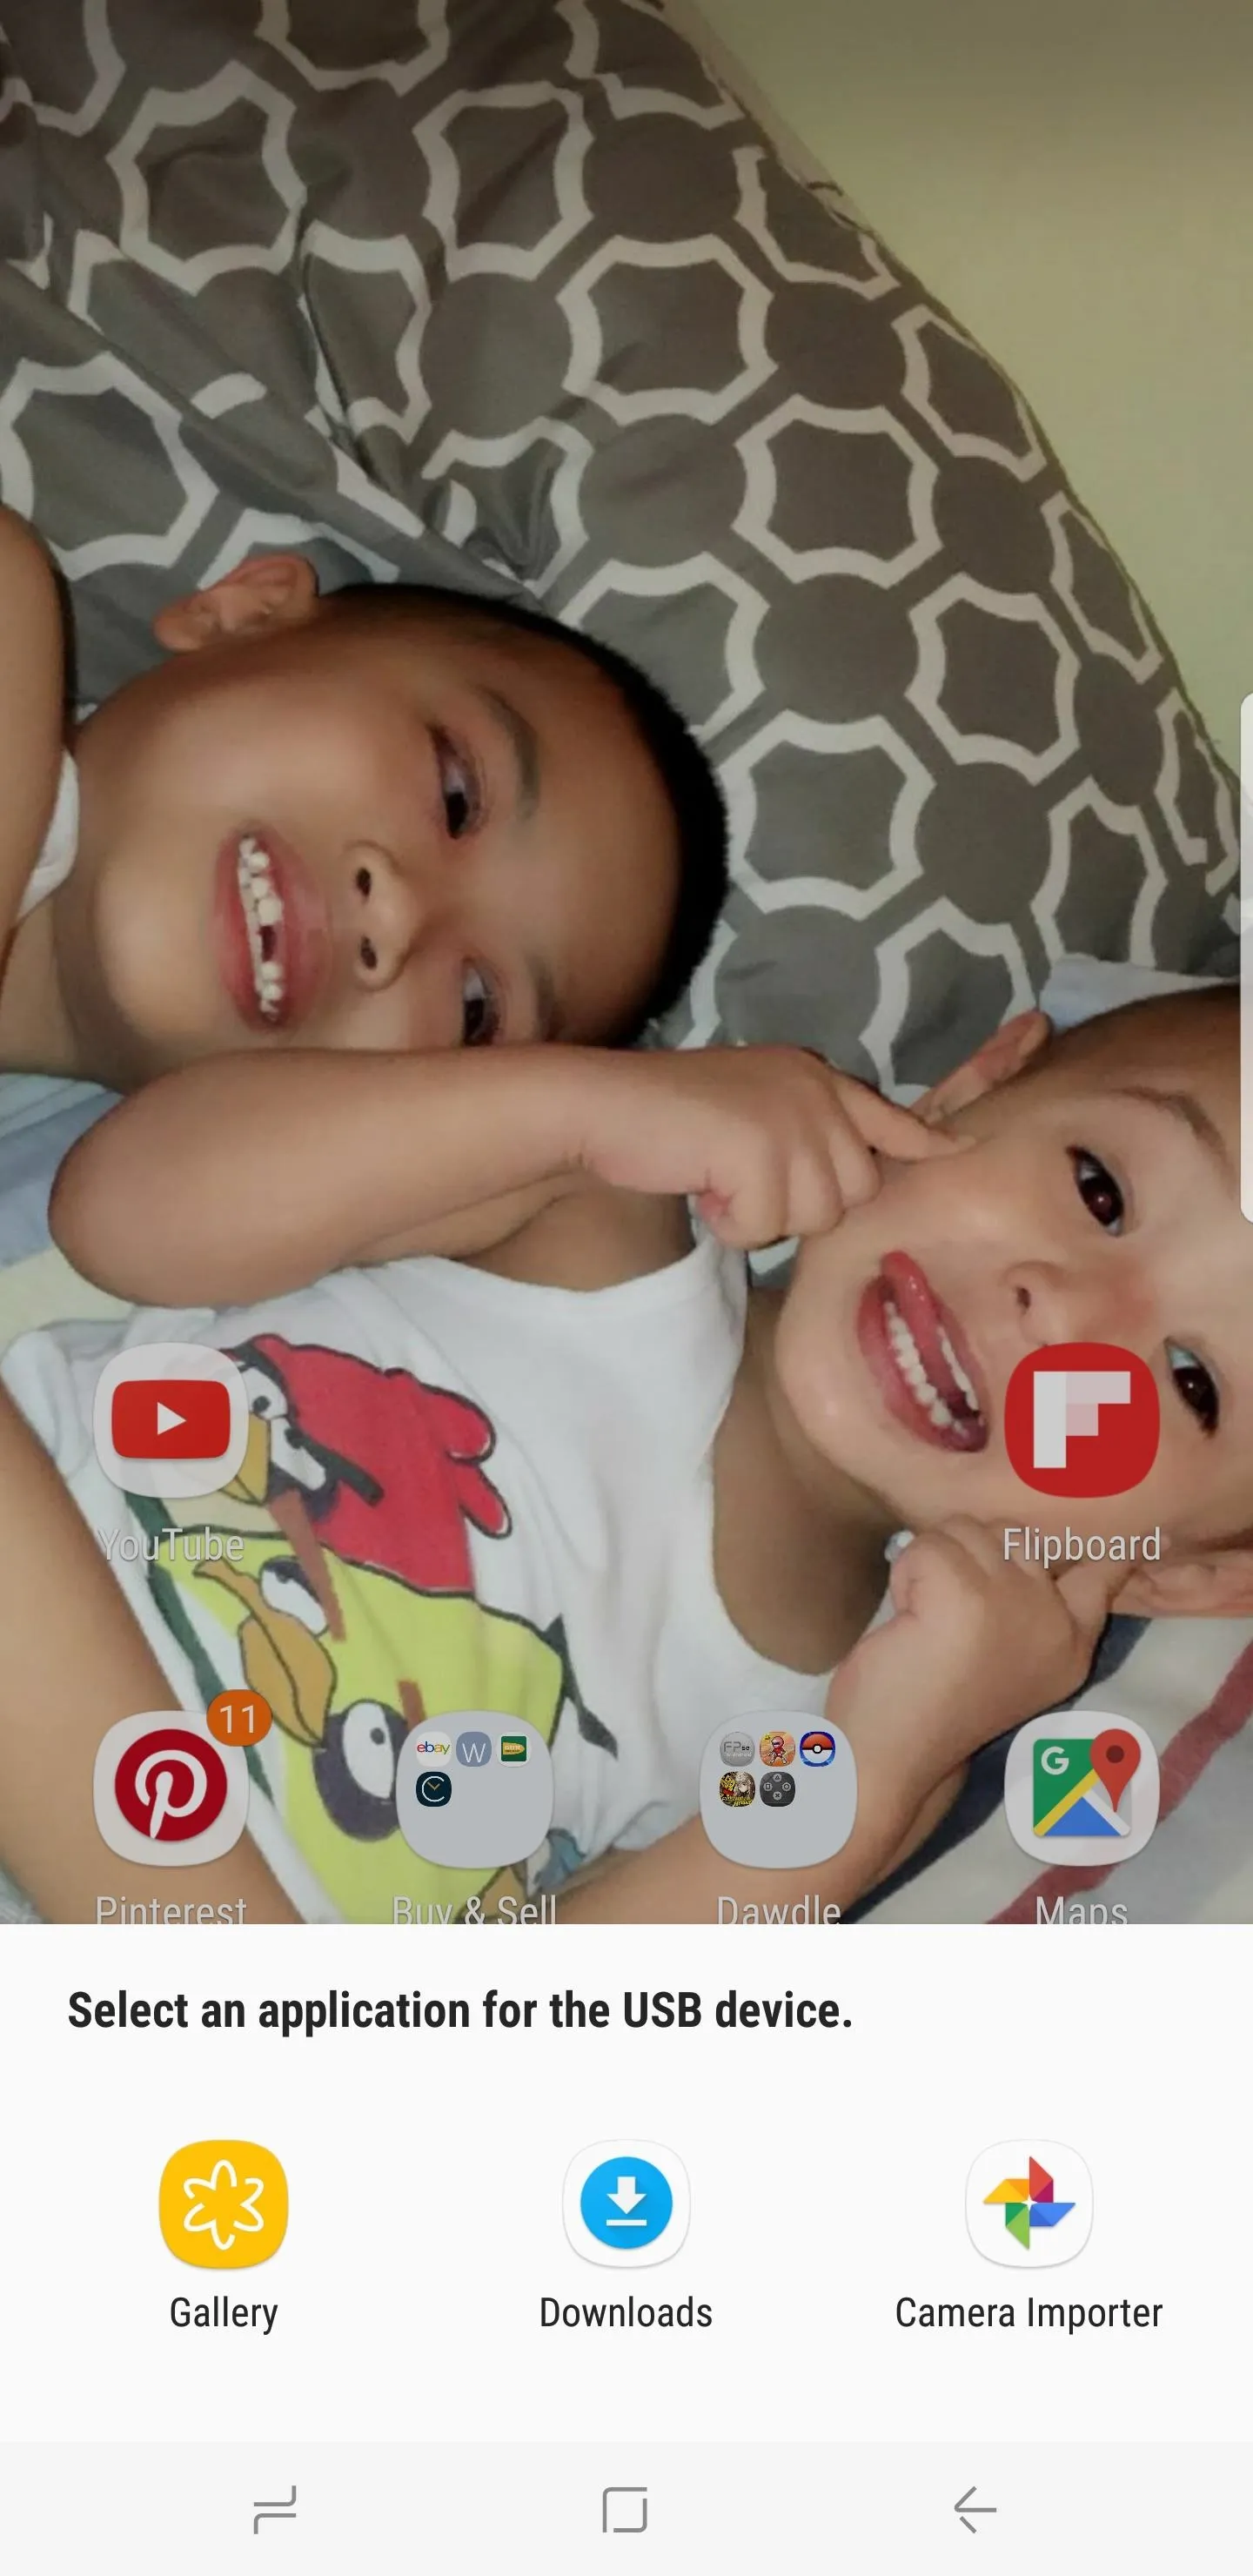
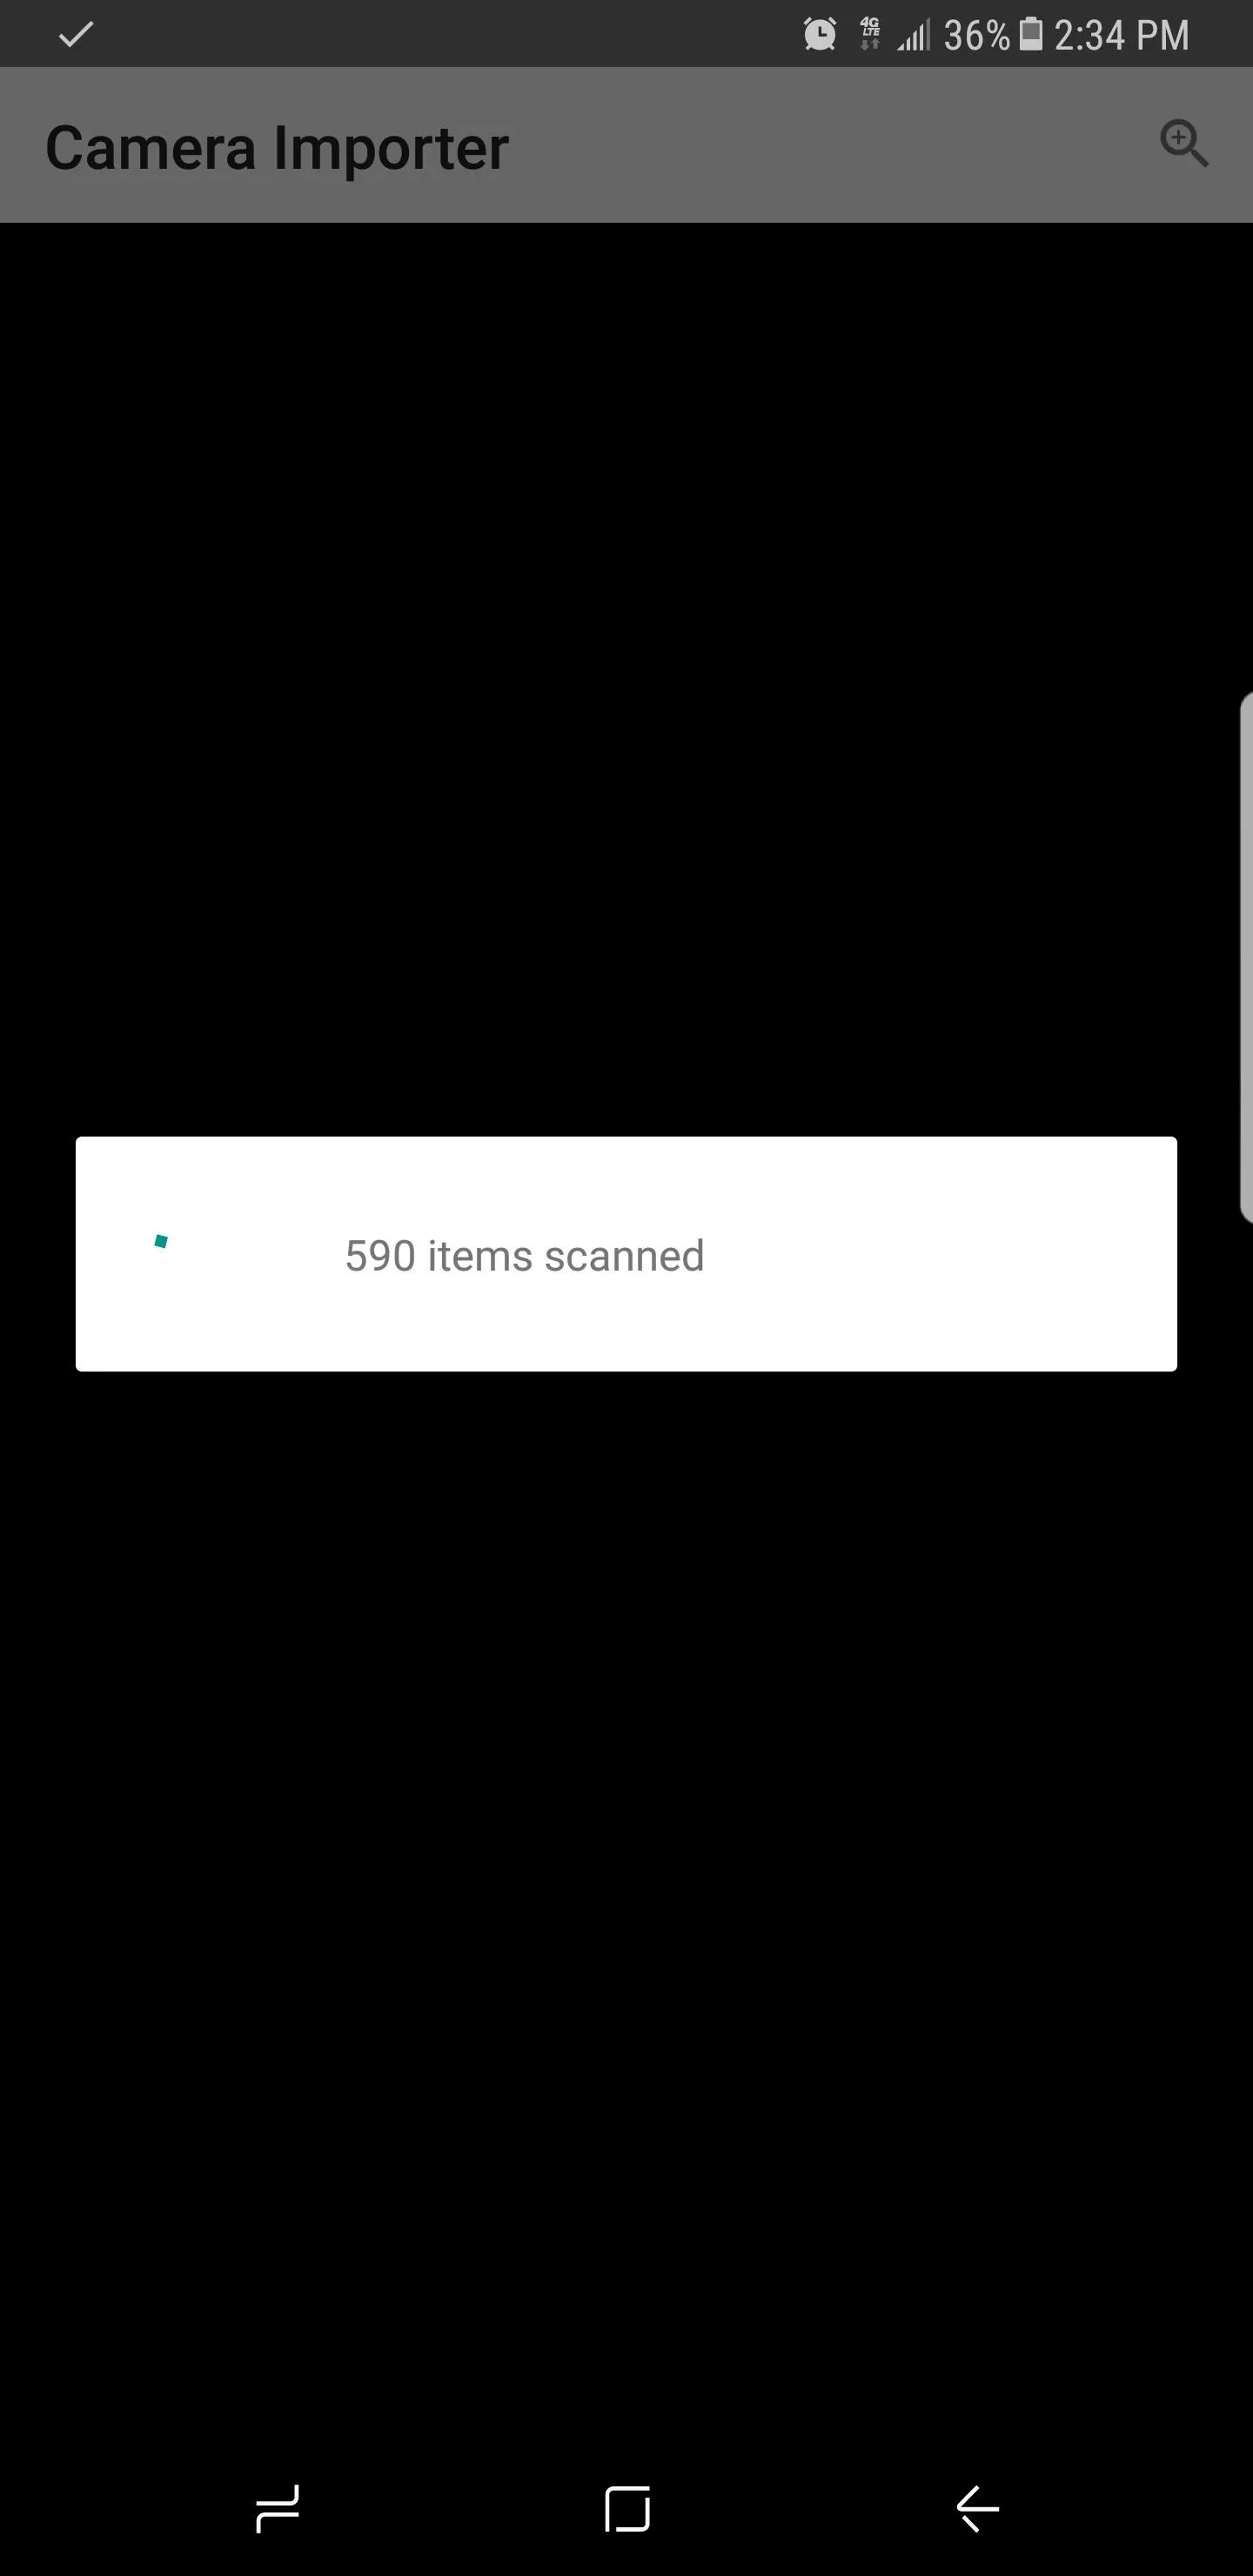
For most devices, a dialog will pop up immediately after you plug your camera into your phone, giving you a selection of apps with which to browse the camera's storage. Tap on Camera Importer and it will instantly scan and preview all the photos and videos inside the camera's storage.

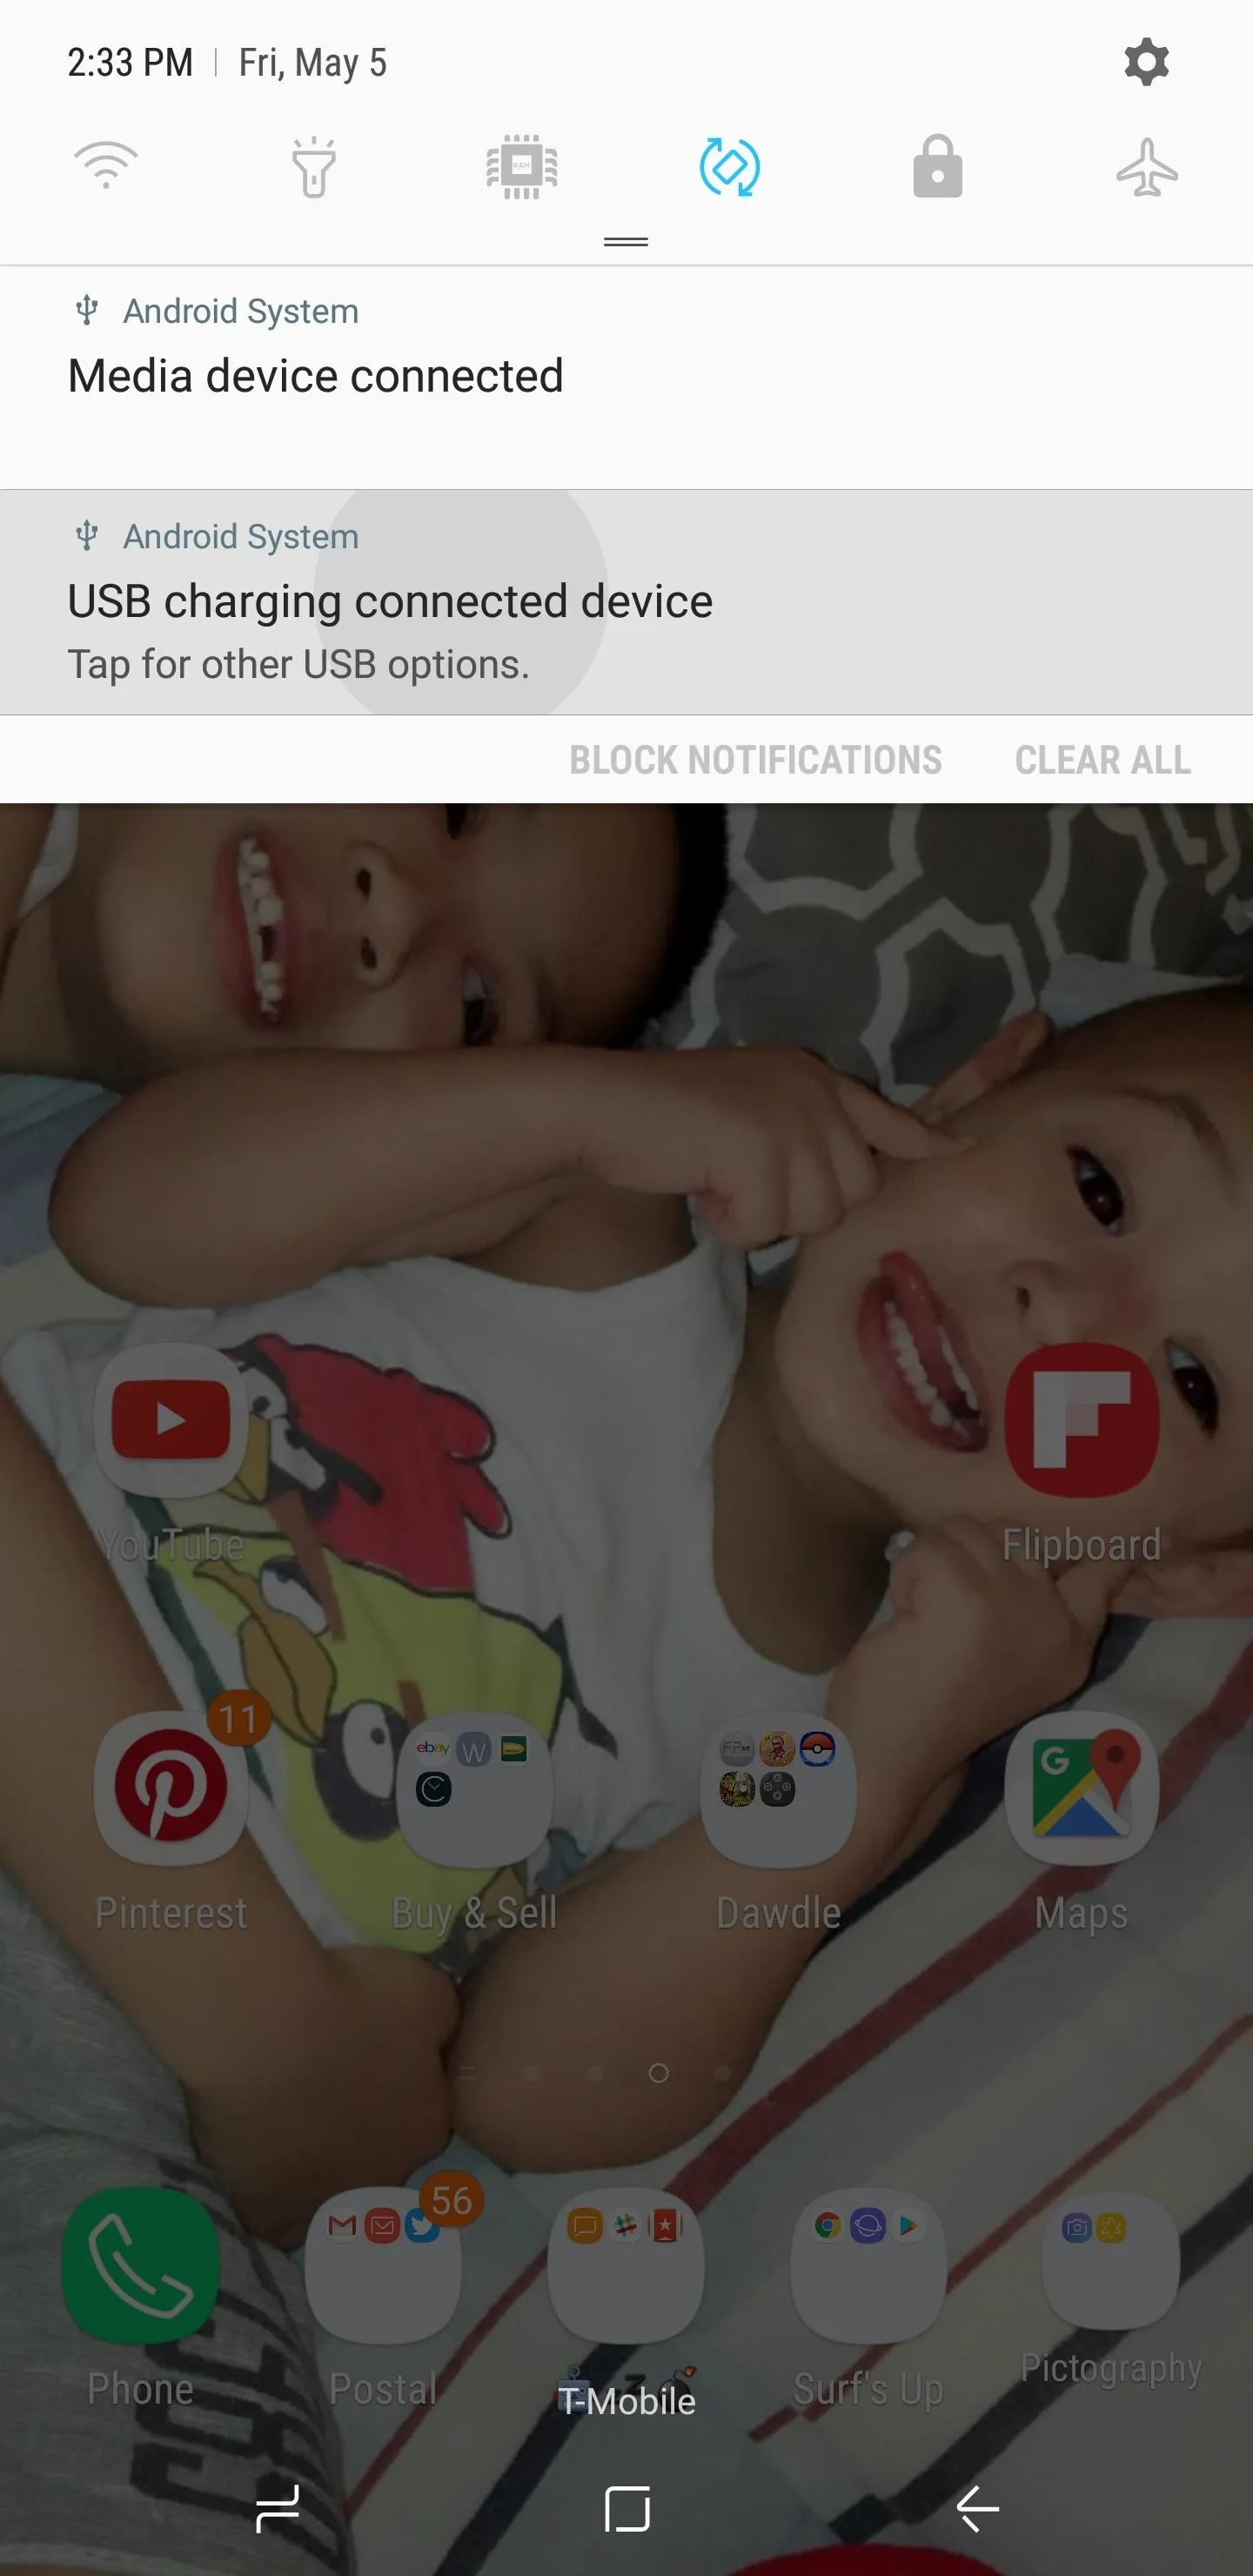
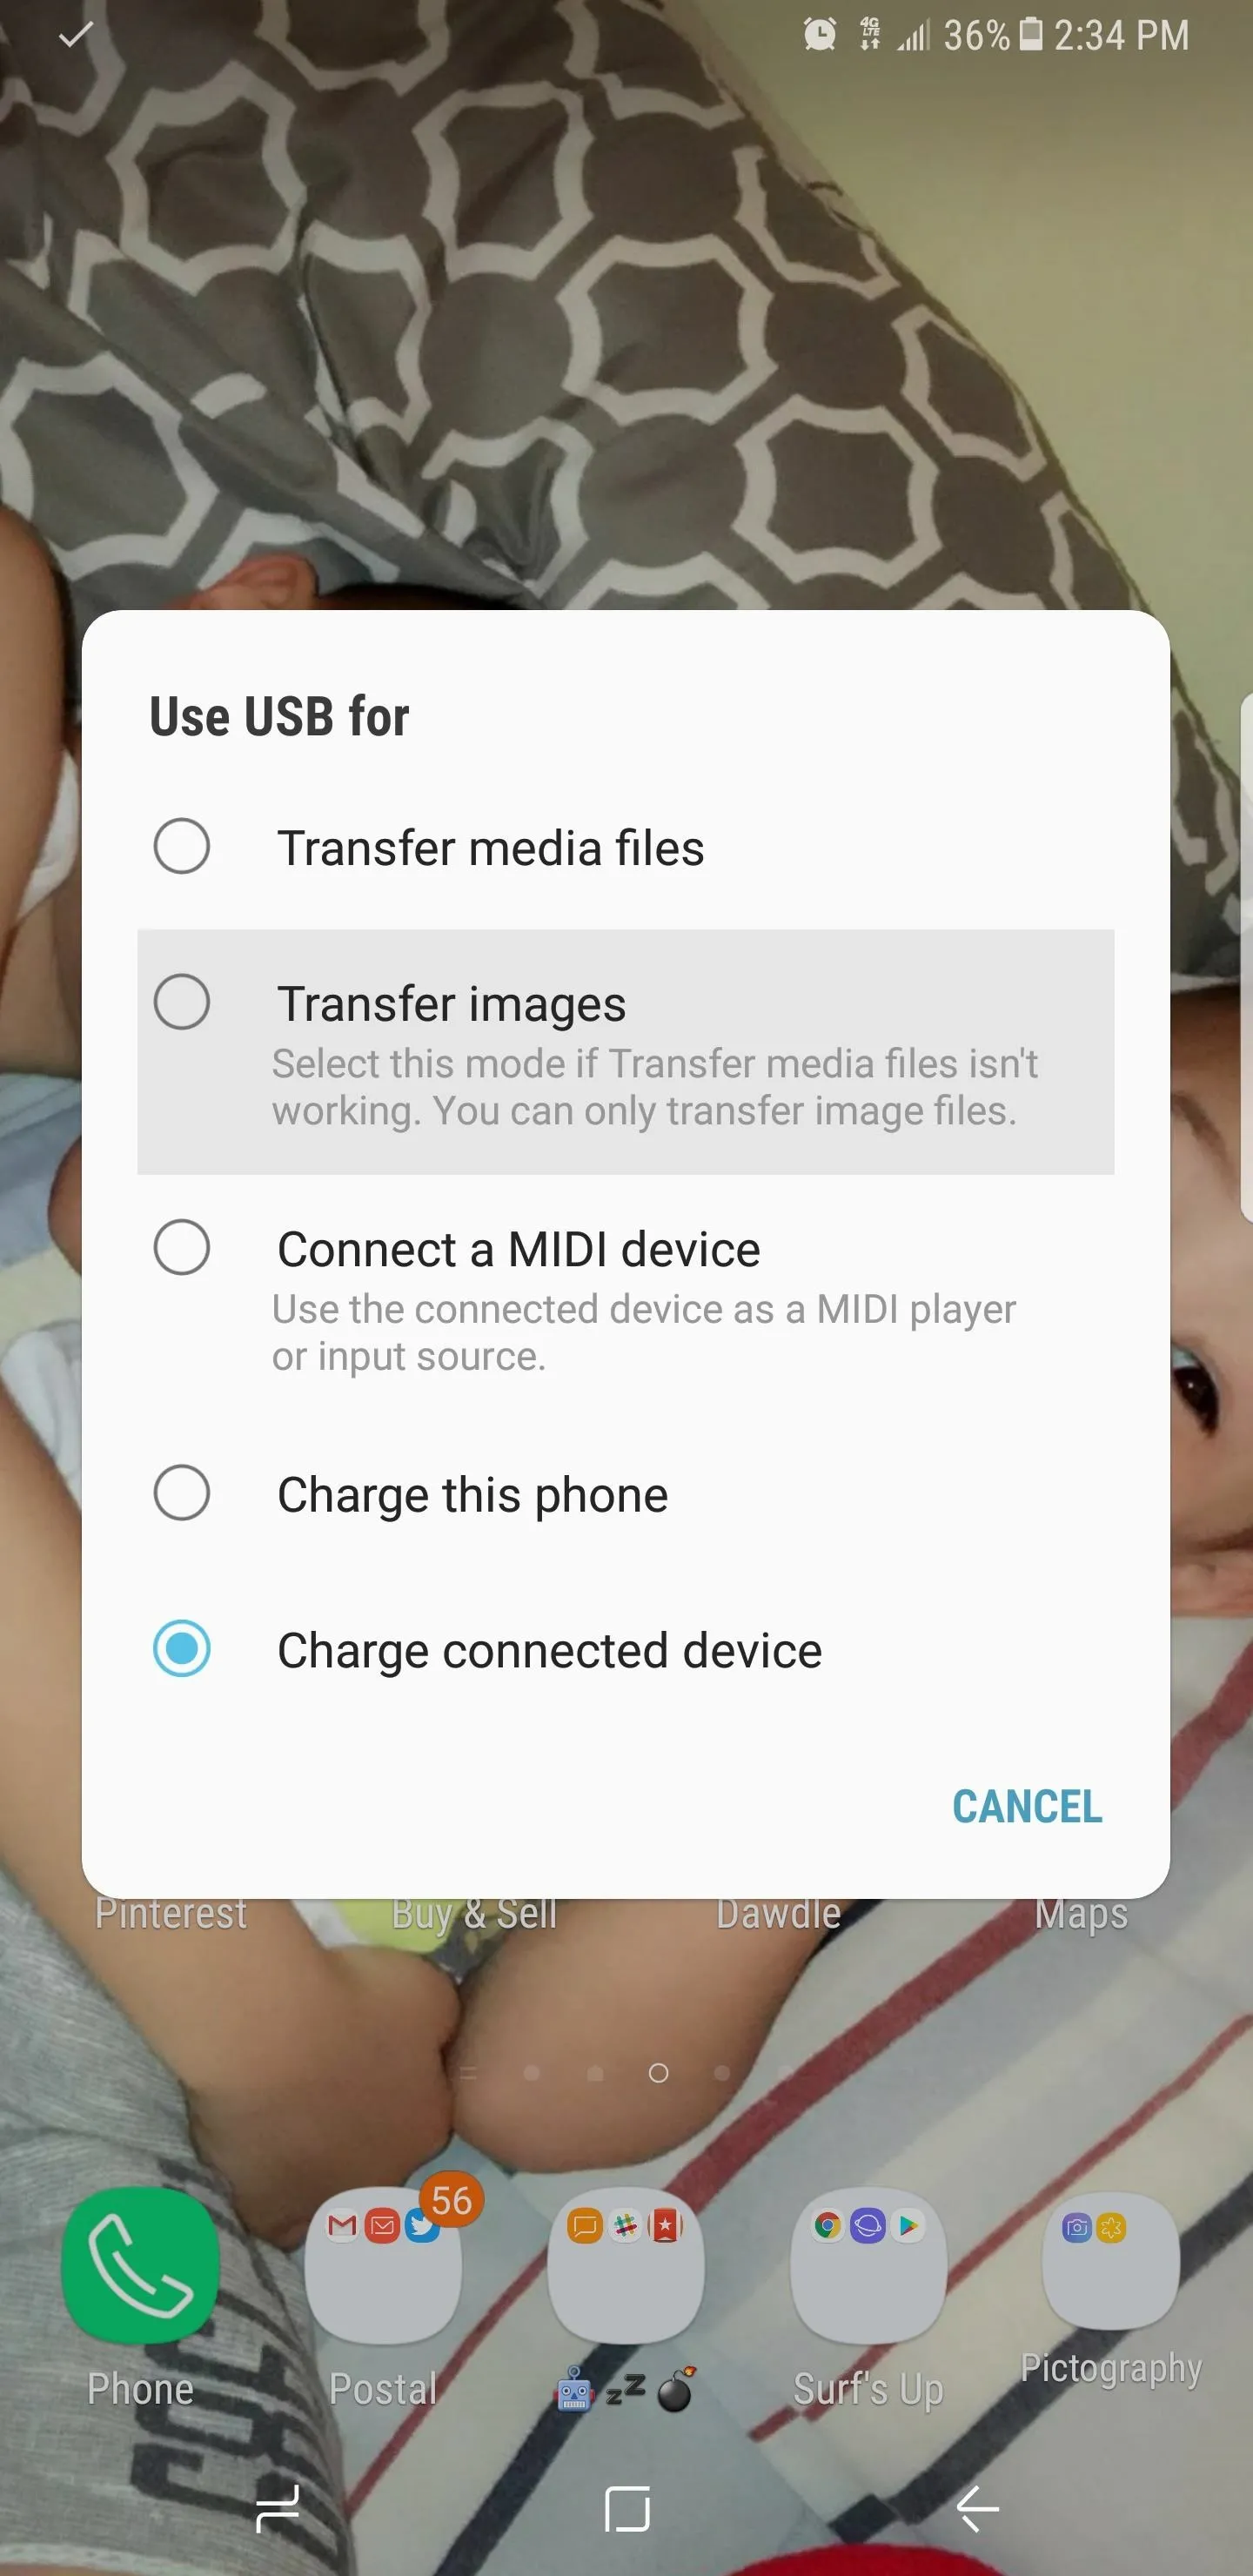
If the dialog didn't pop up automatically, swipe down from the top of your screen and tap on the USB notification to specify what you want to use the USB connection for. From there, select "Transfer images" on the popup, then tap the notification that says "Select to import files," and Camera Importer should now open to scan and load all the photos found on the camera.
Transfer Photos to Your Phone
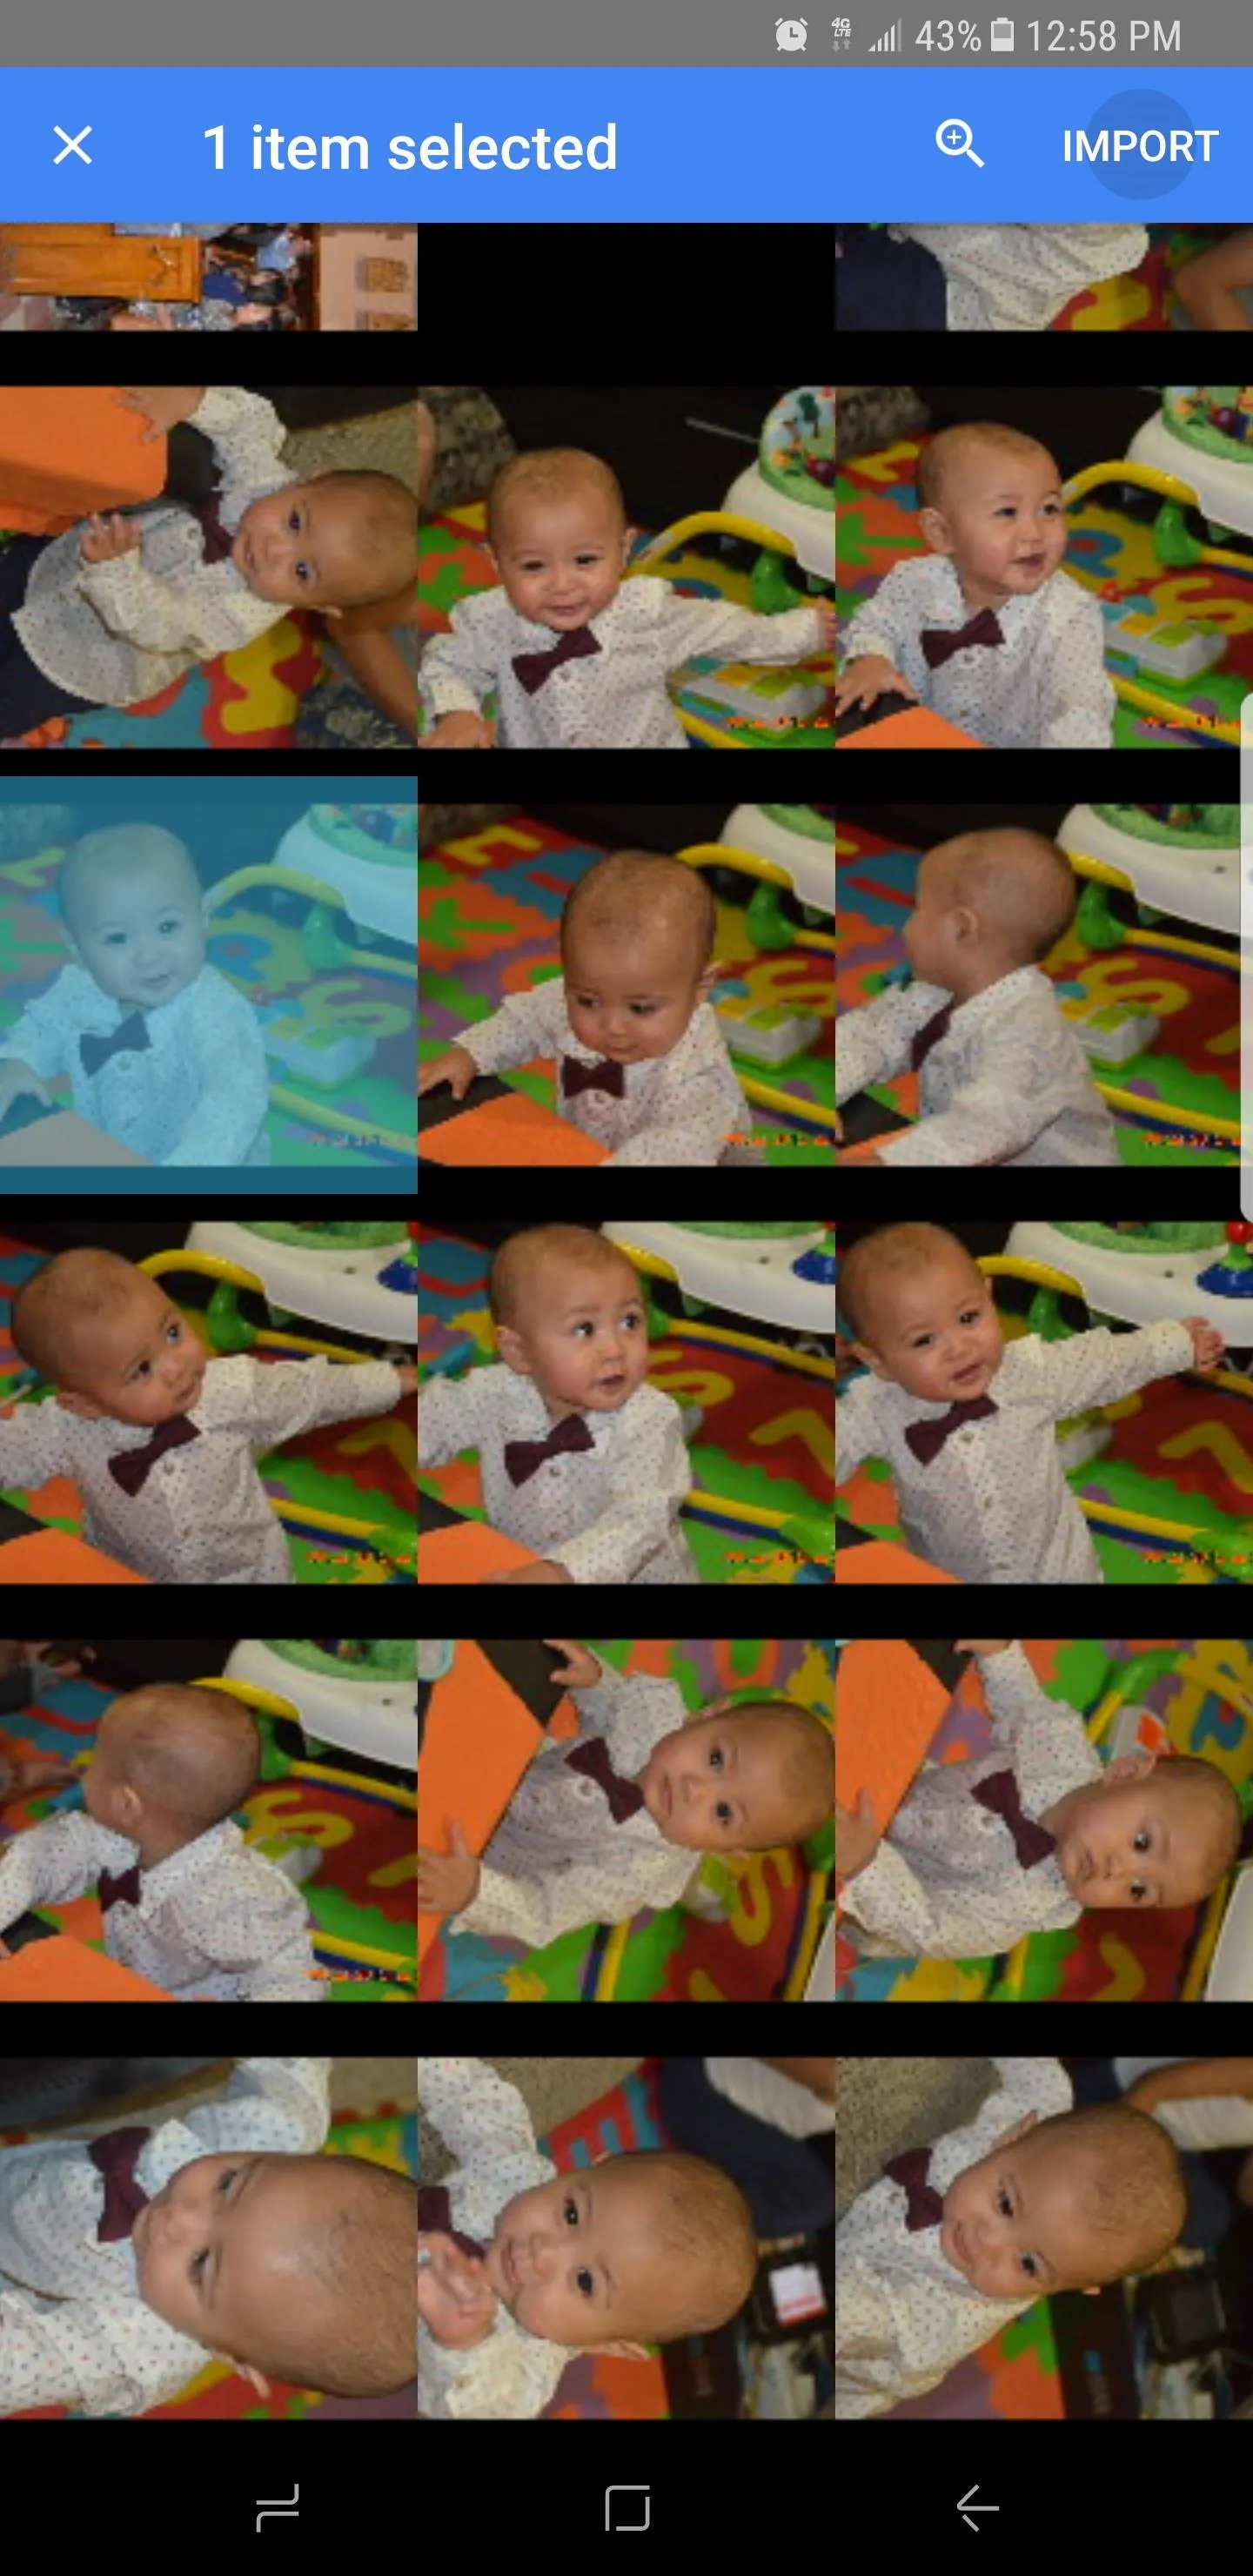
After your phone has finished scanning your camera's contents, you can now pick which photos and videos you wish to keep on your phone. Some phones won't recognize RAW image files from certain camera models, but at the very least, all of the JPG images and video files on your camera should be discovered.
We tested out phones running various versions of Android; Phones like the Nexus 6P, Pixel, and Galaxy S7 Edge worked without a hitch for all file types, while the Nexus 7, HTC One 8, and LG G3 only saw JPG and video files running on their latest software. Basically, your mileage may vary.
So from here, simply tap the photos and videos to select them, then press the "Import" button in the upper-right corner after you've made your selection.

Once the photos and videos have been imported, you'll find them on your phone's SD card or internal storage partition in a folder named after your camera's make and model. Most gallery and photo apps should automatically find this folder, so sharing the picture will be incredibly easy. How many photos have you imported using this method so far? Let us know in the comment section below.
- Follow Gadget Hacks on Facebook, Twitter, Google+, and YouTube
- Follow Android Hacks on Facebook, Twitter, and Pinterest
- Follow WonderHowTo on Facebook, Twitter, Pinterest, and Google+
Cover image and screenshots by Amboy Manalo/Gadget Hacks


Comments
Be the first, drop a comment!