


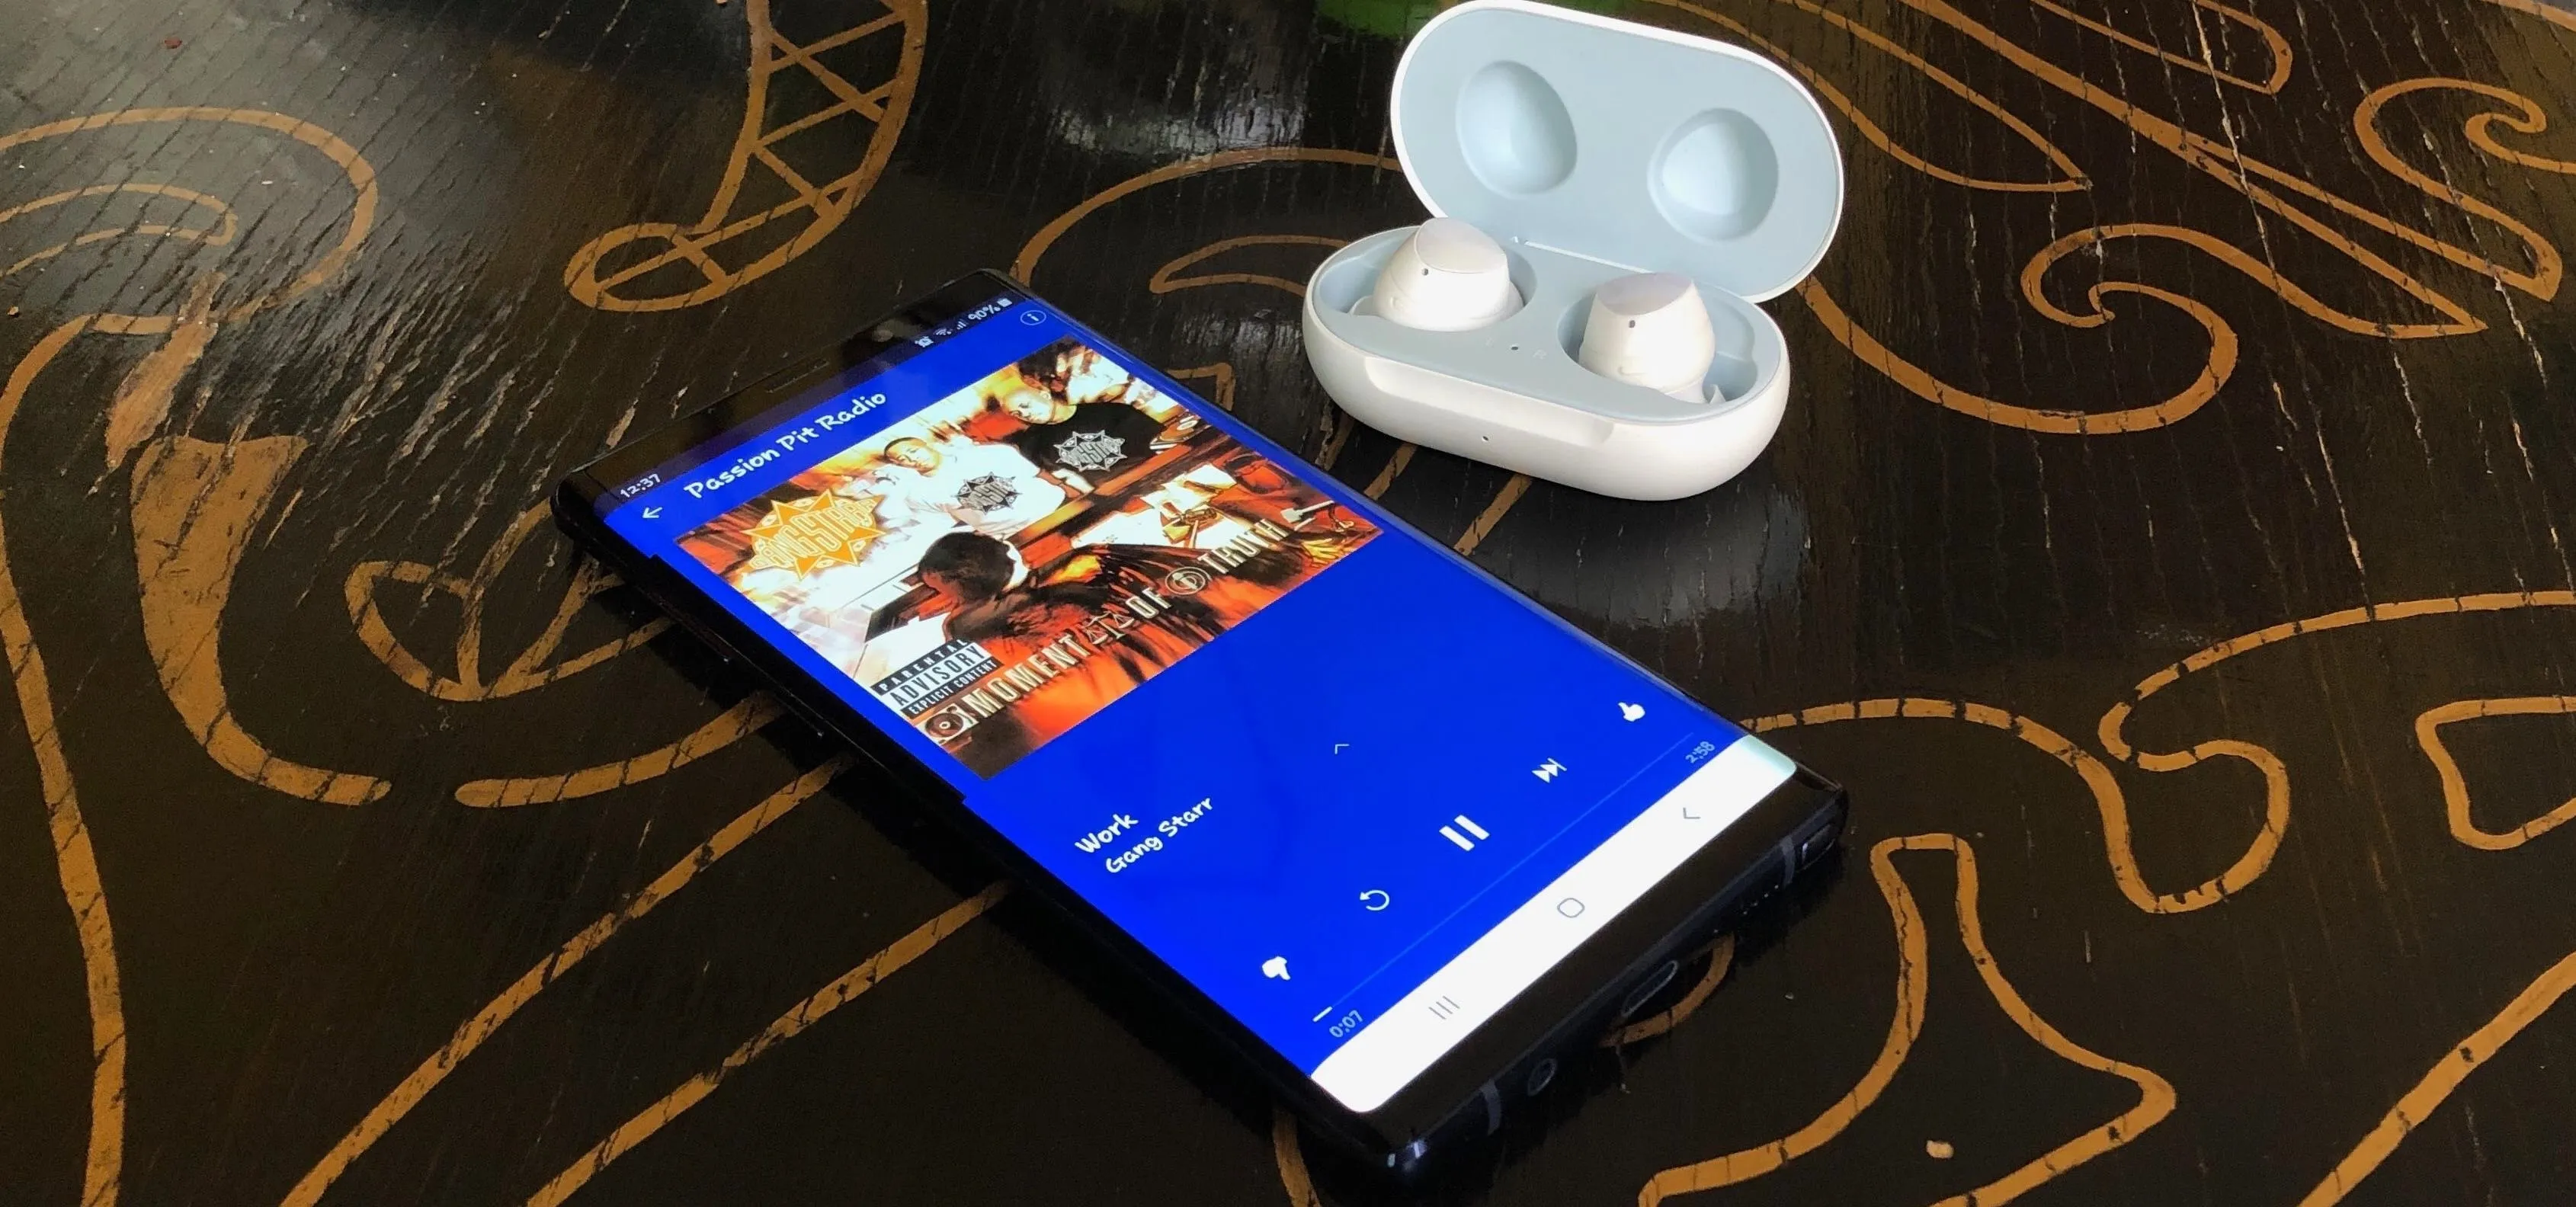

Though more well known for their OLED displays and advanced cameras, Galaxy phones like the S8, Note 10 & 10+ and S10 series are a force to be reckoned with when it comes to audio. In fact, flagships from the S9 on up feature AKG-tuned stereo speakers, along with a slew of software enhancements that make listening to music a truly pleasurable experience.
By default, however, many of these audio settings aren't enabled and are fairly hidden within the Settings app in One UI, so you'll need to do some digging in order to turn them on to make full use of your Galaxy's speakers and headphones. As such, we've rounded up nine audio settings you need to tweak right now to get the best sound possible.
- Don't Miss: The Top 4 Phones for Music Lovers & Audiophiles
#1. Quickly Toggle Dolby Atmos
Enabling Dolby Atmos makes a huge difference in sound quality, giving you richer, more balanced audio that seems to surround you. So whether you're listening on a pair of headphones or using your phone's speakers, Dolby Atmos is one setting you definitely need to take advantage of.
Settings -> Sounds and vibration -> Advanced sound settings ->
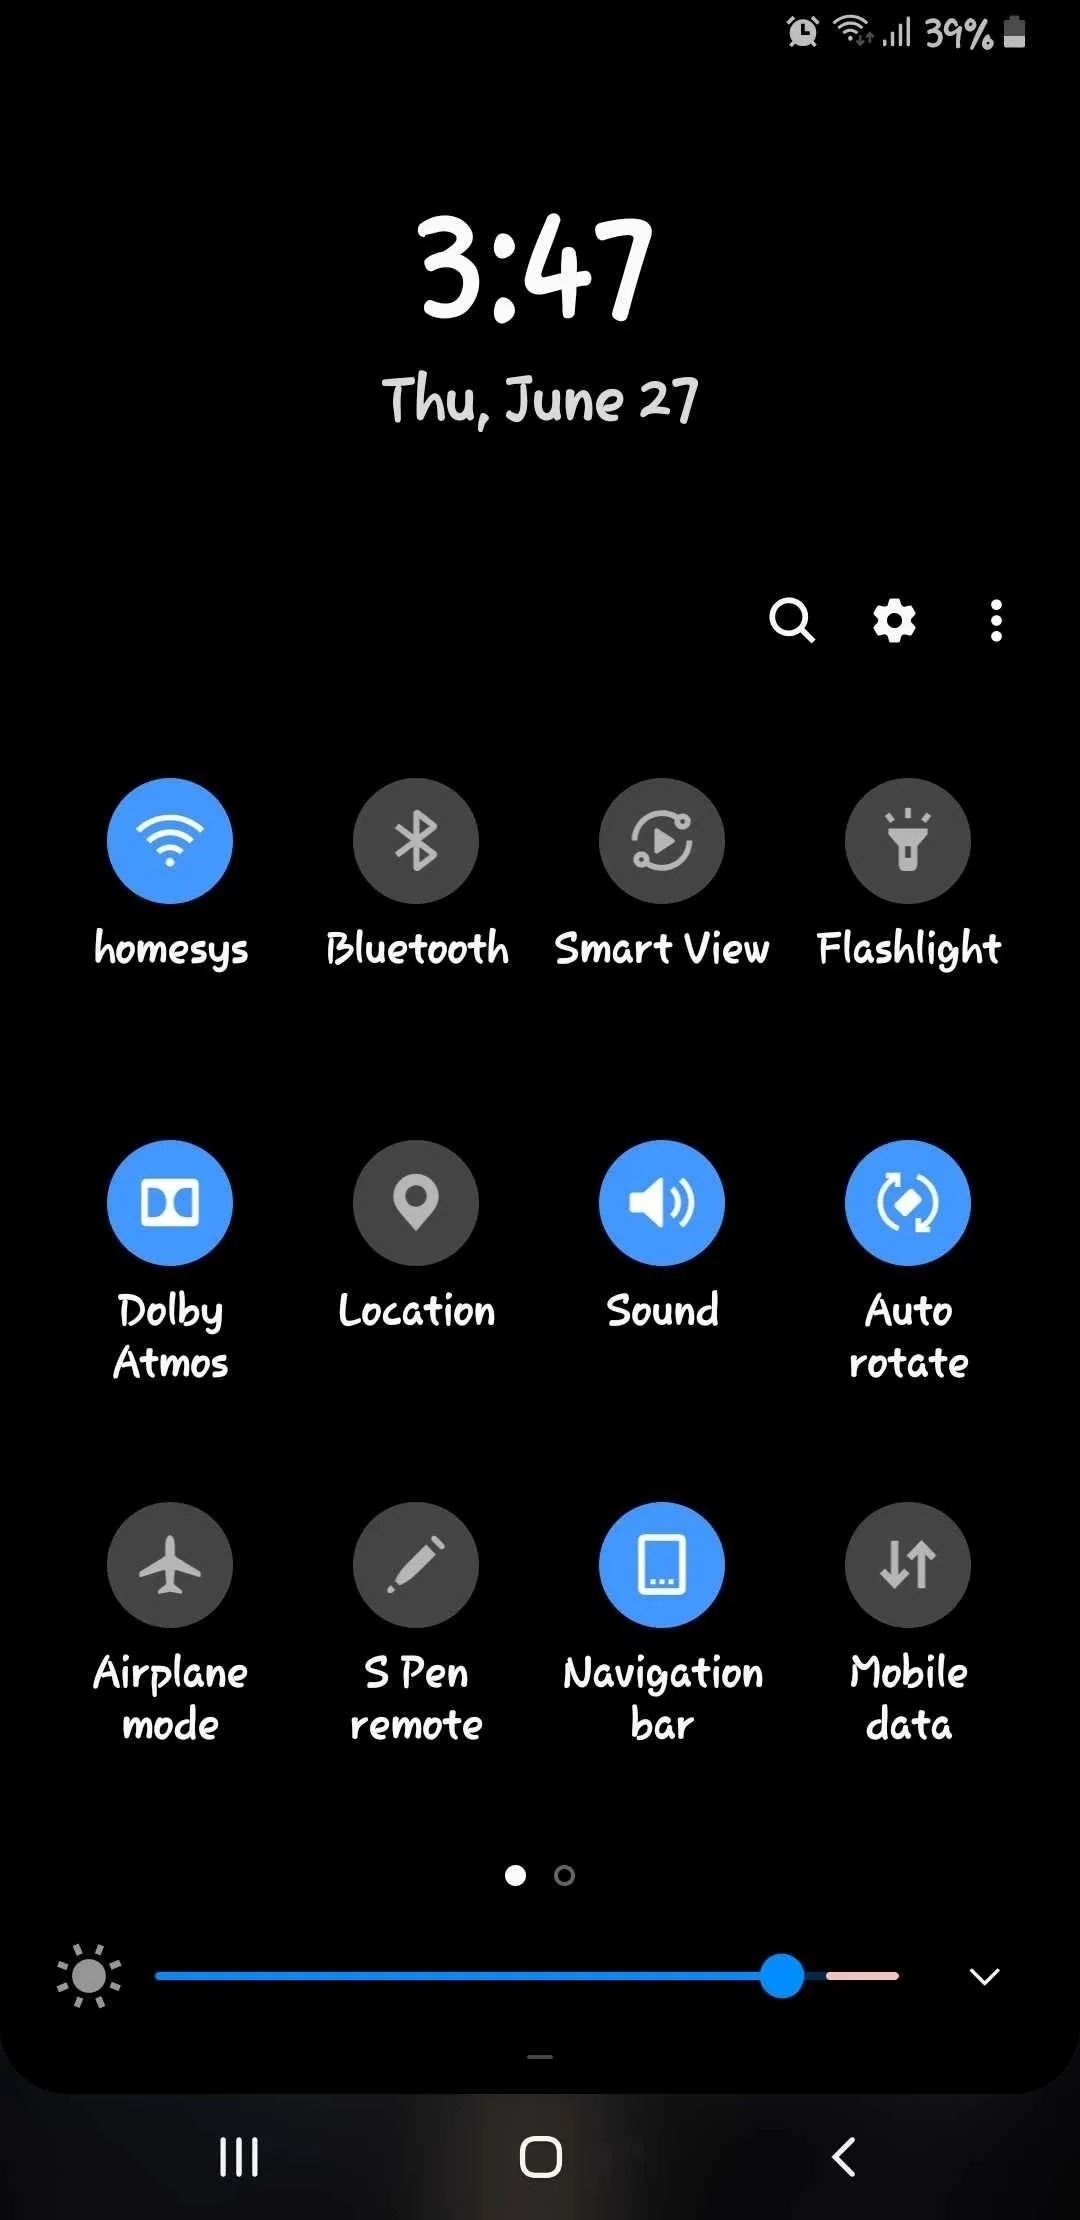
Sound quality and effects -> Dolby AtmosAs great as this option is, convenience isn't exactly its strong suit (as seen in the above menu tree). Thankfully, you can still access Dolby Atmos by way of your Galaxy's Quick Settings menu.
If you want to make Dolby Atmos easier to access and enable, swipe down twice from the top to reveal the Quick Settings panel in full, then tap on the three-dot menu button next to the settings icon and hit "Button Order" on the popup. From there, simply drag and drop the Quick Settings tile for Dolby Atmos to your desired location, then tap on "Done" to set your changes.
- Don't Miss: How to Get Custom Fonts on Your Galaxy
Besides being able to toggle Dolby Atmos on and off on the fly, you can also long-press this Quick Settings tile to access the feature's settings page for fine-tuning. This does away with the need to rummage through your Galaxy's settings.
#2. Get a Custom Audio Profile with Adapt Sound
Adapt Sound, a feature that traces its roots to the Galaxy S7, is worth checking out if you use headphones on a regular basis. Frankly, it's surprising that the feature isn't as popular, as it drastically improves sound quality while using headphones of any type. It builds a personalized sound profile from a series of hearing tests, resulting in noticeably better audio quality.
Settings -> Advanced sound settings -> Sound quality and effects ->
Adapt sound
The feature can be accessed following the menu above. From there, either select a profile that corresponds with your age range, or tap "Add personalized sound profile" to start the hearing test and tailor sound exclusively for your ears, then follow the prompts to preview and save your audio profile. Just be sure to perform the tests in a very quiet place so you can concentrate on the beeps for best results.
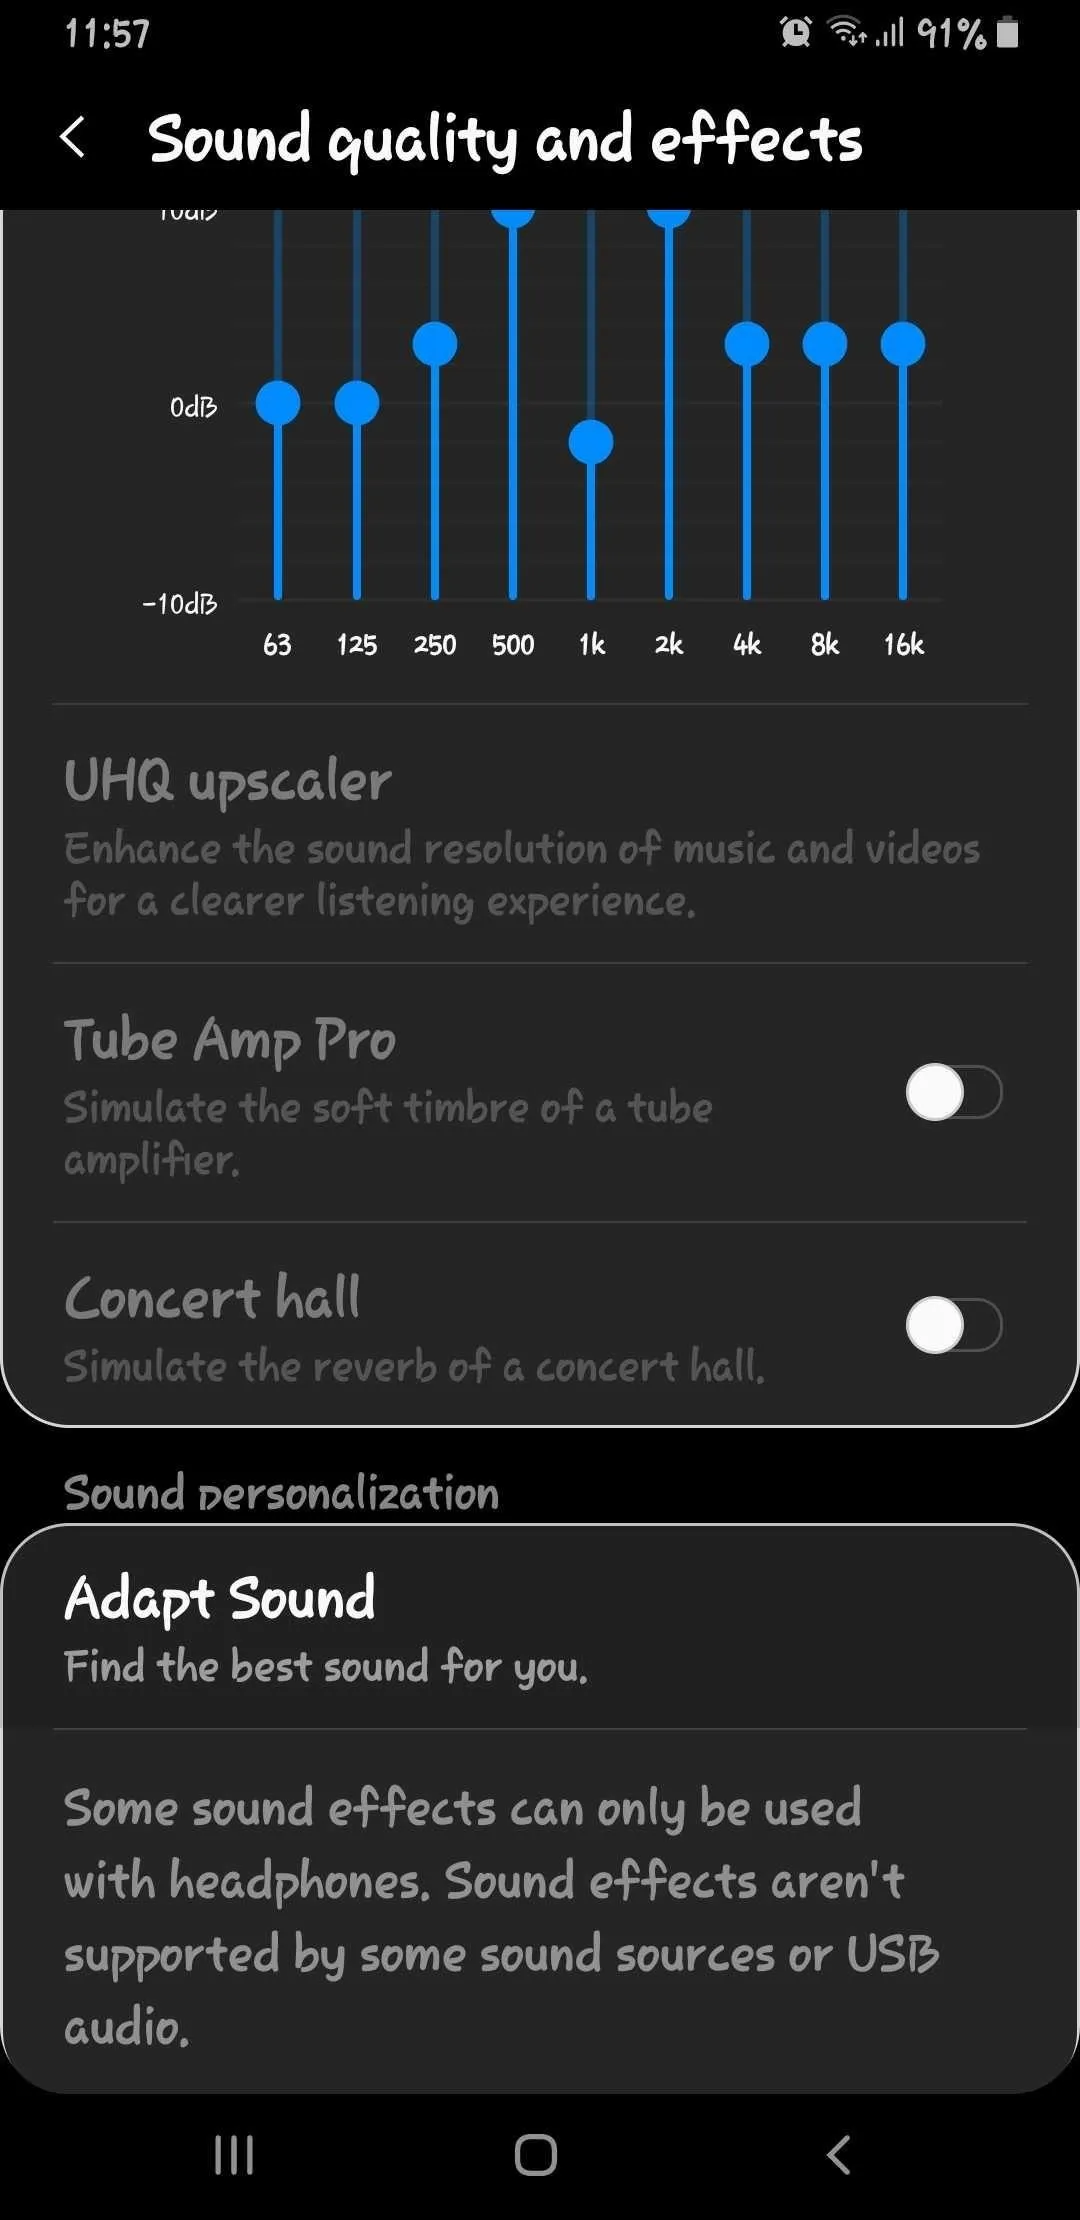

#3. Take Advantage of Your Galaxy's Equalizer
Your Galaxy flagship has an equalizer built in to give you more control over sound quality. It lets you fine tune audio elements such as bass and treble to get the most out of your favorite music, regardless of genre. Like Dolby Atmos, however, the equalizer is buried deep inside the Settings app, as can be seen im the menu below.
Settings -> Sounds and vibration -> Advanced sound settings ->
SOund quality and effects -> Equalizer
That said, you do have a semi-shortcut to get to the feature faster, and while it doesn't take you directly to the equalizer itself, it's still far quicker than rummaging through the Settings app. To try it, open your phone's Quick Settings as you did in Tip #1, then long-press the tile for Dolby Atmos to go to its settings page.
Once inside "Dolby Atmos," tap on < in the upper-left to go back to the "Sound quality and effects" page, then access the equalizer from there. By default, the equalizer appears as two knobs that you can adjust the levels for bass and treble, along with instrumental and vocal. For finer adjustments, tap on the "Advanced" button to switch to a more traditional equalizer.

Beyond those, you can also choose from a list of audio presets simply by tapping on "Equalizer" and selecting the preset that best reflects the music you're currently listening to, be it rock, pop, jazz, or so on.
#4. Set the Volume Buttons to Control Media by Default
By default, the volume keys are set to adjust your Galaxy's ringtone, which results in a slight delay when adjusting media volume. This can pose a problem if the media volume is turned all the way up, because you can't turn it down until the system recognizes it's playing media.
If you want to head off potential headaches, you can set the volume buttons to control media by default by pressing a volume key and swiping down from volume HUD, then toggling "Use volume keys for media" on.
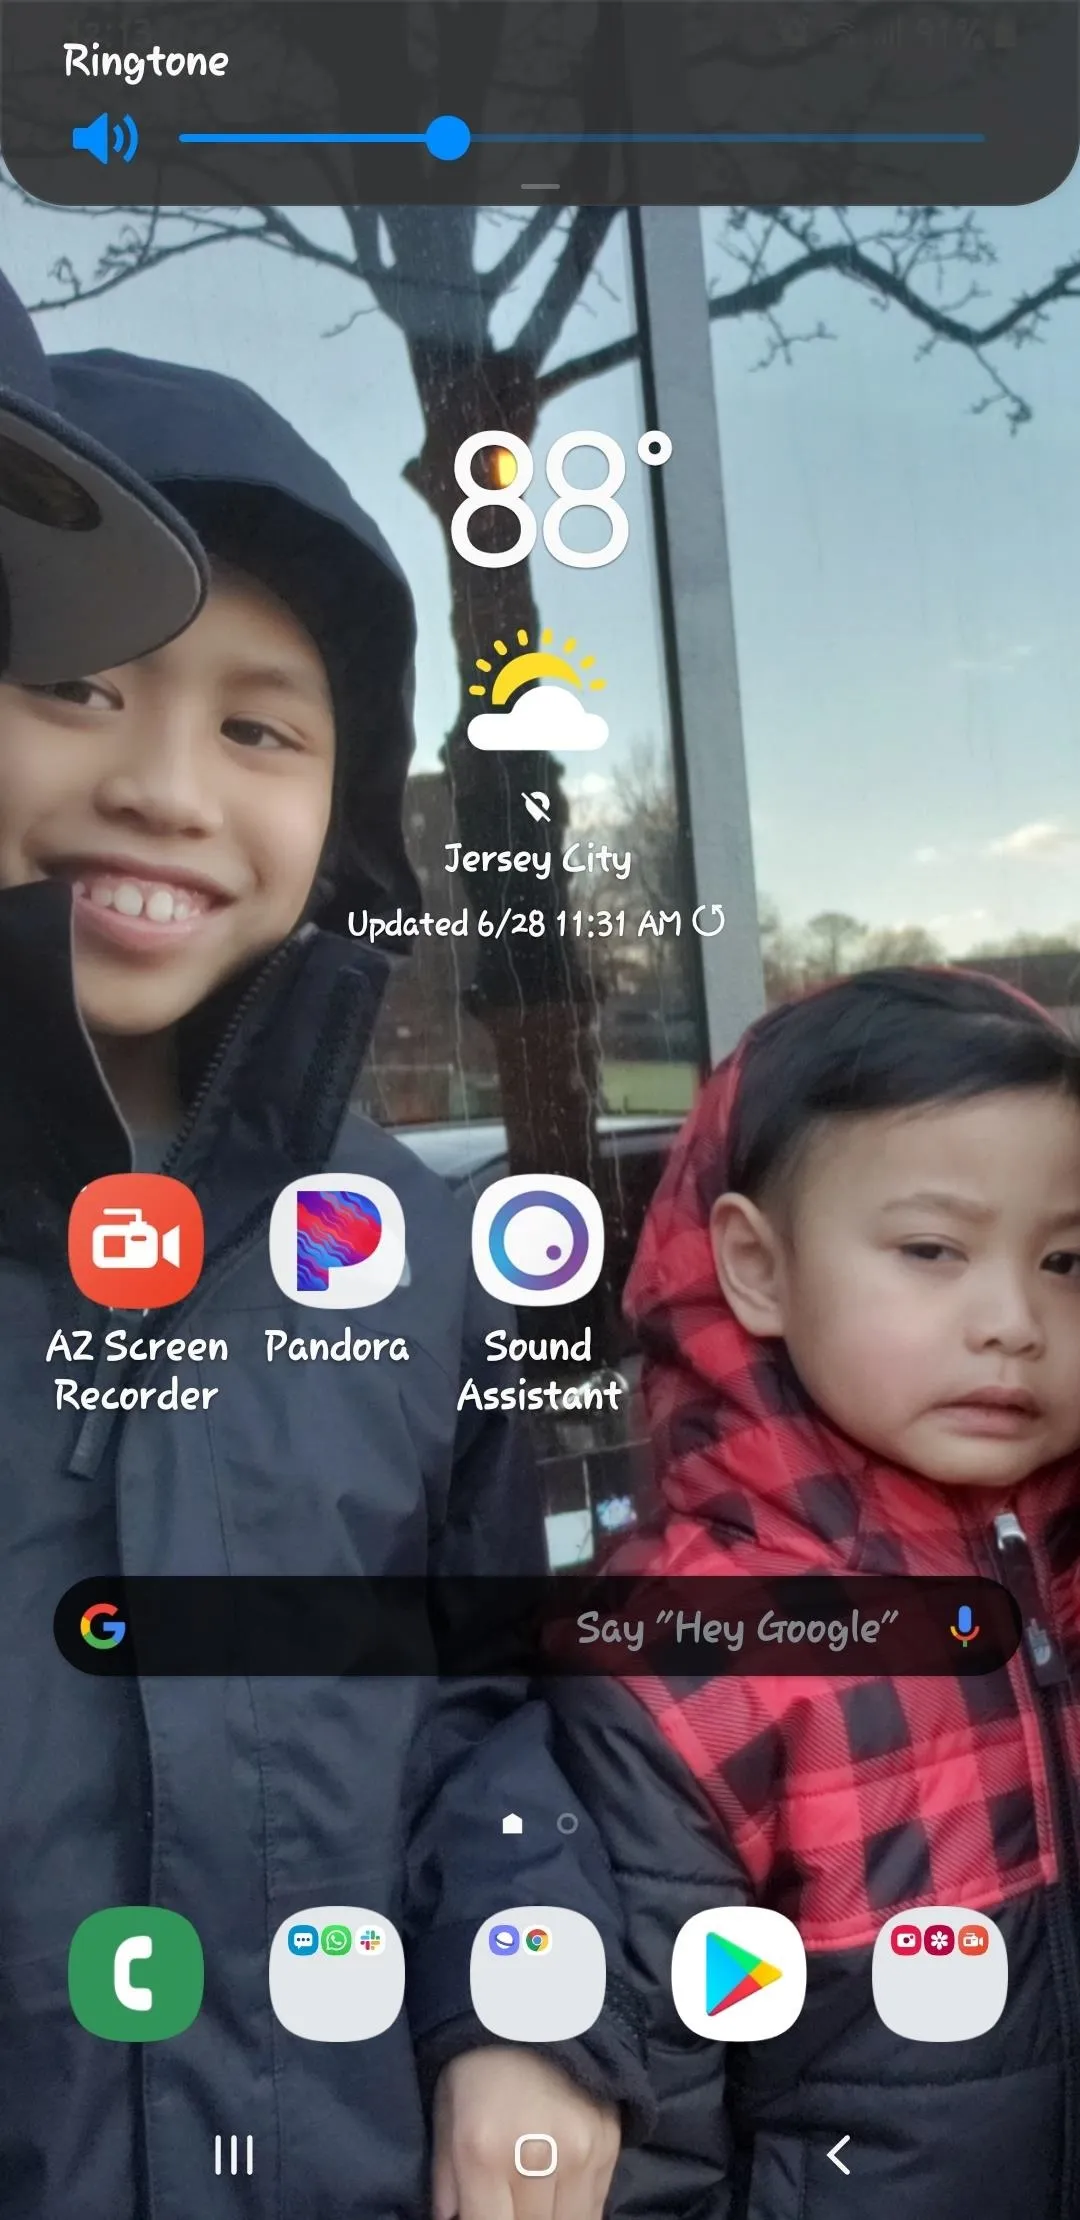
#5. Get SoundAssistant for More Audio Options
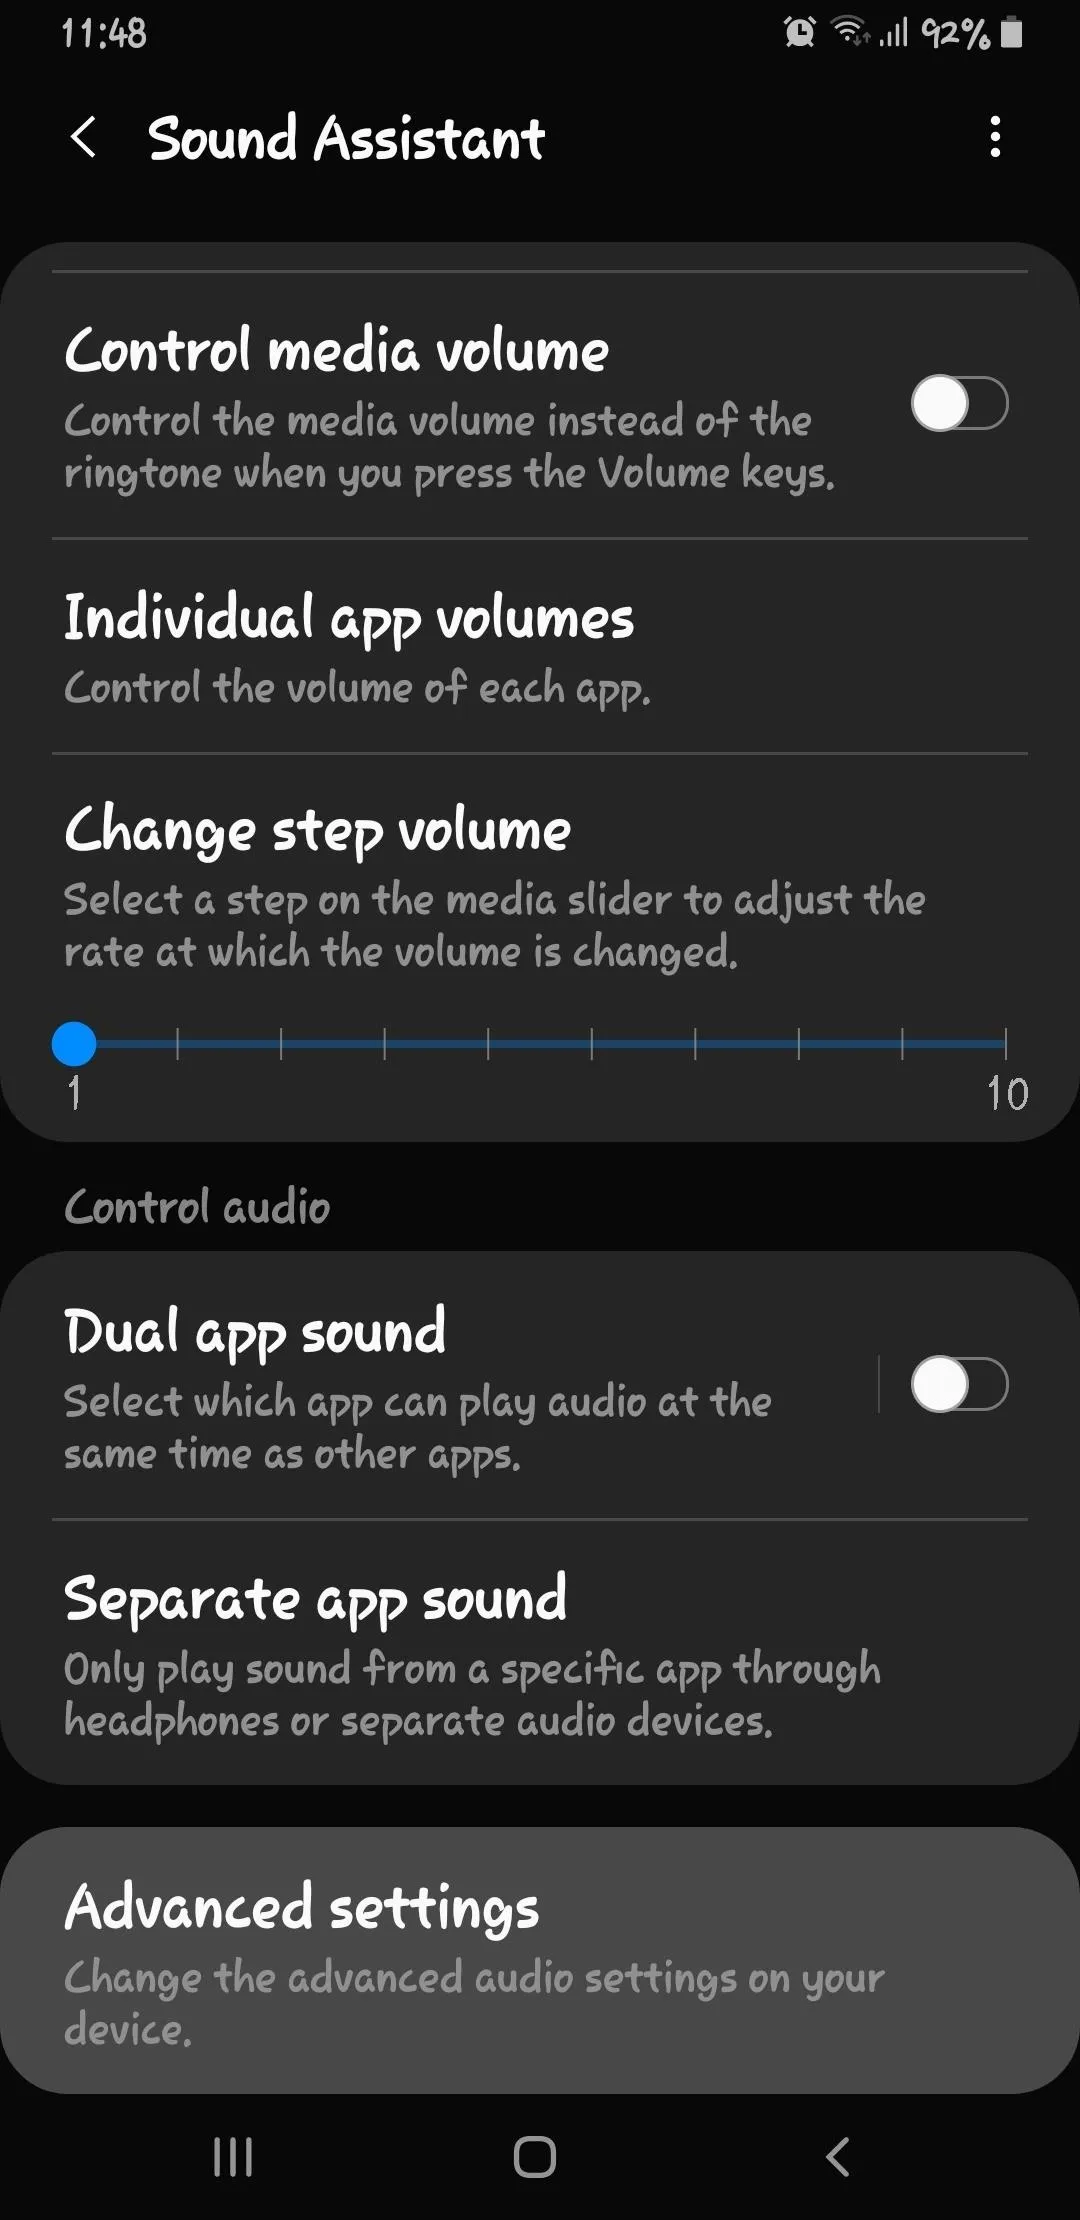
If your Galaxy's native sound enhancing features weren't enough, Samsung has developed a free app that brings even more functions to maximize your phone's audio capabilities. Aptly named SoundAssistant, the app comes packed with useful options like setting volume on a per-app basis, the ability to direct specific apps' audio to only play on headphones and speakers, and more.
For the longest time, SoundAssistant could only be downloaded either as an APK file or directly from Samsung's own Galaxy Store, which limited its visibility. Fortunately, the app has since become available in the Google Play Store, so if you want to give this app a try, simply tap on the link below.
- Play Store Link: SoundAssistant (free)
#6. Increase Volume Steps
You Galaxy's volume is limited to 15 increments to go from silent to maximum loudness by default. If you frequently use headphones, you might want more fine-grain control.
SoundAssistant gives you the ability to increase your Galaxy's volume steps from the default 15 all the way to 150 increments (and anywhere in between). To do so, open the app from the Tip #5 and head to "Change step volume." From there, adjust the bar according to your preferences.
Choosing a lower value on the bar increases the volume increments, with "10" giving you the standard 15 volume steps, "5" setting the steps to 30, and "1" giving you 150 steps. Feel free to experiment until you find a setting that you're comfortable with.
Volume step bar set to 5.
Volume step bar set to 1.
Volume step bar set to 5.
Volume step bar set to 1.
#7. Use Dual Audio to Play Music on 2 Devices
For times where you want to share music with another device or speakers strewn around your house, your Galaxy has you covered with its "Dual Audio" feature. Contrary to the belief to many on the web, this isn't apart of the Bluetooth 5 standard, but instead, a Samsung exclusive feature that works with any Bluetooth device, whether it uses Bluetooth 5 or an older standard.
To enable Dual Audio, head to the "Connections" page within your Galaxy's settings and tap "Bluetooth" on the following page. From there, hit "Advanced," then enable the toggle next to "Dual Audio." After that, you'll just have to pair both devices. Be sure to check out our guide below for more information on this feature.
#8. Increase Bluetooth Audio Performance with Custom Codecs
You may not know it, but your Galaxy comes with a variety of audio codecs that you can use to get the most out of your Bluetooth headphones. Akin to ZIP files, codecs are used to basically compress digital audio streams to help ensure smooth, uninterrupted playback.
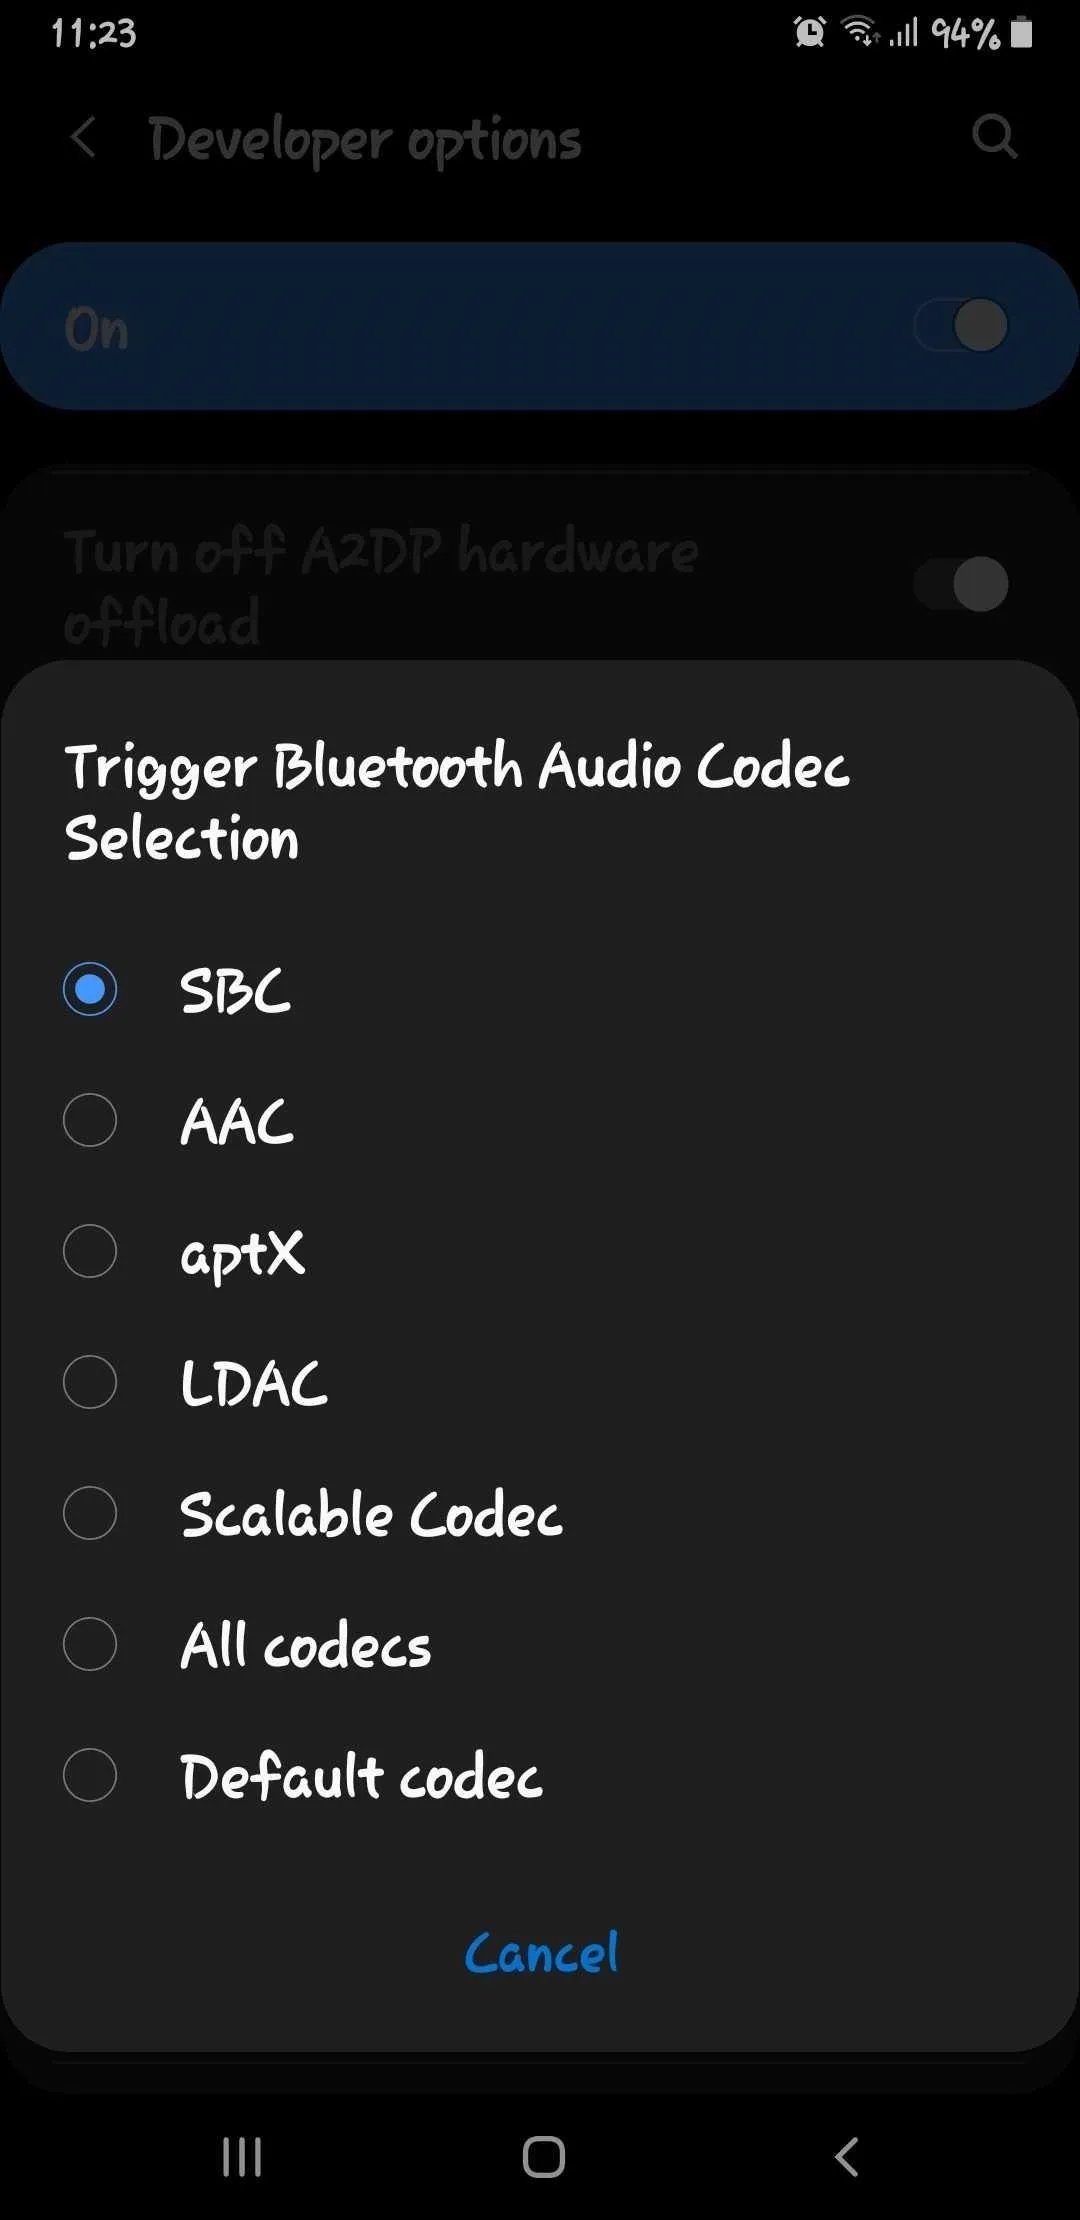
As an example, Sony uses its own LDAC codec for most of its Bluetooth devices, and it's considered to be among the best due to its ability to support high quality audio. But by default, Android uses a more generic Bluetooth codec, so you're not getting the benefits of Sony's fancy encoding.
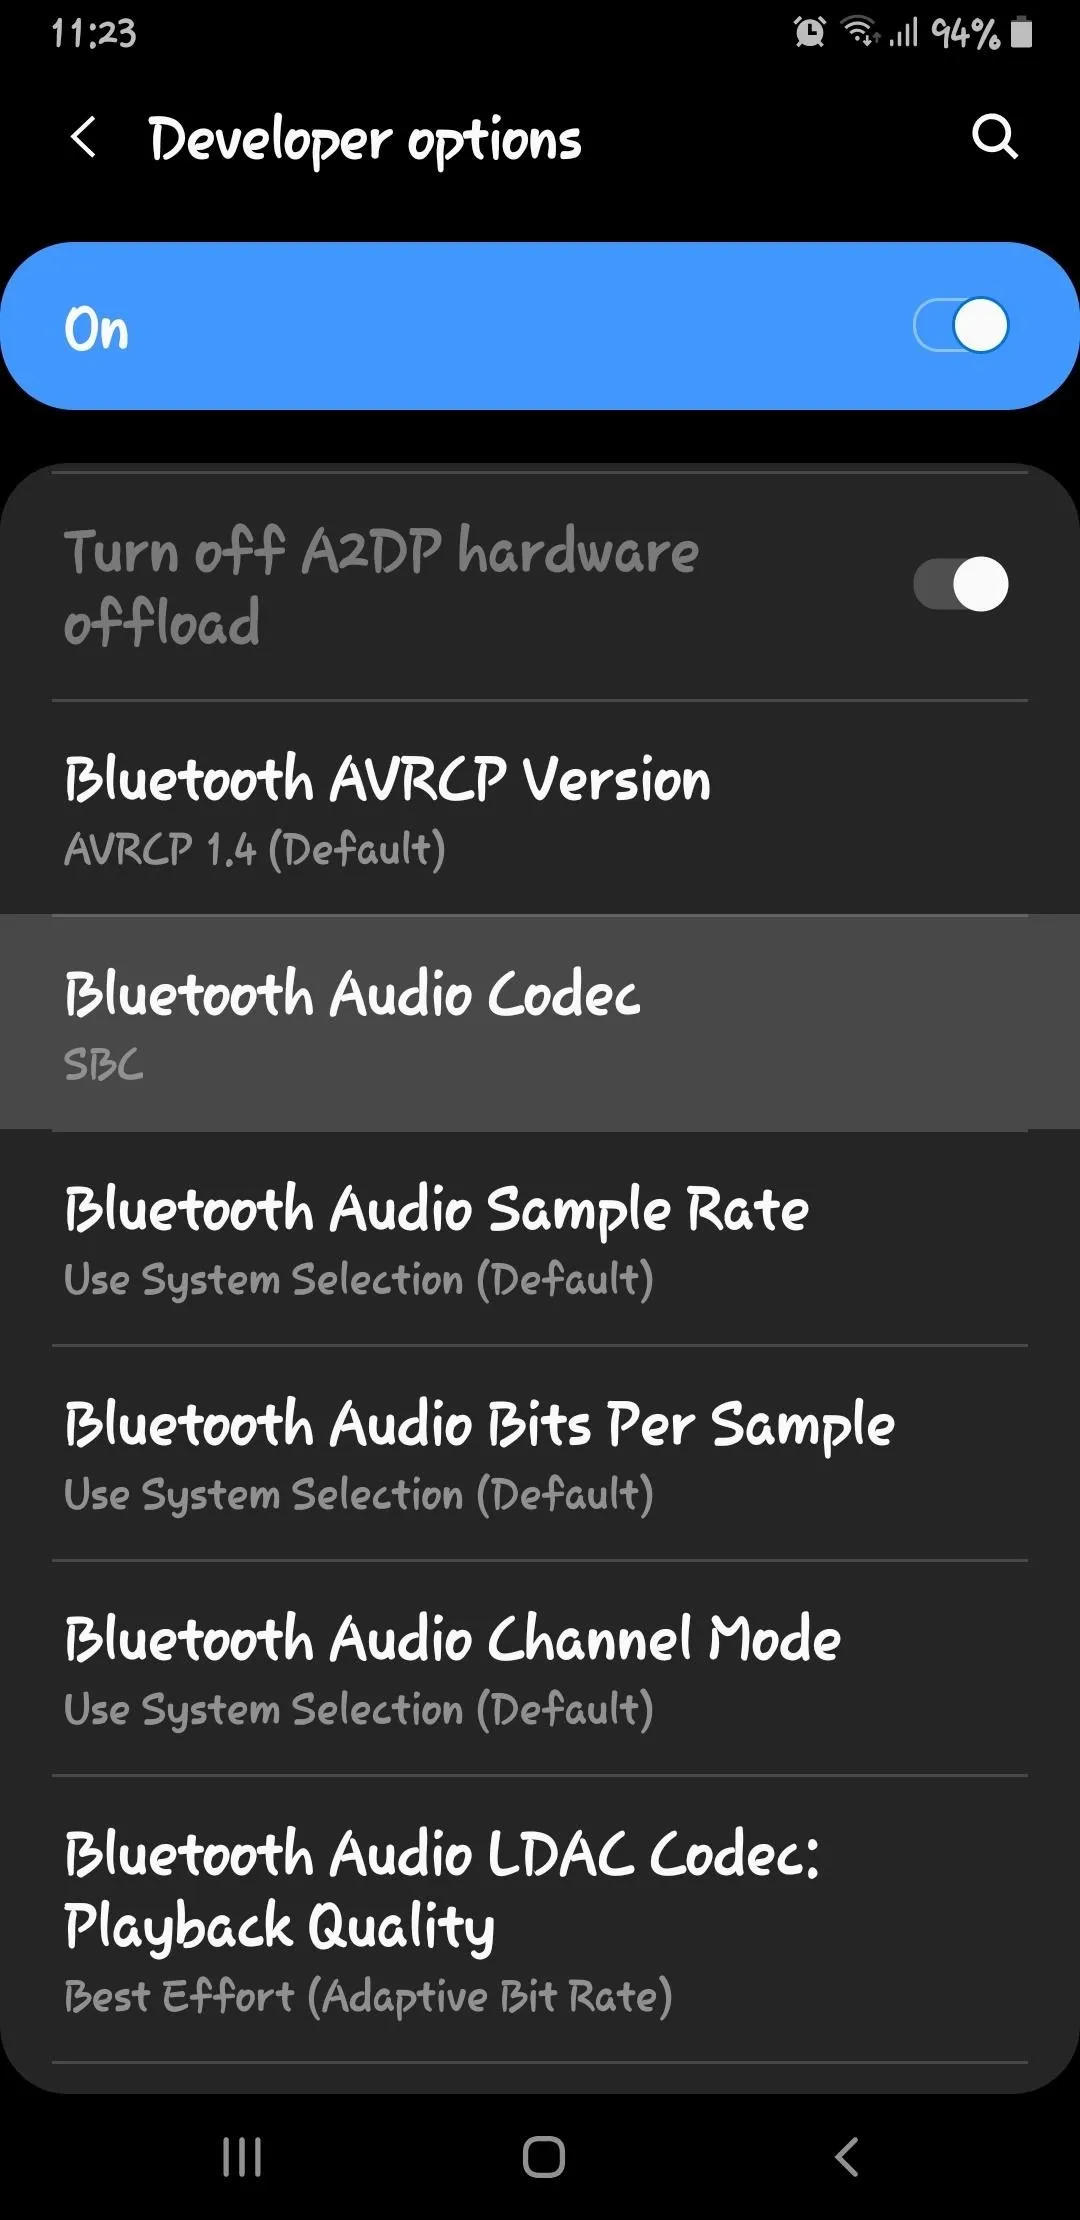
Thankfully, you can change that. First activate Developer Options, then select "Bluetooth Audio Codec" within the hidden menu to choose from the list of available supported codecs. Simply select the best codec your headphones support and you'll be getting better sound quality instantly. Be sure to check out our guide below for a more thorough walkthrough.

#9. Control Your Music App with Your Headphones
Listening to our favorite tunes often goes hand in hand with other activities like exercise and work. Thanks to One UI, it's now easier than ever to hit pause and resume your music using your headphone's media controls for moments your attention is temporarily needed elsewhere.
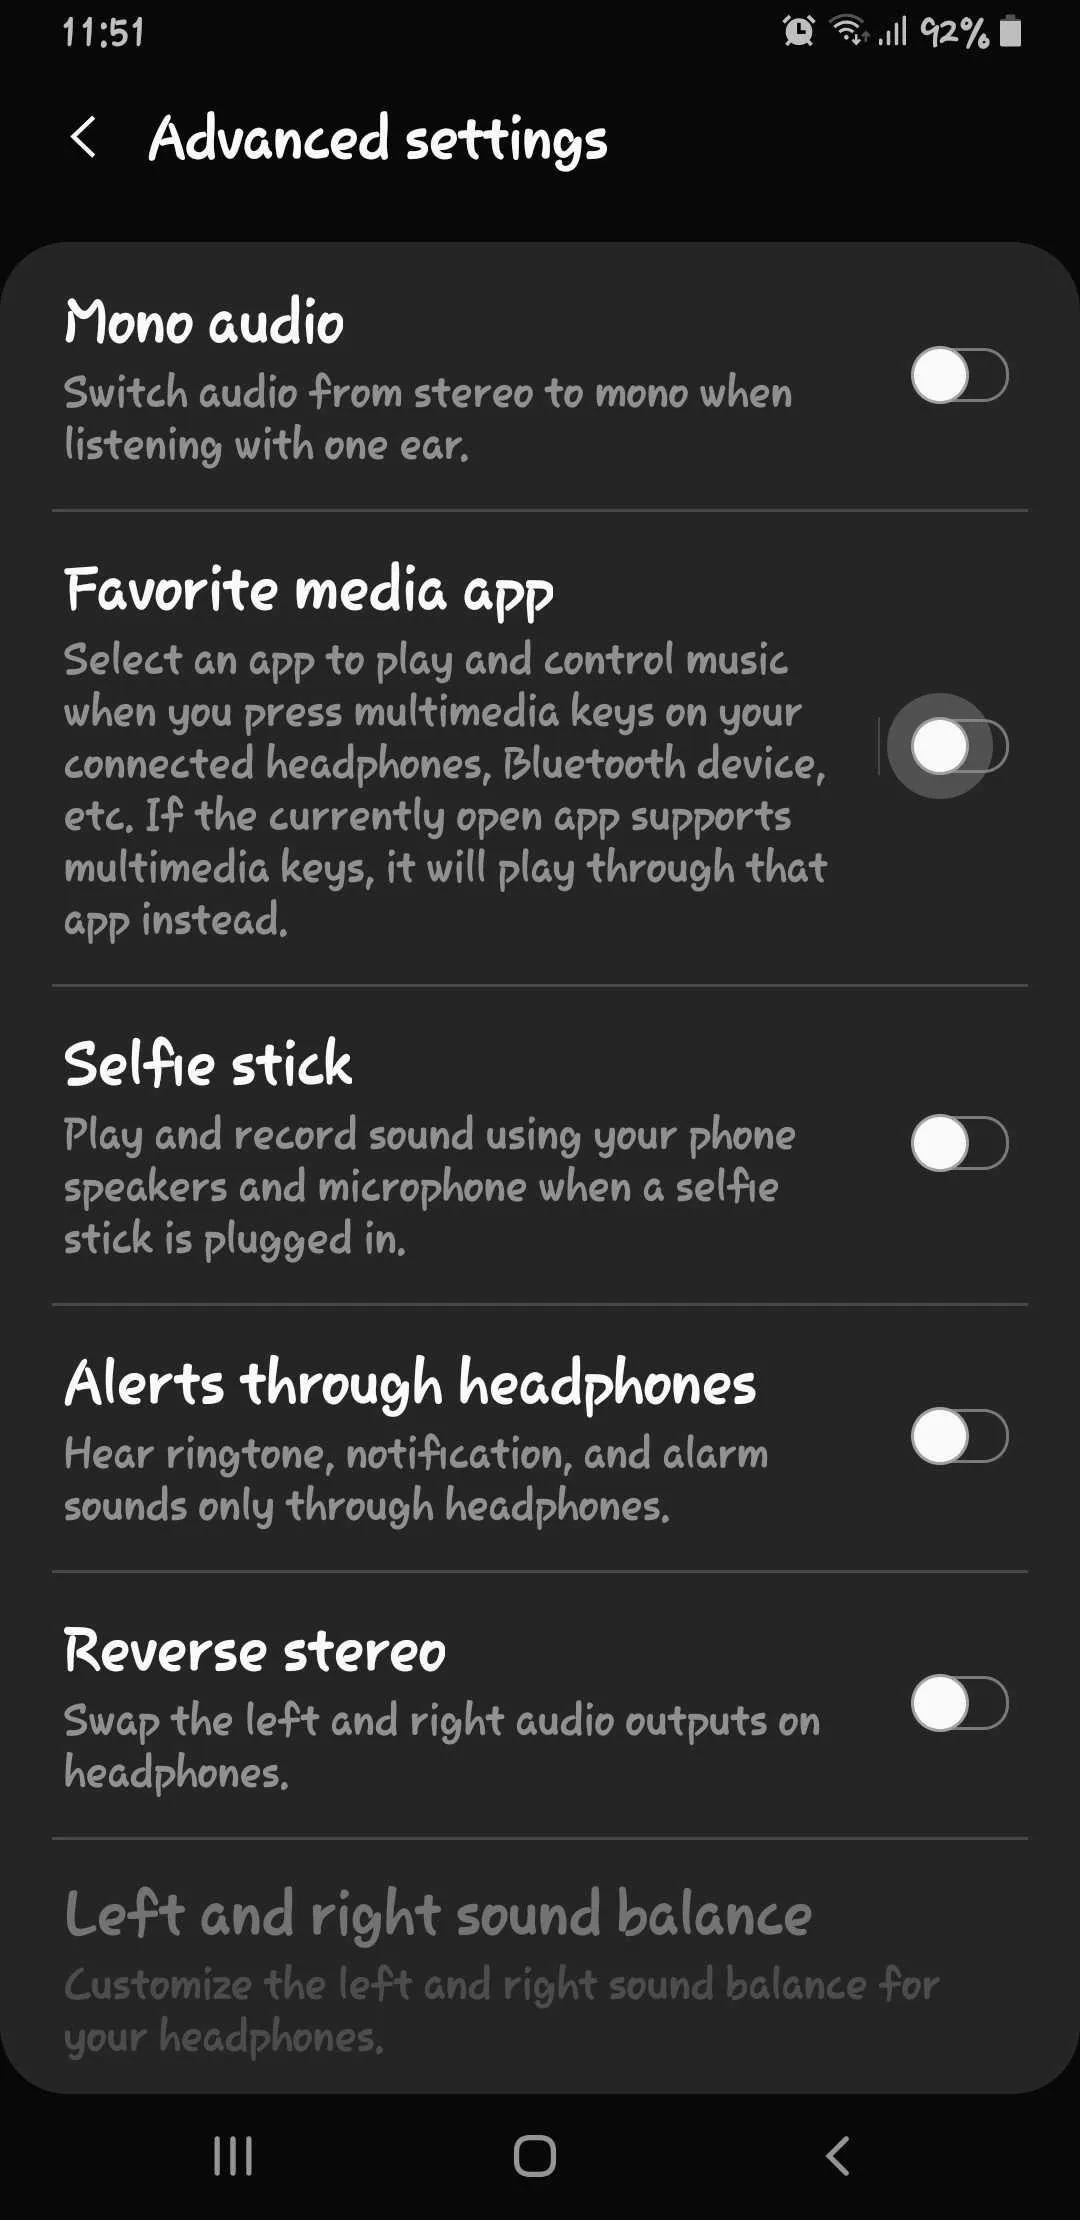
Again, you'll need SoundAssistant to use this feature. Once you have it, select "Advanced settings" and enable the "Favorite Media app" toggle. From there, hit the "Favorite Media app" text itself and select the music app you want to control using your headphones or speakers. For more on this, be sure to check out the link below.

This article was produced during Gadget Hacks' special coverage on streaming, listening to, and creating music and podcasts on your smartphone. Check out the whole Music and Audio series.
Cover image, screenshots, and GIFs by Amboy Manalo/Gadget Hacks


Comments
Be the first, drop a comment!