


Many of our online accounts now come with an added two-factor authentication (2FA) functionality to help keep our data safe. This essentially means no one would be able to access the account until a specific set of requirements were met. It could be a combination of a password with a security key or even a passcode with some form of biometrics, like a fingerprint or face scan.
To be more specific, most 2FA systems require a combination of two things before you can log in: something you know and something you have. Your password serves as "something you know," and Google now has a system where your phone can serve as the "something you have" when logging into Google services on your computer. Once set up, unless a potential attacker had physical access to your phone in addition to knowing your password, they would be unable to log in.
It was just announced that you can now use any Android phone to secure your Google account using what they call the 2-Step Verification (2SV) system. This can be considered a form of the 2FA method as mentioned above, since it requires two separate factors. The newly added functionality to their 2SV means you no longer have to carry around a separate security device to protect your account.
Requirements
- Android 7.0 Nougat or higher
- Windows, Mac, or Chrome OS computer
- Google Chrome installed on phone and computer
Enable Bluetooth on Your Computer
First, you'll need to enable Bluetooth on your computer. If your computer did not come with Bluetooth functionality built-in, you can buy a Bluetooth dongle from Amazon for as little as $8, then simply plug it into a USB port on your computer to add Bluetooth functionality.
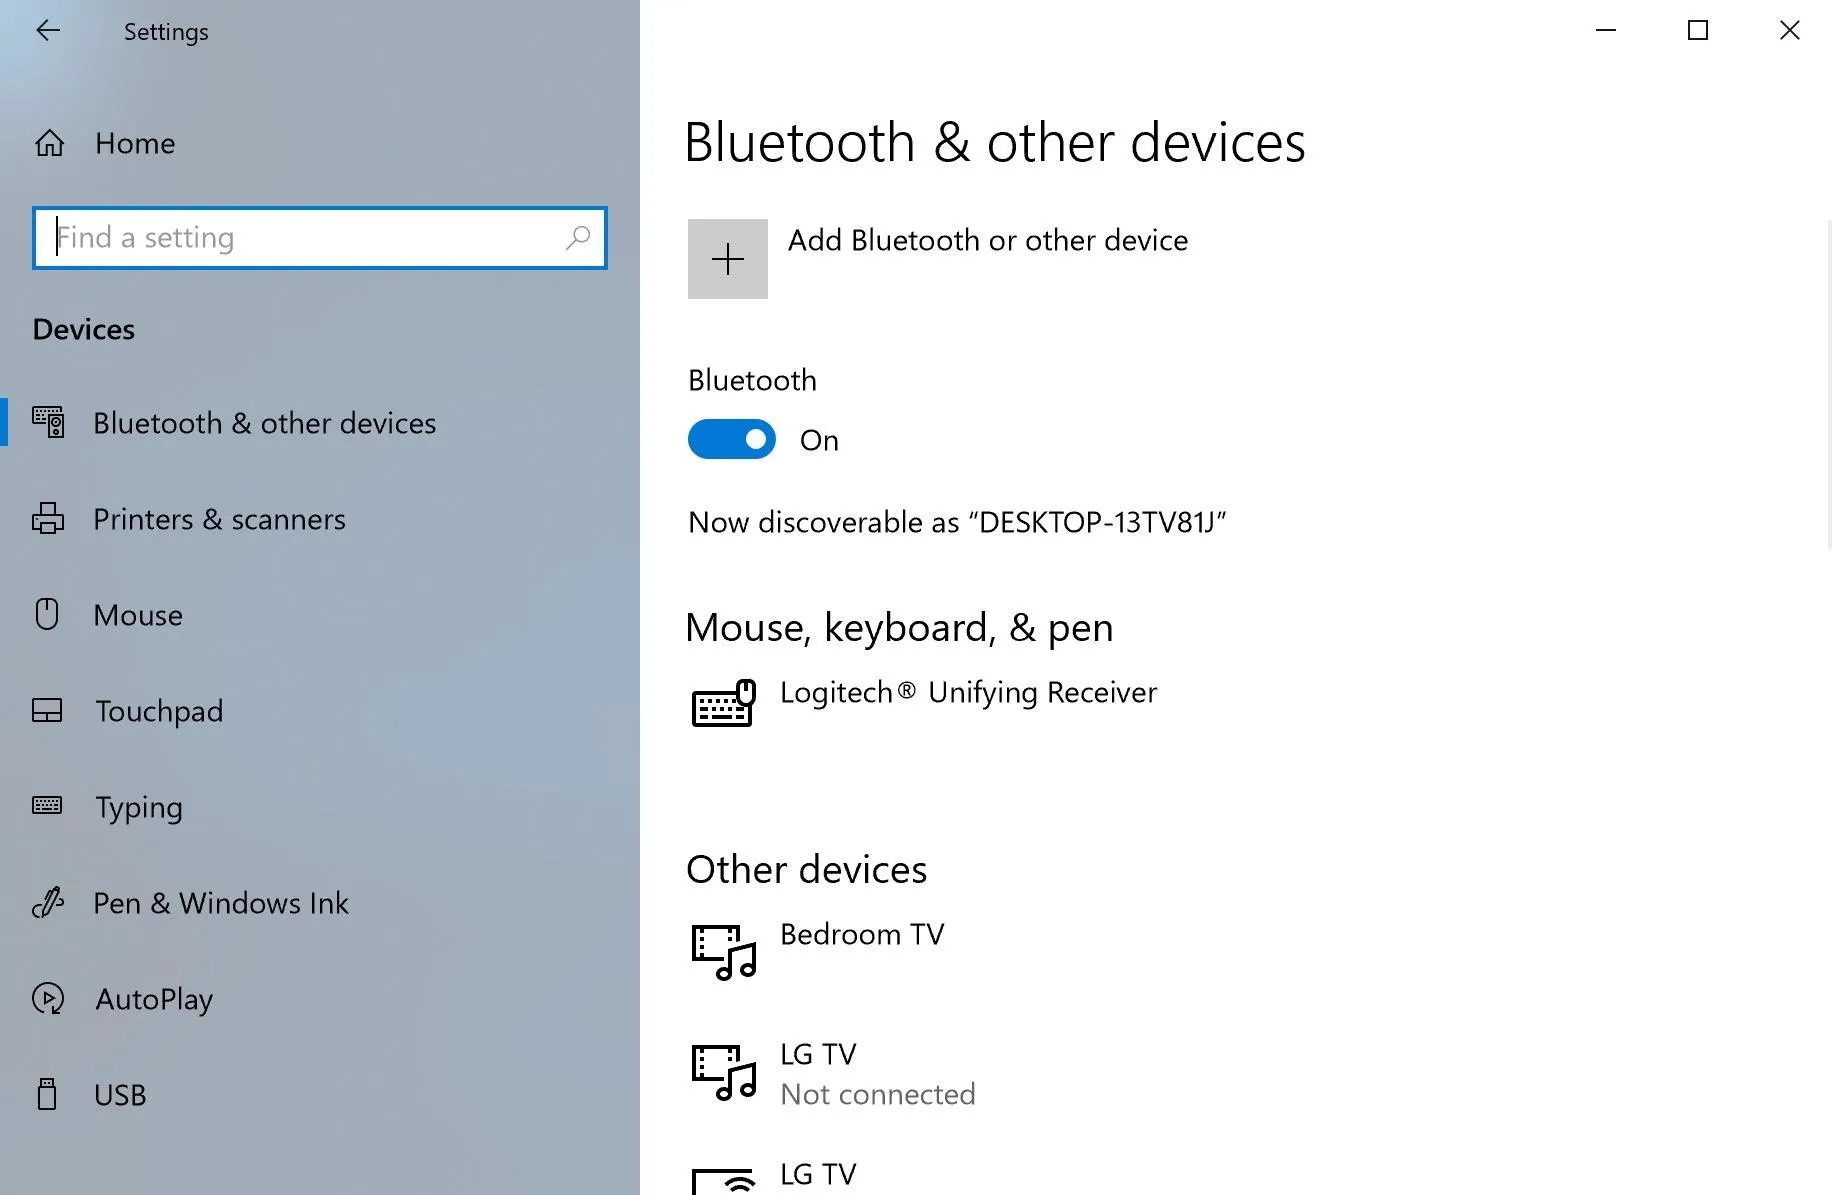
To enable Bluetooth on a Windows 10 PC, head to the Start menu (click the Windows icon in the bottom-left corner), then click the Settings gear. Next, choose "Devices," then make sure the toggle switch underneath "Bluetooth" is turned on.
For Windows 8 users, move your mouse pointer to the lower-right corner and several icons will start to appear (the "Charm Bar"). Move your mouse upward to reveal the Charms, then click "Settings." Go to Change PC Settings > Wireless > Wireless Devices from here, then enable the Bluetooth toggle.
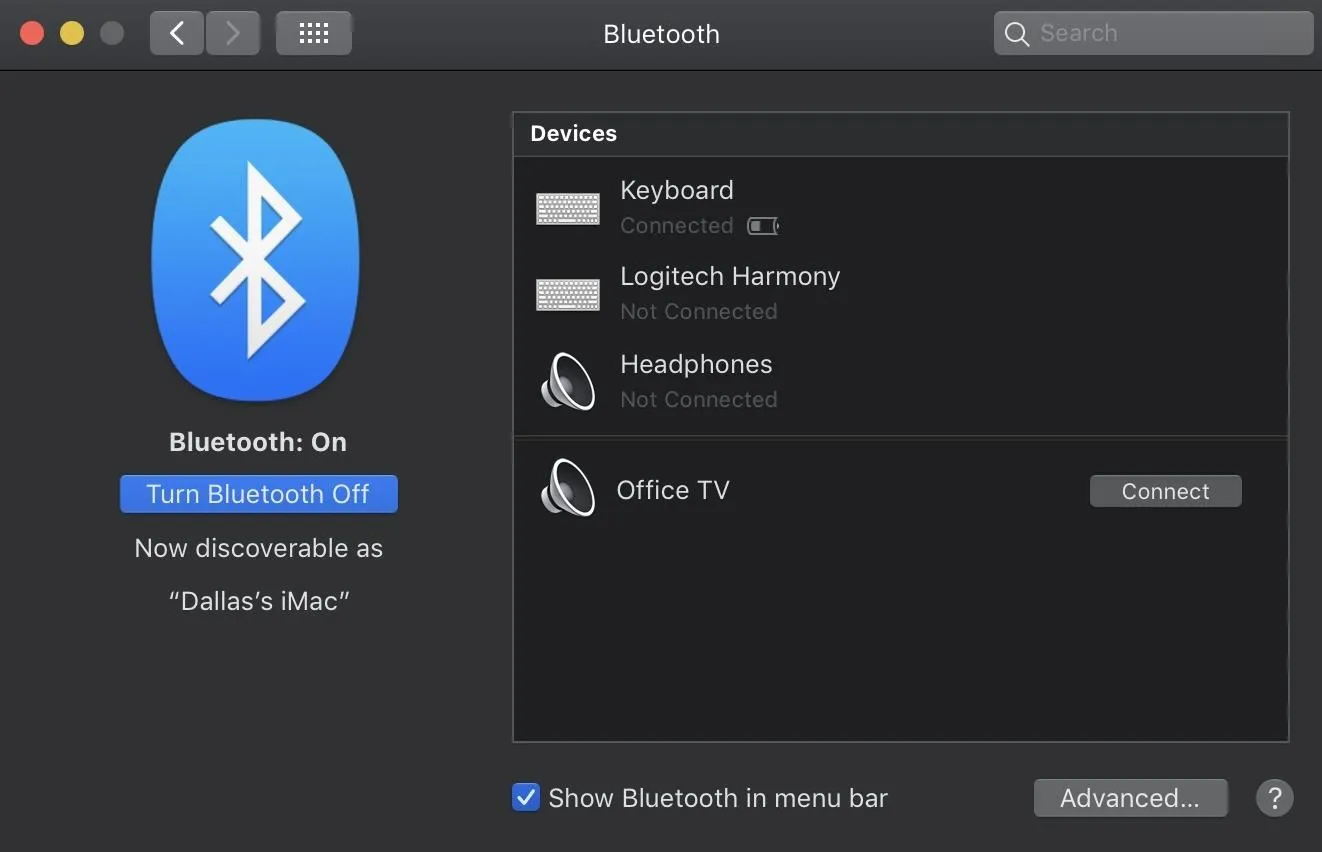
If you're on Mac, click the Apple icon in the top-left corner of any screen, then select "System Preferences." From there, open the "Bluetooth" menu, then click the button labeled "Turn Bluetooth On." If this button says "Turn Bluetooth Off" instead, then Bluetooth is already enabled and you don't need to change anything.
For Chrome OS users, just click the time in the bottom-right corner, then select "Bluetooth." If the toggle is not turned on, enable it at this time.
Enable Bluetooth & Location on Your Phone
Now, swipe down from the top of your phone's screen to expand the Quick Settings menu, then tap the Bluetooth toggle to turn the feature on if it's not already enabled. Alternatively, you can search your phone's main Settings app for the word "Bluetooth," then turn the toggle on from there.
Next, head to your phone's main Settings app and open the "Location" menu. If you don't see this menu in the main Settings list, use the search feature at the top of the screen to type in "Location," then tap the top result. From there, enable the toggle at the top of the page to ensure location services are turned on. This is required to ensure your phone is physically near your computer when you're logging in.
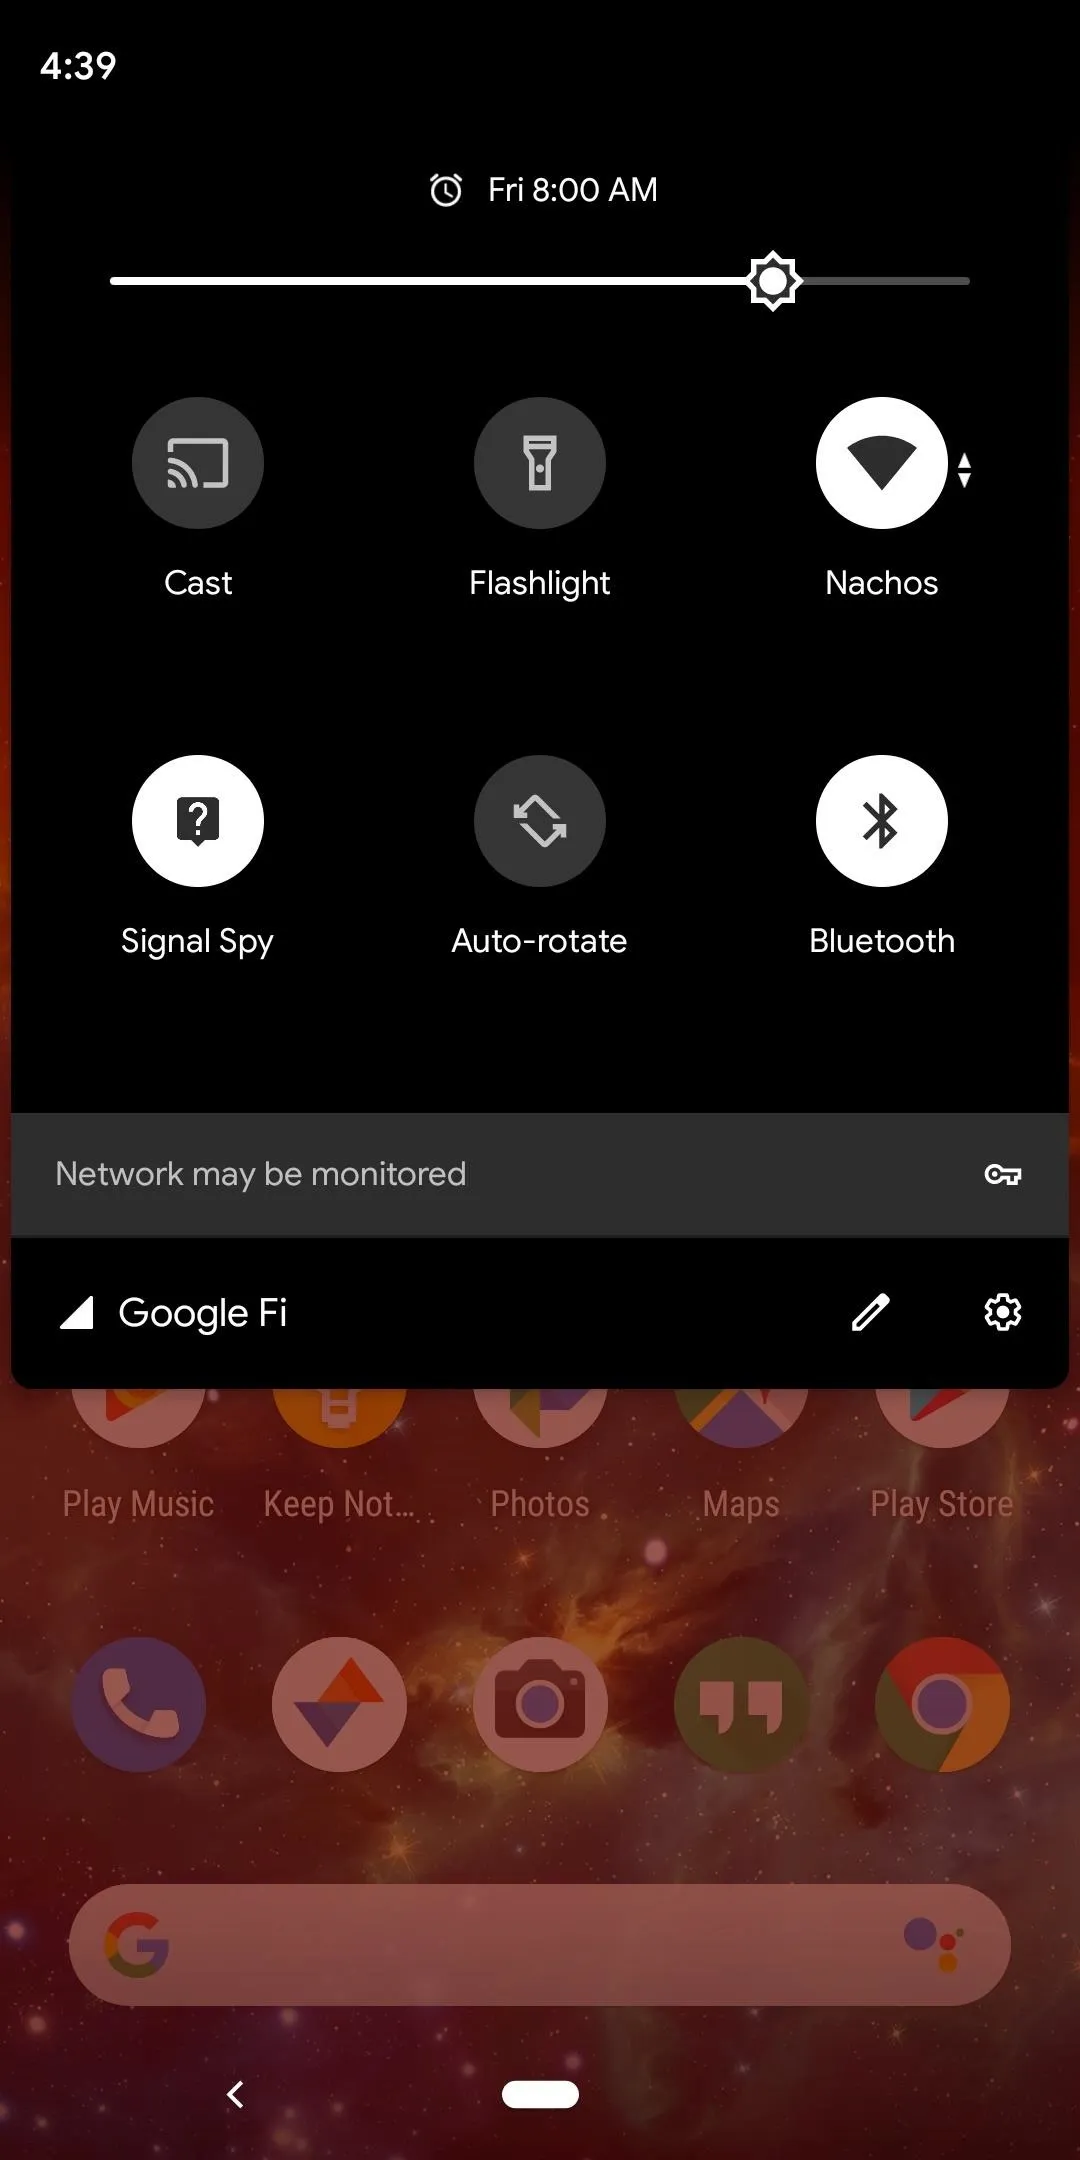
Enabling Bluetooth from the Quick Settings menu.
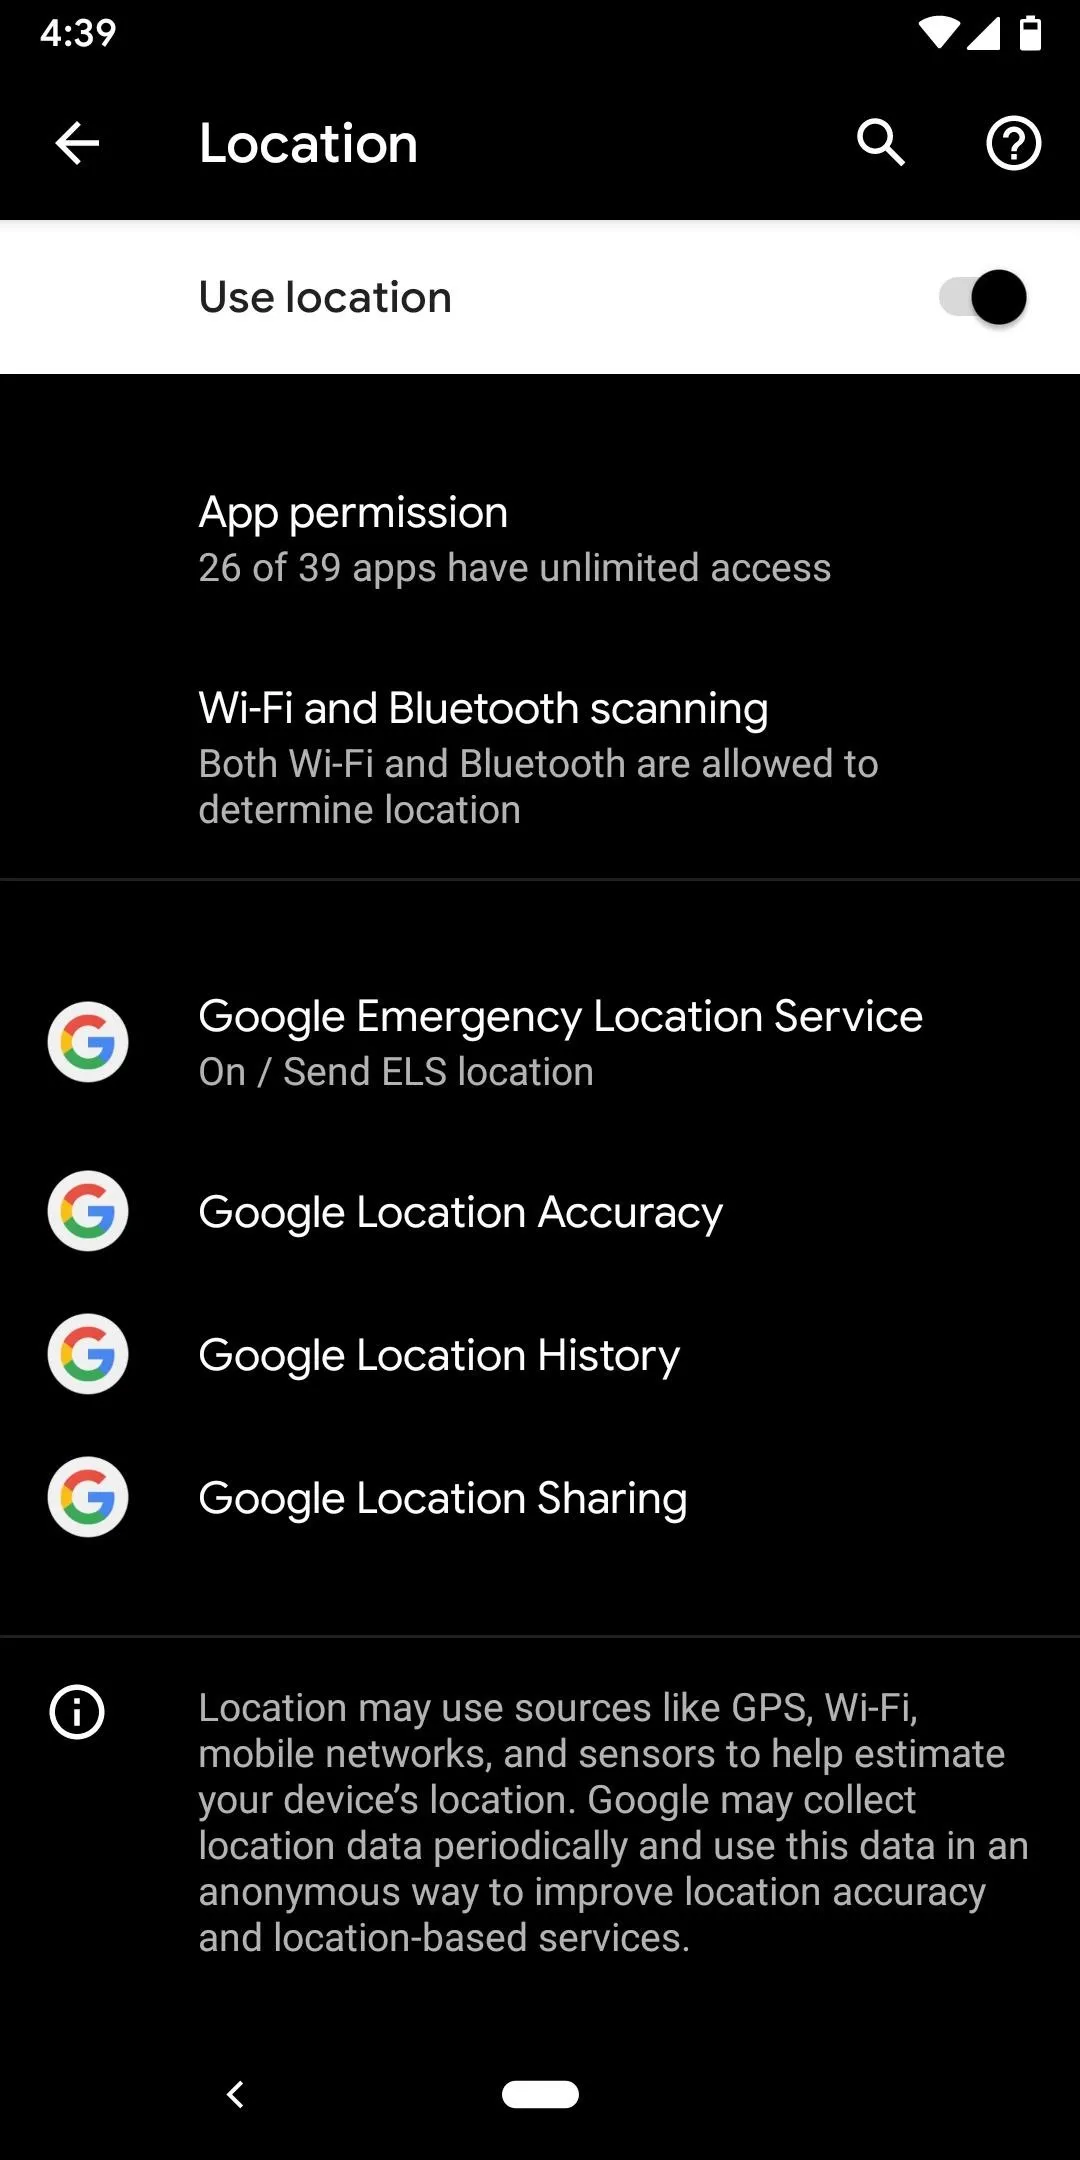
Enabling Location from the main Settings menu.
Enabling Bluetooth from the Quick Settings menu.
Enabling Location from the main Settings menu.
Note: Bluetooth and location do not have to be on all the time, just when you're signing into your account. Both your computer and phone need these to be active to identify the location and confirm the sign-in attempt is genuine. Once you're successfully signed into your account, feel free to turn them off at your discretion.
Add Your Google Account to Your Phone
First, you'll need to add your Google account to the phone you want to use as a security key. If you haven't done so already or have multiple accounts you want to secure on a specific device, you can easily add them by going to this menu:
Settings > Accounts > Add account > GoogleThe above location is where you can find everything you need for adding a new account to your device. Follow the on-screen instructions to sign in with one or more Google accounts, then you're all set on this part of the process.
Enroll in 2-Step Verification
Now that you've got the Google account situation taken care of with a trusted Android phone of your choice, you'll need to enroll your account in Google's 2SV system (again, if you haven't already done so). It's a simple process that won't take you very long to set up at all, and it'll be worth the extra layer of security.
Head to the link below and tap or click "Get Started." Sign in with the same Google account you signed into on your phone, then follow the on-screen instructions and you'll be on your way to protecting your account.
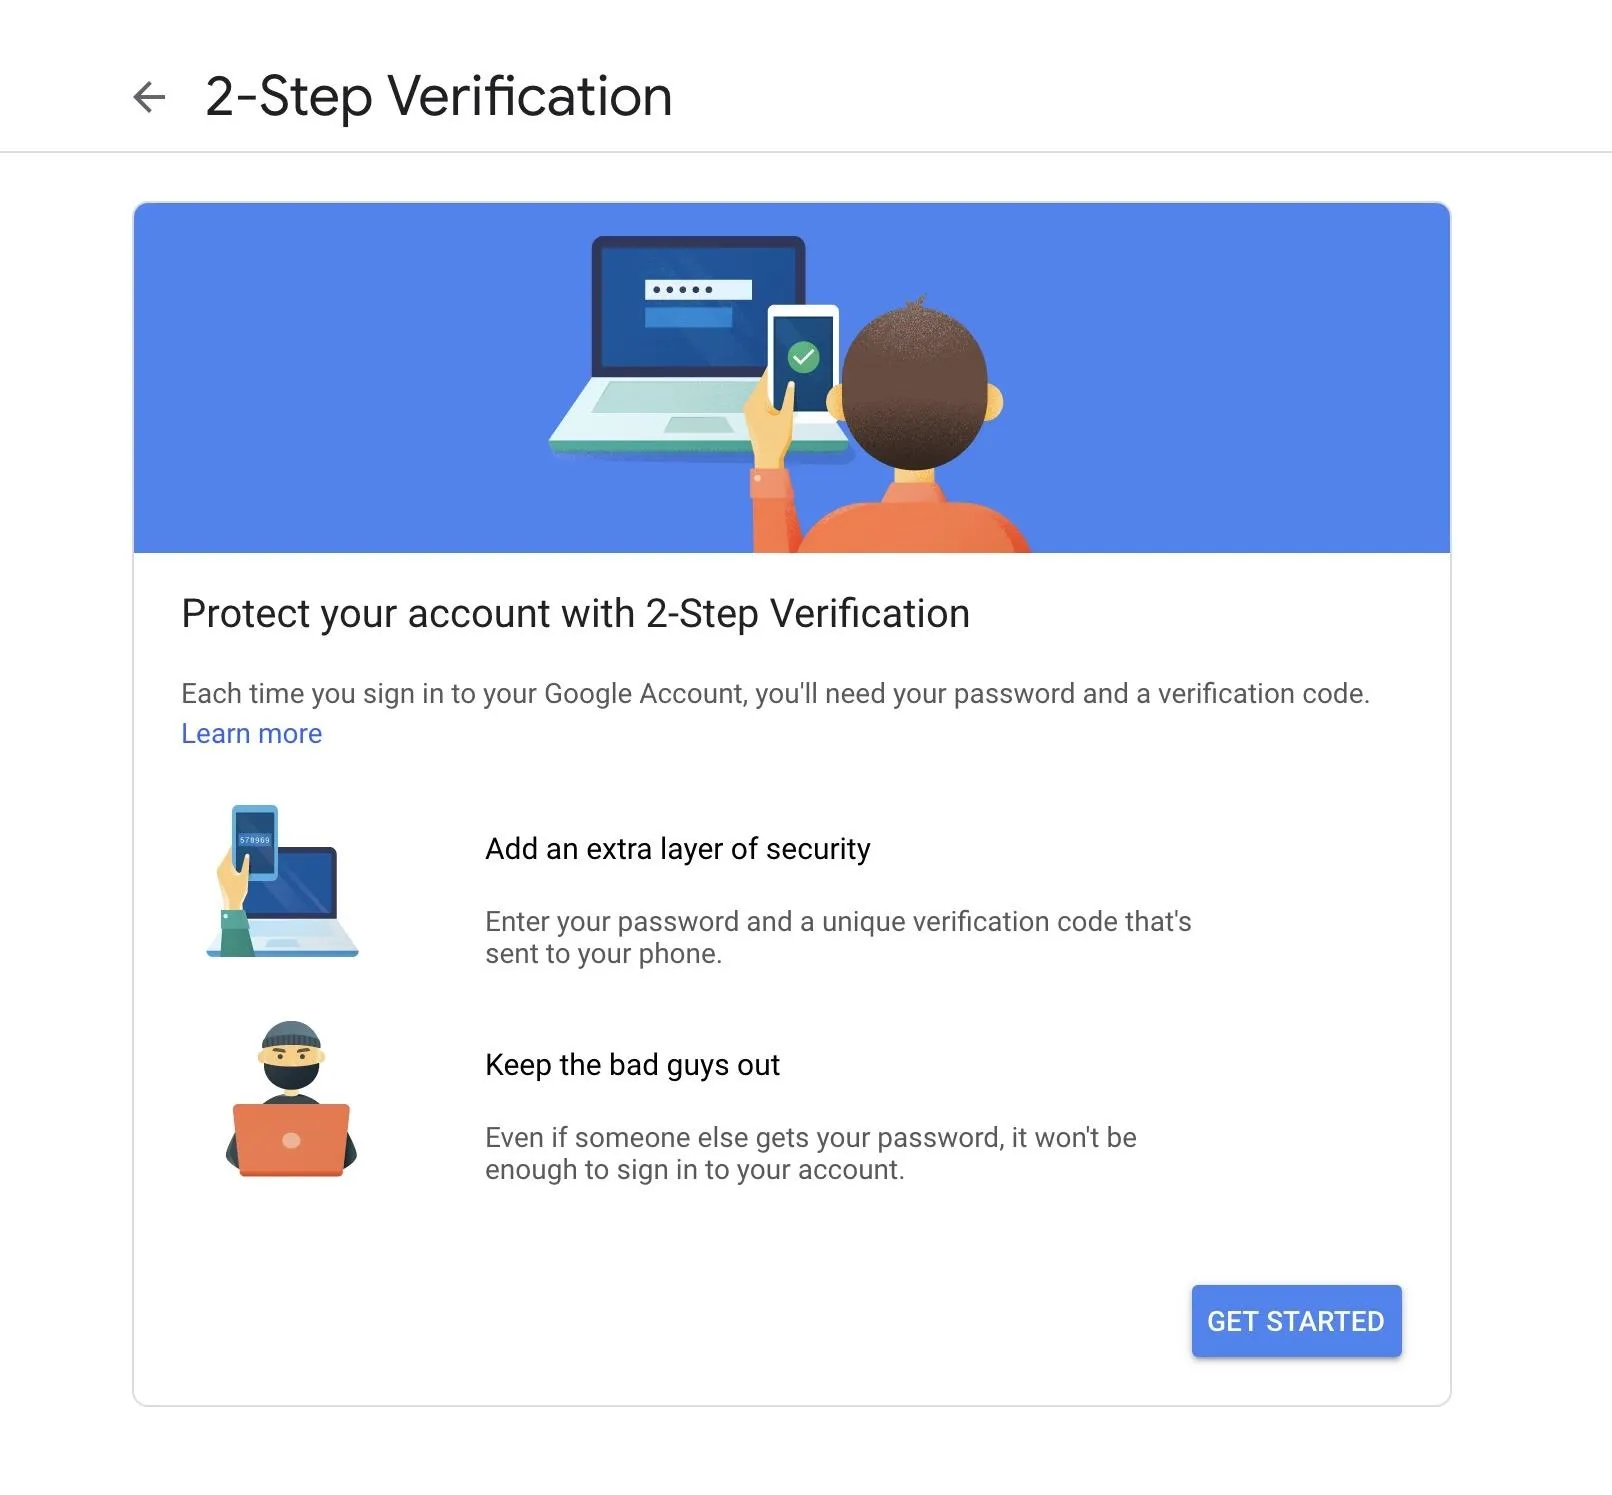
Once finished, leave the window open for your 2FA settings because you'll need to jump back into them in the next step. You've now set up your trusted Android devices, and will then be notified on each device every time your account is signed into. On this notification, you could grant access if you recognize that it's you signing in, or deny access to protect your account from a malicious login attempt.
Create Backup Codes
Before you lock down your account by turning your phone into a physical security key, you should take some time to generate 2SV backup codes if you haven't already. These act as a stand-in for your phone in the event it's lost or stolen — in other words, you can enter one of these random sets of numbers in the sign-in prompt if your phone fails to unlock your account for any reason.
To do this, head to Google's 2SV settings page, click "Get Started" and sign in, then scroll down to the Set up alternative second step section and click the "Set Up" button beneath the "Backup codes" header.
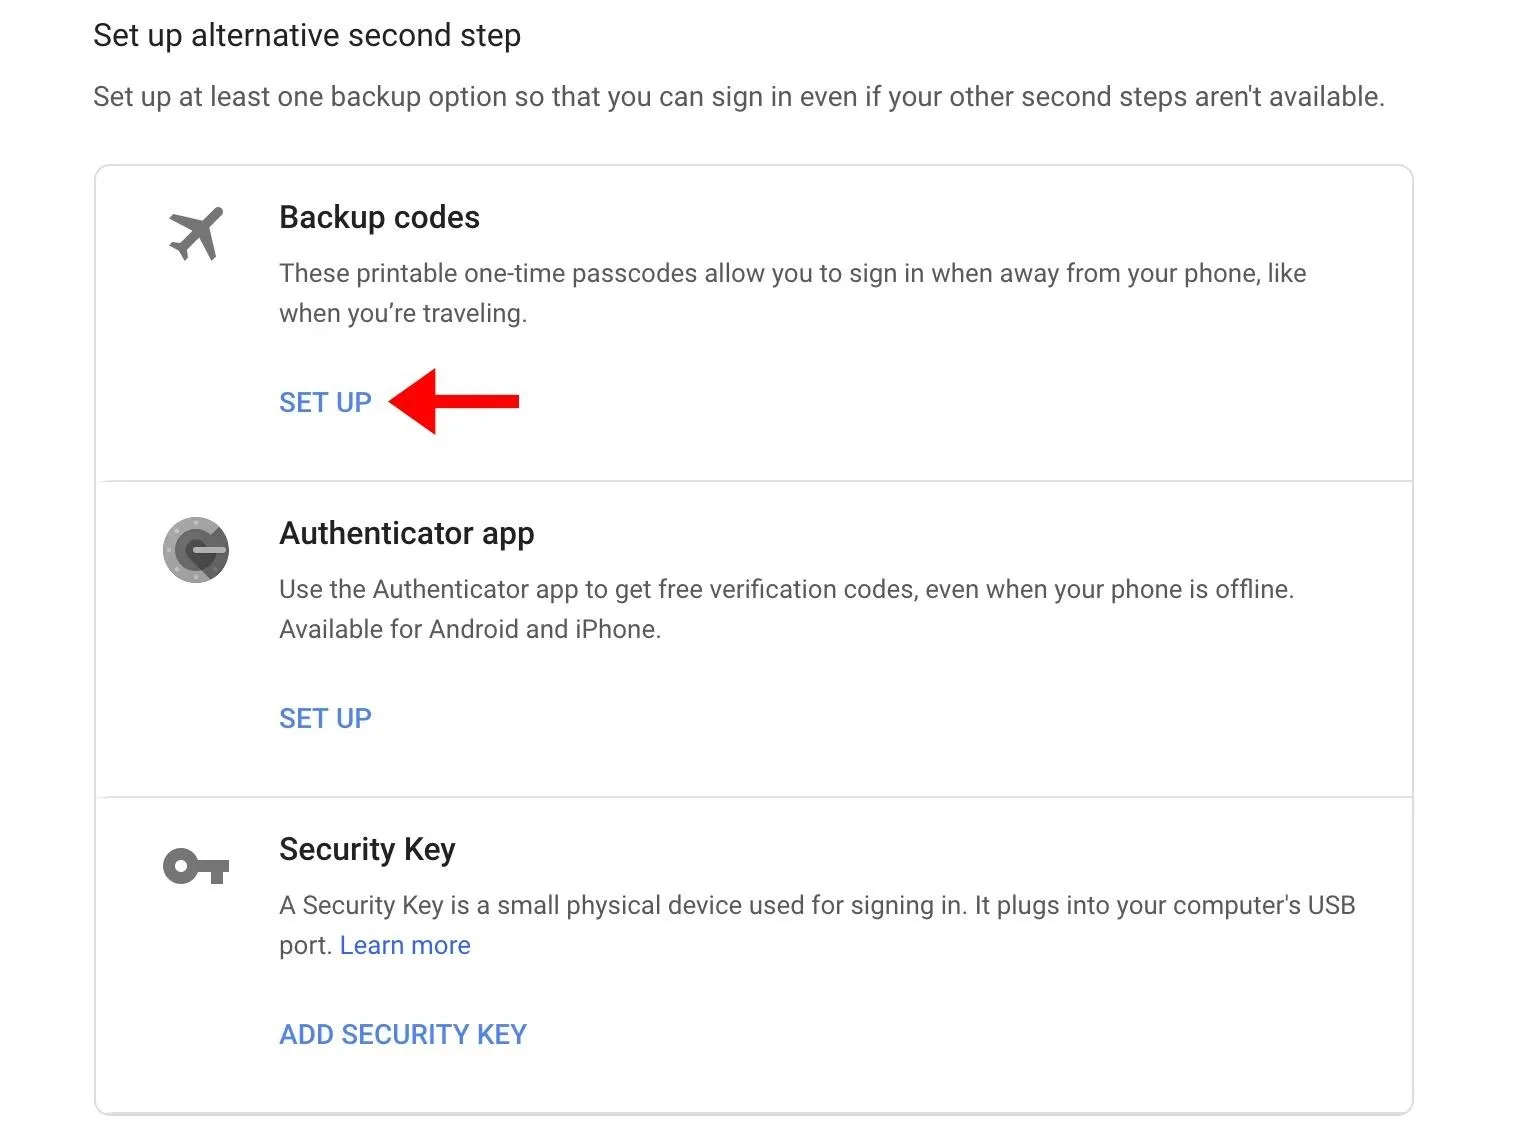
You'll now be presented with a list of ten 8-digit codes. Make sure to copy these down and keep them somewhere safe — the best way is to write them on a piece of paper and store this piece of paper in a safe place, because if you save them as a digital file, you leave yourself open to remote hacks, which kinda defeats the purpose of using a physical device as a 2FA security key.
Add Your Phone as a Security Key
Now that you've gotten your 2FA security system set in place on Android, you need to assign it a security key to use for signing in with your account on a computer.
To do this, you must open the Google Chrome web browser, then visit your 2SV account settings on Google.
Once there, scroll down to the Set up alternative second step section, then click "Add Security Key" to begin. Select the Android device you want to be used as a trusted source for securing your Google account on the next screen, then click "Add" and finish things up by clicking "Done."
Dallas Thomas/Gadget Hacks
Unlock Your Account with Your Phone
Now you've locked down your Google account with a proper 2FA security system. It's time for you to test it out on your computer and see how it works.
Sign out of your Google account in the Chrome web browser on the computer if you have to and try to sign back in with your login and password. After you enter your password, you'll be presented with a new screen that asks you to "Check your phone."
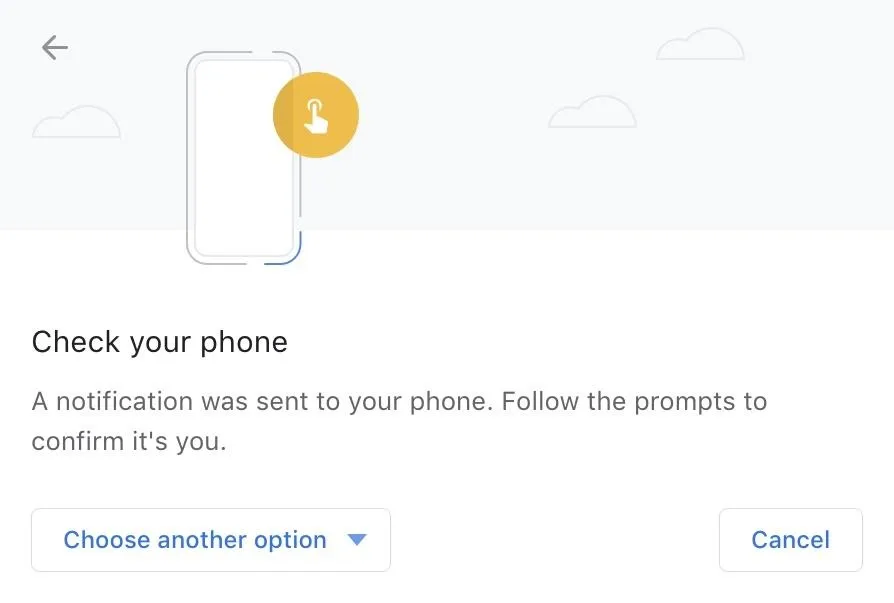
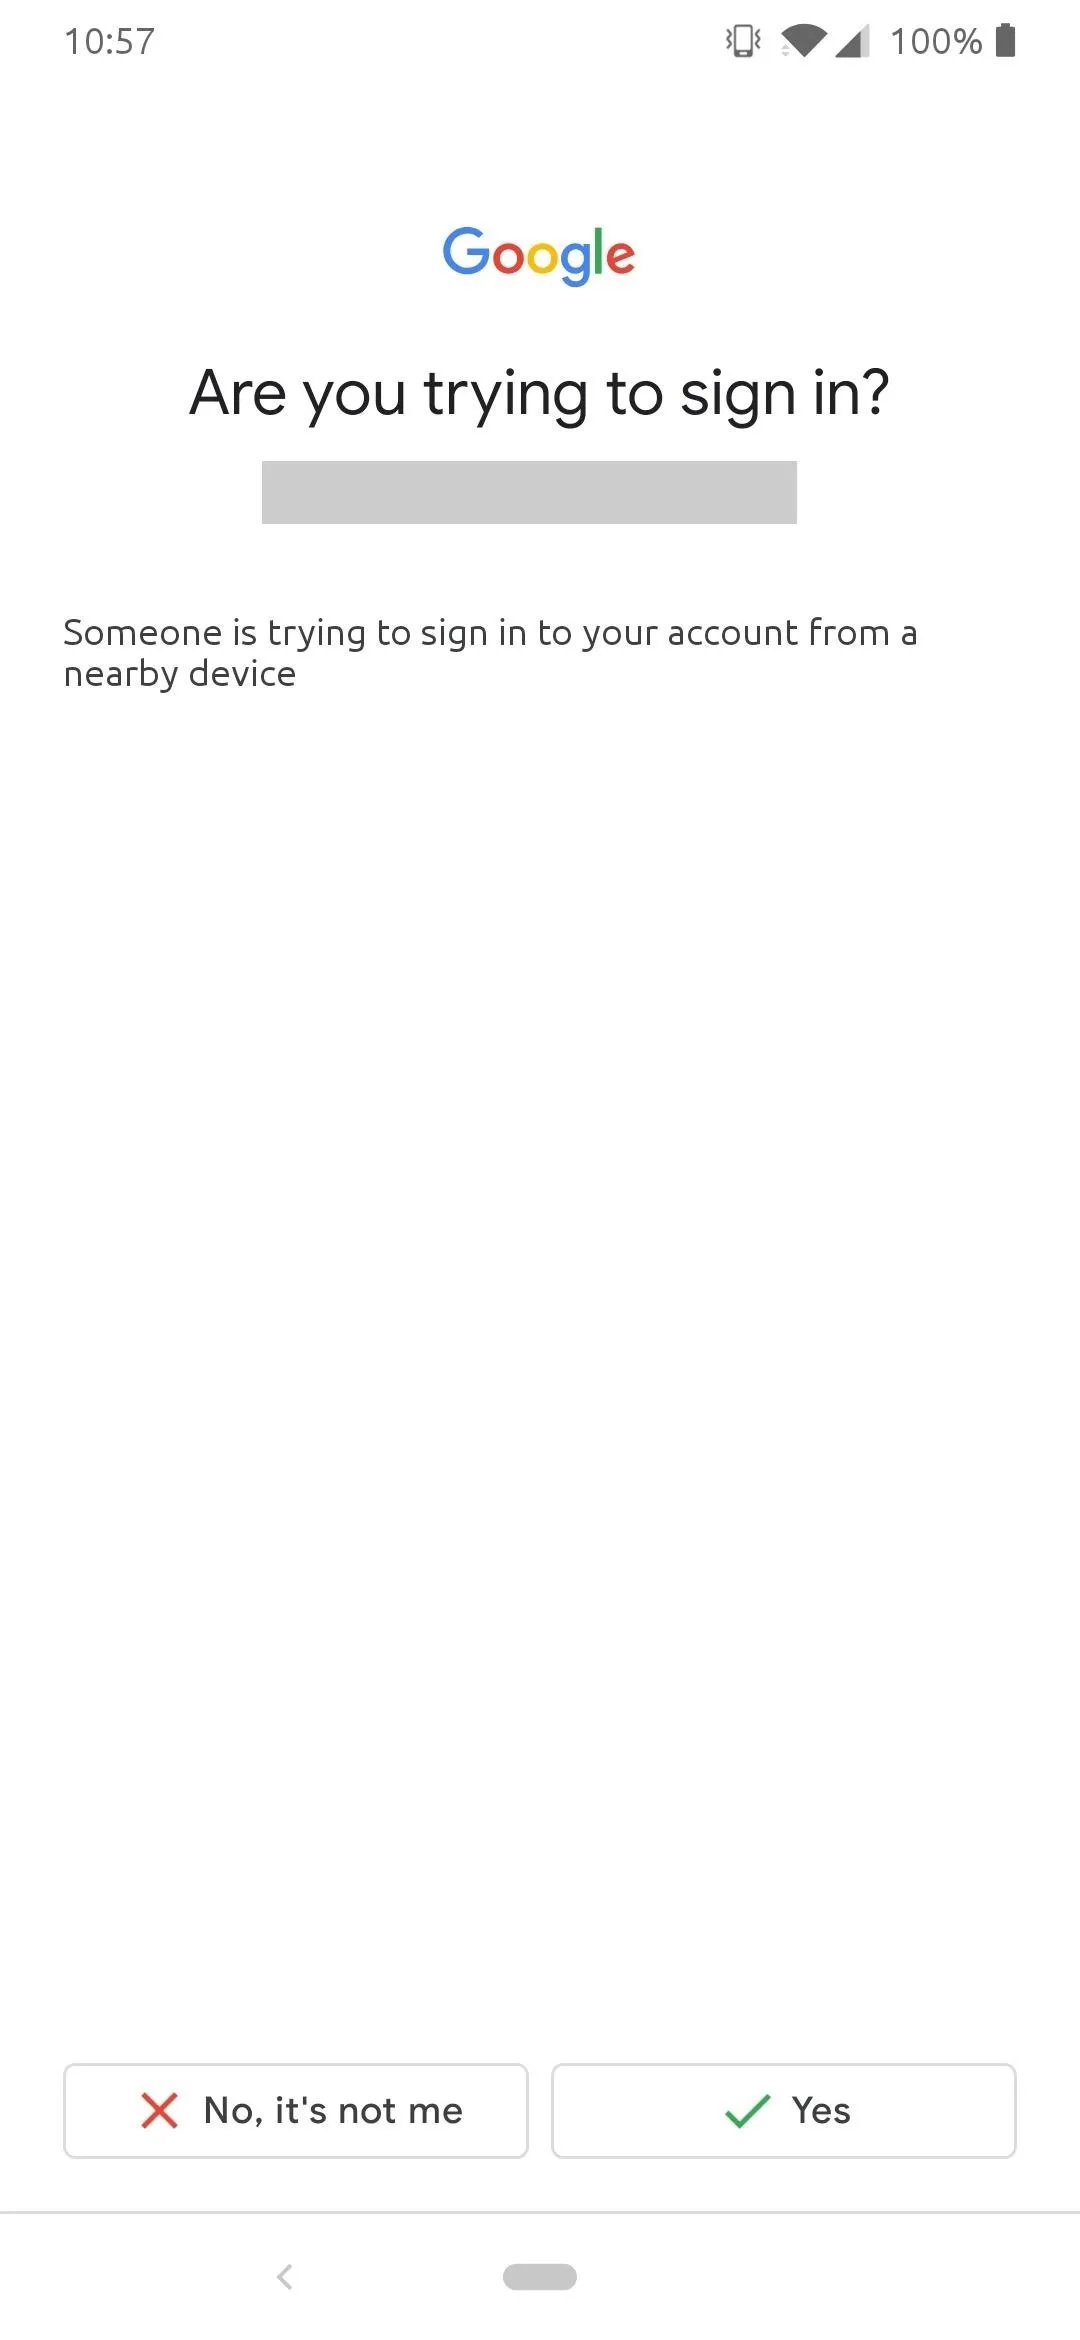
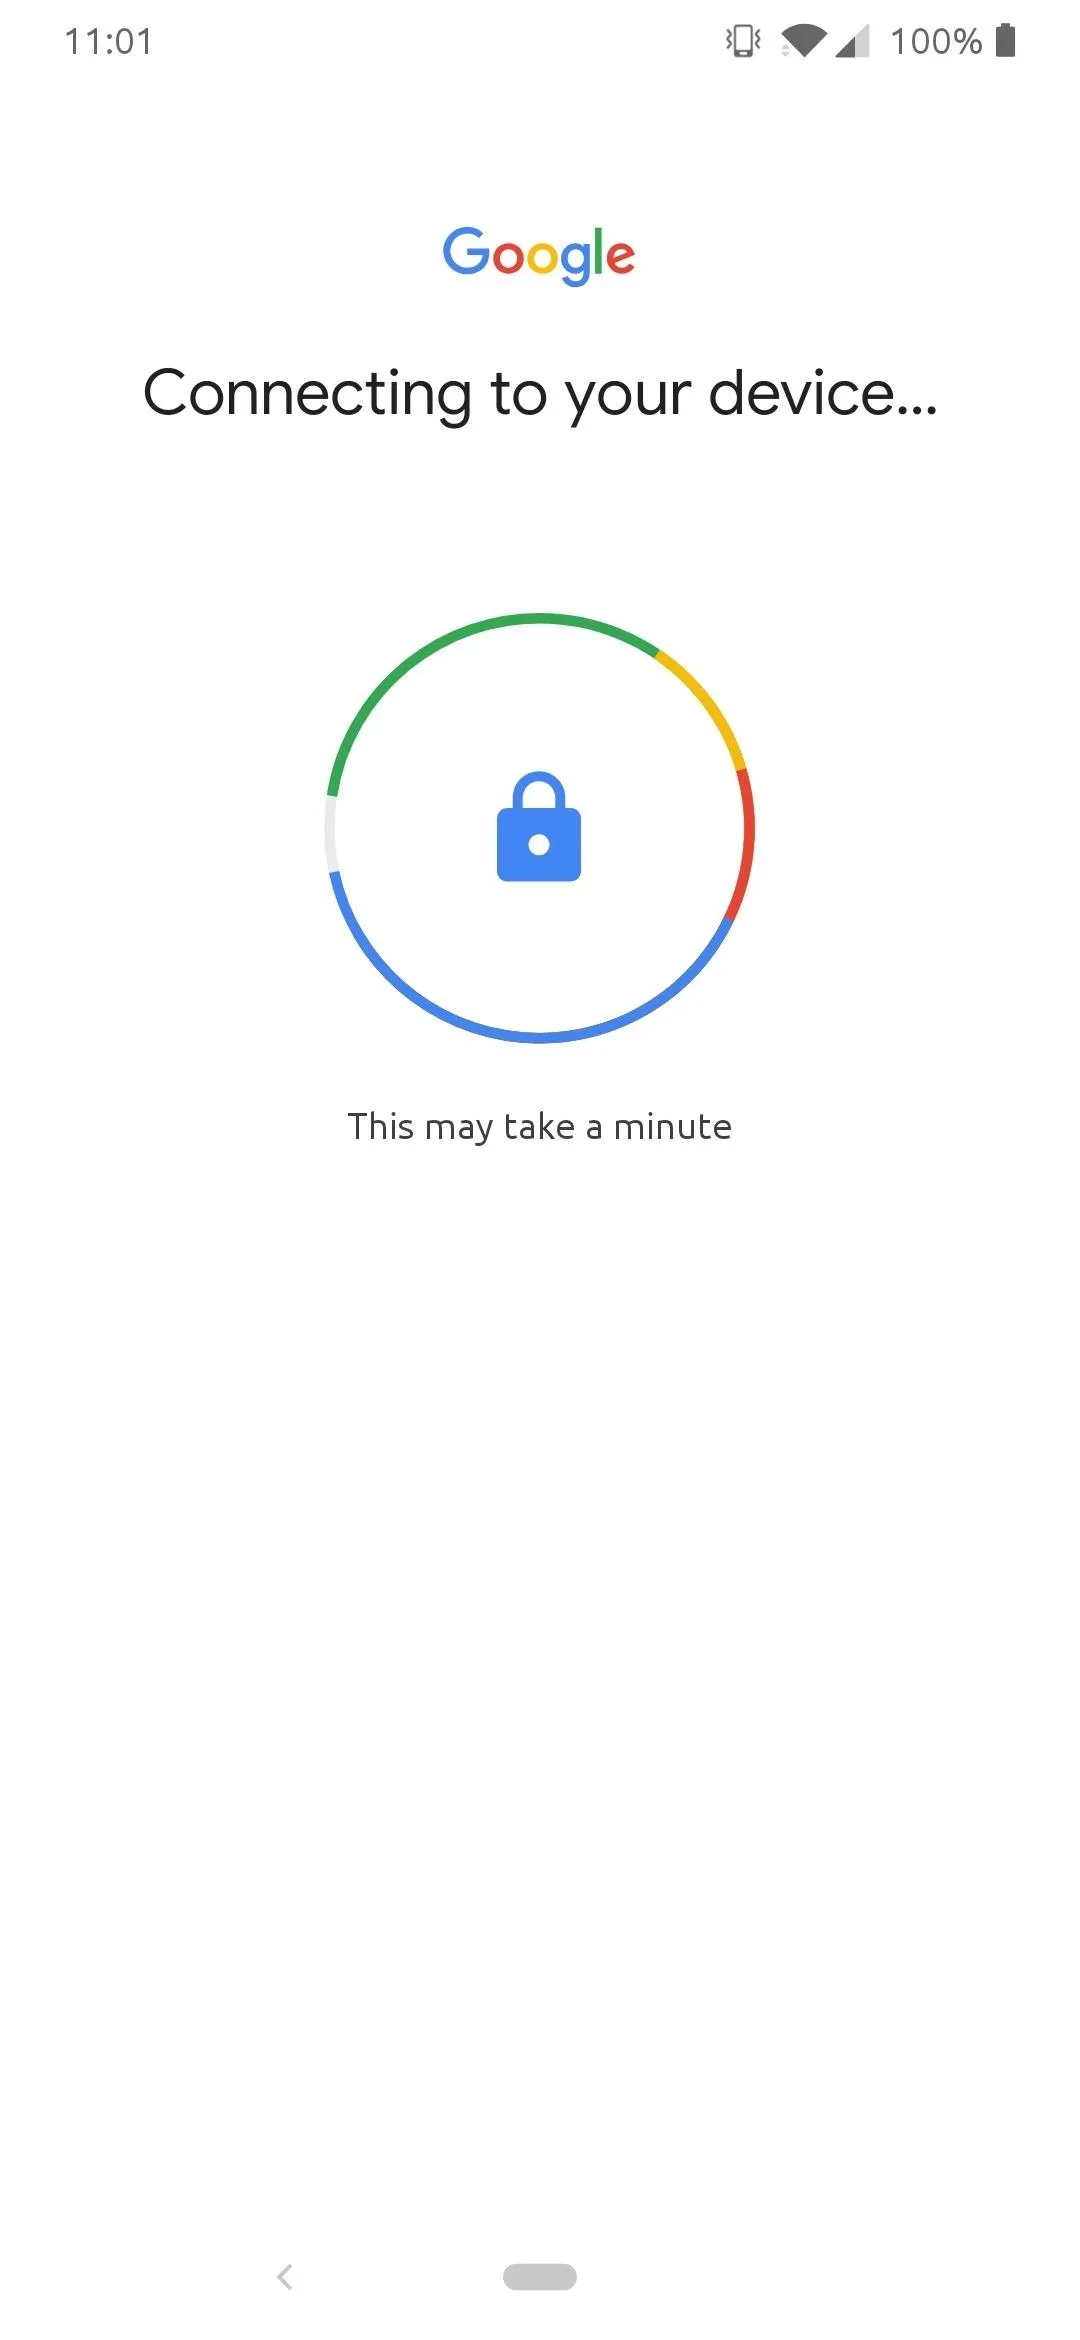
Make sure both the location and Bluetooth on your phone are enabled so it can check for the nearby device. Once it recognizes your trusted device, it'll send you a prompt to that device. Tap "Yes" to confirm it's you trying to sign into your account just now, then it will begin connecting to your computer for verification. Once it verifies that the sign in attempt is authentic, you'll be signed into your account just like that!
If you have a Google Pixel 3 or 3 XL, rather than tapping "Yes" to confirm your sign-in attempt, you can long-press the volume down button to do confirm it instead. This is because these phones have a Titan M security chip built right into them. By holding the volume down key, this triggers the chip to authenticate the login attempt for an extra layer of on-board security, and it also protects against potential malware apps that could "tap" the "Yes" button using software hacks.
In our testing, however, this doesn't seem to work yet. We're betting it will require an update to Google Play Services or a similar core system app, but expect this new method to work on the Pixel 3 at some point in the near future.
Potential Questions & Concerns
Does this work for all of your online accounts or just your Google account?
Right now this only works with your Google account or when you access any Google services, such as YouTube or Google Play. I'm sure Google will eventually expand upon this and allow for other websites and services to tap into this feature, but it's much too early to tell at this time.
Does this work with other web browsers aside from Google Chrome?
The simple answer is no, not right now at least. Google Chrome is the only browser that supports this feature at this time, but as time goes on, I'm sure Google will expand it to other popular browsers as well. Since Chrome is already the world's most popular and widely used web browser on the market today, this really shouldn't be an issue for most.
What if you can't get your phone to verify the connection to allow you to sign in?
It may not entirely work for all users just yet since the new method of using your phone as a security key is still in testing, but expect an update to Google Play Services on your phone to remedy this sometime soon. Also, make sure location and Bluetooth are enabled on your phone, and just Bluetooth enabled on your computer. These are required to make the connection between the two work.
If all else fails, click "Cancel" on the Check your phone 2FA prompt when signing in, then select "Try another way" on the login page. From there, choose "Enter one of your 8-digit backup codes," then enter one of the codes you generated in Step 5 when prompted.
What if you lose access to your trusted devices and get locked out?
Google offers many different alternative options if you can't access your trusted devices. If all else fails, one of the best ways to ensure you never get locked out of your account is to use your backup codes. Again, to do that, click "Cancel" on the prompt when asked to check your phone, then select "Try another way" on the login page and choose "Enter one of your 8-digit backup codes."
How is this different than Google's old "Use Your Phone to Sign In" prompt?
For years, Google has allowed you to use your phone as the "something you have" aspect of 2FA when signing into your account on another device. This worked in a similar manner to the new method of using your phone as a security key, but with one major exception: when you tapped "Yes" on that old prompt, Google wasn't verifying that your phone and the device you were logging into were in the same physical vicinity. This old system was entirely web-based, but since the new system uses Bluetooth and location services, it can verify that the two devices are physically near each other, thus decreasing the chances of a remote account hack.
- Follow Gadget Hacks on Pinterest, Reddit, Twitter, YouTube, and Flipboard
- Sign up for Gadget Hacks' daily newsletter or weekly Android and iOS updates
- Follow WonderHowTo on Facebook, Twitter, Pinterest, and Flipboard
Cover image and screenshots by Stephen Perkins/Gadget Hacks


Comments
Be the first, drop a comment!