


For many, the stock version of Android is often considered the epitome of what the operating system should look and feel like by default. It's clean and clear of unwanted extra apps that come pre-installed with the system, provides a fluid and fast user experience, and runs on just about any device that has an unlocked bootloader to install a custom ROM with the stock version ready to go.
One significant drawback to using a custom ROM for the stock experience is that you must rely on the developer of the ROM to keep your system up to date. Depending on the developer and the device, you could potentially see delayed updates or even lack of future support. However, any big-time developer is excellent about keeping on top of their ROM and making sure you stay current at all times.
For anyone looking to keep things official — Google recently announced that it now officially supports what's known as "Generic System Images," or GSI. Straight from Google itself, this means you'll be able to install the official stock version of Android, currently Android 10, on almost any device you want to. There are some requirements put in place, but I'll go over everything you need to know in this guide.
Requirements
- Android Pie must come pre-installed
- Project Treble certified
- ADB/Fastboot installed on your computer
- unlocked bootloader
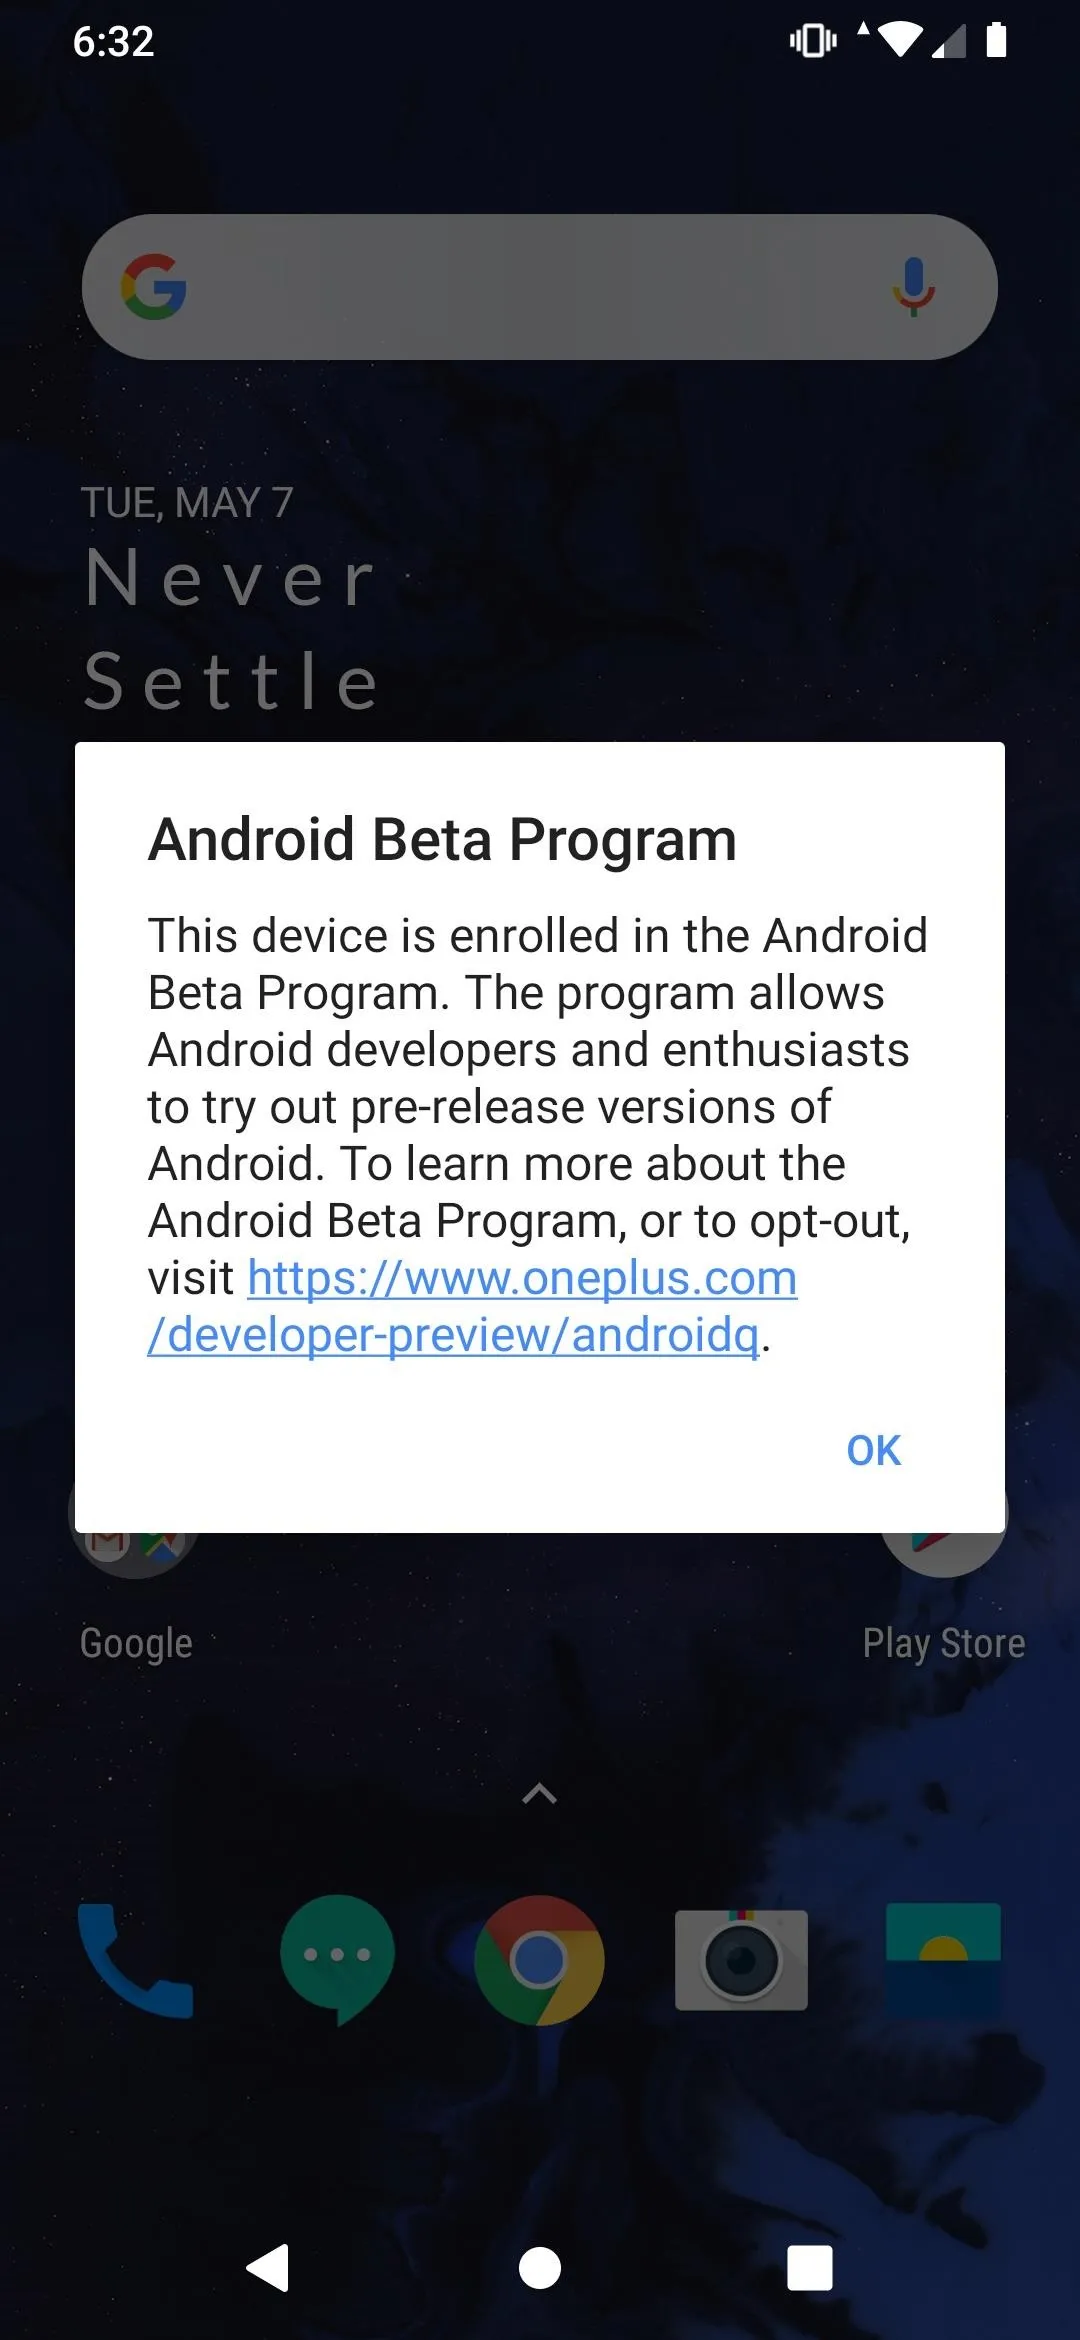
Before proceeding with this guide, the system images mentioned here are not meant to be used as your daily driver just yet. These are the newest Android Q test versions for devices outside of Google's Pixel smartphones and the 15 non-Pixel partners that will work. As such, not everything will work as expected since this is an early preview with more development happening soon.
Not all Project Treble certified devices will boot correctly just yet with the latest system images, but it's worth a shot. If you meet all of the above requirements and wish to test out the newest version of Android, then you can proceed with the guide below. Otherwise, you can most definitely read up on the procedure and learn how the process works for future reference if you're curious.
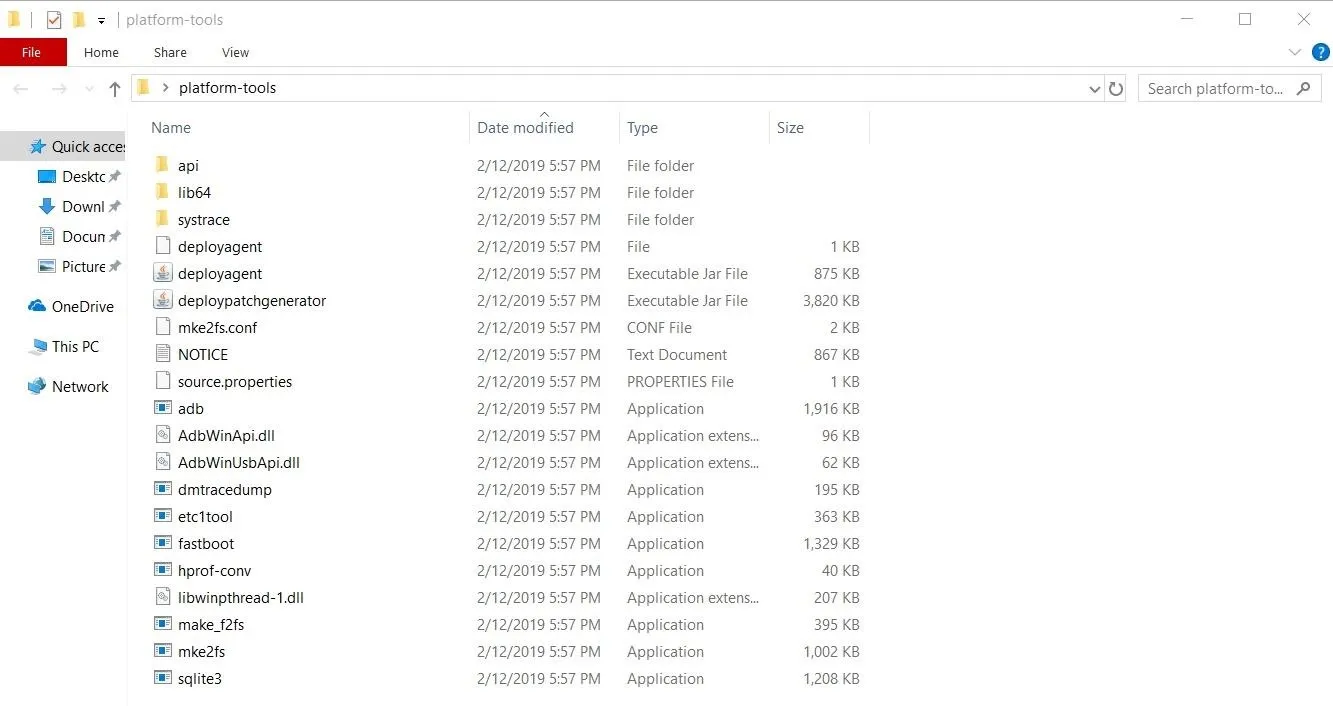
Install ADB & Fastboot on Your Computer
Installing the Android Q Beta using a system image means you'll need a method of sending the required files to your phone through a command line environment. Using both ADB and Fastboot commands will give you the ability to push these files onto your device with relative ease.
- Instructions: How to Install ADB & Fastboot on Mac, Linux & Windows
Unlock the Bootloader (If Needed)
Before you can make use of ADB and Fastboot commands, you'll need to unlock your phone's bootloader to allow system-level modifications. Unlocking the bootloader will factory reset your device, so make sure everything is safe and sound now to avoid any potential data loss. The best thing to do is to transfer any files or data over to a computer's storage for safekeeping.
- Instructions: How to Unlock Your Bootloader

Download the Generic System Image
Now that you've made it this far you can start getting to the good stuff — the whole reason why you're looking into the new generic images in the first place. When you go to download the file from Google, you'll see three different device architecture types to choose from that corresponds to the specific kind of hardware it has. Visit the link below to view the main page where you can download the generic system image for your device.
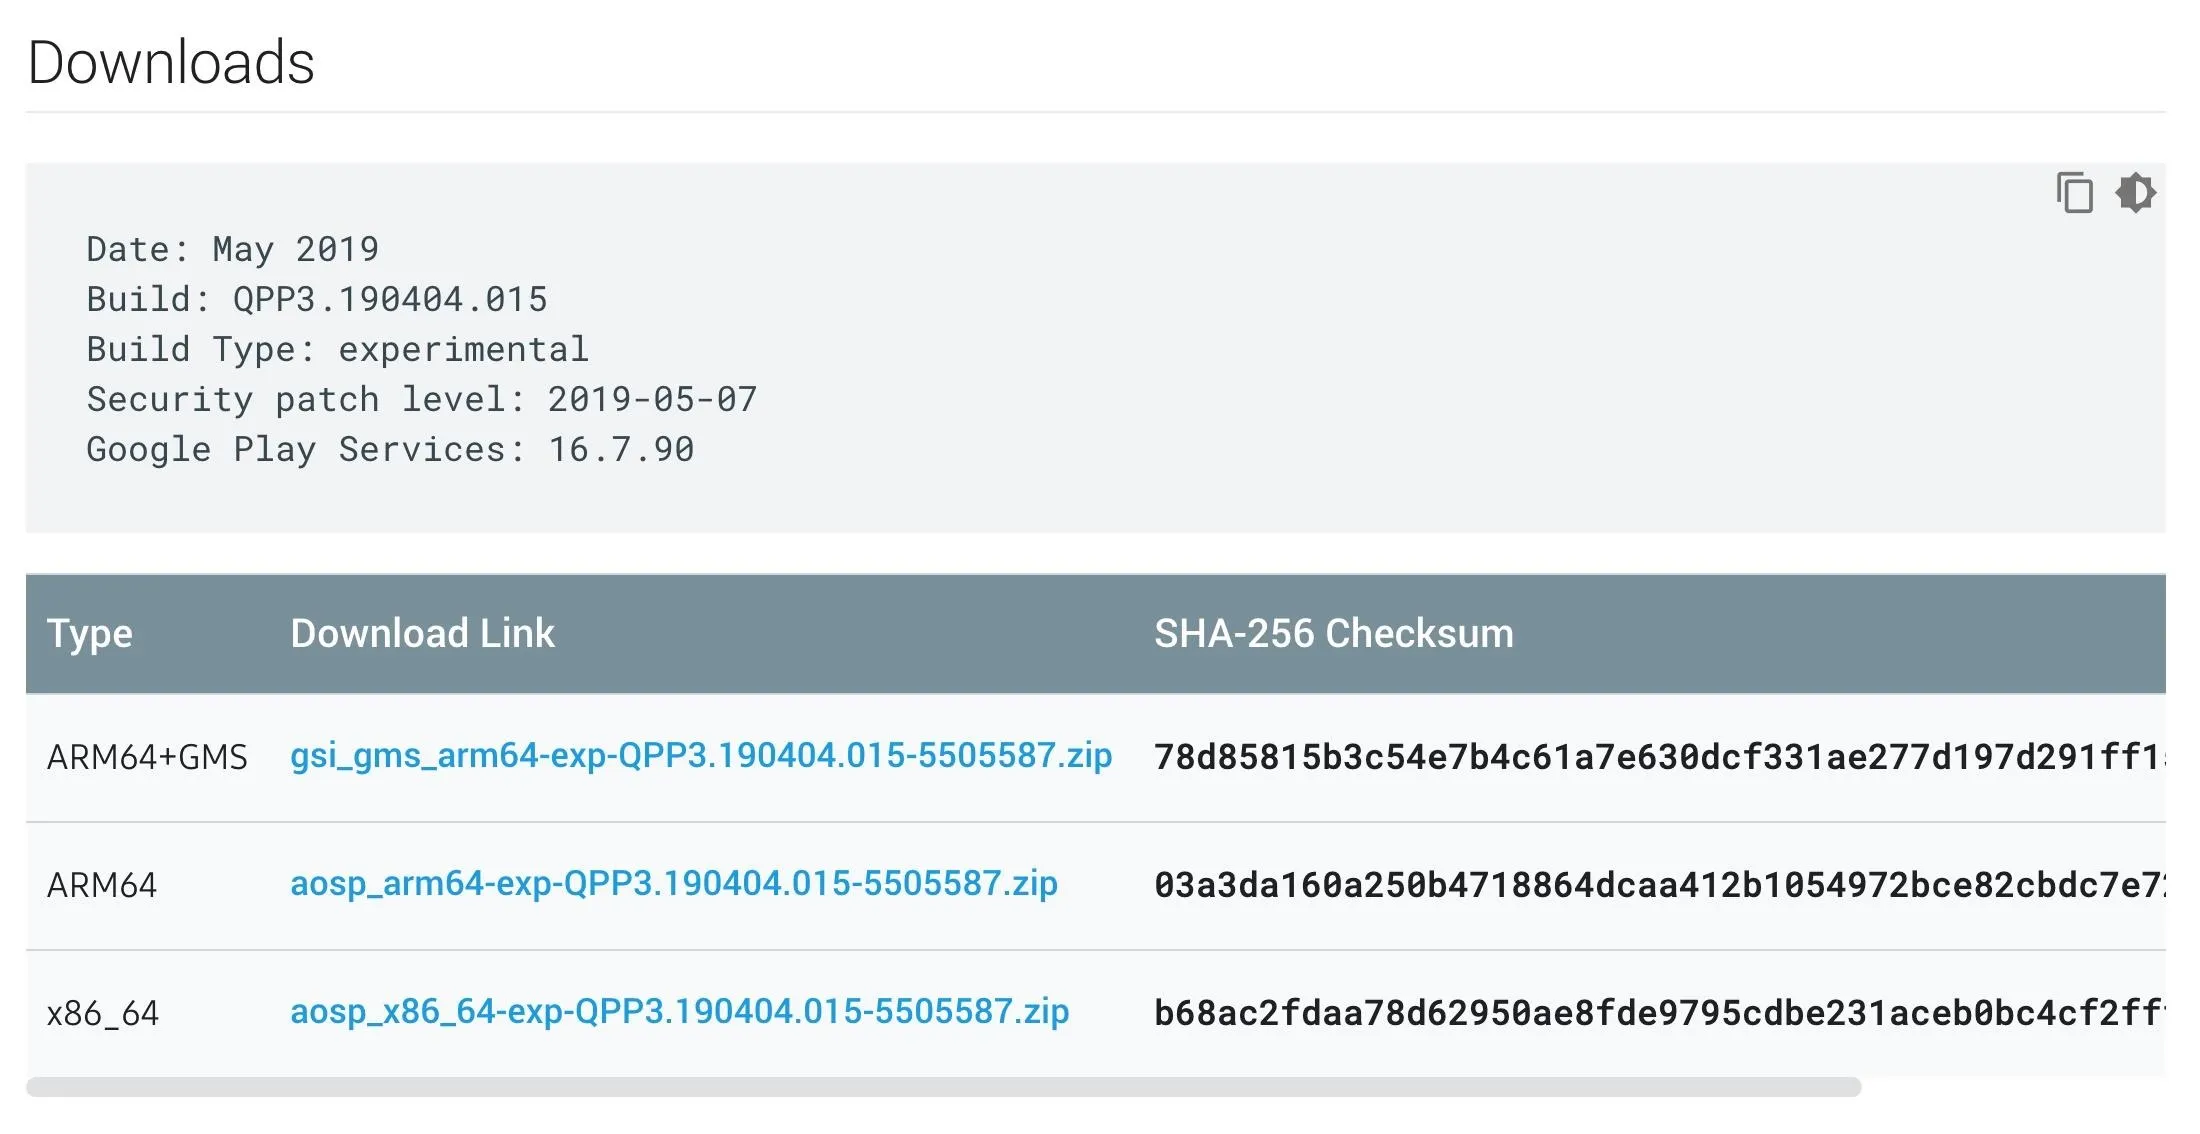
As with most new mid-range and high-end smartphones now, they are going to be ARM64 devices, which means the internal hardware is using the 64-bit architecture. So when downloading the generic system image from Google, you most likely want to download the ARM64 version. You'll also notice there's a second ARM64 option that says "ARM64+GMS" — the GMS stands for Google Mobile Services, which installs the core Google apps and services onto your device.
You can choose to have the usual Google experience you've come to expect (ARM64+GMS), or you can go with the bare bones approach (ARM64). Once you've determined which version you need to download for your device, click the corresponding download link, check the terms and conditions box, then click the "Download Android Q GSI Release" button. Make sure you're using a computer to download the system image to save an extra step.

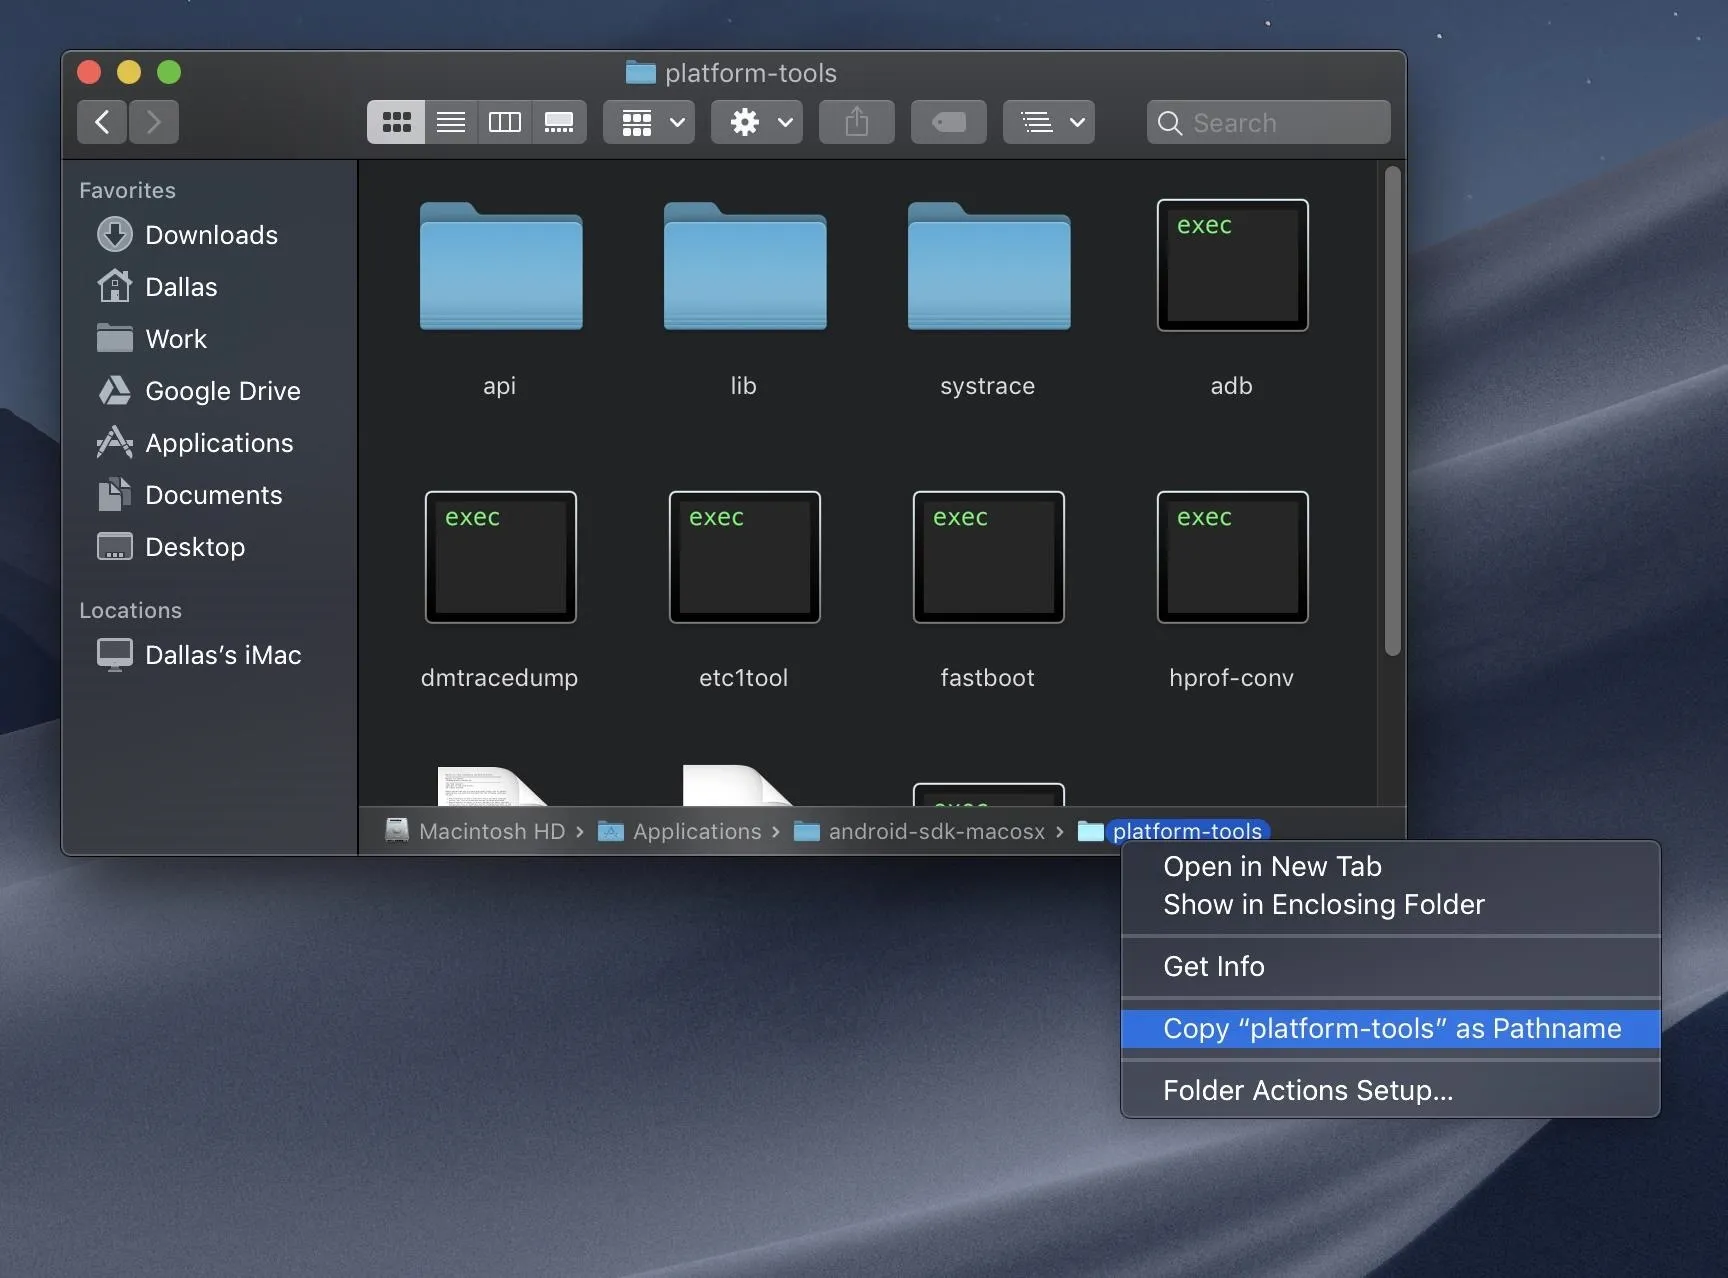
Open a Command Window in Platform-Tools
To get started with installing the Android Q Beta on your device, you need to open a command window in the platform-tools folder from Step 1 if you haven't done so already. Keep this window open once set up since you'll need it in the next steps. It will allow you to interact with the ADB and Fastboot commands required for getting the Android Q Beta up and running.
- Instructions: Open ADB or Fastboot Commands in the Right Directory
Boot into Fastboot Mode
Now that you have the correct system image and a command window opened in the platform-tools folder, you'll want to reboot your device into its native Fastboot mode. You need to connect your phone to your computer via a USB cable then type the command below followed by Enter.
adb reboot bootloaderNote: Mac, Linux, and Windows PowerShell users will likely have to add a period and a slash before entering any ADB or Fastboot commands (e.g., ./adb reboot bootloader).
Your device should then boot right into the bootloader main menu, which is where you can execute Fastboot commands for use in the next step.

Install the Generic System Image
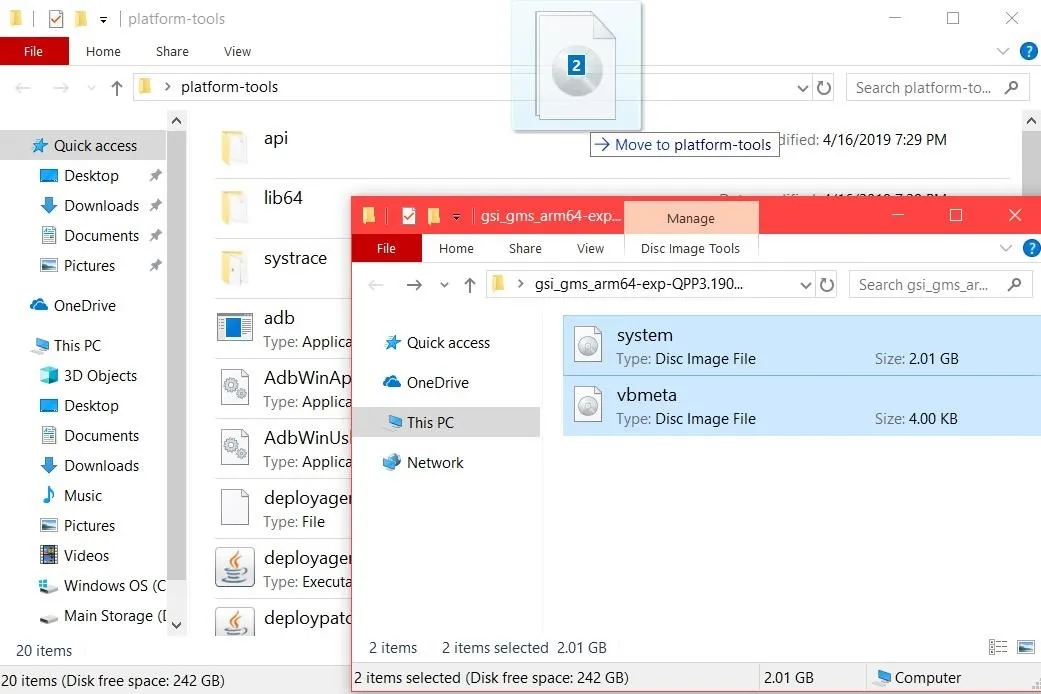
Go to the location on your computer where you saved the system image file from Step 3 and extract it to someplace that works best for you, maybe the desktop to keep it simple. You should notice two files; one is labeled "system," and the other "vbmeta." You'll need to copy both of them to your platform-tools folder, which contains the required Fastboot files to install the generic system image.
Once the files copy over entirely, your data is safe and sound, and your phone is in Fastboot mode, go ahead and proceed with the guide. Type in the commands below followed by hitting Enter for each one to get started with the install process.
fastboot flash vbmeta vbmeta.imgRunning the above command will install the official "vbmeta.img" file to verify the modification is authentic, rather than a potential threat. Most new devices nowadays enforce the Android Verified Boot (AVB) security measure through the bootloader to prevent unauthorized code getting through. It helps protect the end-user from being attacked or having their data corrupted by malicious code.
fastboot erase systemThe above will wipe your system partition clean, which is where your previous version of Android was stored. Running the command will clear out the remnants from the older version so your device can be ready for a fresh new install.
fastboot flash system system.imgWith the command above, you will install the Android Q image file to your device's system partition so you can boot into the new version. The "system.img" file is the core Android operating system itself, and without it, your phone wouldn't boot since the system partition wouldn't have an OS installed on it.
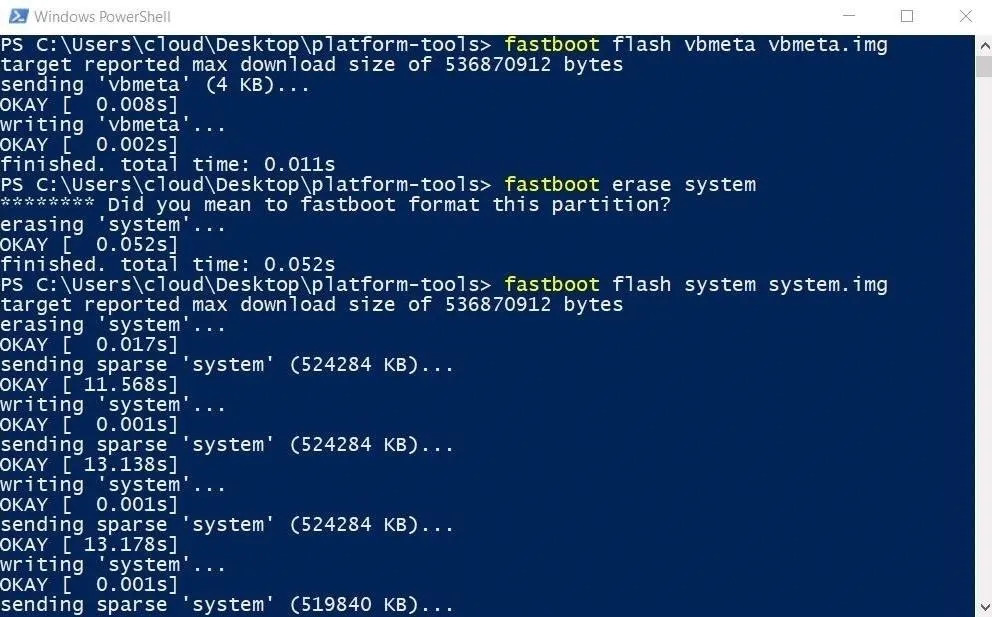
fastboot -wThe fastboot -w command will wipe your data off the device, so make sure your data is safe before running this one.
fastboot rebootNow that the preparations have been taken care of and the system image has been installed, the fastboot reboot command will reboot your device into the new Android Q Beta. It will take a few minutes to boot up if all went well, then you can start trying out all the new features from the latest beta version.
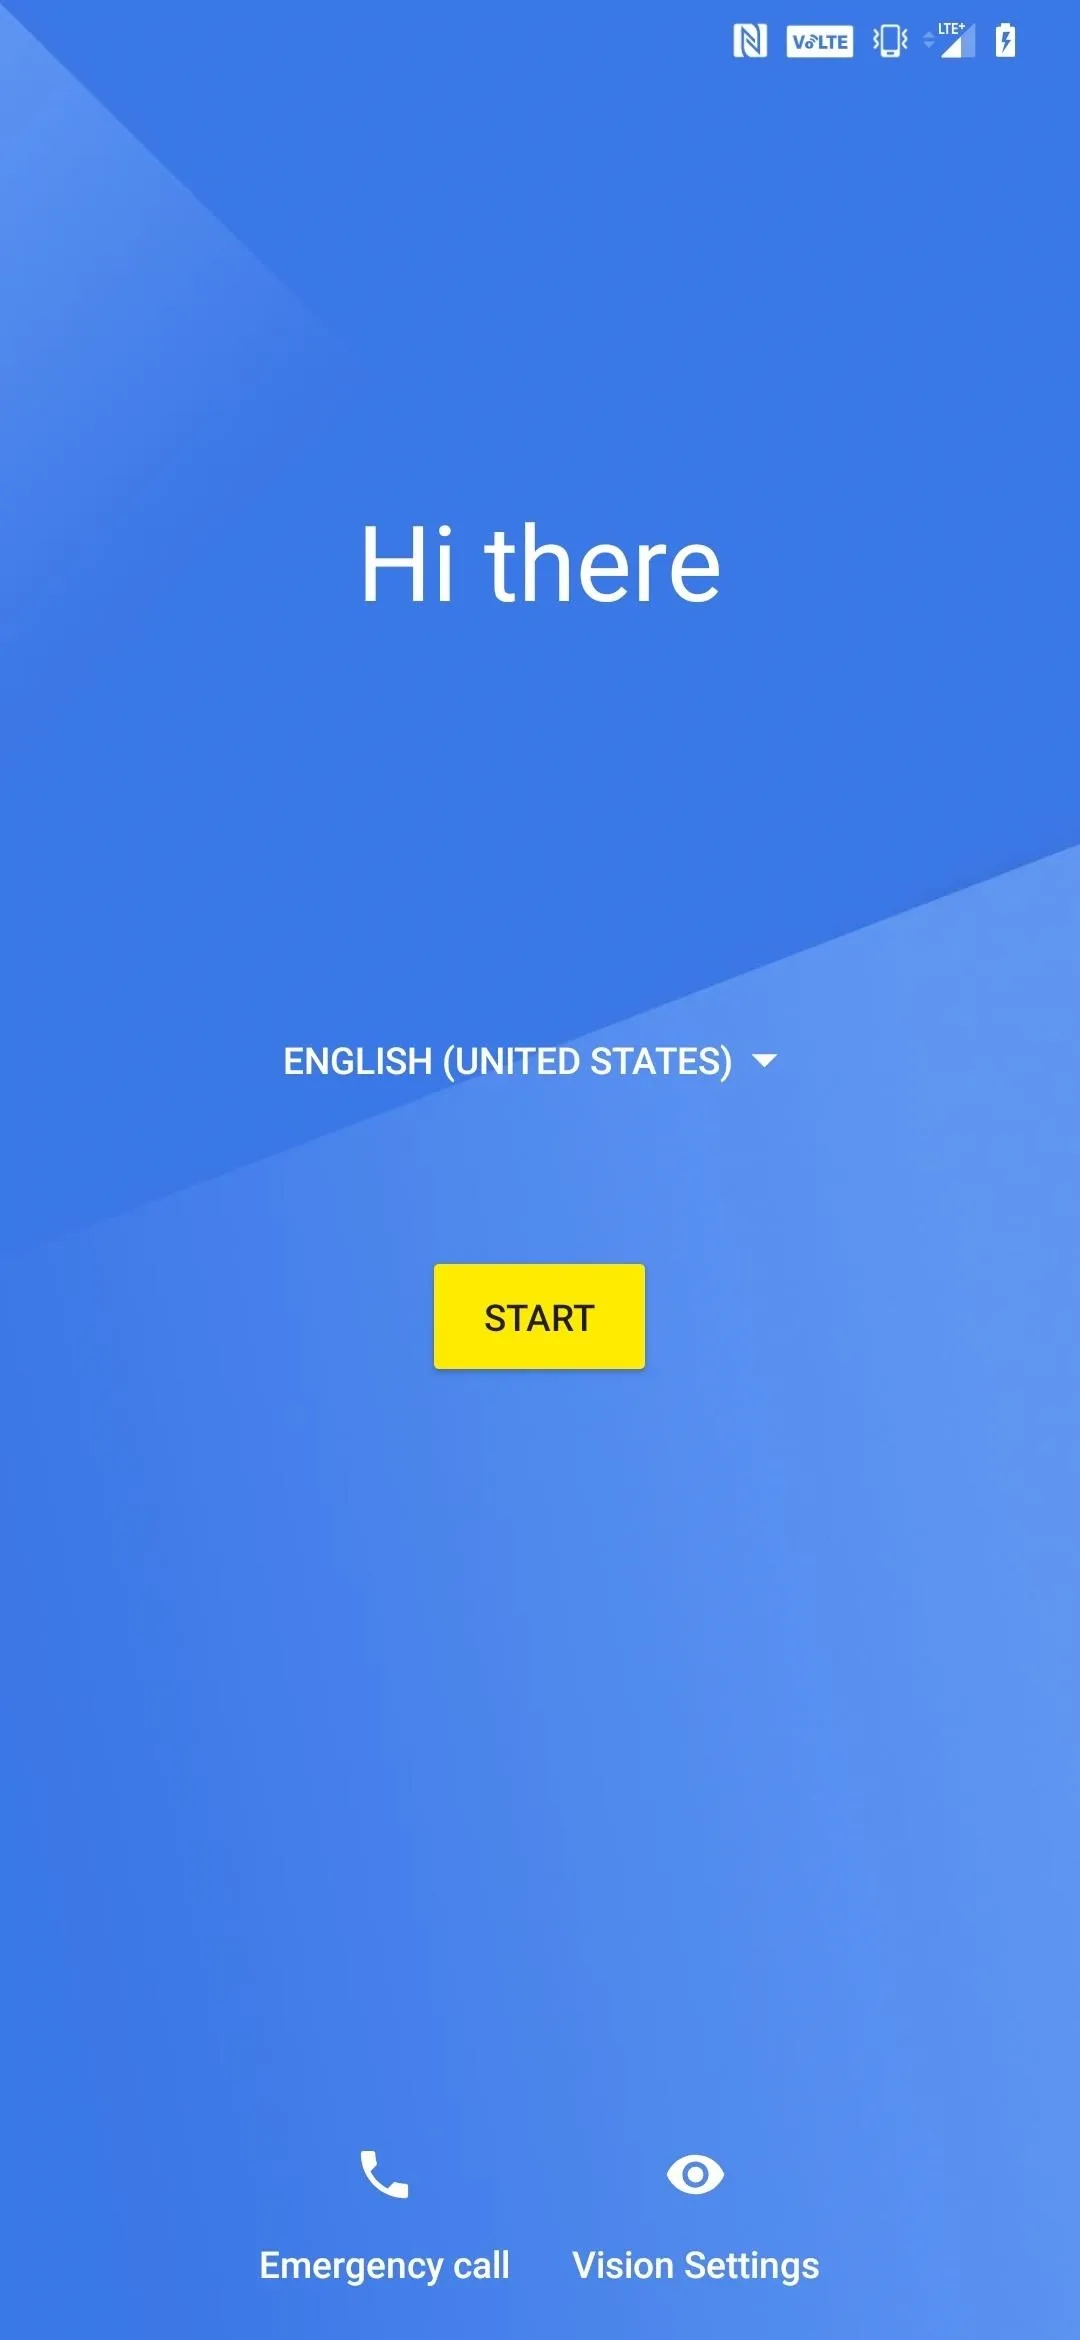
As mentioned earlier, not all Project Treble certified devices are working with the Android Q universal system images right now, but try it out to see if yours can successfully boot. There's still plenty more test versions of the Android Q Beta before the final public release, so hopefully, more devices will be able to work with the system images as development moves forward. Happy flashing!

There are three more scheduled Android Q Beta builds until the final public release in Q3.
- Follow Gadget Hacks on Pinterest, Reddit, Twitter, YouTube, and Flipboard
- Sign up for Gadget Hacks' daily newsletter or weekly Android and iOS updates
- Follow WonderHowTo on Facebook, Twitter, Pinterest, and Flipboard
Cover photo and screenshots by Stephen Perkins/Gadget Hacks


Comments
Be the first, drop a comment!