


Root, TWRP, Xposed, Magisk, custom ROMs — before you can have any of these, the first thing you should do is unlock your bootloader. Thankfully, the Pixel 2 and Pixel 2 XL are some of the most modder-friendly phones out there, so you only need to send a single fastboot command to unlock the bootloader.
For the uninitiated, the bootloader is a piece of software on your phone that loads up the core OS — think of it like BIOS for Windows. But by default, the bootloader will only load official firmware files from the device OEM, which means you can't flash custom recovery images like TWRP to facilitate other root-level mods. By unlocking the bootloader, however, you can flash any firmware files you want.
A working root method for the Pixel 2 and Pixel 2 XL has just become stable enough to try, but as always, the first step is to unlock the bootloader. So if you're interested, I'll cover the bootloader unlocking process in detail below. Even if you're a beginner, this should be easy — as long as you follow the instructions carefully.
- Don't Miss: List of Phones with Unlockable Bootloaders
What You'll Need
- Pixel 2 or Pixel 2 XL from the Google Store or Project Fi
- Mac or Windows computer
- USB data cable
Disclaimers
- Unlocking the bootloader will wipe your device.
- Your phone will now fail SafetyNet, but Magisk can fix this (in the future).
- This method will not work on Pixel 2 models purchased from Verizon.
- Unlocking the bootloader does not void your Pixel 2 or Pixel 2 XL warranty.
Enable Developer Options
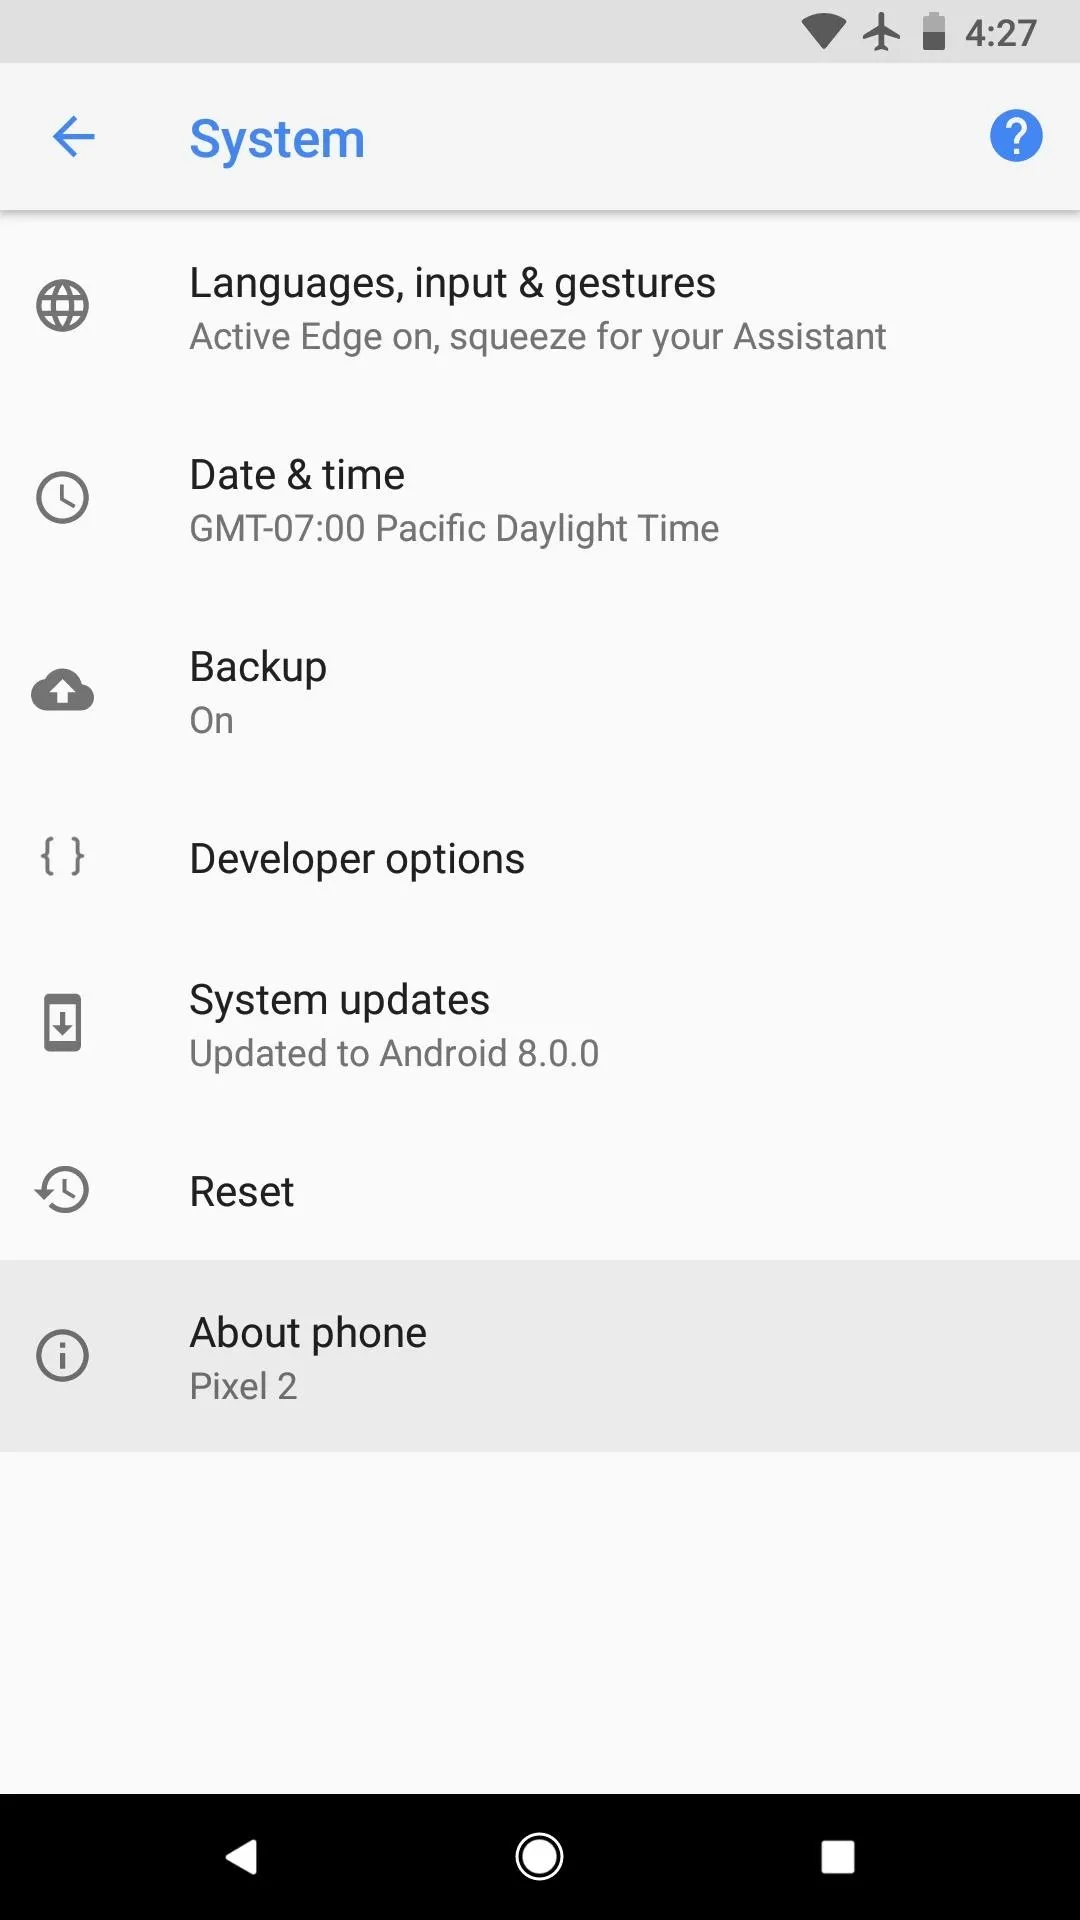
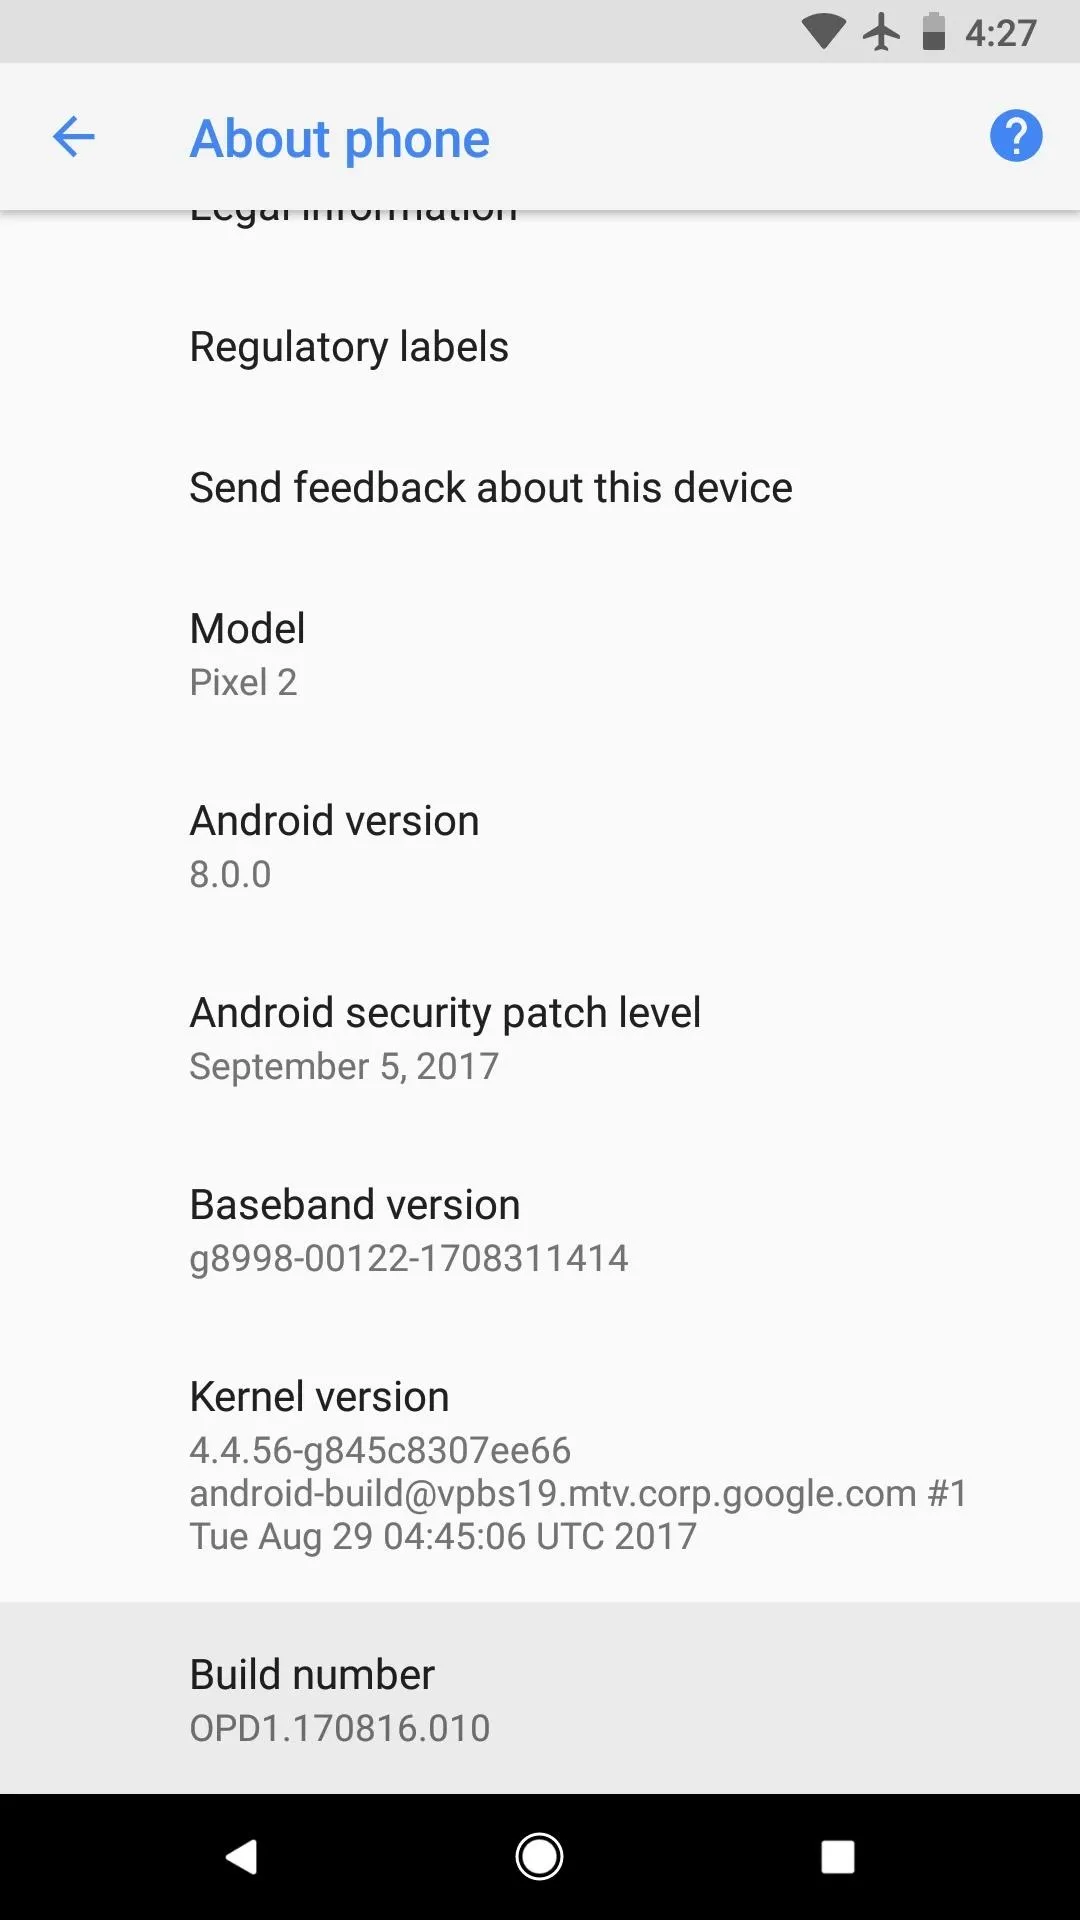
First up, you'll need to enable the hidden Developer Options menu on your phone so you can enable a setting that allows bootloader unlocking. To start, head to the About phone menu in Settings, then scroll down and tap the "Build number" entry seven times in rapid succession. You'll see a toast message stating "Congratulations, you are now a developer!"
Enable OEM Unlocking
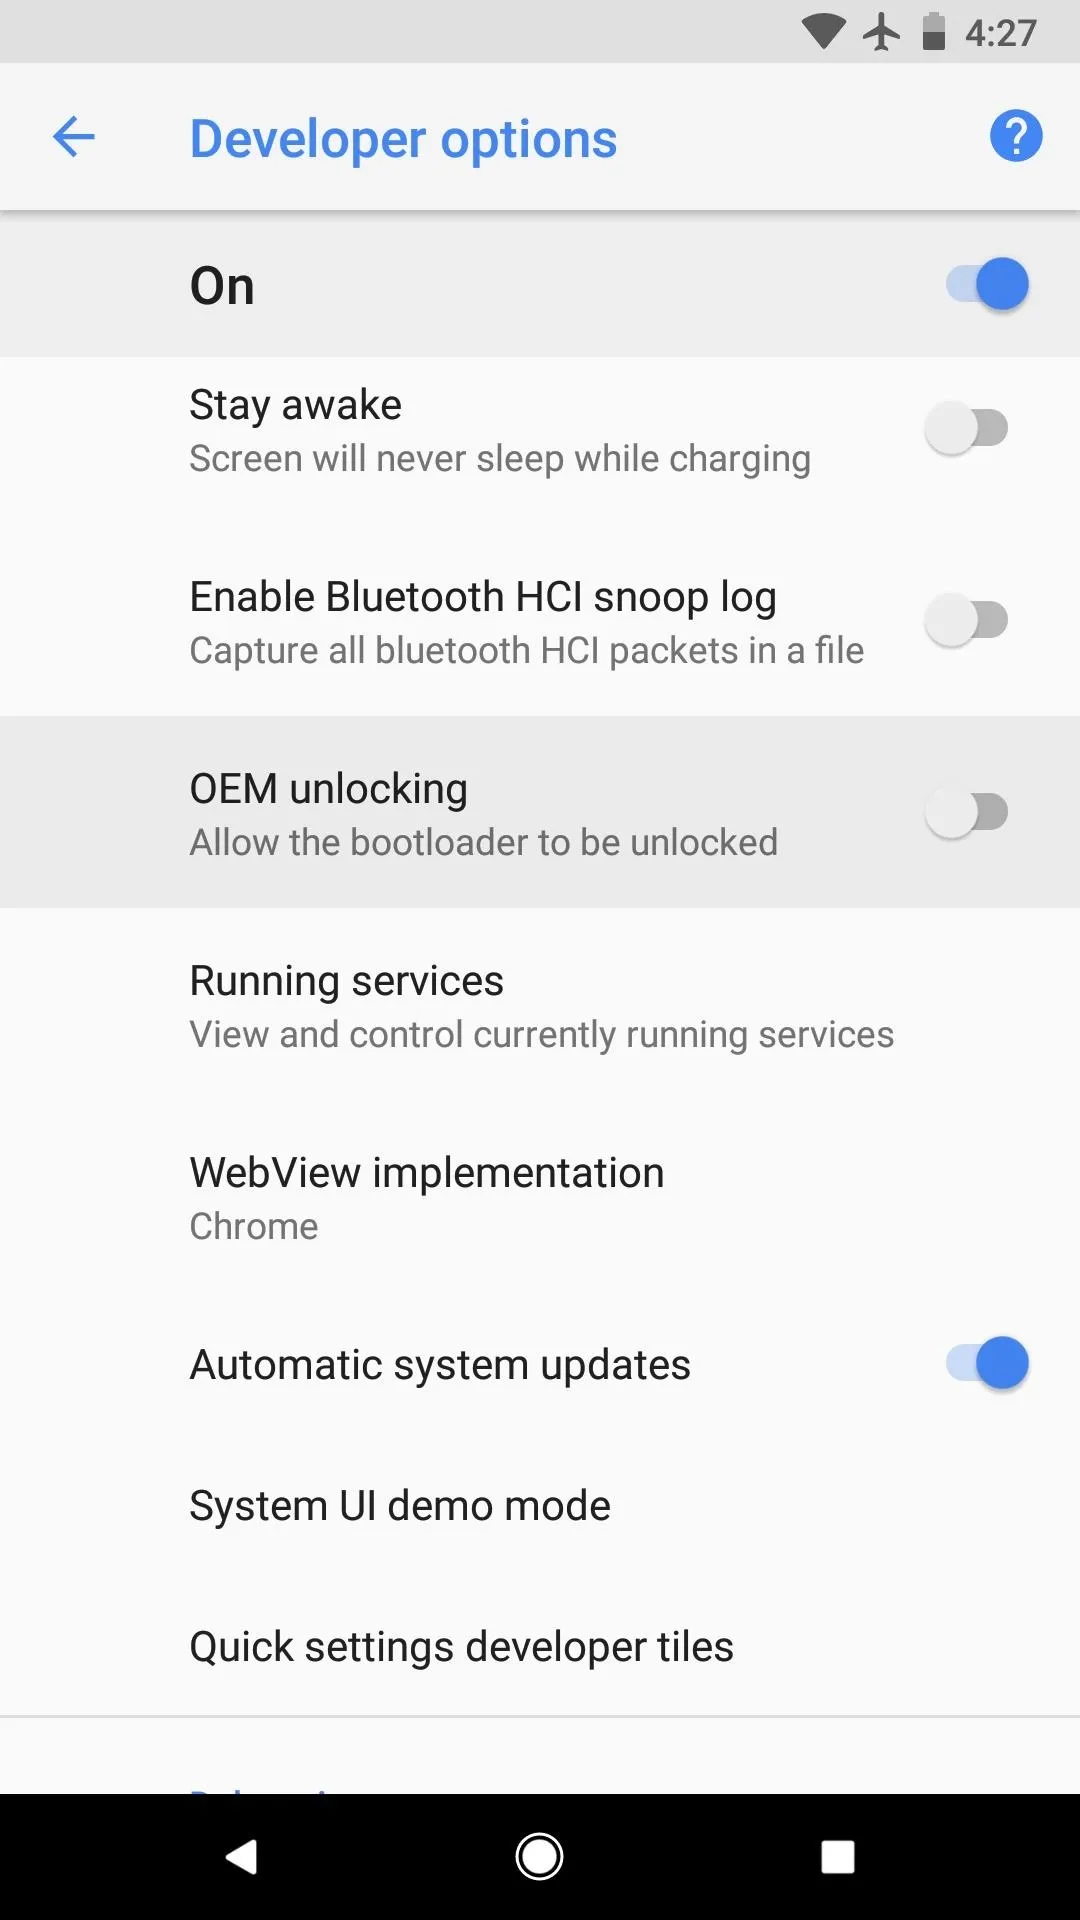
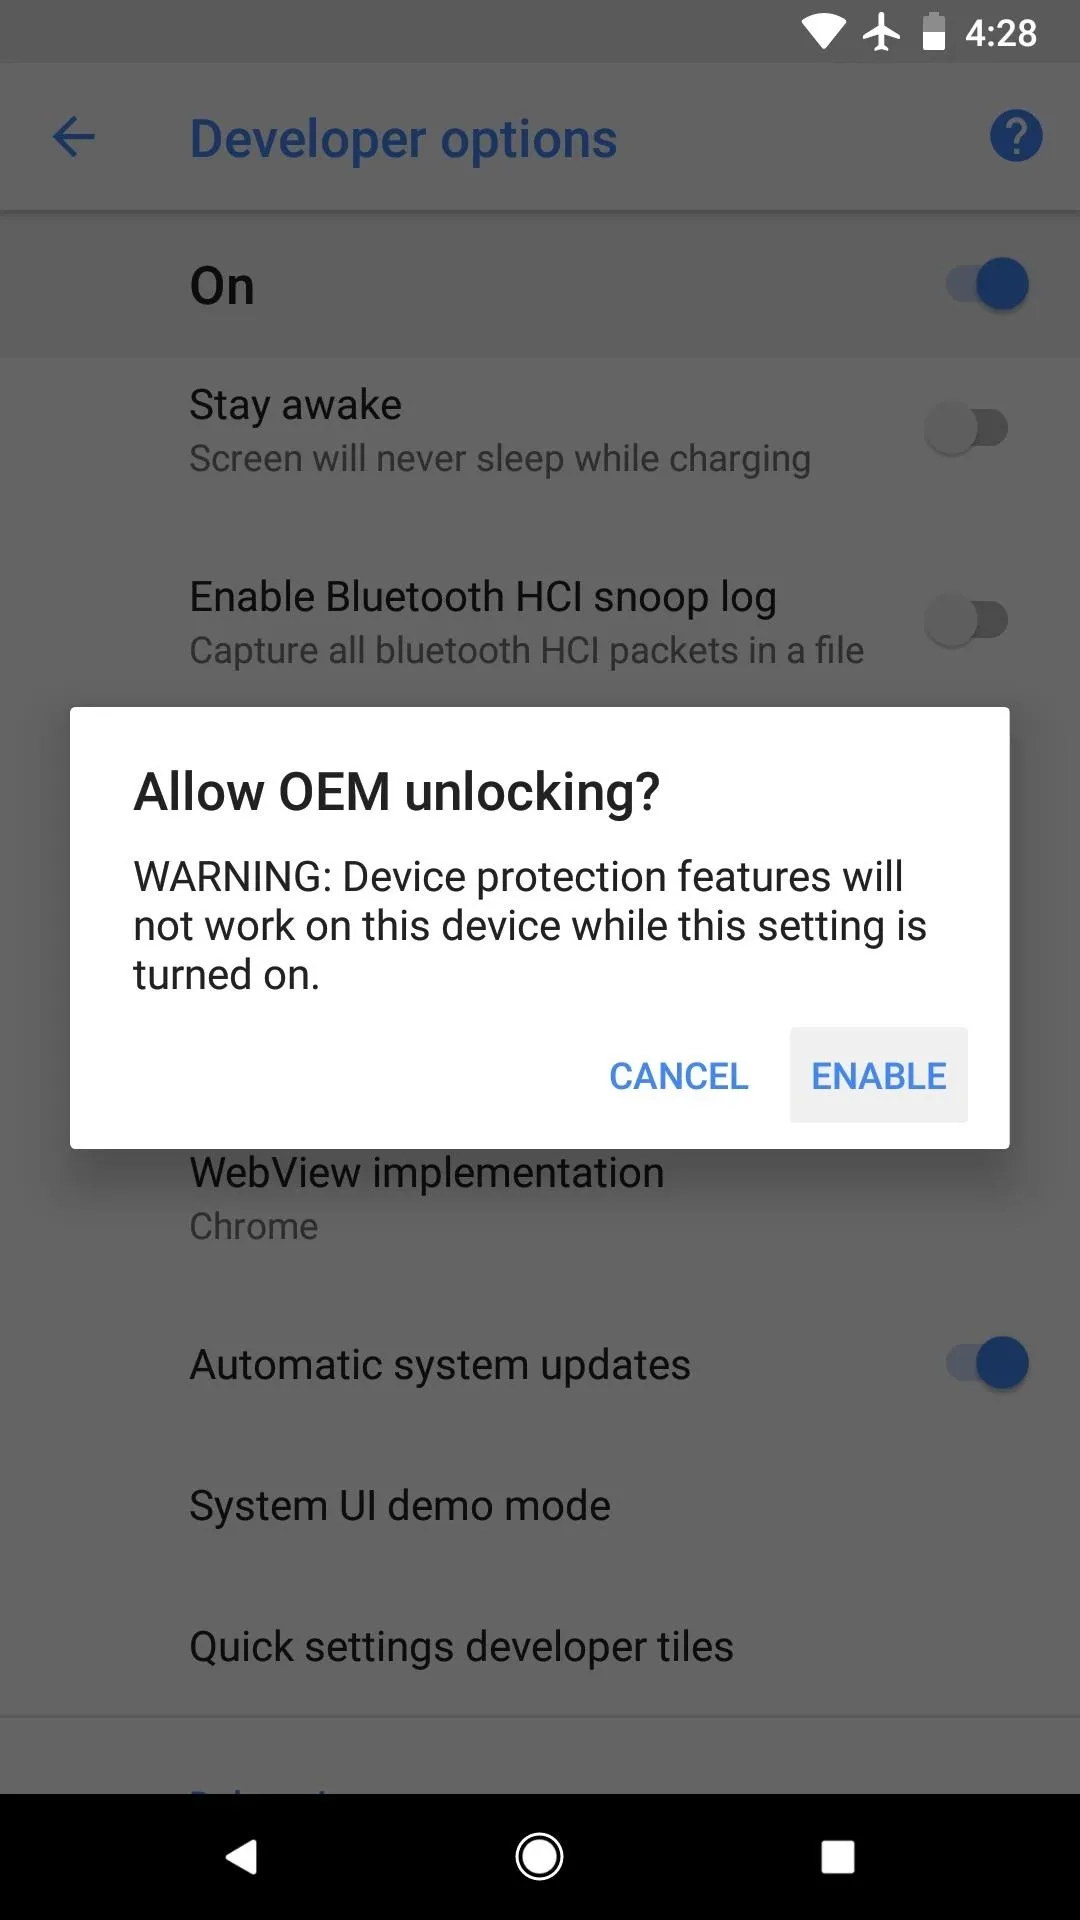
Next, back out one level to the About phone menu again, and now you'll see the "Developer options" menu, so select it. From there, enable the switch next to the "OEM unlocking" setting.

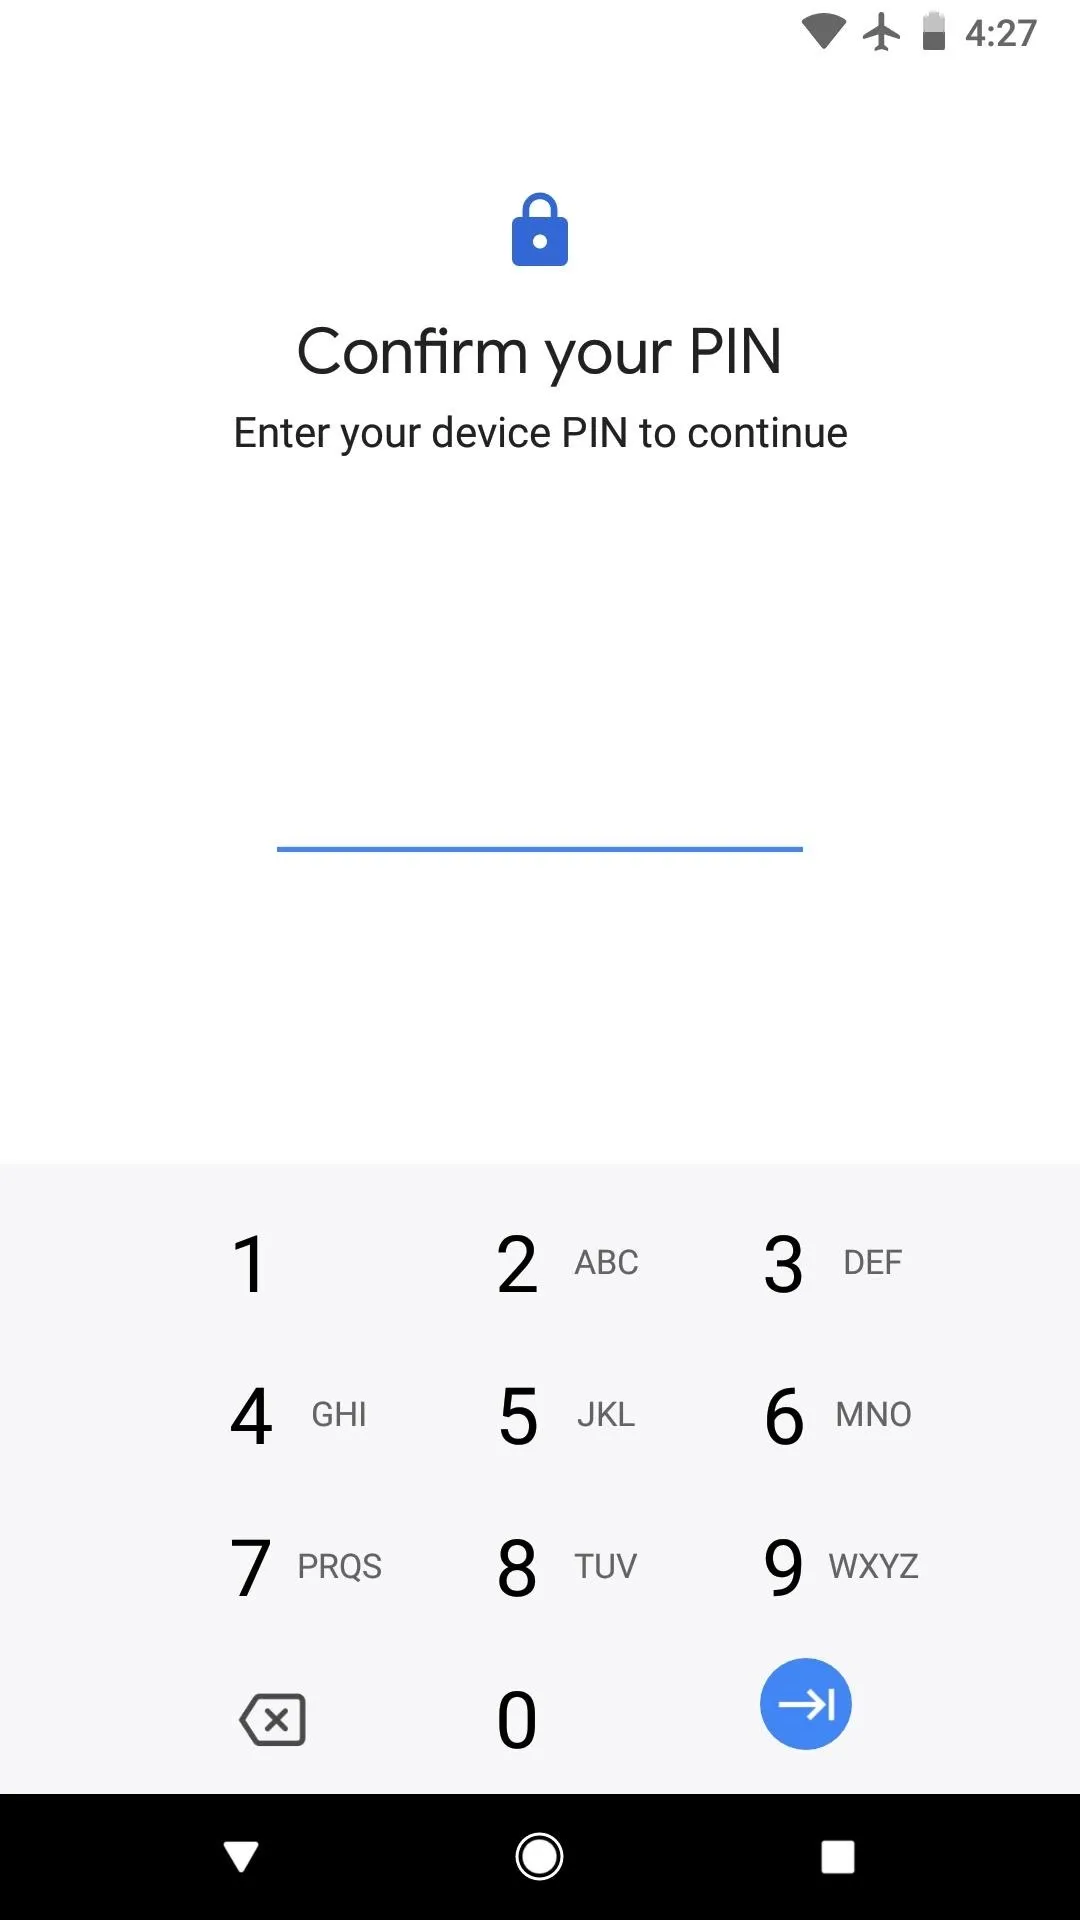
From here, you'll be asked to confirm your lock screen PIN or password. Once you've done that, tap "Enable" on the confirmation popup, and your phone will now be able to accept the Fastboot command that unlocks the bootloader.
Boot into Bootloader Mode & Connect to Your Computer
Next, it's time to put your phone into bootloader mode. You could do this with an ADB command, but there's an even easier way: Restart your phone, and when the screen goes black, press and hold the volume down button. Within a few seconds, you'll be greeted by the bootloader menu, which looks like this:
Dallas Thomas/Gadget Hacks
Once you've made it to bootloader mode, don't bother pressing any buttons on your phone. Just leave it on the screen depicted at the end of the above GIF, then connect your phone to your computer with a USB data cable.
Install Fastboot on Your Computer
On your computer now, it's time to install ADB and Fastboot. We recommend installing the latest official version from Google, as there's a new command that older tools like Minimal ADB & Fastboot don't have yet. So if you haven't already done so, head to this guide for full setup instructions.
Open a Command Window
This next part is where most people struggle with ADB and Fastboot: Getting a command window open to the proper directory.
The easiest way I've found to do this is to locate the platform-tools folder inside of your ADB and Fastboot installation directory. For Windows users, this can usually be found at C:\Program Files (x86)\Android\android-sdk\platform-tools. For Linux and Mac users, the folder's location will vary, so use your computer's search function to find the platform-tools folder.
Once you've found the platform-tools folder, copy the location from the address bar at the top of your file browser (e.g., Windows Explorer). Then, open a command prompt or terminal window. On Windows, press the Windows button on your keyboard, then type in "cmd" and hit enter to do so. On Linux or Mac, open "Terminal" from your Applications folder.
Once you've got the command window open, you'll need to change directories to the platform-tools folder before you can send the Fastboot command to unlock your bootloader. To do that, type "cd" (without the quotes) followed by a space, then paste in the file location for your platform-tools folder:
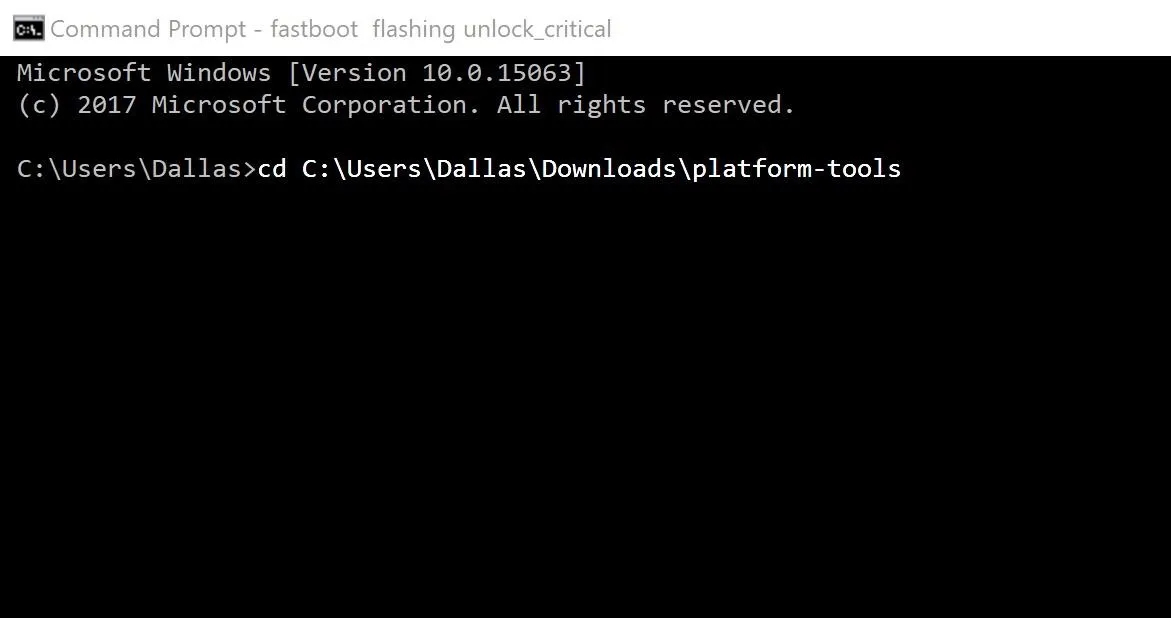
Changing directories to the platform-tools folder with the "cd" command.
Unlock the Bootloader
With the command prompt or terminal now open to the right folder, it's easy to unlock your bootloader. For Pixel 2 owners, type in the following command, then press enter:
fastboot flashing unlock
For Pixel 2 XL owners, we recommend using a different command. Using the above command will allow you to flash custom images like TWRP, but you won't be able to flash a new bootloader image unless you use this newer command. So enter the following text into the command prompt, then press enter:
fastboot flashing unlock_critical
Note: Linux, Mac, and Windows PowerShell users will have to add a period and a slash to the front of the above-listed commands (e.g., "./fastboot flashing unlock").
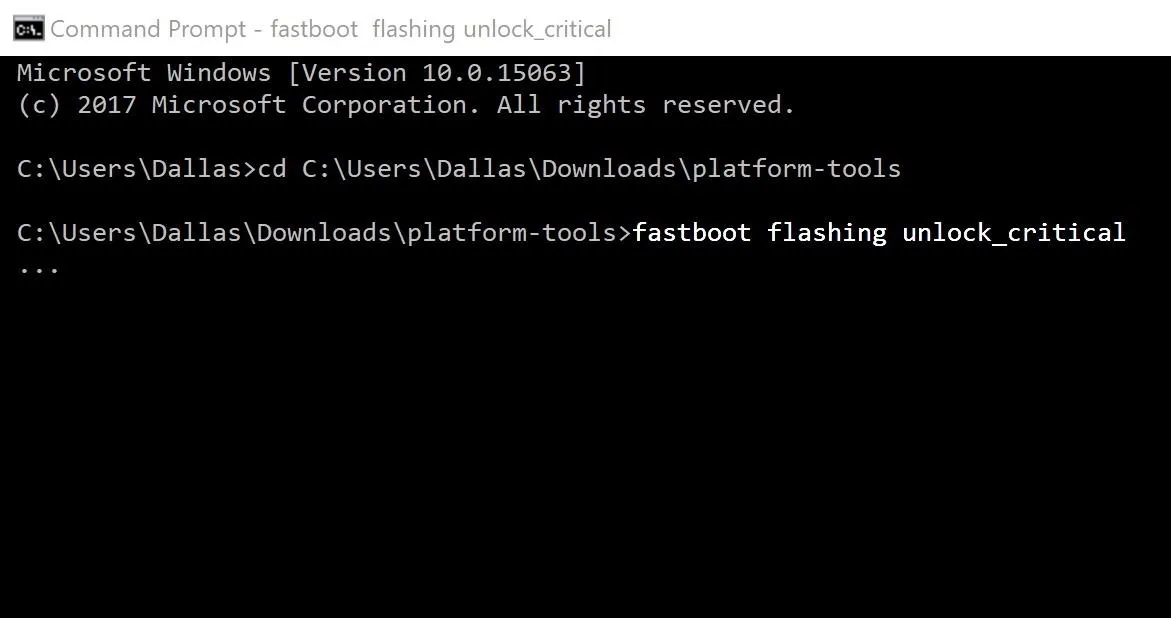
Sending the "unlock_critical" command.
Once you've sent the above command, your phone should pop up with a new menu. Use the volume keys to highlight the "Unlock the bootloader" option on this menu, then press the power button to select it.
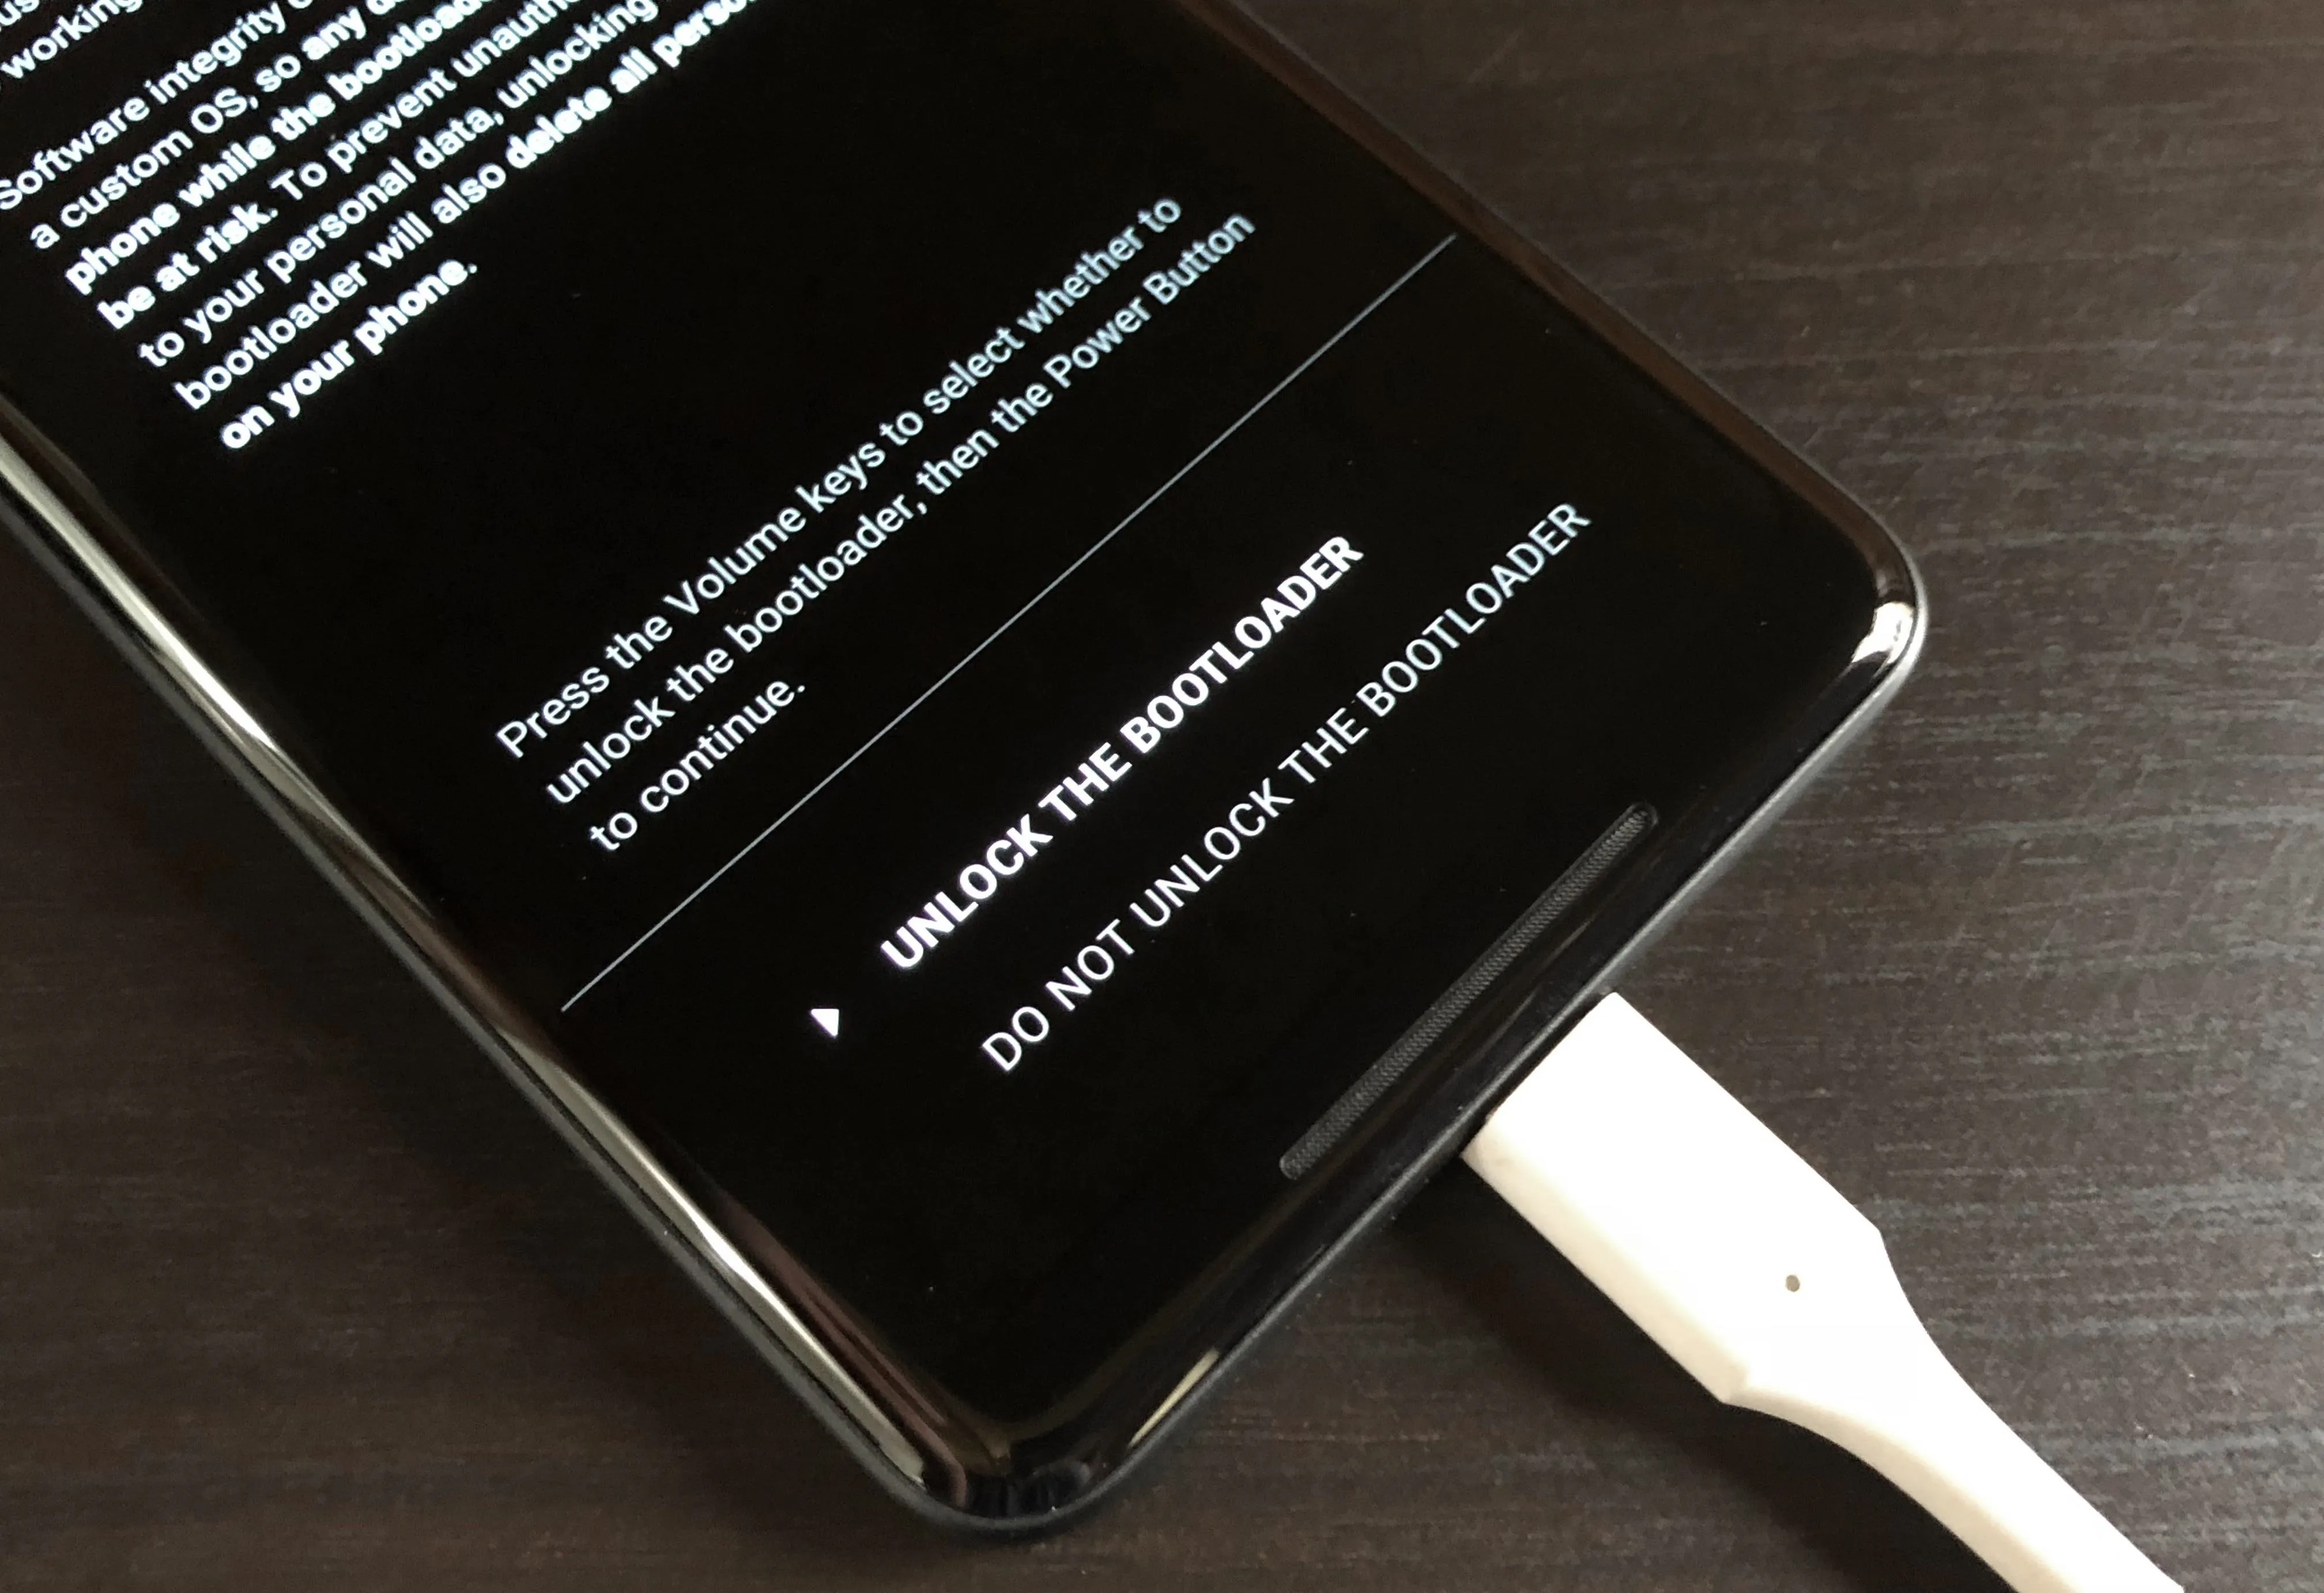
Verifying the bootloader unlock command on the Pixel 2 XL.
From here, if you're using a Pixel 2 XL, you'll have to send the regular bootloader unlock command in addition to the "unlock_critical" command. So type in the following command to finish the bootloader unlocking process, then hit enter:
fastboot flashing unlock
At this point, whether you're using a Pixel 2 or Pixel 2 XL, the command window should read "OKAY." If so, make sure the "Start" option is highlighted in the bootloader menu (if it's not, use the volume keys to highlight "Start"), then press the power button to select it.
As soon as you select "Start," your phone will automatically wipe itself and your bootloader will be unlocked. You can disconnect your phone from your computer now, but note that the first time your device boots after unlocking the bootloader will take longer than usual.
Once your phone finishes booting, go ahead and run through initial setup again. When you're done there, you'll be ready to start flashing custom images like TWRP as soon as they become available!
Do you have any questions about this whole process? If so, let us know in the comment section below, and we'll do our best to steer you in the right direction.
- Follow Gadget Hacks on Facebook, Twitter, Google+, YouTube, and Instagram
- Follow WonderHowTo on Facebook, Twitter, Pinterest, and Google+
Cover image and screenshots by Dallas Thomas/Gadget Hacks


Comments
Be the first, drop a comment!