


In the pursuit of large displays with thinner bezels, Samsung has sacrificed some components. While the loss of the headphone jack gets all the attention, there are other victims — namely, the notification LED.
Once a staple on all Android phones, this small light would blink each time a new alert arrived, saving you from checking your phone. There is an app on the Play Store that not only returns this functionality to your phone but enhances it, letting you get more information at glance thanks to Samsung's always-on display.
Install aodNotifiy
aodNotify is a free app developed by Jawomo. If you think that name sounds familiar, it should. We here at Gadget Hacks have featured the other two apps developed by Jawomo, sideActions and bxActions. The app is free but has a pro version for additional features.
- Play Store Link: aodNotify (free)

Enable Permission & Accessibility
Once installed, open the app and choose "Select apps." Here, you will see a list of all the apps installed on your phone. Choose the apps you want to activate the notification "LED." If you want to be alerted for all apps, select the "All" button in the upper-right corner, but note that future apps you install will still have to be manually enabled..
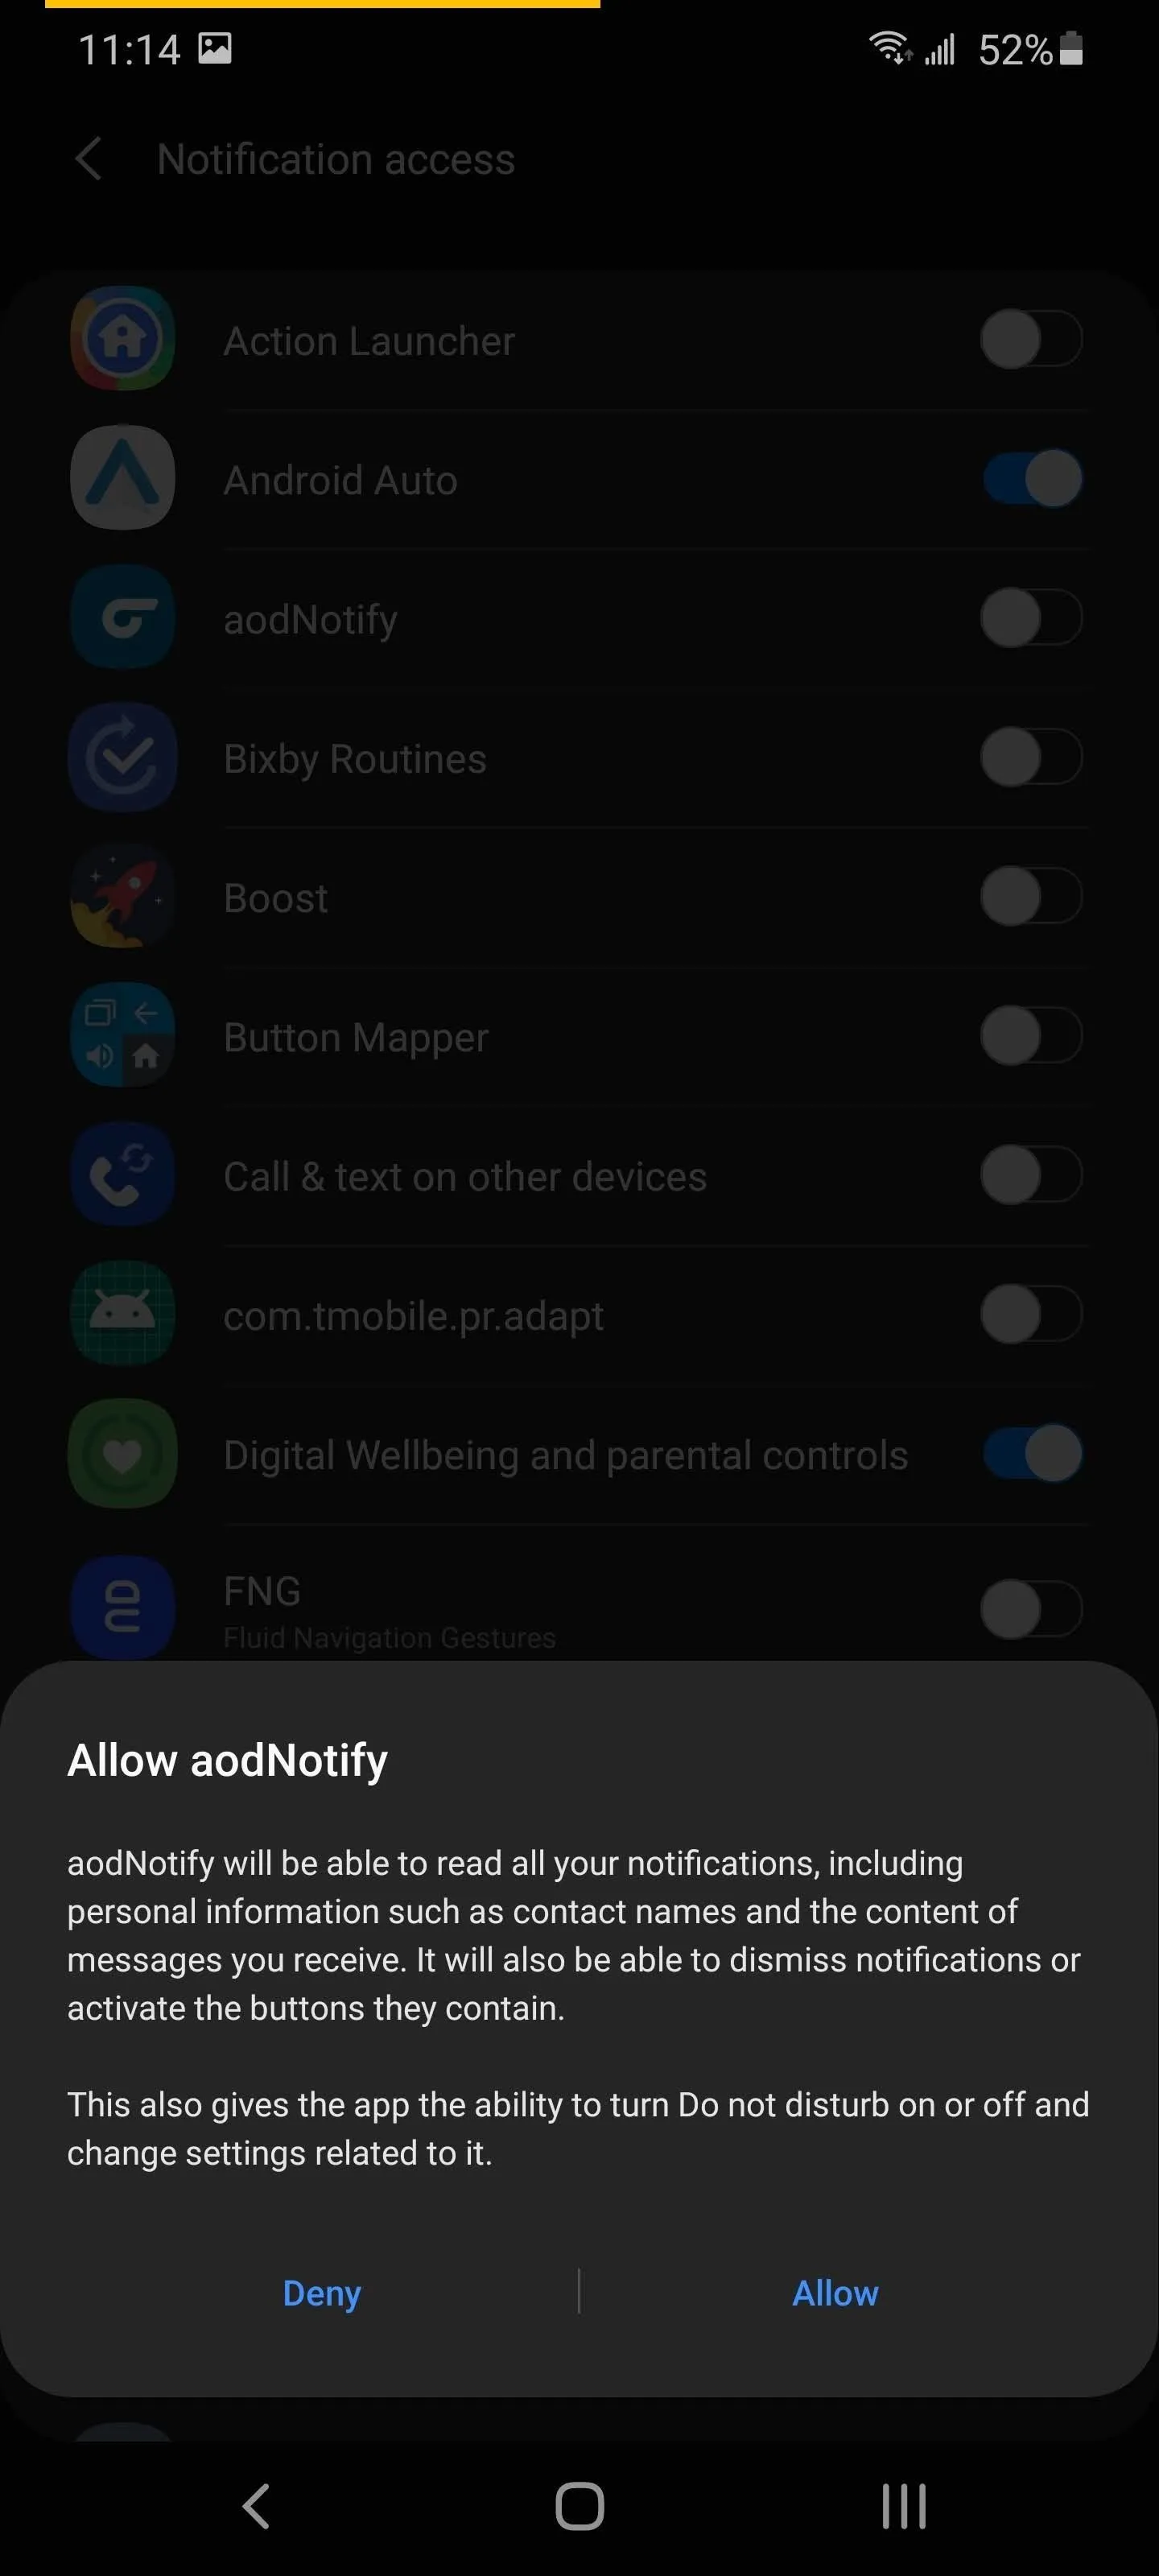
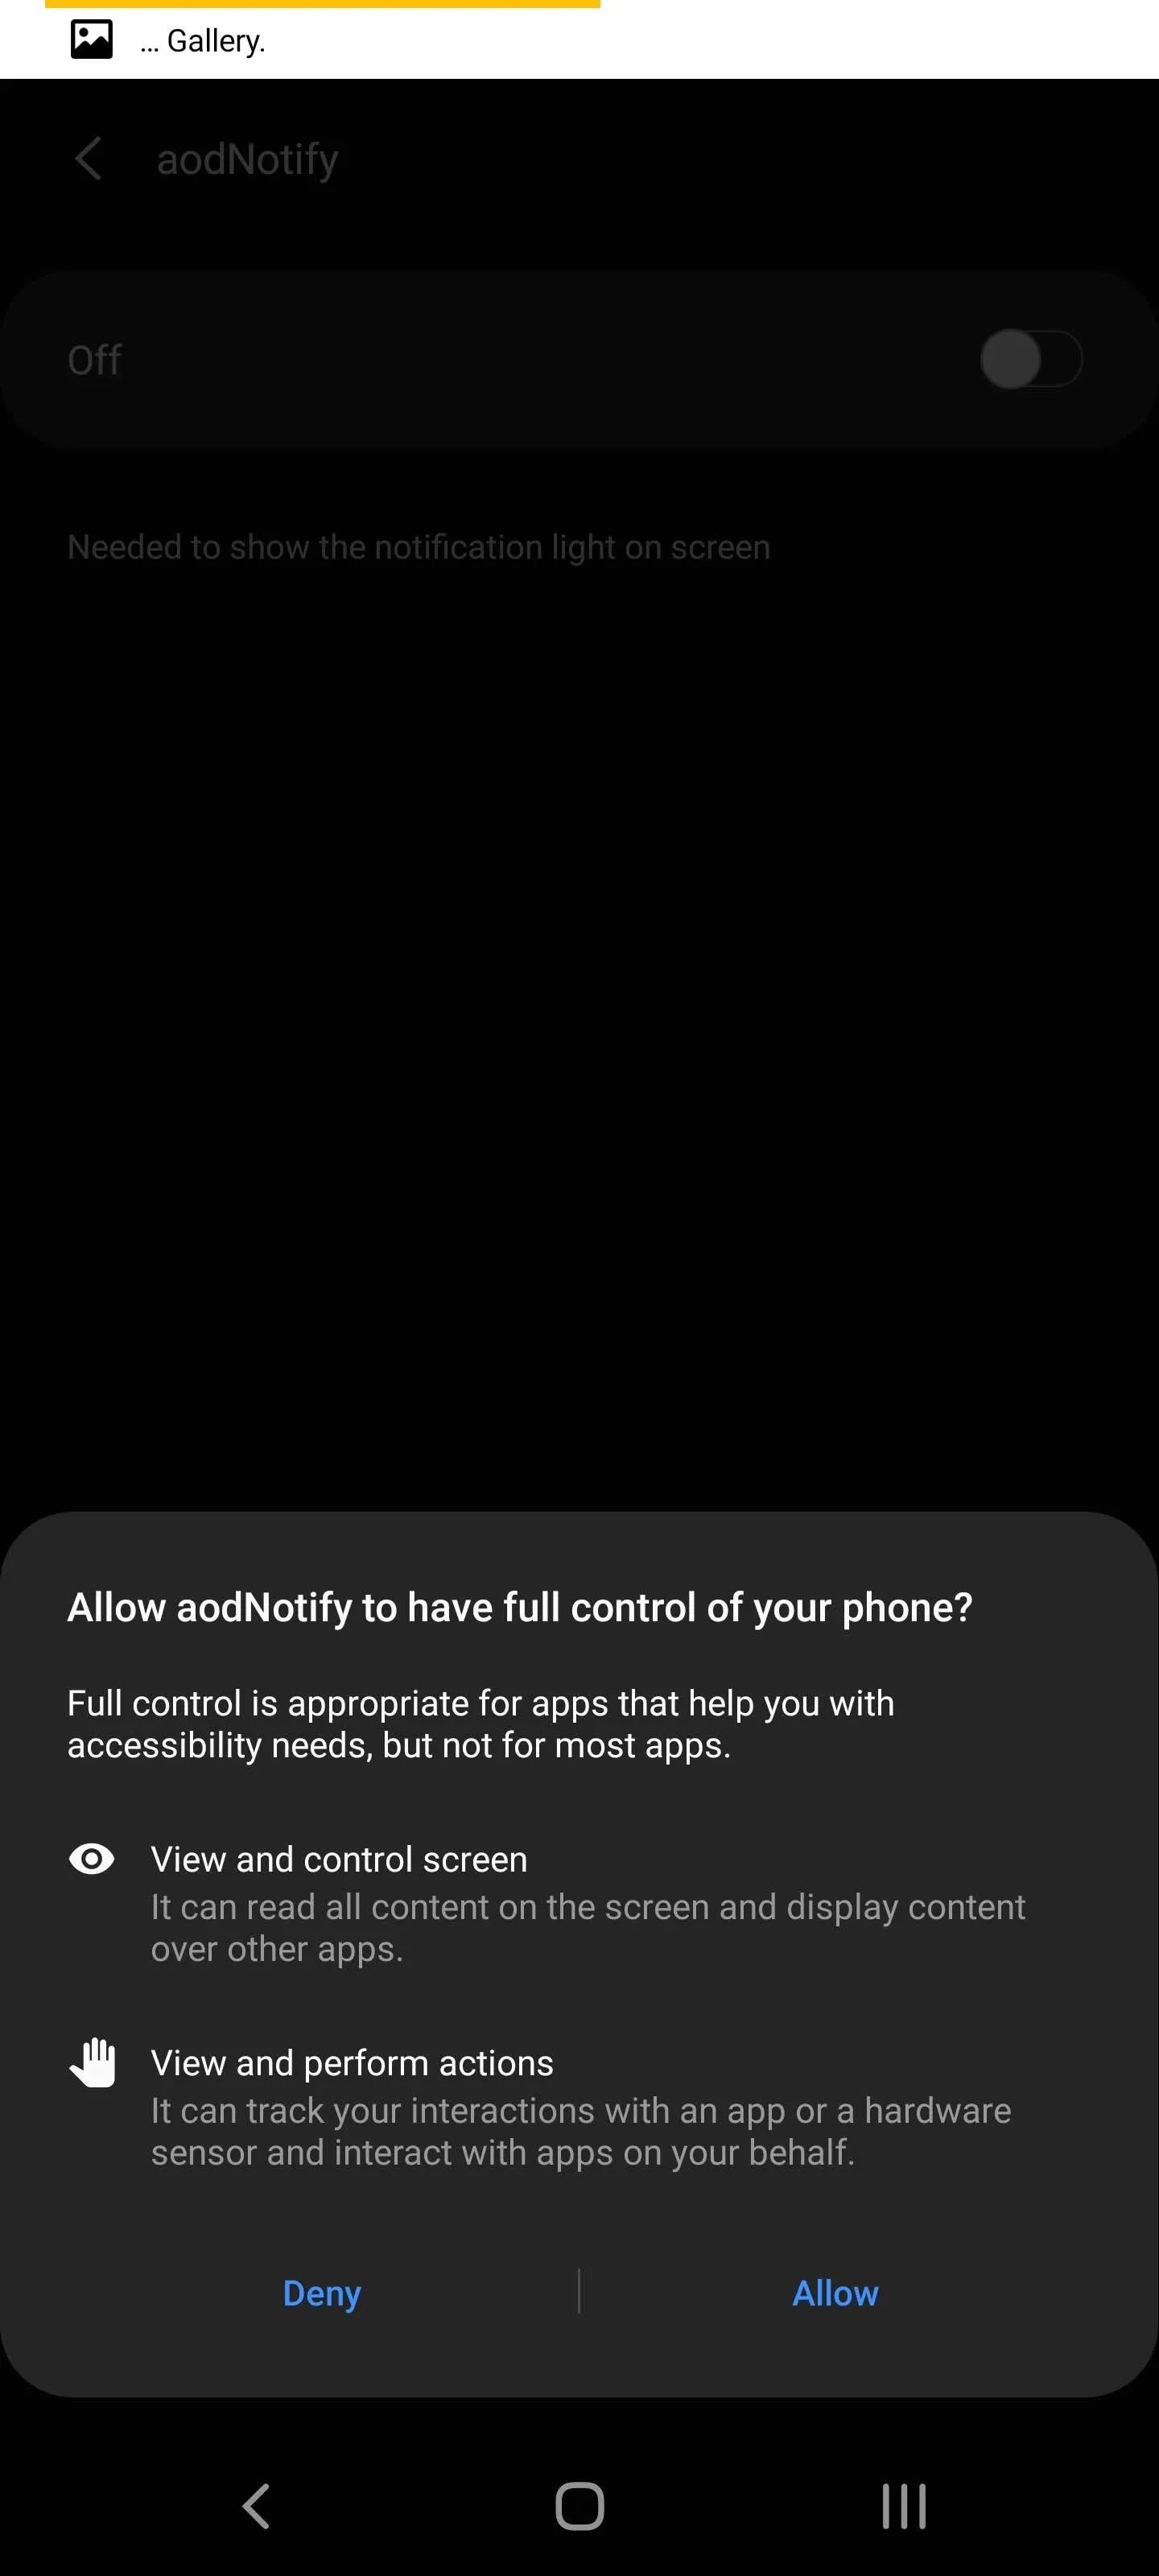
After adding the app, return to the previous page and follow the instructions to provide the necessary permission and access to the app. Starting from the top, select each box, and on the redirected page, find aodNotify and enable the toggle. Do this for "Notification access" and "Draw on screen."
Configure the AOD LED
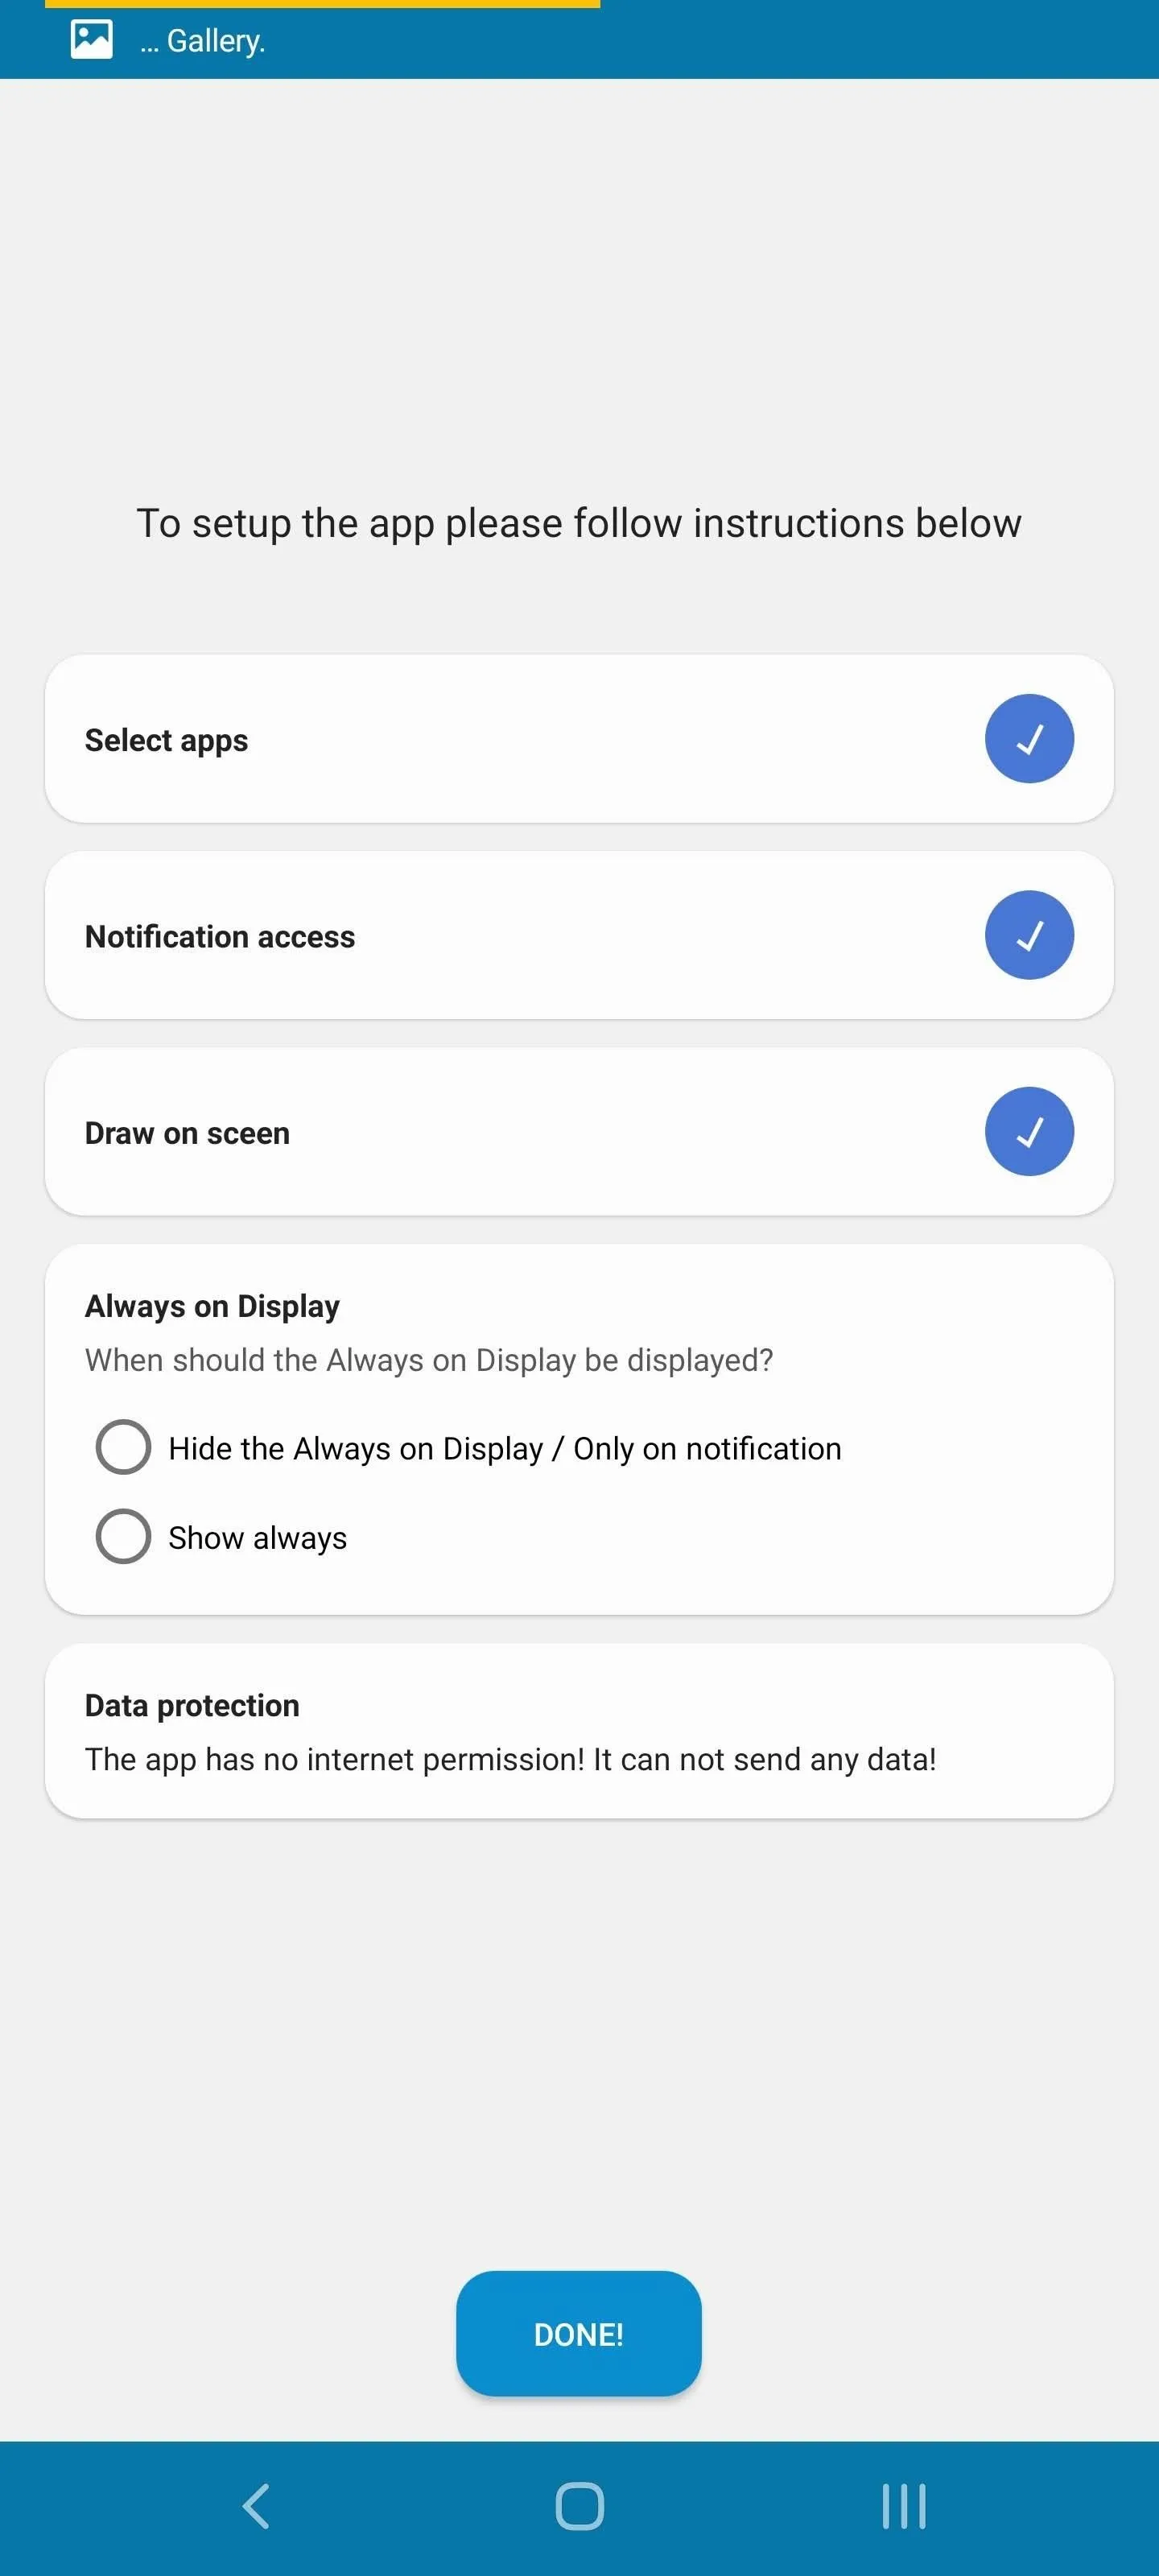
For the option "Always on Display," you have two choices. The first will turn on Always-on display (AOD) whenever a notification appears. The second will have AOD remain on all the time. Ideally, the first option is better as it minimizes the battery impact. However, if you prefer AOD on all the time, choose that one instead.
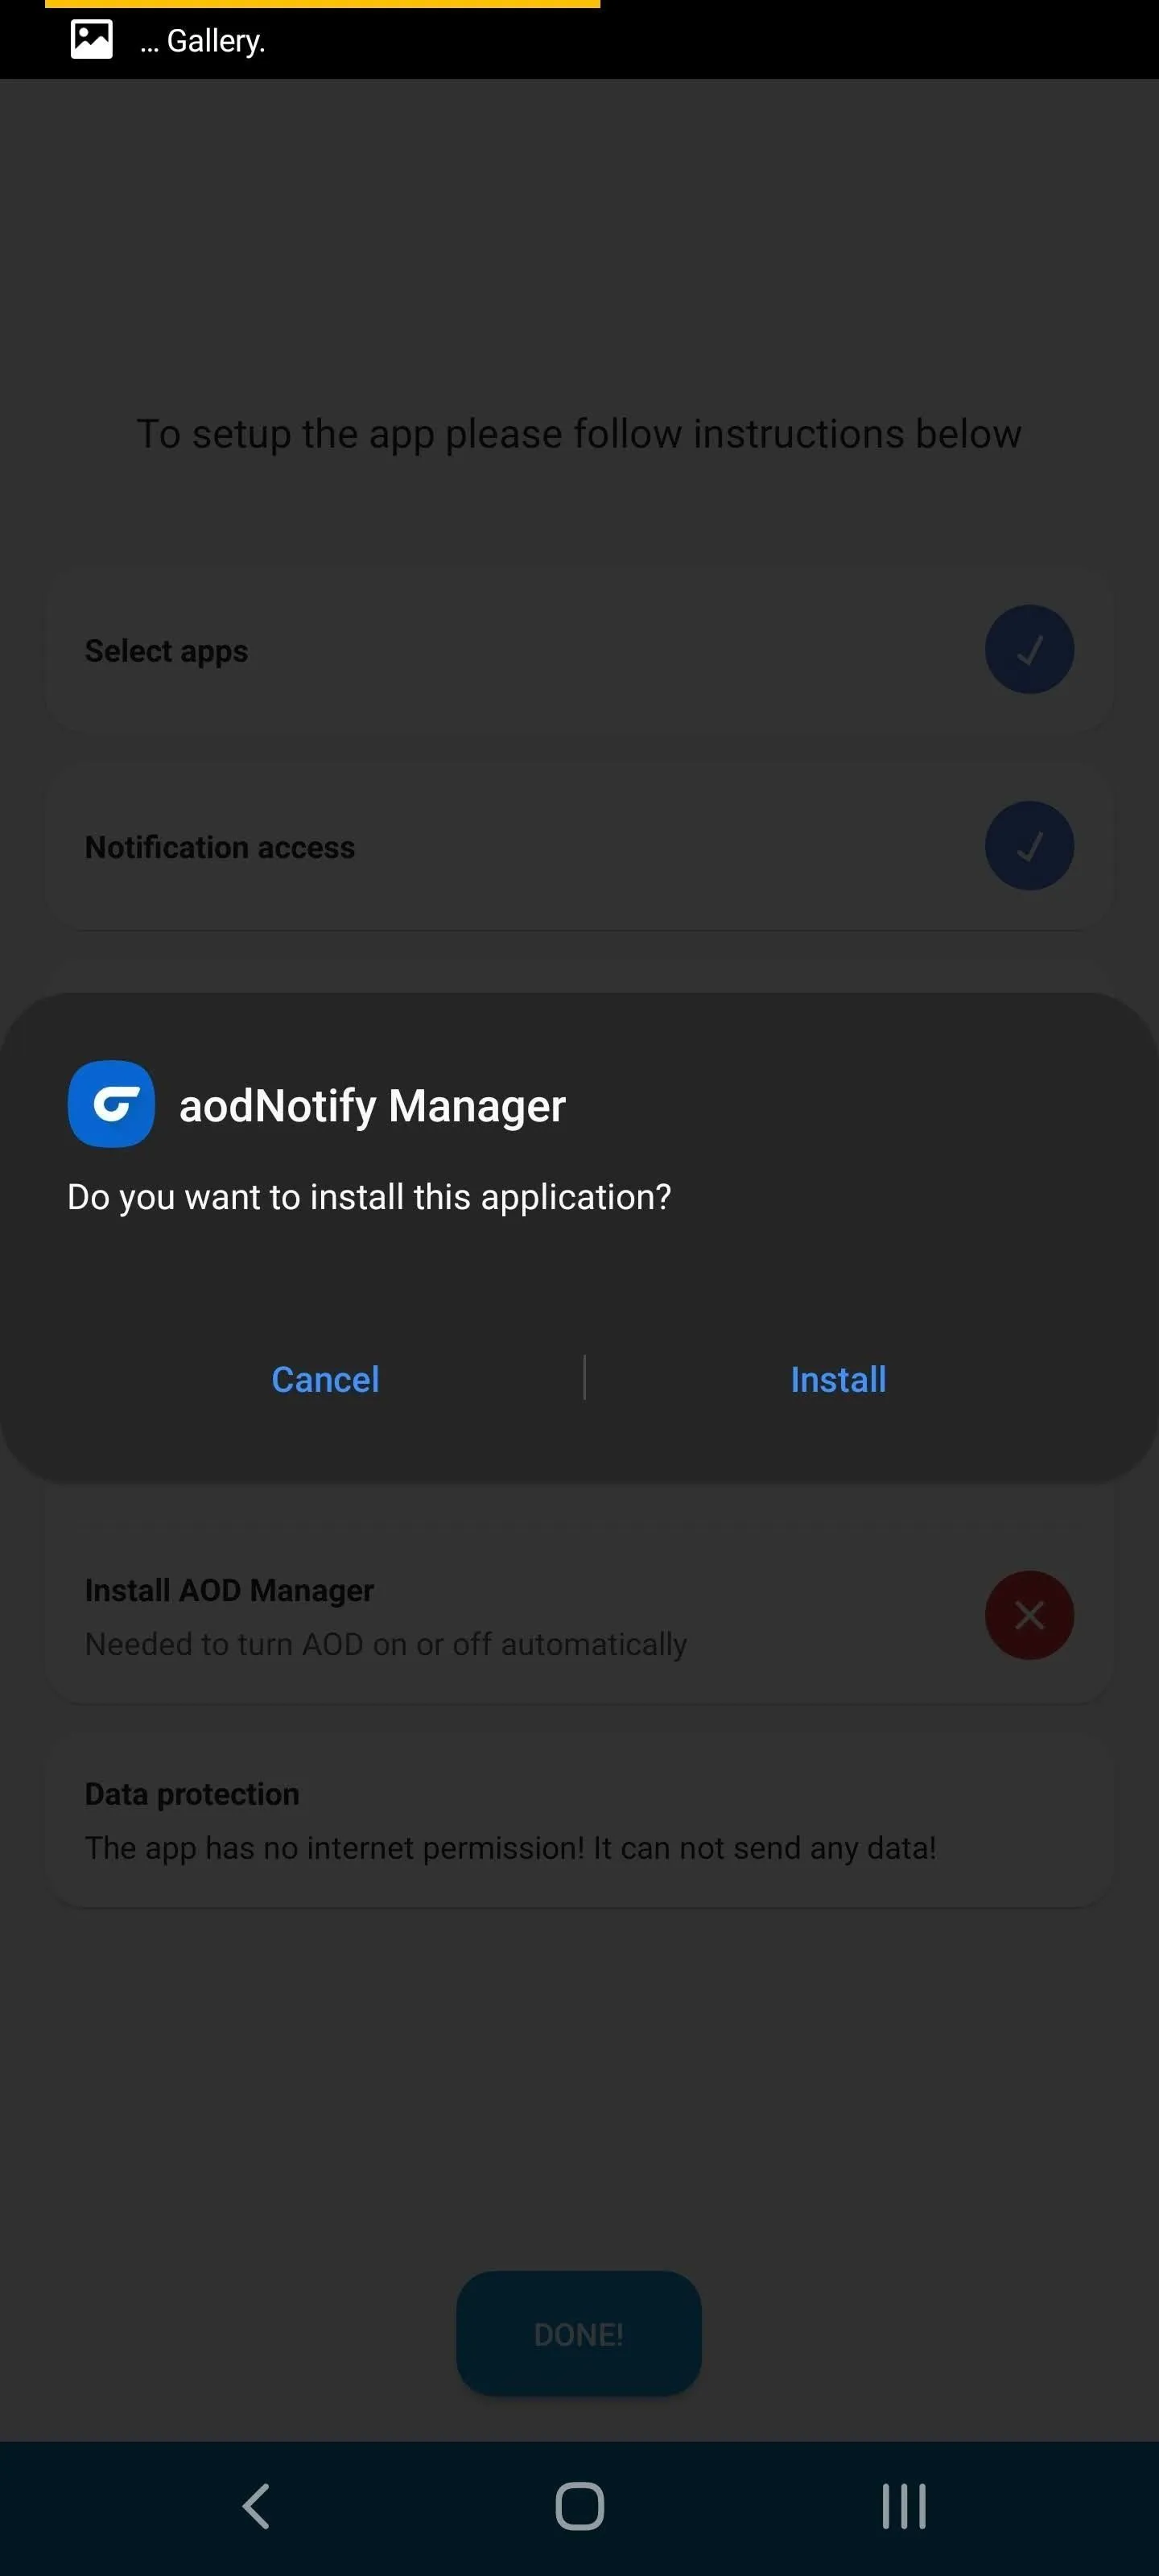
If you choose the first option, aodNotify will request the ability to sideload an app, which you can grant using the toggle. You will then return to the previous page with an install prompt to install aodNotify Manager. You will see a blue checkmark next to "Install AOD Manager" indicate the app successfully install, which means you done with this page. Hit "Done!" to use the app.

Customize the AOD LED
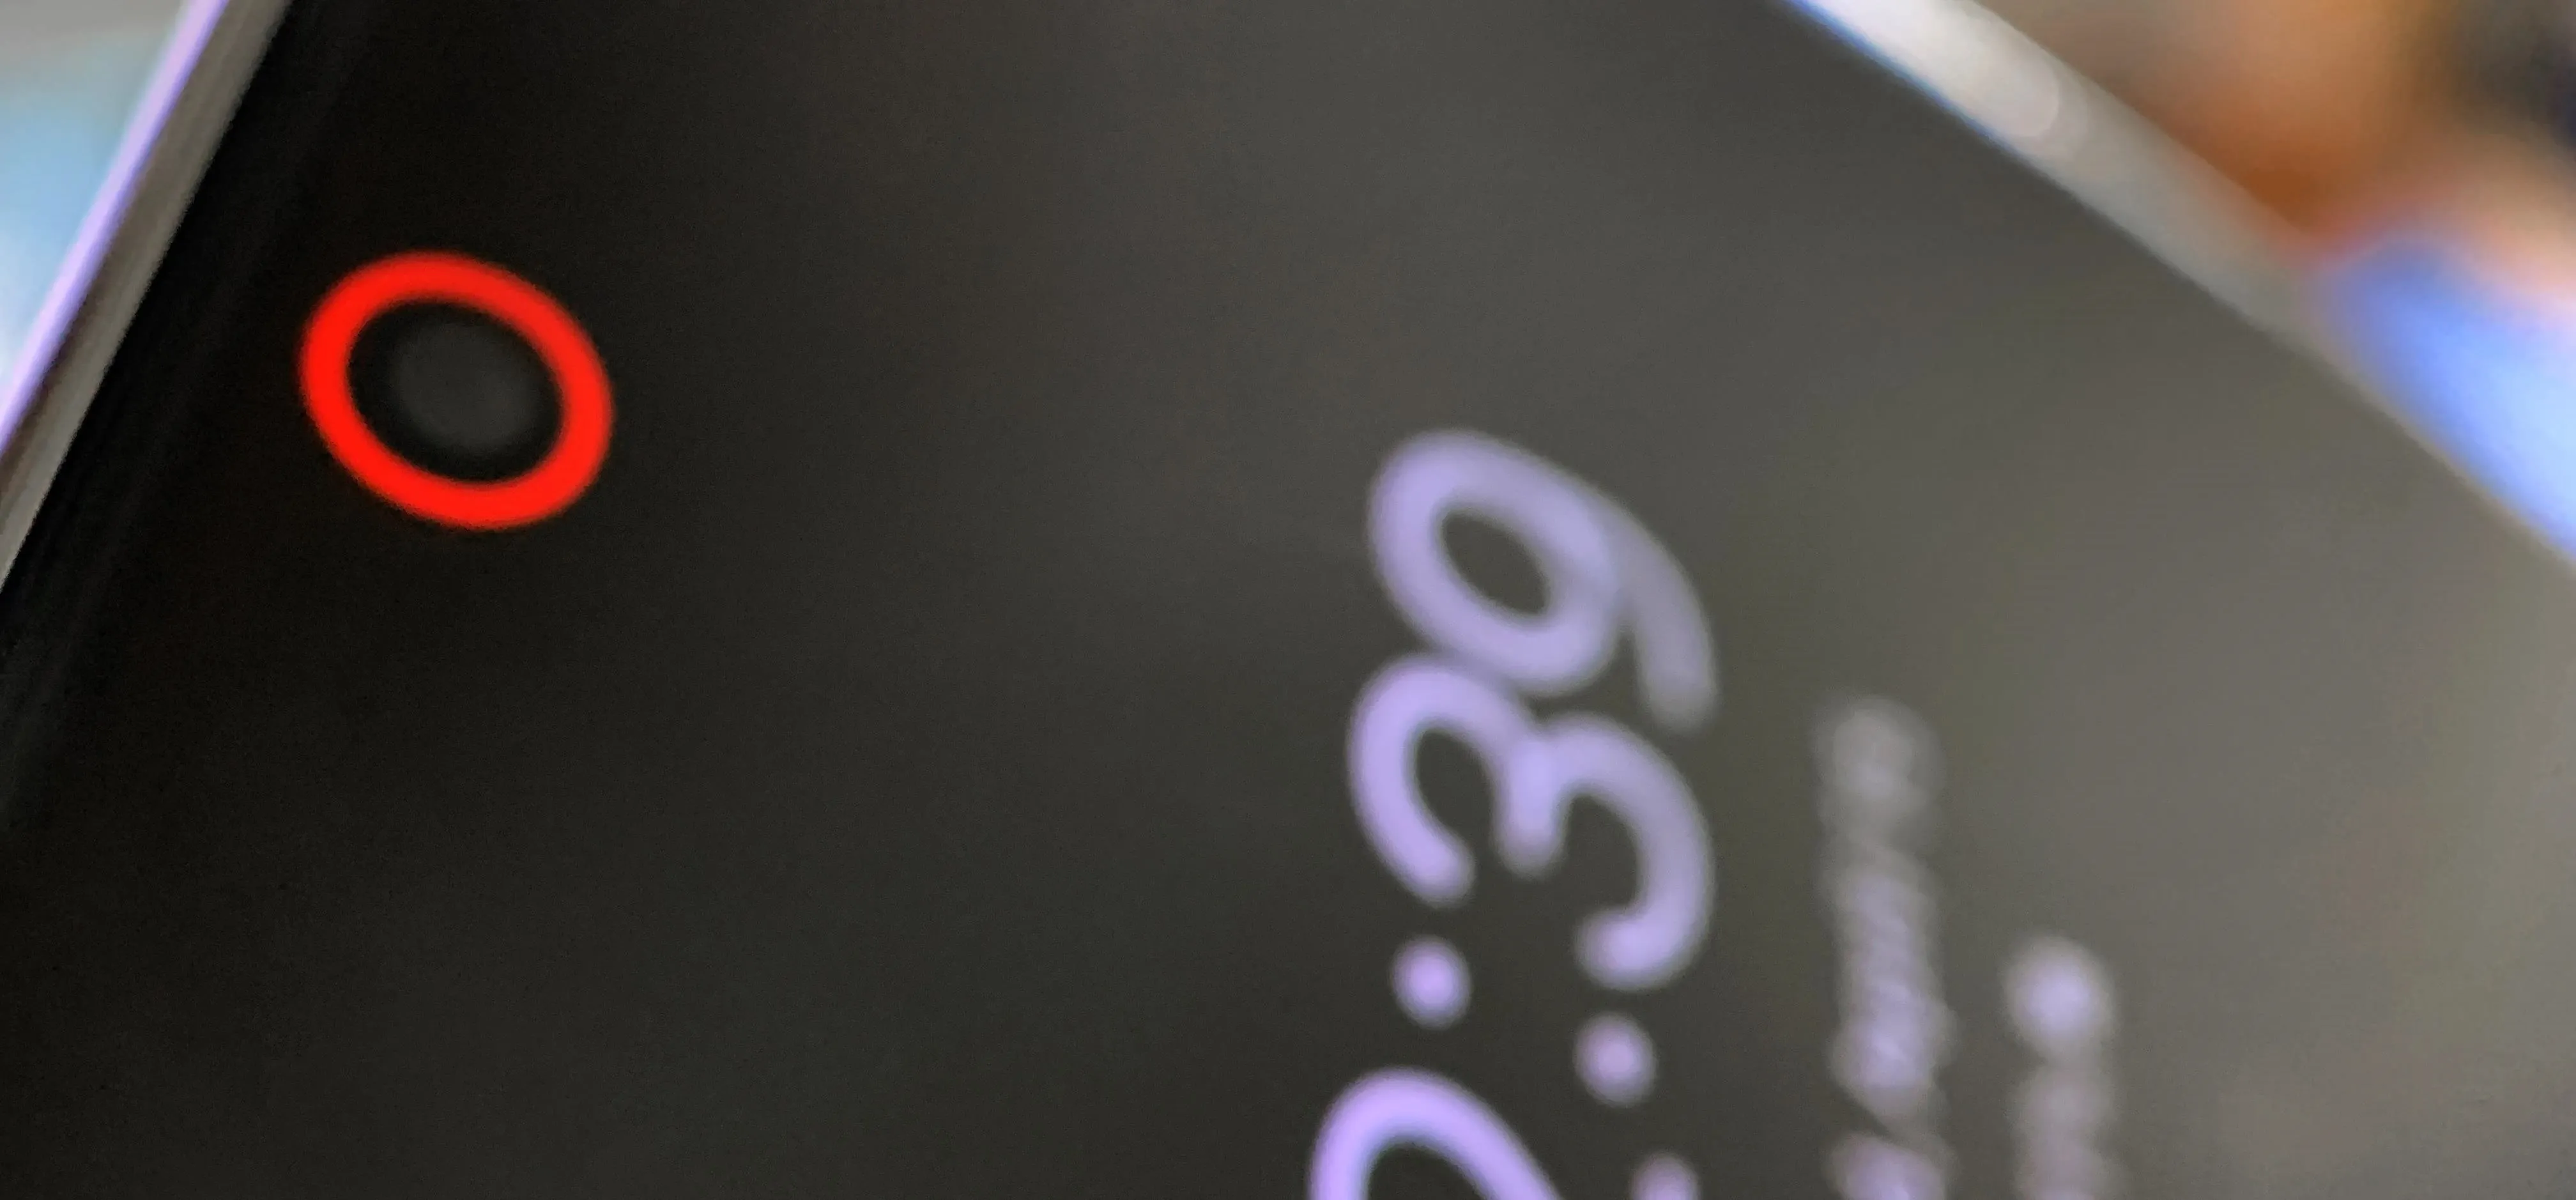
The notification LED is now enabled. Whenever you receive an alert, a light will appear around the circular cutout on the top of your display, and a small icon will appear of the app you received the alert from. If you choose to have AOD appear only on notification, when the screen is off, AOD will turn on when a notification appears. It will remain active as long as you don't interact with the alert. However, if you choose to always have an always-on display on, it will always be active.
Selecting "Notifications" will let you customize which alerts activate this feature. Choose "Apps" to adjust the apps which trigger the notification light.
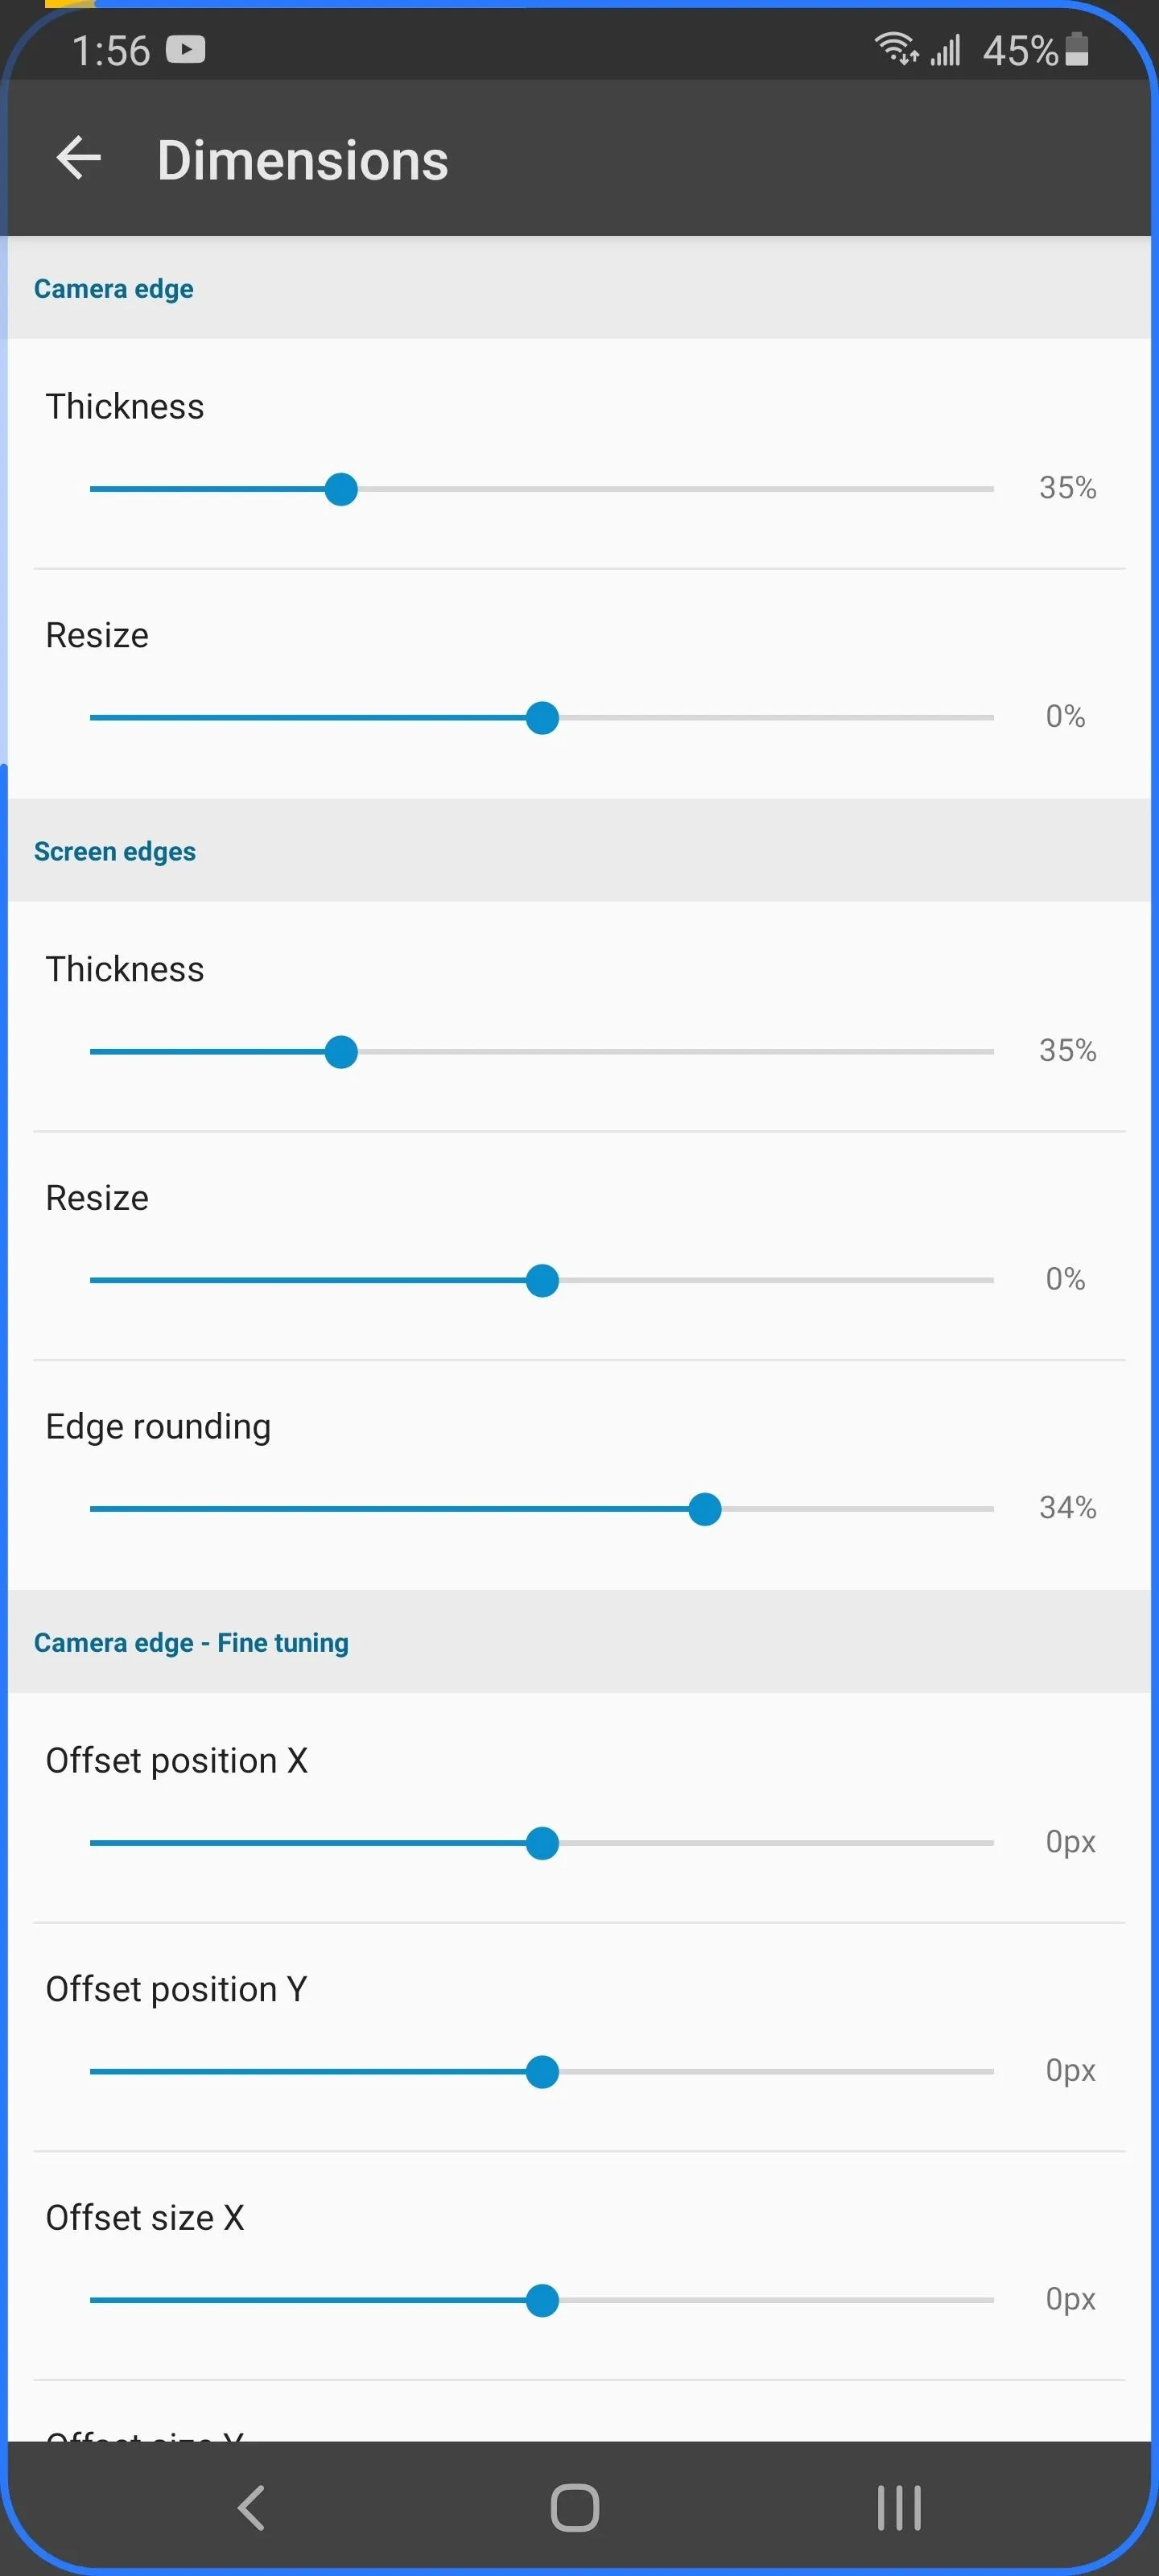
Select "Notification light" to change the appearance of the notification LED. With "Style" you can change where the light appears, either around the circular cutout, a small dot in the status bar (with the pro version), or along the edges of the screen (similar to Samsung's Edge Lighting). "Effects" let you modify the light's animation, while "Dimensions" provides options to change the size and position.
Jon Knight/Gadget Hacks
Jon Knight/Gadget Hacks
Jon Knight/Gadget Hacks
Jon Knight/Gadget Hacks
There are more customization options to explore but there is one more I want to highlight called "Notification preview." When enabled, instead of seeing the usual array of items that comprise the AOD, you will see a preview of the notification. And, if you opt for the pro version (currently $2.99), you can display the contents of the notifications as well.
Dallas Thomas/Gadget Hacks
Cover image by Dallas Thomas/Gadget Hacks, screenshots by Jon Knight/Gadget Hacks


Comments
Be the first, drop a comment!