


You don't need to pay for an app or subscription to have your audio notes transcribed for you on your Android smartphone. There's an easy, free way to do it on almost any Google Pixel, and you can even use it on other Android devices.
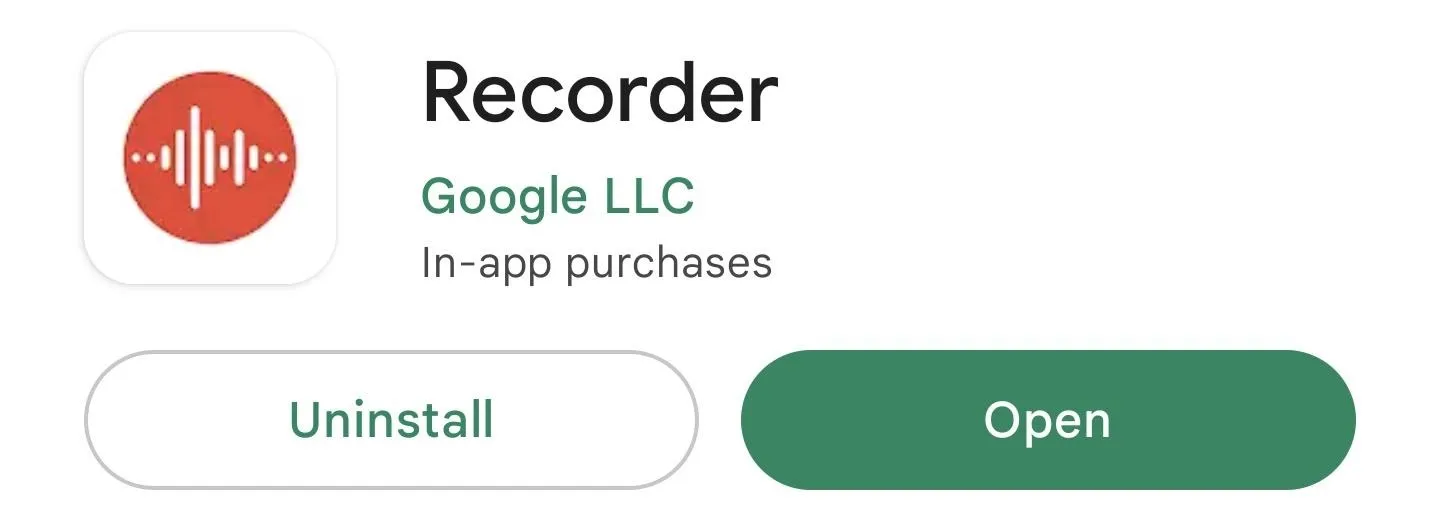
Google introduced its Recorder app with the Pixel 4 but has since made it compatible with the Google Pixel 2 and newer models. The app is leaps and bounds better than any other recorder/transcriber, but it's exclusive to Pixel. However, you can sideload the app on other Android phones.
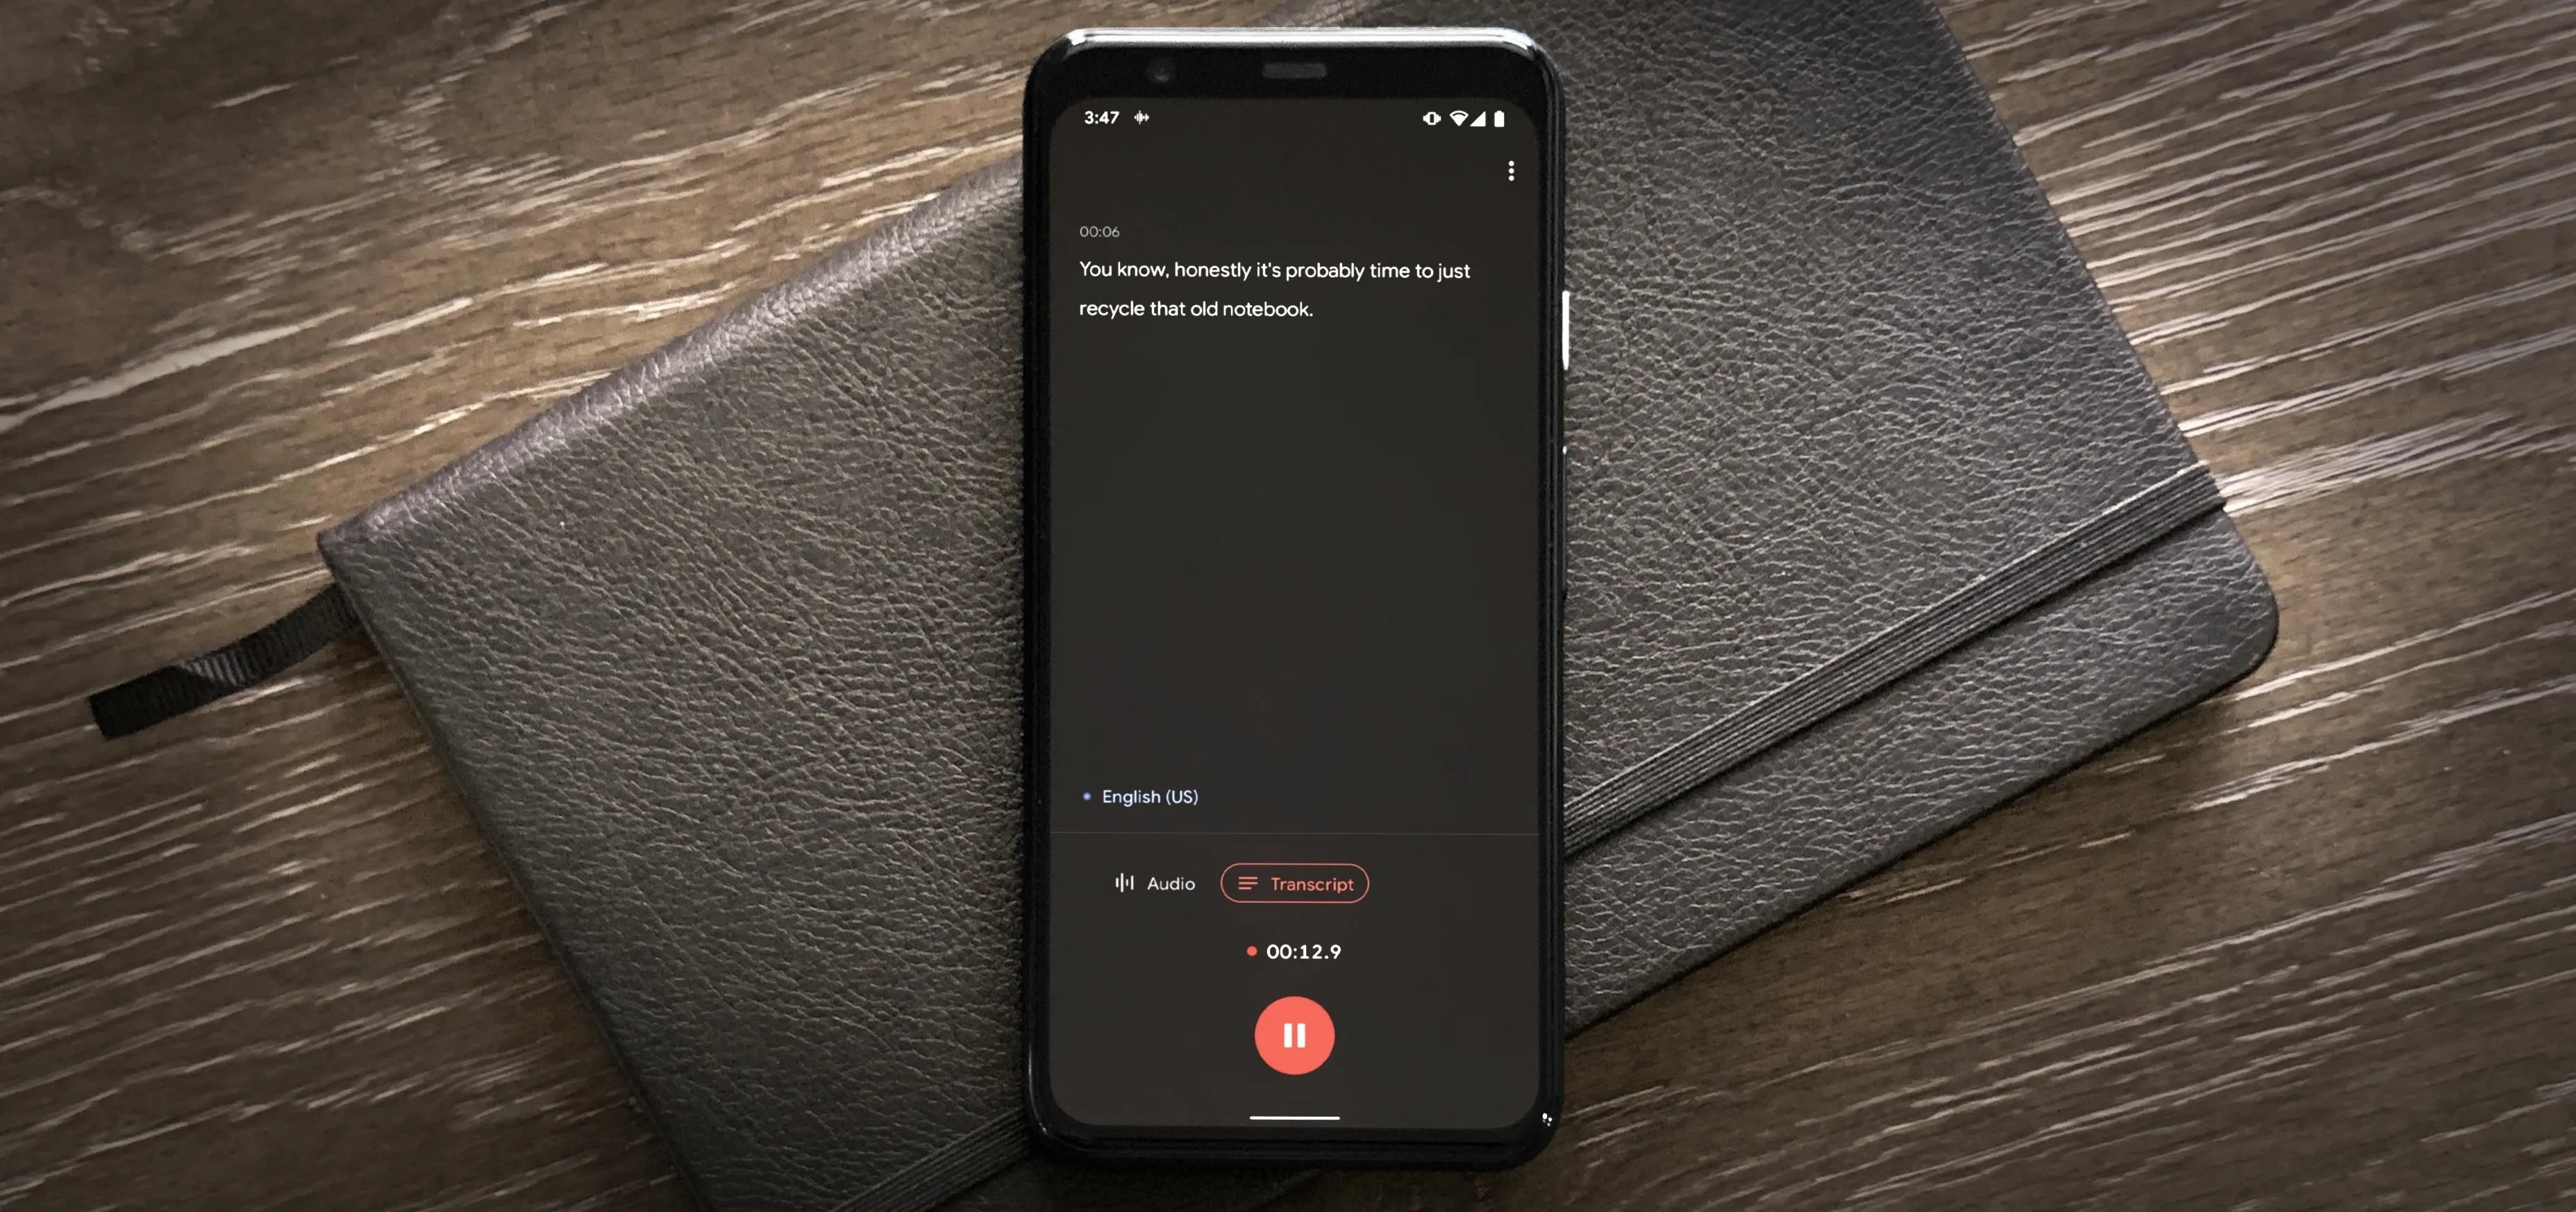
With Google Recorder, you get live transcriptions of your recordings — no premium service is required. But what makes this feature truly powerful is the ability to take the transcriptions and share them with other apps, which makes this one hell of a note-taking app.
Get the Recorder App
Google Recorder is exclusive to the Google Pixel 2 and newer models. If that's you, it may already be installed on your device, but you can easily install it from Google Play if you can't find it in your apps list.
If you have a non-Pixel smartphone, you can still get Google Recorder, just not from the Play Store. Instead, you can download the Google Recorder APK bundle and use an app like APKMirror Installer or Split APKs Installer to sideload it.
Record Your Notes
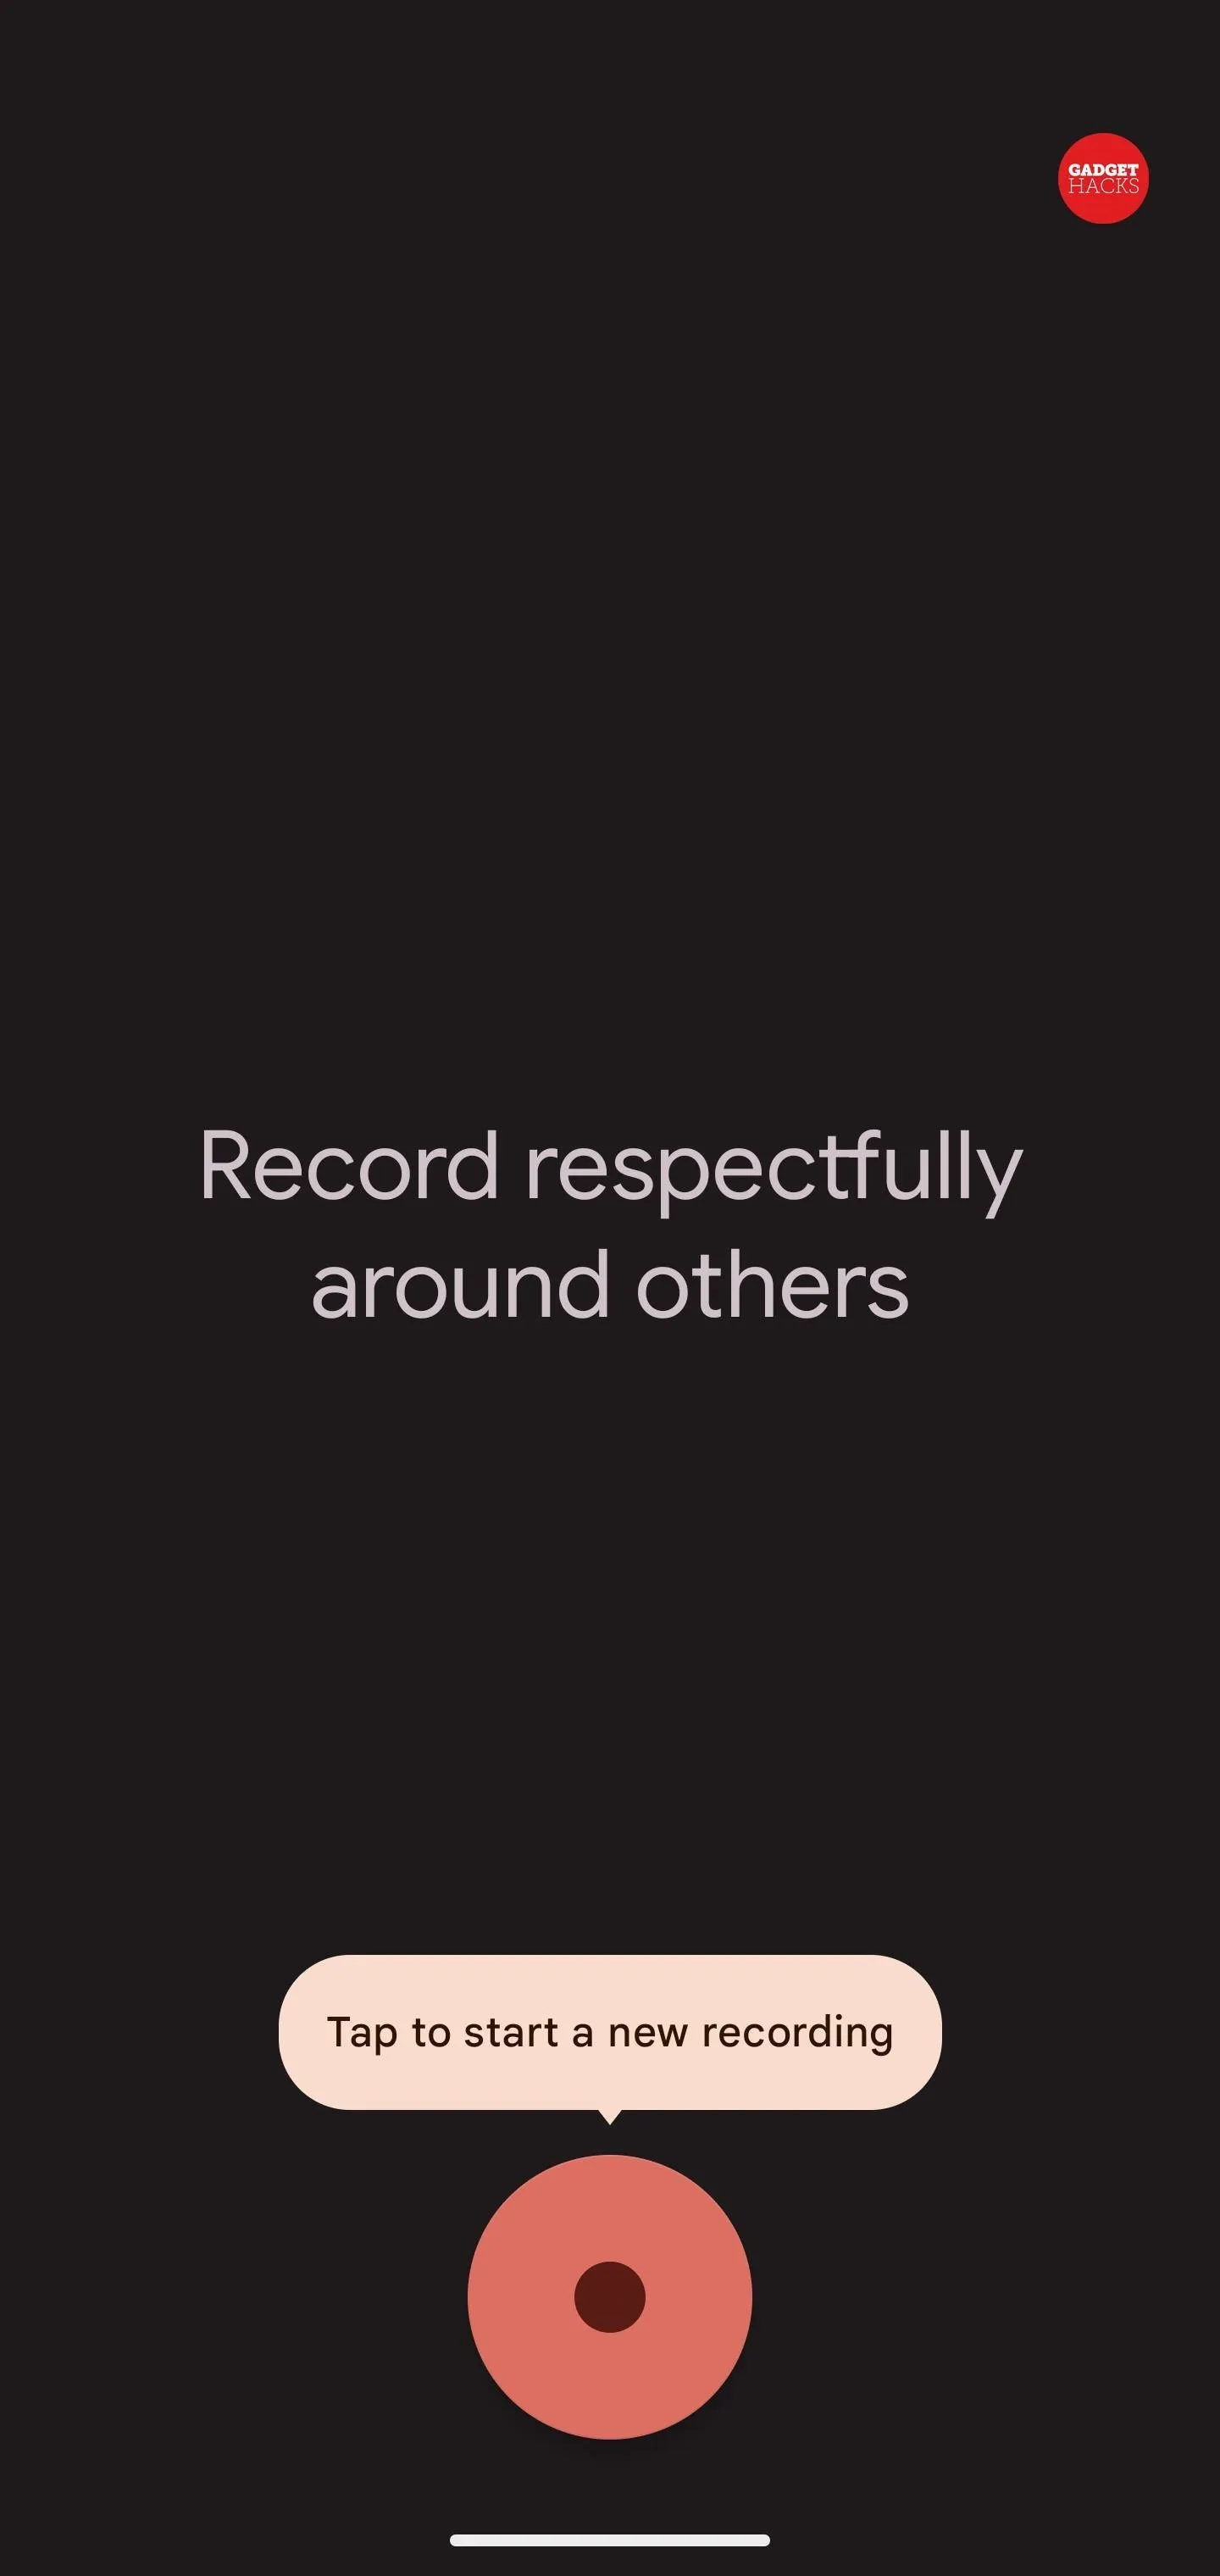
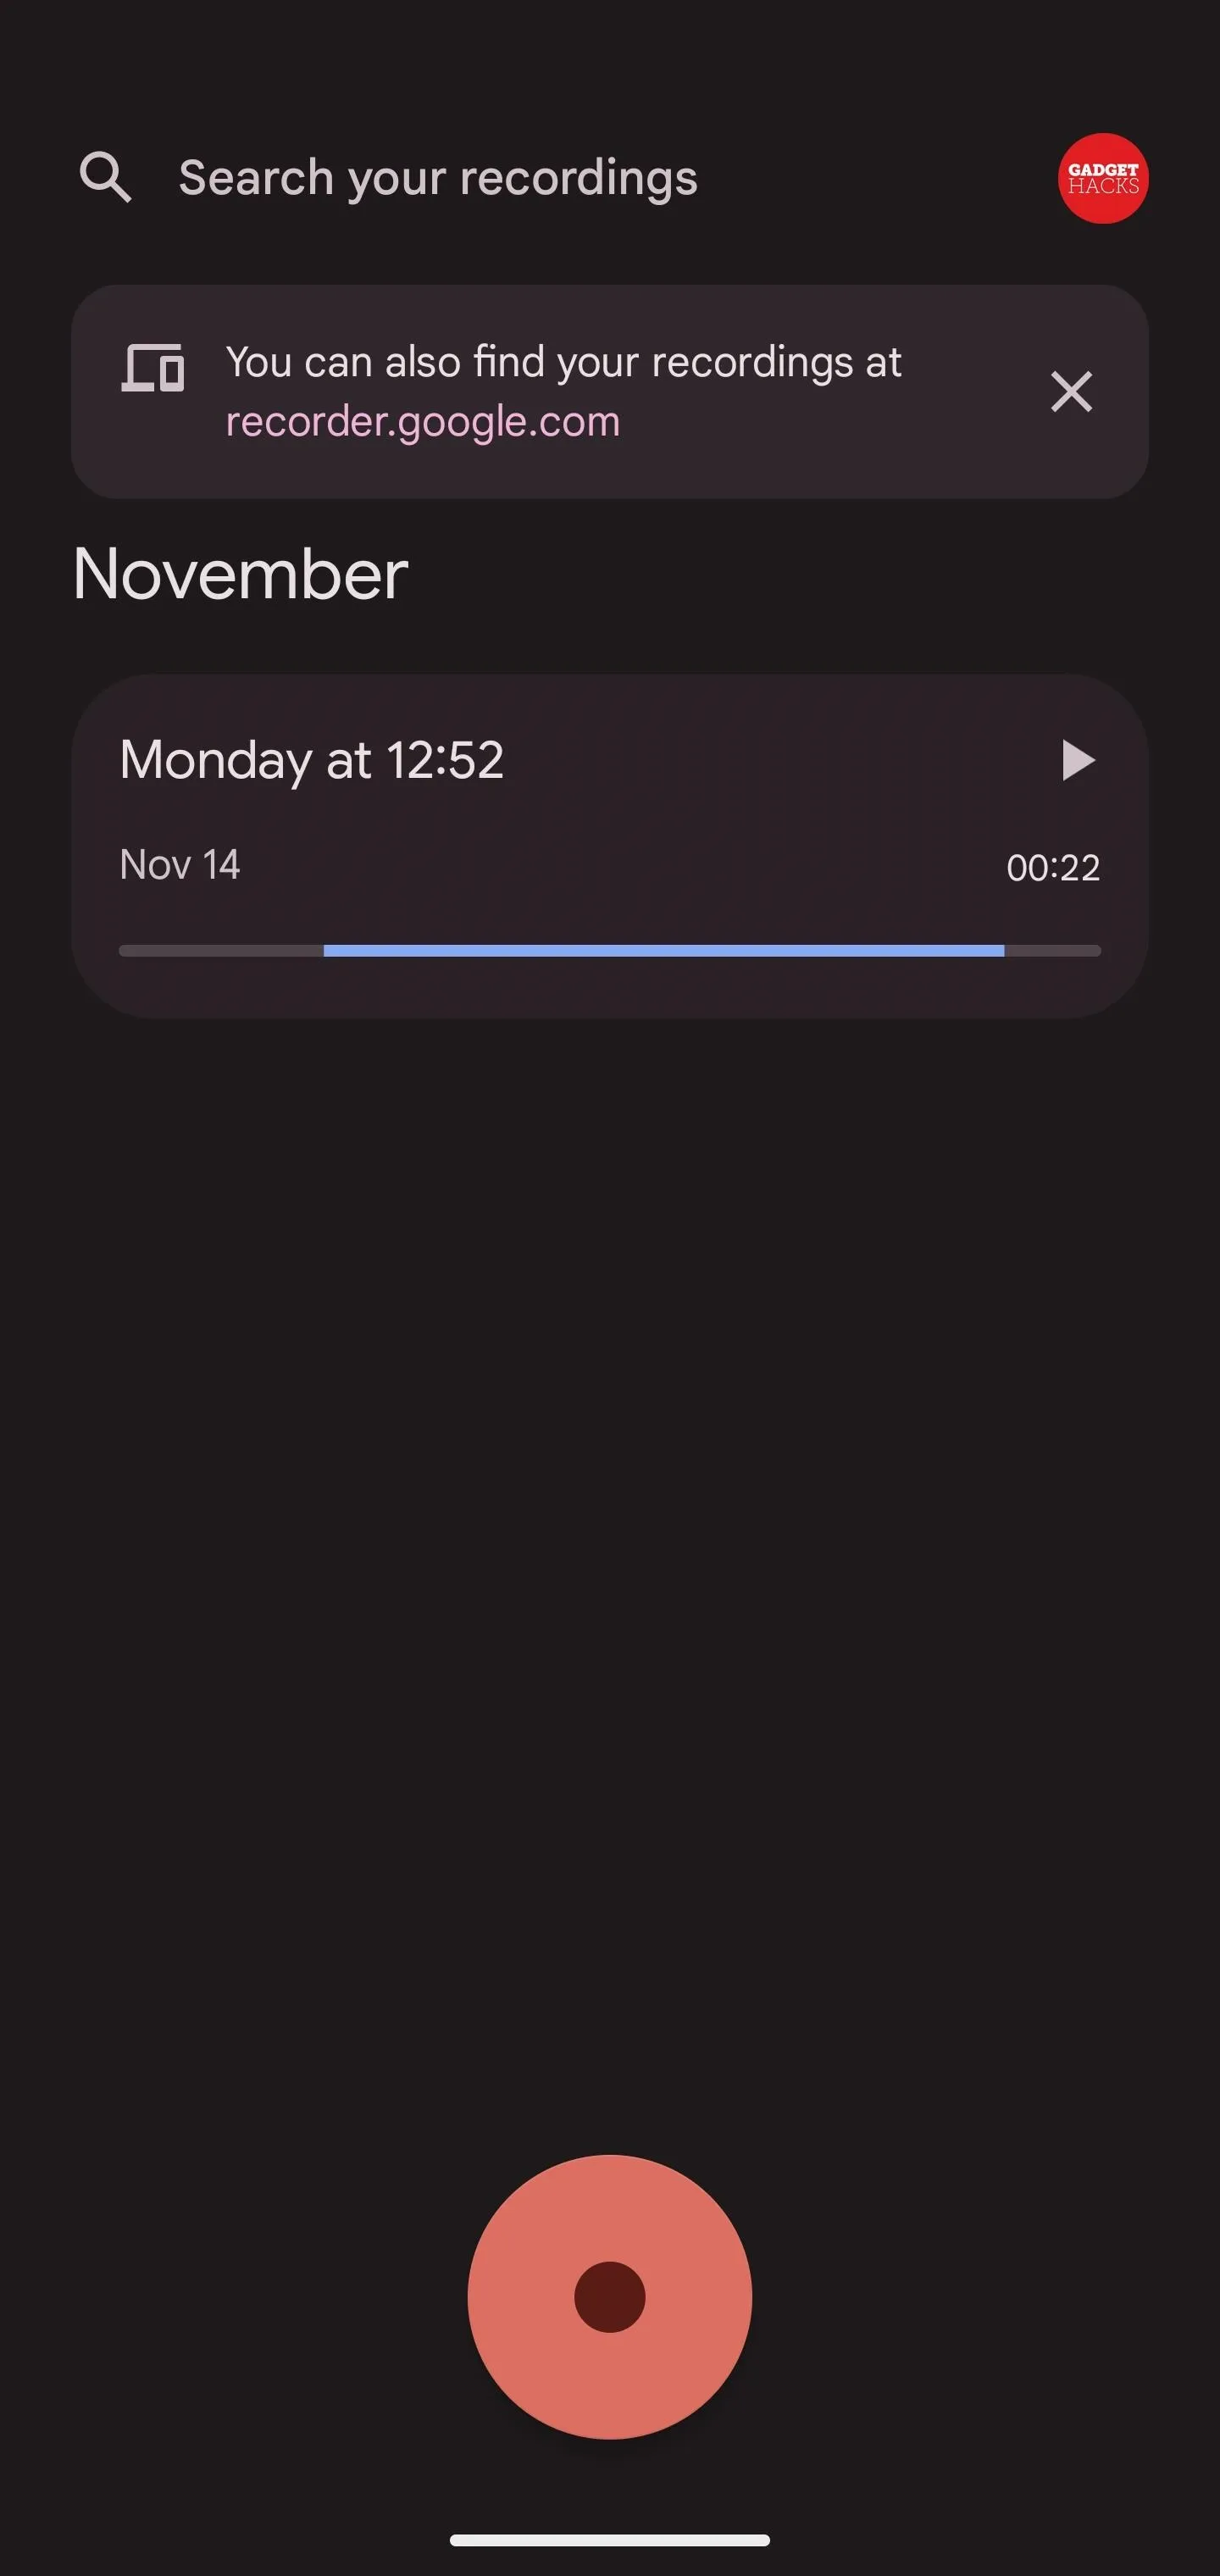
Find and open the Google Recorder app on your Android phone. You'll see prompts requesting microphone access and permission to send notifications if it's your first time using it. And there will be an option to switch Google Accounts if you're logged into more than one on your device. You can even back up recordings to your Google Account at recorder.google.com, where you can play back audio, view transcripts, copy/paste text, and share notes.
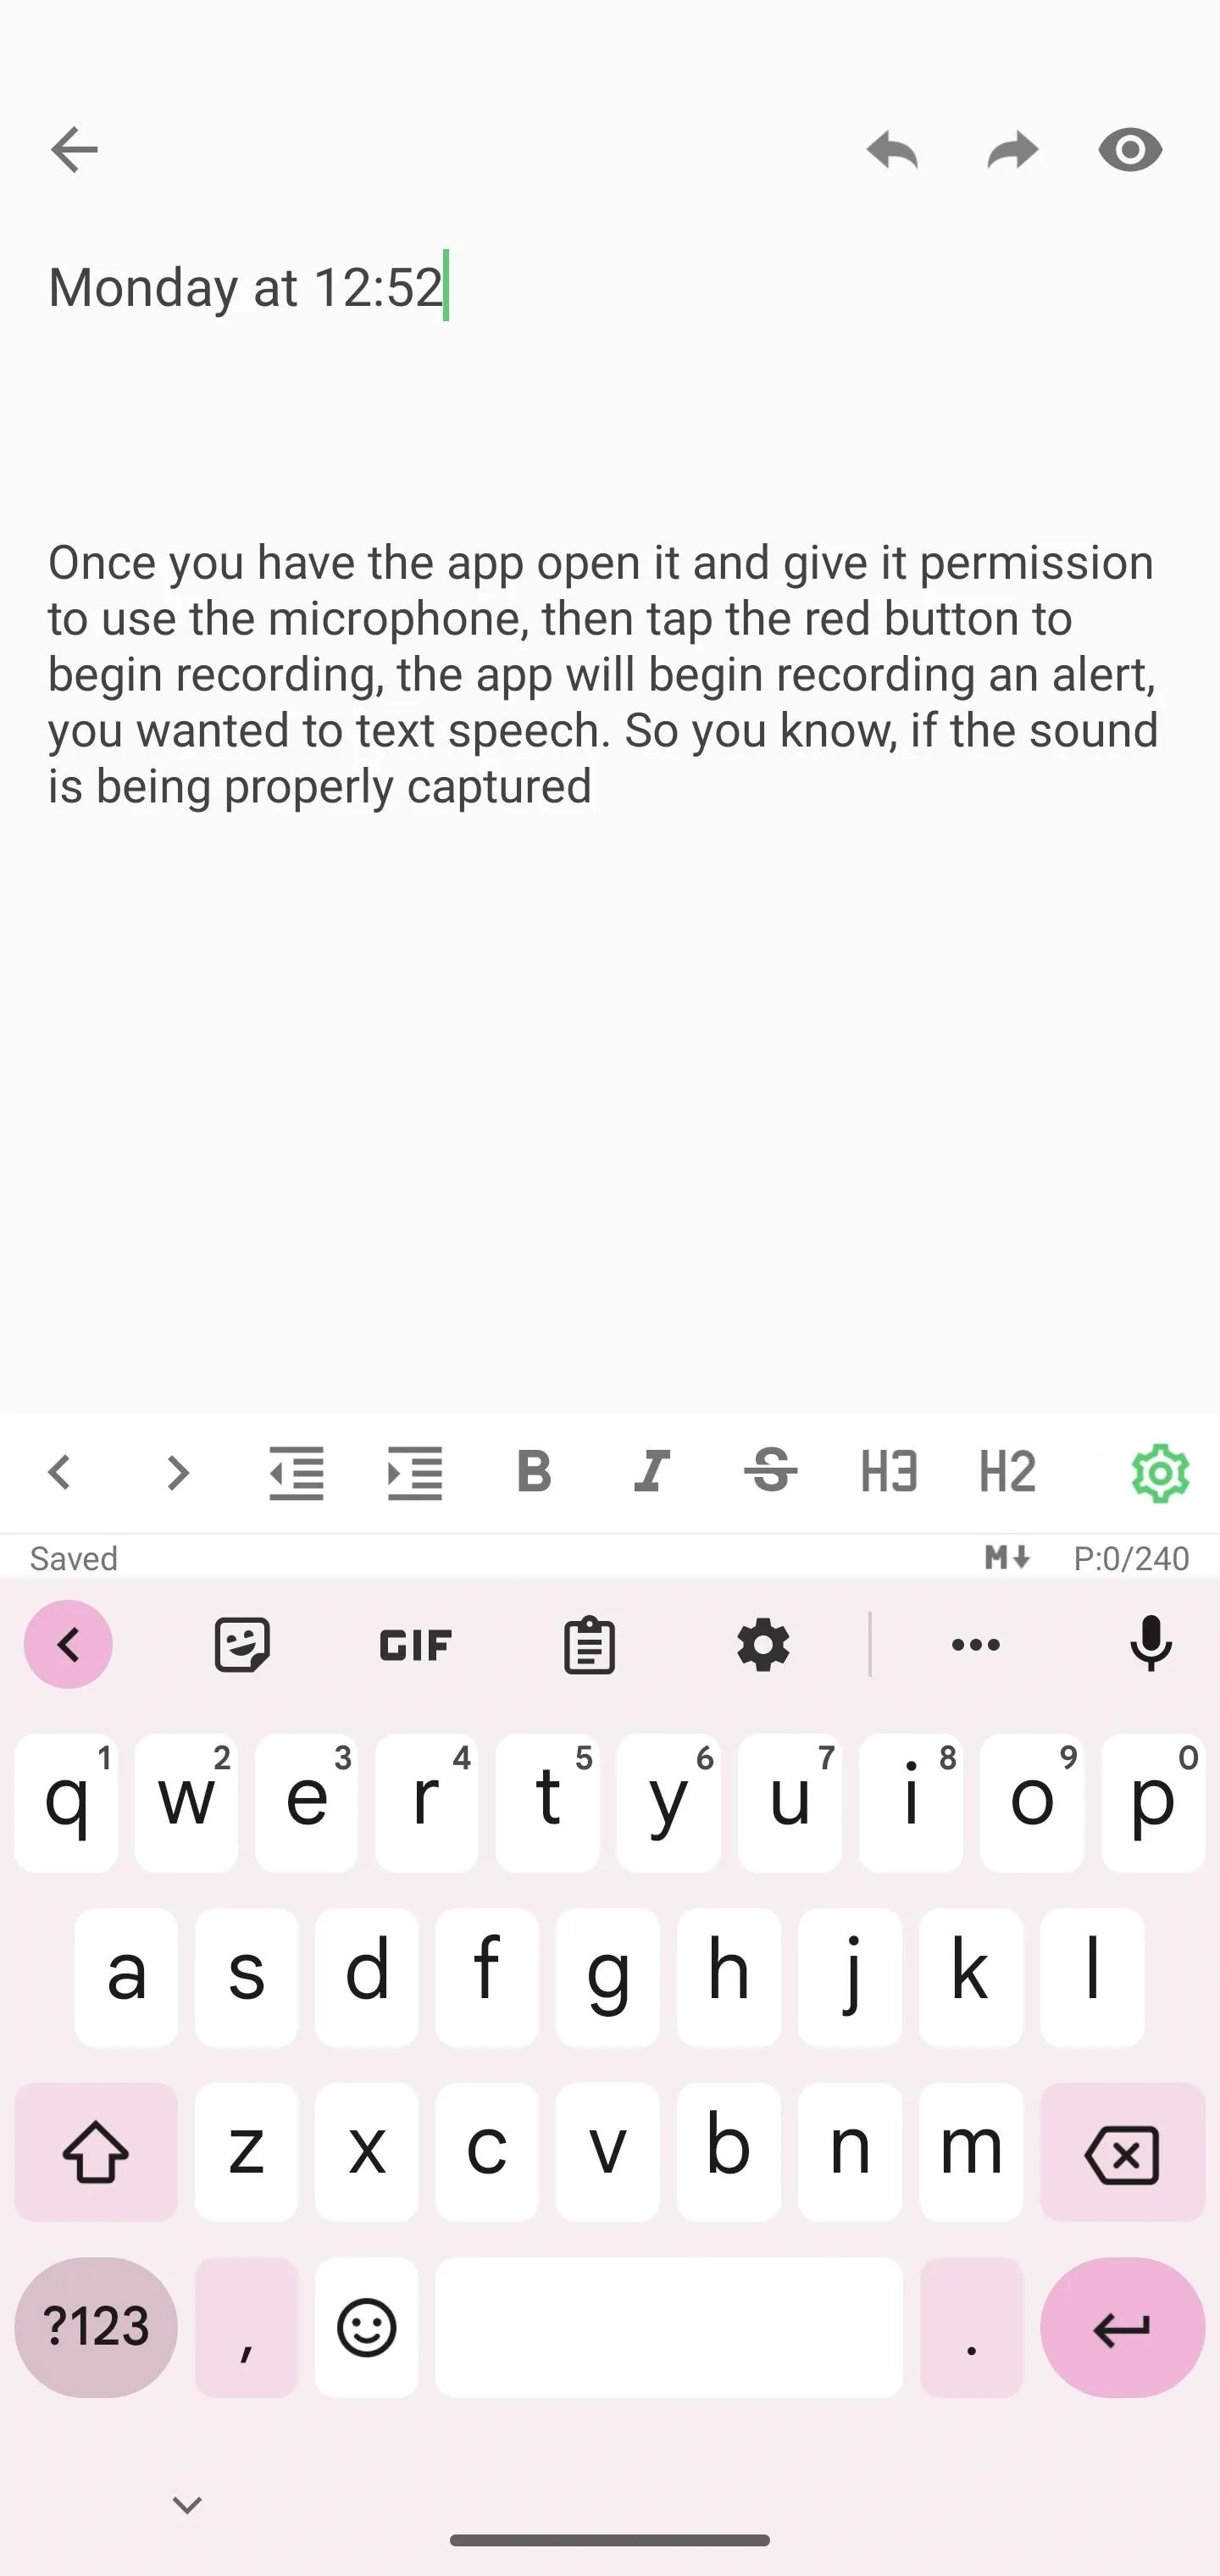
With mic permissions granted, tap the red button to begin a recording. The app will start recording and alert you when it detects speech, so you know if the sound is being properly captured.
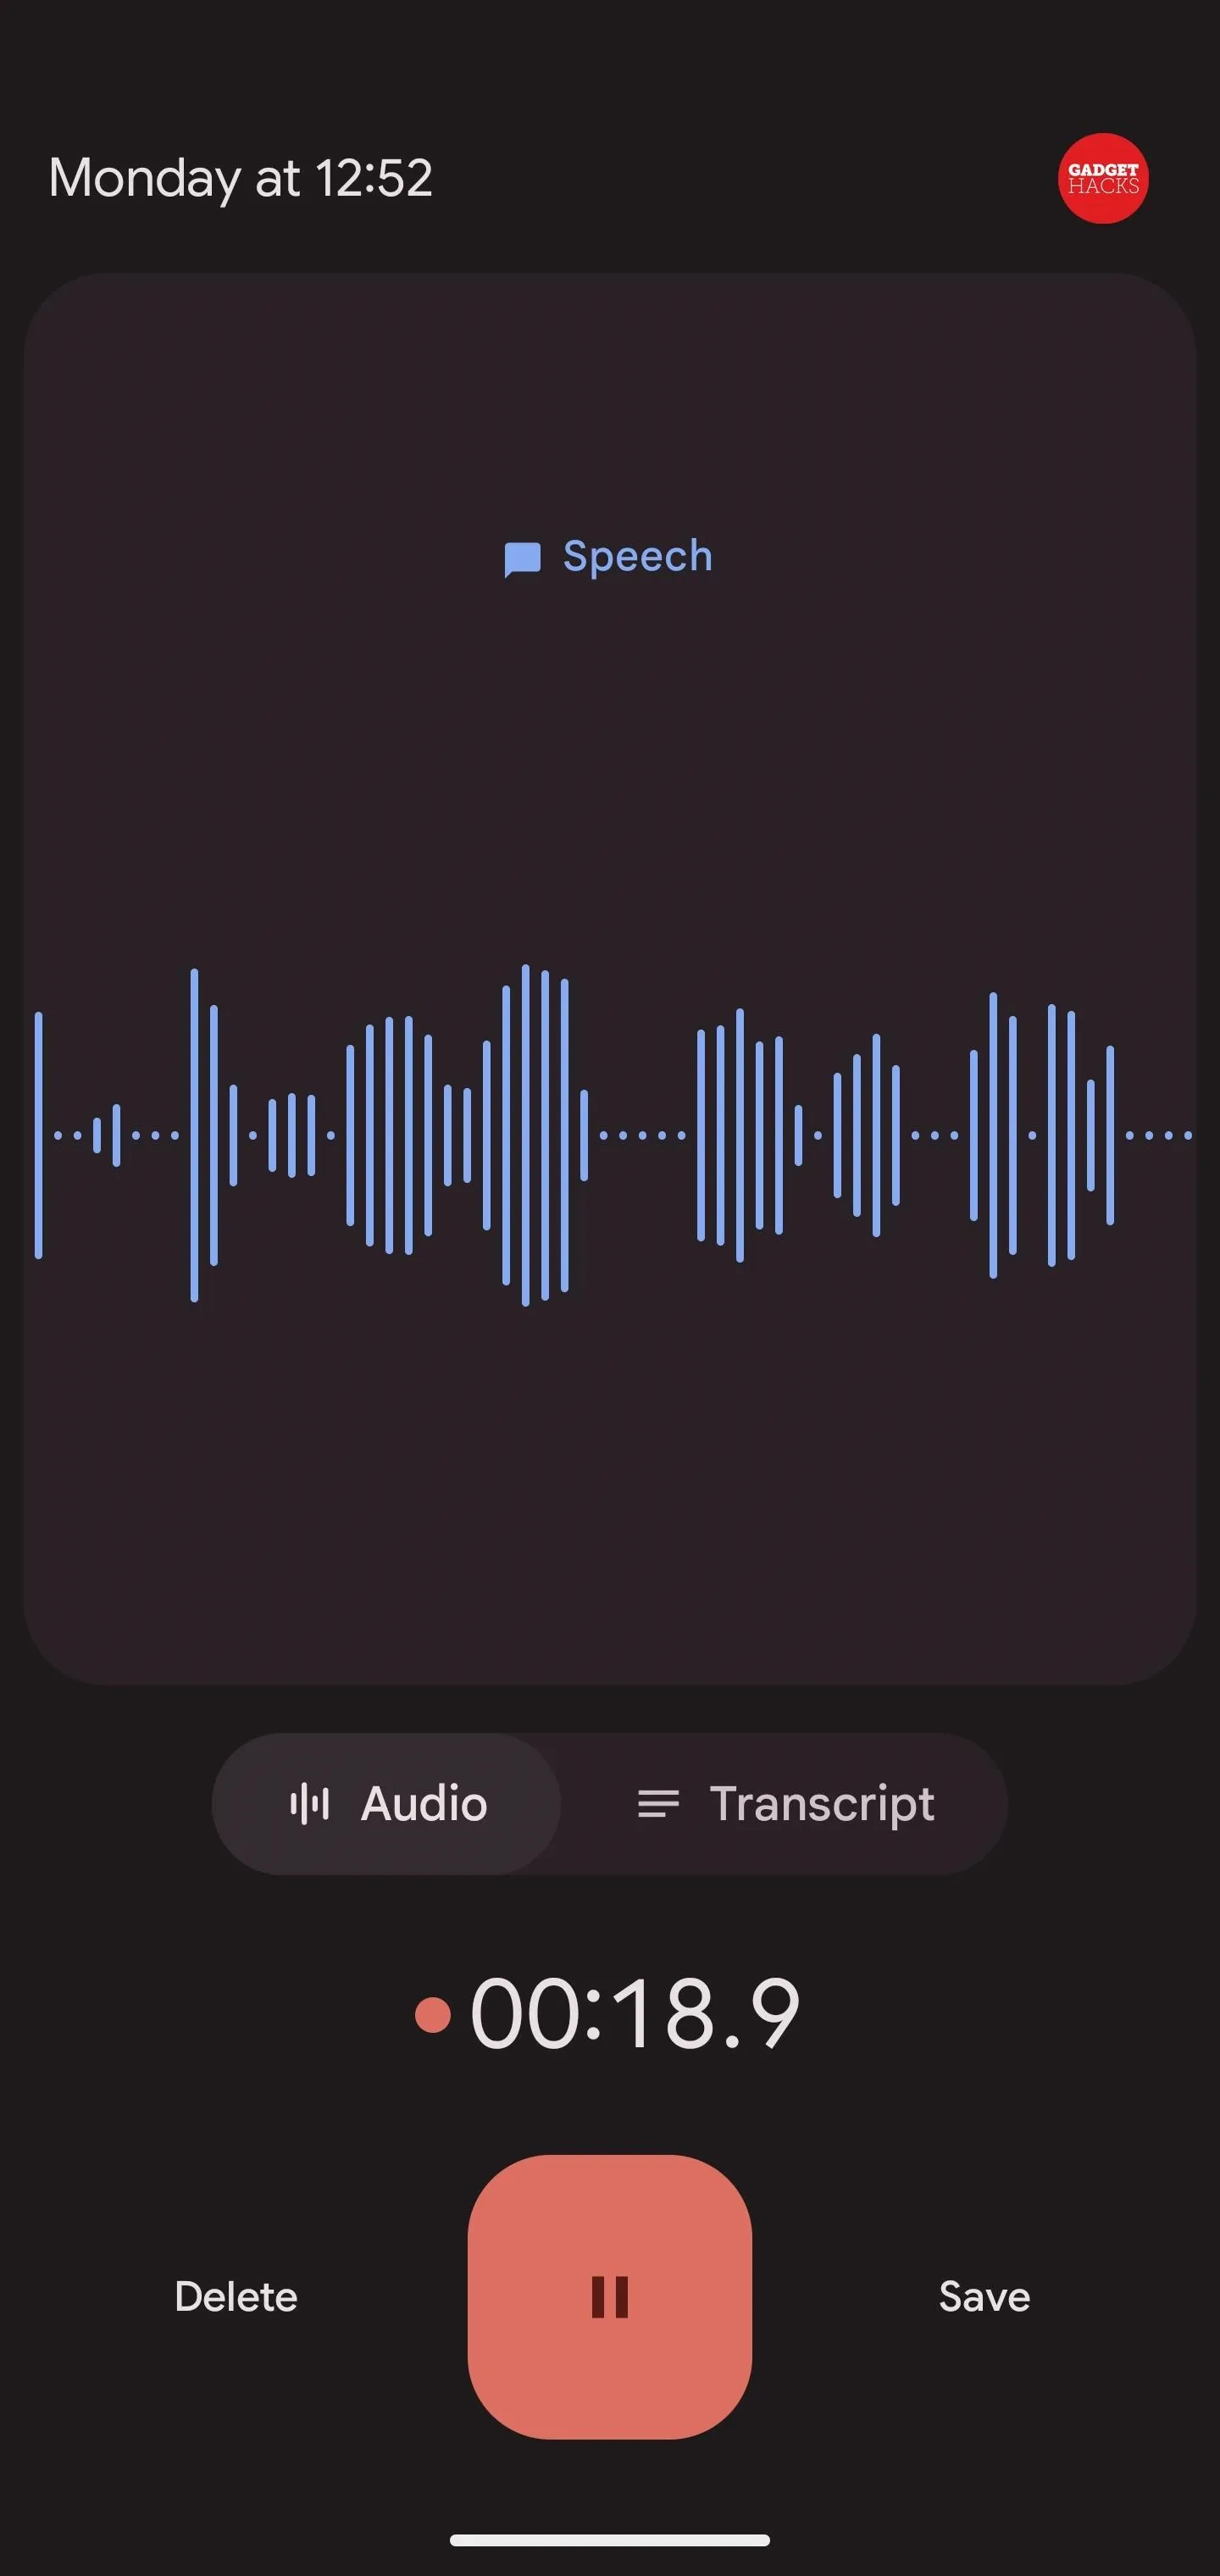
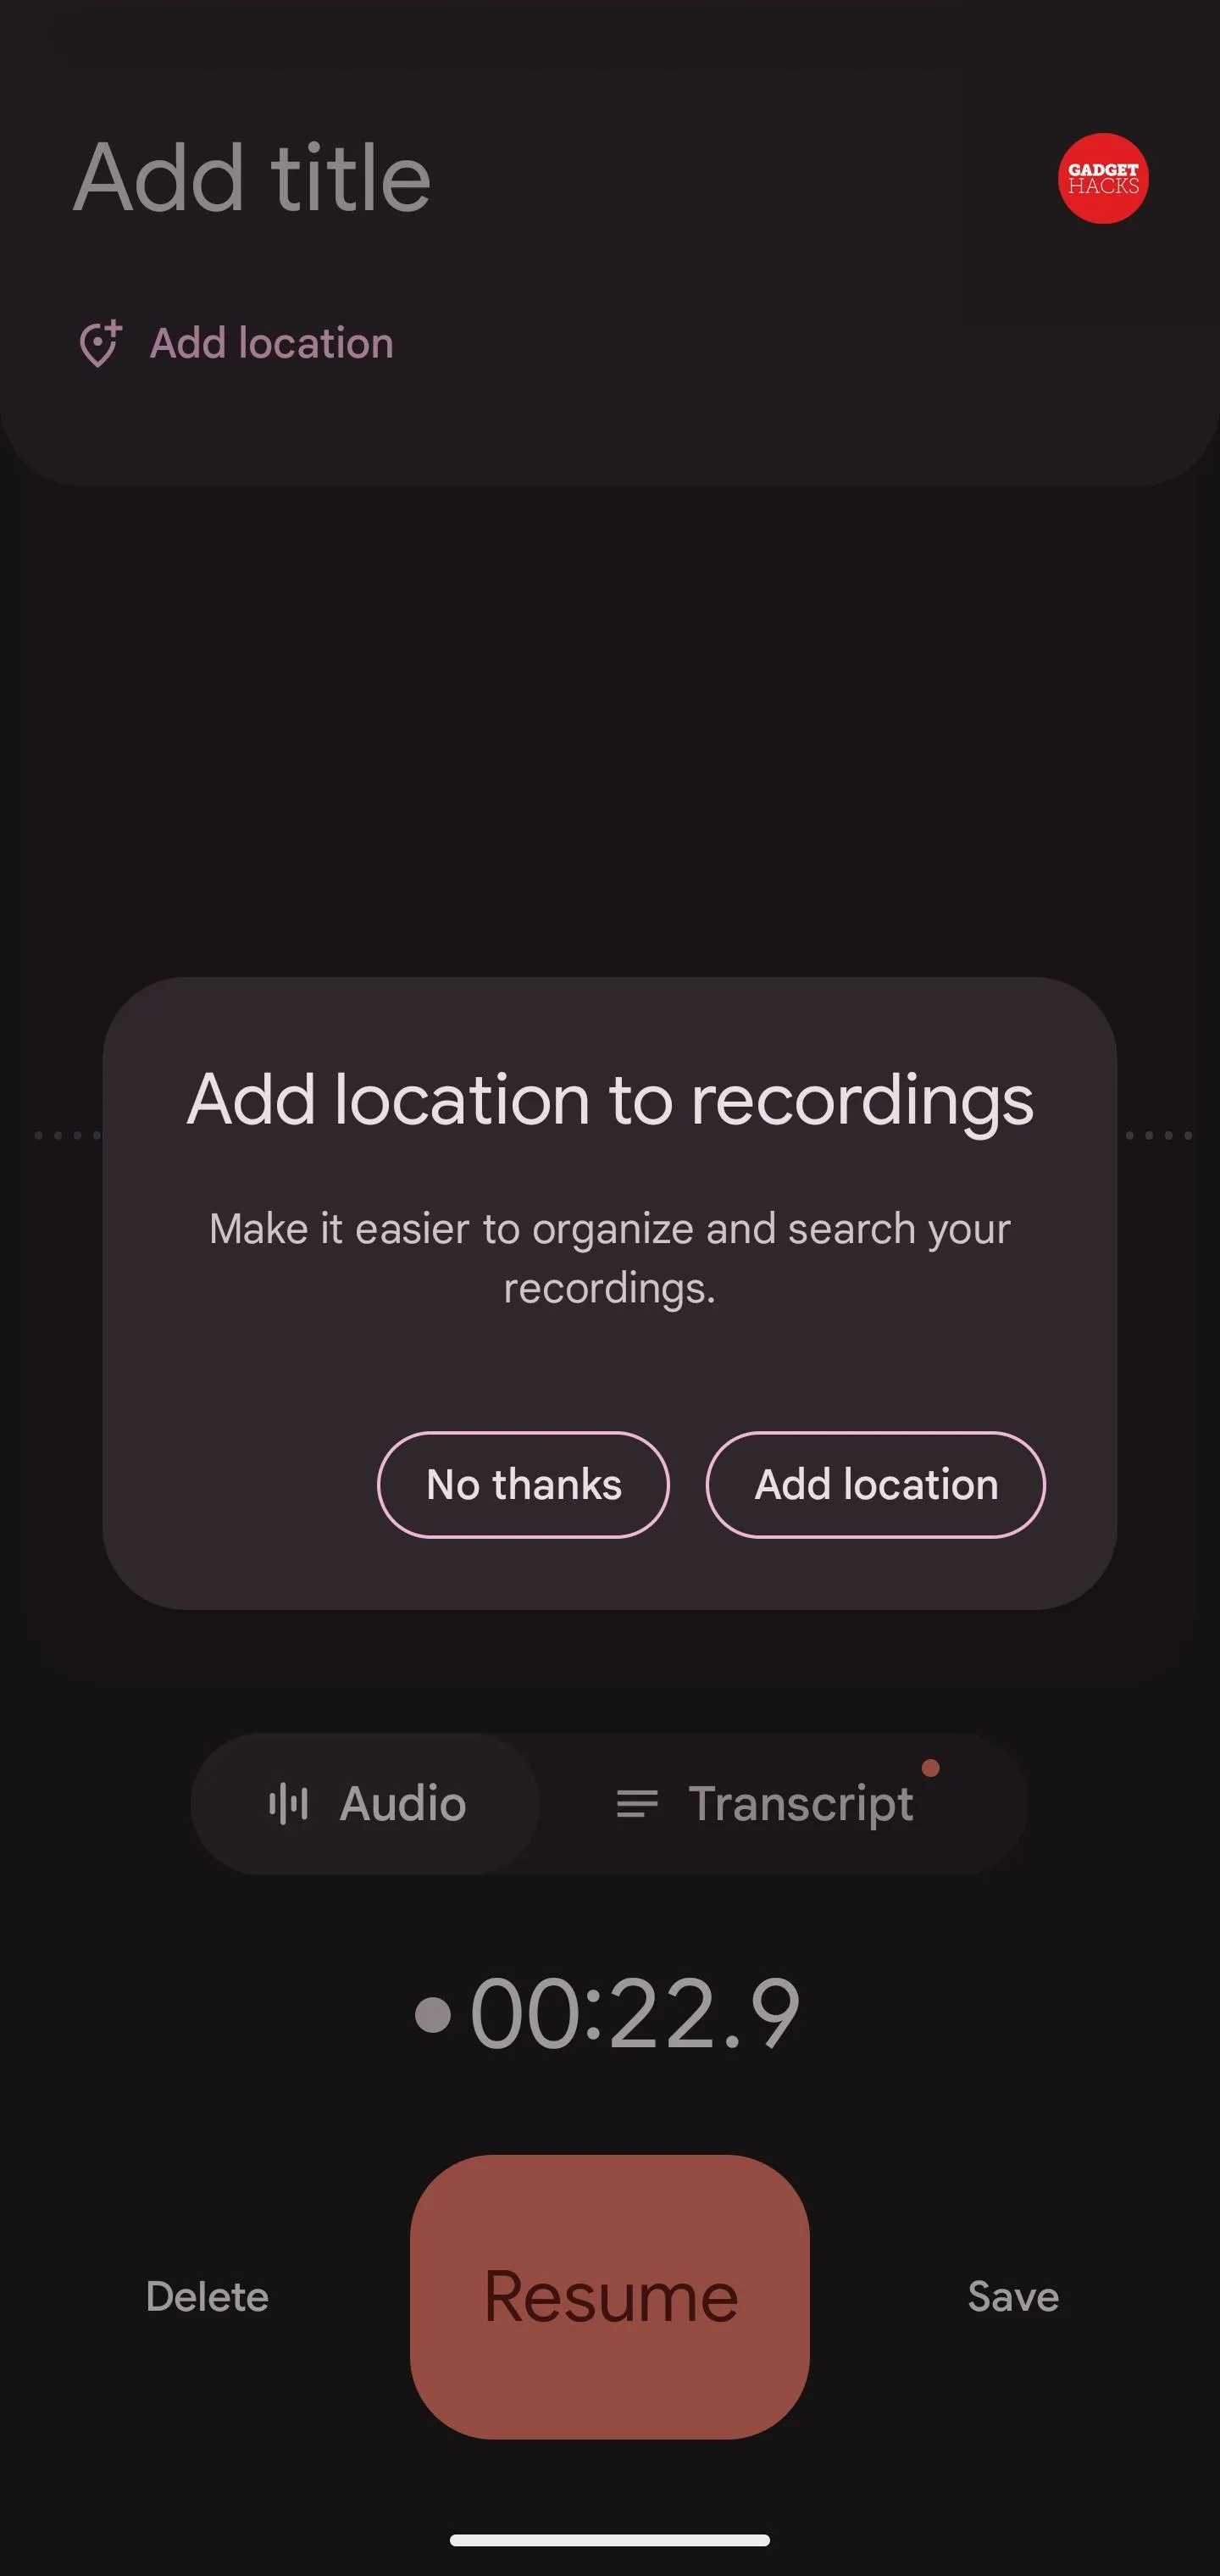
When done, tap the pause button, which turns into a resume button in case you want to keep adding to the file. You may be asked about adding a location, and you can add a title for the recording (which will be the date/time if left blank). Tap "Save" to add it to your library.
View, Copy, or Edit the Transcript (Optional)
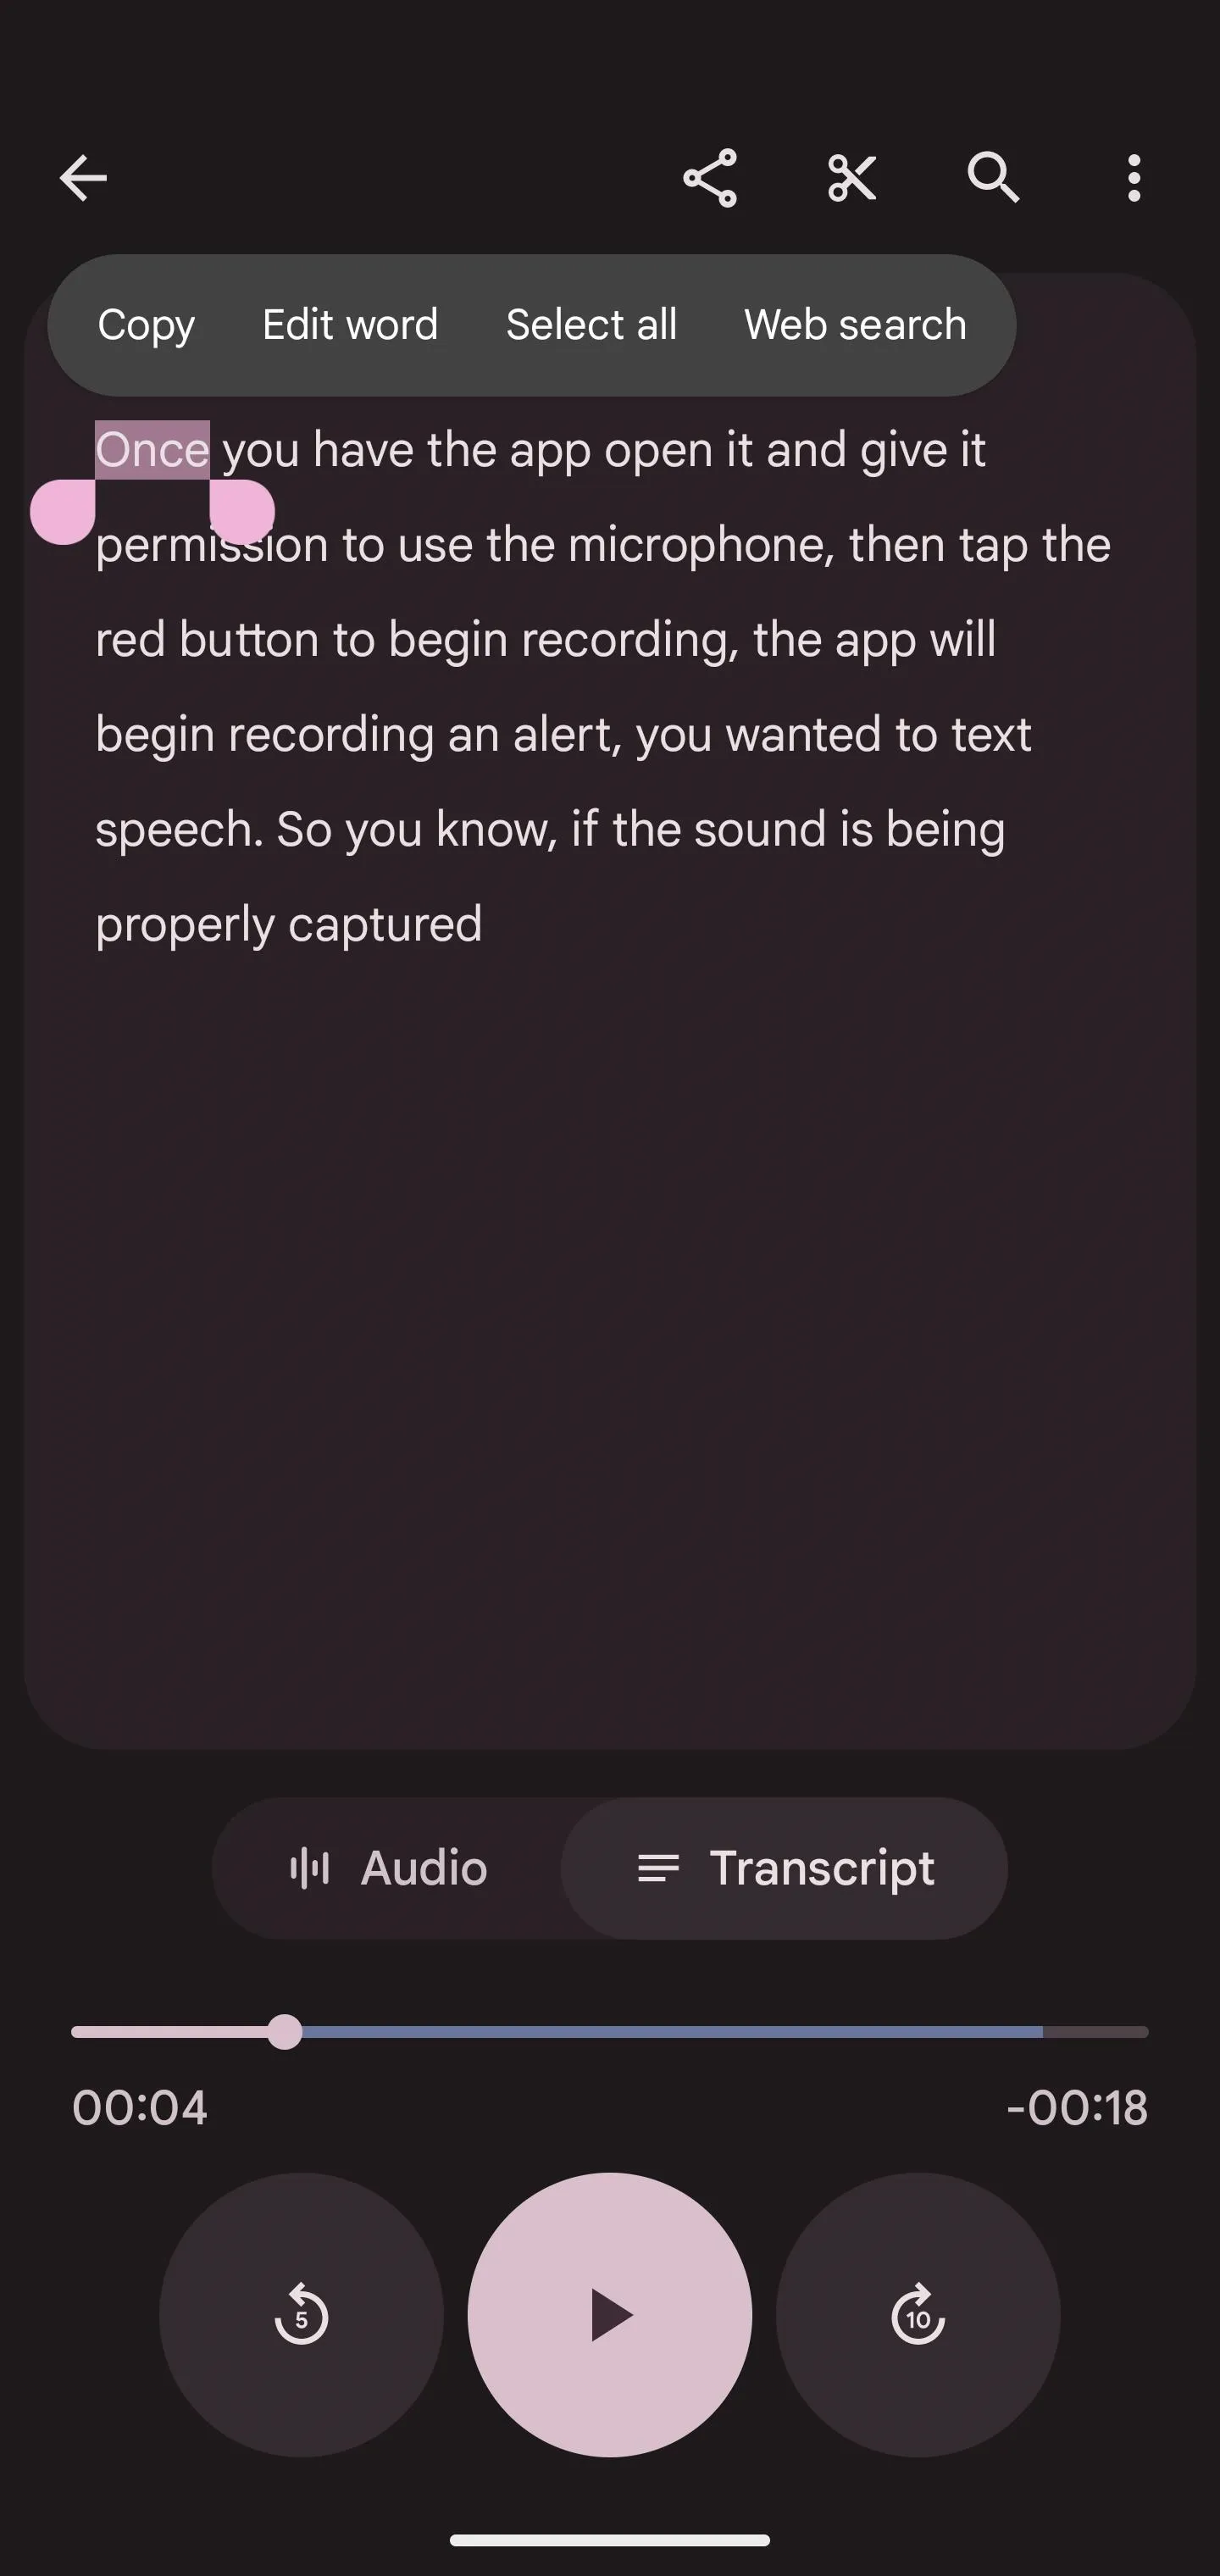
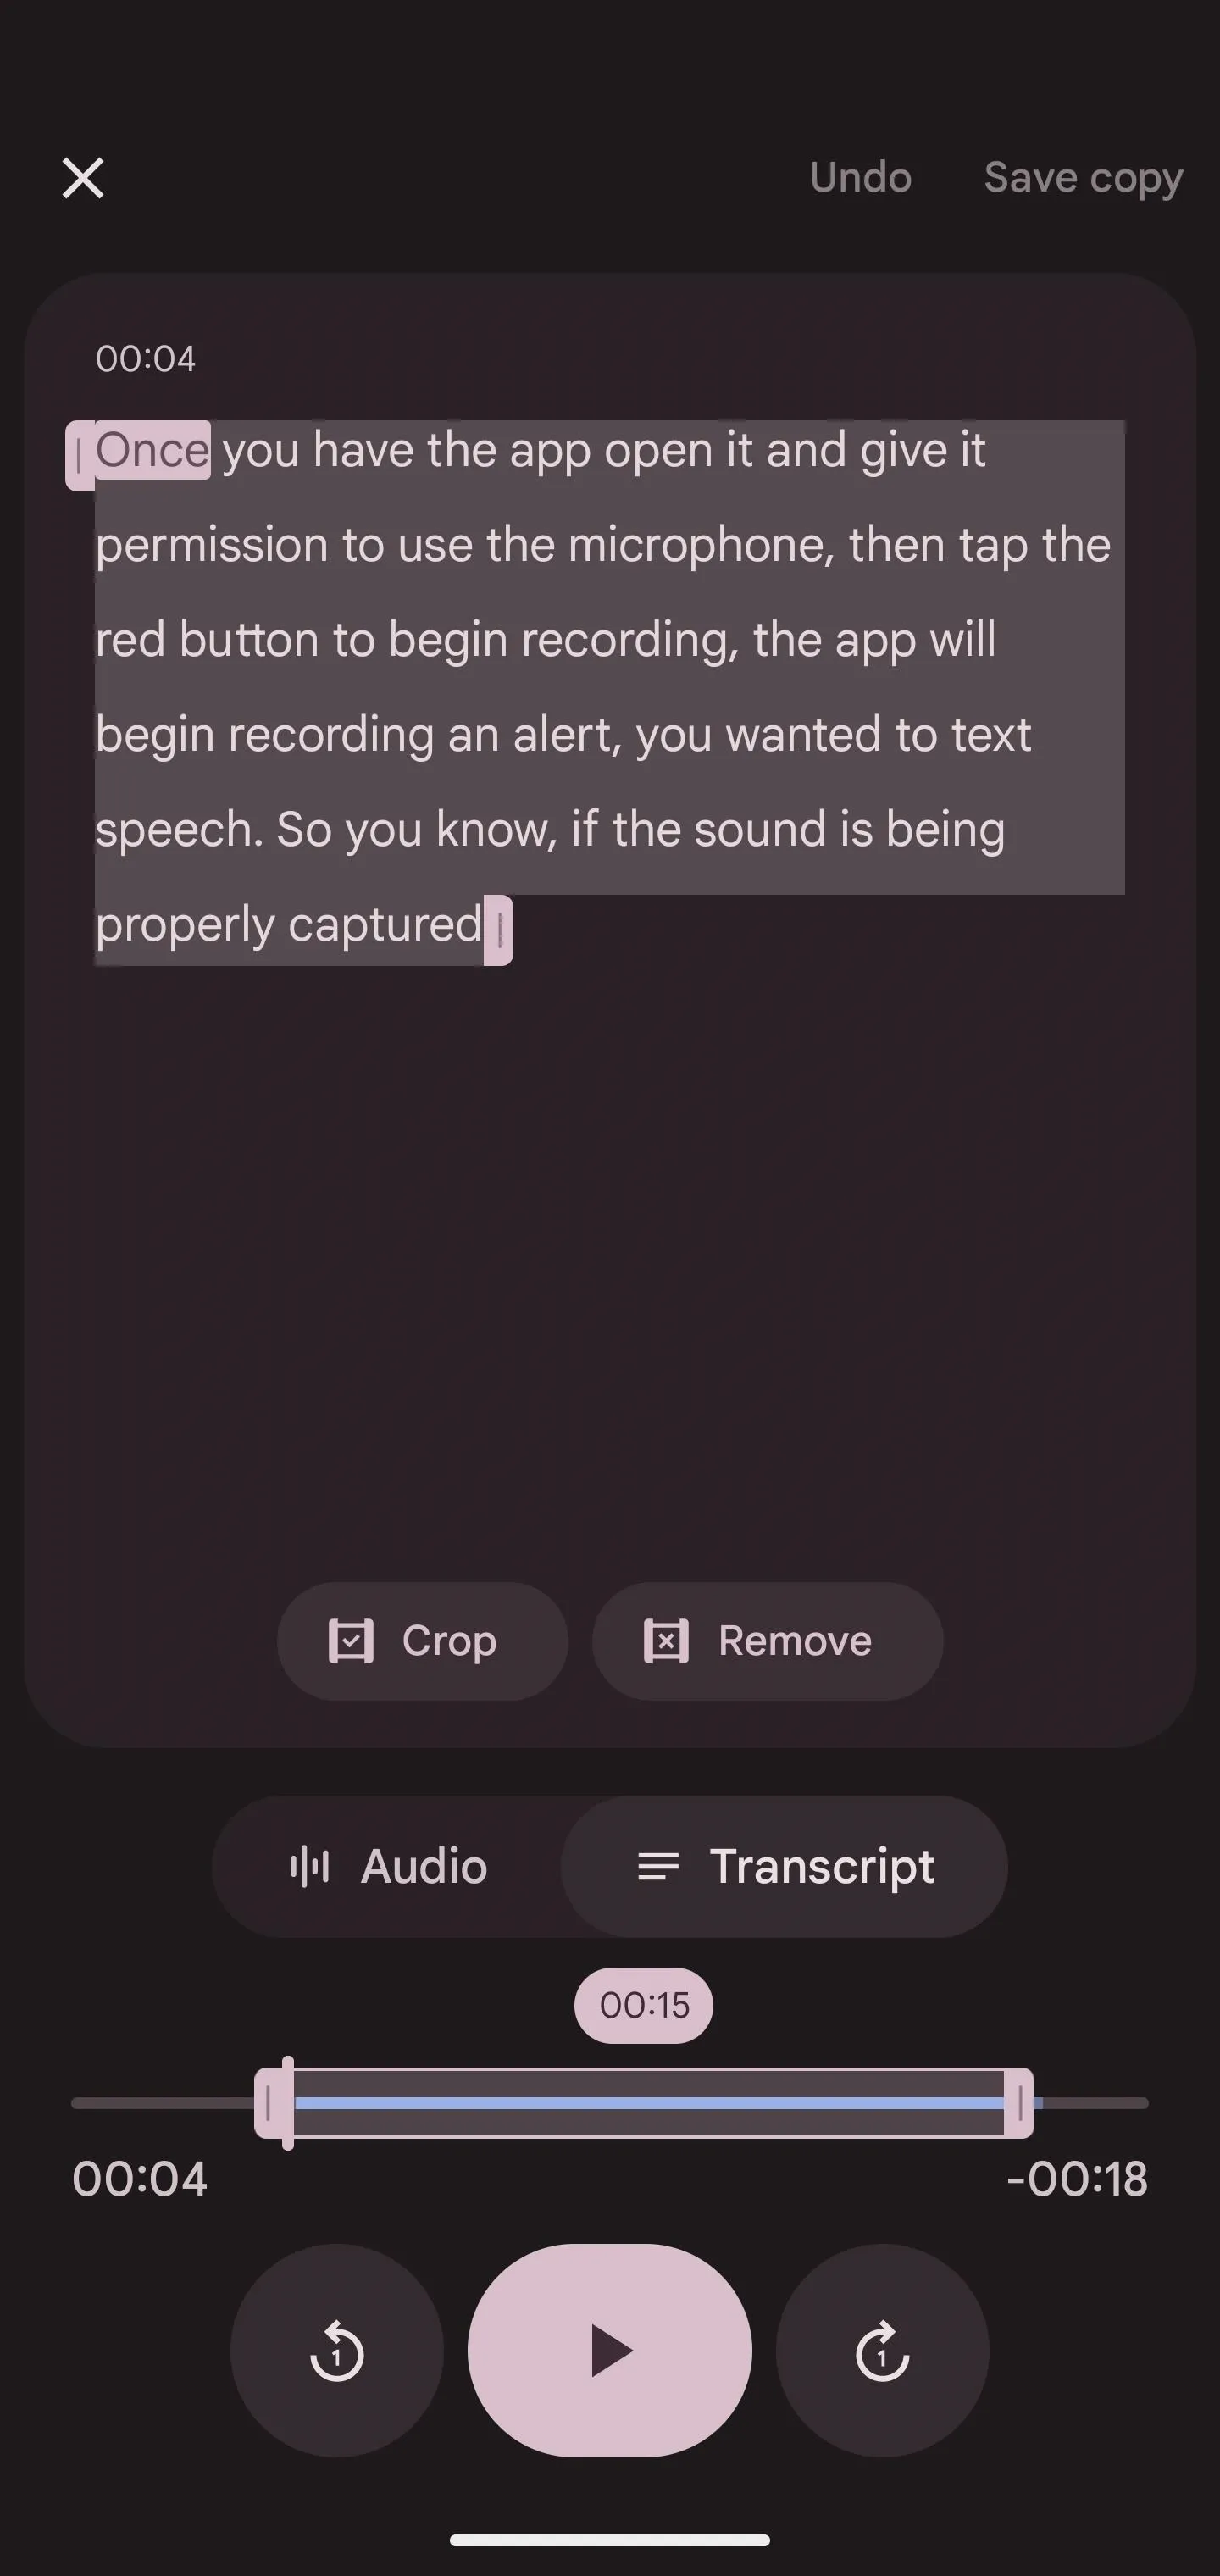
If you need to copy a few words from a recording, you can open it from the list in Google Recorder, then hit the "Transcript" tab. You'll see the entire transcript, where you can select and copy text. You can also hit the scissors button to trim the audio using the transcript as a guideline.
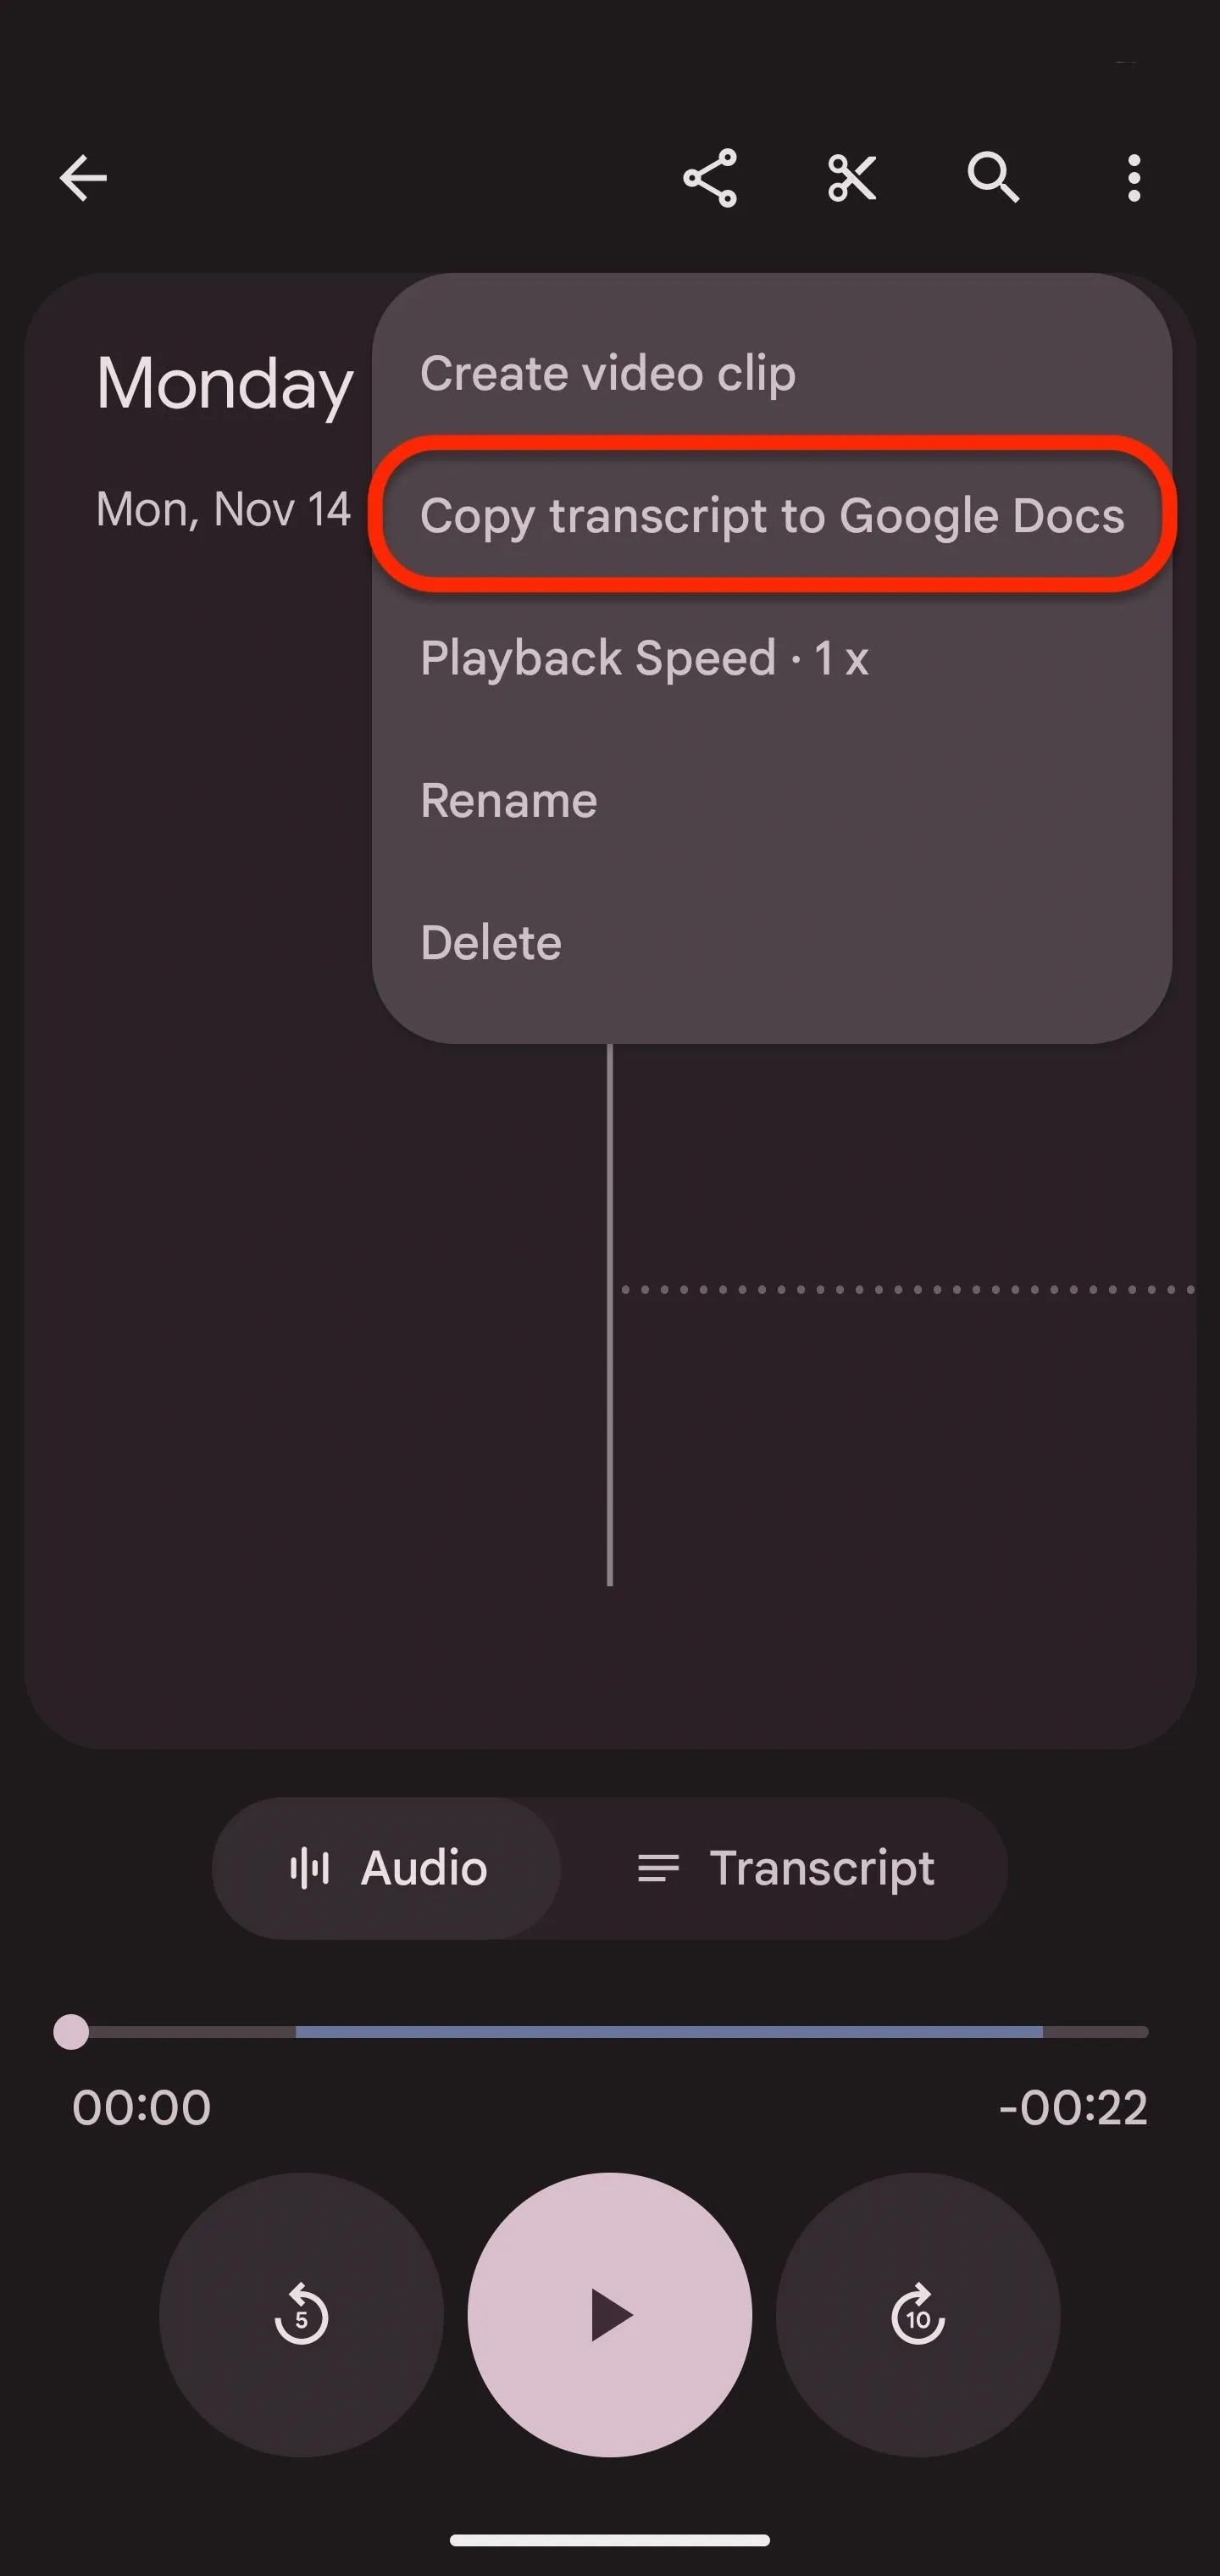
Copy the Transcript to Google Docs (Optional)
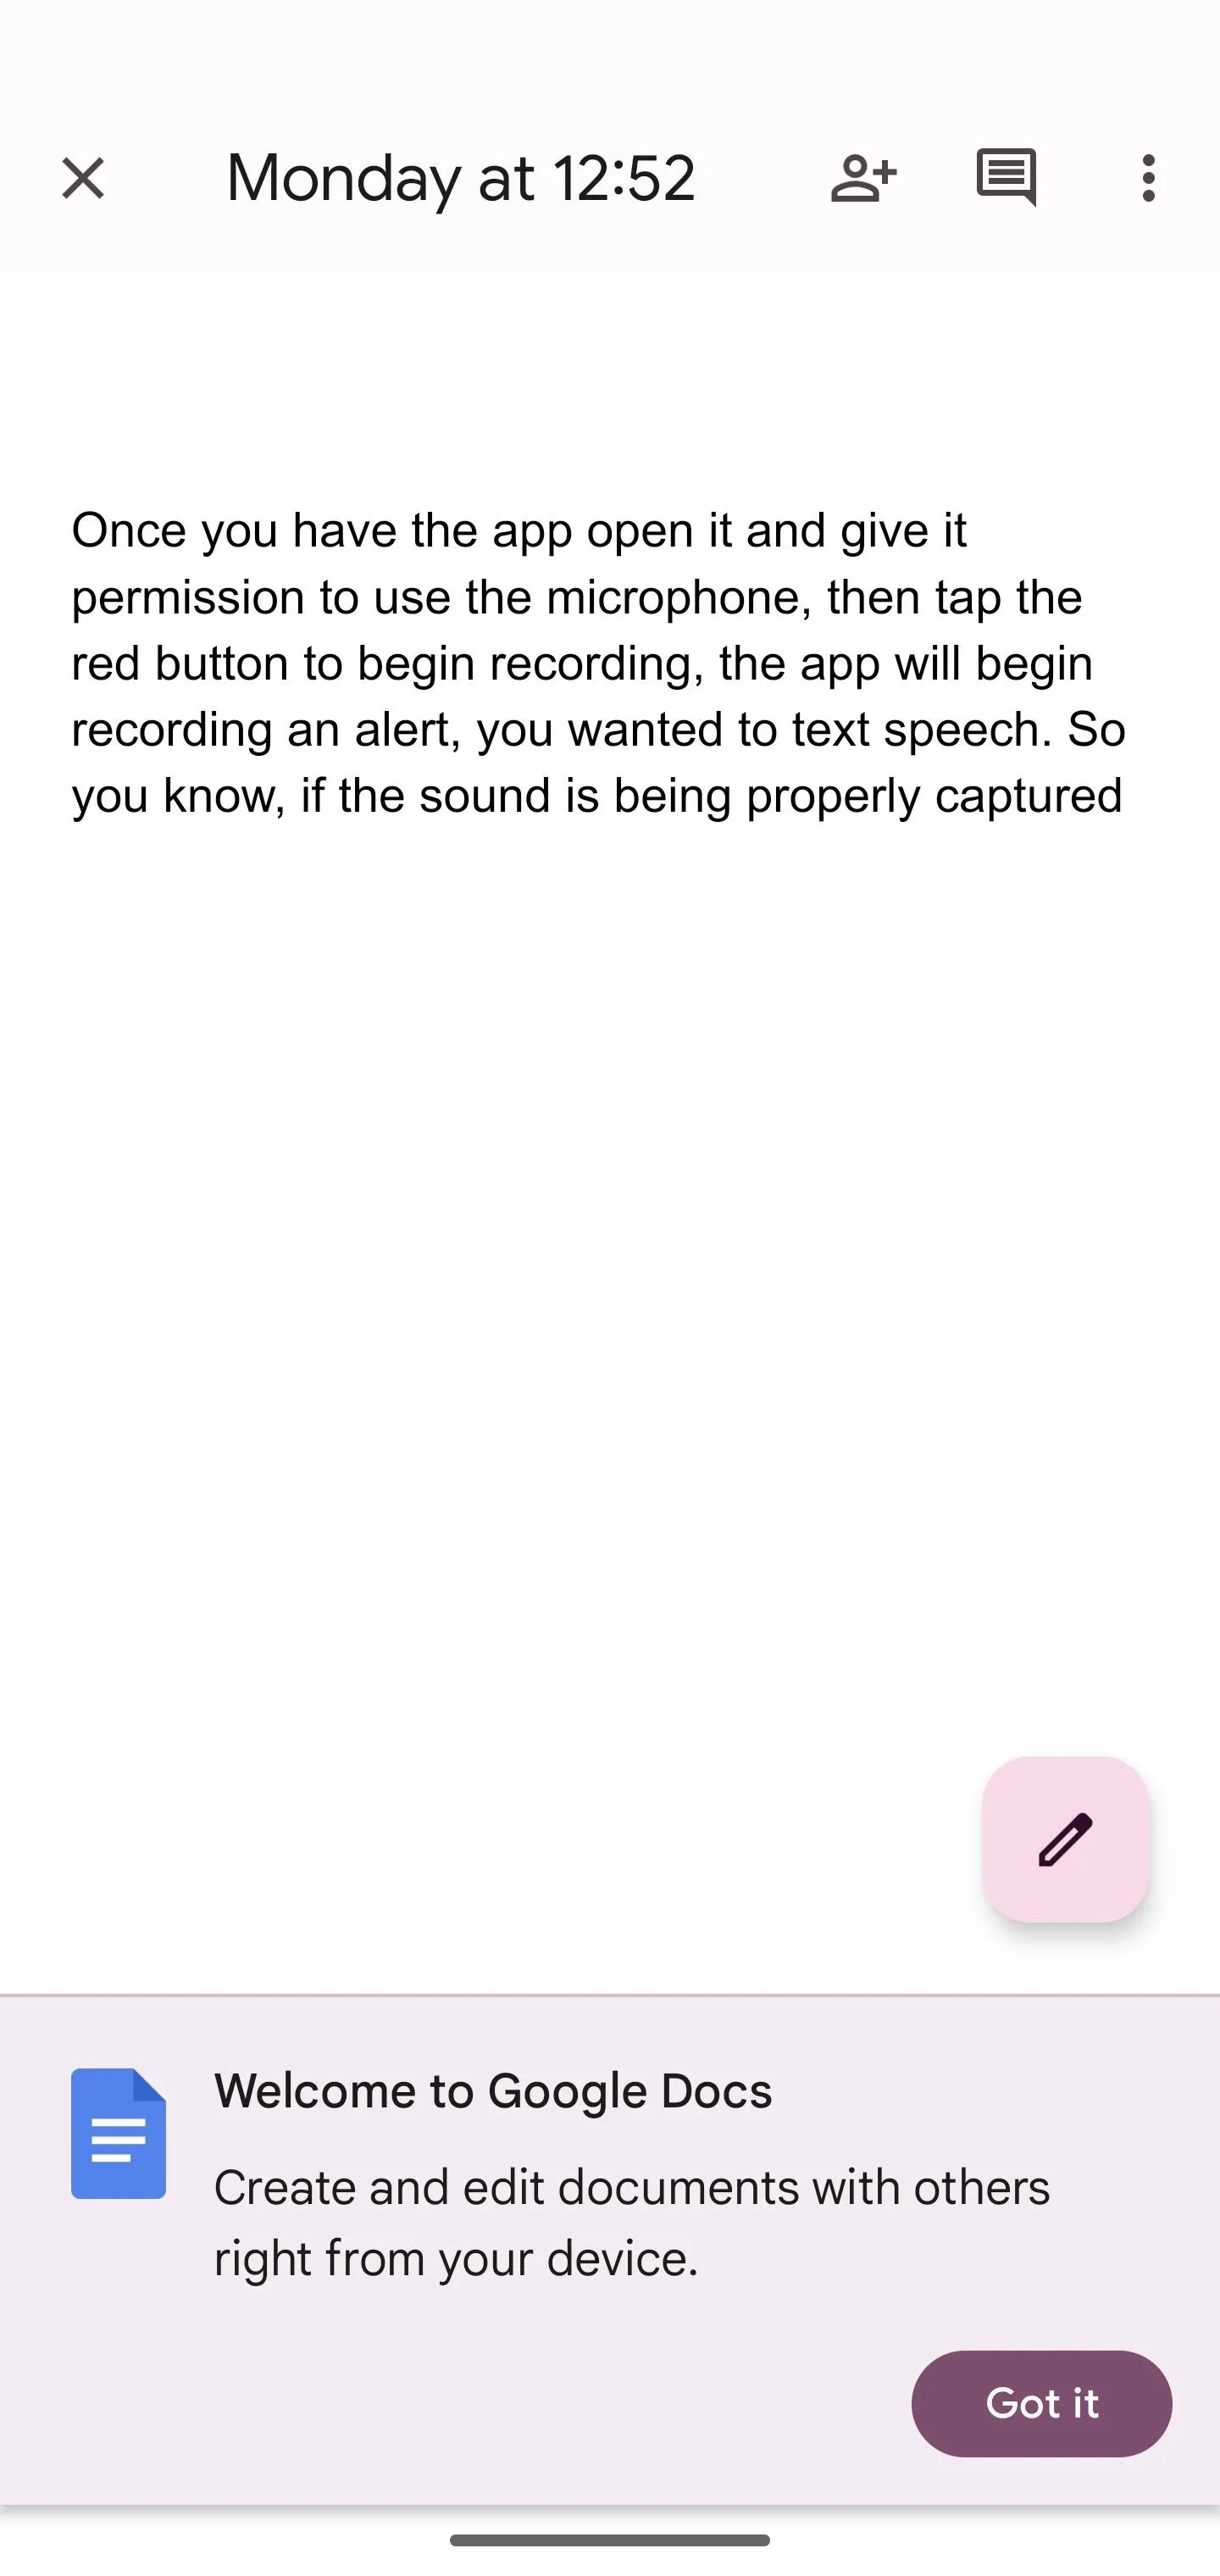
If you don't want to use Google Docs, skip to the next step for sharing transcripts with other note-taking and word document apps. Otherwise, tap the vertical ellipsis from within the recording, choose "Copy transcript to Google Docs," and then choose a Google Account if you are signed into more than just one. Once copied, you can hit "Open Google Docs" to jump right to the new word document.

Share with Your Favorite Note-Taking App
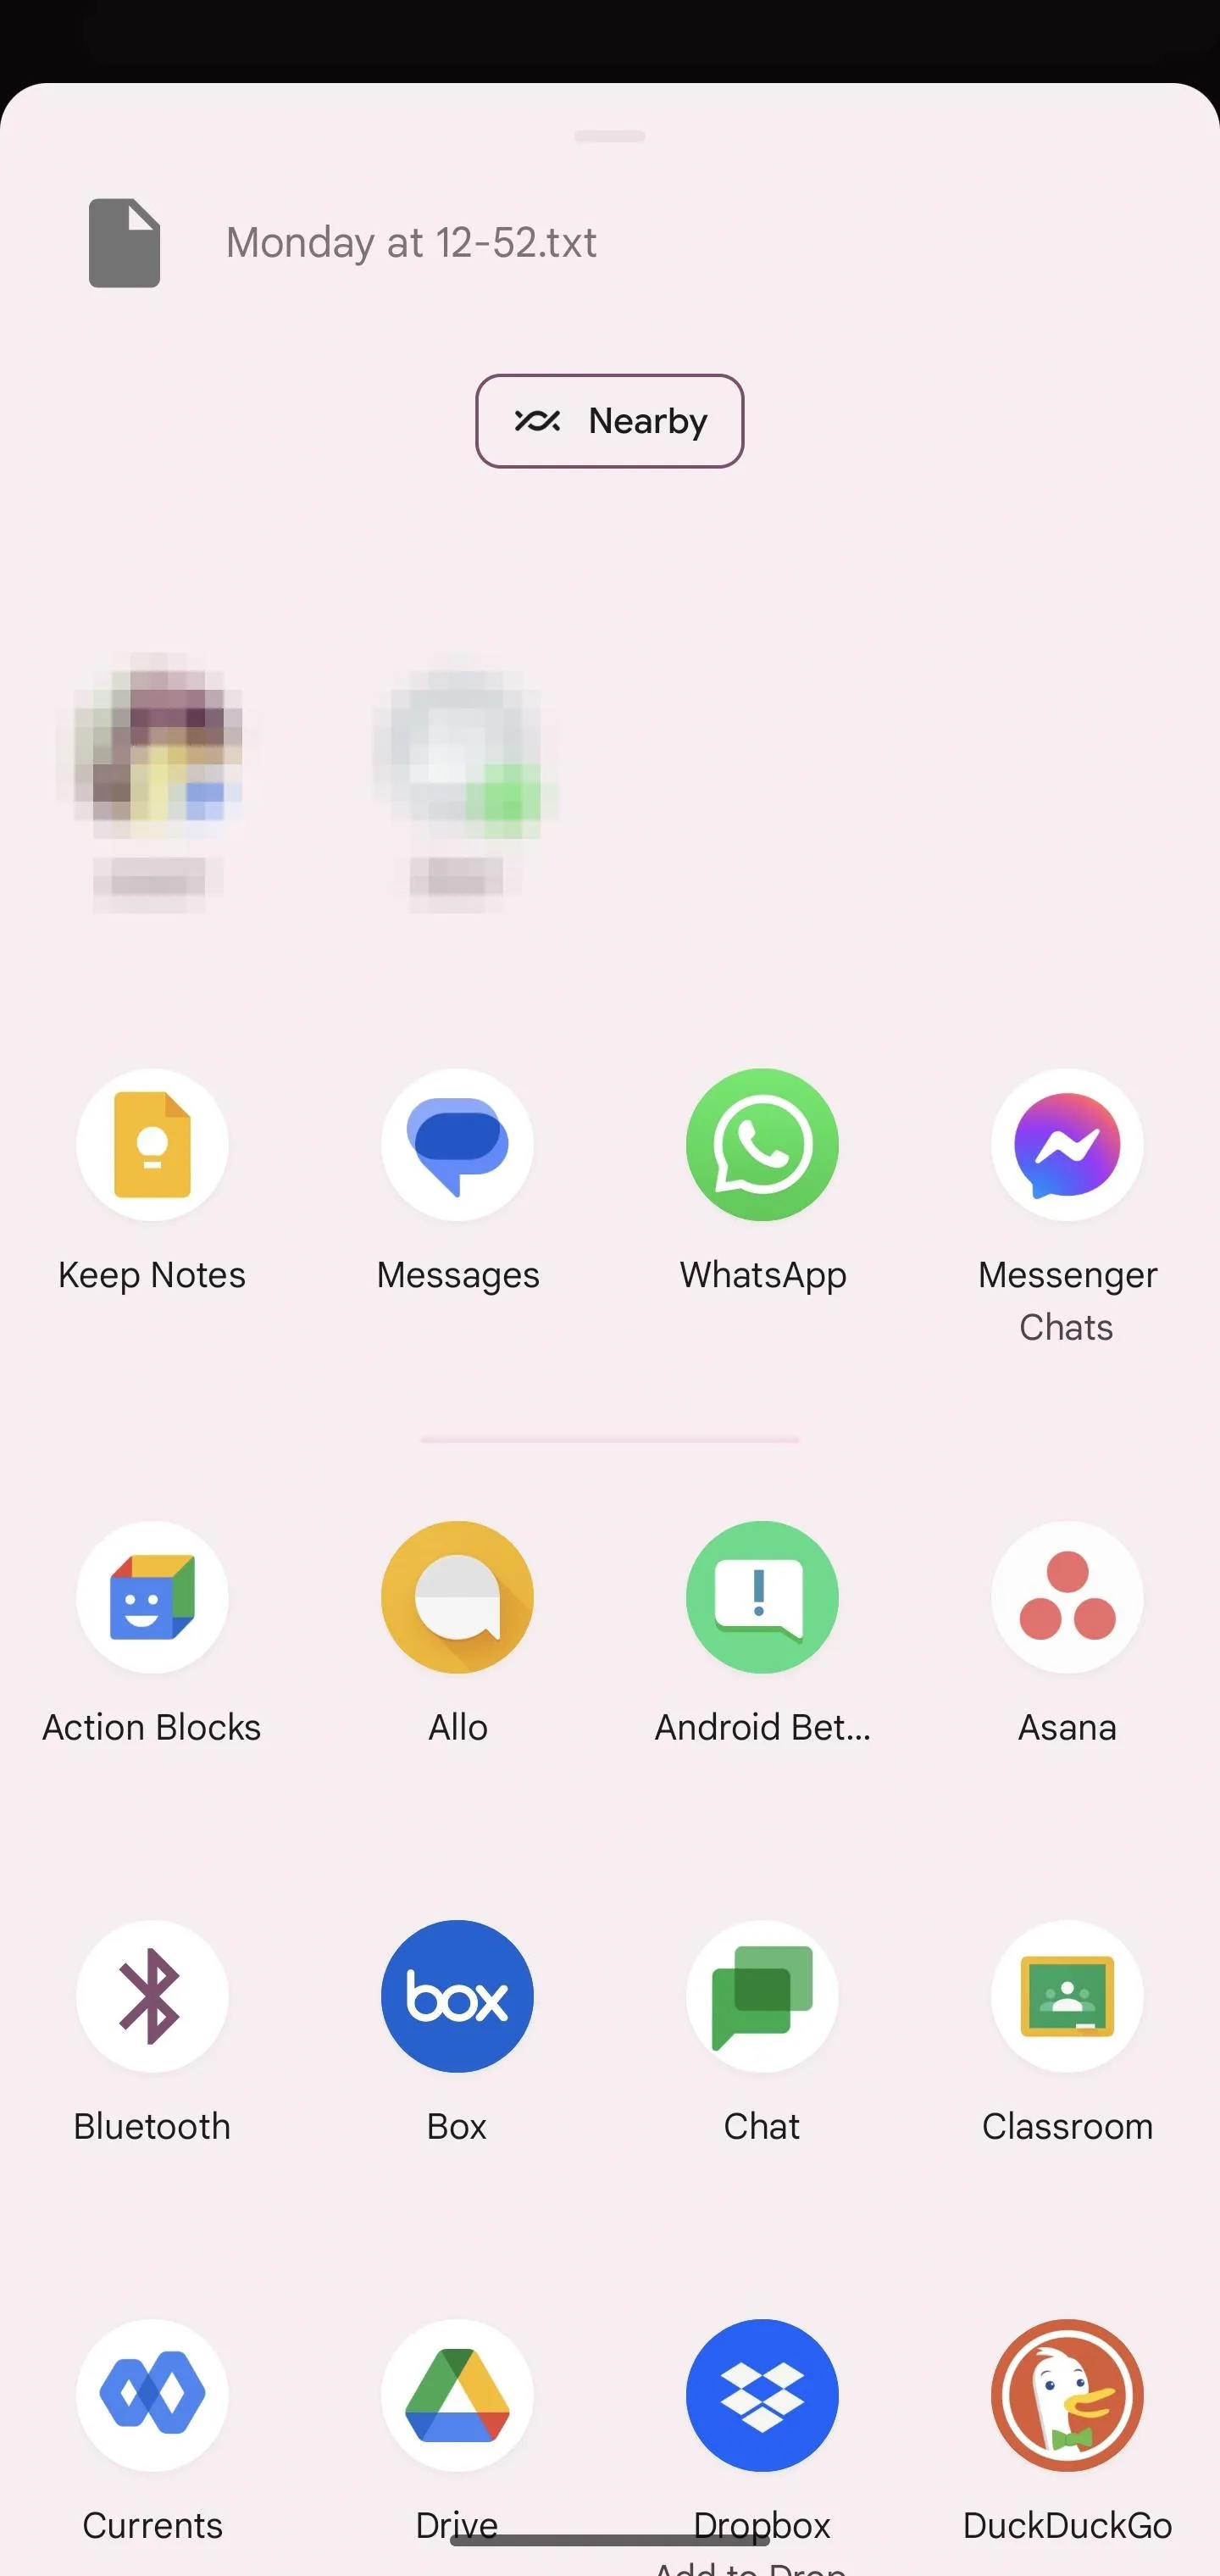
From within the recording, tap the share button, then pick "File" from the action sheet. Next, select "Transcript," which is a simple .txt file. Hit "Next" to choose which app to share with.
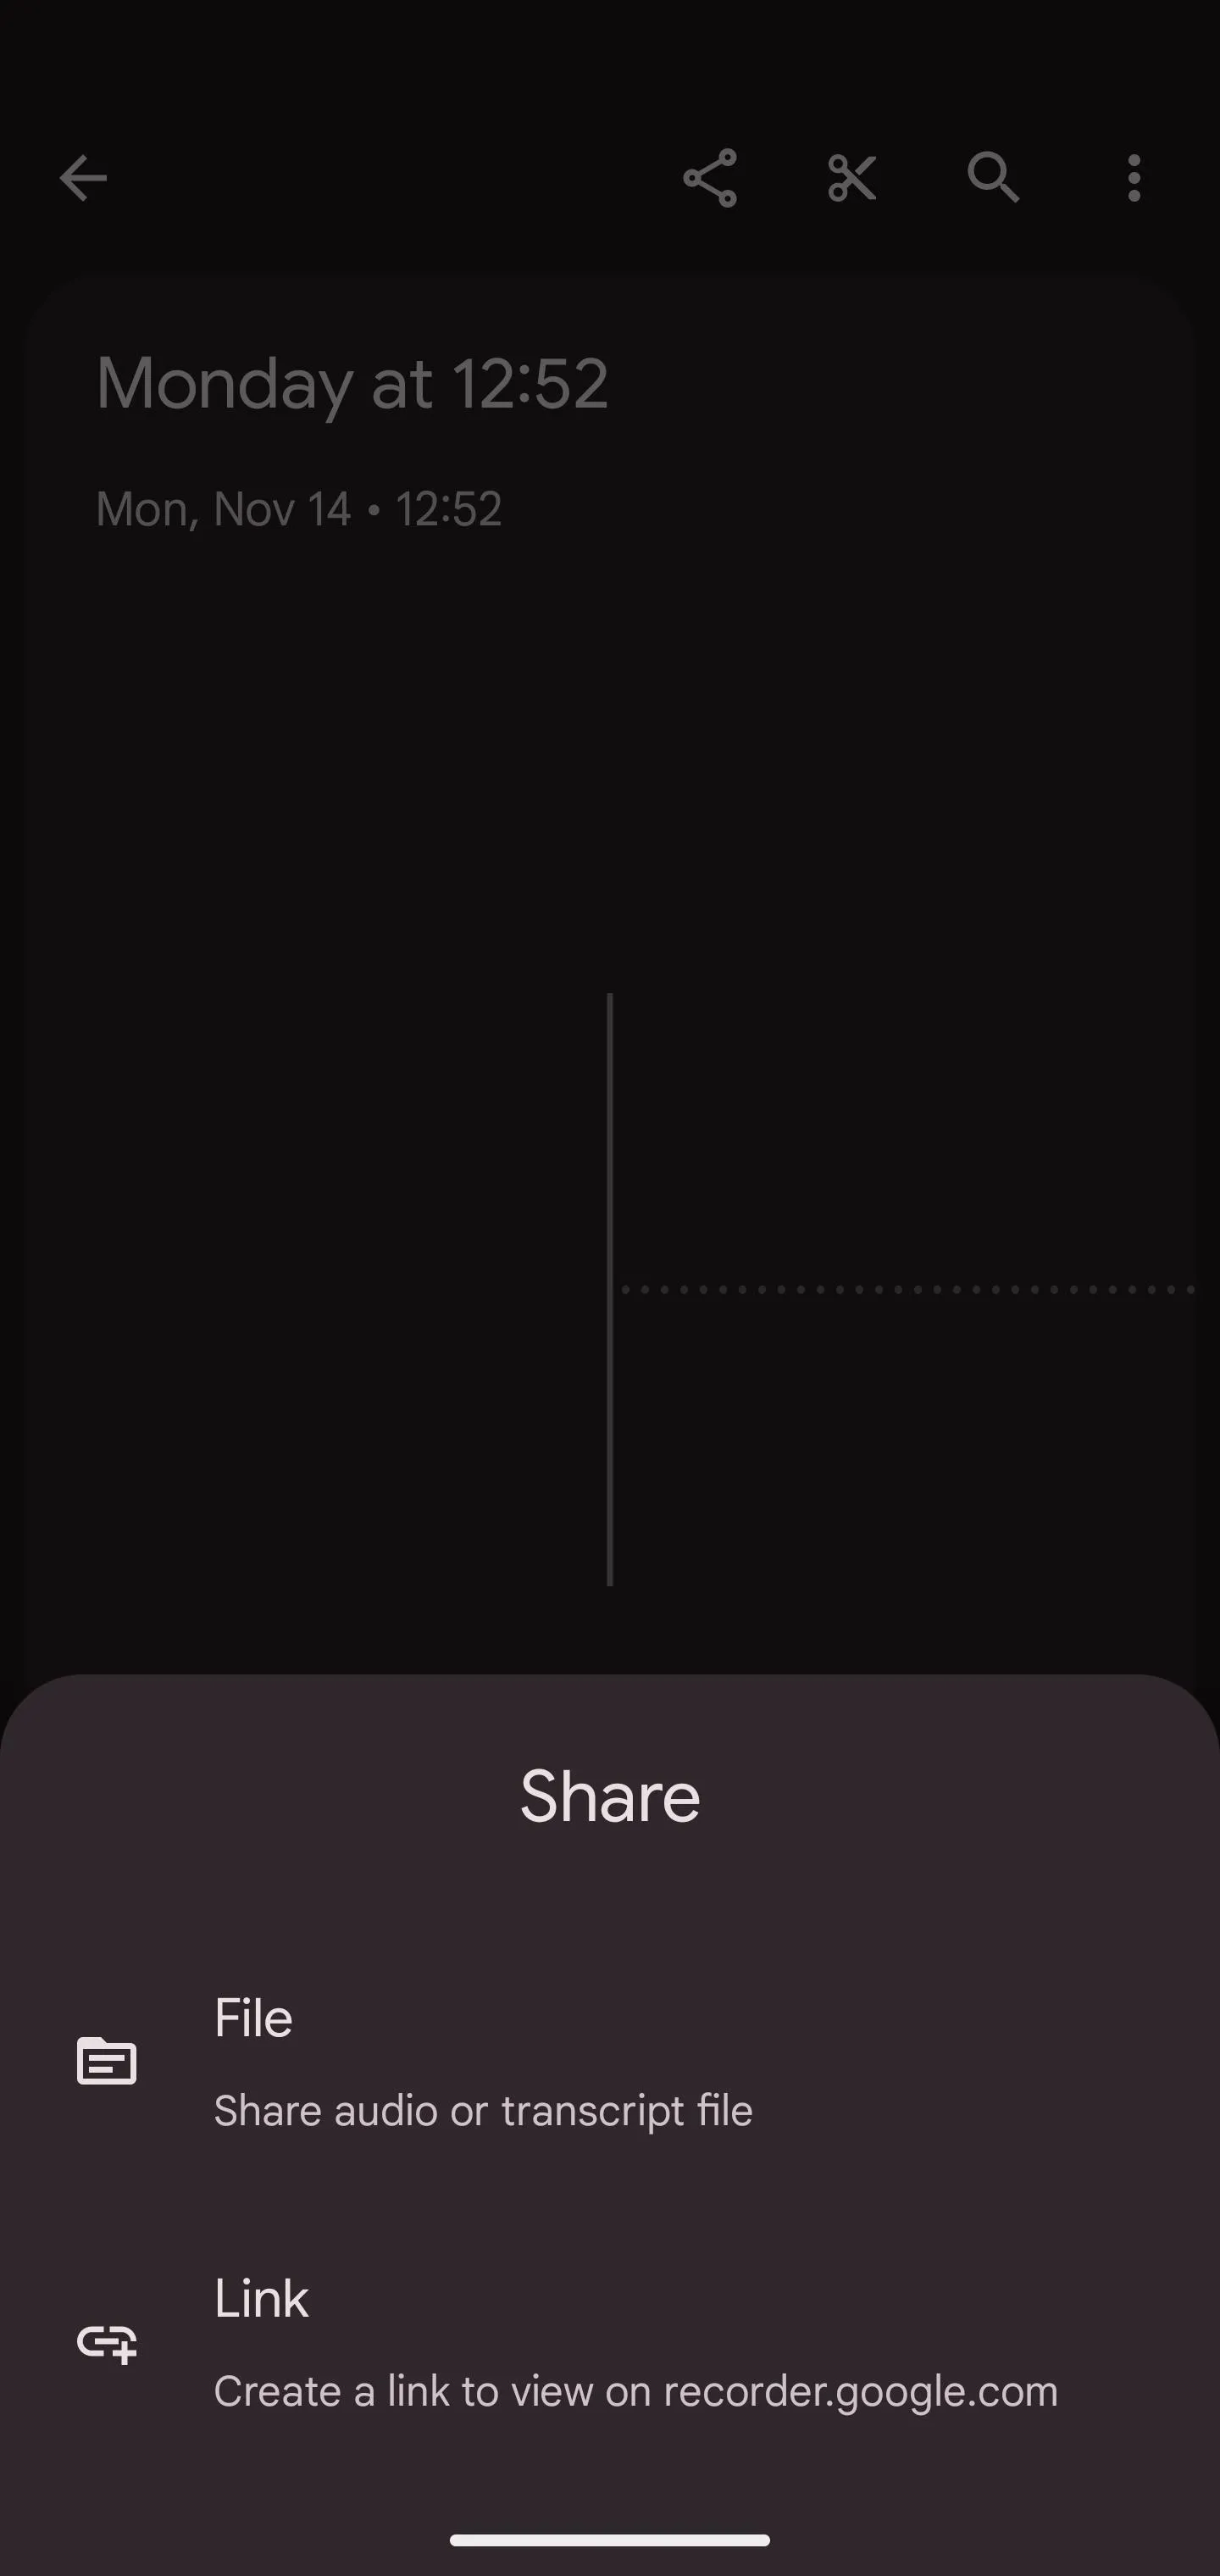
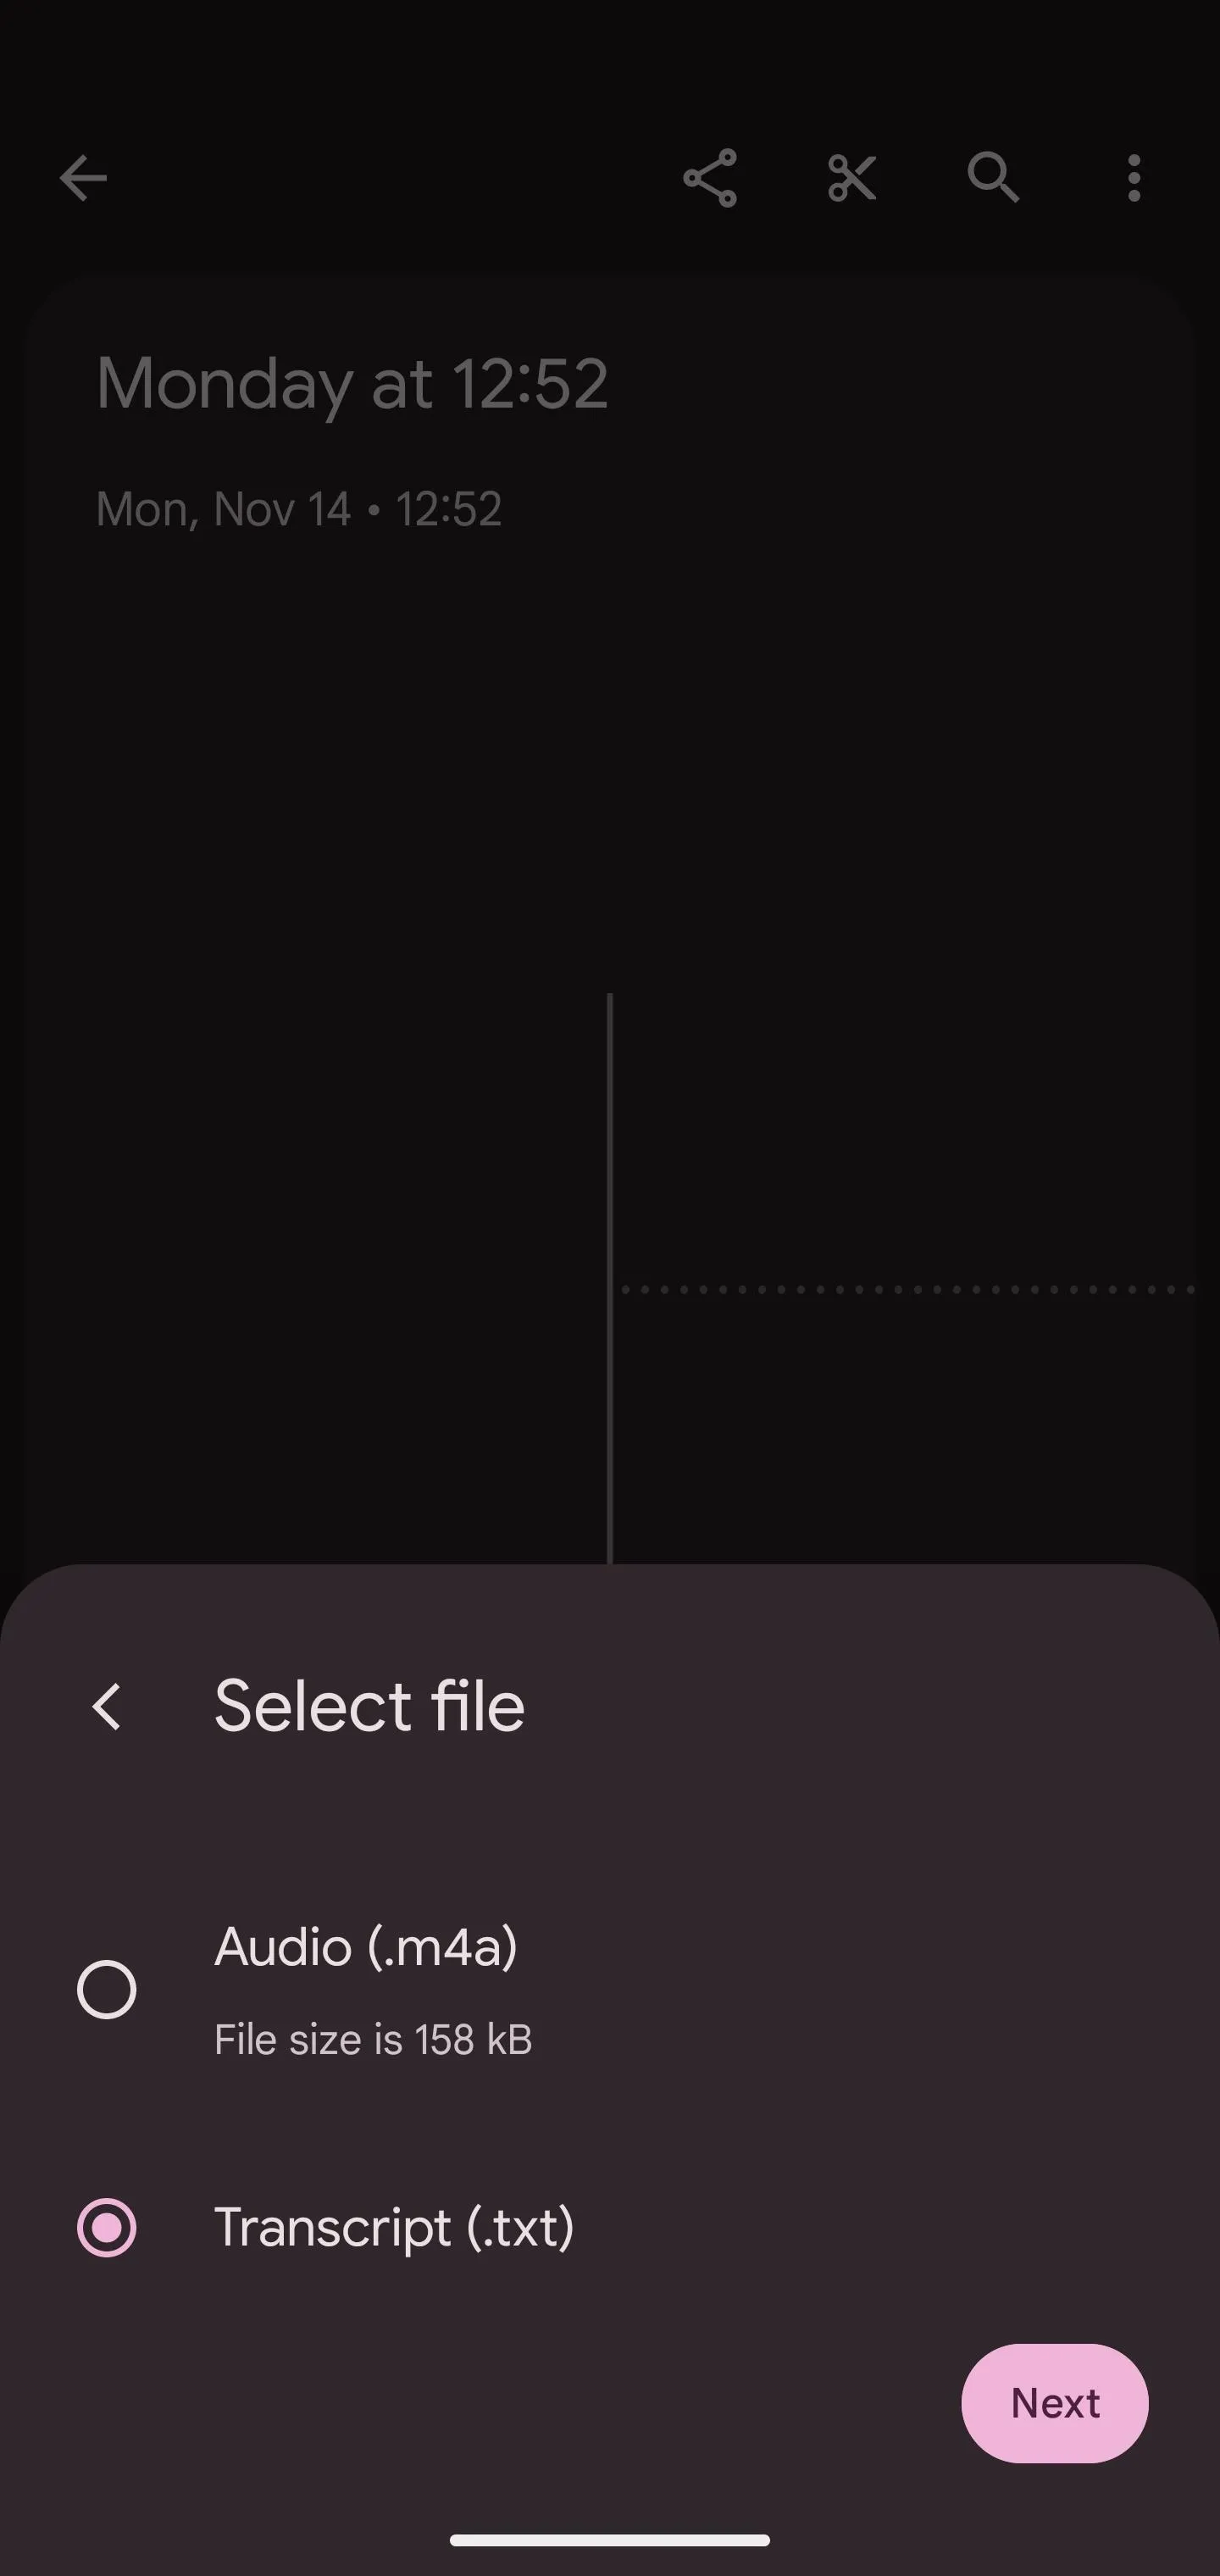
From the share options, choose the app, and your transcript should be shared with it immediately. For example, I shared it with Leaf Note, but it will also work with Evernote, Keep, OneNote, and any other word-processing or note-taking app.
Once shared, you can modify the transcription to best suit your review style. The Recorder app transcribes the audio in paragraph form. Using the note-taking app, you can convert the text into bullet points, bold, italics, and more. Here, you can take the information you recorded notes on and rewrite it in the best way that helps you retain the information.
Cover photo and screenshots by Jon Knight/Gadget Hacks


Comments
Be the first, drop a comment!