


If you use the Google Assistant on your Android device, you can easily send a text message to any one of your contacts. But even though that same Assistant is powering the Google Home, you can't use the smart speaker to accomplish the same task — at least, not without some tinkering.
There's an official IFTTT applet that lets you send an SMS message from Google Home via your Android device, but this only works for one phone number at a time, so you'd have to set it up possibly hundreds of times to be able to text any of your contacts.
Thankfully, though, XDA user muniz_ri has found a way around this issue. Using a combination of Tasker, AutoContacts, and Pushover, you can set up an IFTTT applet that will allow you to send messages from Google Home to any of your contacts by simply dictating your text, and I'll show you how it works below.
Requirements
- Google Home smart speaker
- Android phone with SMS capabilities
- Android Messages set as the default SMS app
Install Tasker, AutoContacts & Pushover
There are three Android apps at the core of this mod: Tasker, the automation app; AutoContacts, a Tasker plugin; and Pushover, a web-enabled notification service. To get this one going, you'll need to install all three apps on an Android device that has an active SMS plan.
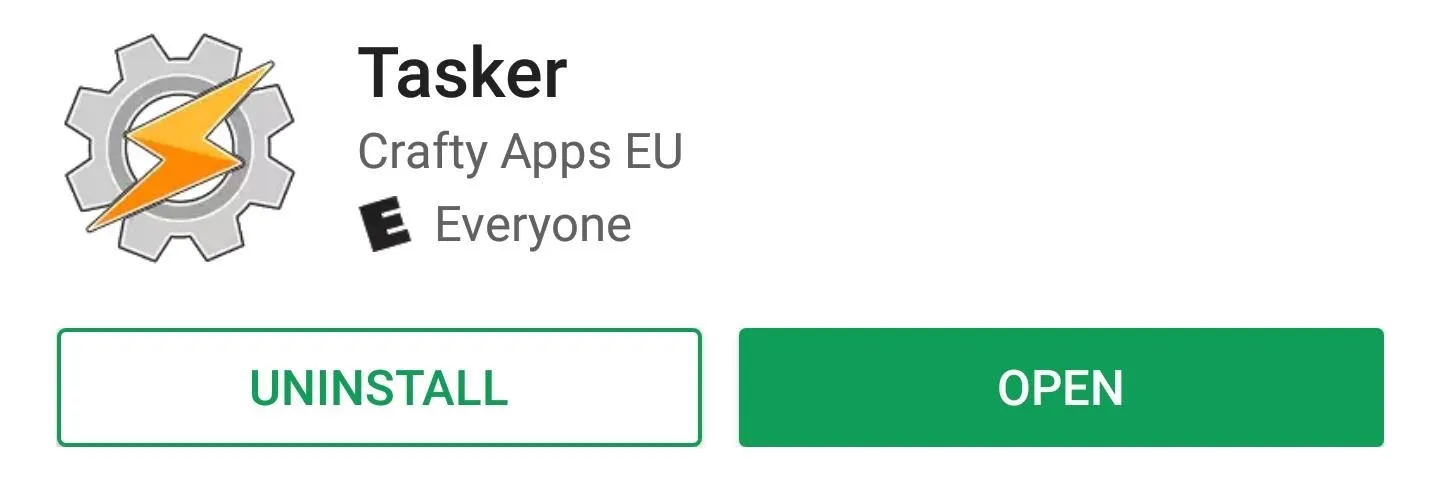
The full version of Tasker costs $2.99, though you can sideload a 7-day free trial version if you enable "Unknown sources" in your phone's settings. So depending on which way you want to go, use one of the following links to get Tasker installed:
- Install Tasker (full version) for $2.99 from the Google Play Store
- Download the 7-day free trial version of Tasker (.apk)
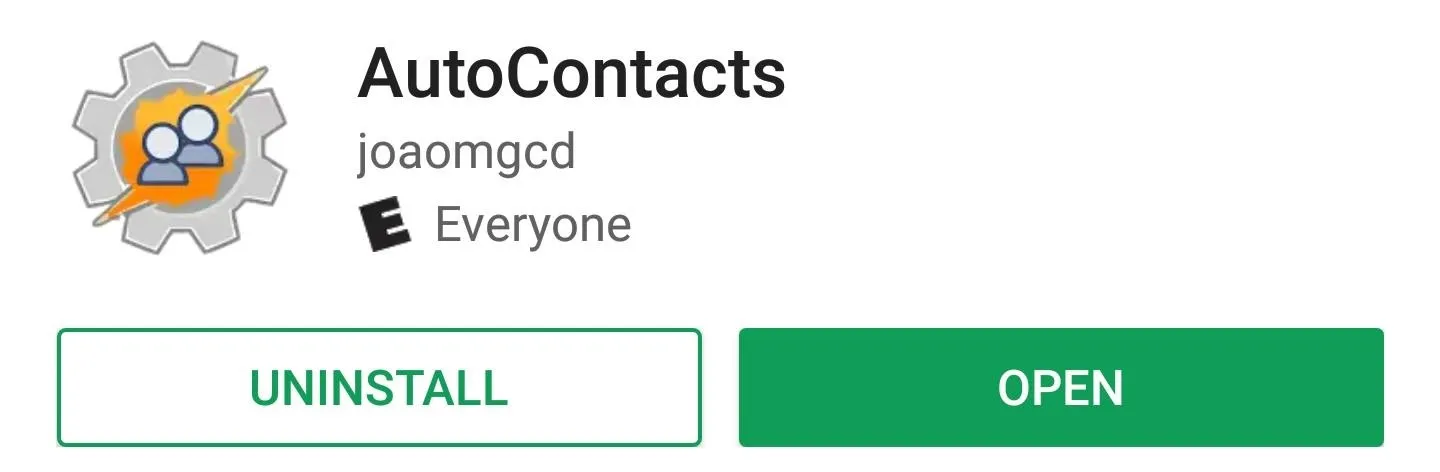
Next, you'll need to install AutoContacts. The free version of this app only allows you to send texts to the first 20 contacts in your phone book (in alphabetical order). So if you'd truly like to be able to text anyone from Google Home, you'll have to unlock the full version with an in-app purchase of $1.49.
For the purposes of this guide, you'll need to install the latest beta version of AutoContacts. To do that, head to this link and make sure you're signed in with the same Google account you're using on your Android device. From there, click the "Become a tester" button, then head to the following link to install the app:
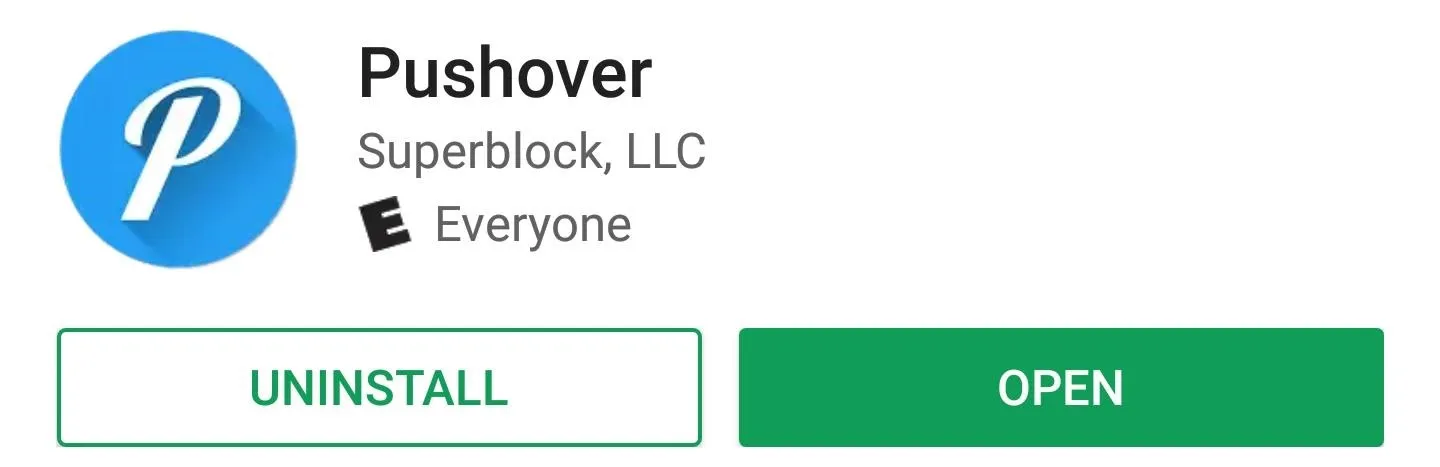
Finally, there's Pushover. Like Tasker, this app is offered as a 7-day free trial. After that period, you'll have to unlock the full version with an in-app purchase of $4.99 if you want to continue using its features.
Grant Permissions to AutoContacts
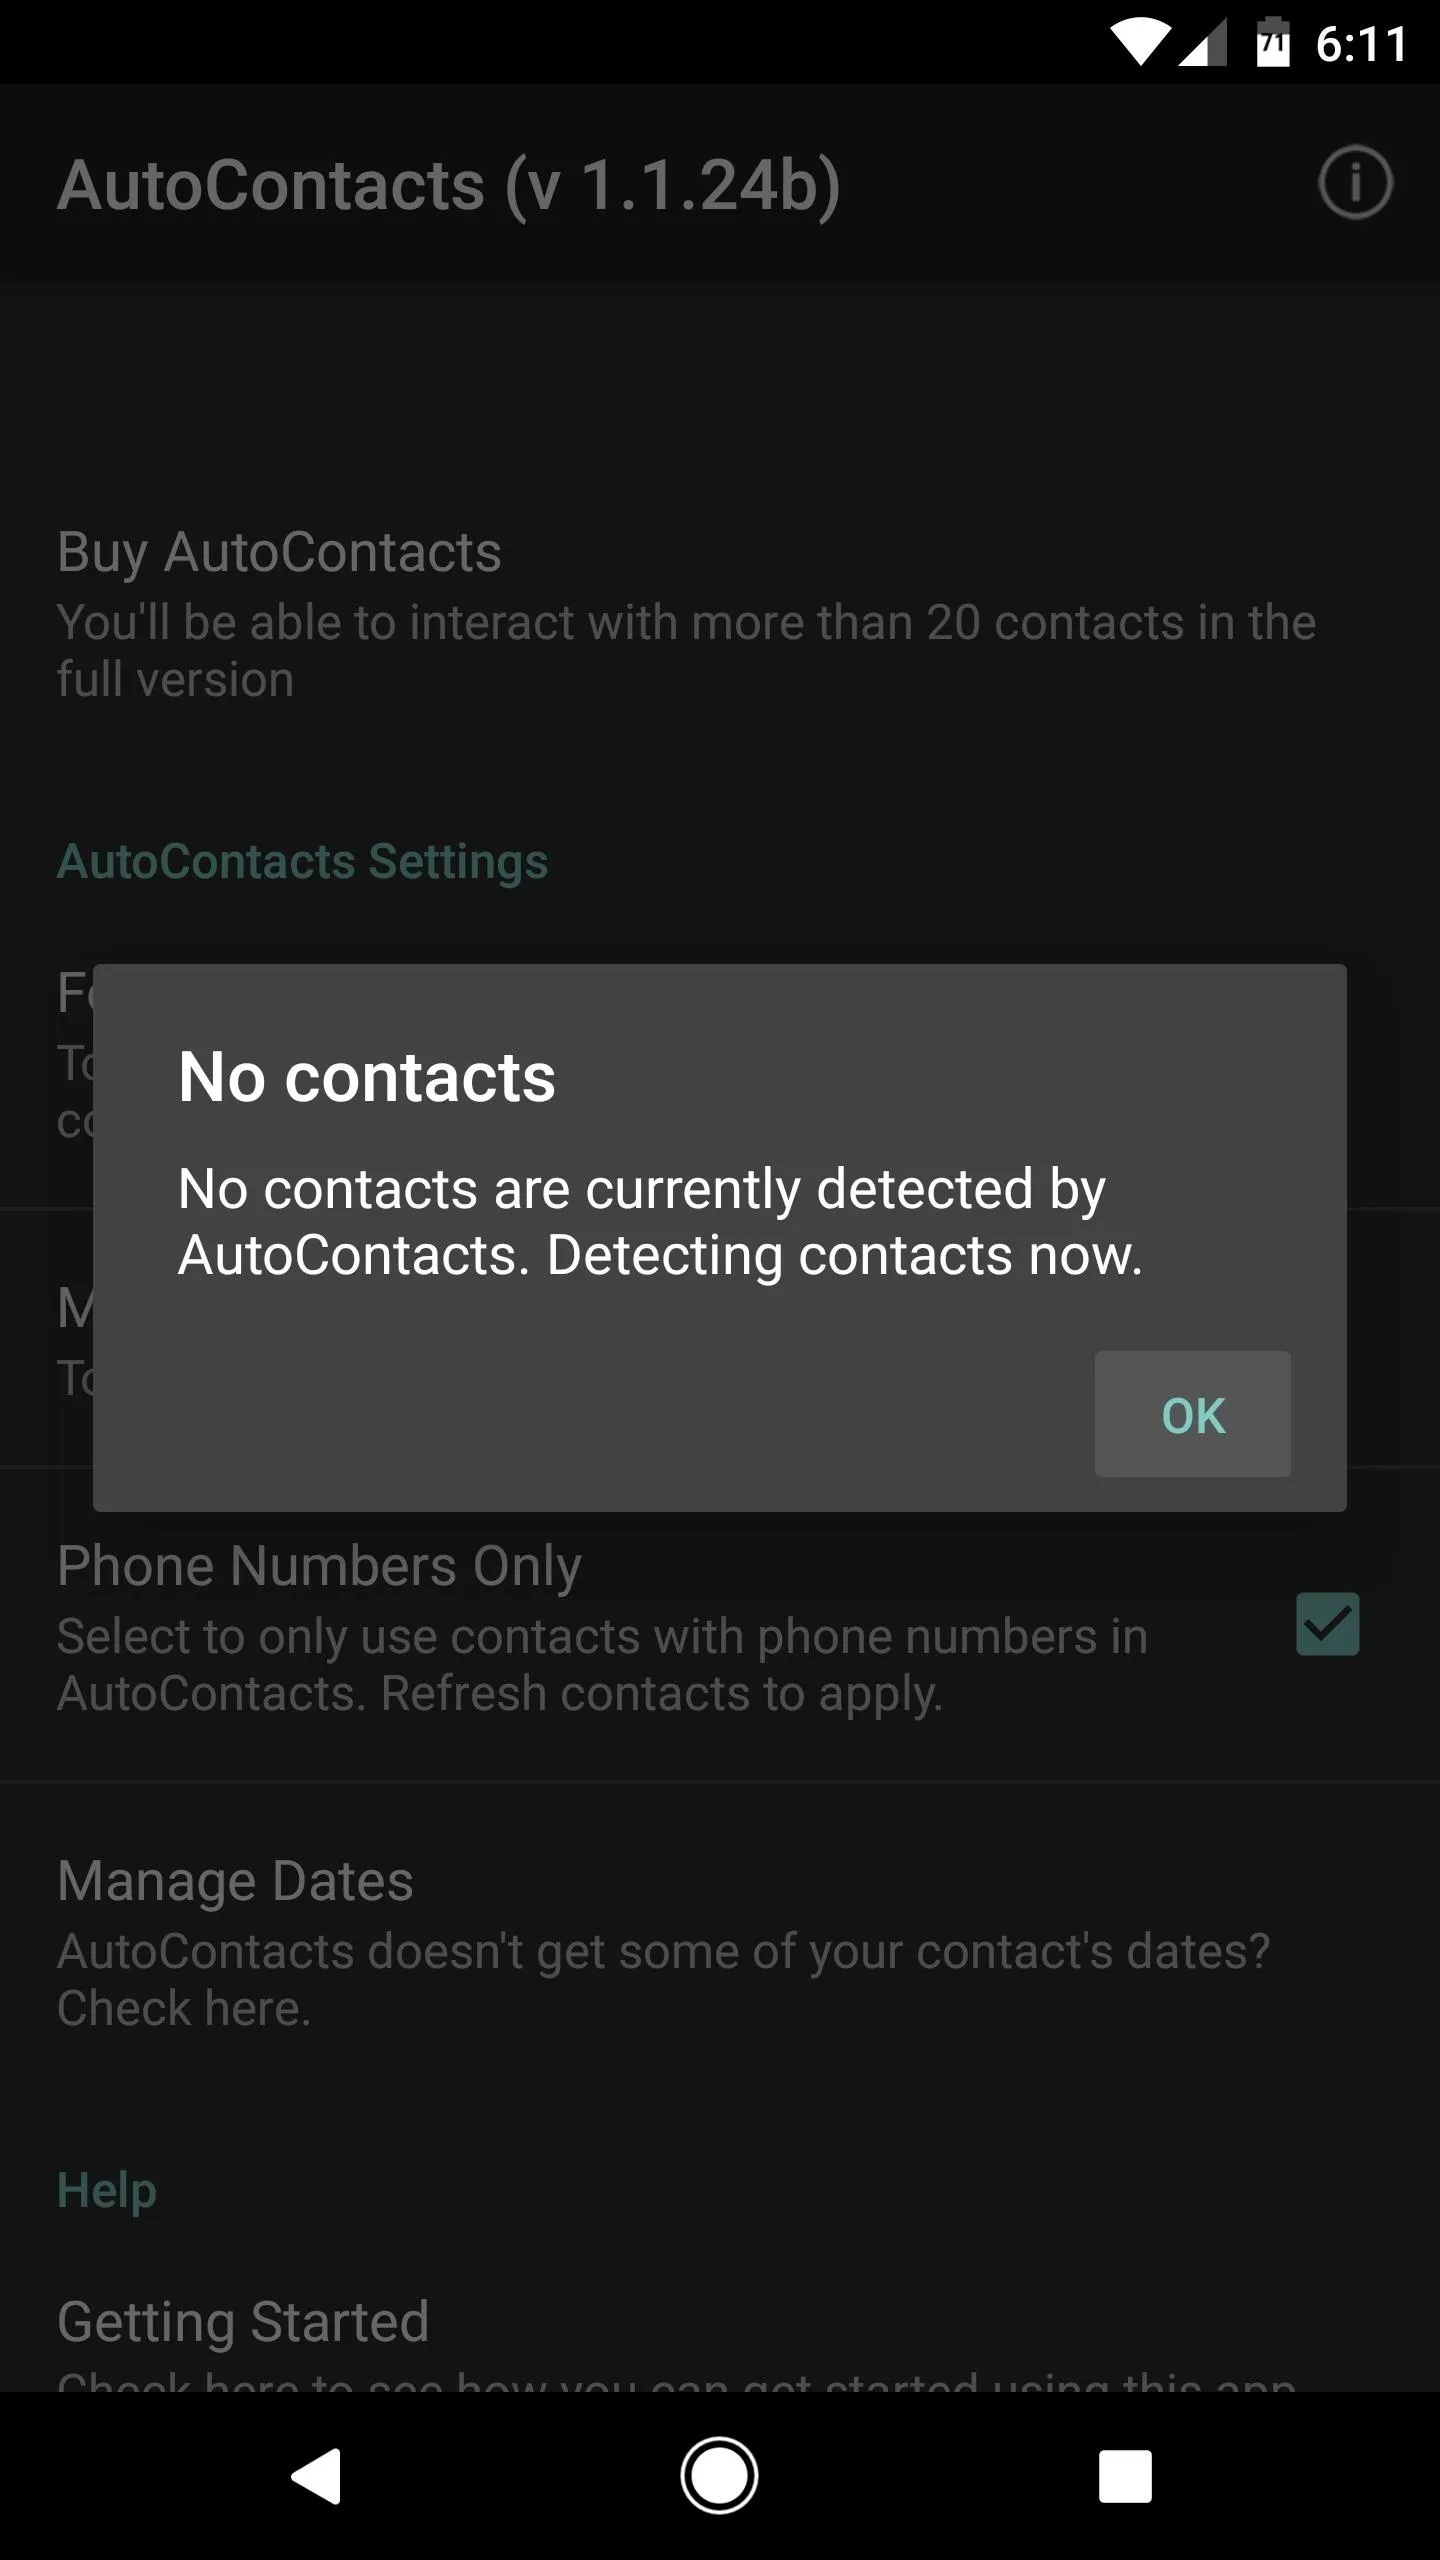
Next, open the AutoContacts app and you'll be prompted to grant a pair of additional permissions, so tap "Allow" on the first two popups. From there, you'll see a message saying that AutoContacts hasn't imported any contacts yet, so press "OK" here, then wait until the app has scanned your full contacts list.

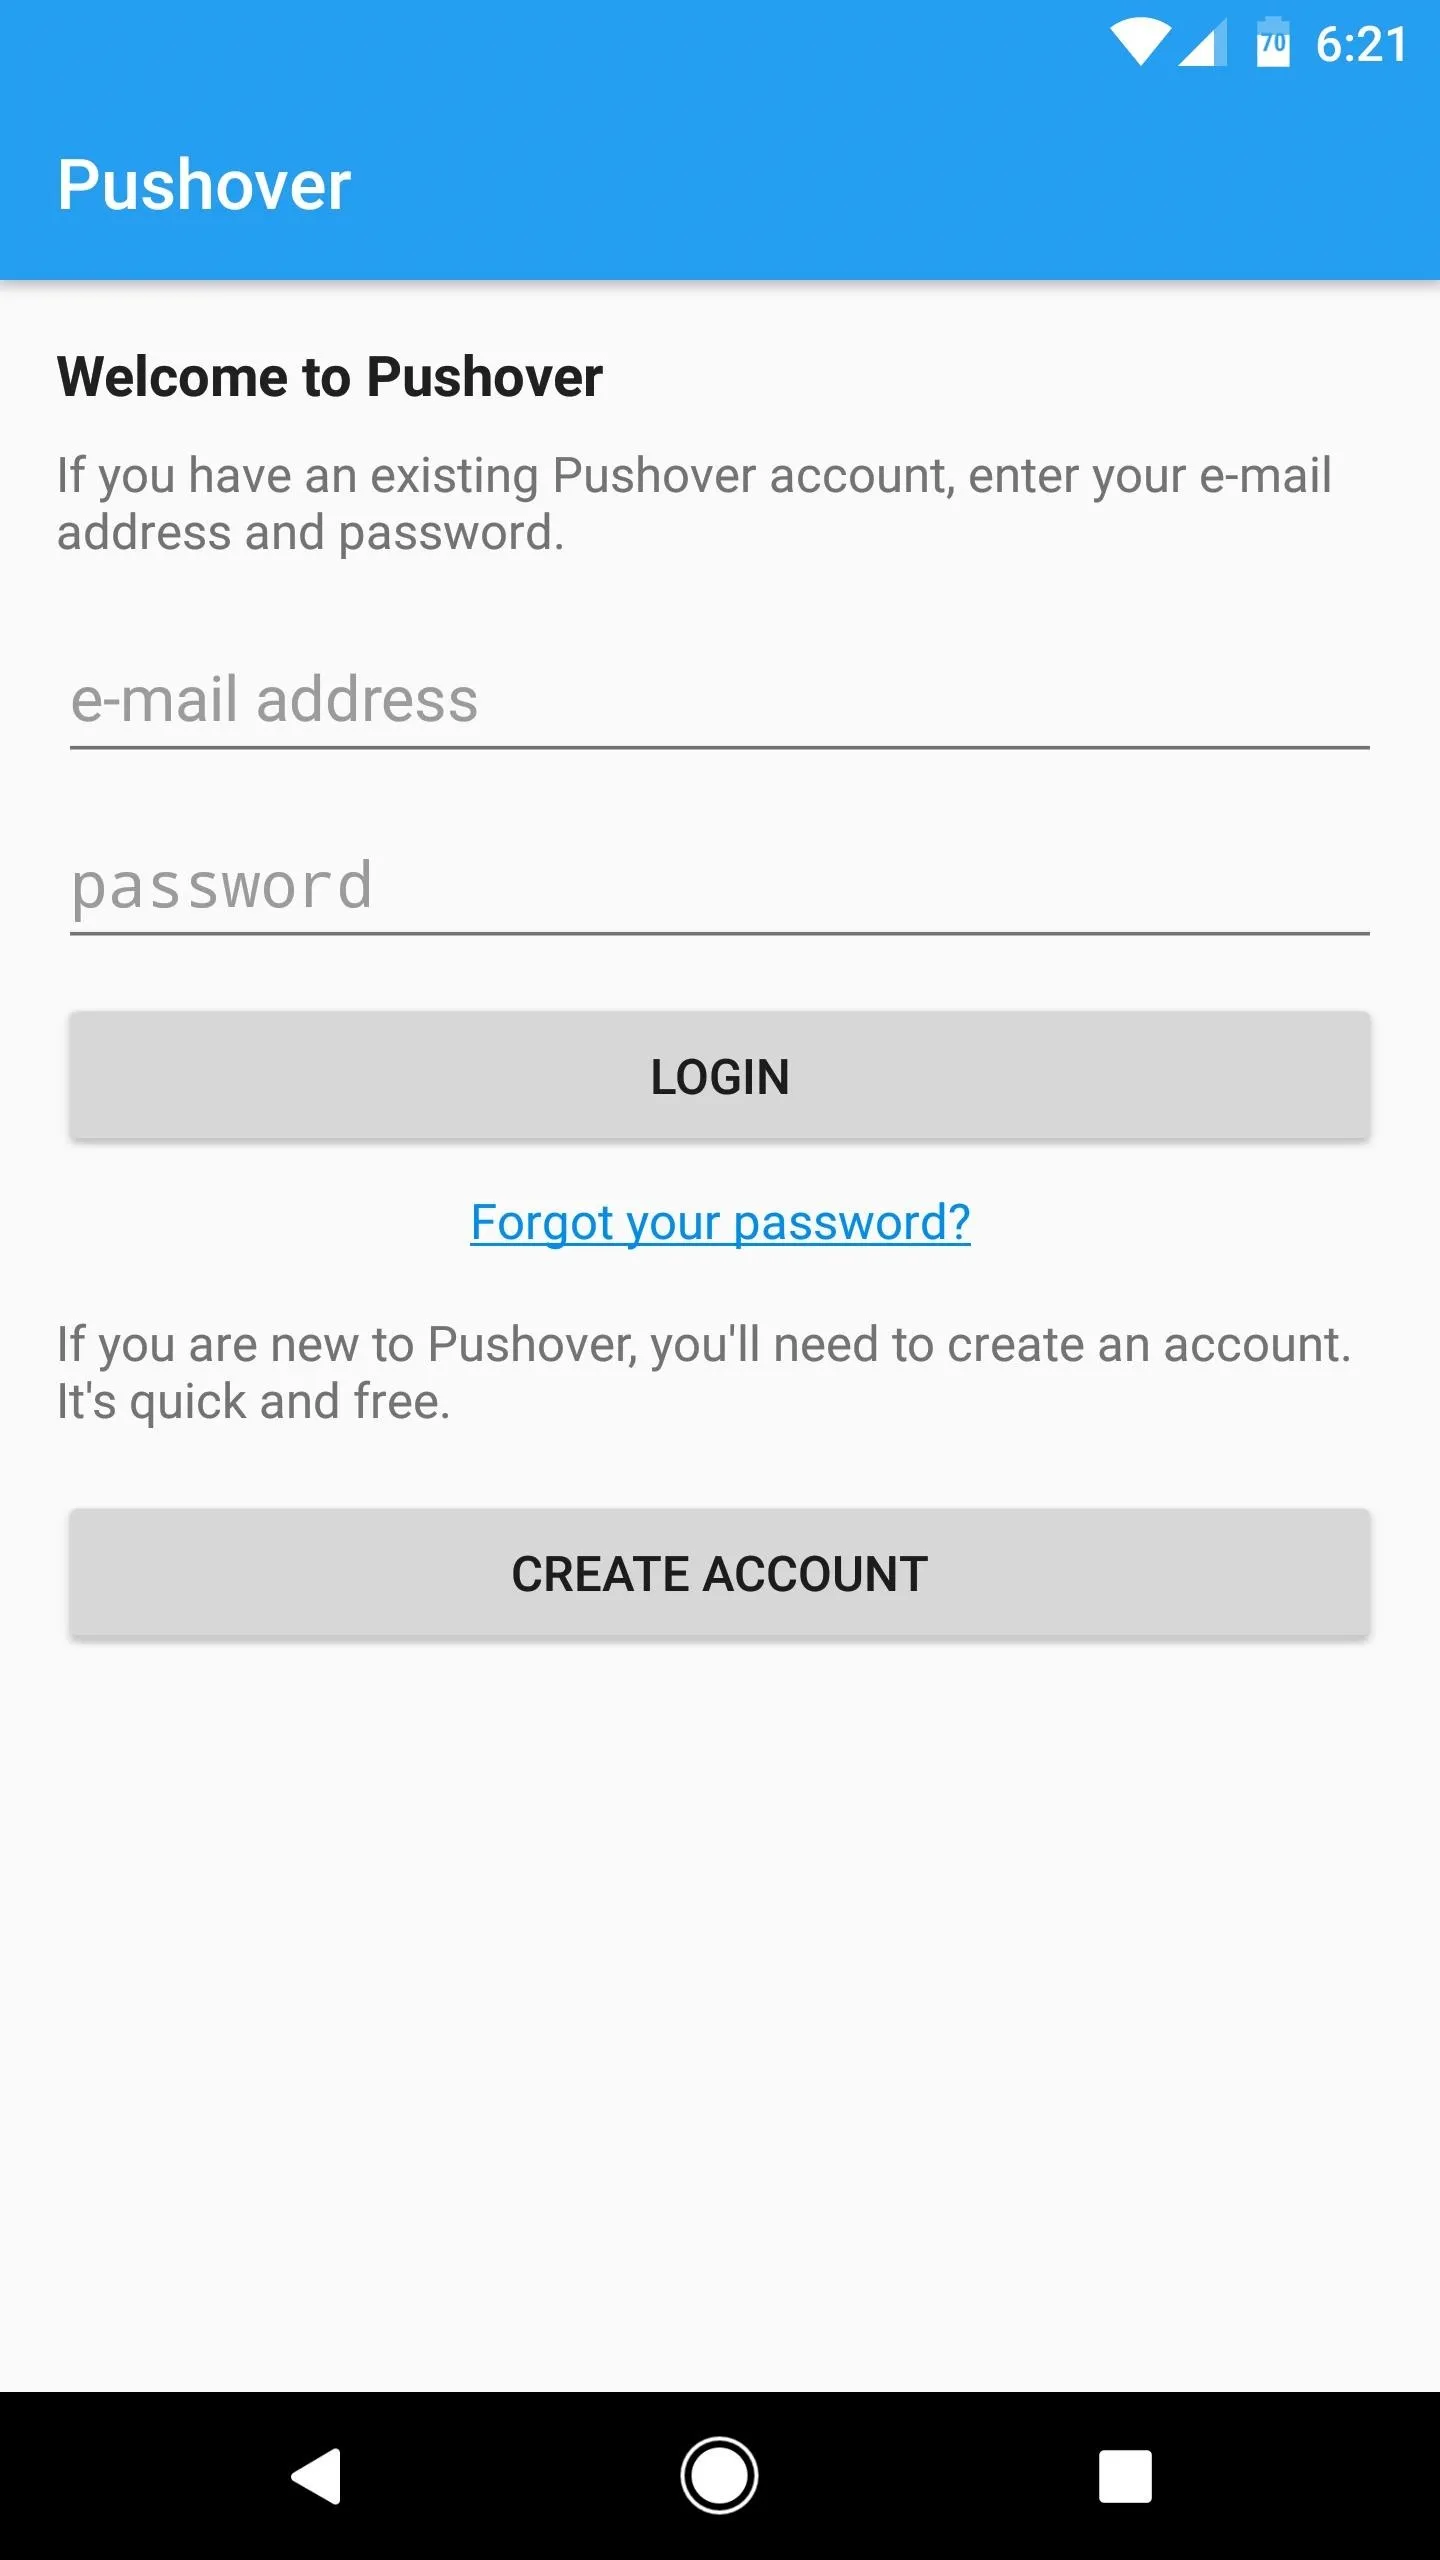
Create a Pushover Account & Sign In
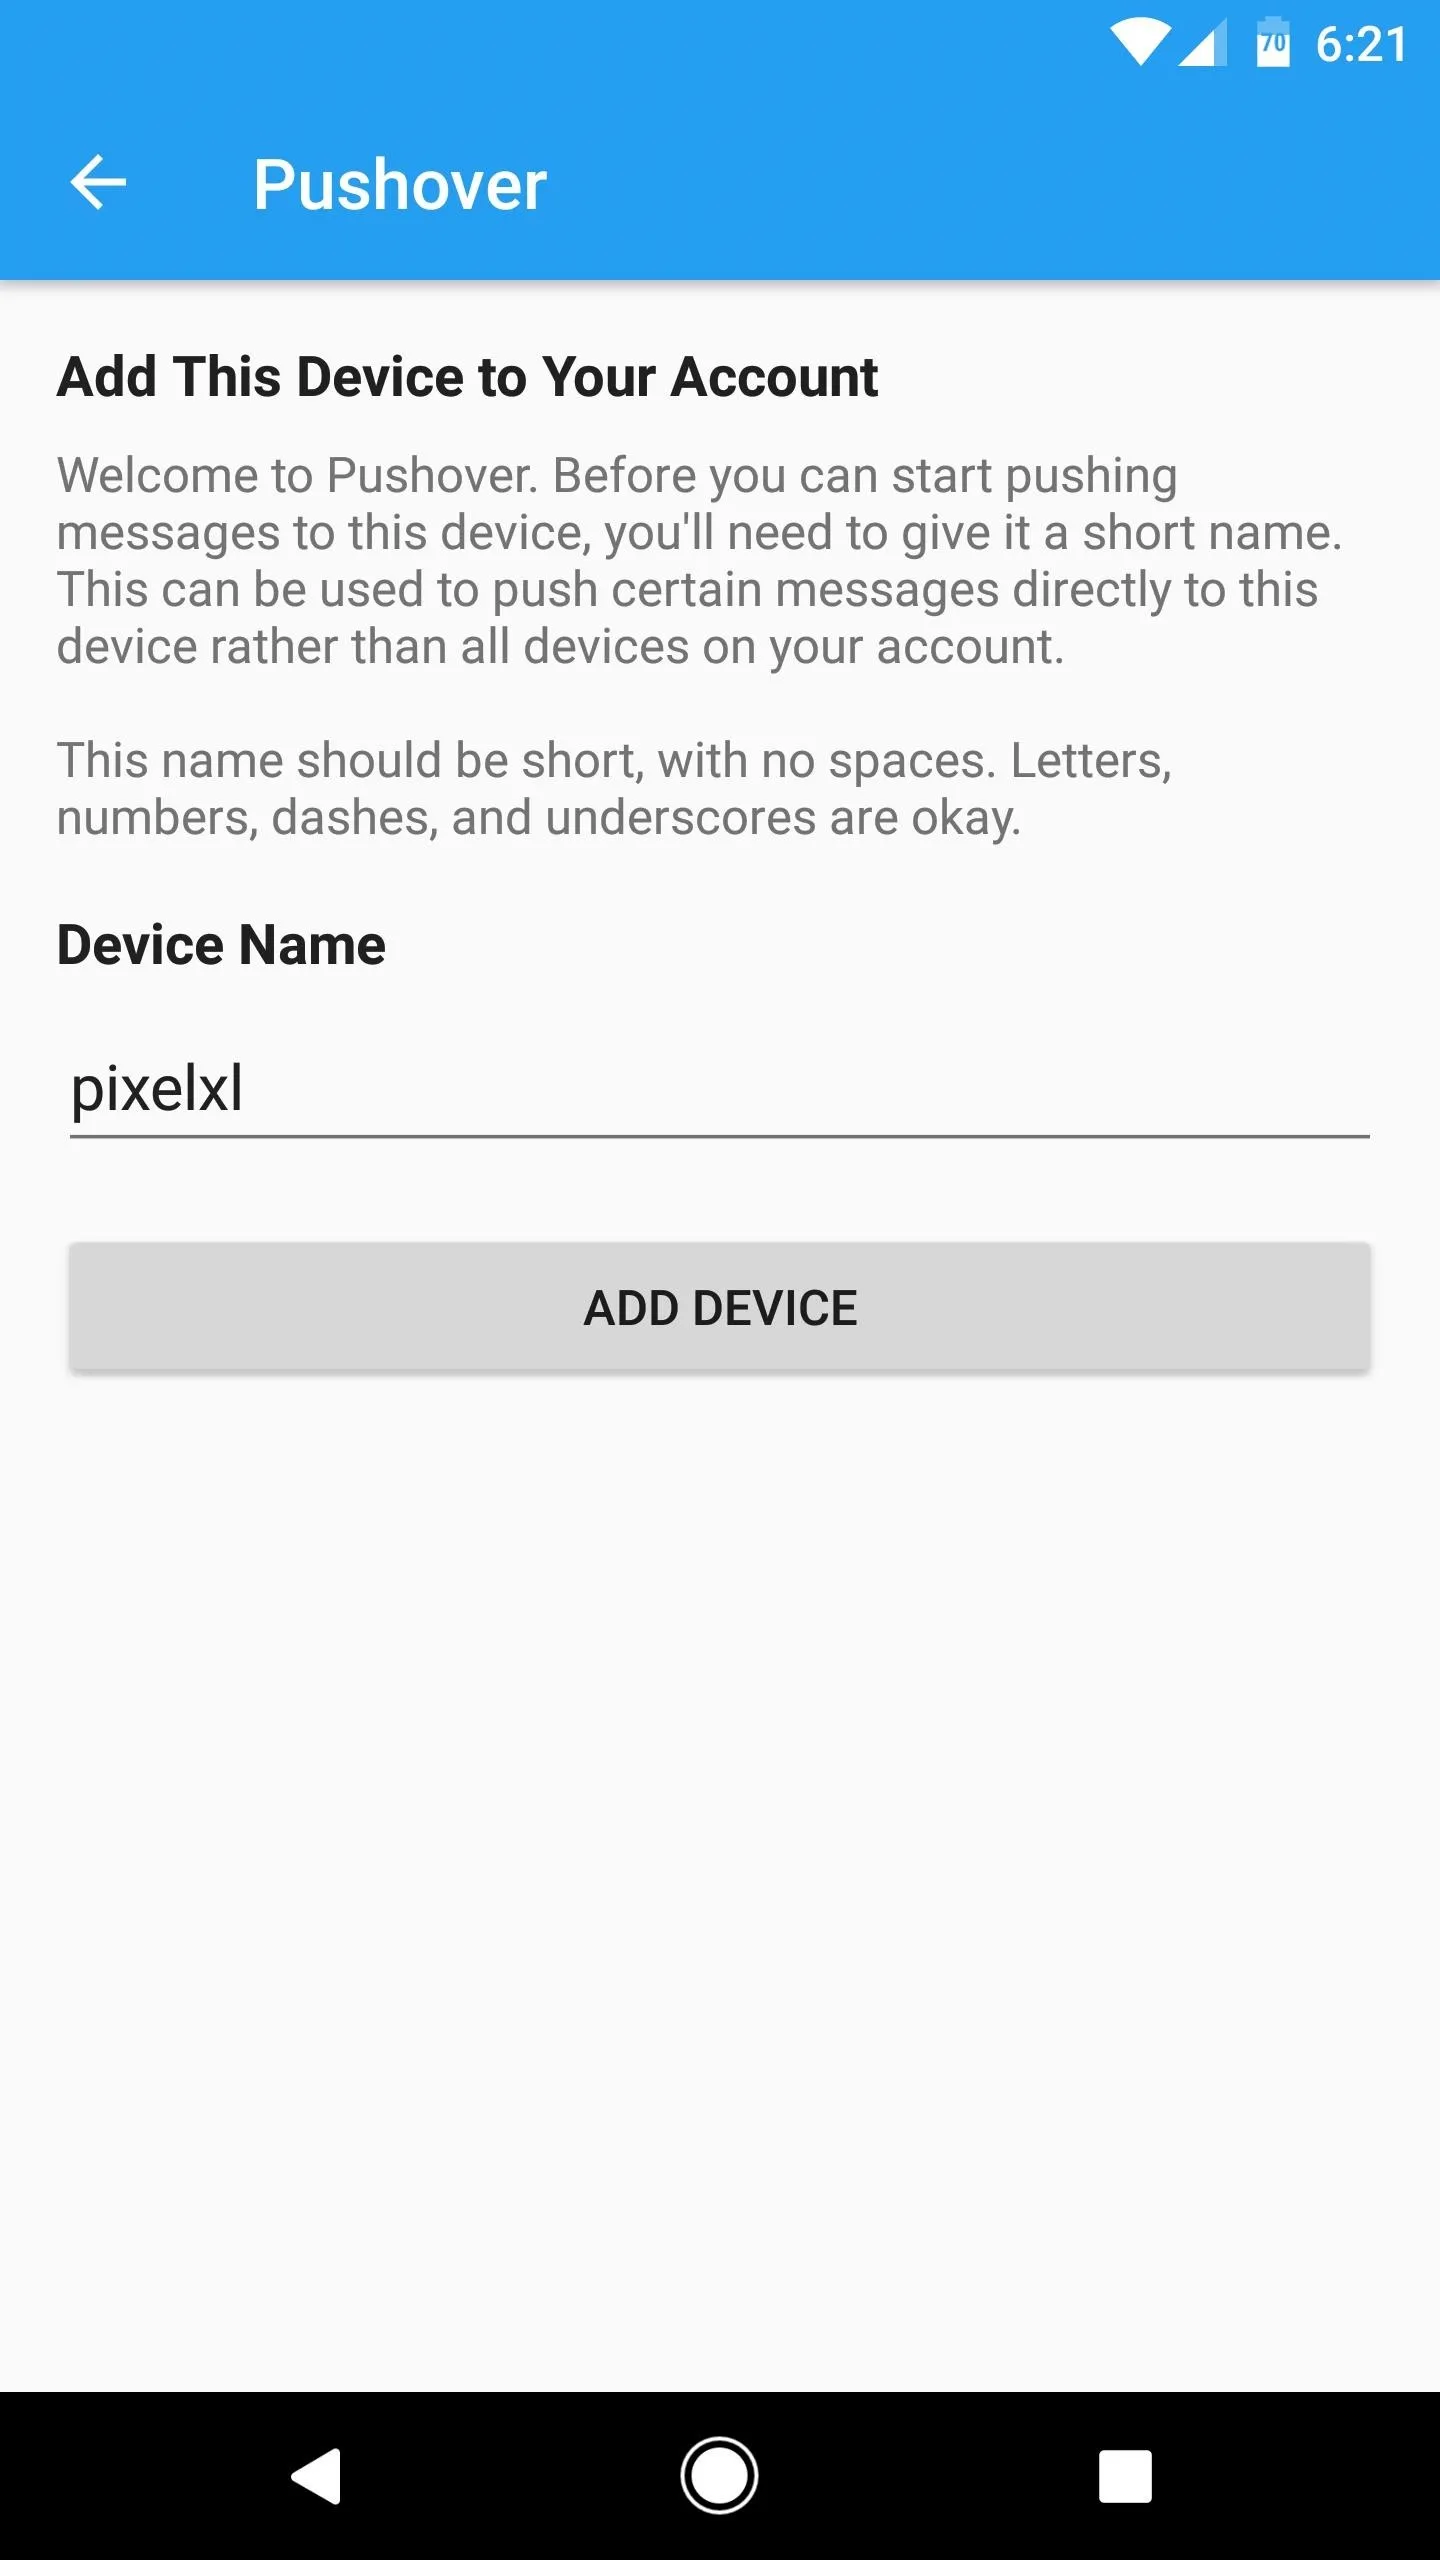
From here, open the Pushover app, then tap the "Create Account" button and enter an email address and password on the subsequent screen. Once you've signed up, you'll be prompted to assign a name to your Android device, so type in a name you'll remember, then hit "Add Device."
Import a Profile into Tasker
Muniz_ri has been kind enough to provide a Tasker profile that does most of the work in getting your Google Home to send text messages via your Android phone. So instead of having to create a complicated profile step by step, simply head to the following link from your Android phone to download the profile.
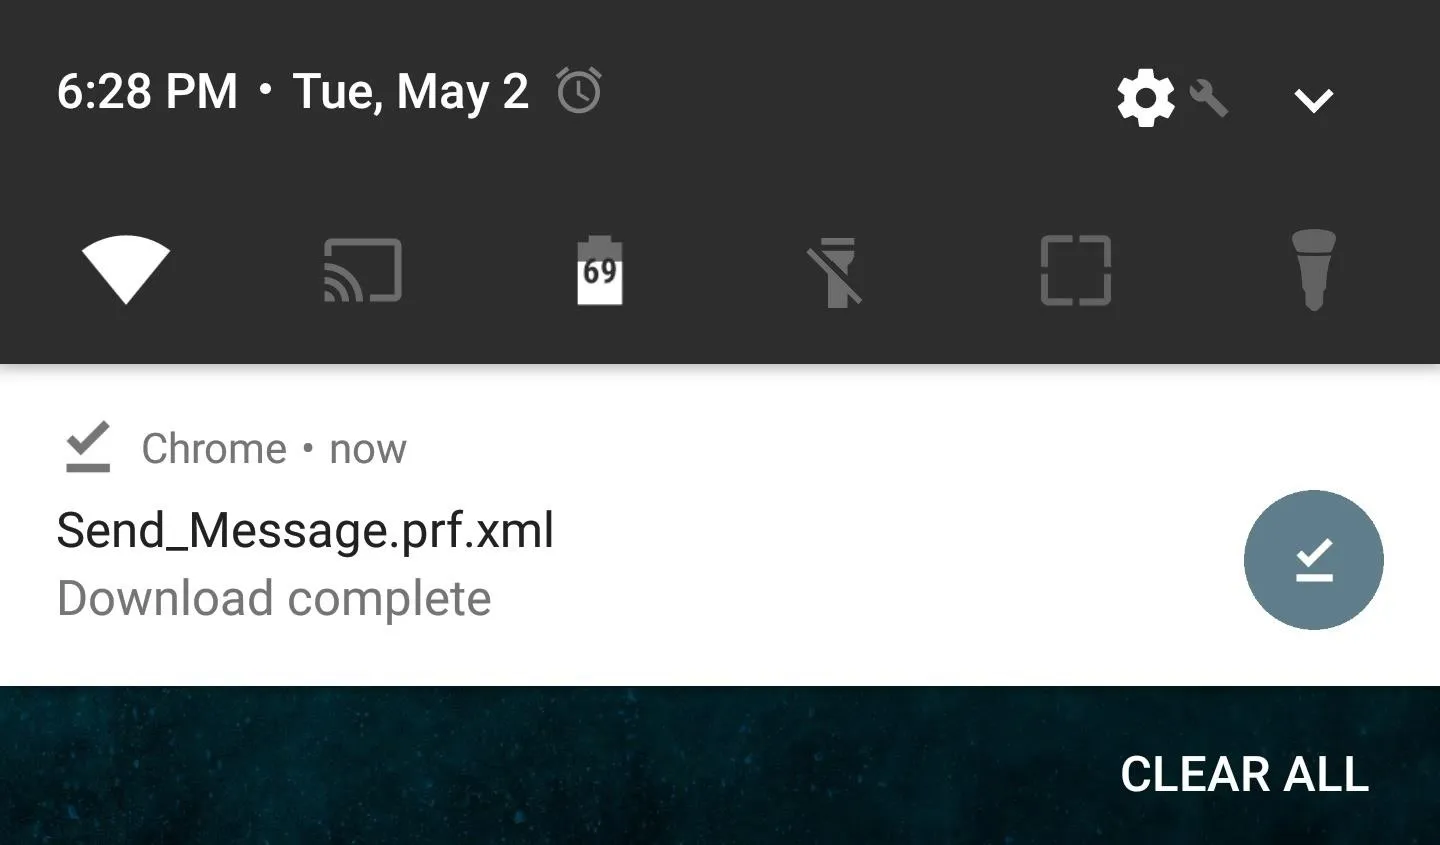
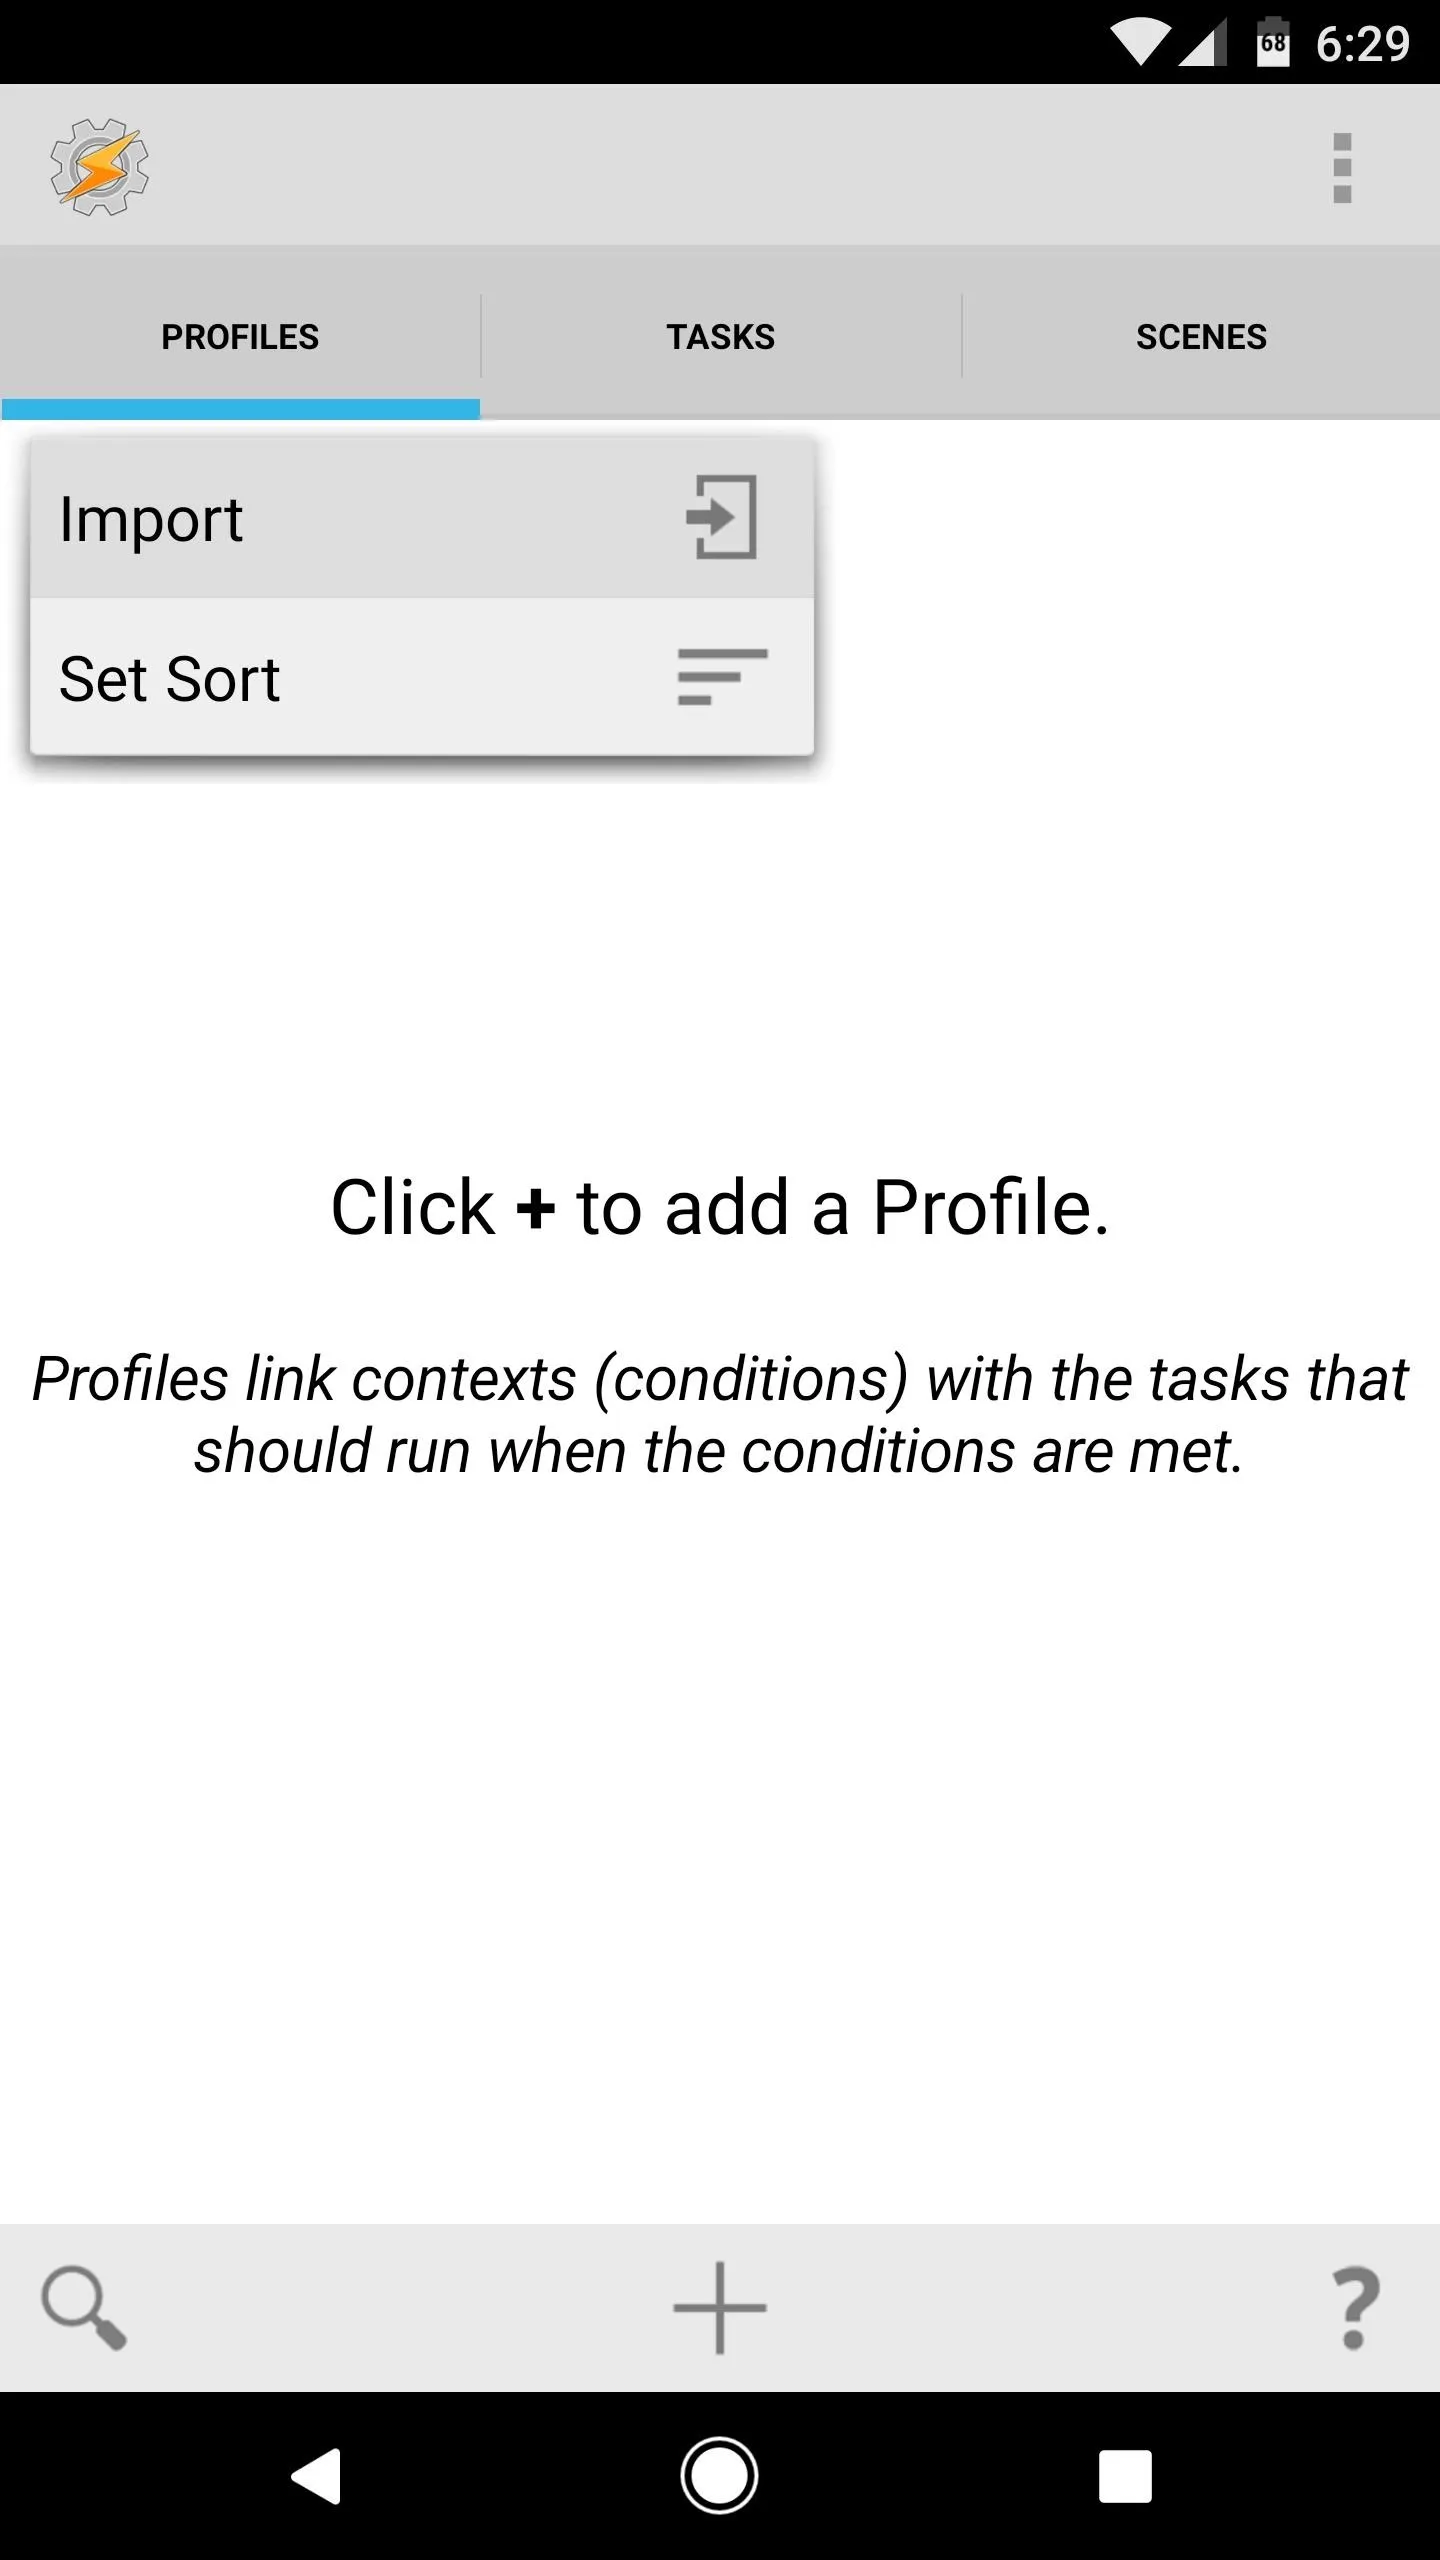
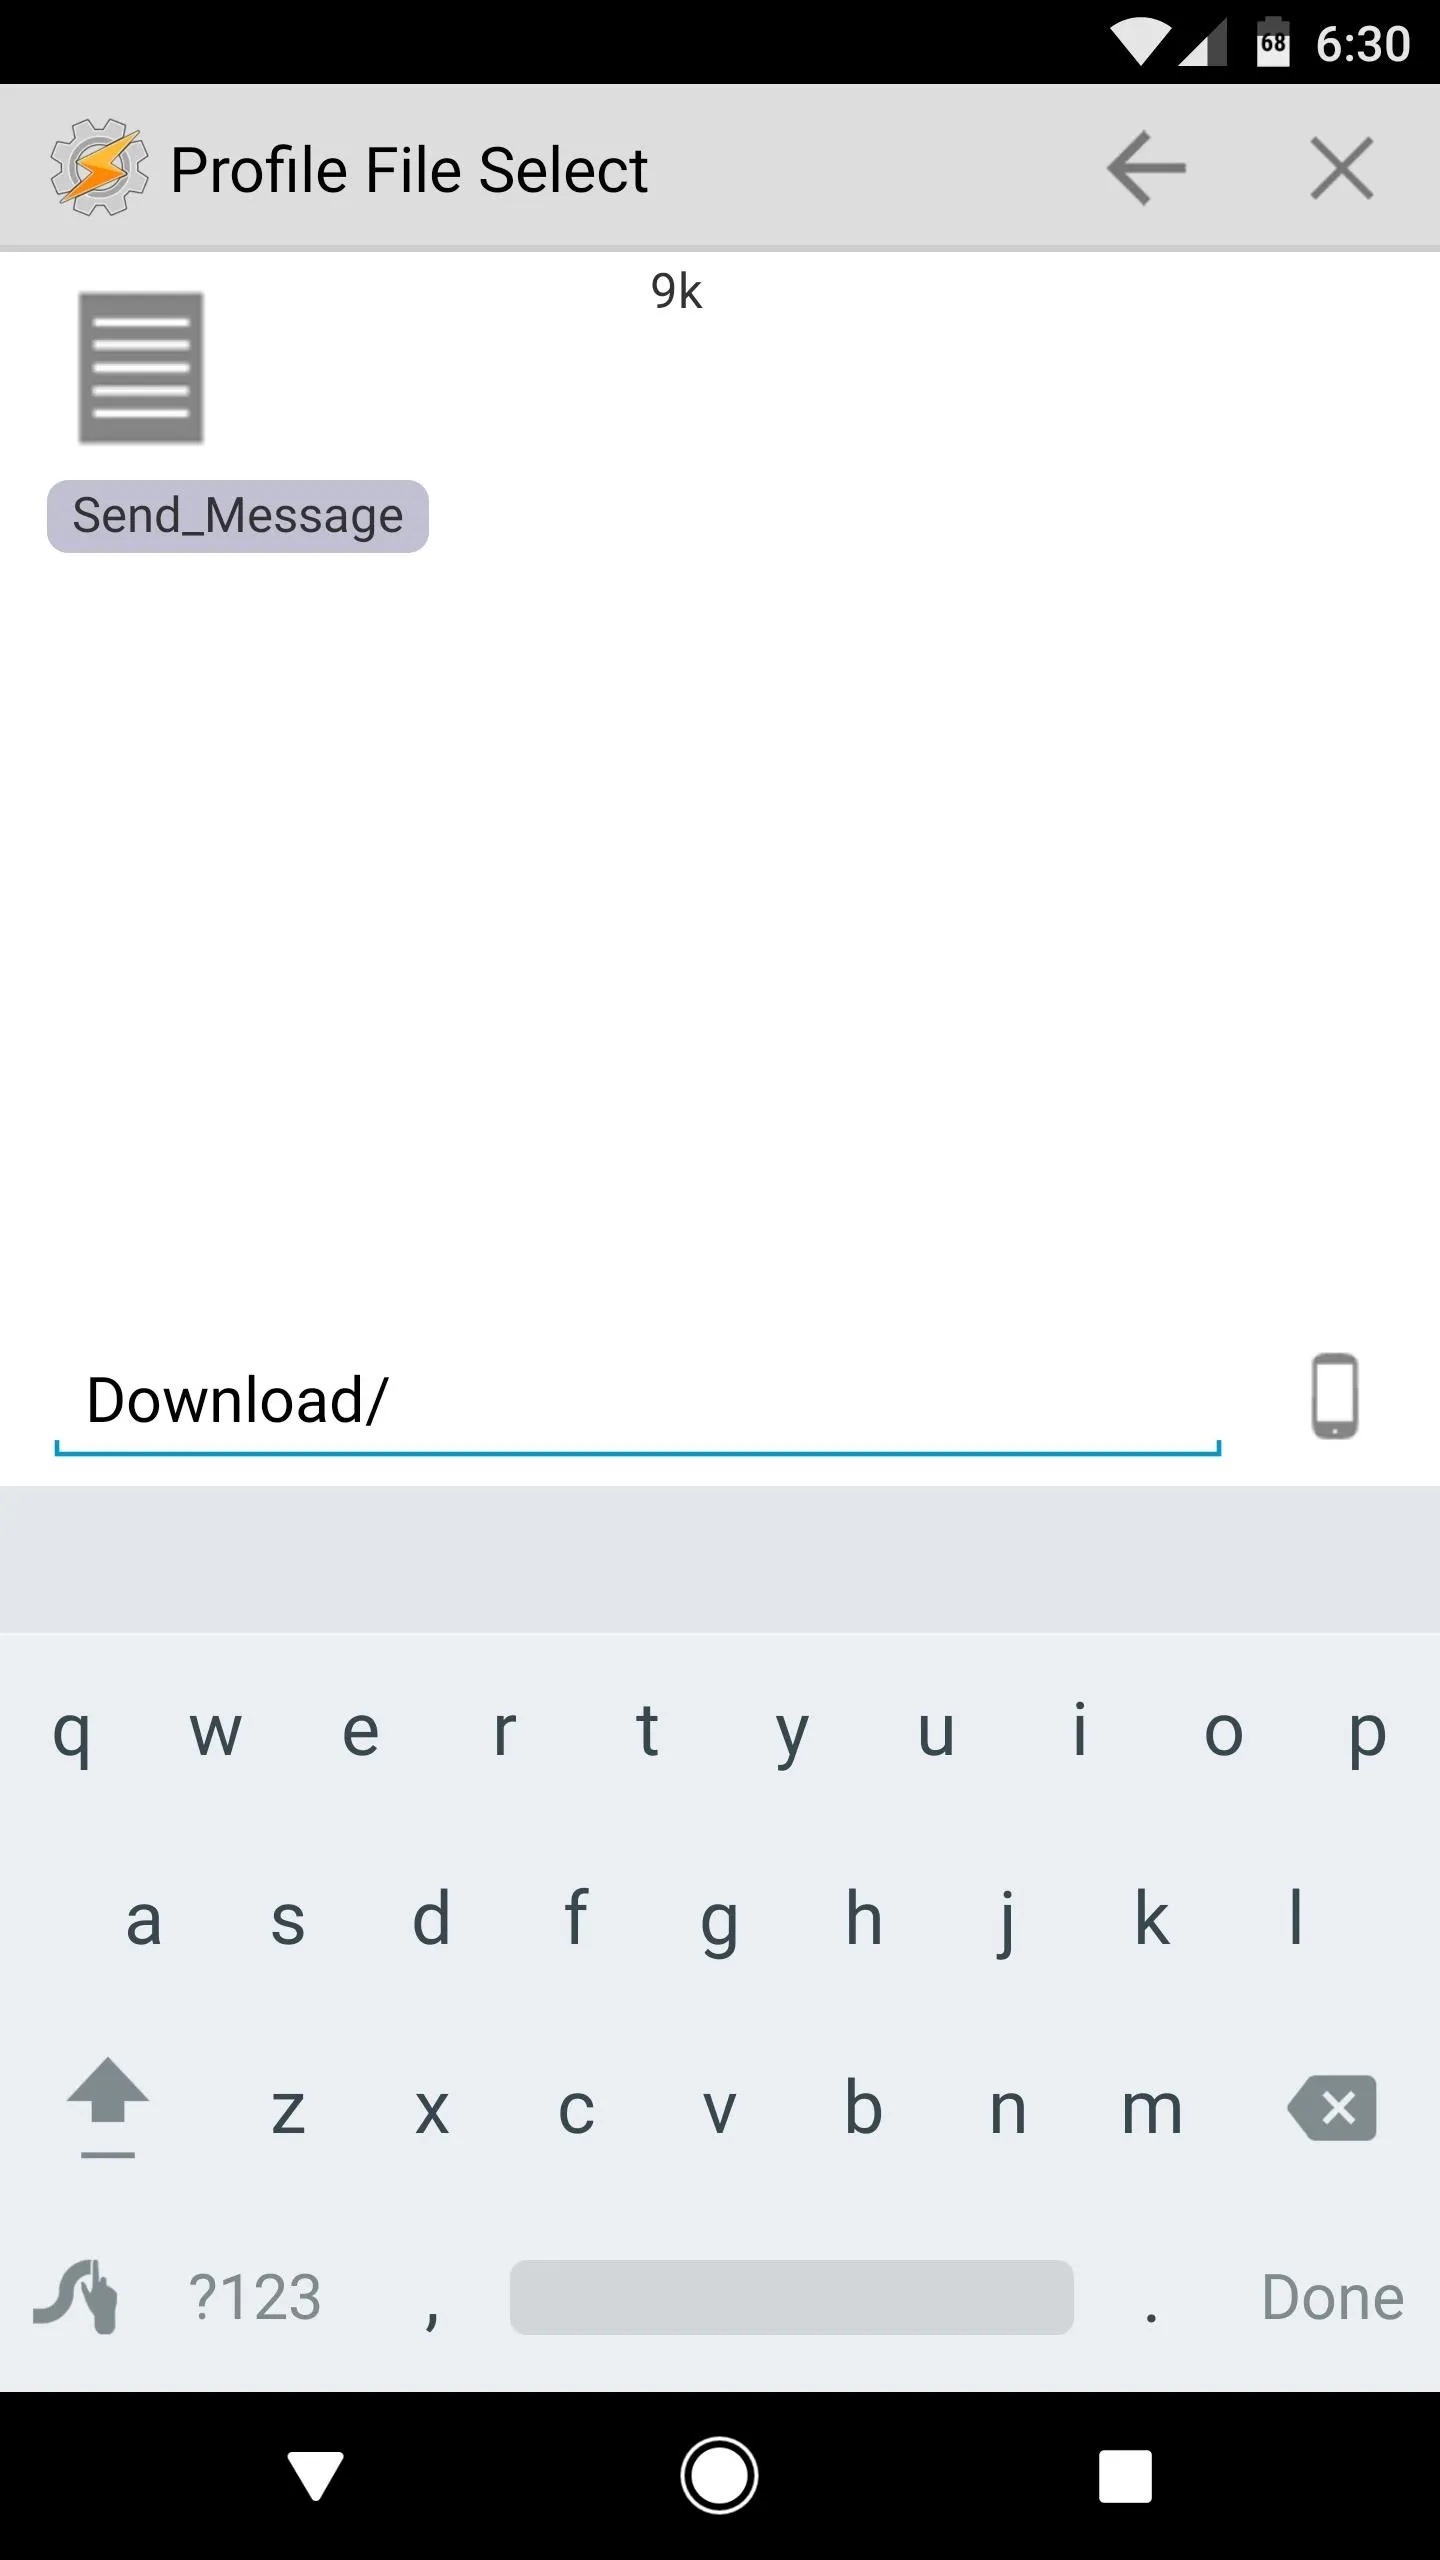
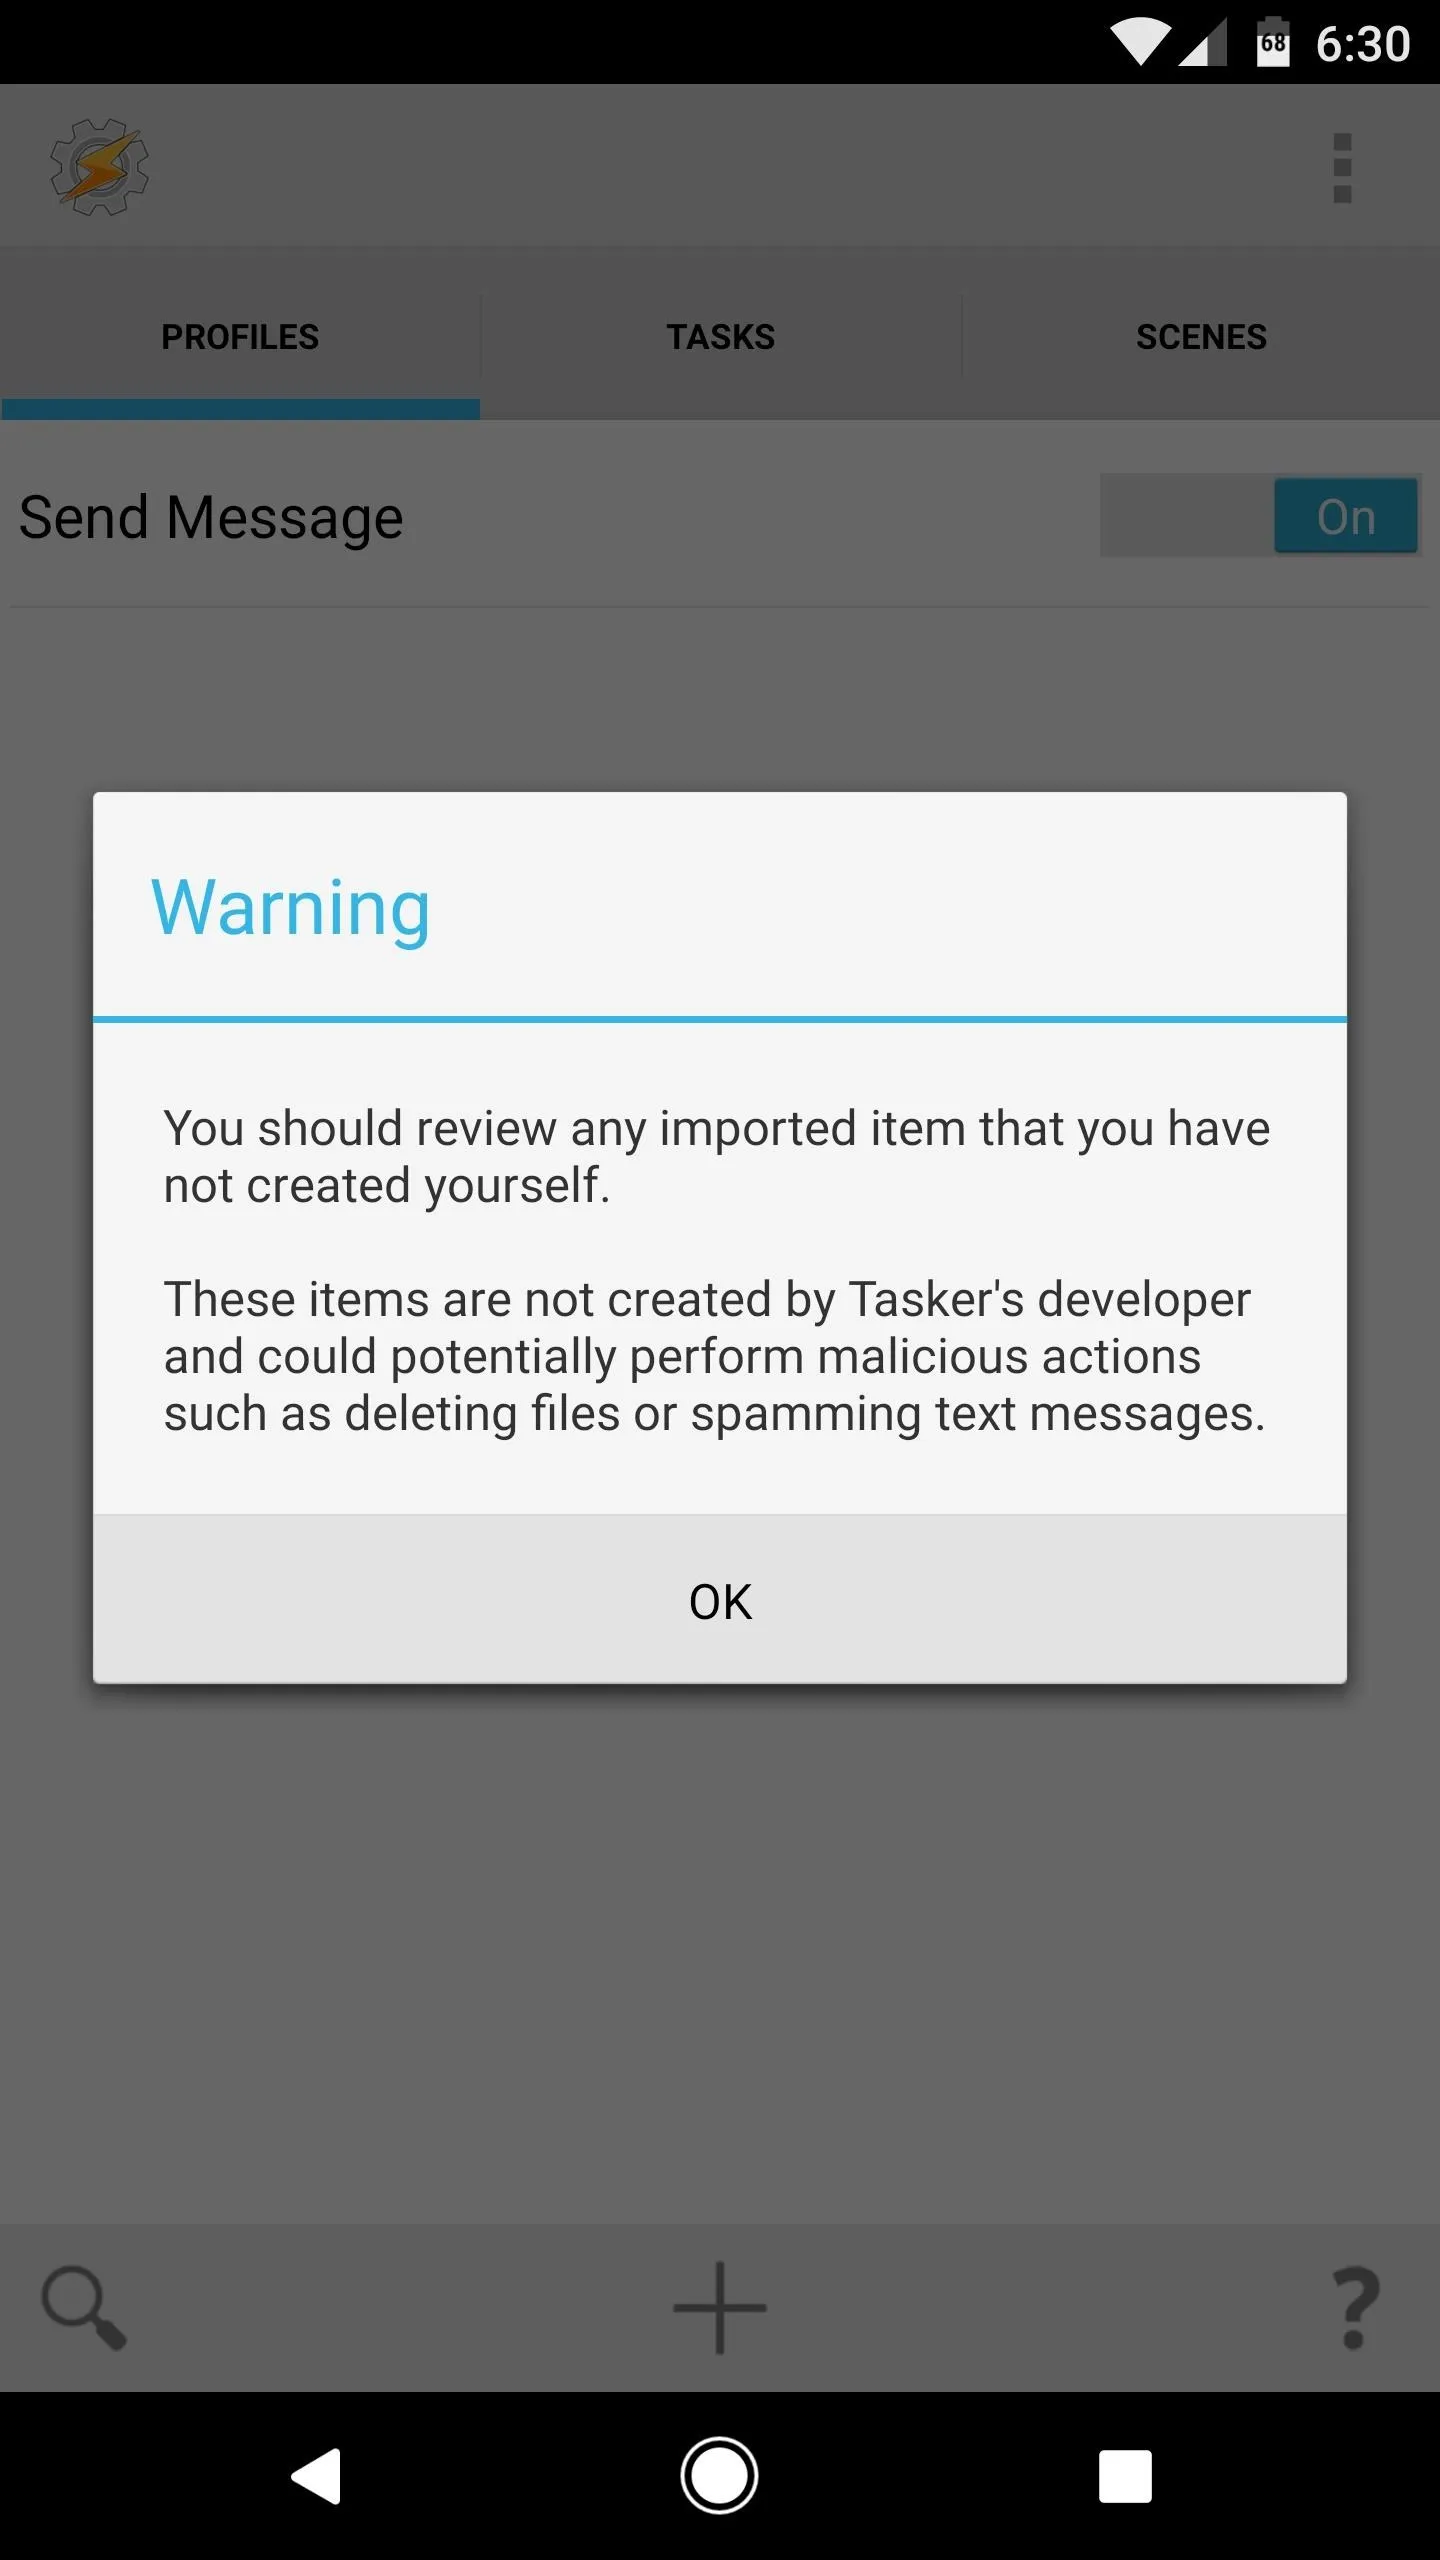
Next, open your Tasker app and head to the main menu. From here, tap the Profiles tab, then choose "Import" on the popup. Use the following screen to navigate to your device's Download folder, then select the "Send_Message" file to import it. After that, tap "OK" on the popup, then back all the way out of Tasker to make the new profile become active.
Connect Google Assistant to IFTTT
At this point, your phone is set up and ready to receive commands from your Google Home that will cause it to send SMS messages. However, your Google Home is not yet connected to your phone. To remedy this, we'll be using IFTTT.
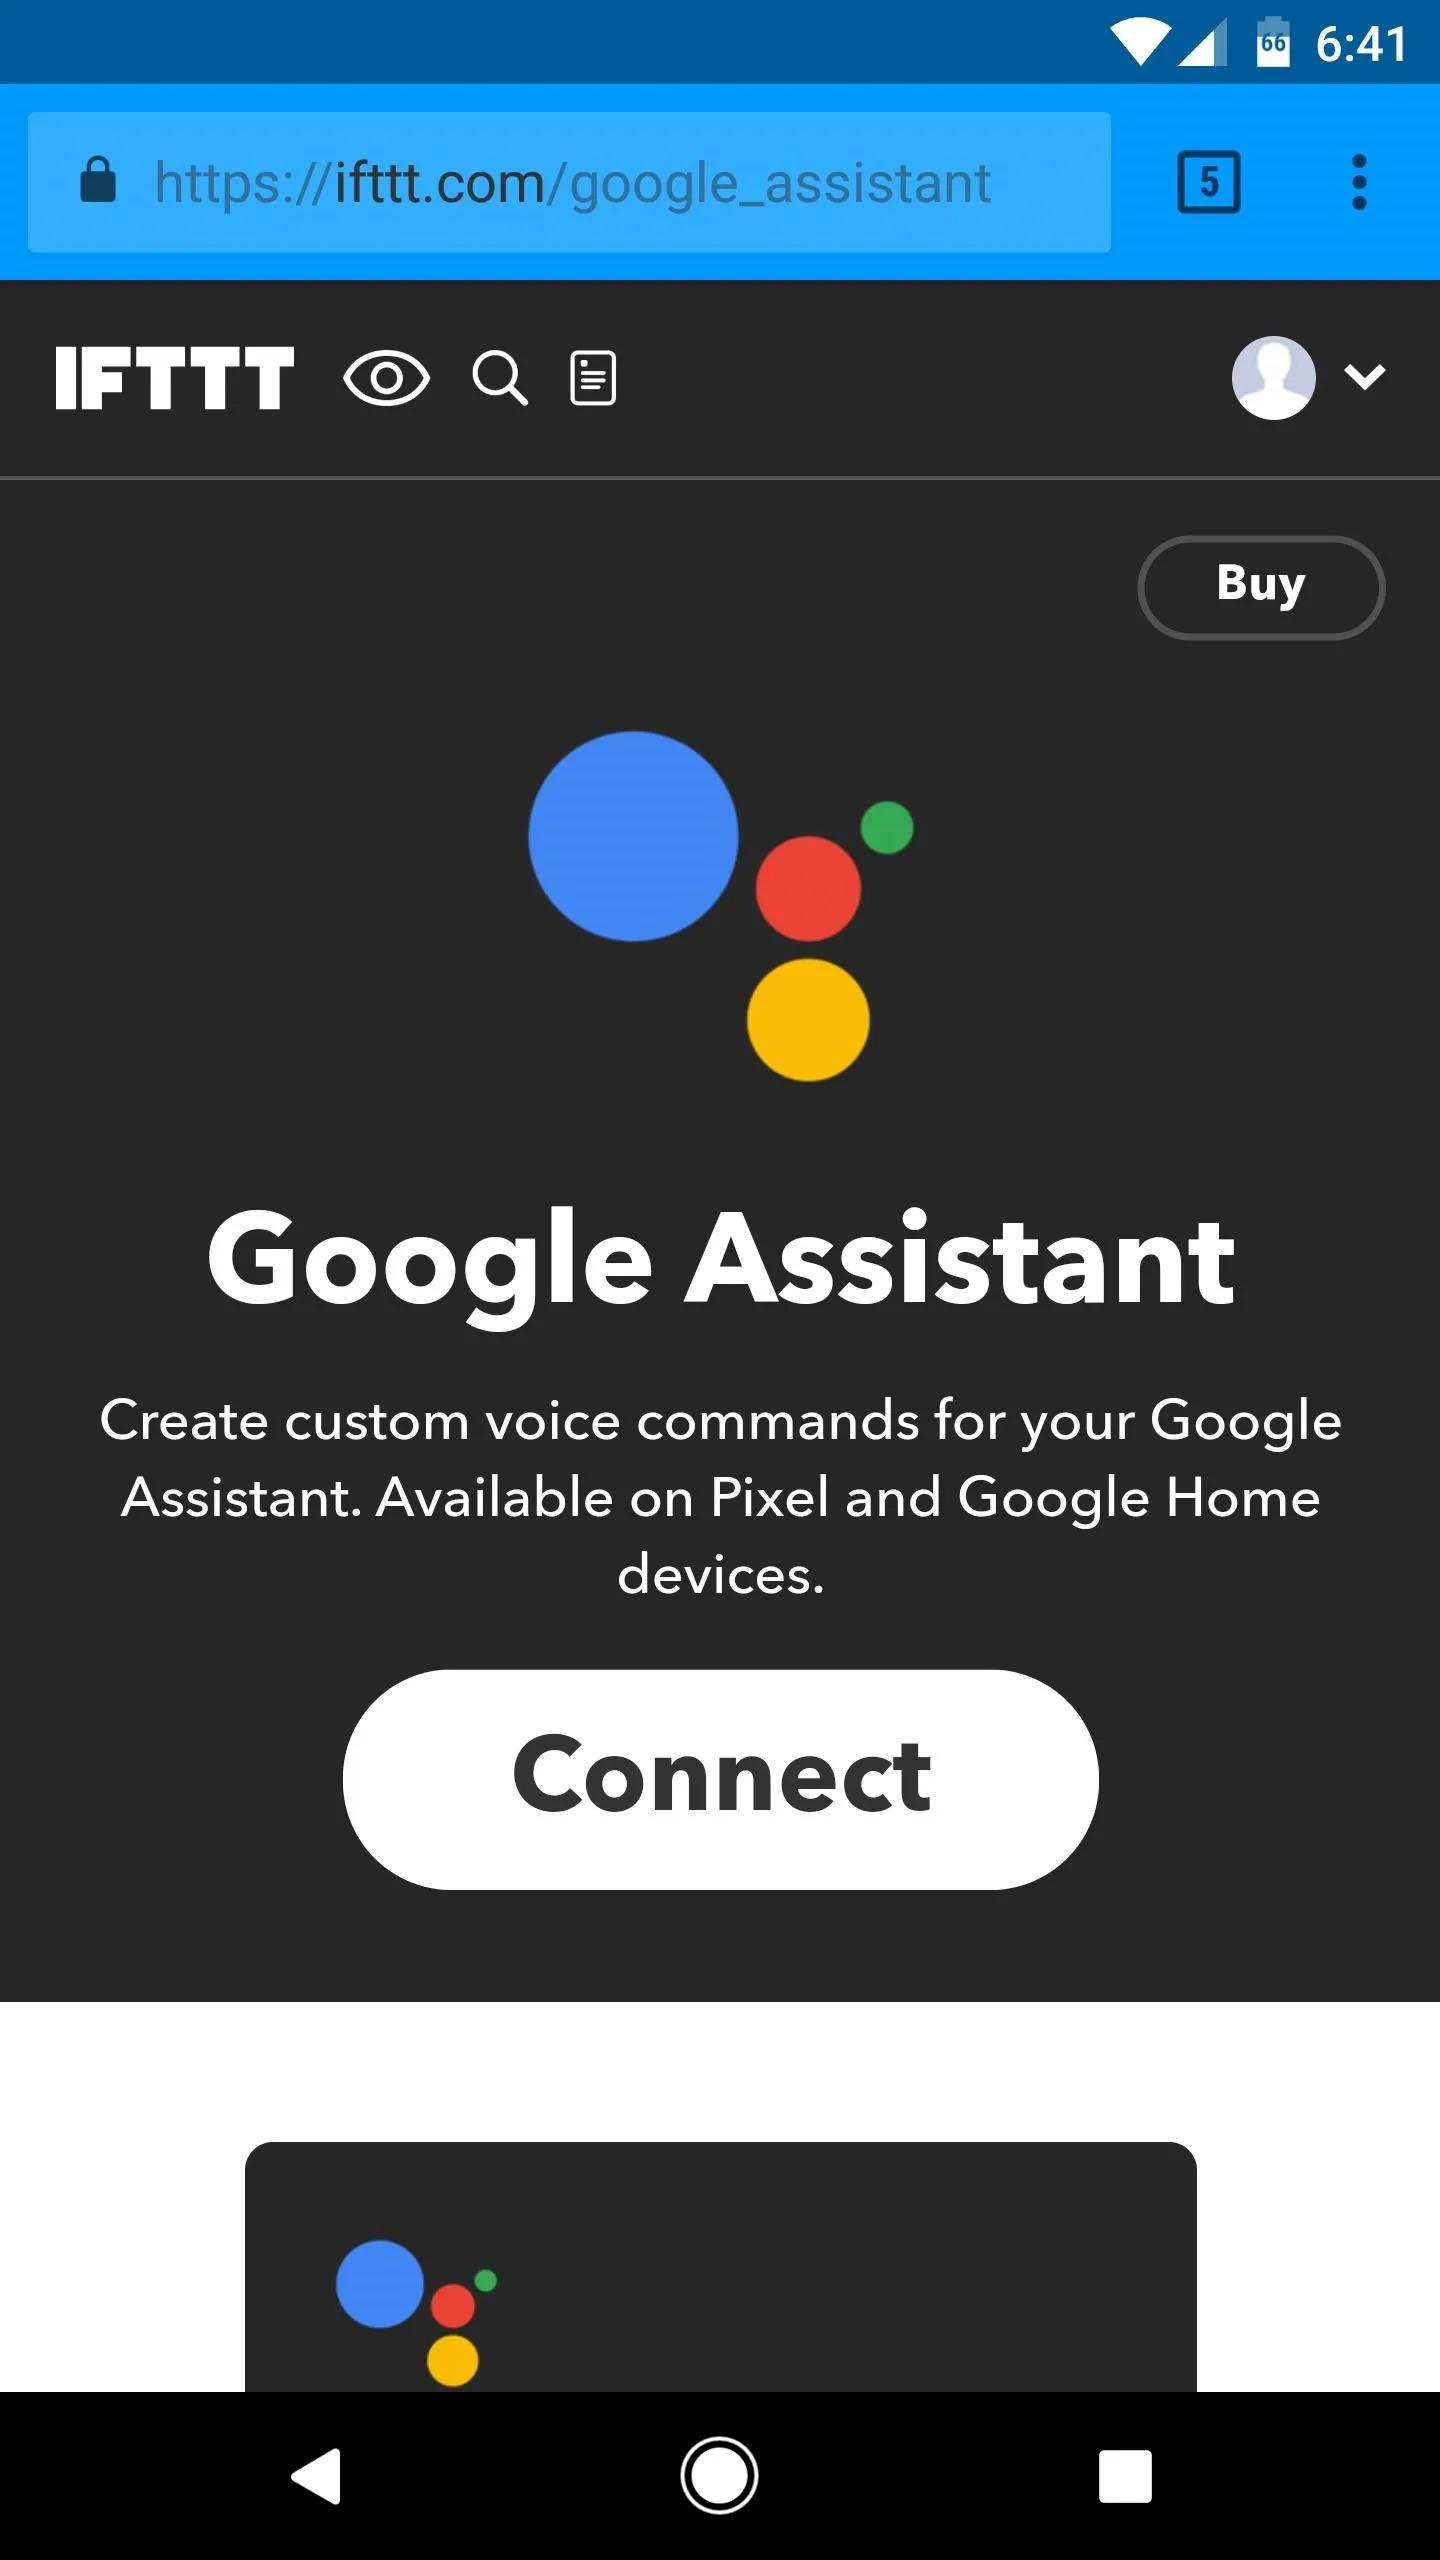
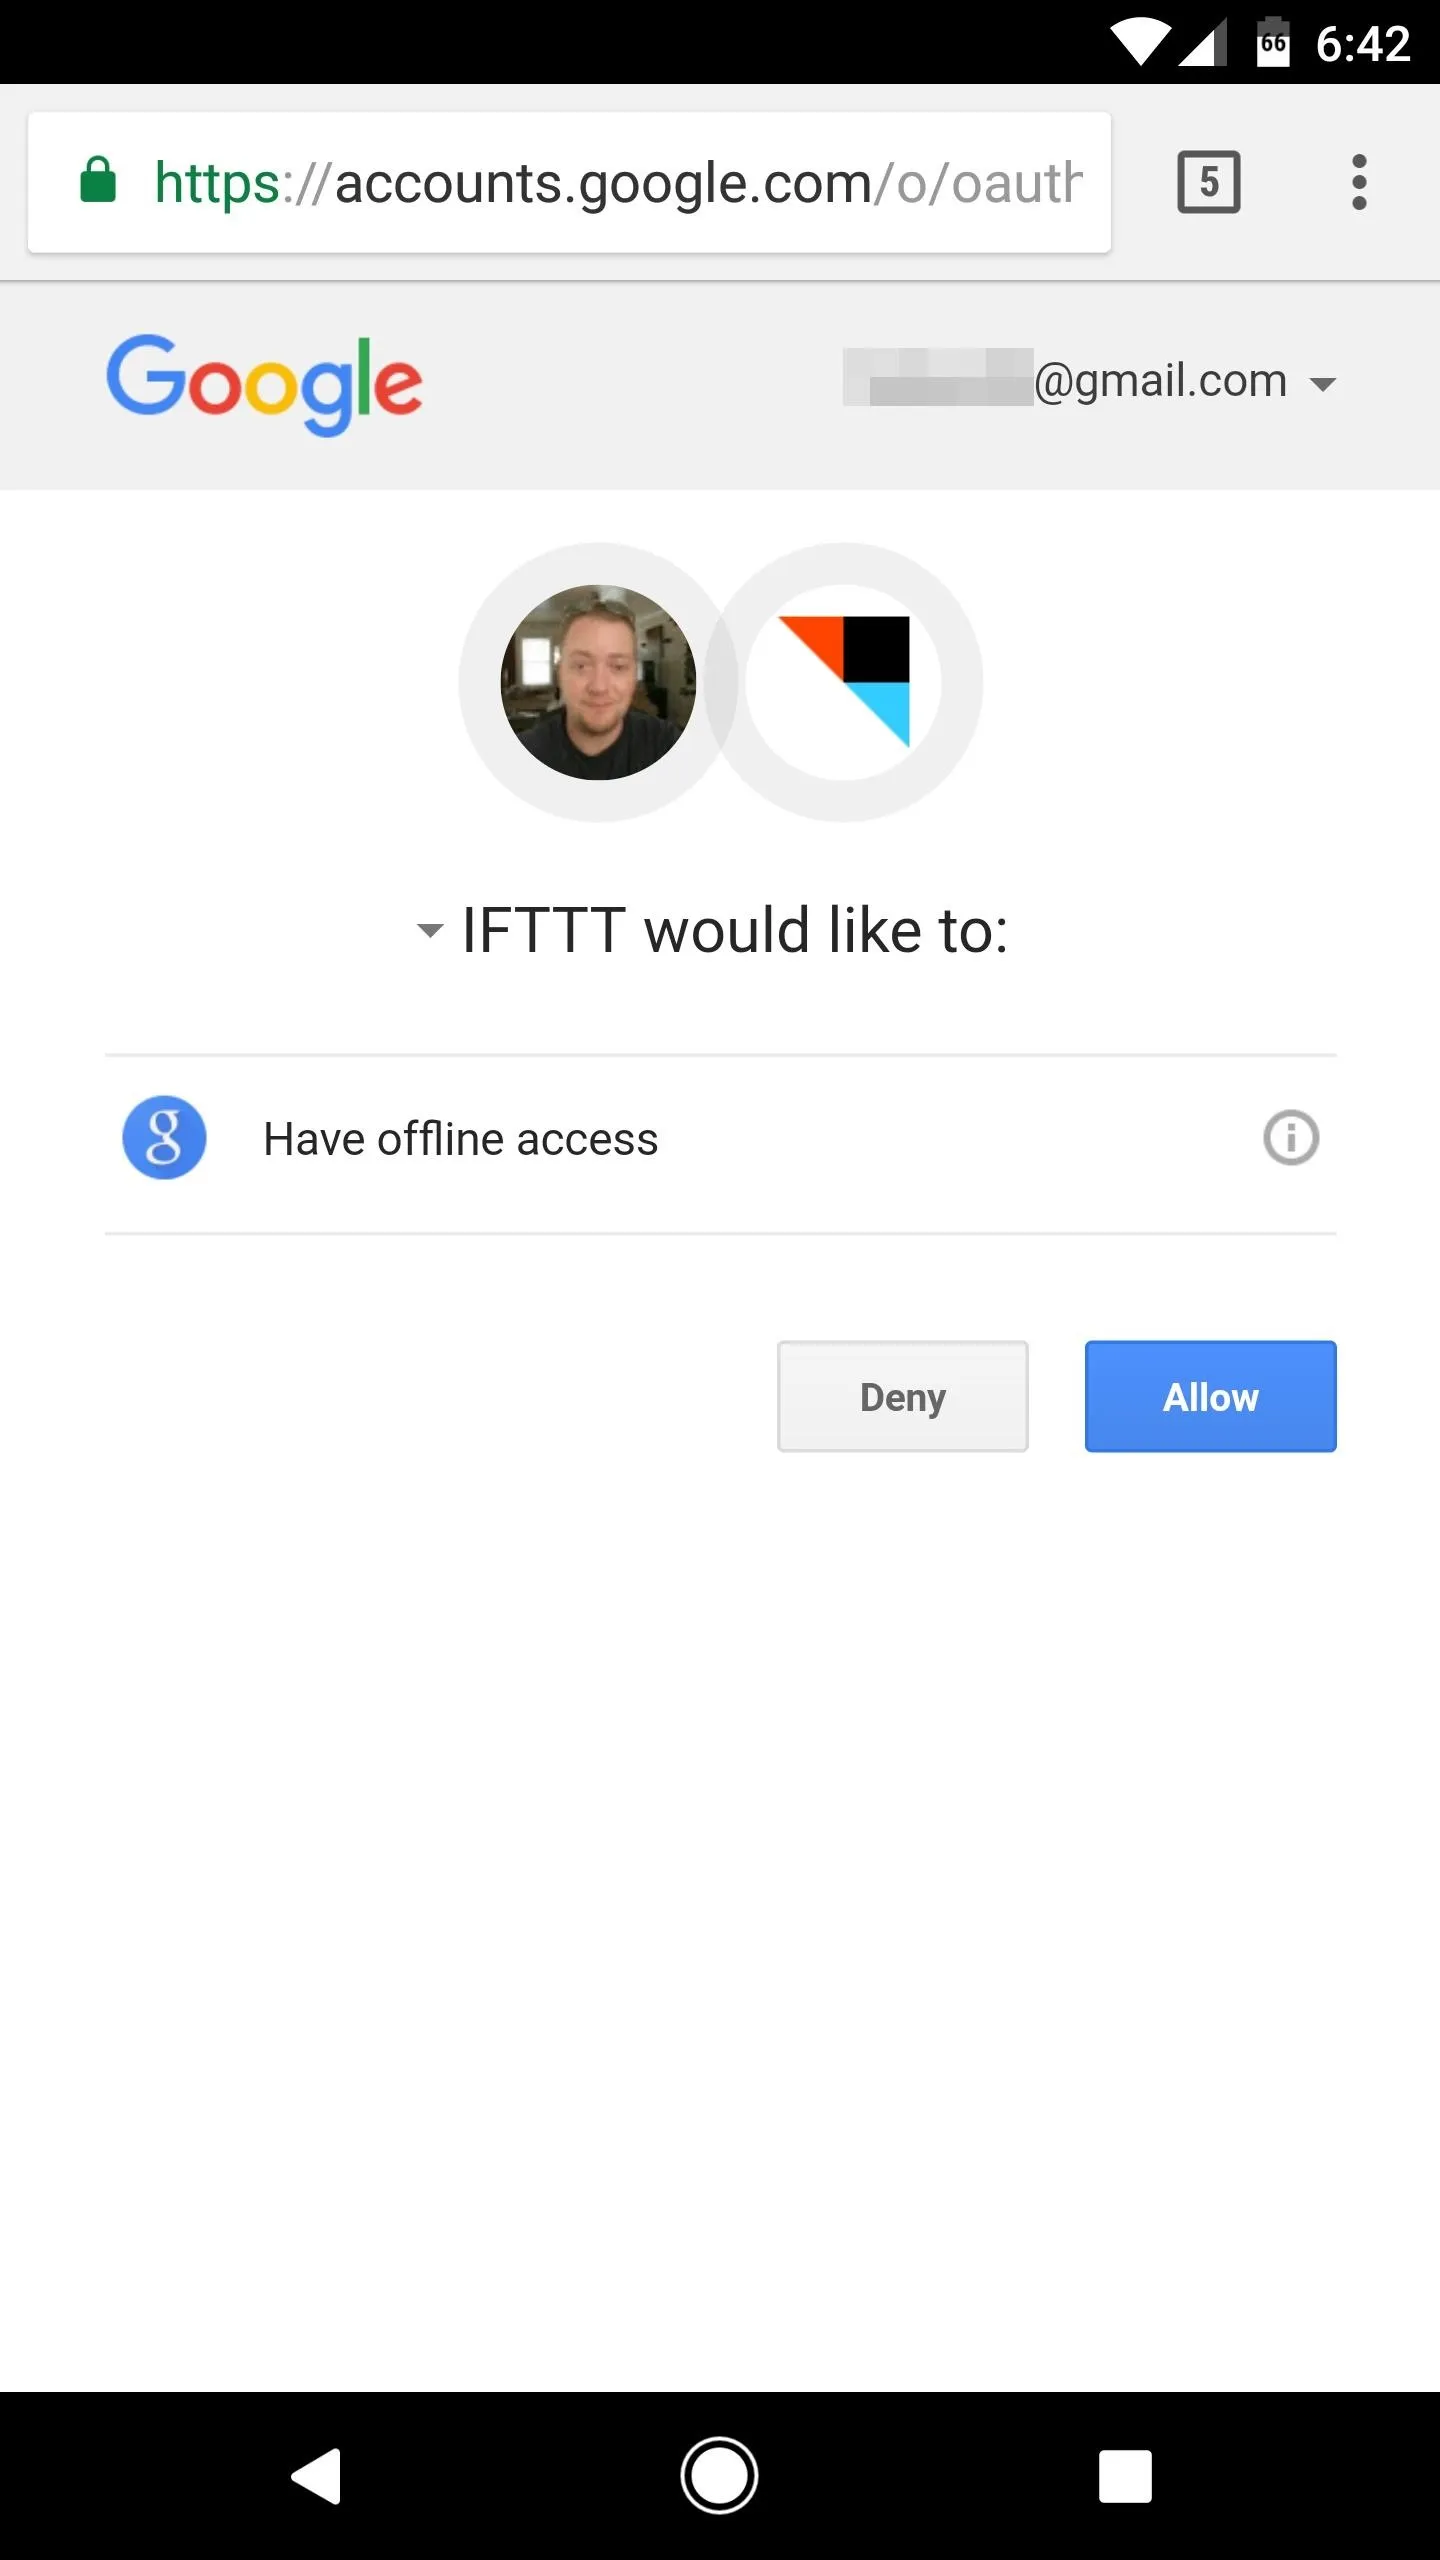
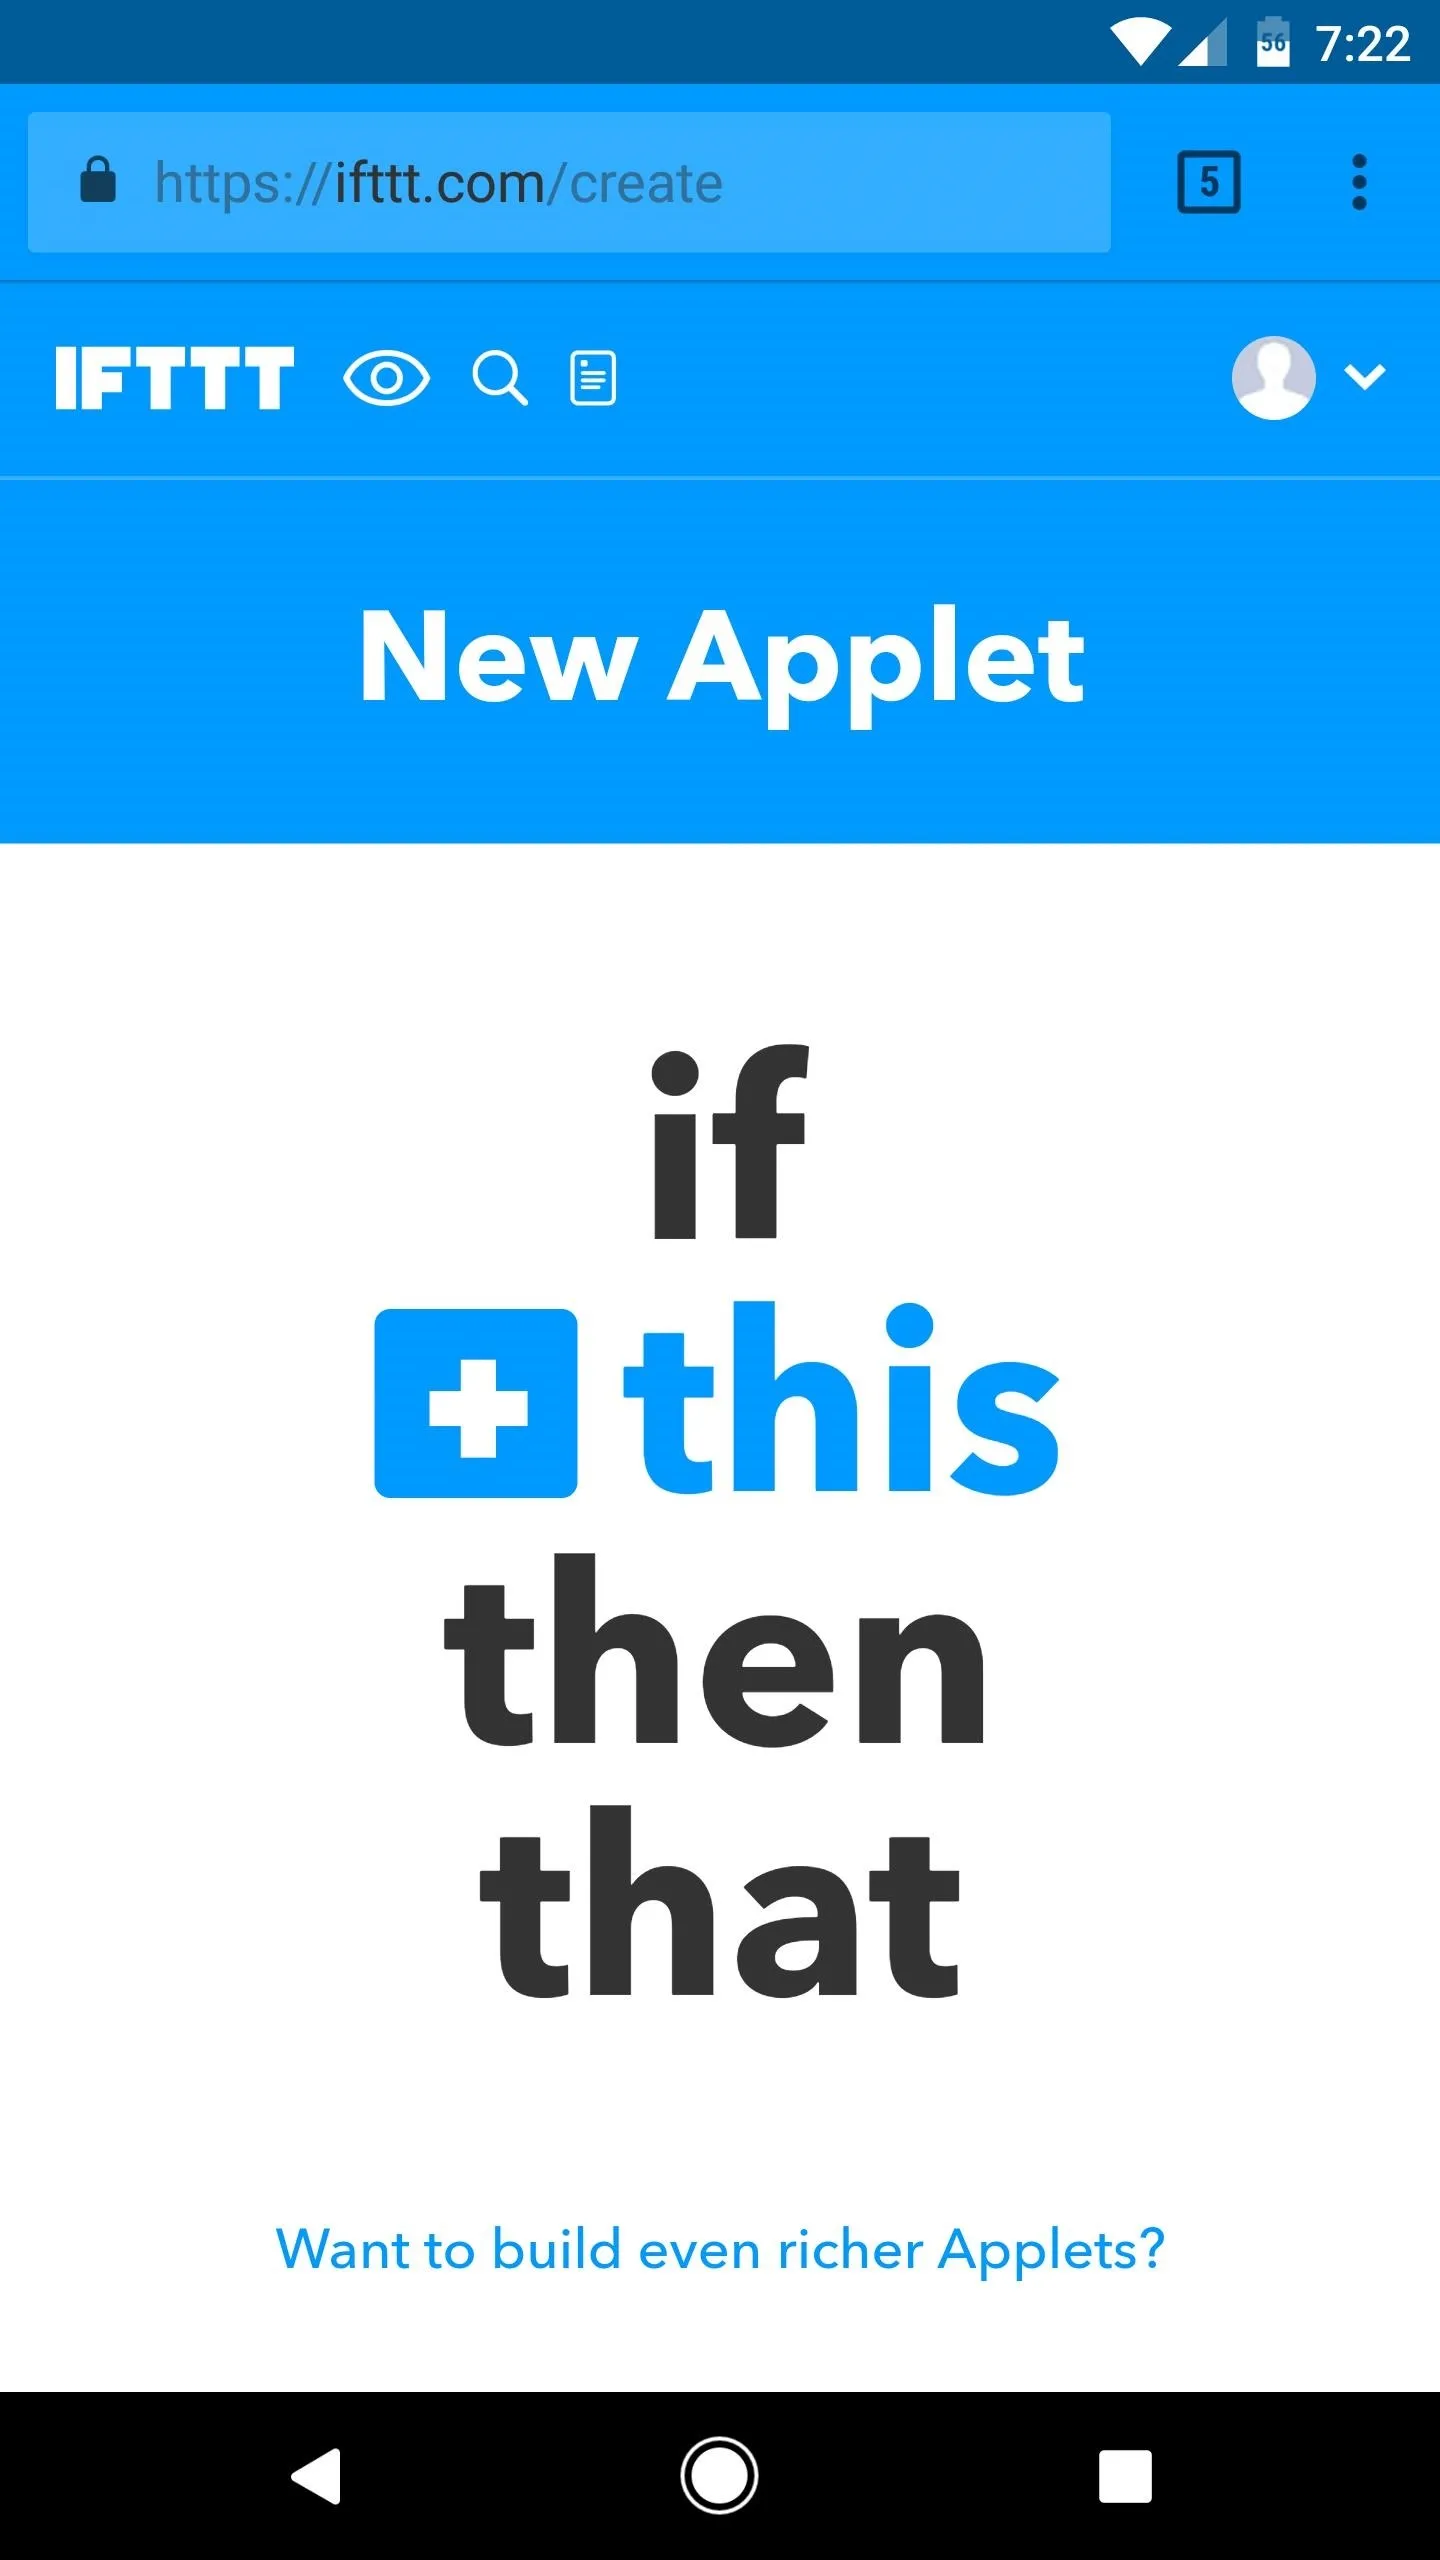
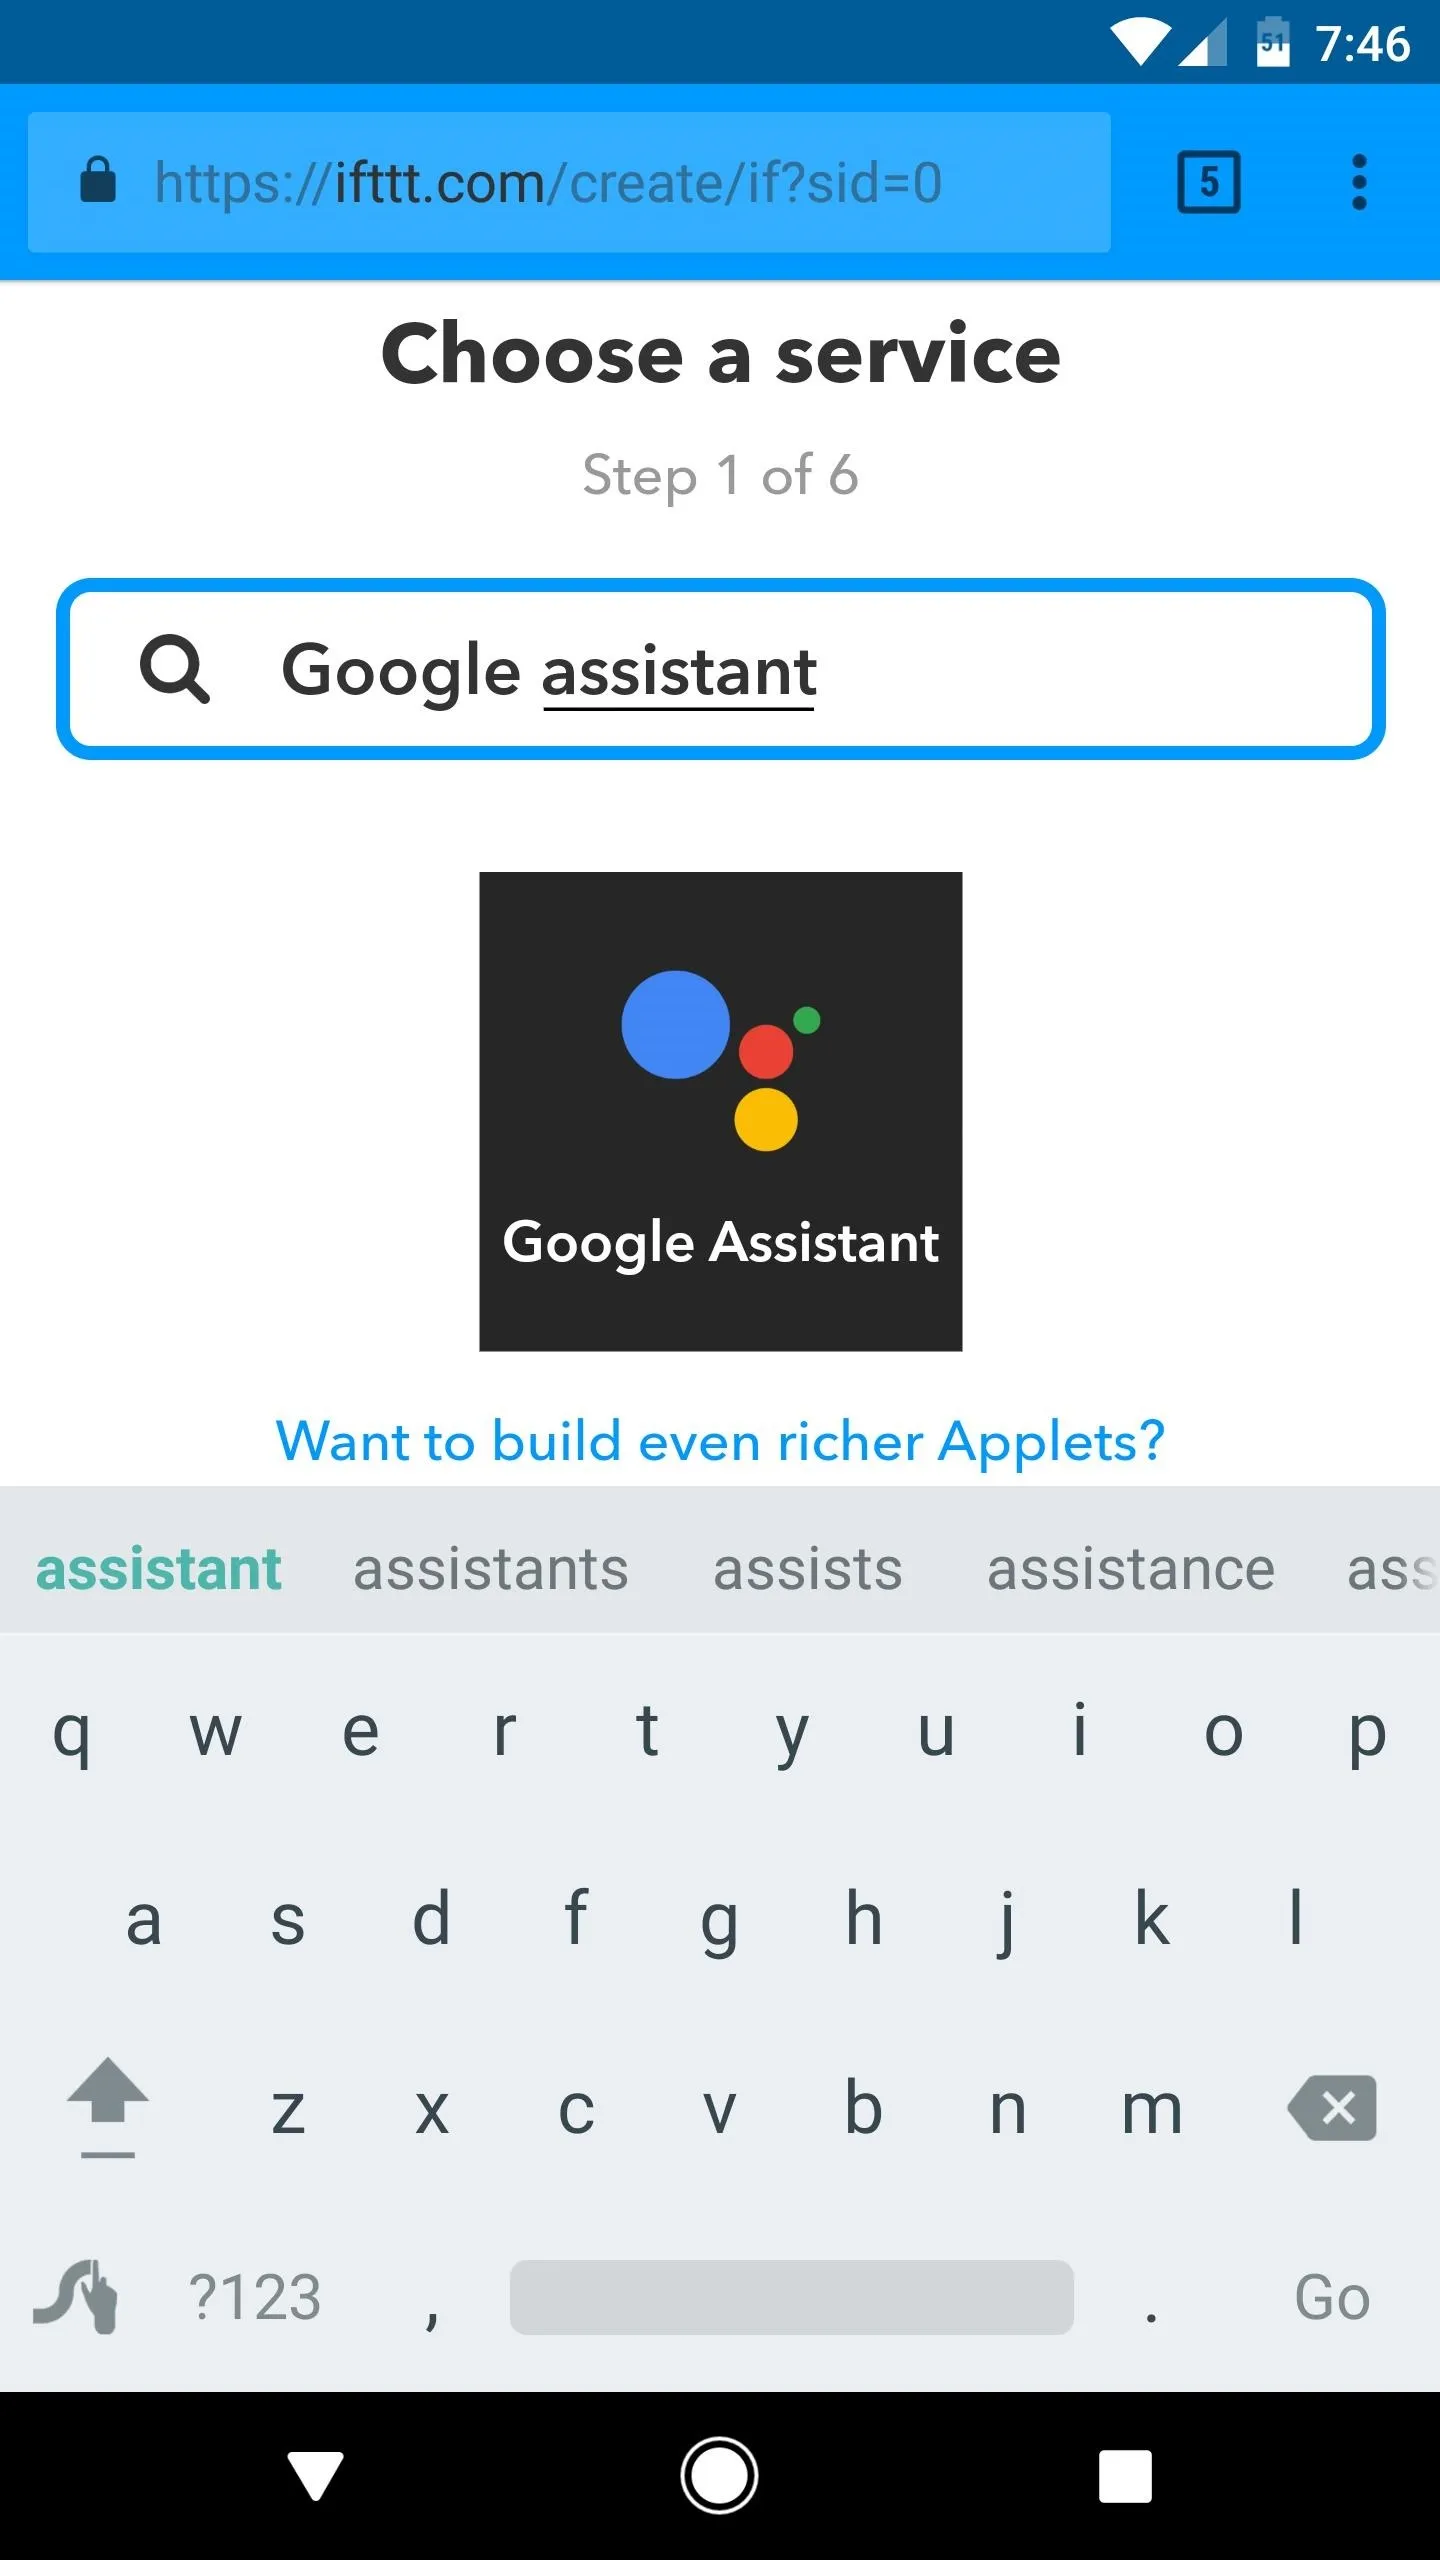
So head to IFTTT.com from your Android device and create an account if you don't have one already. From there, search for and select the Google Assistant channel, or use the link below. Once you've arrived at the Google Assistant IFTTT channel page, tap the "Connect" button, then sign in with the same Google account you use on your Google Home, and press "Allow" on the authentication page.
Create an IFTTT Applet to Dictate Messages
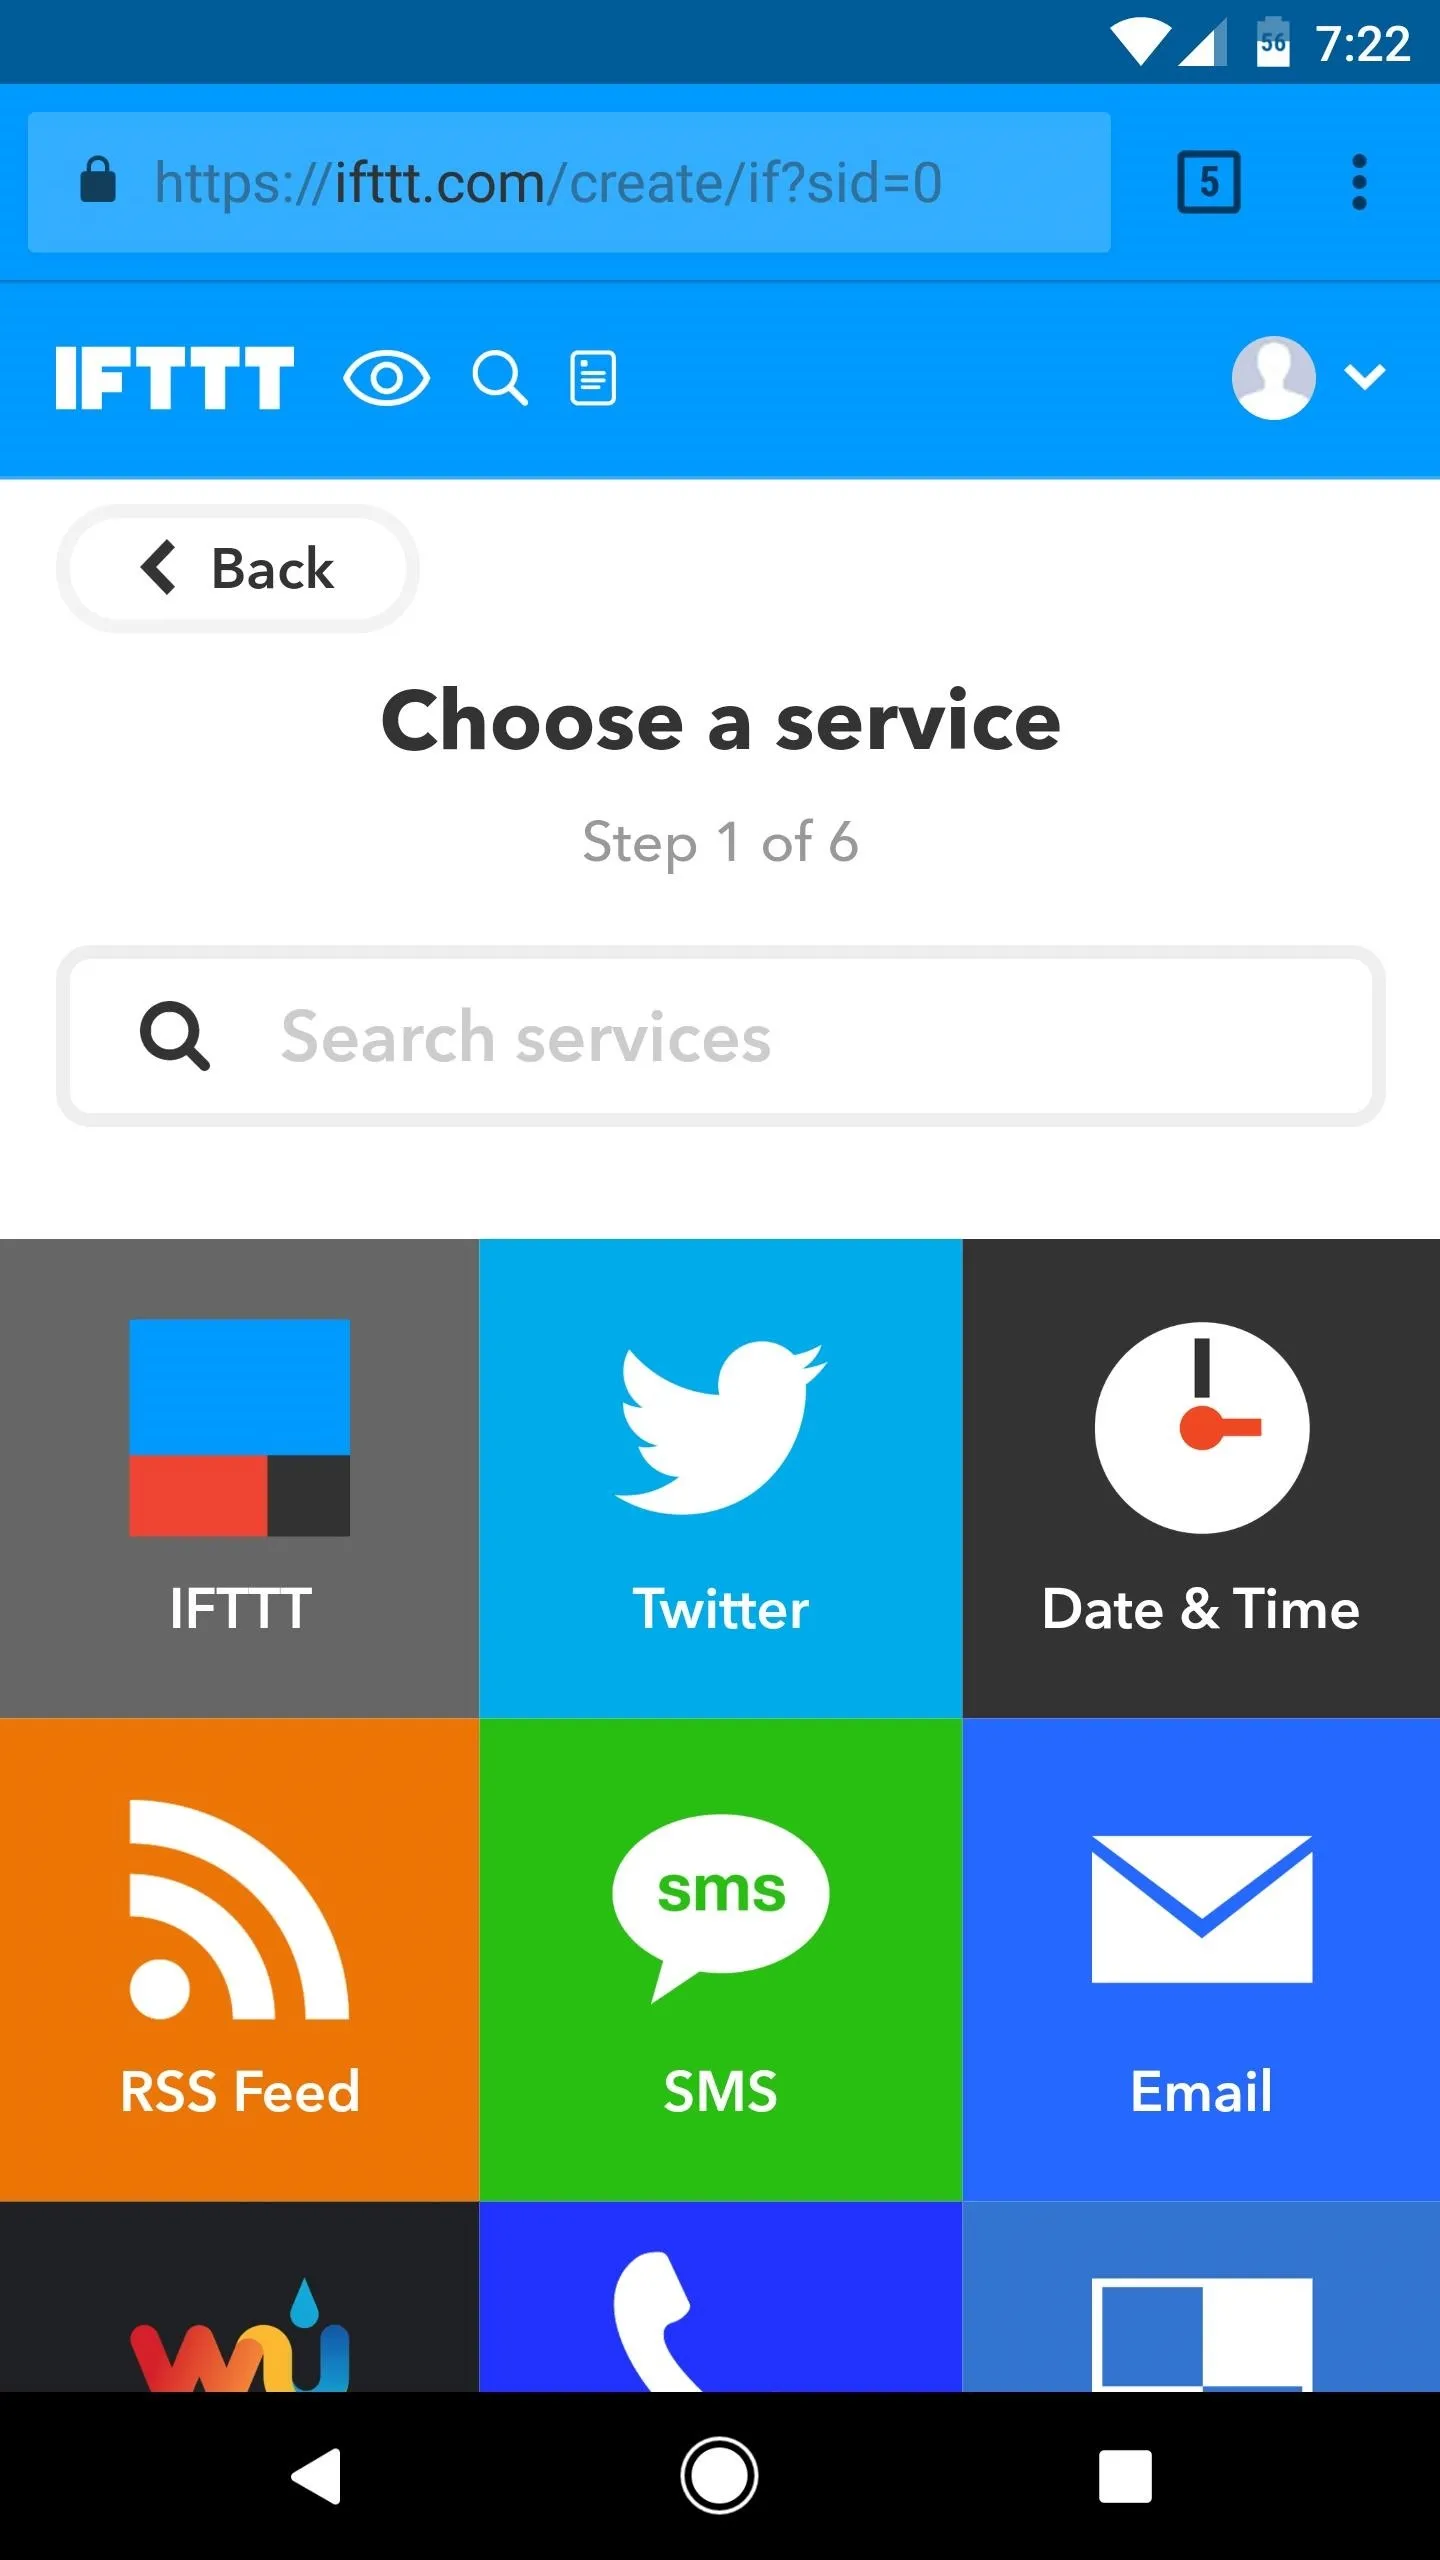
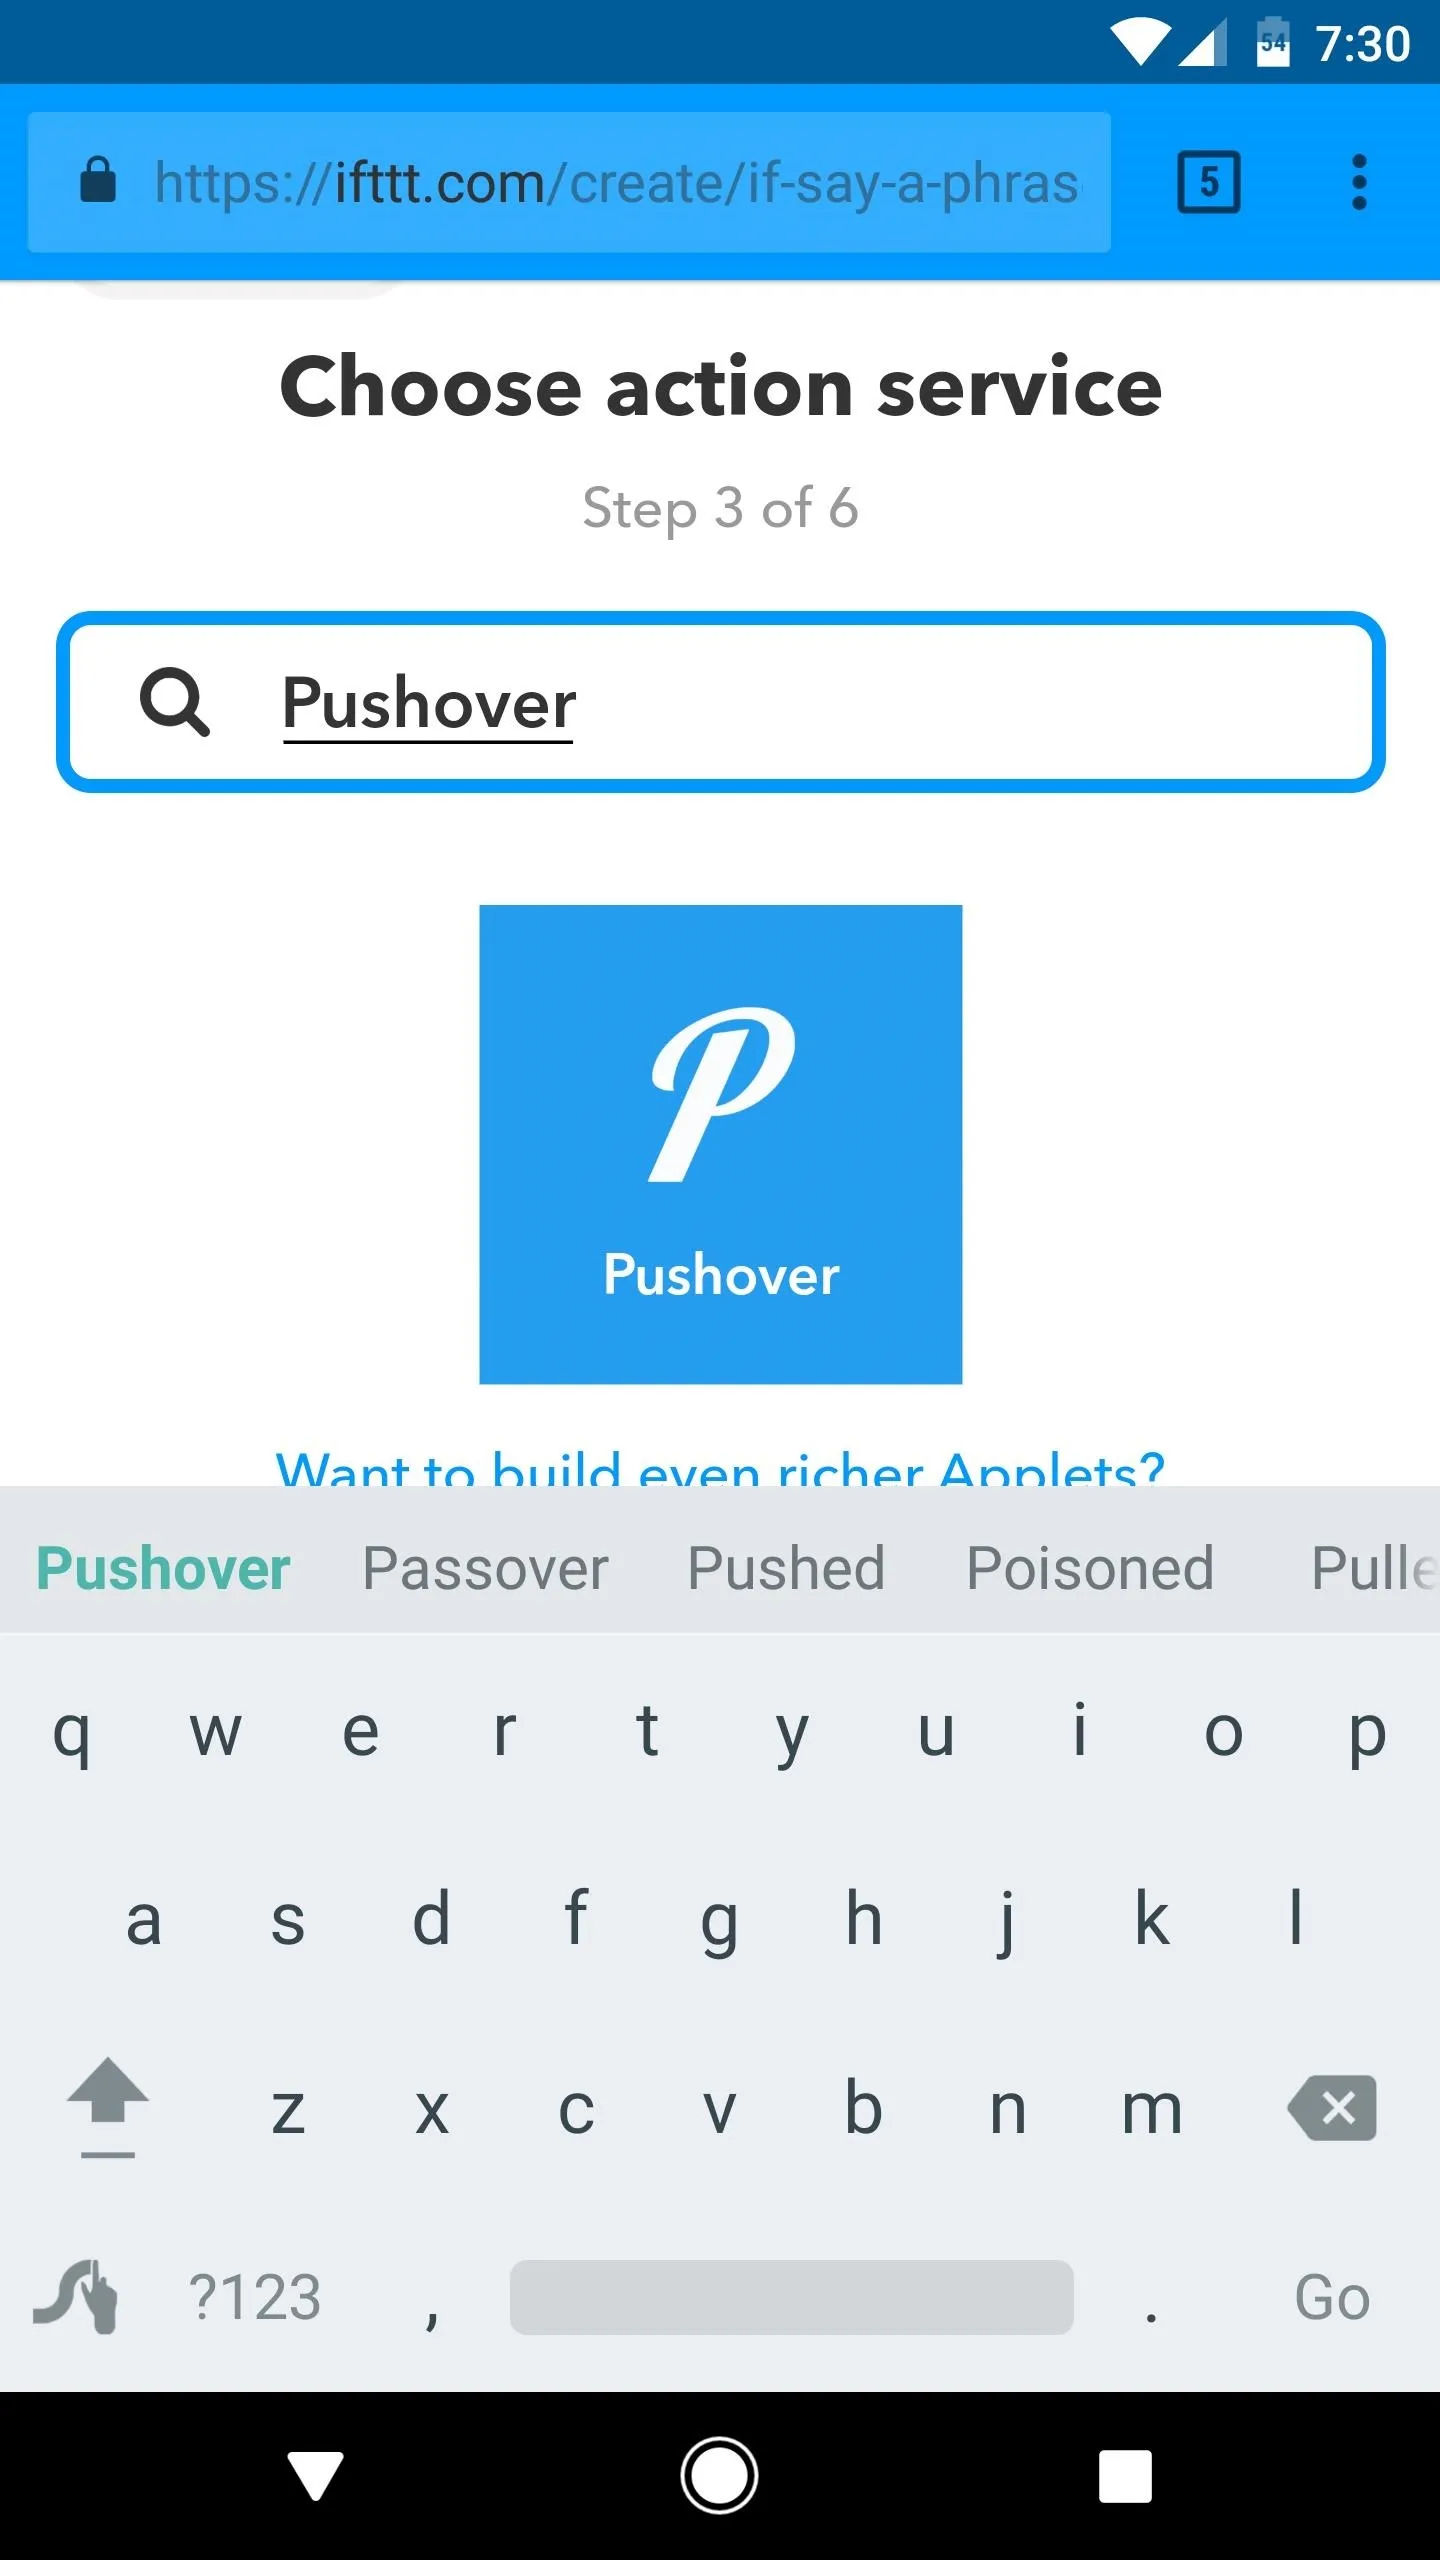
You'll need to create two IFTTT applets — one for dictating your message to Google Home, and the other to verify that you'd like to send it. So head to this link, then tap the text that says "+this." After that, search for "Google Assistant" and select it from the list.
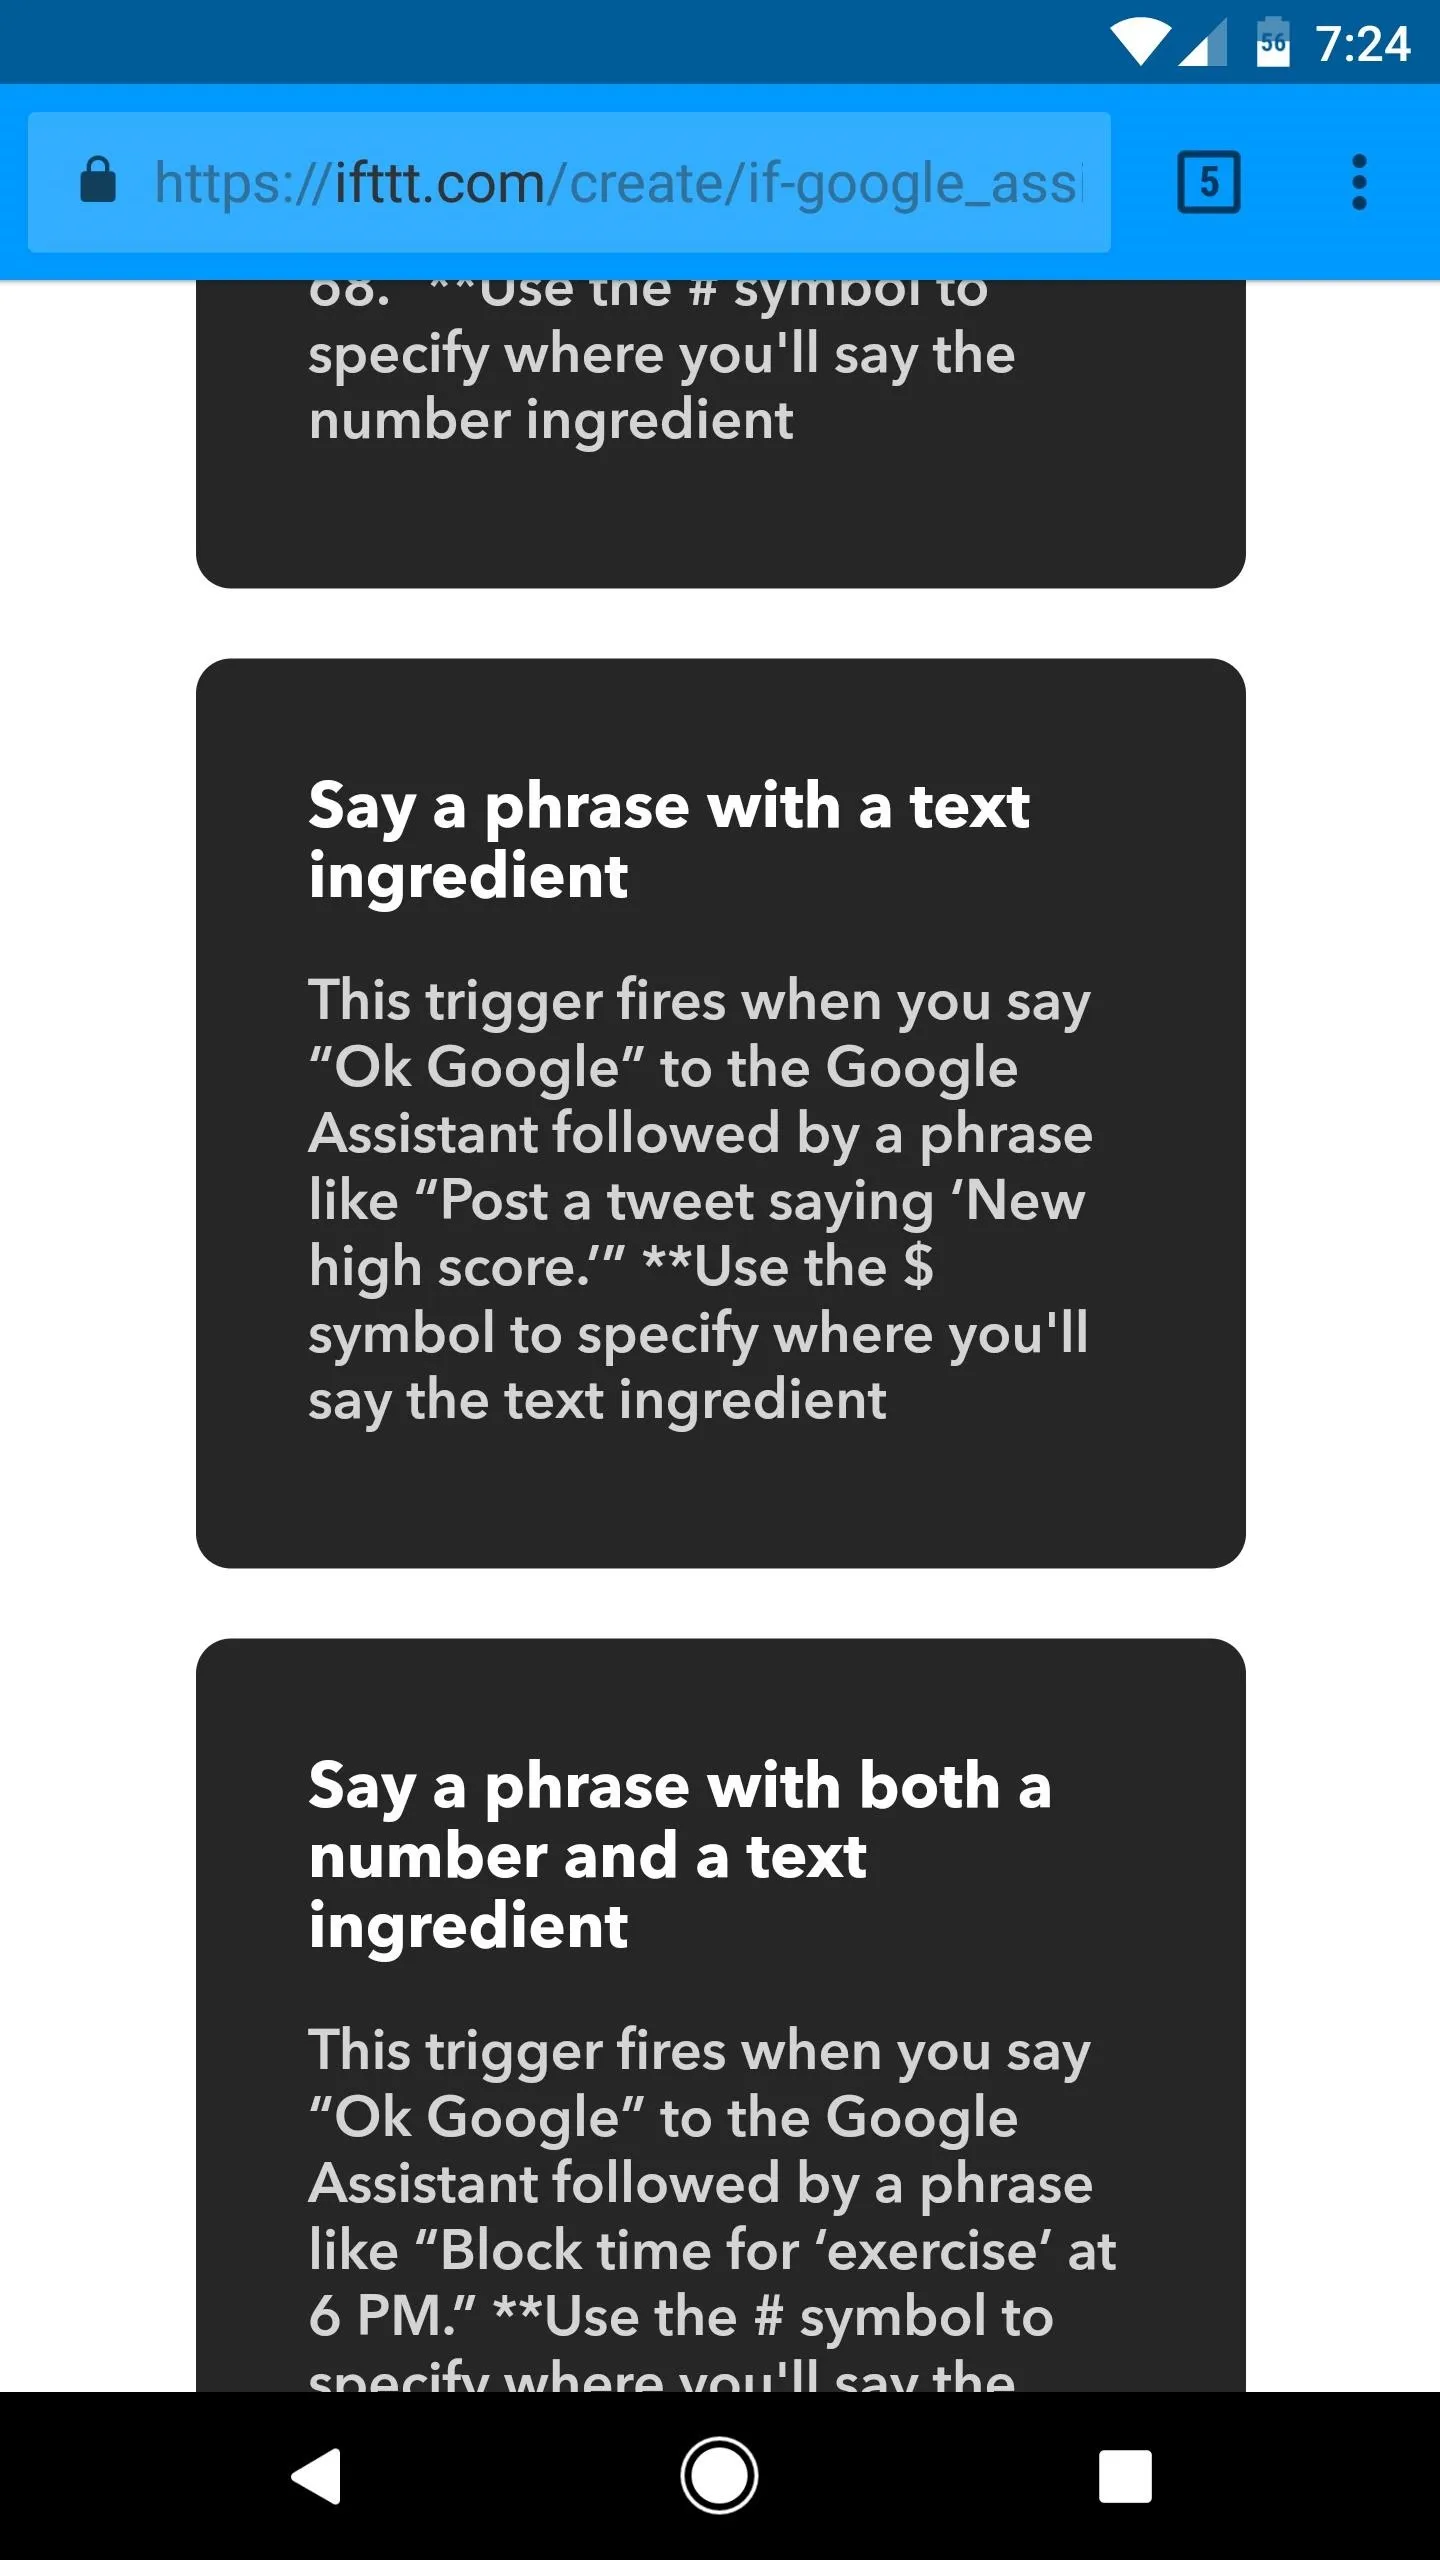
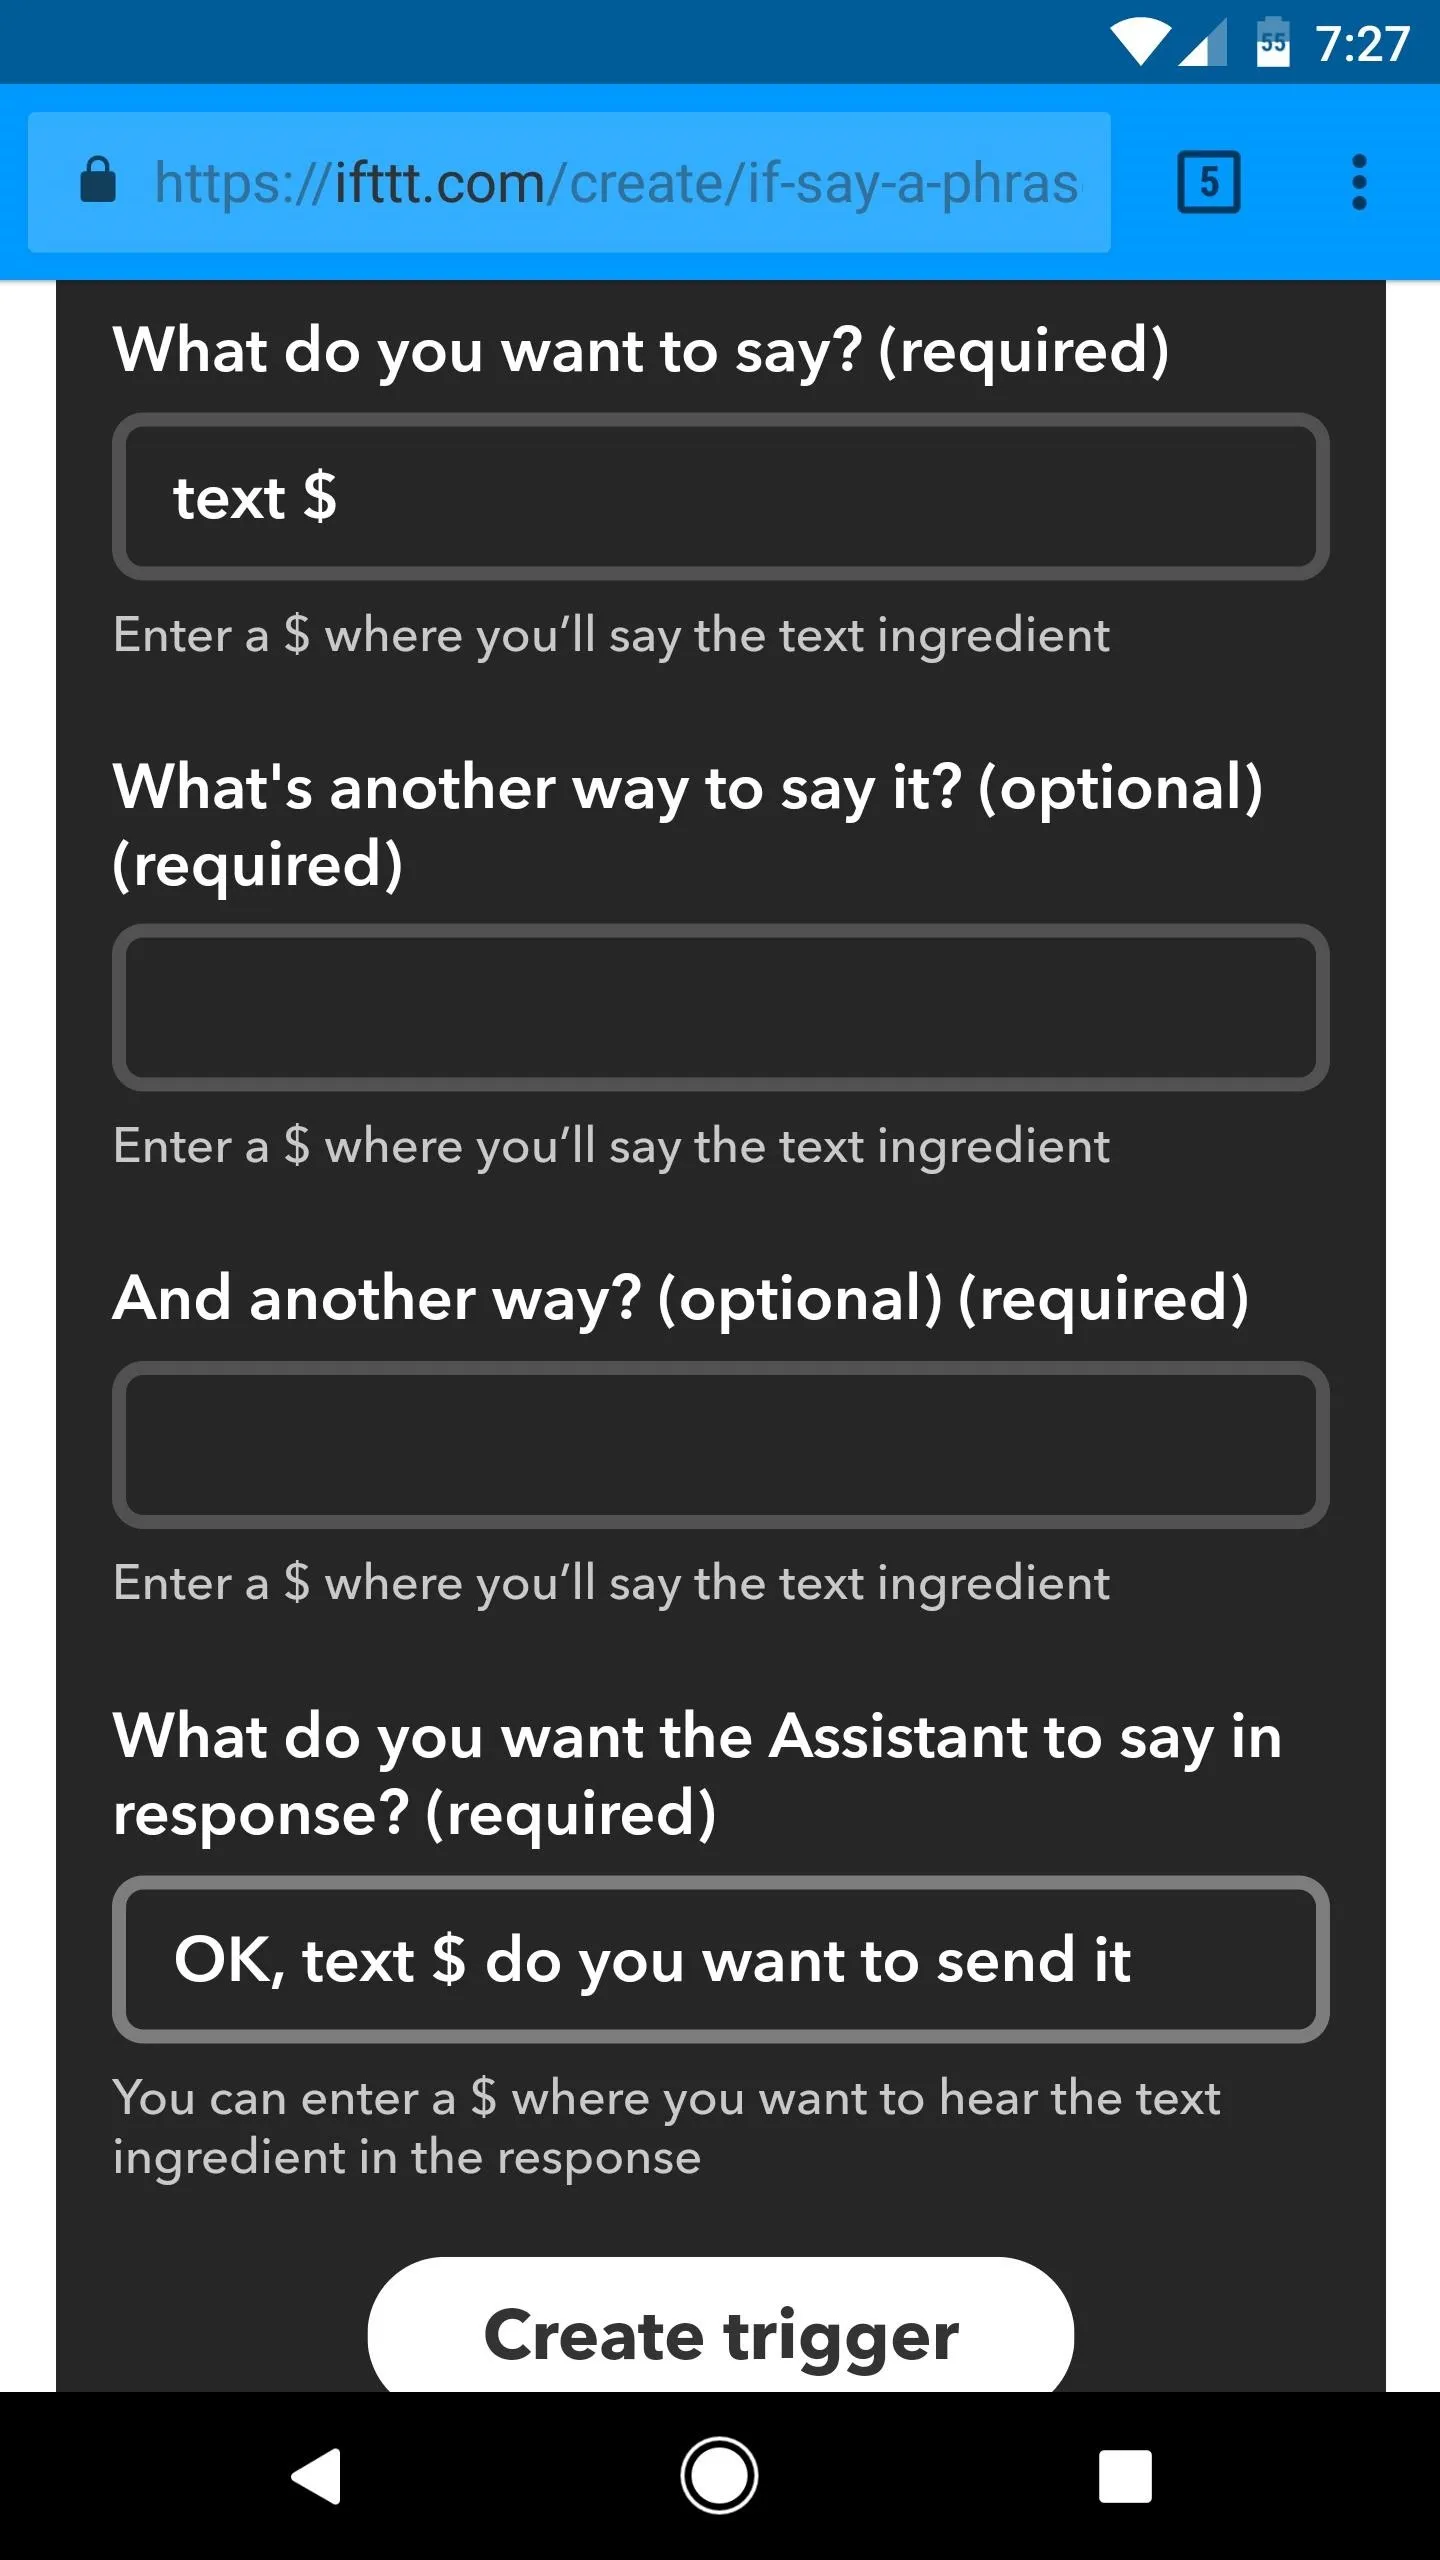
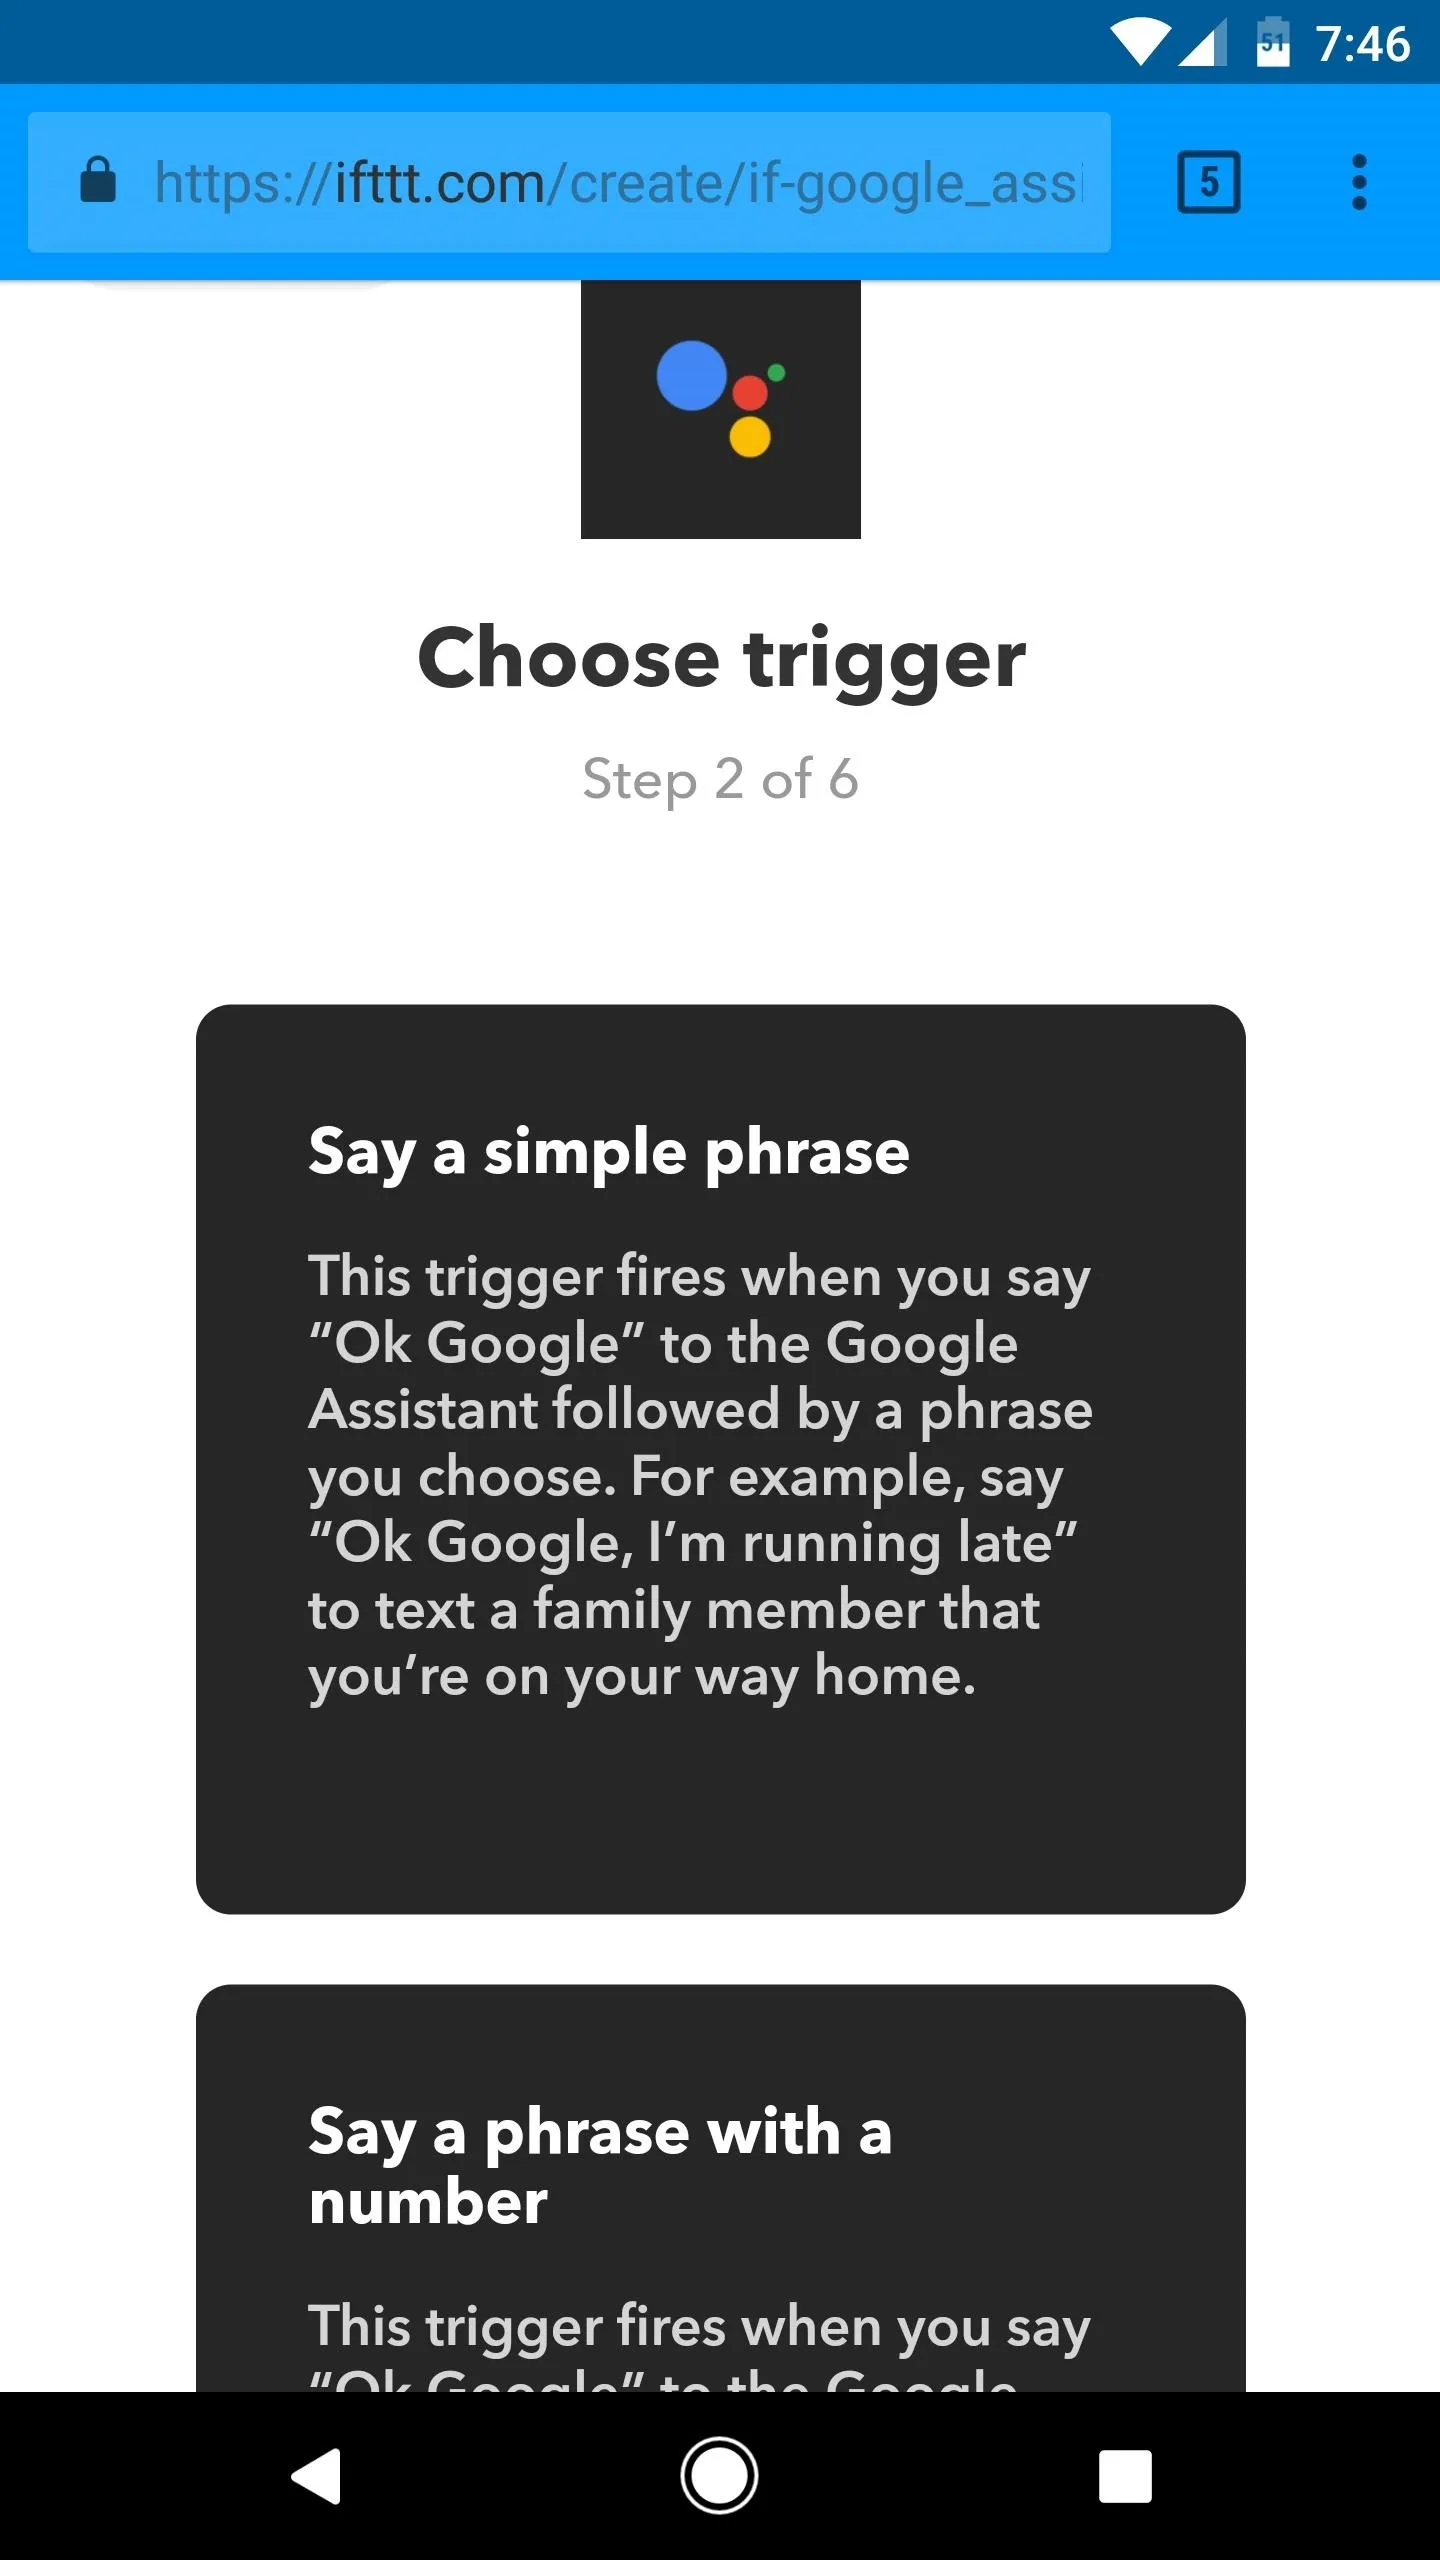
Then, select "Say a phrase with a text ingredient." From there, type "text $" into the What do you want to say? field, but without the quotation marks. Then scroll down and type "OK, text $ do you want to send it" into the last field and press "Create trigger."
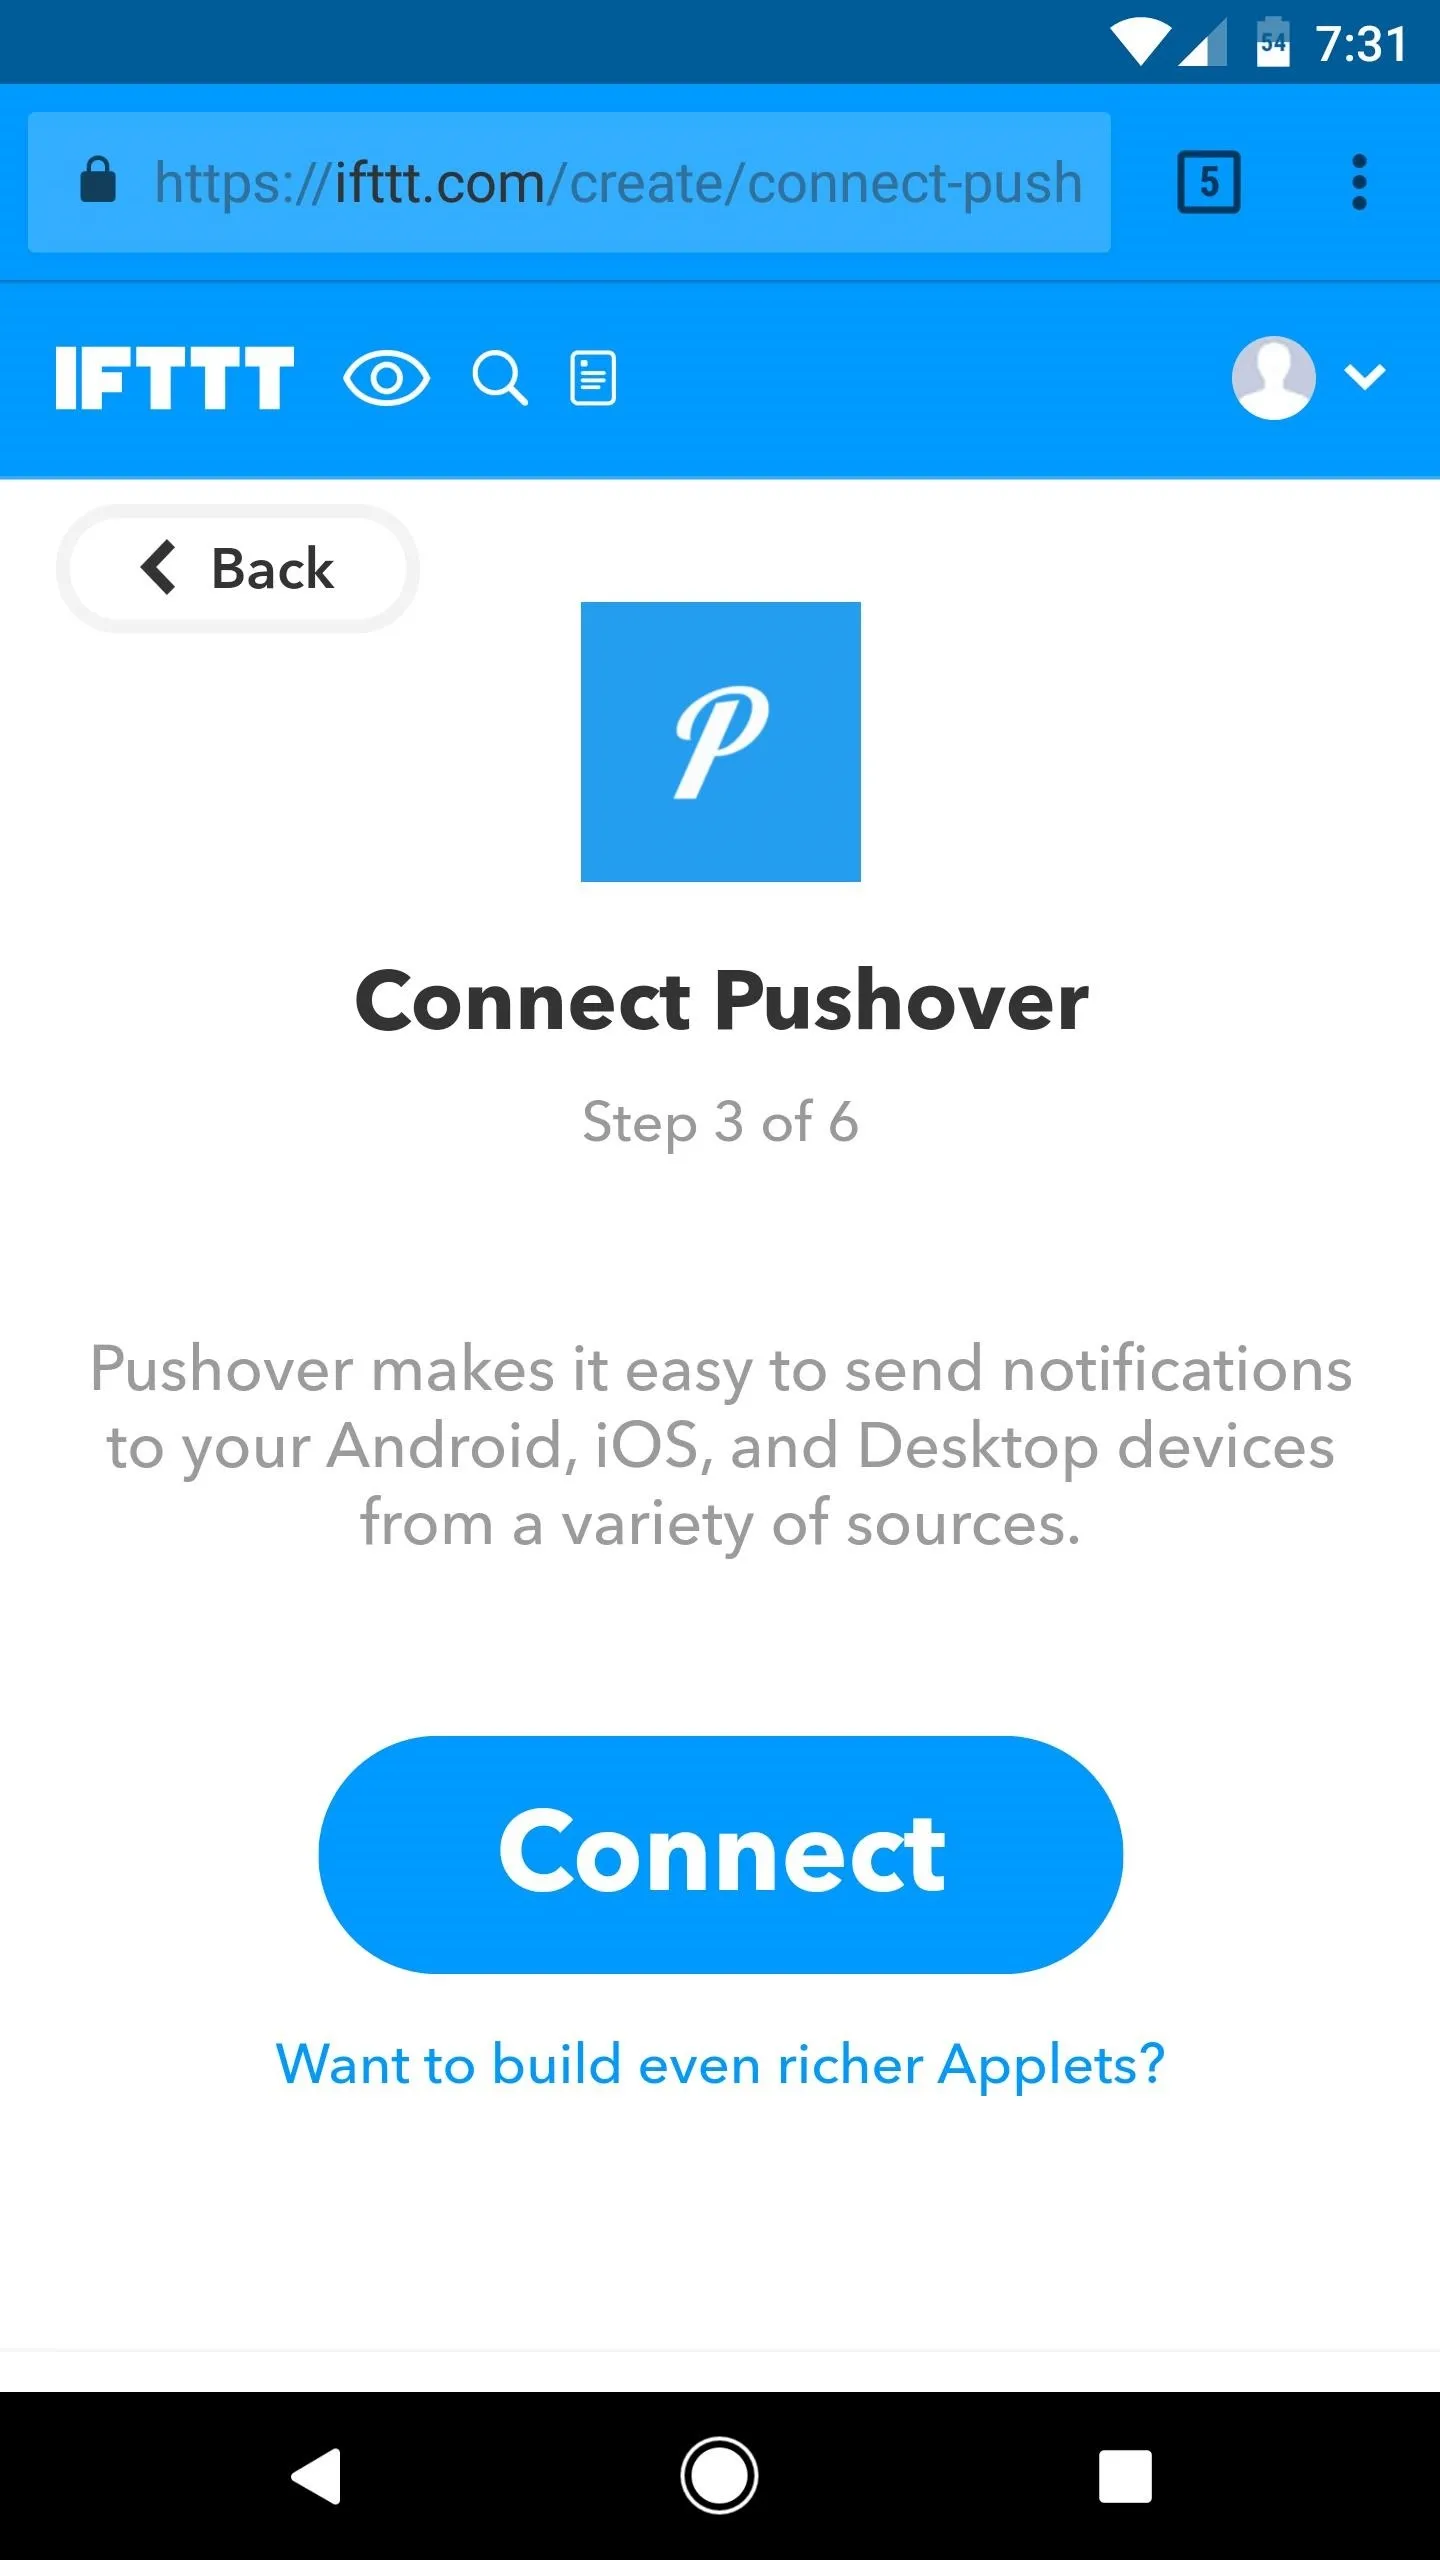
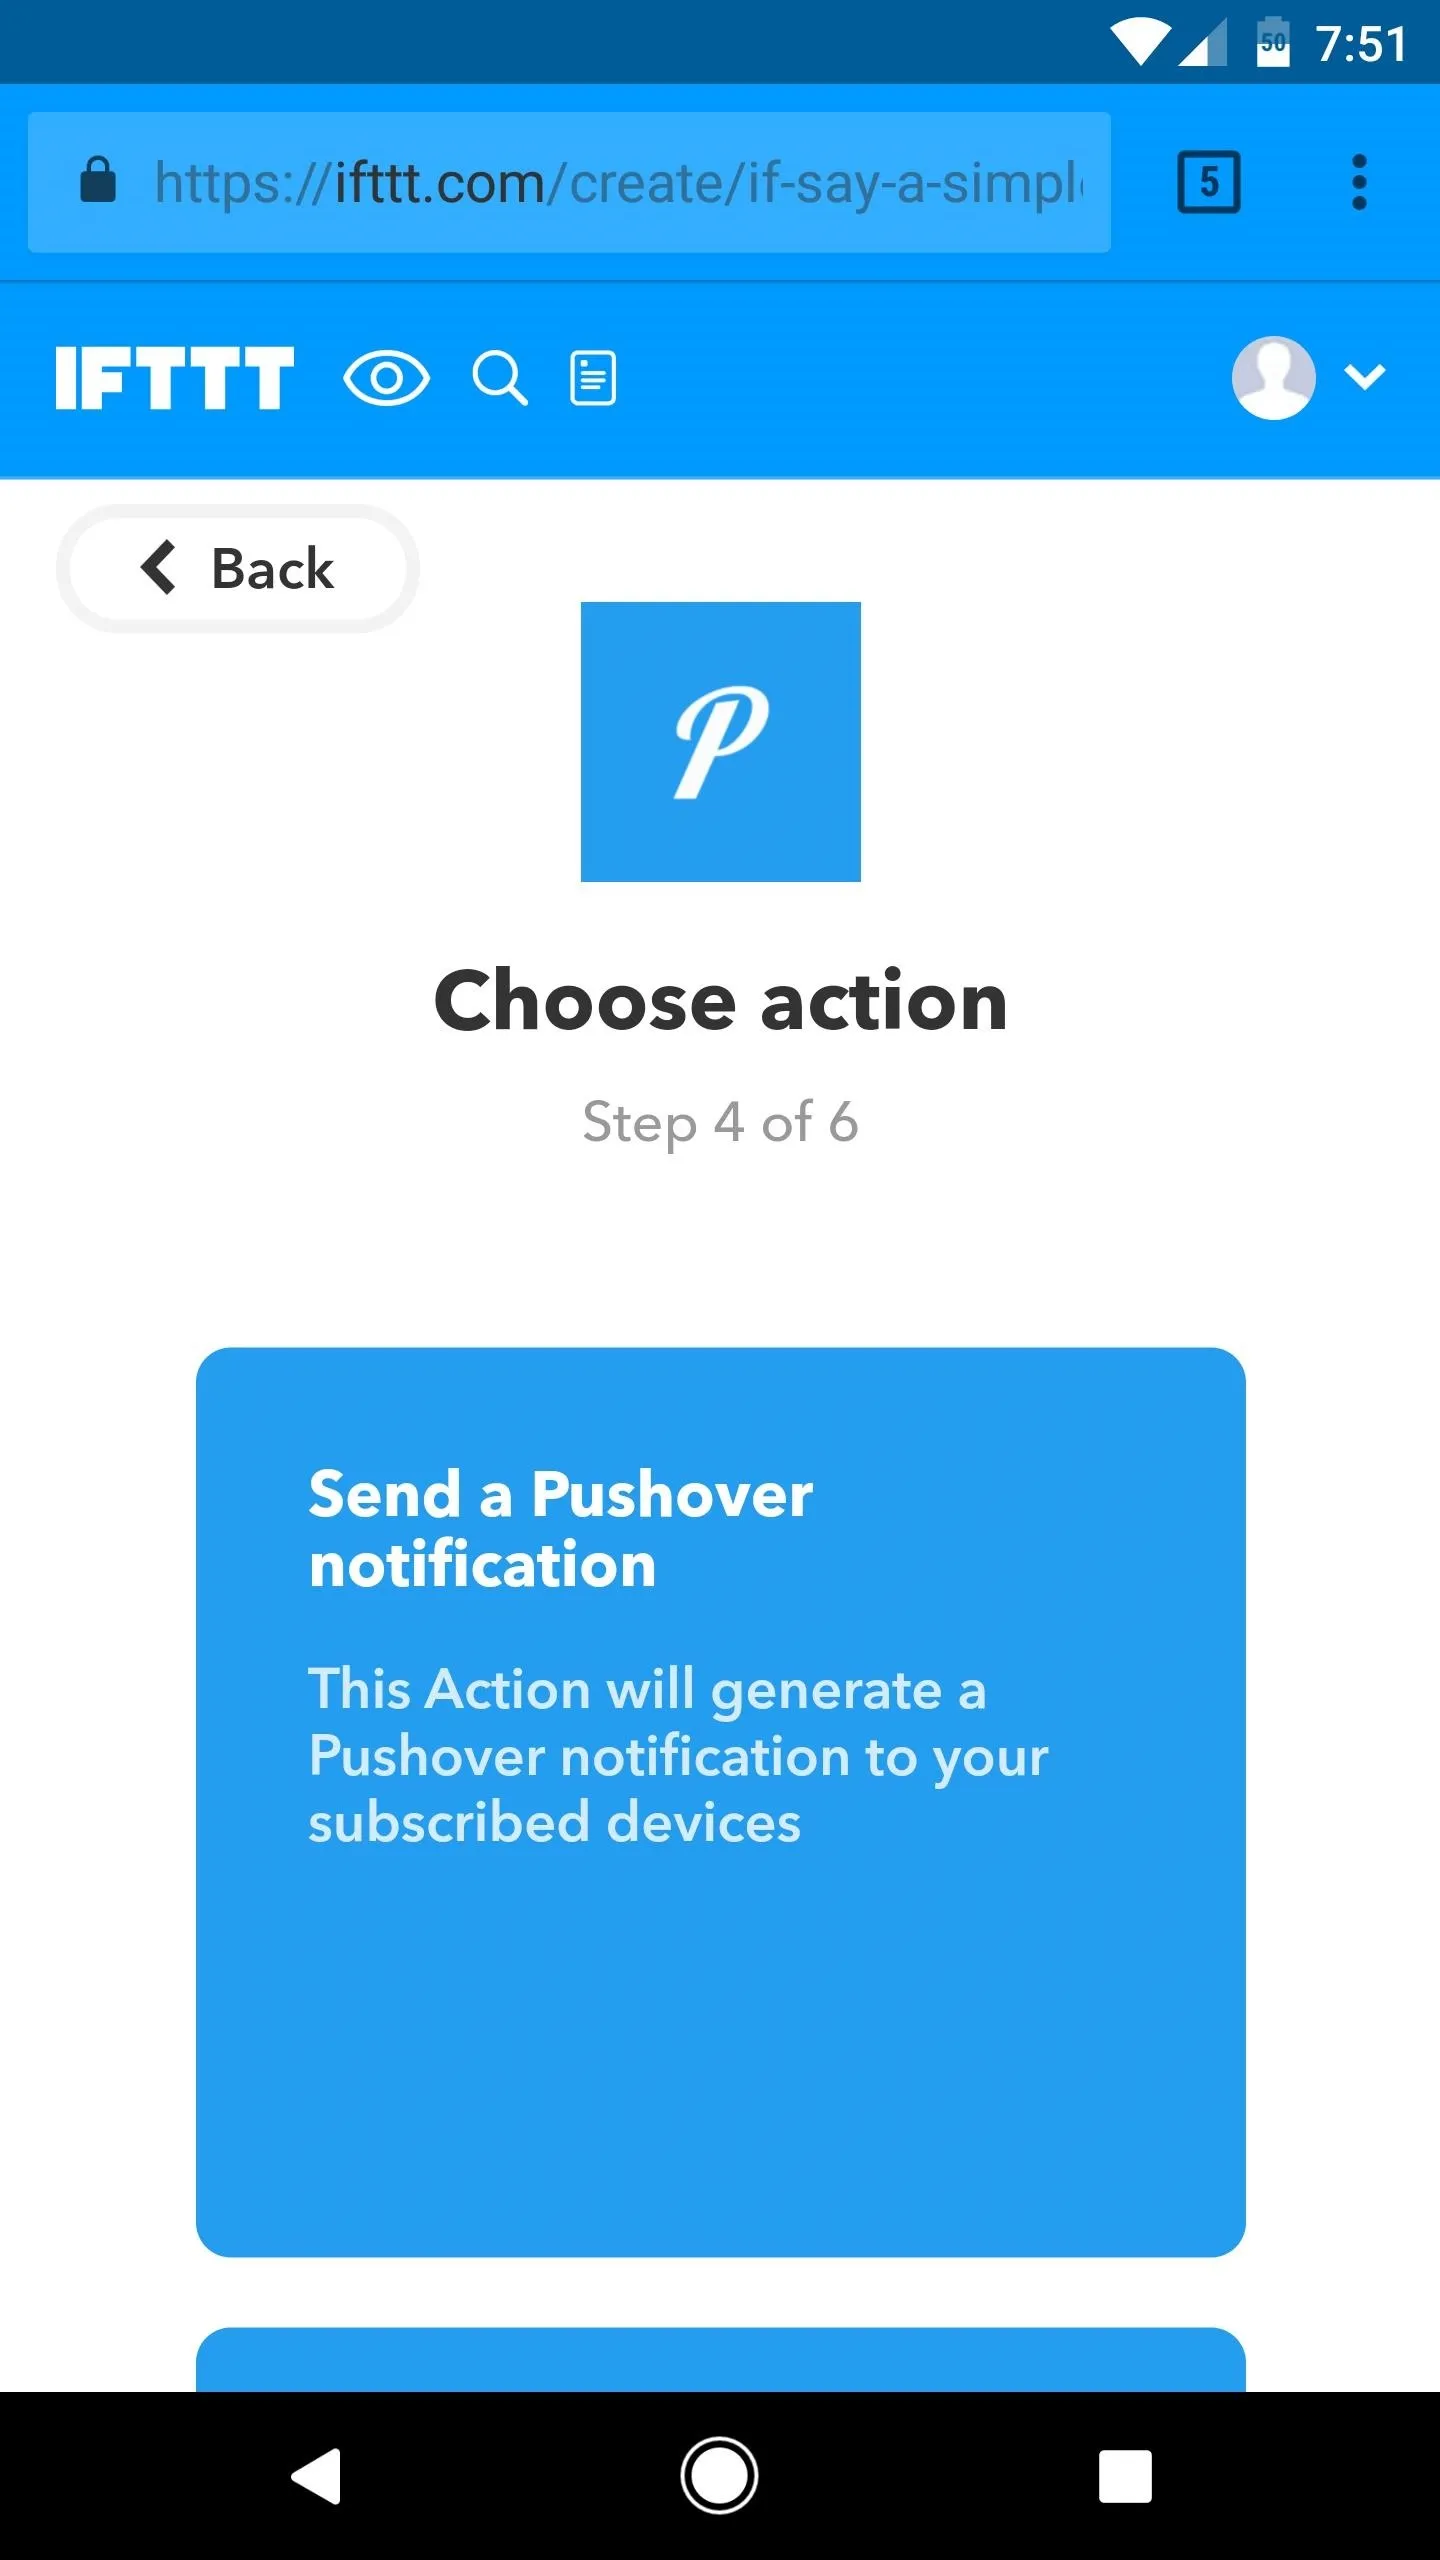
Now select "+that" from the prompt, then search for "Pushover" and select the service from the list. From here, tap "Connect" when prompted, then sign into your Pushover account. After that, leave the provided options set to their defaults, then simply tap "Subscribe Me."
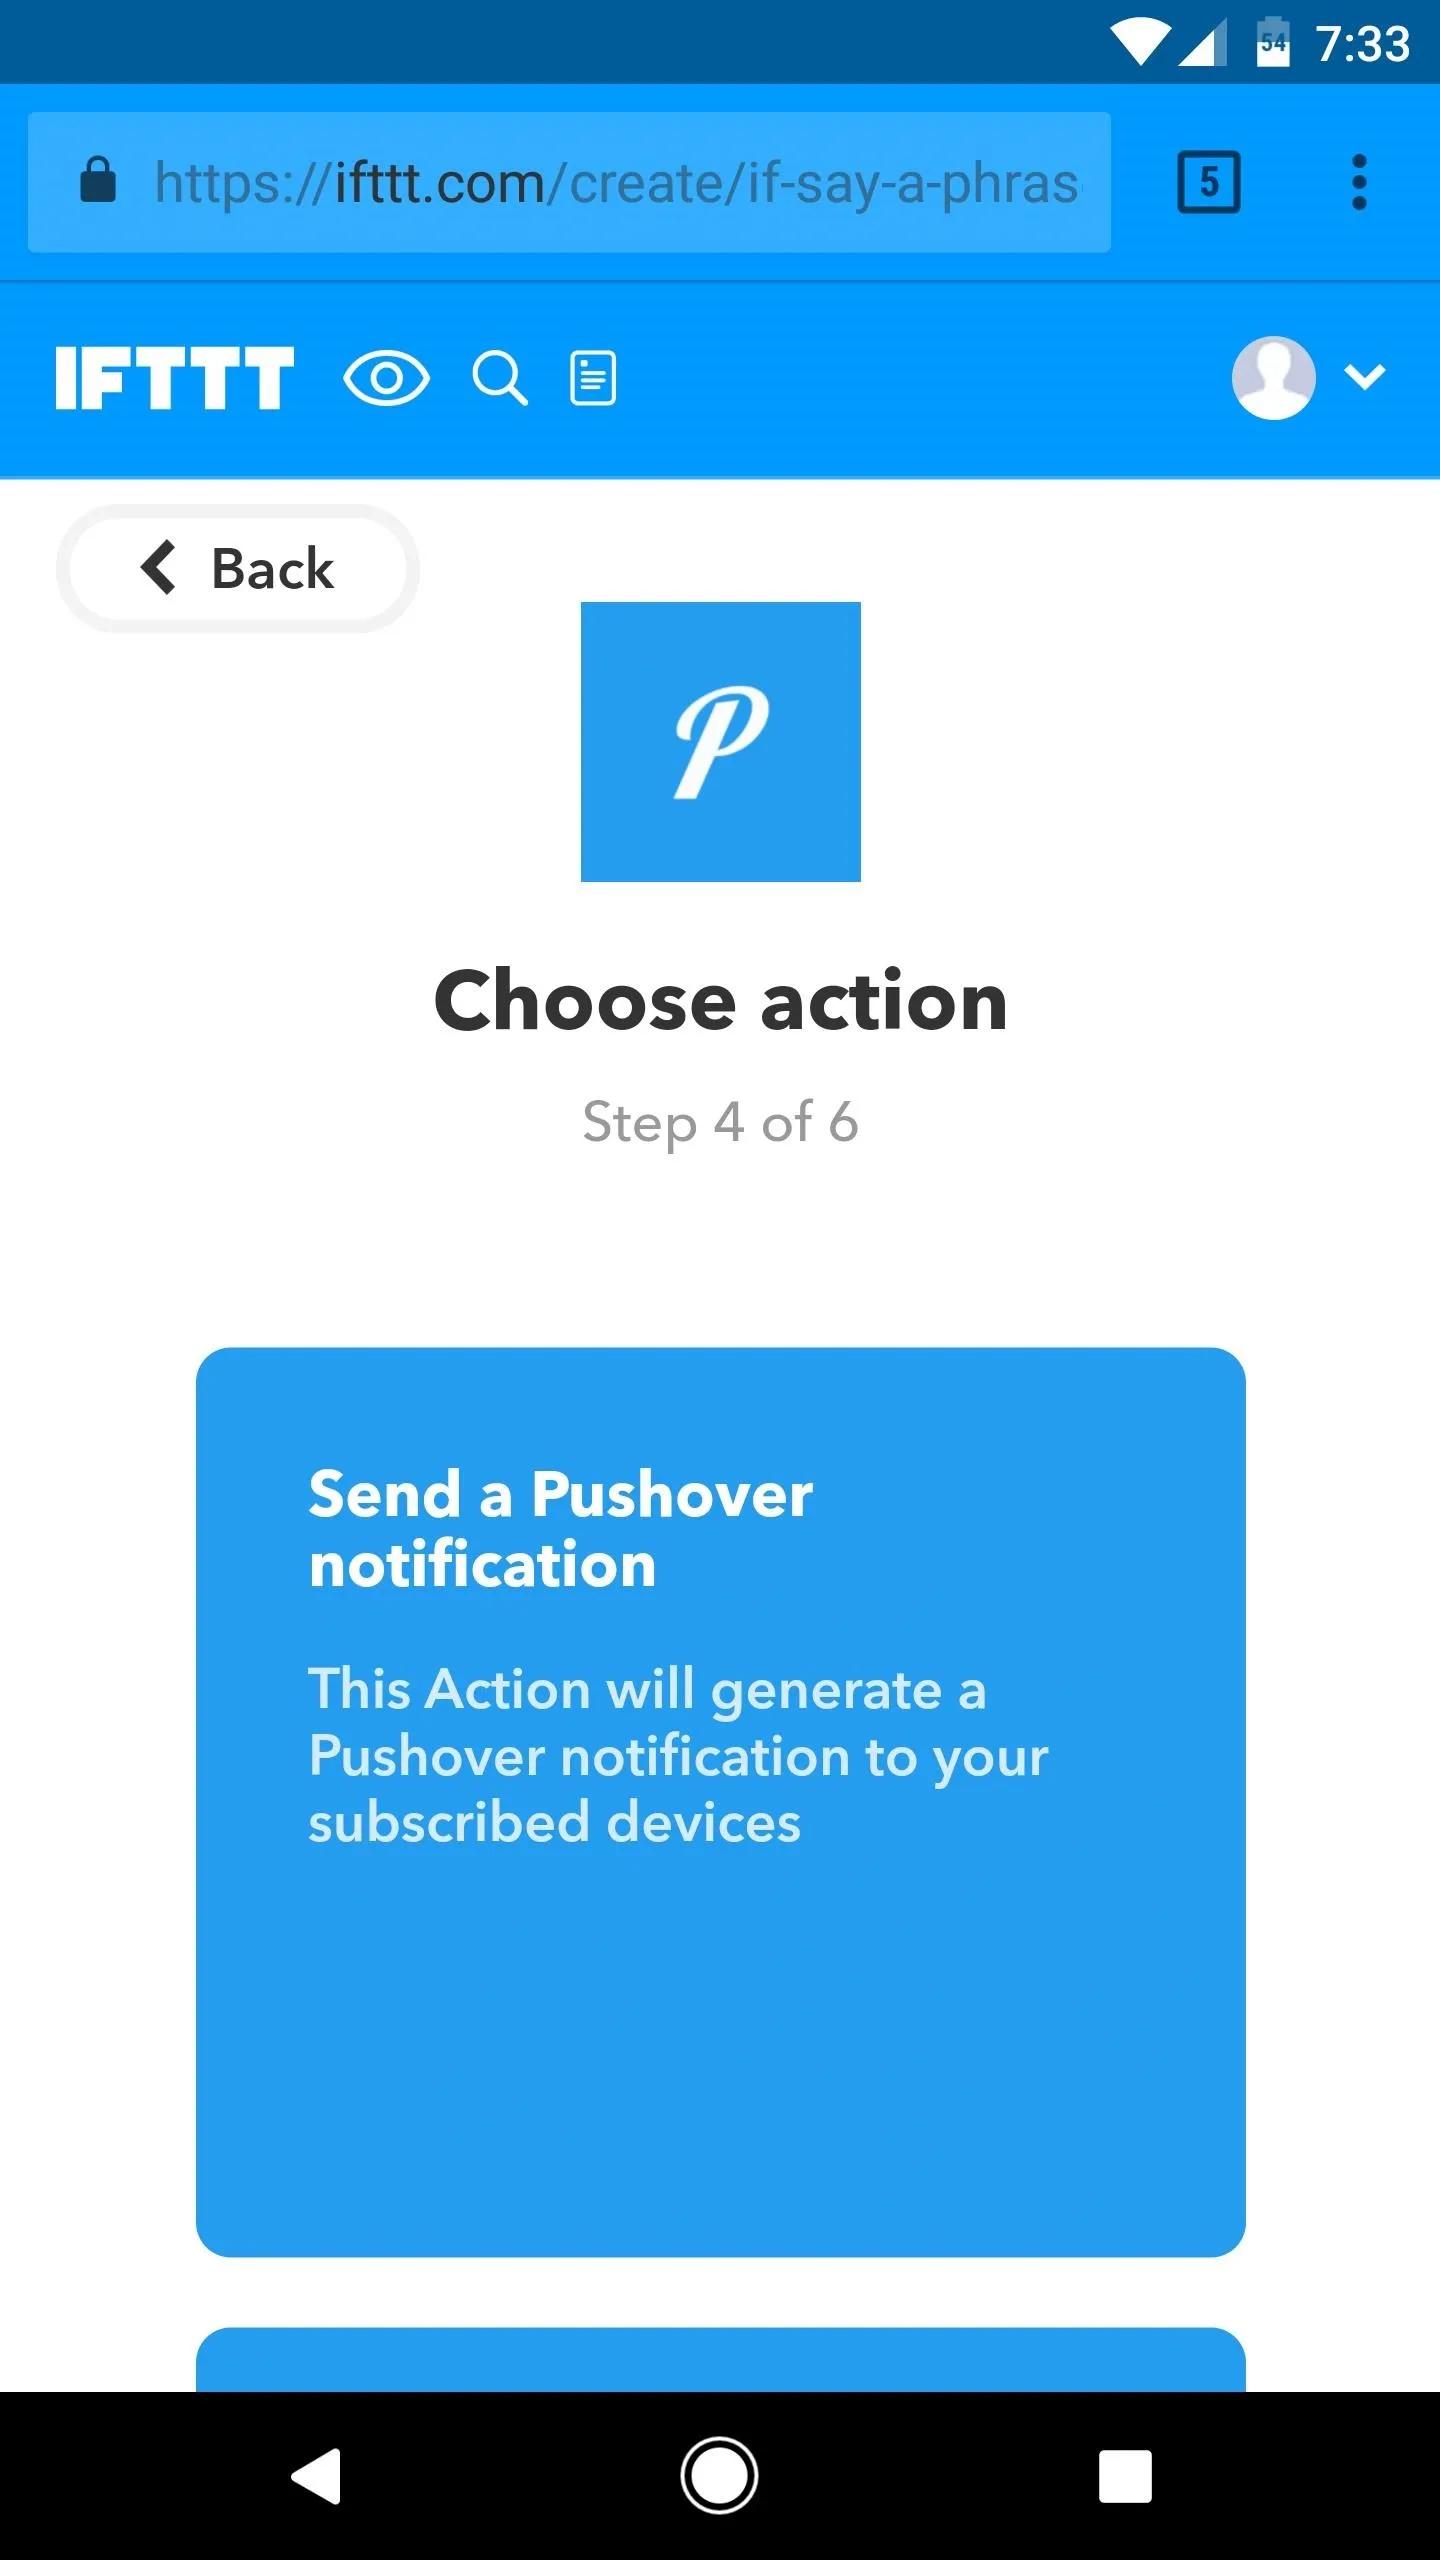
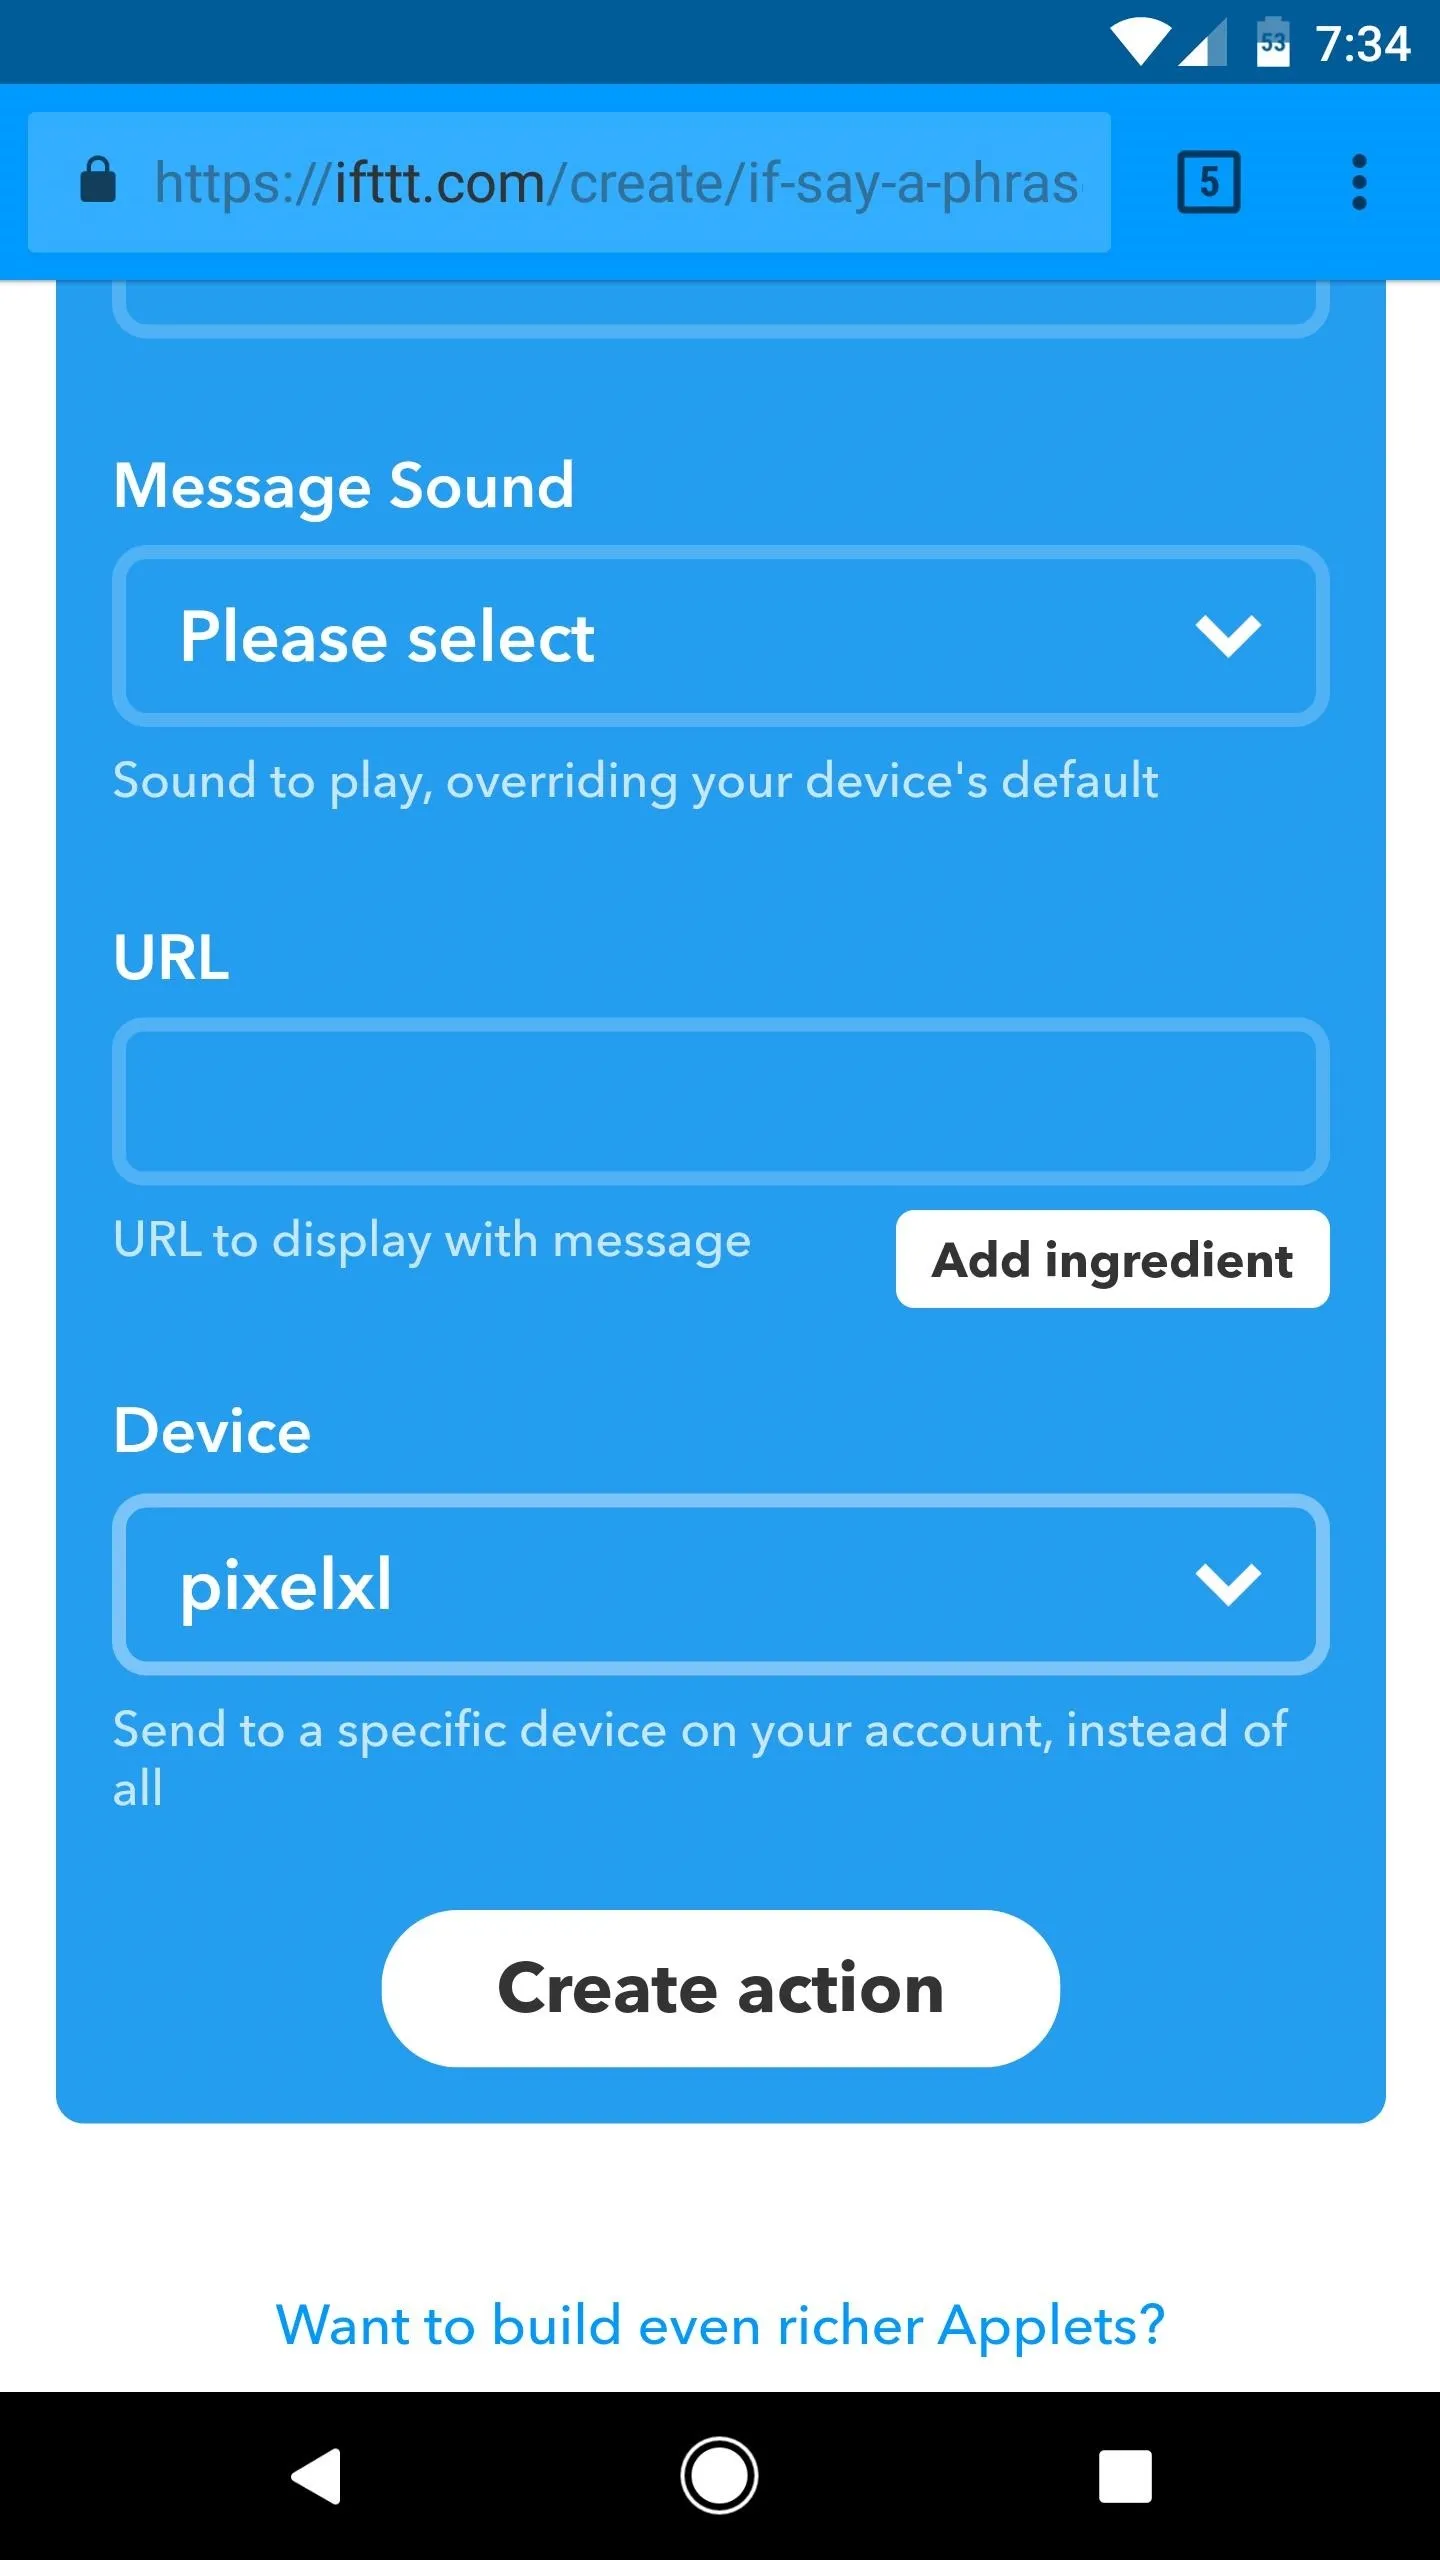
Next, select "Send a Pushover notification." From here, type the word "Text" into the Title field at the top of the page, then select your phone from the Device drop-down menu and tap "Create action" at the bottom of the page. When you're done here, tap the "Finish" button to create the IFTTT applet.
Create a Second IFTTT Applet
At this point, all that's left to do is to create an IFTTT applet that lets you verify that you'd like to send the message after you've had a chance to hear how it was interpreted by Google Home.
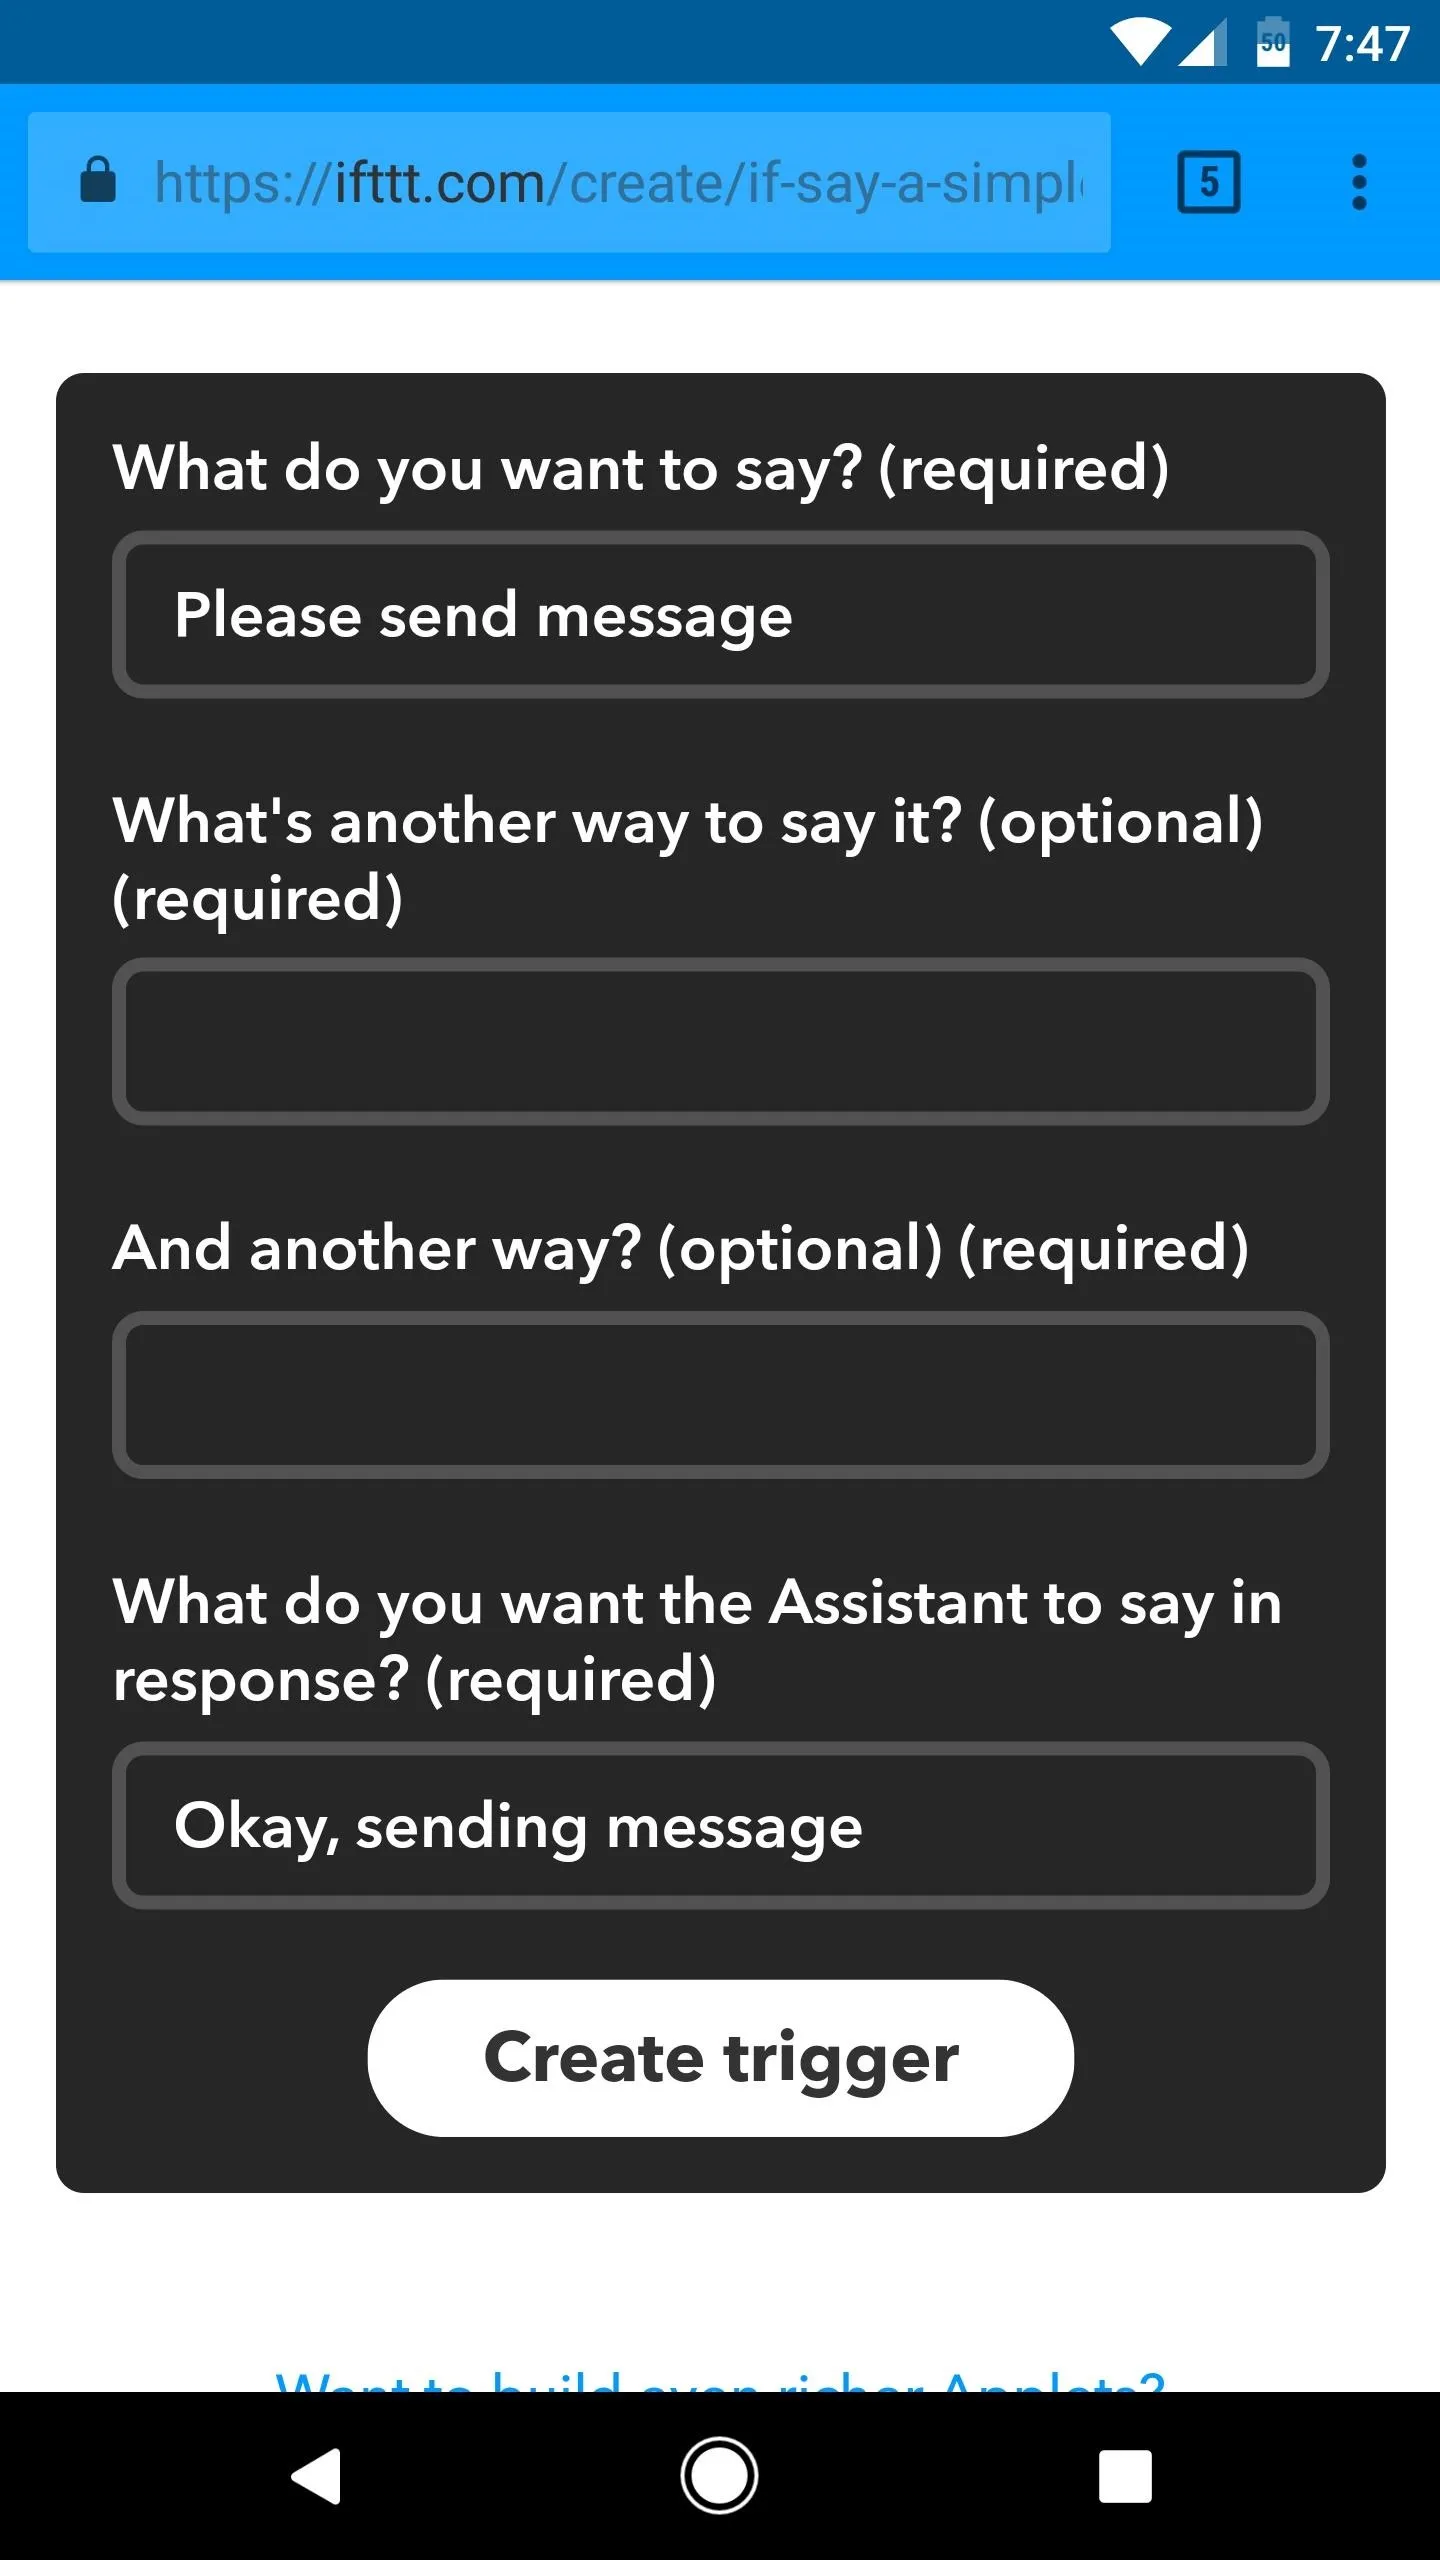
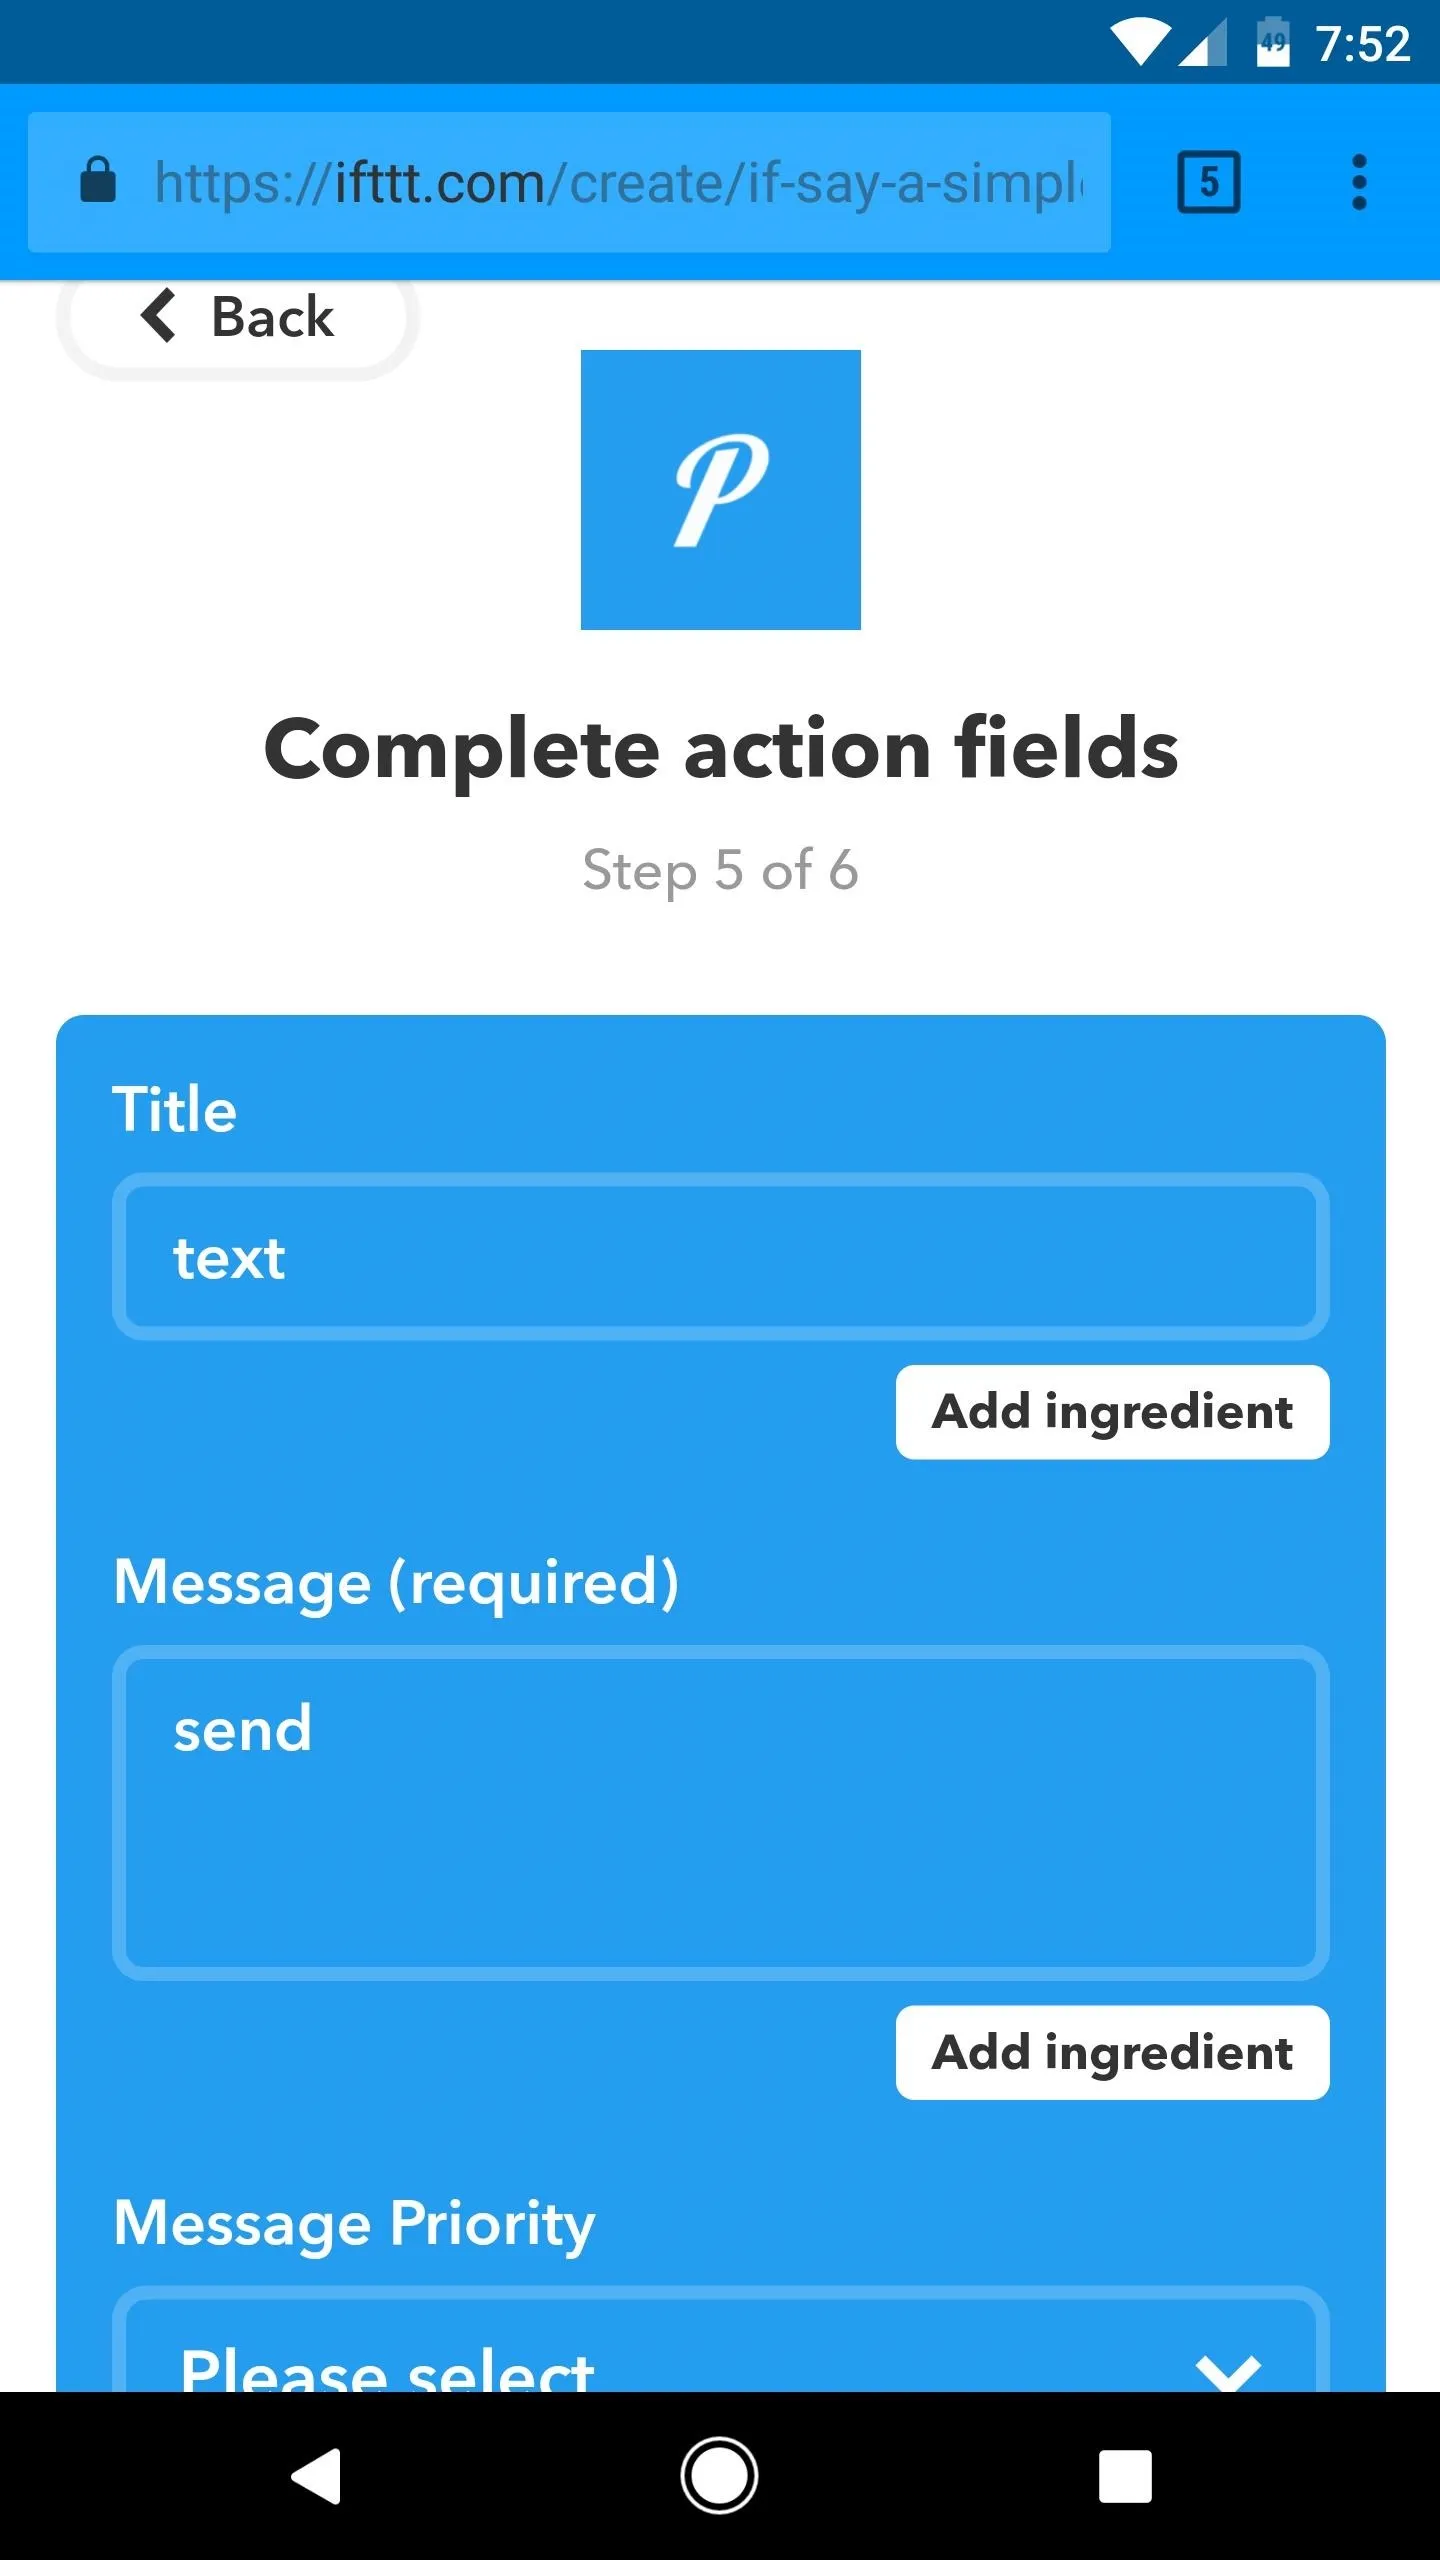
To do that, start by heading to this link, then tap the link that says "+this." From there, search for and select Google Assistant, then choose "Say a simple phrase." From there, type "Please send message" into the What do you want to say? field, then type "Okay, sending message" into the last field and tap "Create trigger."
Next, tap the "+that" link, then search for and select Pushover. From there, choose "Send a Pushover notification," then enter the word "text" into the Title field and the word "send" into the Message field. When you're done there, select your device from the drop-down menu at the bottom, then tap "Create action" and hit "Finish" to wrap things up.
Send SMS Messages to Any Contact from Google Home
With everything set up, you're now ready to send messages from Google Home. Keep in mind, though, if you're using the free version of AutoContacts, you'll only be able to text the first 20 people in your contacts list. Nonetheless, to try it out, use the following syntax:
Okay Google, text
. Message: .
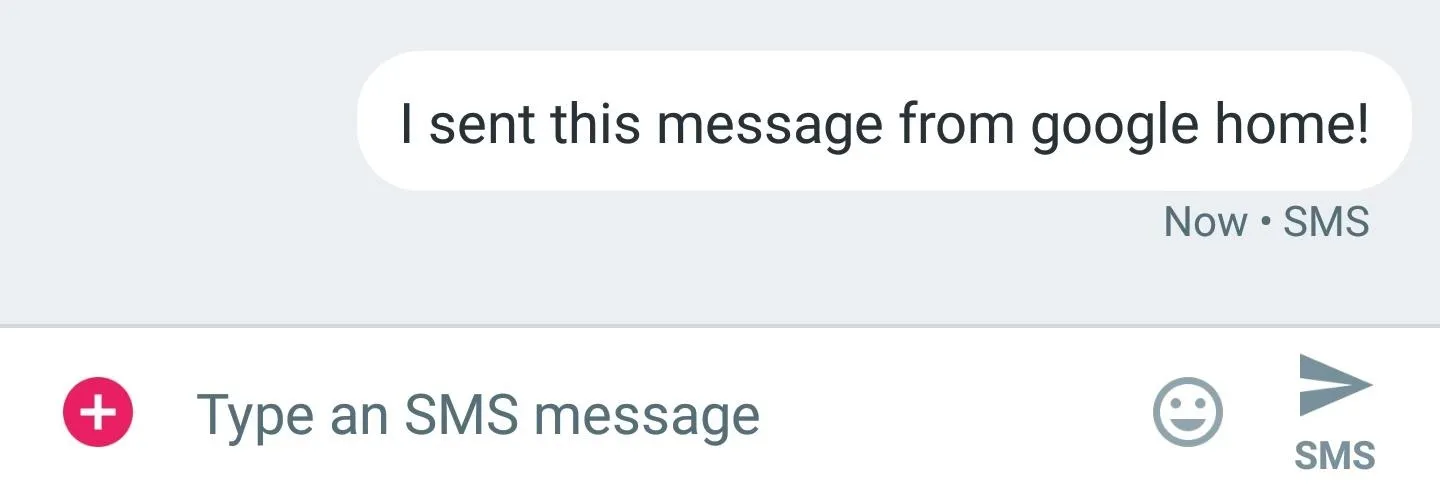
As an example, I said "Okay Google, text Gadget Hacks. Message: I sent this from Google Home." When you issue this command, Google Home will respond by reading back the message you dictated and asking if you'd like to send it. If you're ready to send the message, respond with this:
Okay Google, please send message.
At this point, a pair of notifications will appear on your Android device which originate from the Pushover app. Tasker will then intercept these messages and use their contents to send the SMS message to the right contact. This all happens automatically and almost instantly, so if you check your Android Messages app at this point, you'll see that the message has already been sent.
I know that was quite a bit of prep work, so give yourself a pat on the back! How are you enjoying this awesome new feature you've added to your Google Home? Let us know in the comment section below.
- Follow Gadget Hacks on Facebook, Twitter, Google+, and YouTube
- Follow Android Hacks on Facebook, Twitter, and Pinterest
- Follow WonderHowTo on Facebook, Twitter, Pinterest, and Google+
Cover image and screenshots by Dallas Thomas/Gadget Hacks


Comments
Be the first, drop a comment!