


Despite concerns with SafetyNet, Google actually cares about root. Every phone they sell has an unlockable bootloader, so you can toggle a setting and send a Fastboot command, then start flashing custom firmware right away. The Pixel 2 and Pixel 2 XL continue this tradition, and now they have an official root method.
This root method uses Magisk, so you'll still be able to play Pokémon GO, use Android Pay, and enjoy all the little things that other root methods typically break. It's somewhat involved, but really, all you have to do is download a copy of your phone's boot image, patch it with the Magisk Manager app, then flash the patched version with Fastboot. The only thing you'll need to do before you can try this is to unlock the bootloader on your Pixel 2 or Pixel 2 XL.
Requirements
- unlocked bootloader
- Window, Mac, or Linux computer
- USB data cable
Download Your Boot Image
This root method works by patching your phone's boot image, but that means you'll need a copy of the boot image itself. If you're running the stock firmware that came with your Pixel 2 or Pixel 2 XL, you can download this file from Google. Alternatively, you can use a custom kernel, but only if the kernel is formatted for fastboot flashing (i.e., the kernel comes as an IMG file).
Most people will be patching the stock boot image from Google, so I'll outline how to do that.
To start, head to Settings –> About Phone, then take note of your current firmware's build number. From there, head to Google's firmware download page for Pixel devices and select your model from the menu on the right. Next, match the build number you found on your phone with one of the firmware downloads on Google's site, then click the "Link" button to download the firmware.

Make sure the build number listed in Settings –> About Phone matches the build number listed on Google's firmware download page.
Extract the Boot Image from the Archive
Next, head to your computer's download folder and find the factory images package you just downloaded from Google. The file name should start with the word "walleye" (Pixel 2) or "taimen" (Pixel 2 XL). Open this file with your favorite archive manager (we recommend 7-Zip).
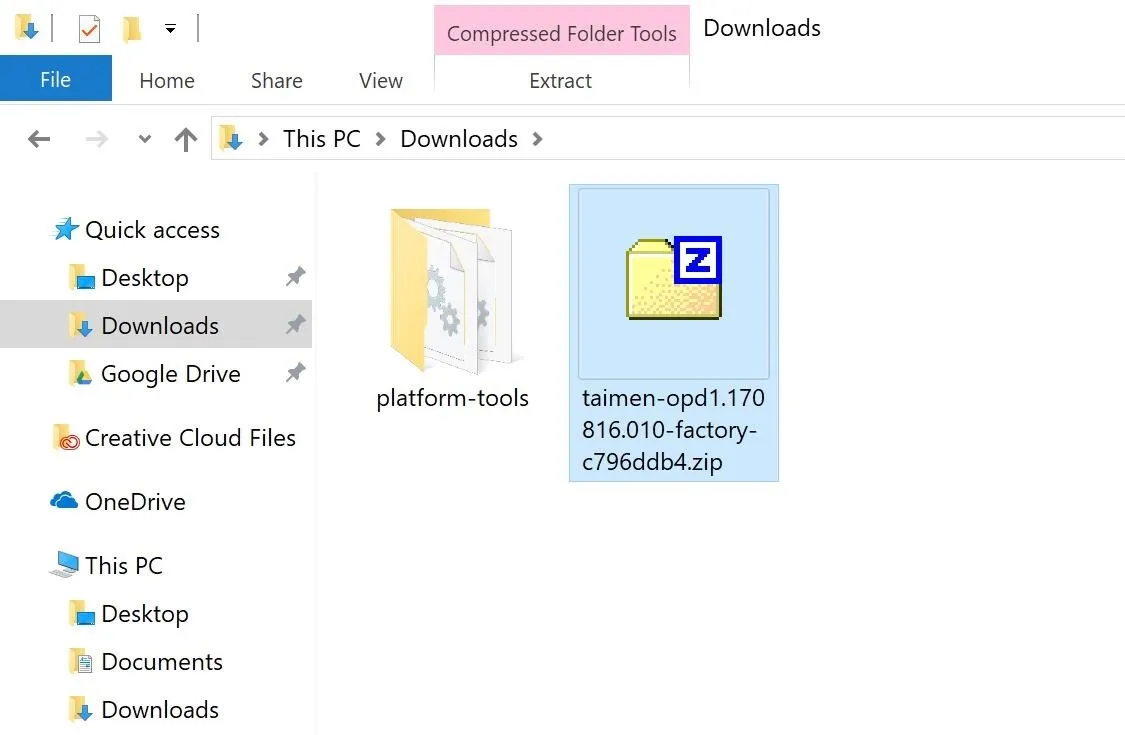
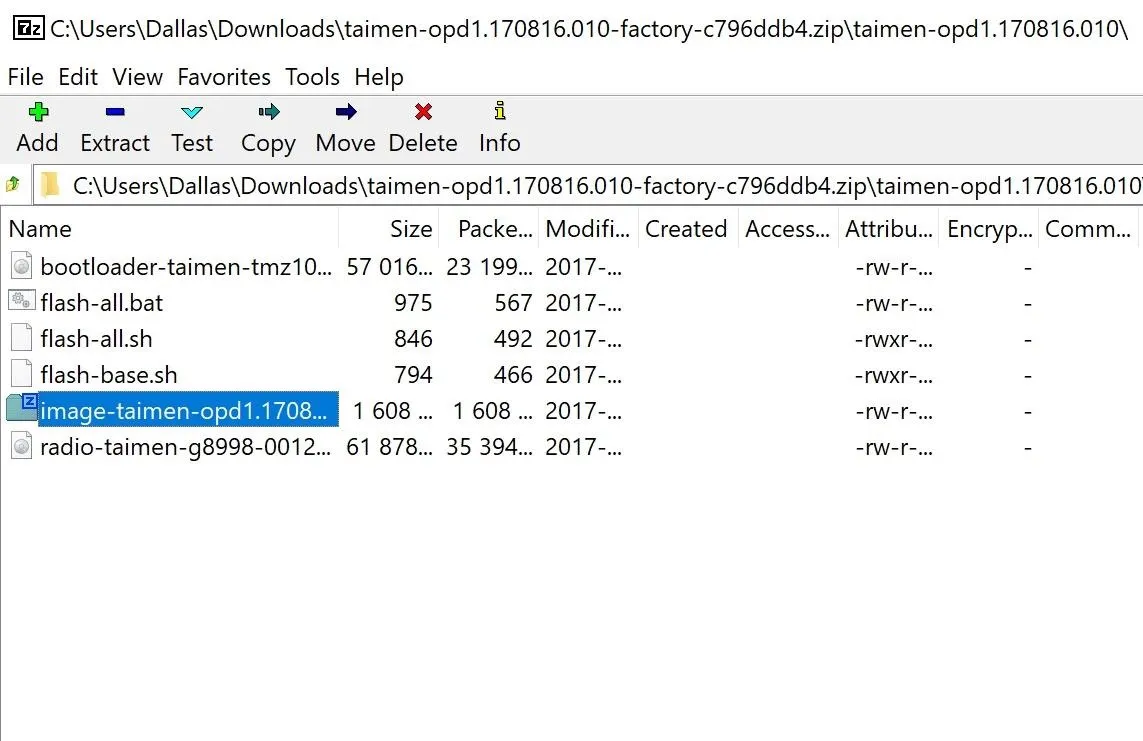
After opening the initial ZIP file, you'll find another folder nested inside the archive — open this as well. Next, you'll find several files starting with one that begins with the word "bootloader." In this folder, look for another archive labeled either "image-walleye" or "image-taimen" and double-click it.
Now you're finally to the bottom of the nested archive. In this folder, you'll see several IMG files, but you should only be concerned with one: boot.img. Locate this file, then drag it out of your archive utility and drop it onto your desktop.
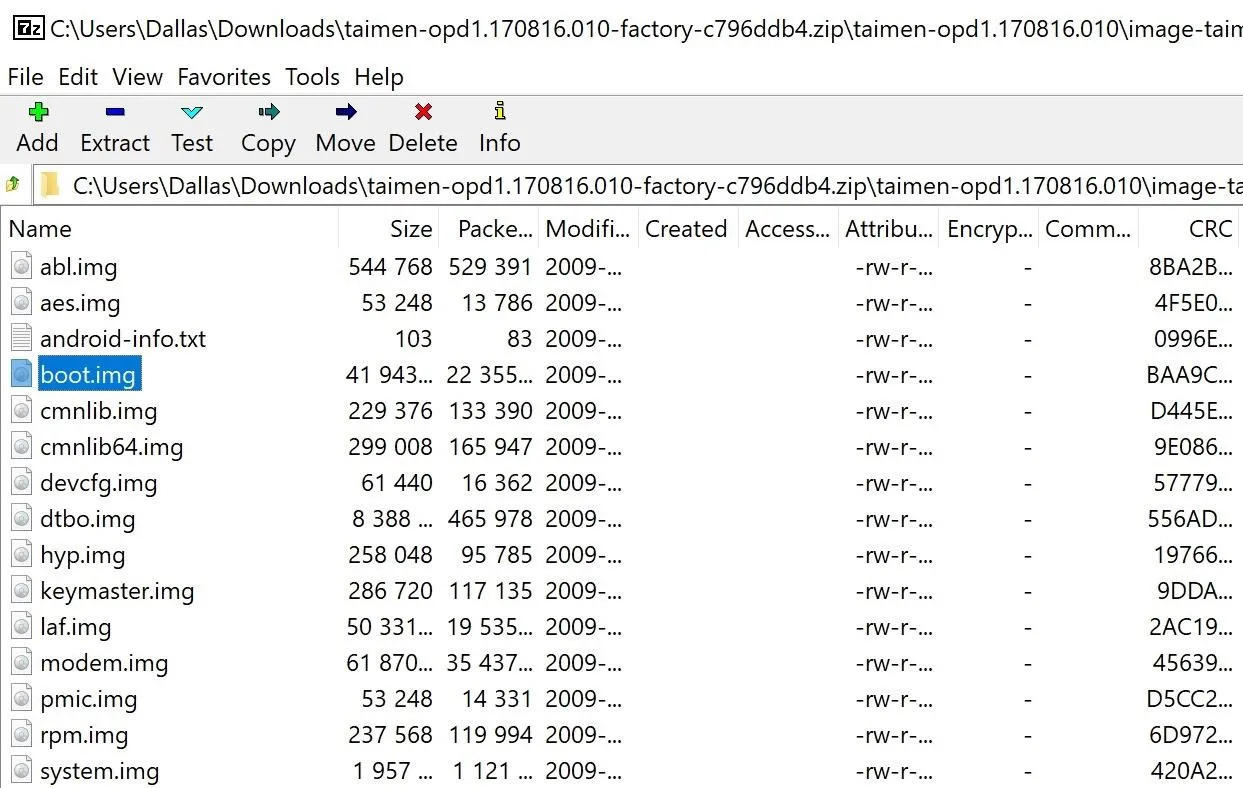
Drag the boot.img file out of the archive and drop it onto your desktop.
Transfer the Boot Image to Your Phone
Next, you'll need to transfer that boot.img file from your computer to your phone. If you don't have a good solution for transferring files between your computer and your phone, we recommend uploading to your Google Drive account, then downloading the file on your phone using the Google Drive Android app. If you'd rather not use Google, we found these apps to be useful for transferring files.
Install Magisk Manager on Your Phone
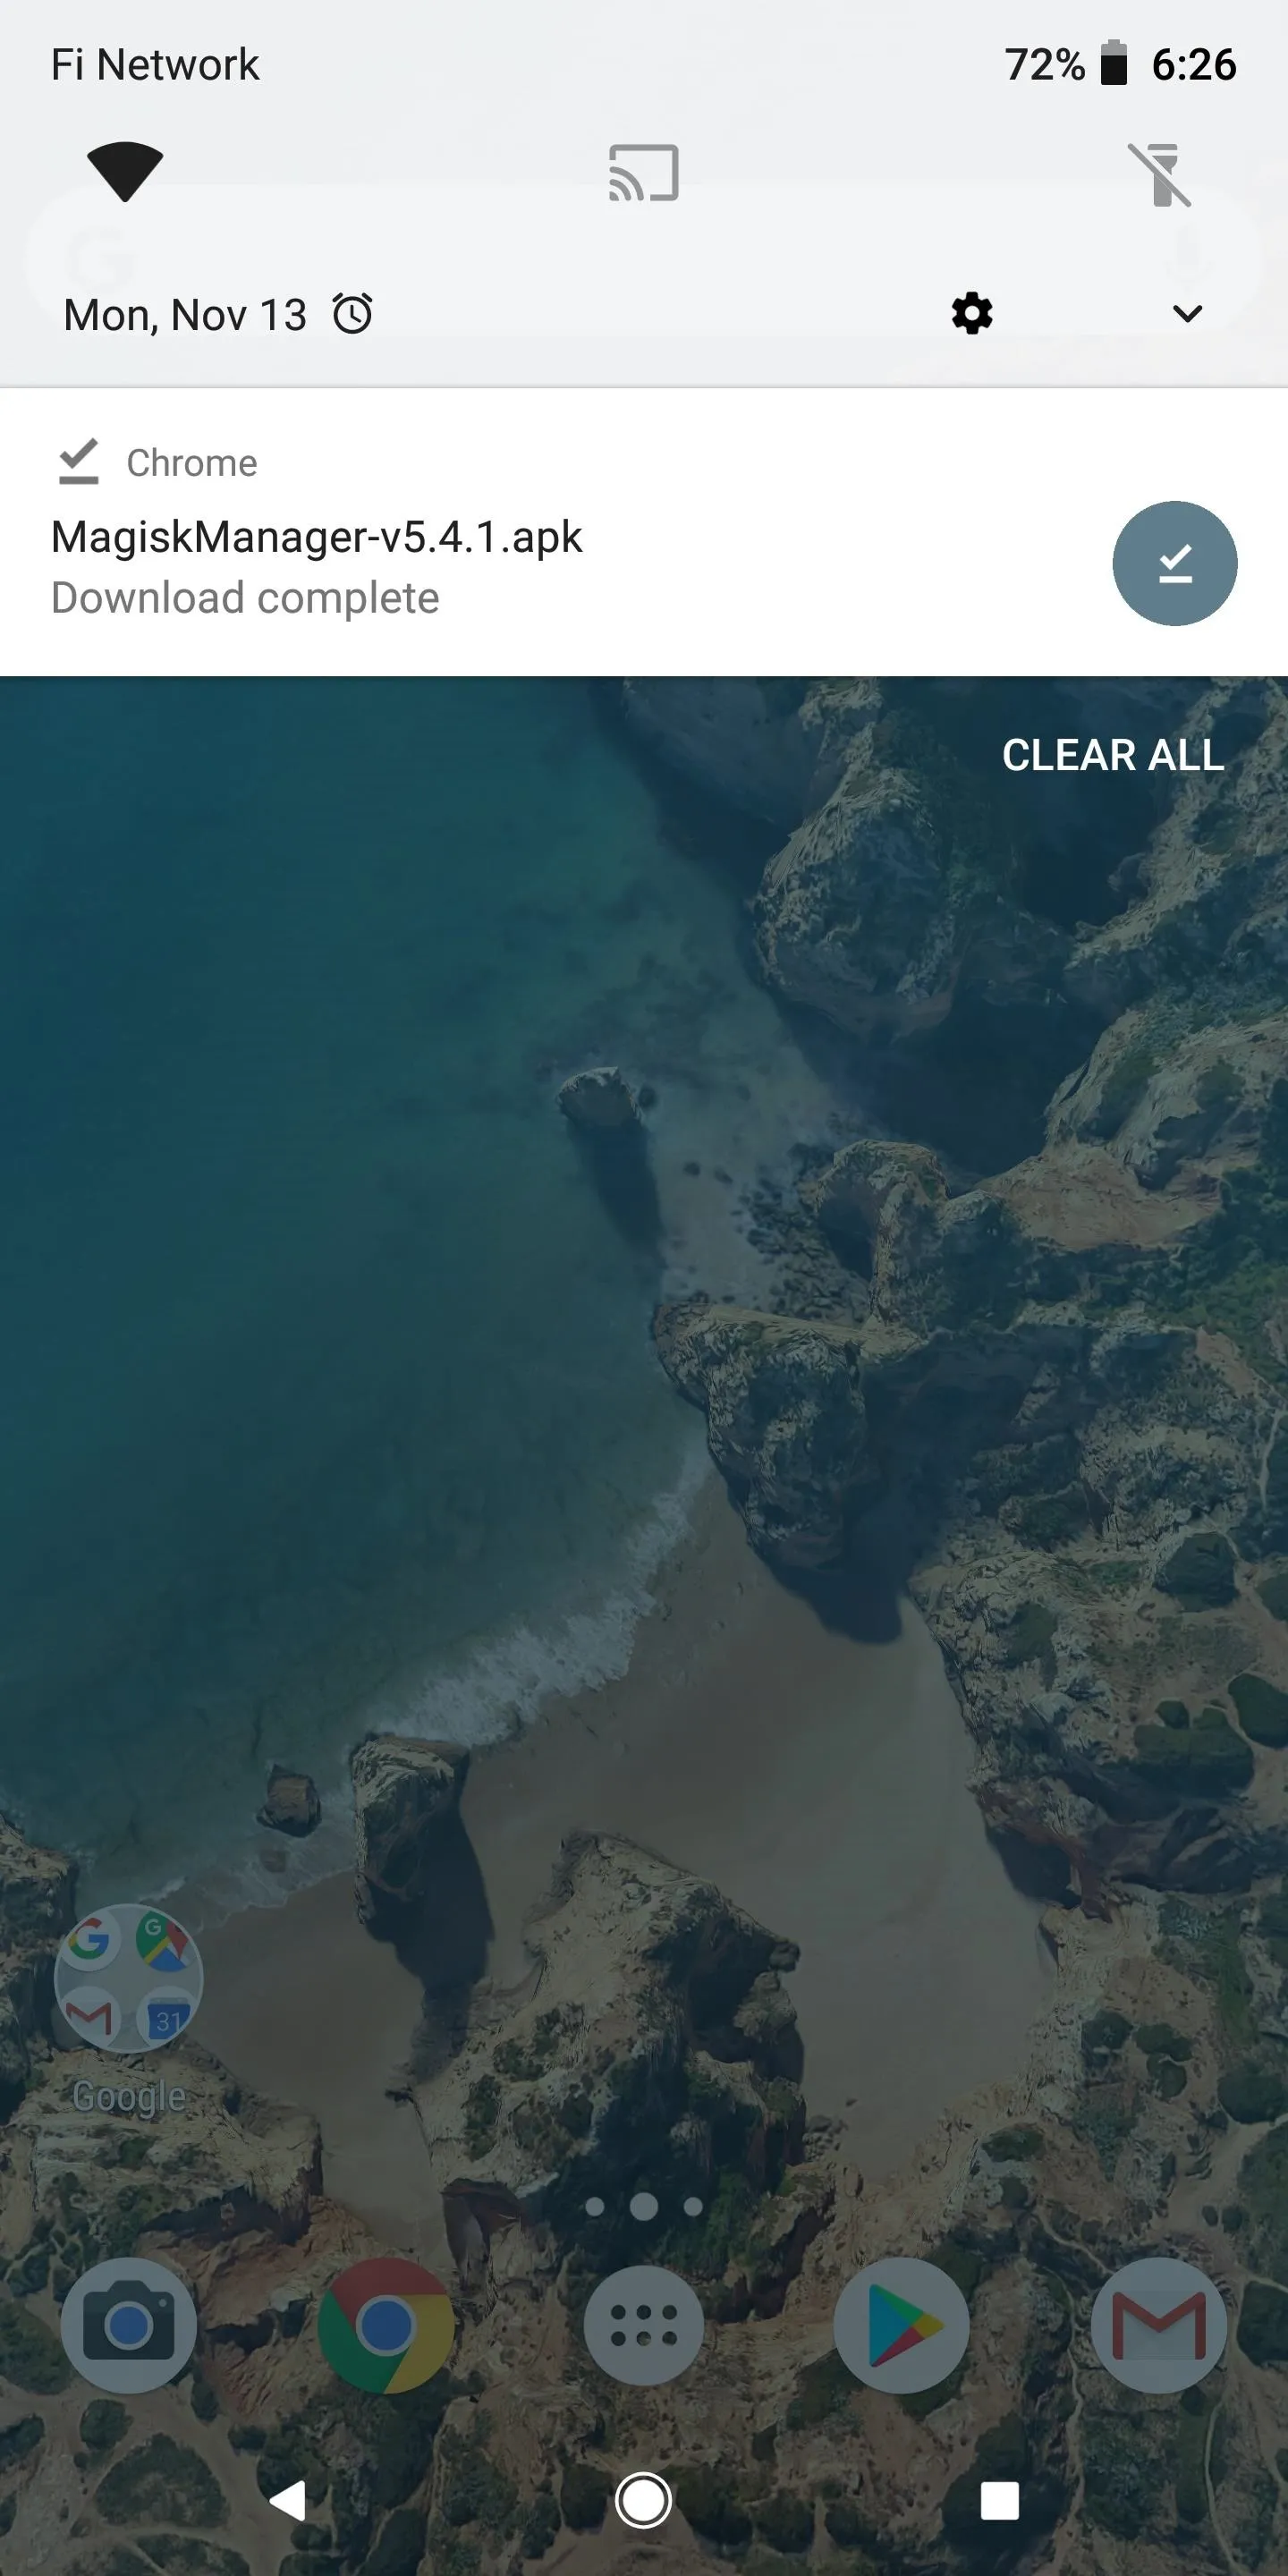
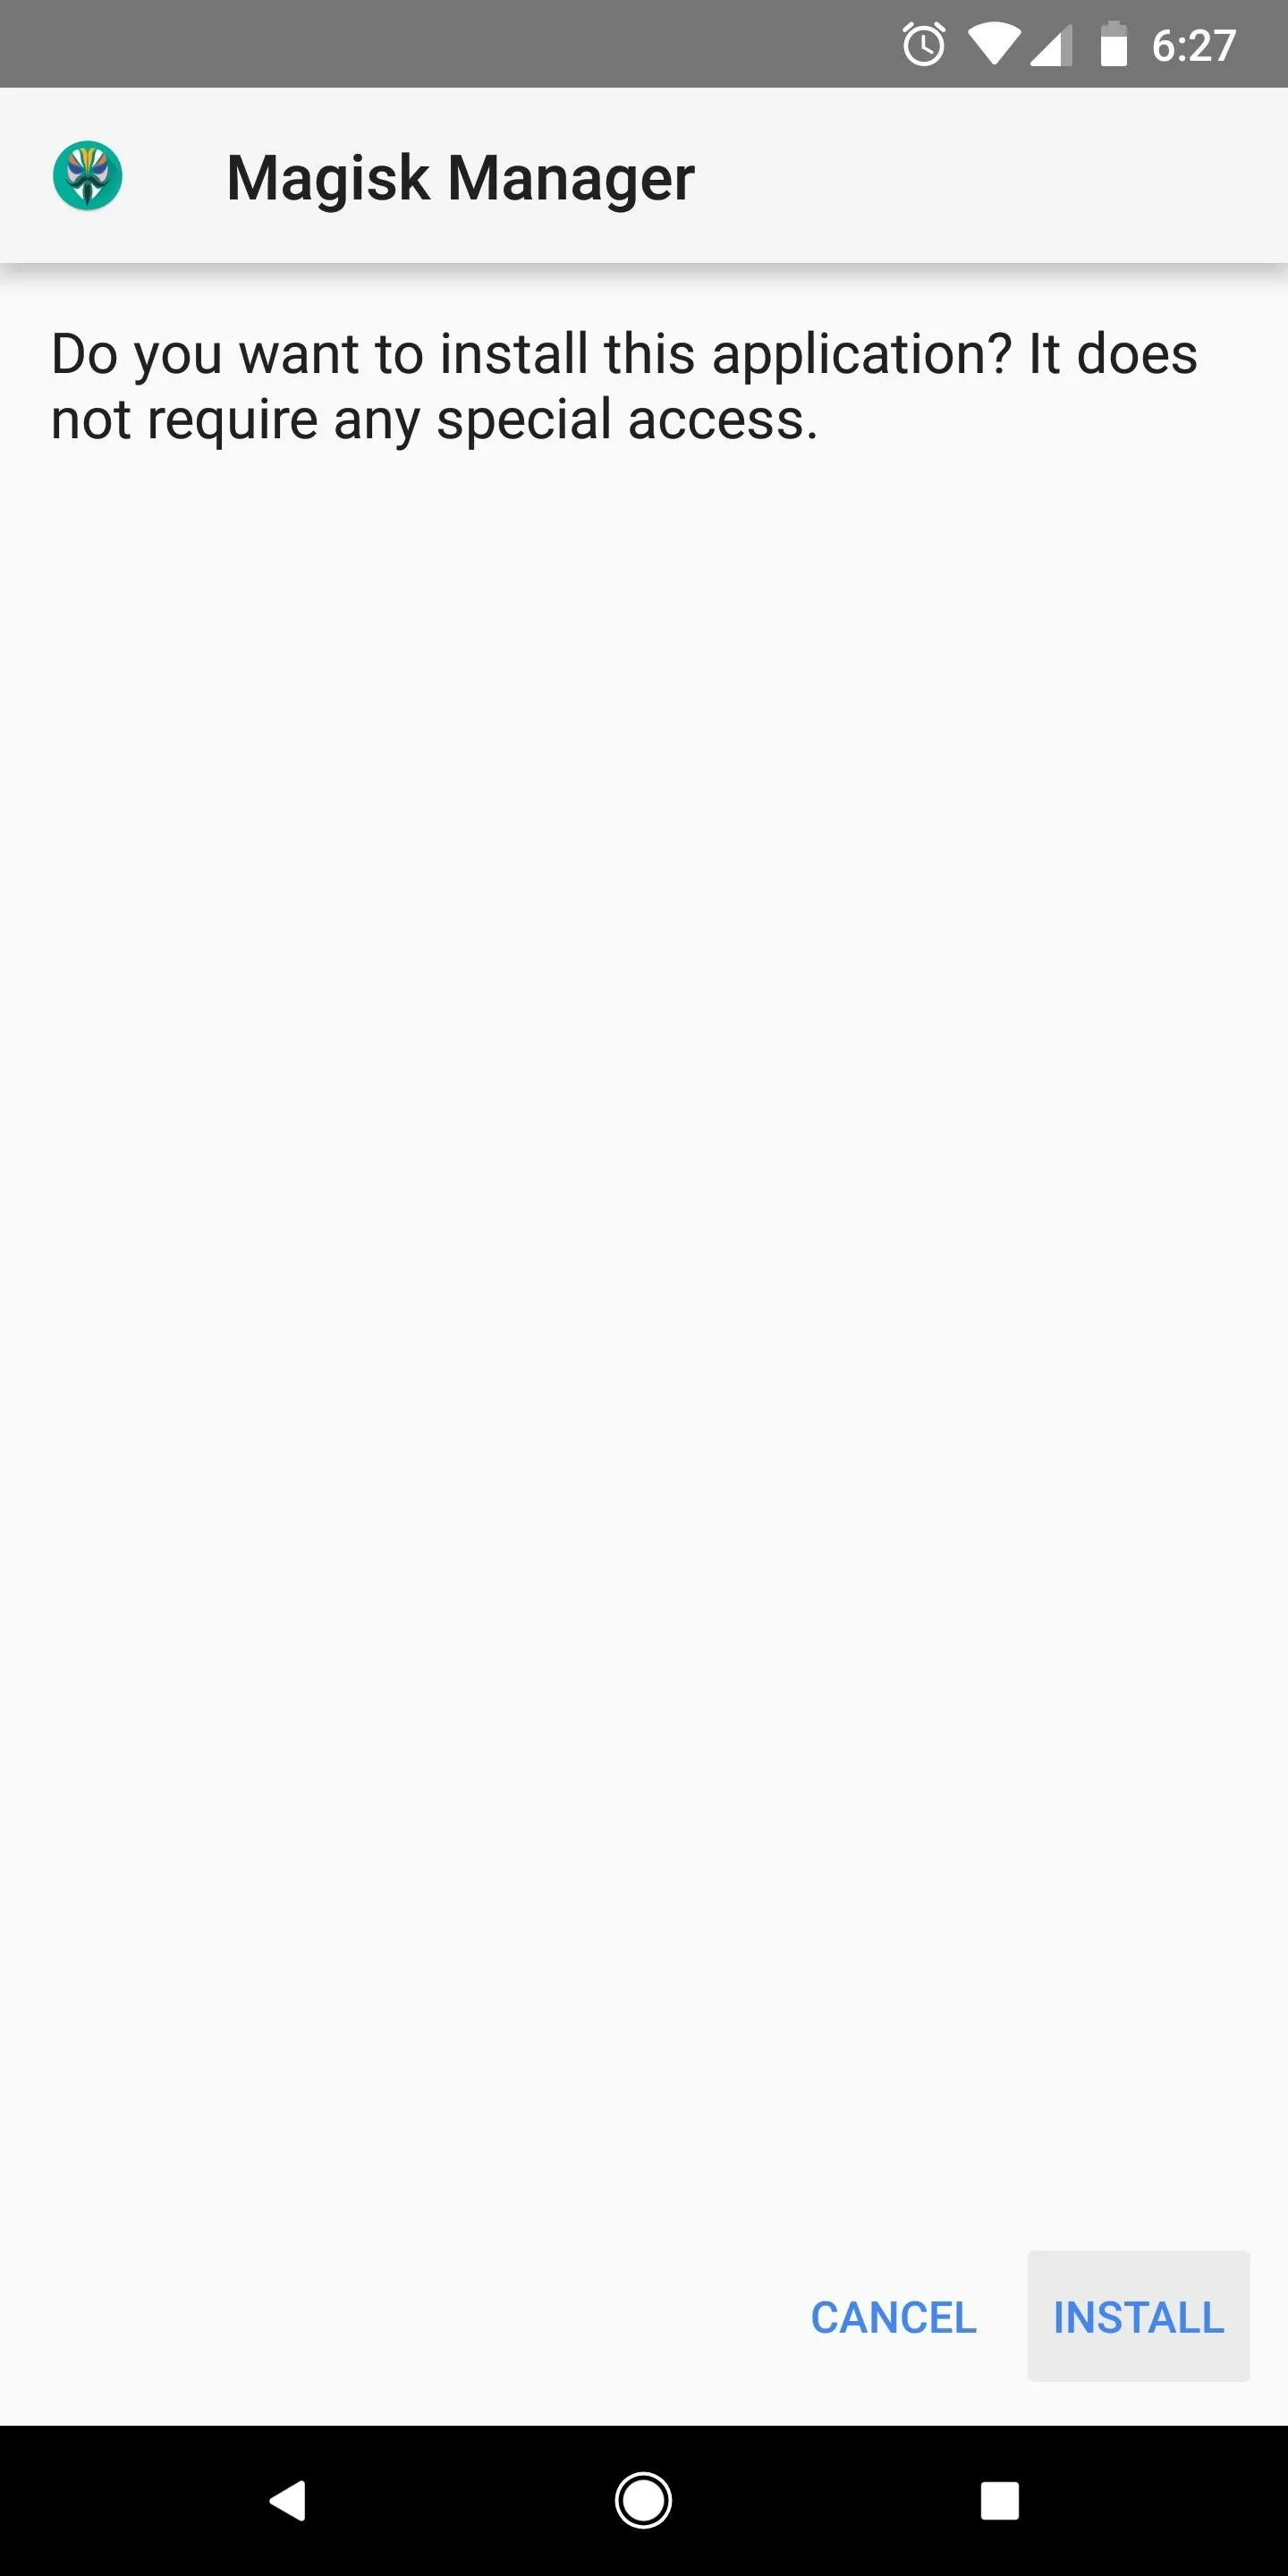
Over on your phone now, it's time to install the Magisk Manager app — this is the app that will be managing root access on your phone. So tap the following link from your Pixel, then open the APK when it's finished downloading, and press "Install" when prompted.
Patch the Boot Image File with Magisk Manager
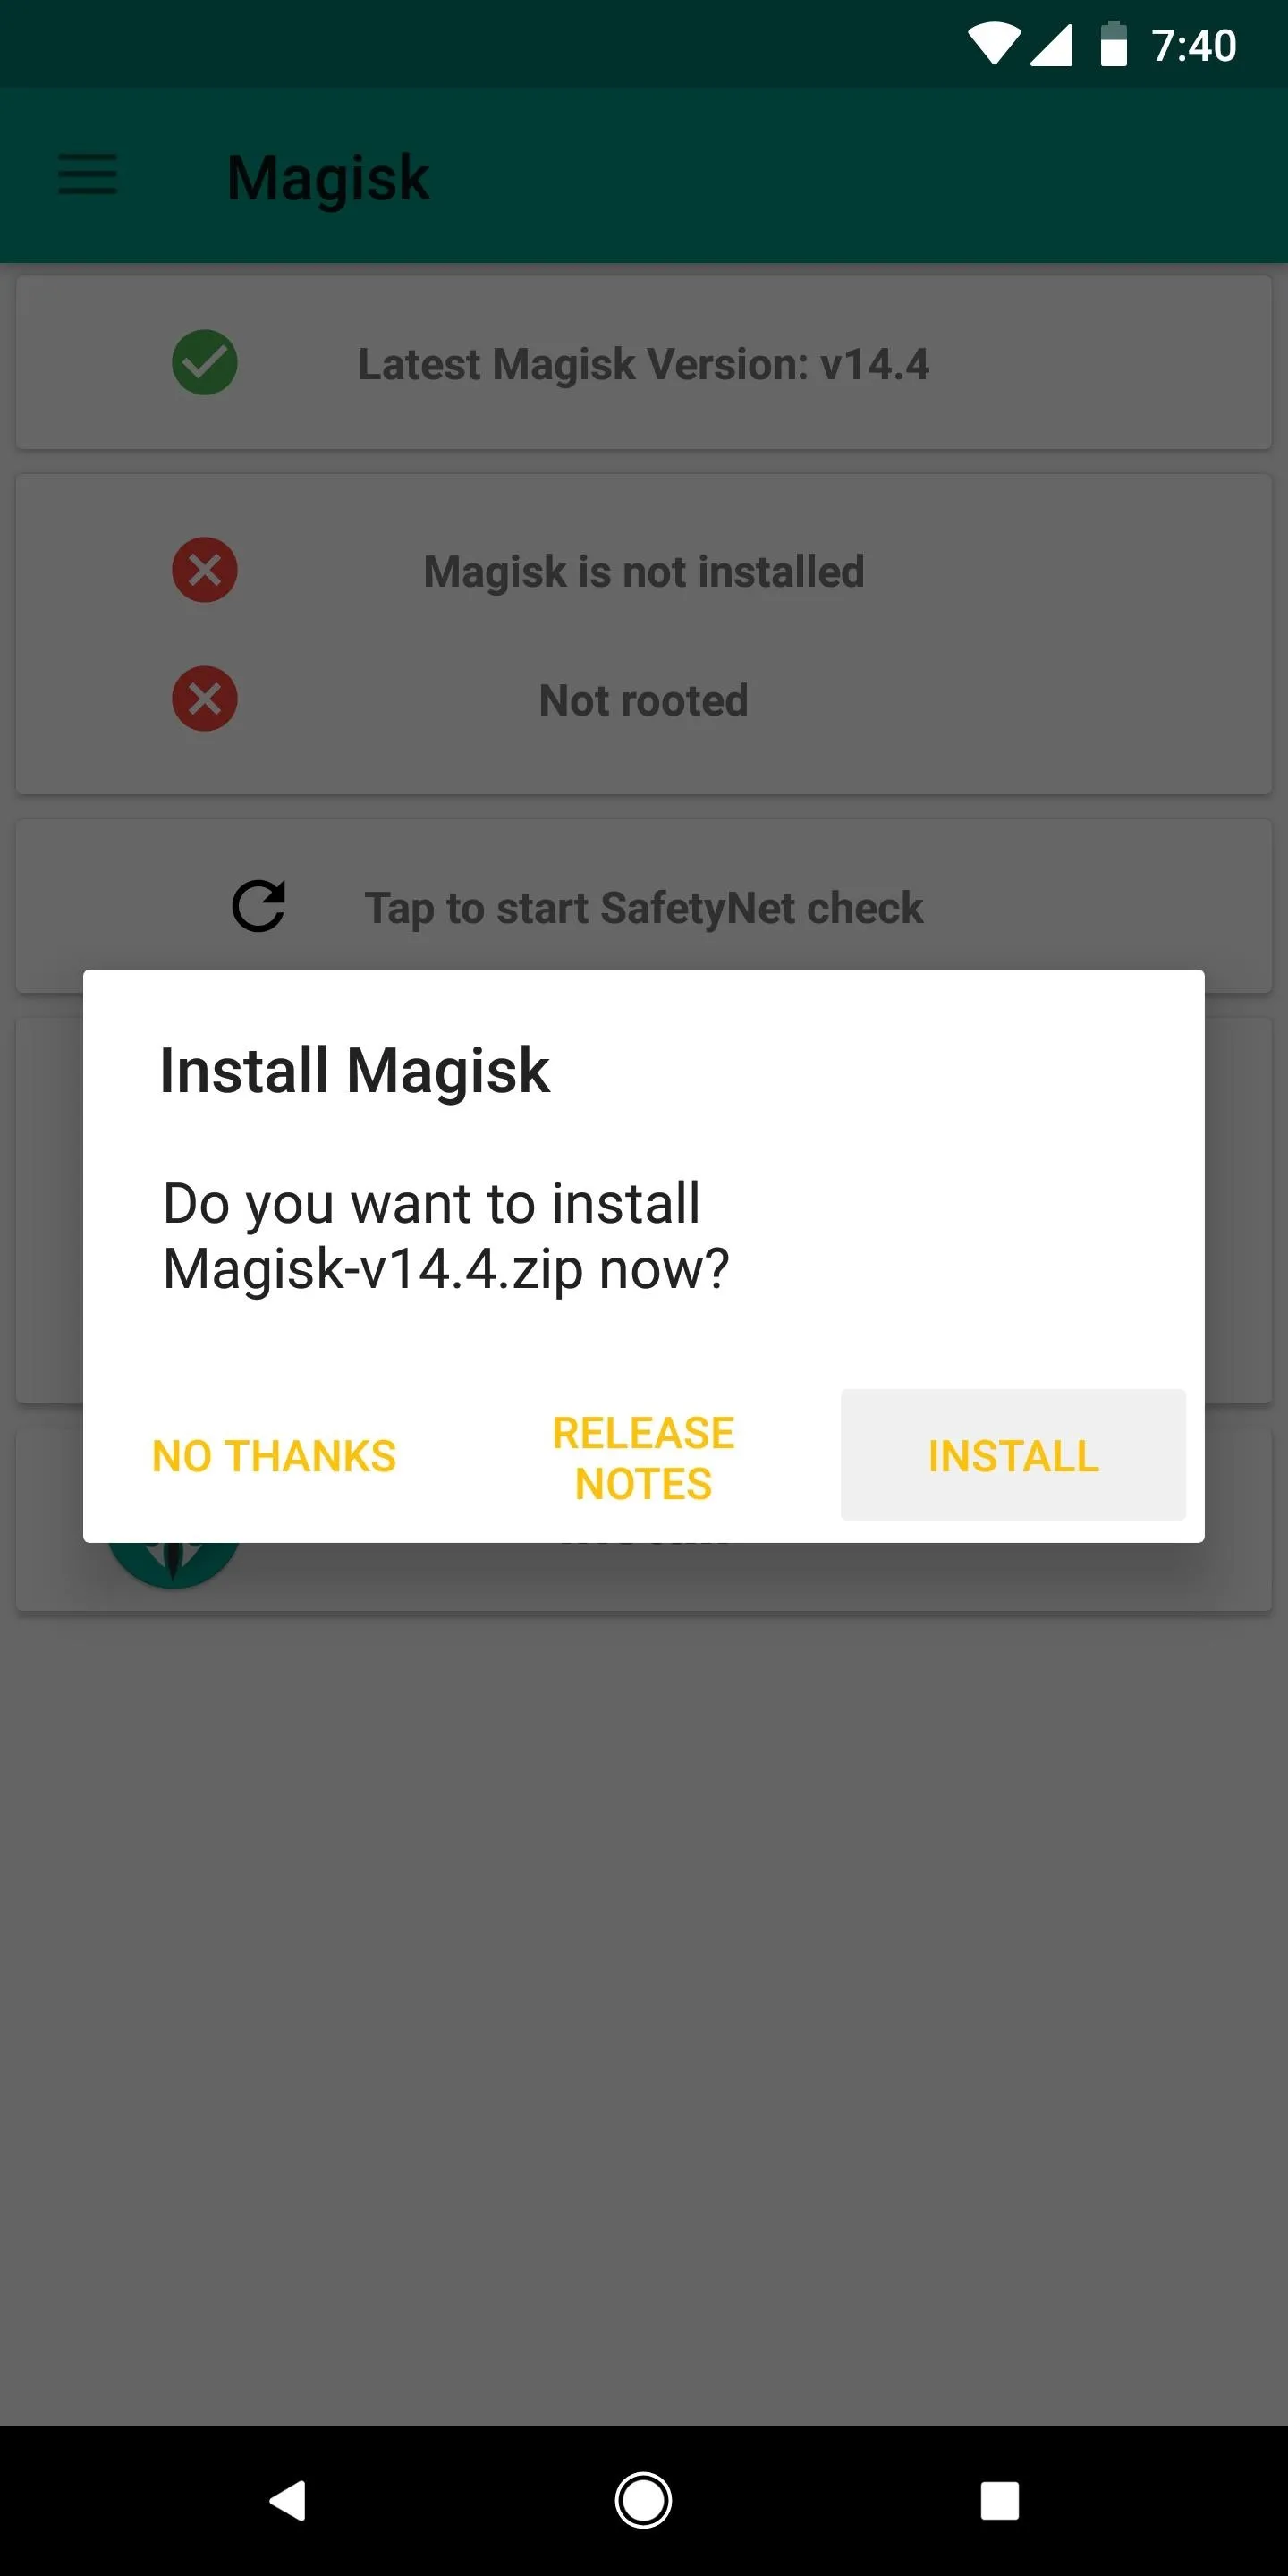
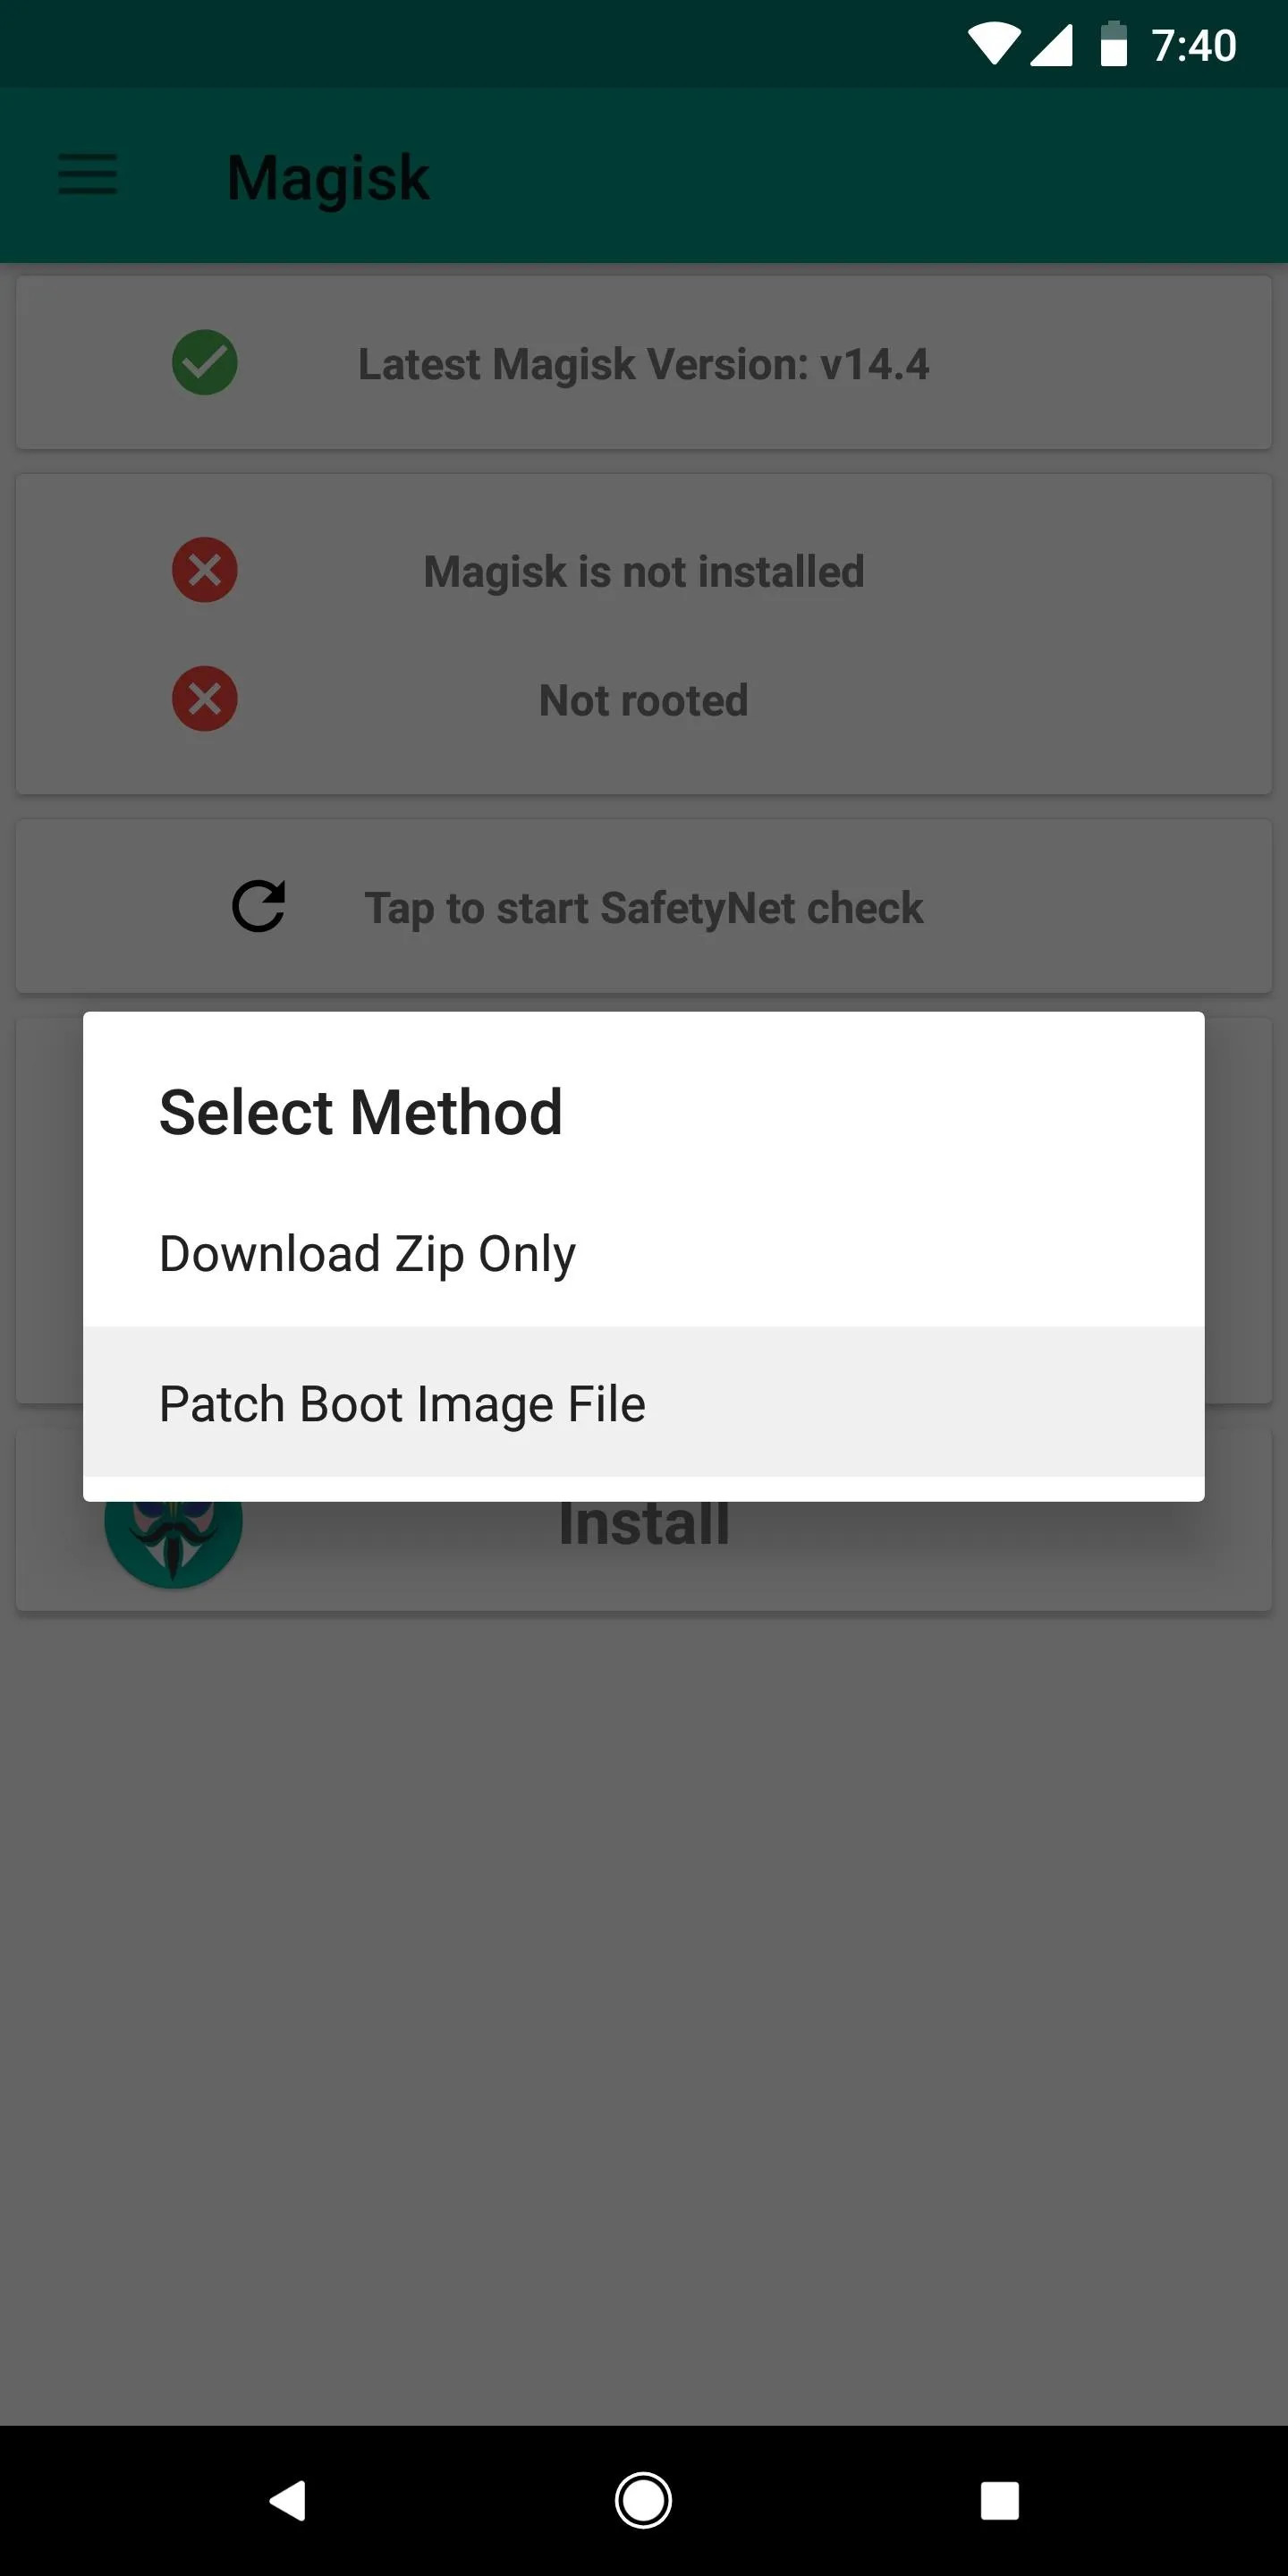
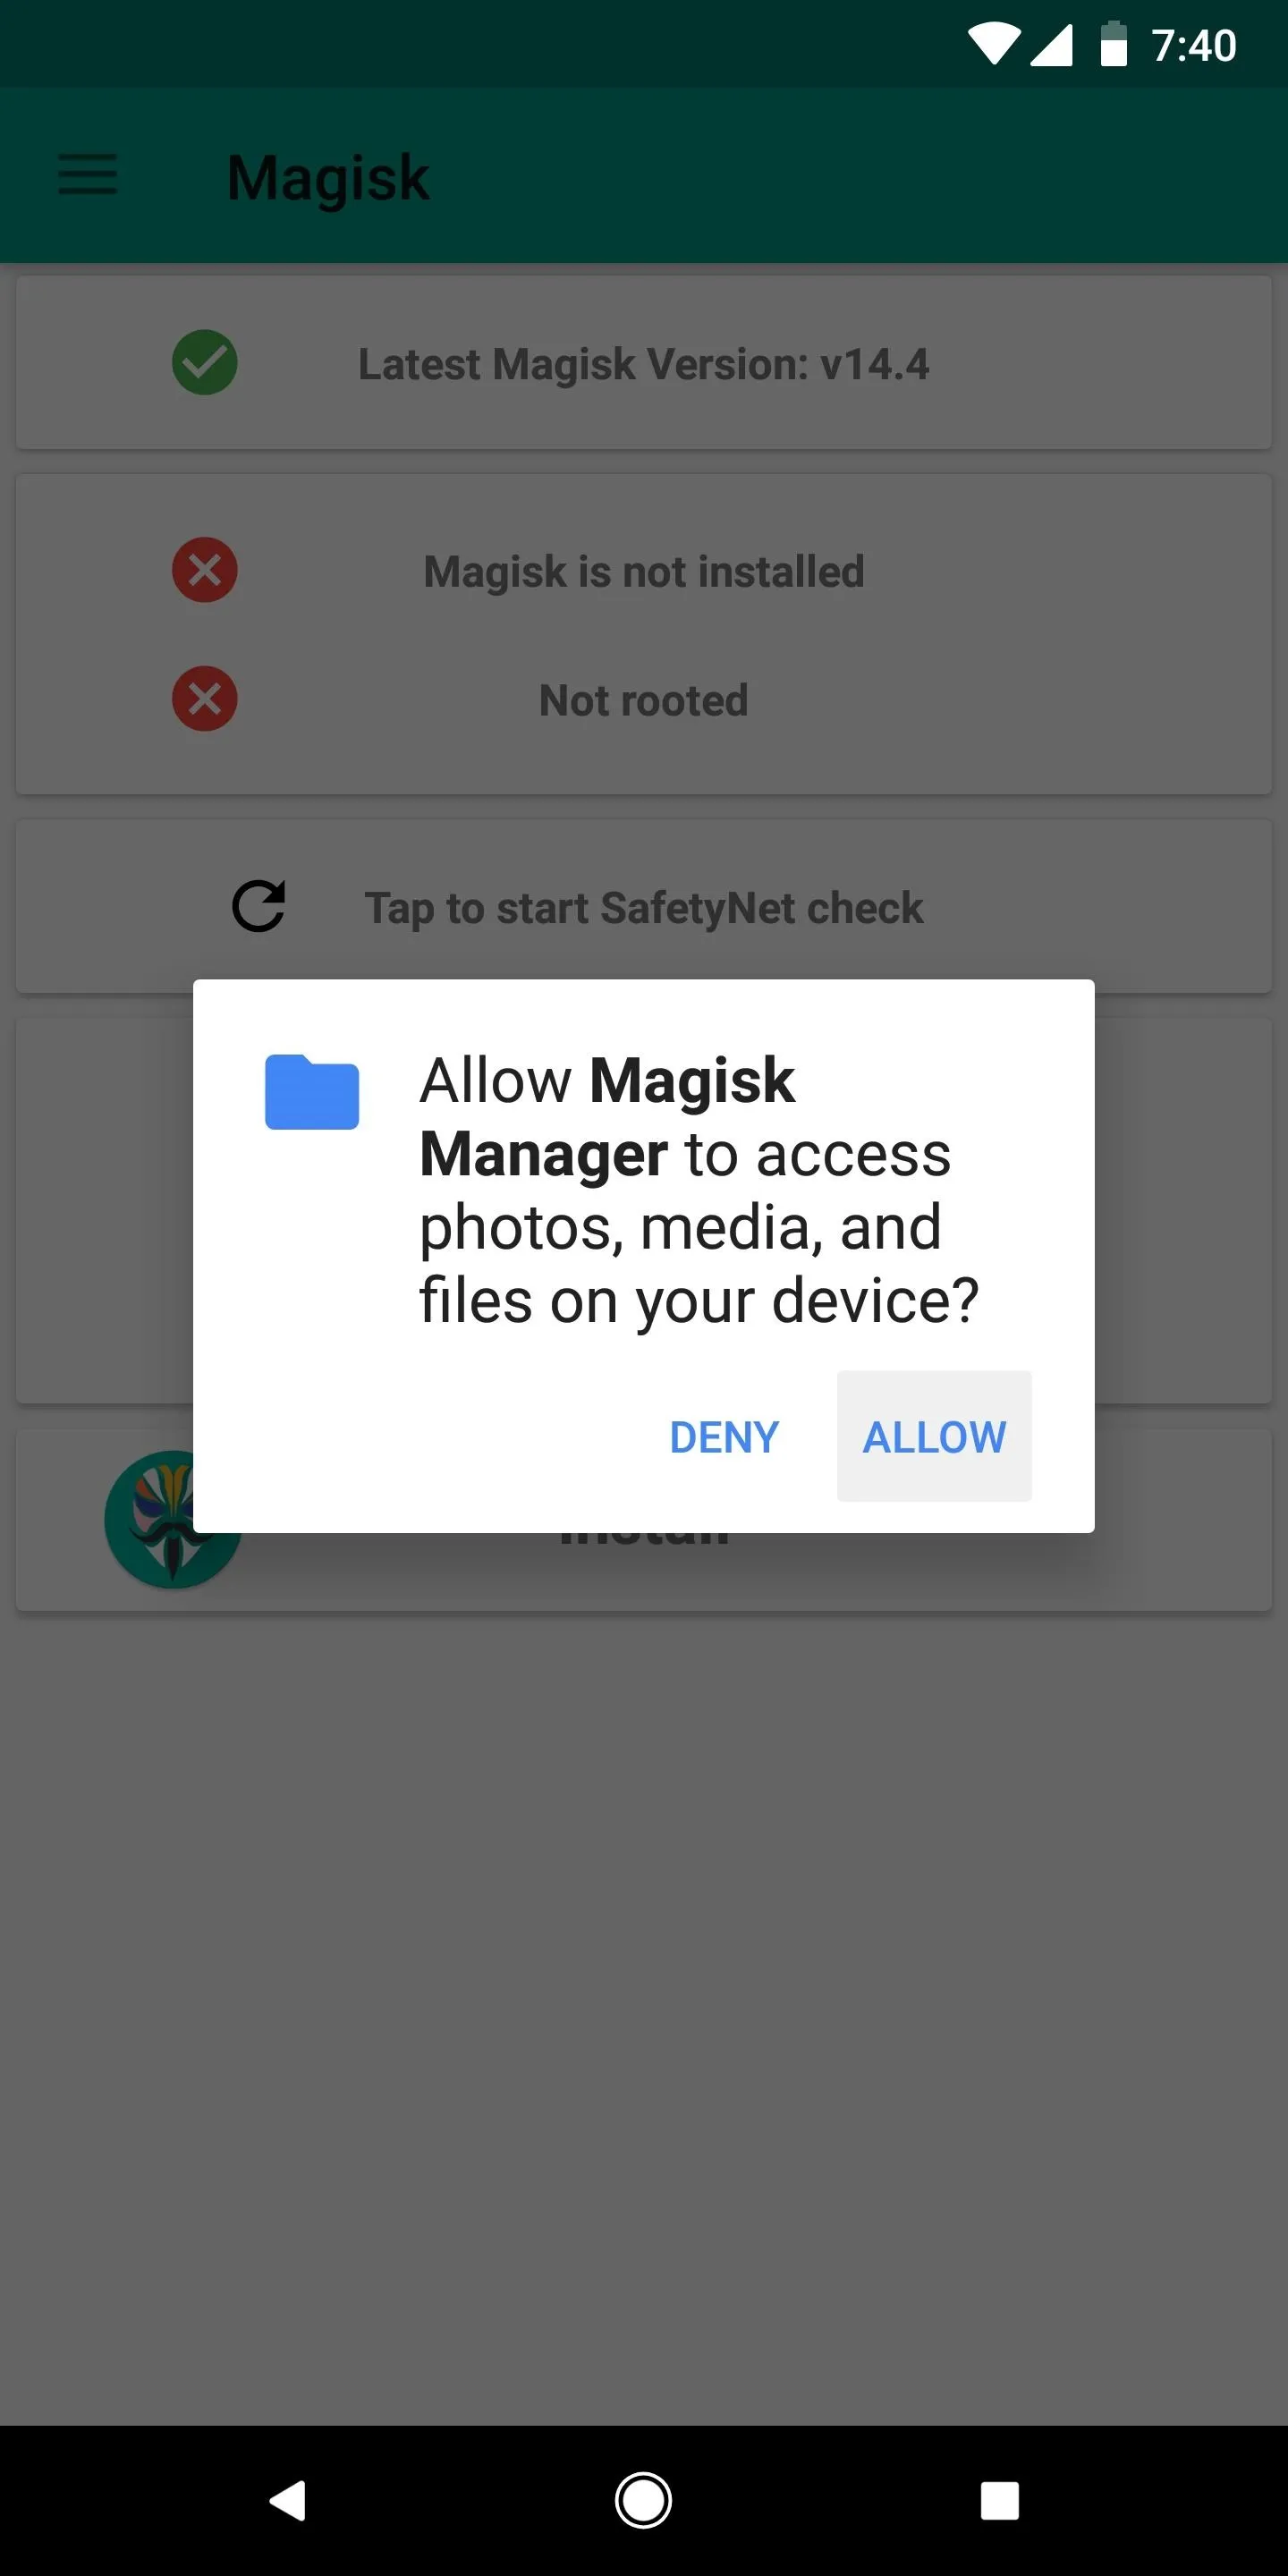
Next, open the Magisk Manager app. You'll see a prompt on first-run — go ahead and tap "Install" here. If you don't see this message, tap the "Install" button in Magisk Manager's main menu, then press "Install" on the popup. From there, choose "Patch Boot Image File" when prompted to select a method.
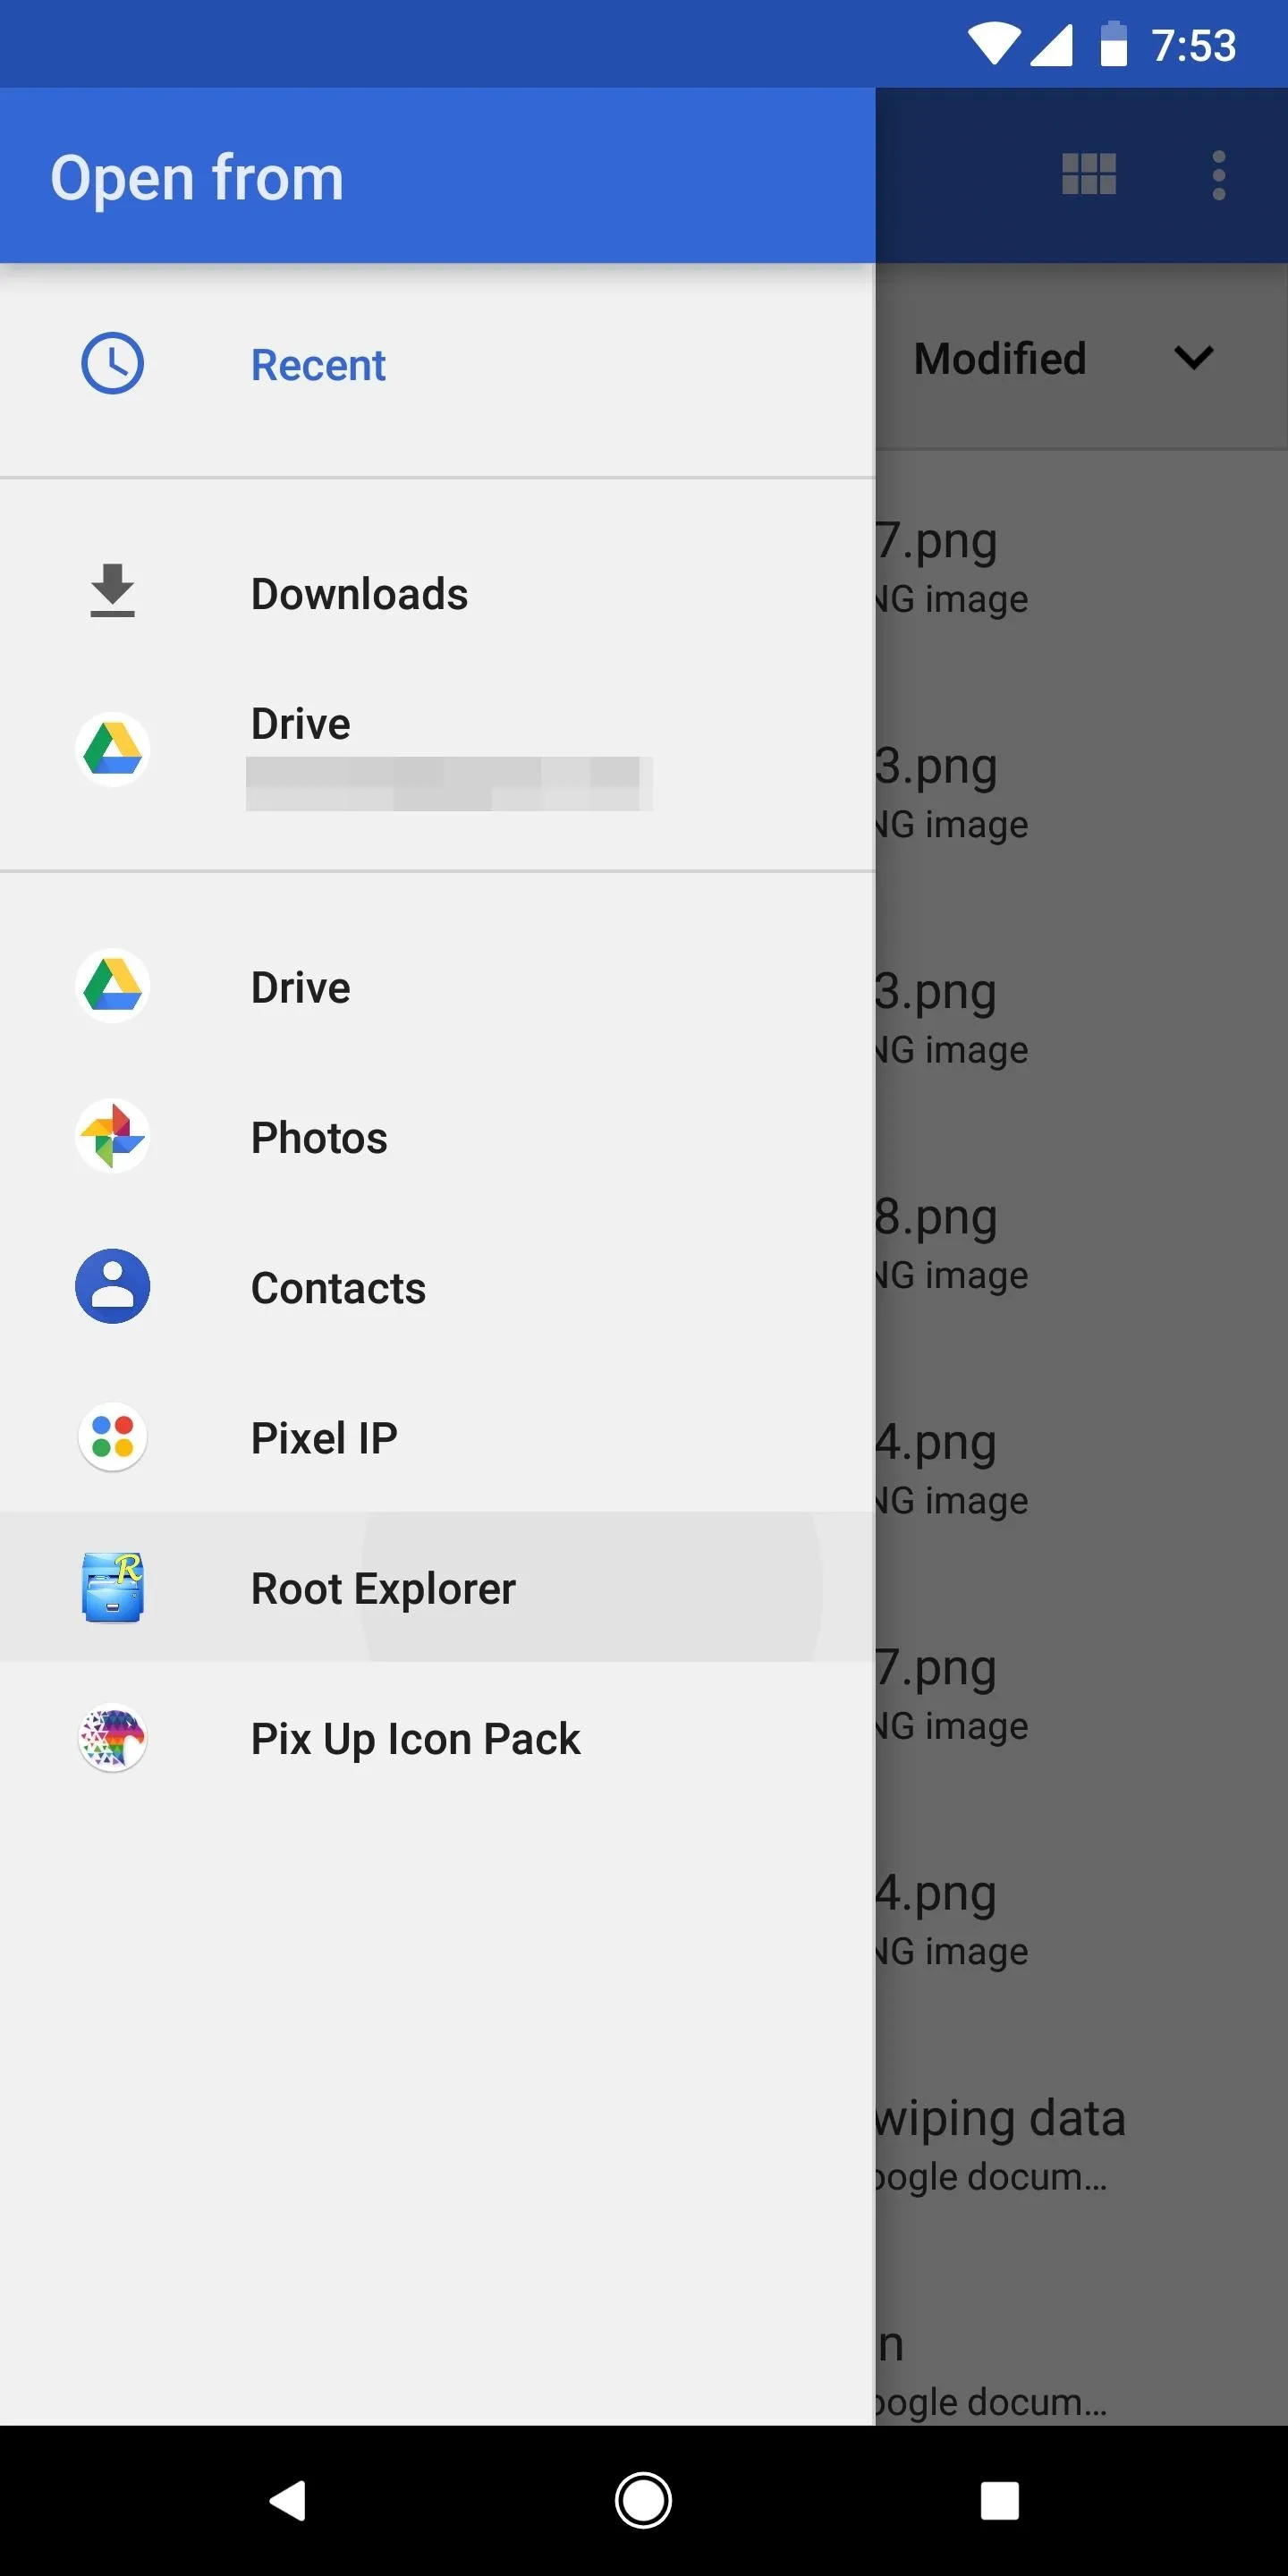
Next, use the file picker interface that comes up to select the boot.img file that you transferred over from your computer. If you have a good file explorer app installed, I recommend opening the side navigation menu in the file picker interface, then selecting your file explorer from there, as the default Android file picker may not show the boot.img file. Alternatively, you can pull the boot.img file directly from your Google Drive account in the same side navigation menu.
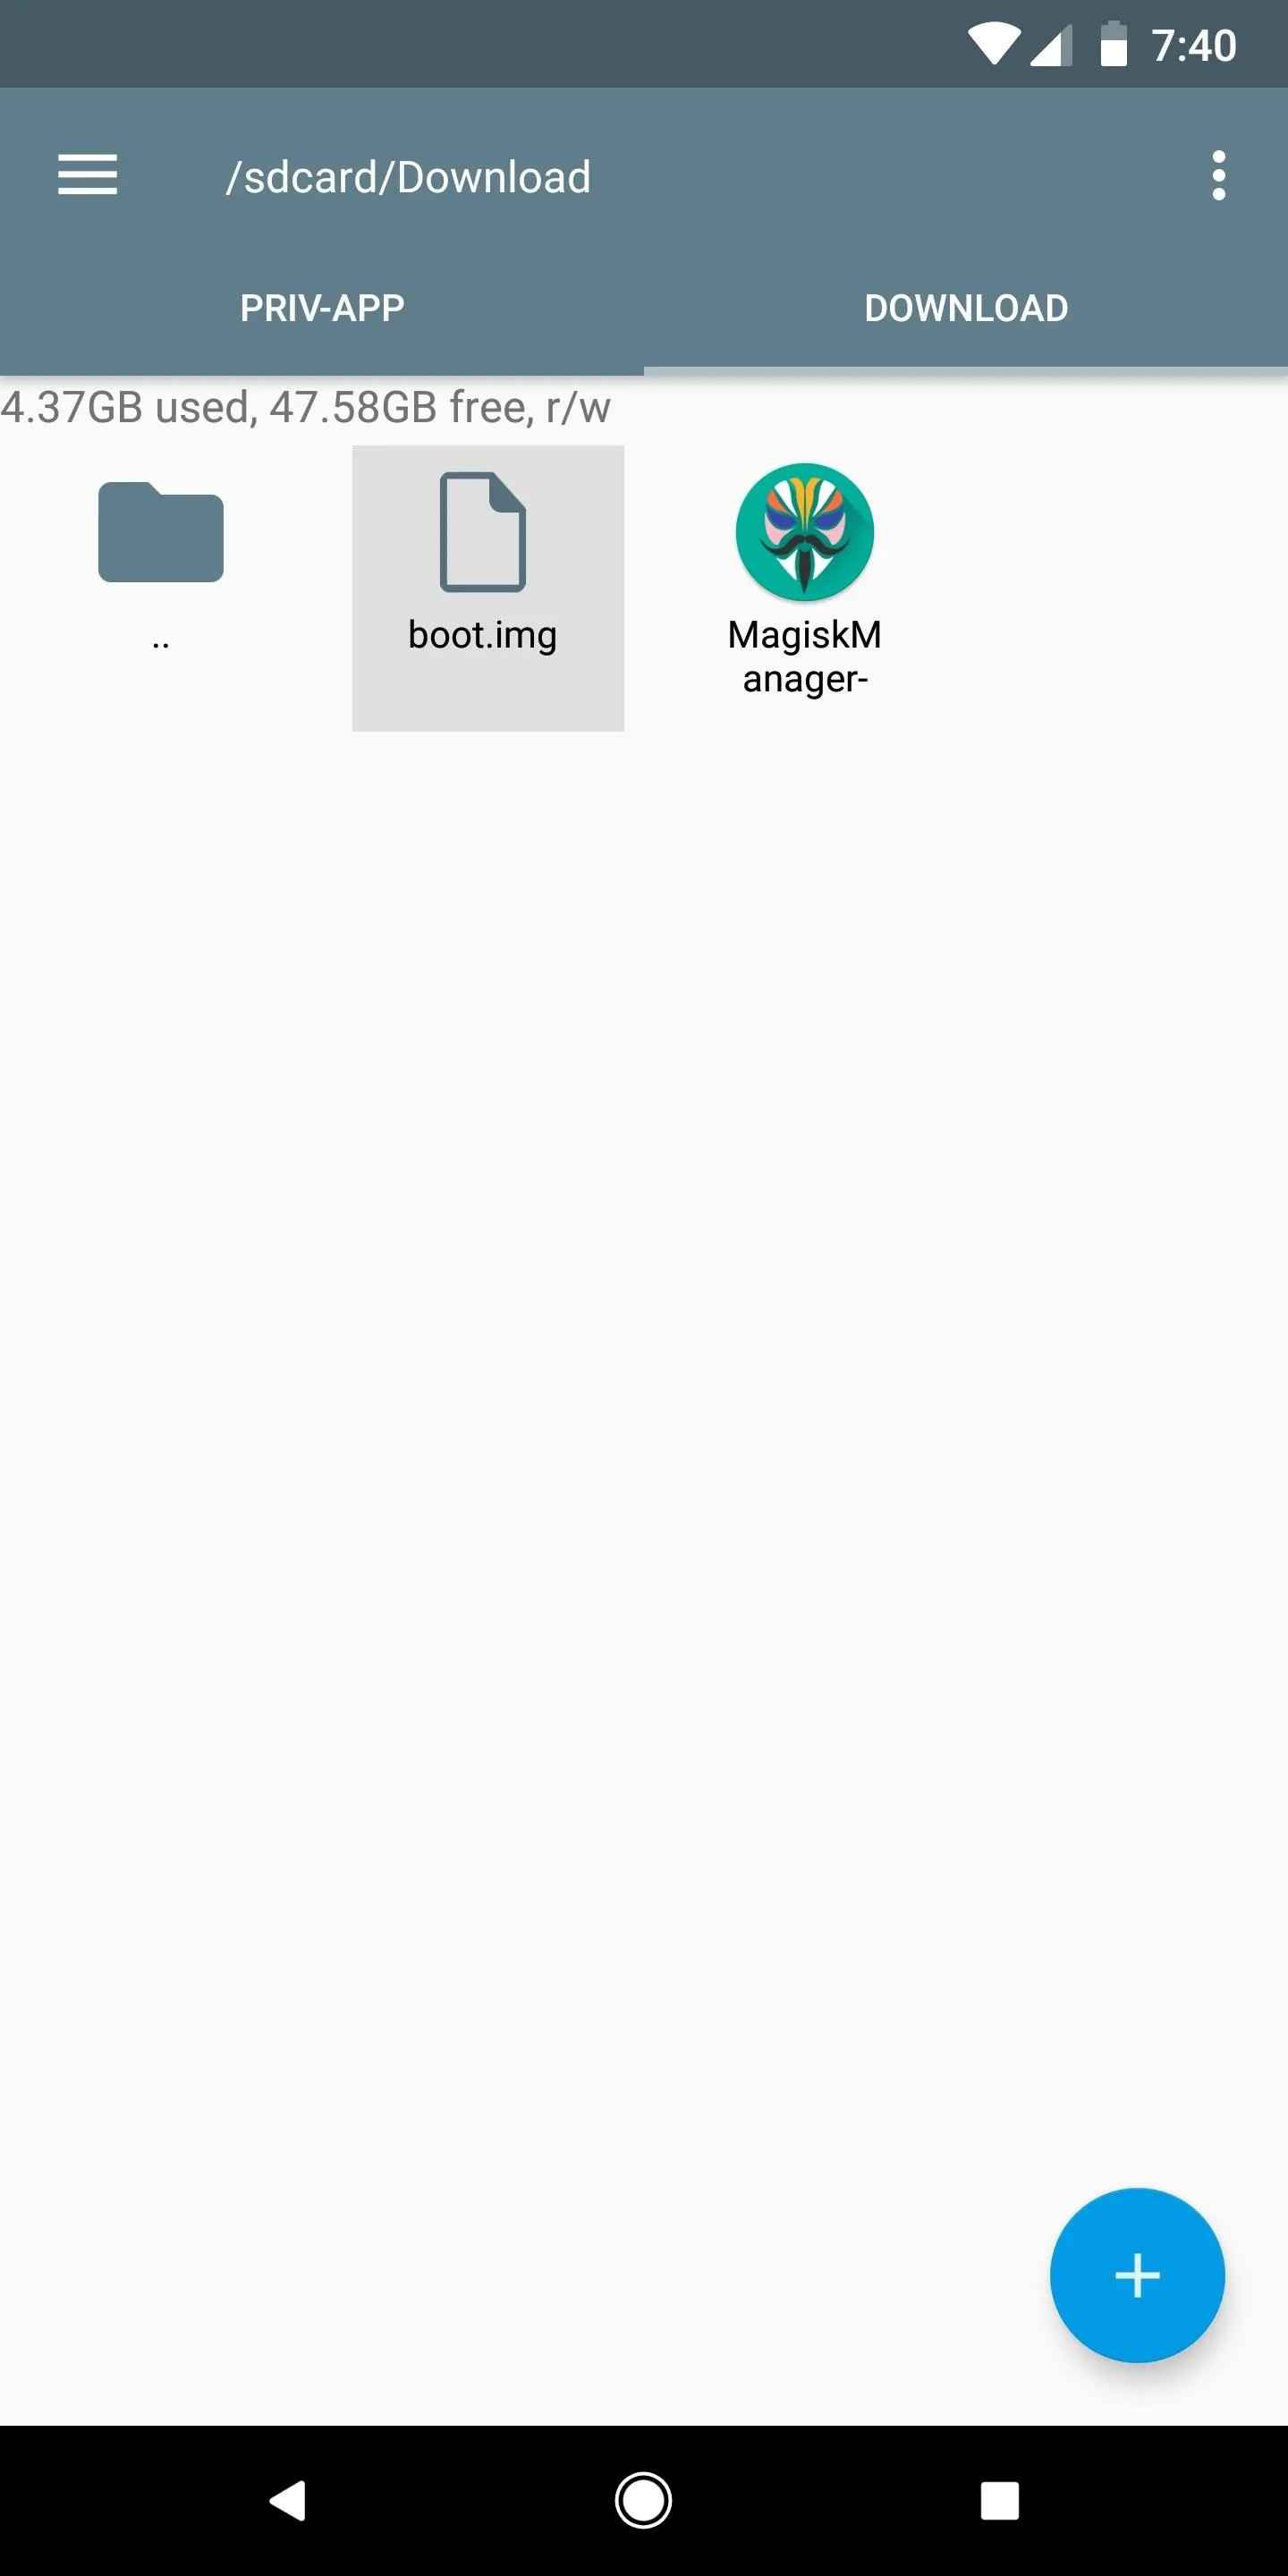
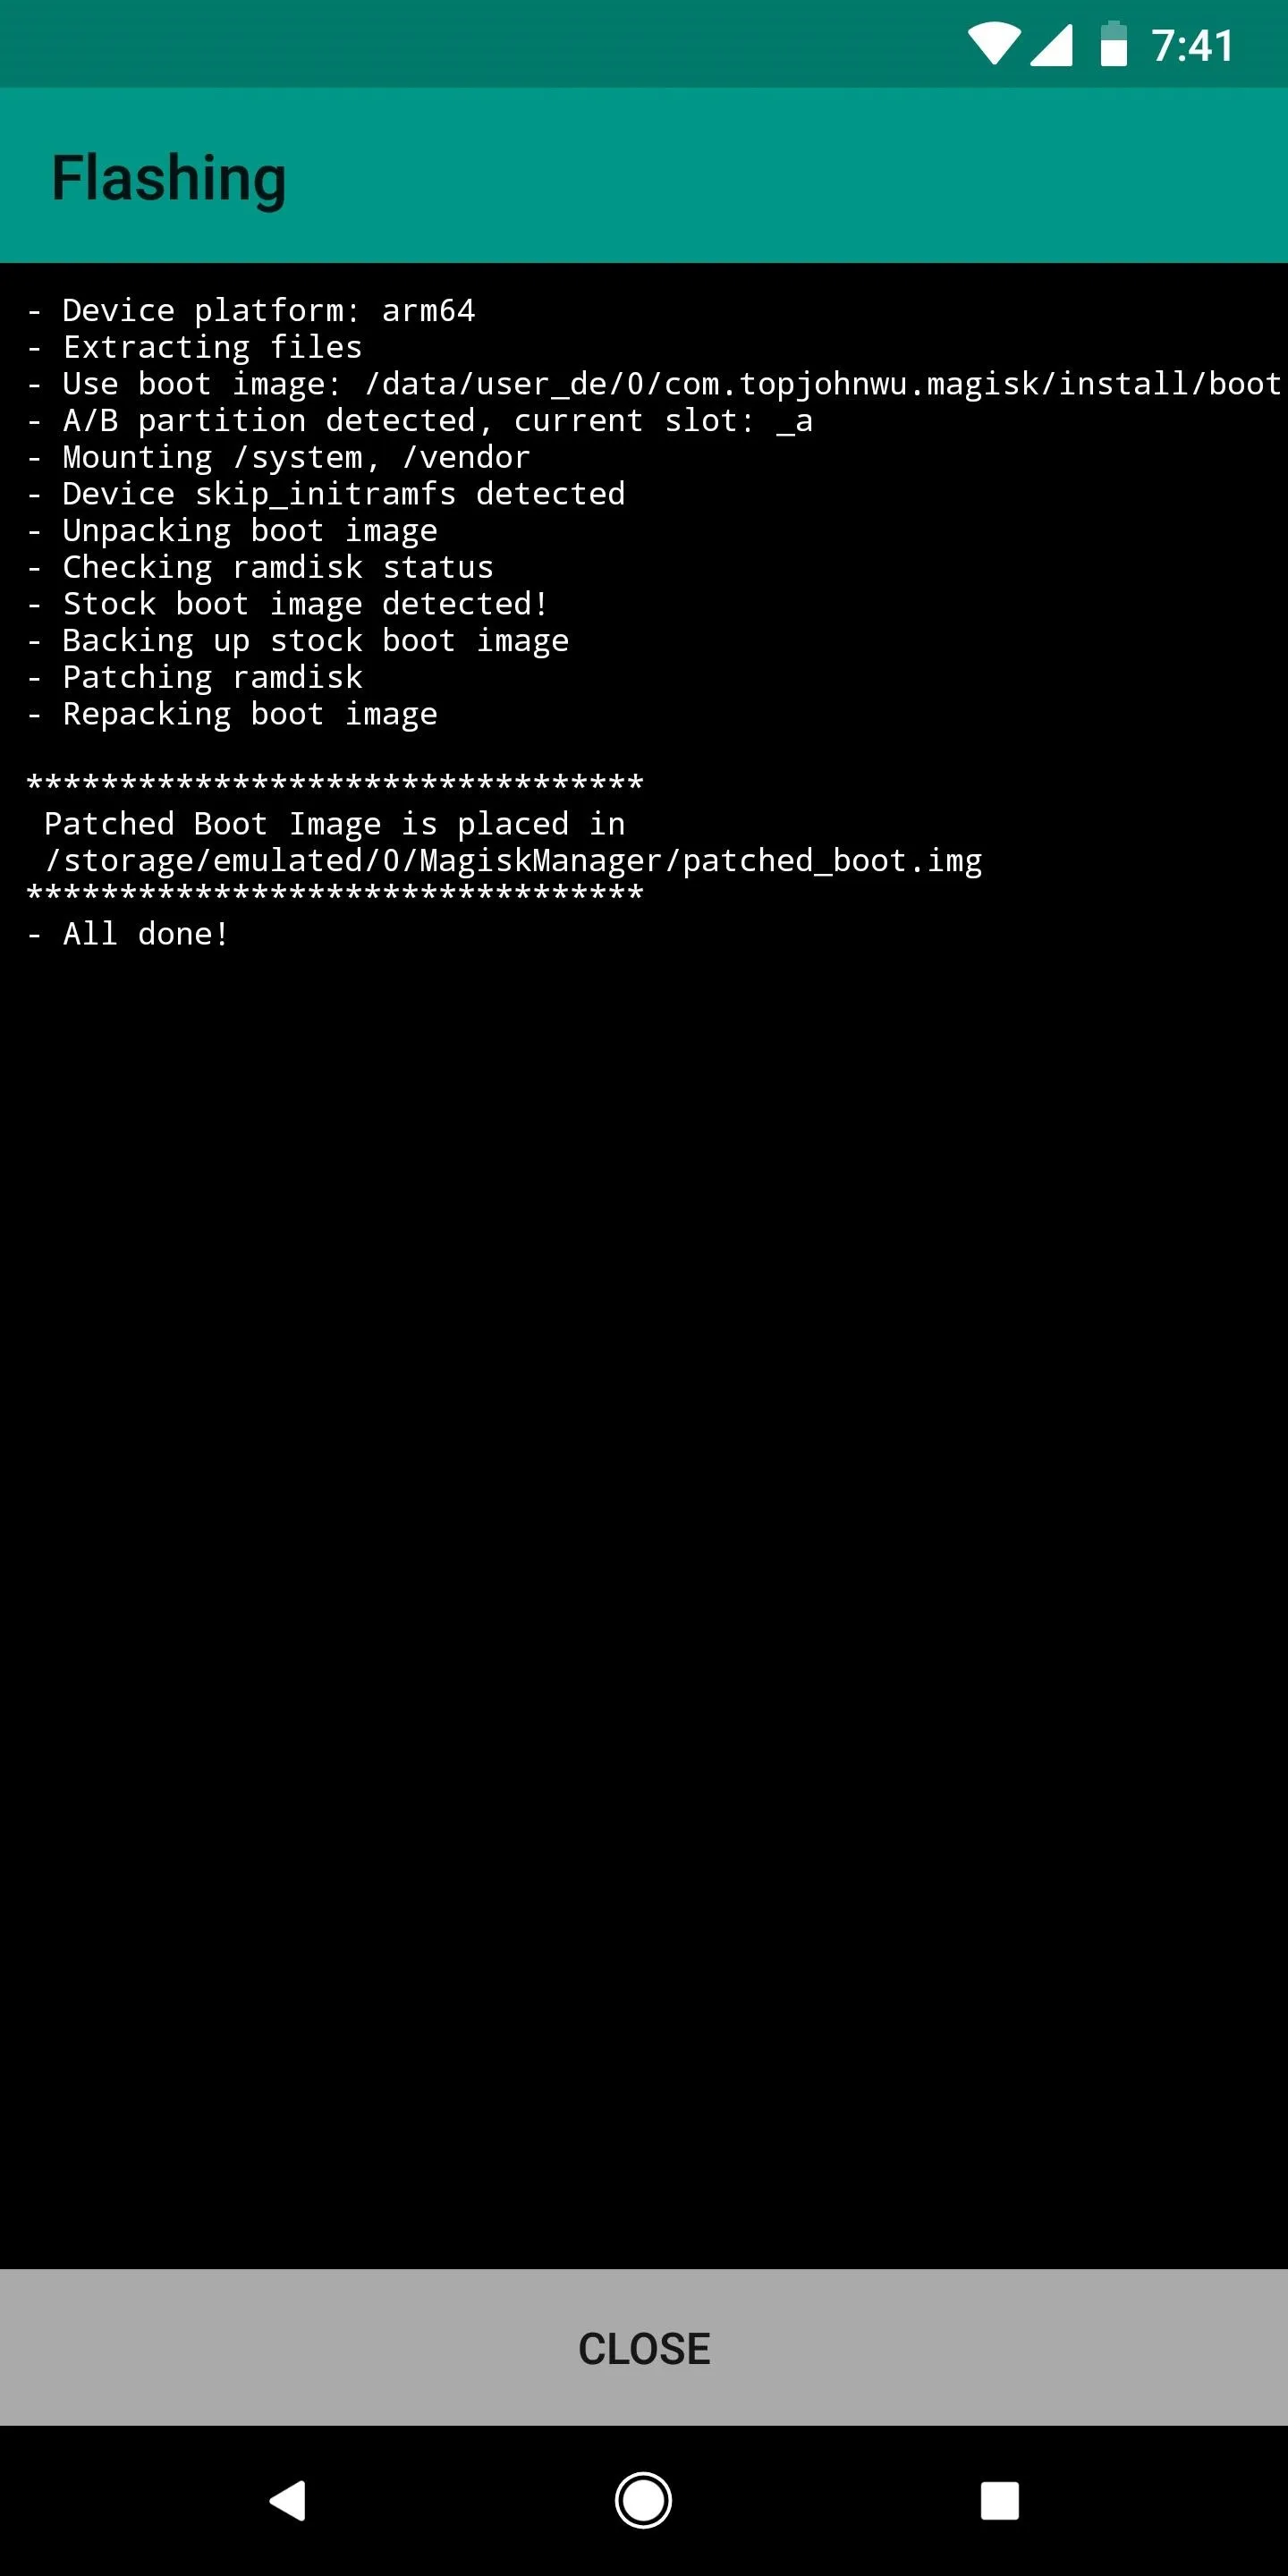
After selecting the boot.img file, tap "Allow" to give Magisk Manager permission to access the file. From there, wait while the tool patches your boot image, then take note of the storage location for the "patched_boot.img" file.
Transfer the Patched Boot Image Back to Your PC
Now you'll have to move the patched boot image back over to your computer. Again, you can use Google Drive or one of these apps to transfer the file, but make sure to take note of its storage location once you've moved the patched_boot.img file over to your desktop or laptop.
Boot into Bootloader Mode & Connect to Your PC
With the patched boot image on your computer, it's time to put your phone into bootloader mode. Start by restarting your phone, then when the screen goes black, press and hold the volume down button. After a few seconds, you'll be greeted by Android's bootloader menu (pictured below), at which point you can let go of the volume down button.
Booting into bootloader mode.
From there, don't select anything on the phone — simply leave it on the main bootloader screen as shown at the end of the above GIF, then connect your phone to your computer with a USB data cable.
Install ADB & Fastboot on Your Computer
On your computer now, it's time to install ADB and Fastboot. You've probably already done this since your bootloader's already unlocked, but just in case, you can use this guide for full setup instructions.
Open a Command Window in the Right Directory
This next part is where most people struggle with ADB and Fastboot: Getting a command window open to the proper directory.
The easiest way I've found to do this is to locate the platform-tools folder inside of your ADB and Fastboot installation directory. For Windows users, this can usually be found at C:\Program Files (x86)\Android\android-sdk\platform-tools. For Linux and Mac users, the folder's location will vary, so use your computer's search function to find the platform-tools folder.
Once you've found the platform-tools folder, copy the location from the address bar at the top of your file browser (e.g., Windows Explorer). Then, open a command prompt or terminal window. On Windows, press the Windows button on your keyboard, then type in "cmd" and hit enter to do so. On Linux or Mac, open "Terminal" from your Applications folder.
Once you've got the command window open, you'll need to change directories to the platform-tools folder before you can send the Fastboot command to unlock your bootloader. To do that, type "cd" (without the quotes) followed by a space, then paste in the file location for your platform-tools folder:
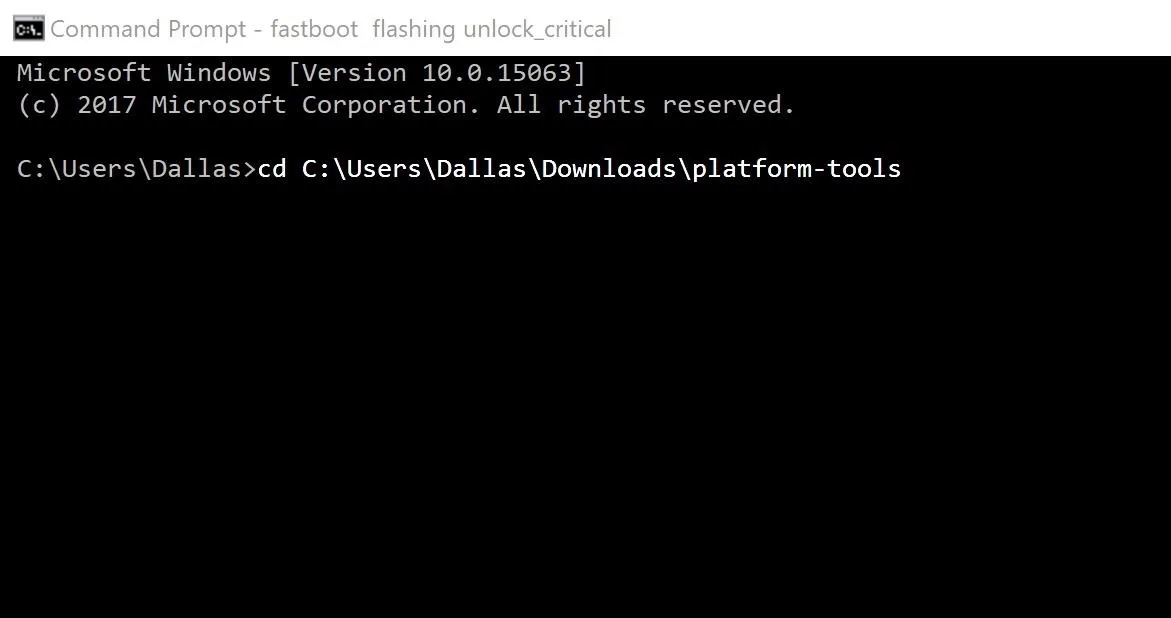
Changing directories to the platform-tools folder with the "cd" command.
Flash the Patched Boot Image
Next, type "fastboot flash boot" (without the quotes) into the command prompt, then add a single space, but don't hit enter just yet.
From there, find the patched_boot.img file that you transferred in Step 6. Drag the file and drop it into the command window — this will populate the file's location directly after the space you entered, so the full command should be something like "fastboot flash boot C:\Downloads\patched_boot.img" (the location will vary depending on where you stored the file).
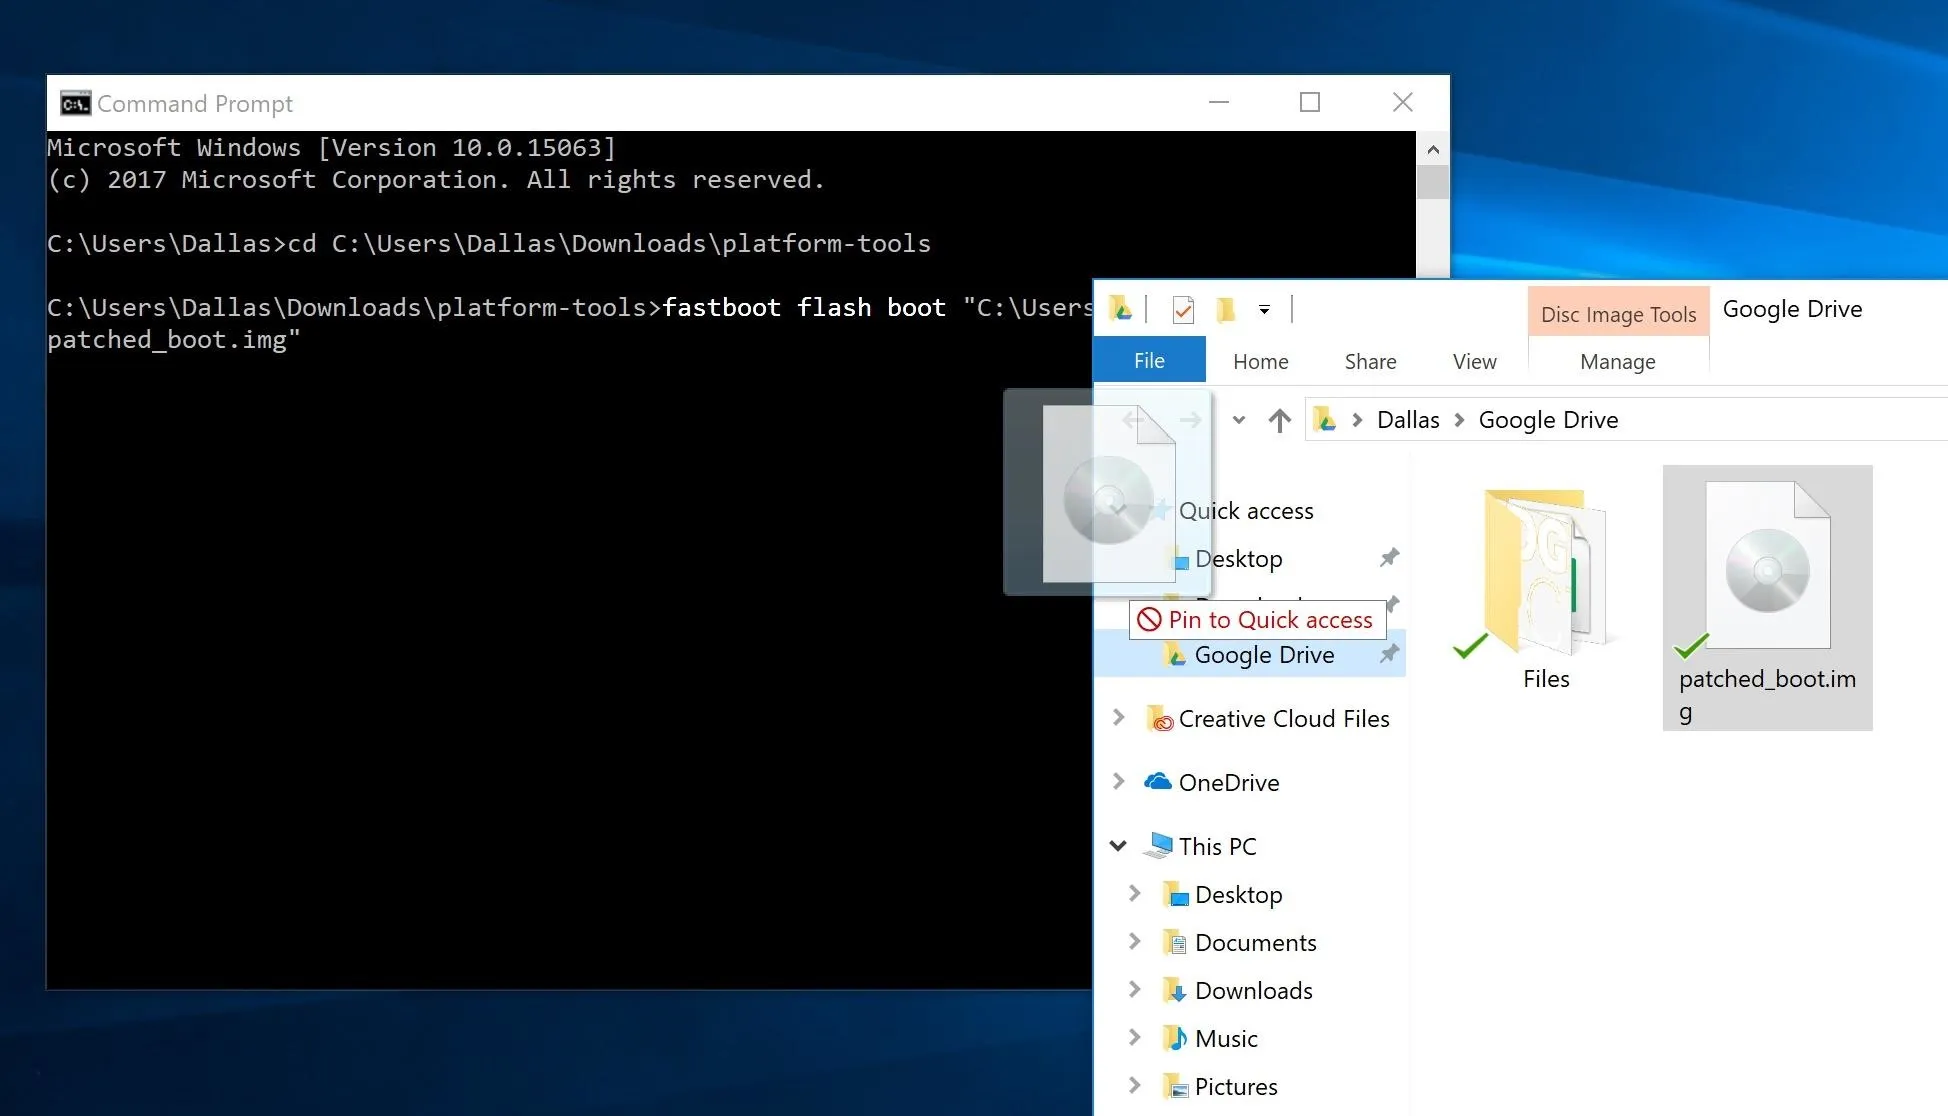
Dragging the patched boot image into the command window to populate the full file location.
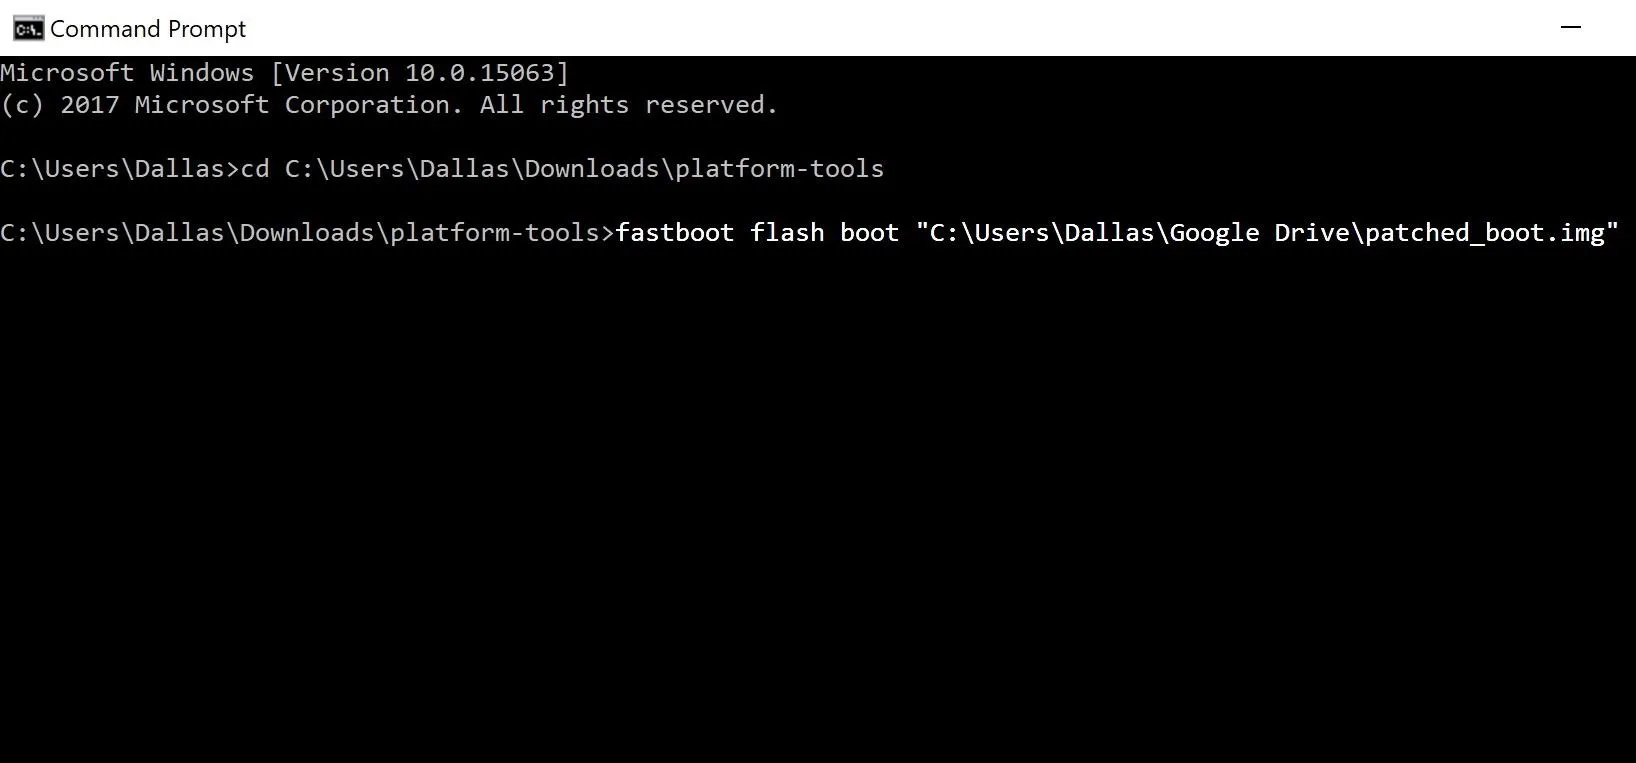
Once you've got the full command entered, go ahead and press return or enter on your keyboard to flash the modified boot image. This process will take a few seconds, and when it's done, you'll see a message saying it's done.
Next, make sure the "Start" option is highlighted on your phone in the bootloader menu. If it isn't, use the volume keys to select it. From there, press the power button once and your phone will boot back up — when it's finished, you should be fully rooted!
Verify Root
When you get back up, open the Magisk Manager app. If everything went off without a hitch, you should see a message stating that Magisk is installed, as is the latest version of Magisk SU (your new superuser manager). As an added benefit, your phone should also pass SafetyNet, so you get root without any of the drawbacks!
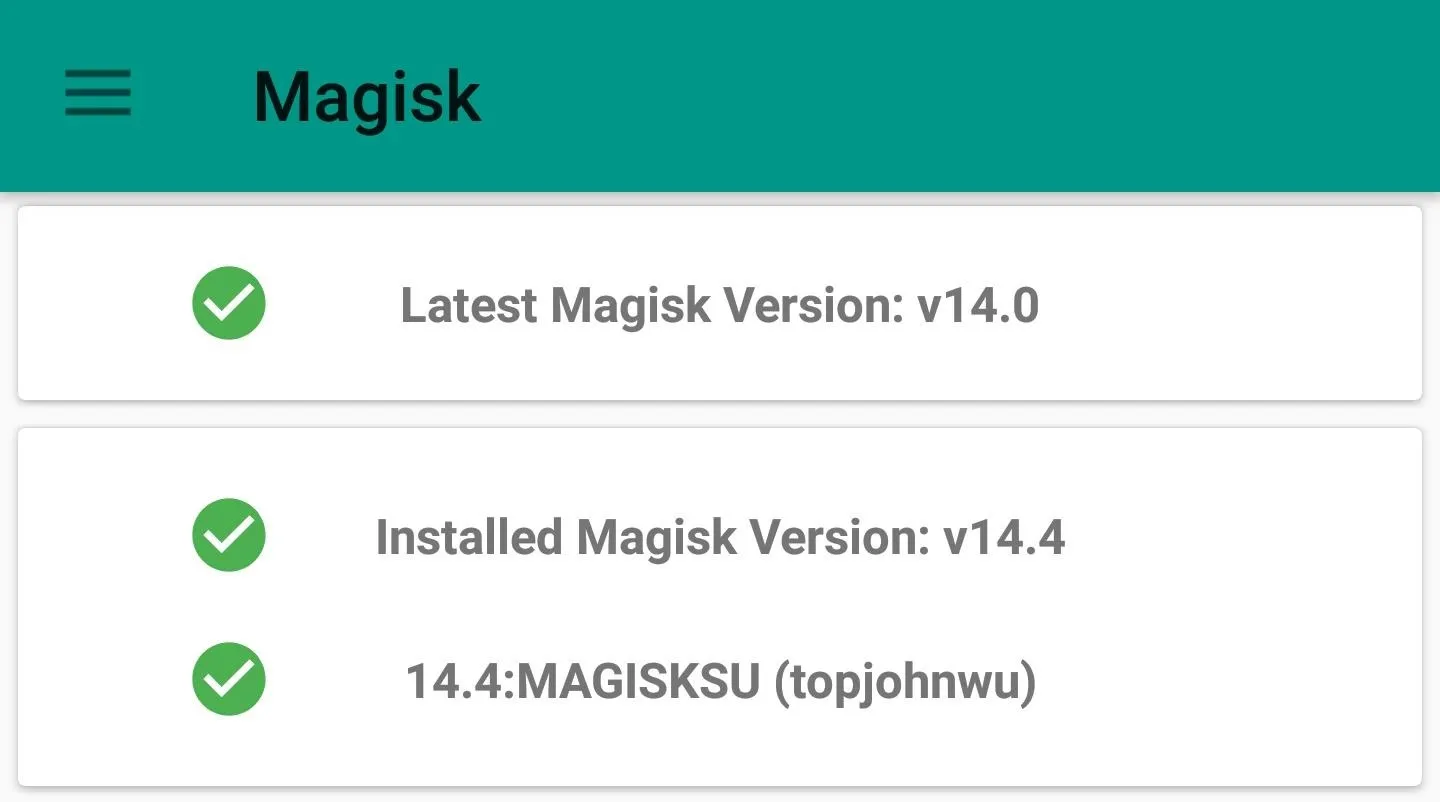
Magisk installed, root verified!
Did you run into any bumps along the way, or was rooting your Pixel 2 as easy as ever? Drop us a line down below with any issues you may have encountered and we'll do our best to point you in the right direction.
- Follow Gadget Hacks on Facebook, Twitter, Google+, YouTube, and Instagram
- Follow WonderHowTo on Facebook, Twitter, Pinterest, and Google+
Cover image and screenshots by Dallas Thomas/Gadget Hacks


Comments
Be the first, drop a comment!