


Oftentimes, seemingly insignificant, nondescript features have the most impact on enhancing our Android's usability. A great example is Nougat's inclusion of customizable Quick Settings tiles, which adds greatly to the user experience by letting individuals tailor their expandable status bars to suit their unique needs.
An awesome new app has arrived on the Play Store that lets you add a slew of custom toggles to Android's Quick Settings page. With this one installed, you can quickly view vital stats such as RAM and data usage by simply swiping down from the top of any screen. The app doesn't require root, but you'll need to run an ADB command to get these extra features, so I'll show you how to do it below.
Requirements
- Android Nougat installed
- Developer options and USB debugging enabled
- Windows, Mac, or Linux computer
- ADB and Fastboot installed
- USB data cable
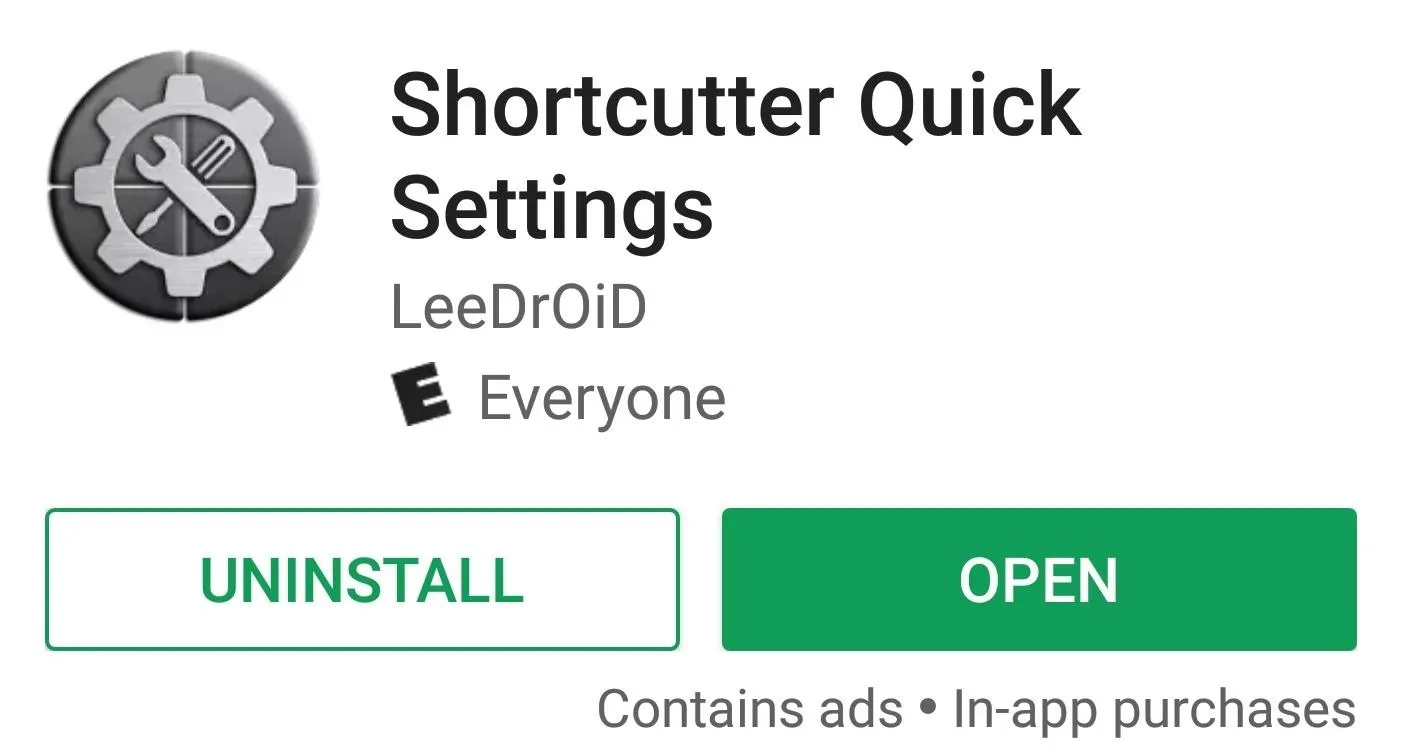
Install Shortcutter Quick Settings
To get started, go to the Play Store, or tap on the link provided below, and grab Shortcutter Quick Settings by LeeDrOiD. It's free to download, but purchasing the full version for $2.49 will unlock a handful of extra features, though these are not needed for the purposes of this guide.
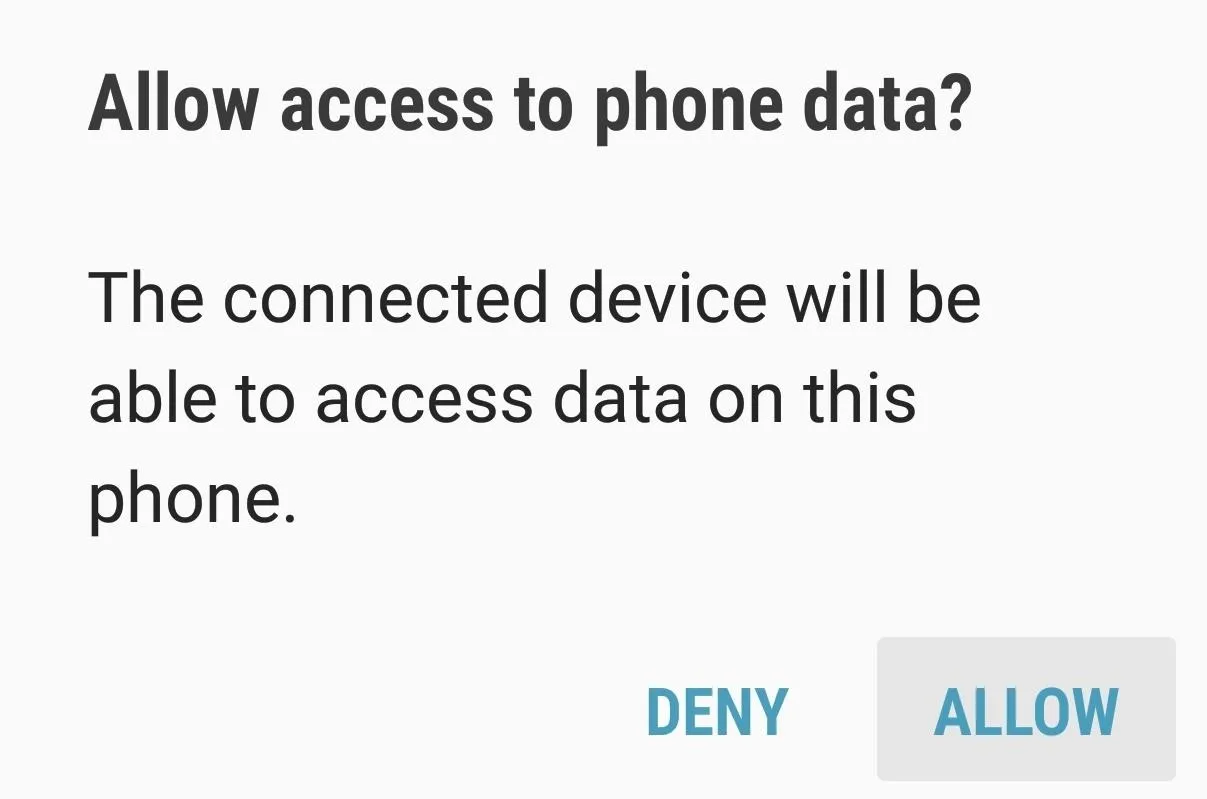
Connect Your Phone
Next, connect your phone to your computer with a USB data cable. Tap the USB Computer Connection notification that appears on your phone and select "Transfer Files." After that, you'll get a popup asking you to let your computer access your phone, so press "Allow" here.
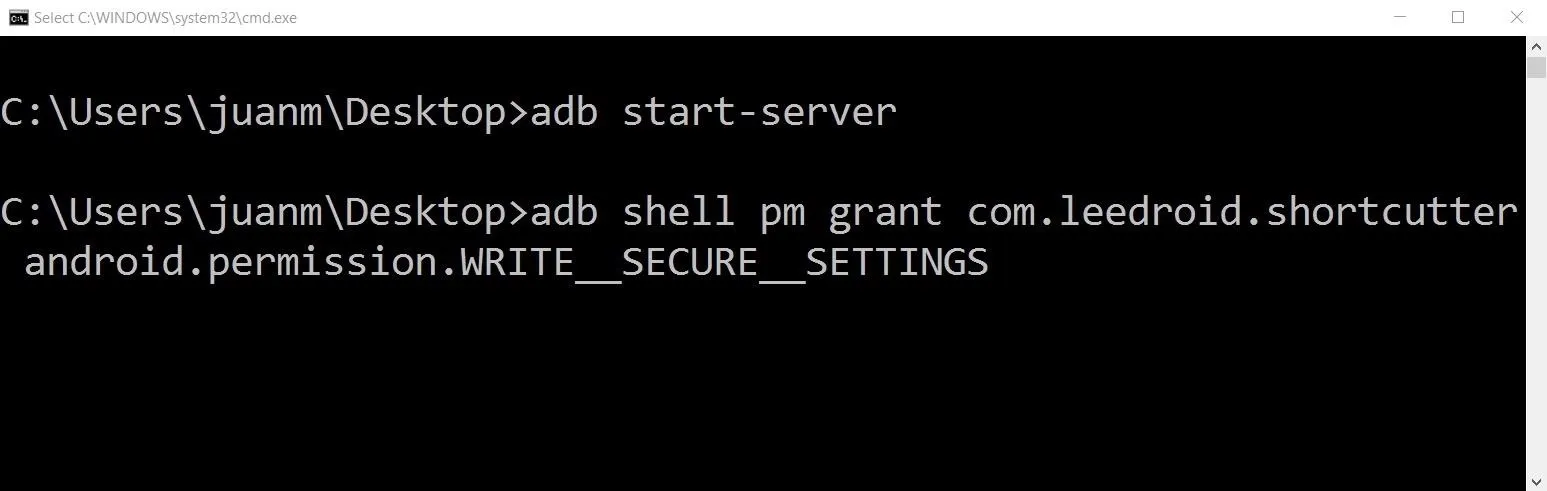
Run ADB
Shortcutter Quick Settings needs to be granted an additional permission before it can add RAM and data usage tiles to your Quick Settings menu. In order to do that, you'll need to run a single ADB command if your device is unrooted.
For Windows users, we recommend following this guide to make ADB work system-wide. Once you've done that, simply press the Windows button on your keyboard, then type in "cmd" and hit enter.
For Mac and Linux users, you'll need to open a Terminal window, then change directories to the platform-tools folder inside of your ADB installation directory. This folder's location will vary depending on where you extracted ADB, so search your hard drive for "platform-tools" if you don't know where it is.
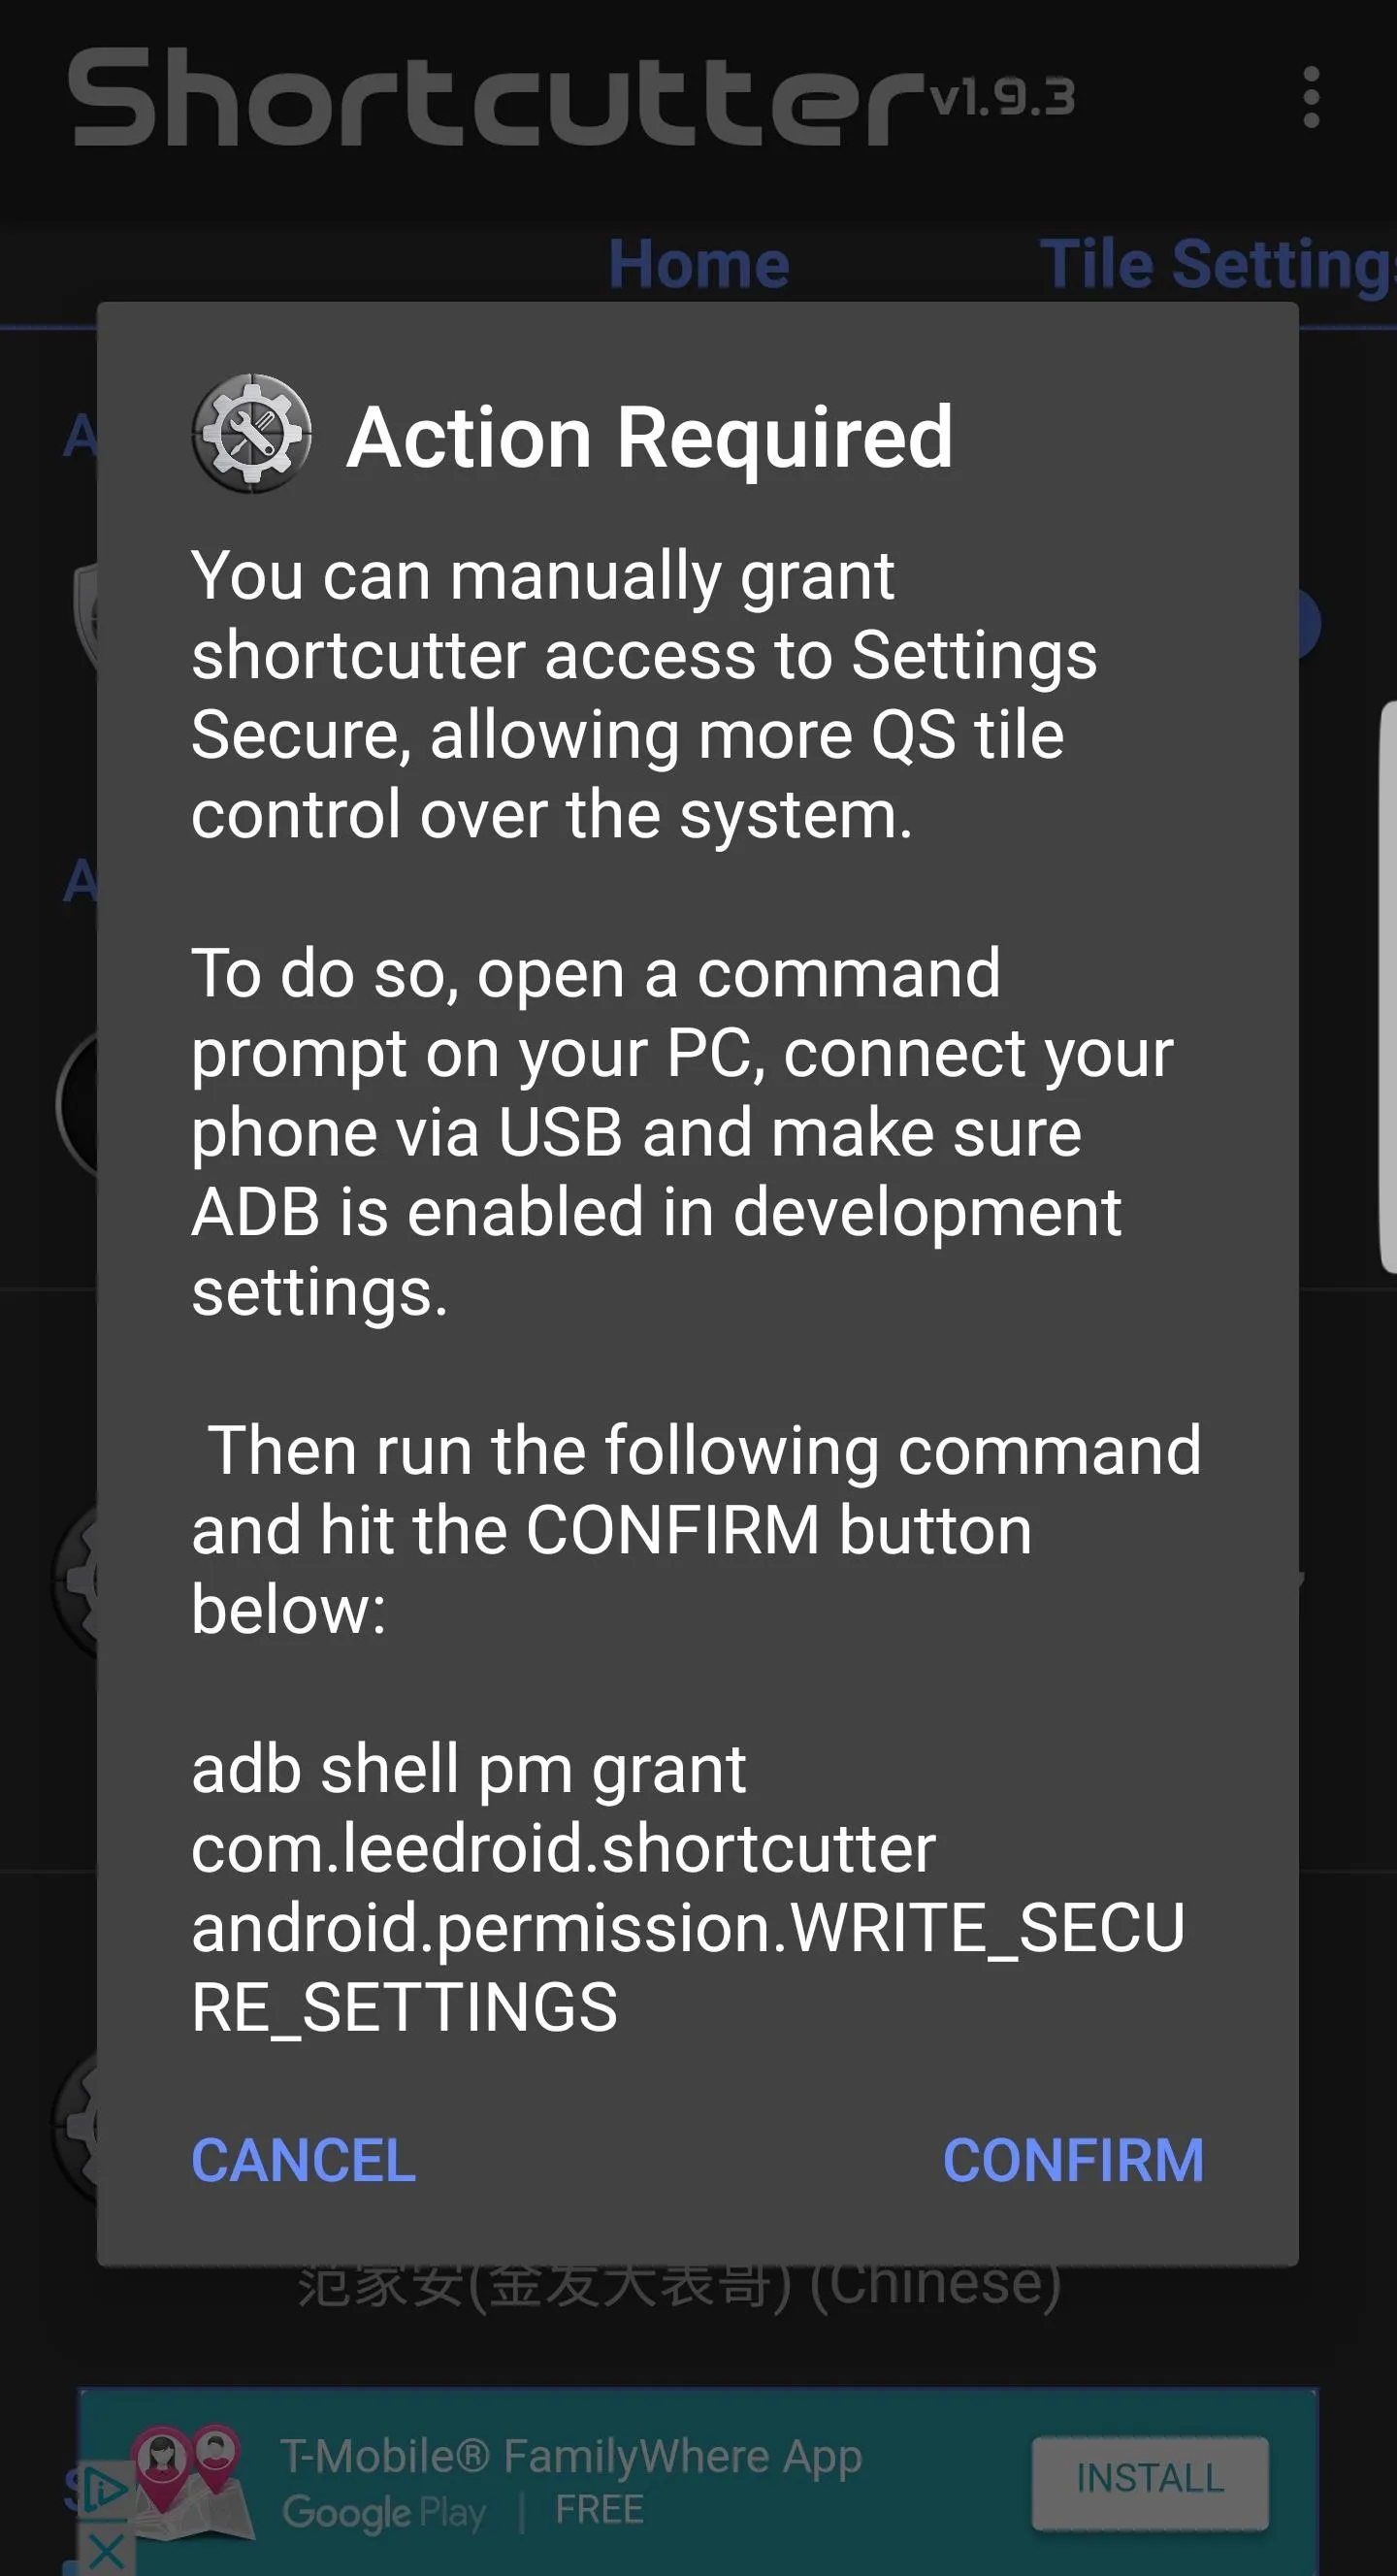
Once ADB is open, enter the following command to grant the app permission to to allow for the inclusion of modified custom tiles:
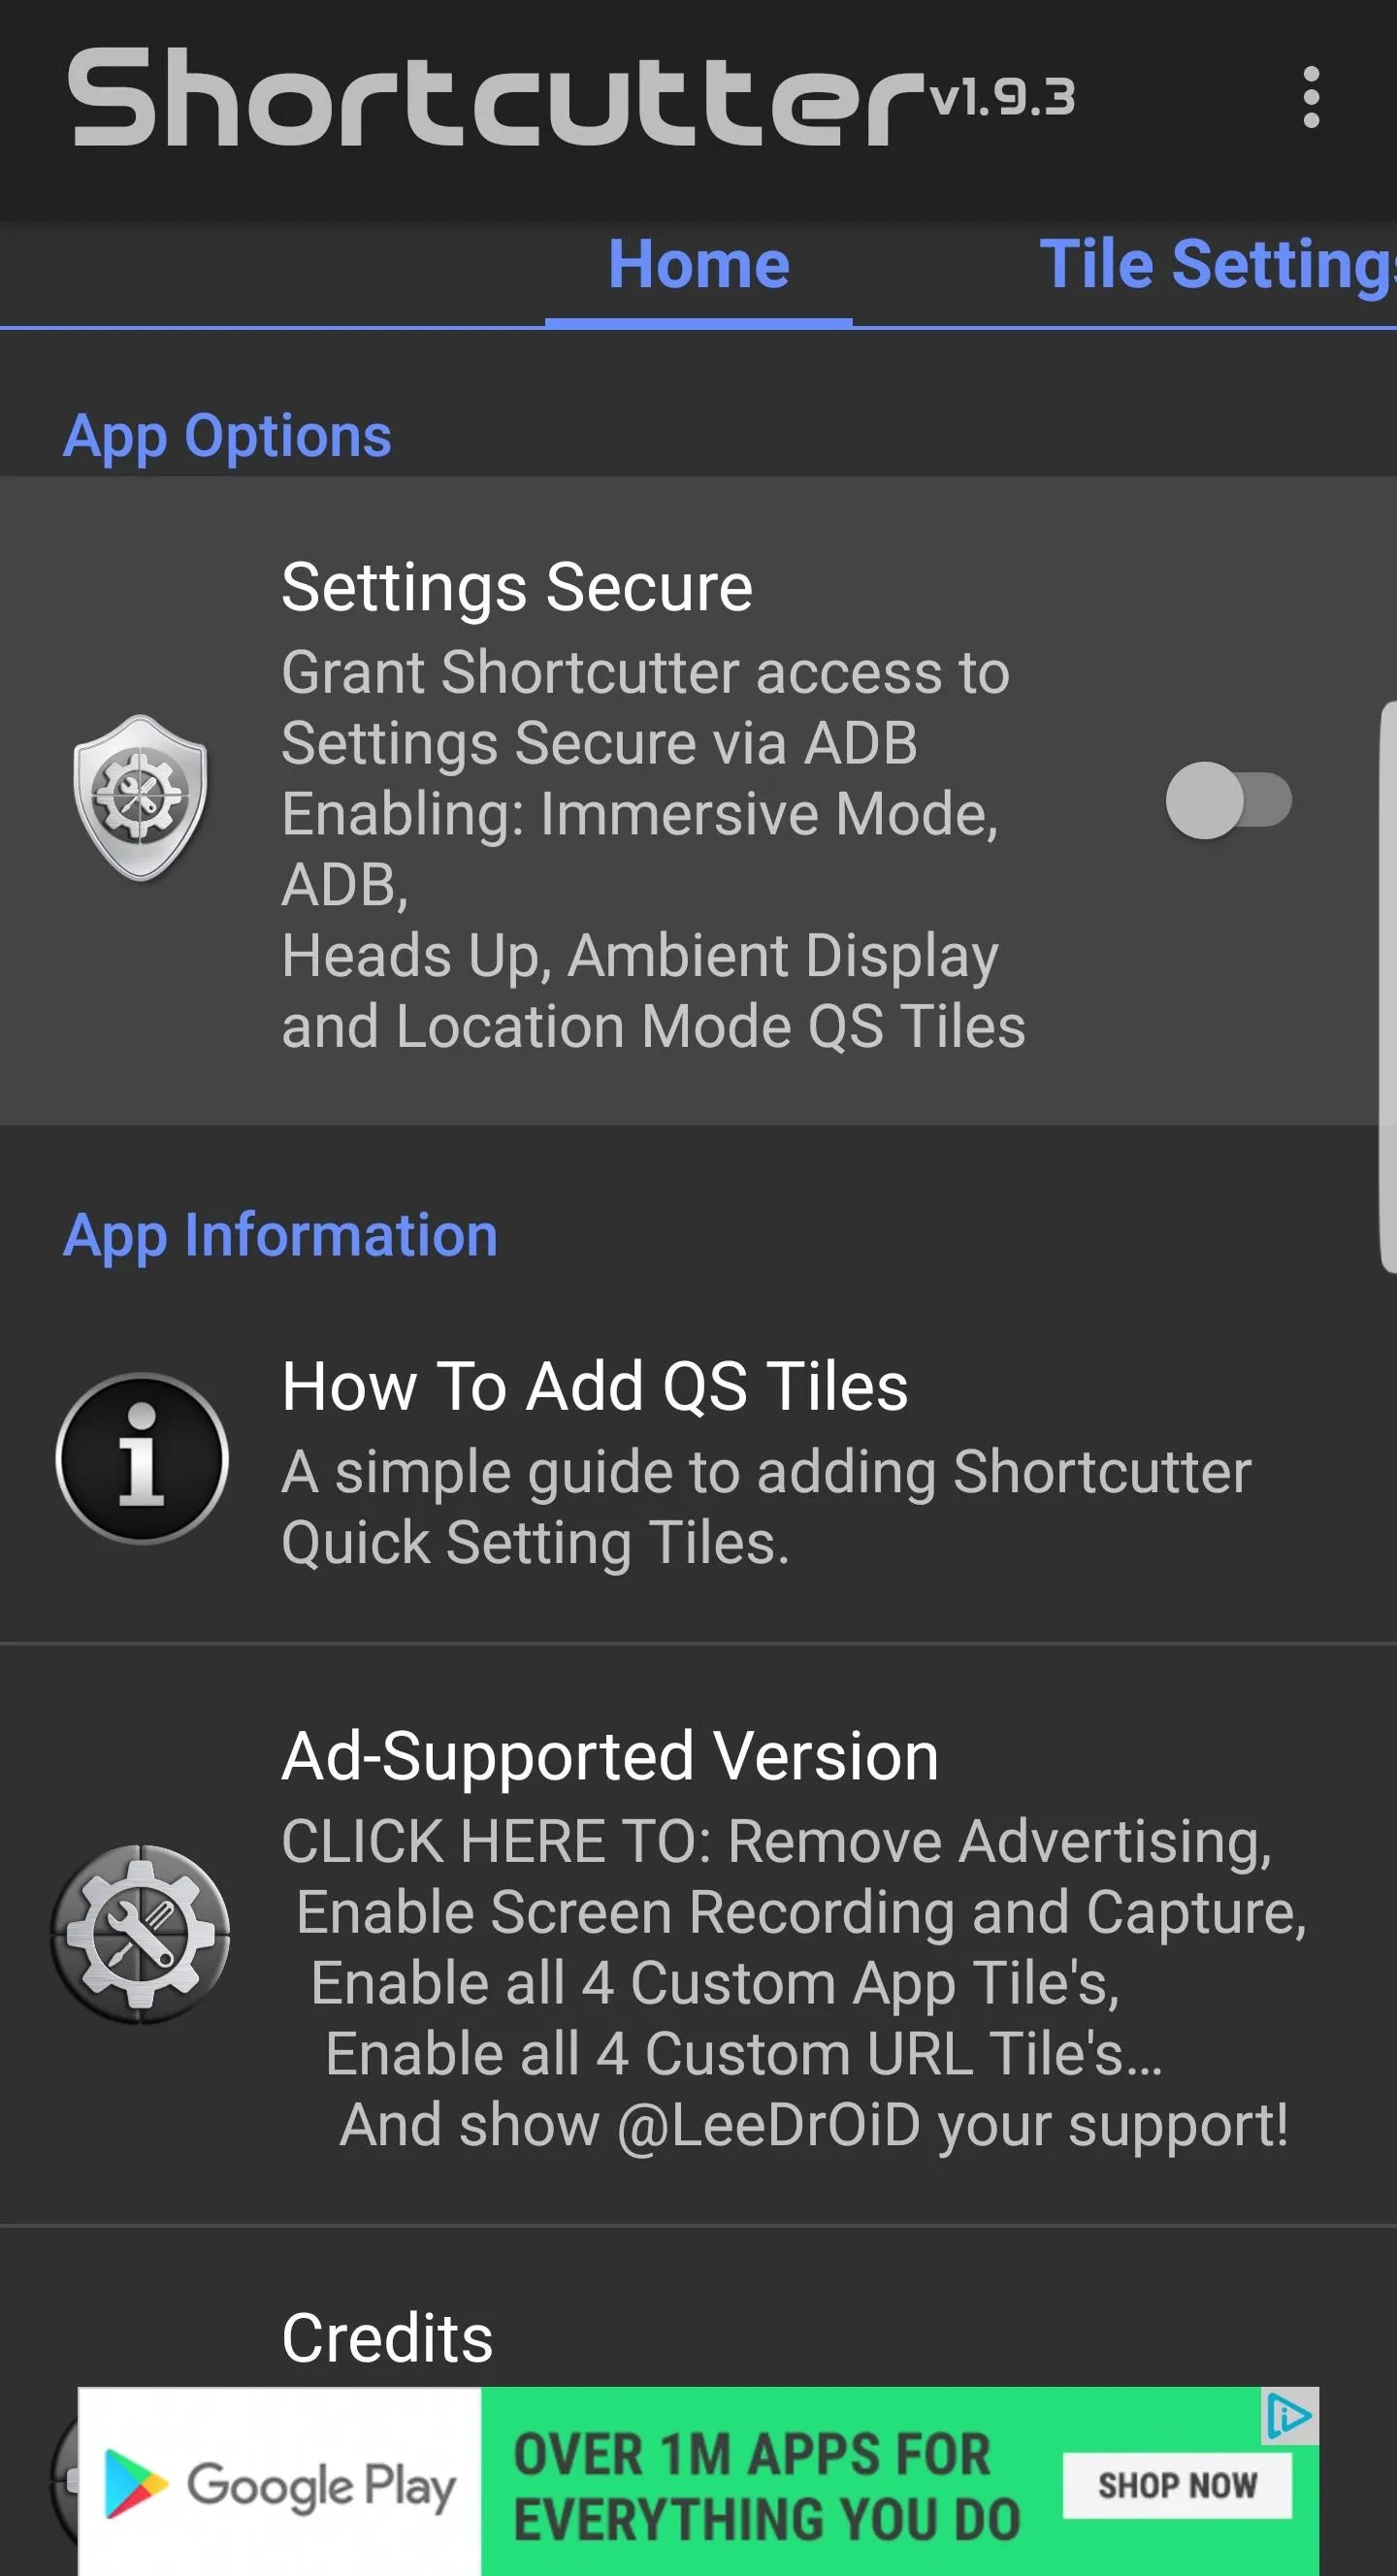
Choose Your Shortcuts
Once you've successfully inputted the ADB command, unplug your phone from your computer. Open Shortcutter, turn on "Setting Secure," and tap on "Confirm" after the Action Required prompt appears. Don't worry about the prompt, as we already granted the app permission via ADB in the previous step.
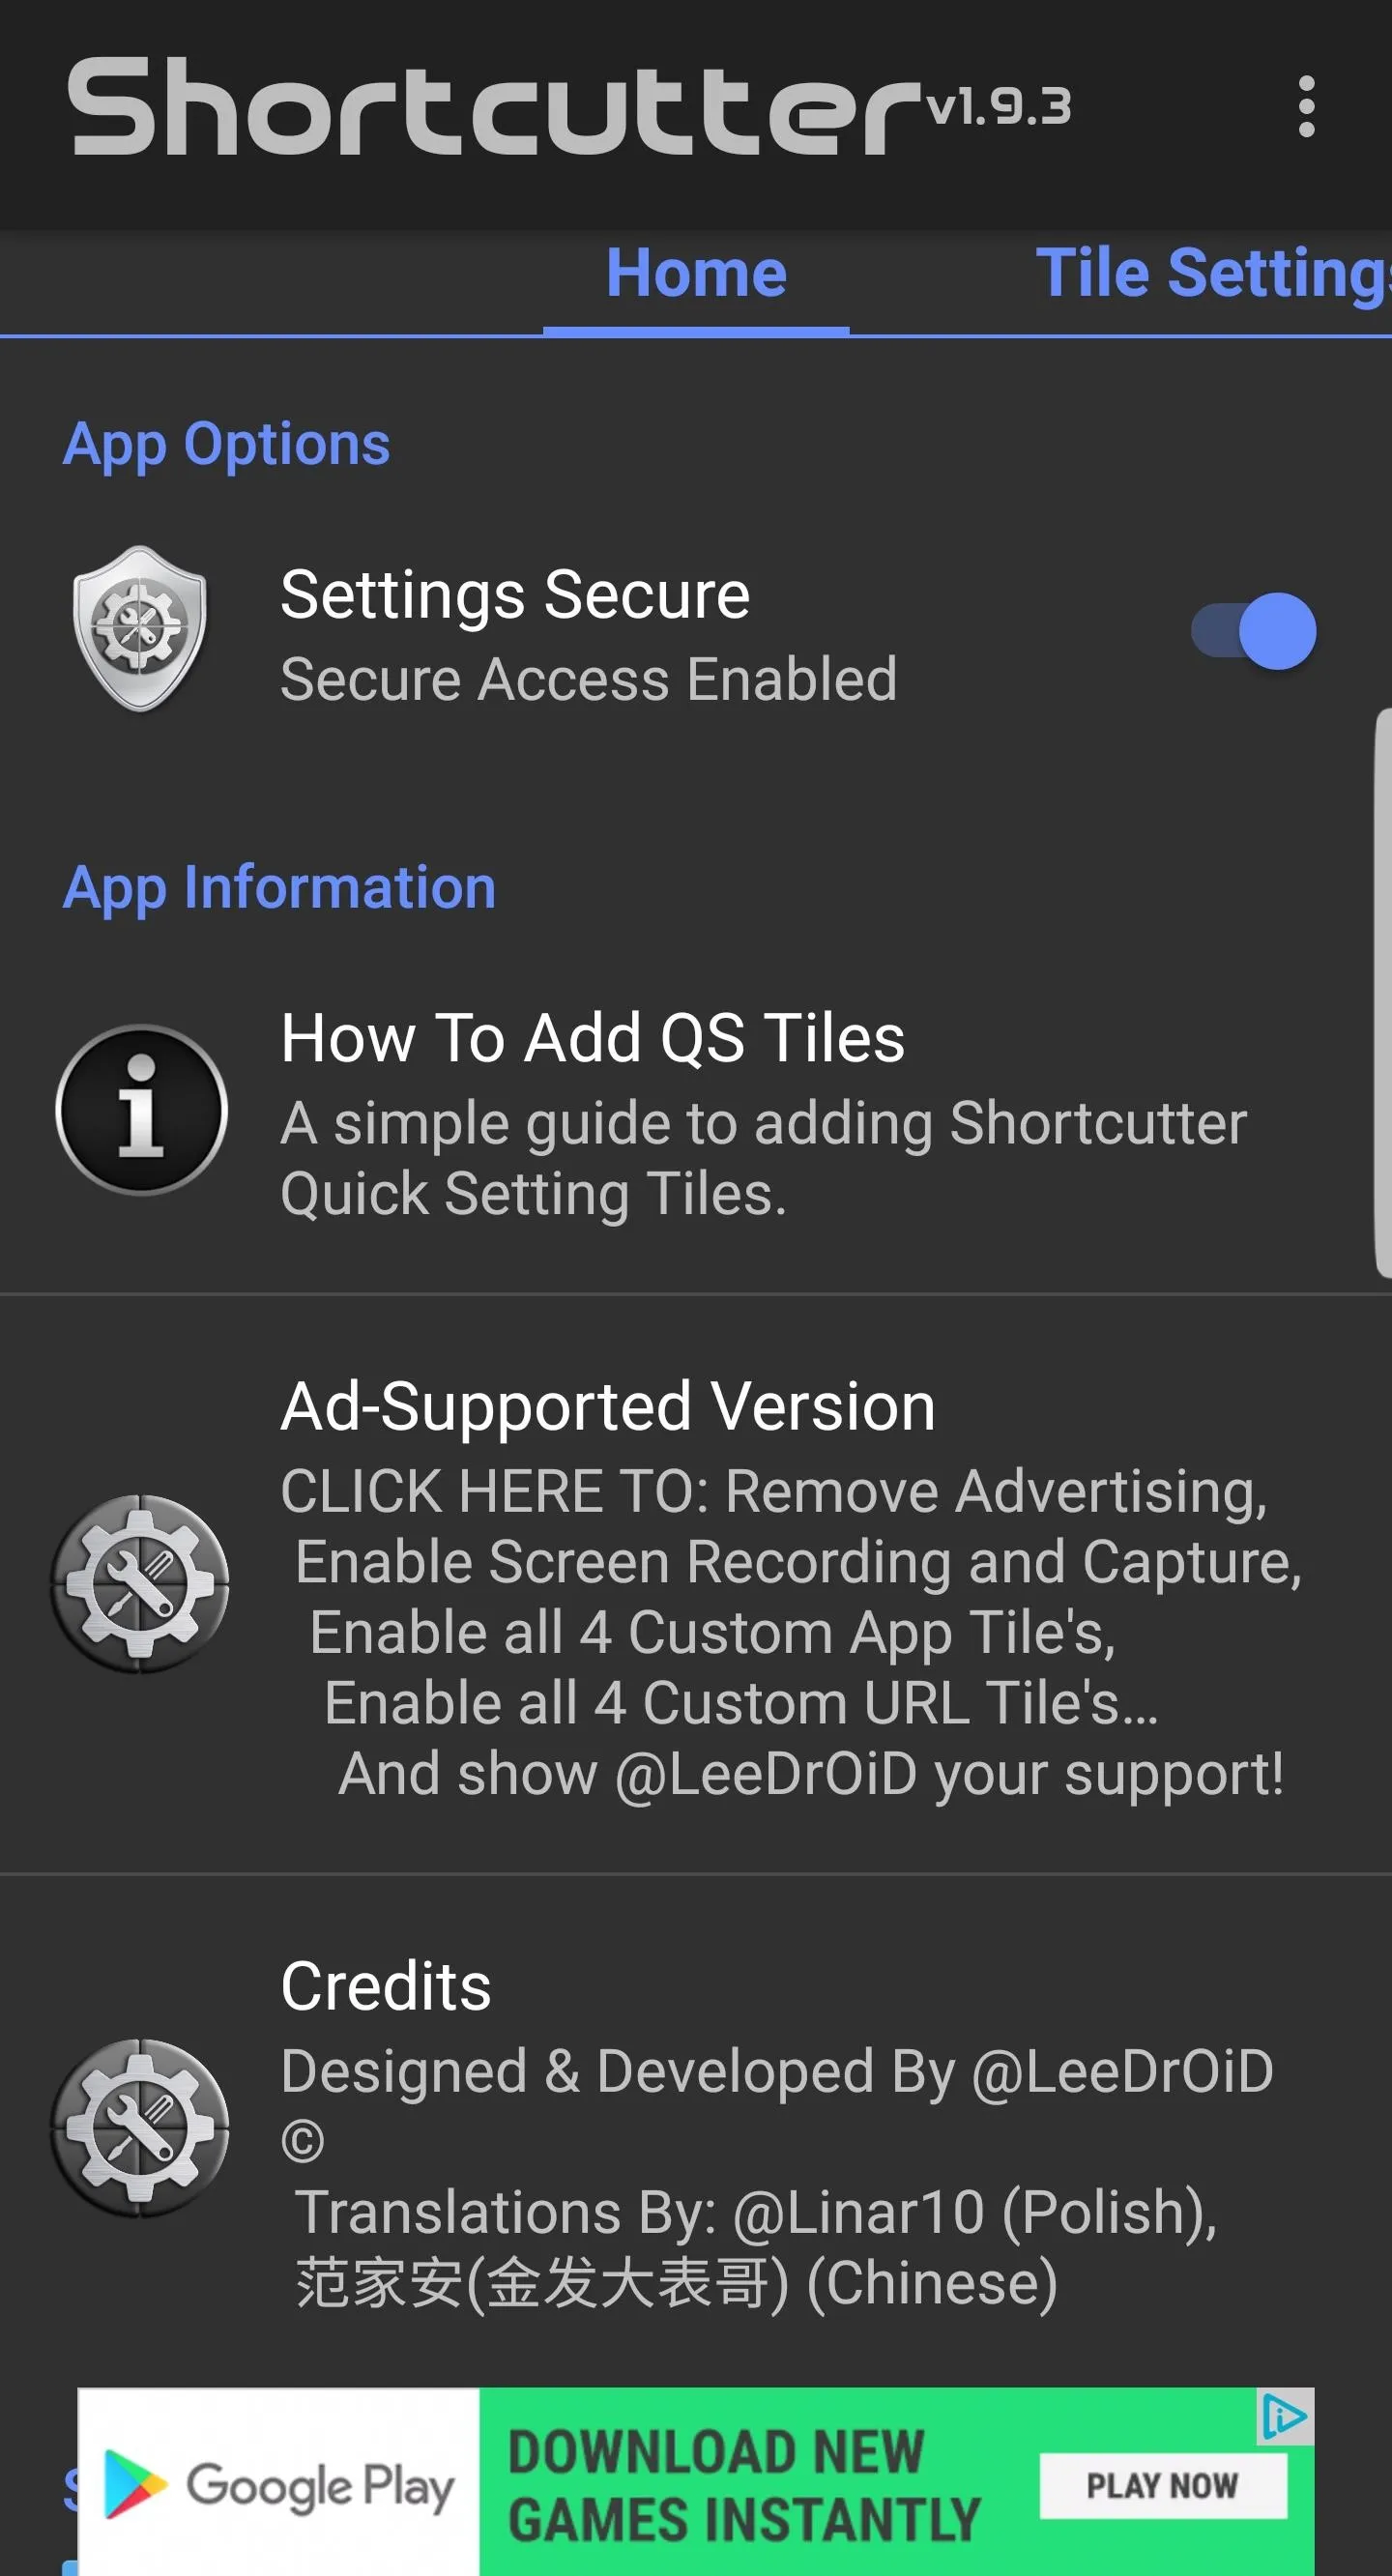
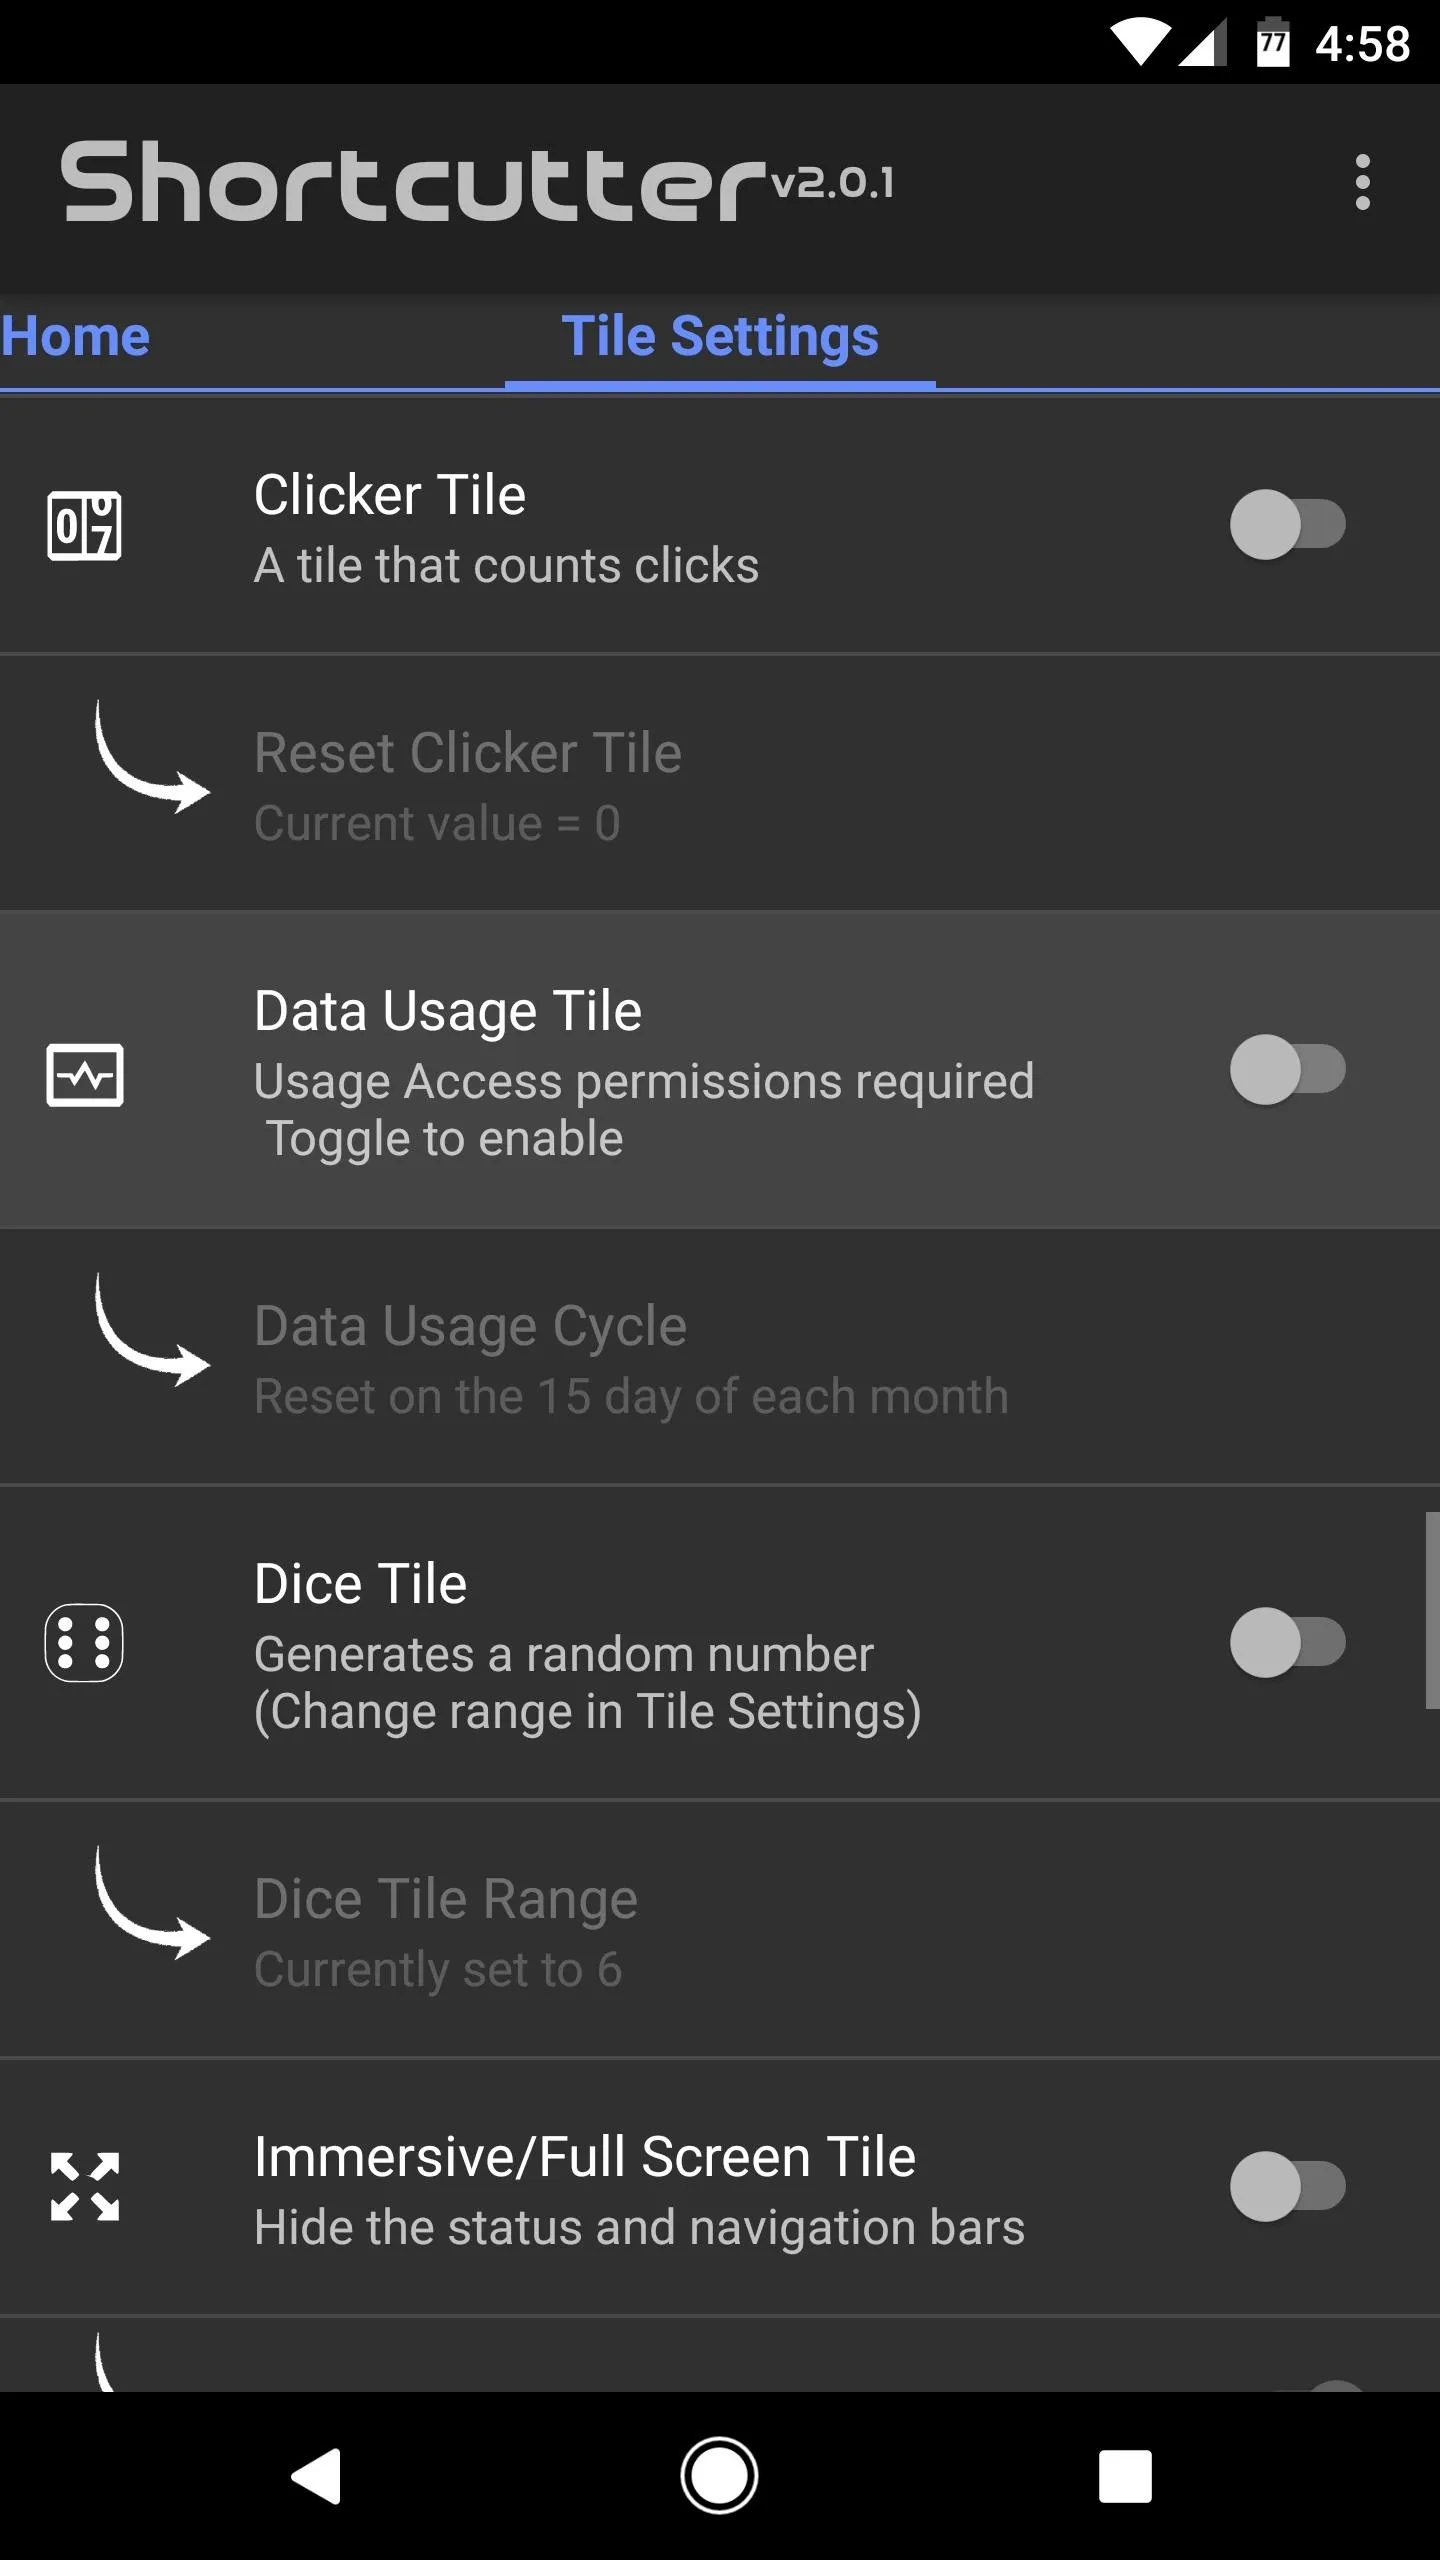
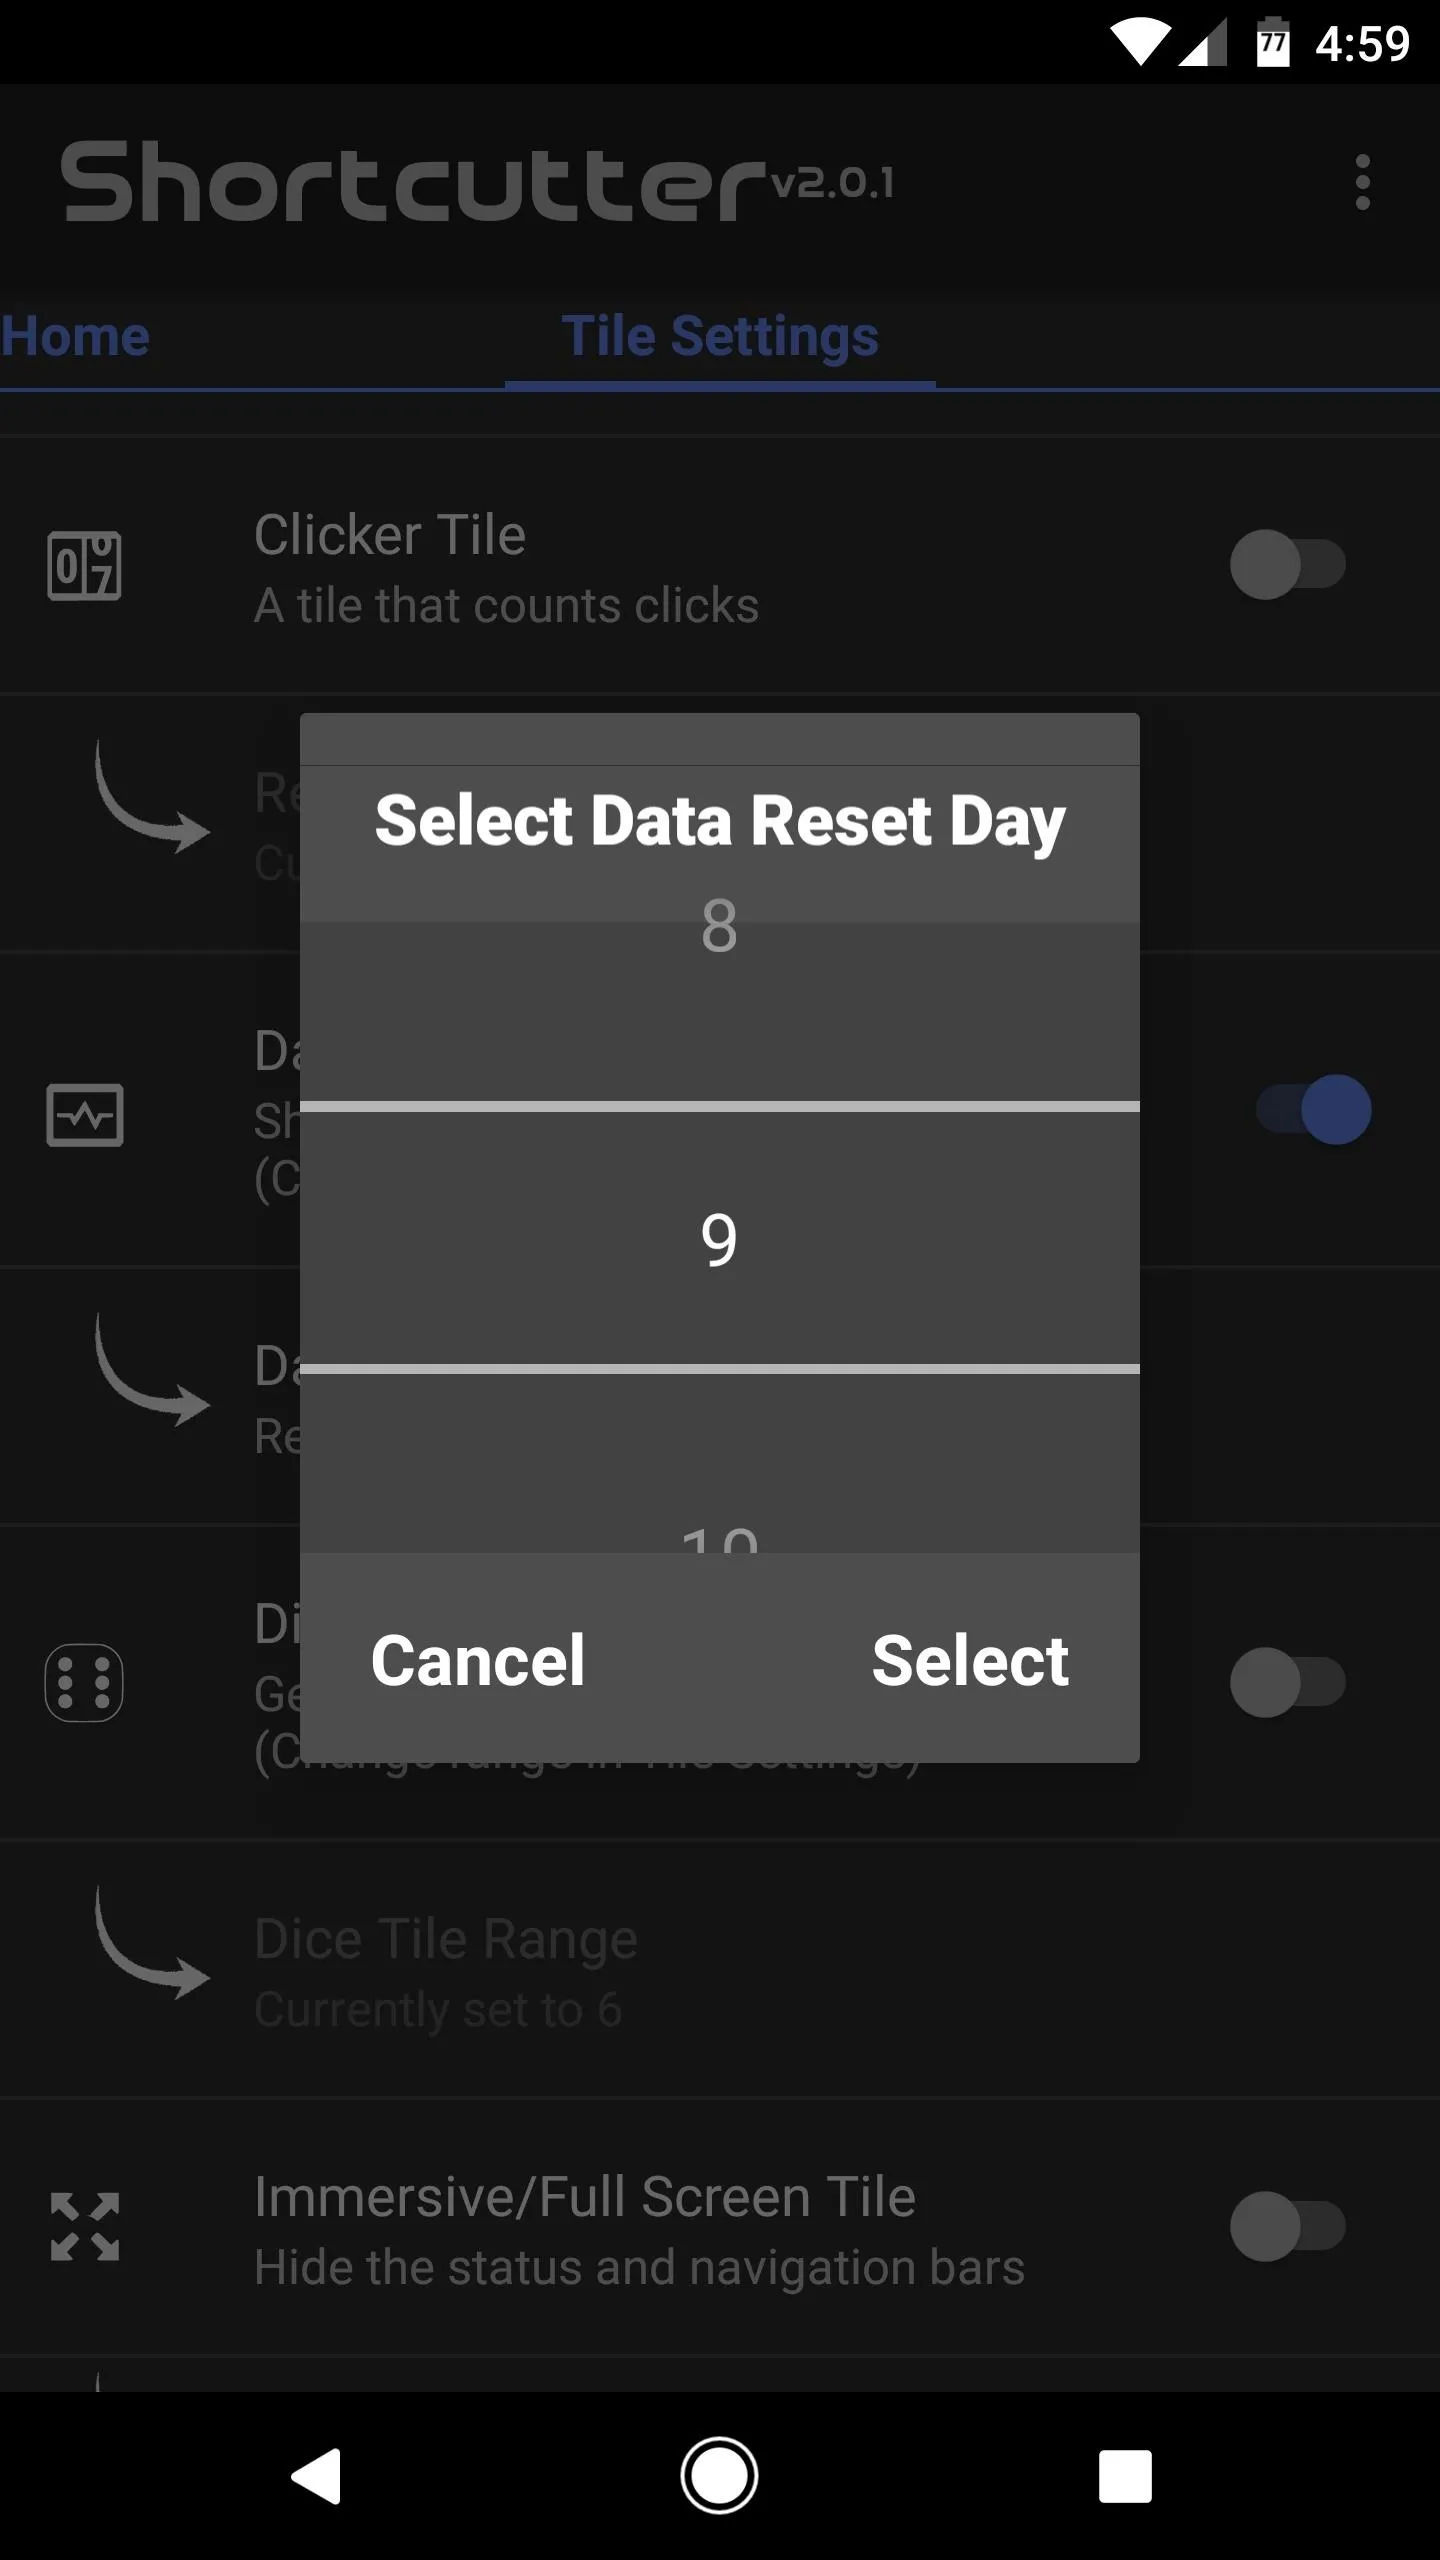
Now, swipe over to the Tile Settings tab. From there, simply enable the switch next to any Quick Settings tile you'd like to be able to add. Shortcutter has tons of useful tiles available, so we recommend going through the full list to see what you like.
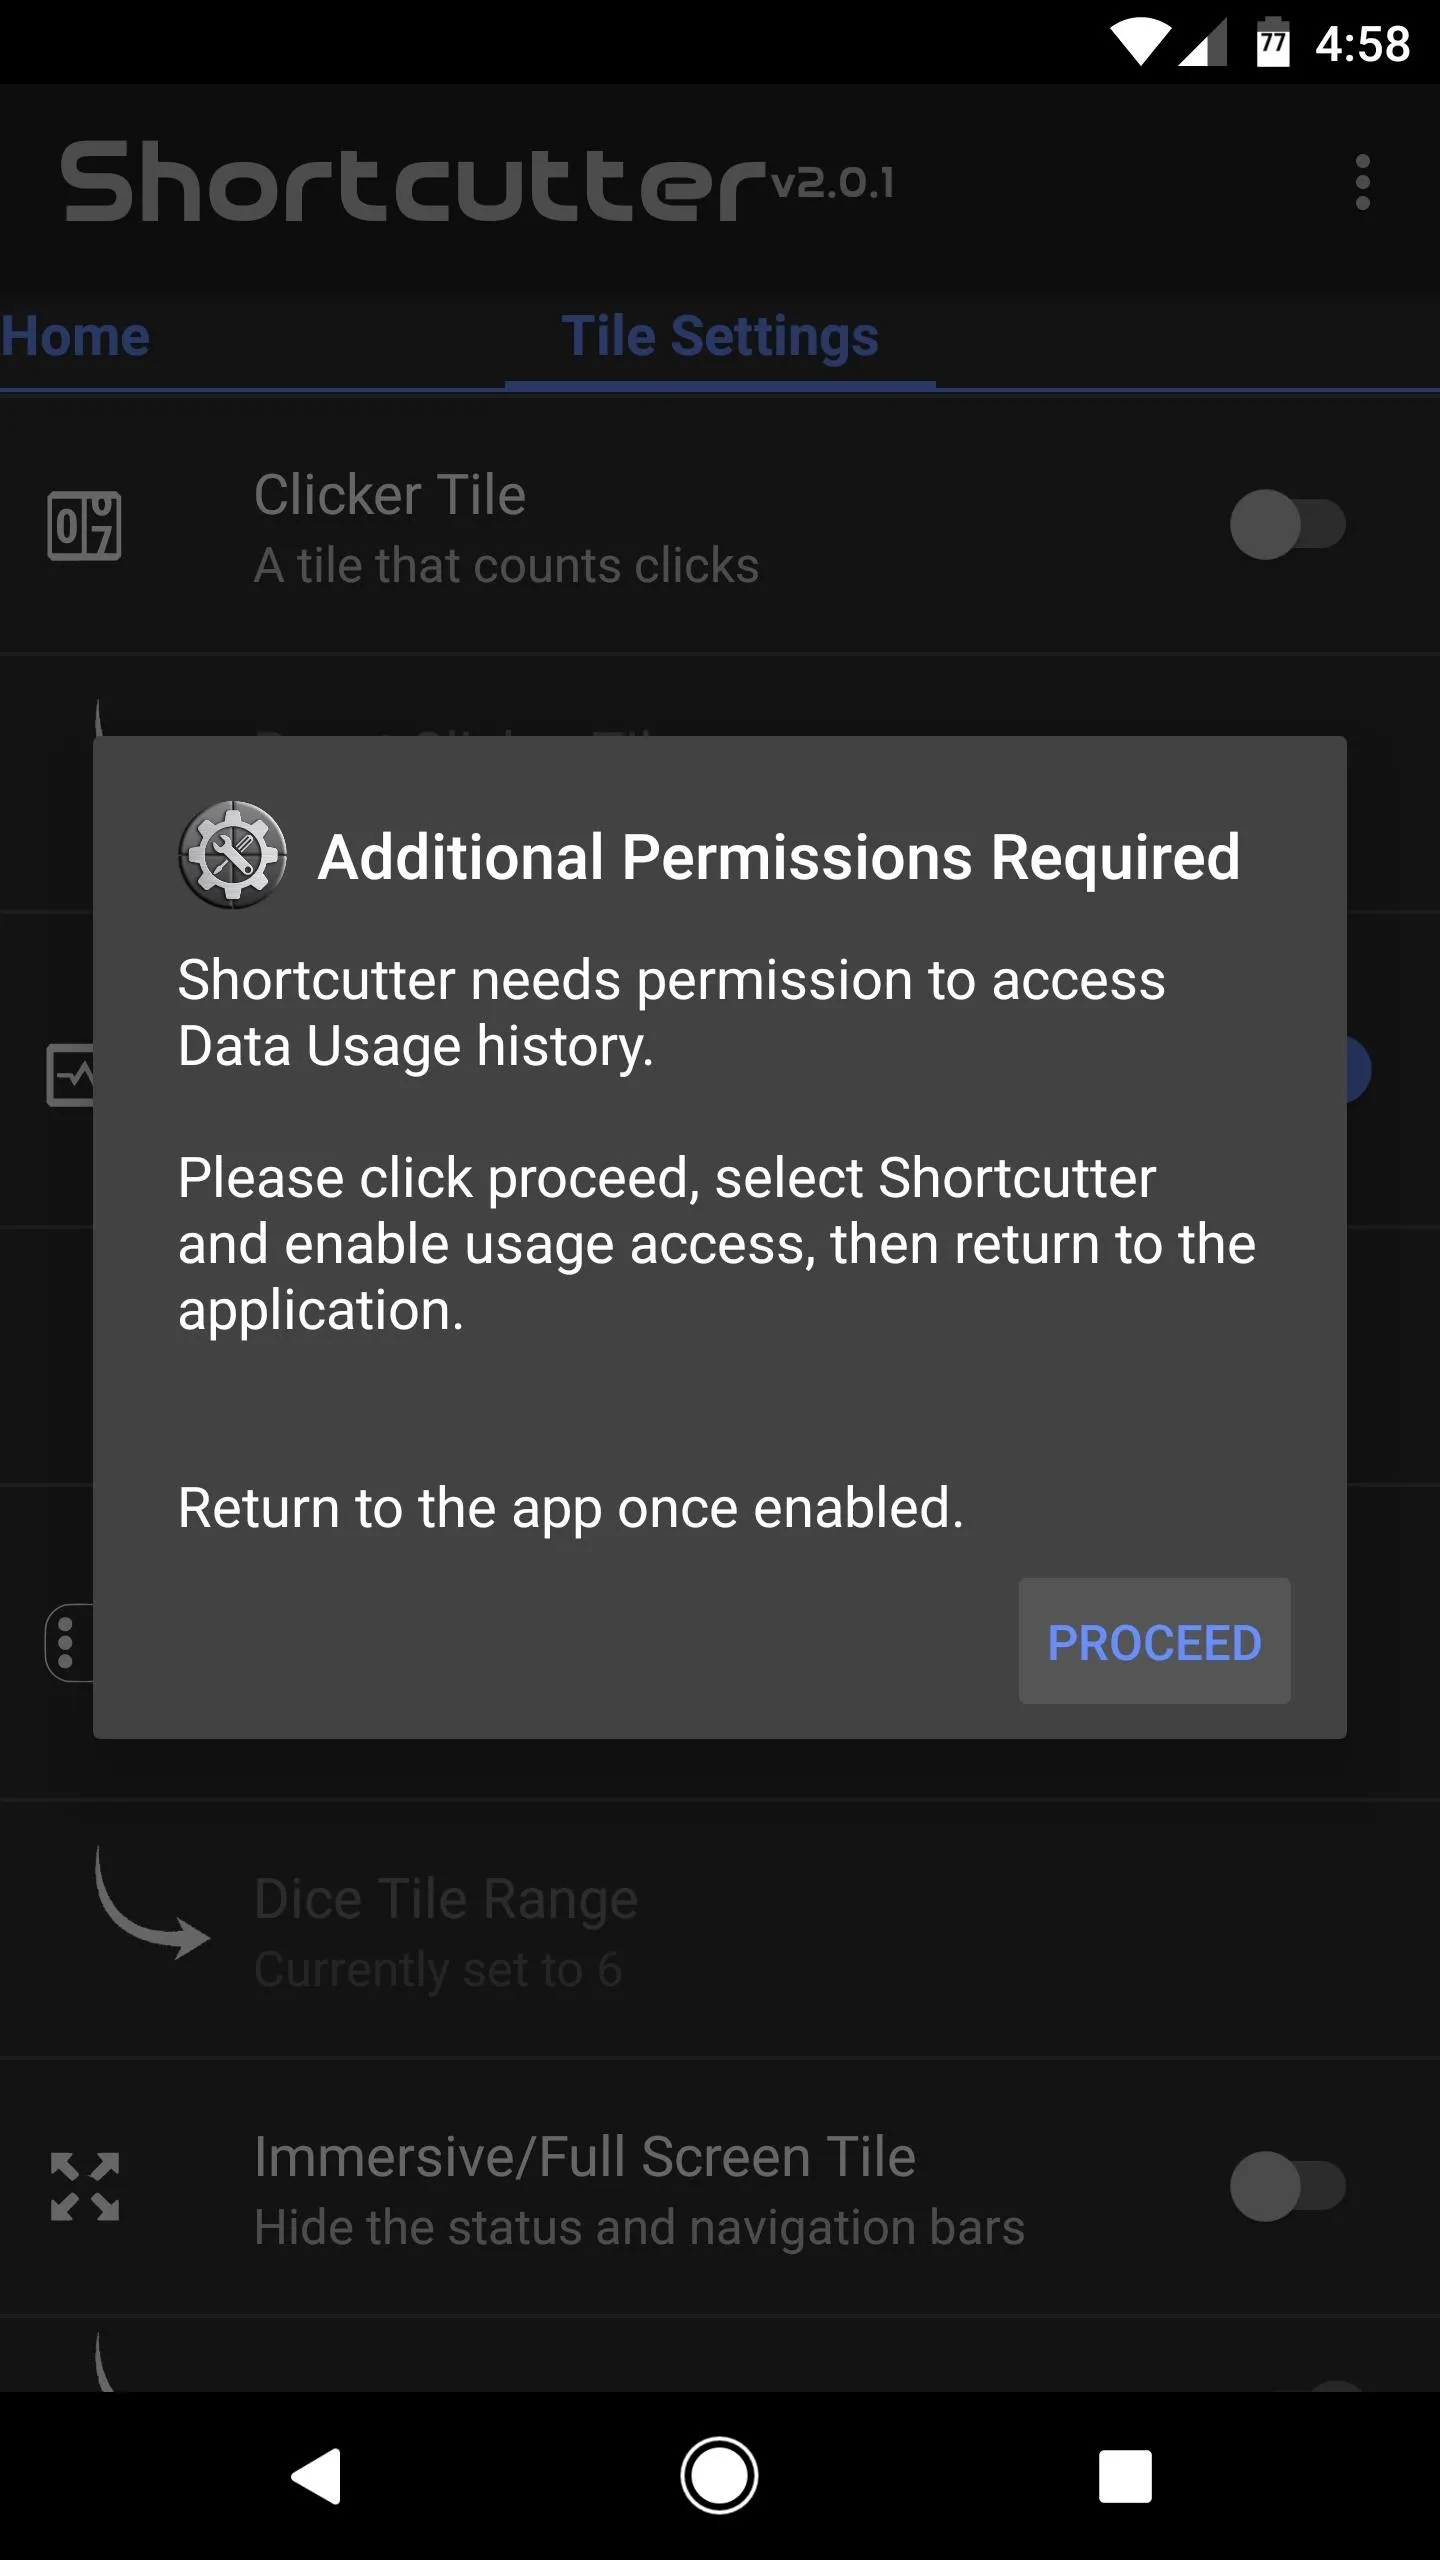
But if you're only interested in the RAM and data usage tiles, make sure to enable the switch next to "RAM tile." From there, scroll down and enable "Data Usage tile," then tap "Proceed" on the popup. After that, select Shortcutter from the list, then enable the switch next to "Permit usage access."

Next, you'll need to let Shortcutter know when your billing cycle ends so it can give you an accurate depiction of your monthly data usage. To do that, head back to the app and tap "Data Usage Cycle" beneath the "Data Usage tile" option, then use the popup to select the day of the month when your monthly phone bill renews.

Add Shortcuts to Quick Settings
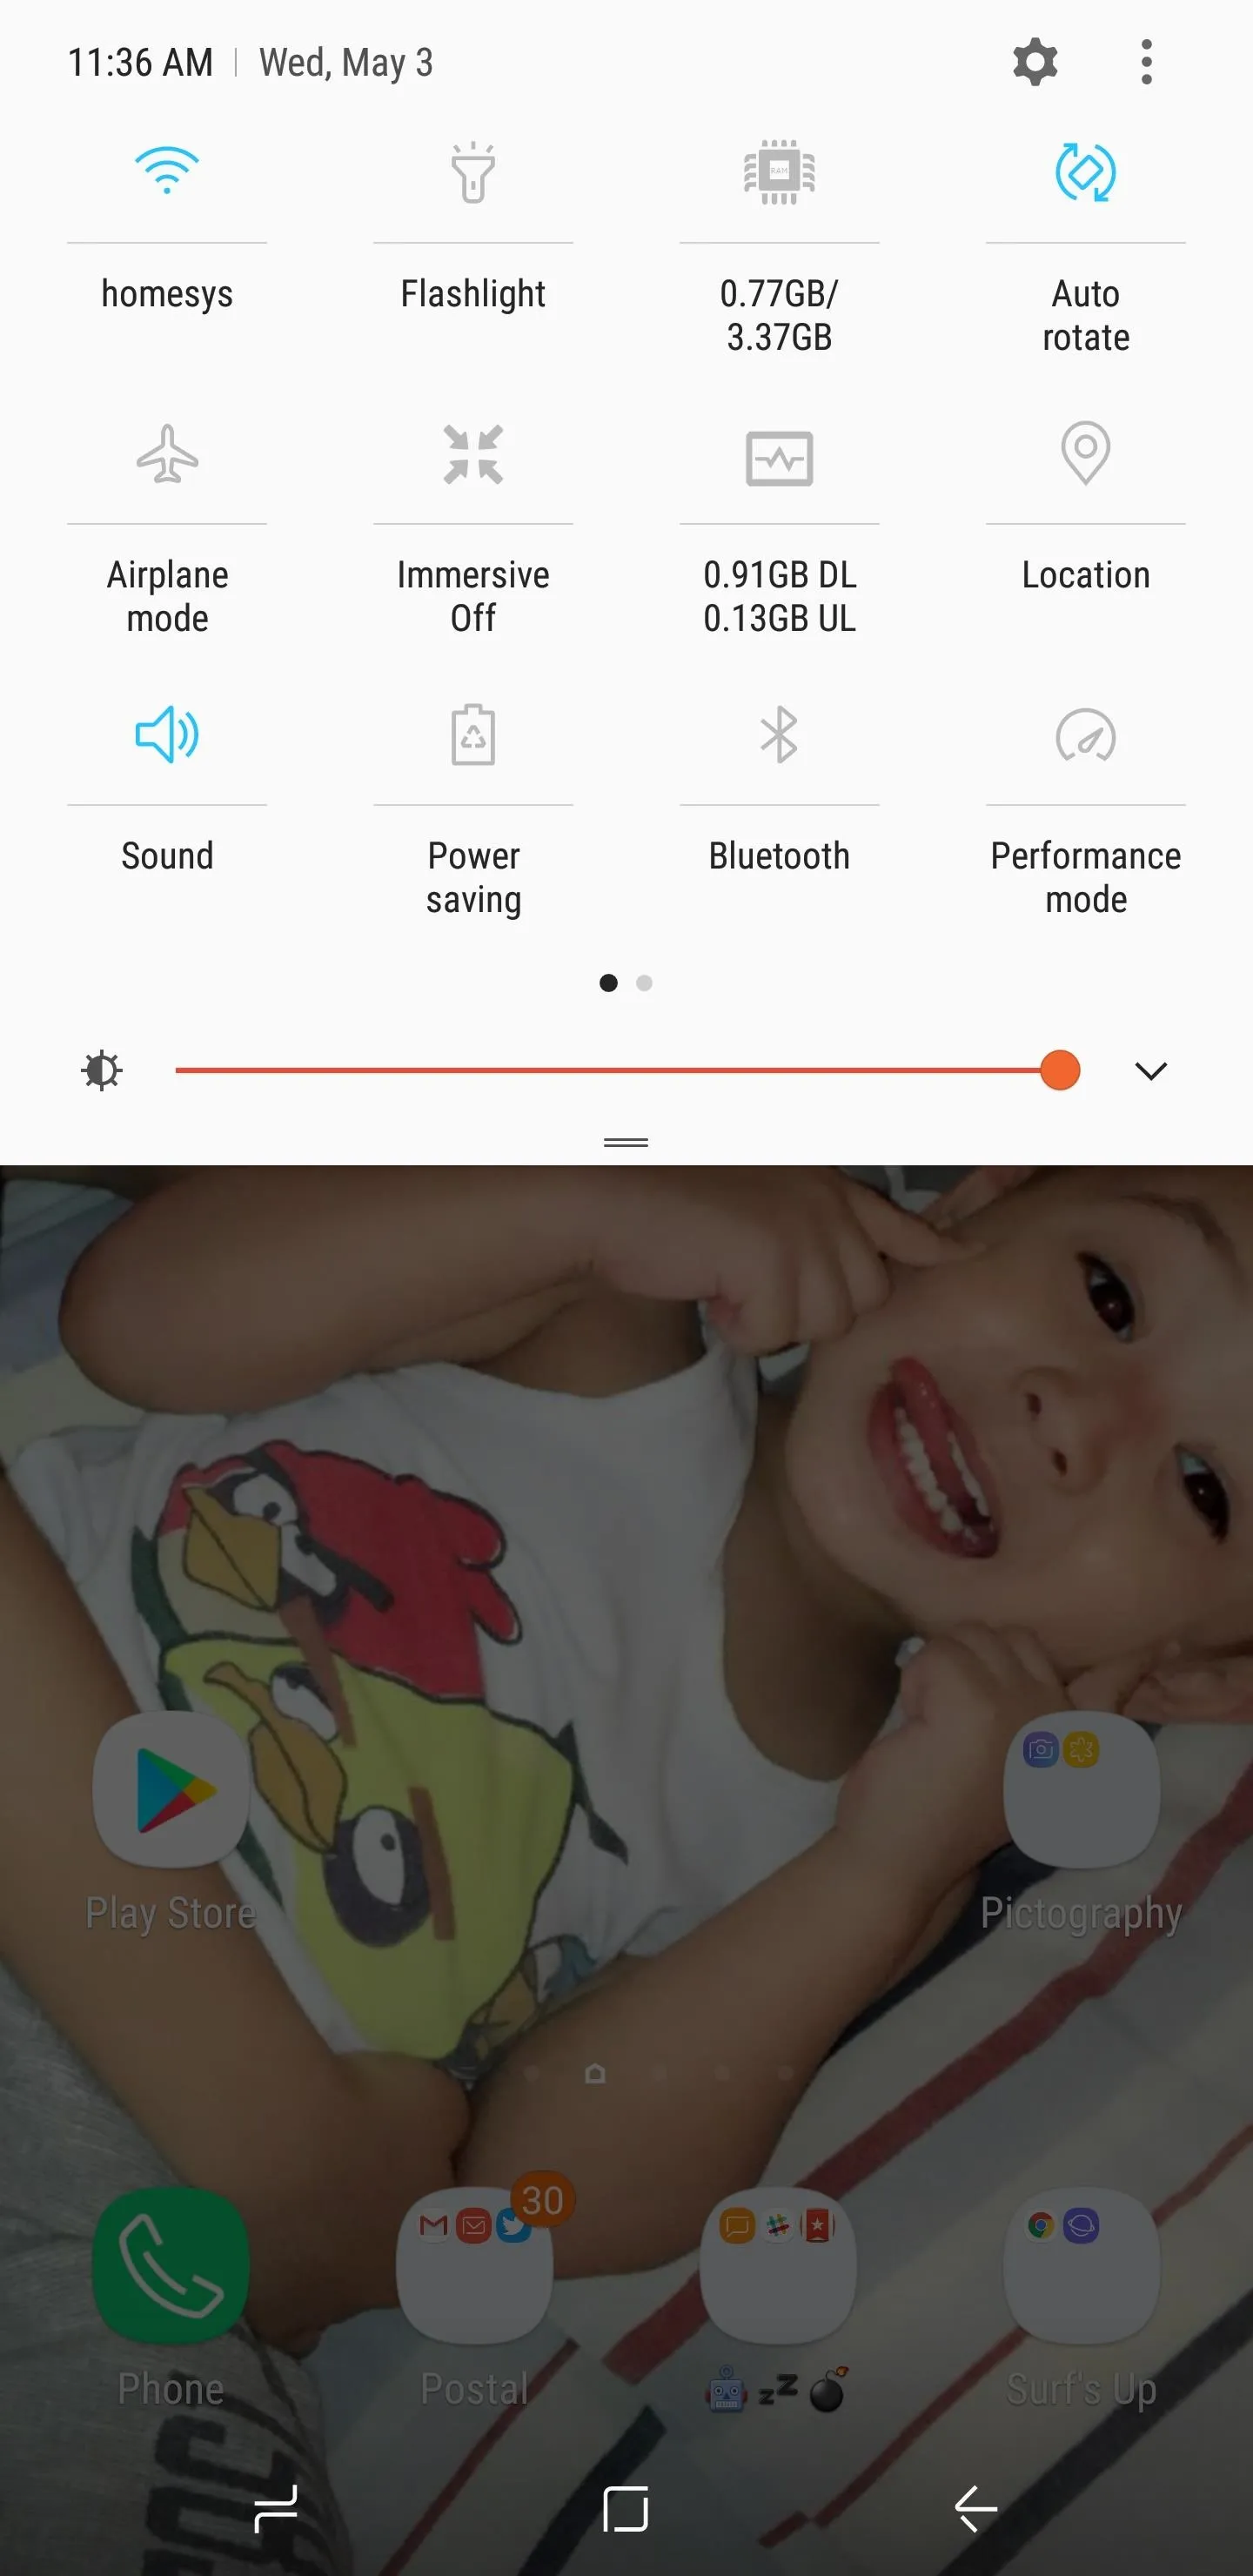
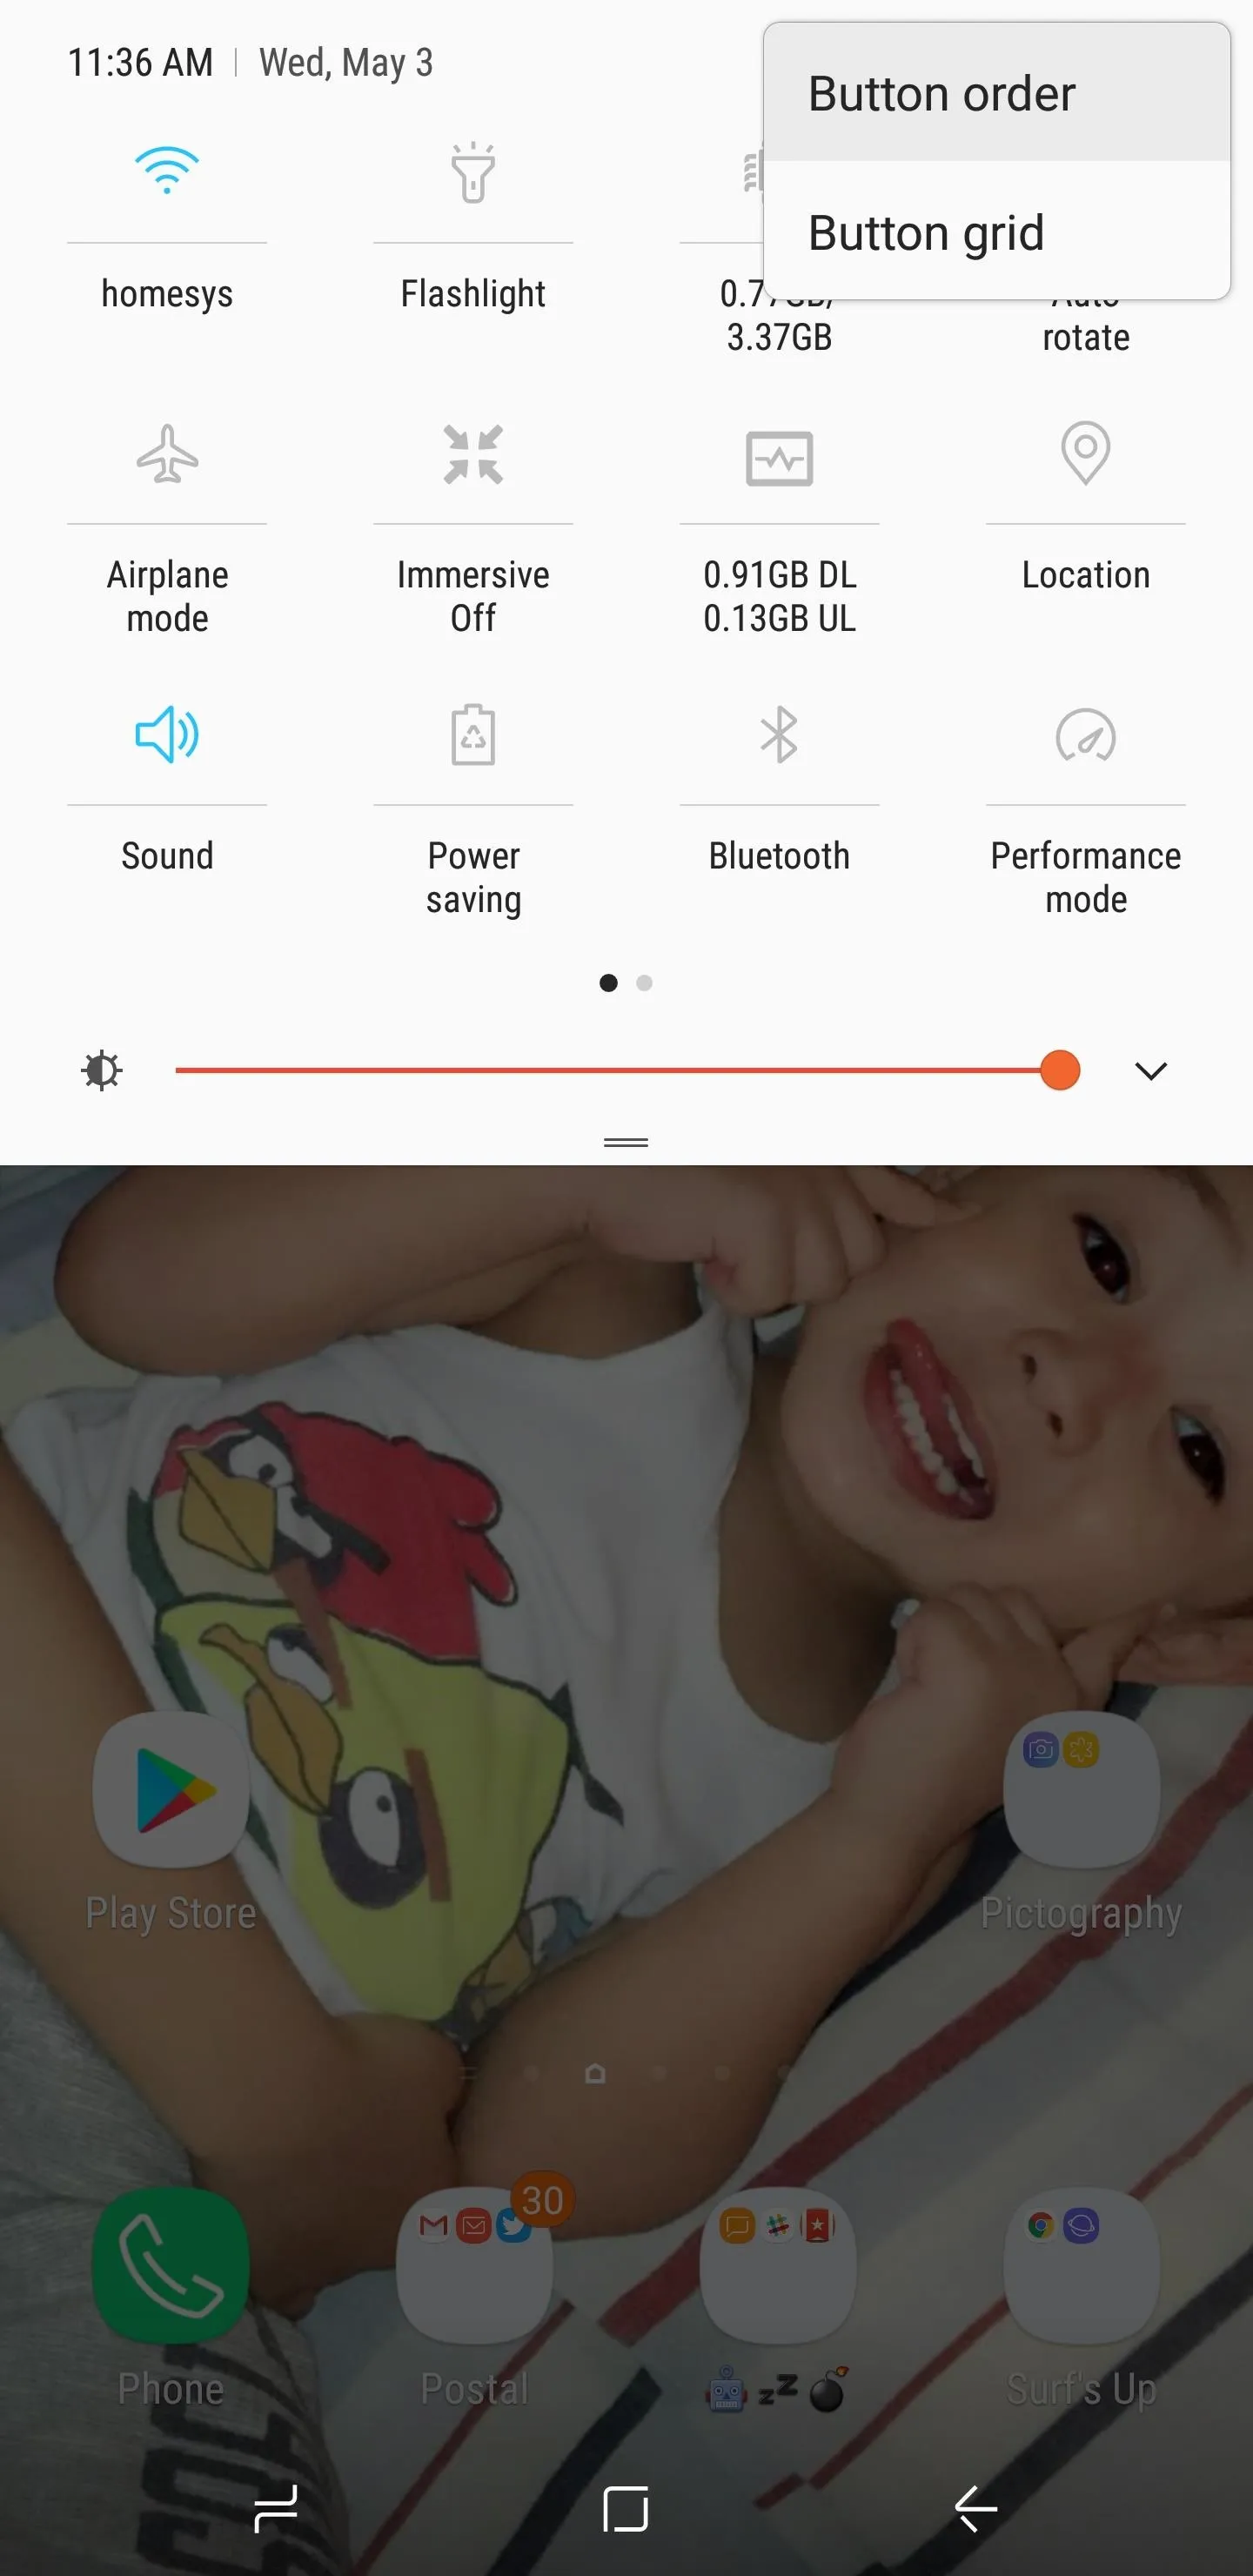
You're now free to add the customized tiles you've enabled in Shortcutter to the Quick Settings page of your Android. To do that, swipe down twice from the top of your screen to fully expand the Quick Settings menu. From there, tap the three-dot menu button (or the pencil-shaped icon to the left of the cog symbol on some devices) and choose "Button order." You'll now be presented with custom tiles to drag into your main settings menu, so pick the tiles you enabled, and drag and place them in the order you desire.
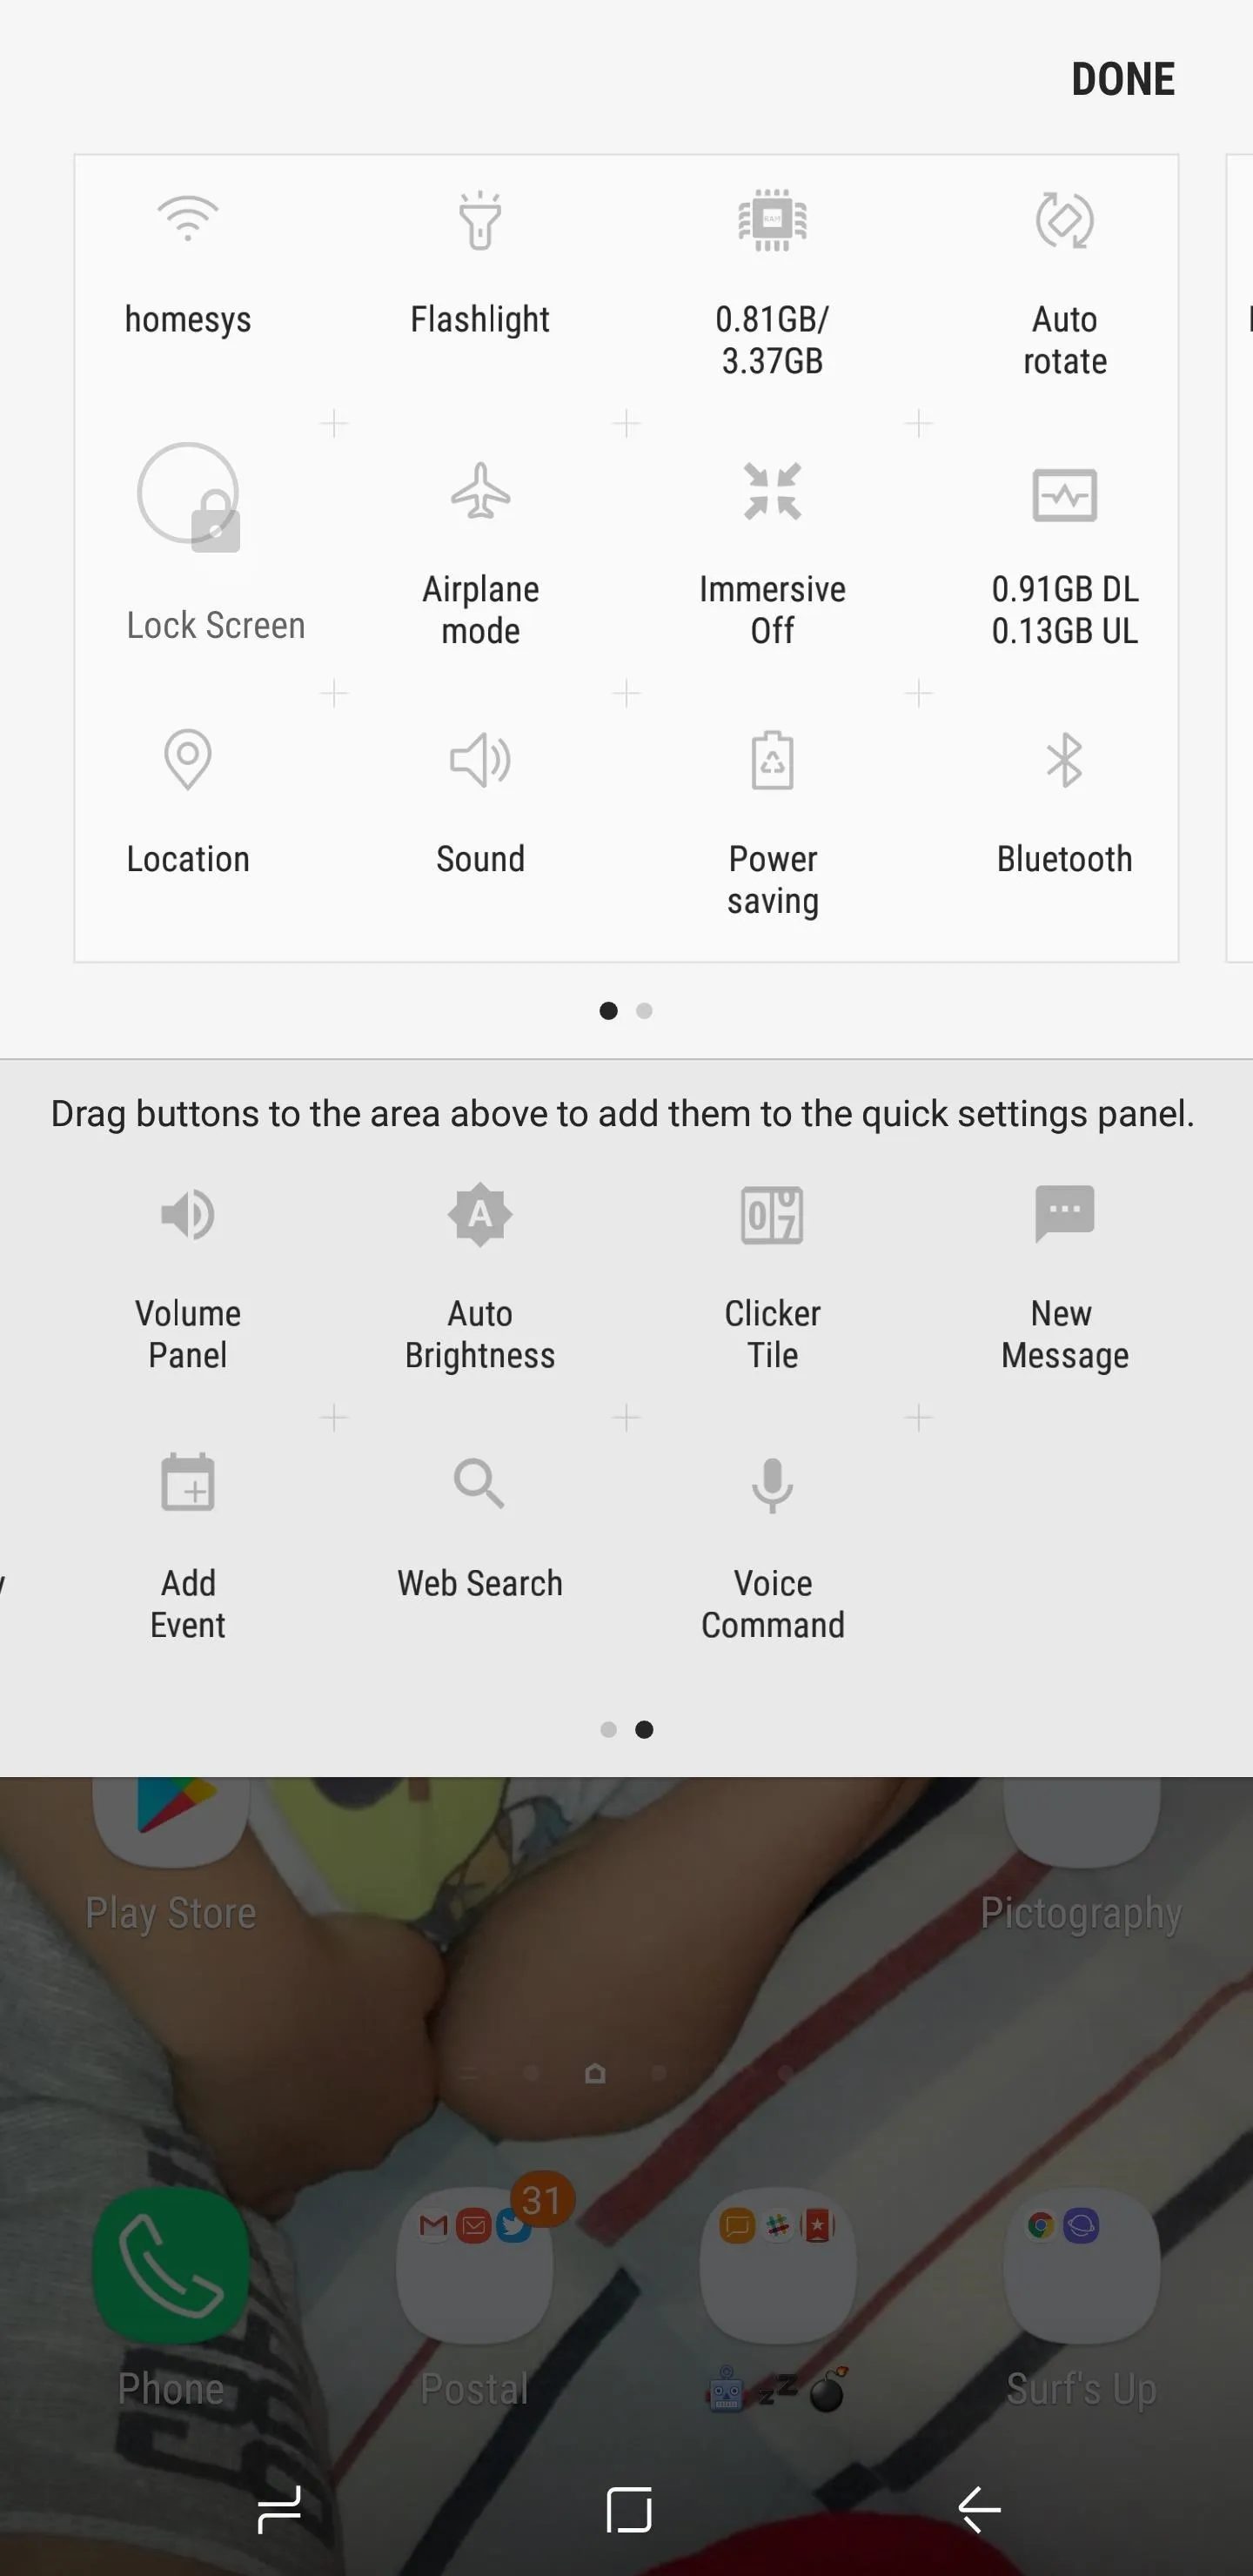
RAM and Data Usage are our favorite tiles, as they give you the ability to quickly view this vital information with just a swipe. Which custom tiles would you recommend? As always, feel free to share your thoughts and leave a comment below
- Follow Gadget Hacks on Facebook, Twitter, Google+, and YouTube
- Follow Android Hacks on Facebook, Twitter, and Pinterest
- Follow WonderHowTo on Facebook, Twitter, Pinterest, and Google+
Cover image and screenshots by Amboy Manalo/Gadget Hacks


Comments
Be the first, drop a comment!