


Up until now, enabling full-time Immersive Mode on an Android device has been a tedious task which required you to run individual ADB commands each time you wanted to toggle it on or off. This was a shame, too, since Immersive Mode helps reclaim lots of screen real estate by auto-hiding your navigation and status bars.
The arrival of Nougat has made things a little easier with the inclusion of customizable Quick Settings tiles, but these still didn't include an Immersive Mode toggle. But now, an app has finally touched down on the Play Store that takes advantage of this great feature by letting you enable Immersive Mode instantly with its own custom tile in the same way you would toggle Bluetooth or Airplane Mode.
Though root isn't required to run the app, you will need to run an ADB command to grant it the necessary permissions. Once that's done, though, you can set Immersive Mode at any time just by pressing a button. If you like what you're reading so far, we'll show you how to get the most out of this awesome app below.
Requirements
- Android Nougat installed
- Developer options and USB debugging enabled
- Windows, Mac, or Linux computer
- ADB and Fastboot installed
- USB data cable
Install Shortcutter Quick Settings
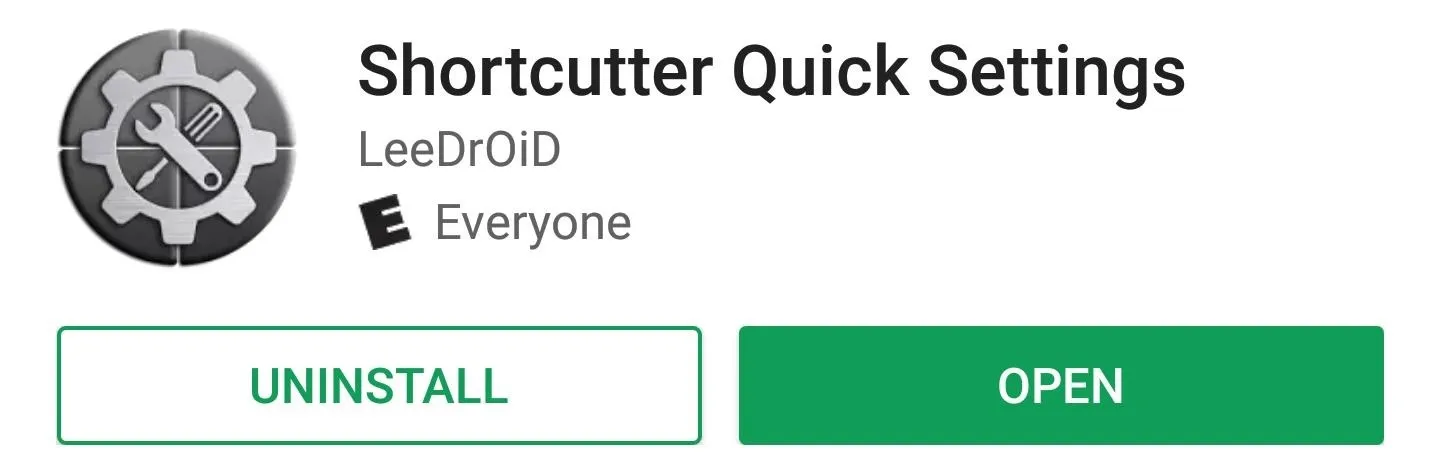
To get started, go to the Play Store, or tap on the link provided below, and grab Shortcutter Quick Settings by LeeDrOiD. It's free to download, but purchasing the full version for $2.49 will unlock extra features if you'd like (though this isn't necessary for the purposes of this guide).
Once you've got the app installed, go ahead and open it up, then swipe through the initial setup guide. Along the way, you'll be asked to grant a pair of additional permissions, so tap "Allow" when prompted.
Connect Your Phone to Your Computer
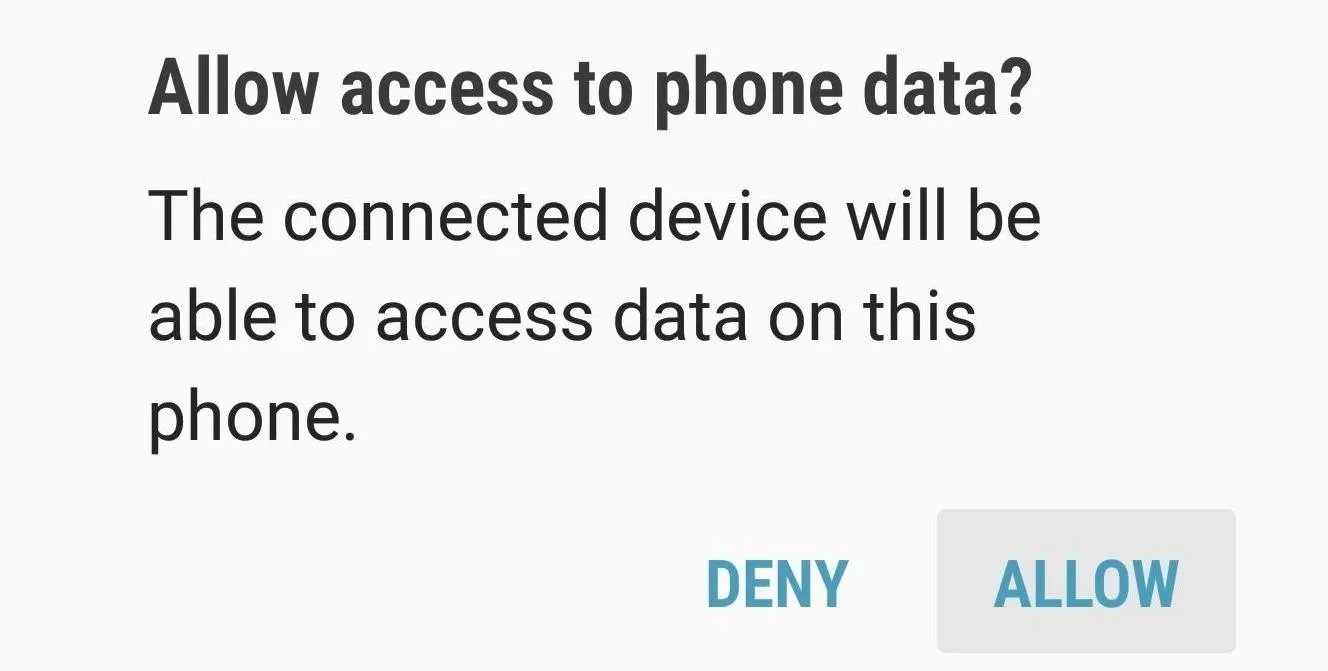
Now it's time to connect your phone to your computer with a USB data cable. A USB Computer Connection notification will appear asking you to choose the type of connection used between your devices, so select "Transfer Files" and tap "Allow" on the prompt.
Grant Additional Permissions with ADB
Shortcutter Quick Settings needs an extra permission to apply changes that allow for Immersive Mode customization, which means running an ADB command if your device isn't rooted. To carry this task out, you'll need to open a command prompt or Terminal window in the platform-tools folder within your ADB installation directory.
For most Windows users, that means going to the C:\Program Files (x86)\Android\android-sdk\ folder. Once inside, locate the plaftorm-tools folder inside and open it, then hold the shift button on your keyboard and right-click within the window. Finally, choose "Open command window here" to open a command prompt.
For Linux and Mac users, simply open a Terminal window, then change directories to the platform-tools folder. If you can't locate the folder where you extracted ADB and Fastboot after the utilities were installed, simply perform a search on your hard drive for "platform-tools."
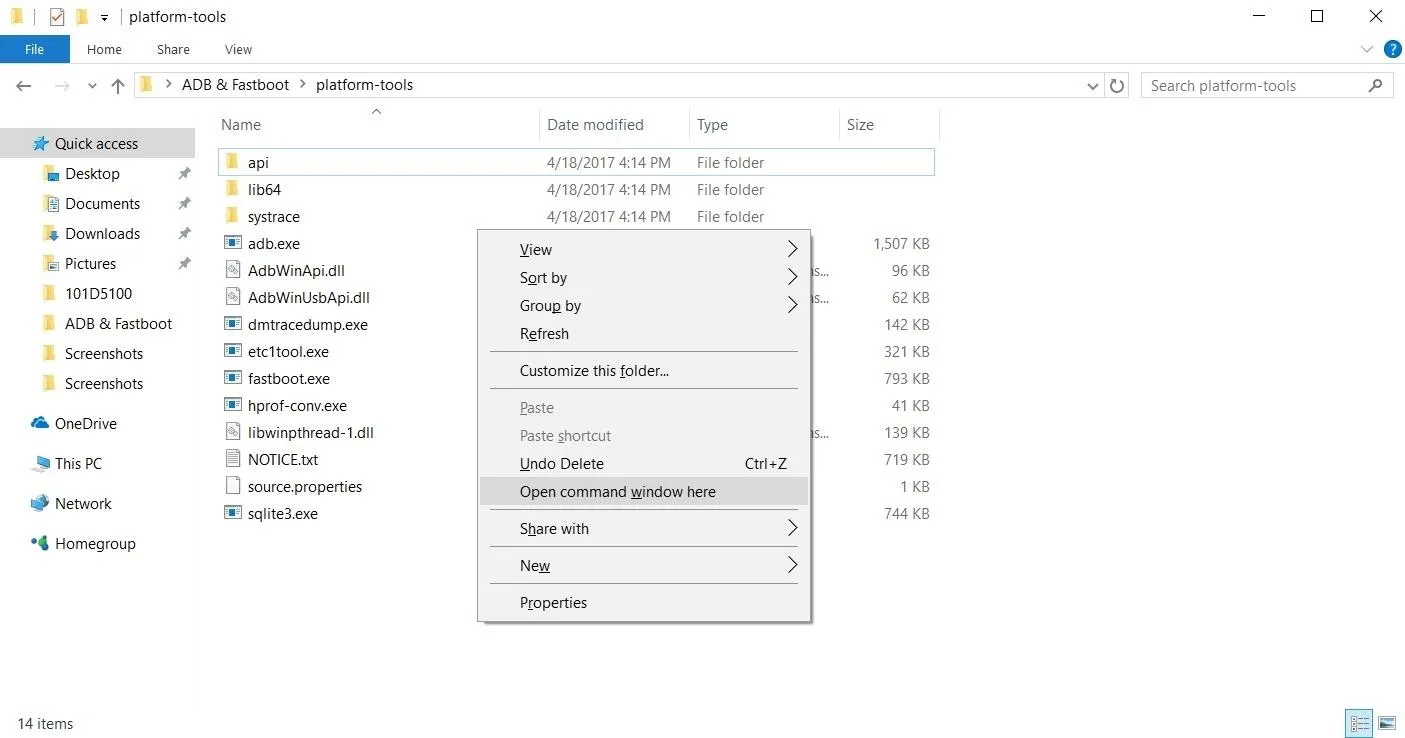
Opening a command prompt window in the platform-tools folder on Windows
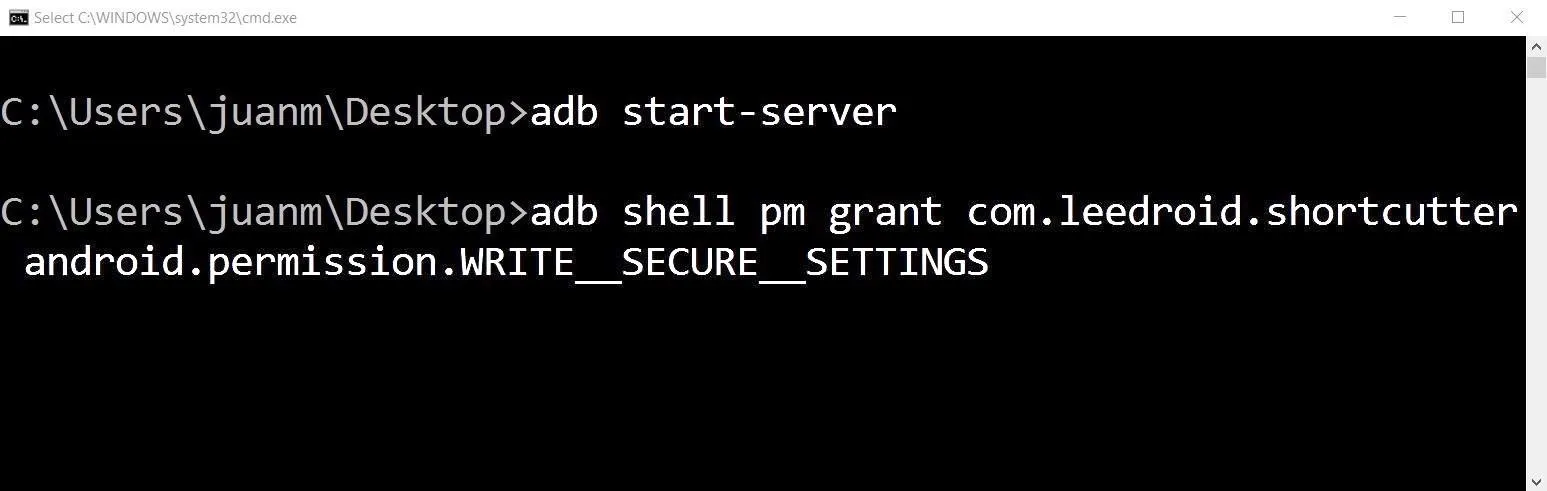
With a command window open and in the proper directory, type in "adb start-server" to get ADB up and running. After that, enter the following command to grant the app permission to customize Immersive Mode and add a Quick Settings tile to your phone:
At this point, it's safe to unplug your phone from your computer, as the rest of the work will be done on the Android side of things.
Enable the Immersive Mode Toggle
Now open Shortcutter Quick Settings and tap on "Settings Secure" to turn the feature on. The app will prompt you to run the ADB command we just ran, so tap "Confirm" since you've already taken care of that. Next, swipe over to the Tile Settings tab, then scroll down and enable the switch next to the "Immersive/Full Screen Tile" entry.


Add the Immersive Mode Quick Settings Toggle
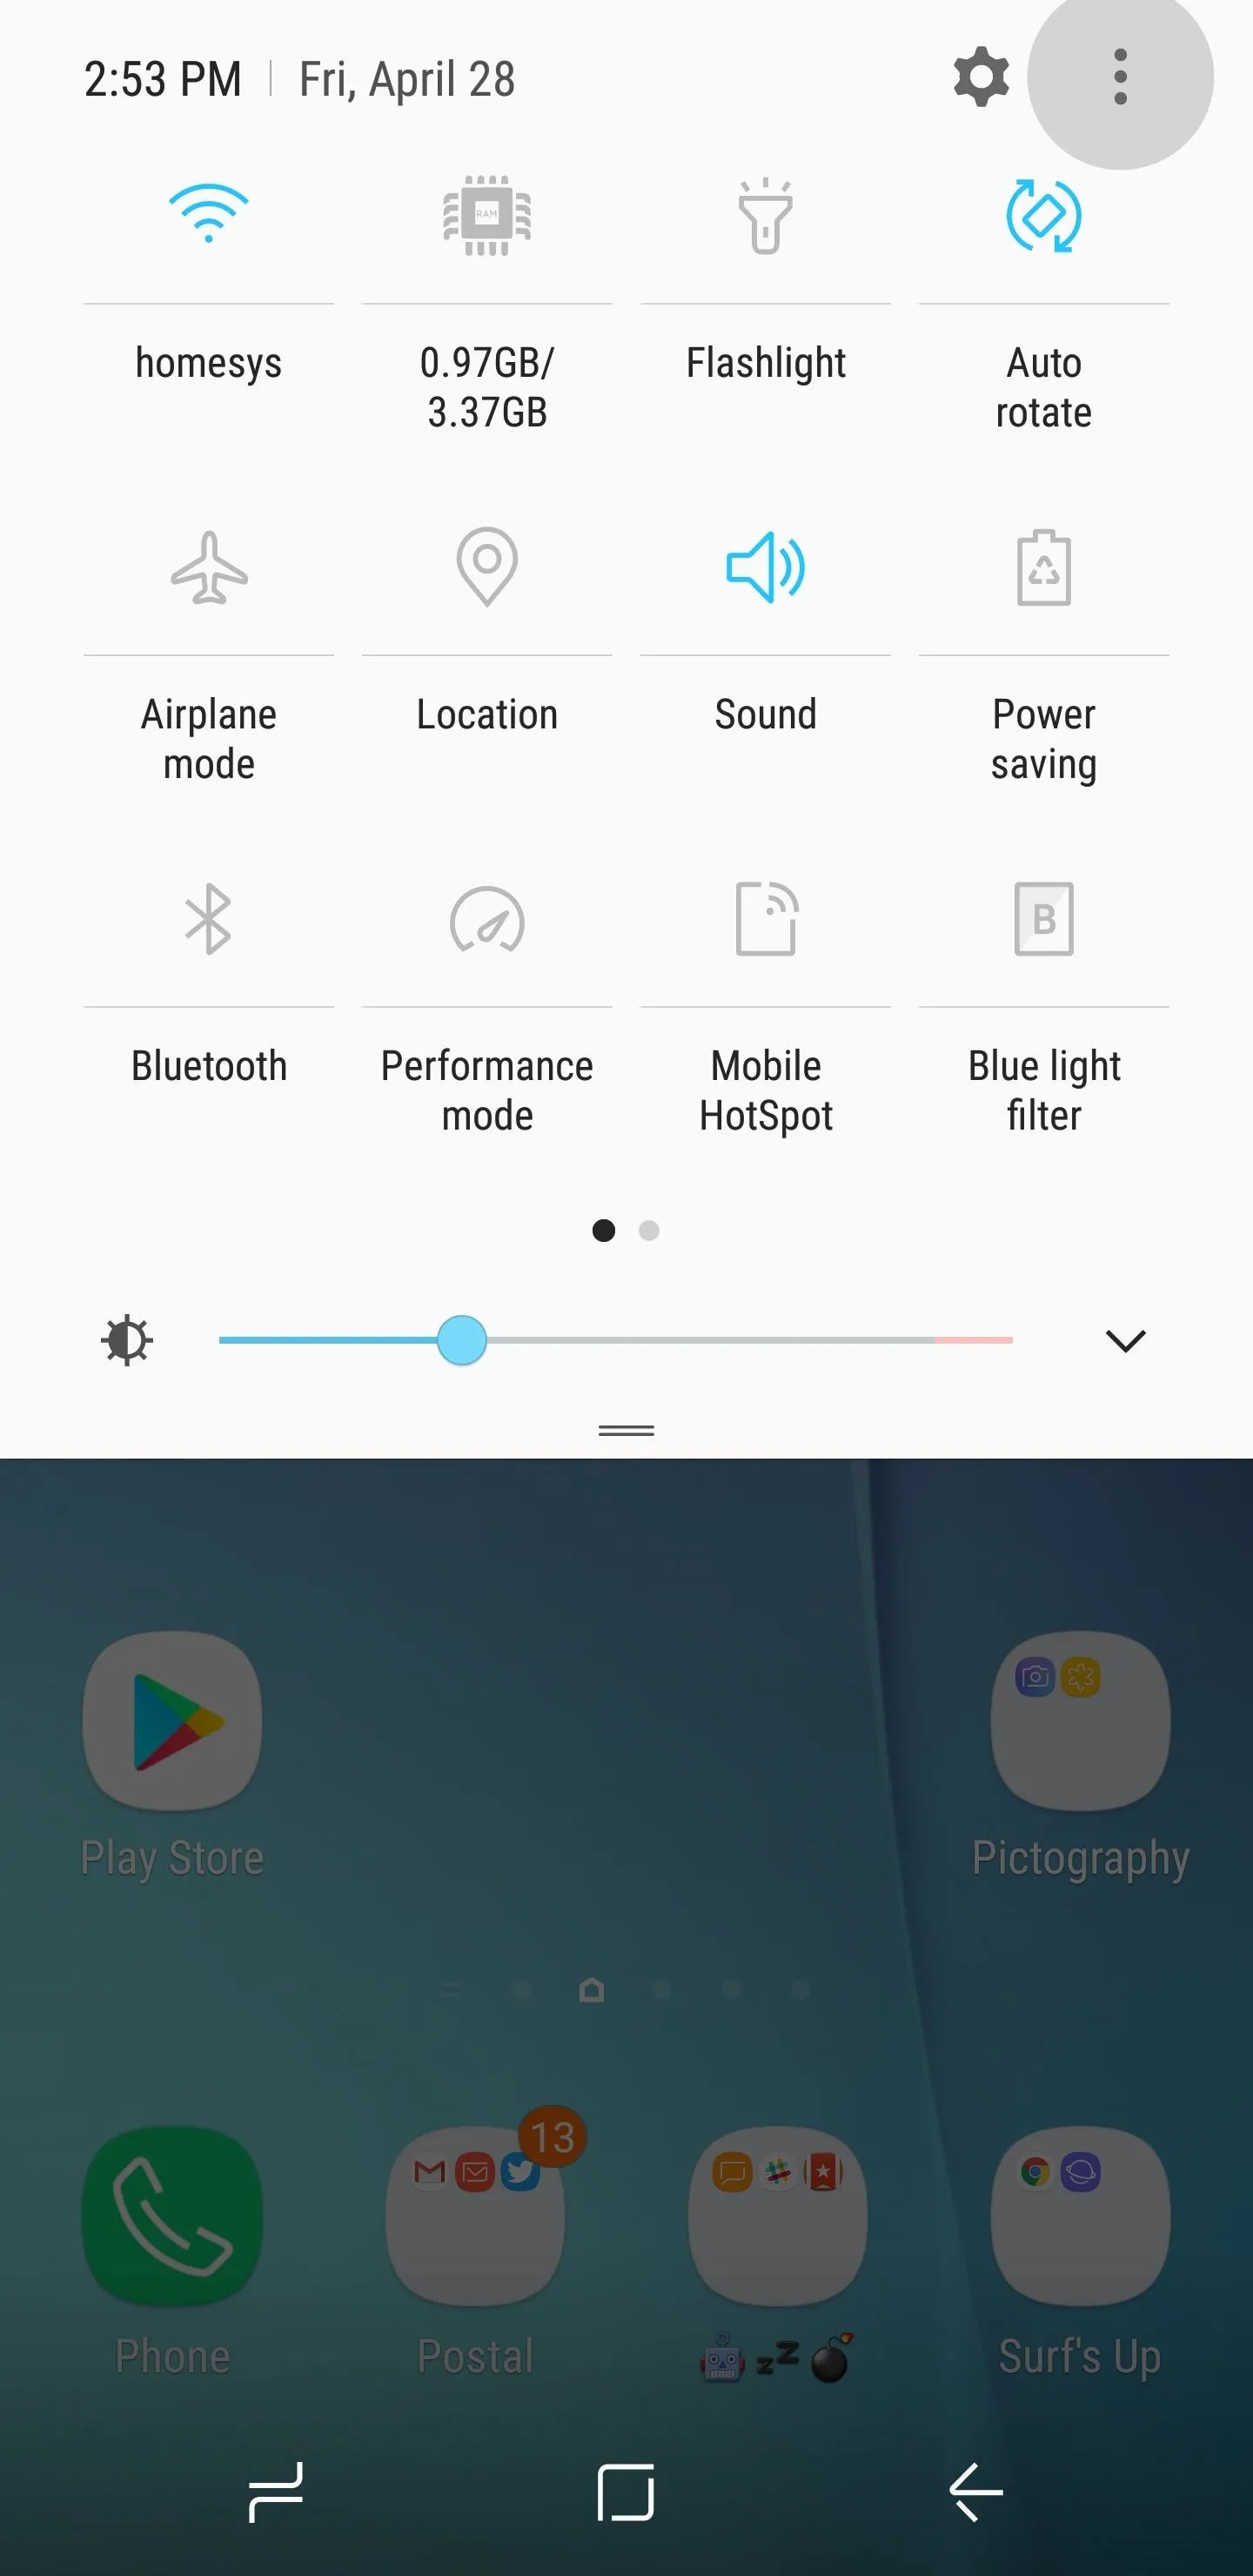
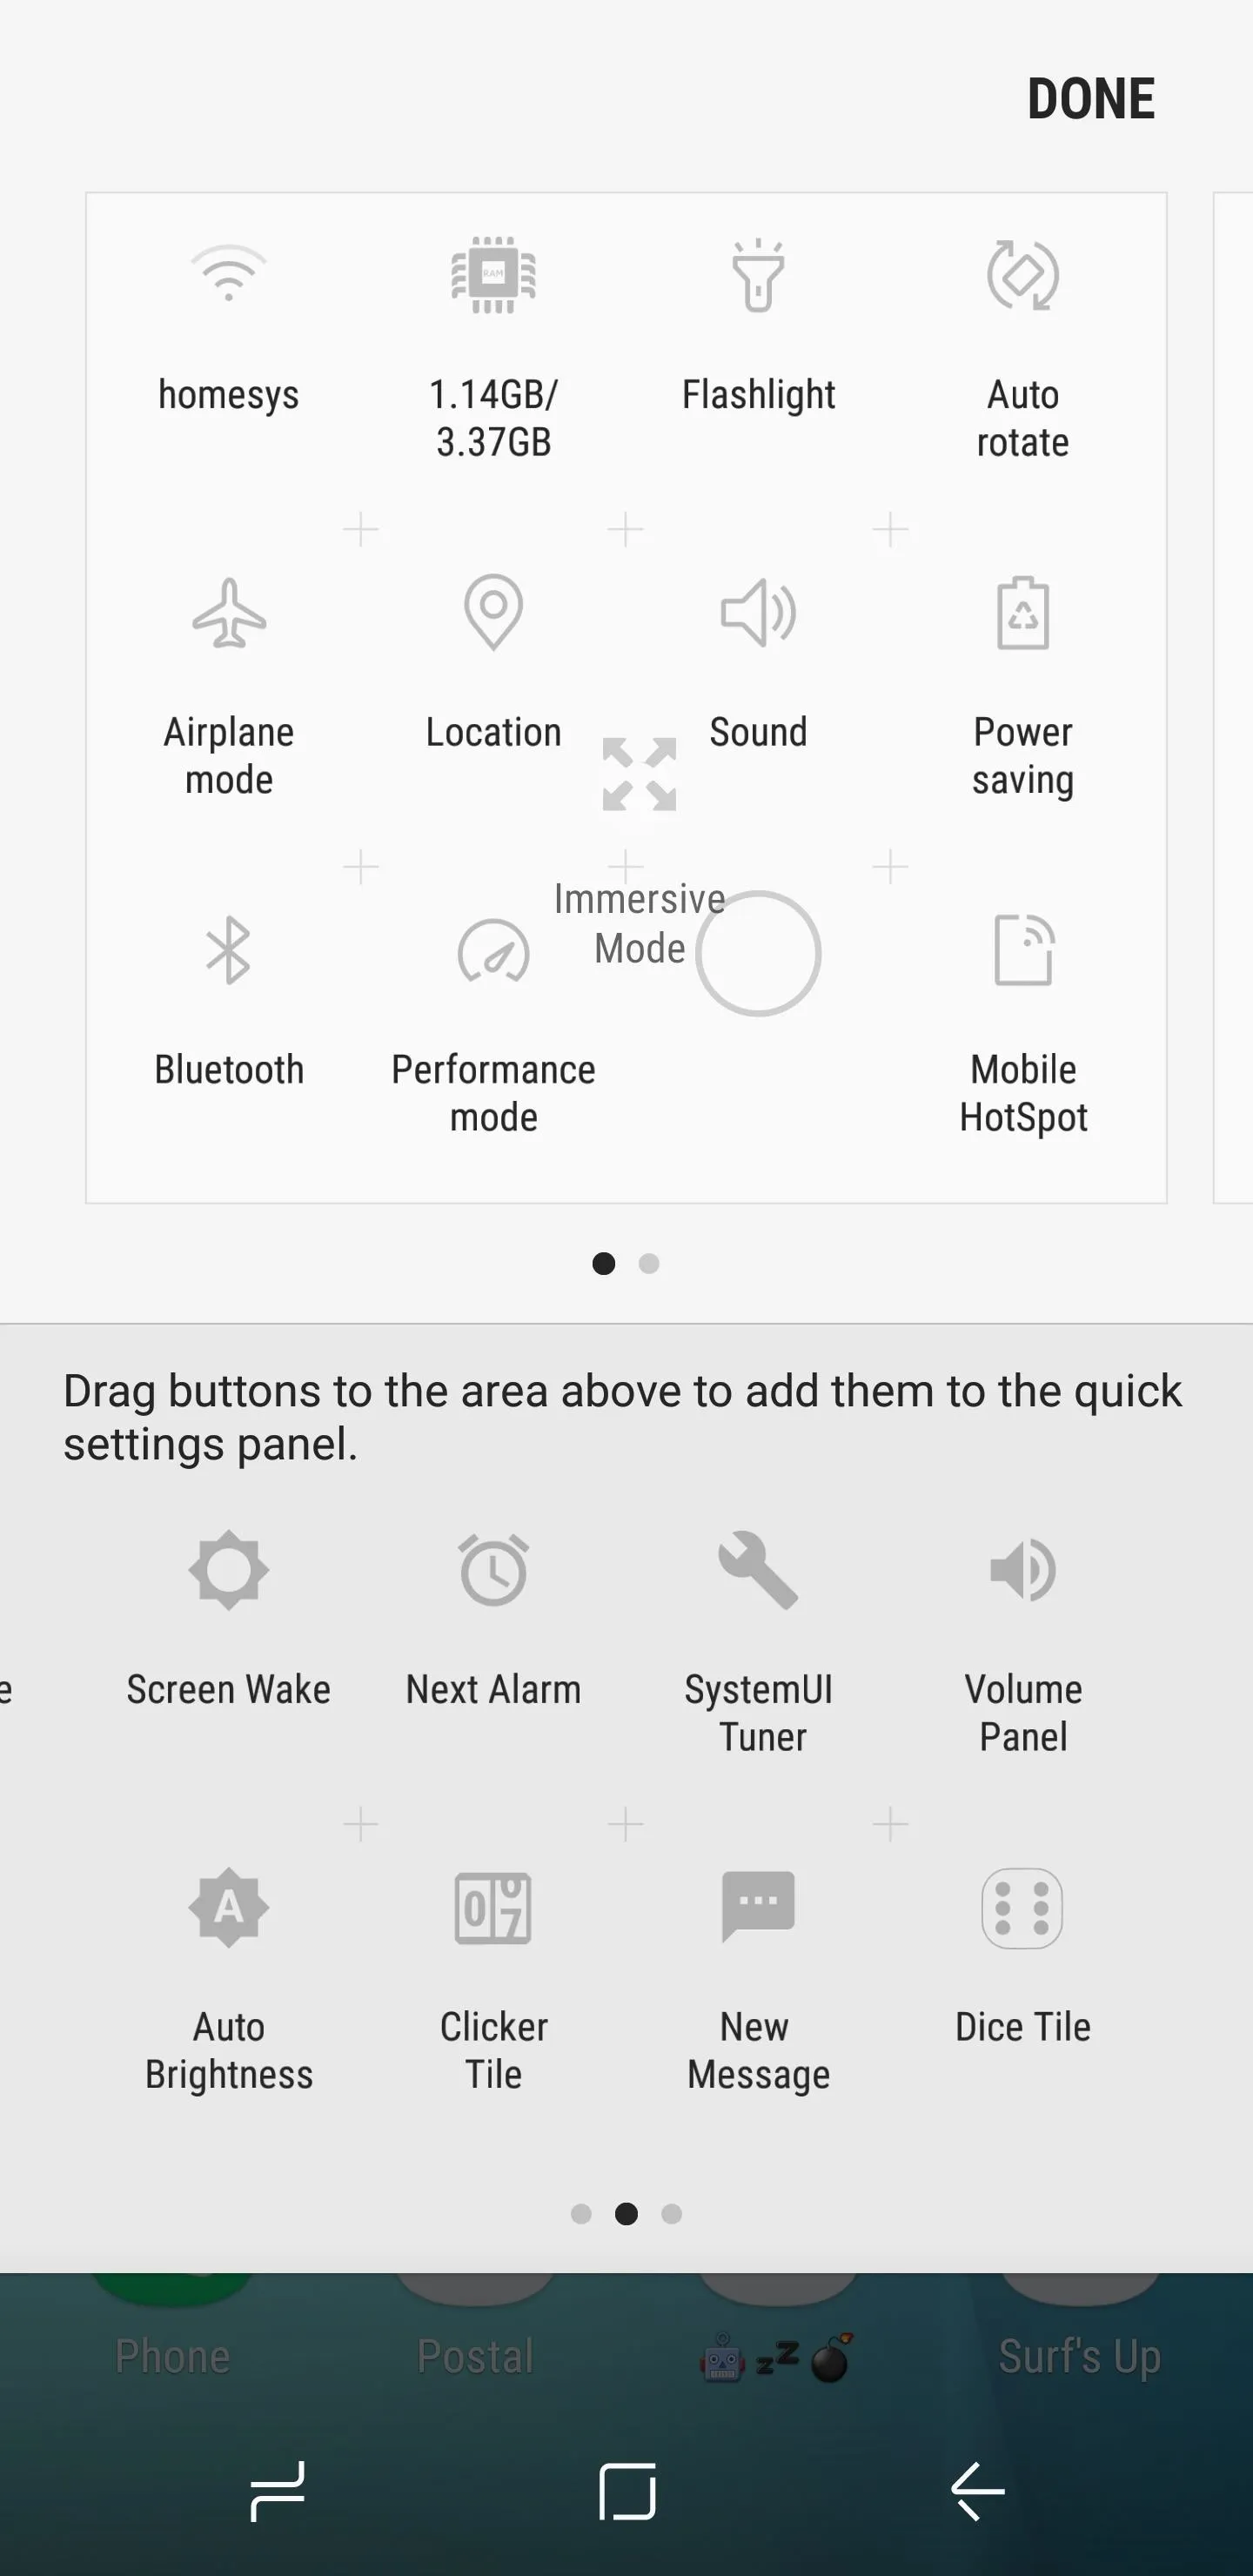
Now it's time to add the Immersive Mode tile to your Quick Settings menu. To do so, swipe down twice from the top of your screen to fully expand the Quick Settings menu. From there, tap the three-dot menu button (or the pencil-shaped icon to the left of the cog symbol on some devices) and choose "Button order." You'll now be presented with custom tiles to drag into your main settings menu, so look for the Immersive Mode tile and drag it to a location of your choosing.

Enable Immersive Mode at the Press of a Button
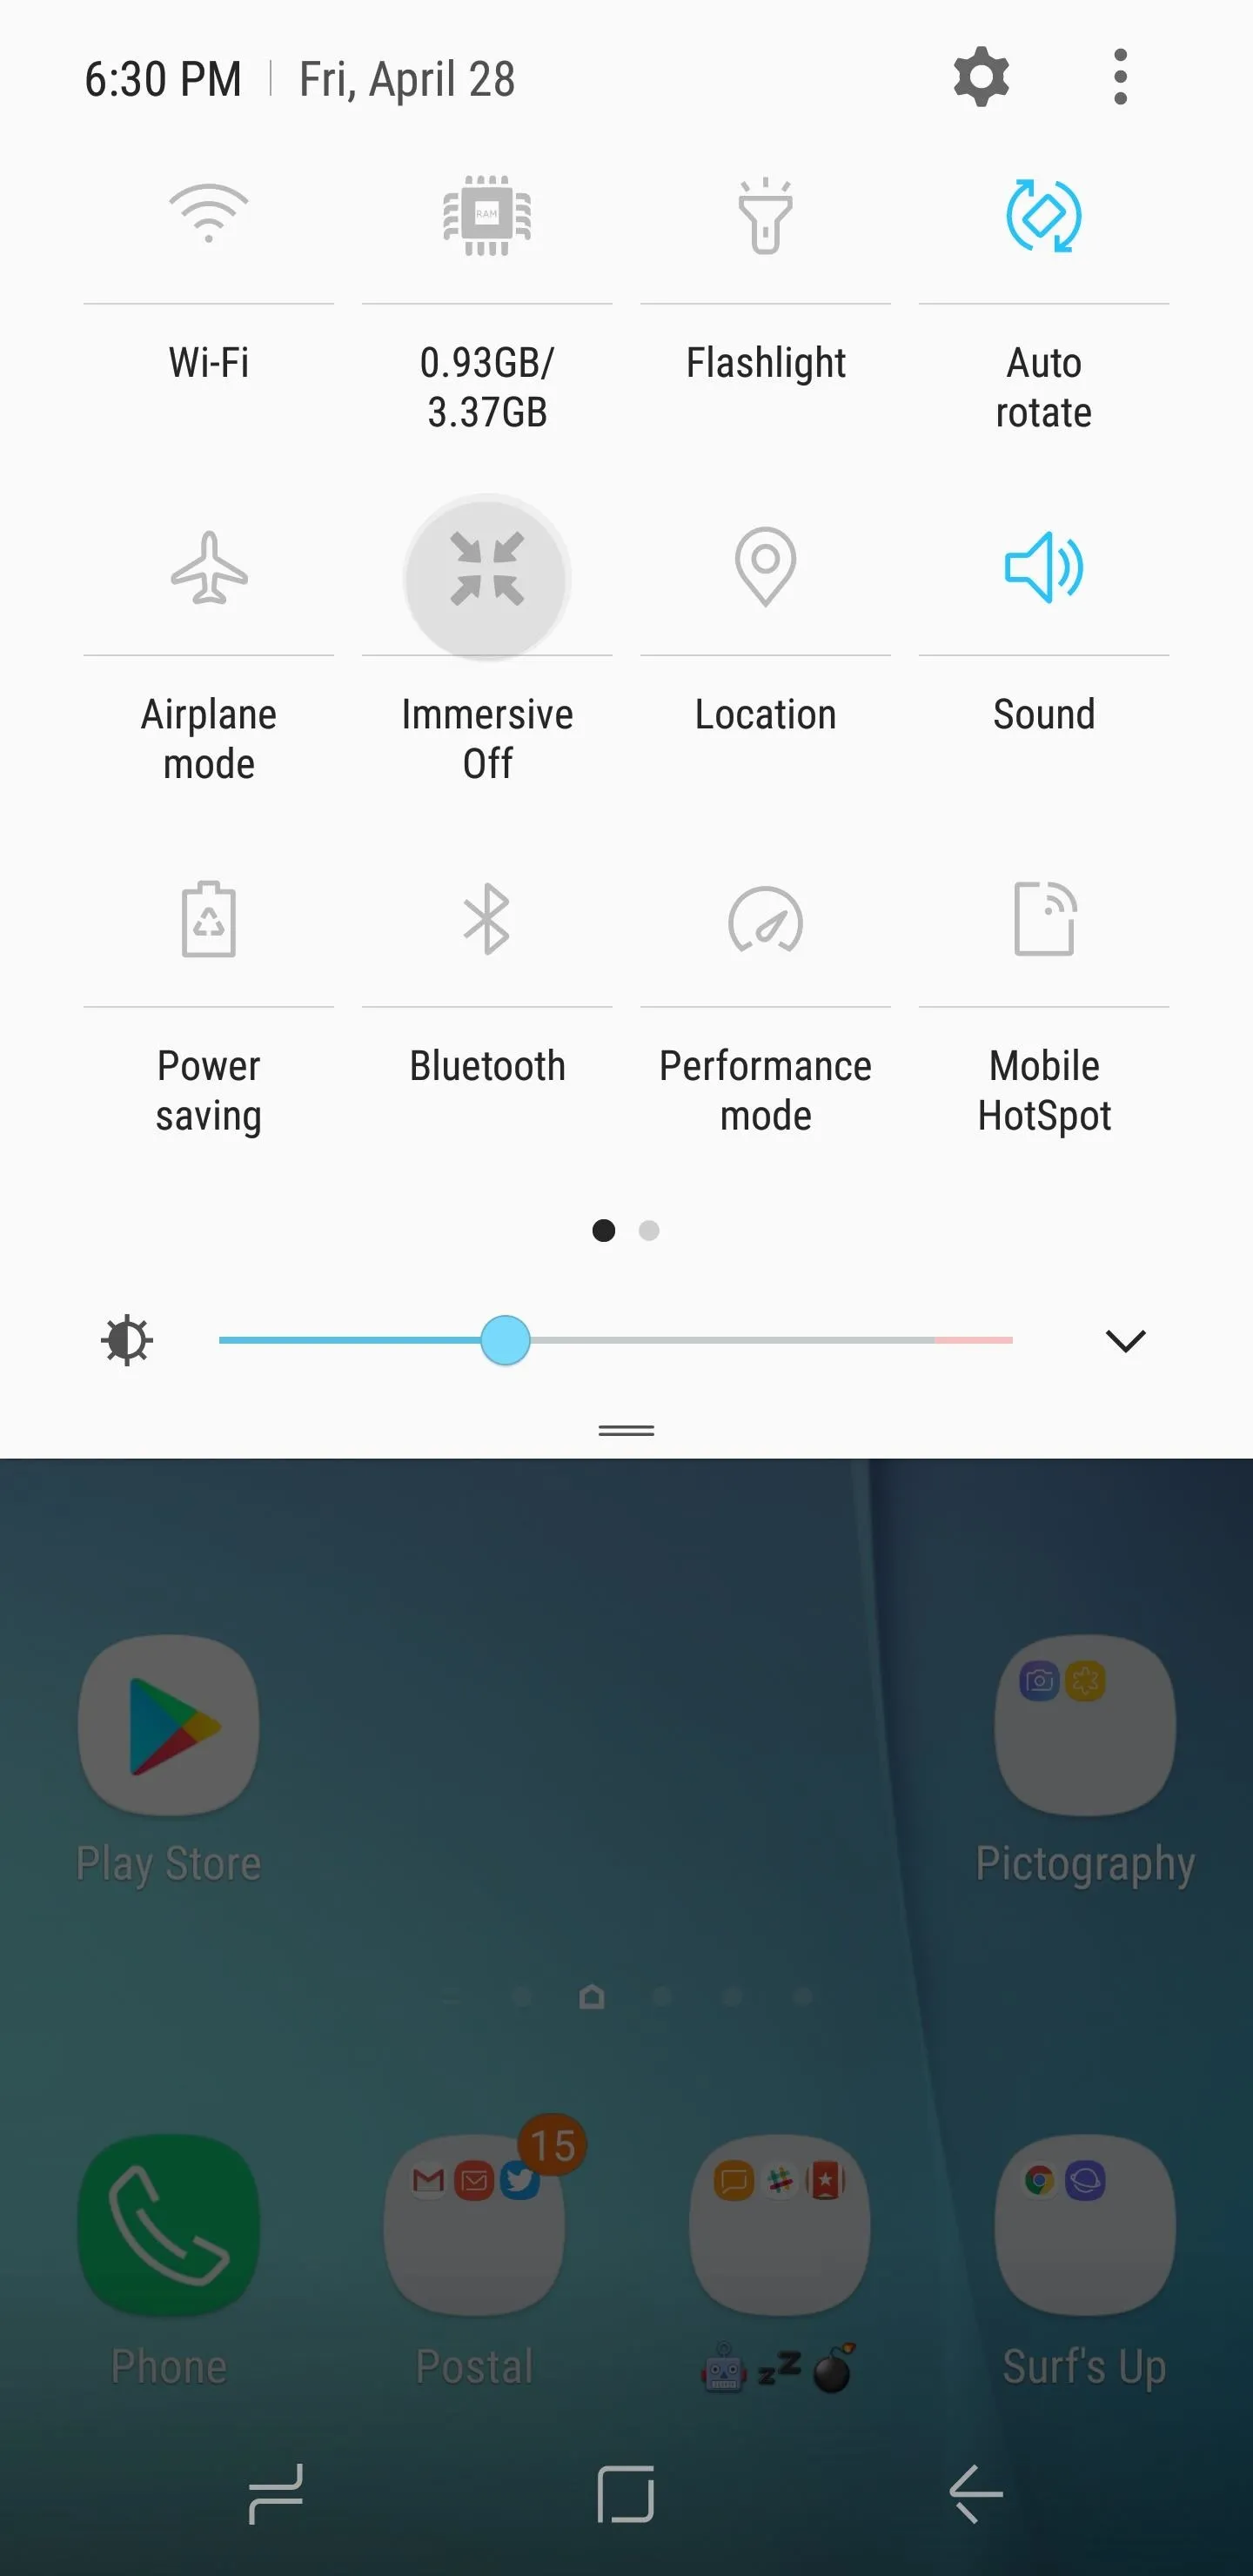
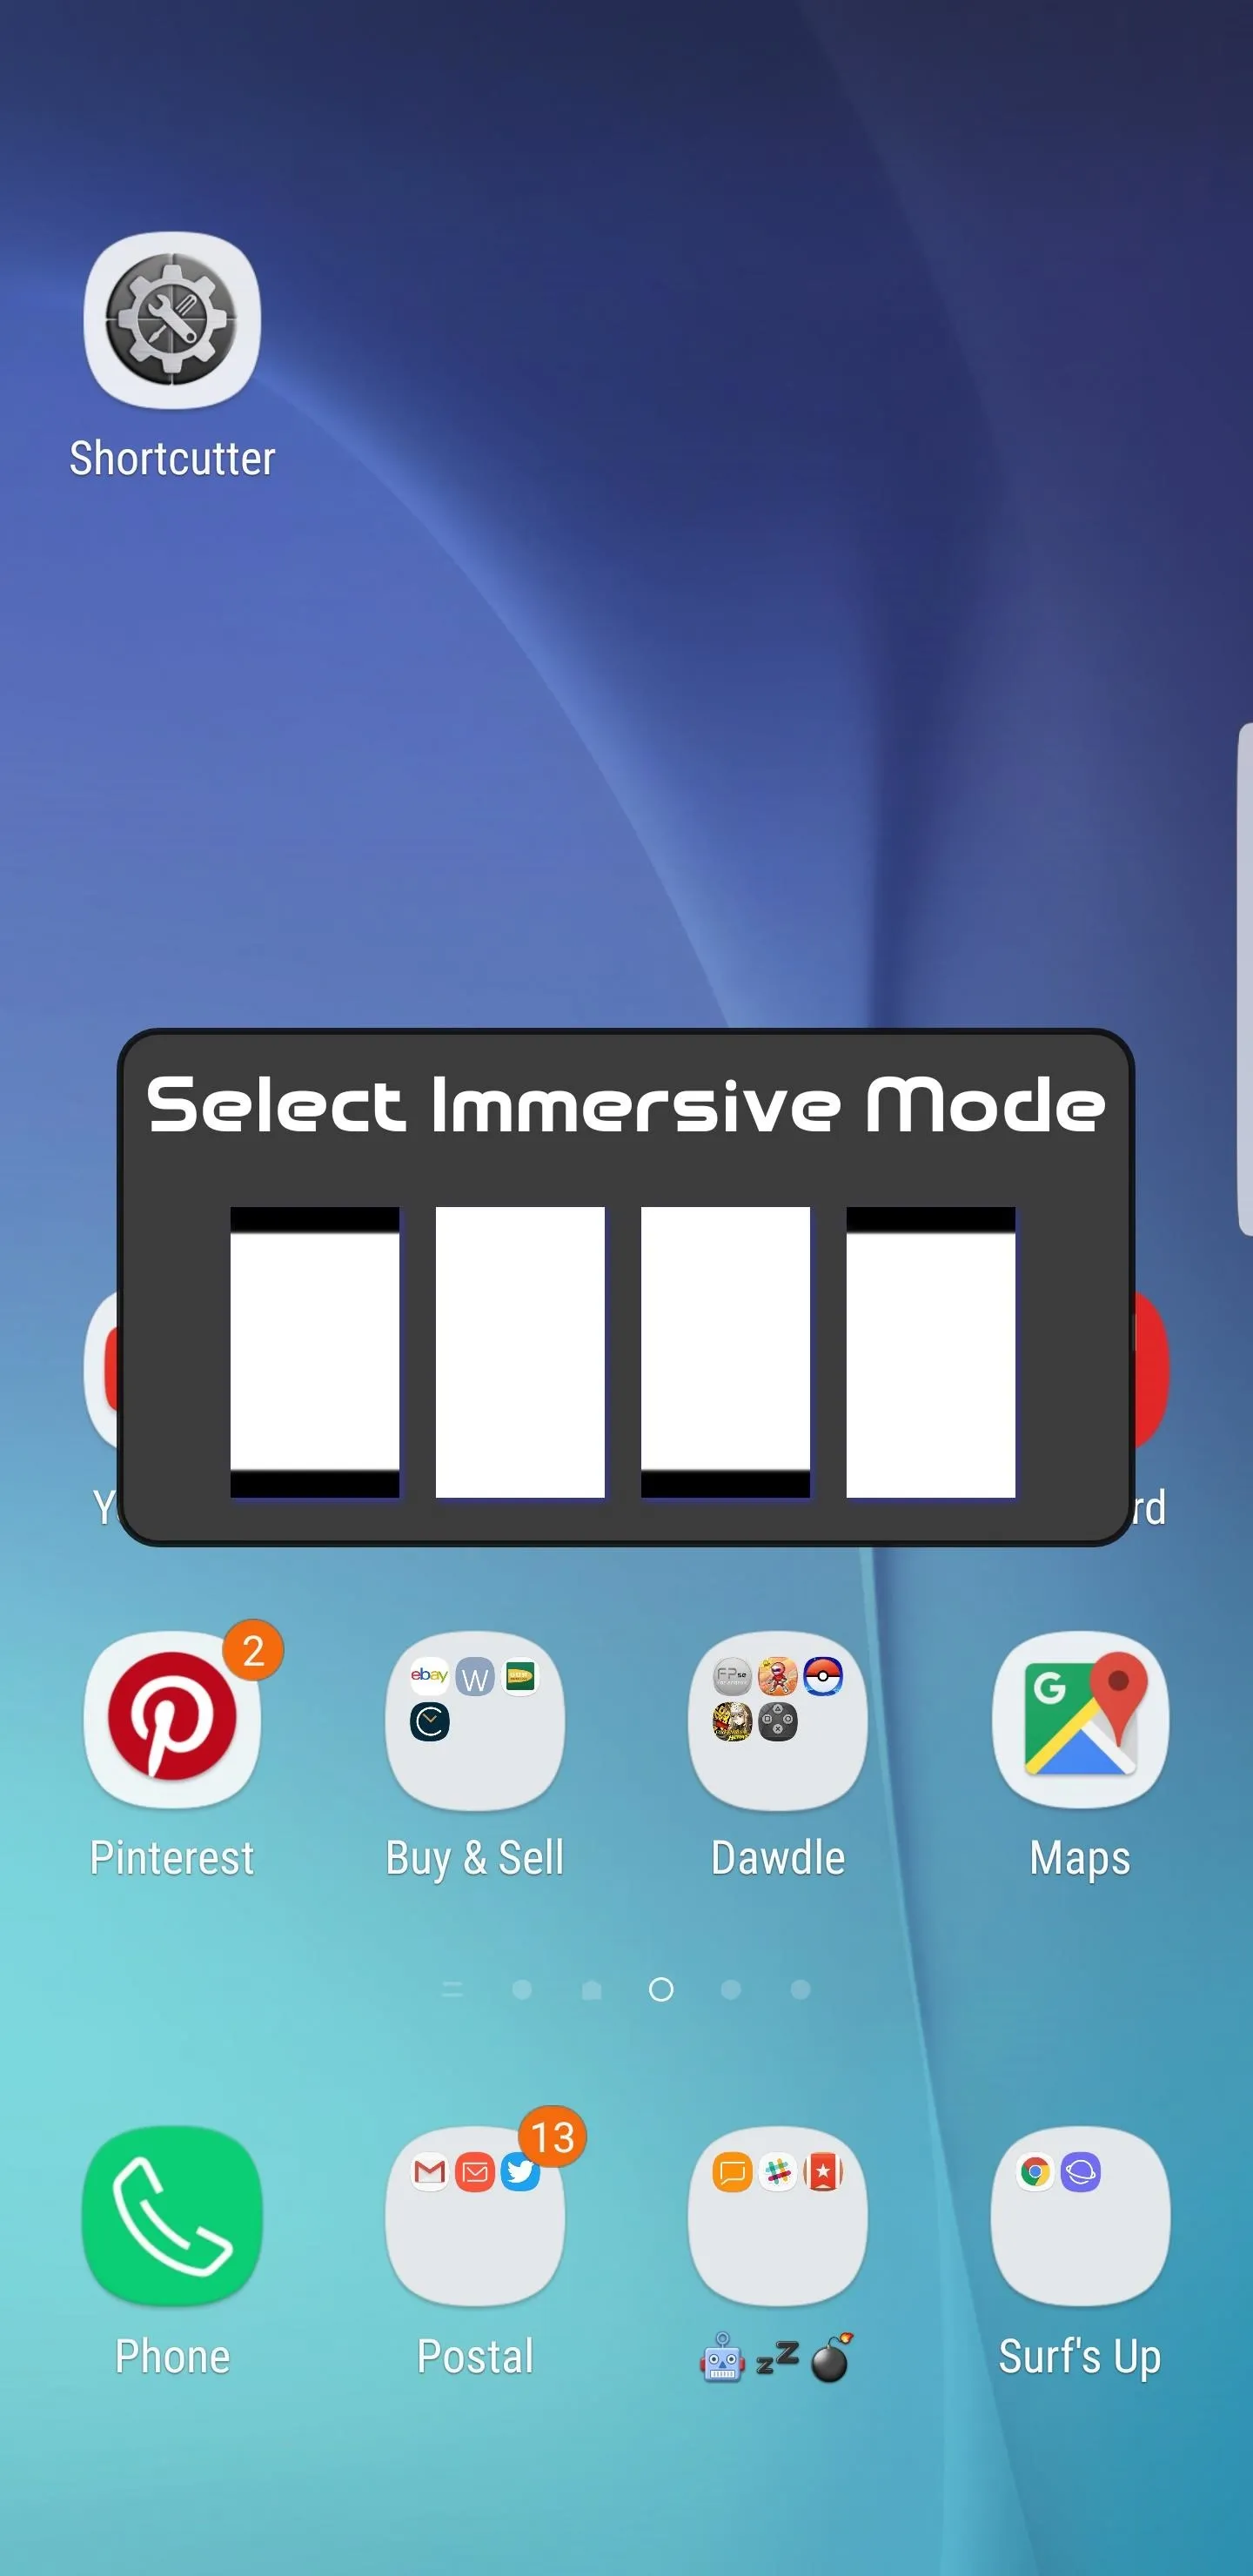
From now on, you can tap on the Immersive Mode tile you just added to make your phone go full screen. An option will now pop up to let you choose which Immersive Mode option you want to use. Once selected, your mode of choice will be automatically applied, and you're all set.

When in full Immersive Mode, you can access your status and navigation bars anytime by simply swiping in from the top or bottom of the screen, depending on which one you're trying to reach. Feel free to leave a comment down below and share your thoughts on this new app.
- Follow Gadget Hacks on Facebook, Twitter, Google+, and YouTube
- Follow Android Hacks on Facebook, Twitter, and Pinterest
- Follow WonderHowTo on Facebook, Twitter, Pinterest, and Google+
Cover image and screenshots by Amboy Manalo/Gadget Hacks


Comments
Be the first, drop a comment!