


One of the biggest features to come out with Android O was the addition of a new System UI Tuner submenu that lets you customize the navigation bar at the bottom of your phone's screen. But as it turns out, this same feature can be enabled on devices running Android Nougat, even without root access.
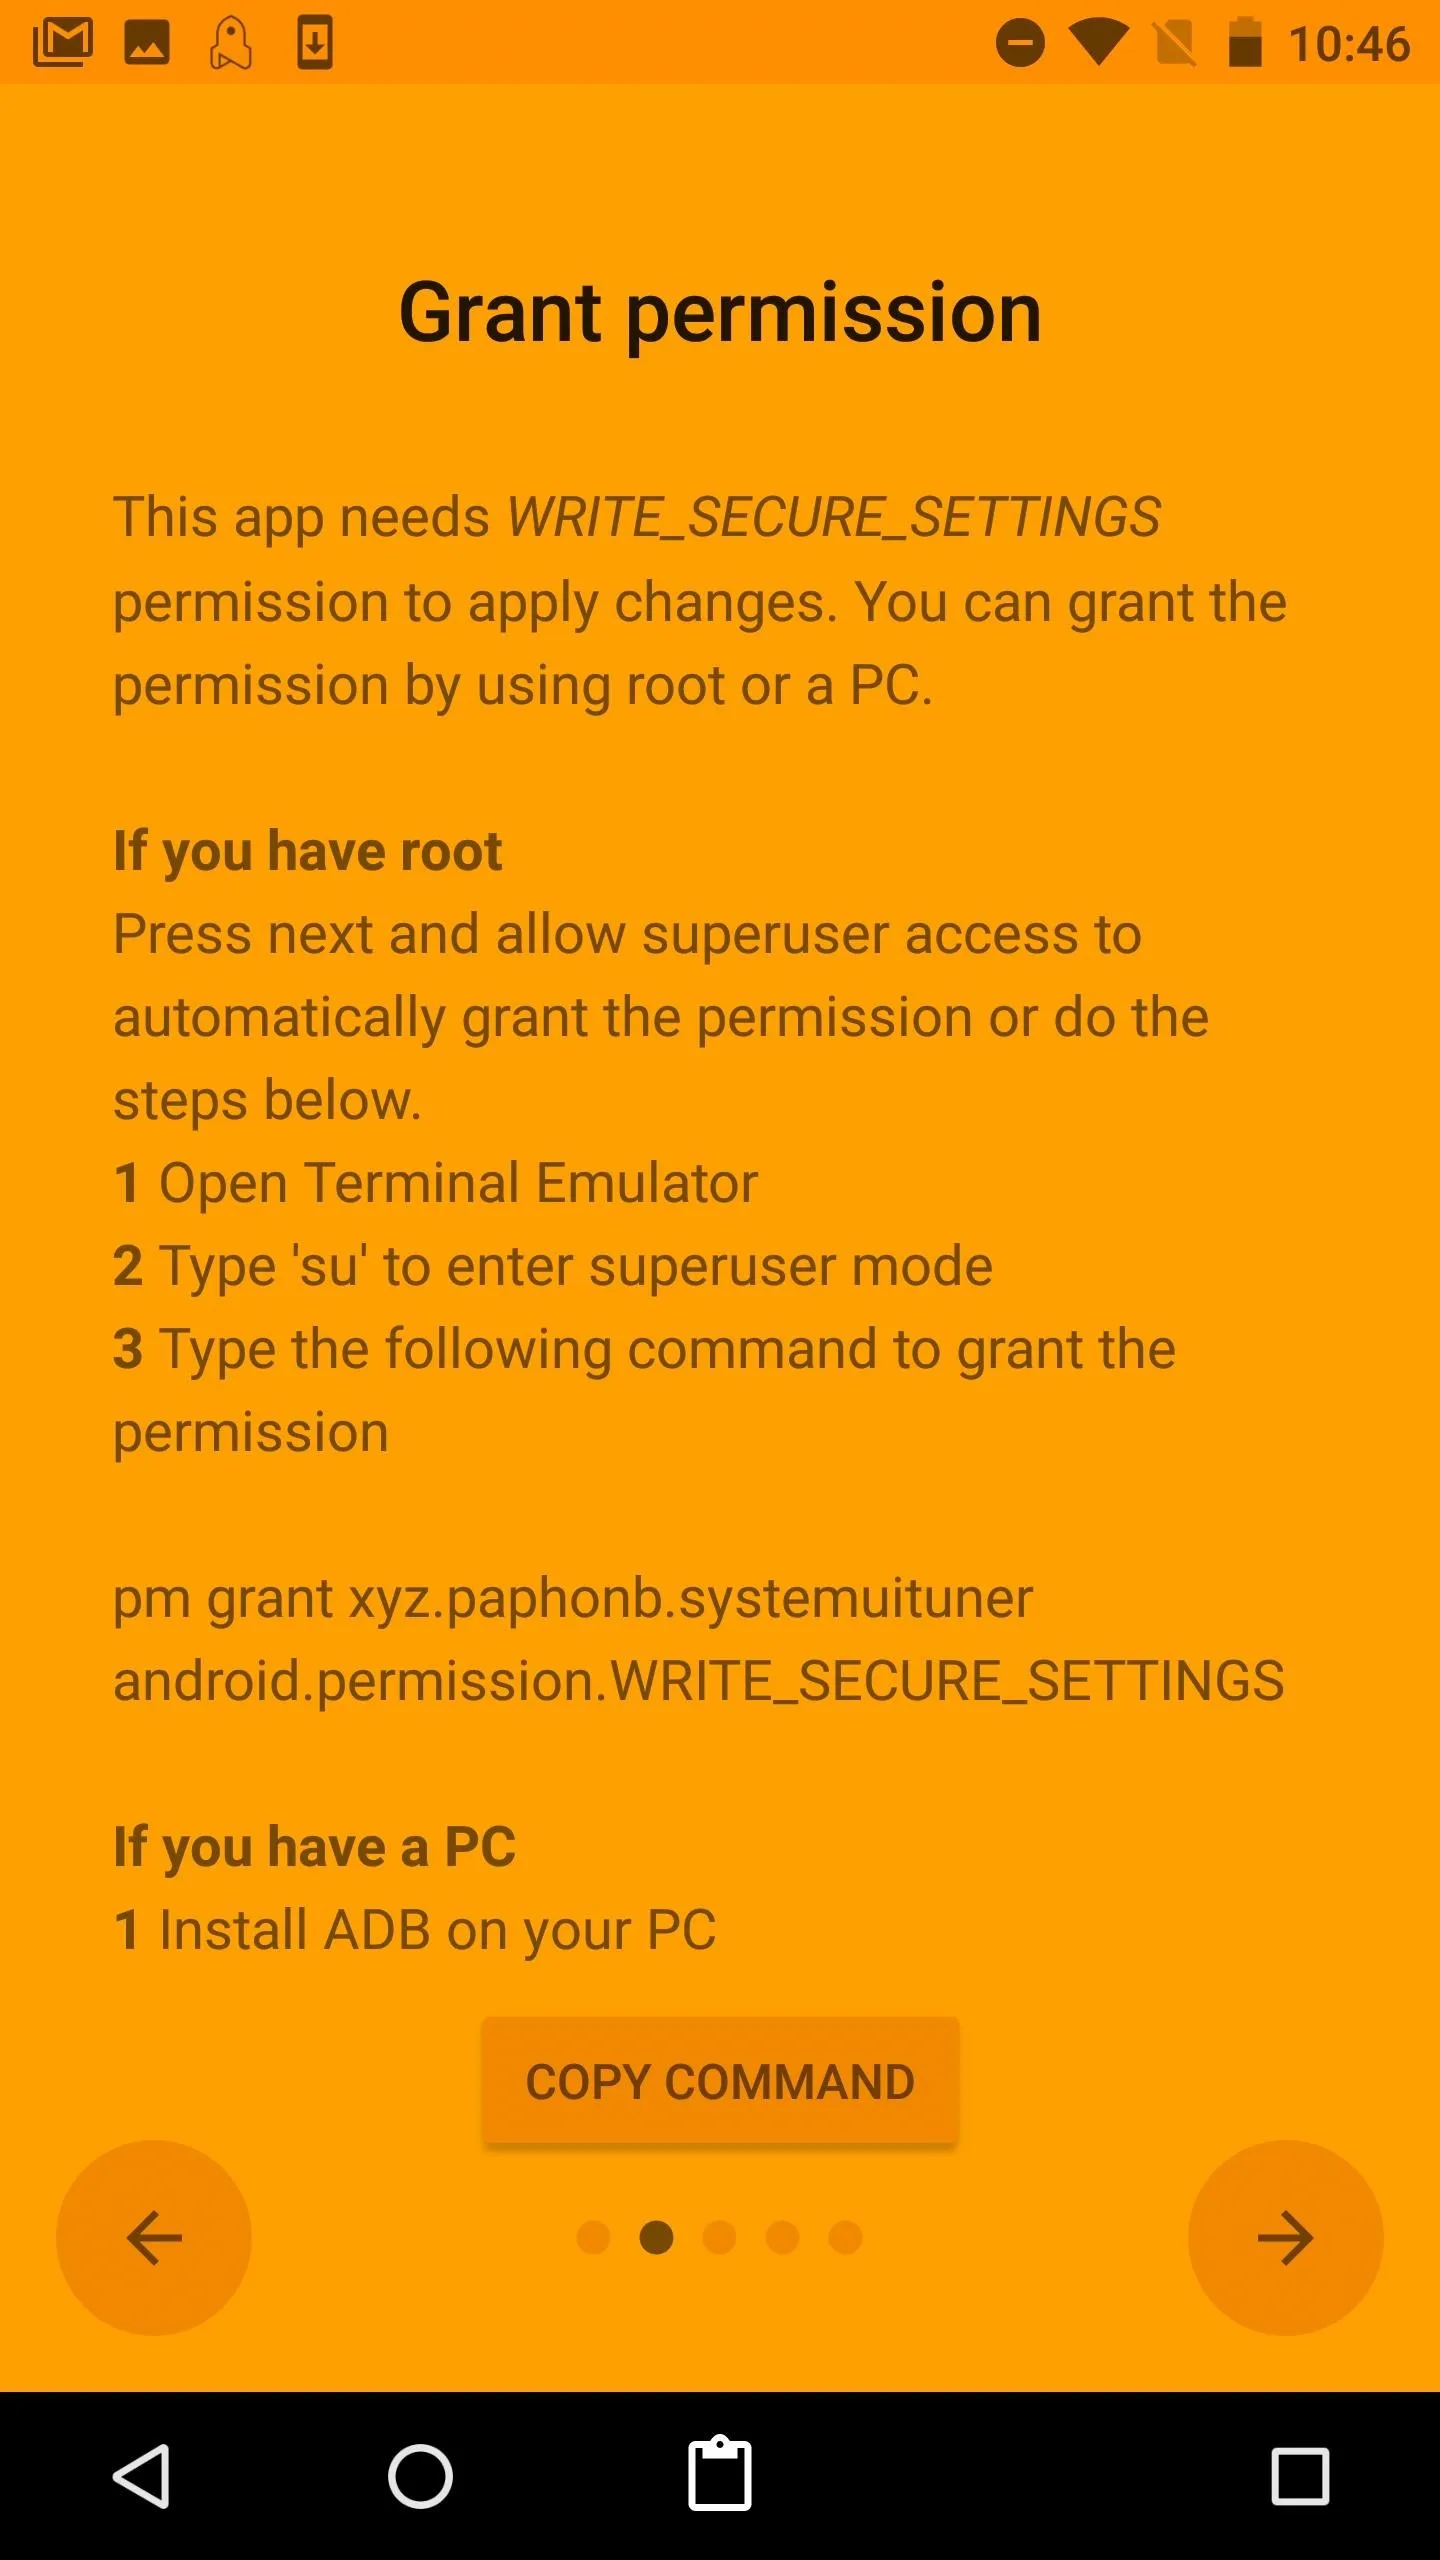
A new app by developer Paphonb enables this hidden menu on Nougat, giving you the ability to add custom buttons to your navigation bar. As the XDA Portal team pointed out, it's wild that this was hiding in Nougat the whole time. You'll first need to grant the app permissions to modify your nav bar using ADB command, so here's a quick guide for those who'd like to know more on how to get this done.
Requirements
- Android Nougat installed
- Developer options and USB debugging enabled
- Windows, Mac, or Linux computer
- ADB and Fastboot installed
- USB data cable
A Note About Android Versions
Even if you meet the above requirements, there's one final wrinkle to consider: This mod will only work if your device has an on-screen navigation bar, obviously, but even then, only if the navigation bar has not already been customized in any way.
This means that devices using heavy manufacturer skins like Samsung's TouchWiz, HTC Sense, LG UX, or EMUI will probably not work with this mod. In addition to that, custom ROMs that use their own tweaked navigation bar setup won't be eligible.
That said, the mod should work on most Motorola and Sony devices, as well as Nexus and Pixel phones, as long as they meet the above requirements. Additionally, AOSP-based custom ROMs like CyanogenMod and LineageOS should be compatible, but again, only if they're not using a tweaked navigation bar to begin with.
Download Custom Navigation Bar
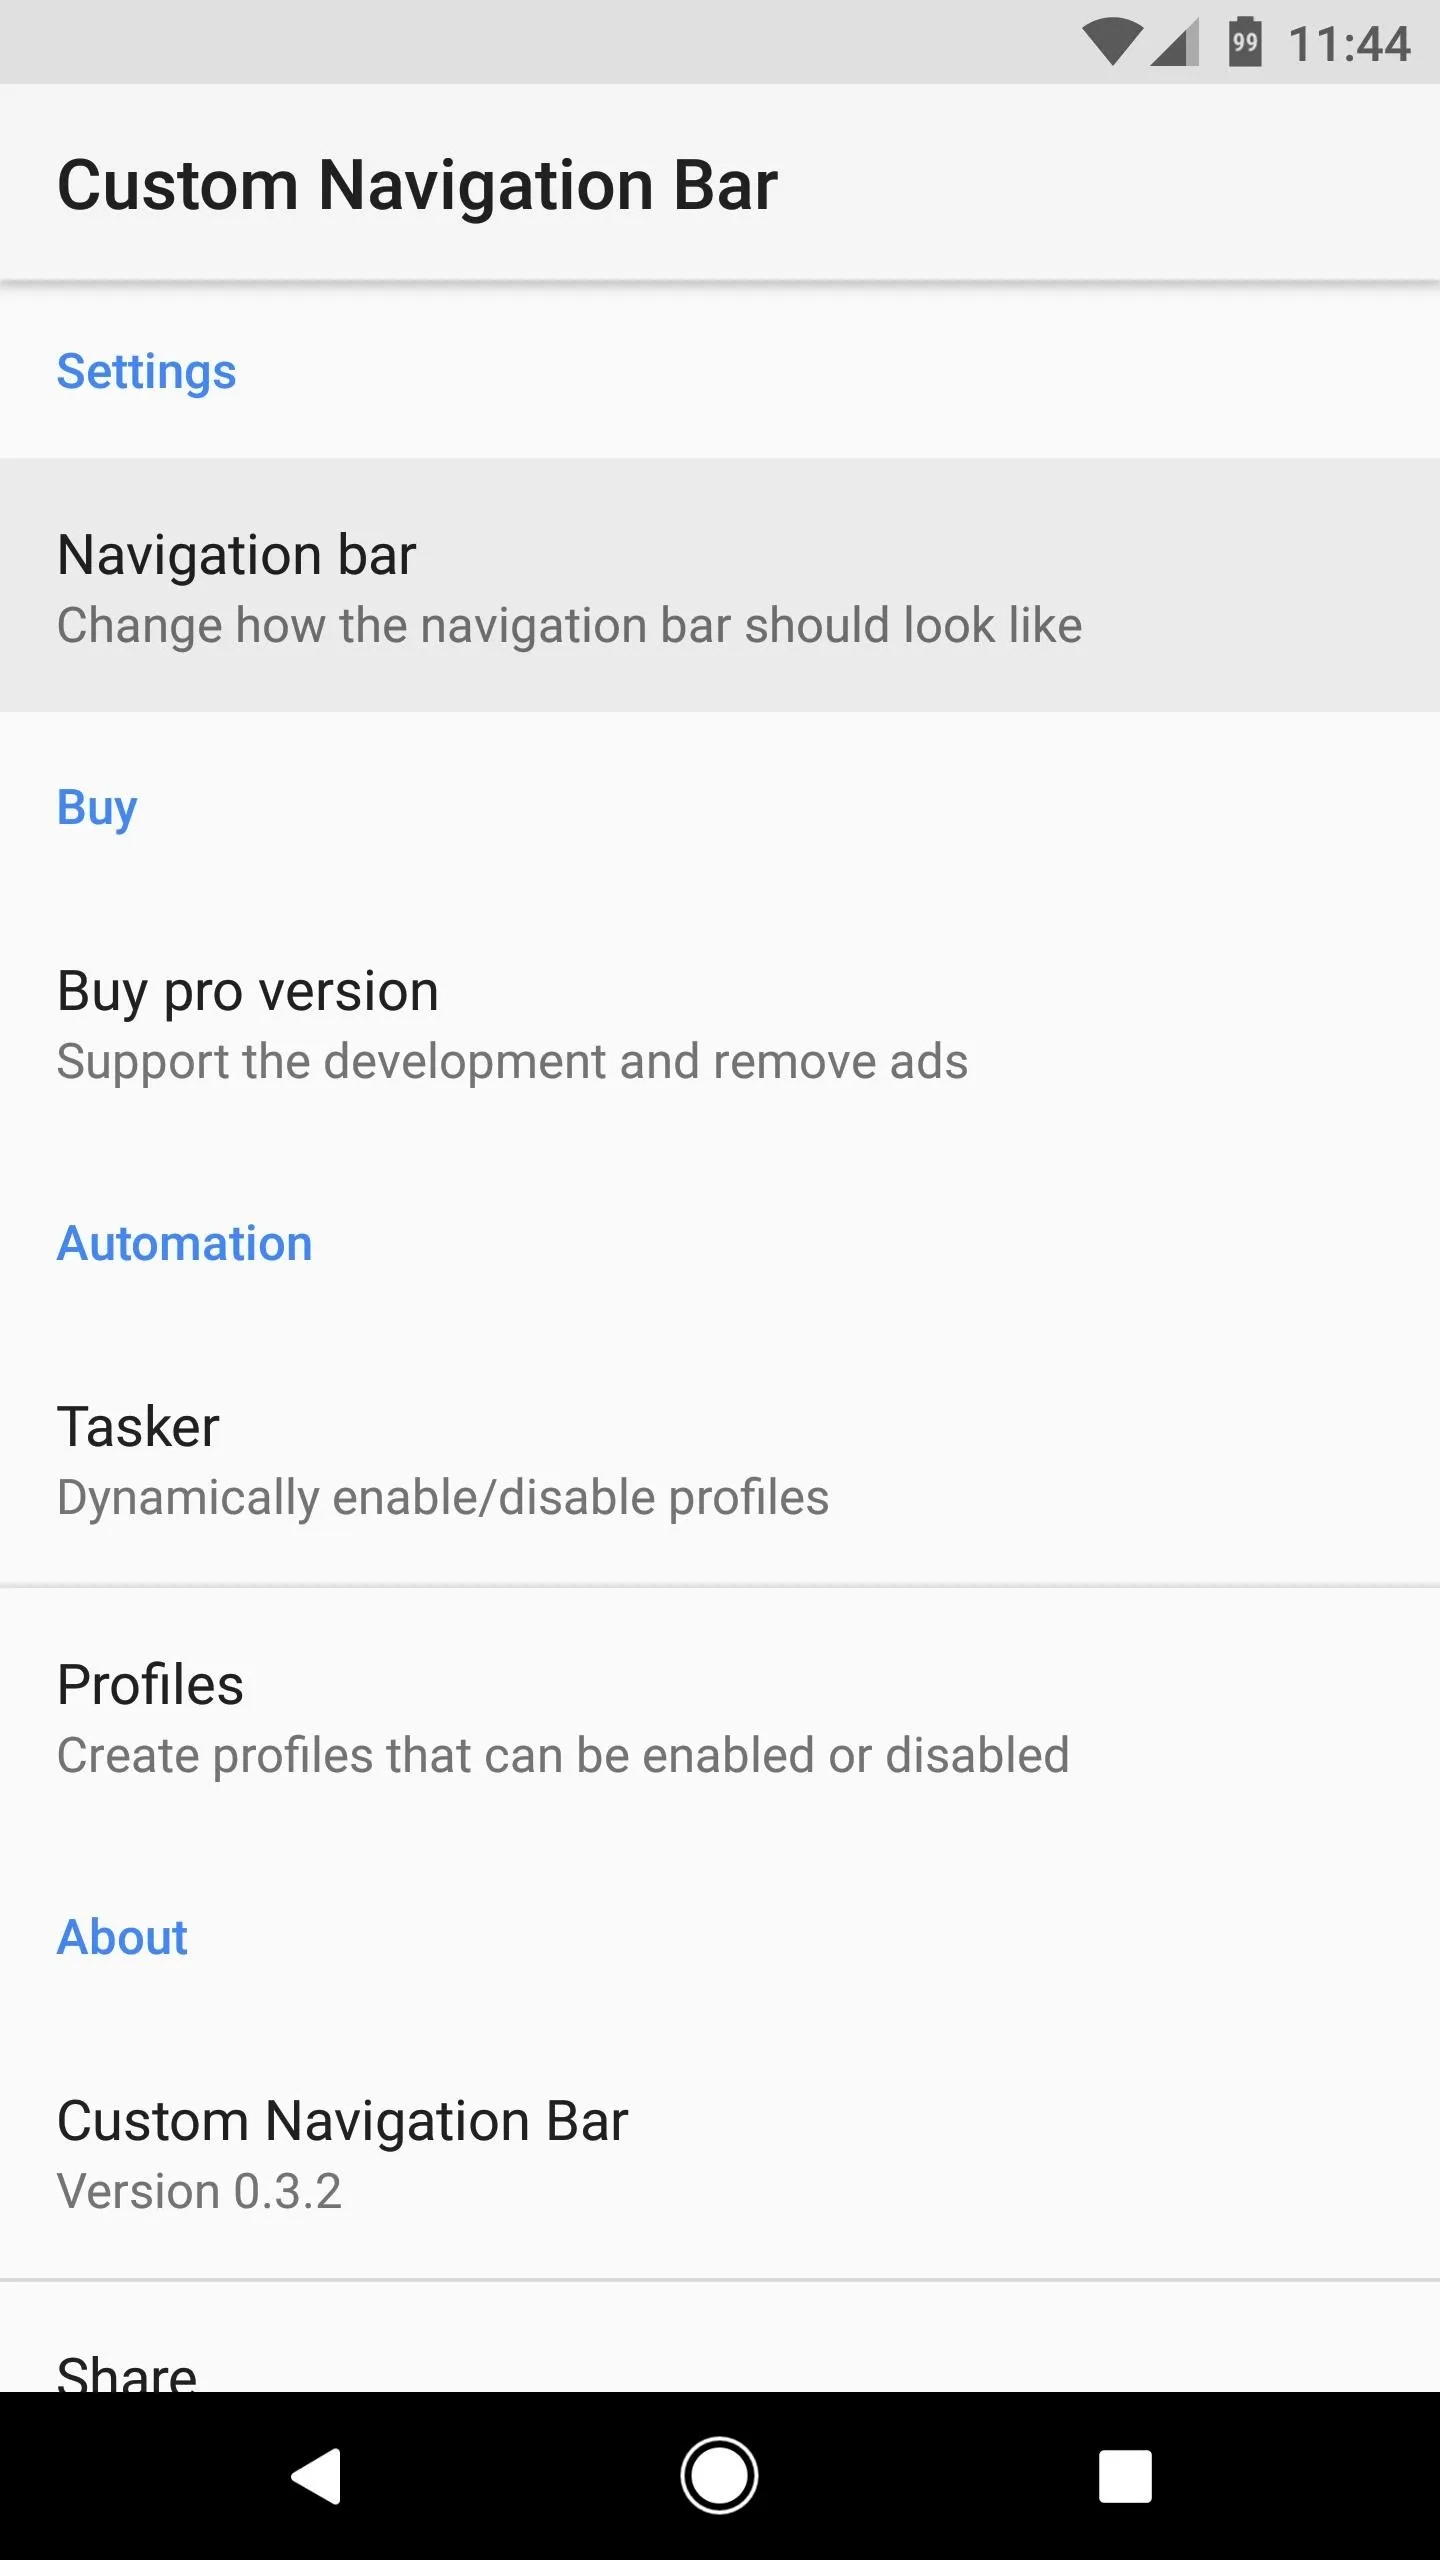
To get started, head over to the Play Store, or tap the link below, and download Custom Navigation Bar. Once you have the app installed, feel free to open it, but don't do anything else within the app just yet.

Connect Your Phone to Your Computer
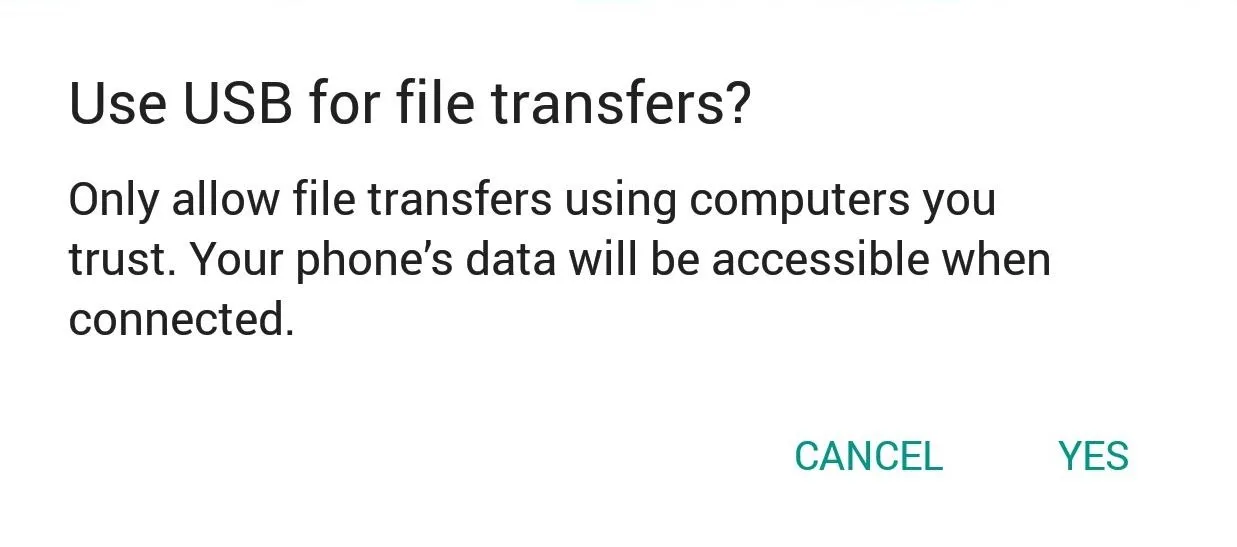
You'll now need to connect your phone to your computer with a USB data cable. From here, tap the USB Computer Connection notification that appears, then select "Transfer Files," and tap "Yes" on the prompt.
Run ADB
Custom Navigation Bar needs one additional permission in order to apply changes that allow for navigation bar customization. For unrooted devices, this means running an ADB command. So next, you'll need to open a Command Prompt or Terminal window in the platform-tools folder inside of your ADB installation directory.
For most Windows users, that means navigating to the C:\Program Files (x86)\Android\android-sdk folder, then opening the plaftorm-tools folder inside of it. From there, hold the shift button on your keyboard, then right-click within the window and choose "Open command window here."
For Mac and Linux users, you'll simply need to open a Terminal window, then change directories to the platform-tools folder. This folder's location will vary, depending on where you extracted ADB and Fastboot when you installed the utilities, so search your hard drive for "platform-tools" if you don't know where it is.
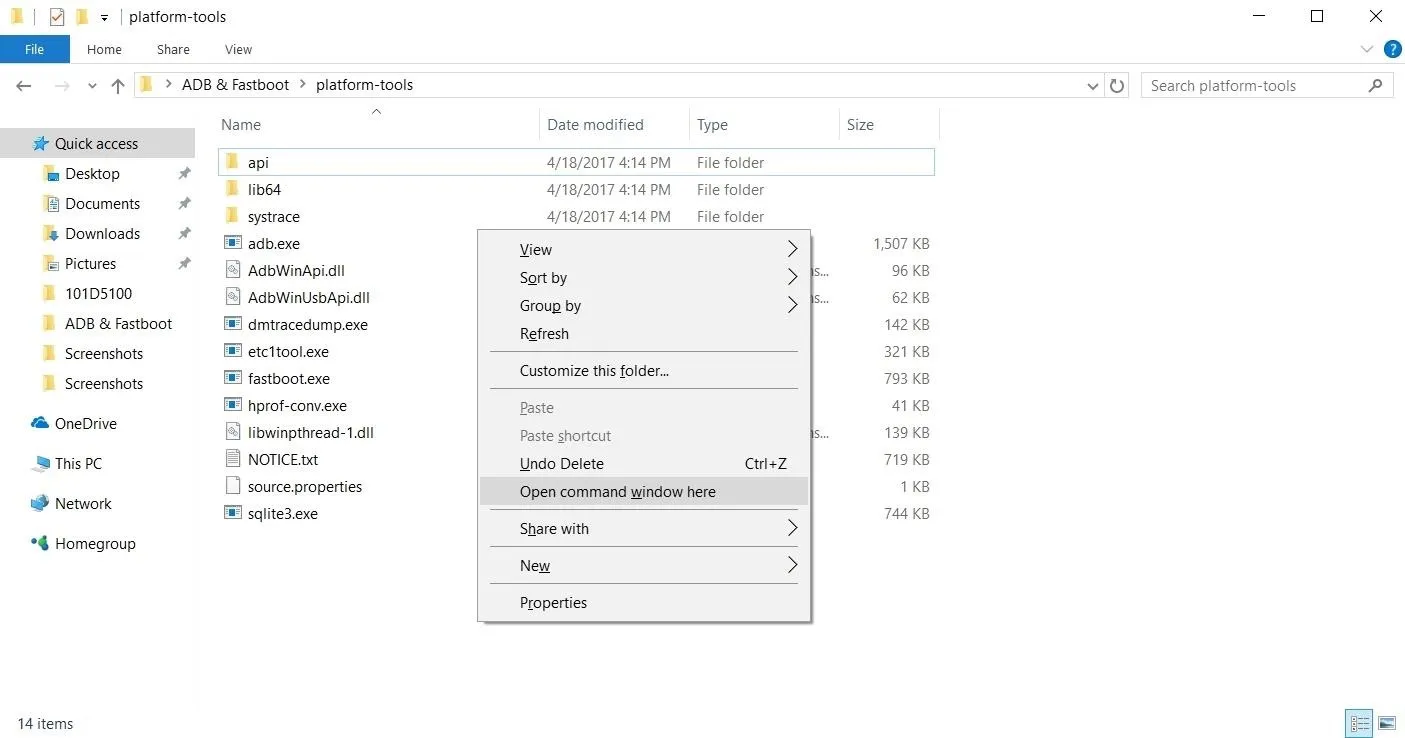
Opening an ADB command window on Windows.
If you're unfamiliar with this process or just need to brush up on it, head over to our full ADB and Fastboot guide to get acquainted with the topic.
With ADB up and running, you'll just need to enter the following command to grant the app permission to modify your phone's navigation bar:
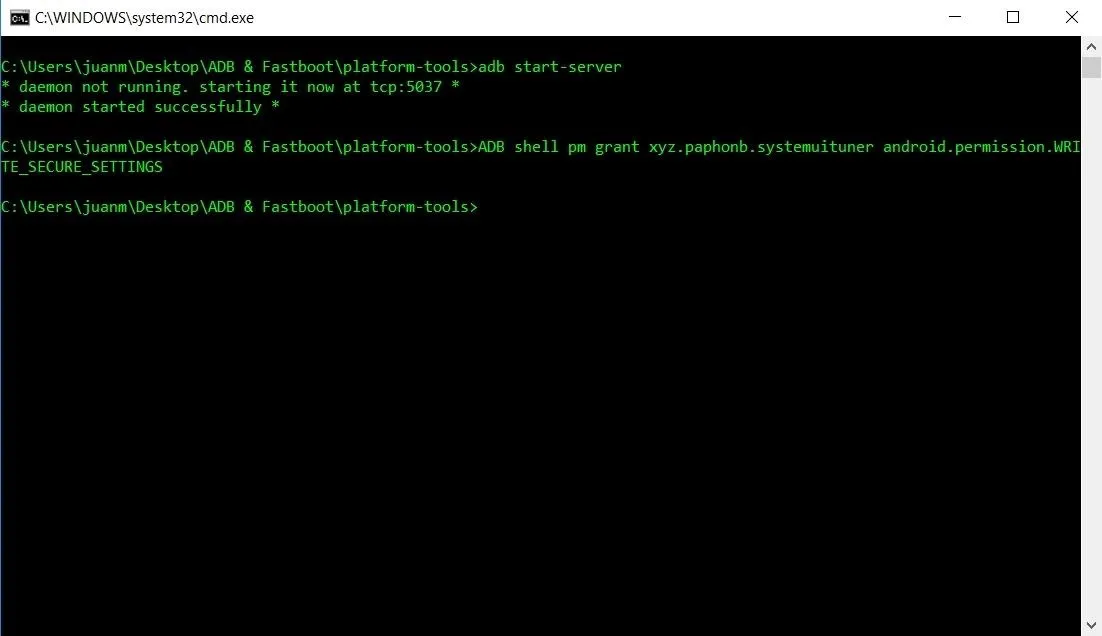
At this point, it's safe to disconnect your phone from your computer. The rest of the work will be done on your Android device.
Set Up the Custom Navigation Bar App
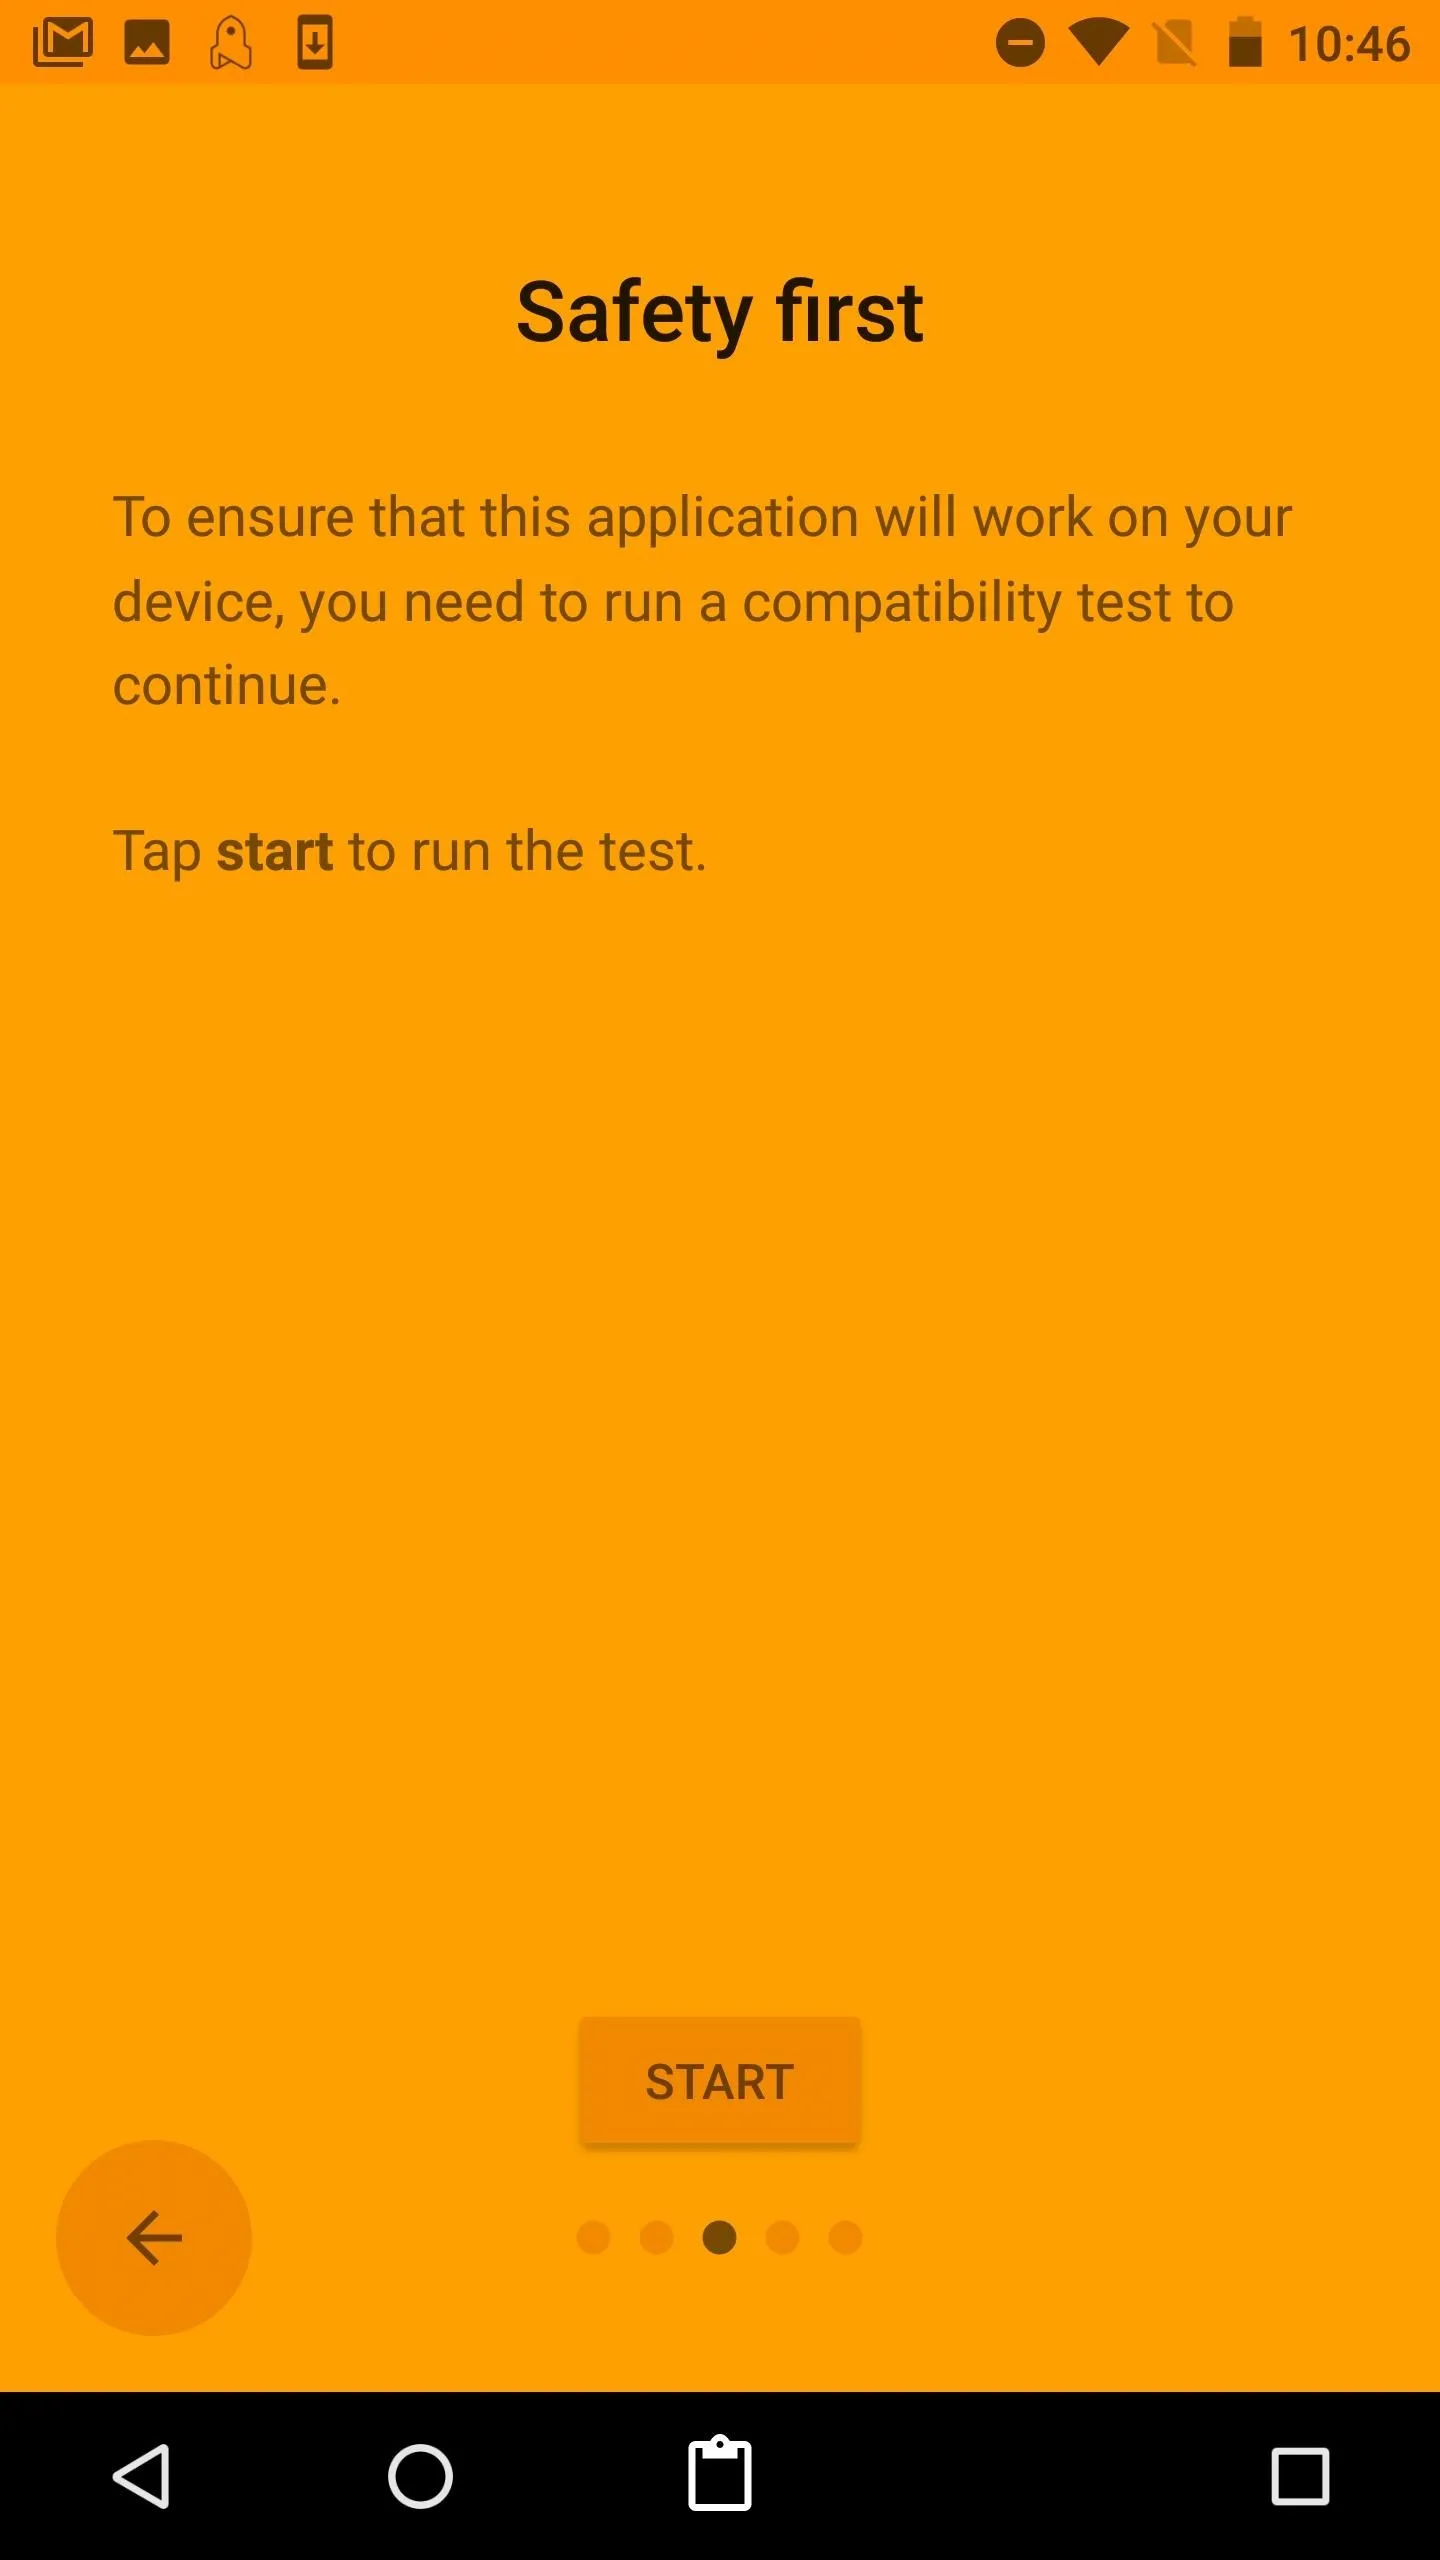
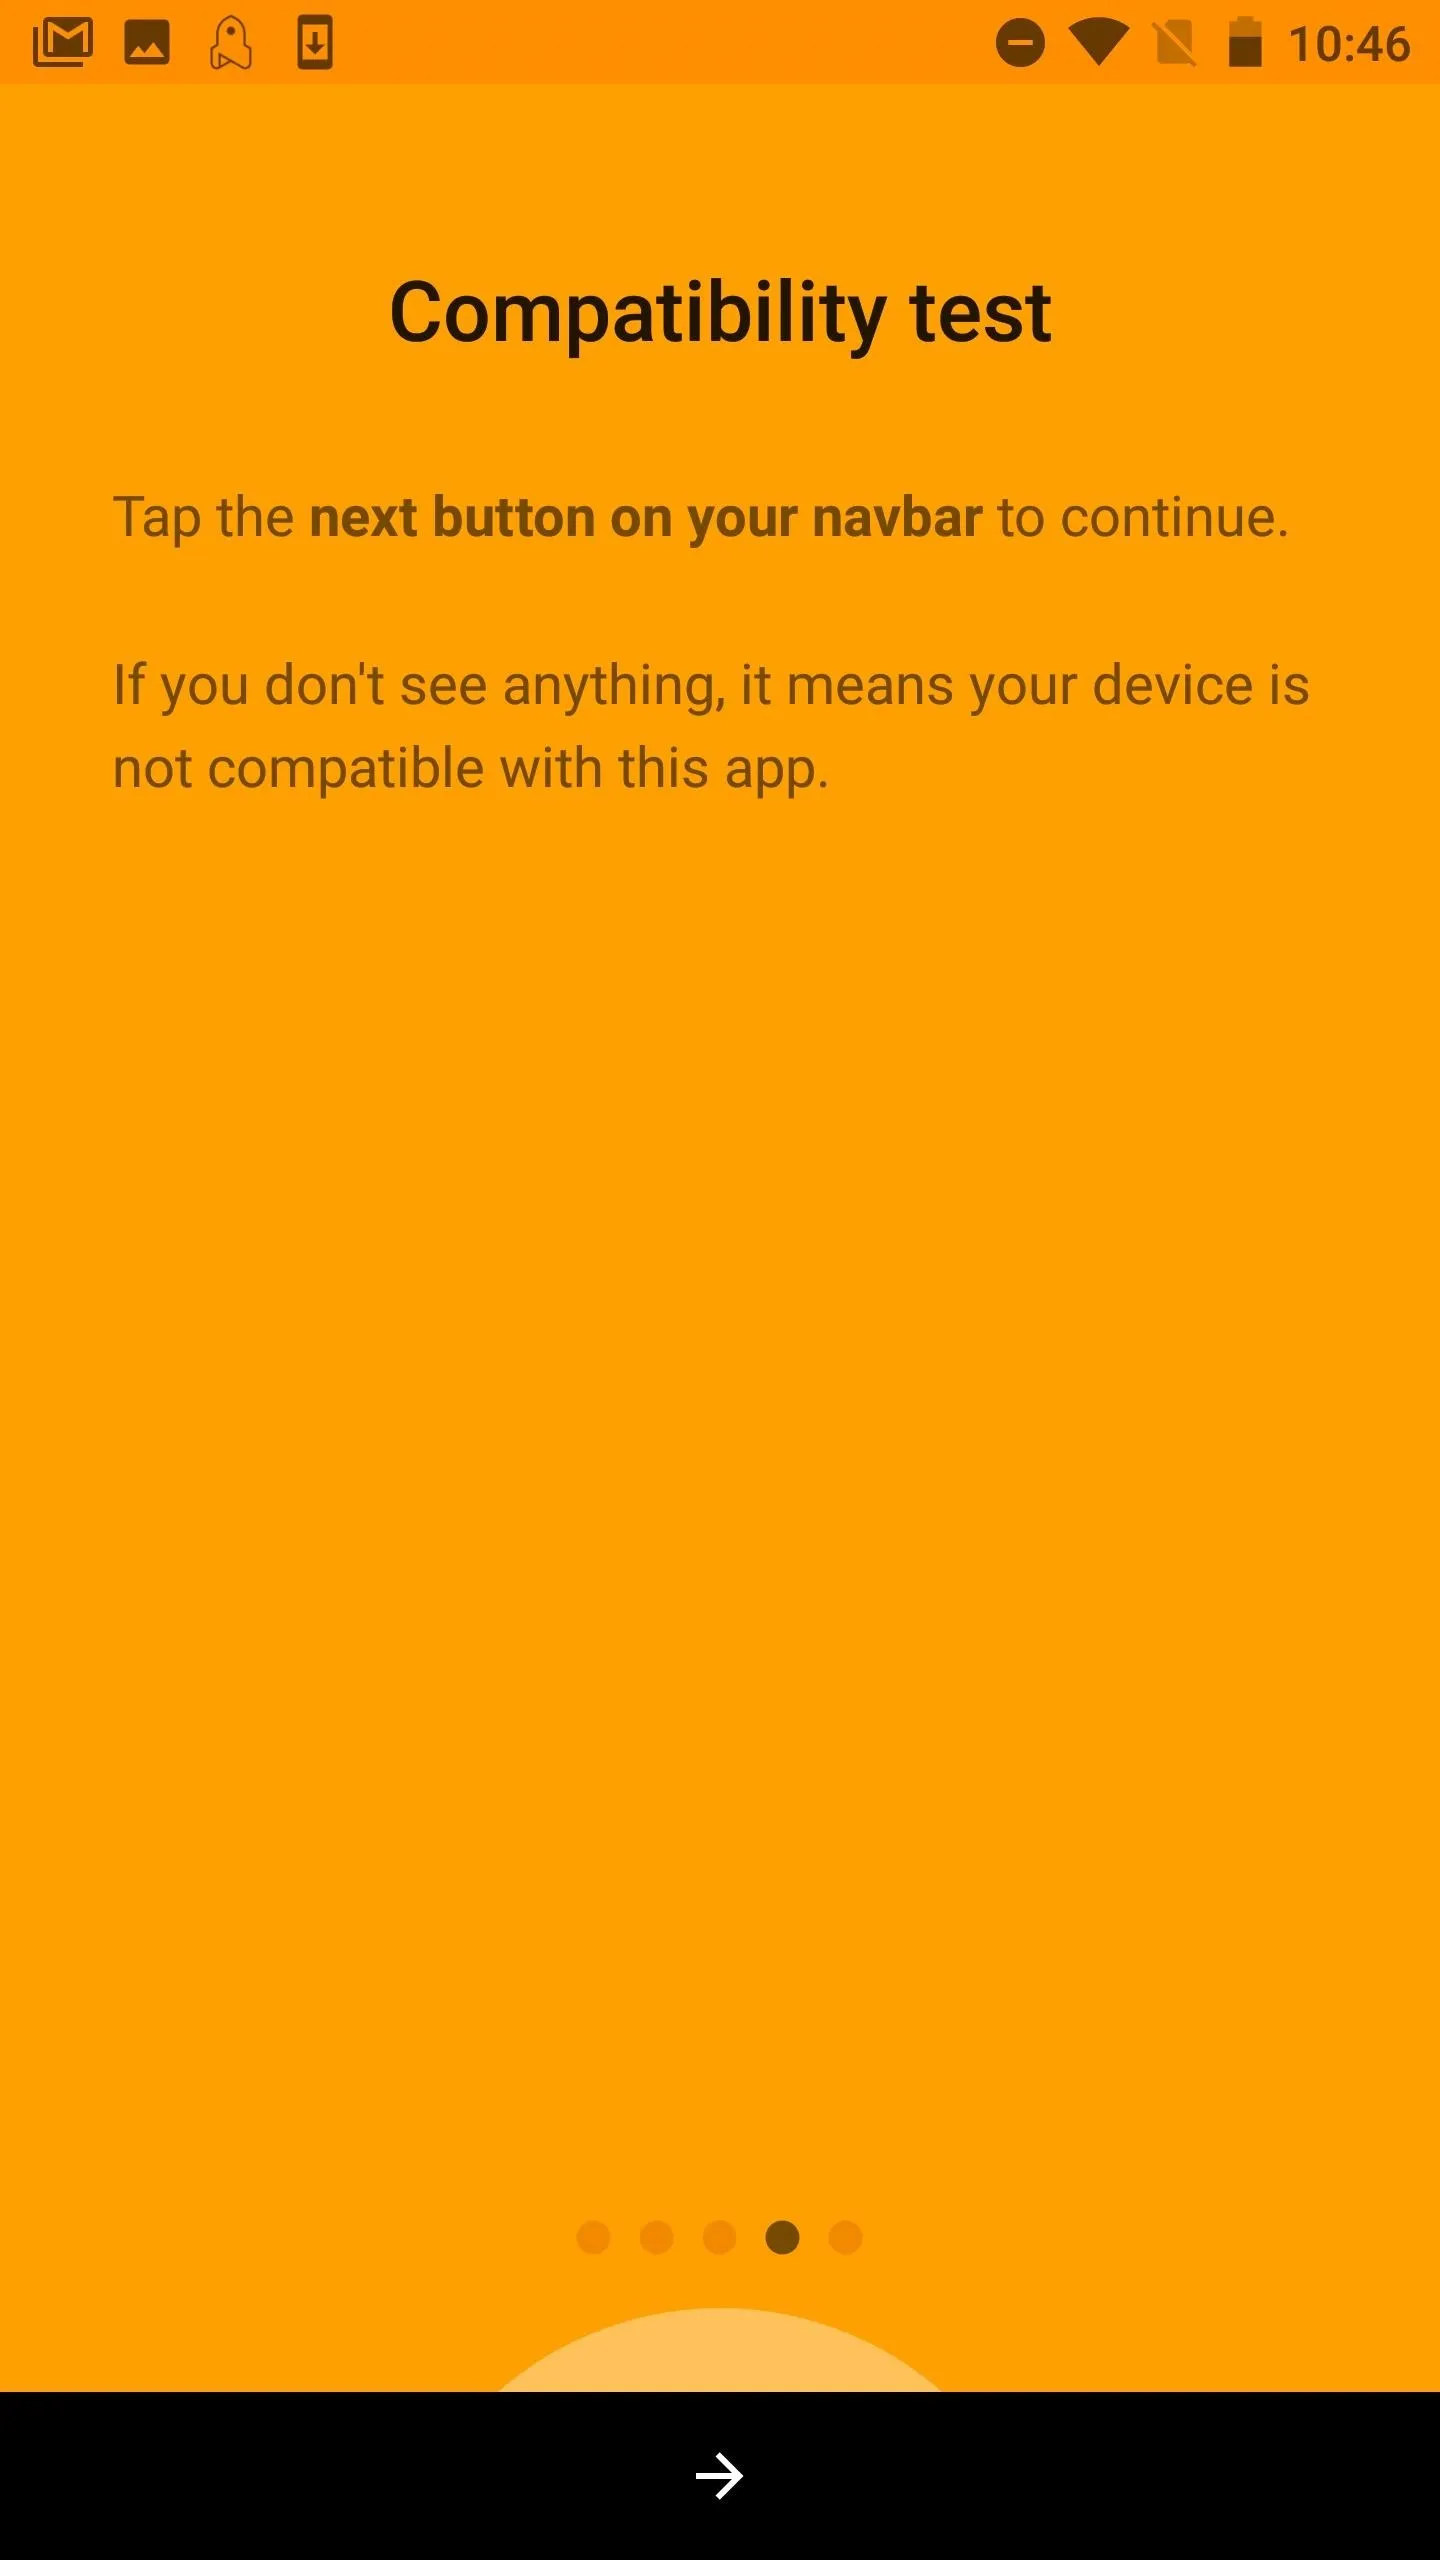
Next, go ahead and open the Custom Navigation Bar app on your phone, then press the forward arrow at the bottom of your screen. The app will now determine whether or not your device's navigation bars can be customized, and attempt to place a "next" button in the center of your navigation bar. Its appearance means the app is compatible with your device and you're free to go on to the final step.
Customize Your Navigation Bar
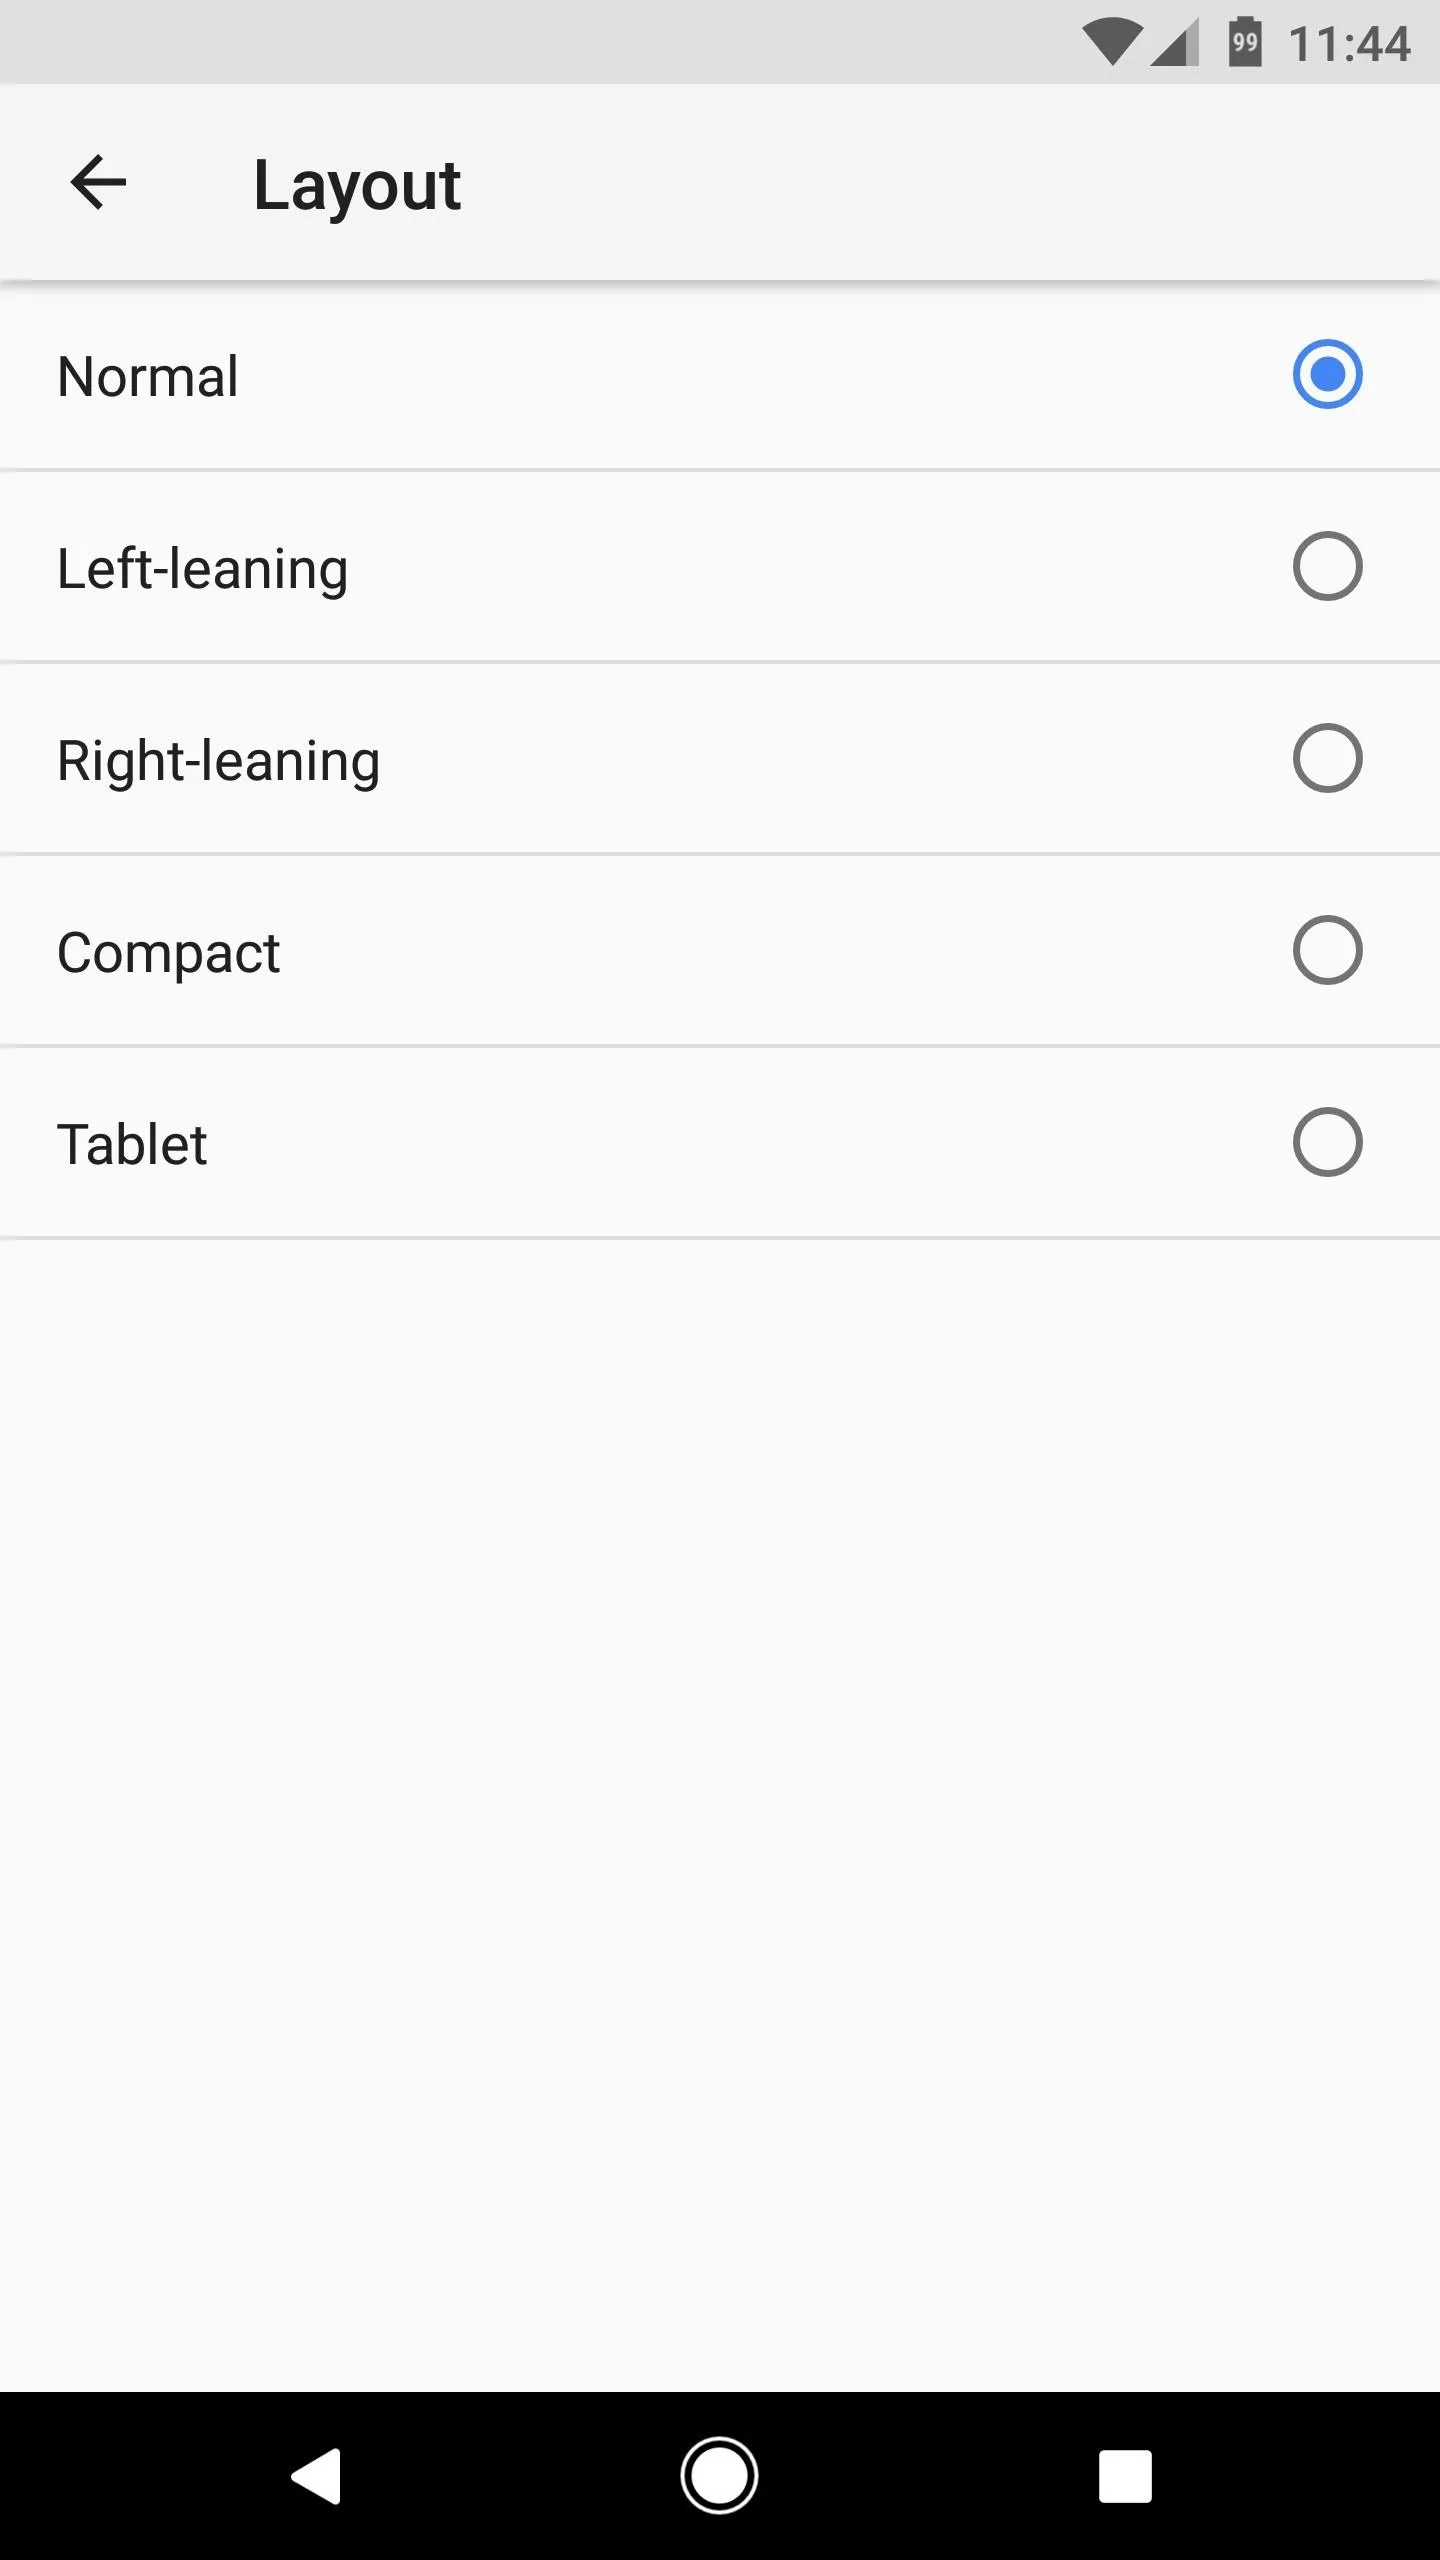
If your device passed through the app's testing and is shown to be compatible, you can now customize your navigation bar. You have multiple options for doing so, and can set the button layout to standard, compact, left or right oriented, and tablet mode. You can also add a clipboard, a key code, and a keyboard switcher to replace or sit beside your home button to further customize your device.
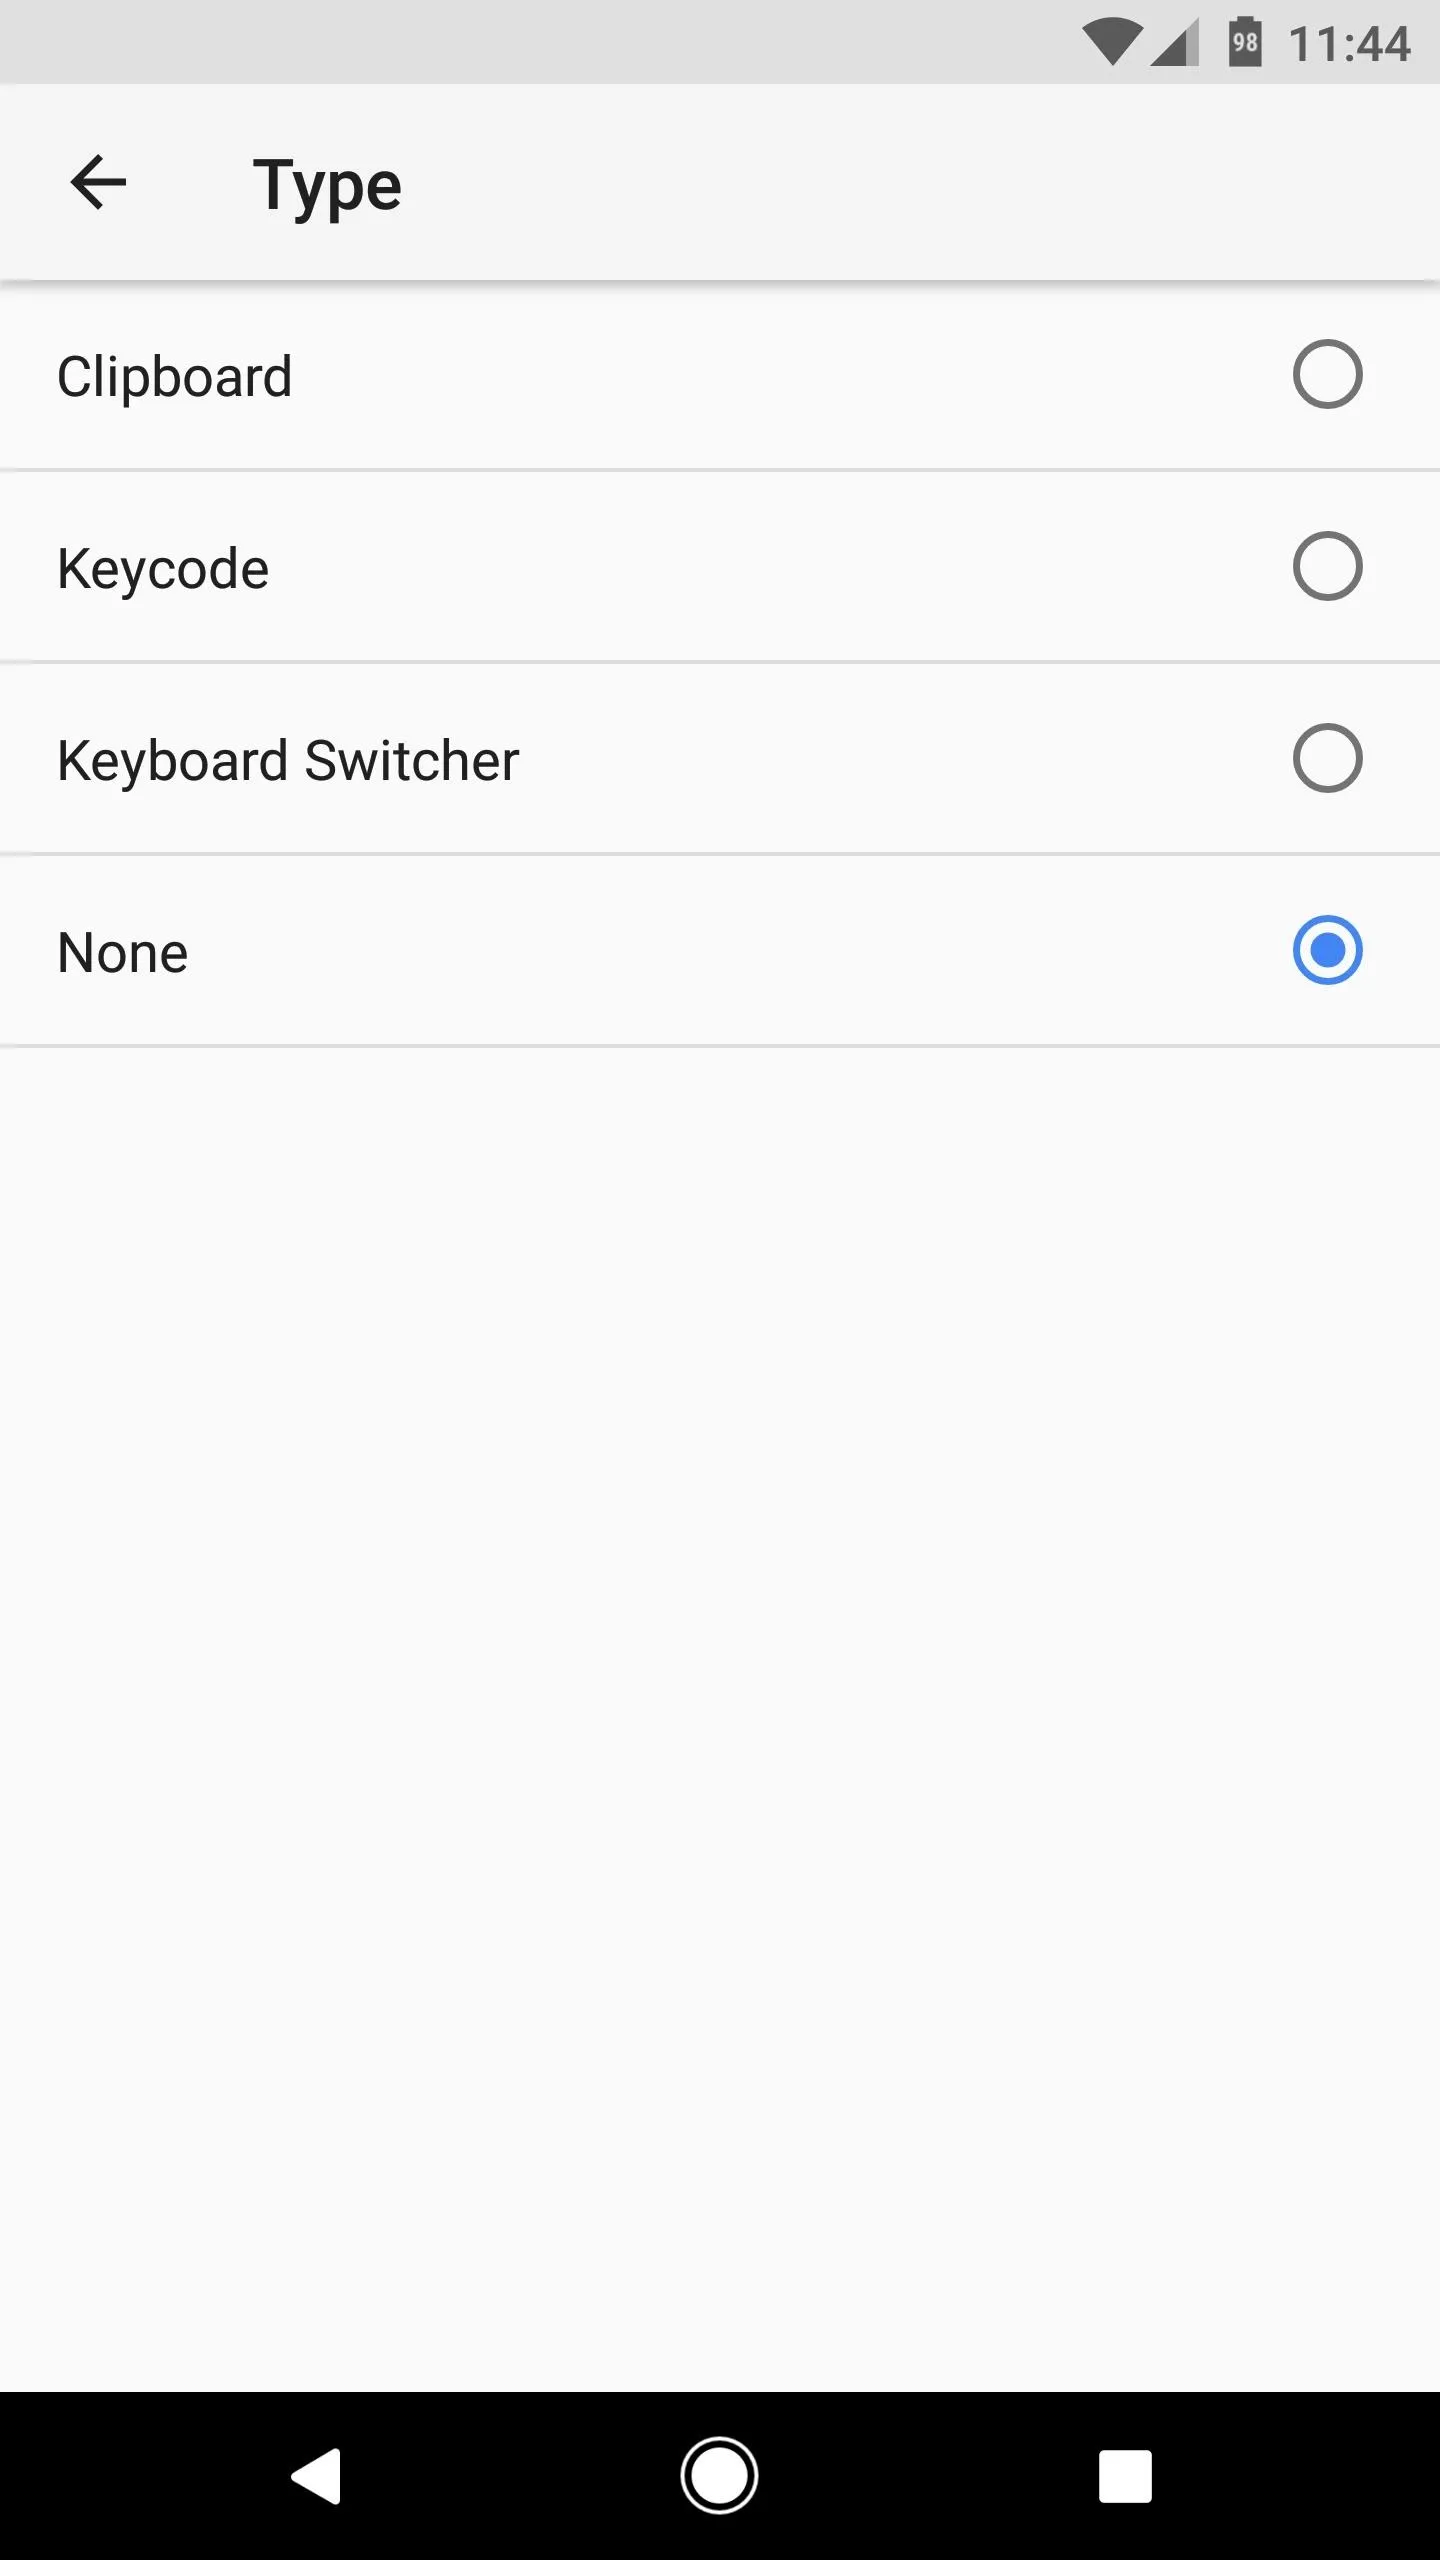
Please note that some features may not work fully, as the app is still technically in development. So far, we've tested this app on an HTC 10 and found it incompatible. We also installed it in a Nexus 6P and found it fully functional, though hard to read and set because of white text on a white background. Let us know what you think, and feel free to post in the comment section below.
- Follow Gadget Hacks on Facebook, Twitter, Google+, and YouTube
- Follow Android Hacks on Facebook, Twitter, and Pinterest
- Follow WonderHowTo on Facebook, Twitter, Pinterest, and Google+
Cover image and screenshots by Amboy Manalo/Gadget Hacks


Comments
Be the first, drop a comment!