


One of the main goals of Google Wifi (and Nest Wifi after it) is to make managing your internet connections as simple as possible. A great example of this is how easy it is to prioritize one device and allot it more bandwidth when your network is bogged down with other traffic.
This feature allows you to limit the network bandwidth in your home on a per device basis. For example, if you planned on watching Netflix on your Chromecast, you could give it the highest priority and have everything else in your home slow down a little bit to accommodate it. This should then result in a smooth streaming session, and it's easy to put things to normal back when you're done.
Using the Google Wifi App
Nest Wifi users can skip ahead to Method 2 since the newer model uses the Google Home app. But if you're on a first-gen Google Wifi system, you're probably still using the Google Wifi app to manage it.
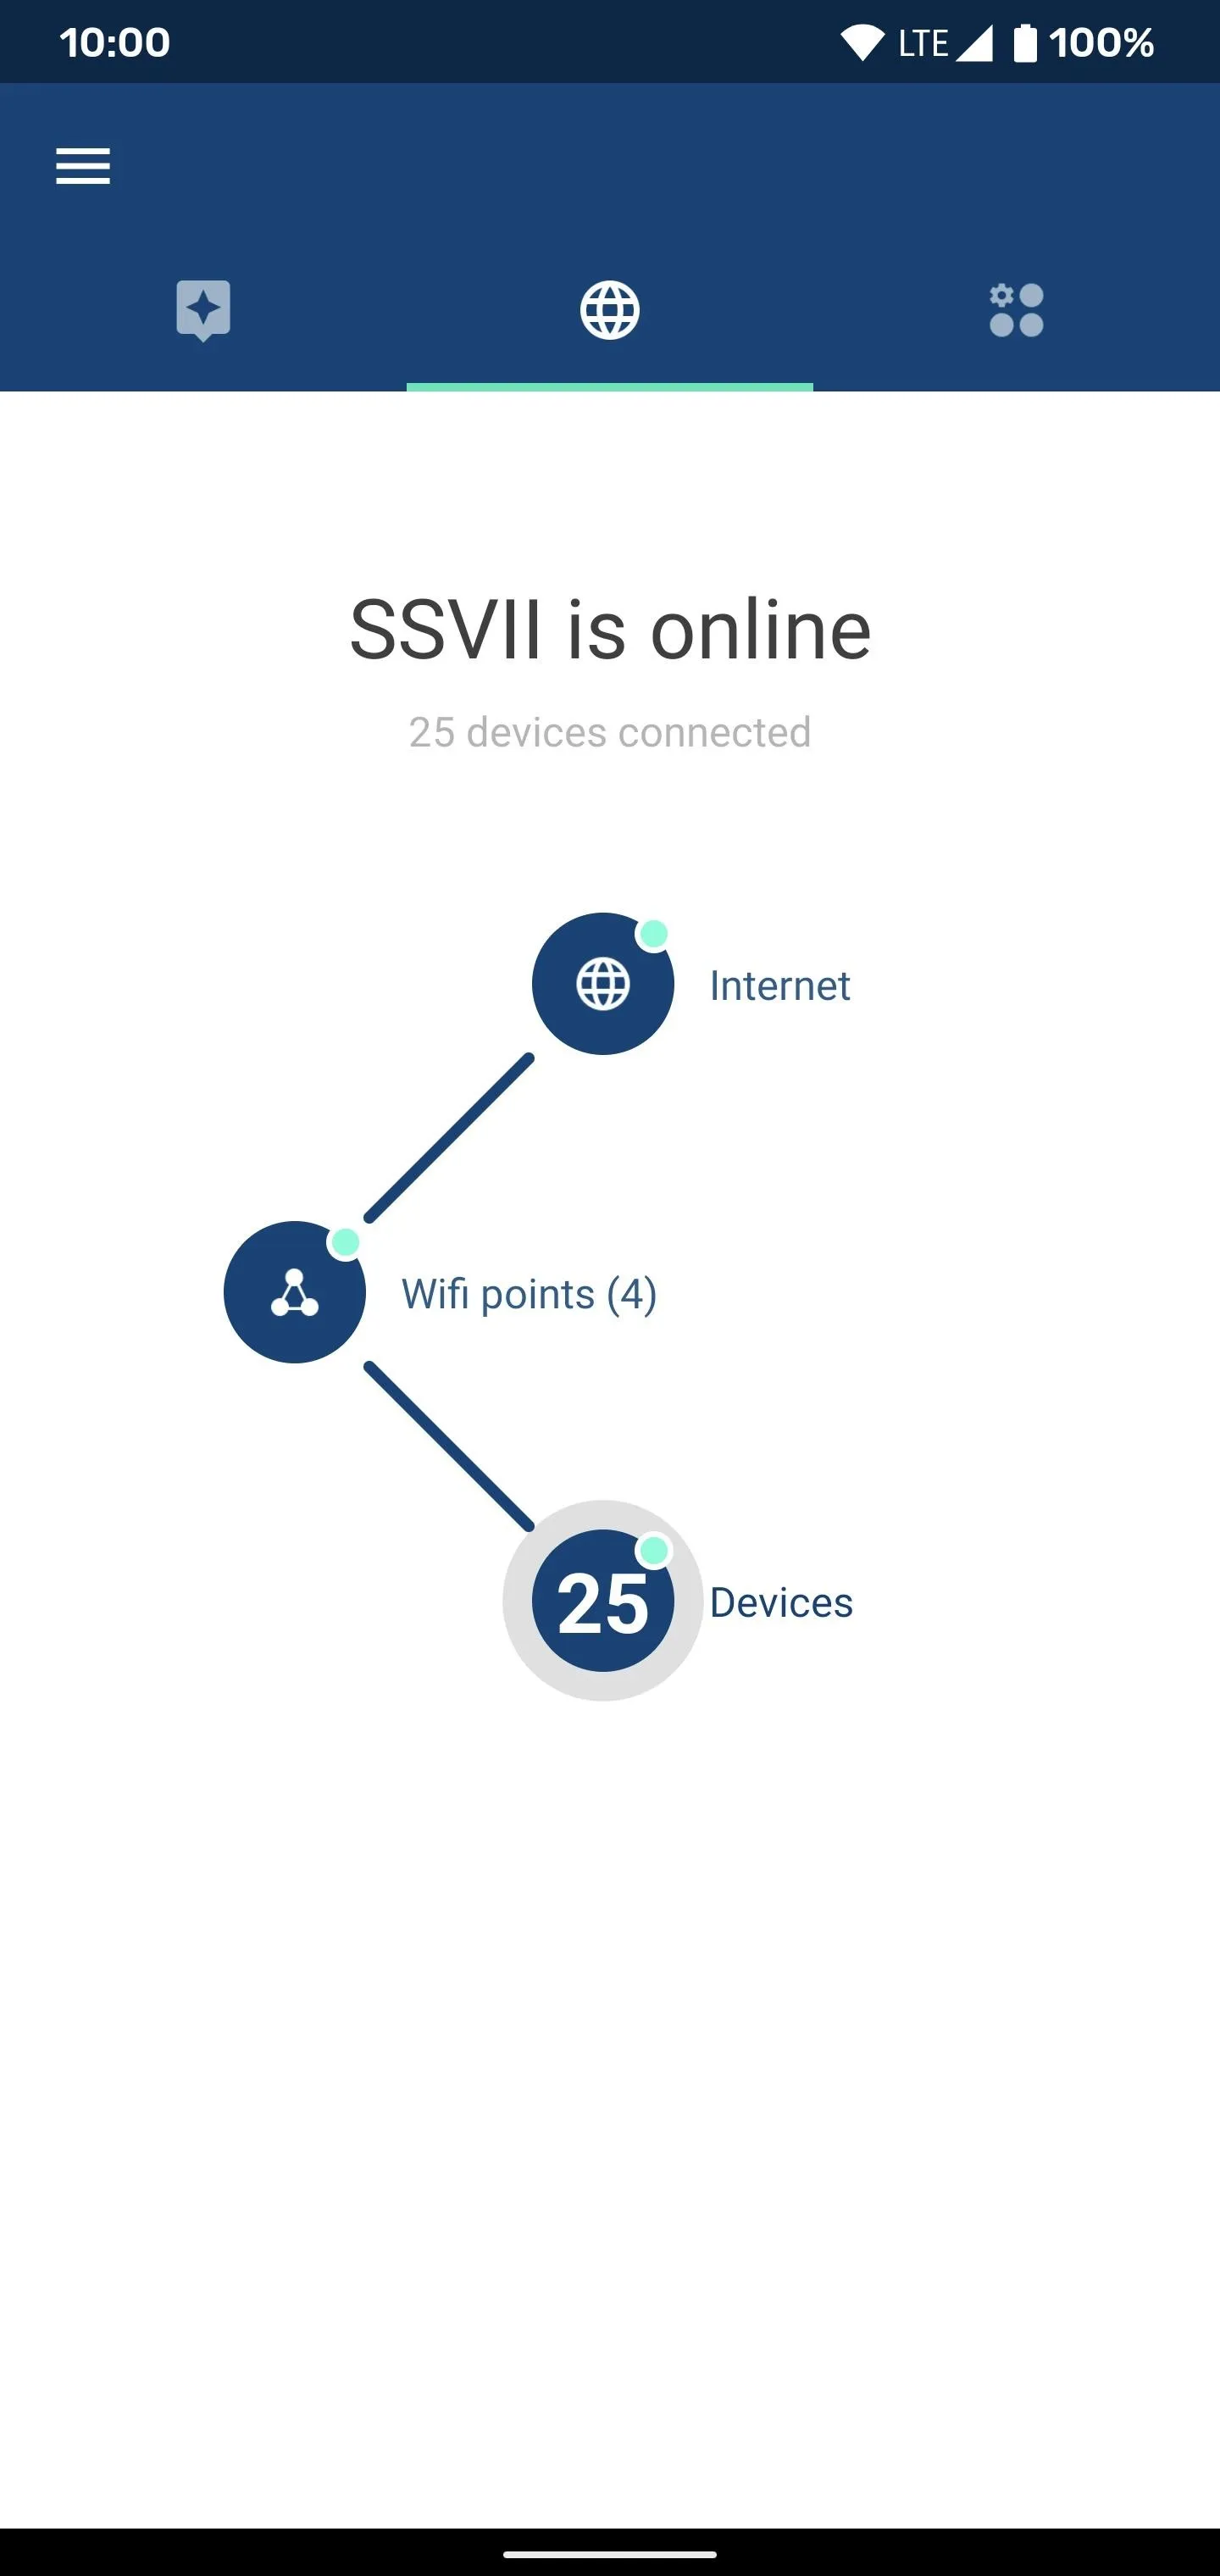
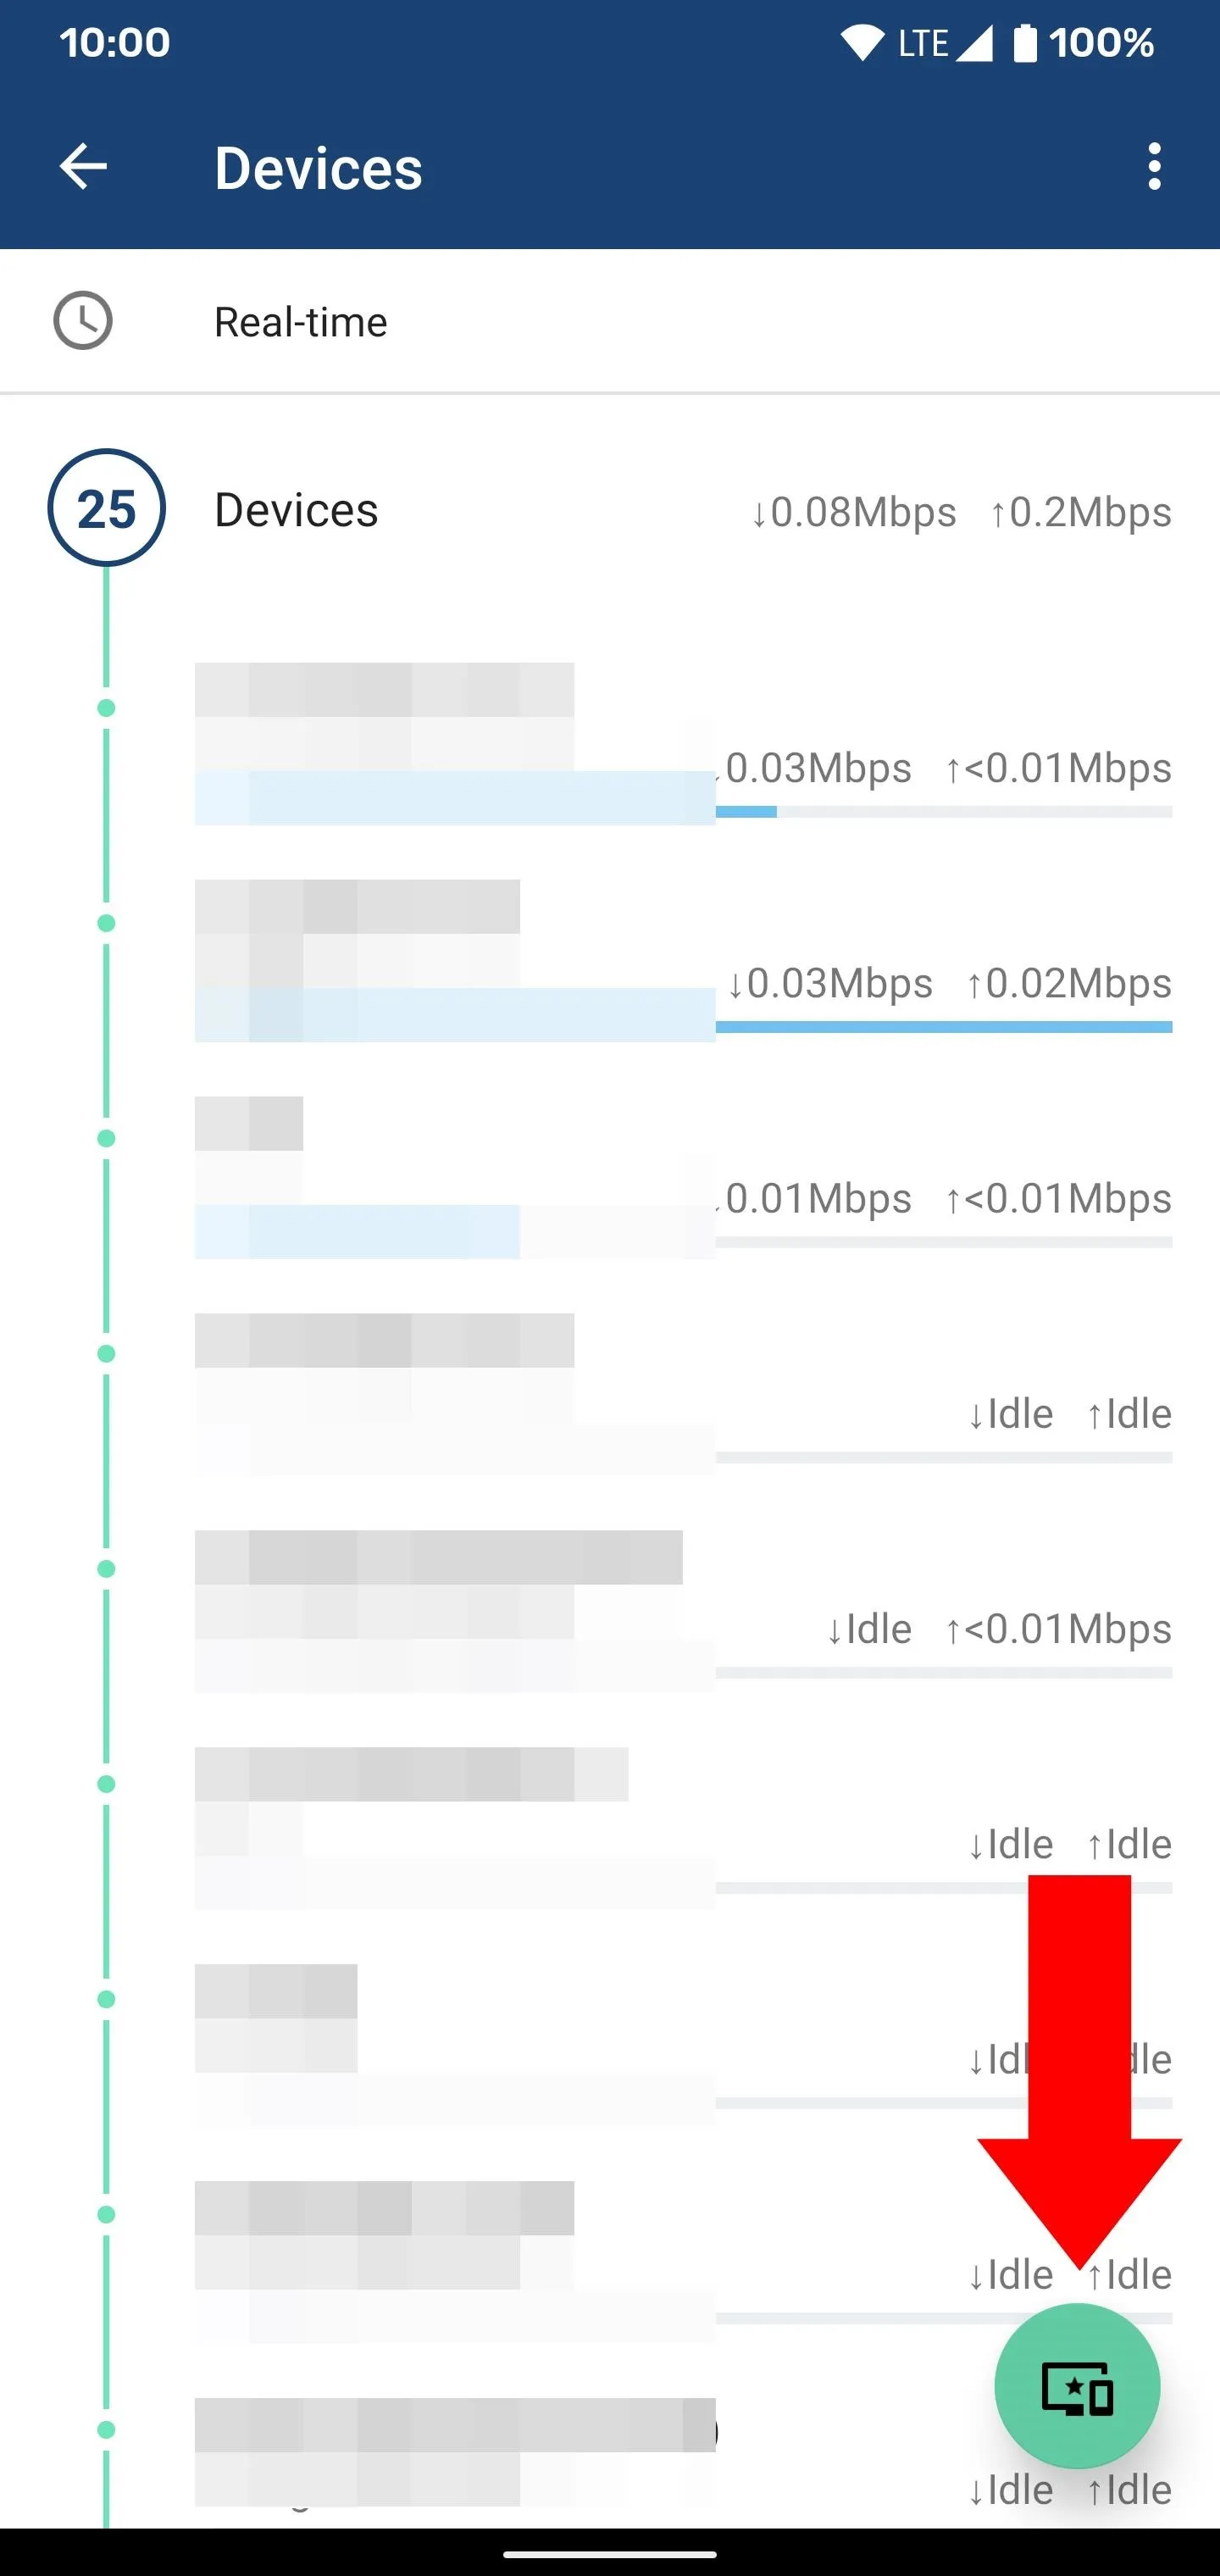
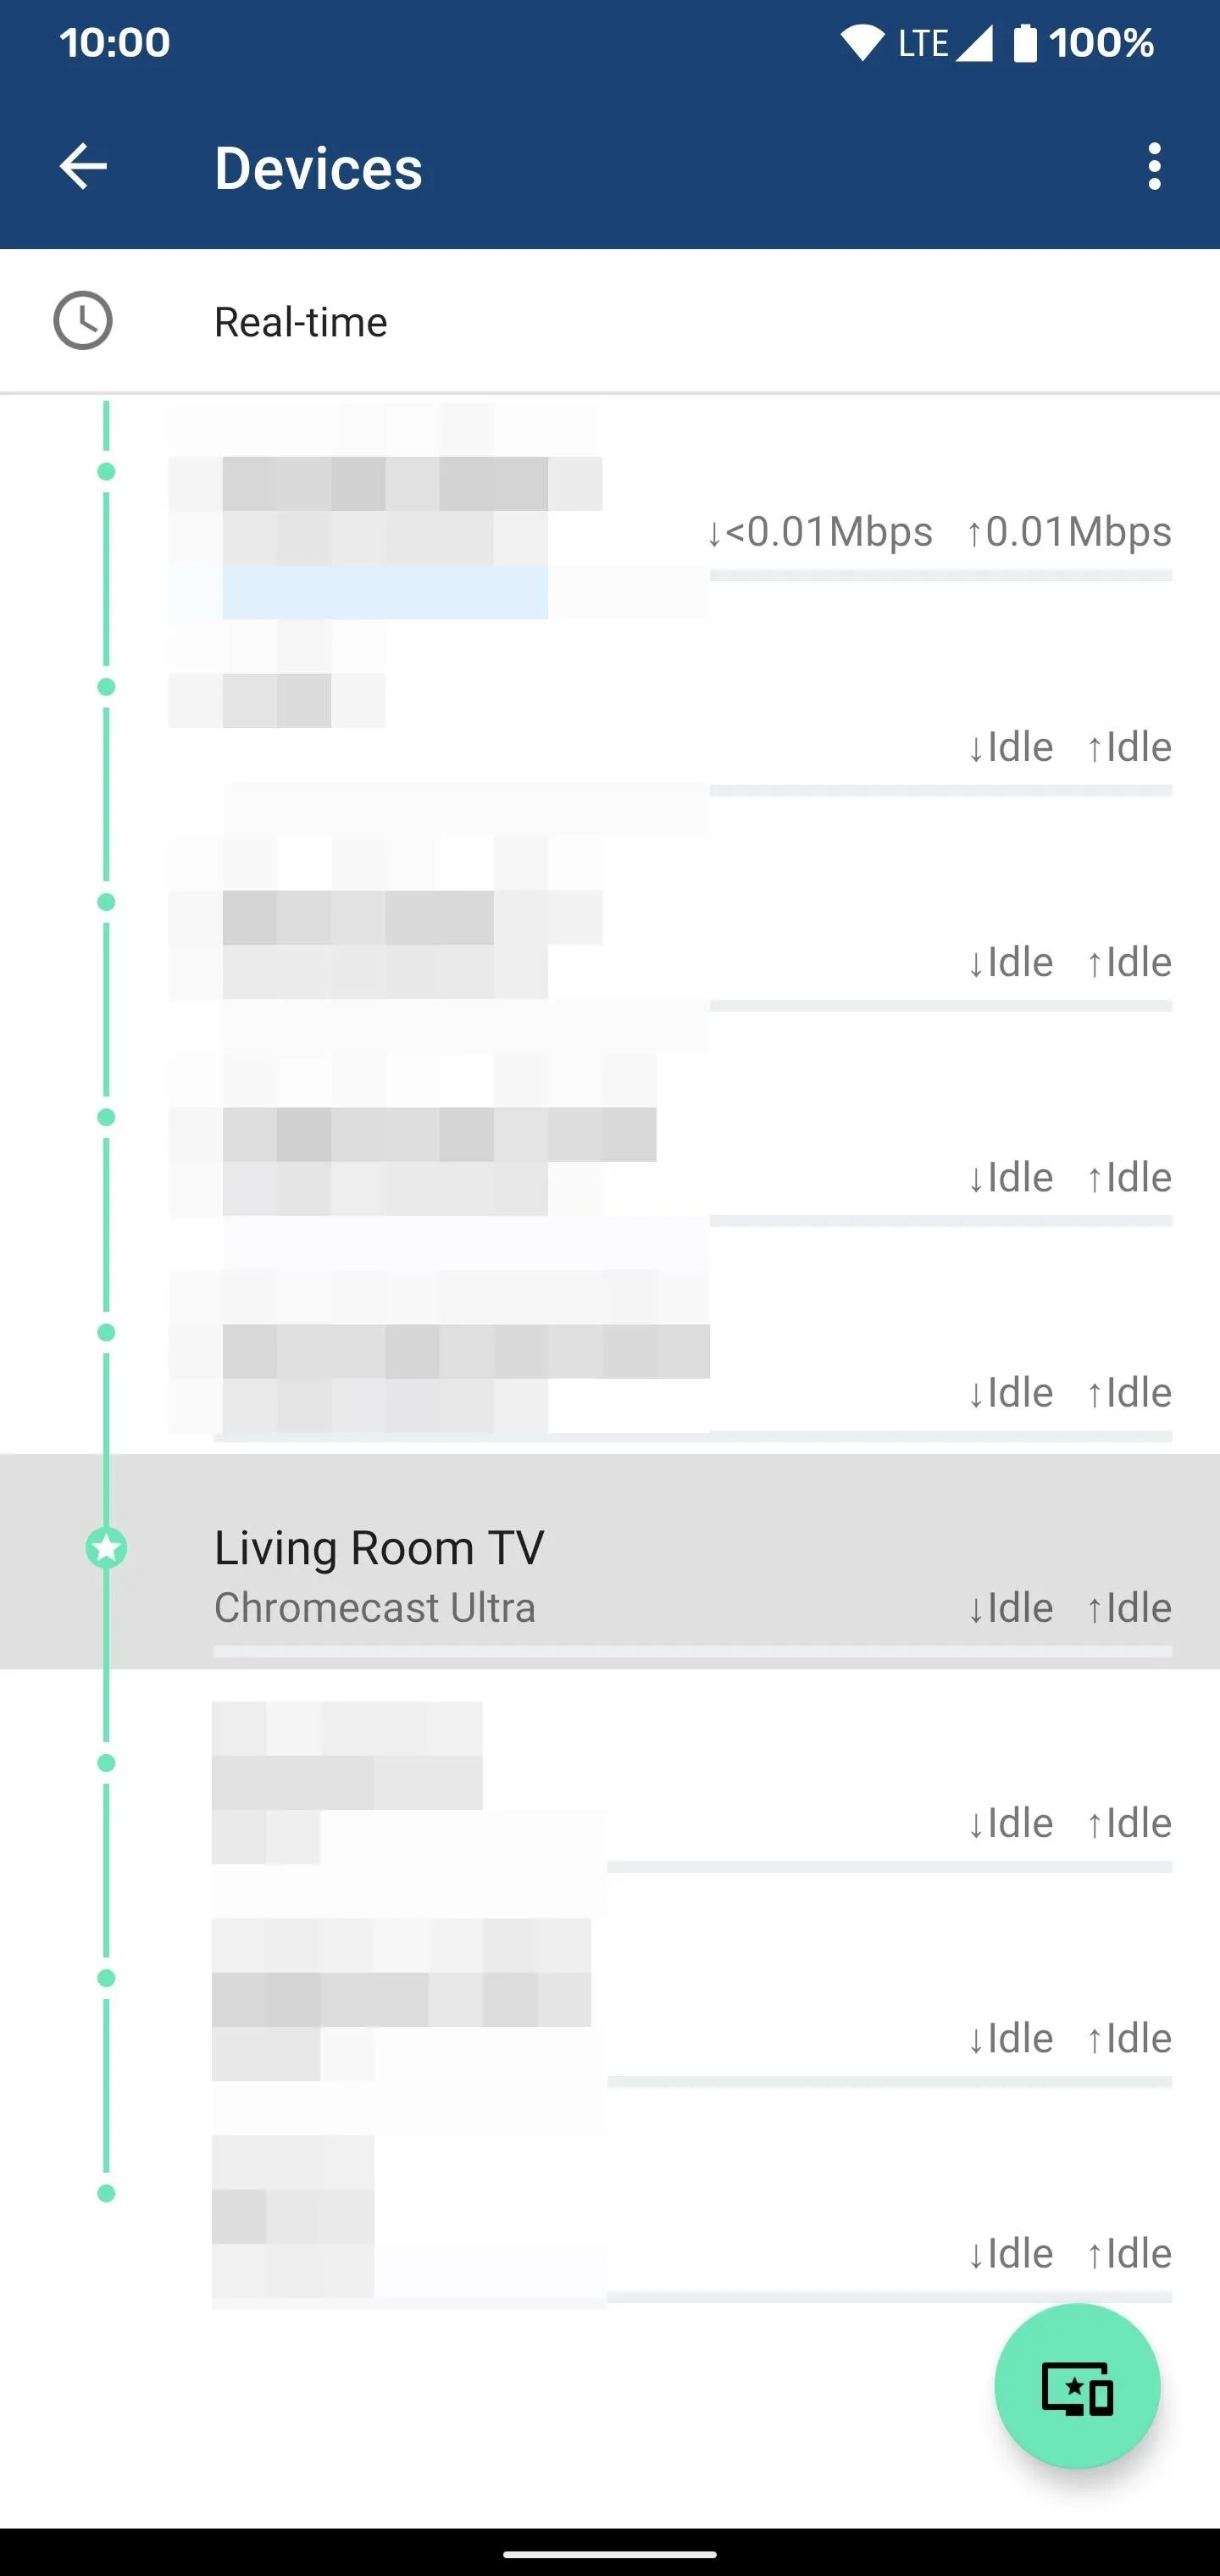
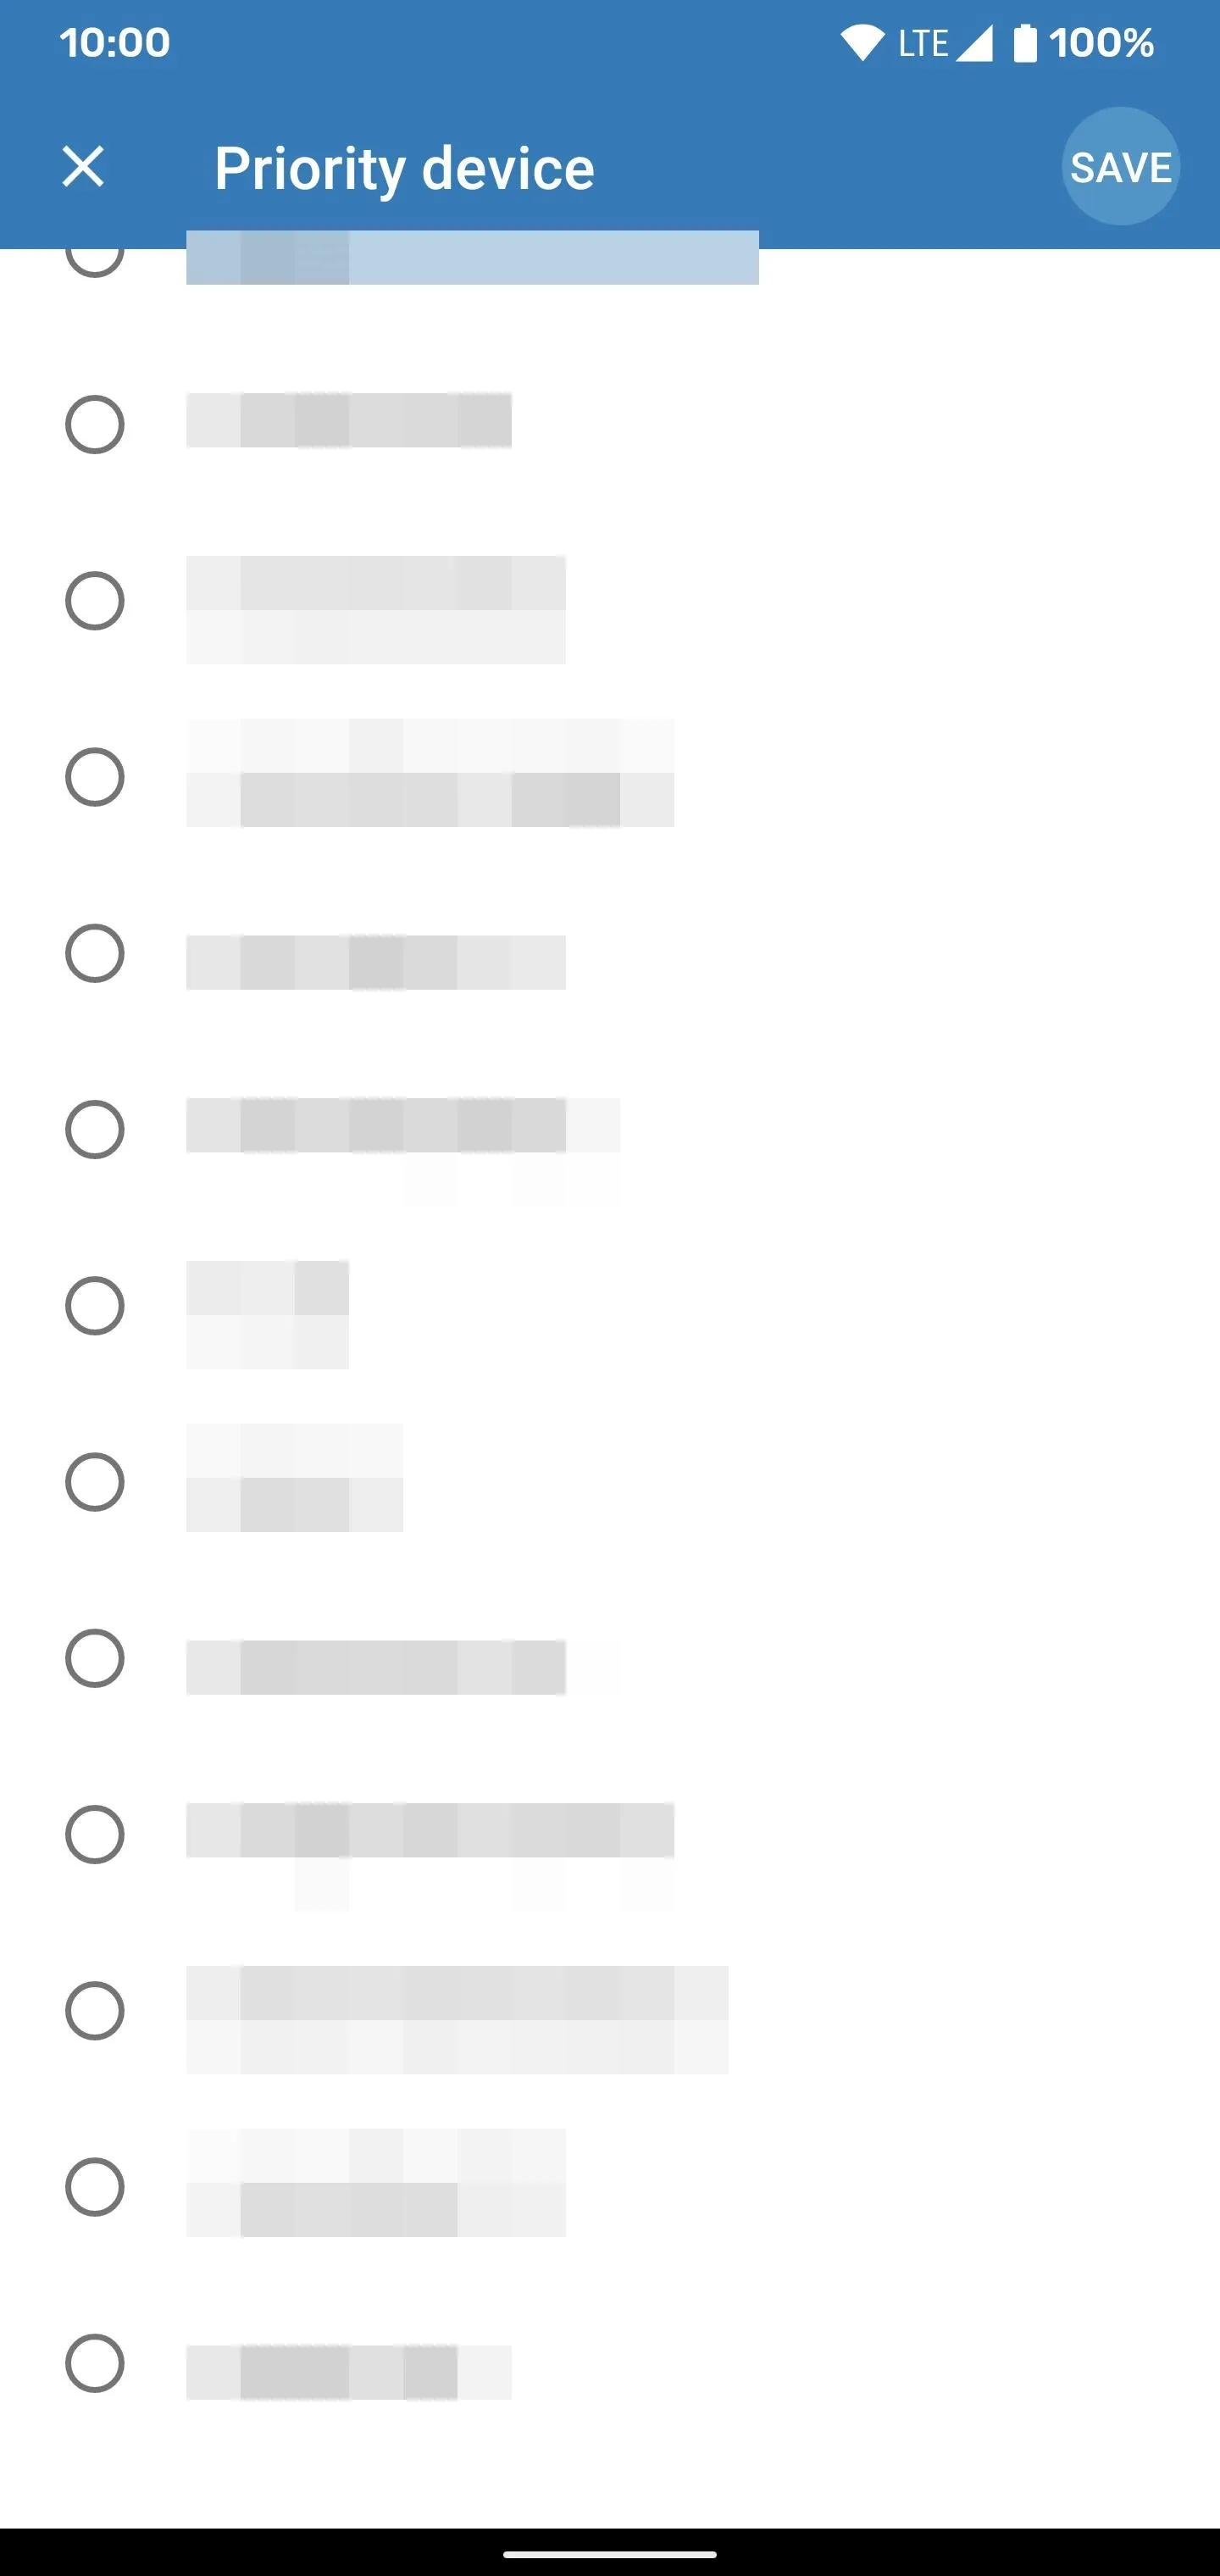
In this case, open the Google Wifi app (Android | iOS) to the main screen, tap "Devices," then you'll see a list of all your connected devices. Tap the floating action button at the bottom-right, then you'll see all the devices that can have their network bandwidth prioritized.
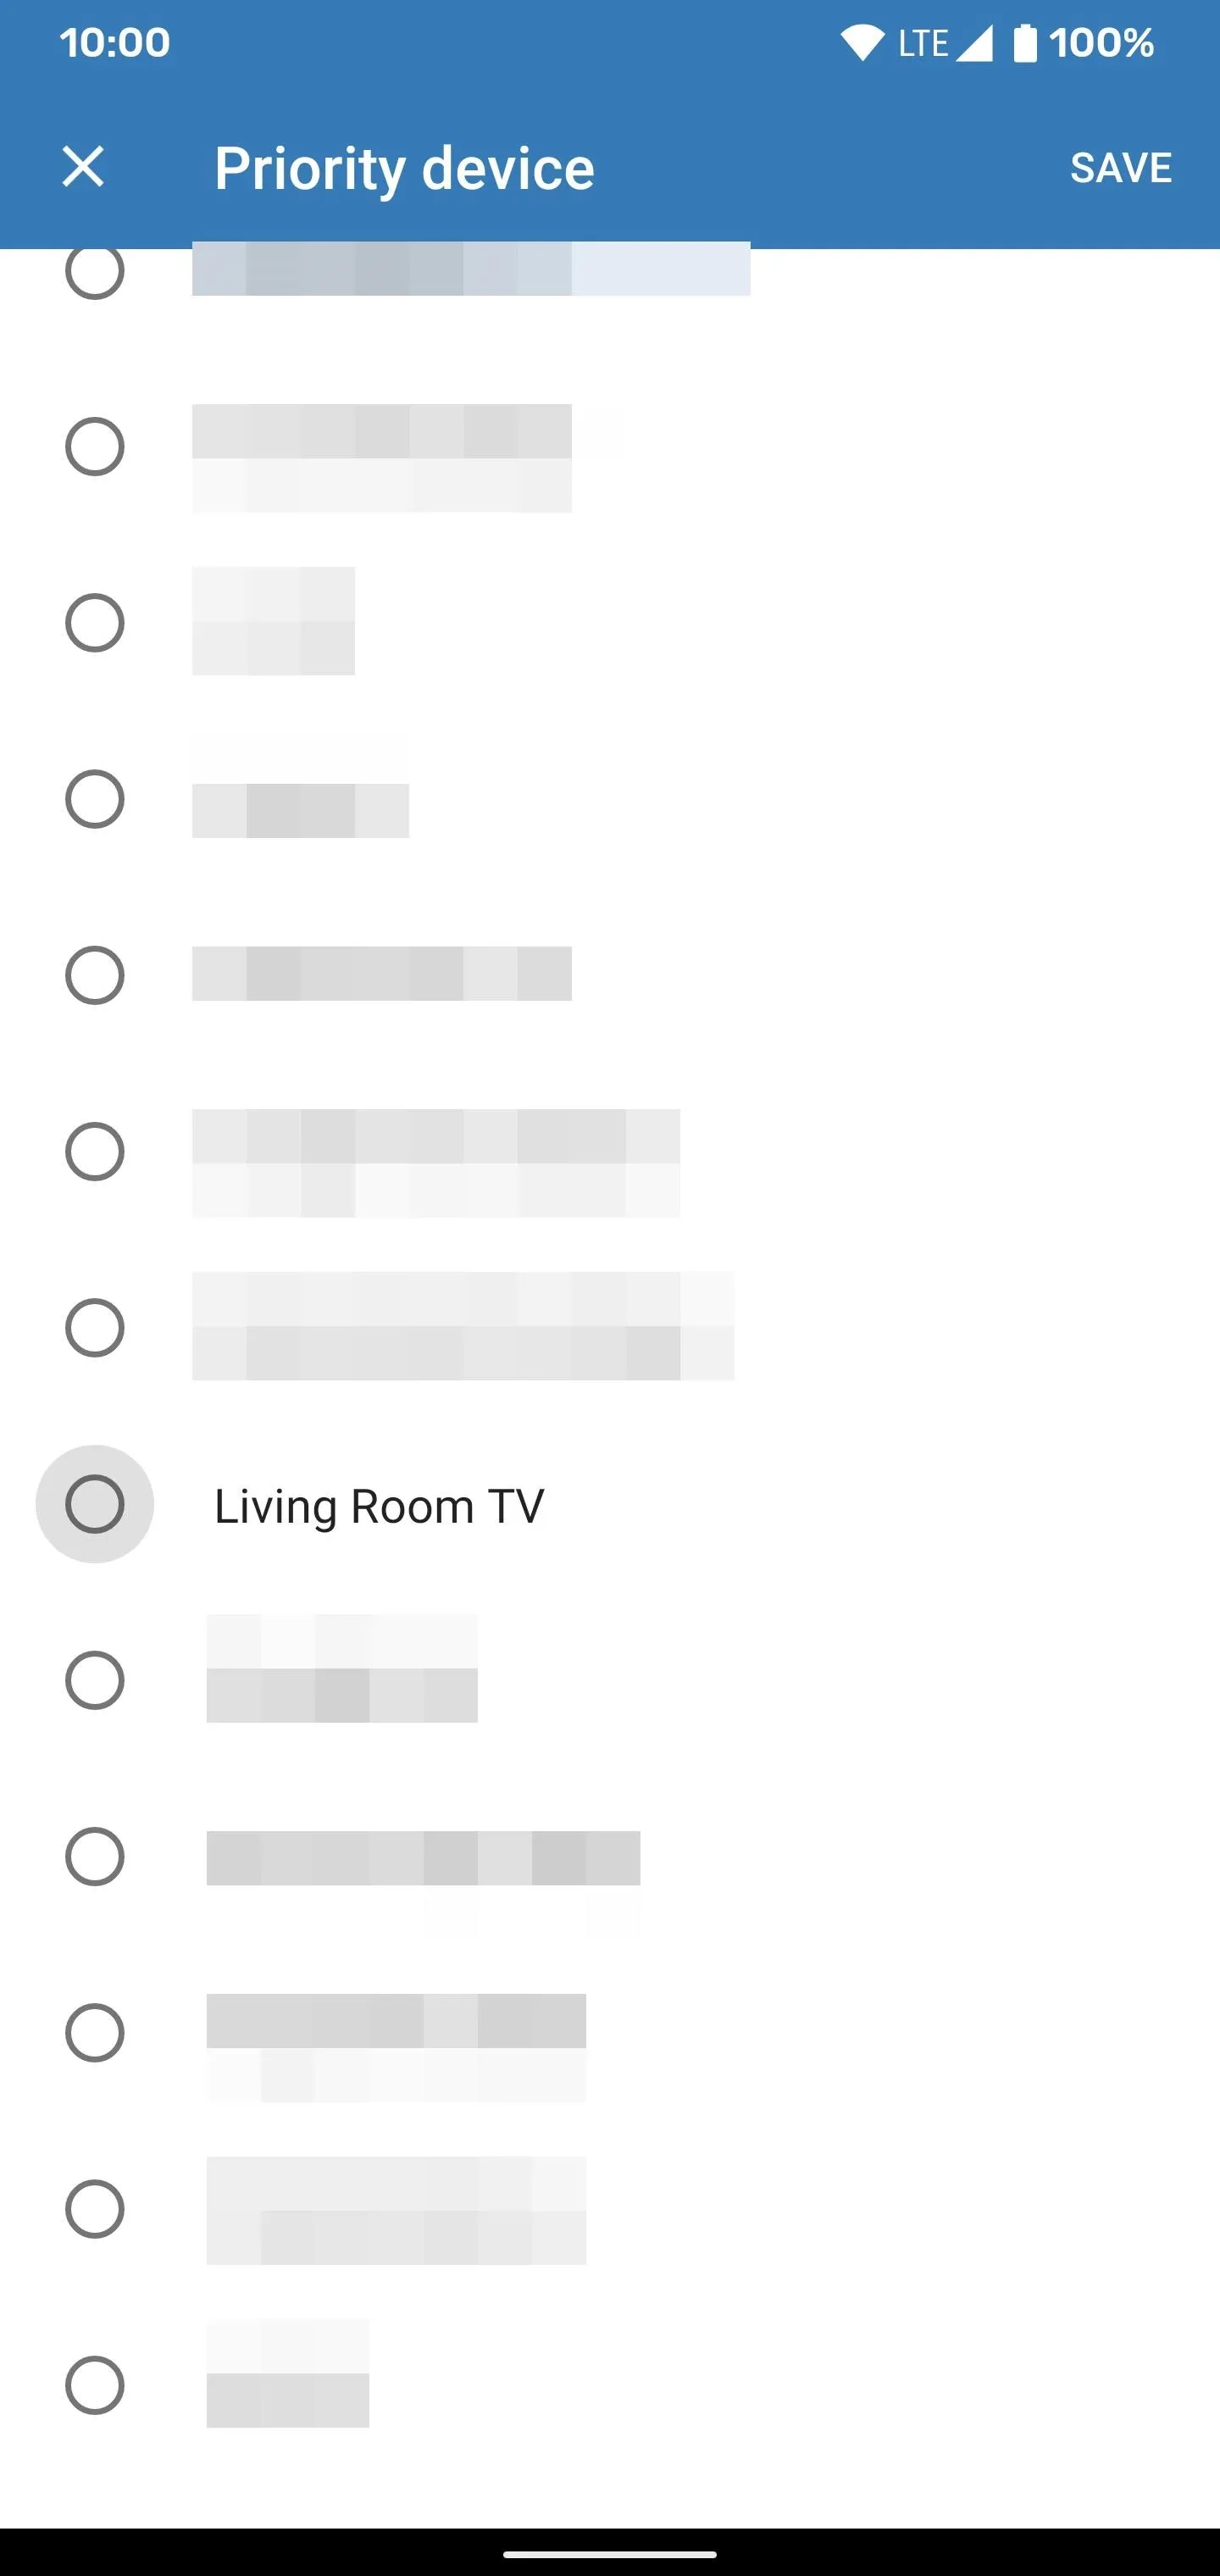
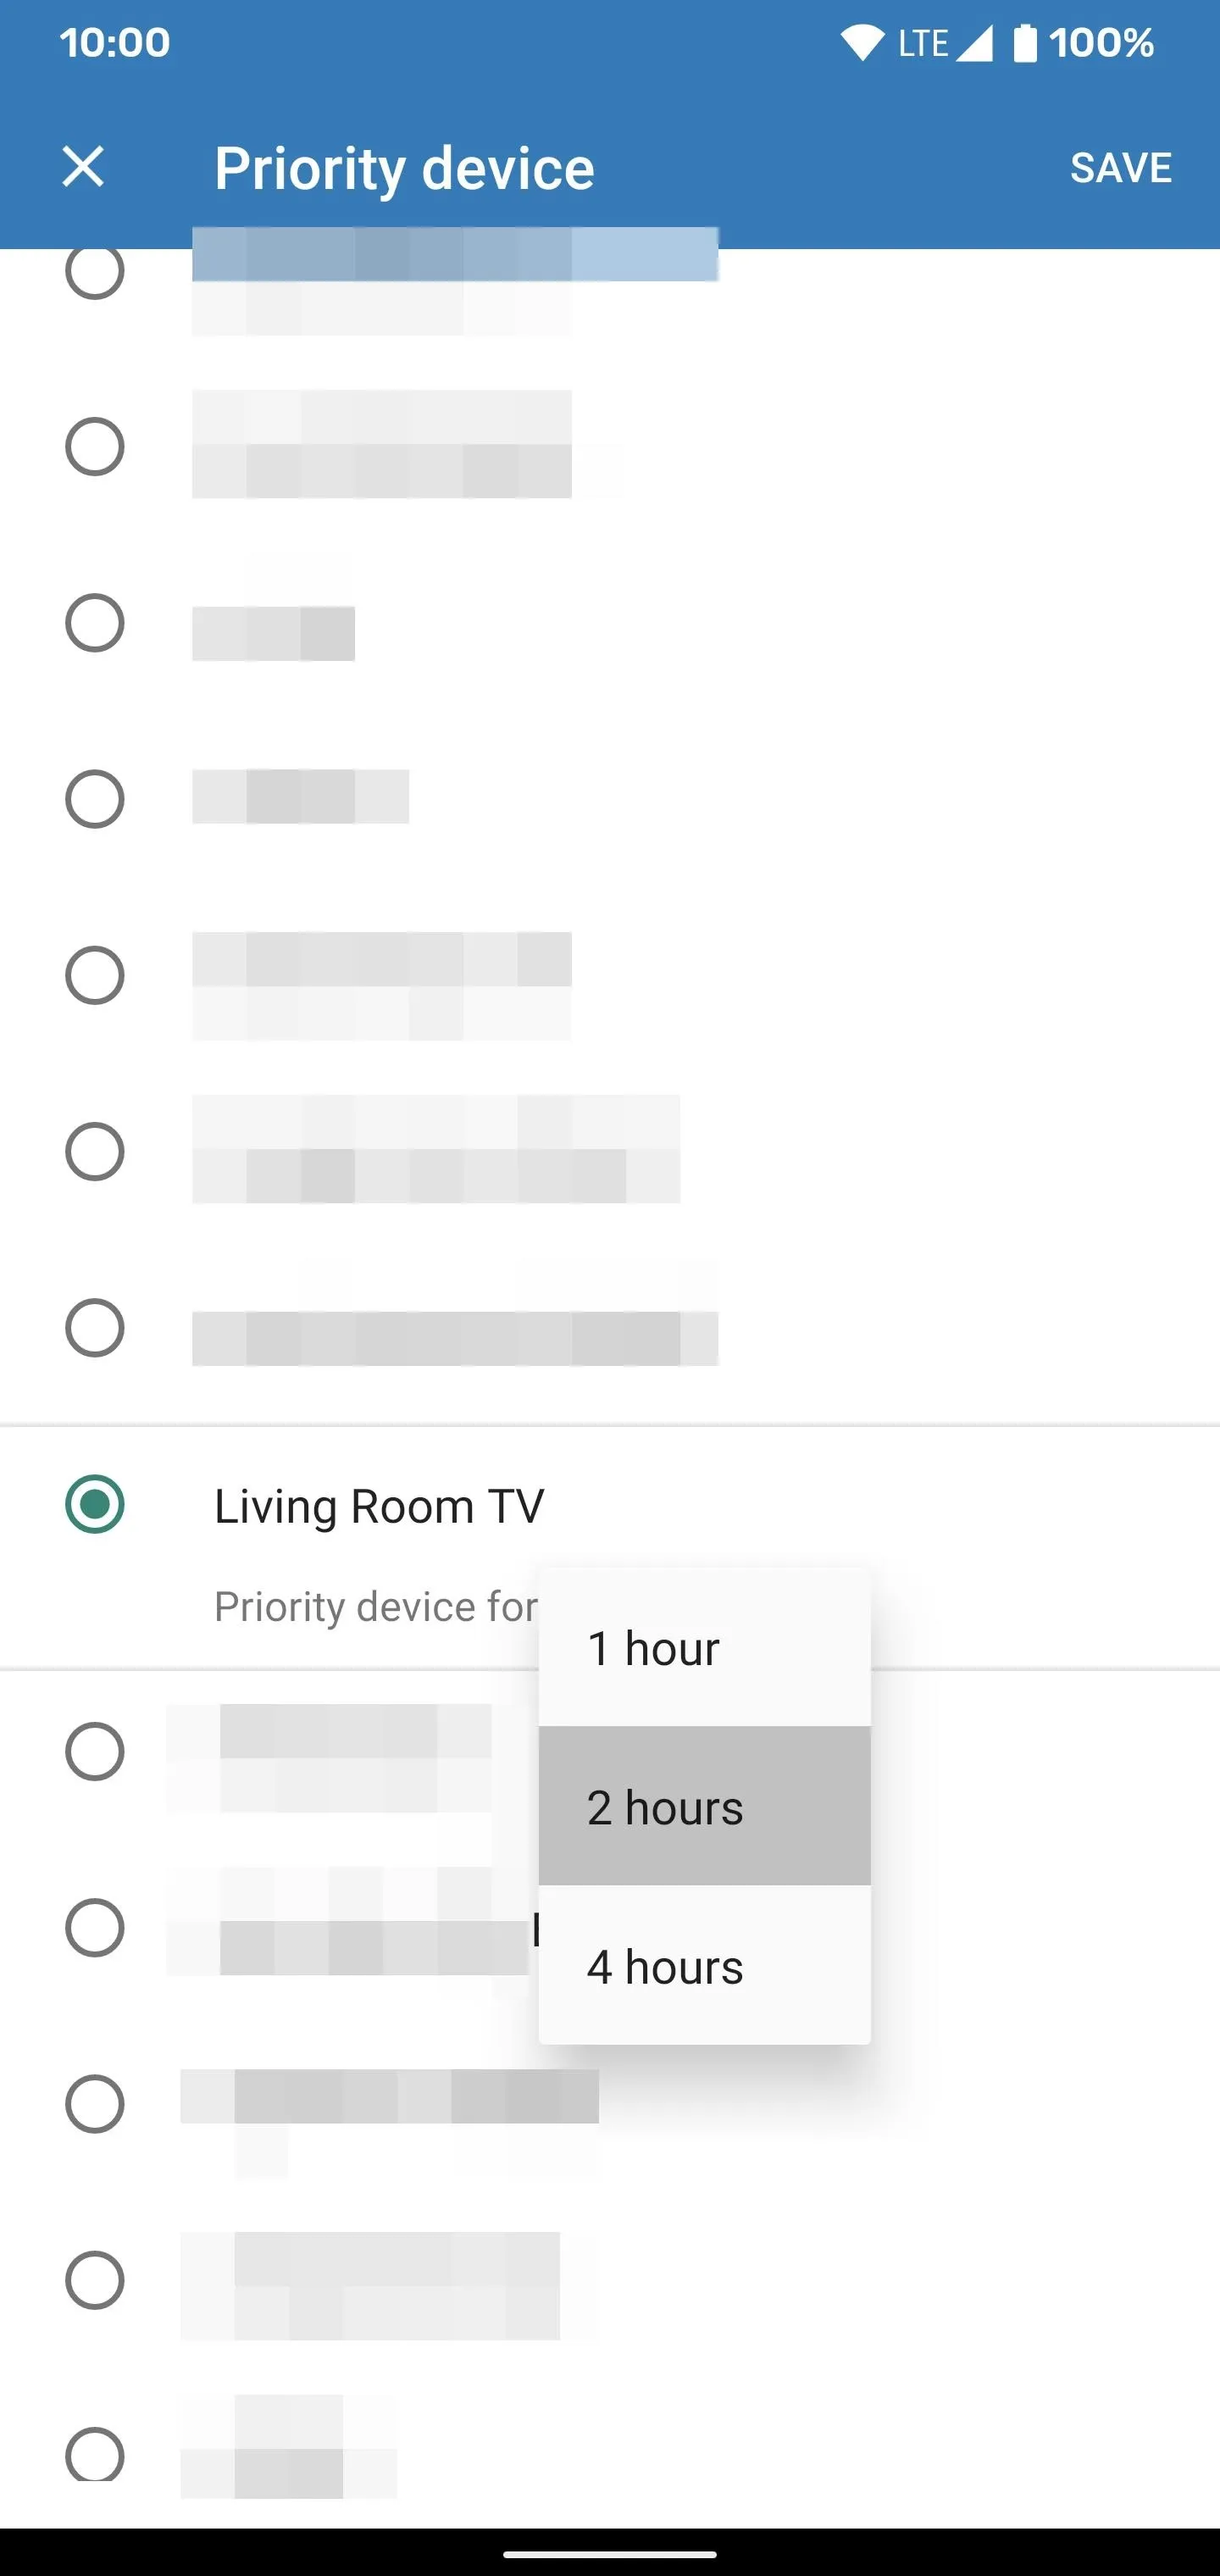
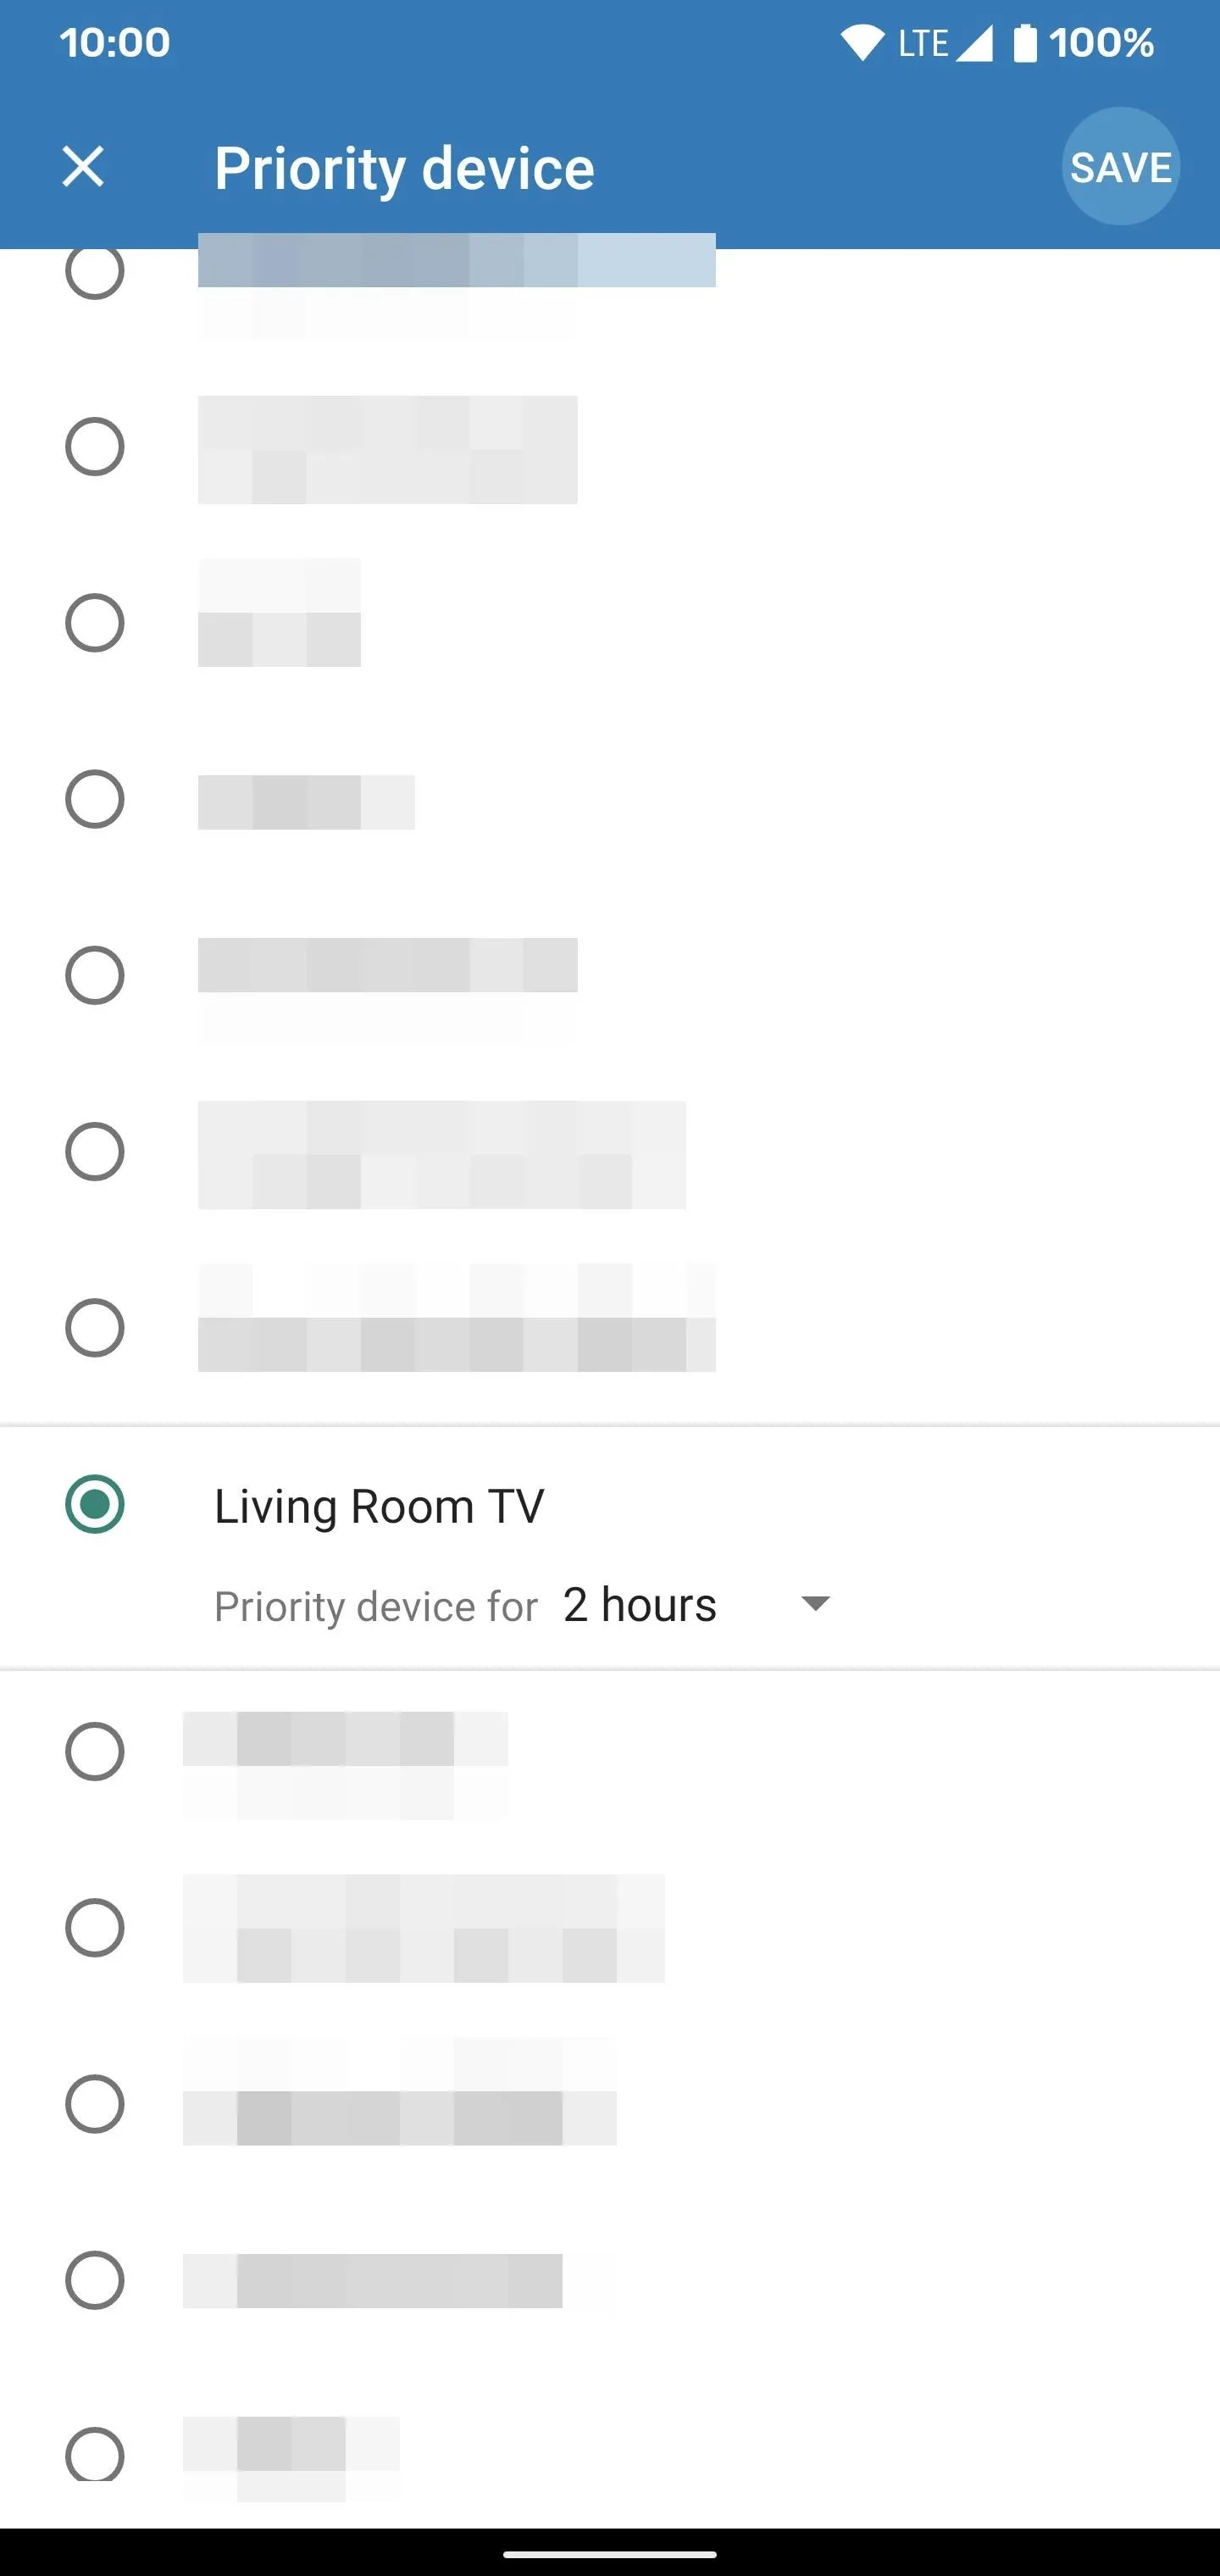
Locate the device you want to give more bandwidth to, tap the entry once, then you'll see options for how long to set its priority for. You can select one, two, or even four hours total. After you choose your time limit, tap "Save" in the upper right corner to finish up.
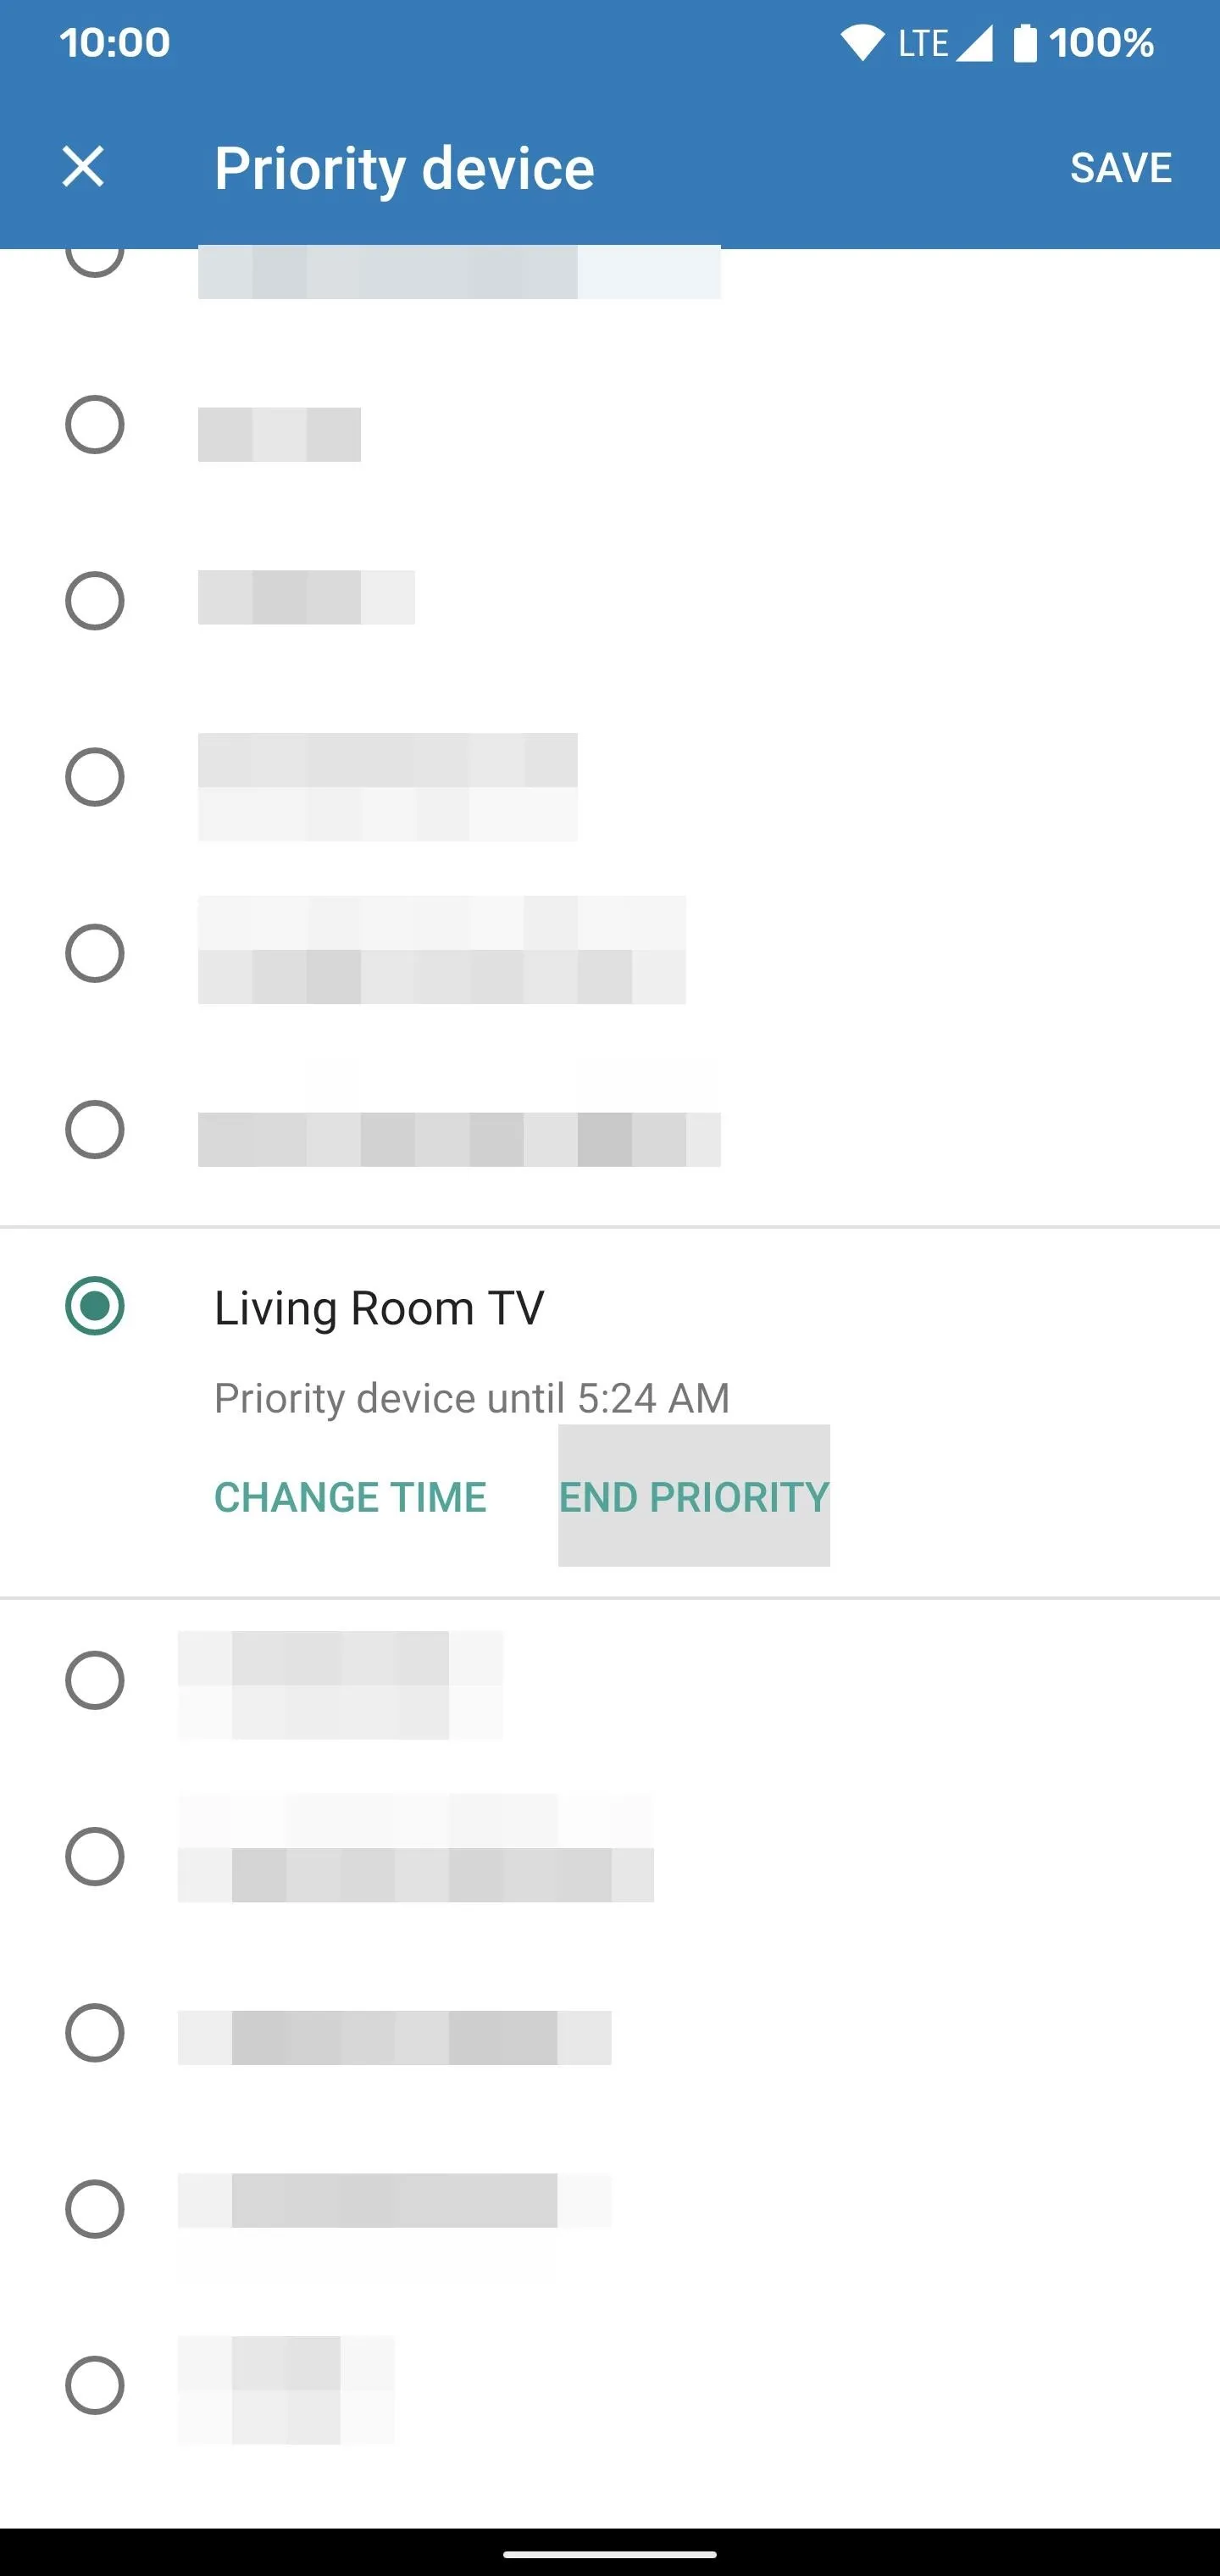
You can tell which device has bandwidth priority since it'll be labeled with a green star icon. You should now have an uninterrupted amount of bandwidth flowing to that specific device until the timer expires. If you want to end the timer early, hit the action bar icon again to head back to the main "Priority device" screen. From there, hit "End Priority," then "Save" to cancel it. Done!
Using the Google Home App
This method is mainly used for the newer Nest Wifi product that came out in 2019. Also, if you set up the older Google Wifi with the Google Home app, then this method would be for you as well.
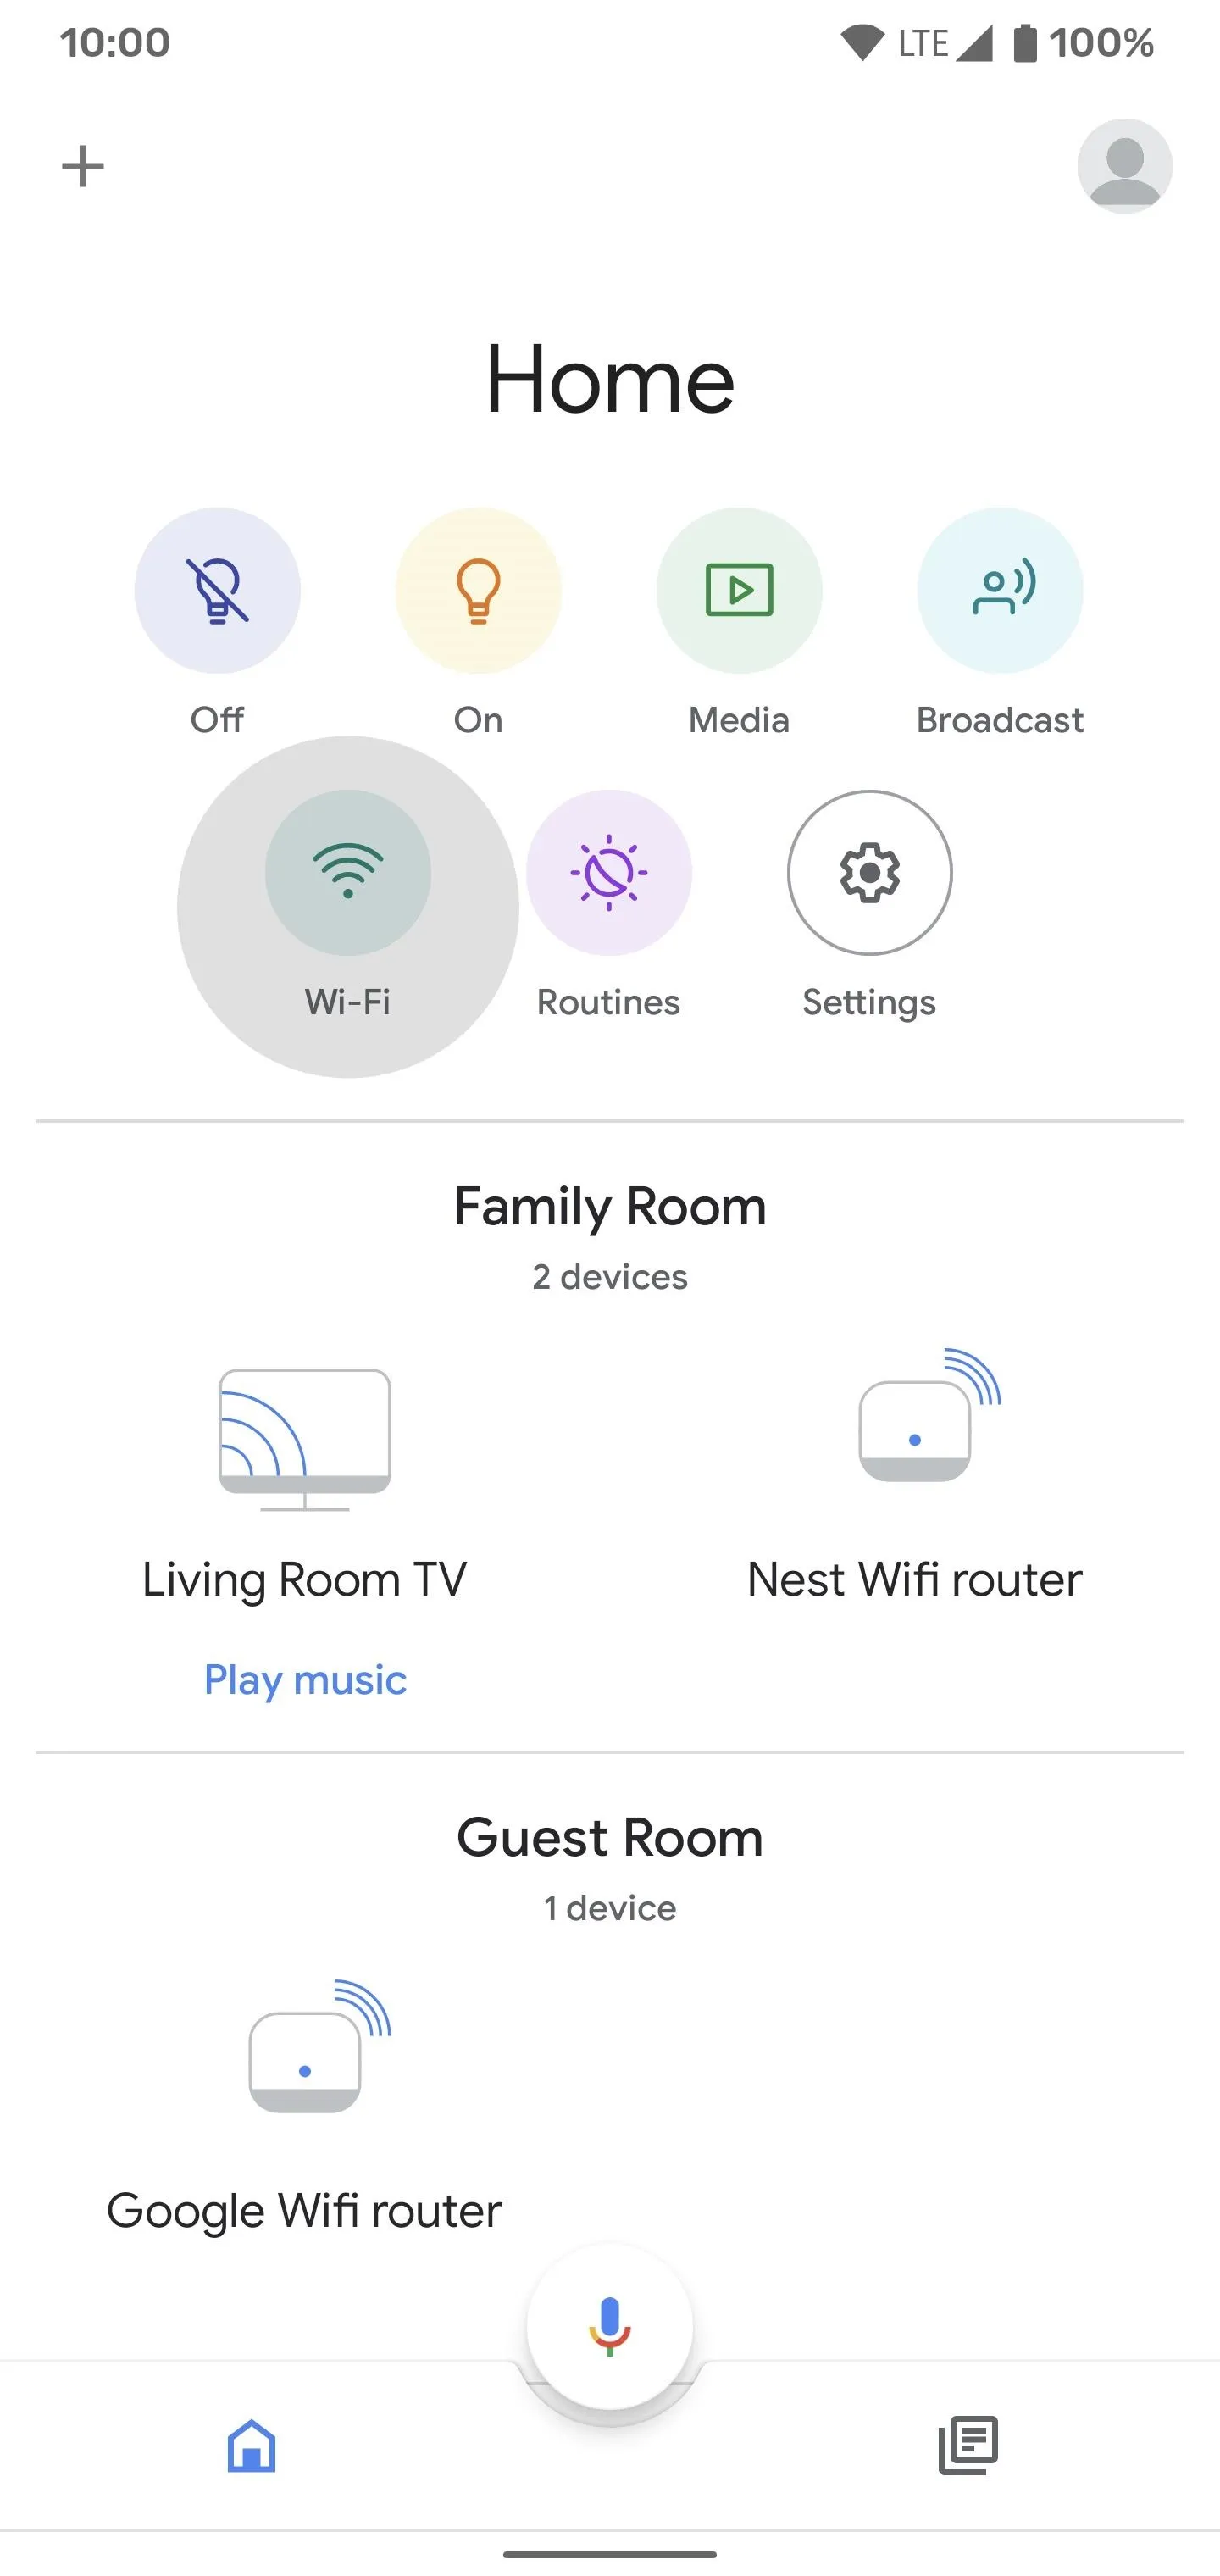
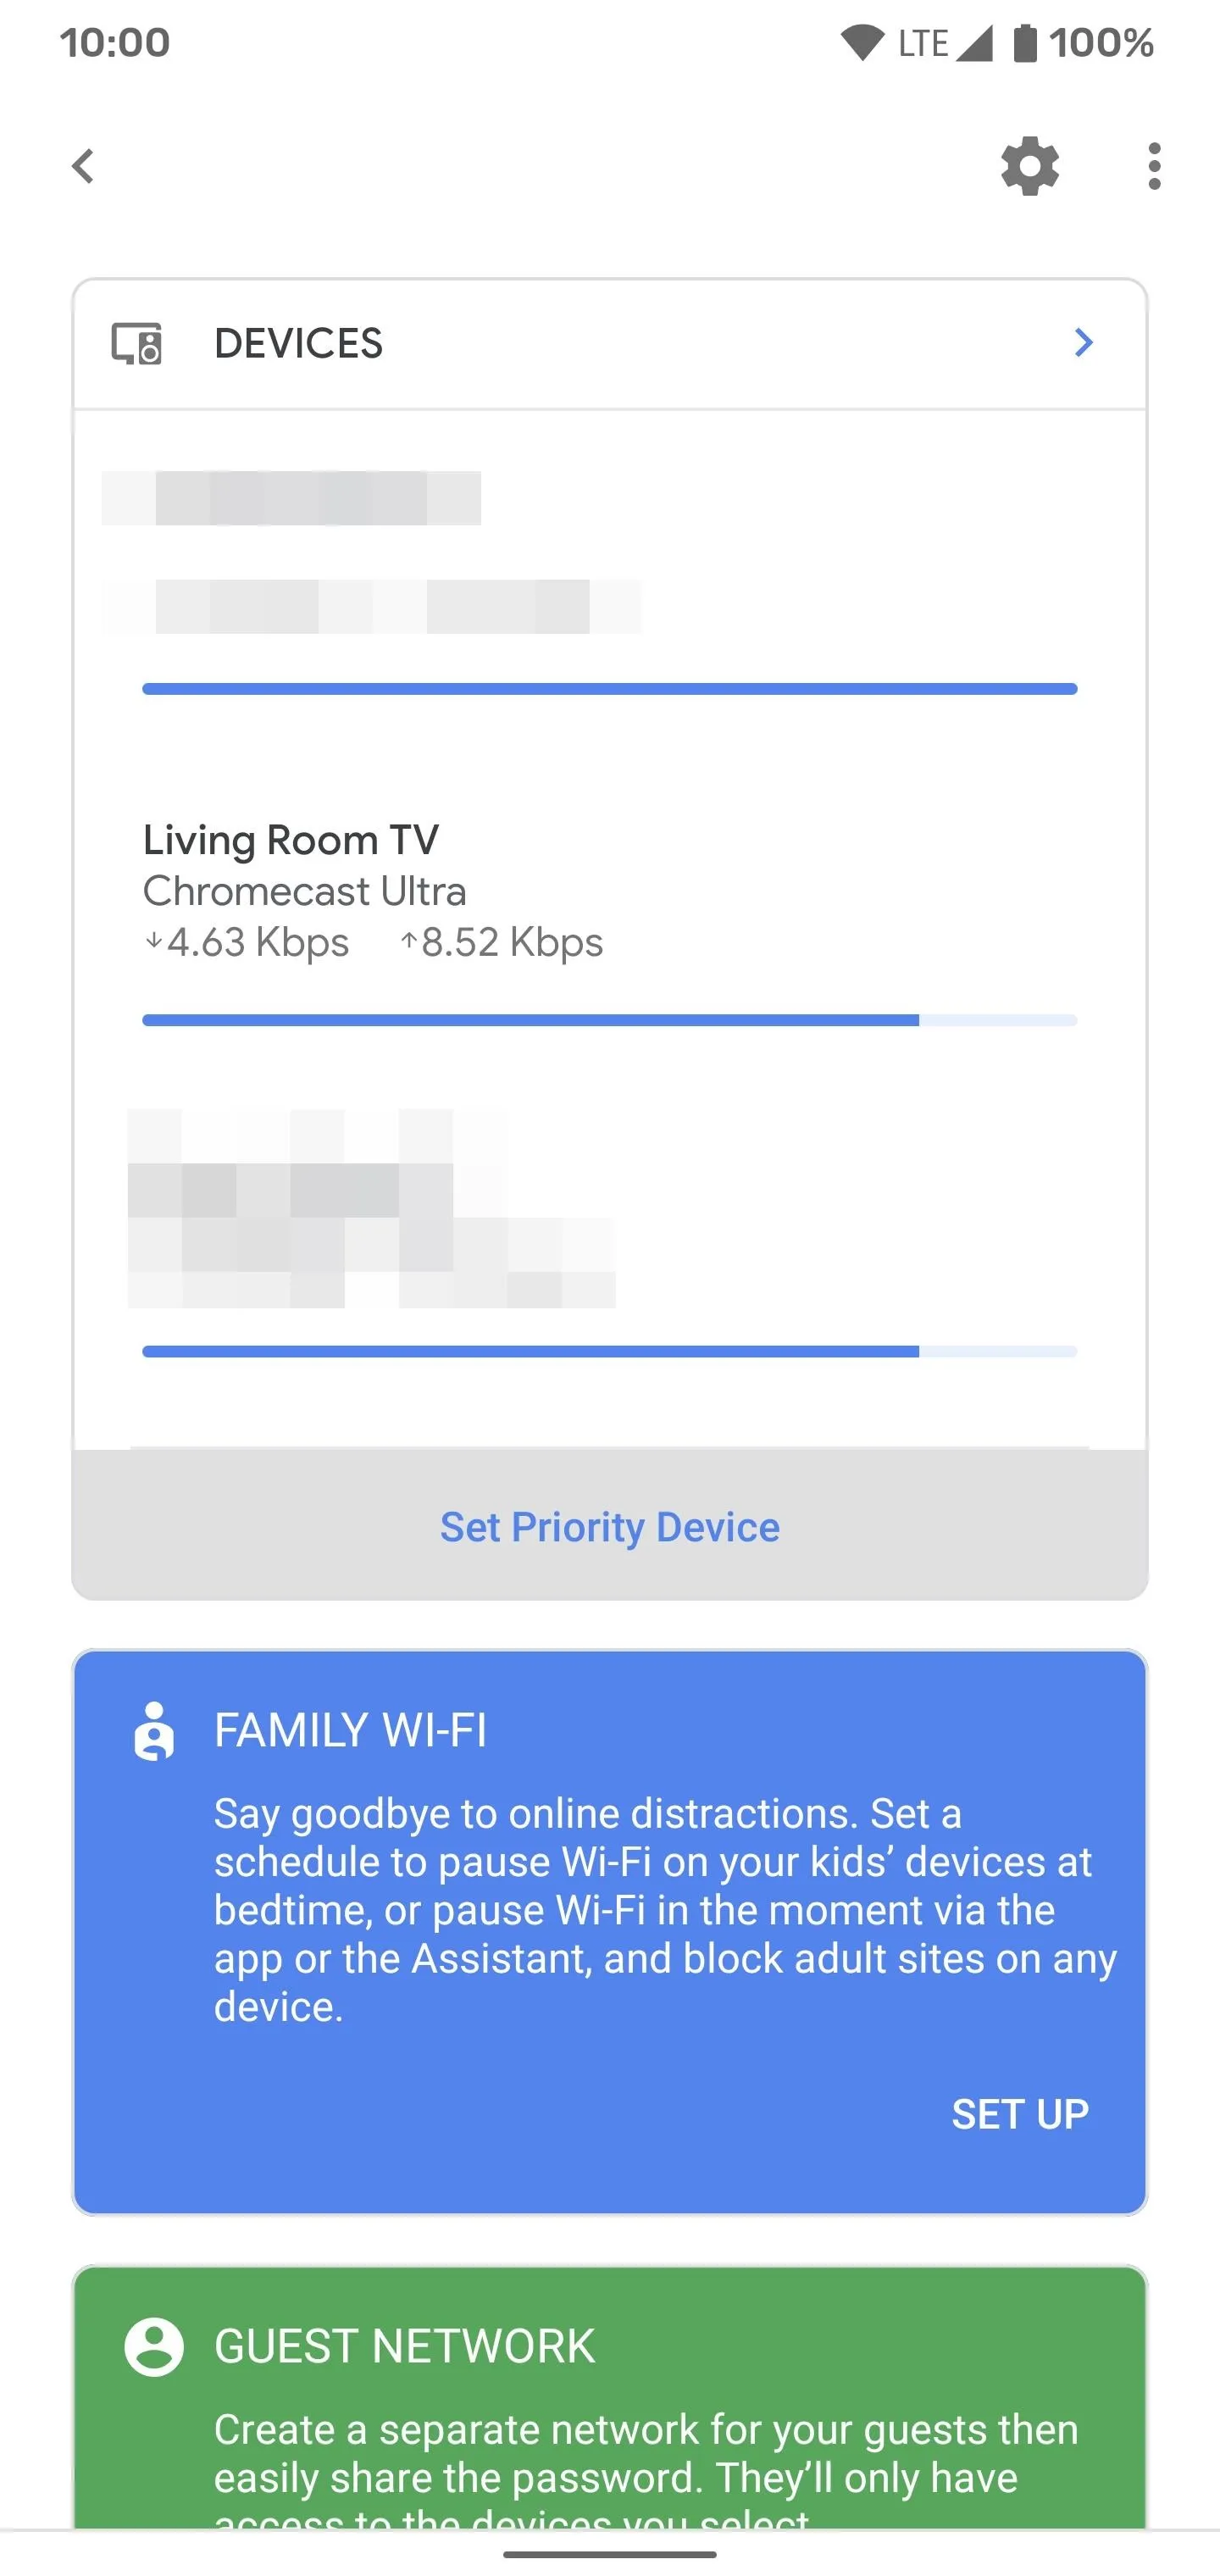
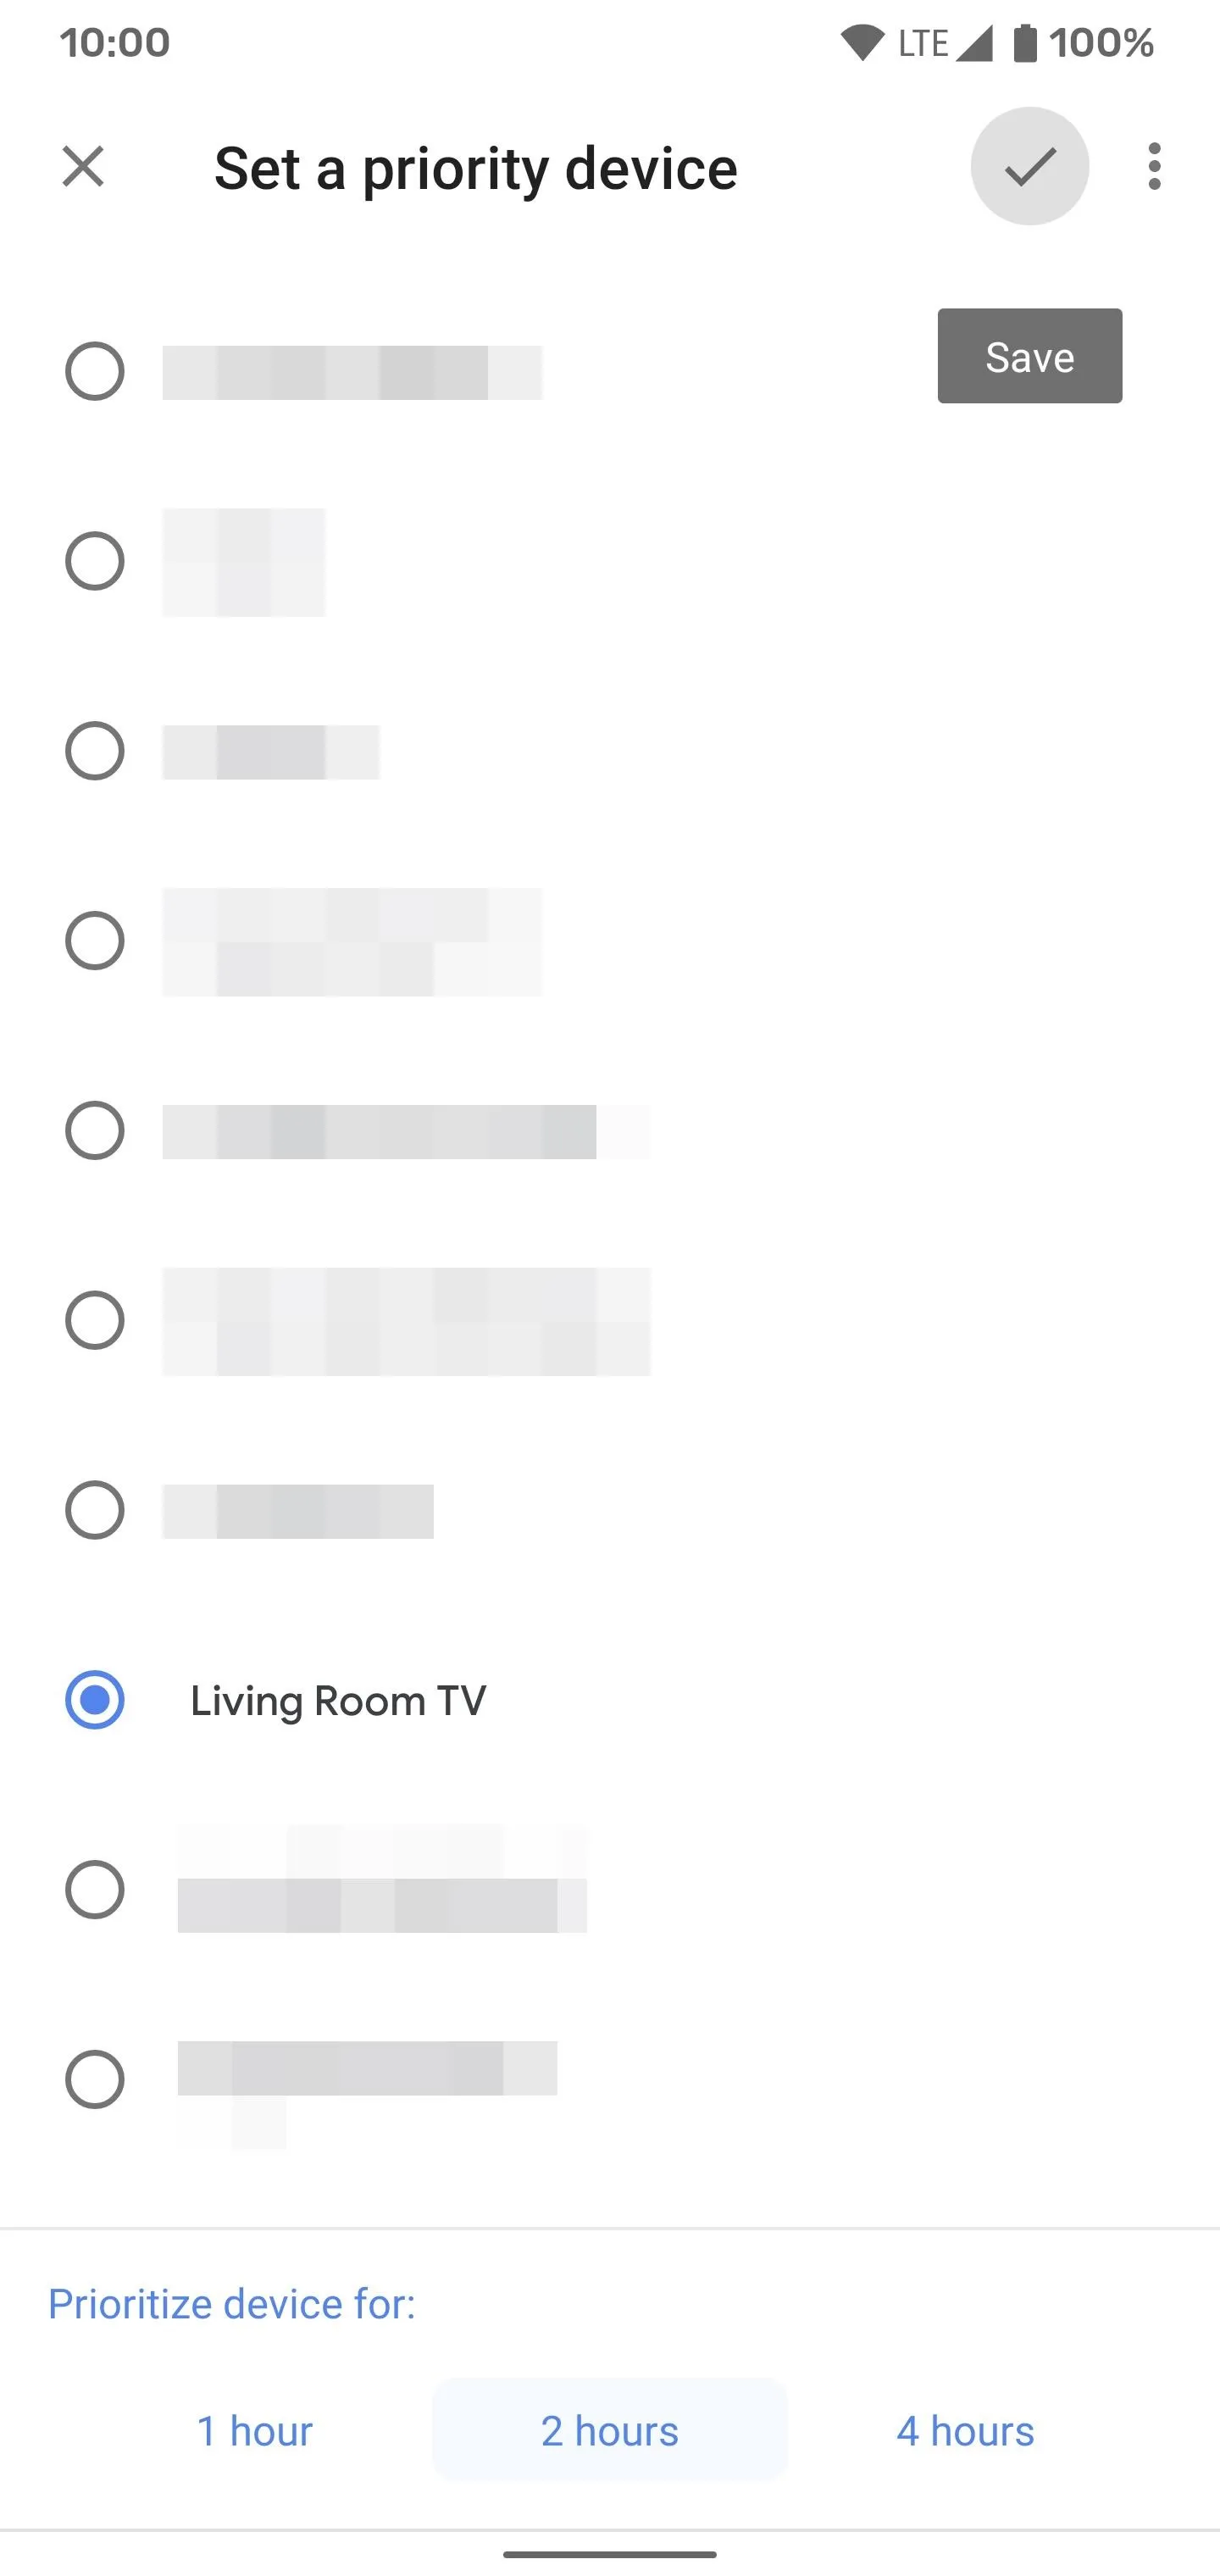
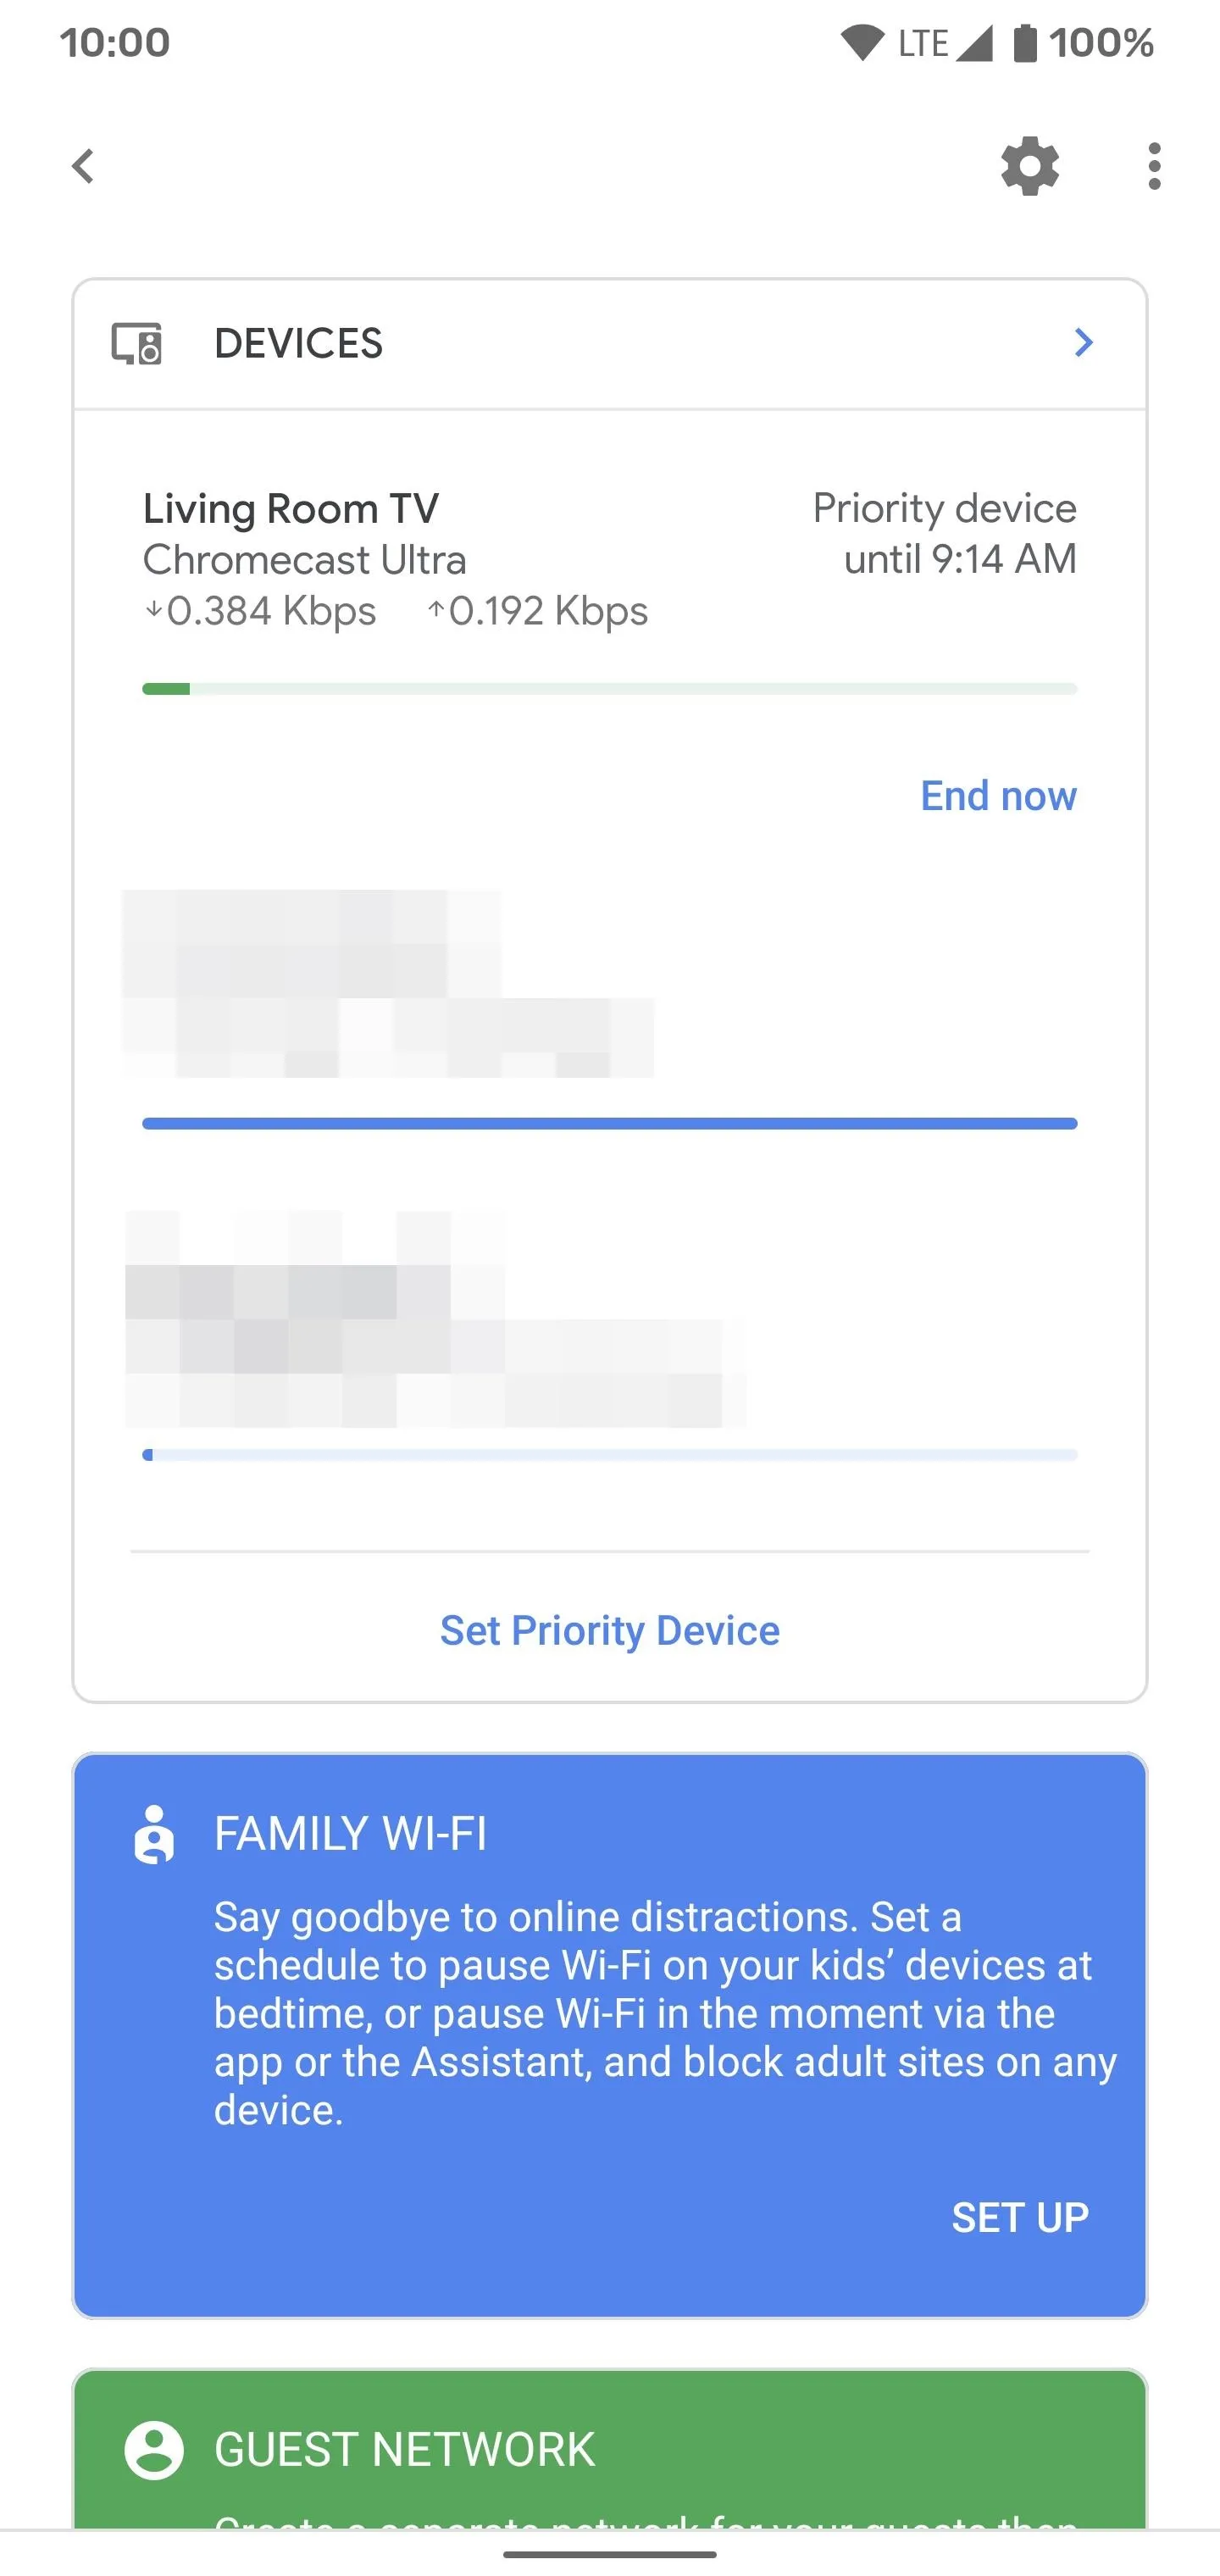
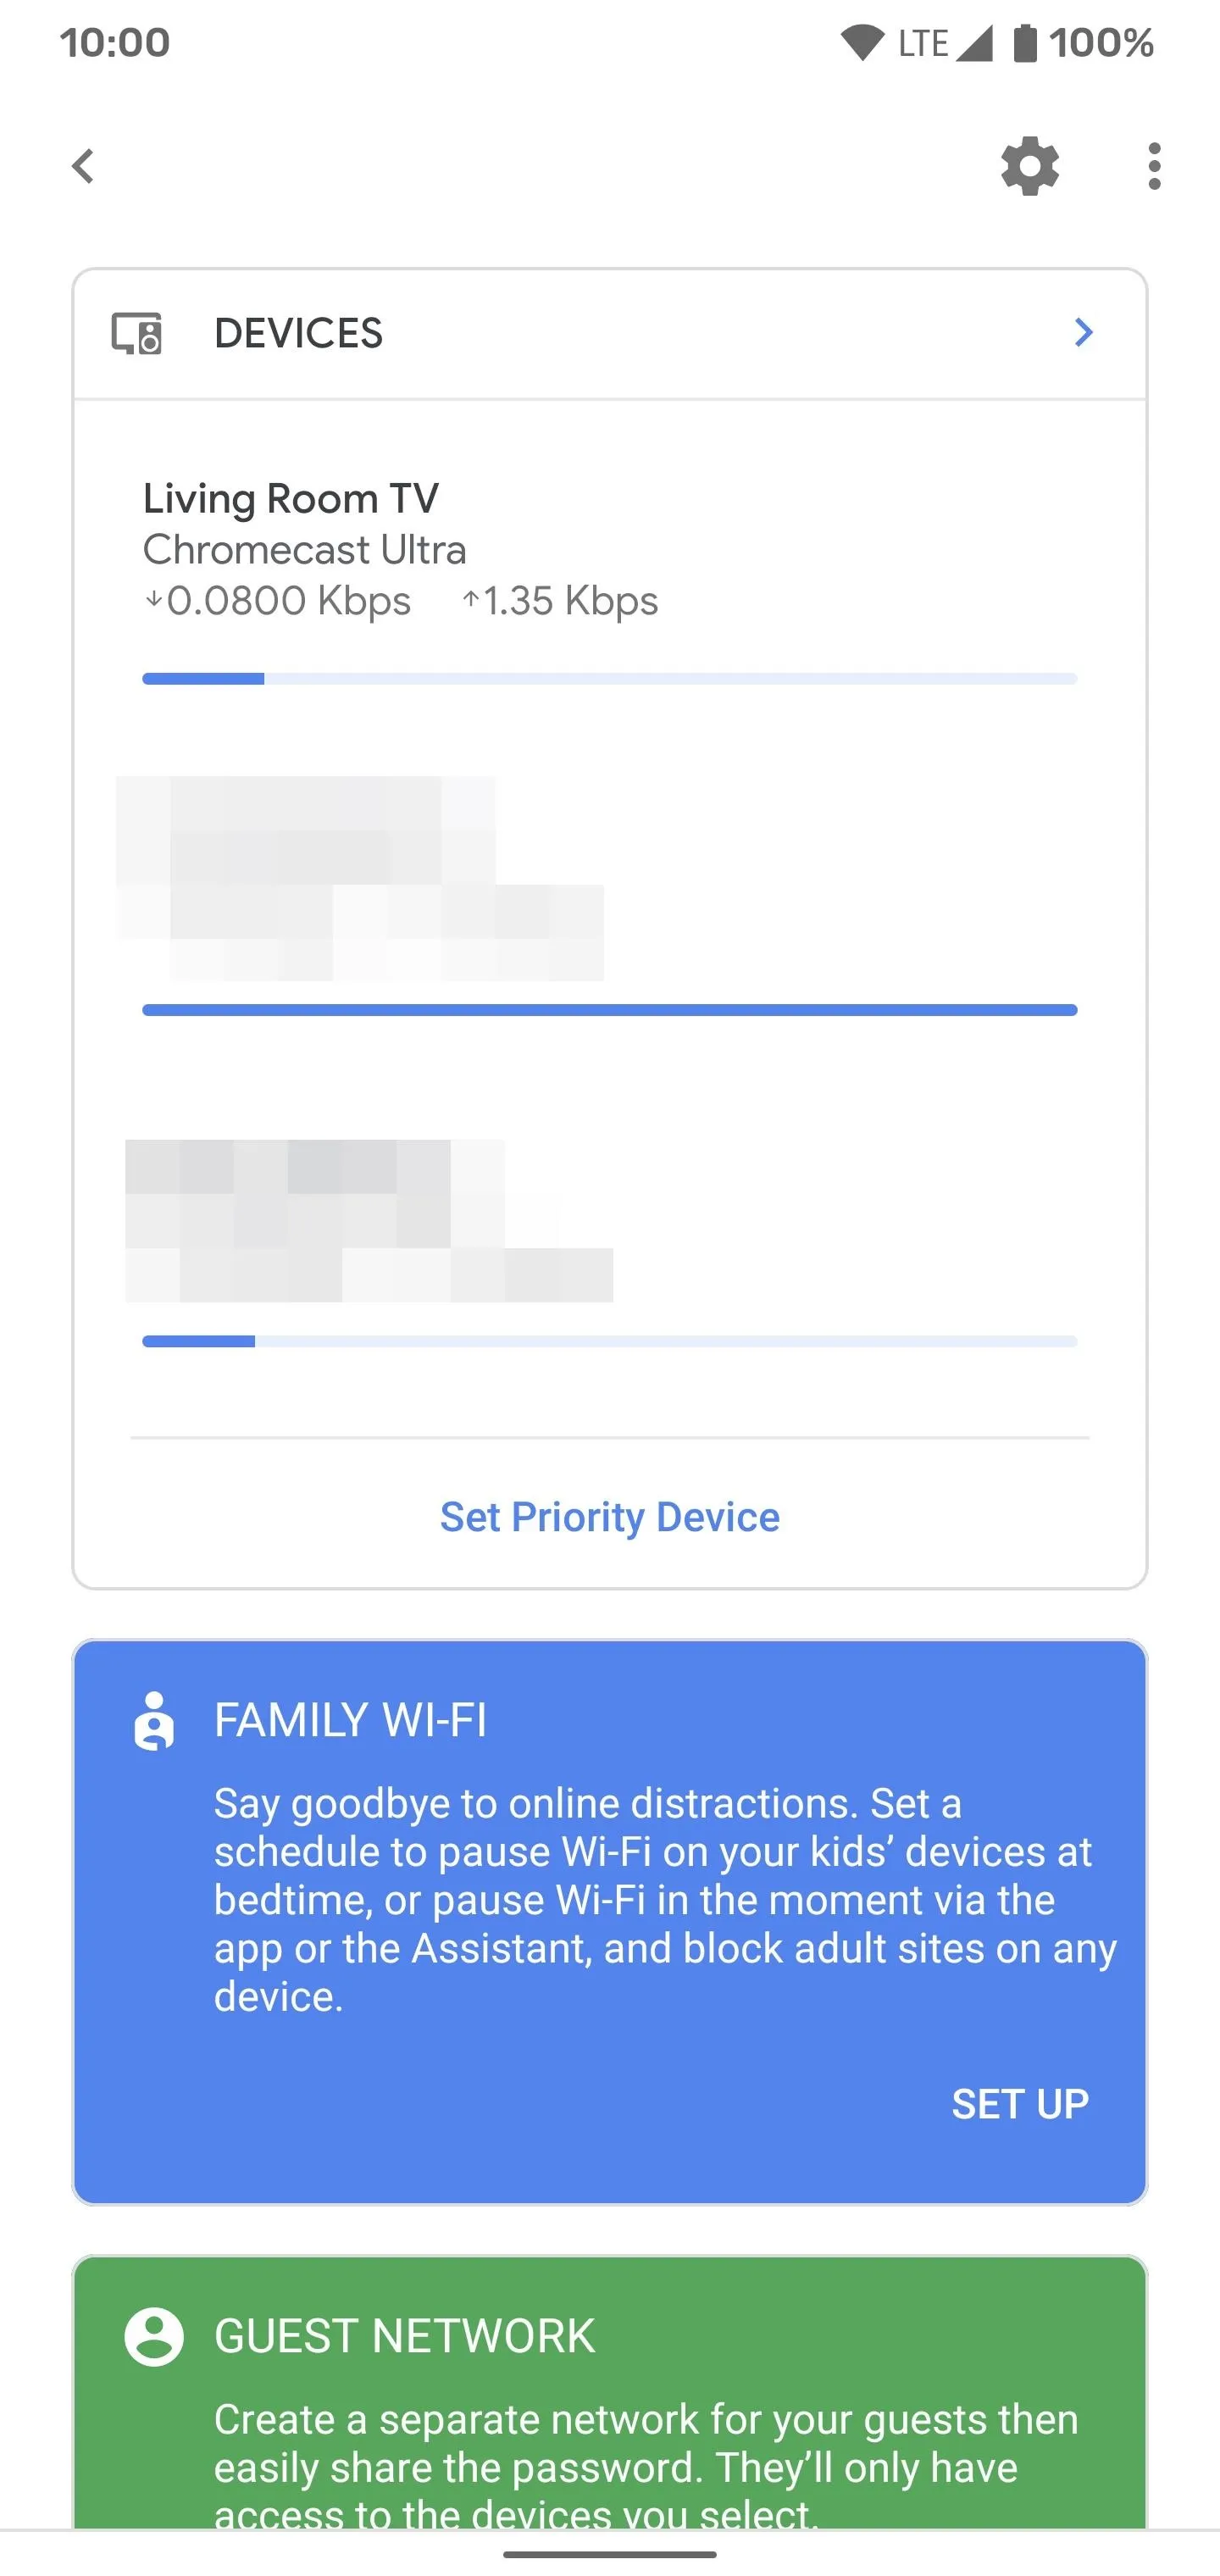
Open the Google Home app (Android | iOS) to the main screen, tap the green "Wi-Fi" icon, go to the "Devices" section, then hit "Set Priority Device" below that. Now, tap the device you want to allocate more network bandwidth to. A menu will pop up at the bottom allowing you to set the priority of that device for either one, two, or four hours. Make your choice and tap the checkmark icon in the upper right.
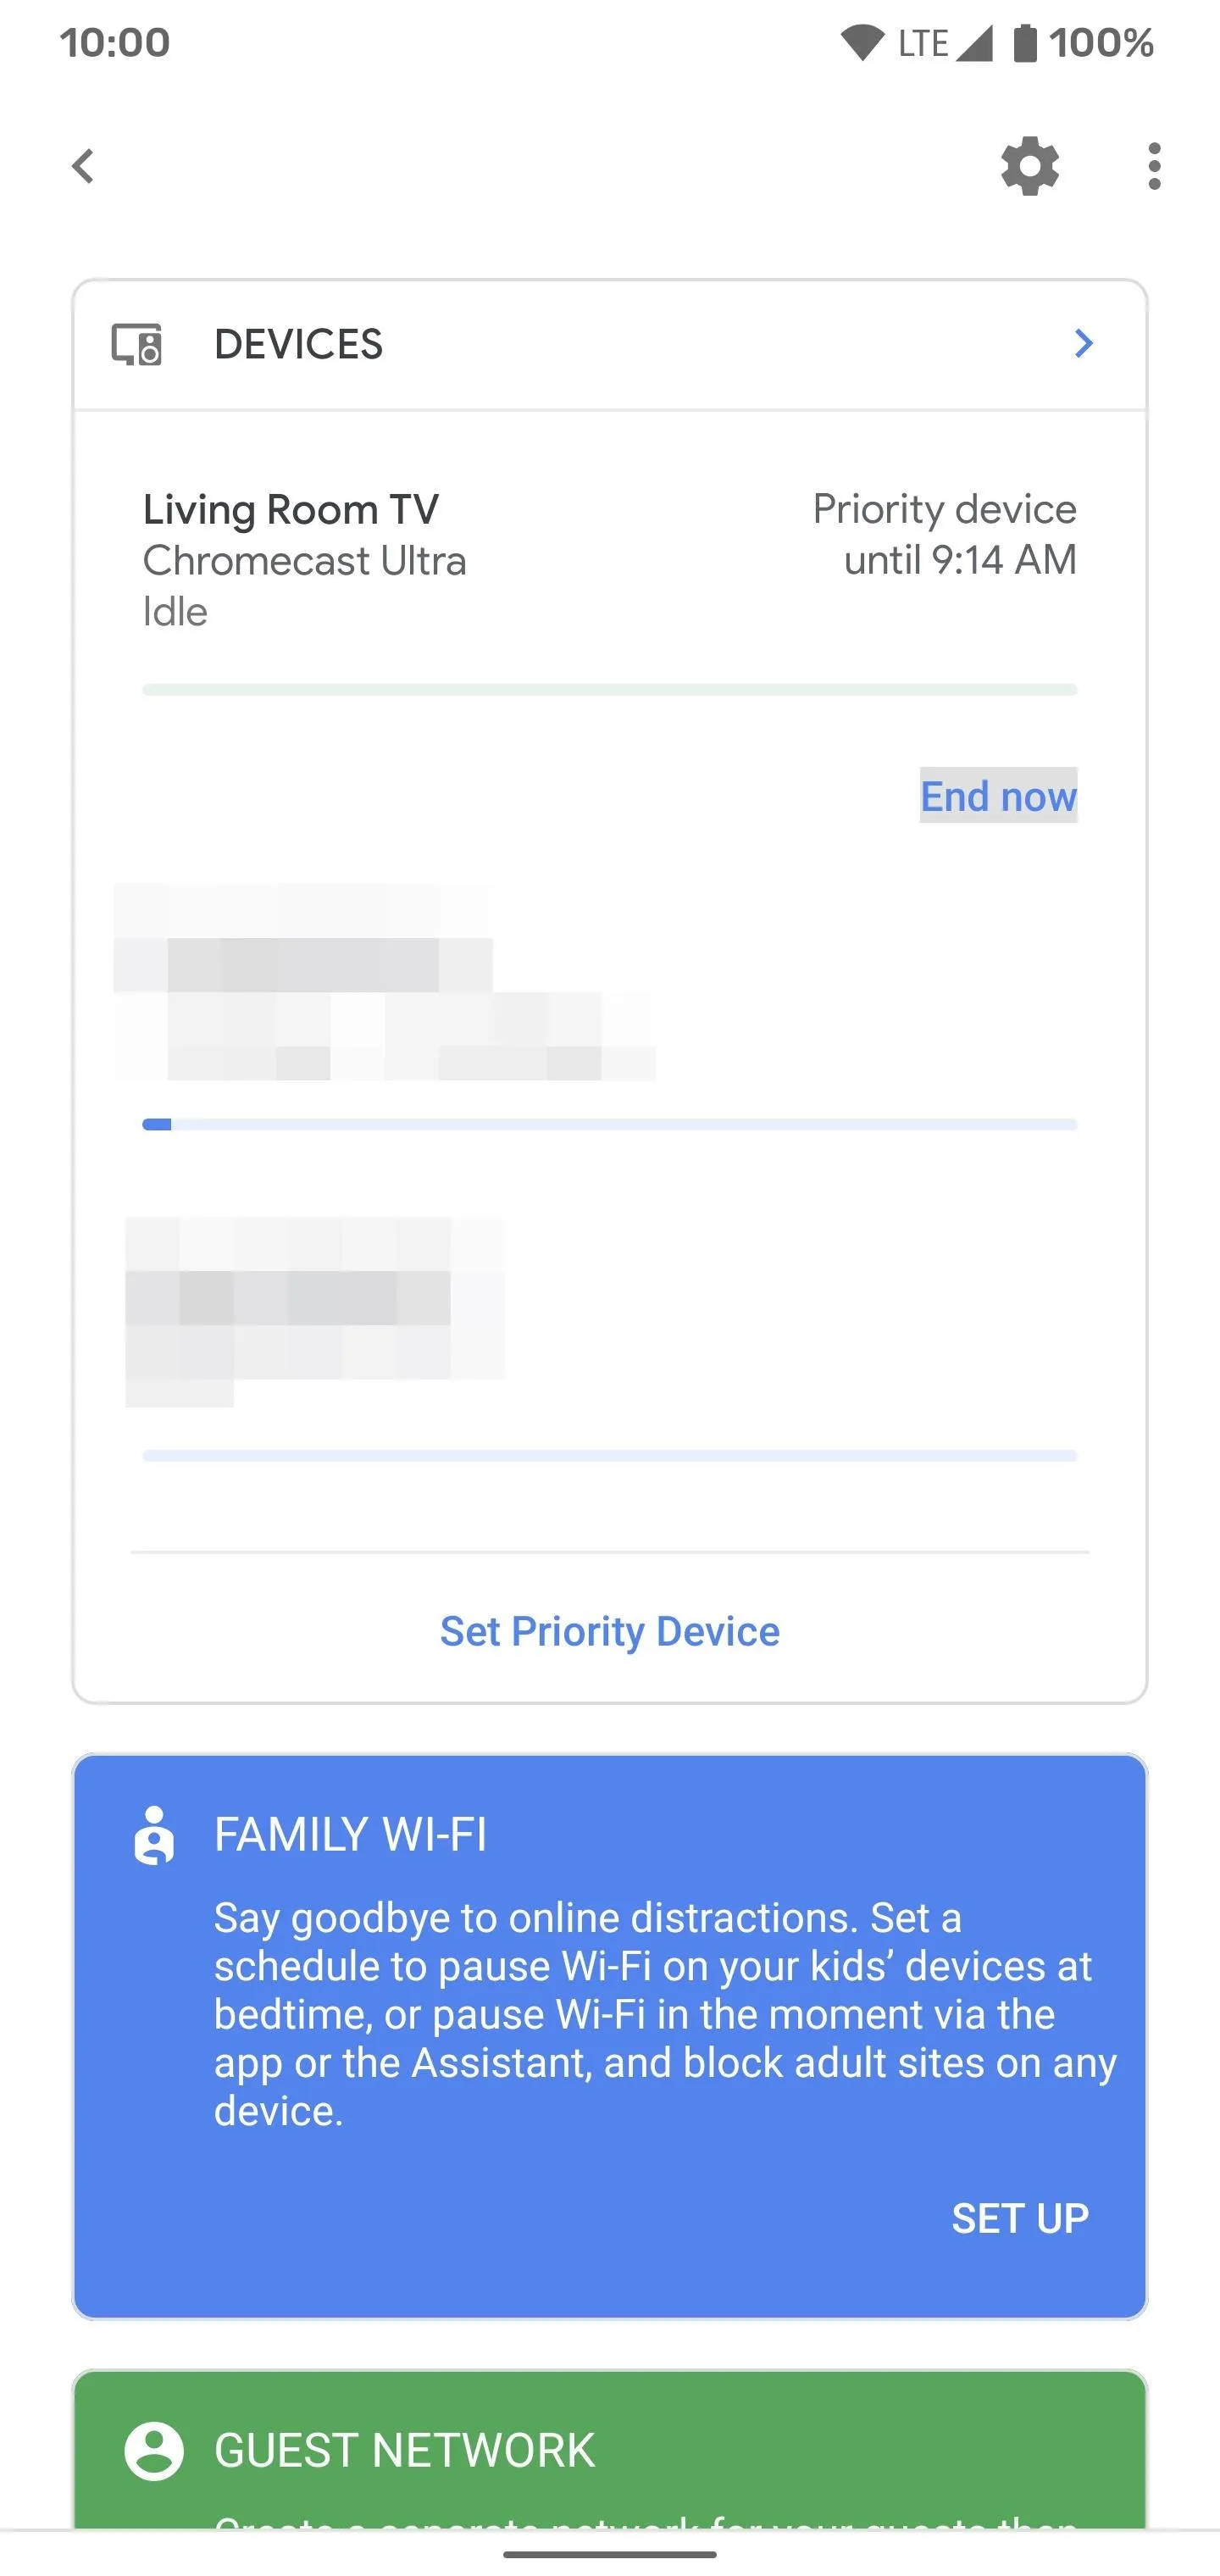
After it finishes up, you'll see the device jump to the top of your "Devices" page, showing how long it will be prioritized. You should now have an uninterrupted amount of bandwidth flowing to that specific device until the timer expires. If you want to end the timer early, simply hit the "End now" option right below the listed time. Done!
Cover photo and screenshots by Stephen Perkins/Gadget Hacks


Comments
Be the first, drop a comment!