


The Google Phone app is one of the best dialers for Android today, especially with all of the unique and exciting features it brings to the table. Unfortunately, without owning a Pixel phone, you are unable to officially download the app, making a modified version your only option. However, this version of Google Phone is missing a few key features, such as spam protection and business search.
To gain most of the core features Pixel phones have, you need a particular framework that allows you access to those features in the first place. There is good news, though — a method exists where you can achieve this on any rooted Android phone! Using the Google Dialer Framework Magisk module by developer TheJulianJES, you will be able to download and install the Google Phone app from the Play Store directly, and the app works just like it would if you had a Pixel.
Requirements
Download the Google Dialer Framework Module
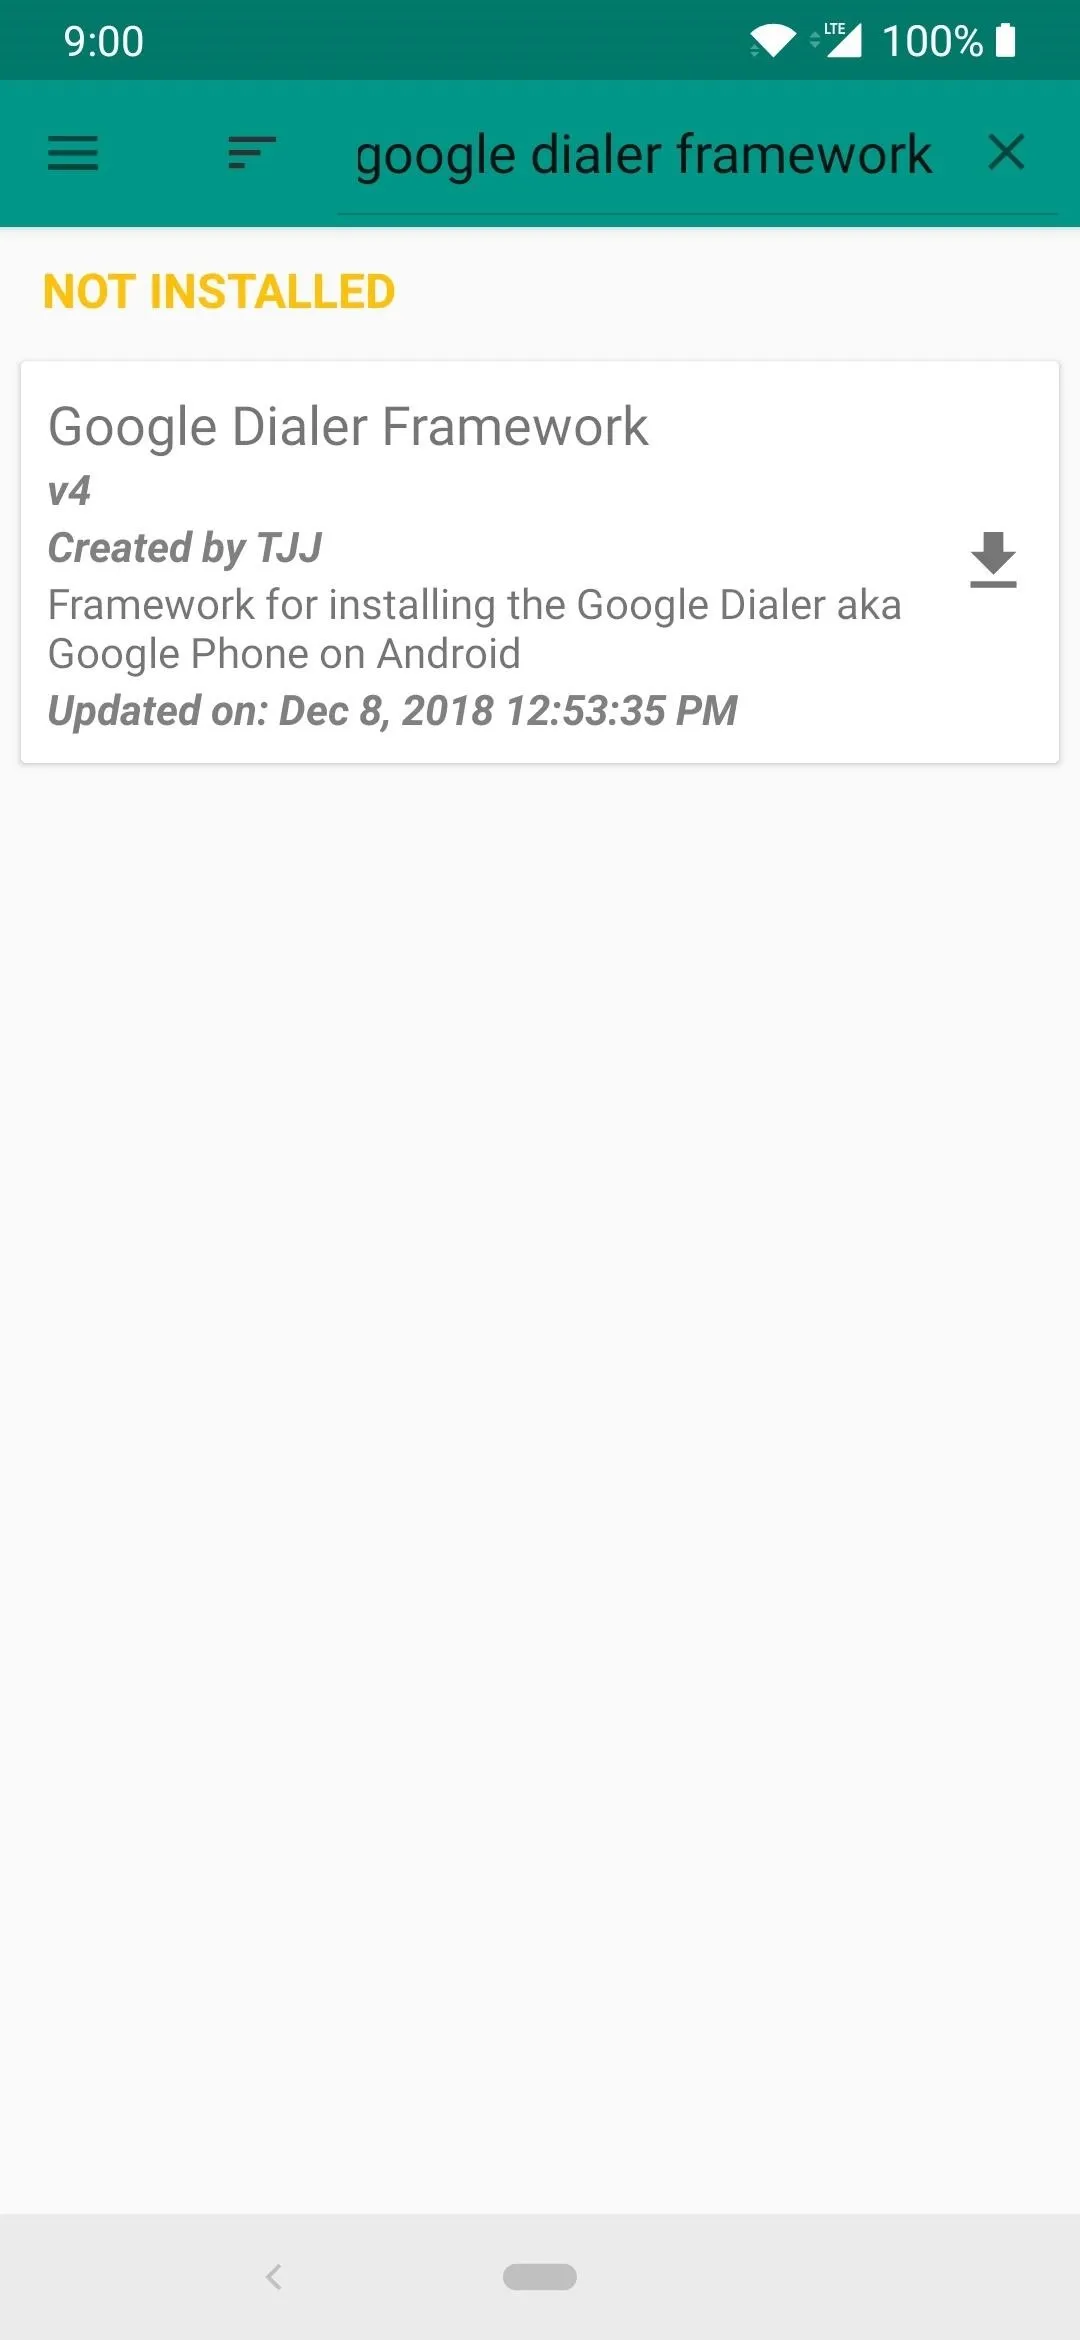
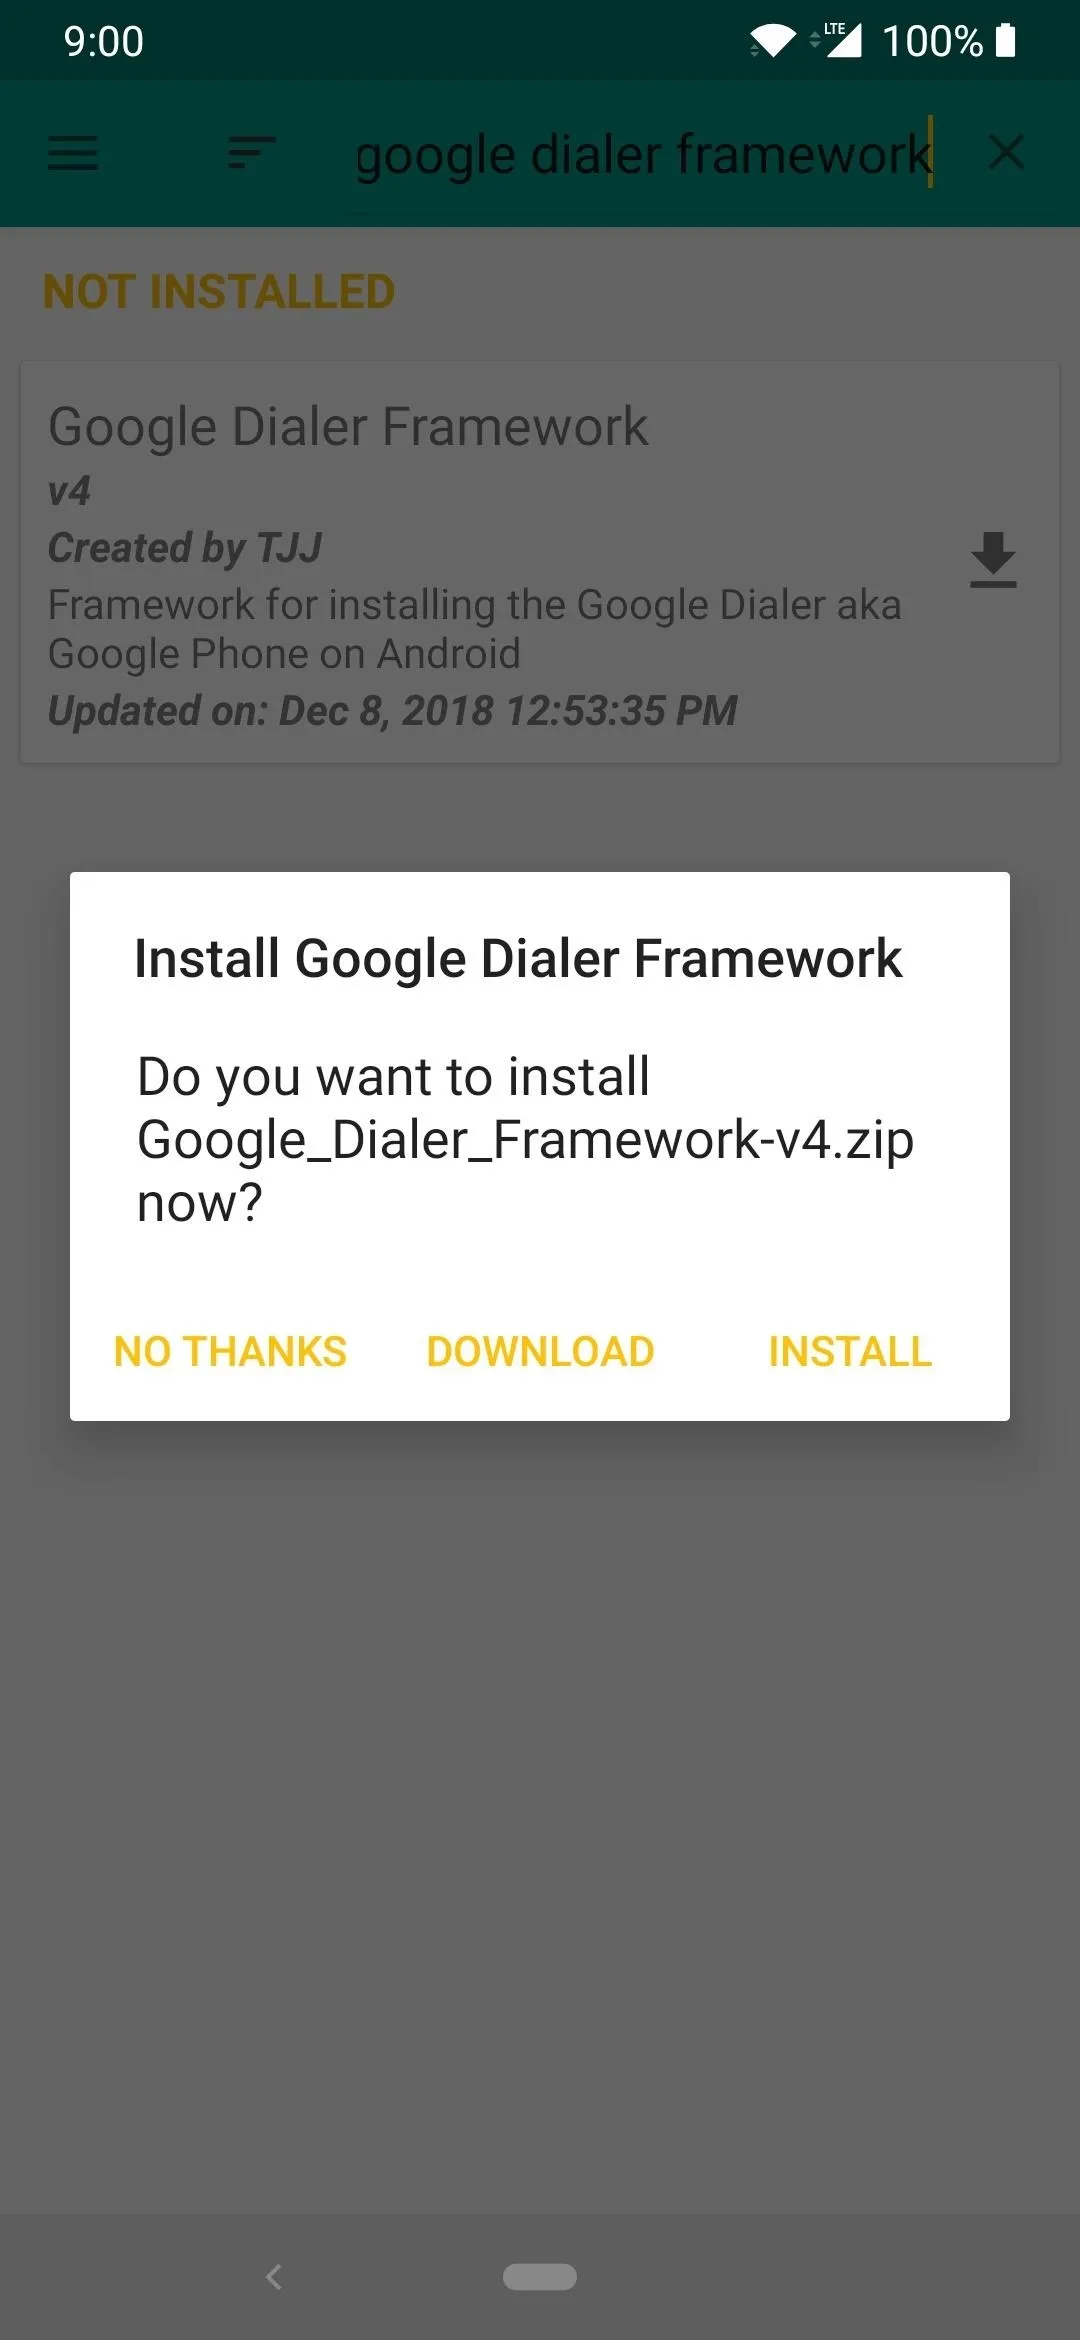
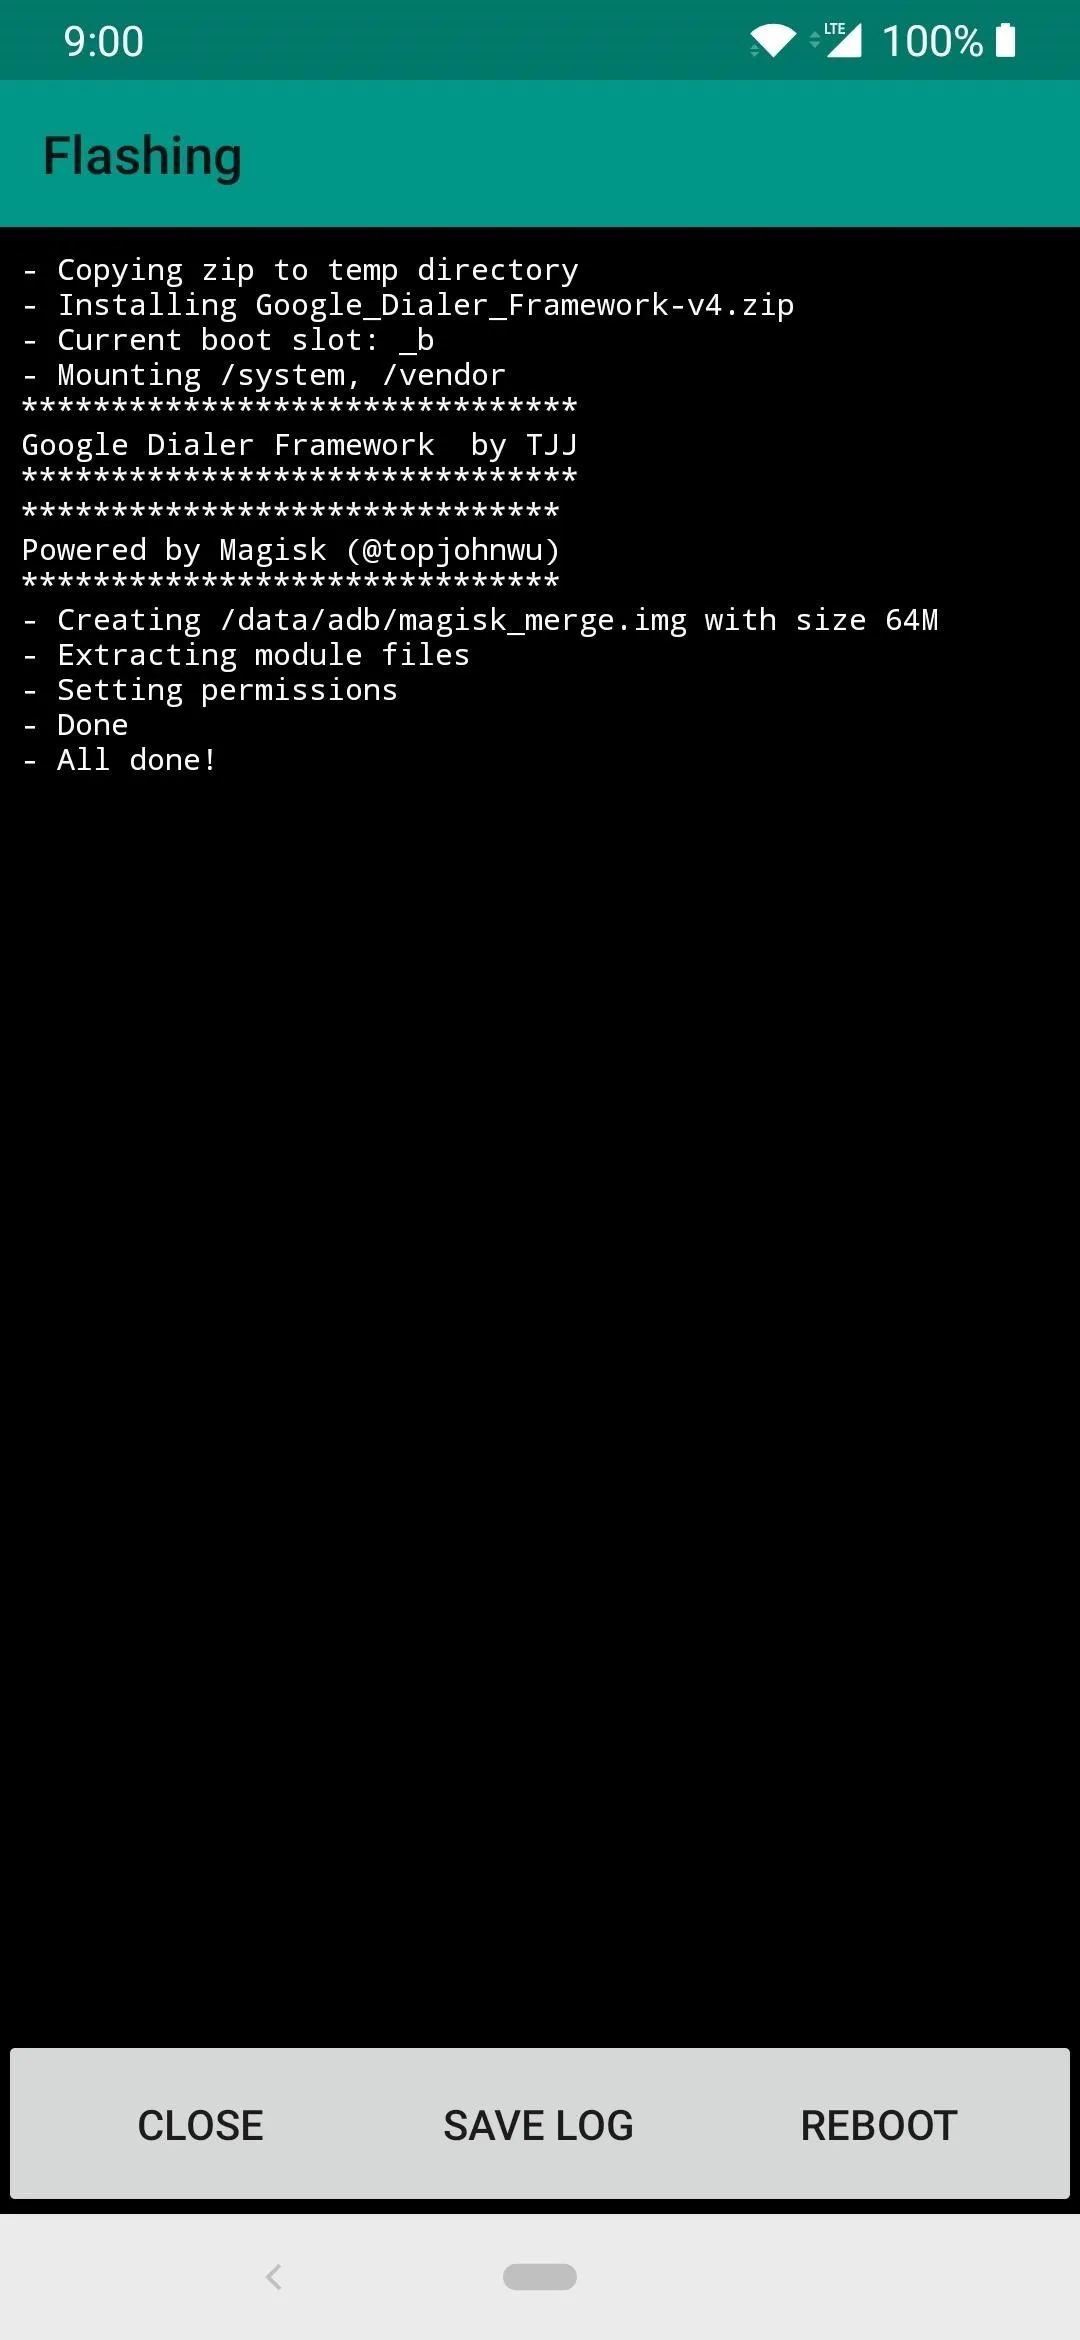
To get things started, head into the Magisk app, tap the menu button on the left, then go to "Downloads." In the search bar, type in "google dialer framework," and you will find the only module we need for this whole thing to work. Tap the download arrow on the right, then "Install." It should be a quick install, so when finished, tap the "Reboot" button, then wait for your system to restart.
Download the Google Phone App
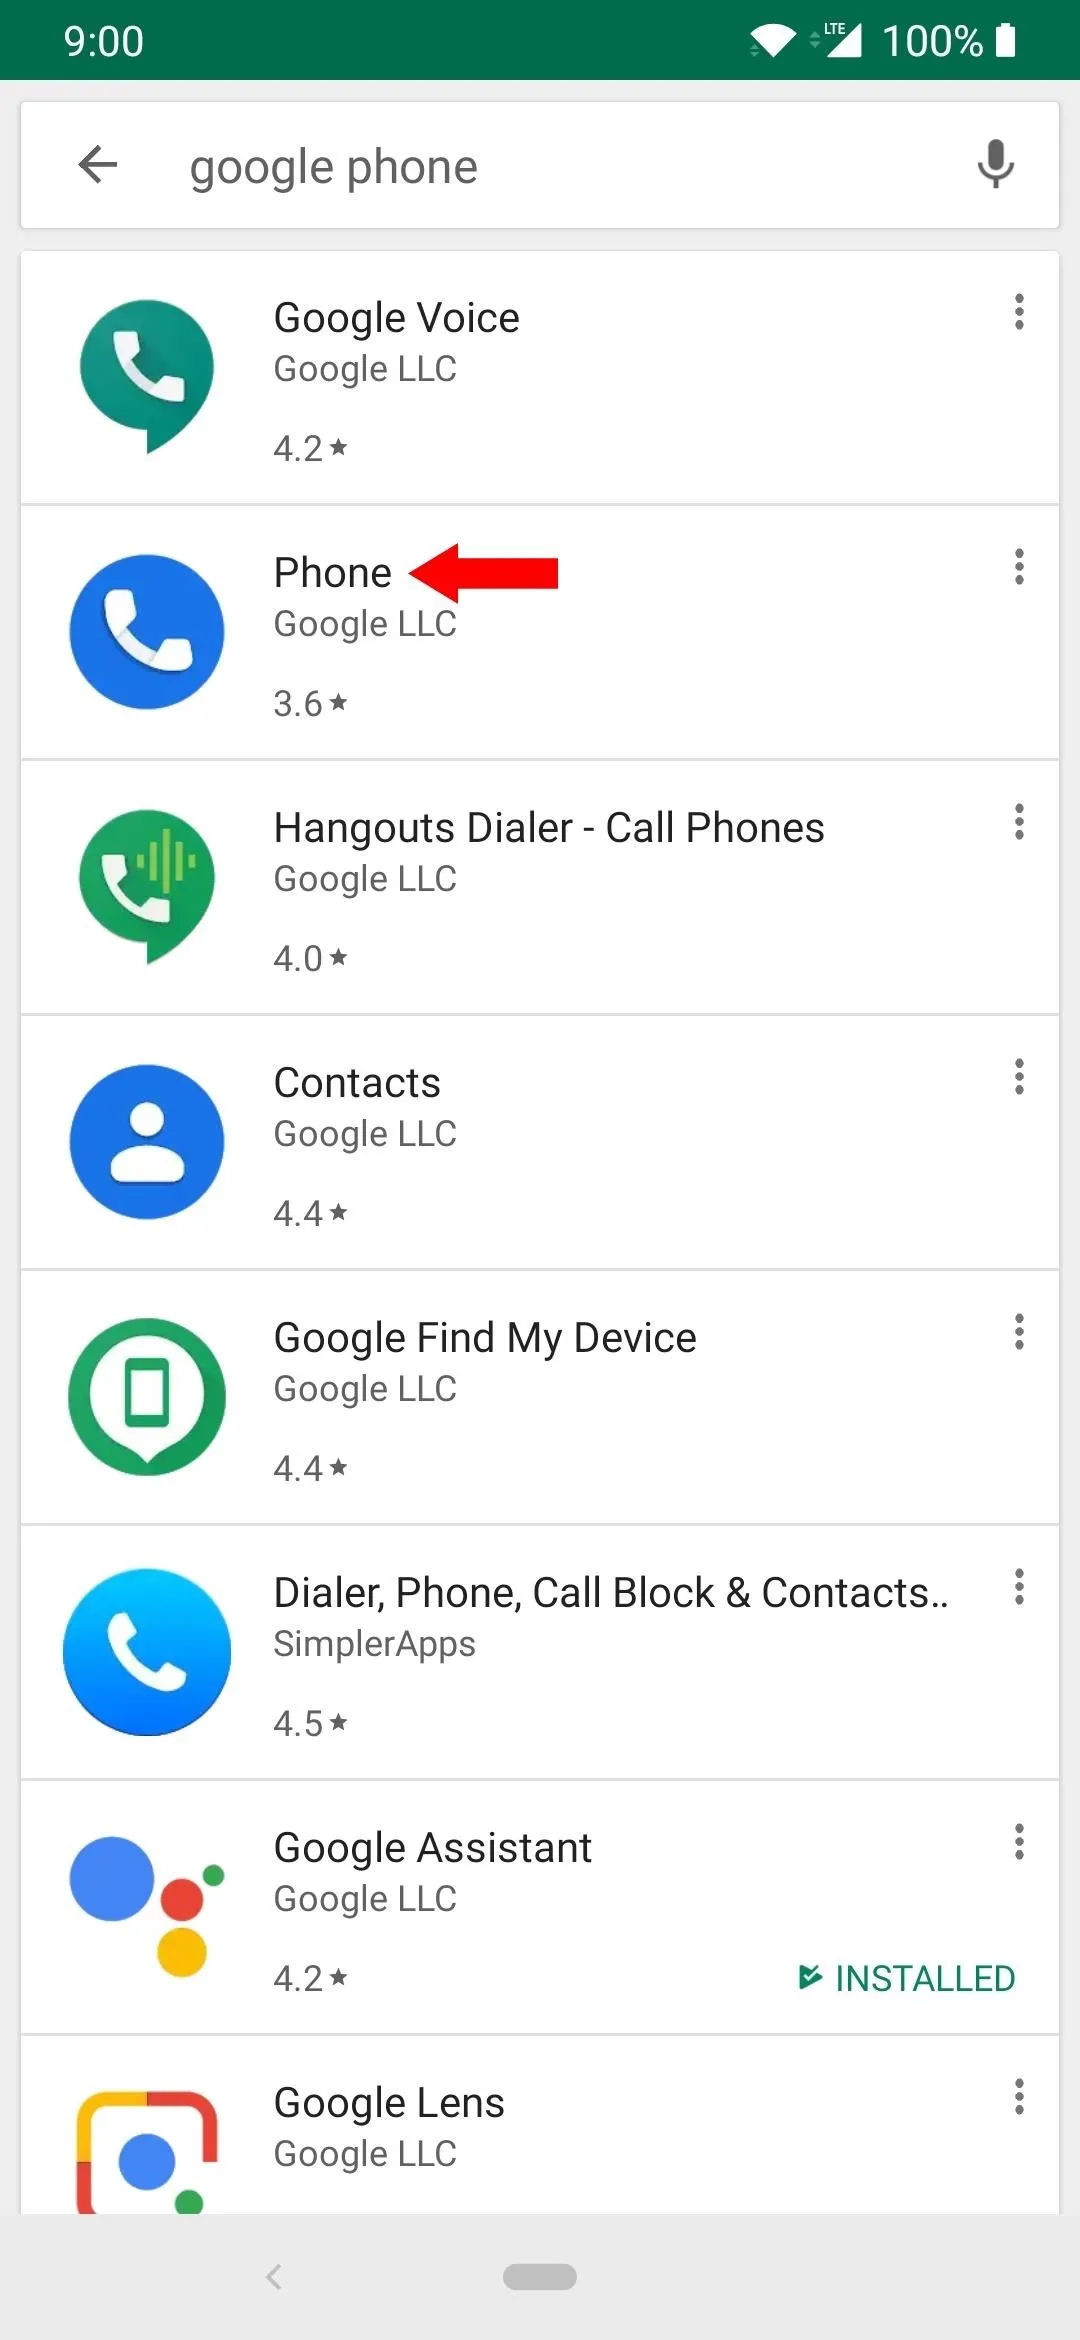
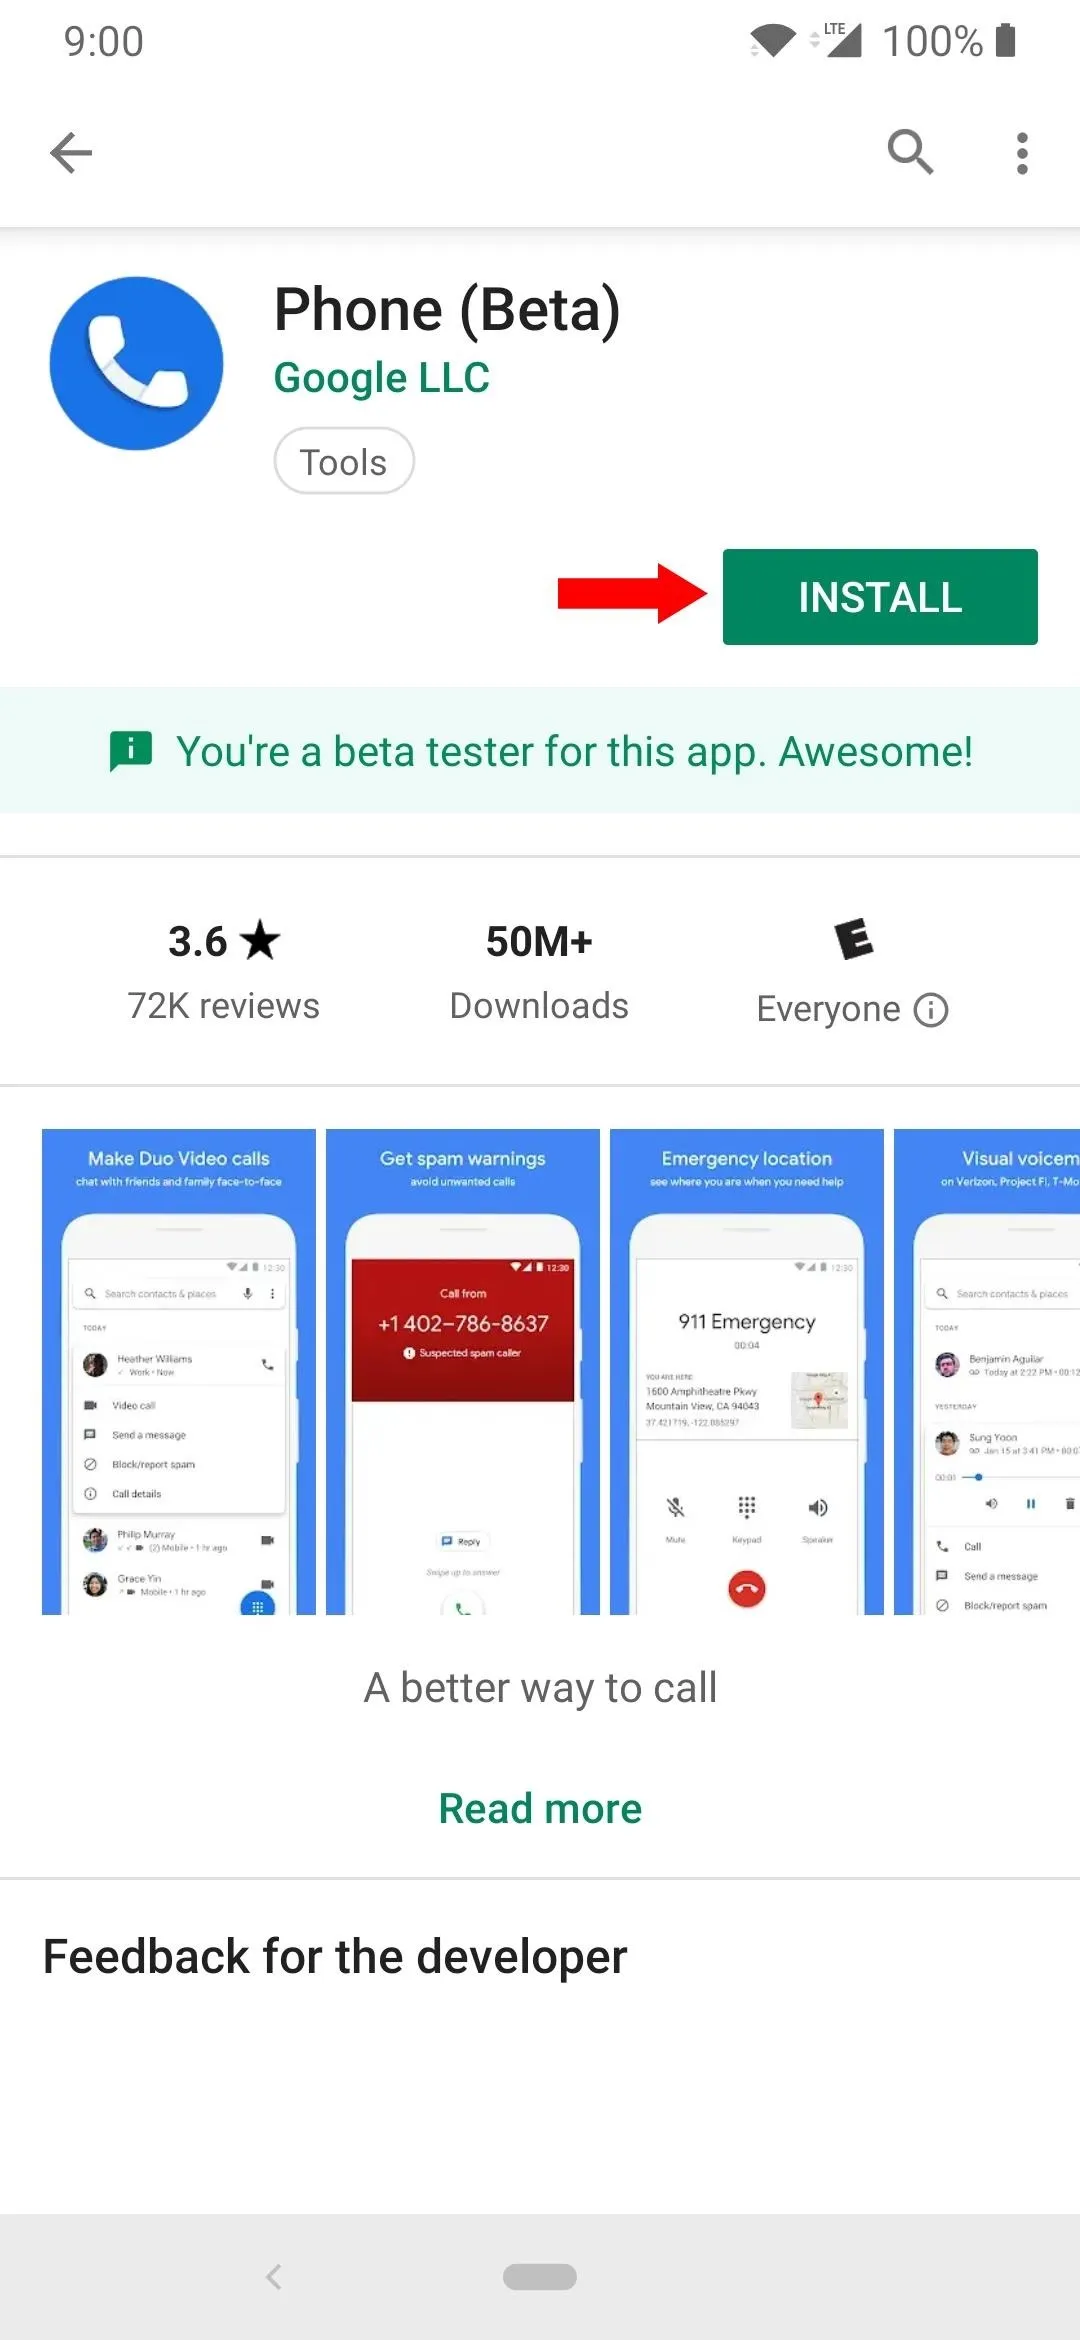
After your system is back up from the restart, head to the Play Store and search for "google phone," and then tap the appropriate listing to view the main page for the app. Go ahead and install the app like you normally would, but don't open the app just yet once it finishes installing.
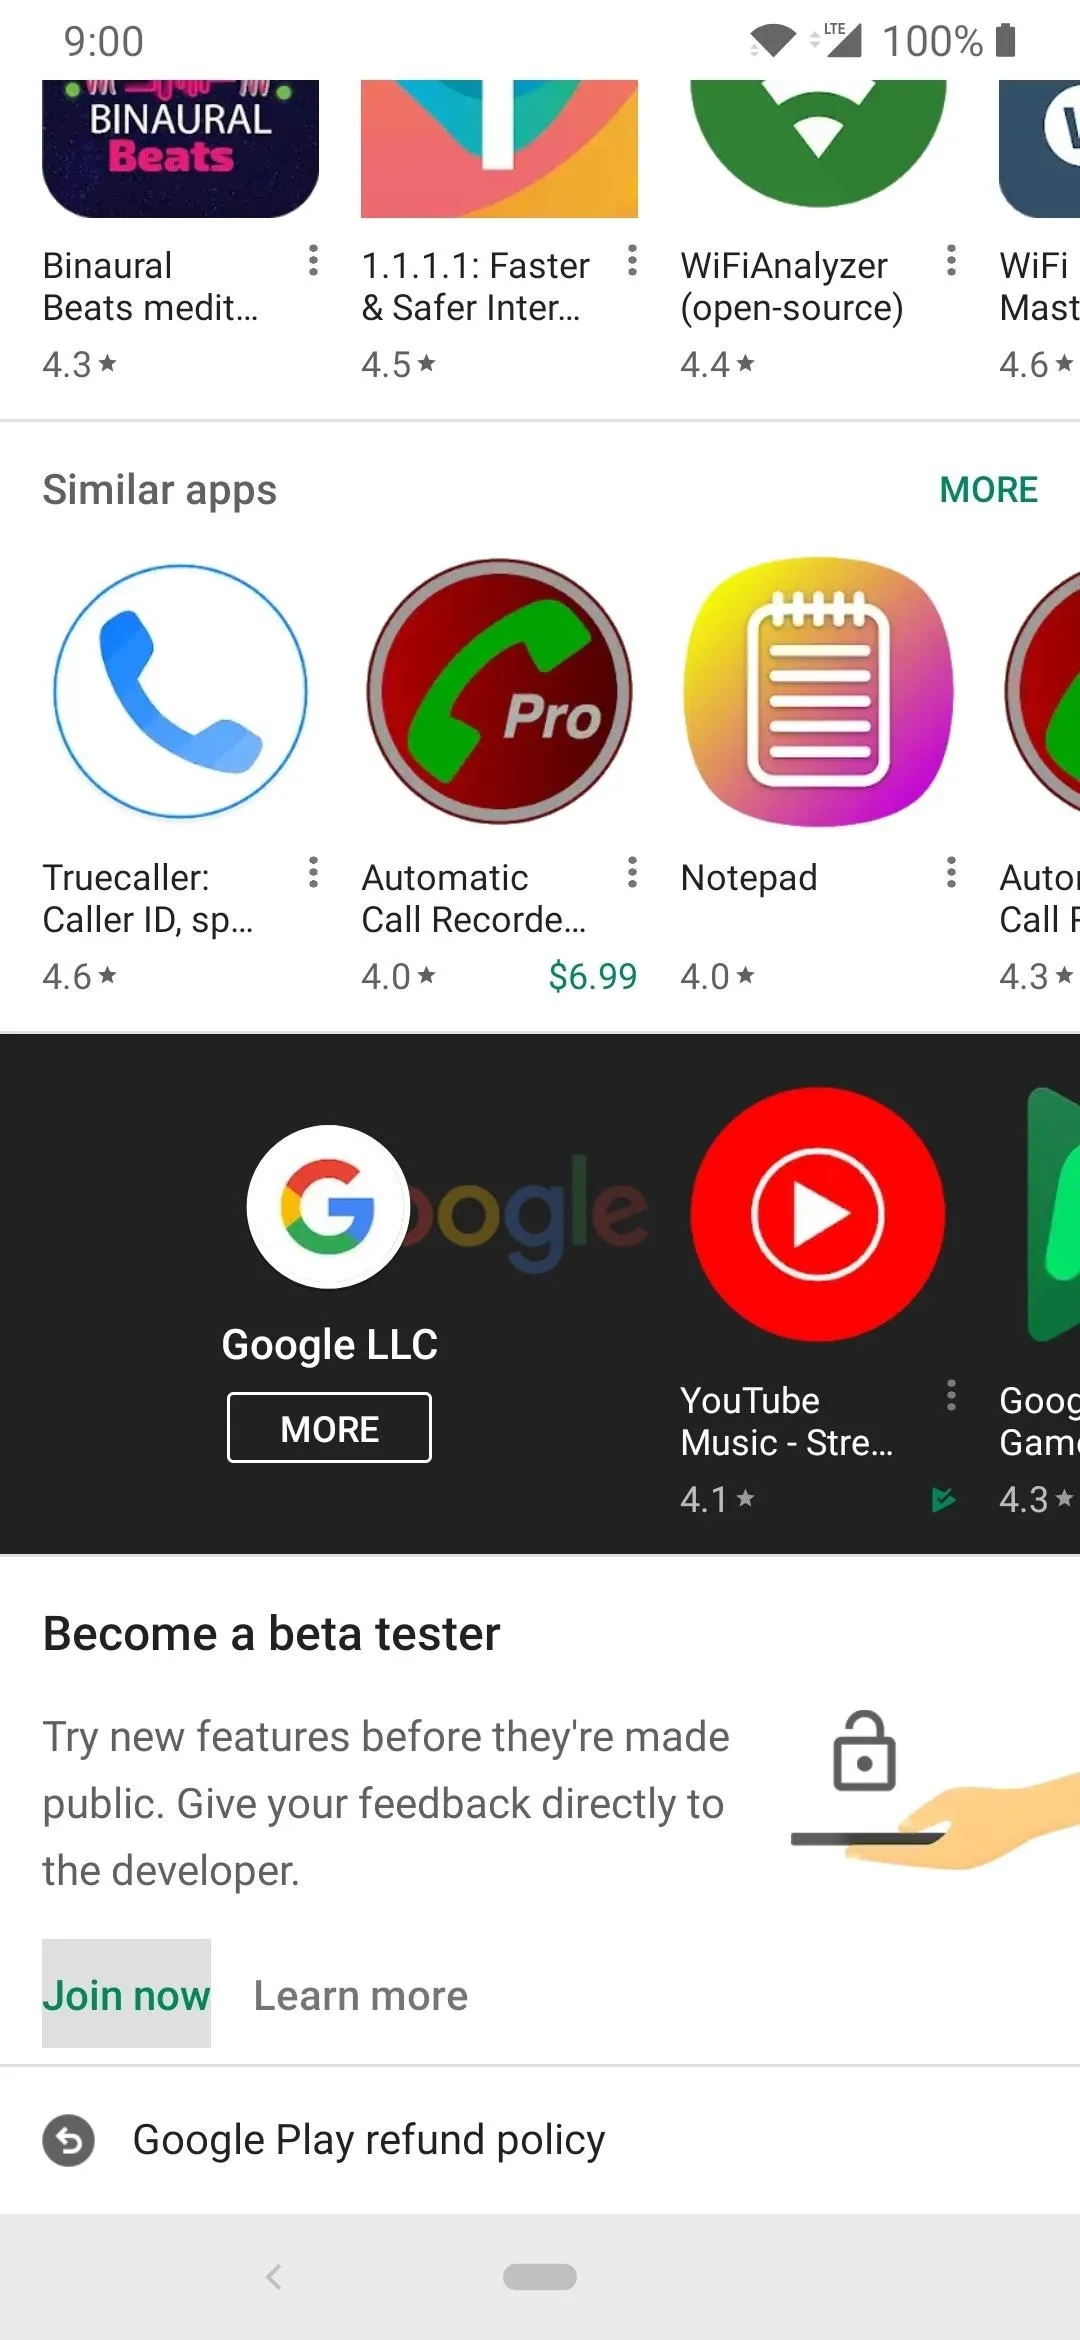
If you'd like, you can scroll down to the "Become a beta tester" section and tap the "Join now" button. This is entirely optional, but it ensures you can always be on top of the newest updates from Google before they go public. This is especially useful for testing new Google Phone features on your non-Pixel smartphone!
Enable Permissions
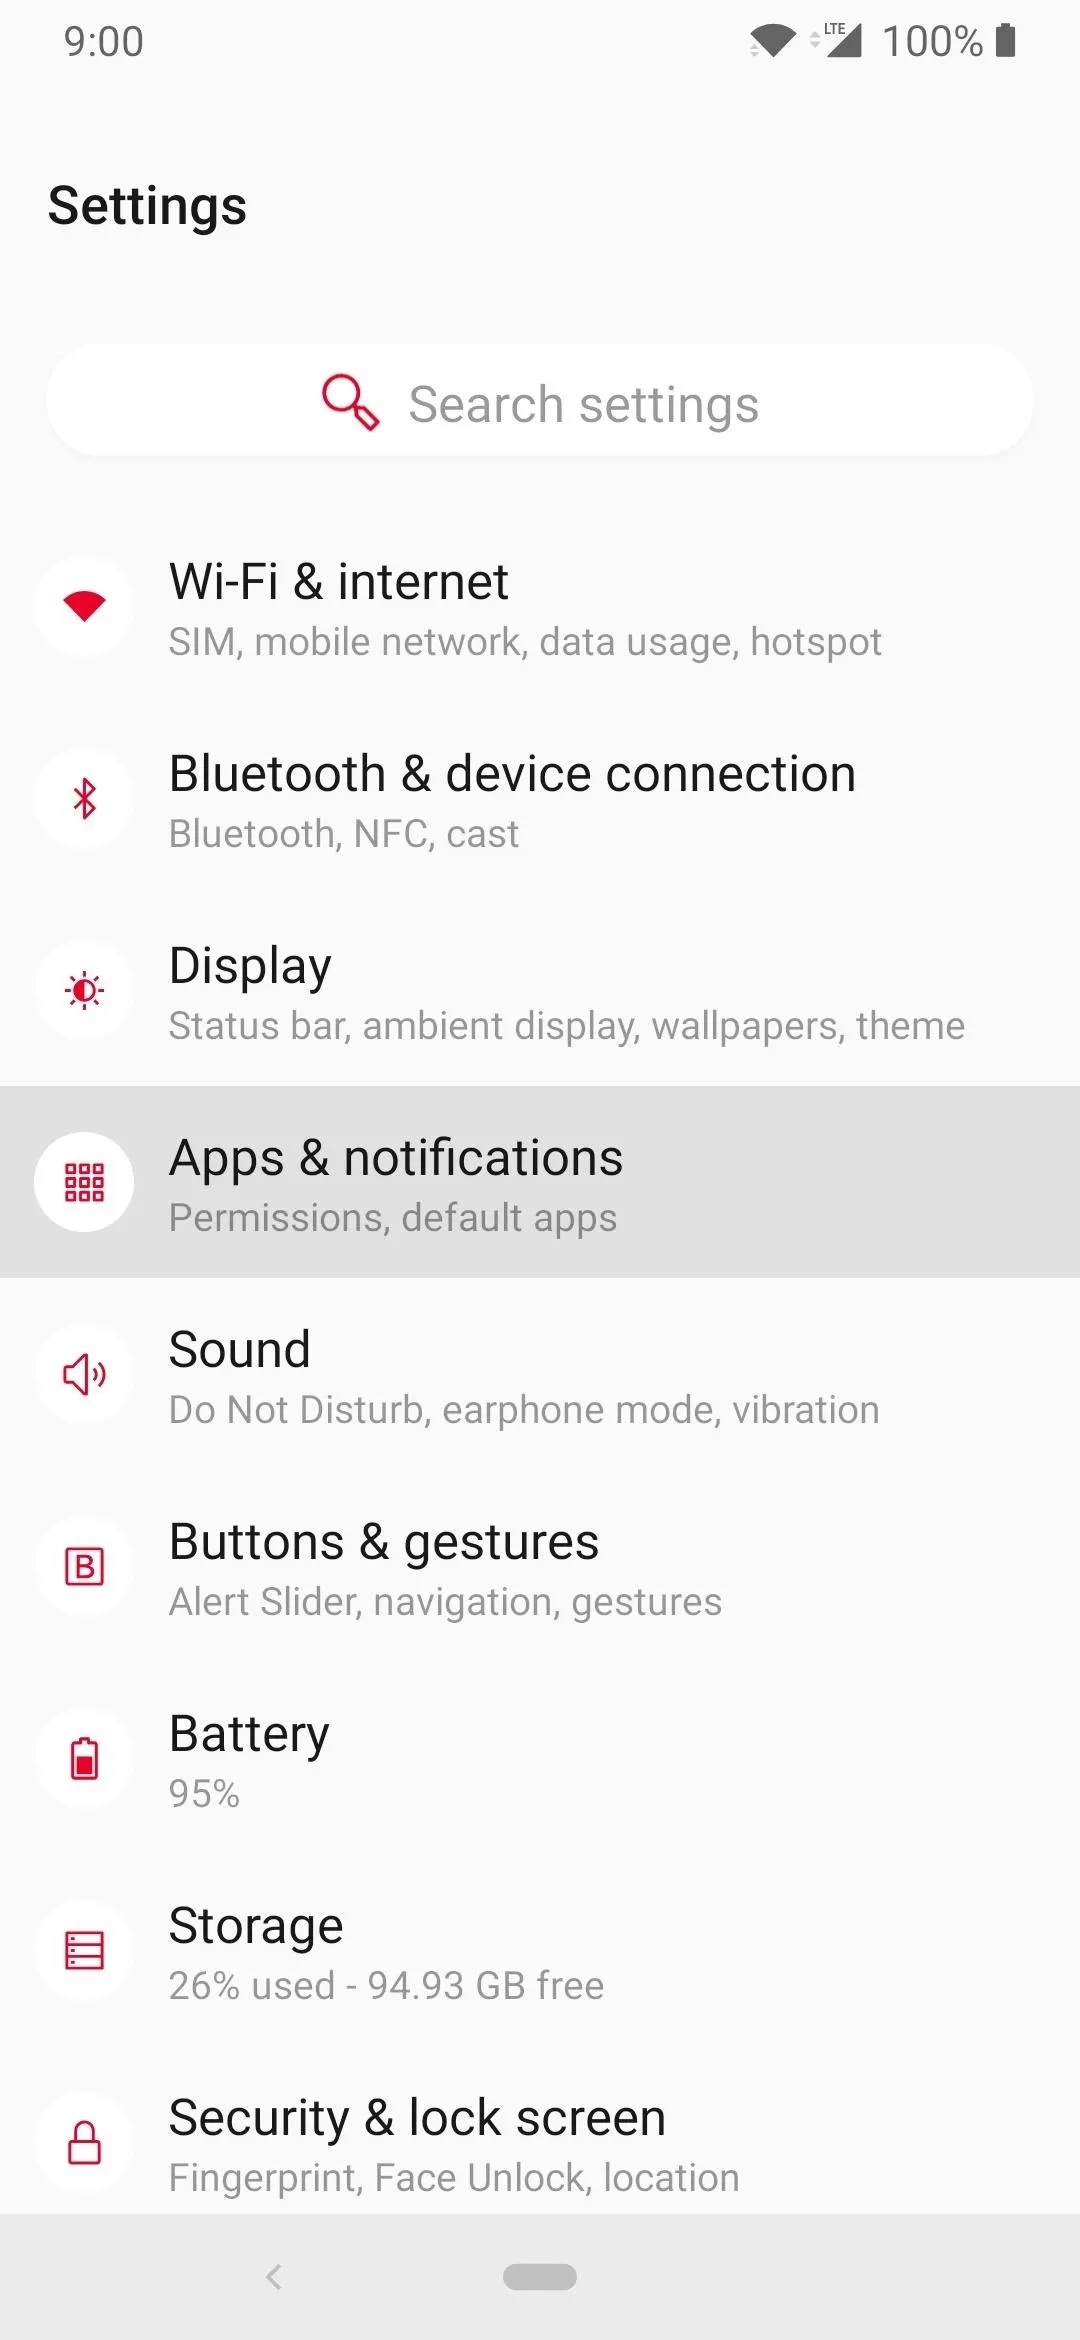
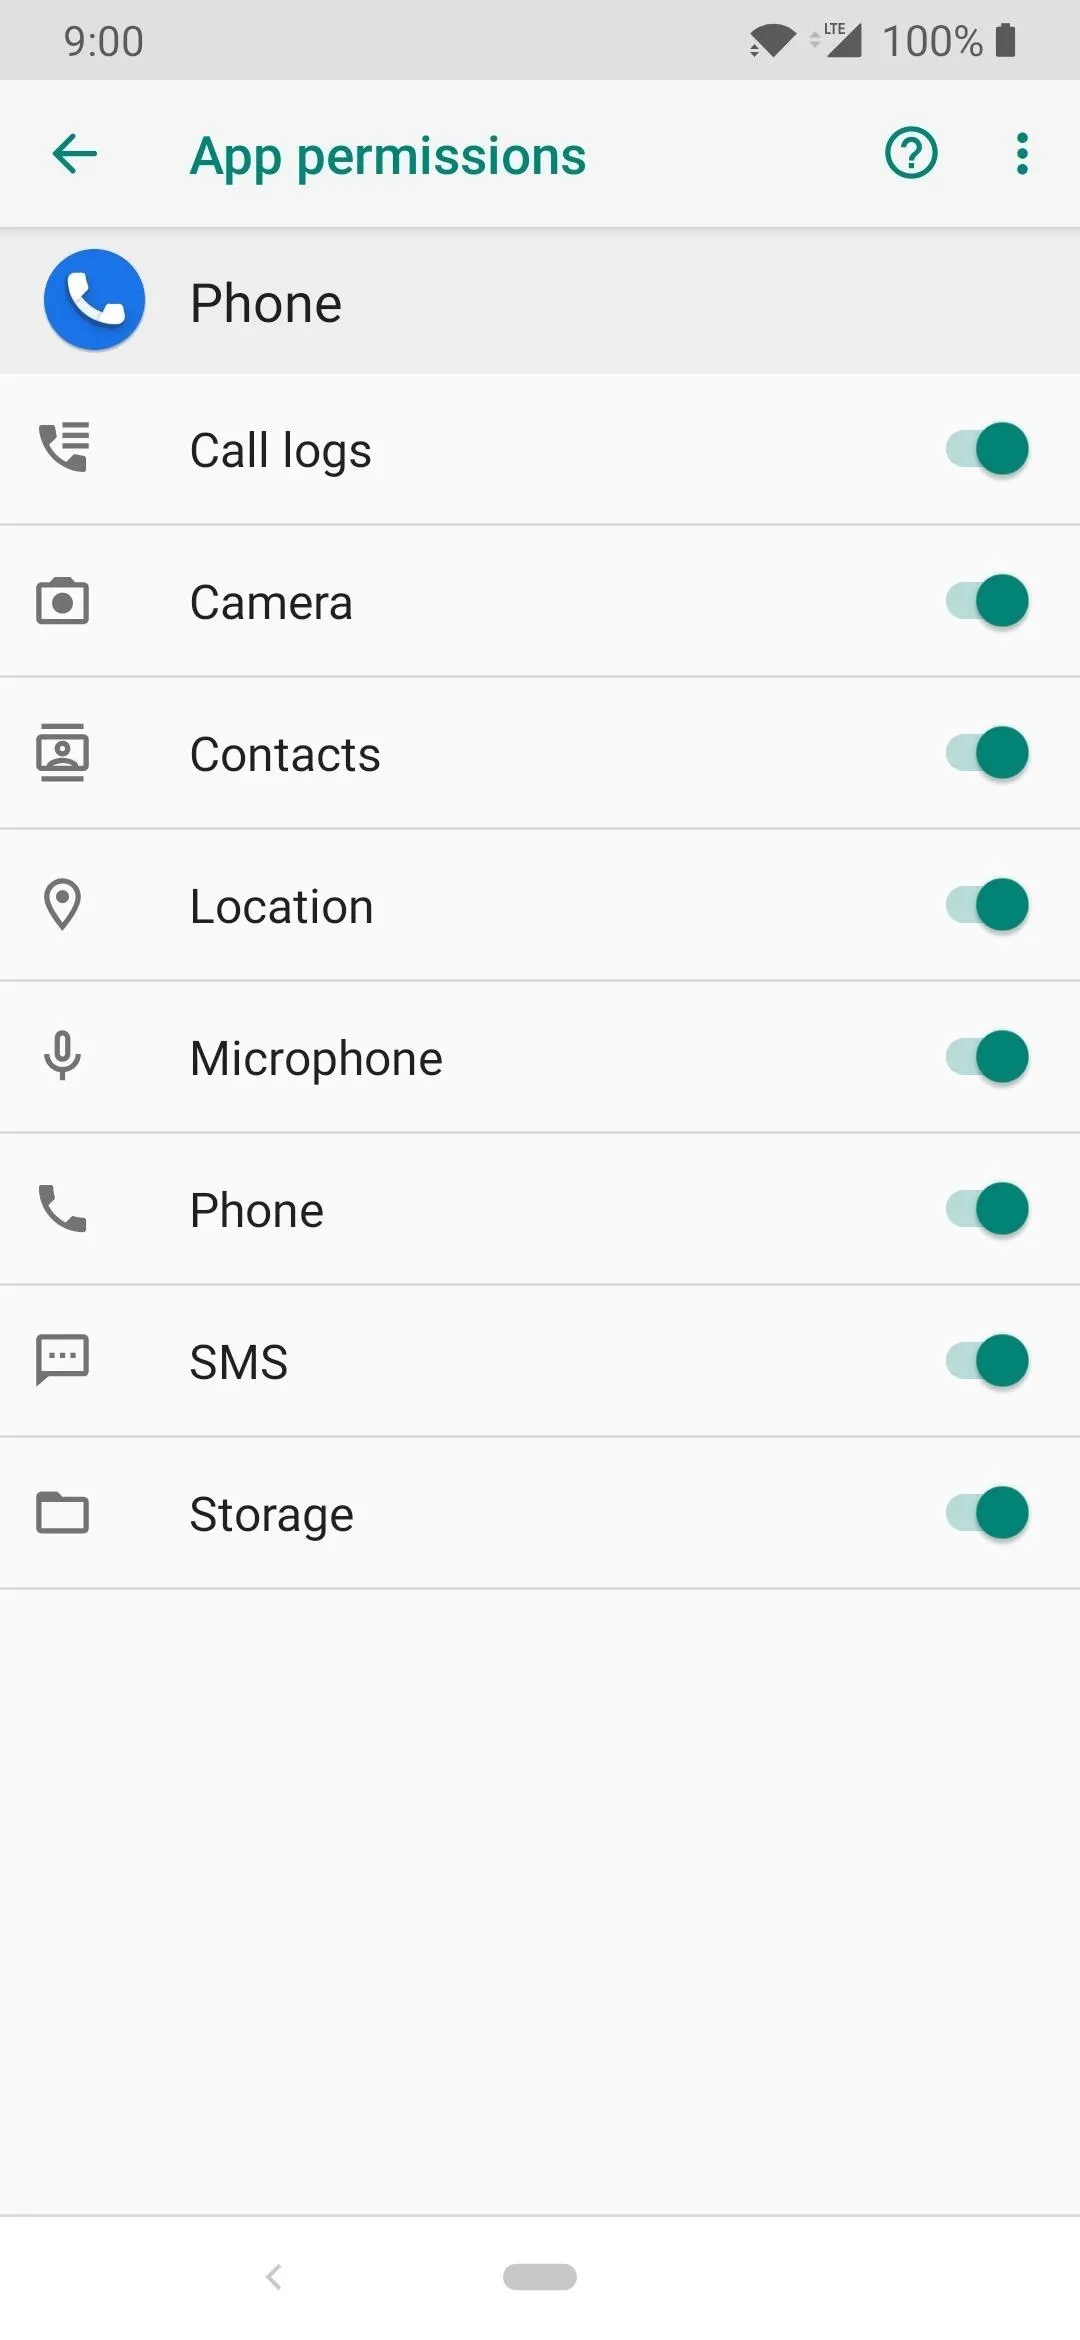
Before you open the phone app, you should enable all of the proper permissions required for the app to work correctly. Open your system settings, go to "Apps & notifications" (Or the place where you control app permissions), locate the "Phone" app (if you have two now, look for the one with the blue icon shown below), then open the main app info page. This should be listed as a recently opened app in newer versions of Android, making it easy to find the app you're looking for.

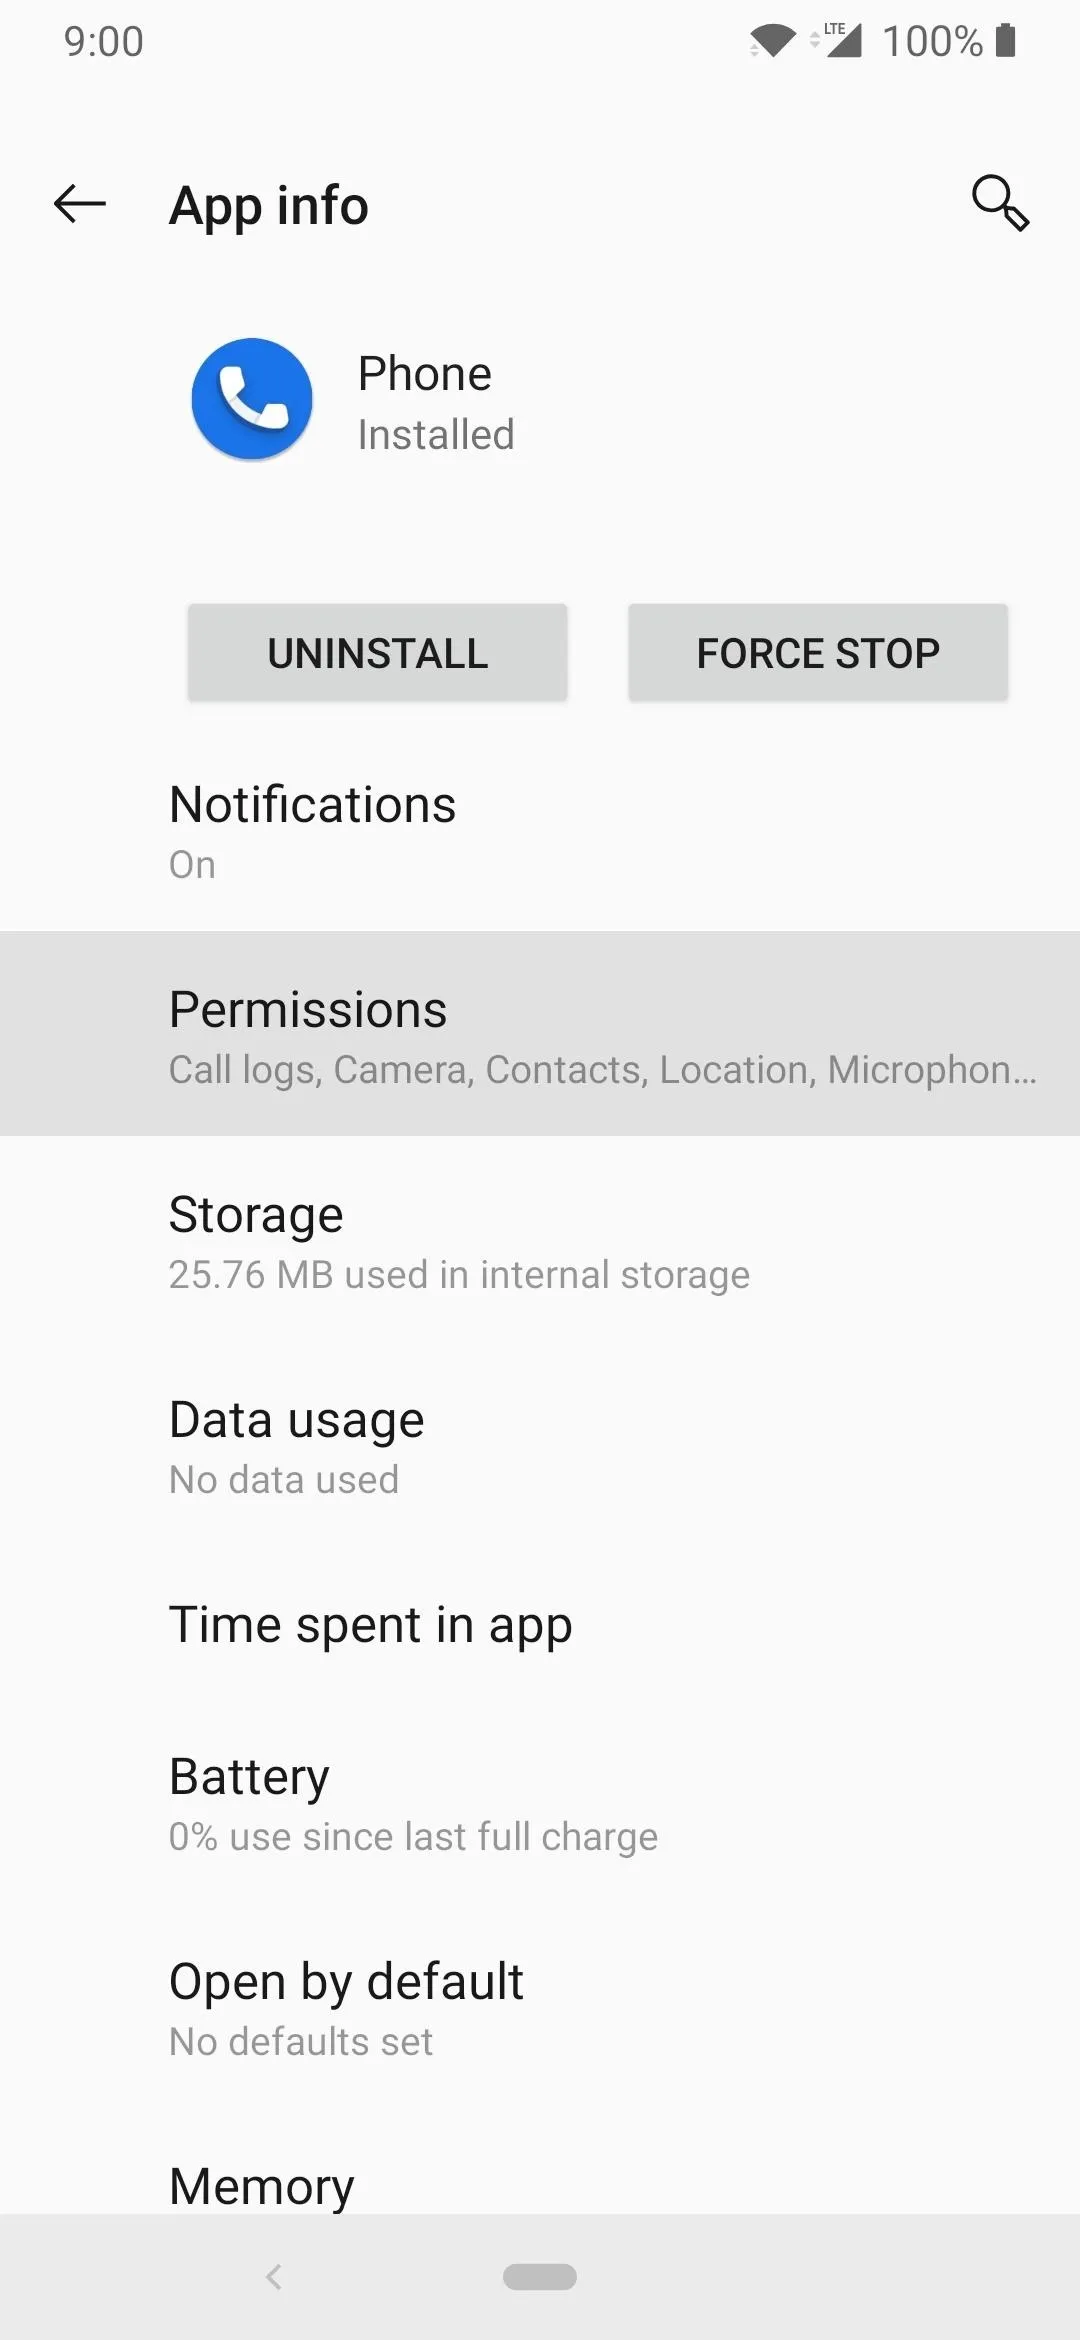
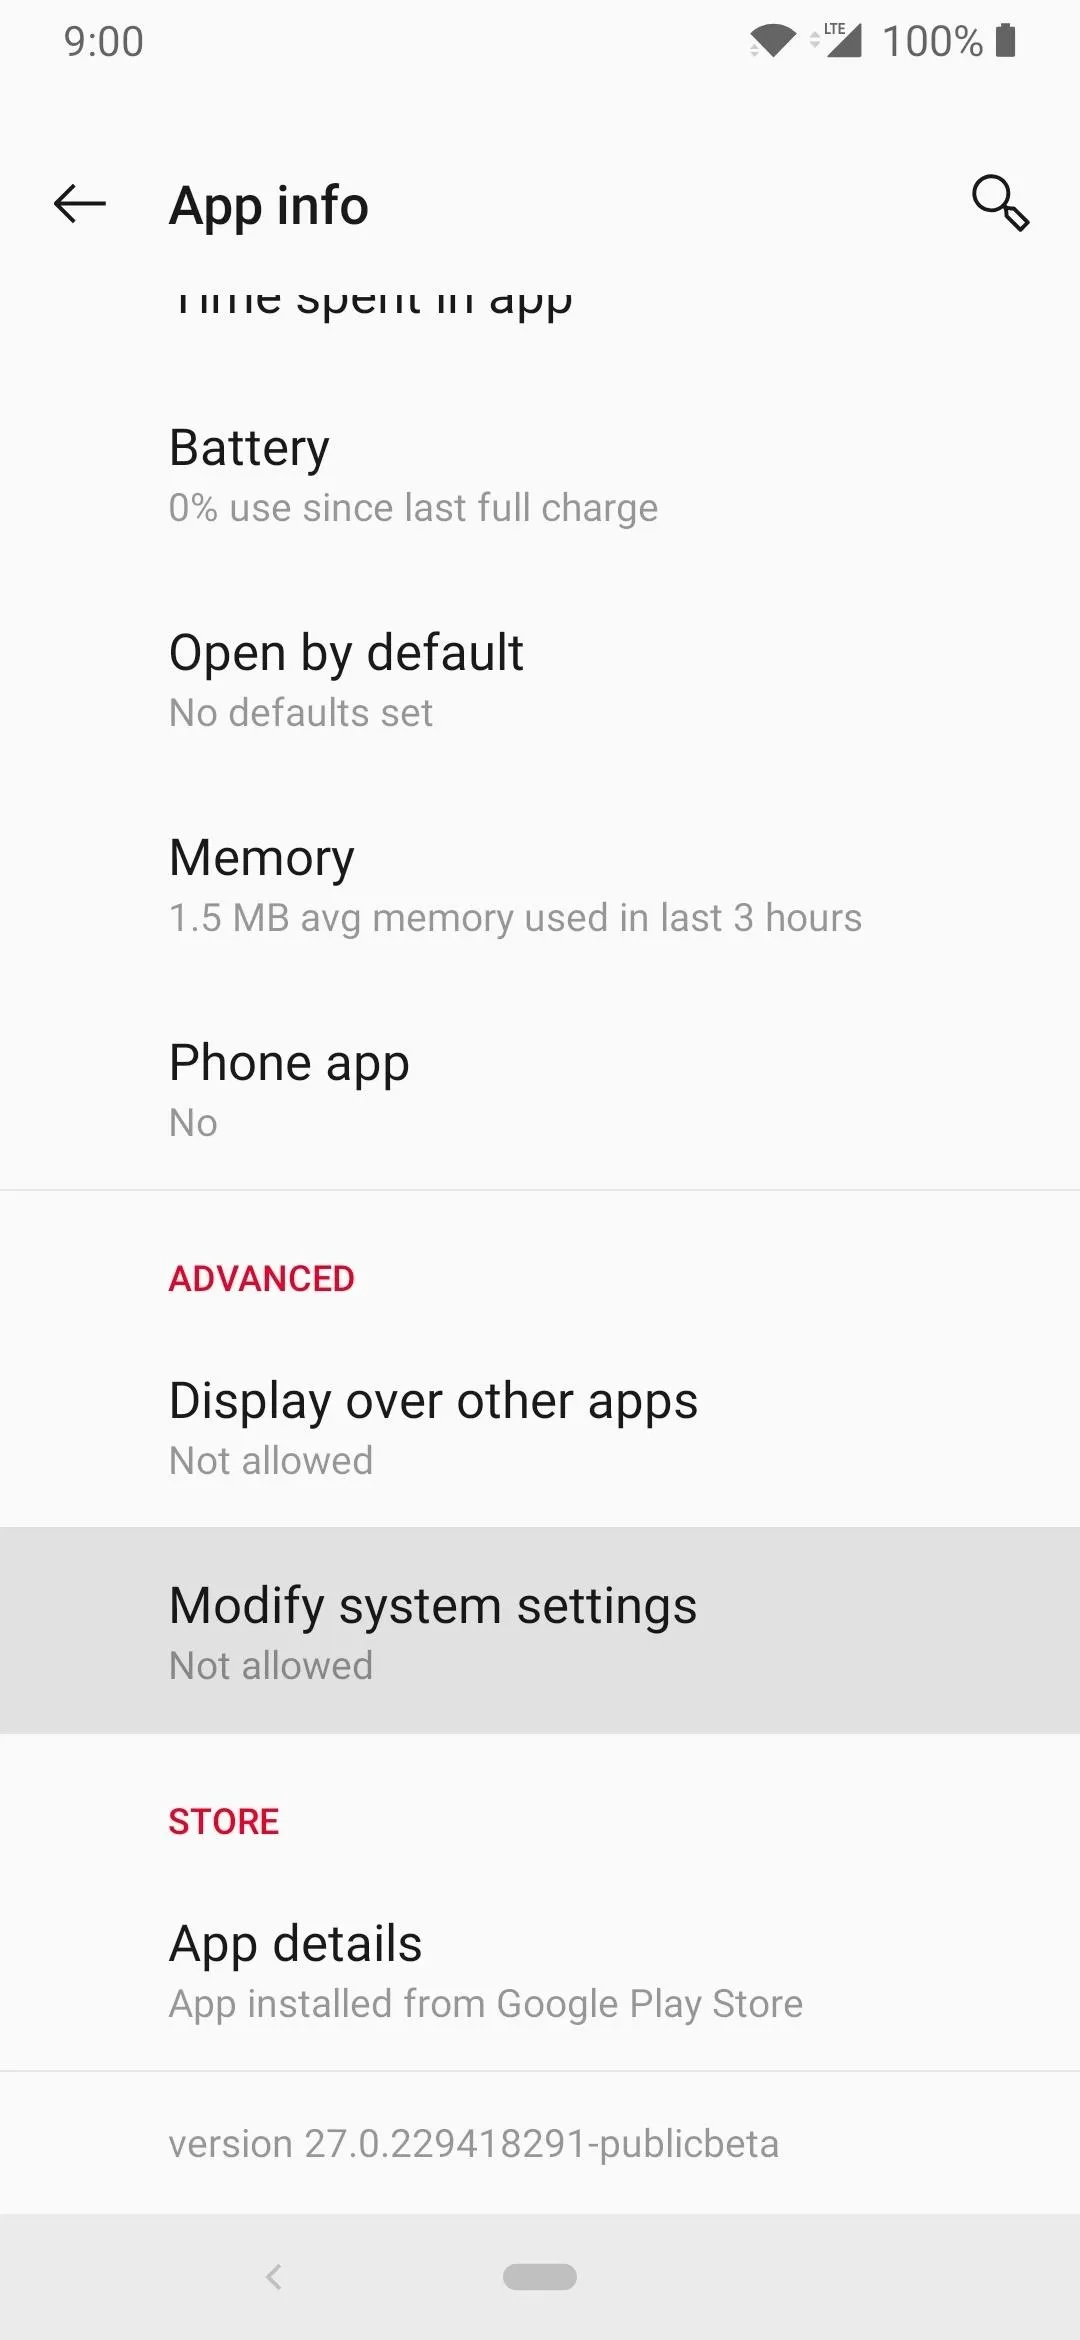
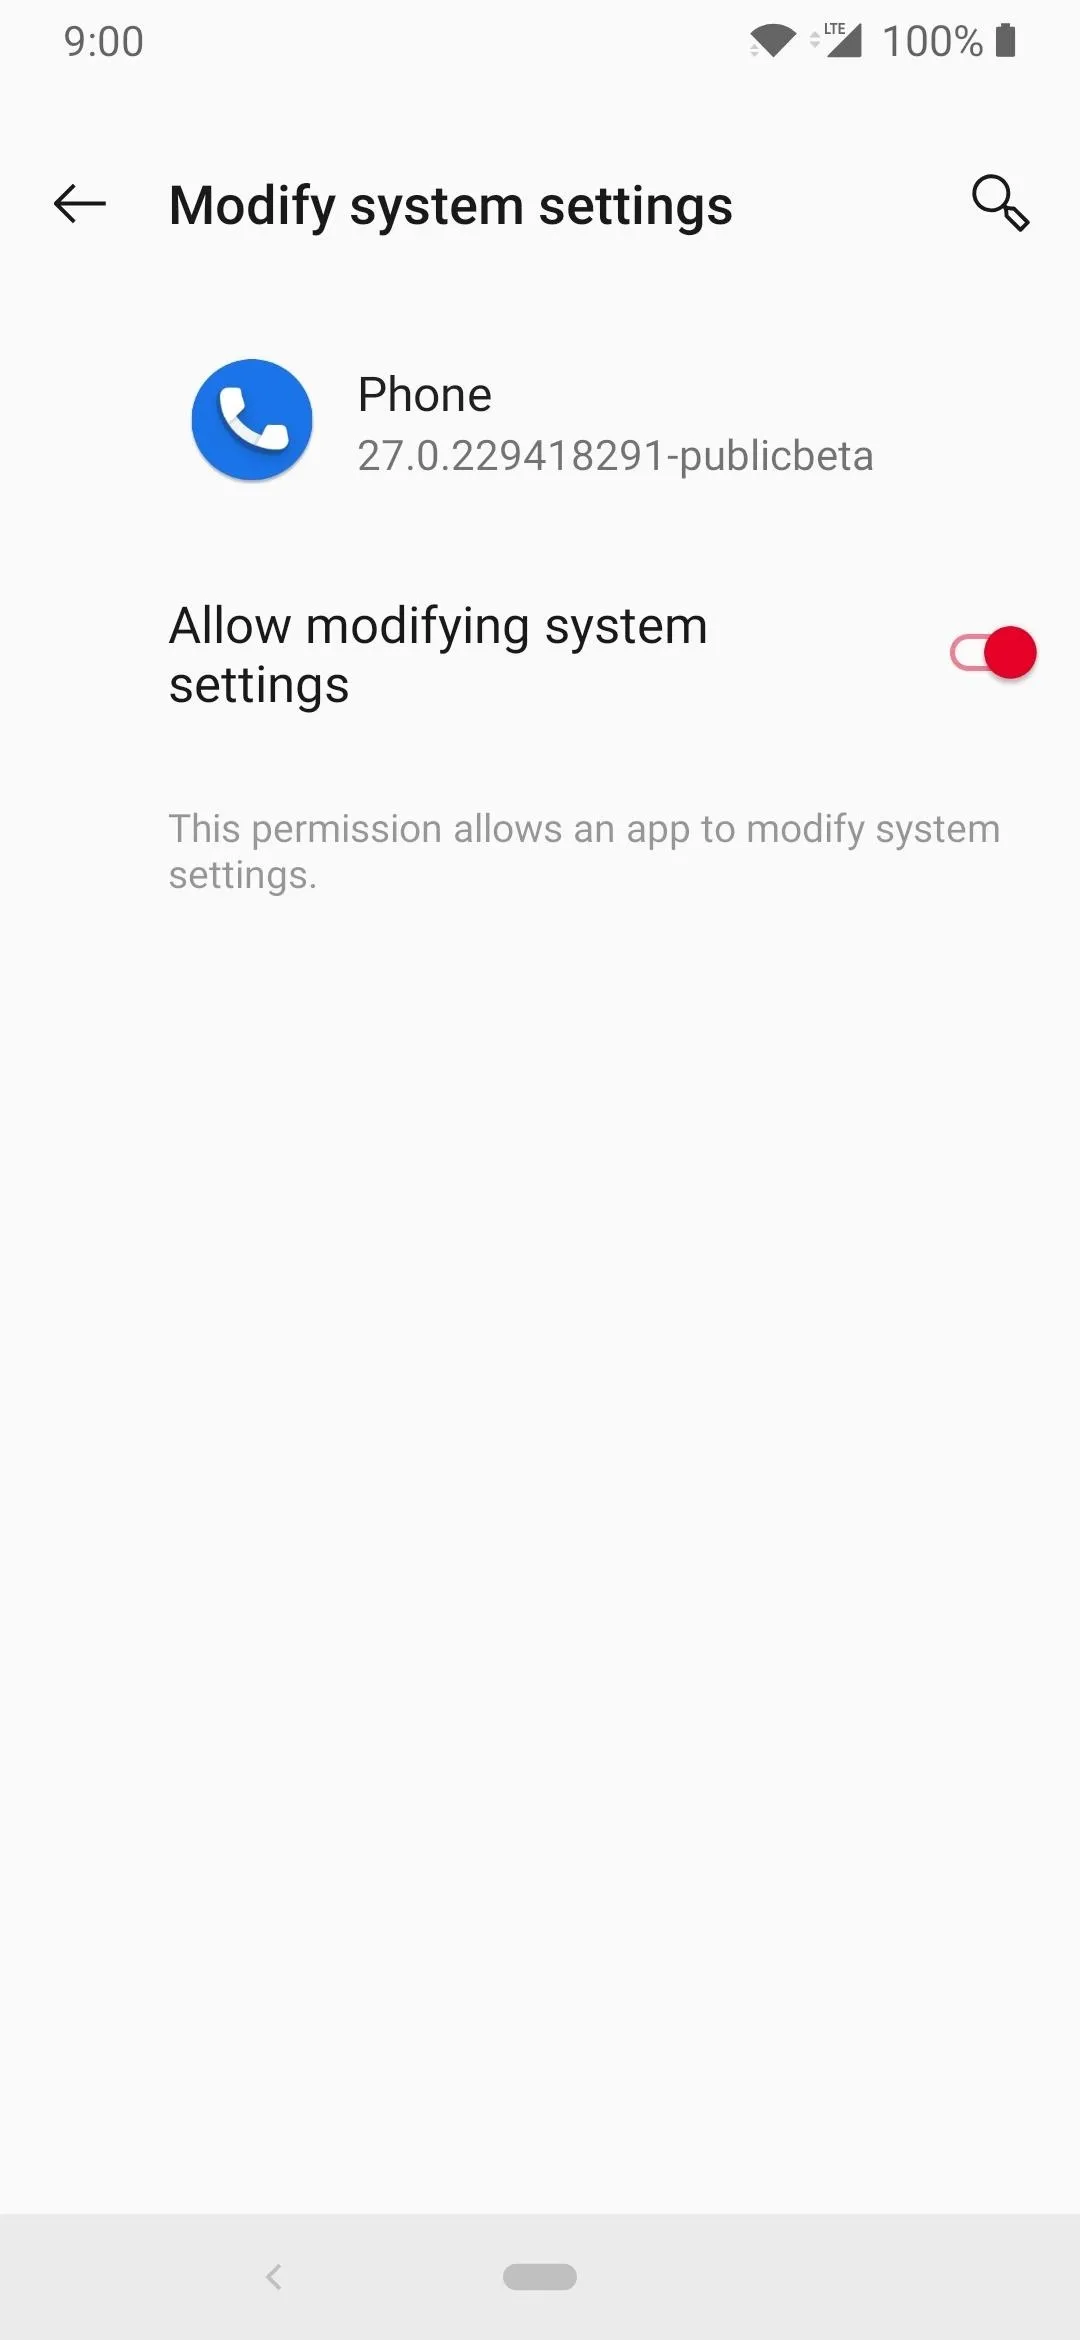
From the main info screen for Google's Phone app, tap "Permissions," then go ahead and enable all of them one by one. The dialer app requires many permissions to use a lot of the features, especially location for the "Nearby places" function. Now hit the back button once, scroll down and tap the "Modify system settings" section, then enable the "Allow modifying system settings" button on the next screen. This will allow the phone app to set ringtones and make other system related changes as well.
Set Google Phone as Your Default Phone App (Optional)
If you want to be able to tap phone numbers and have them open in the Google Phone app from now on (among other shortcuts), you can also set Google Phone as your default phone app on many devices.
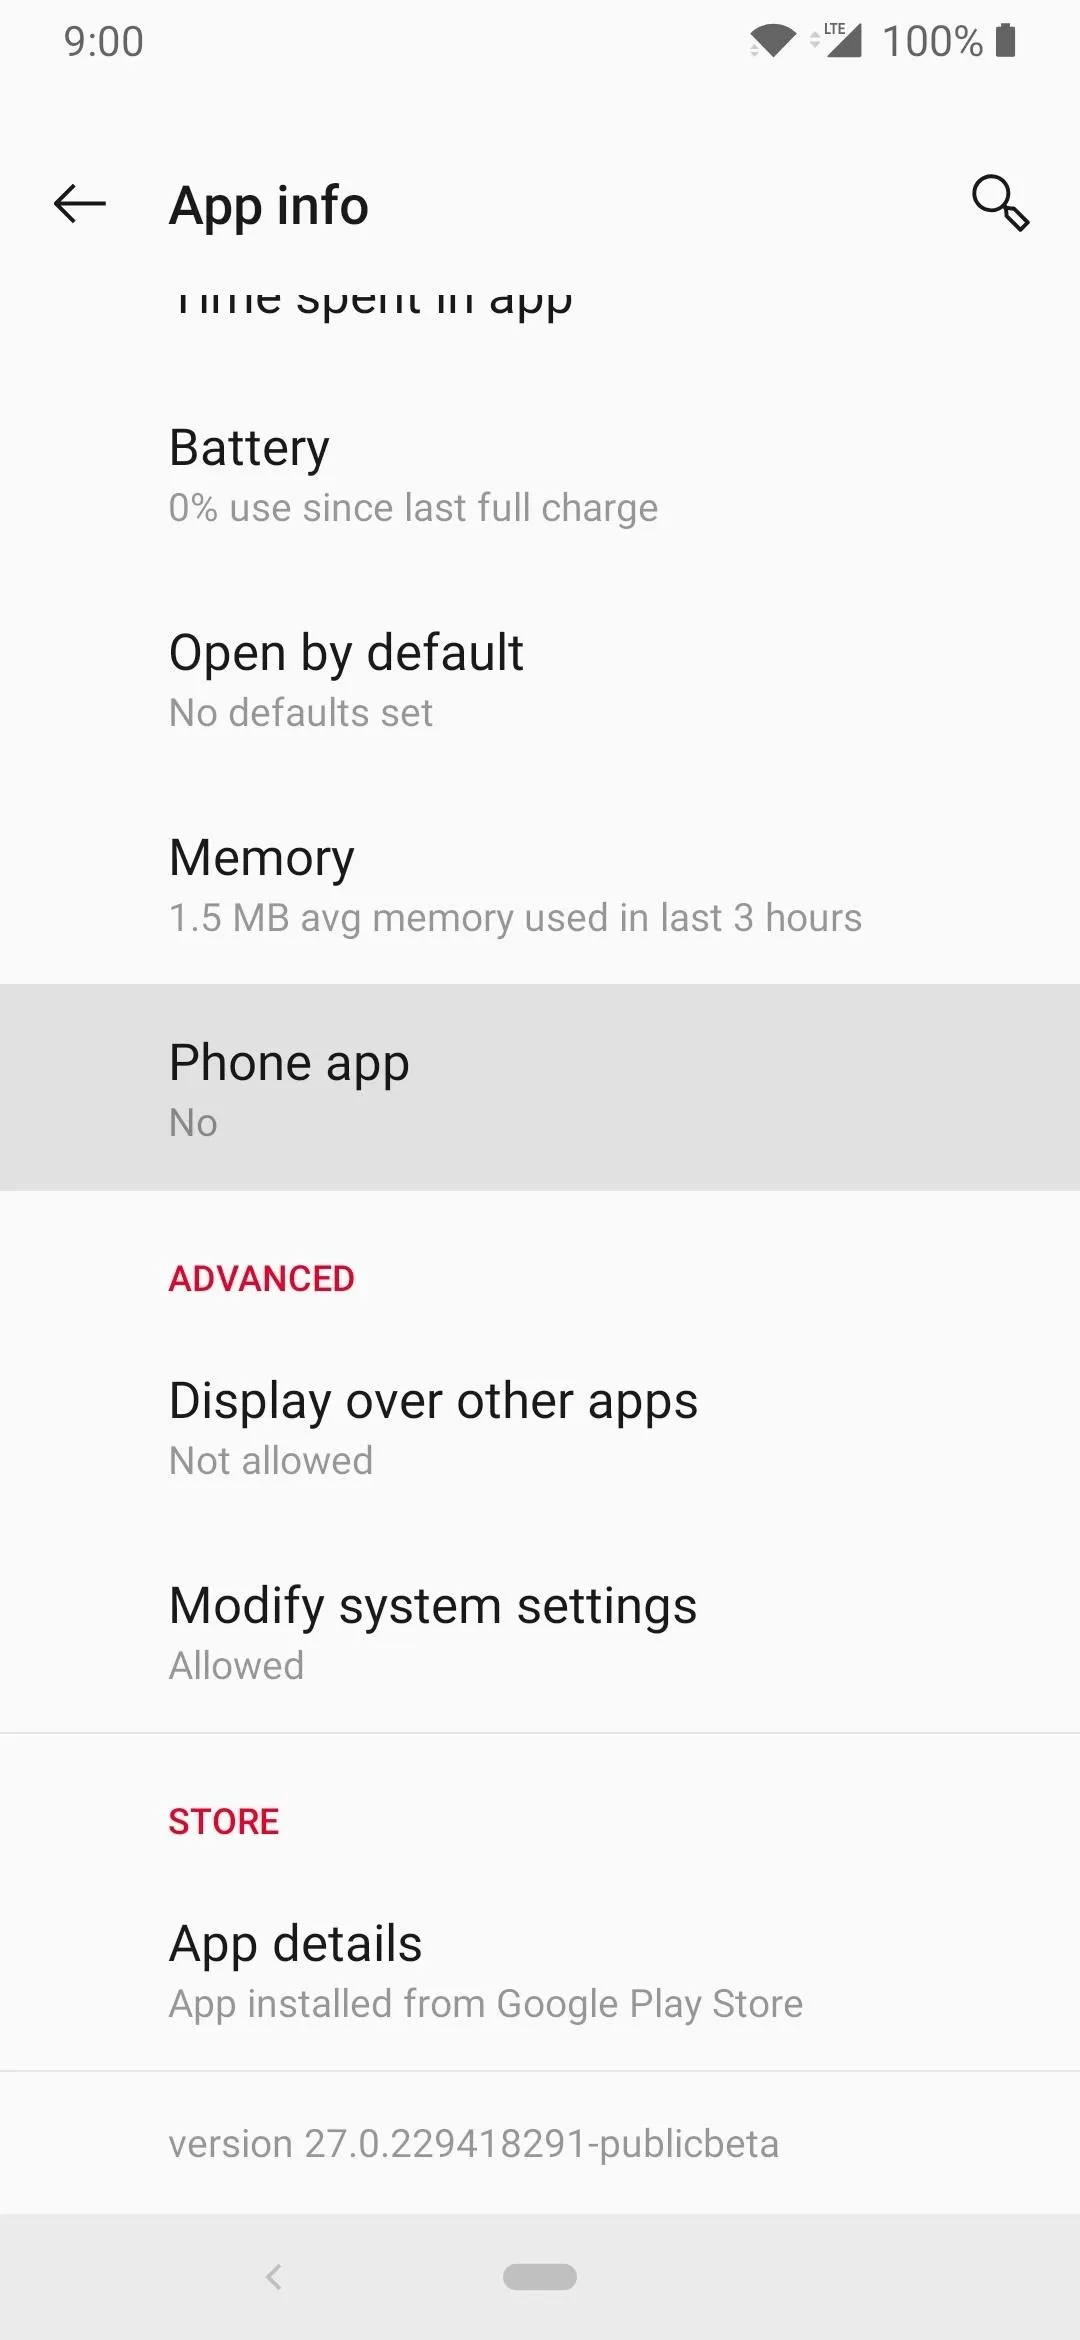
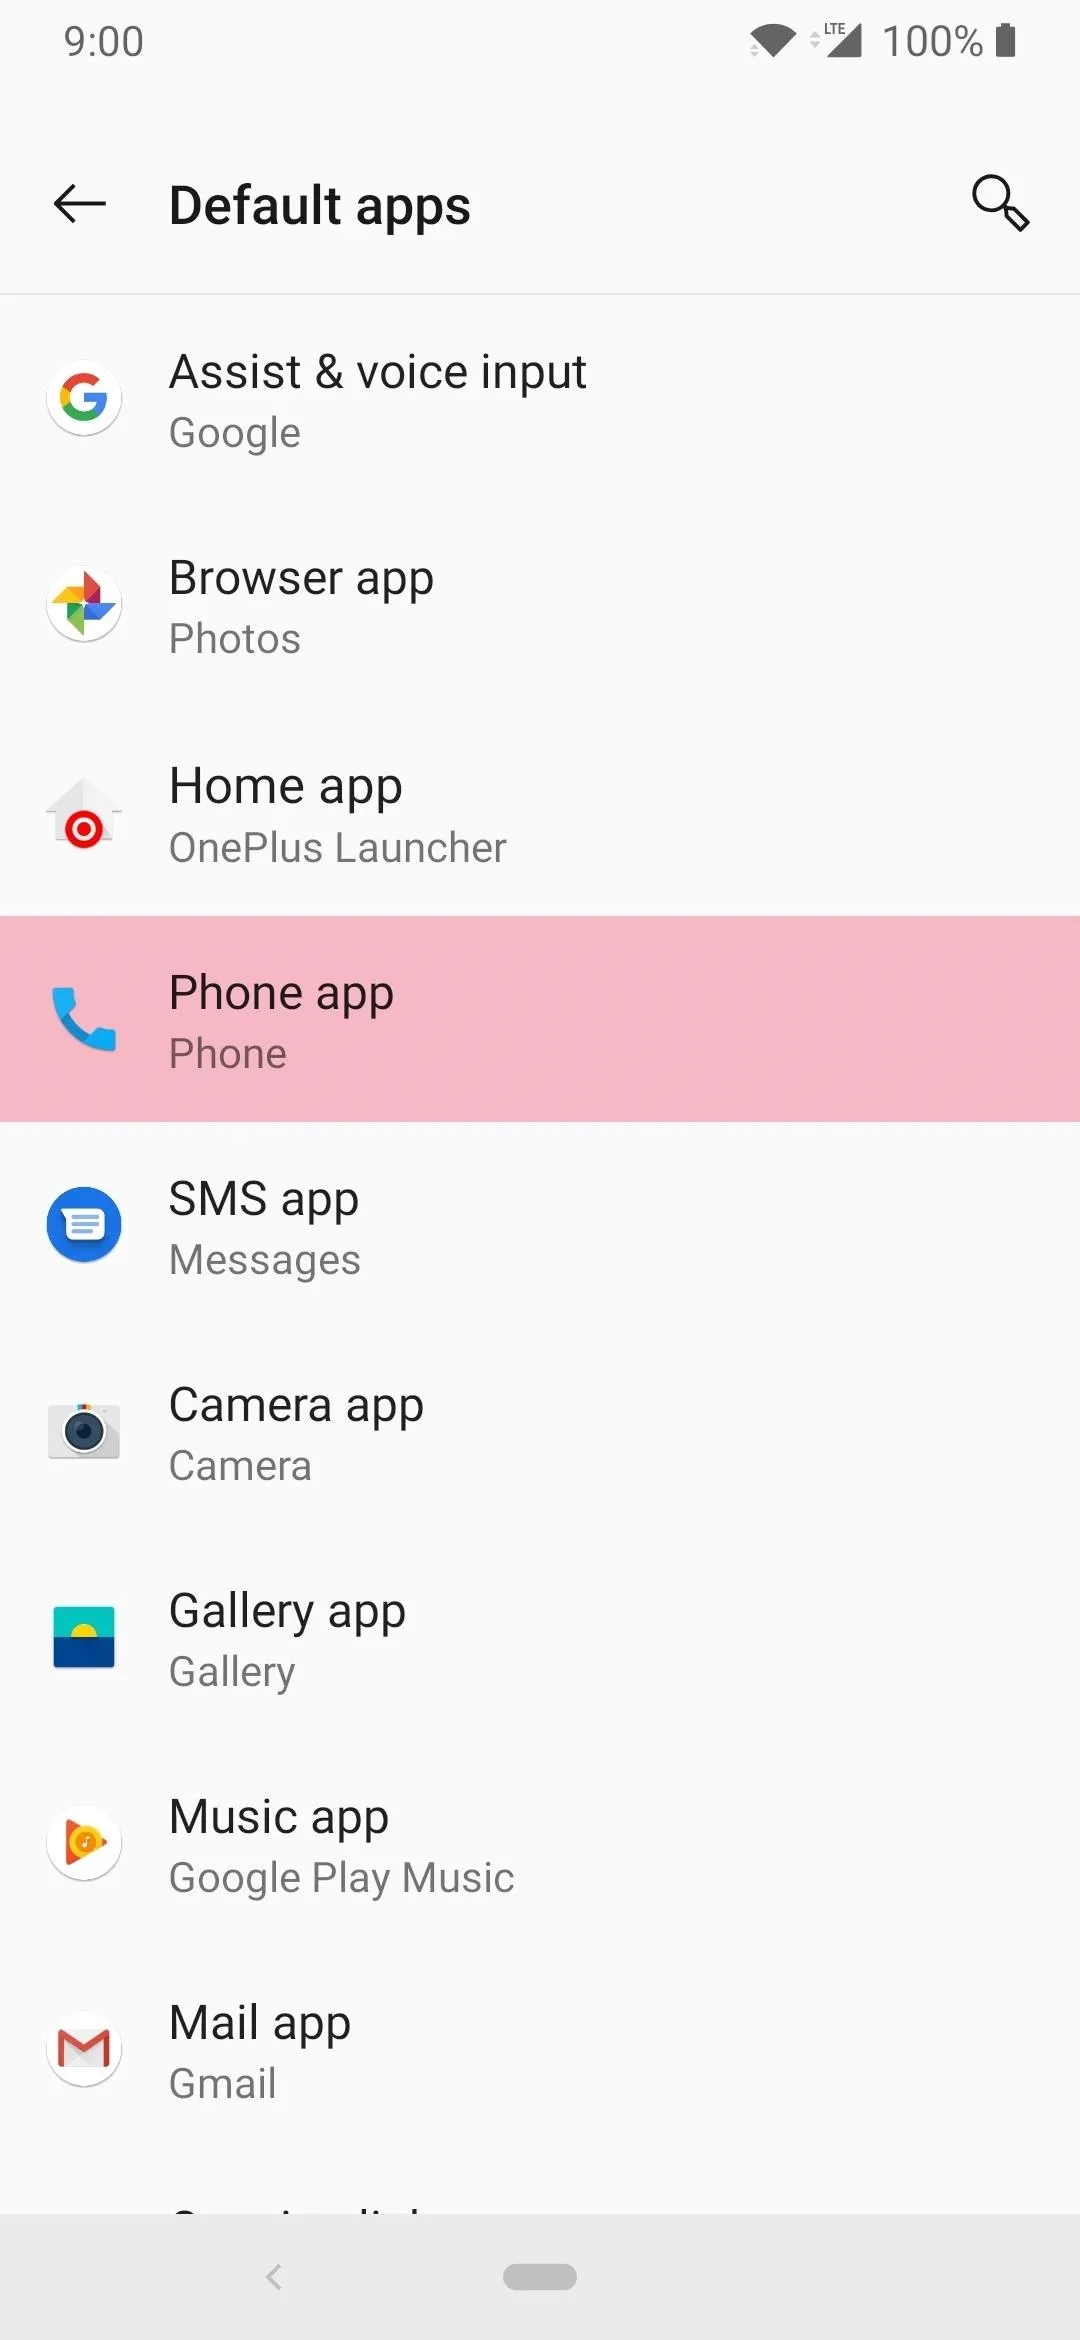
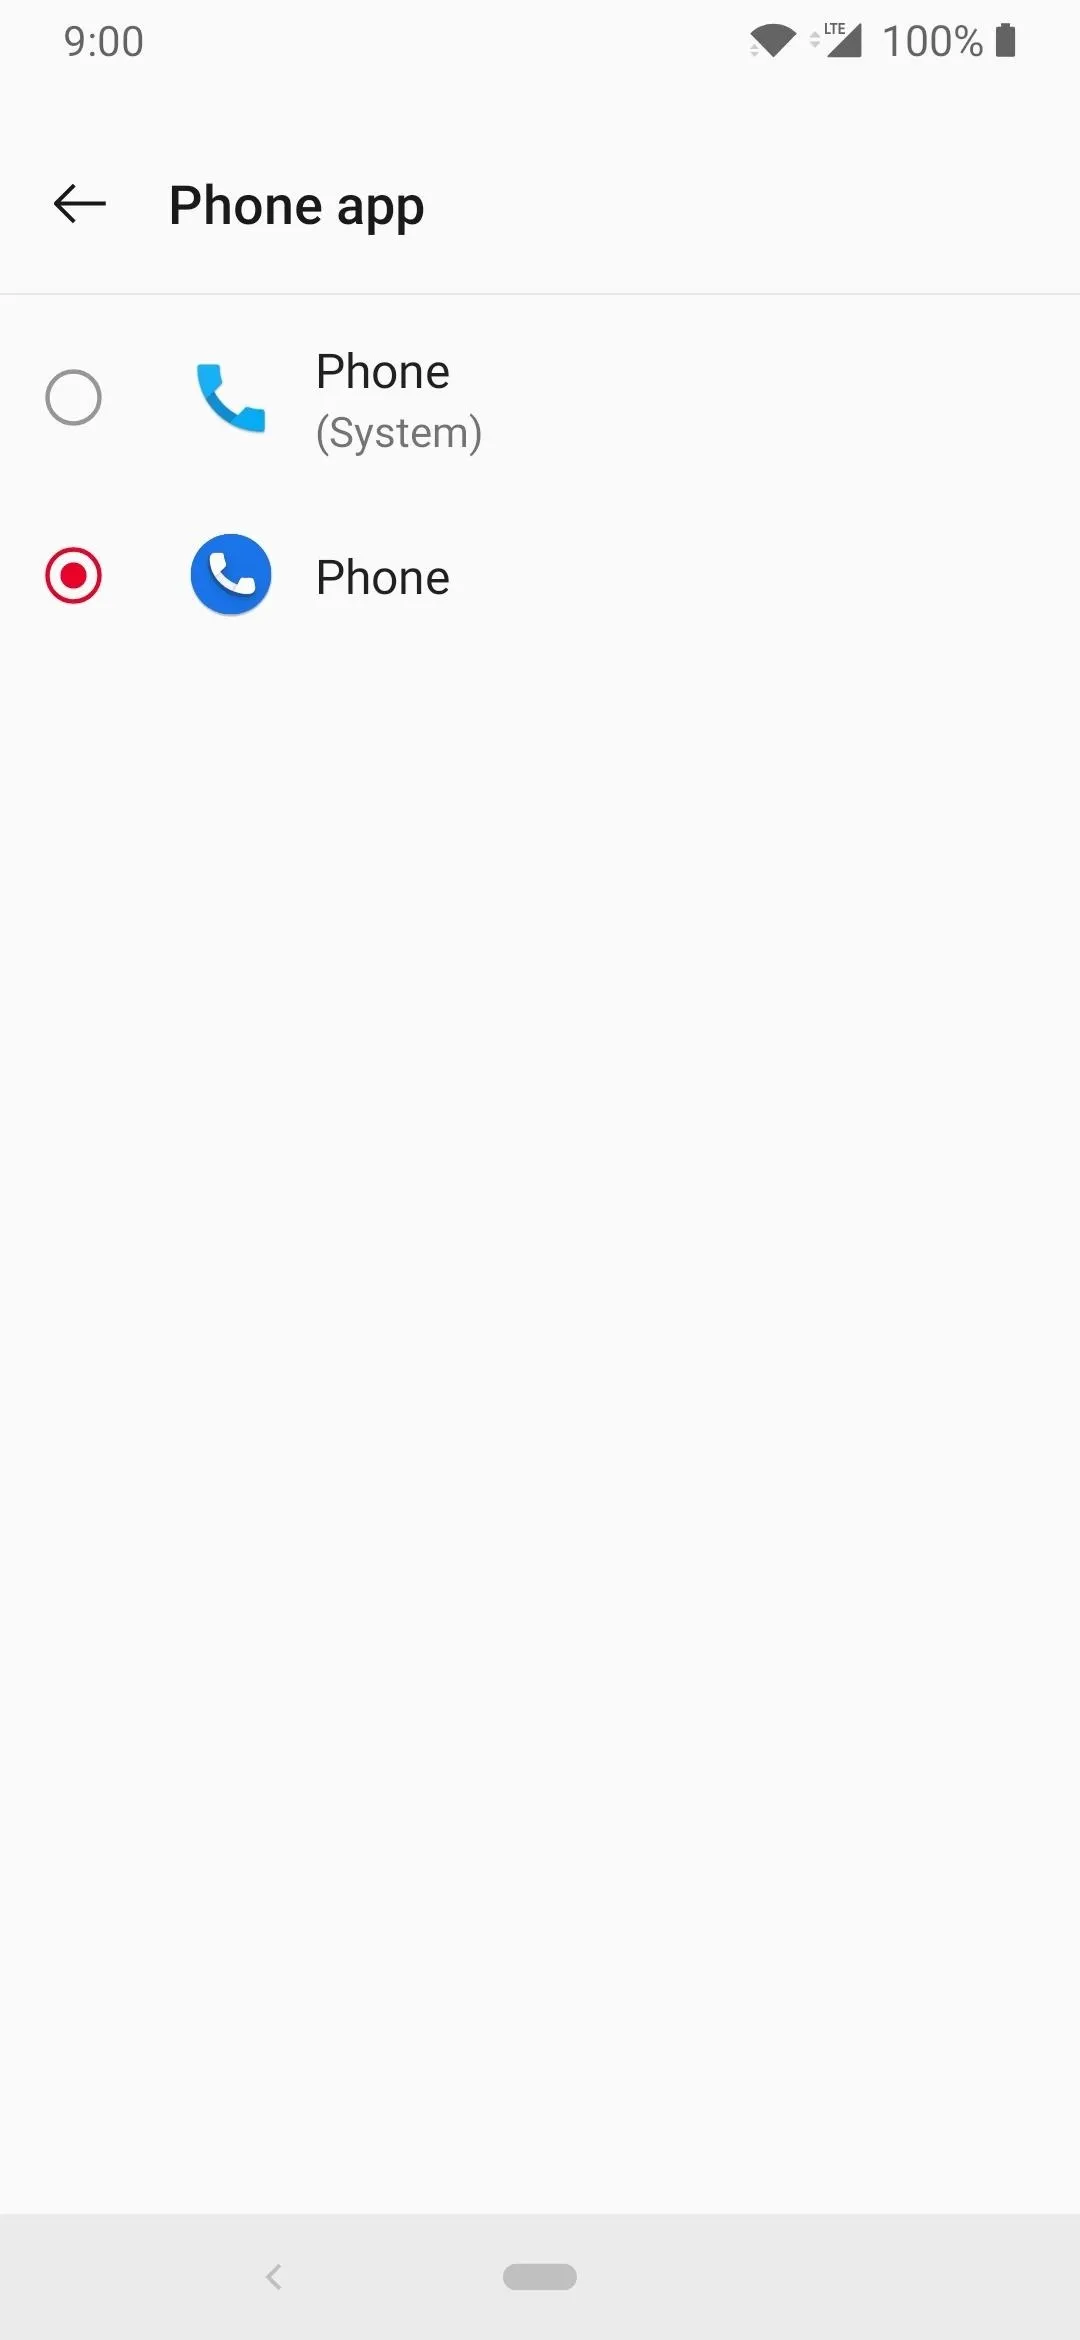
To do so, open your Settings app and tap the search field at the top. Type in "default apps," then tap the top result and choose "Phone App" on the next screen. From there, select the Google Phone app and it will become your default handler for calls. Note that this setting is not available in all Android skins, however.
Note: The reason this is optional is that it may break the functionality of the system dialer itself when sending or receiving calls. If you start noticing these issues, set the default phone app back to the one that came with your system and continue using the Google Phone app like normal. This allows the calls to be routed through the default system dialer in the background while you use the new phone app.
Try Out the New Features
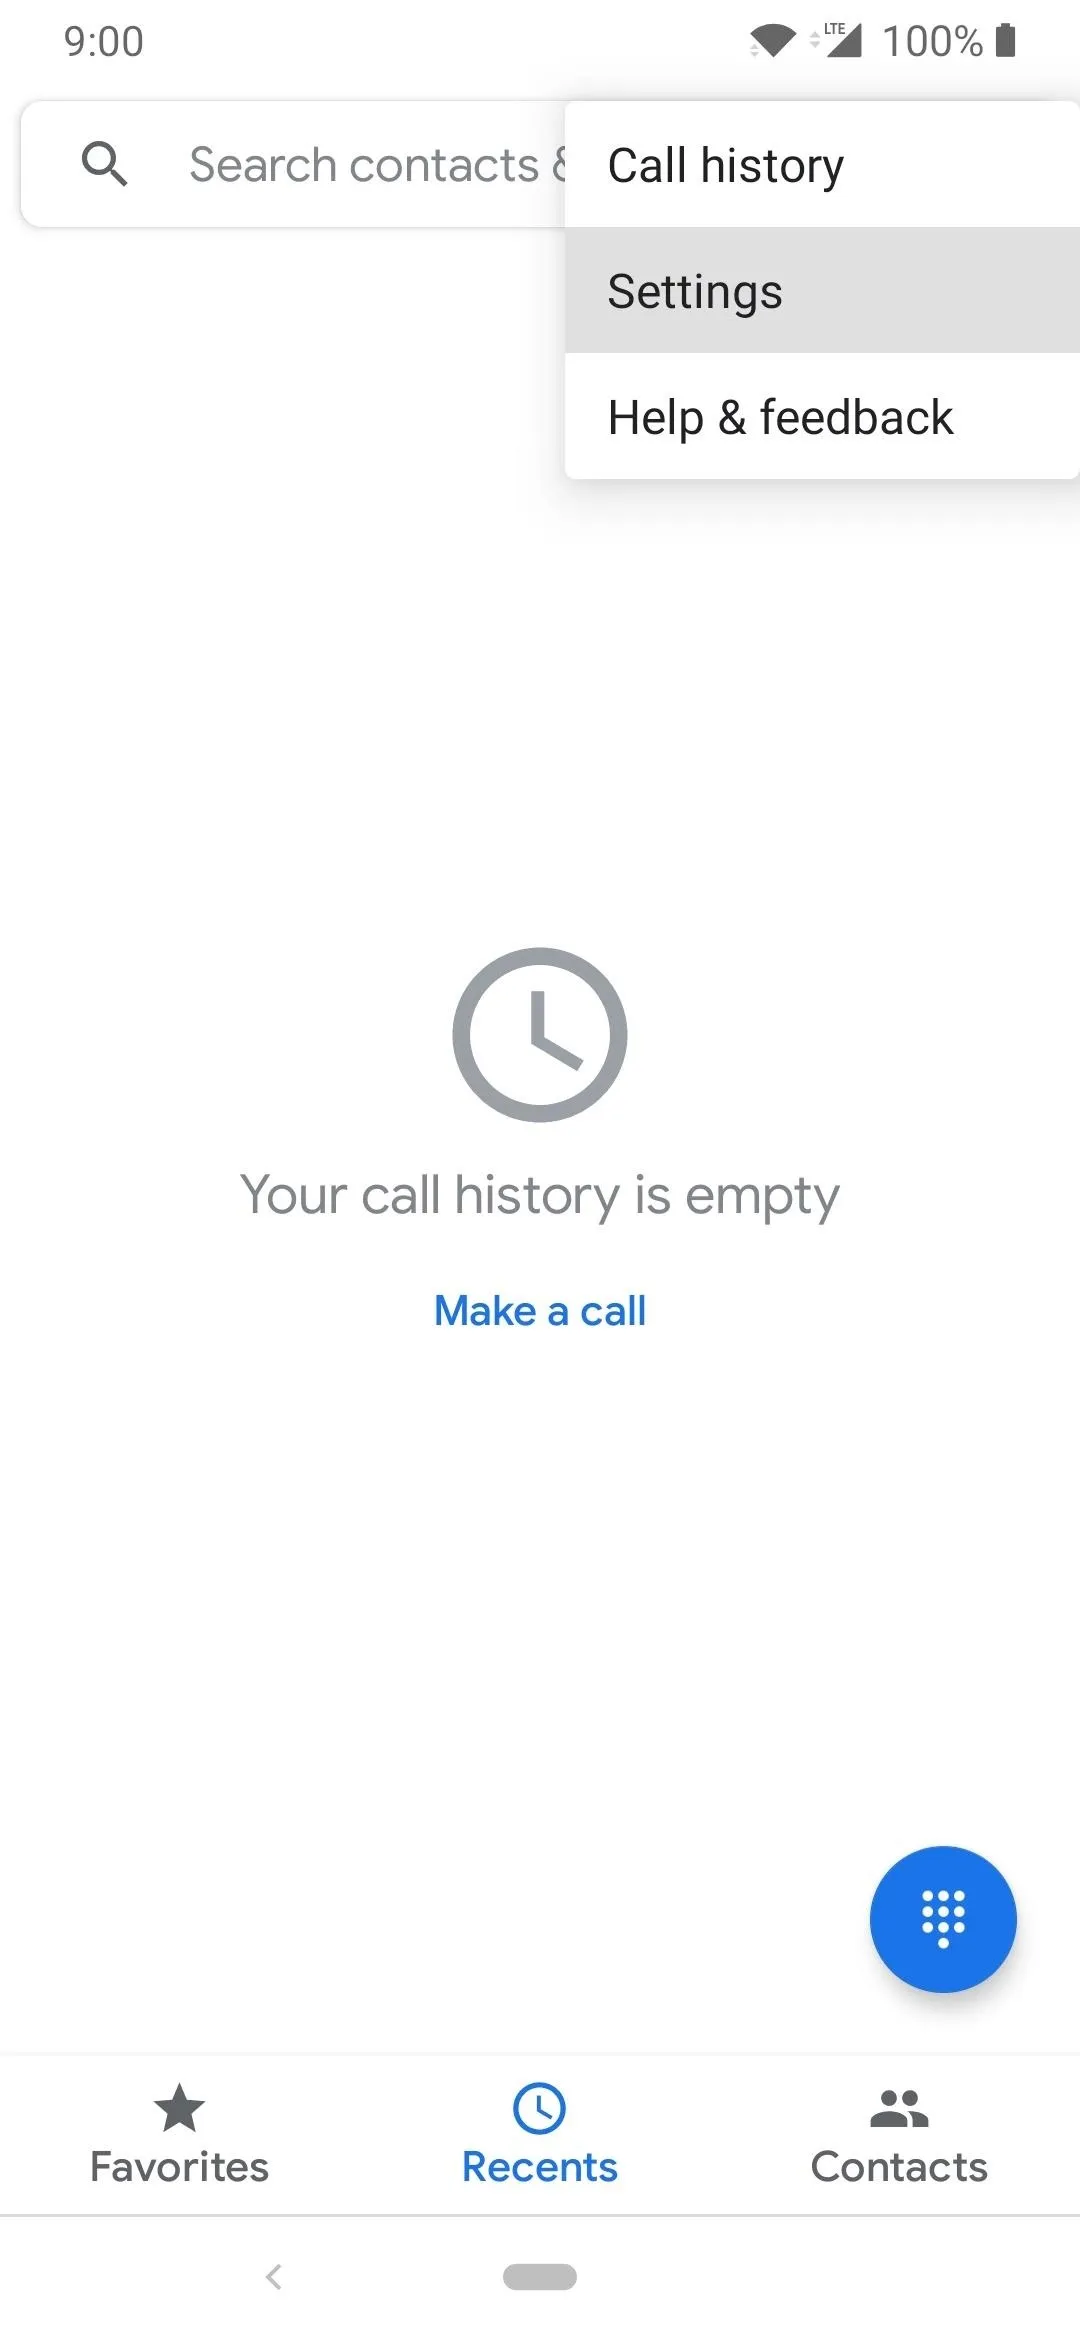
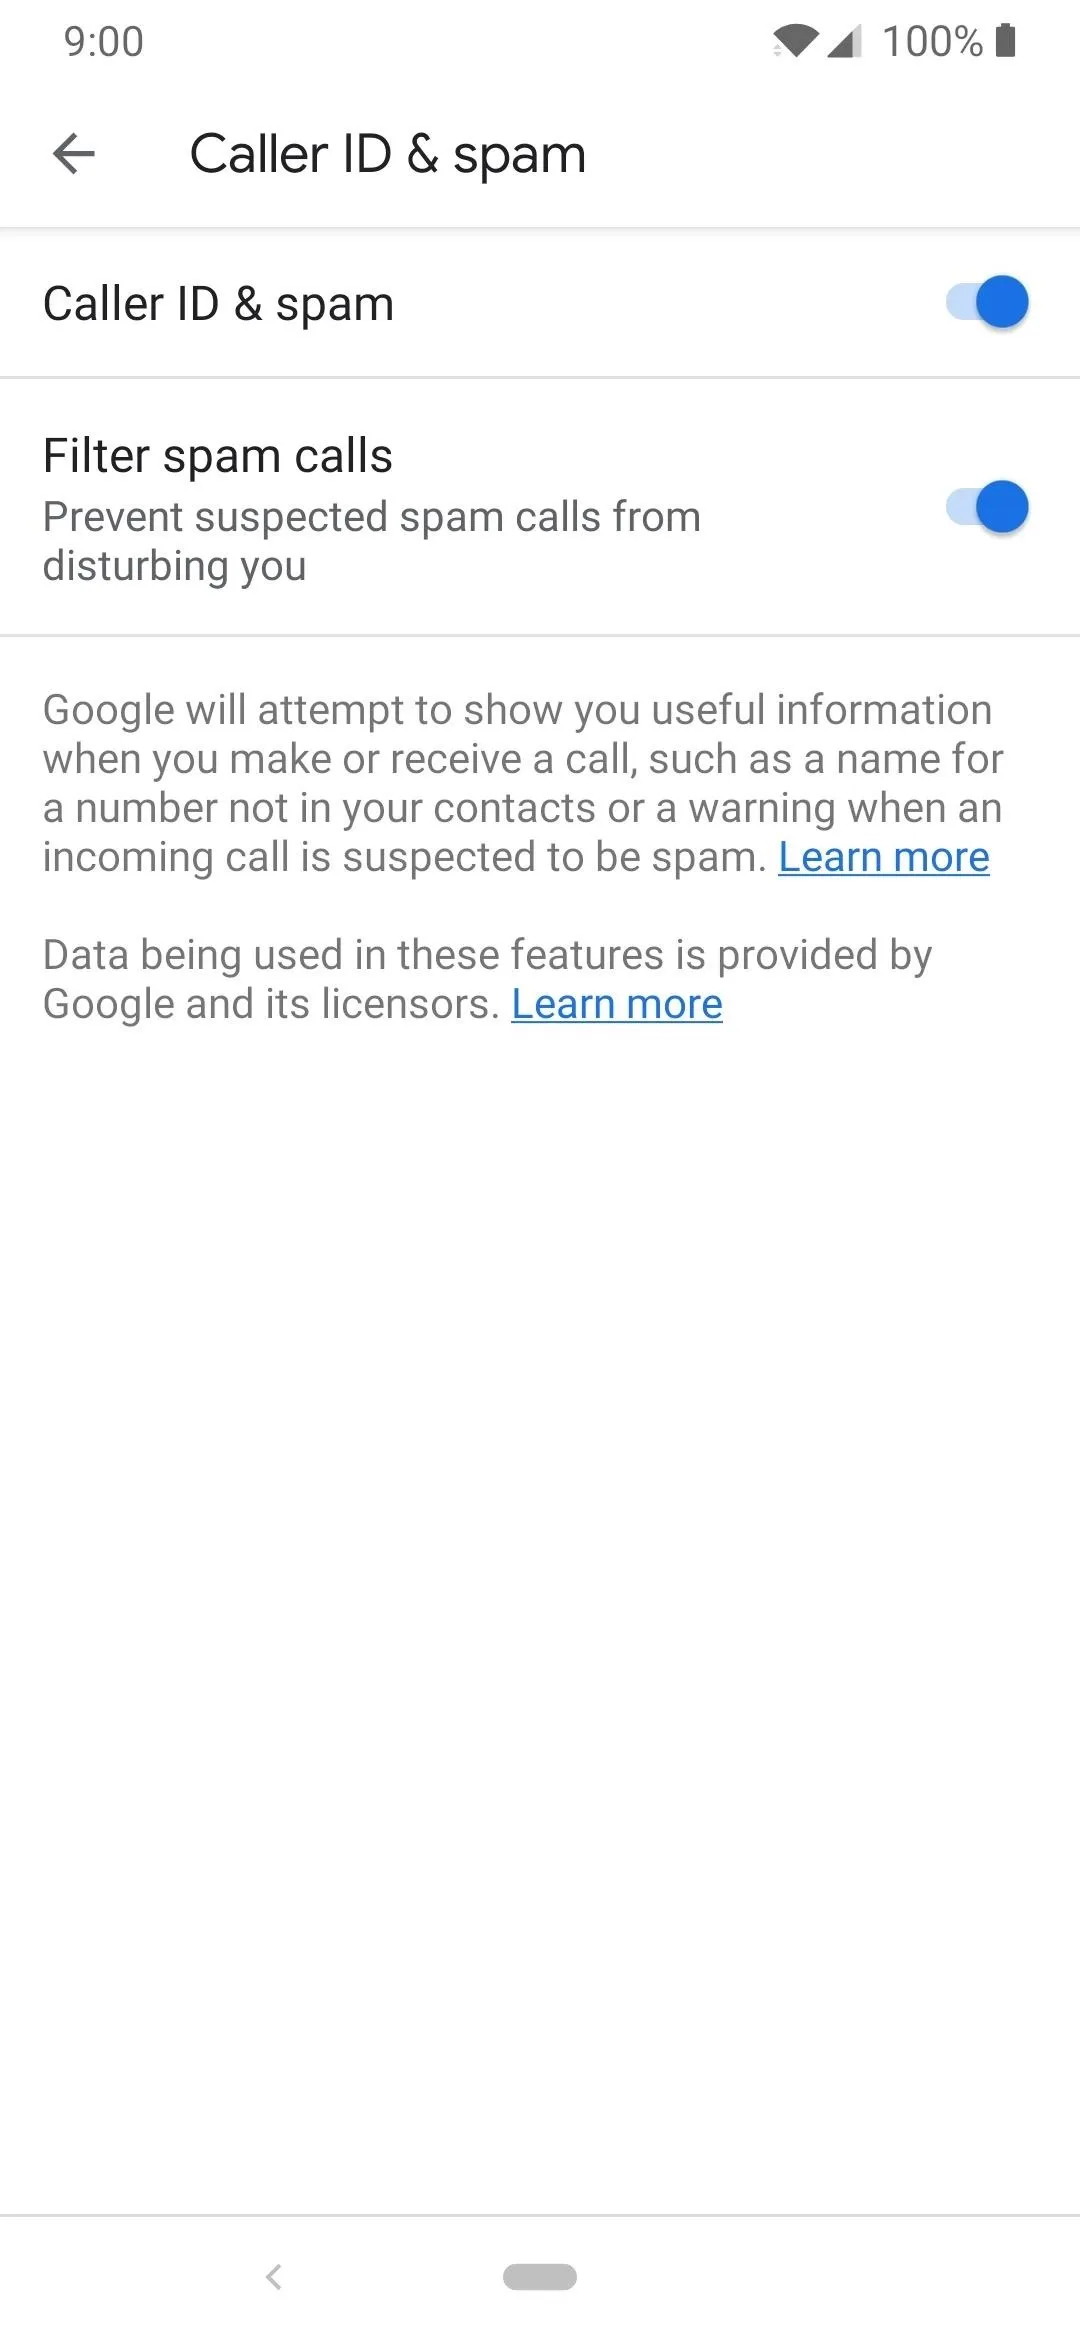
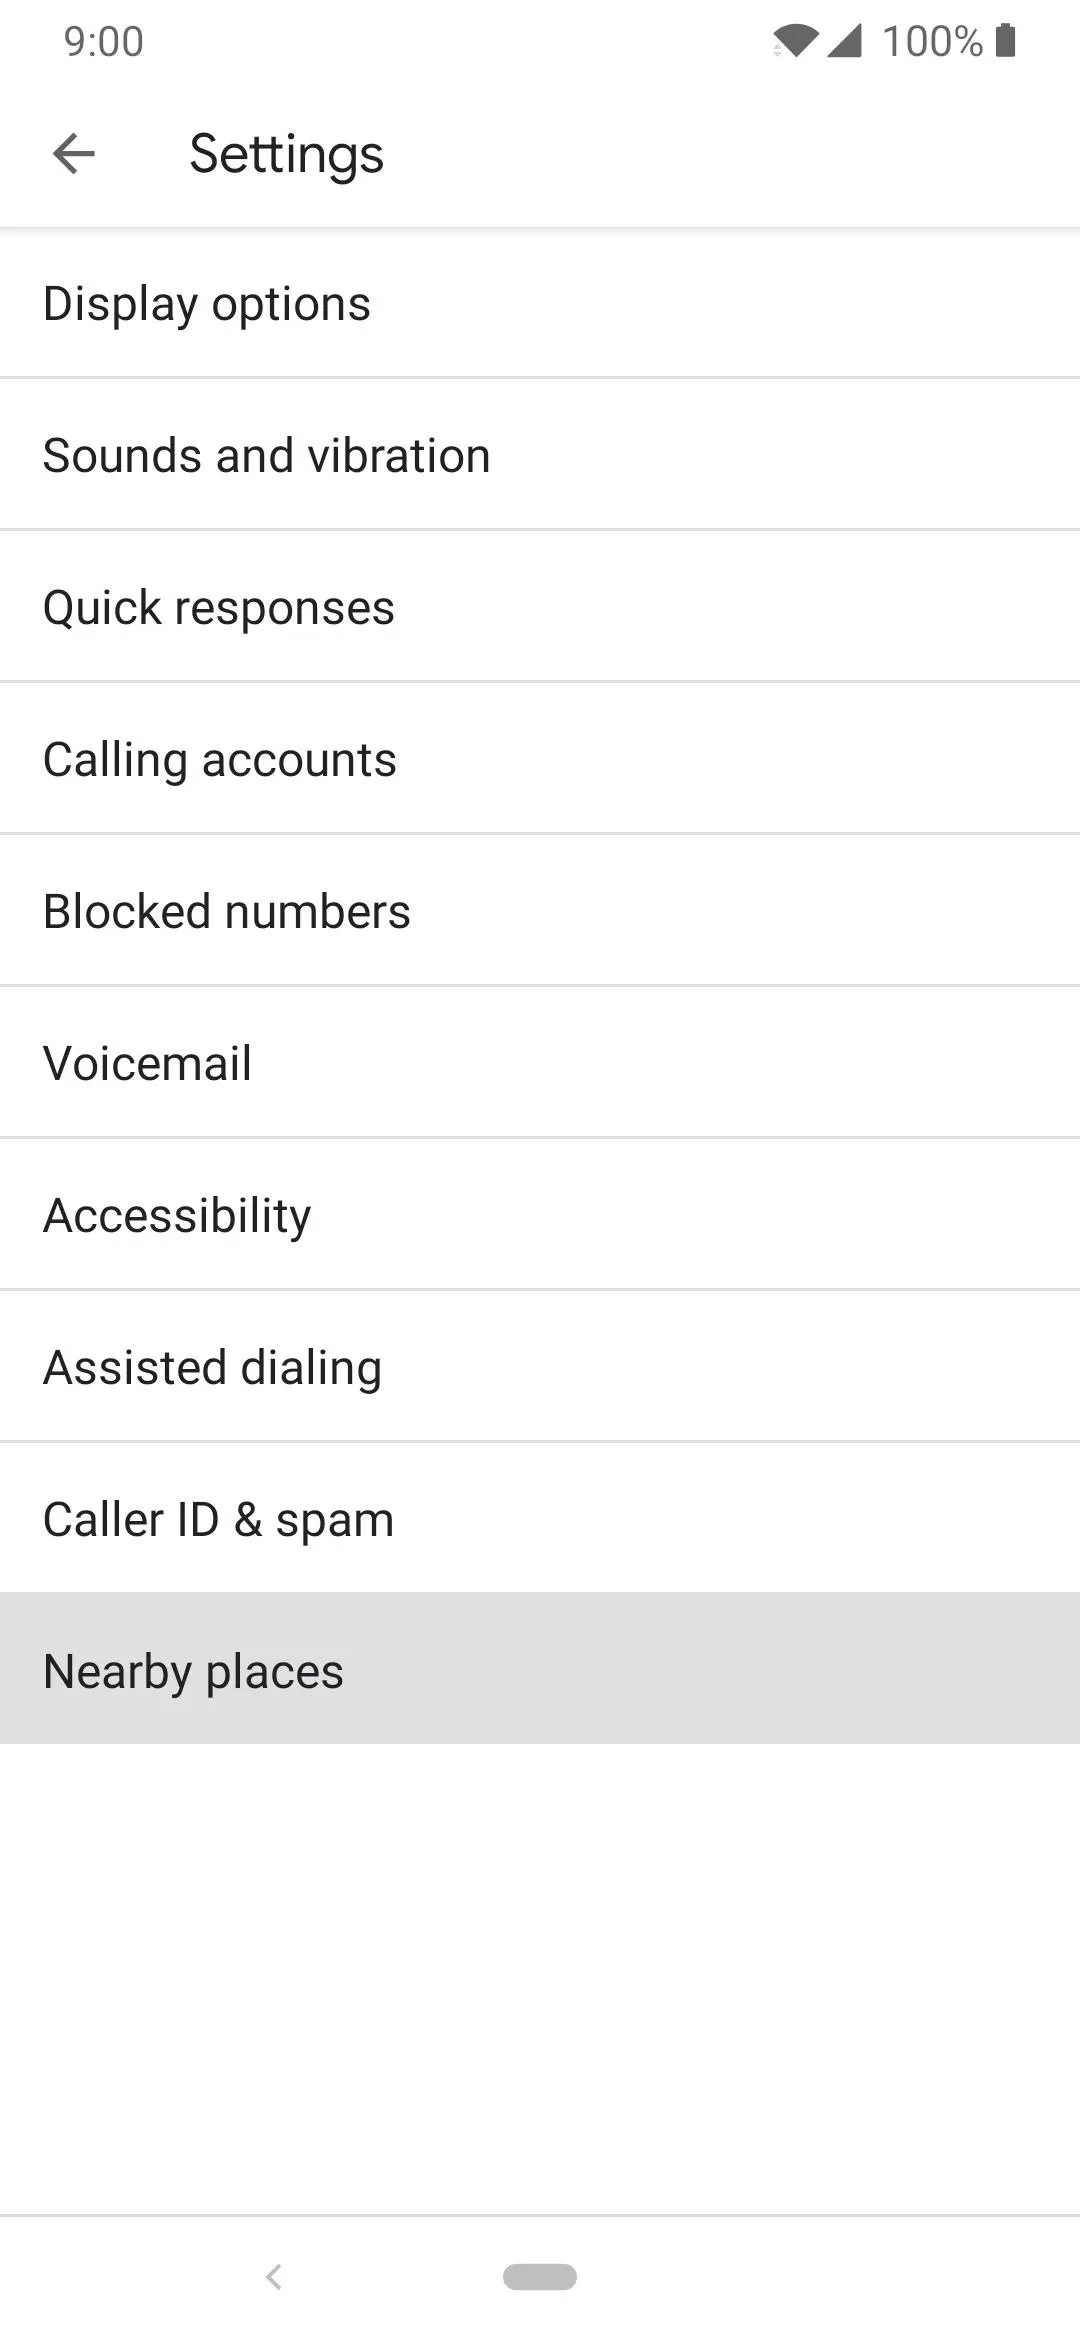
Now, head to your app drawer and open the "Phone" app by Google. You'll notice that the app works just like it should and many of the same Pixel features are there as well. Tap the three-dot menu at the top right, go to "Settings" and then "Caller ID & spam." Both options listed should be enabled and ready to go, which is excellent! If not, go ahead and enable them now.
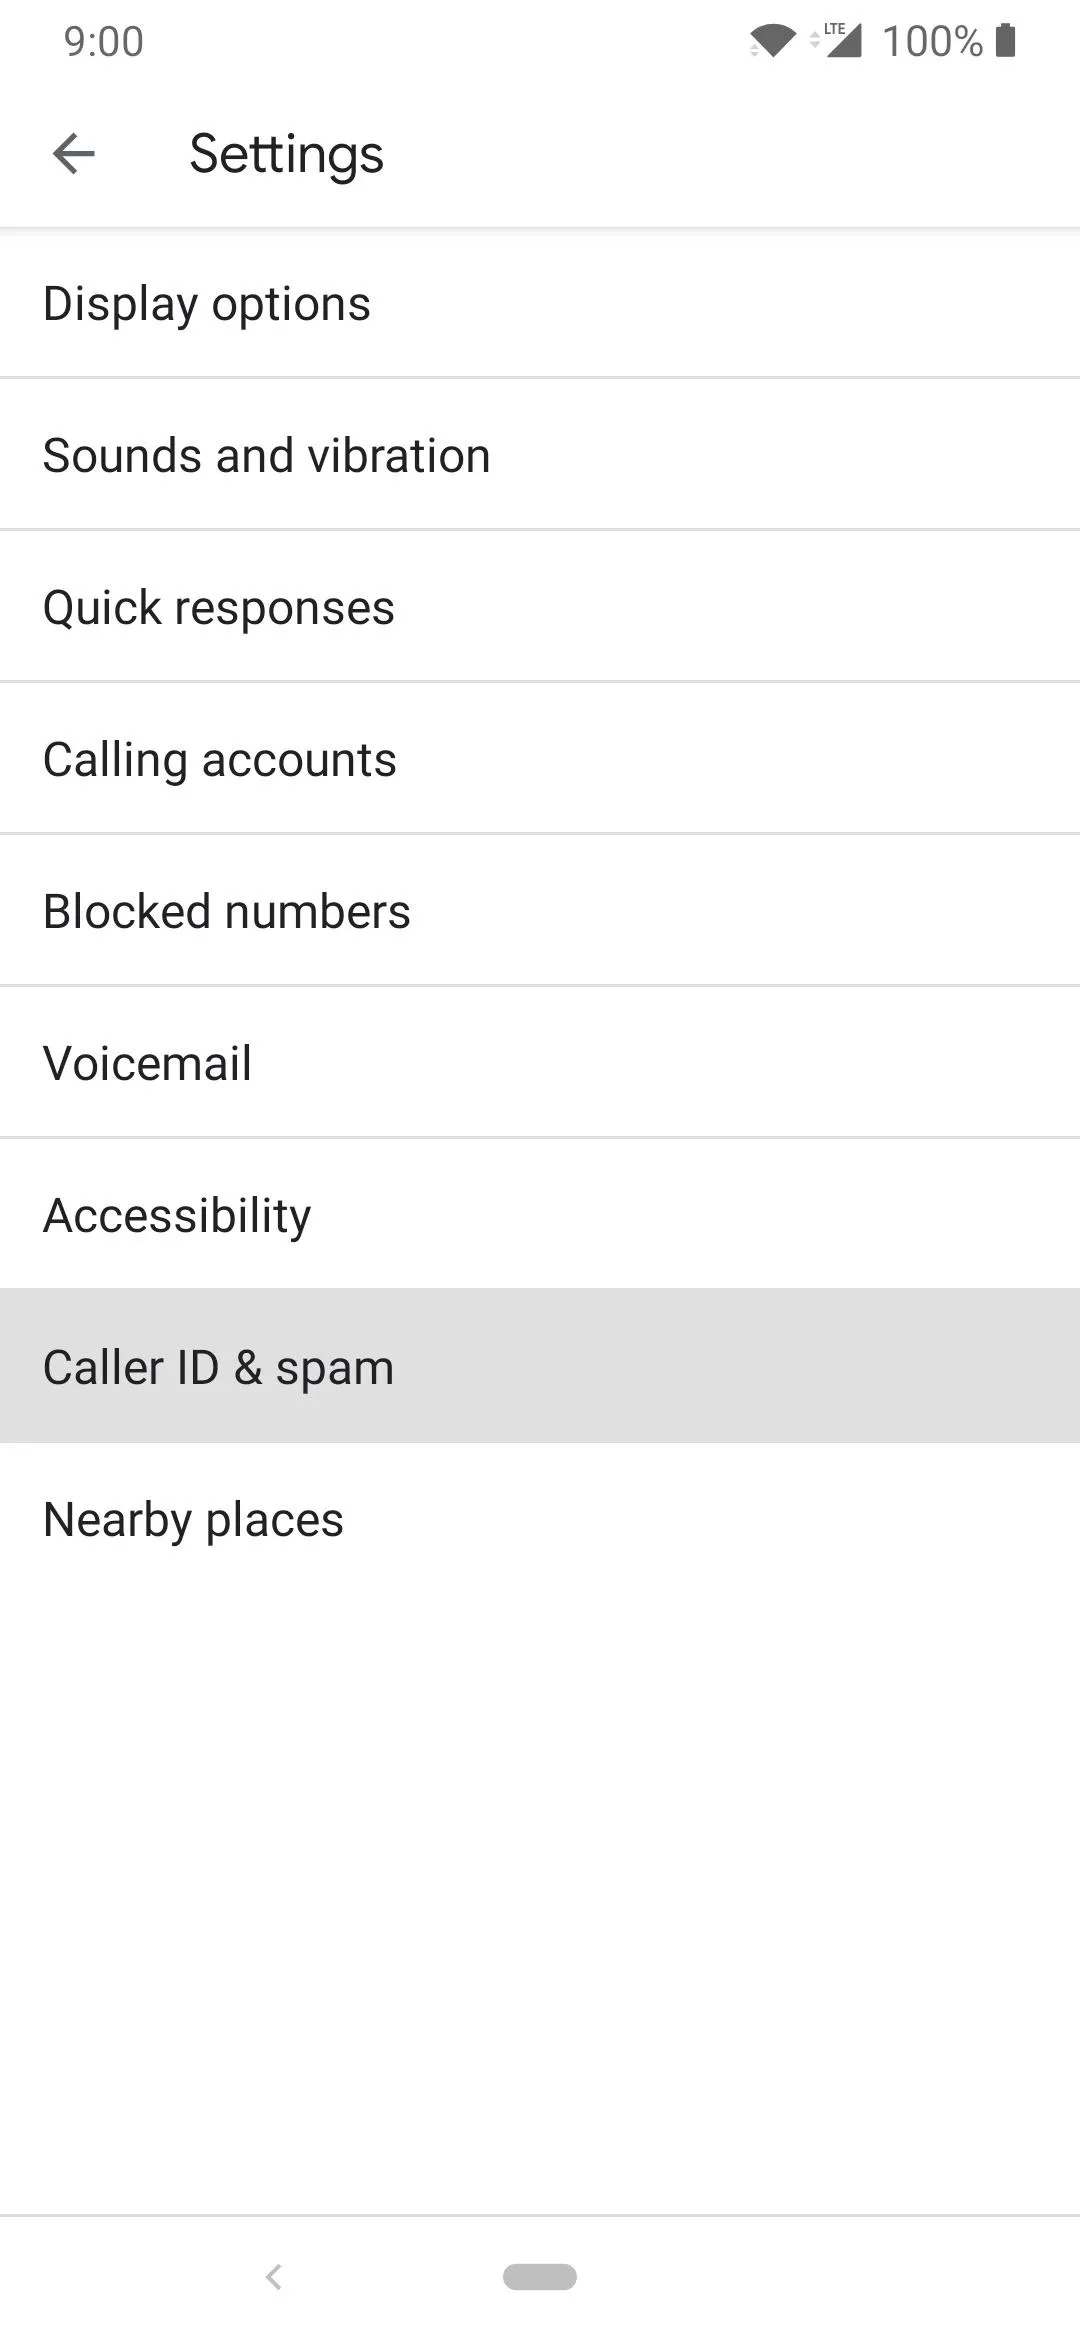
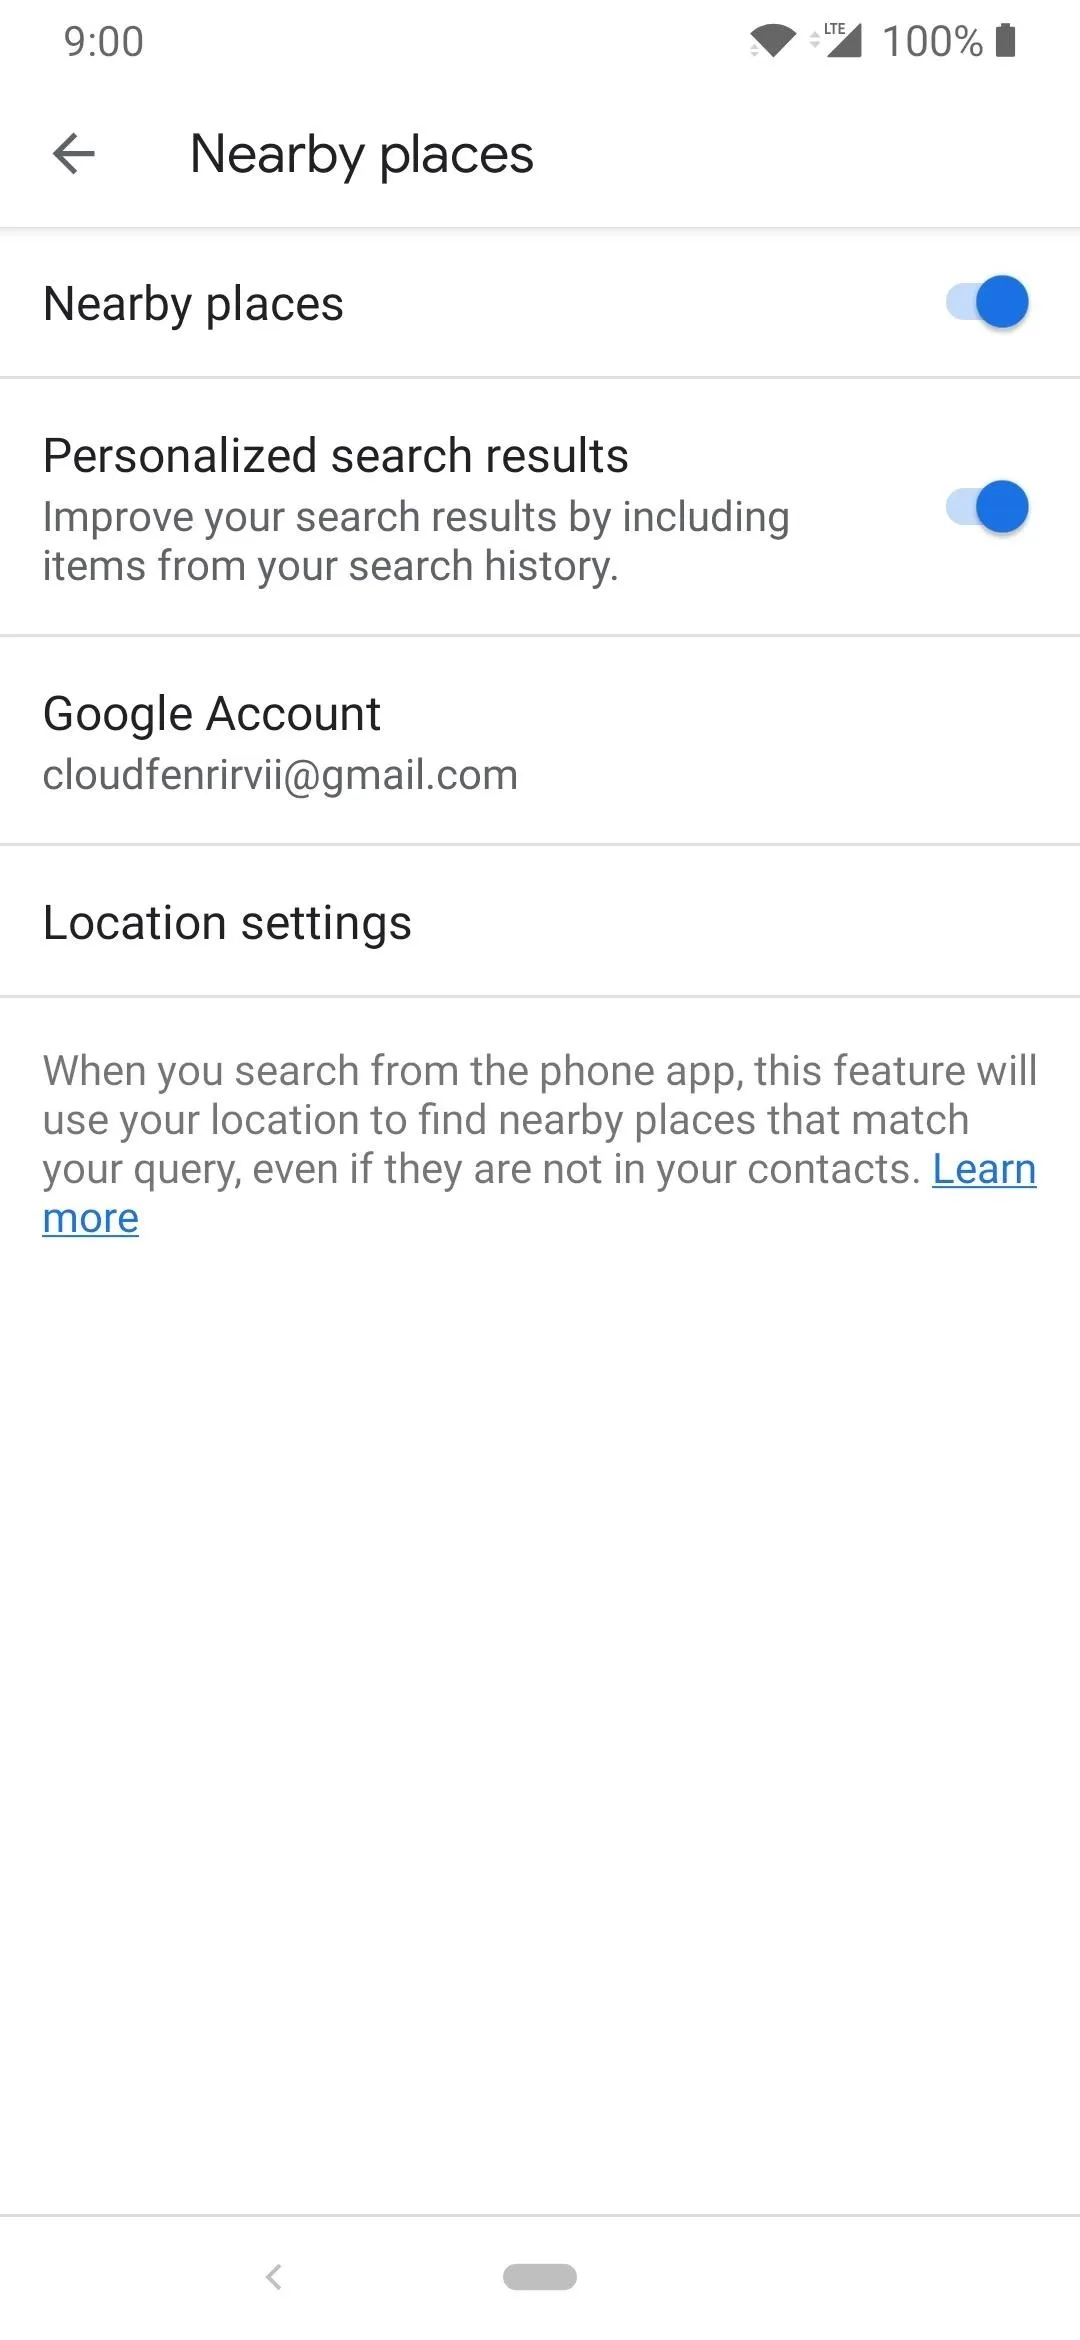
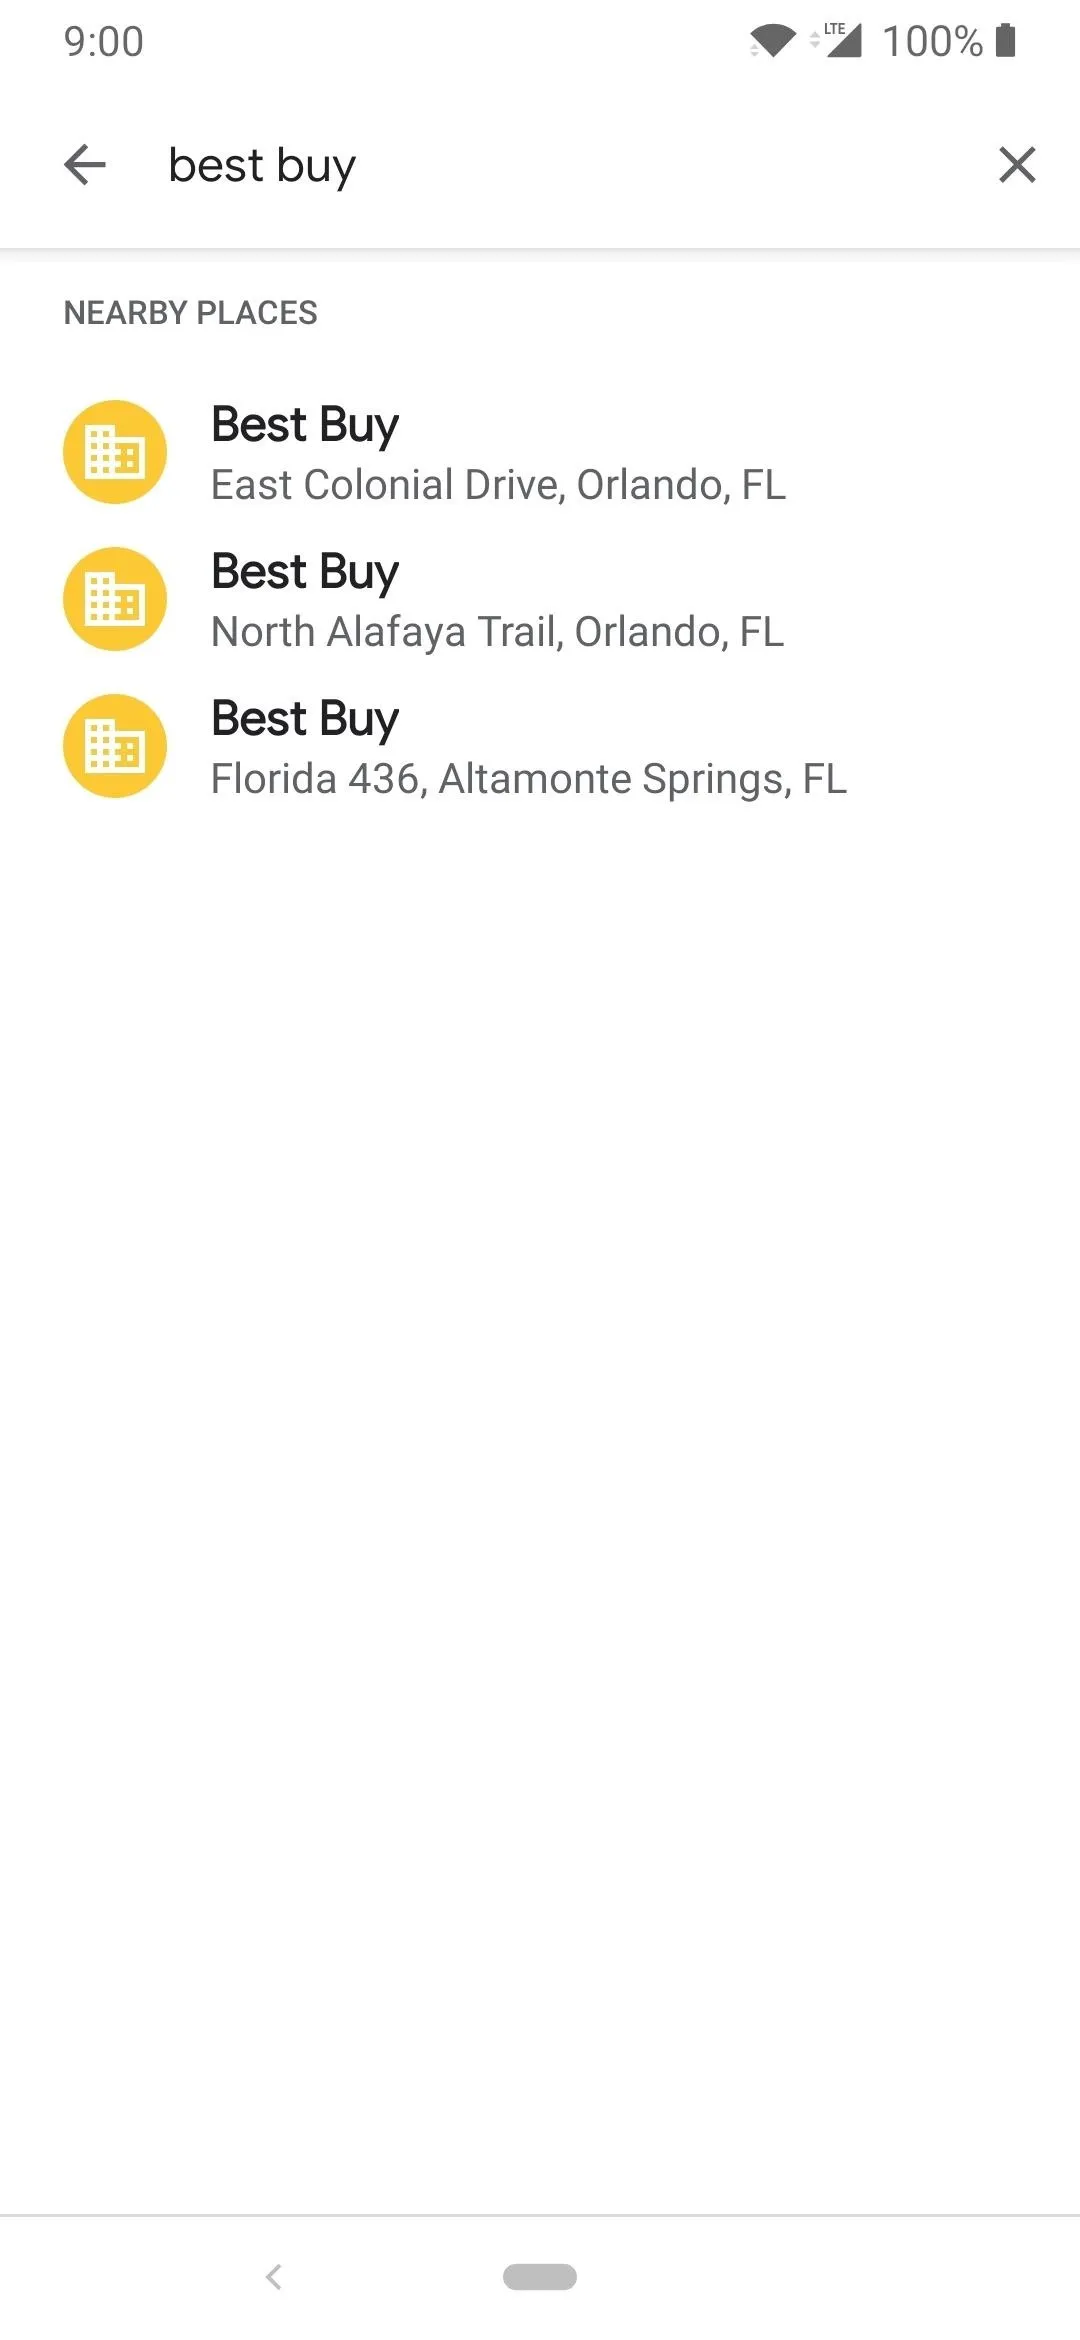
Tap the back arrow, go to "Nearby places," and then make sure all options here are enabled as well. Make sure your Google account is selected, and your location settings are enabled. Tap the back arrow two more times to return to the main screen, and in the search bar at the top of the screen, type in any business name you want to look up. You should then see a list of nearby places popup, and when you tap on a listing, it will dial that number for you immediately. Simple! No more fumbling with a company website to locate their business phone number.
- Follow Gadget Hacks on Pinterest, Reddit, Twitter, YouTube, and Flipboard
- Sign up for Gadget Hacks' daily newsletter or weekly Android and iOS updates
- Follow WonderHowTo on Facebook, Twitter, Pinterest, and Flipboard
Cover image and screenshots by Stephen Perkins/Gadget Hacks


Comments
Be the first, drop a comment!