


On stock Android 9 and 10, it is easier than ever to take a screenshot and quickly edit the captured image. However, the downside to that convenience has manifested itself in a heads-up notification that can also get in the way.
Google added a screenshot markup feature in Android 9, so they decided the corresponding "Edit" button on the screenshot notification needed to be seen. They did this by increasing the priority of the alert posted by SystemUI when you take a screenshot — now it even pops on screen by default. Luckily, another evolving area of the Android operating system (OS), the notification management system, also makes it easy to dim or do away with notifications related to screenshots.
- Don't Miss: How to Edit Screenshots with Android 9 or Higher
Take a Screenshot
There are several ways to capture your screen on Android, particularly depending on your device's manufacturer and its OS customizations.
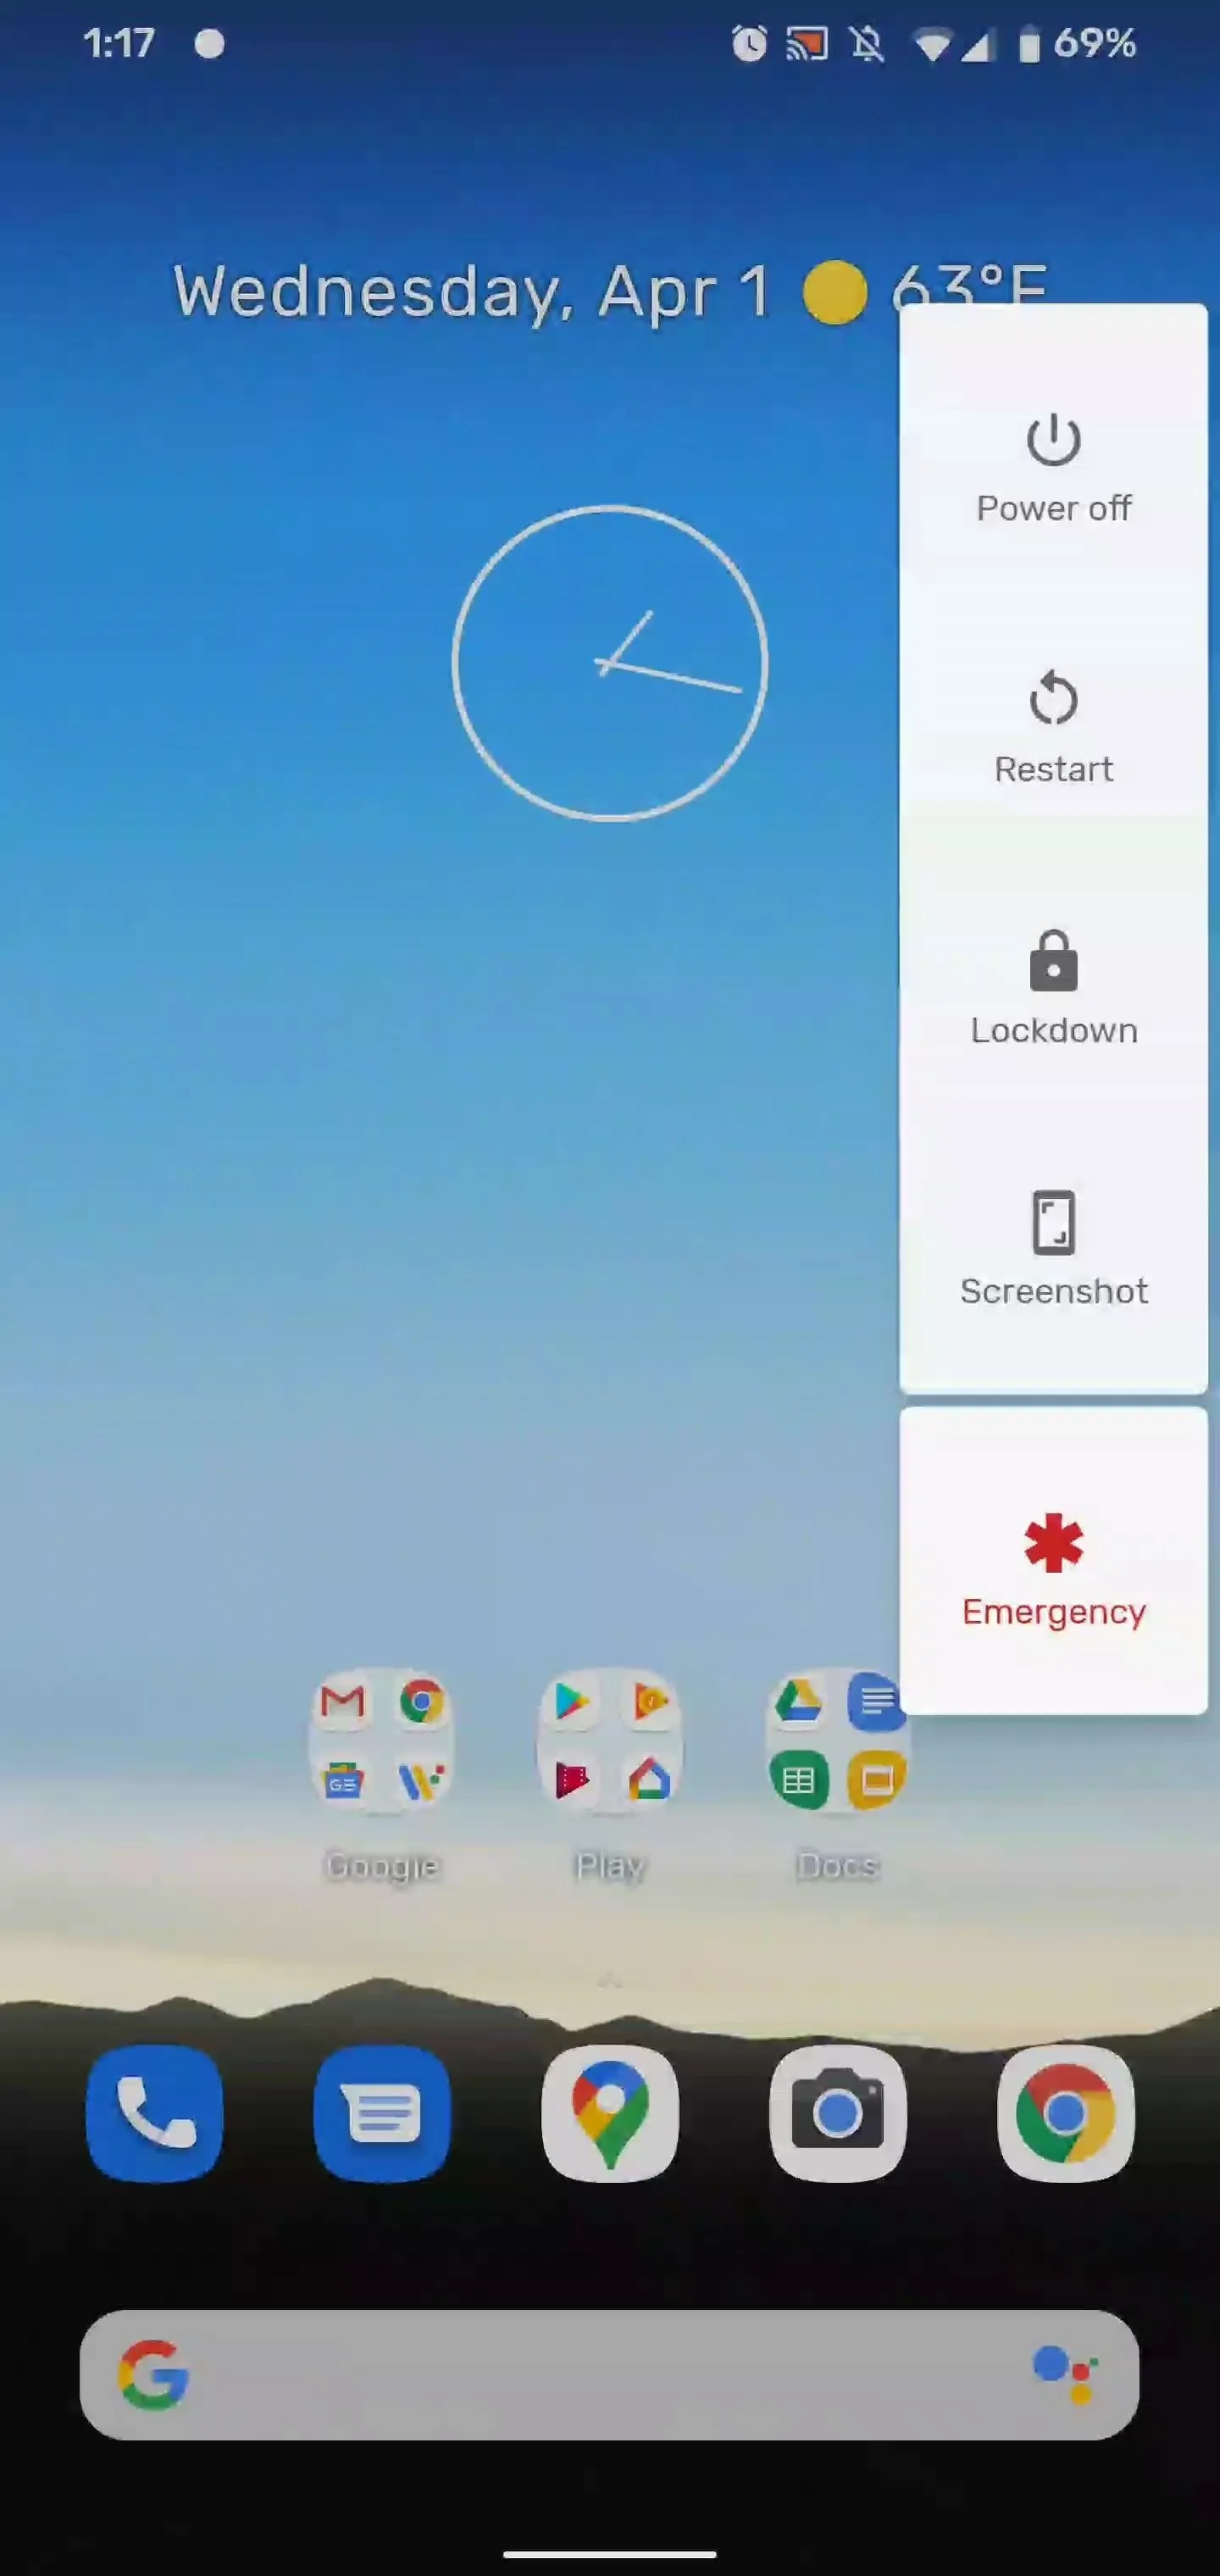
The traditional method, holding down the power and volume down buttons simultaneously still applies. You can also ask Google Assistant to take a screenshot. The easiest method for capturing your screen in Android 10, though, is to hold down the power button and tap "screenshot" from the power menu options.
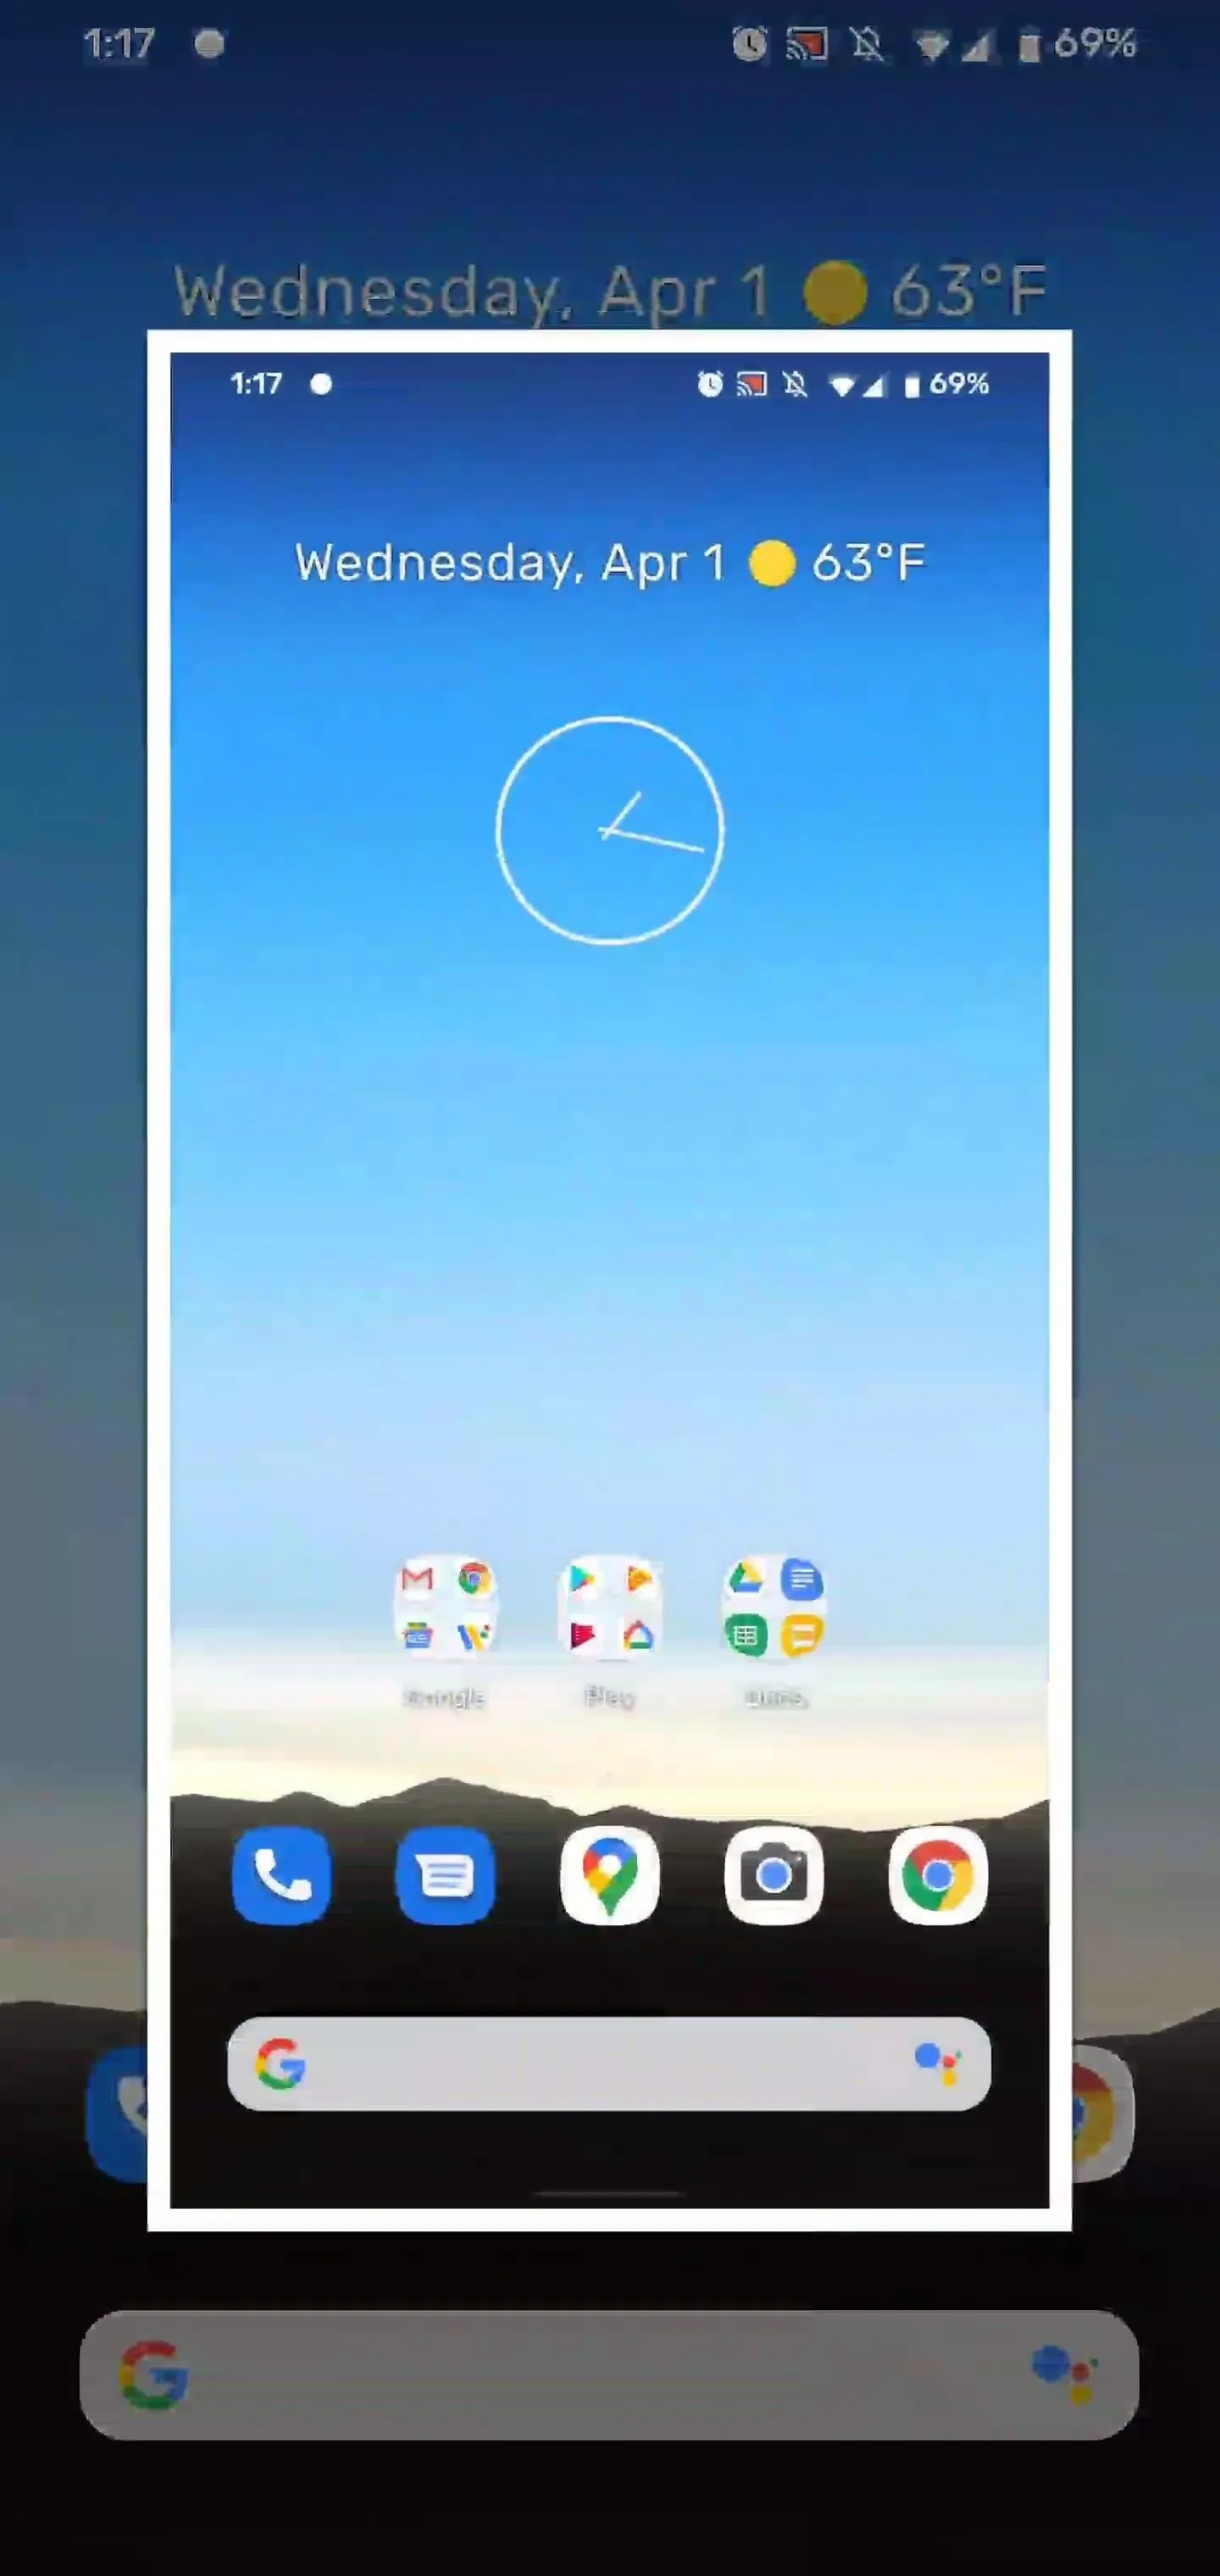
Whichever way you do it, on stock Android you'll see an on-screen animation confirming the action followed by a heads-up notification with action buttons for sharing, editing, and deleting the image.

Access Screenshot Notification Settings
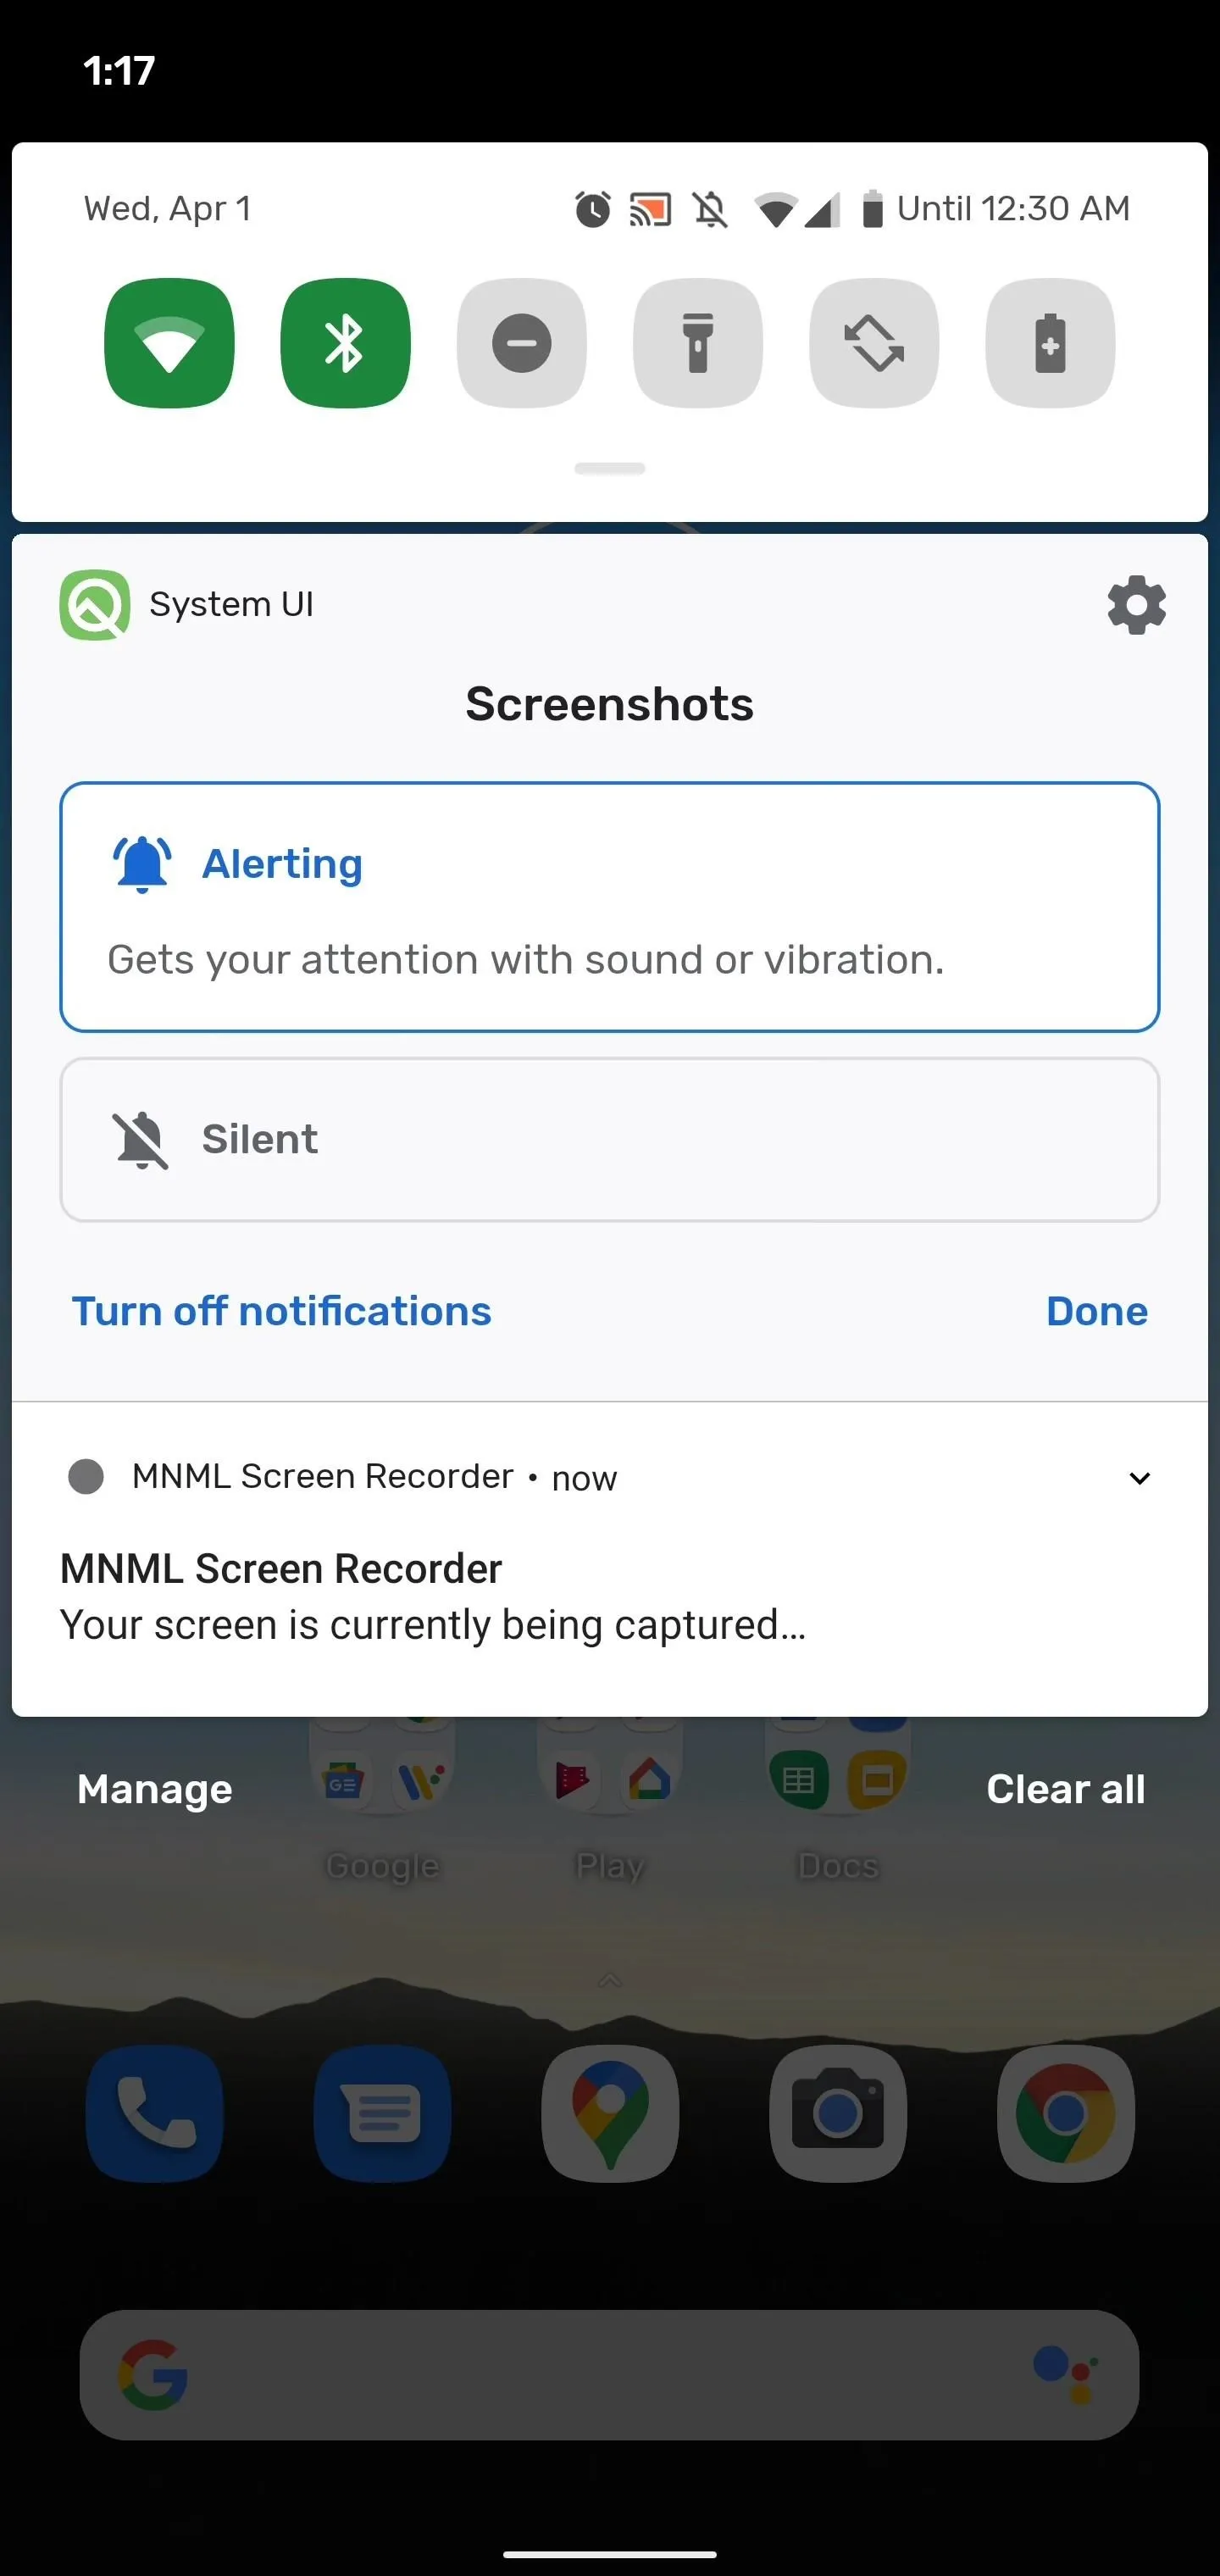
If you act quick enough, you can give the heads-up notification a gentle tug downwards to expand the notification shade. If not, just swipe down from the top of your screen to access the notification panel as you normally would and find the screenshot notification.
Now, swipe halfway to the left and tap on the gear icon to access notification settings.
Modify the Notification Settings
Depending on how little you want to see of these notifications or how quickly you want to deal with this, you have several options.
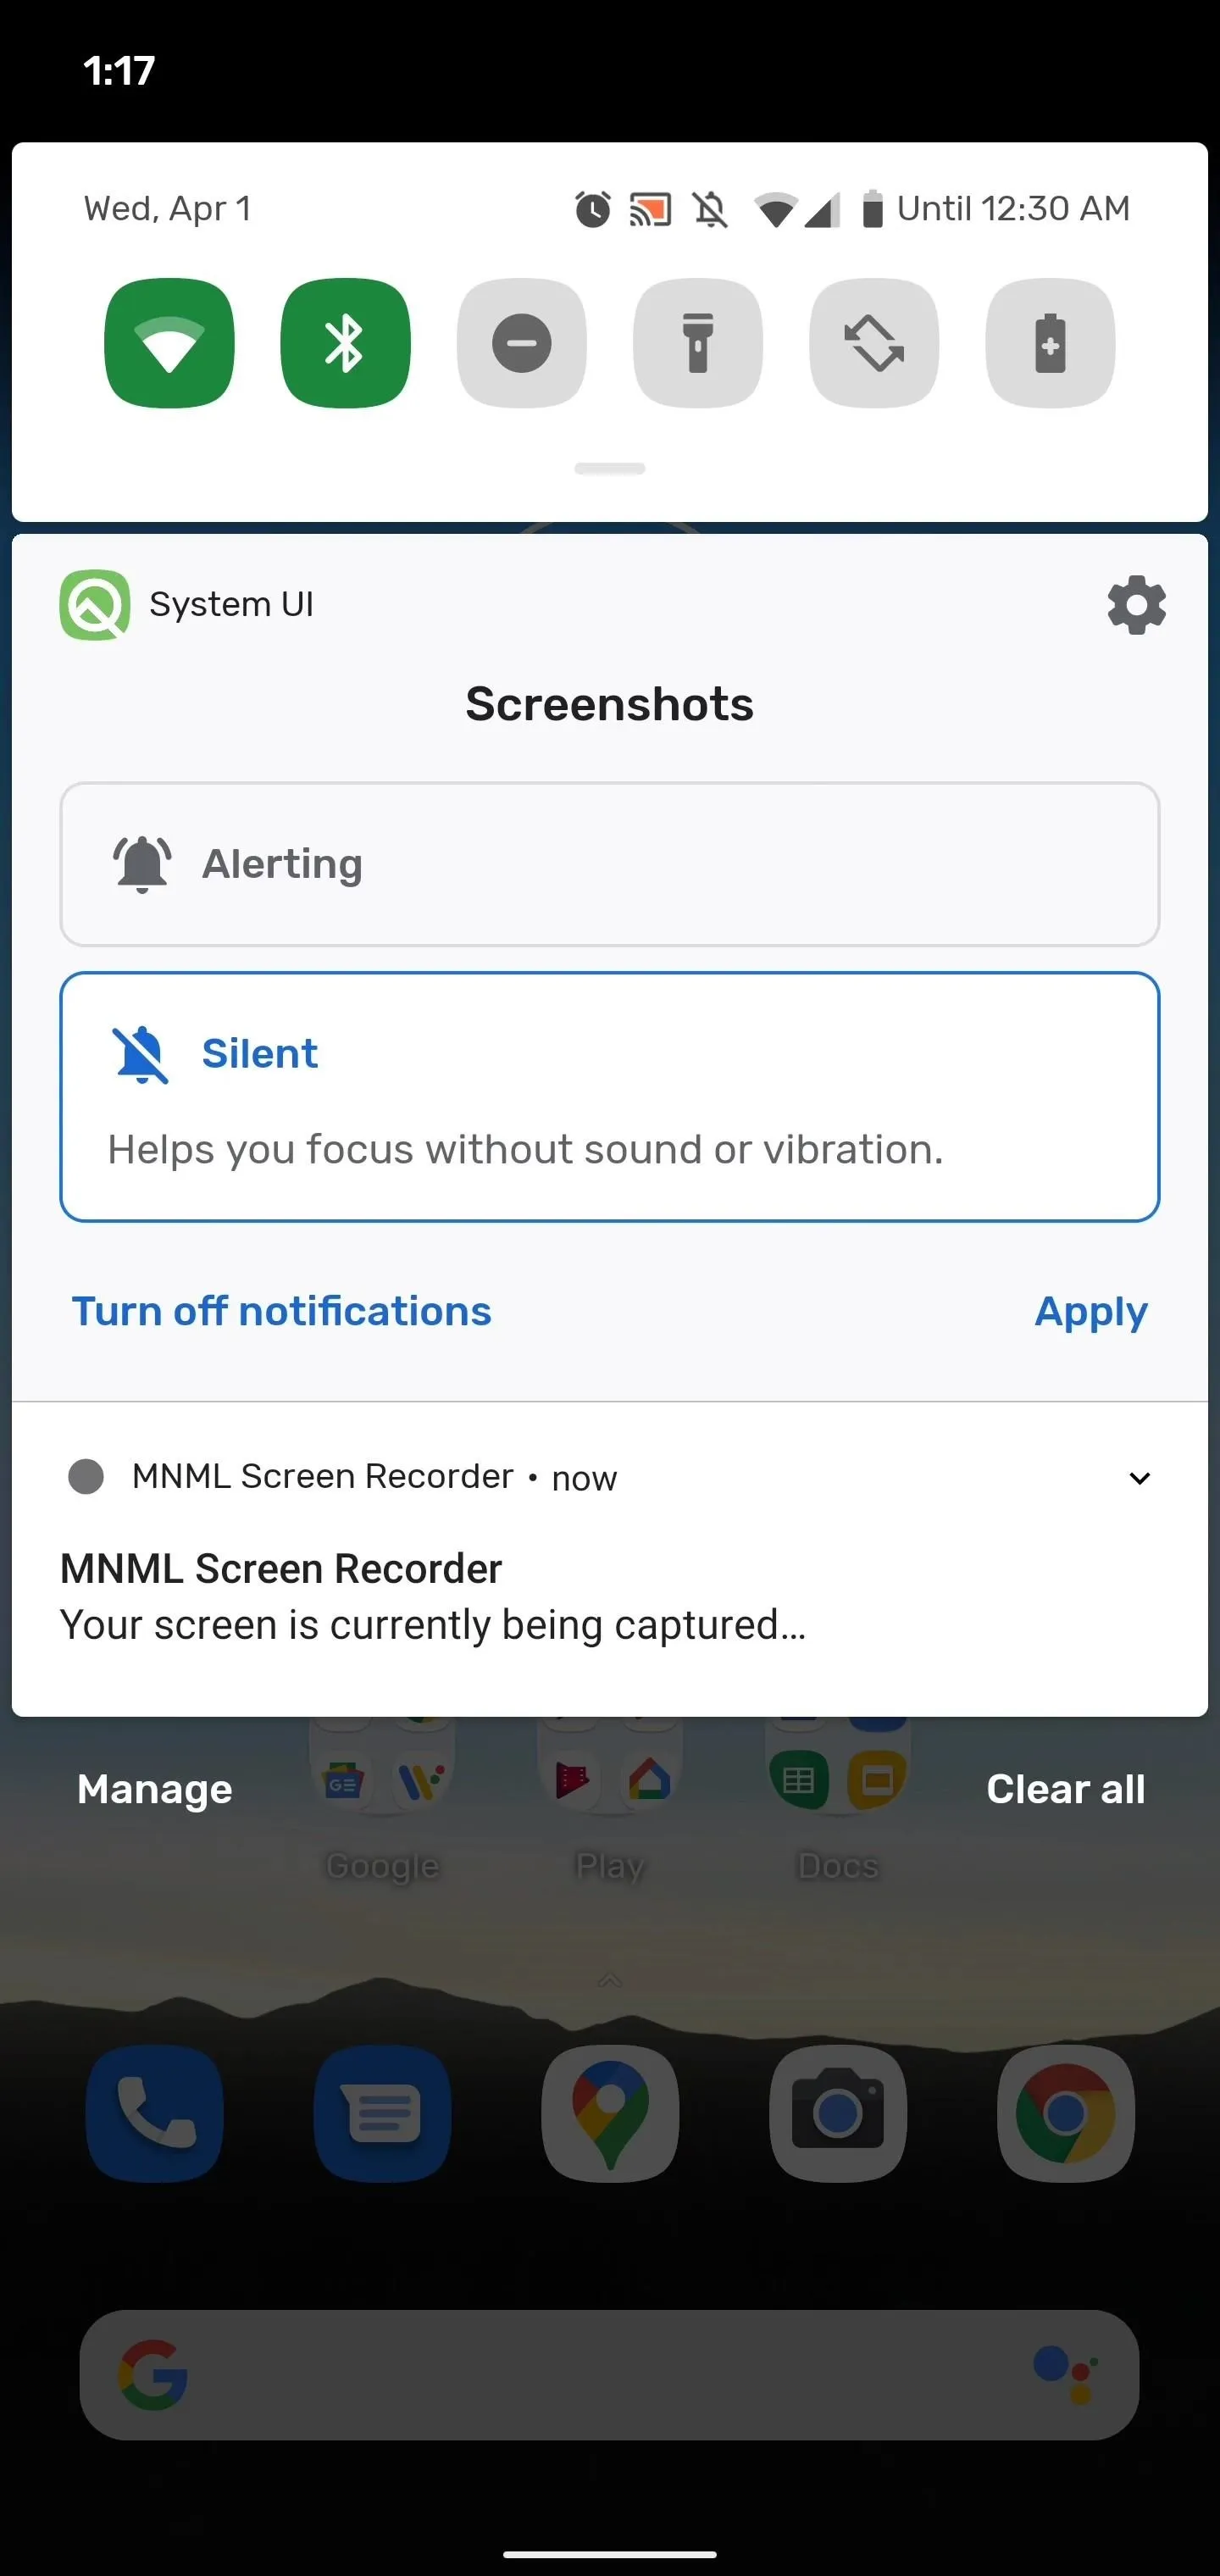
The default setting attached to the heads-up notifications is "Alerting." The quickest way to hide the heads-up notifications but still access the notification is to tap "Silent" and then "Apply." And you're done!
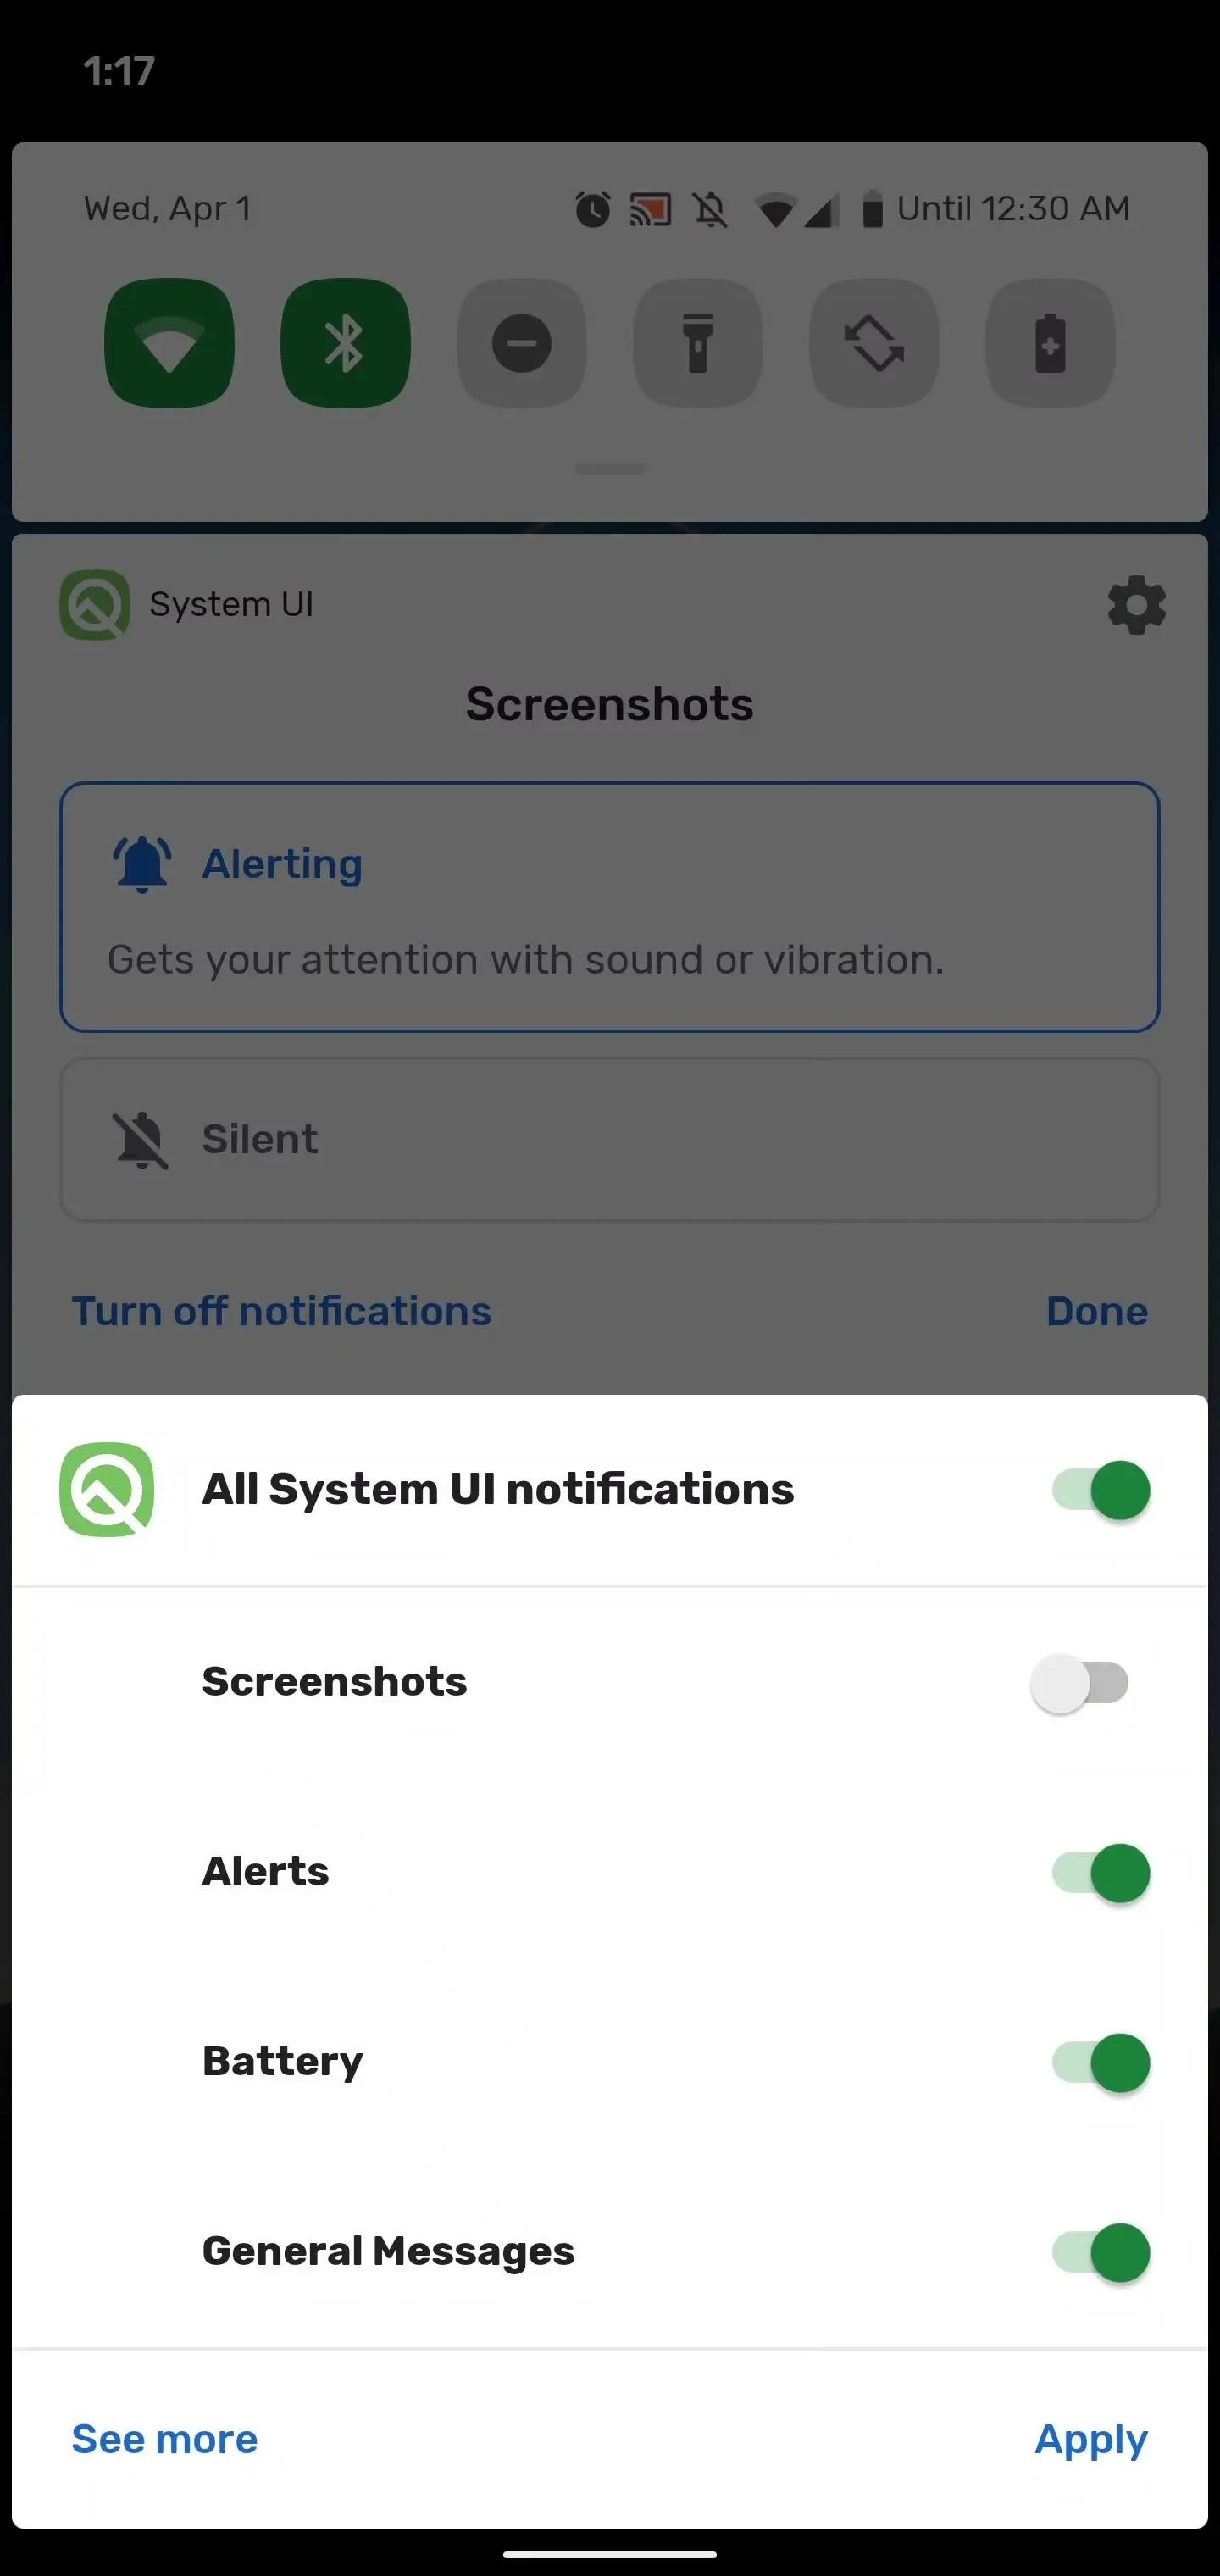
If you don't want to see the notification at all, tap "Turn off notifications," then tap the slider next to "Screenshots" and tap "Apply." This would be the nuclear option.
Dive Further into Notification Settings
If you want to make more granular adjustments, tap the gear icon again. This will bring you to the System UI page under Settings. Tap the "Screenshots" section.
Here, you can make the same choices of silencing or turning off screenshot notifications, or you can tap the slider next to "Pop on screen" to disable the heads-up notification behavior and keep the notification among your priority notifications. You can also change the notification sound or opt for vibrating alerts.
Re-Enabling Alerting Screenshots
They say absence makes the heart grow fonder. So, if you want to return to the default behavior, just follow steps 1-3 if you did not pick the nuclear option.
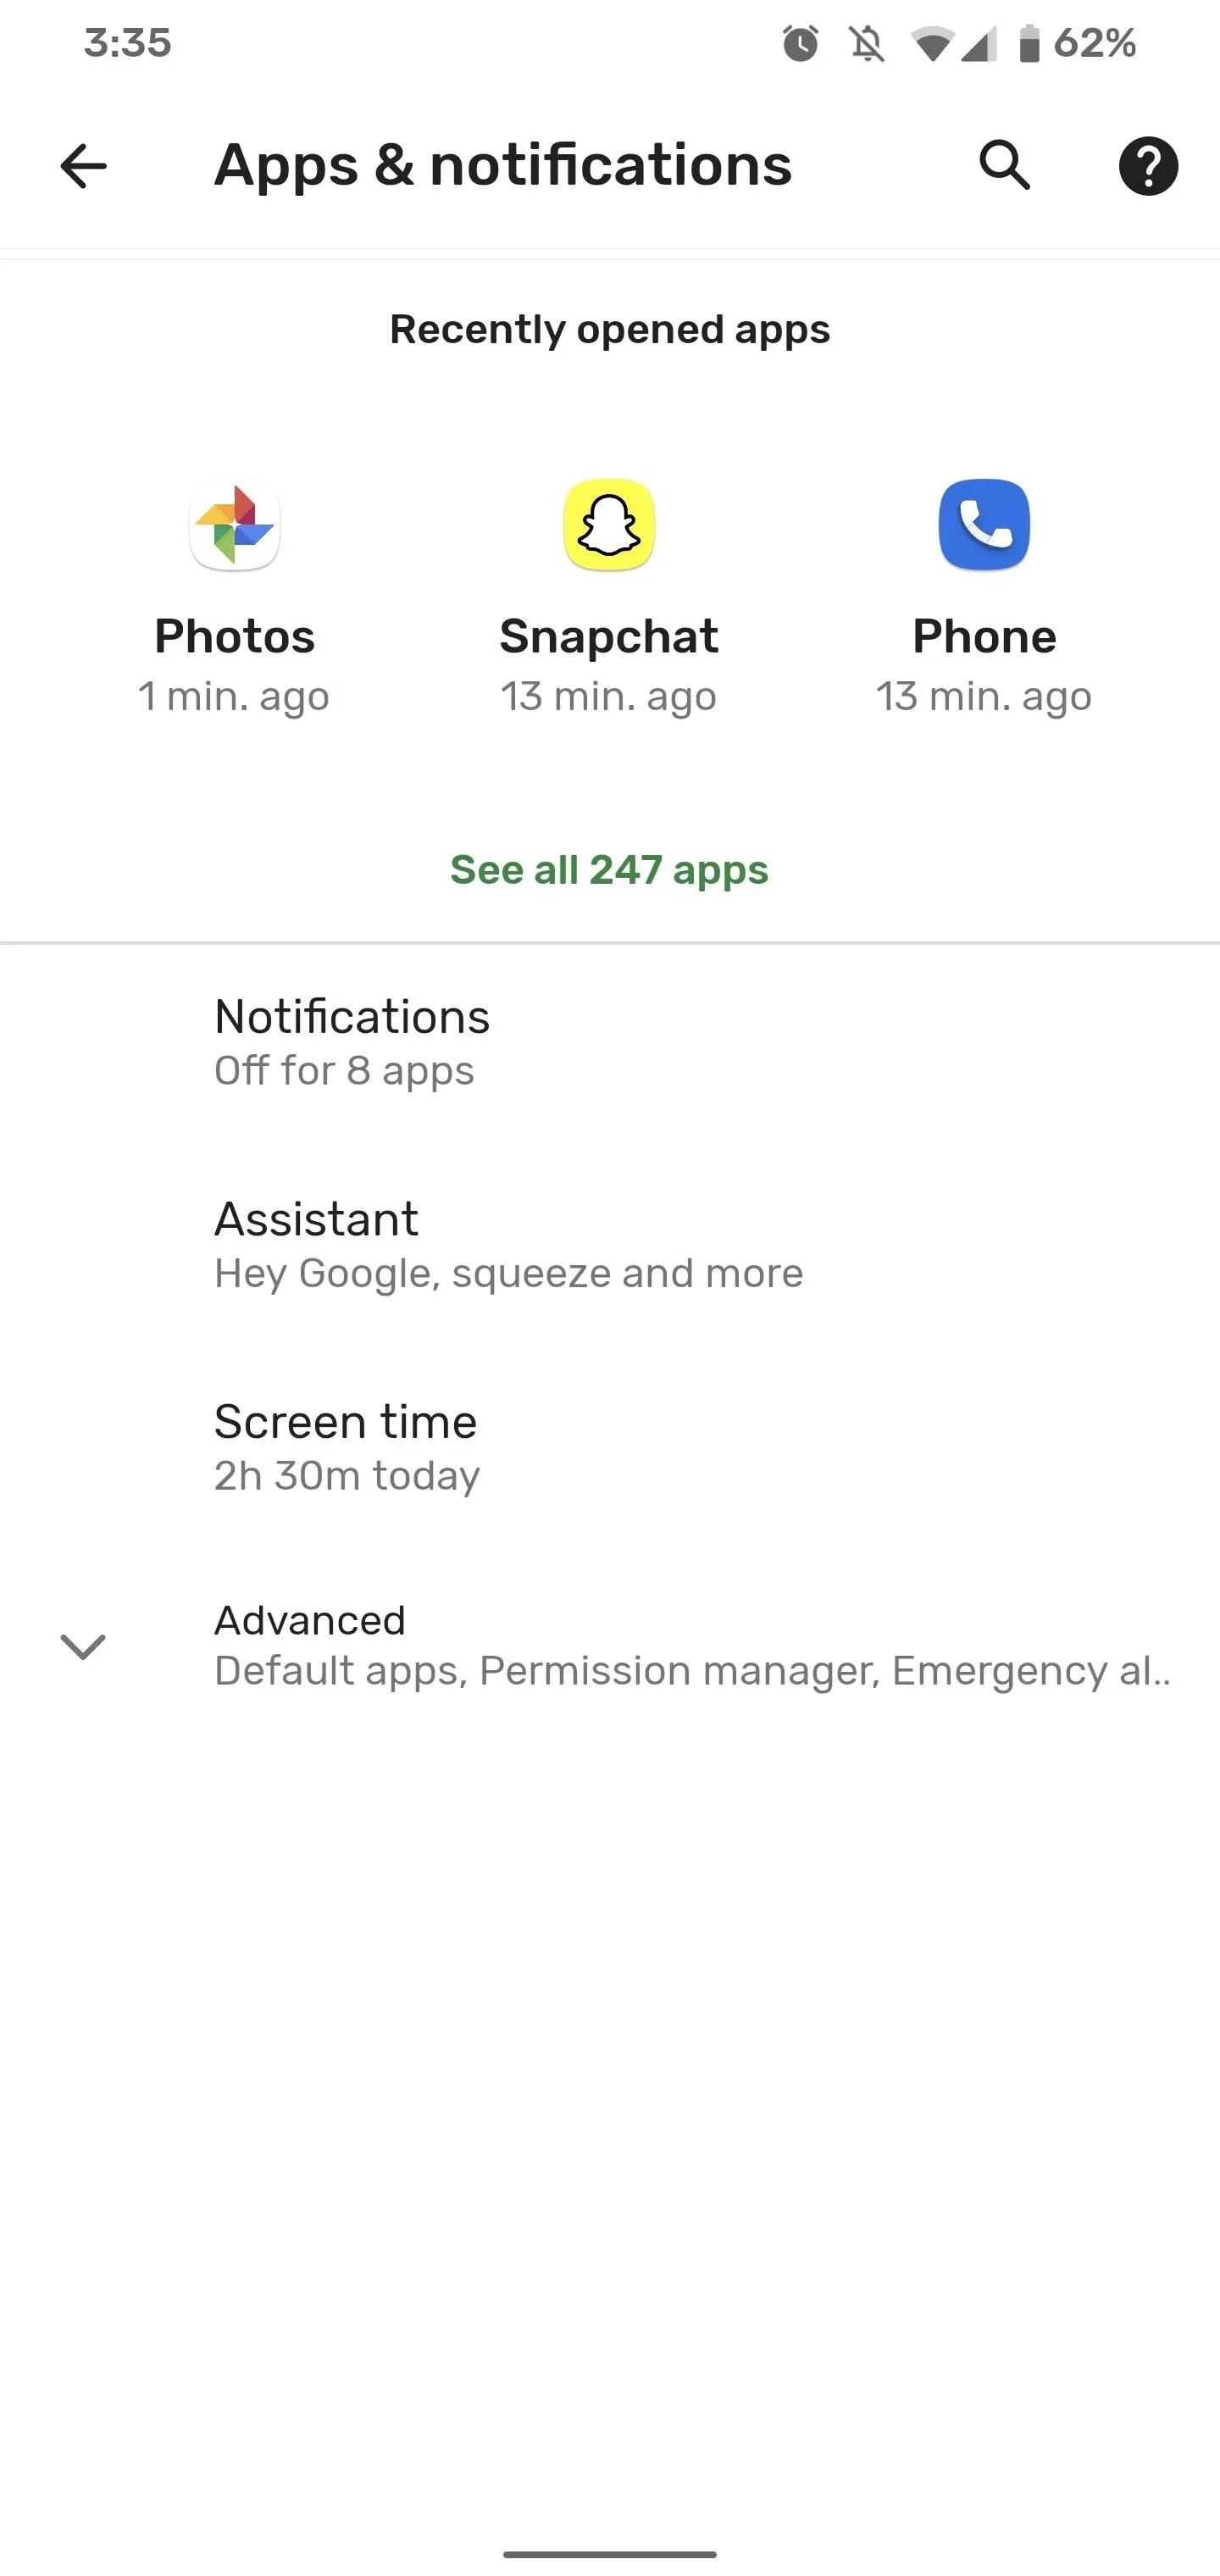
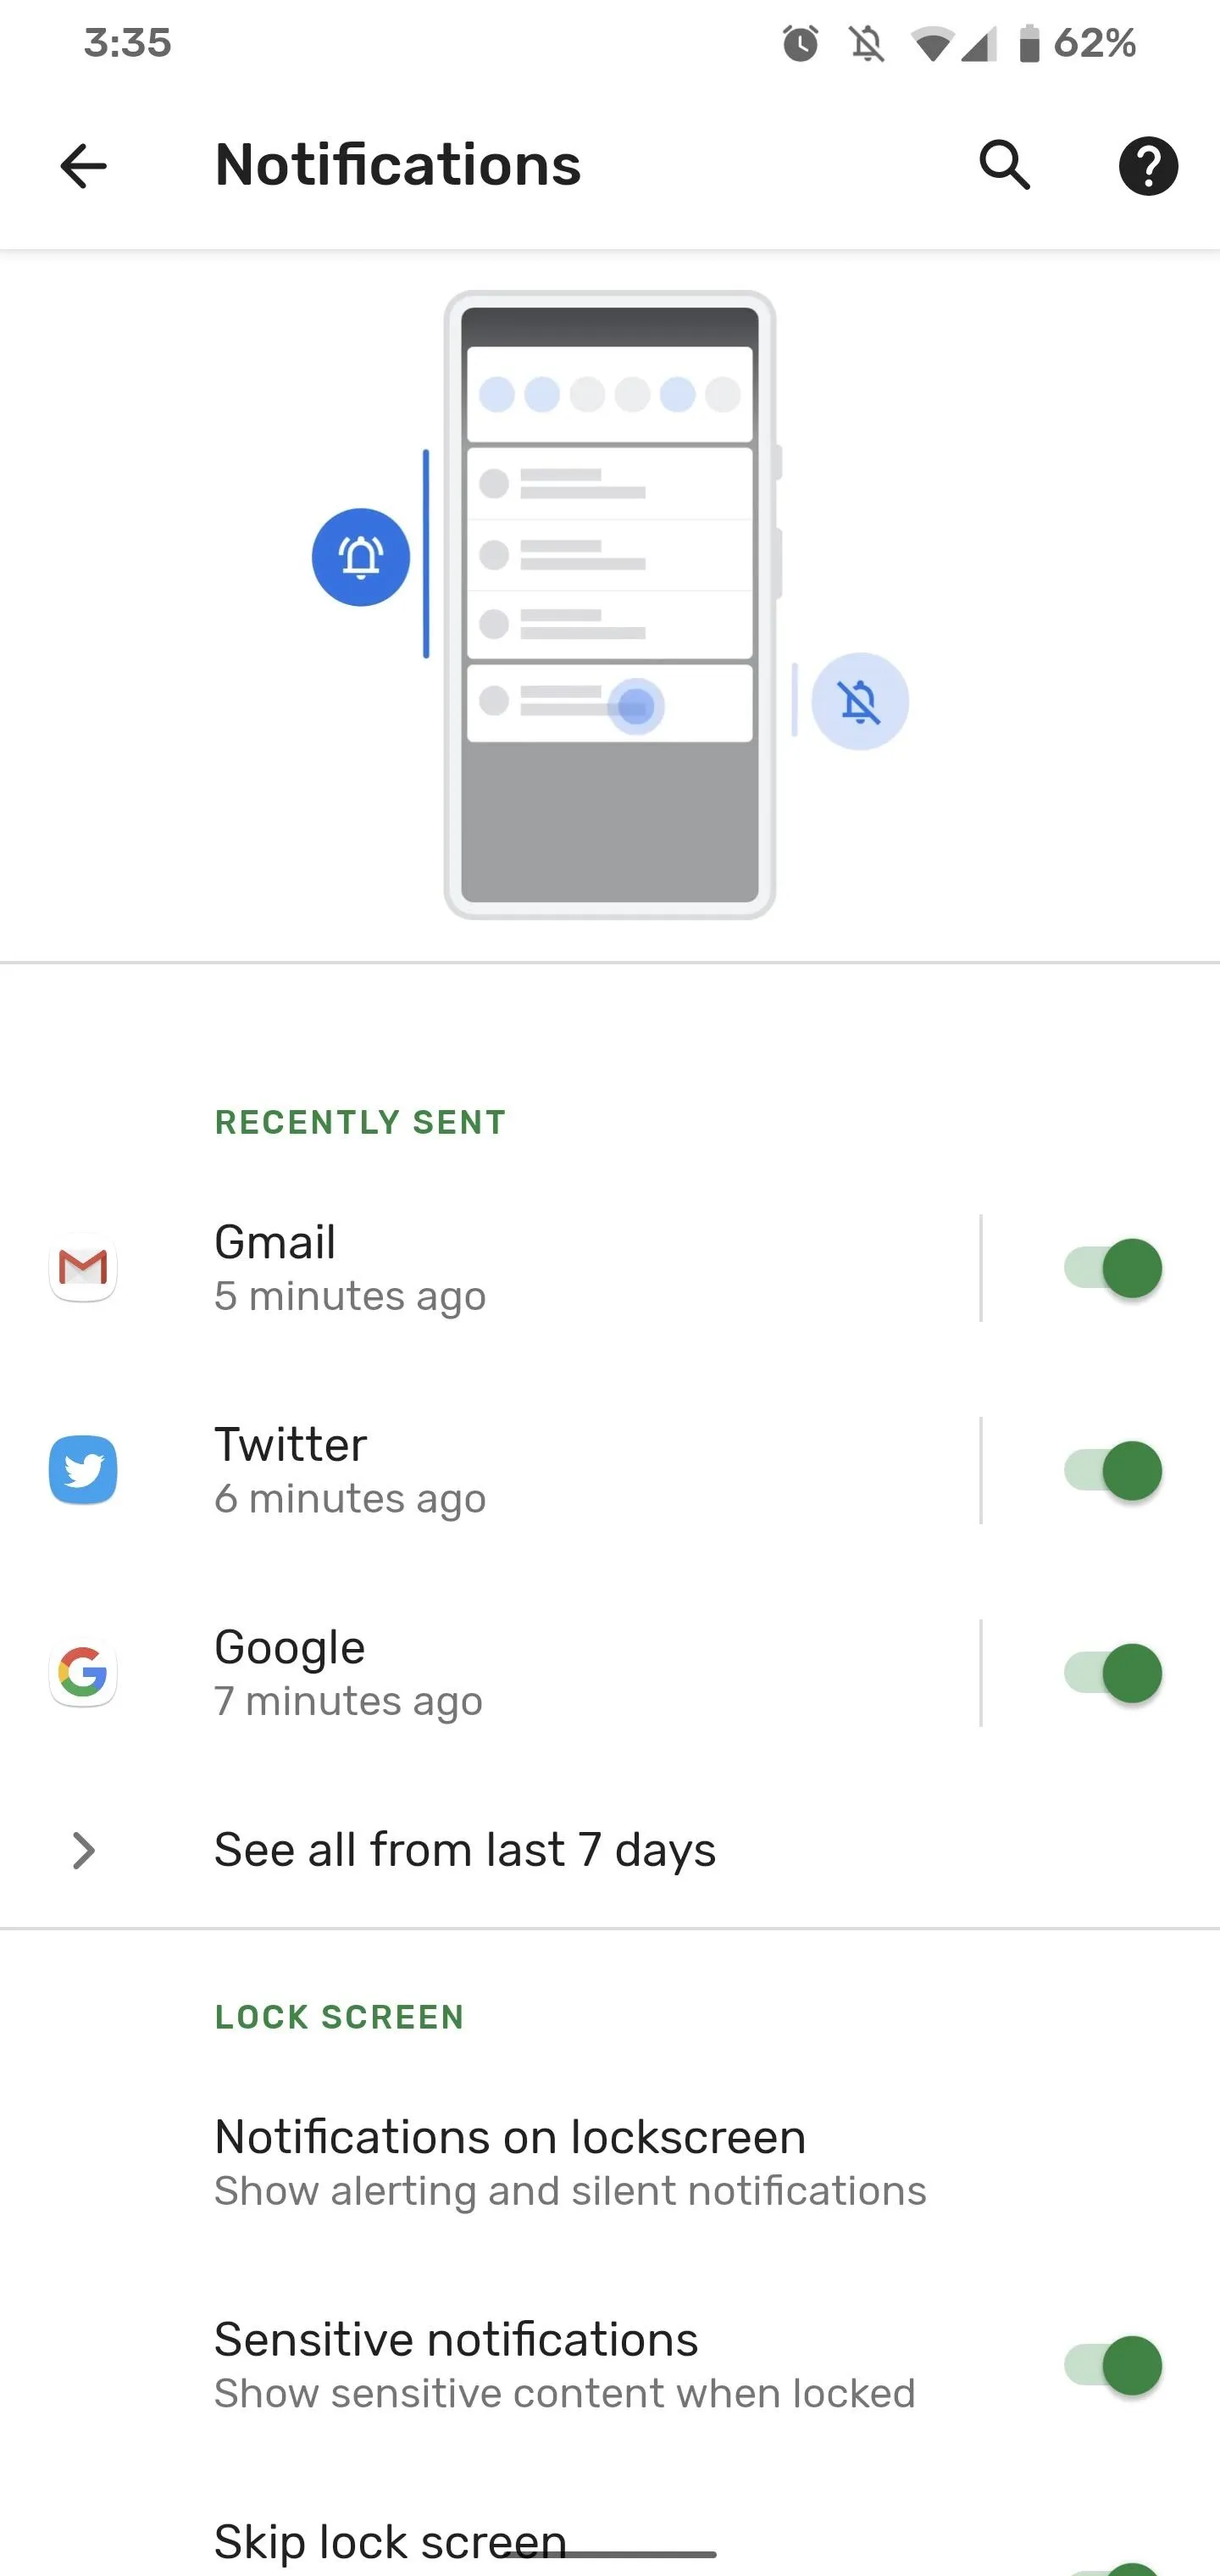
However, if you decided to turn off the notifications altogether, reverting to normal is more difficult. In the Settings app, you'll need to navigate to "Apps & Notifications" page, then the "Notifications" page. Next, tap on "See all from last 7 days" to expand the list. In the full listing, tap the three-dot menu at the top right and select "Show system." Find the "System UI" app in the list and tap on it.
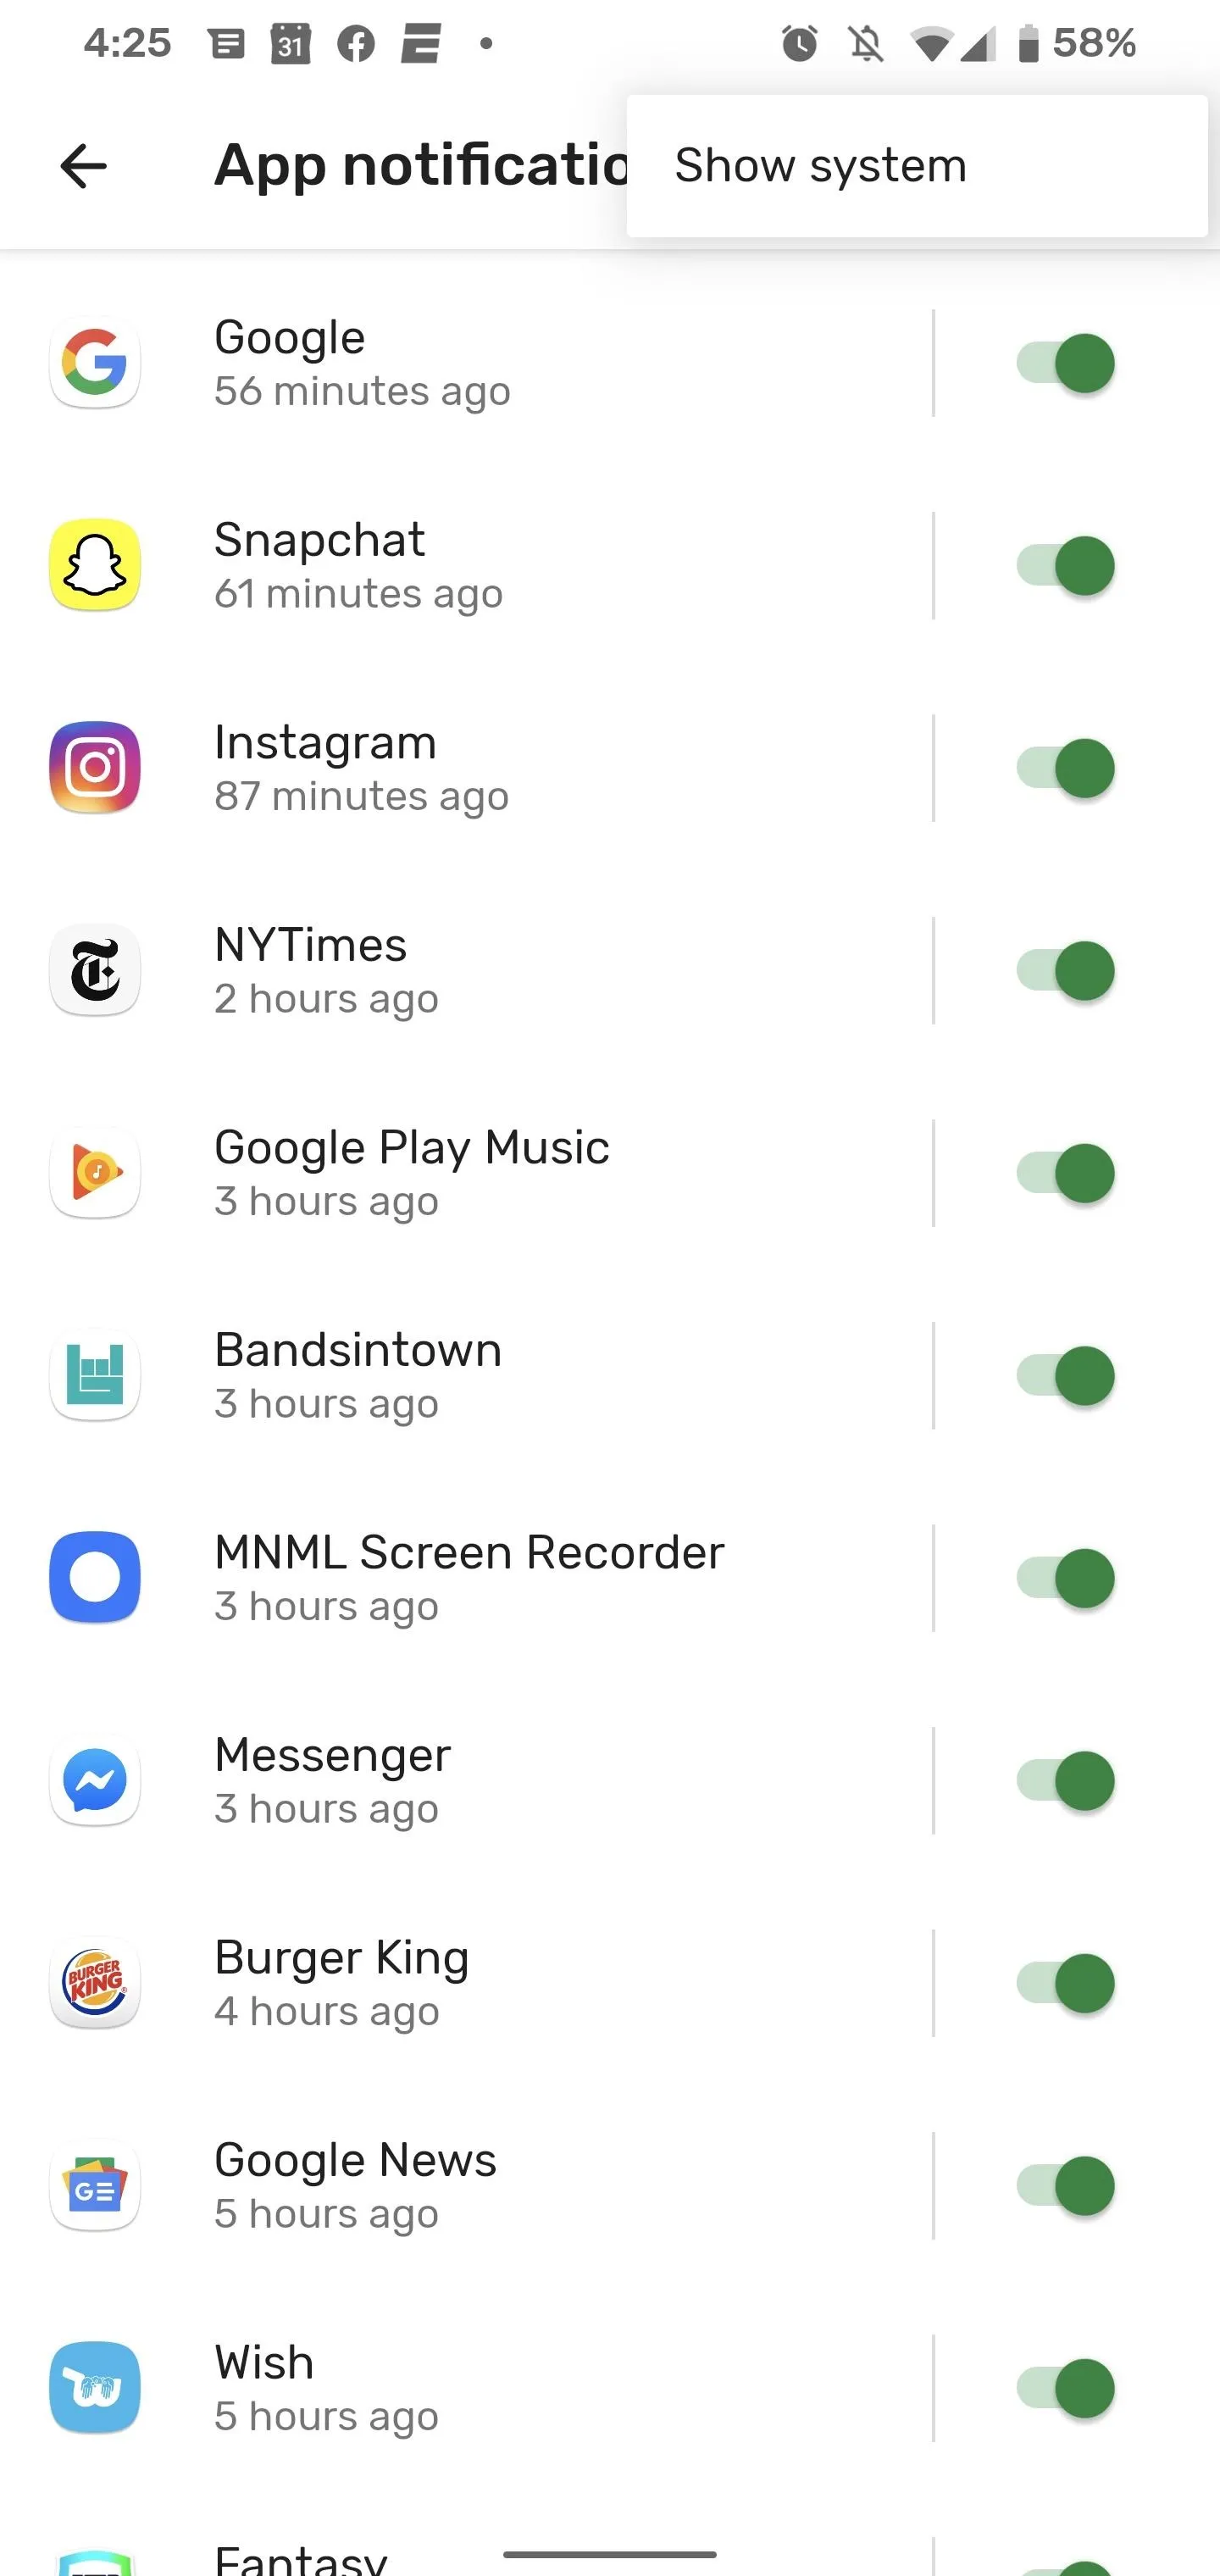
This will drop you into the middle of step 4, where you can adjust the settings and bring back that persistent pop-up notification.
Android has come along way with how it handles screenshots. There are so many options on how to work with them after taking them, but the process of customizing them is a relatively pain-free process.
Cover image, screenshots, and GIFs by Tommy Palladino/Gadget Hacks


Comments
Be the first, drop a comment!