


While Android does allow apps to use picture-in-picture mode (PiP), only a handful of apps actually support the feature. Most of the apps that do are video apps. The thing is, PiP is useful for more than just watching videos, and the Galaxy Note 9 has included a way to allow any app to offer a similar feature, video or not.
Samsung devices, like the Galaxy Note 9, have a built-in feature known as floating windows. This feature lets you create smaller windows of your favorite app which can be overlaid on top of other apps. You can interact with these apps normally as if the app was in full-screen mode. Now, Samsung has made this feature even better by allowing you to make these floating windows transparent to varying degrees. This way, you can easily see the app in the background while also still interacting with the app in the window.
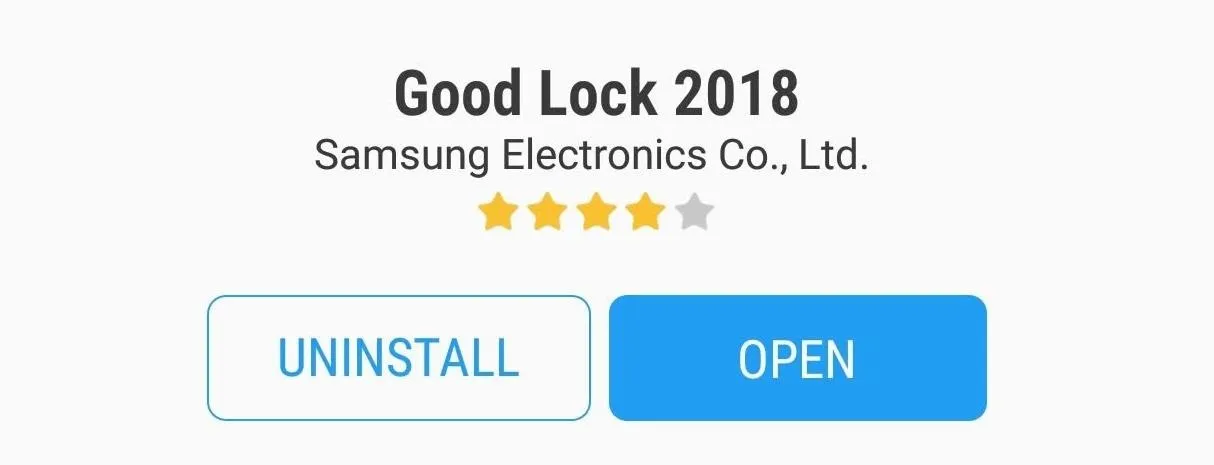
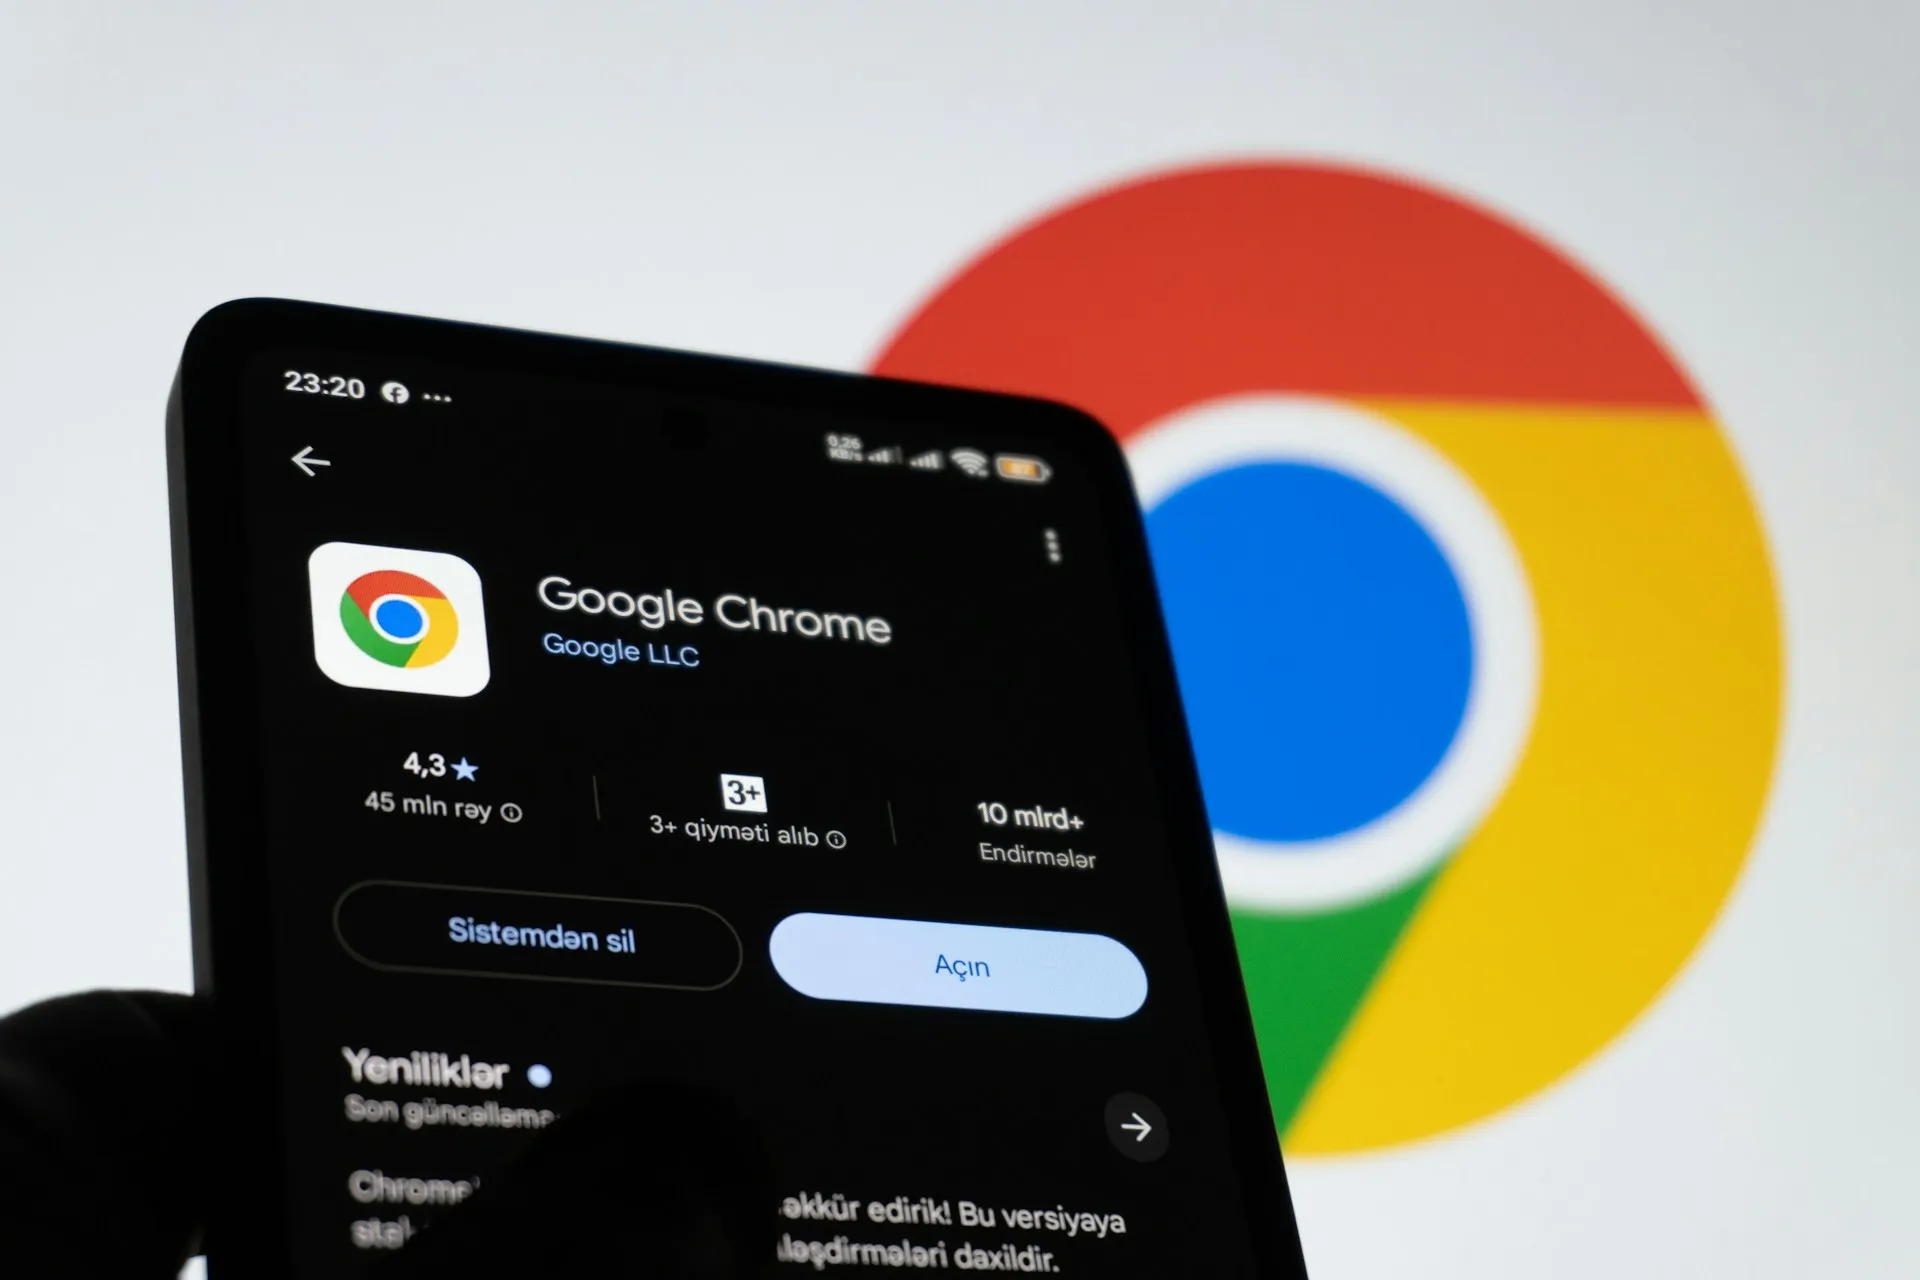
Download Good Lock 2018
First, you'll need an app from the Galaxy Note 9's second app store, Galaxy Apps. Open Galaxy Apps in your app drawer and search for "Good Lock 2018," then tap the "Install" button. If you are having trouble performing this step, check out our full tutorial using the link below.
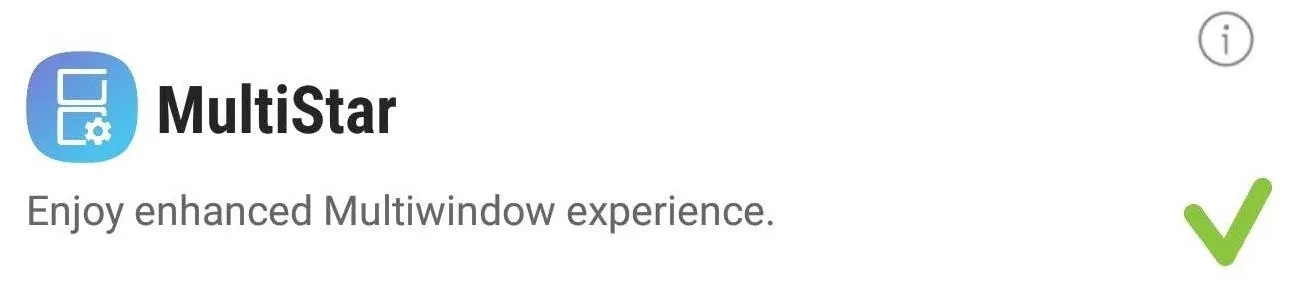
Install MultiStar
Good Lock 2018 has six different extensions which offer various tweaks for different aspects of the Galaxy Note 9. The add-on we need is "MultiStar," which you can find near the bottom of the page. Choose "MultiStar," then select "Install" to download and install the extension on your Galaxy Note 9.
Enable "Ghost Mode"
Once installed, head back to Good Lock 2018 and select MultiStar again (it should have a green checkbox next to it now). Once inside MultiStar, you will find the toggle "Ghost Mode." Tap this option to enable the toggle.

Create a Floating Window
Now, open an app you wish to turn into a floating window. Select the recent apps button to open up Overview mode. Long press the name of the app in the title bar and drag it to the designated blue square in the center of the screen. The app will become a floating window.
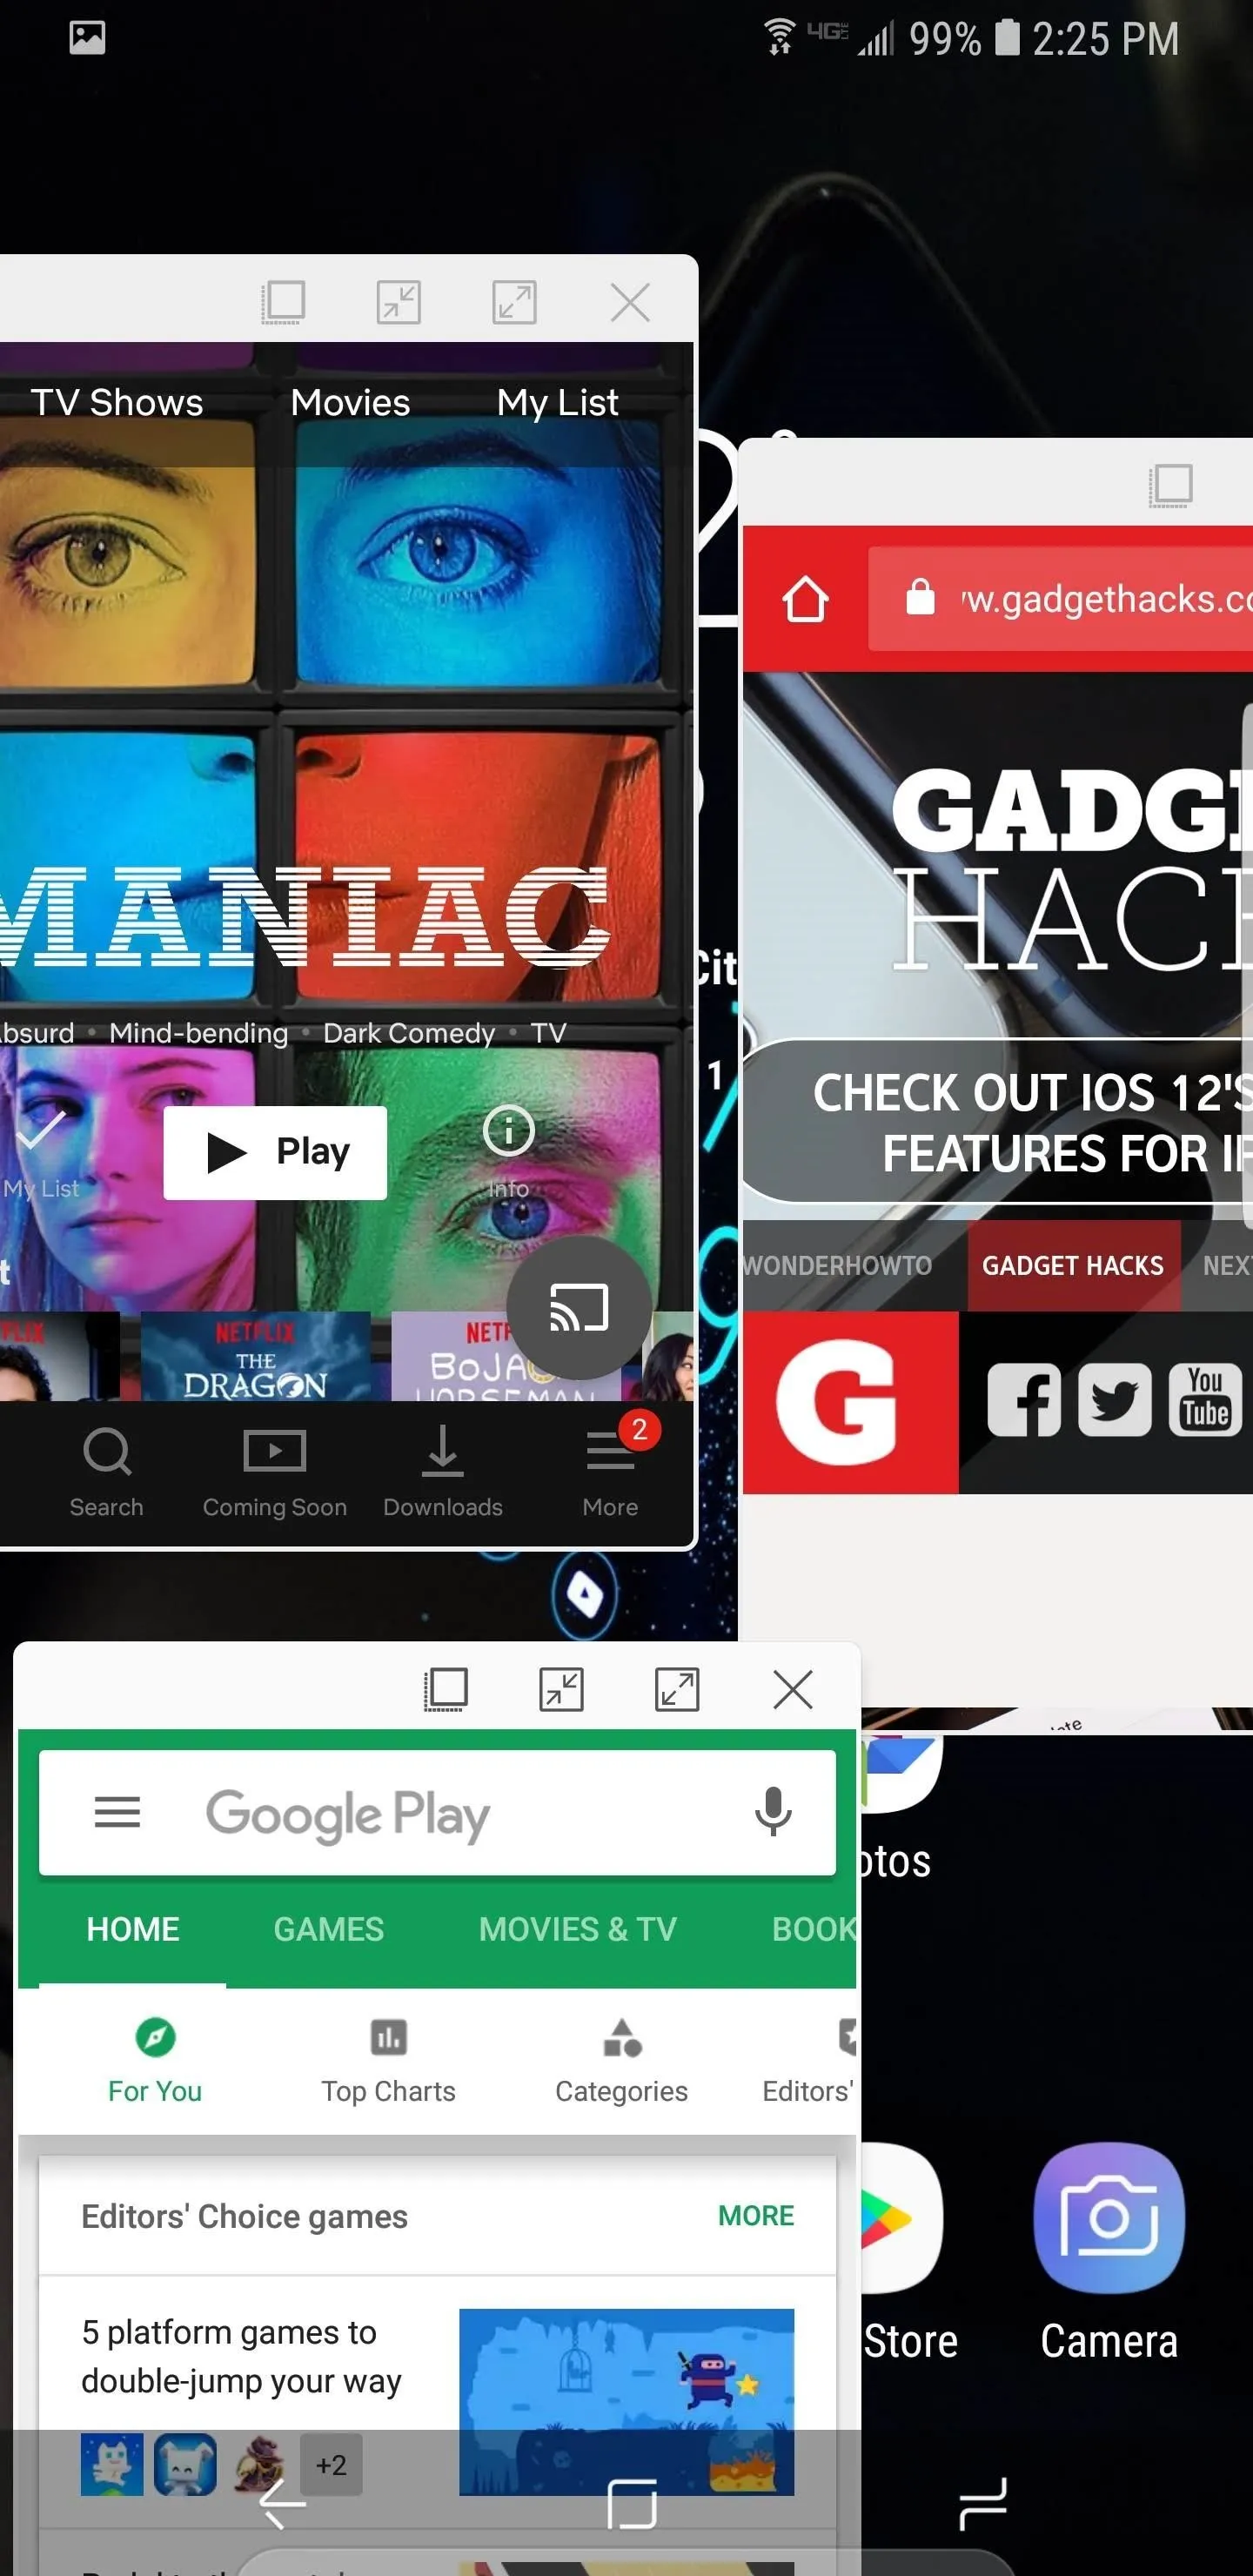
If you wish to open a second window, reenter Overview mode and drag a new app to the blue center. This gesture will create a new floating window and retain the previous one.
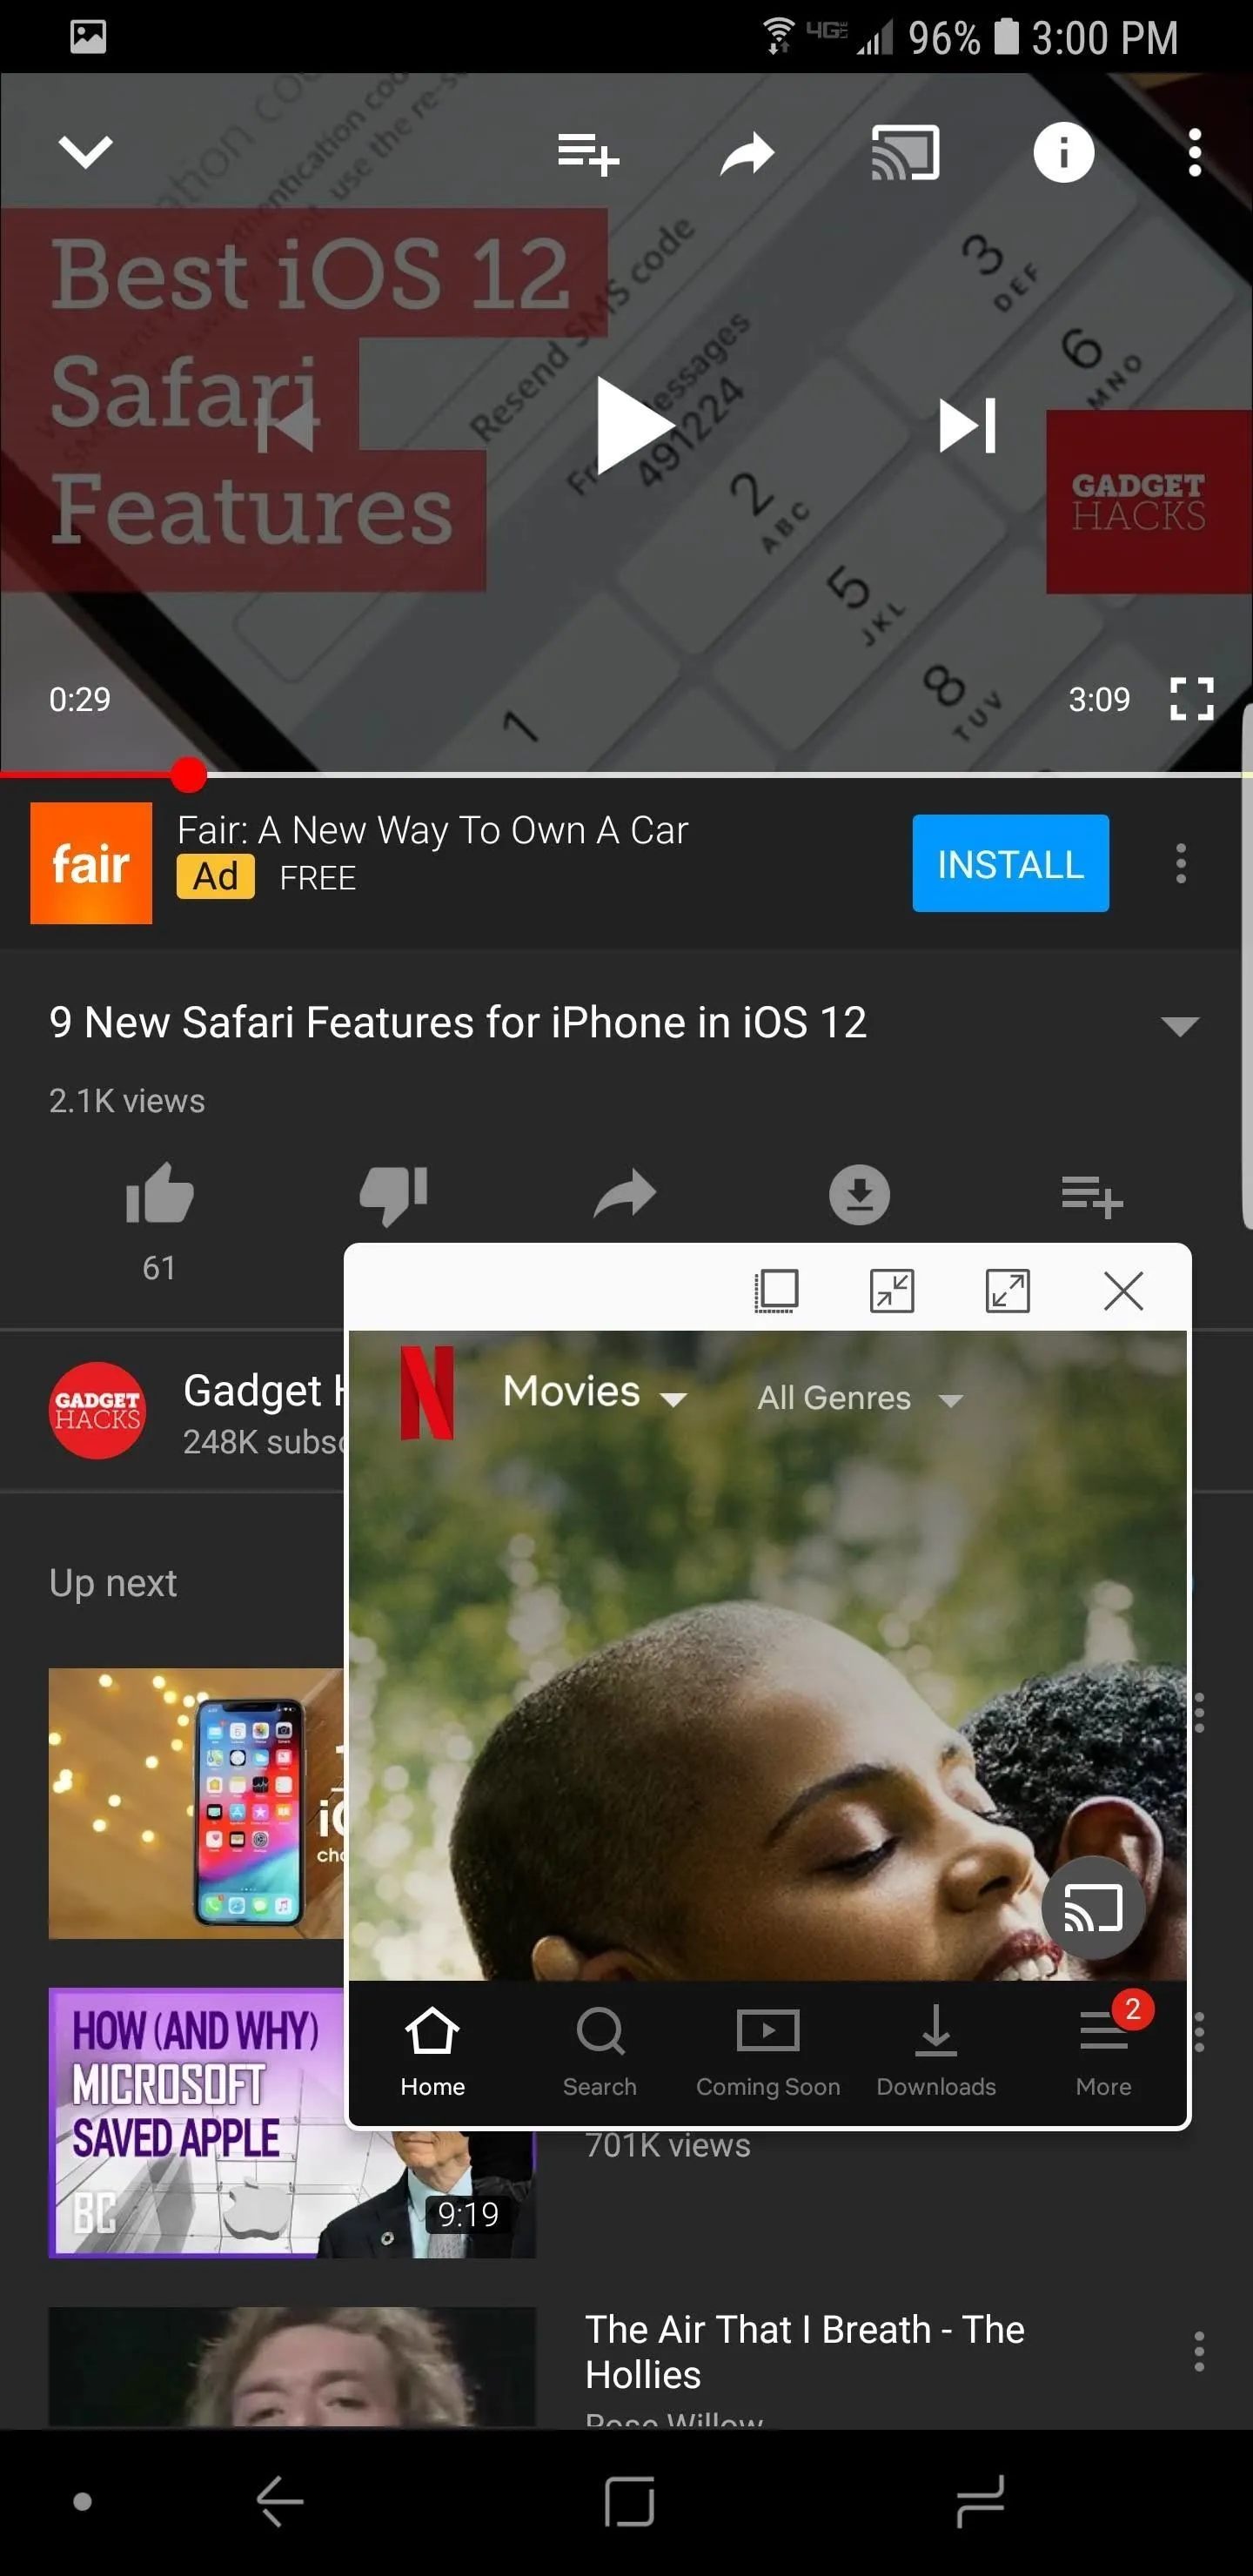
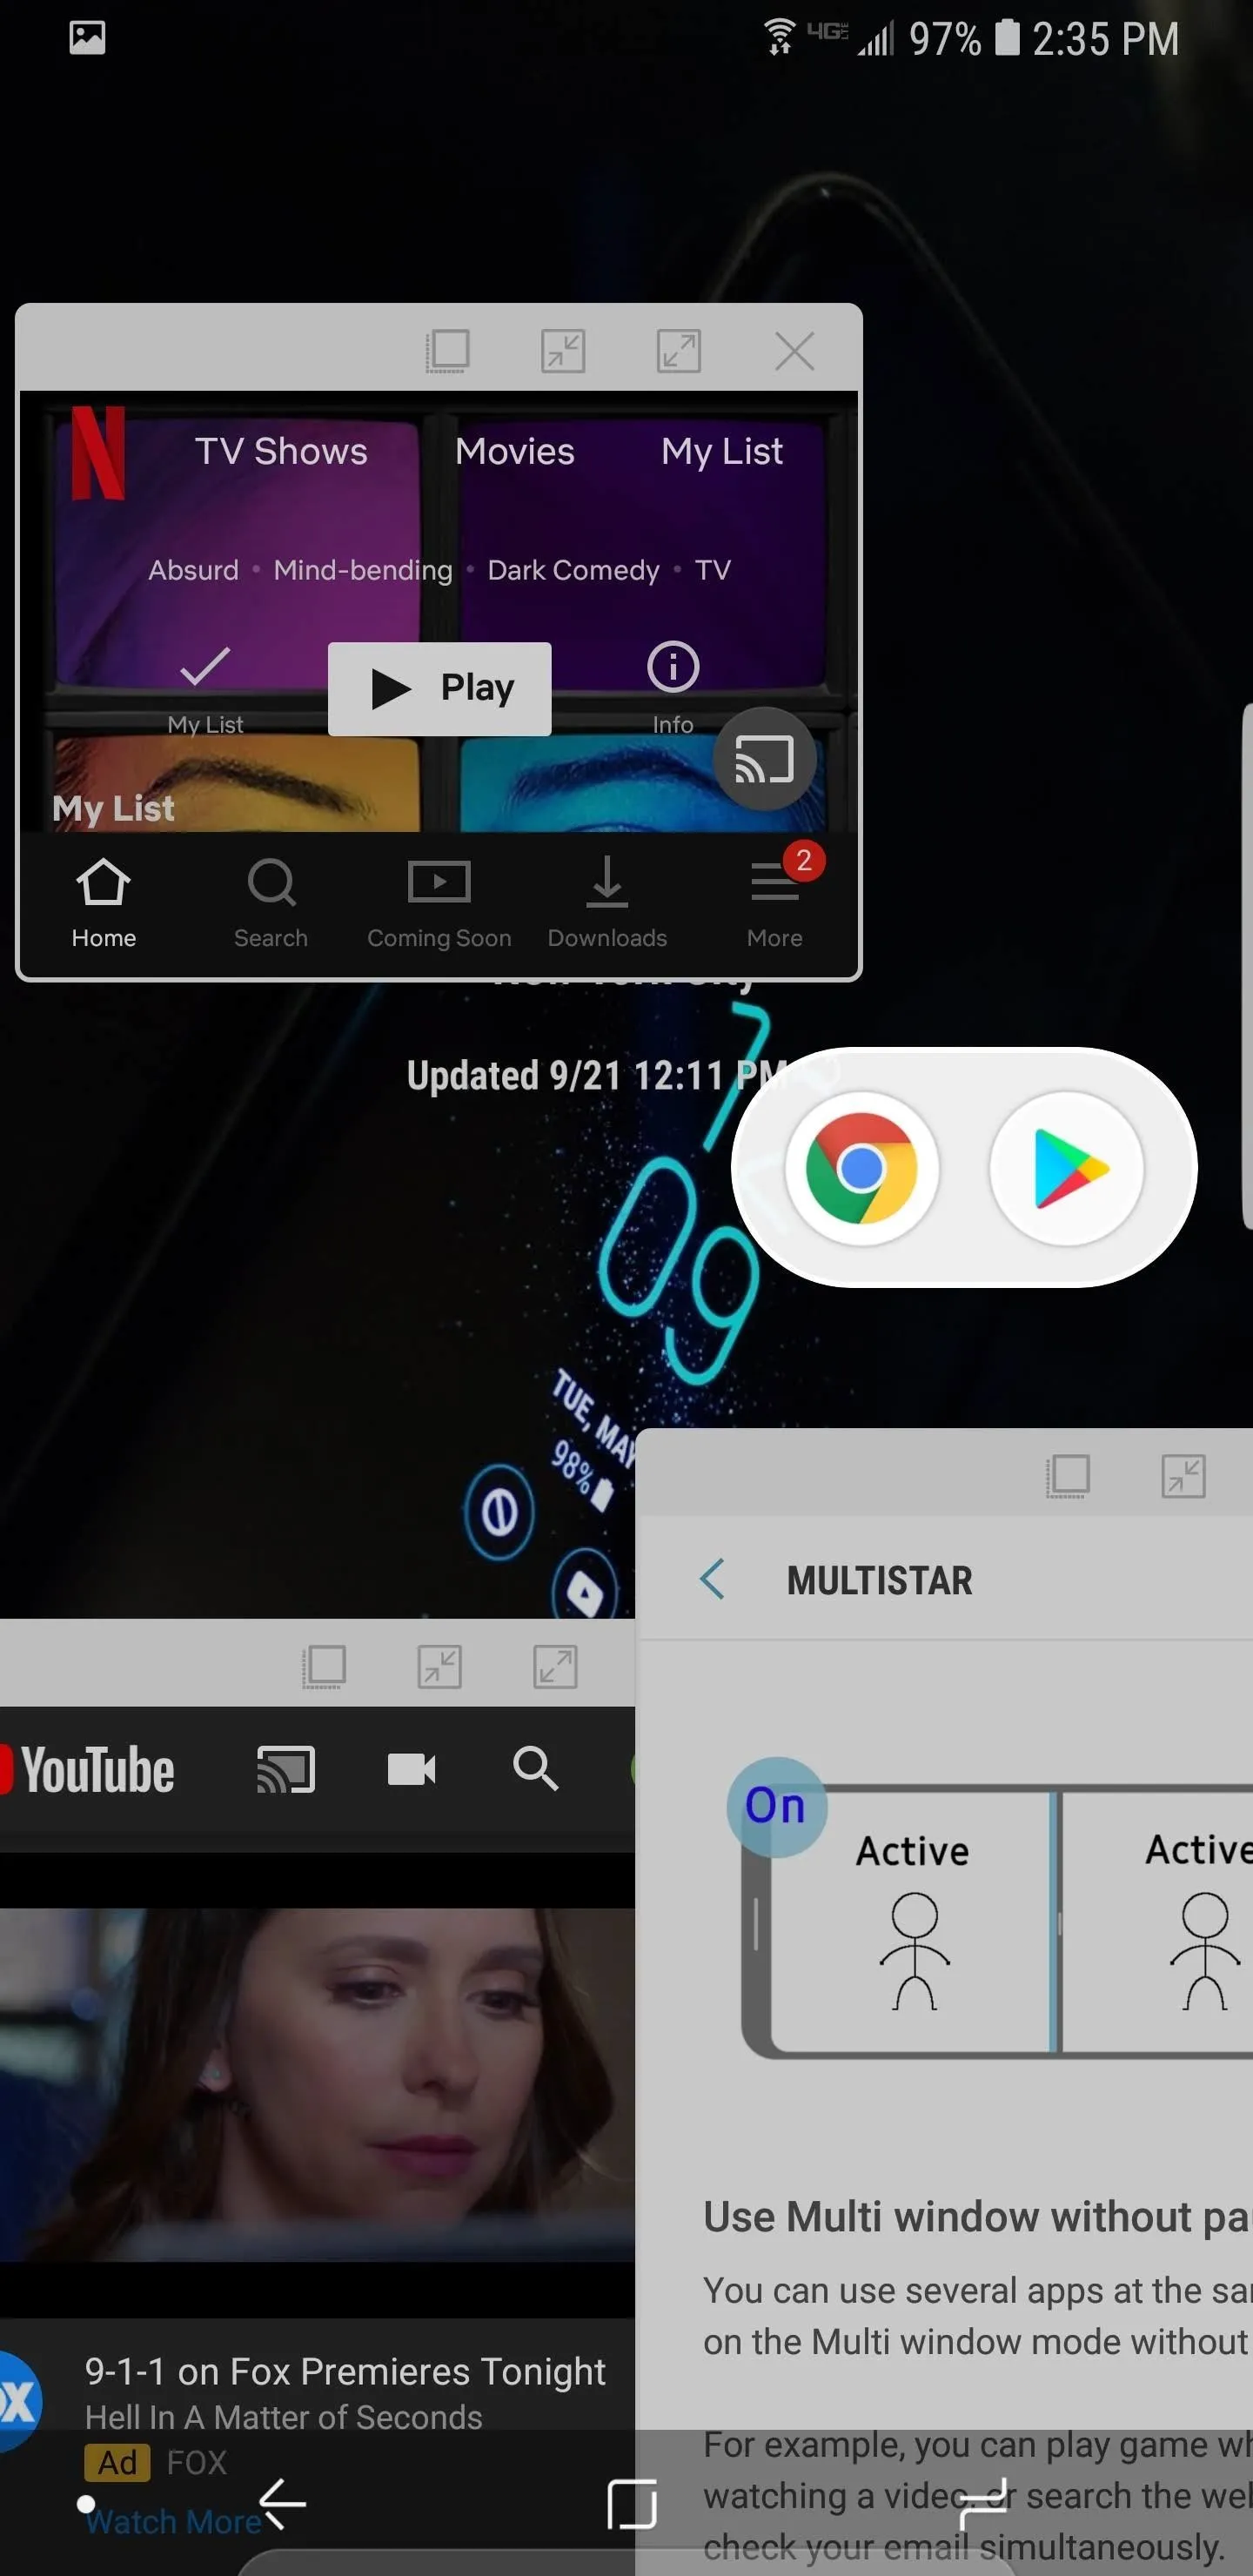
You can resize the window by long pressing its bottom or right edge and moving toward its parallel opposite. You can get rid of it using the "X" located in the upper-right corner of the window. You can also reduce the window to a floating icon using the icon with two arrows pointing toward each other. This feature will let you minimize the window when not in use. When you are ready, simply press its icon to bring it back up.
Finally, you can open the app to full screen using the icon of a square with two arrows pointing toward opposite directions. While I'm sure there is a limit to the amount, I wasn't able to find an exact number. During our testing with our Galaxy Note 9 from Verizon, we were able to have six floating windows open with no indication that we were approaching a limit.
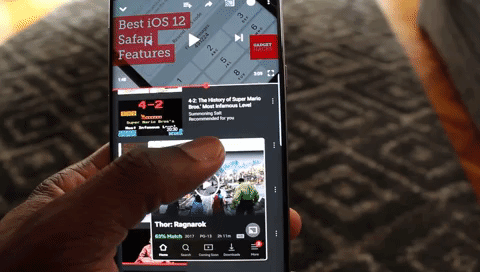
Make the Floating Window Transparent
You may have noticed I didn't talk about the leftmost icon. This a new icon created when we enabled "Ghost Mode." By selecting this icon, you can reduce the transparency of the window from 0% to 100% (moving in 20% intervals). At 100%, you will barely see the window, giving you full access to whatever app is running behind your floating window.
Jon Knight/Gadget Hacks
With transparent floating windows, you gain a more advanced picture-in-picture mode. It's more of a mixture of PiP and windows on the desktop than a carbon copy of the former. And unlike Android's native PiP, it doesn't require the app's developer to support the feature.
- Follow Gadget Hacks on Pinterest, Twitter, YouTube, and Flipboard
- Sign up for Gadget Hacks' daily newsletter or weekly Android and iOS updates
- Follow WonderHowTo on Facebook, Twitter, Pinterest, and Flipboard
Cover image and screenshots by Jon Knight/Gadget Hacks


Comments
Be the first, drop a comment!