


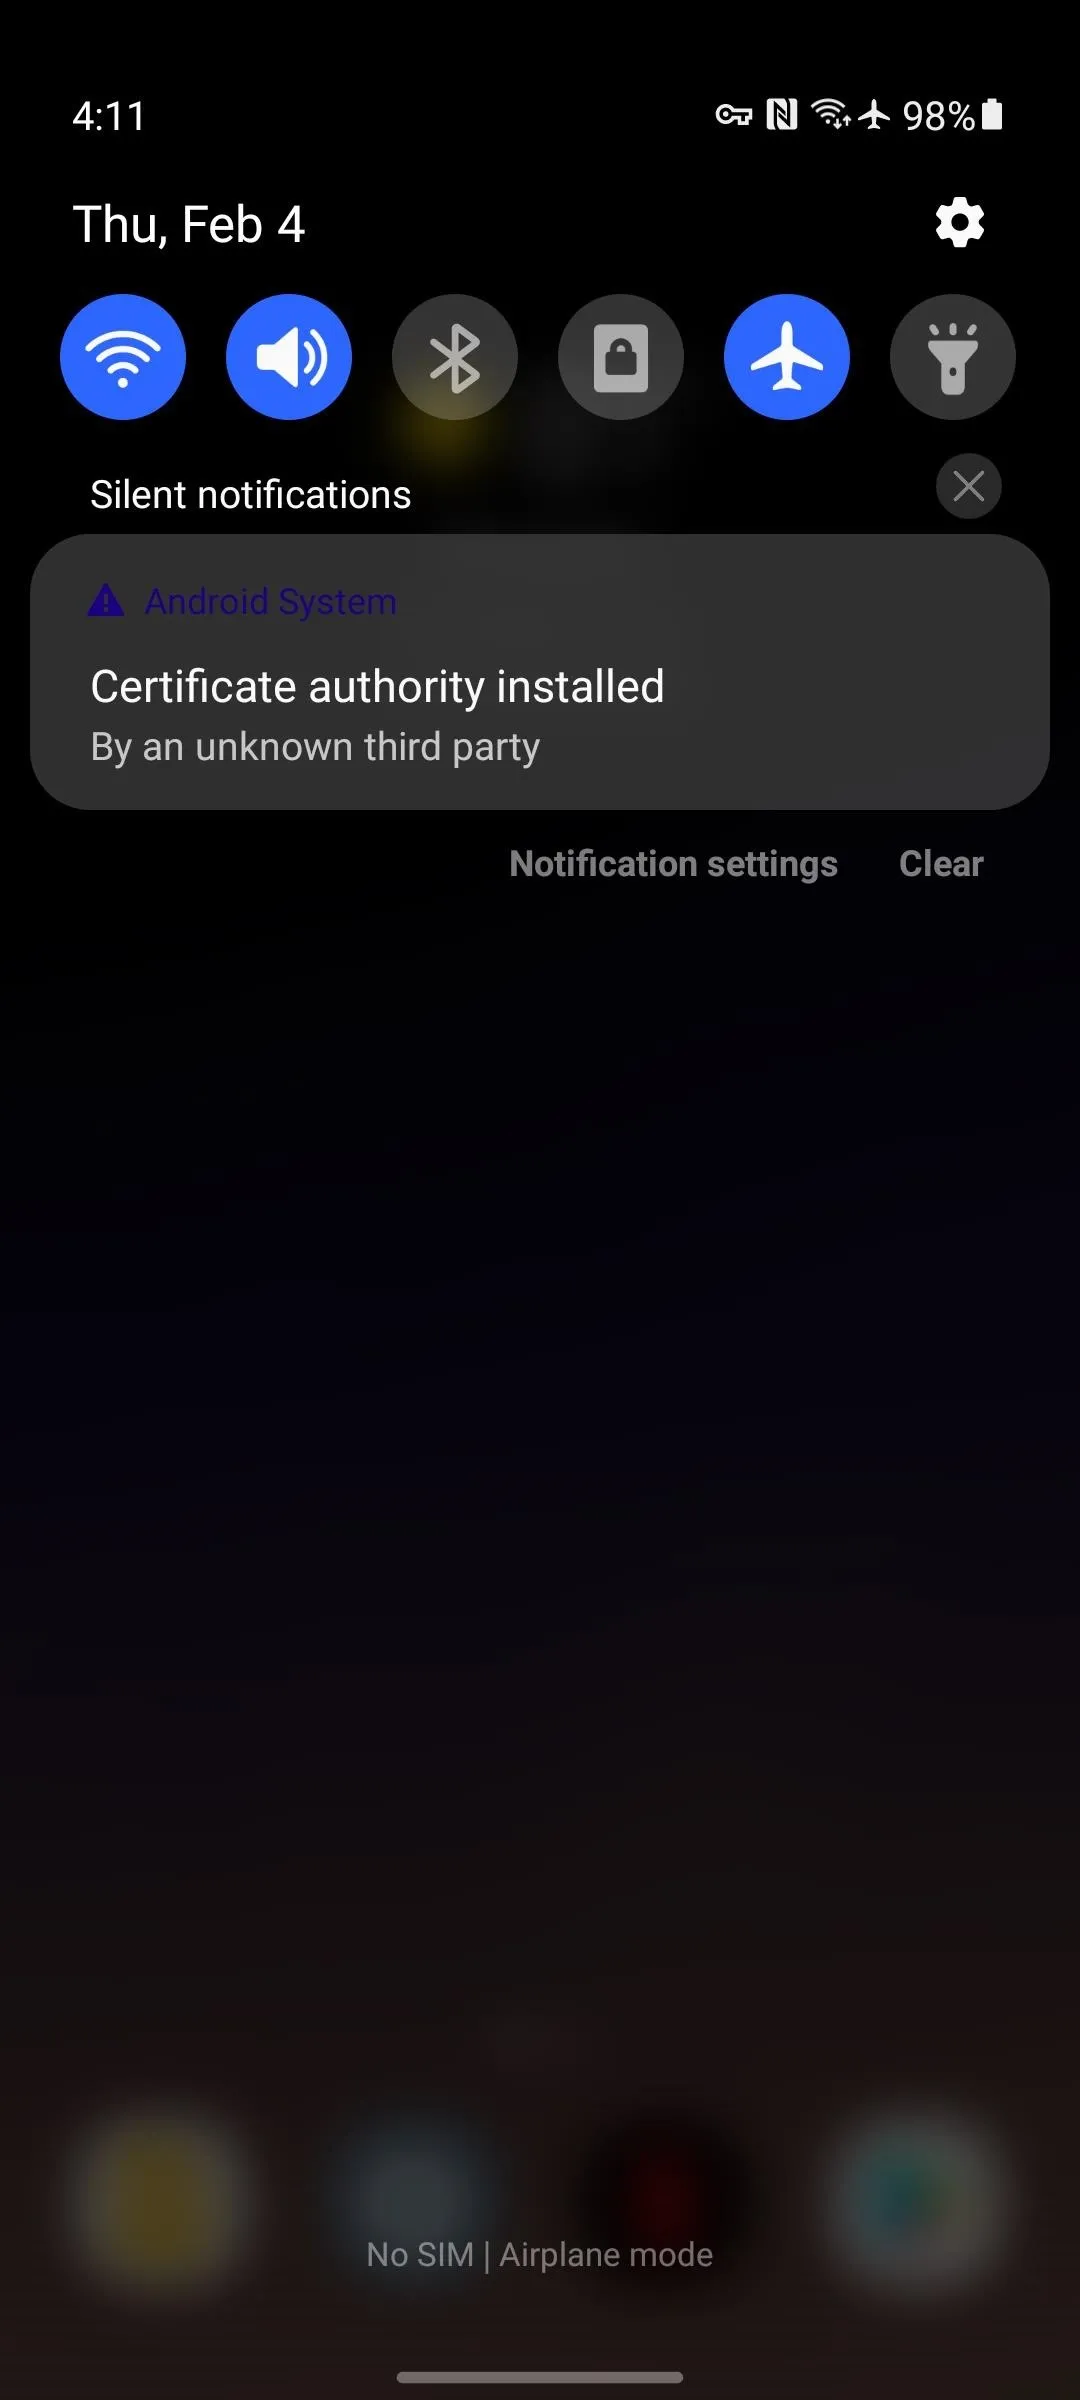
If you're using a VPN-based ad blocker with full HTTPS functionality on a Samsung phone, you'll get a notification informing you there's a third-party security certificate in use. No big deal, except it shows up every time you restart the phone. Samsung isn't alone in this type of annoyance, either.
When your phone posts a notification upon every reboot, dismissing it becomes a chore after about the tenth time you have to do it. But you're in luck, because there's an app that can automatically dismiss any notification containing certain text. It happens almost instantly, so it's like the notification was never even there.
Install Notification Remover
First, let me be clear that this only works with notifications that you can normally swipe away. If you're having trouble with a persistent, non-removable notification, use this method instead.
But the app that makes it easy to auto-dismiss pesky system notifications is called Notification Remover, and it's available for free on the Google Play Store. So search for it by name in your Play Store app to download it, or head directly to the app's installation page at the link below:
- Play Store Link: Notification Remover (free)
Grant Permissions
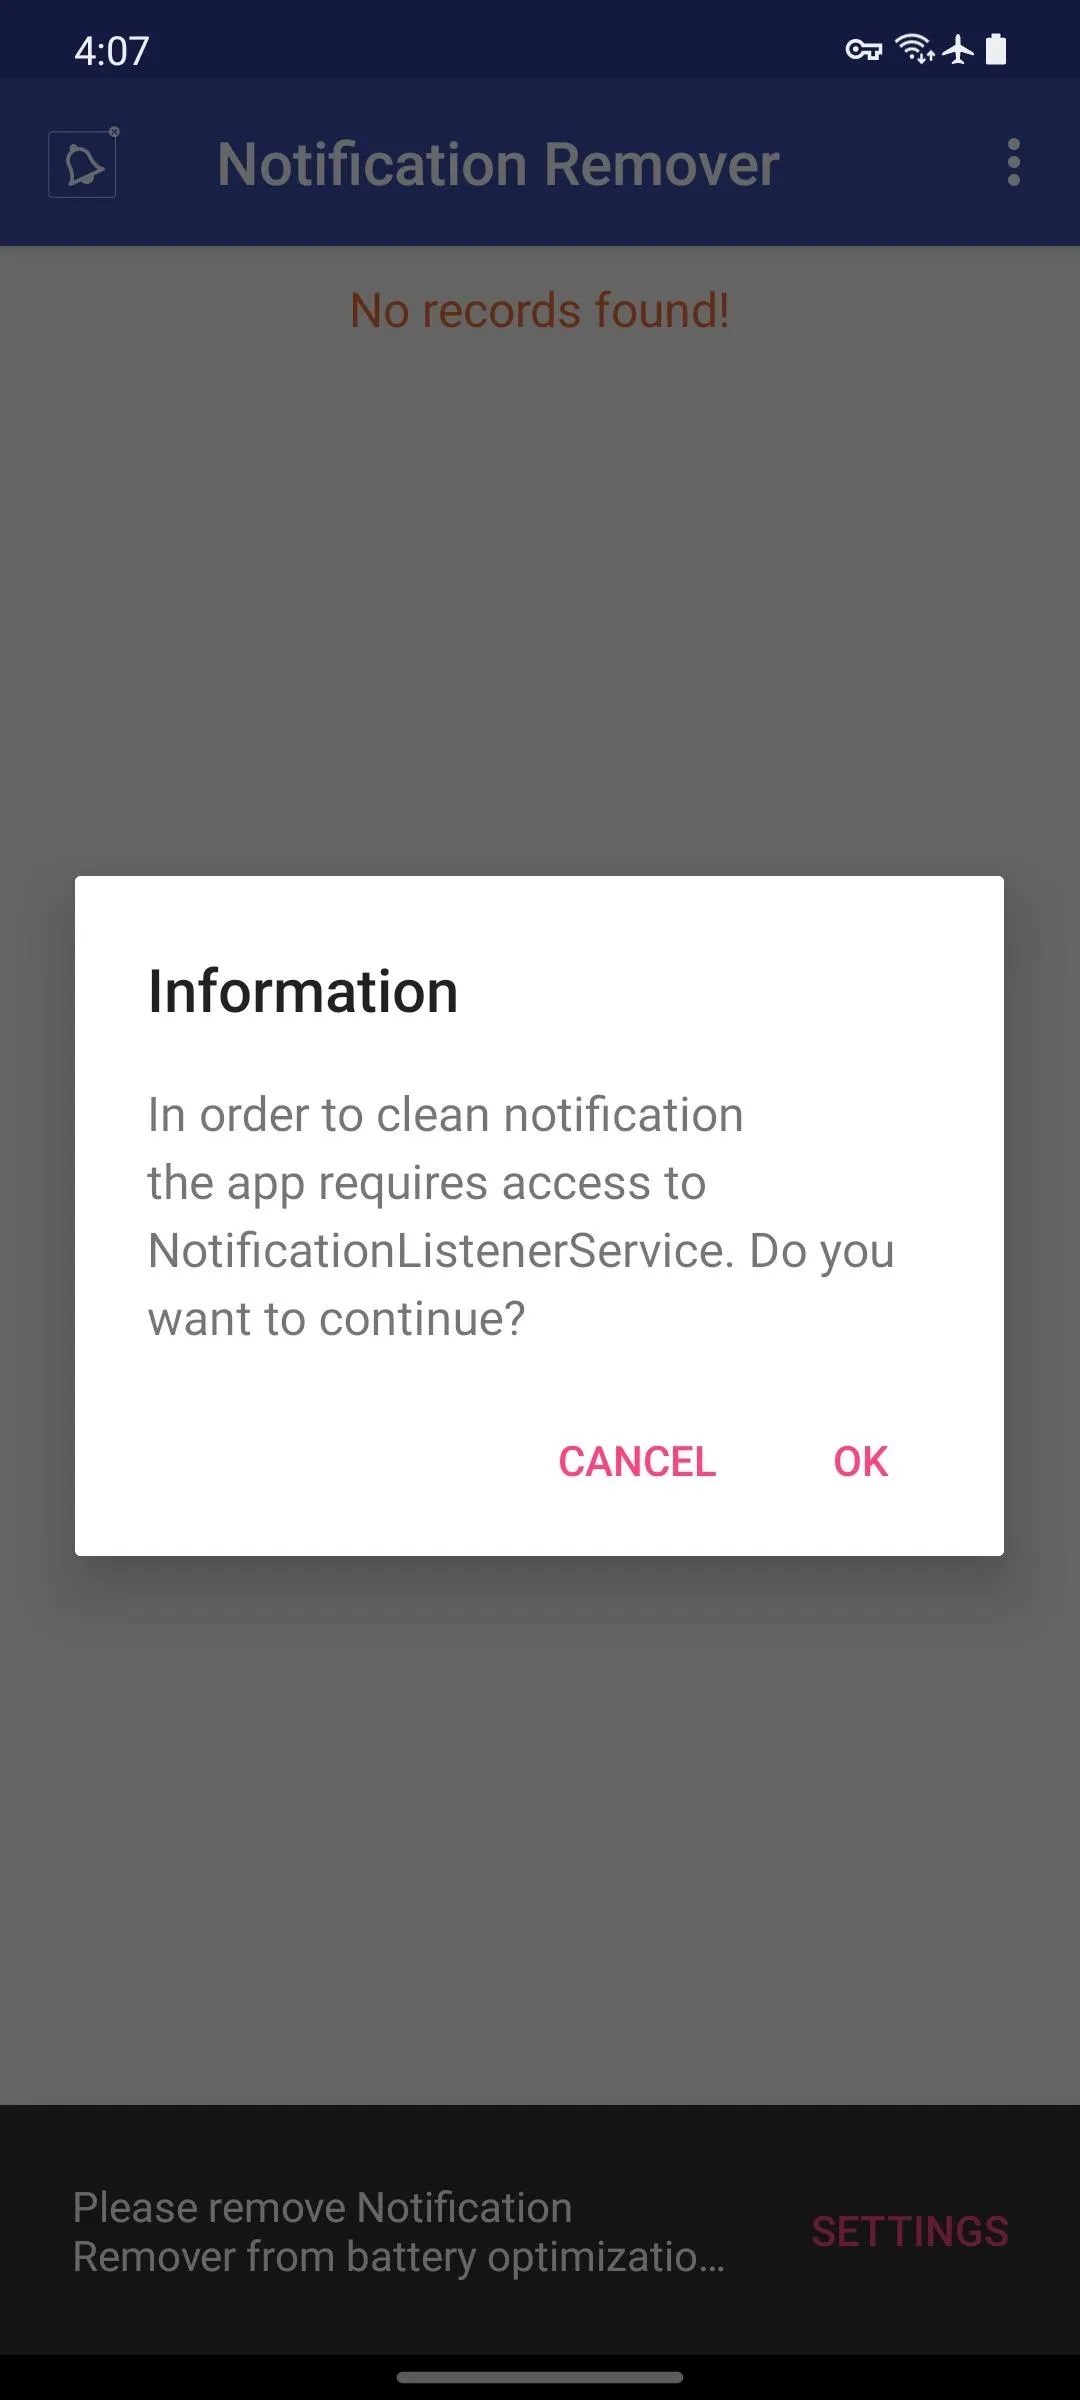
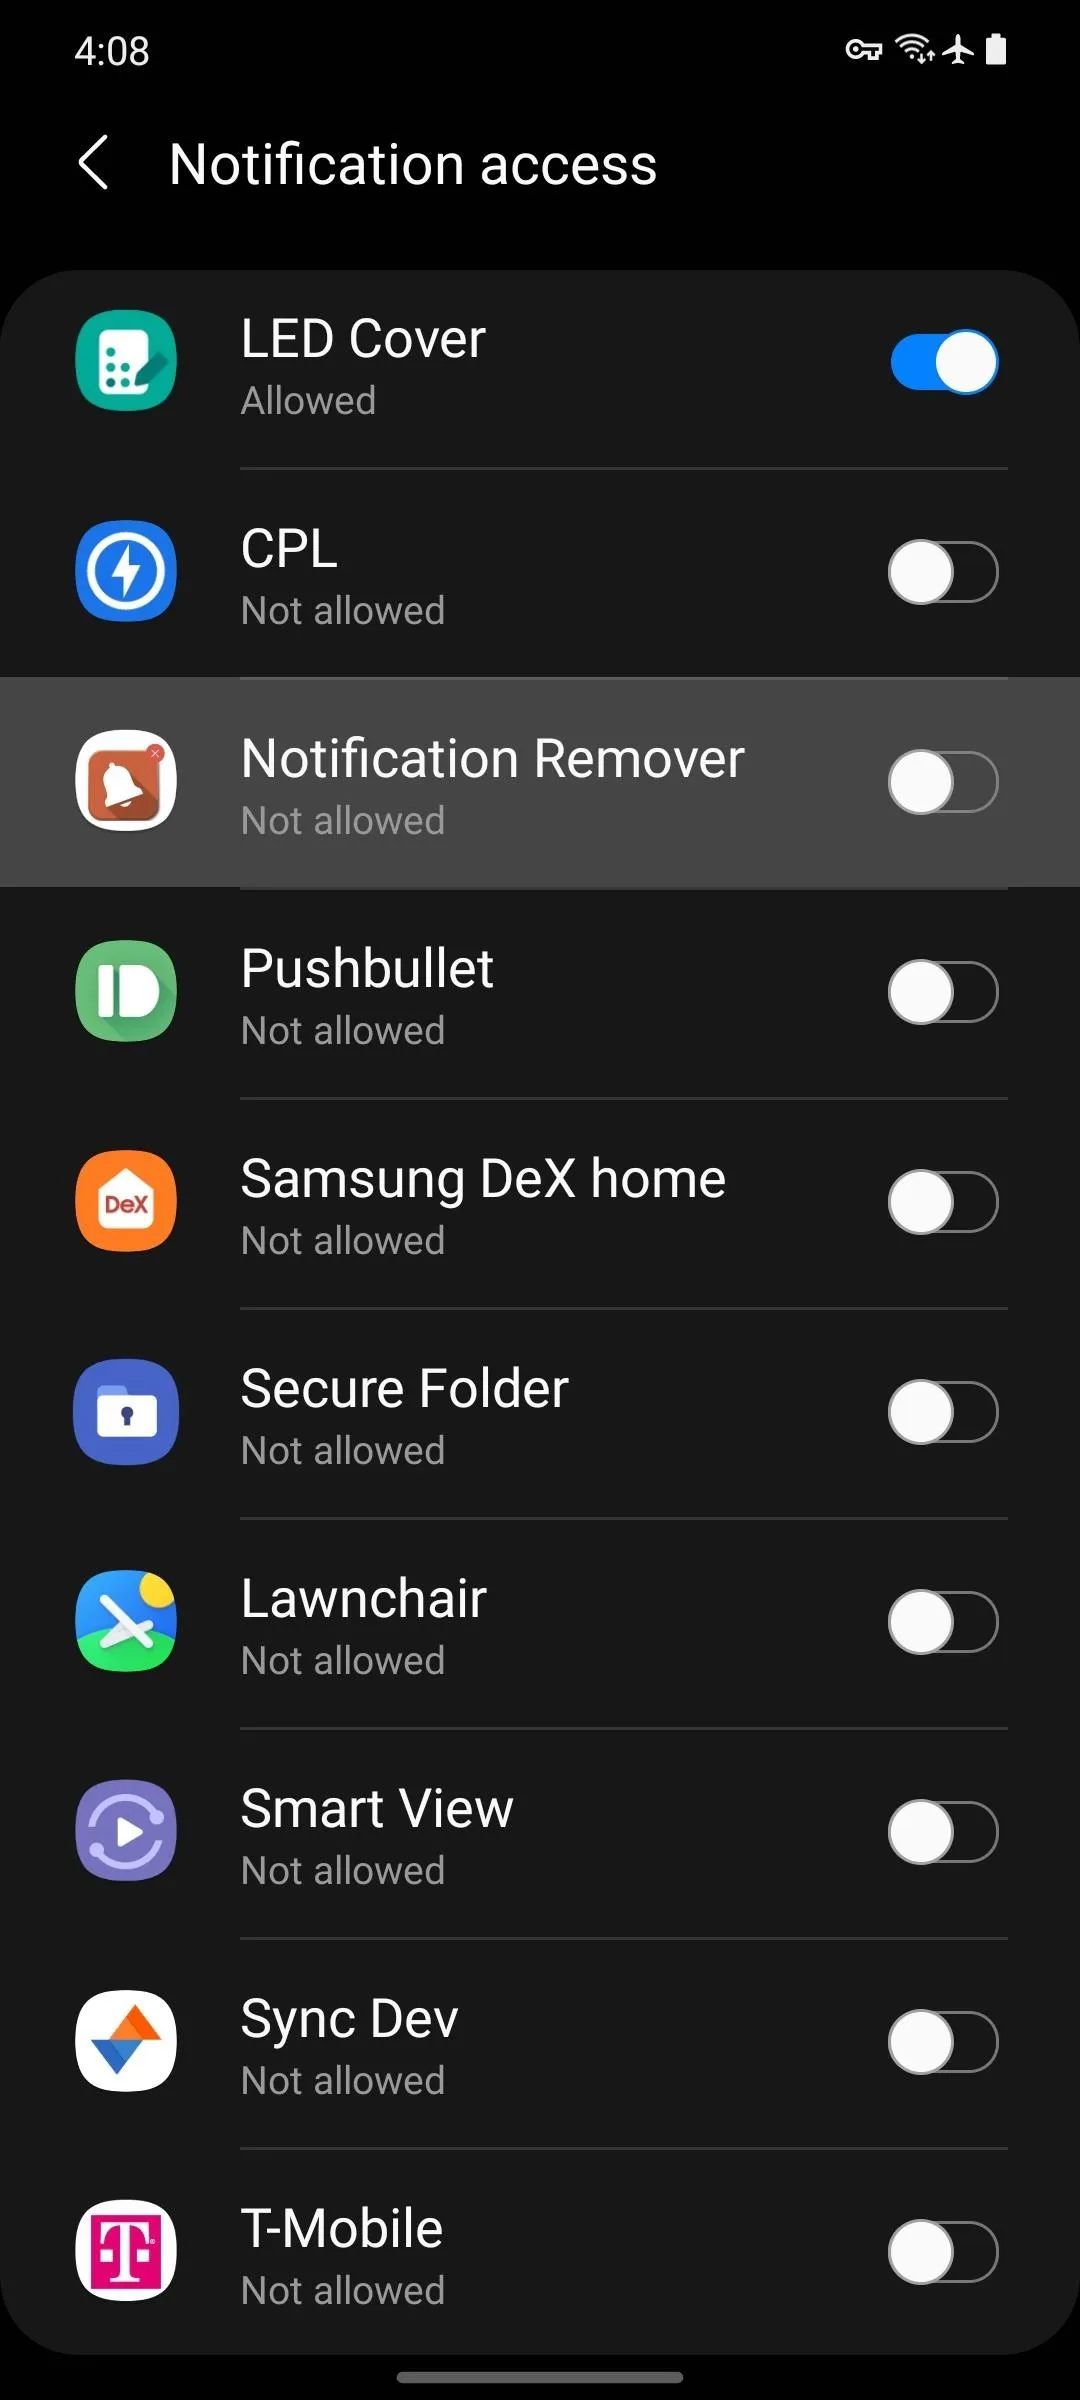
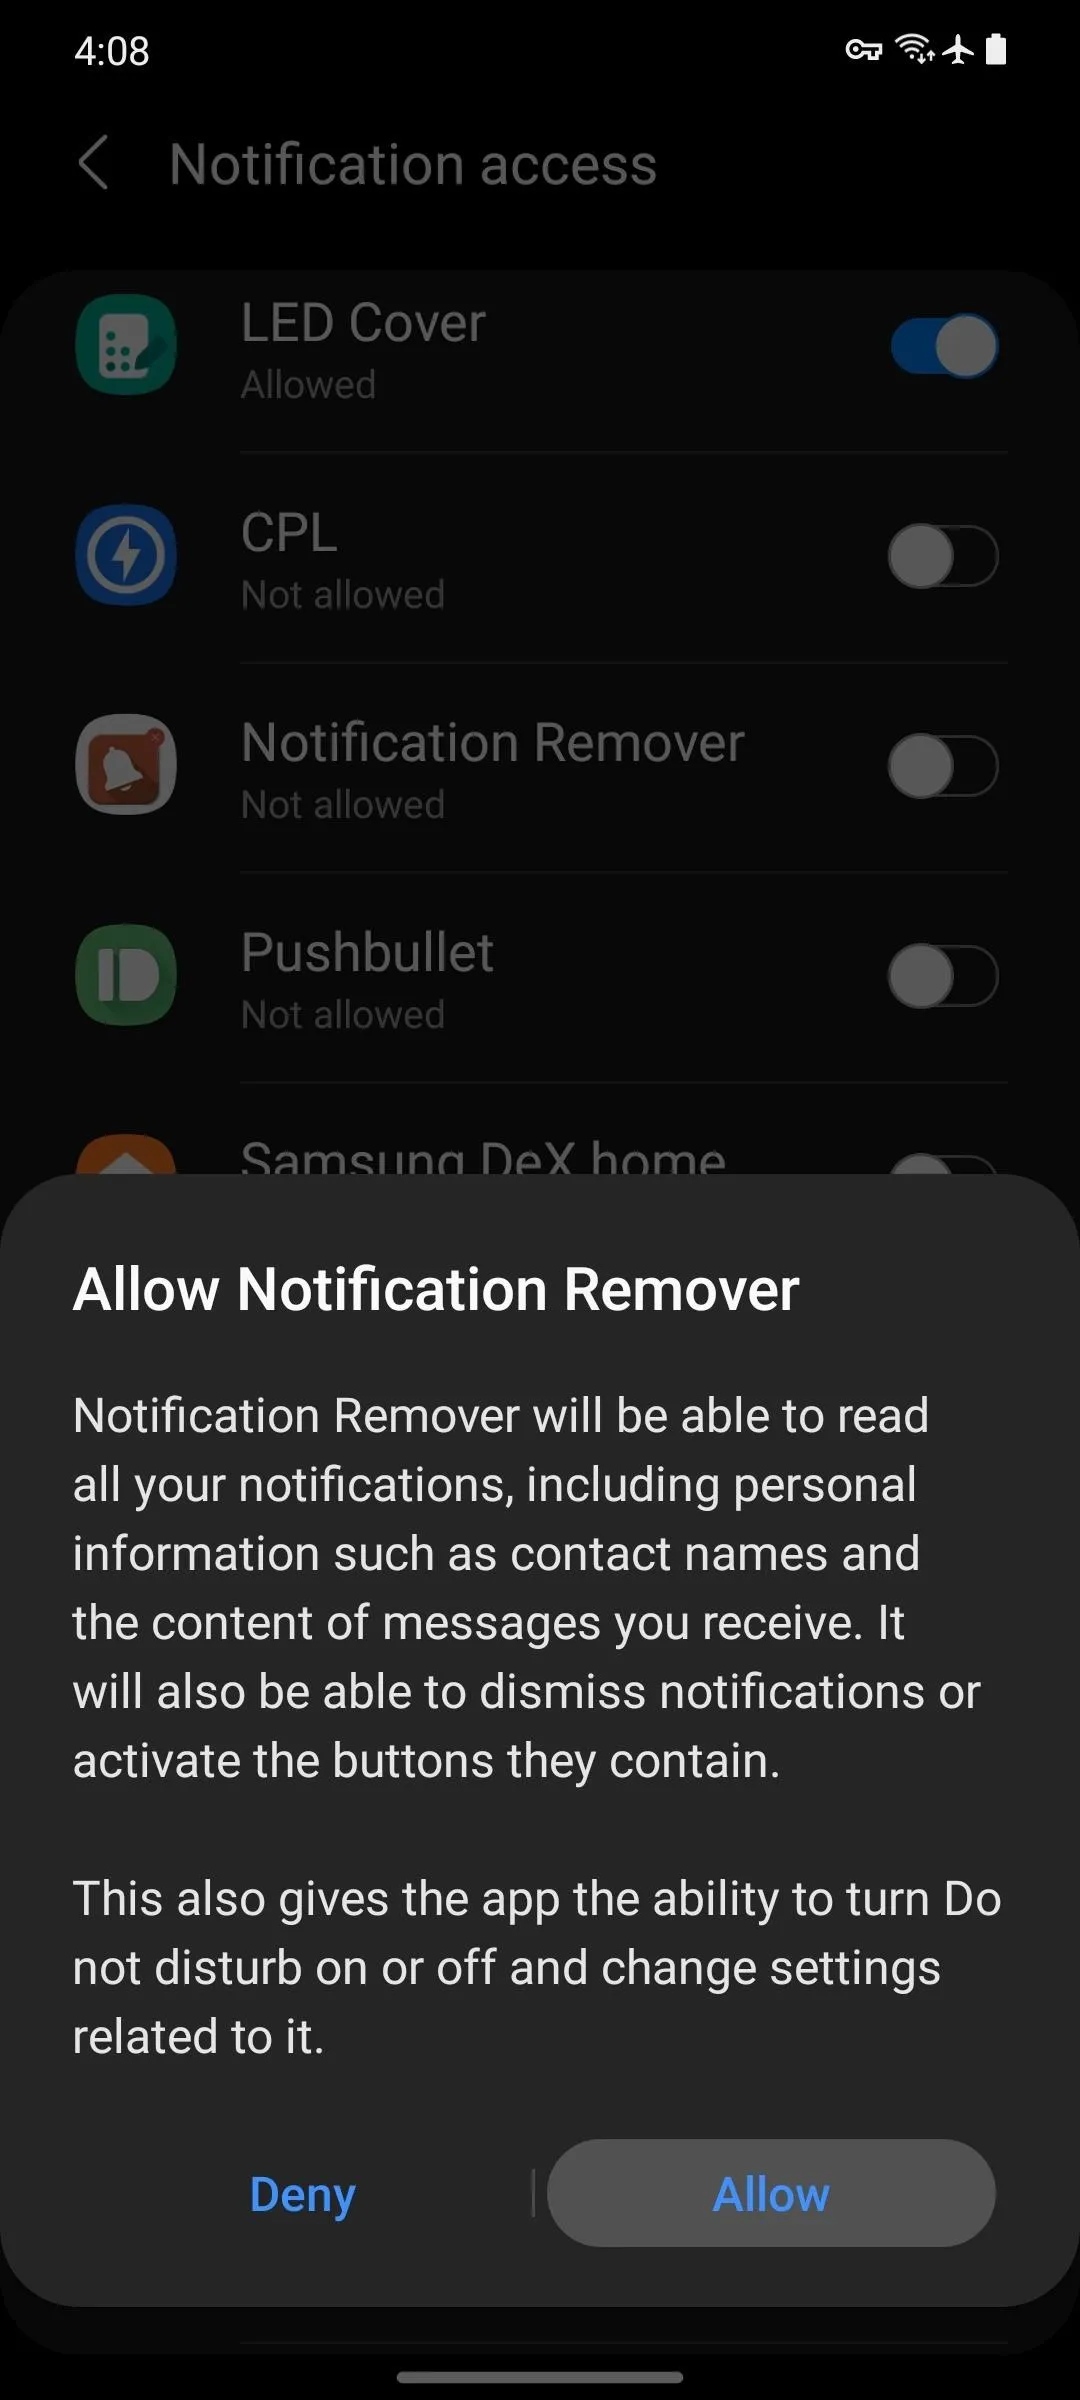
On first-run, the app will ask for permission to access your notifications. Tap "OK" on the prompt, then you'll be taken to a system settings menu. Here, scroll down and locate Notification Remover in the list, then enable the toggle switch next to it and press "Allow" on the popup.
Now, swipe or tap your back button twice to return to the app, then tap "Settings" on the snackbar message at the bottom of the screen. If you don't see the gray snackbar banner at the bottom, you'll have to close and reopen the app.
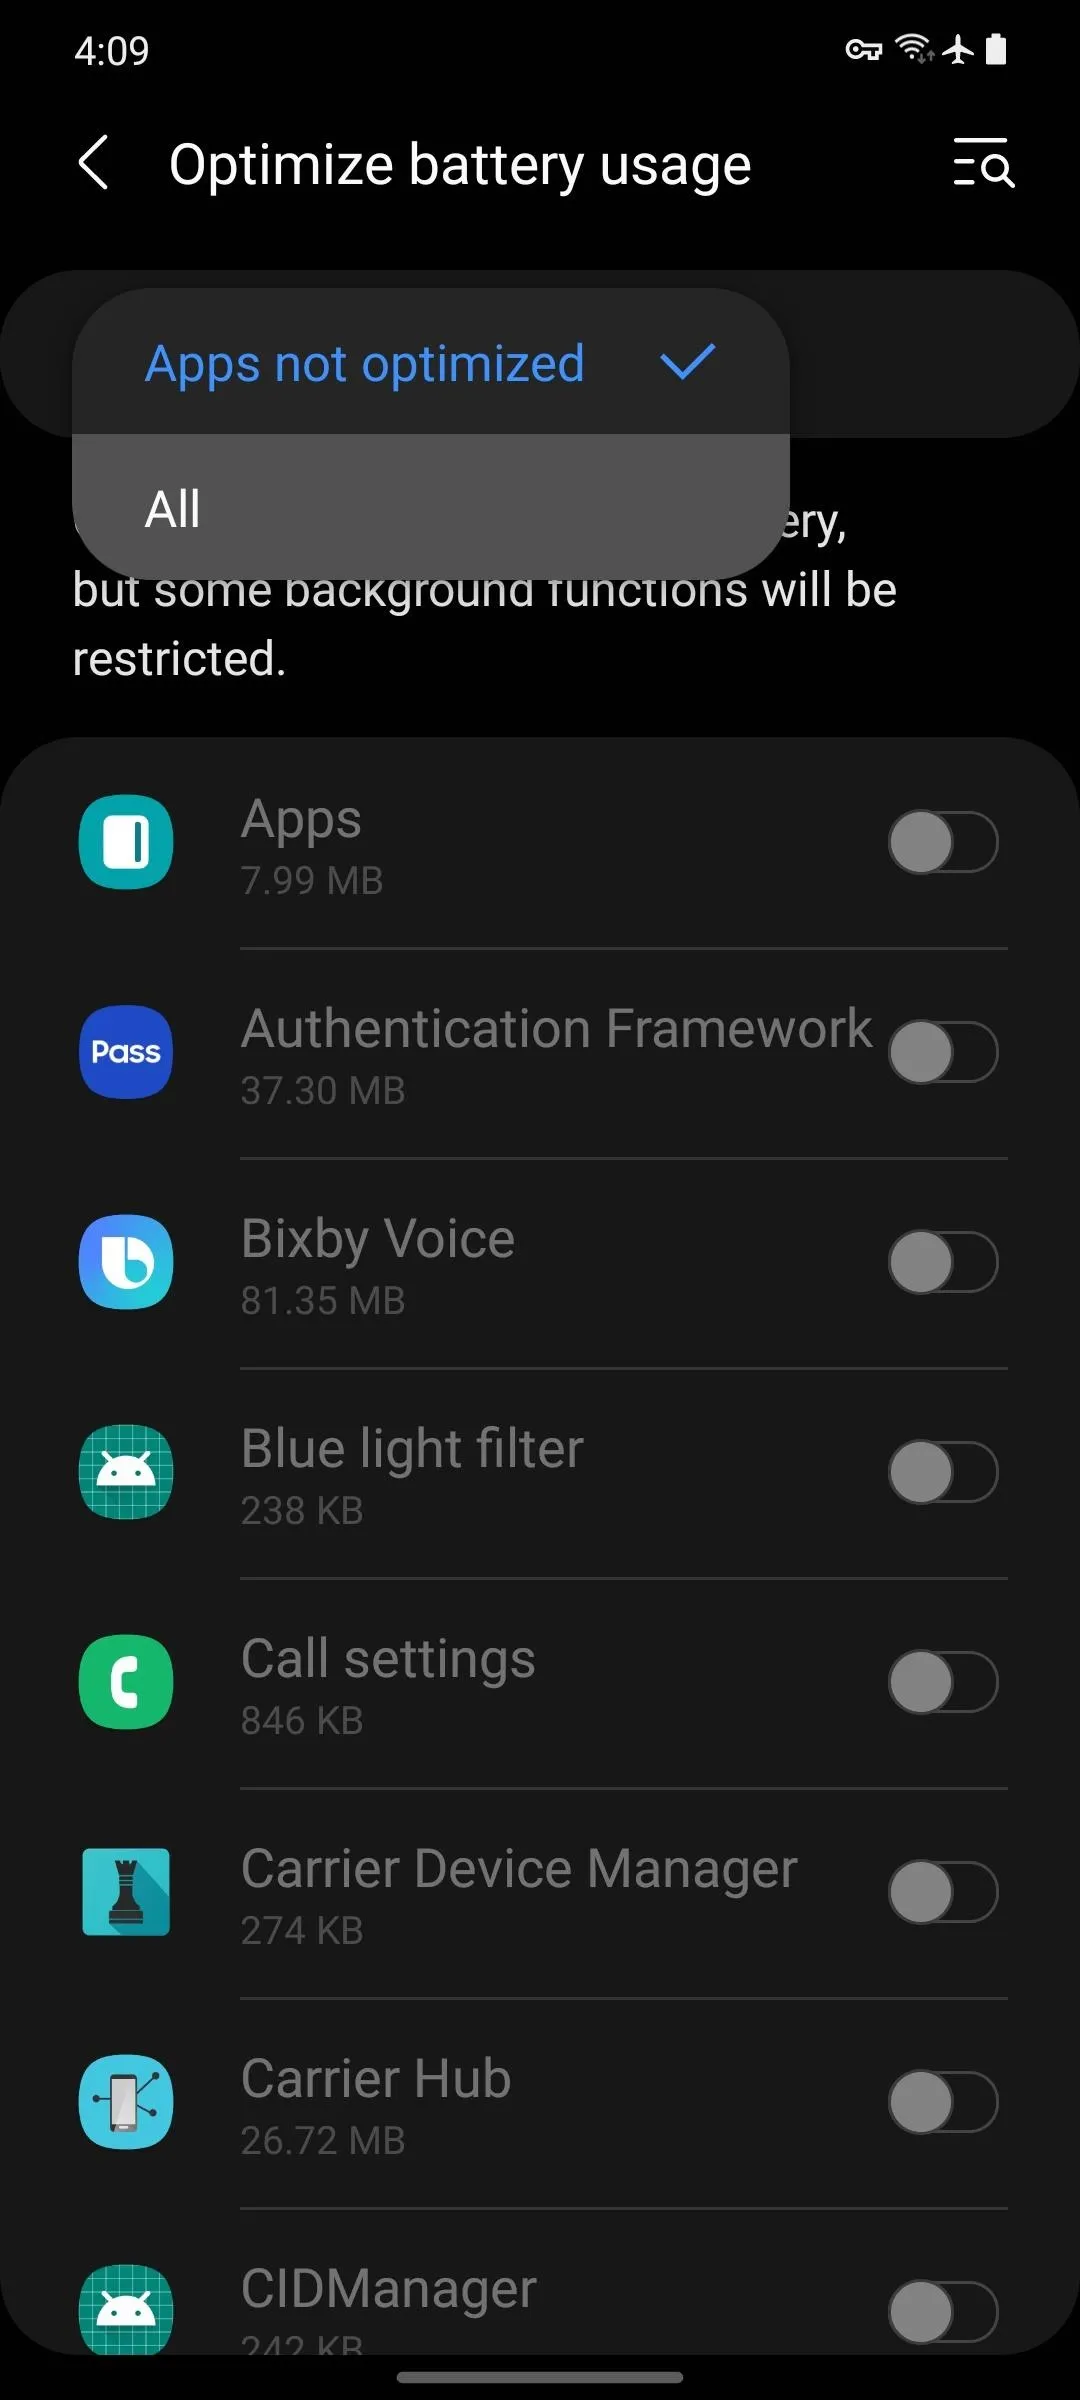
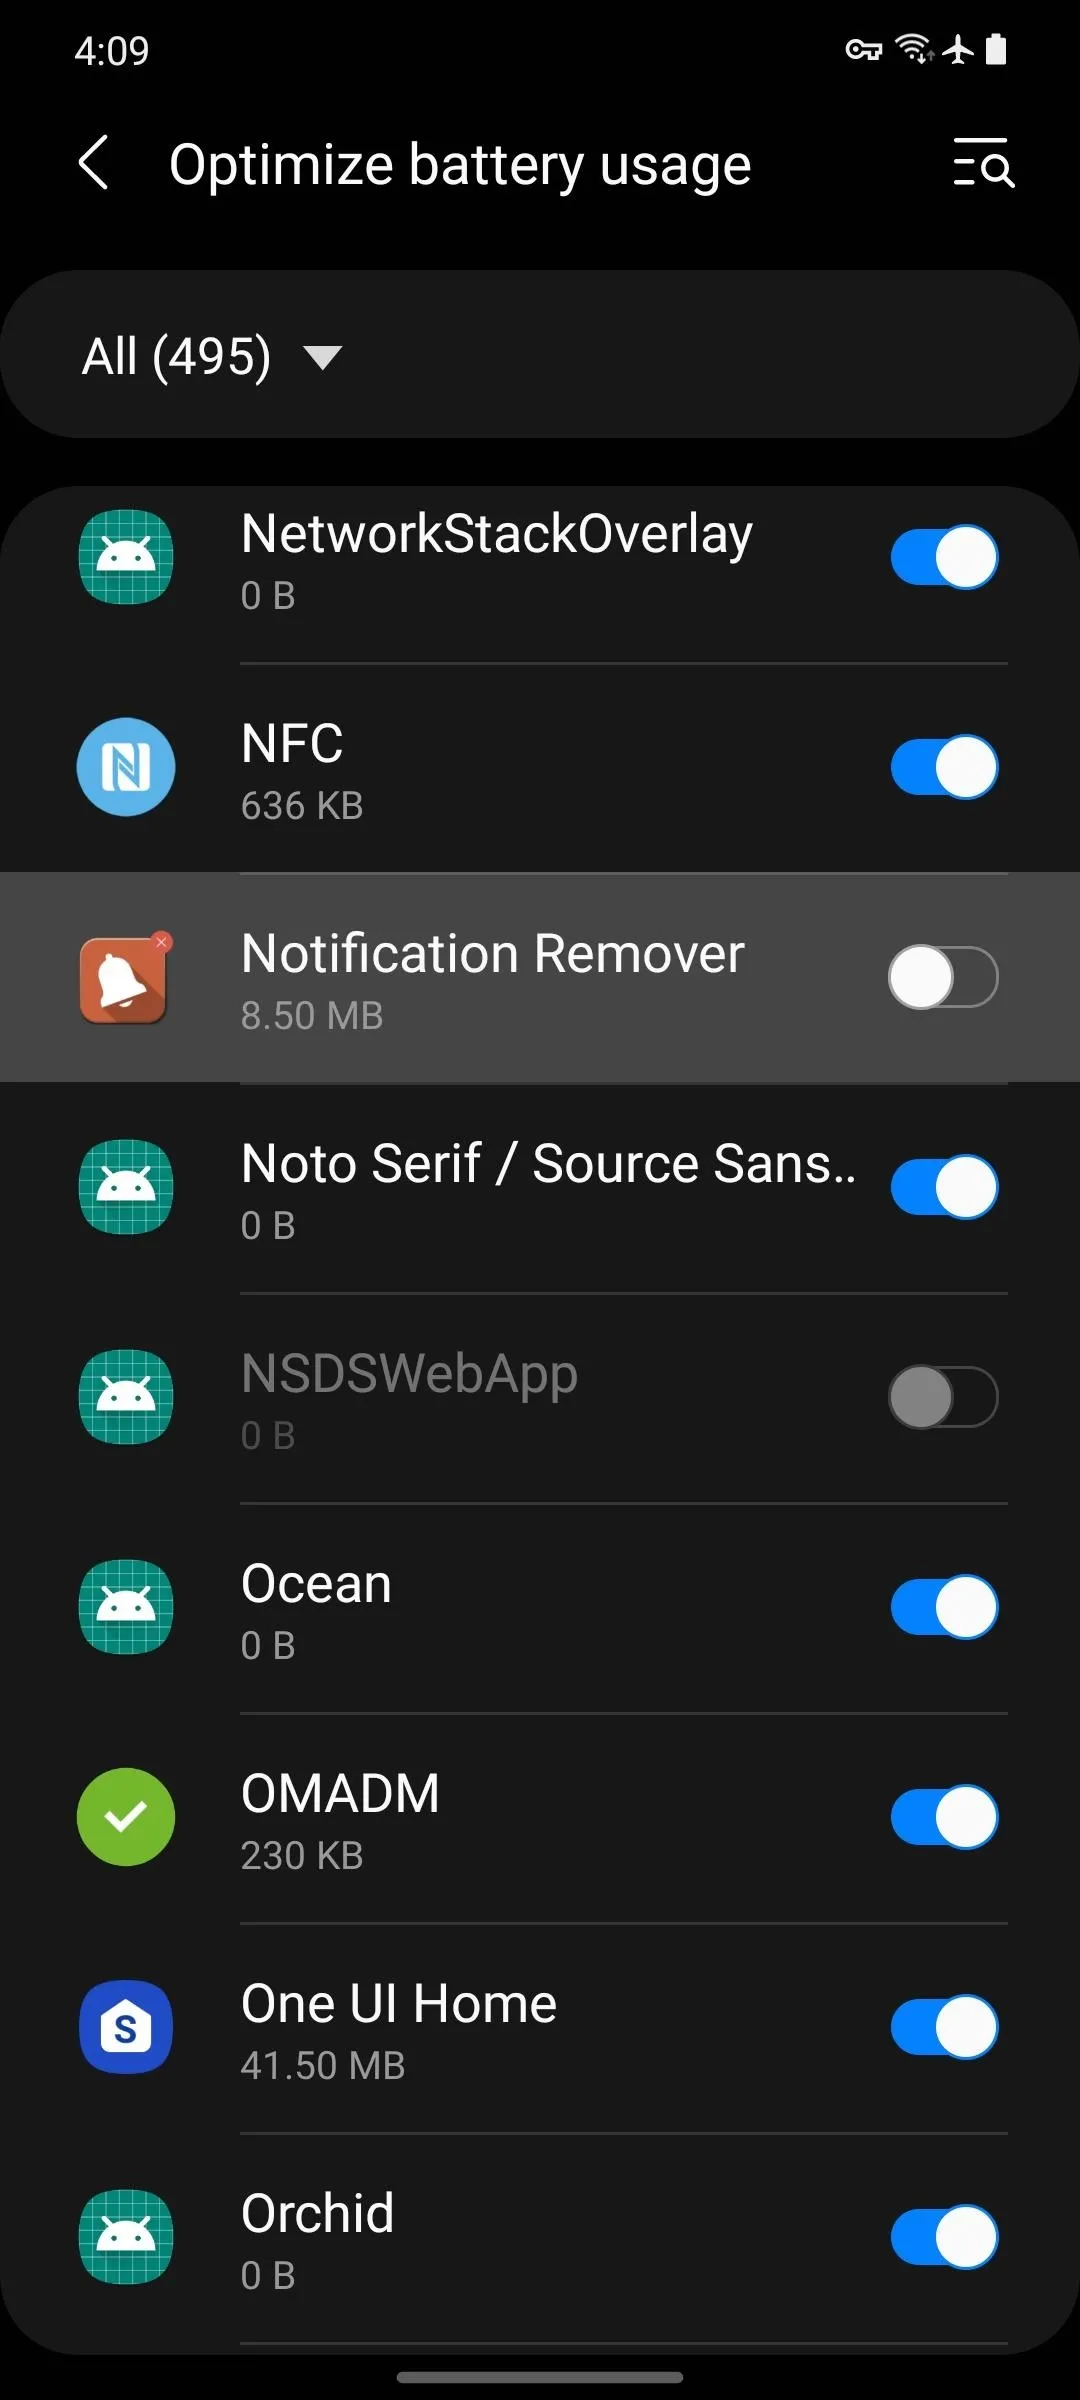
But after tapping "Settings," you'll be taken to another system settings menu. Here, tap the drop-down menu towards the top of the screen, which reads either "Not optimized" or "Apps not optimized" by default. Here, select "All" rather than "Not optimized," then scroll through the list to find Notification Remover. When you do, disable the toggle switch next to it.

Create a Filter
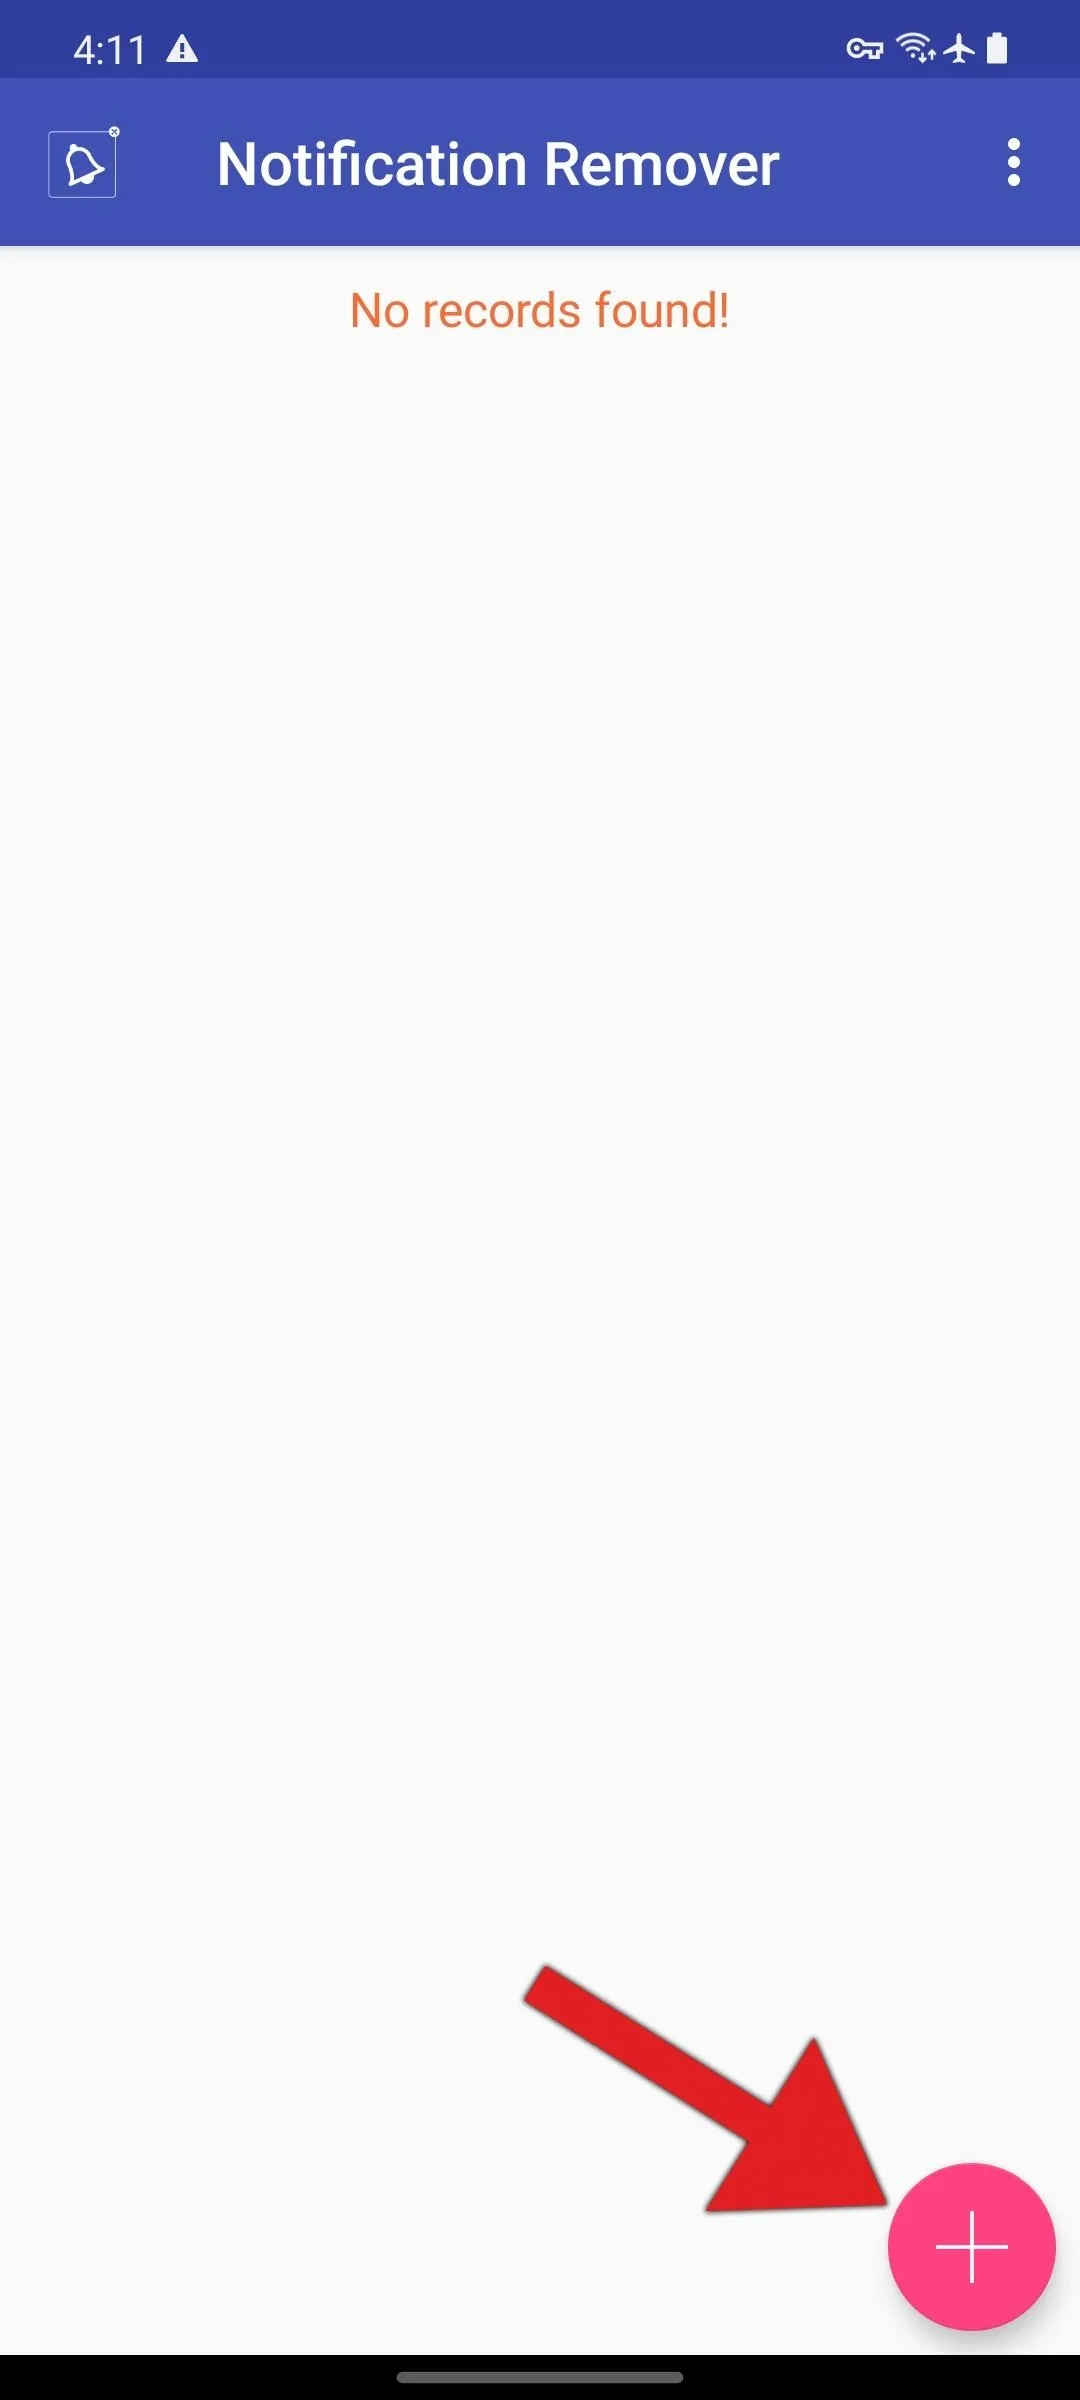
Now, open Notification Remover and tap the large + button in the bottom-right corner. You'll see a popup with three fields: Package name, Message text, and Delay.
If you want to stop all notifications from an app — Android System or System UI, for example — you'll just need to type its package name into the topmost field and press "Save." That can be found with an app like Package Name Viewer 2.0.
If you just want to stop a particular notification, simply type what the alert says into the Message text field. Hit "Save" when you're done, then you can repeat this process of tapping the + button and creating a filter for any other annoying notifications you might have.
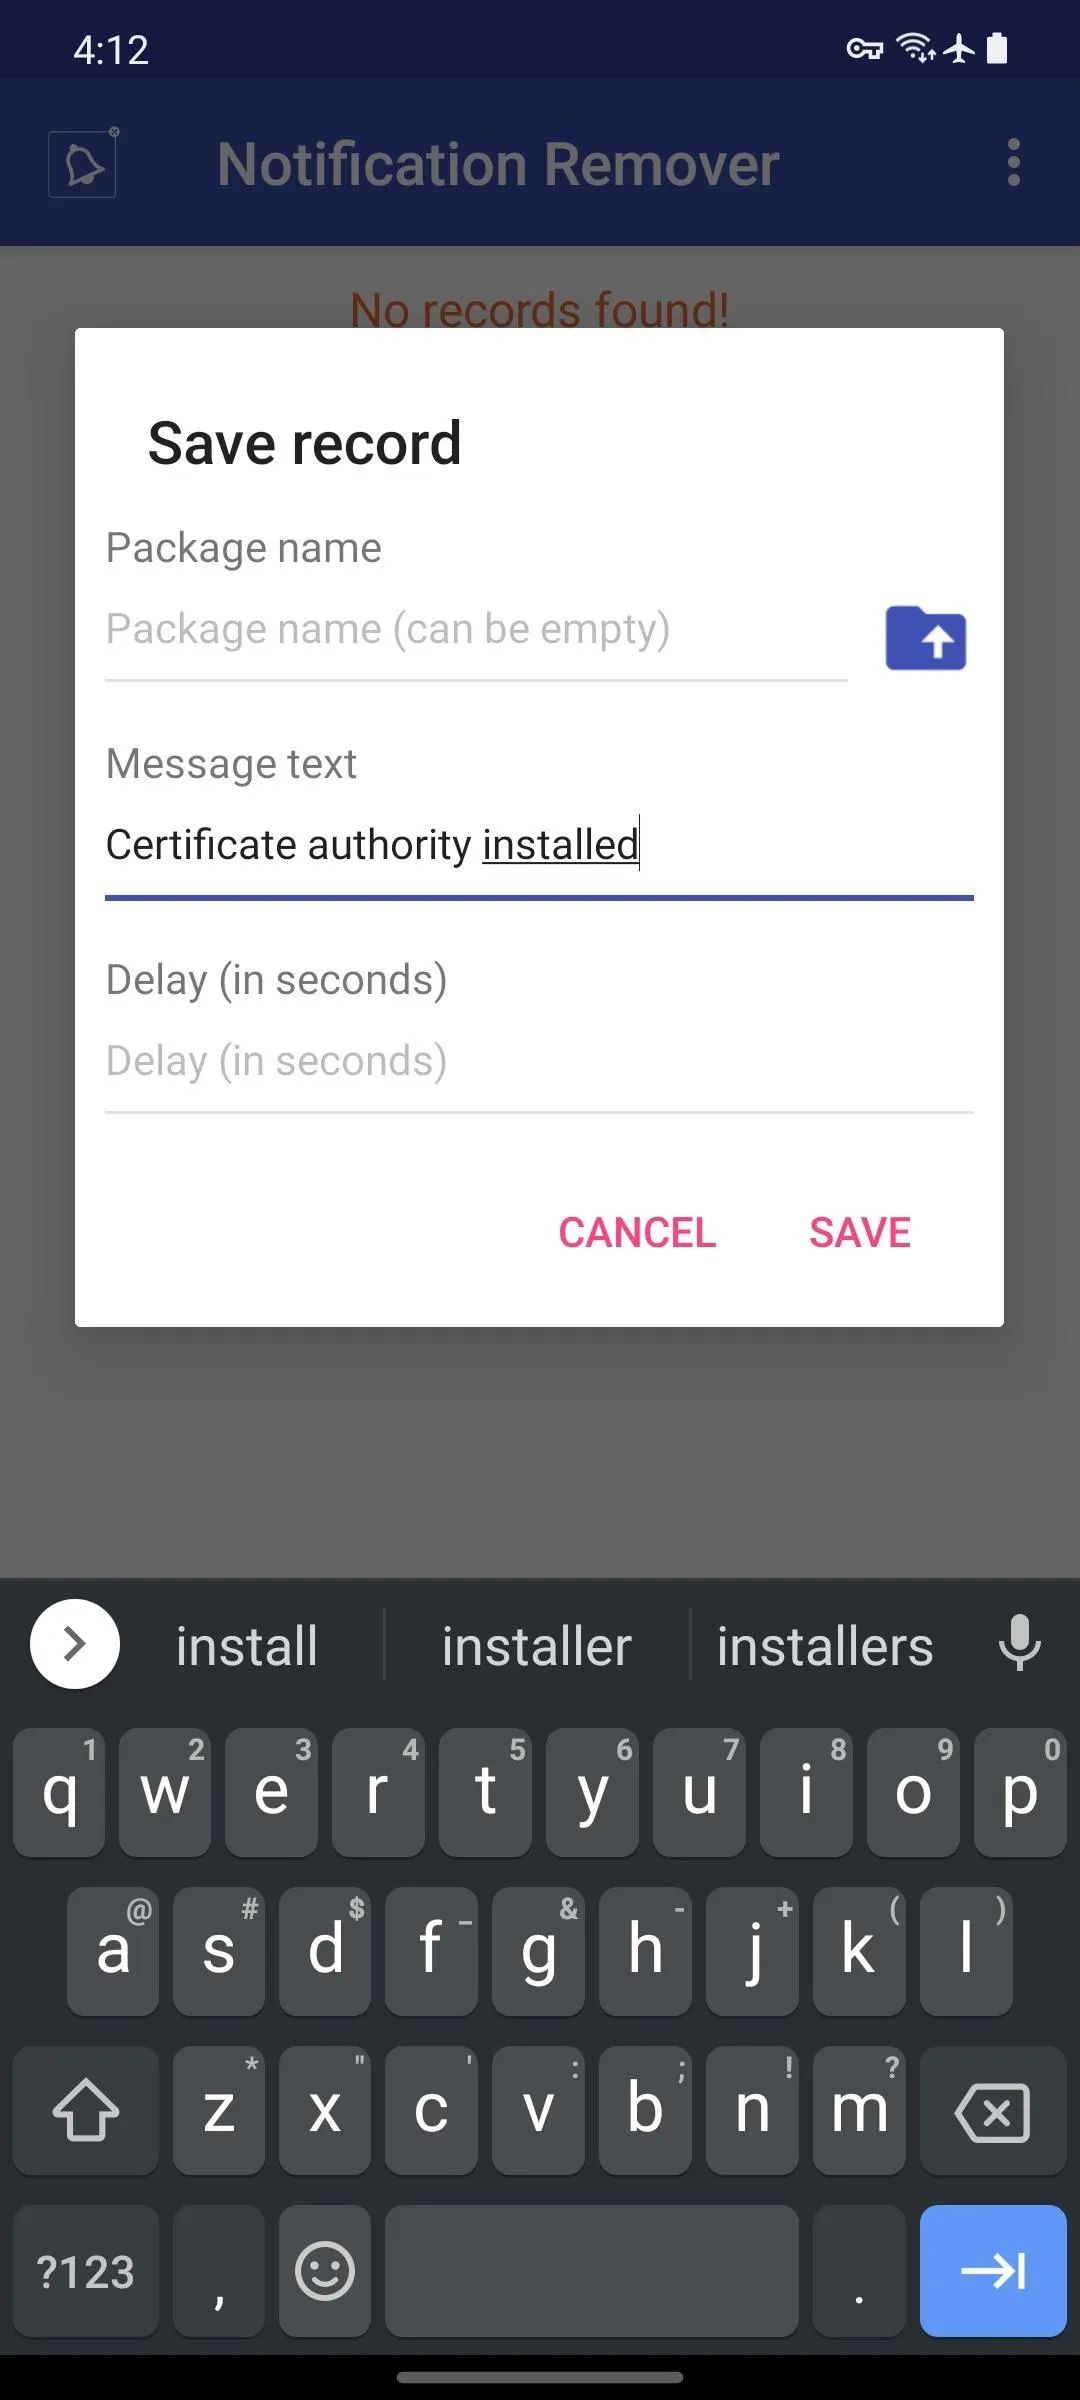
The third field, Delay (in seconds) will delay the dismissal of the notification, if filled out. This would be handy for a notification you still want to hear a beep for as it arrives, but don't want to see in your notification shade.
Say Goodbye to Annoying System Notifications
Now, you'll never see that pesky notification again unless you're really trying. It's automatically dismissed as soon as it's posted, so your notification shade should be nice and tidy after your next reboot.
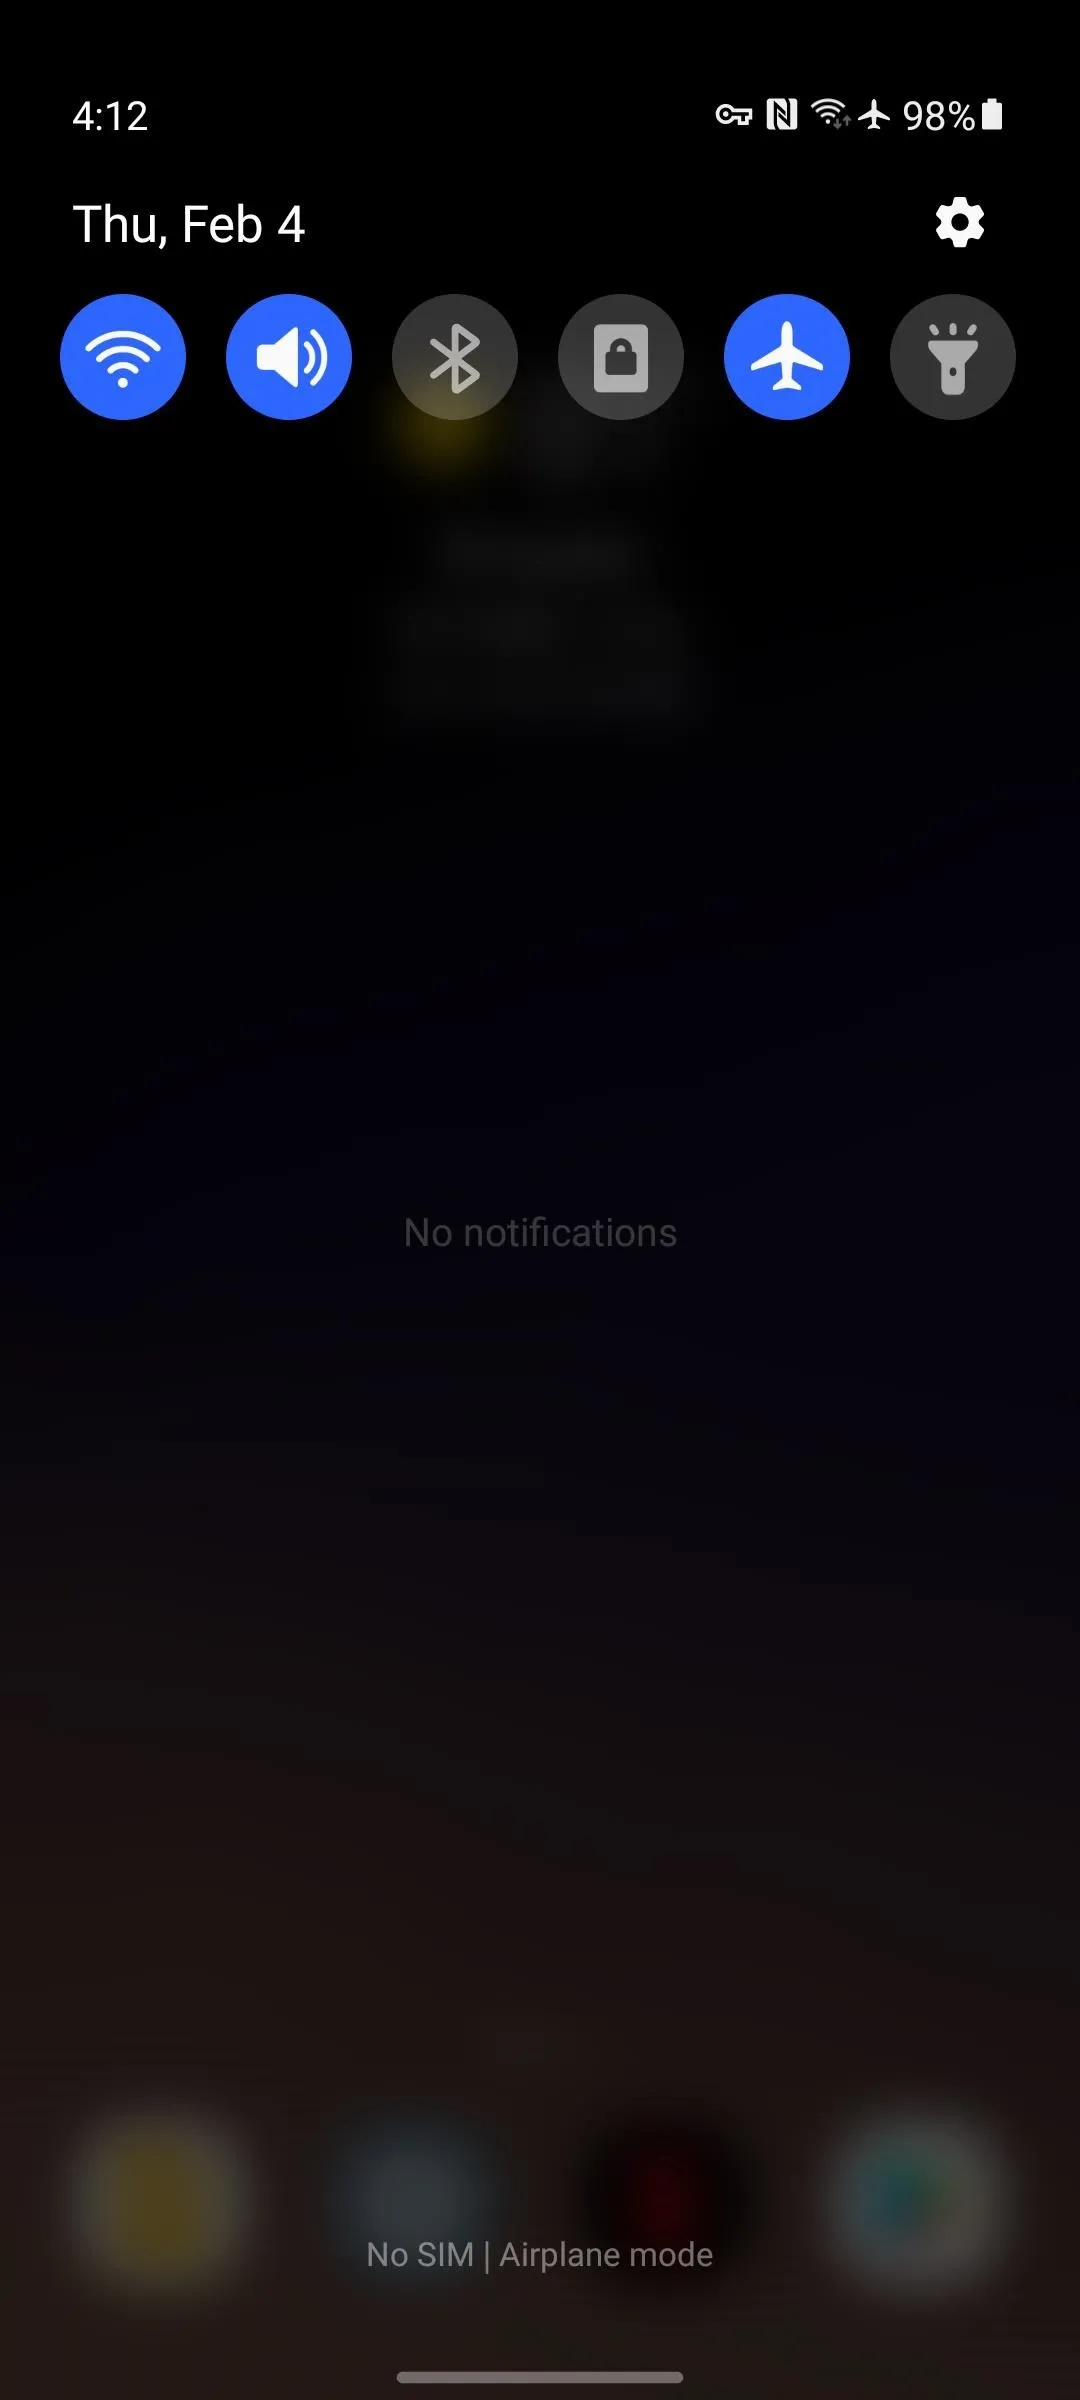
For instance, as you can see in the screenshots below, my Certificate authority installed nemesis appeared after a restart at 4:11. After entering the text into Notification Remover and restarting again, you can see it was gone for good by 4:12!
Cover image and screenshots by Dallas Thomas/Gadget Hacks


Comments
Be the first, drop a comment!