


Google's Pixel smartphones have earned a reputation for taking great photos without relying on top-of-the-line camera sensors. Instead, Google leans on the software side to squeeze super images out of its camera. This also enables them to roll out new features out to previous-generation devices.
The latest example comes in Portrait Light, which launched on Pixel 5 and is now rolling out to older Pixel devices. Portrait Light lets you edit the lighting in photos with faces in them, regardless of where the source of light was in the original photo.
It's not exactly obvious how to do this though, so follow along to find out how to take advantage of it.
- Don't Miss: Google Just Turned Off a Crucial Feature in Google Photos for Android — Here's How to Fix It
Update Google Photos
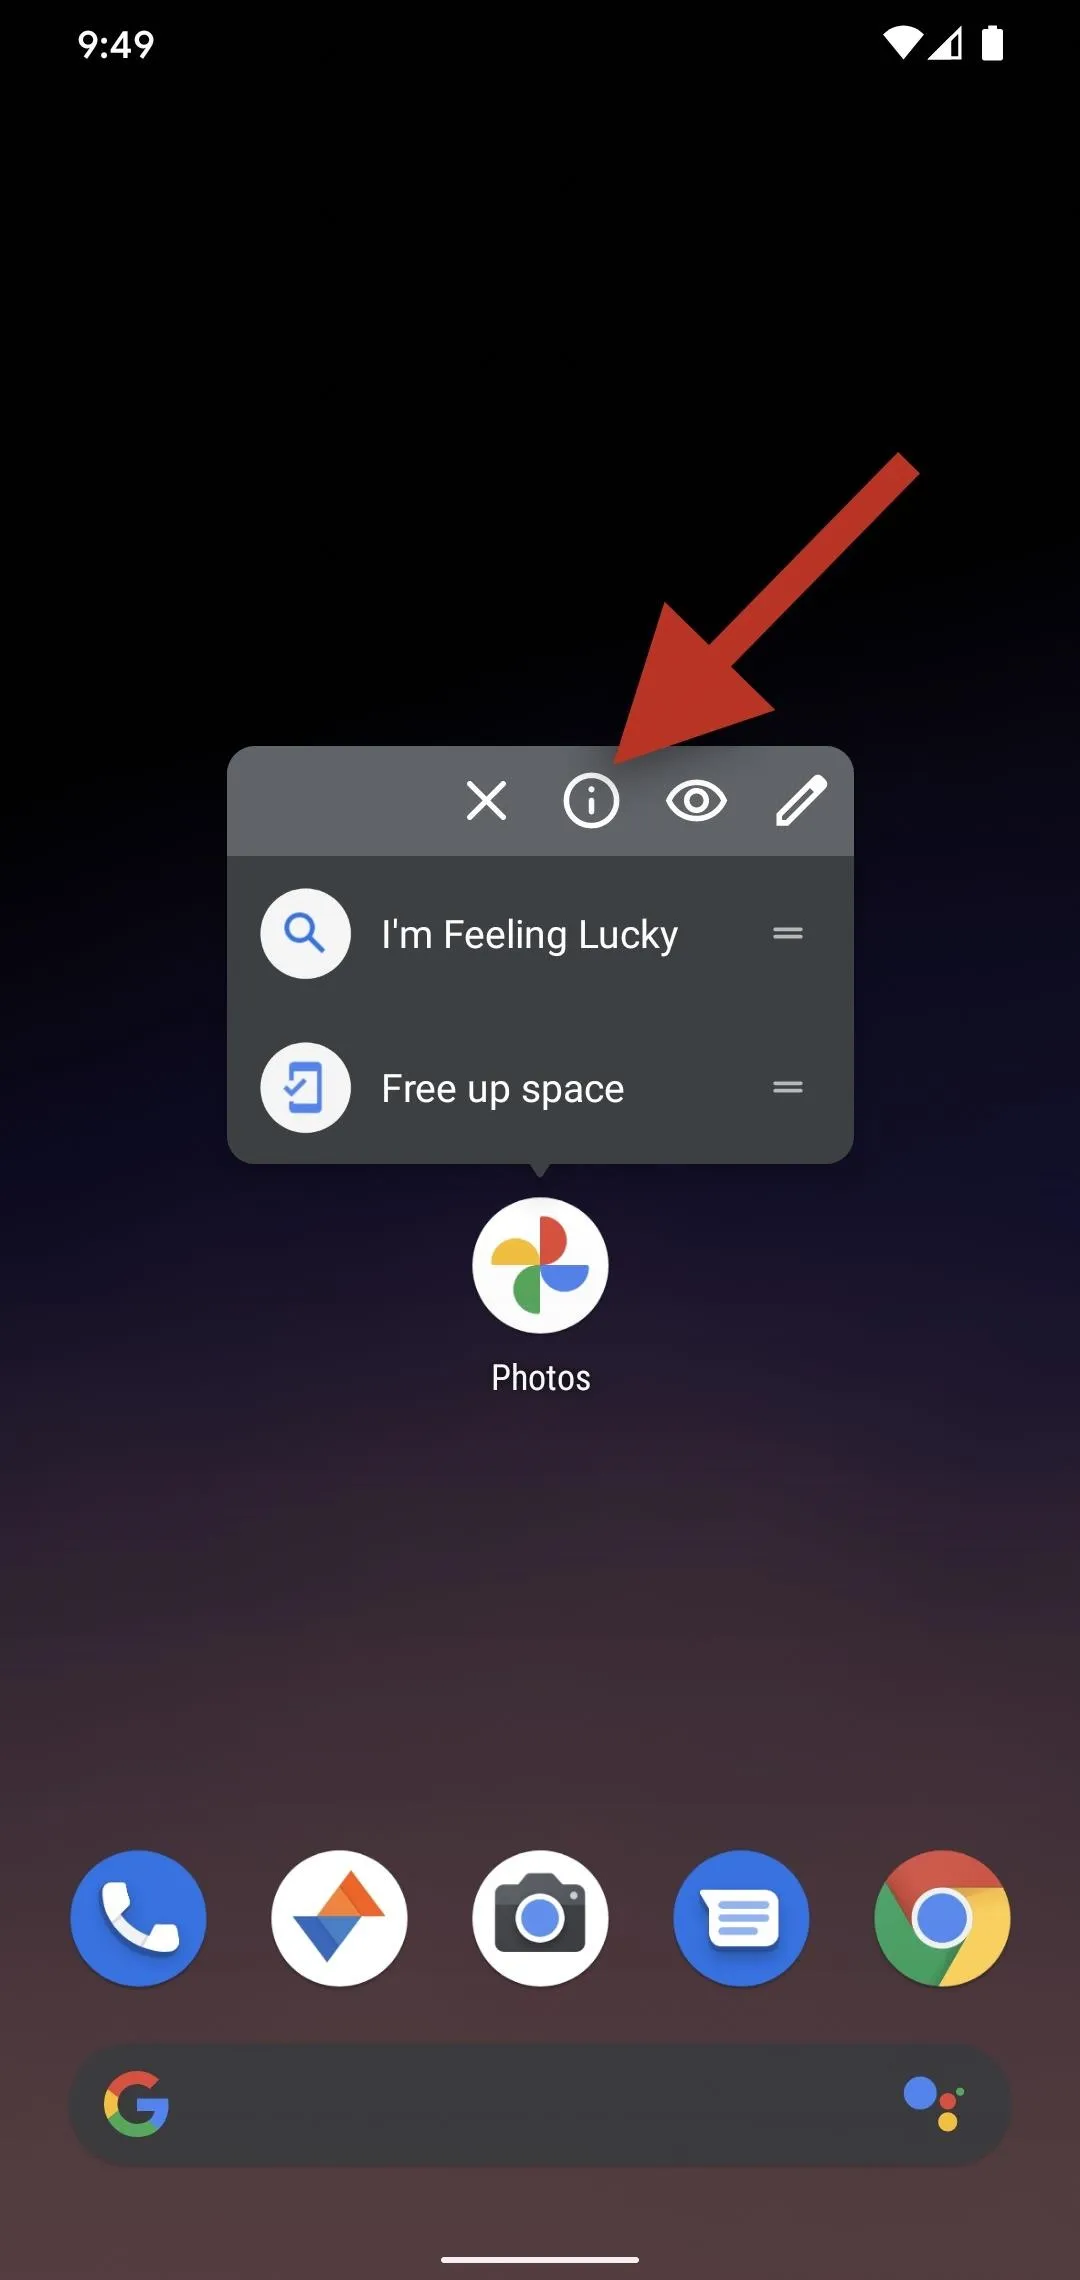
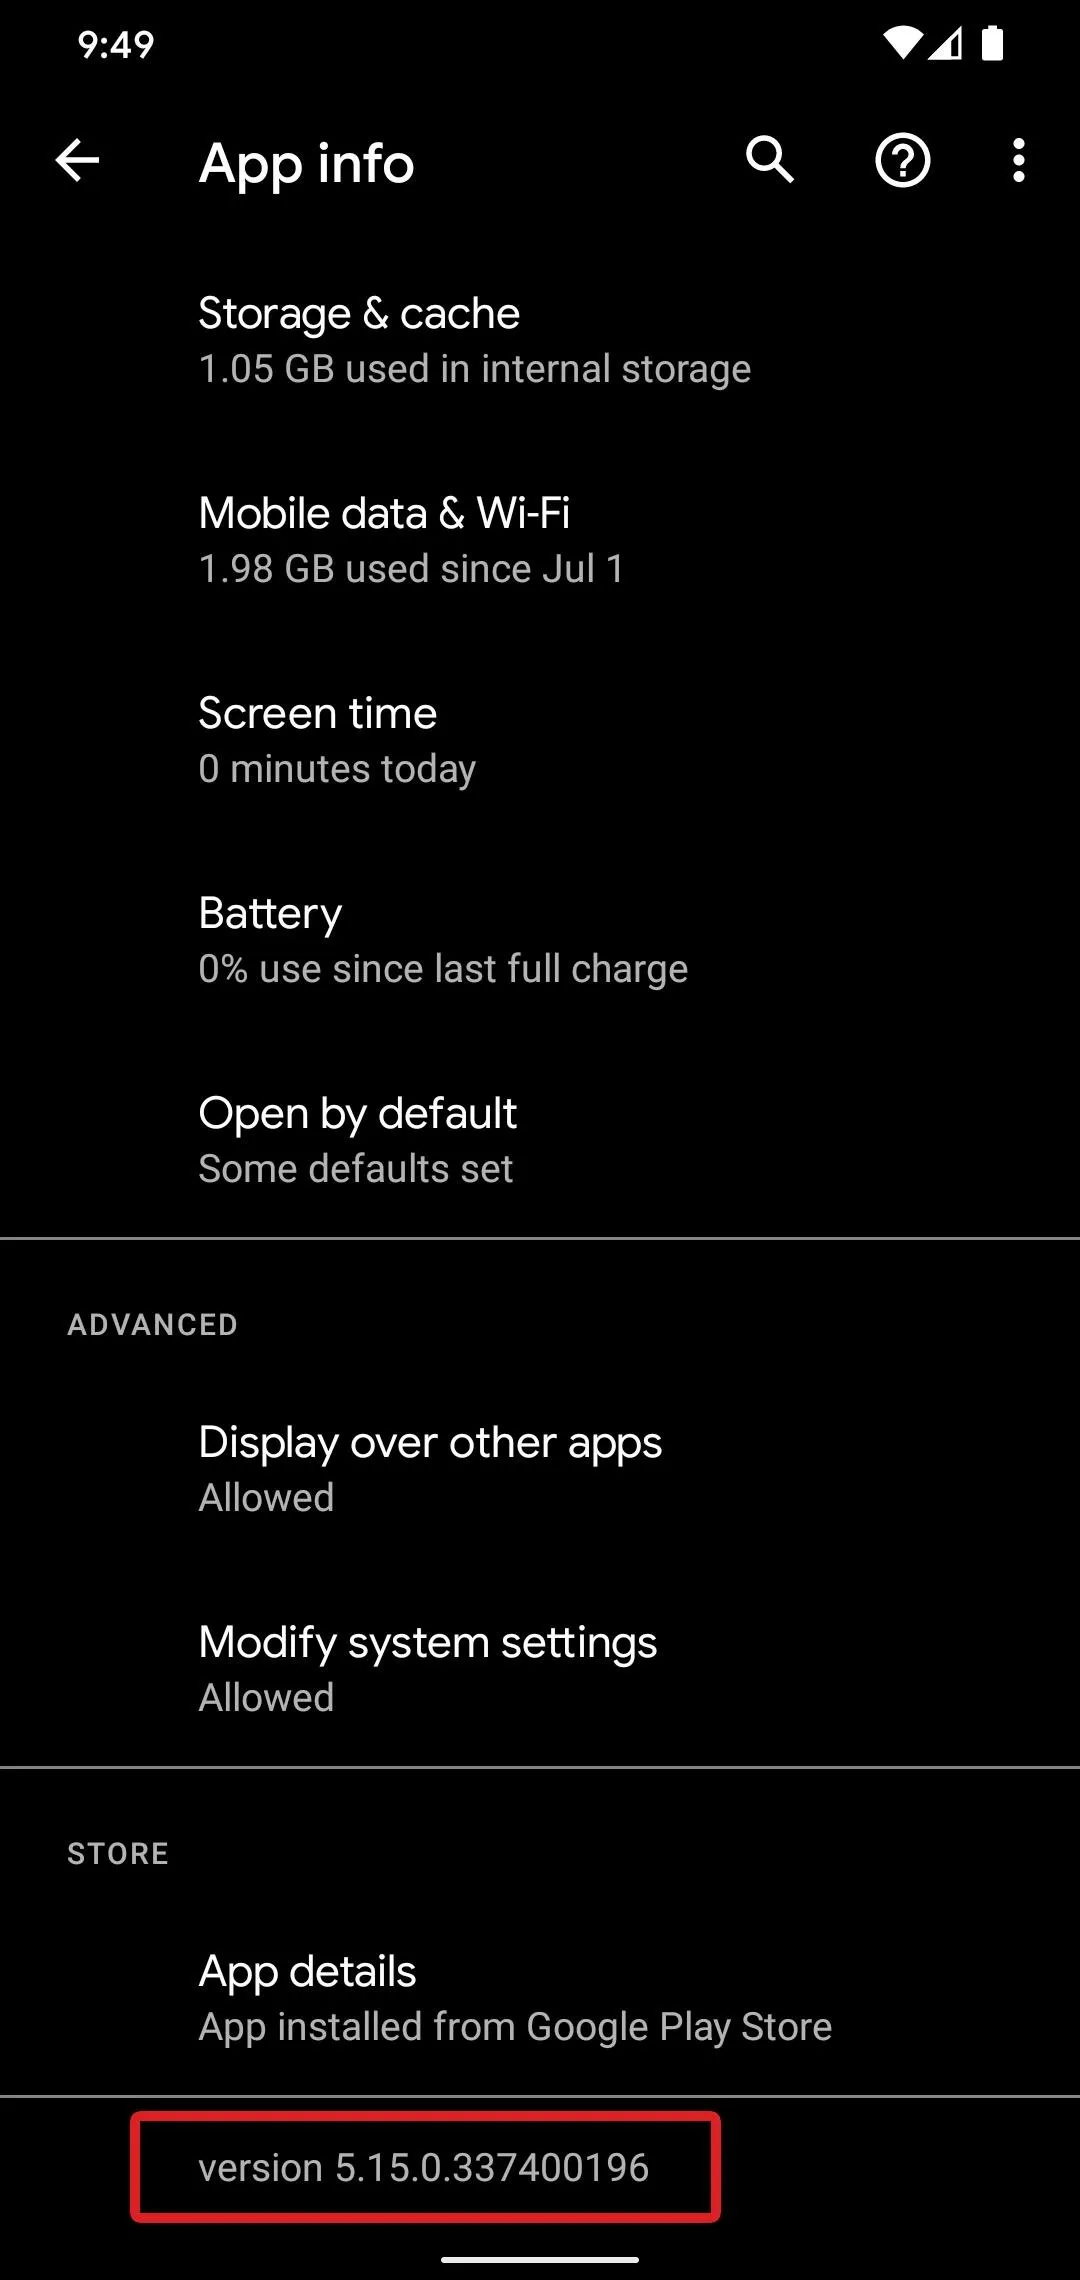
Portrait Light is only available on Pixel 2 or newer, and you'll need Google Photos version 5.15.0.337400196 or higher. You can check your Google Photos version by long-pressing the app's icon on your home screen or in your app drawer, then selecting the "i" button on the popup. Tap "Advanced," then you'll see the version number at the very bottom.
If you don't have version 5.15.0.337400196 or higher yet, you've got two options. First, you can check the Play Store to see if there's an update available for the Google Photos app:
- Play Store Link: Google Photos (free)
If not, your second option offers immediate gratification. Just sideload the newest version from APKMirror by downloading the newest APK file, then opening it. When prompted, tap "Settings" on the popup, then enable the switch next to "Allow from this source" and go back. Finally, tap "Install" to install the update.
Select a Photo to Modify
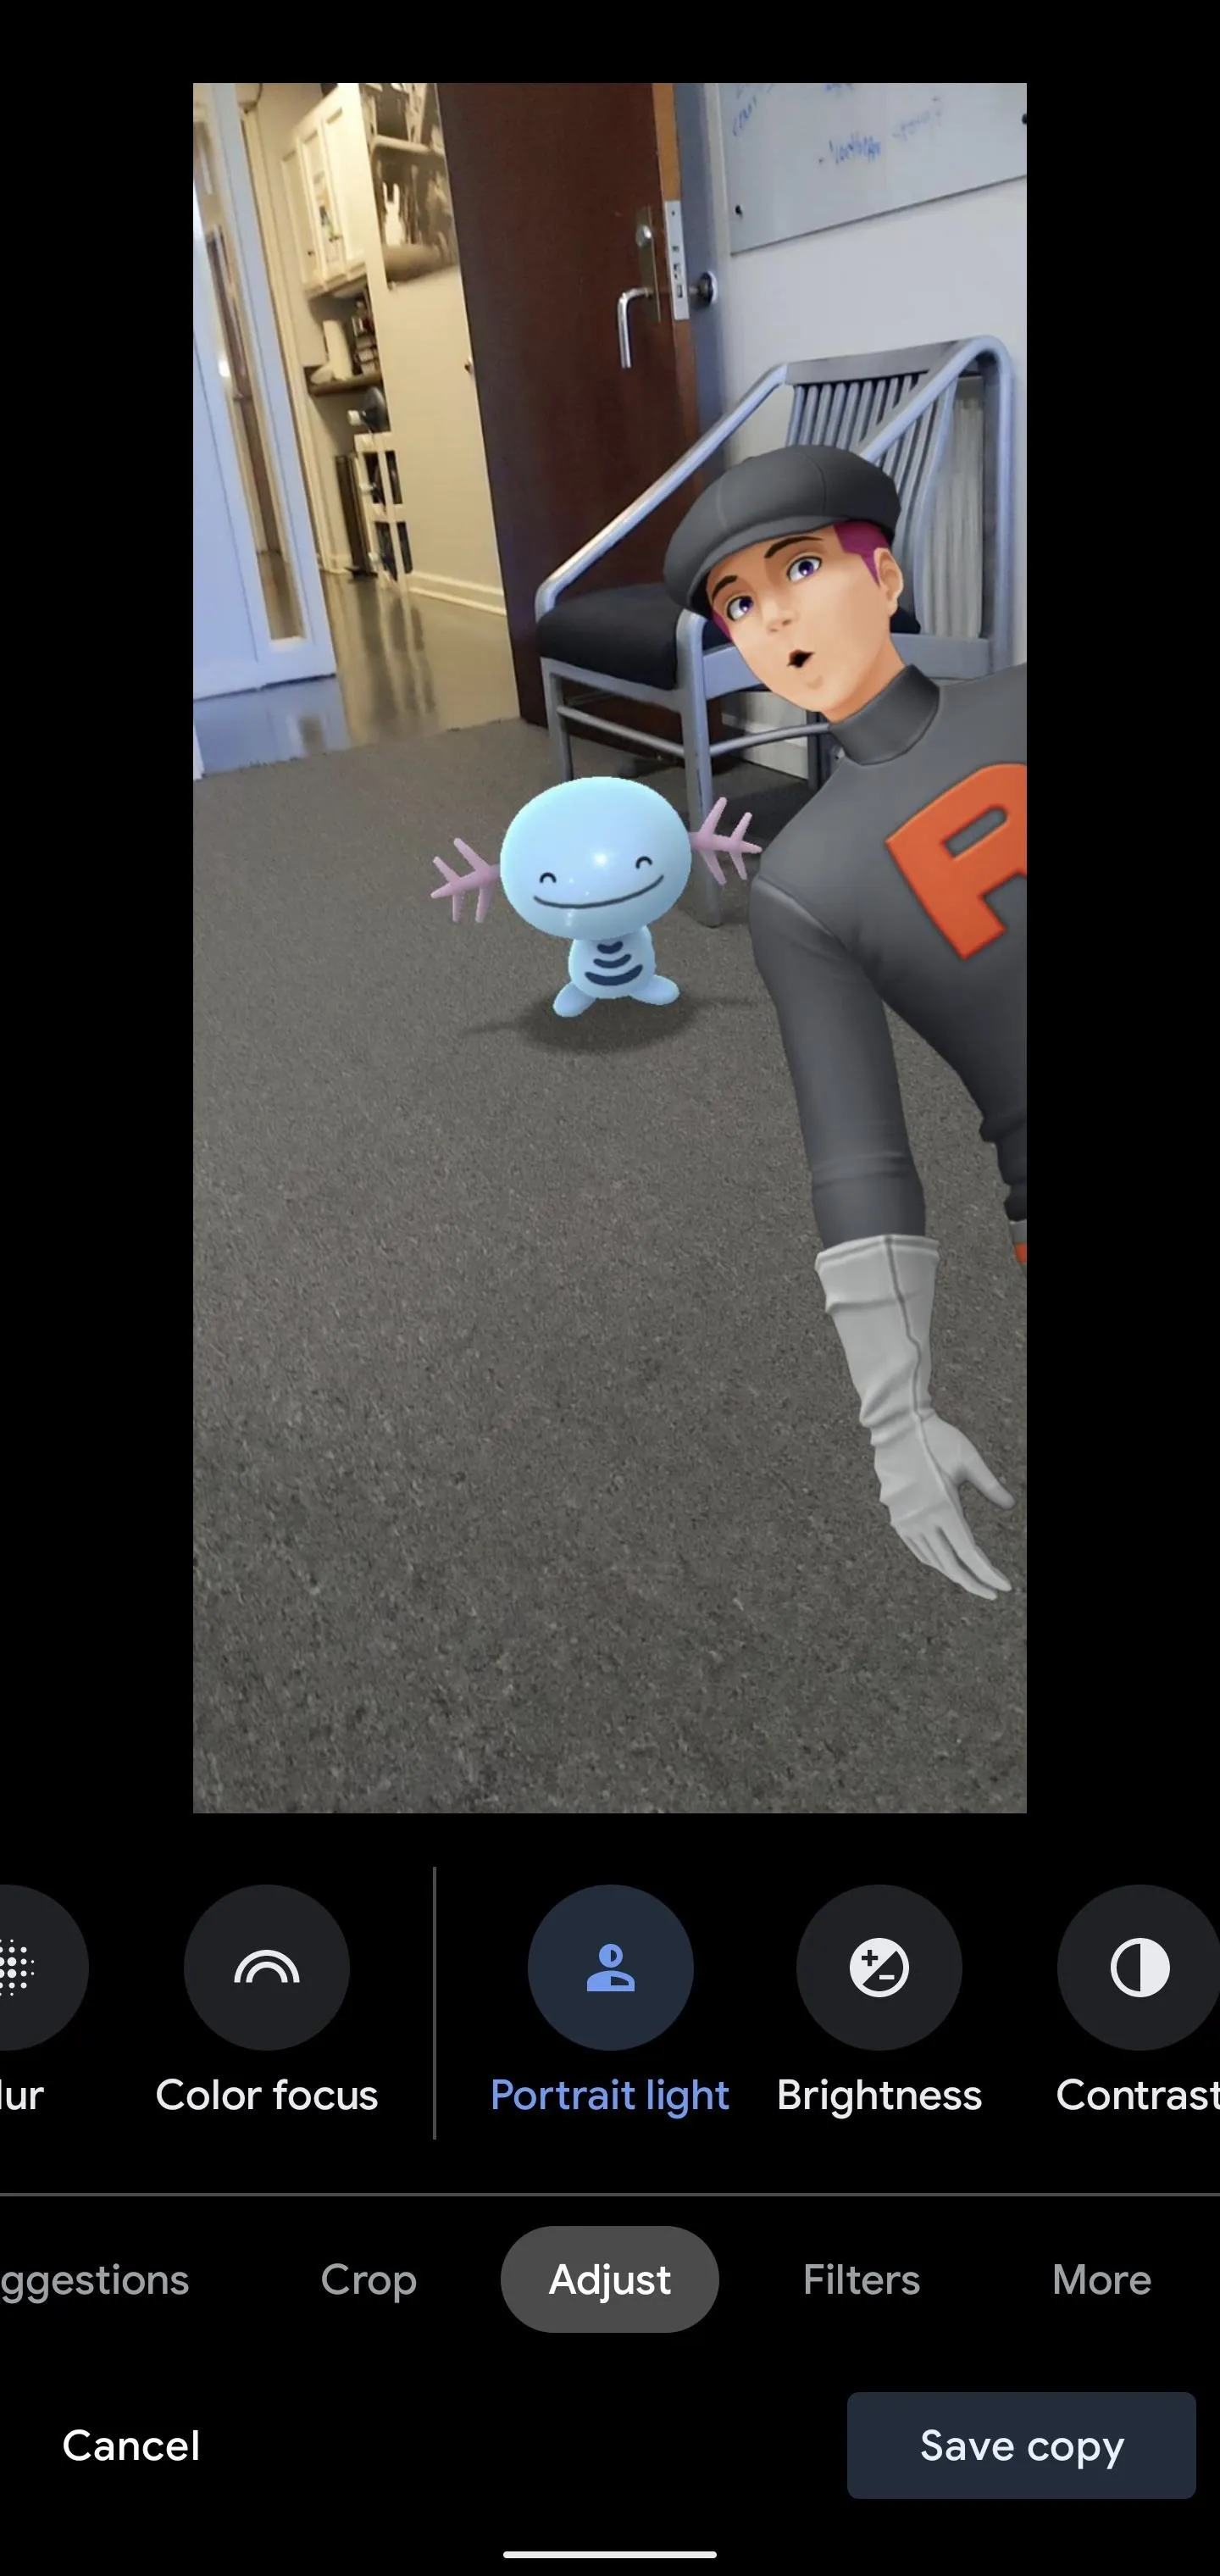
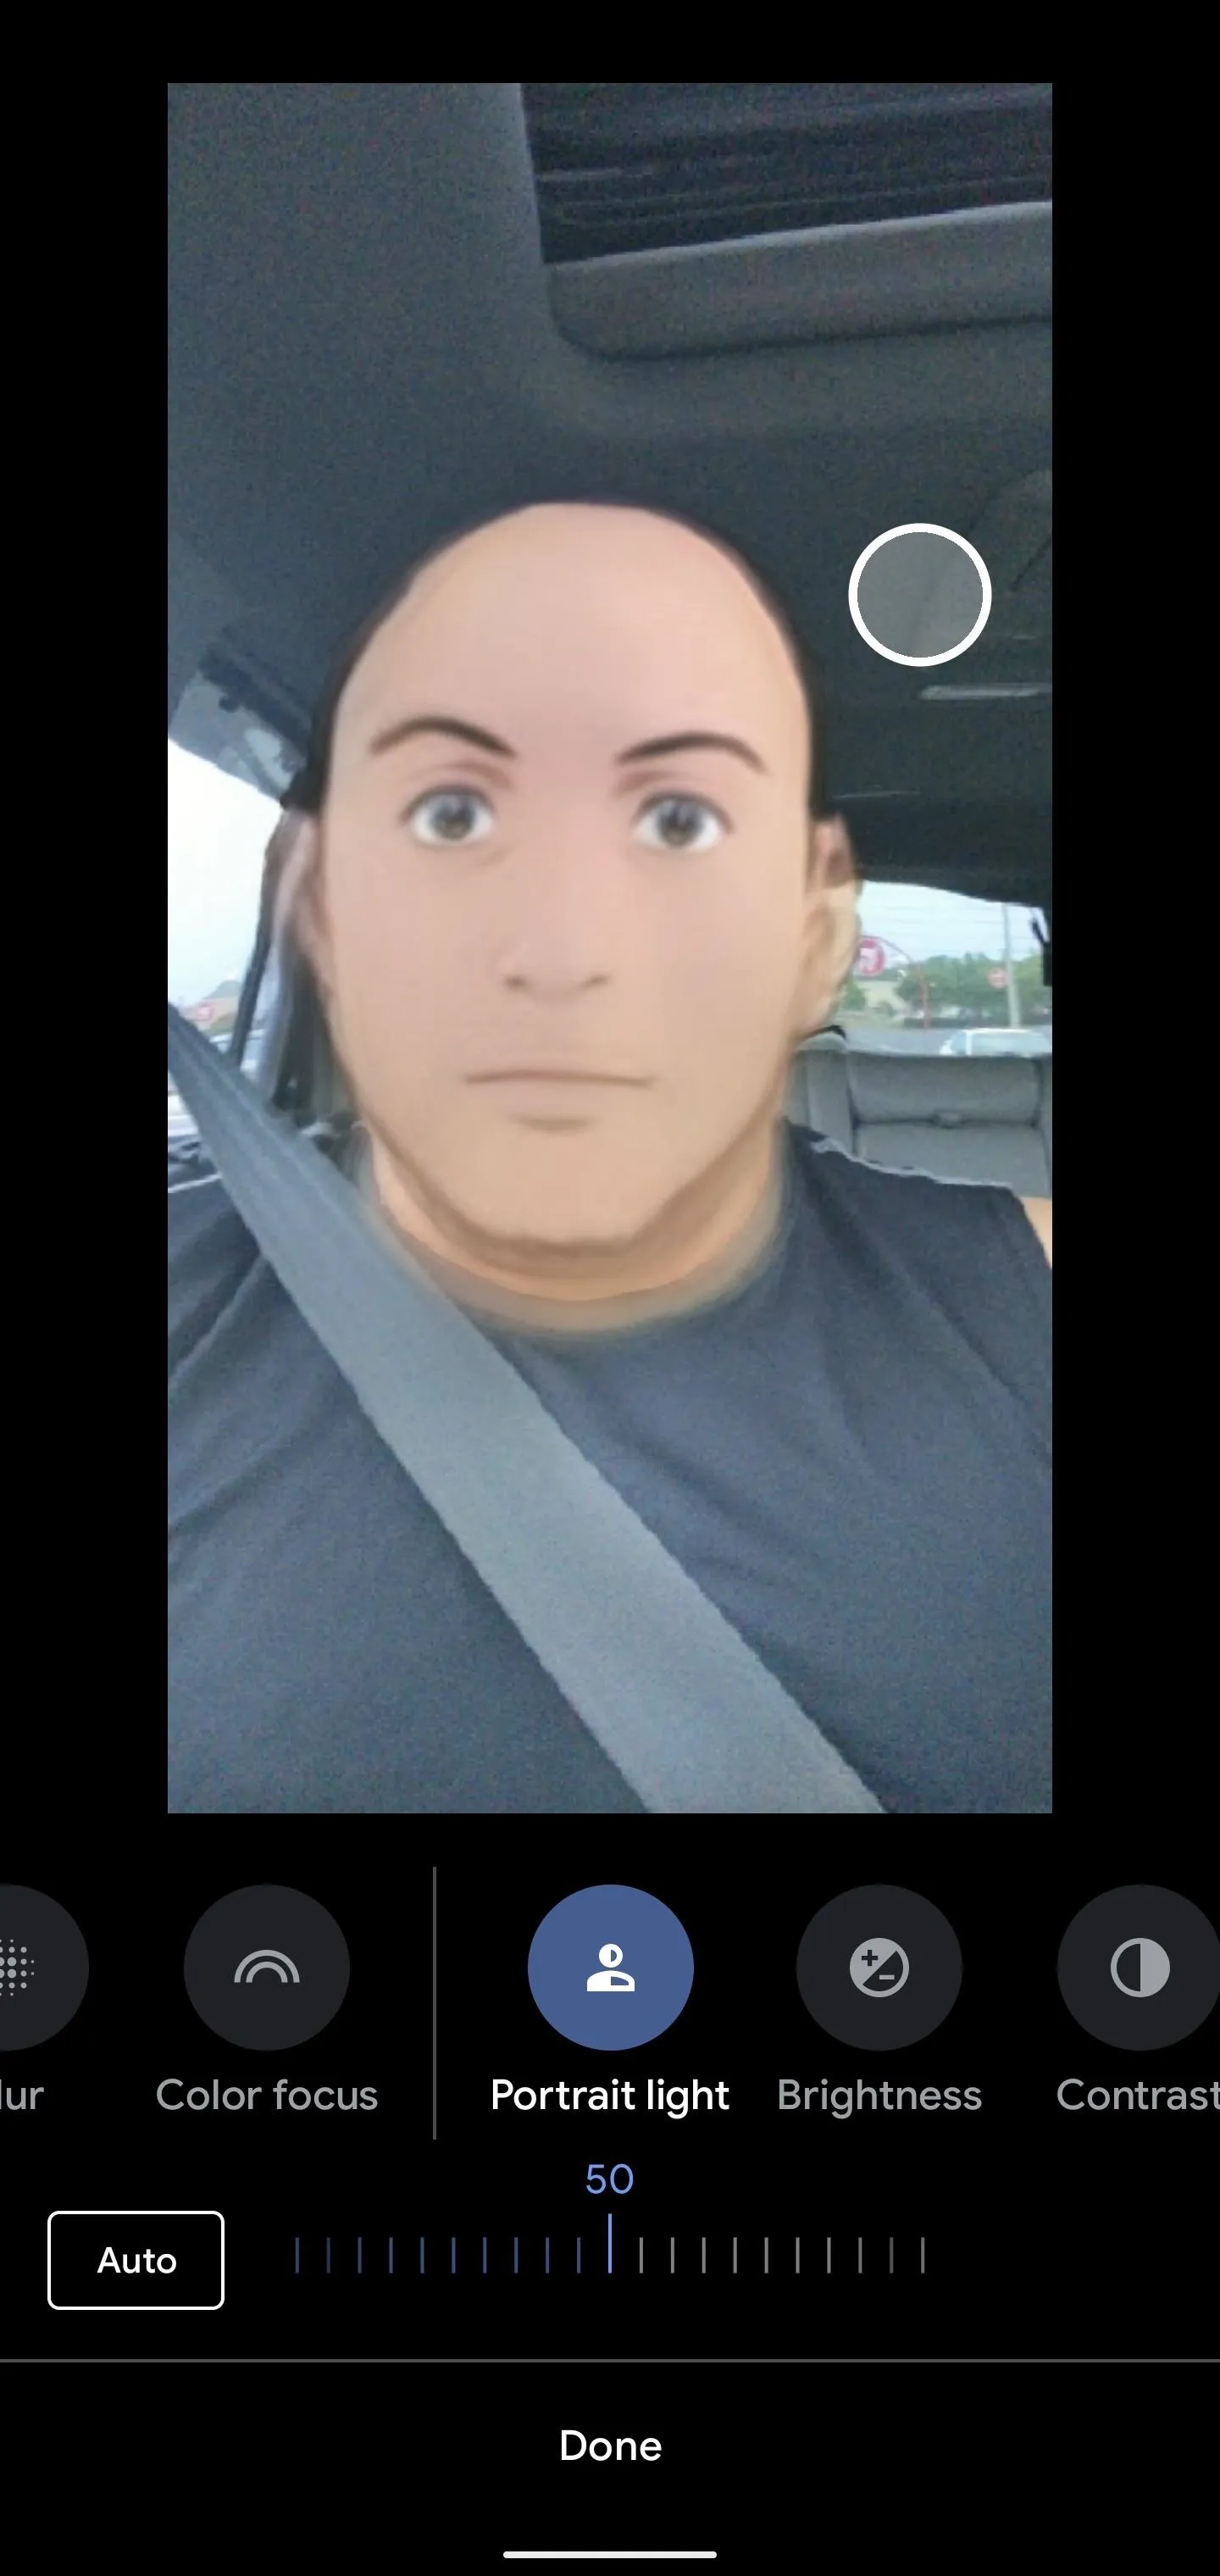
Despite the name of the feature, photos don't necessarily need to be taken with Portrait Mode to be eligible for Portrait Light. I've been able to edit photos taken by non-Pixel devices, screenshots from videos, a cartoon character, and even a photo altered by the popular Anime filter on Snapchat. You just need to have a clear shot of a human face.
Enter Editing Mode
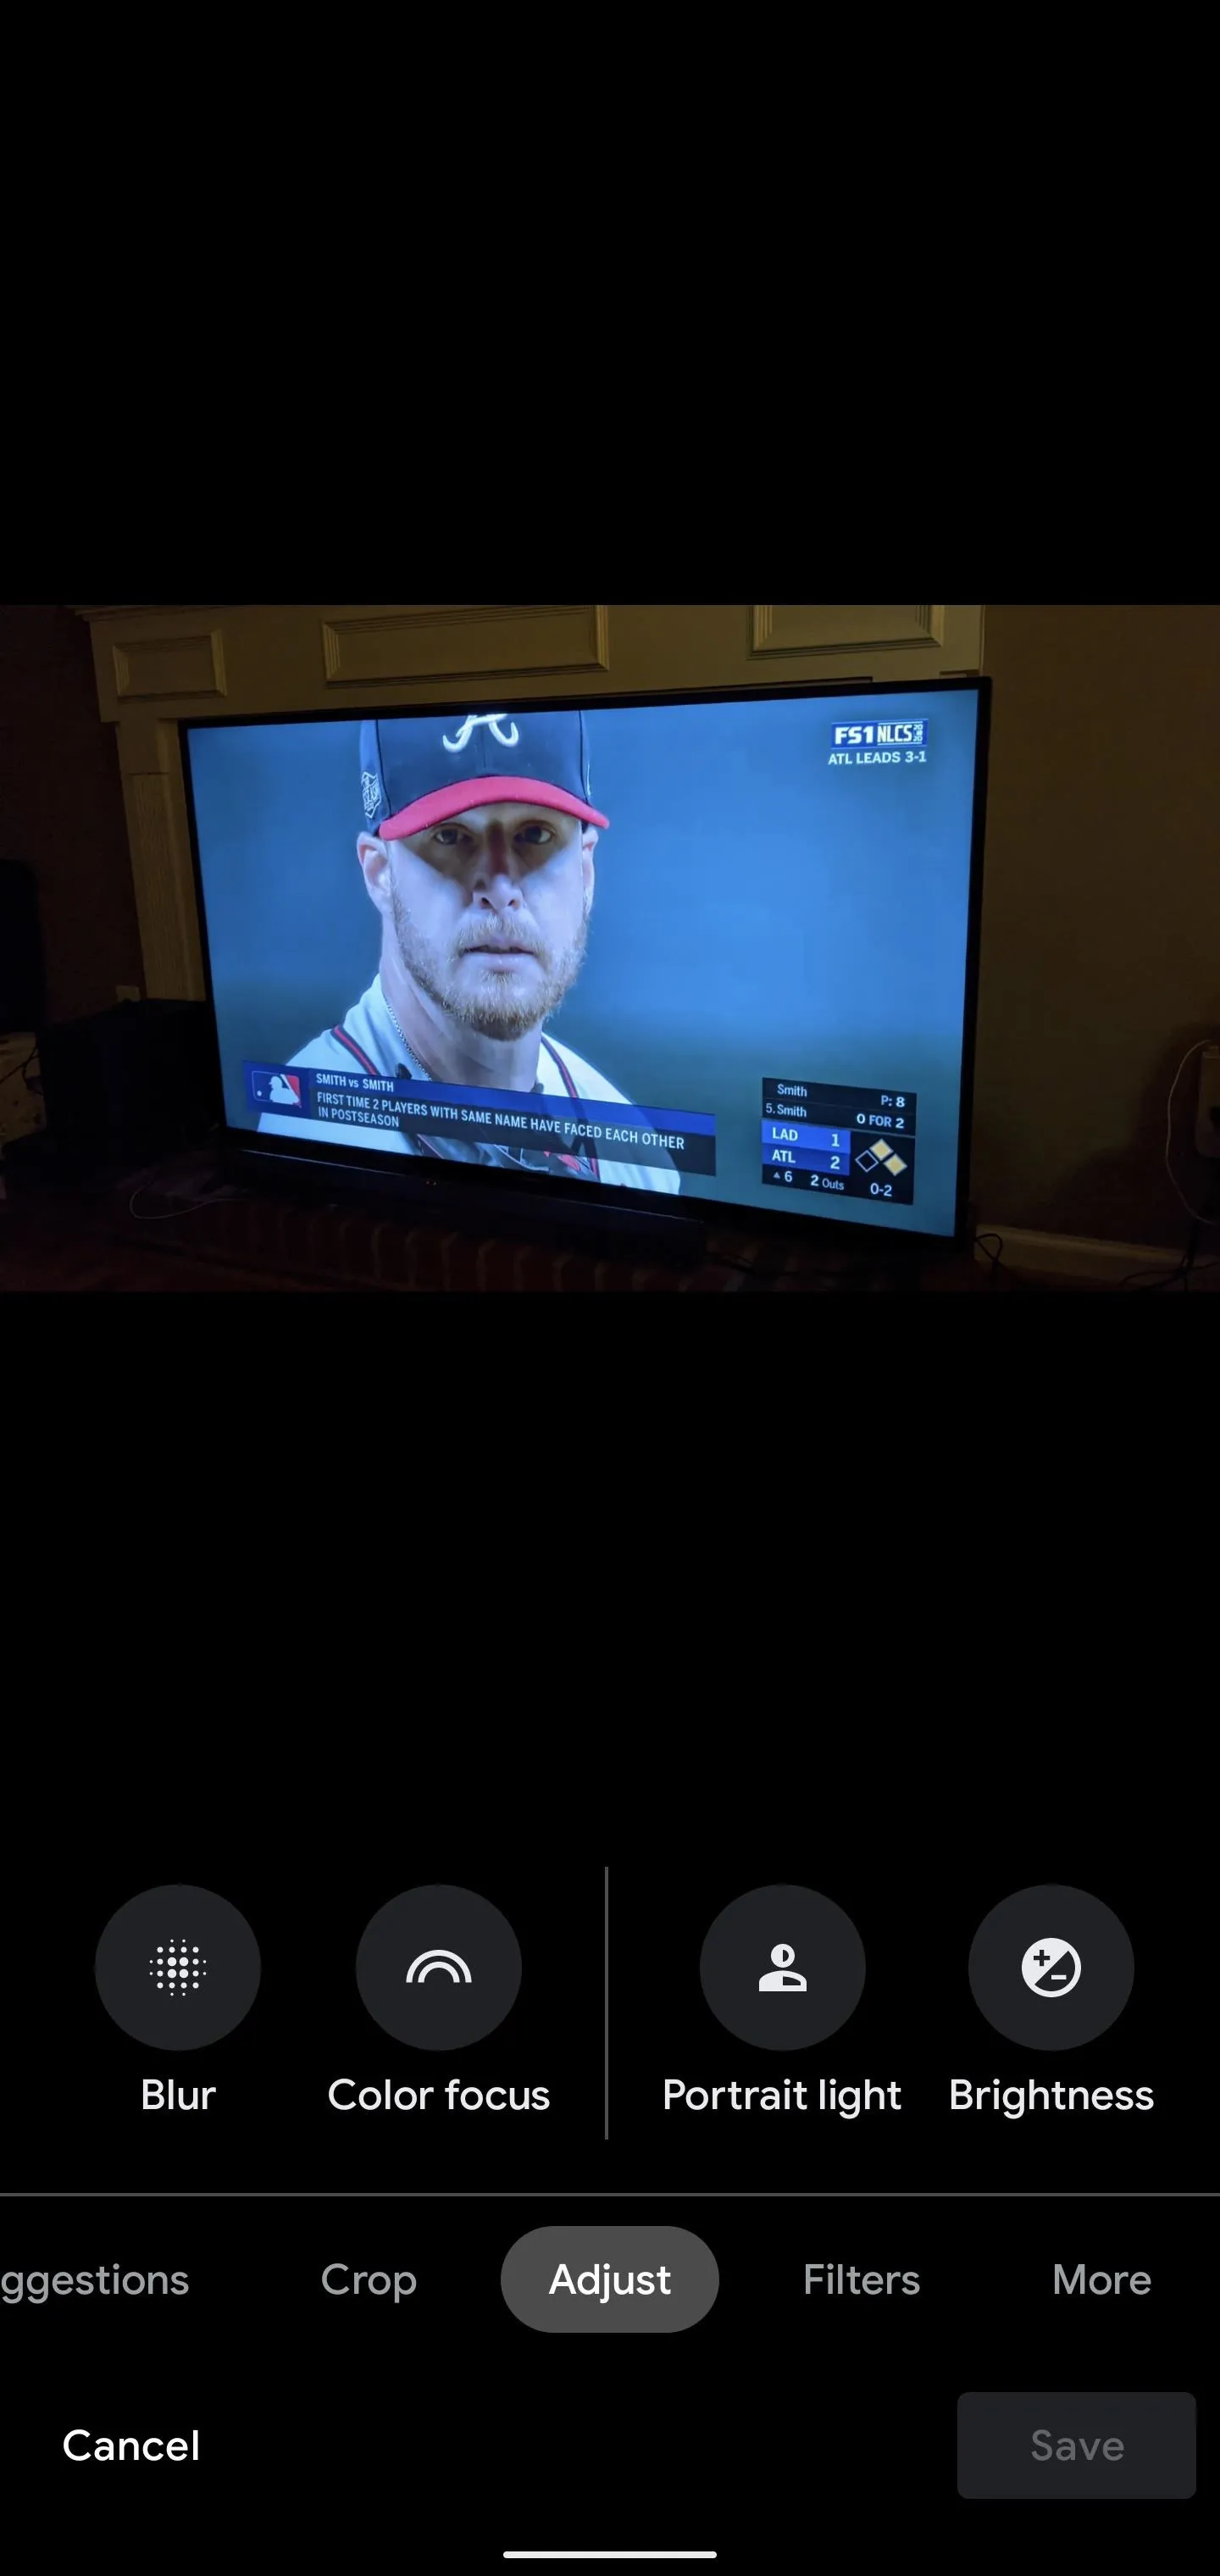
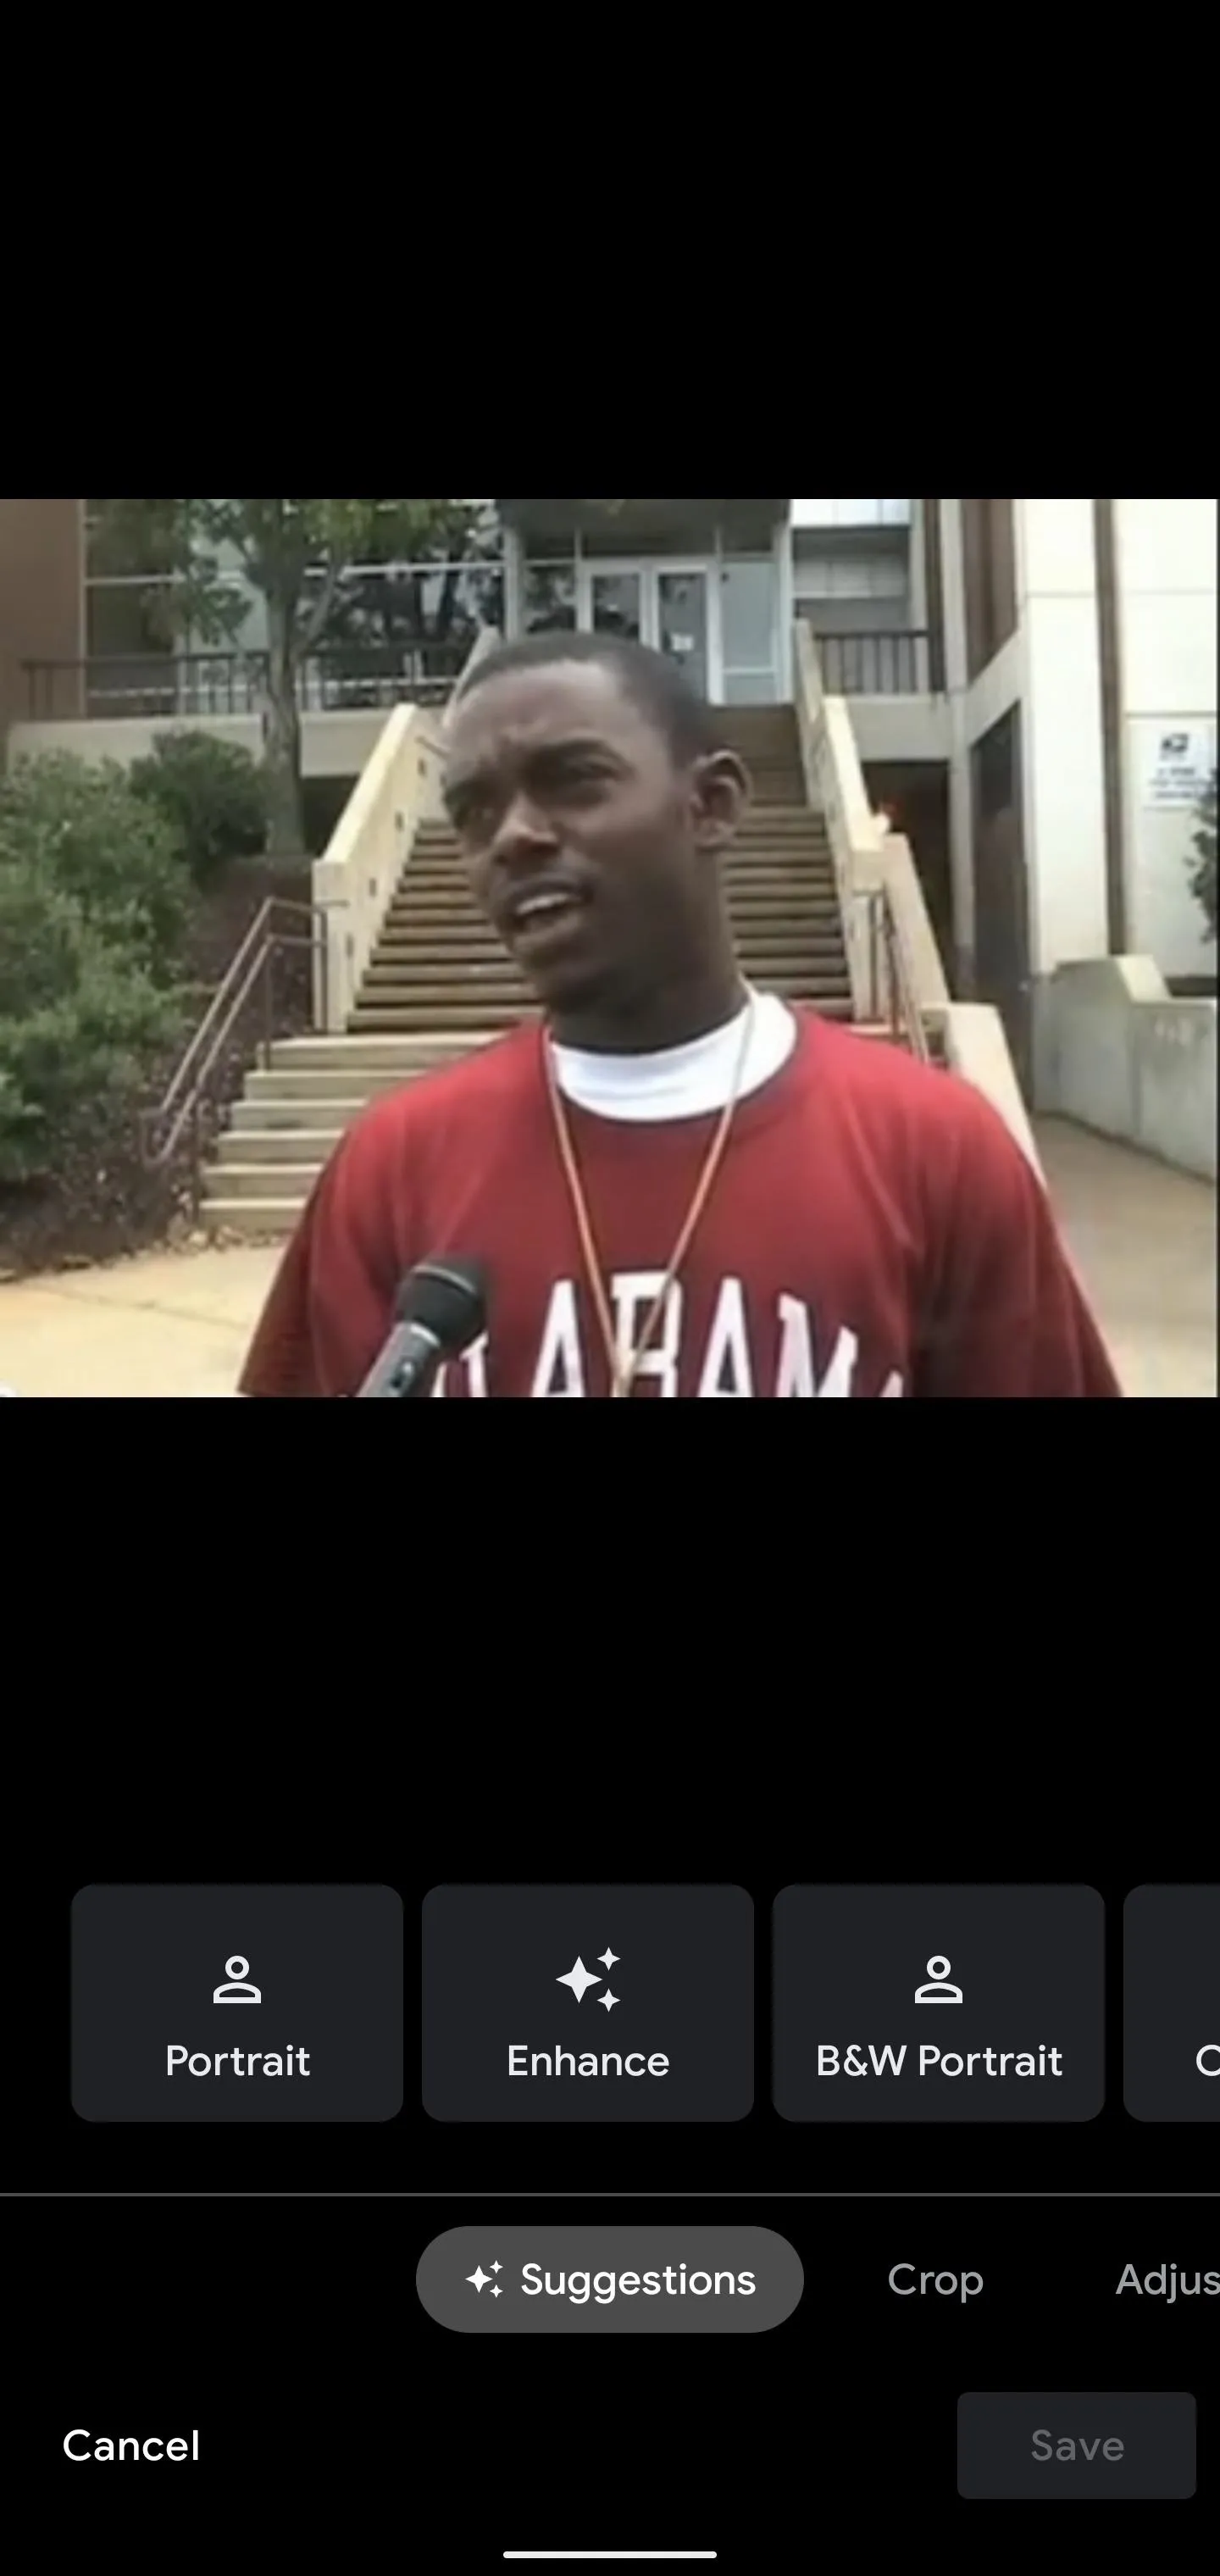
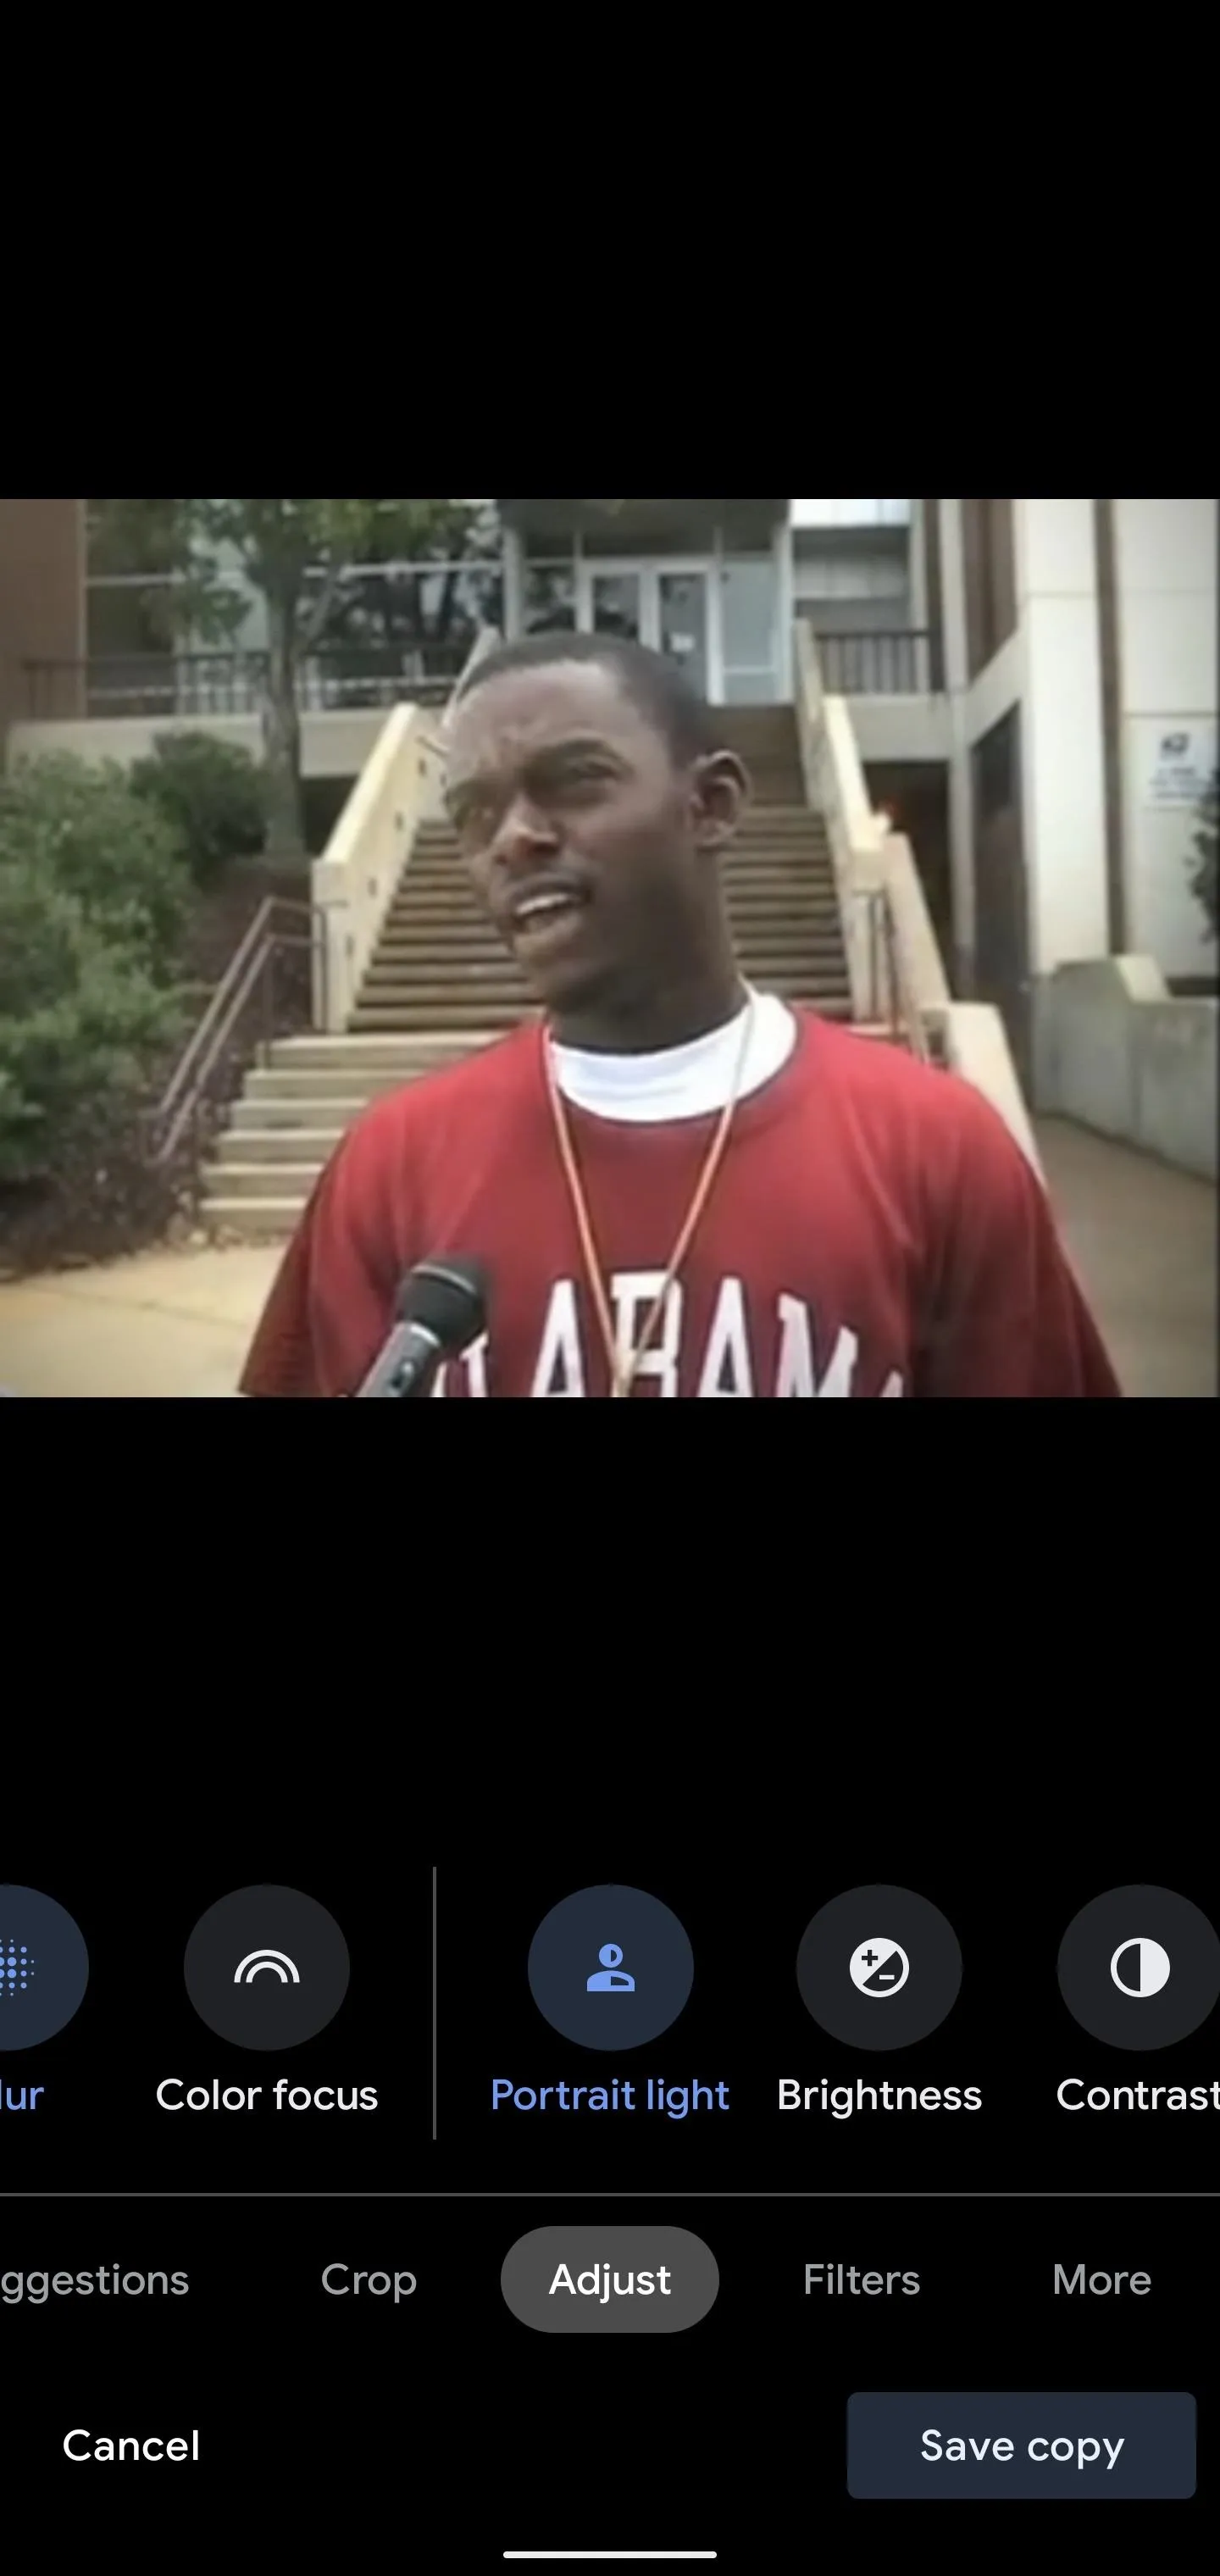
Once you have a photo selected, tap the Editing icon from the bottom toolbar. If you haven't edited a photo in Google Photos in a while, you'll notice the new interface. Portrait Light is found under the Adjust menu.

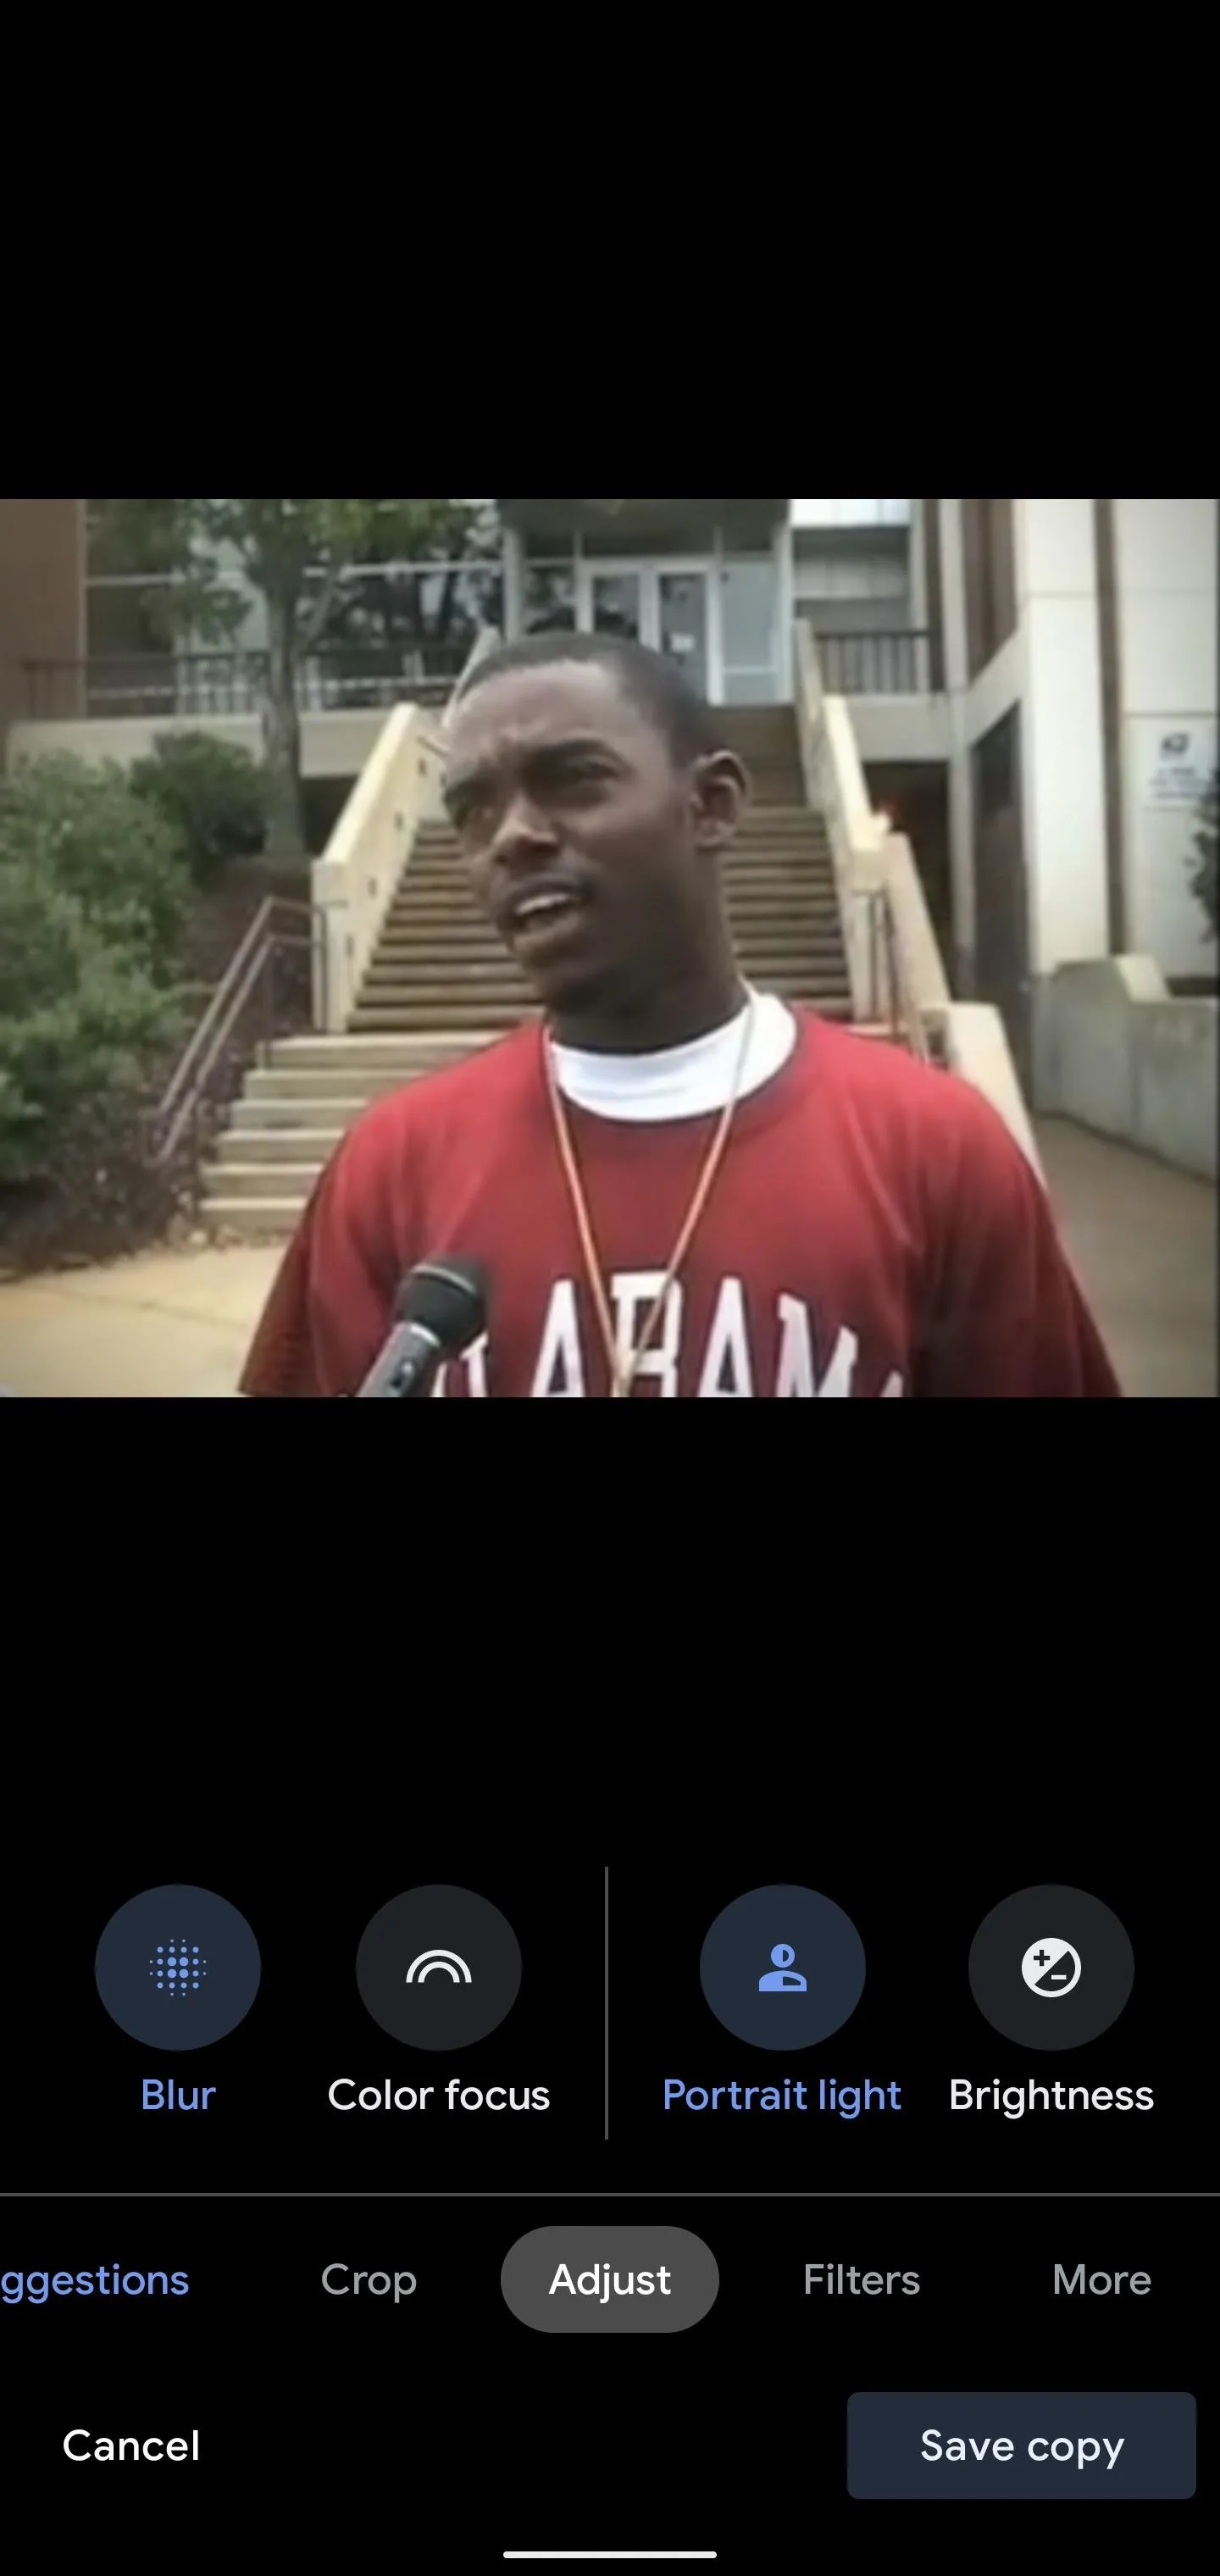
Adjust Portrait Light
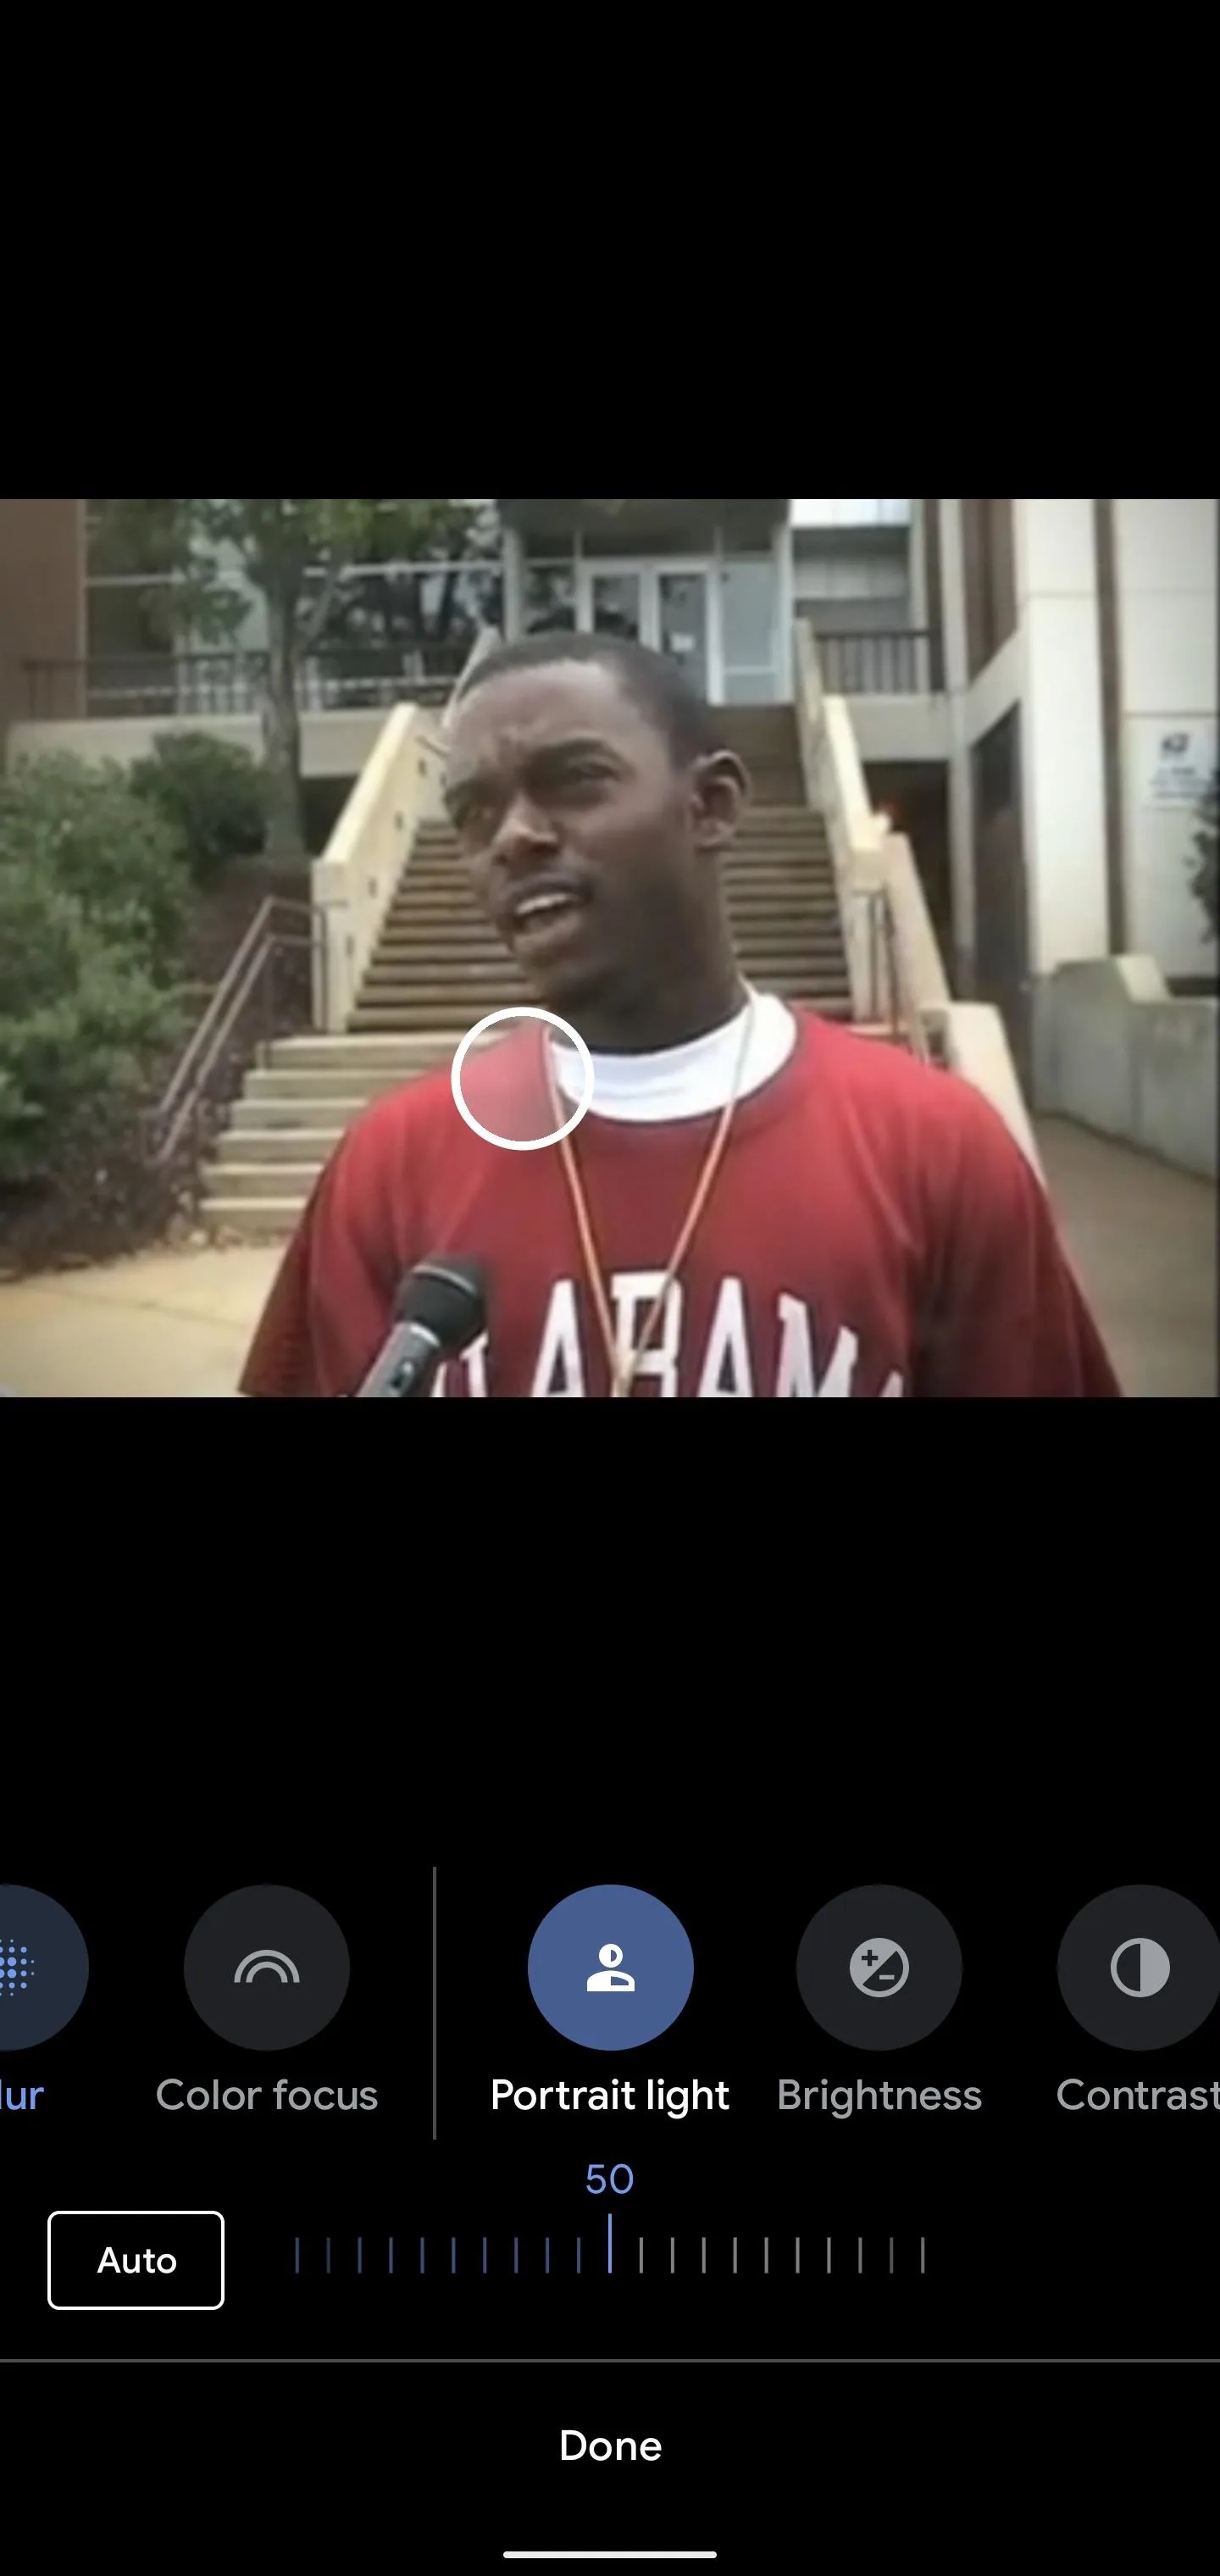
Tap Portrait Light to begin editing. By default, Google Photos will apply the Auto setting to suggest the placement of the light source and level of illumination.
Move the circular cursor on the photo to adjust the position of the light source and swipe the dial to decrease or increase the light intensity. The lighting will change in real-time. You can also long-press the photo to toggle back to the original photo for comparison, then release to return to your latest revision.

Save Your Work
Once you've completed your revisions, tap Done. You can tap Cancel to discard your changes or Save Copy to commit the edited photo to your Library.
By the way, the photo I chose to edit in this tutorial comes from the video embedded below. It's Tennessee Hate Week after all. Roll Tide.
Cover image via Yuri Manei/Pexels, screenshots and GIFs by Tommy Palladino/Gadget Hacks


Comments
Be the first, drop a comment!