


With every new Galaxy flagship release comes the age-old dilemma: do I choose great hardware or great software? For years, Samsung has given users the best components available on any smartphone. The problem is the software is an acquired taste. But there is something you can do about it.
With a few apps and ADB commands, you can effectively transform your Samsung Galaxy S20, S20+, or S20 Ultra into a more powerful Google Pixel. While root is the only way to make a perfect copy, you can come close without ever needing to unlock your bootloader. And once executed, you get the best of both worlds: superior hardware, ultrawide camera, faster charging, and larger battery of the Galaxy S20 series combined with the look and feel of stock Android.
Apply a Theme
Few OEMs support system-wide theming out the box. Samsung One UI has a section in its Galaxy Store dedicated to Themes, which is one of the largest of any OEMs thanks to Samsung's large market share. Themes will change the colors, icon, fonts, and overall look of many aspects of the phone, including Quick Settings, Settings, apps, and more.
Users have created themes for all occasions, including holiday themes or ones based on their favorite movie, show, or character. What we are looking for is one that attempts to emulate the look of Pixel devices.
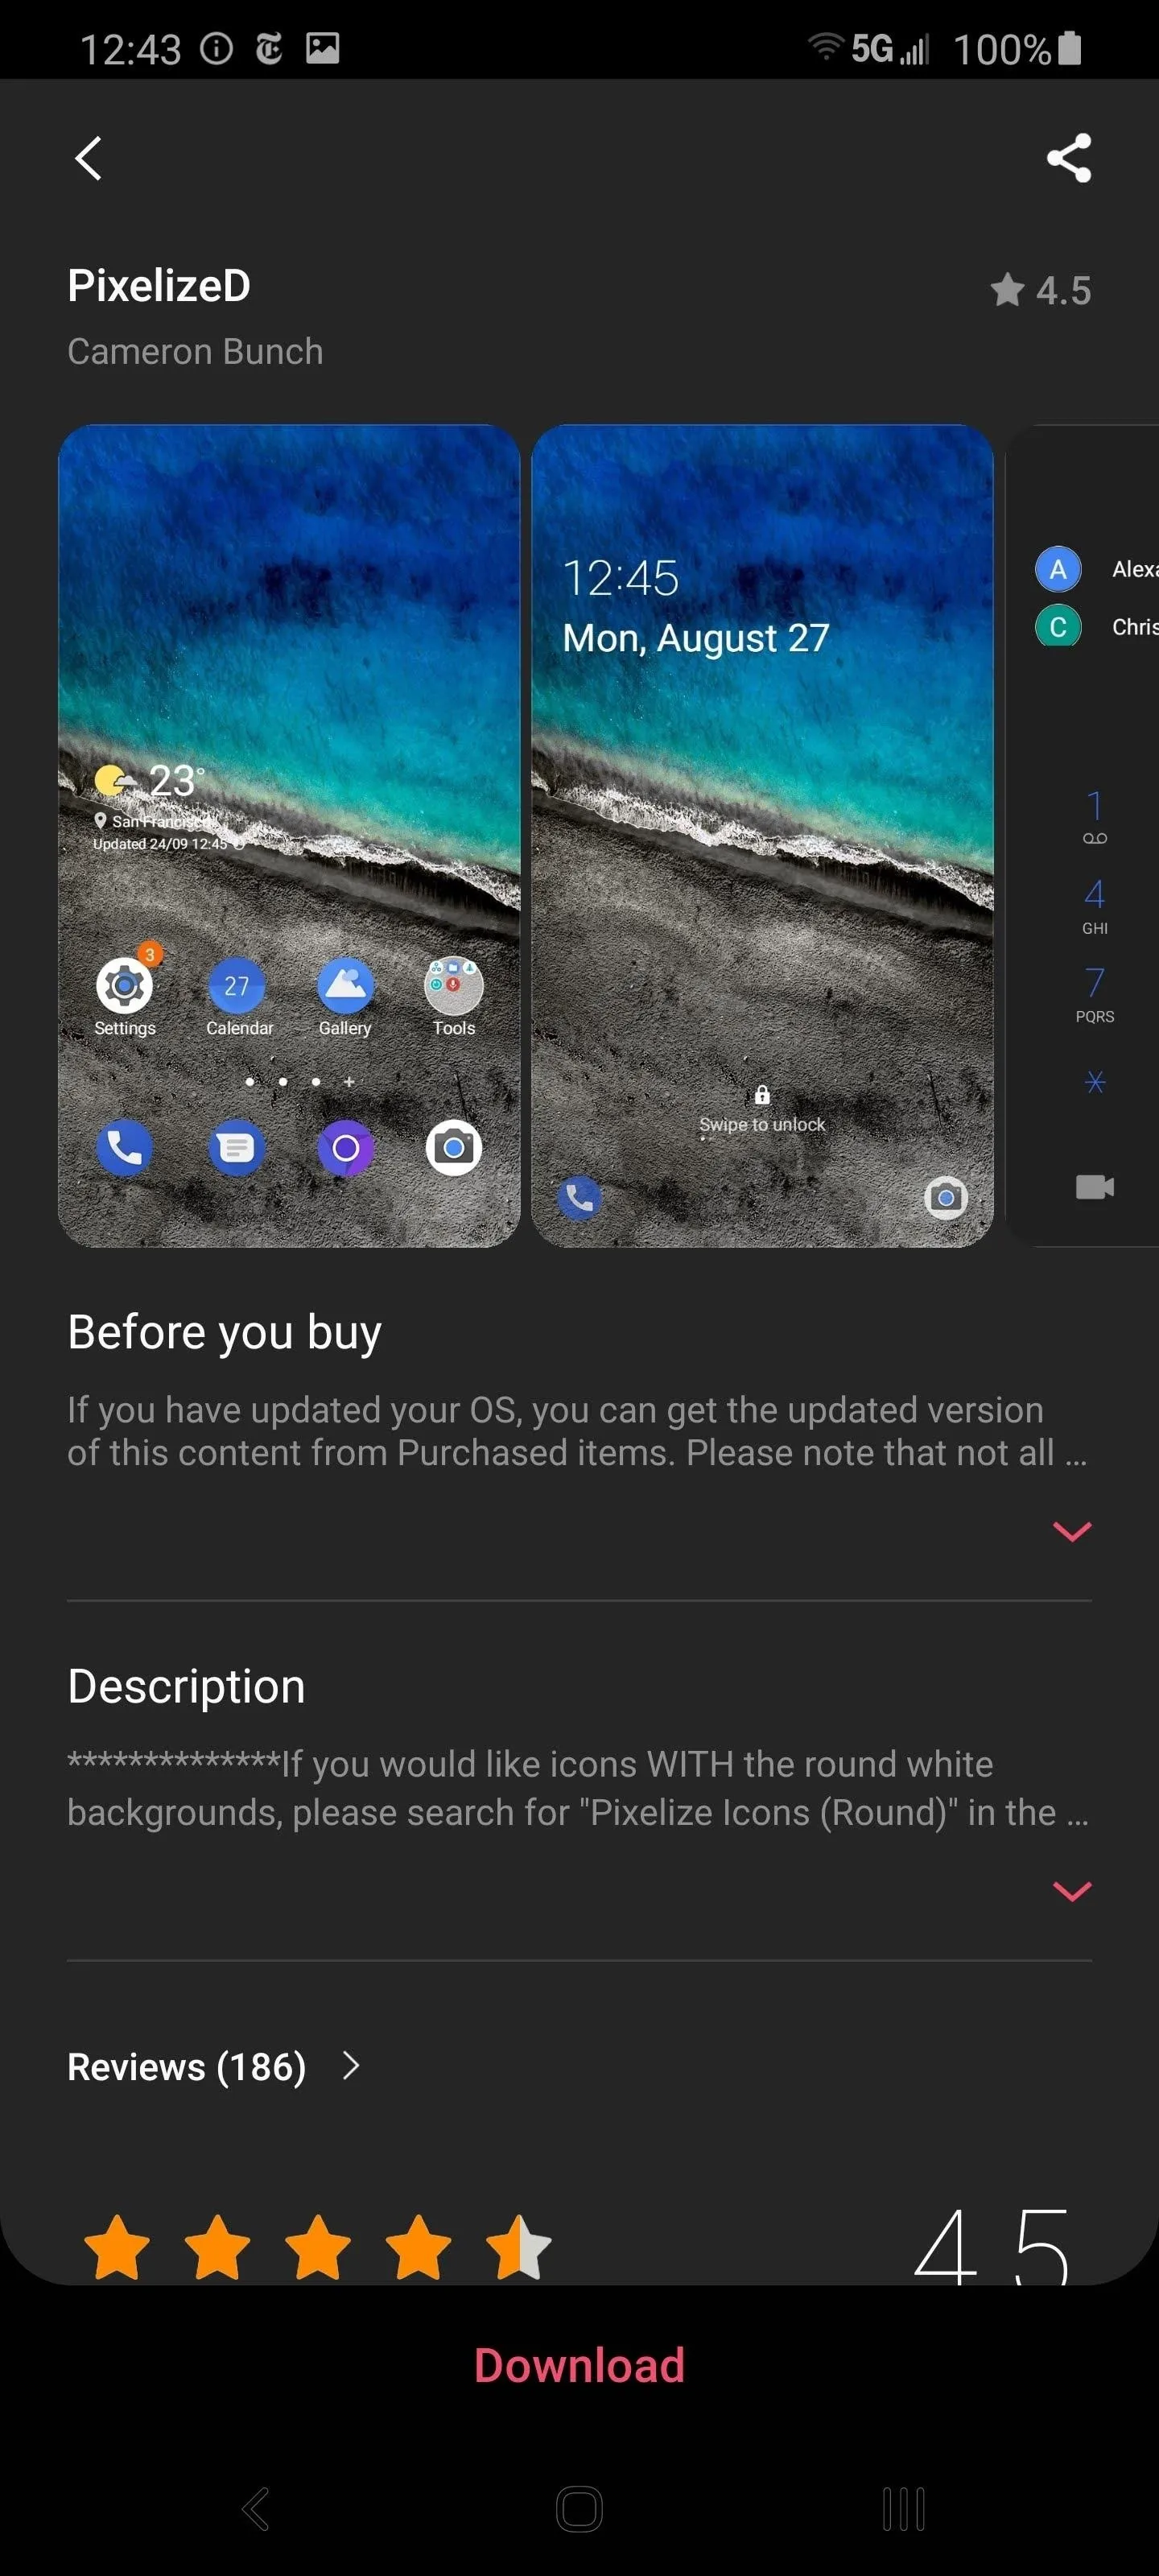
Open "Settings" and select "Themes." In the search bar, type in "Pixelize." The options we are looking for are "Pixelize" and "PixelizeD," the latter being a dark version of the same theme based on Android 9 Pie (so dark grey for the background instead of pure black).
Choose the version you want and select "Download" at the bottom of the theme page. After it's finished downloading, the button will change to "Apply," which you need select to install the theme. Once applied, return to the home screen to see the change, which includes "Settings," Notification Shade, and more.

Replace the Home Screen
If there's one thing you can do to transform your Galaxy S20 into a Pixel, it is this: switch to a third-party launcher. Replacing your home screen with a third party launcher will make the most significant impact.
The best option I've found that matches both the aesthetics and functionality of the Pixel launcher is CPL or Customized Pixel Launcher.
- Play Store Link: CPL (Customized Pixel Launcher)
CPL started as a fork of Rootless Pixel Launcher but soon surpassed it thanks to more active support and numerous features. CPL supports both Google Discover and the At a Glance widget, both of which are added via a CPL Feed and Weather Plugin. The plugin is an APK file that can be sideloaded like any other app.
The app is also completely free, with no ads, and continuous growth. As mentioned earlier, it has an active developer that fixes bugs and adds new features all the time.
Jon Knight/Gadget Hacks
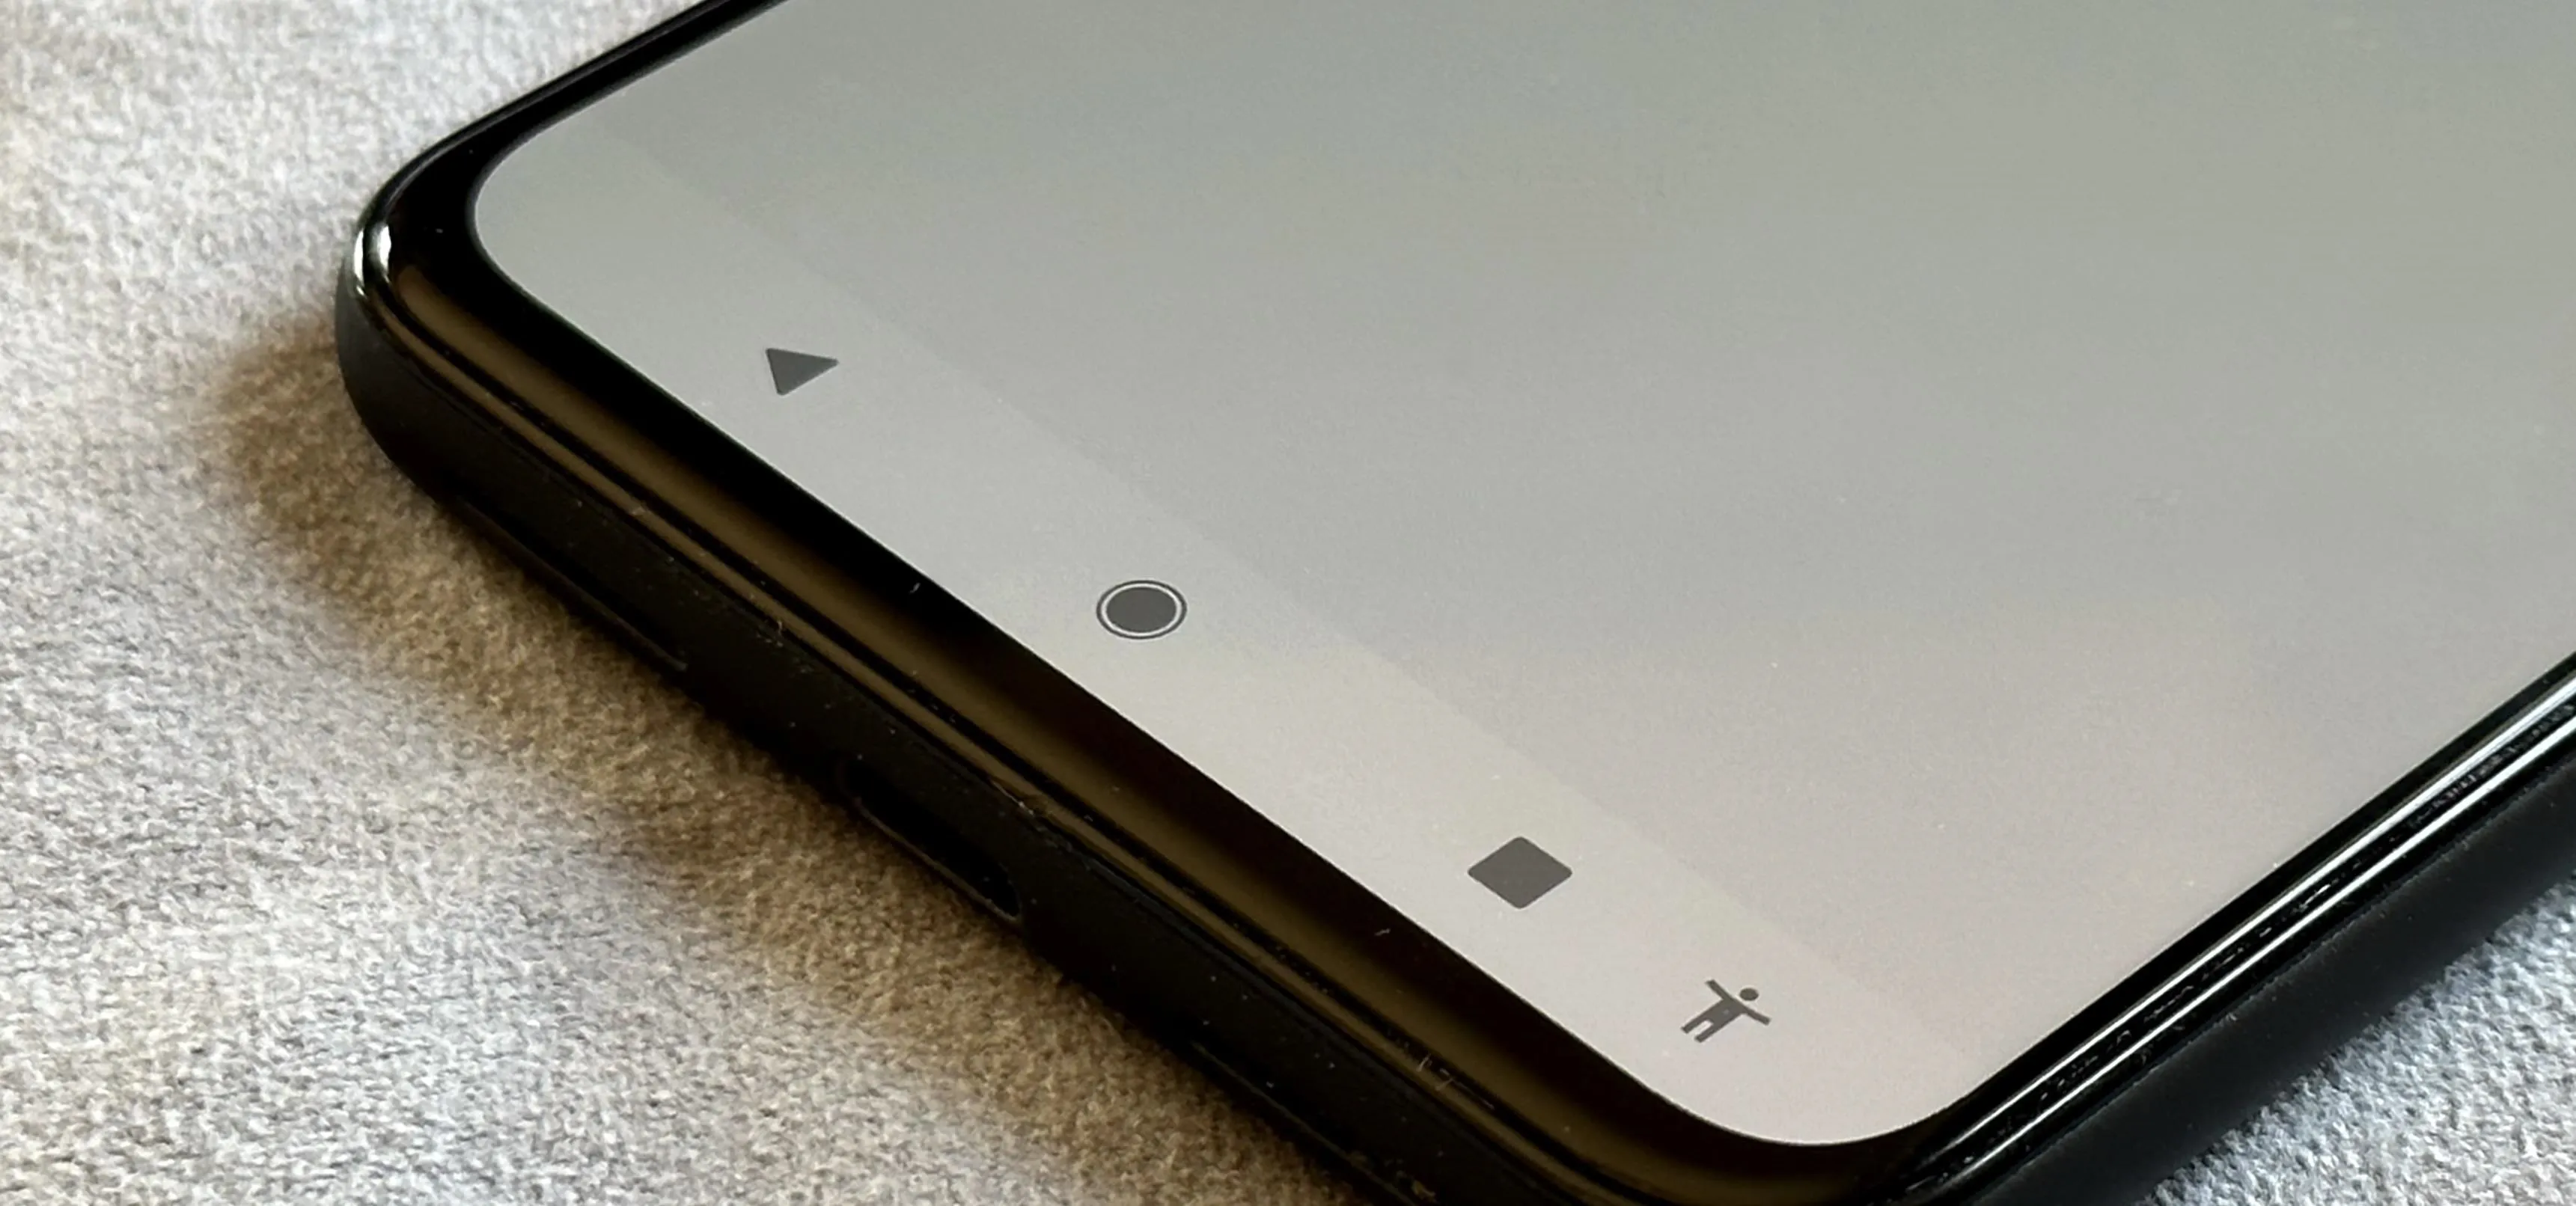
Enable Android 10 Gestures
Now that we switched to a third-party launcher, you may have noticed something — the Android 10 gestures are disabled. The Galaxy S20, like most non-Pixel smartphones, hasn't pushed out the fix that allows for Android 10 gestural navigation to work with third-party launchers. As a result, Samsung will switch you to the three-button navigation bar. While we wait for the fix, your only other option is ADB.
Understand that this fix does have a few issues. In our testing, we found that some apps will force the gestural navigation to disable. We also found sometimes a phone restart will undo the command. However, you can always re-send the command to get the navigation back.
We strongly recommend you check out our guide above if you are not comfortable with ADB. However, for those who know what they are doing, send this code to your phone via ADB to enable Android 10 gestures:
adb shell cmd overlay disable com.android.internal.systemui.navbar.gesturalGet Stock Android's Quick Settings Panel
With the home screen changed, our next target big target is the Quick Settings. Samsung's UI has always altered the look and design of Quick Settings, and One UI 2.0 is no different. While the changes do enhance the Quick Settings such as additional row and column on one page, eliminating the need for a second one, it doesn't look like stock Android.
With one app, you can transform the entire Notification Shade to a nearly identical replica of the one found on the Google Pixel. The name of the app is Power Shade and it is currently free on the Play Store. With Power Shade, you get the number of rows and columns of stock Android along with the same aesthetics. You can download the app here but if you want a full walkthrough, check out guide linked below.

Jon Knight/Gadget Hacks
Bring Back the Power Menu
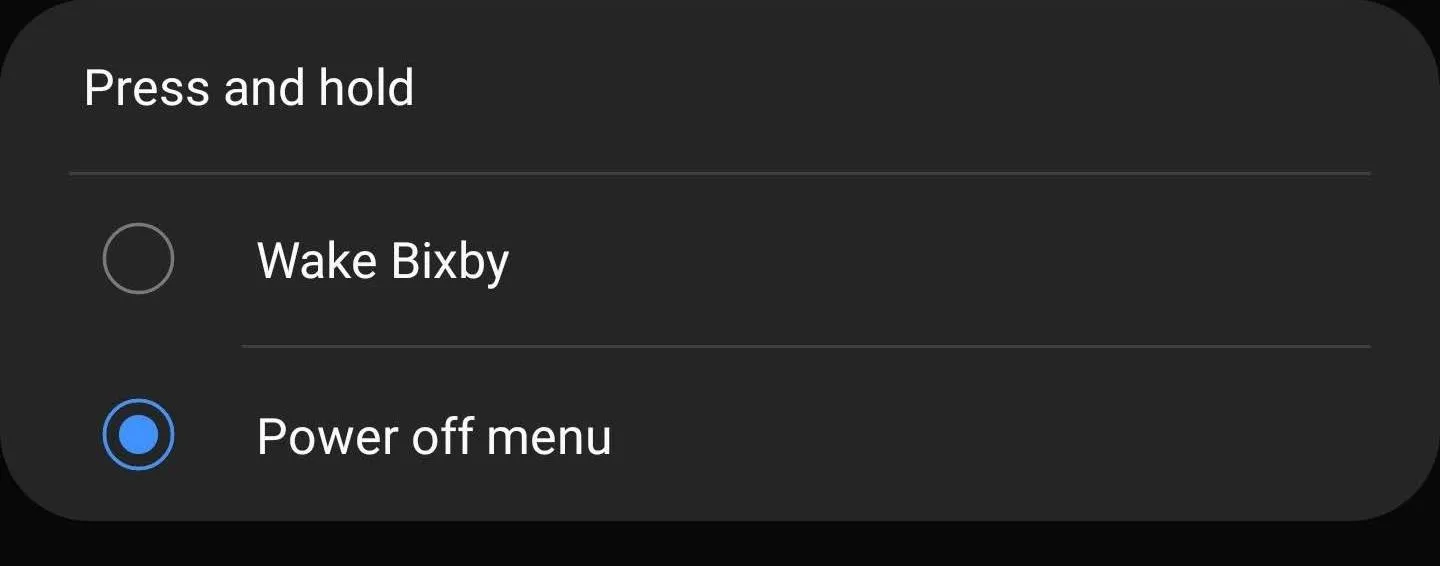
With the Bixby Button now gone, Samsung has repurposed the power button to launch its voice assistant. By default, long pressing the power button brings up Bixby, replacing the power menu that used to appear. Since the Pixel just uses the Google Assistant, which you can access by long-pressing the home button or swiping up from the bottom corner, this shortcut isn't needed.
So open your Settings app and go to "Advanced features," then tap "Side key" at the top of the screen. In the Press and hold section, choose "Power off menu" to make your power button behave like a Pixel's.
Remove Bloatware
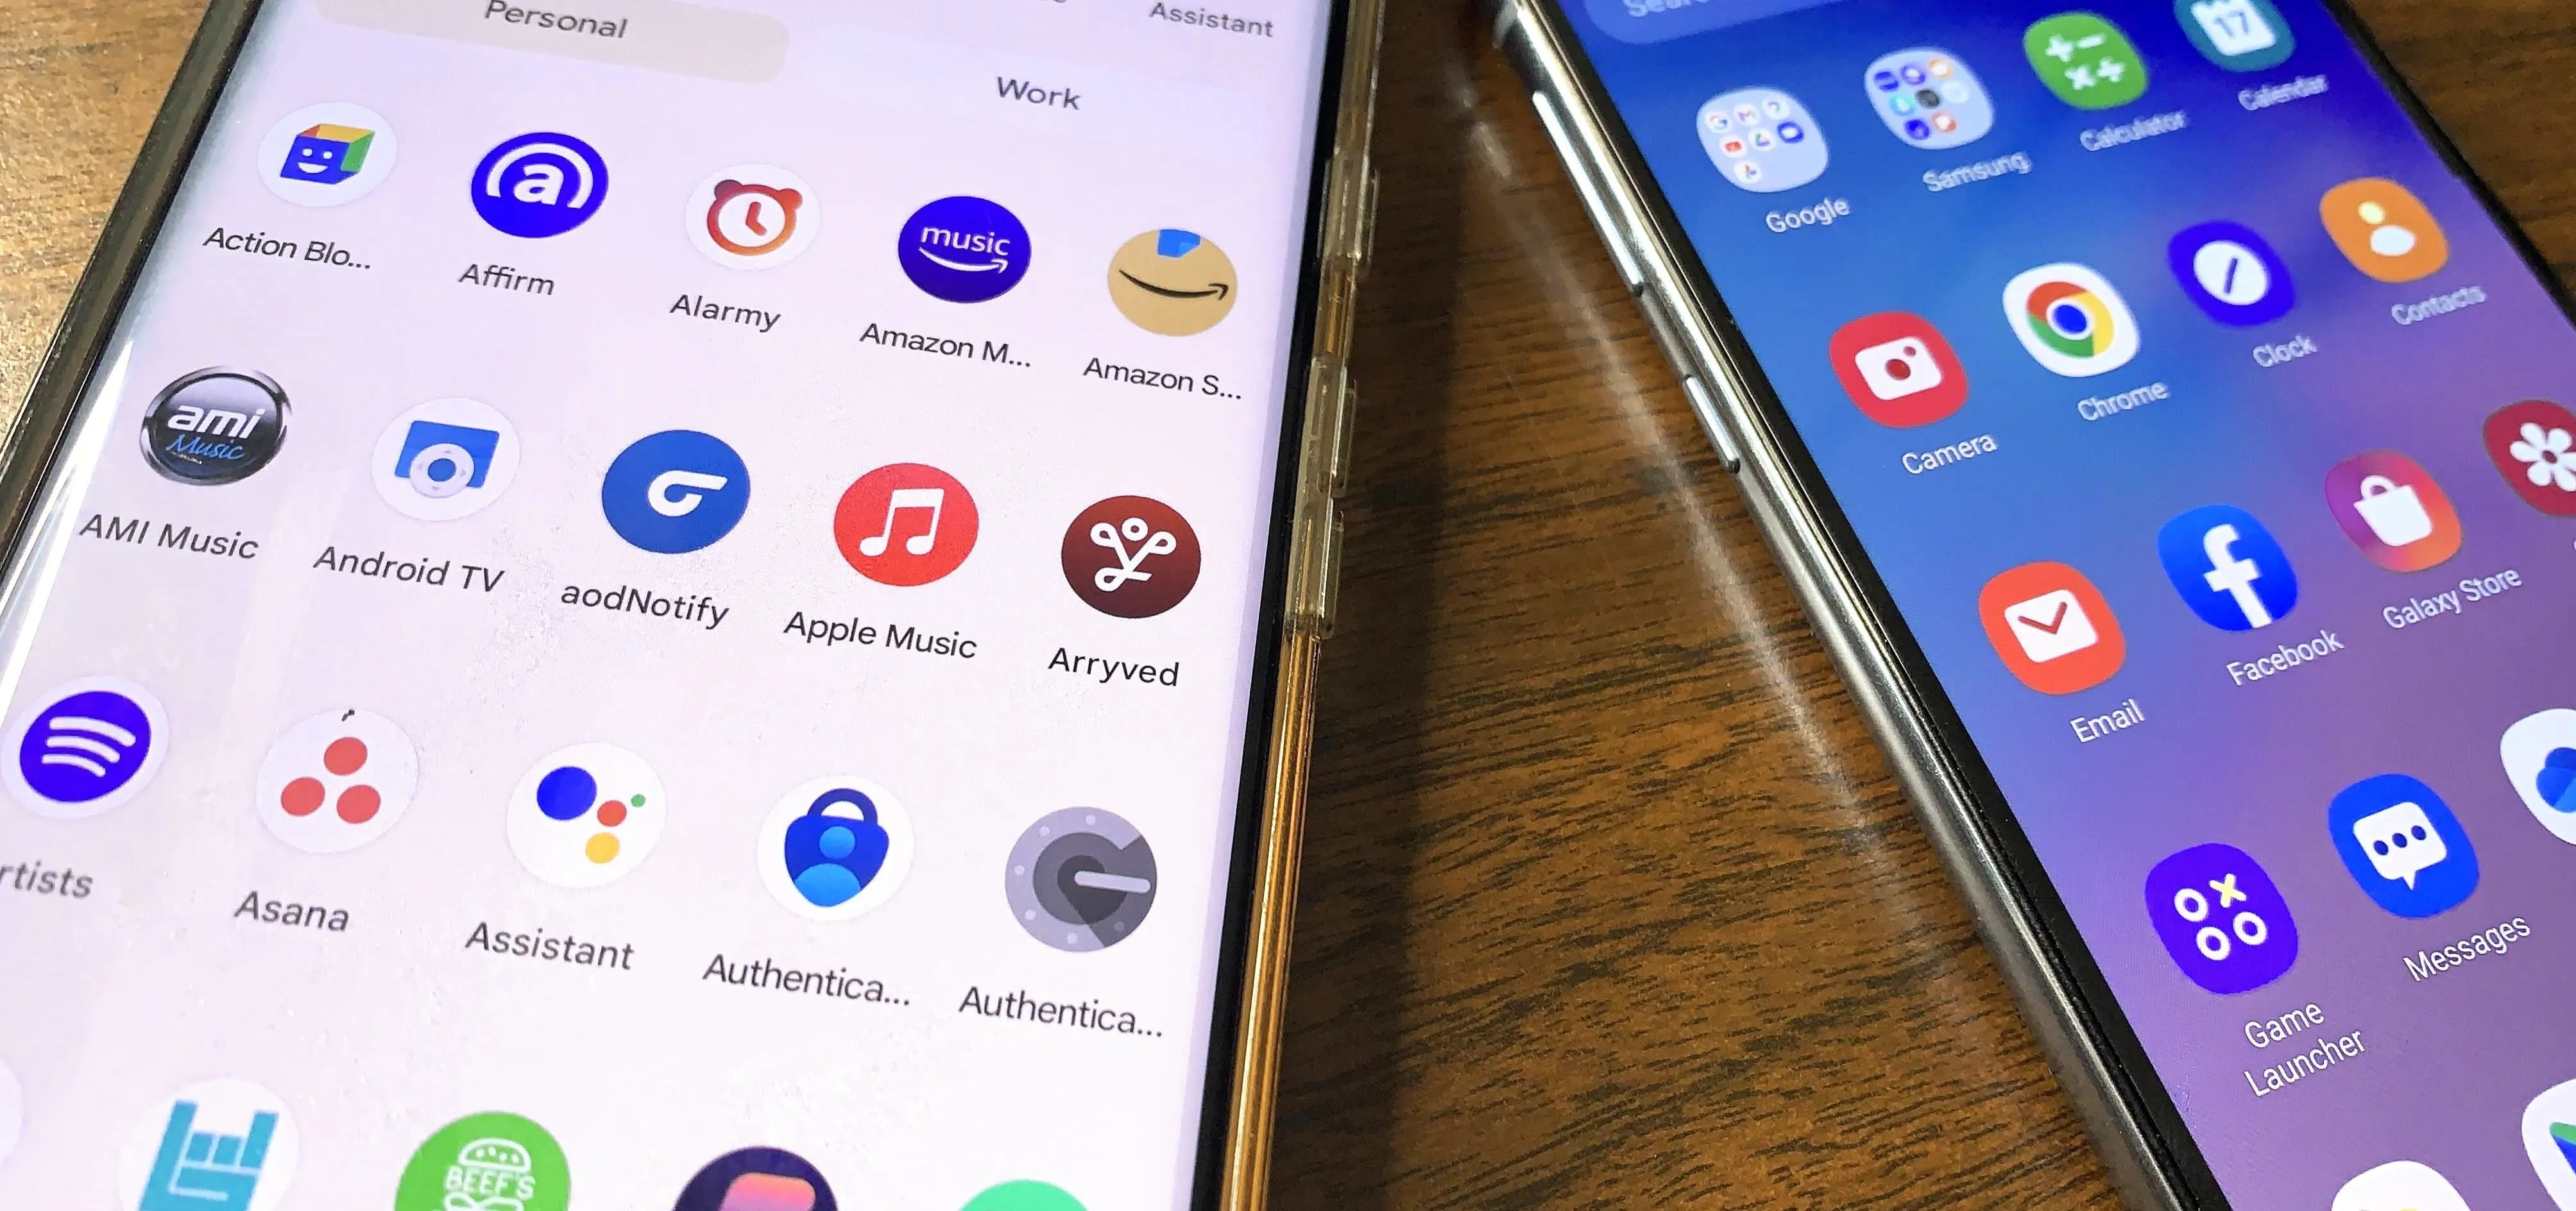
Besides the impressive camera, the main reason to opt for a Google Pixel is stock Android, and for many, that also means another thing: no bloatware. When you buy a Pixel device from Google, there is not a single app that shouldn't be there — no carrier apps or third-party apps.
Look in the app drawer on your Galaxy S20 and you can see this isn't the case. Bloatware is a serious problem for Samsung phones — Facebook, Flipboard, Microsoft, and more. And then there are numerous Samsung-developed apps which duplicate the functionality of the Google-developed apps that ship with Android.
While you can't remove all apps from your phone's Settings (some will have the "Disable" button grayed out), you can use ADB to remove any app. It's a bit of a tricky process, so we've covered it with a separate guide you can find below.
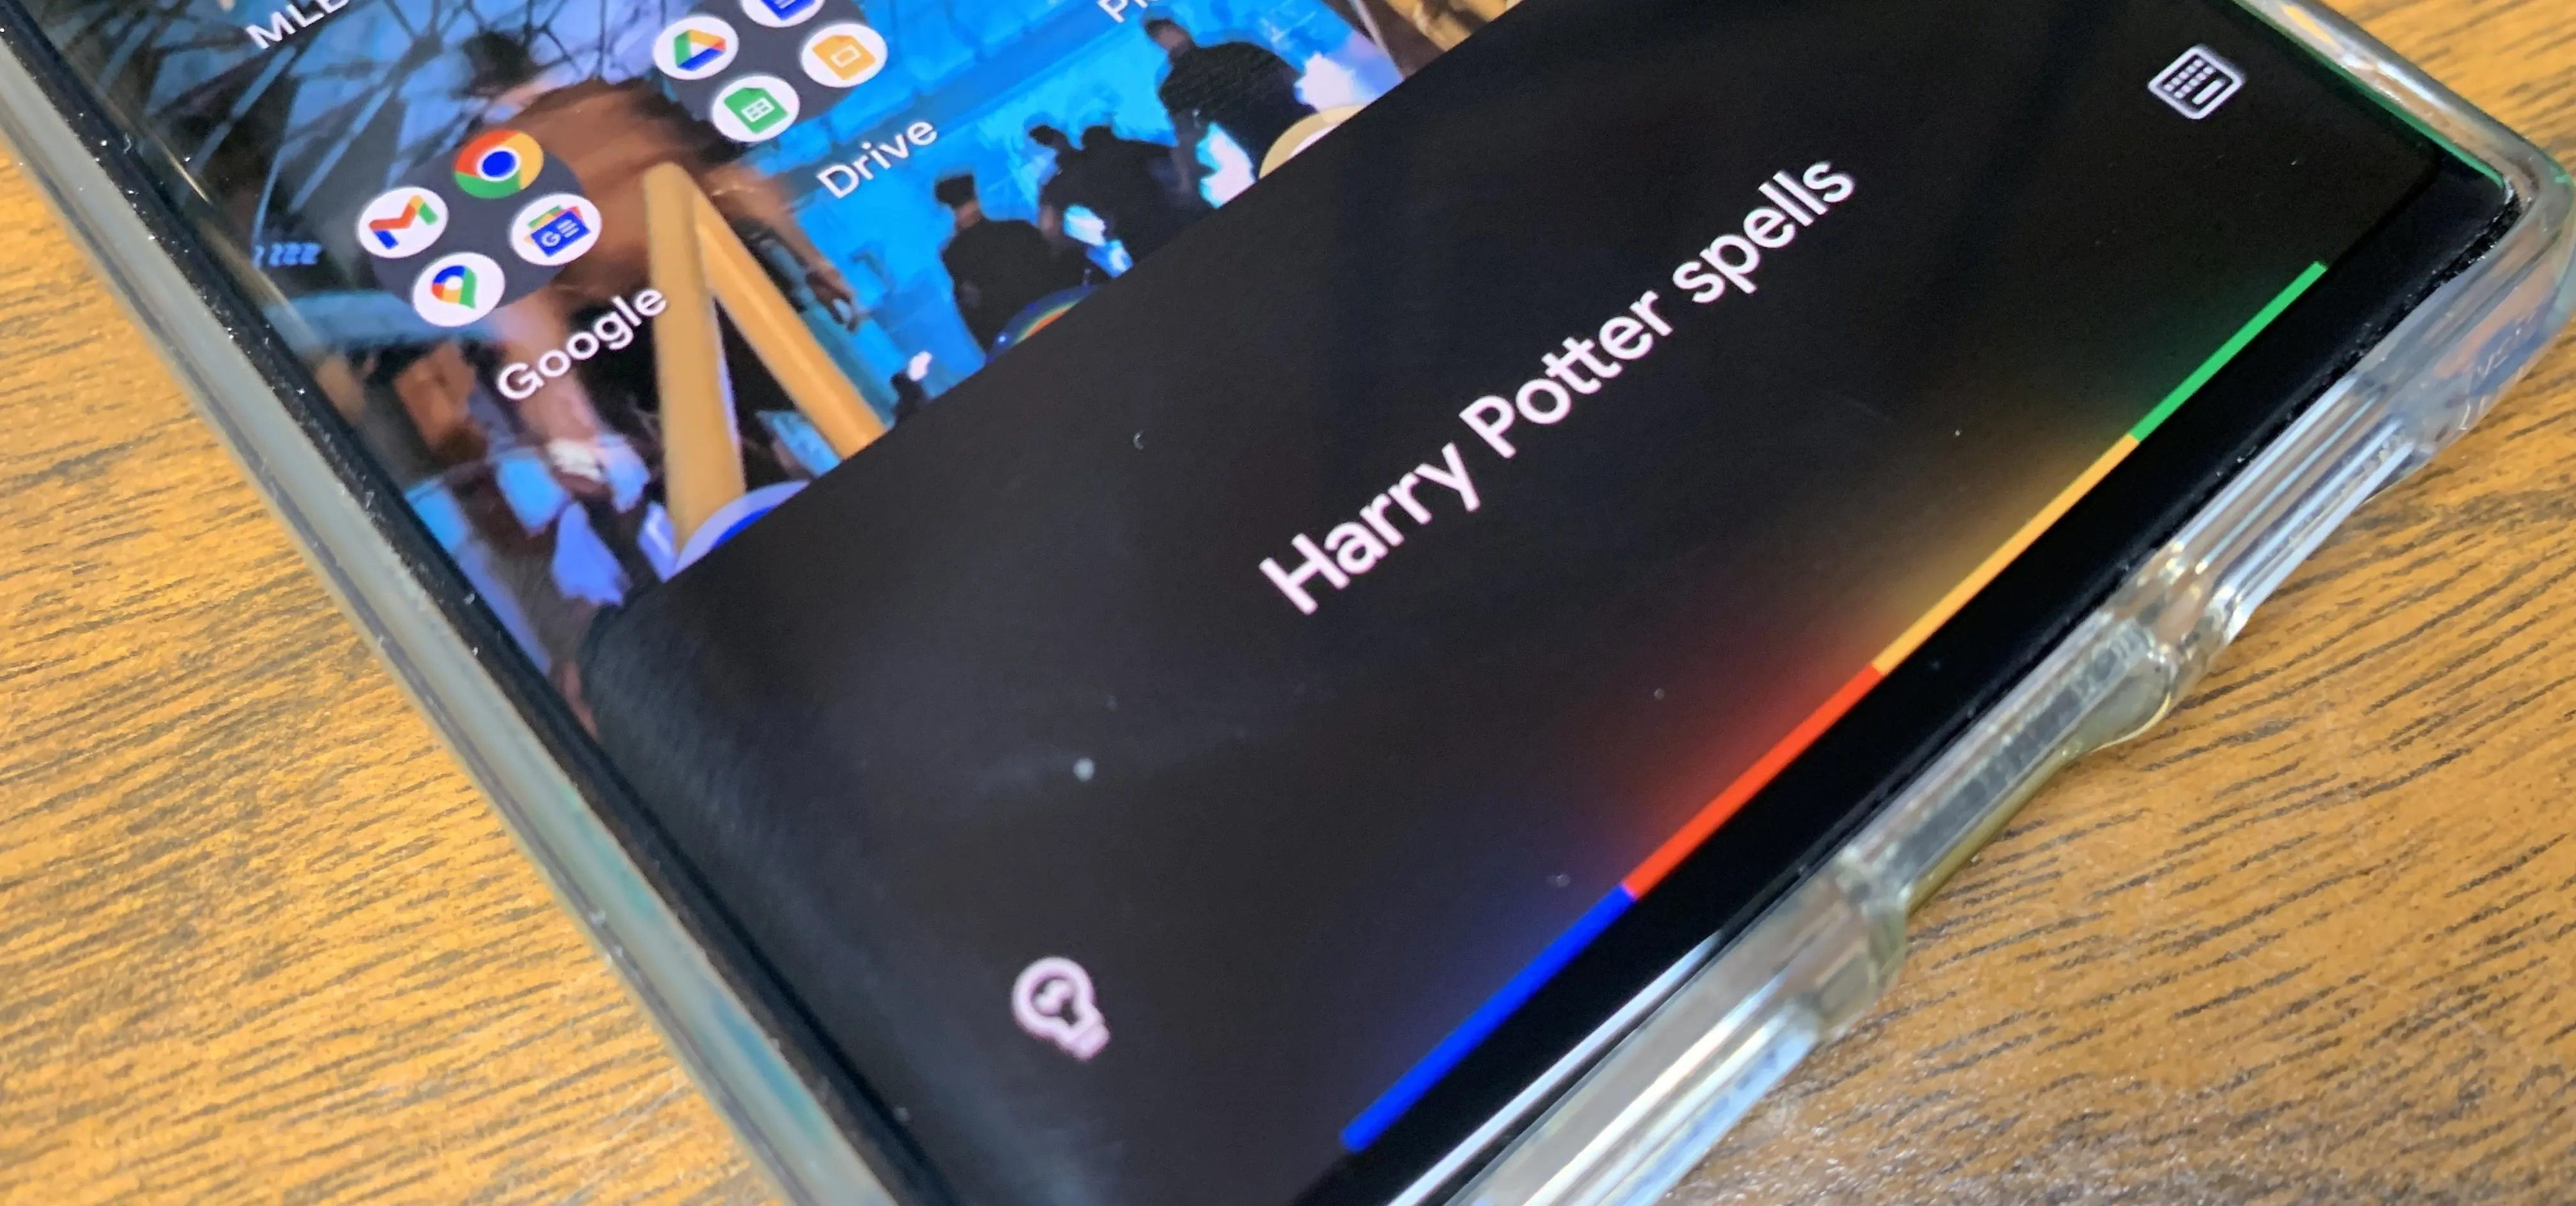
Get Now Playing
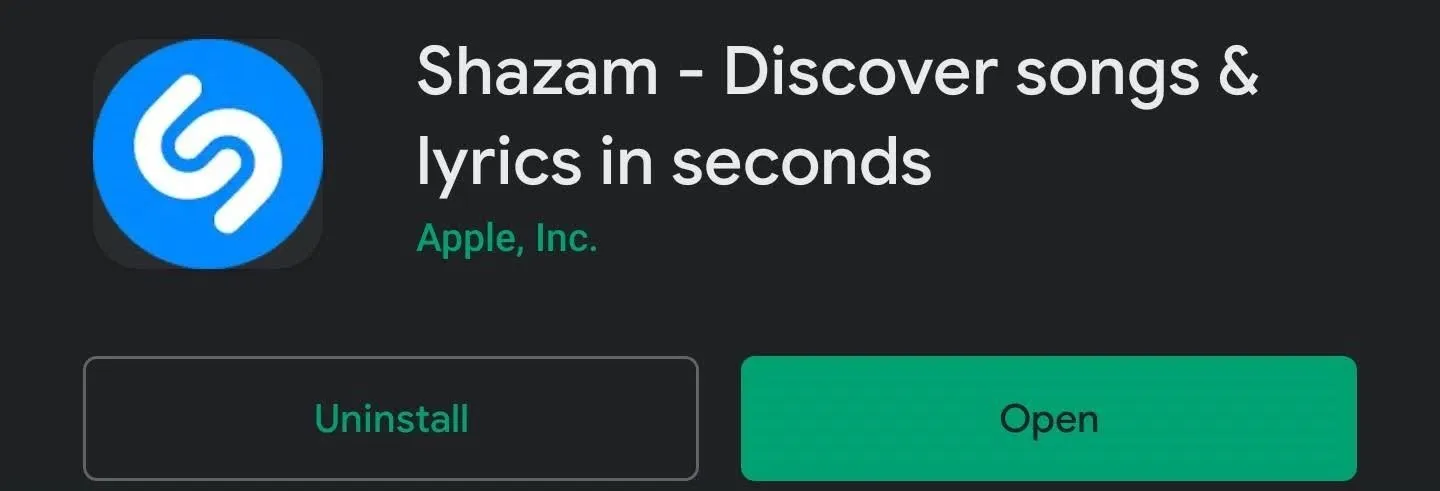
Since the Pixel 2, all Pixel smartphones have included the feature "Now Playing." Whenever music is captured by the microphones, after a few seconds, the phone can identify the song and provide you the title and artist name and direct you to your music streaming app of choice to listen to it later.
It is a feature I love every time I switch to a Pixel, and miss as soon as I change from one. Unfortunately, it is part of the growing list of Pixel exclusive features that Google has been adding to in recent years. However, that doesn't mean we can't get this feature on our Galaxy S20.
Using Shazam, we can add the "Now Playing" feature to your Galaxy S20, S20+, and S20 Ultra. Unlike the Now Playing feature, it does require an active data connection as it uses Shazam's servers to identify the song. However, with a good connection, the app can identify songs at a similar speed to the "Now Playing" feature. For how to set up this feature, check out our guide linked below.
Get Pixel Exclusive Apps
To help sell their devices, Google has developed apps that innovate how we use our phones, but they limit them to their Pixel lineup. One example of this is the Google Phone app.
Phone App
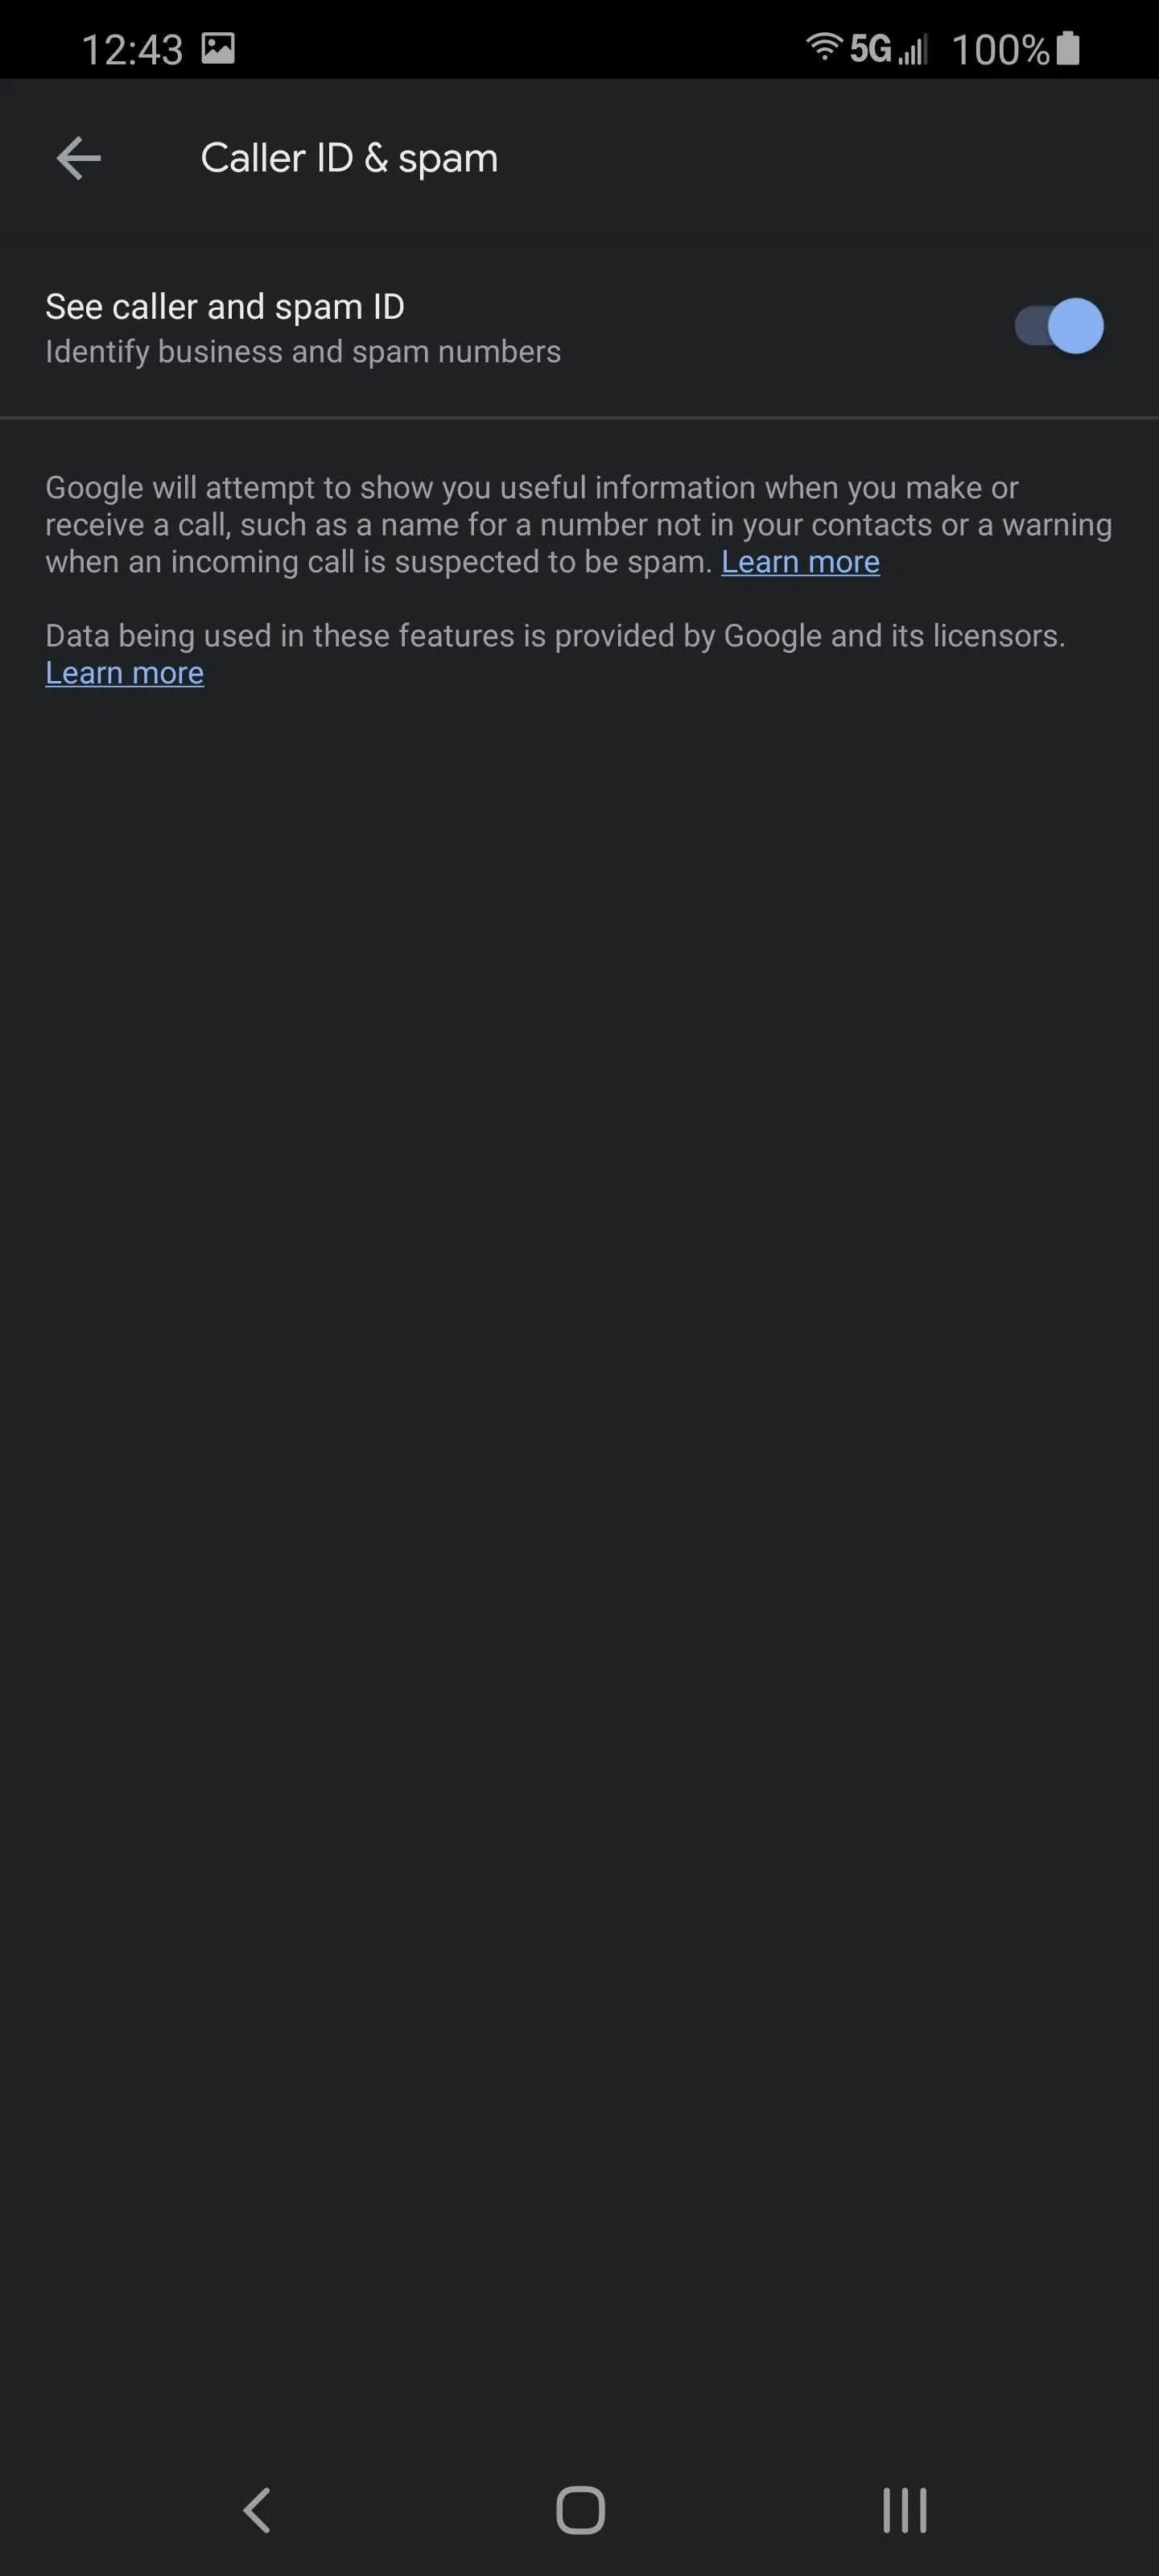
Even before the addition of Call Screen, Google's Phone app has had the best spam protection of any dialer app and one of the cleanest user interfaces. But if you search for this app on the Play Store, you won't find it, as your Galaxy S20 isn't compatible. To access this app, you'll need to sideload a modified version provided by XDA.
This modified version isn't an exact replica. While it includes the spam protection feature, it lacks Call Screen and the Visual Voicemail tab. Depending on your carrier, this app is already worth it because of spam protection, as some carriers remove this tab from the Samsung dialer app to force you to pay for their protection services.
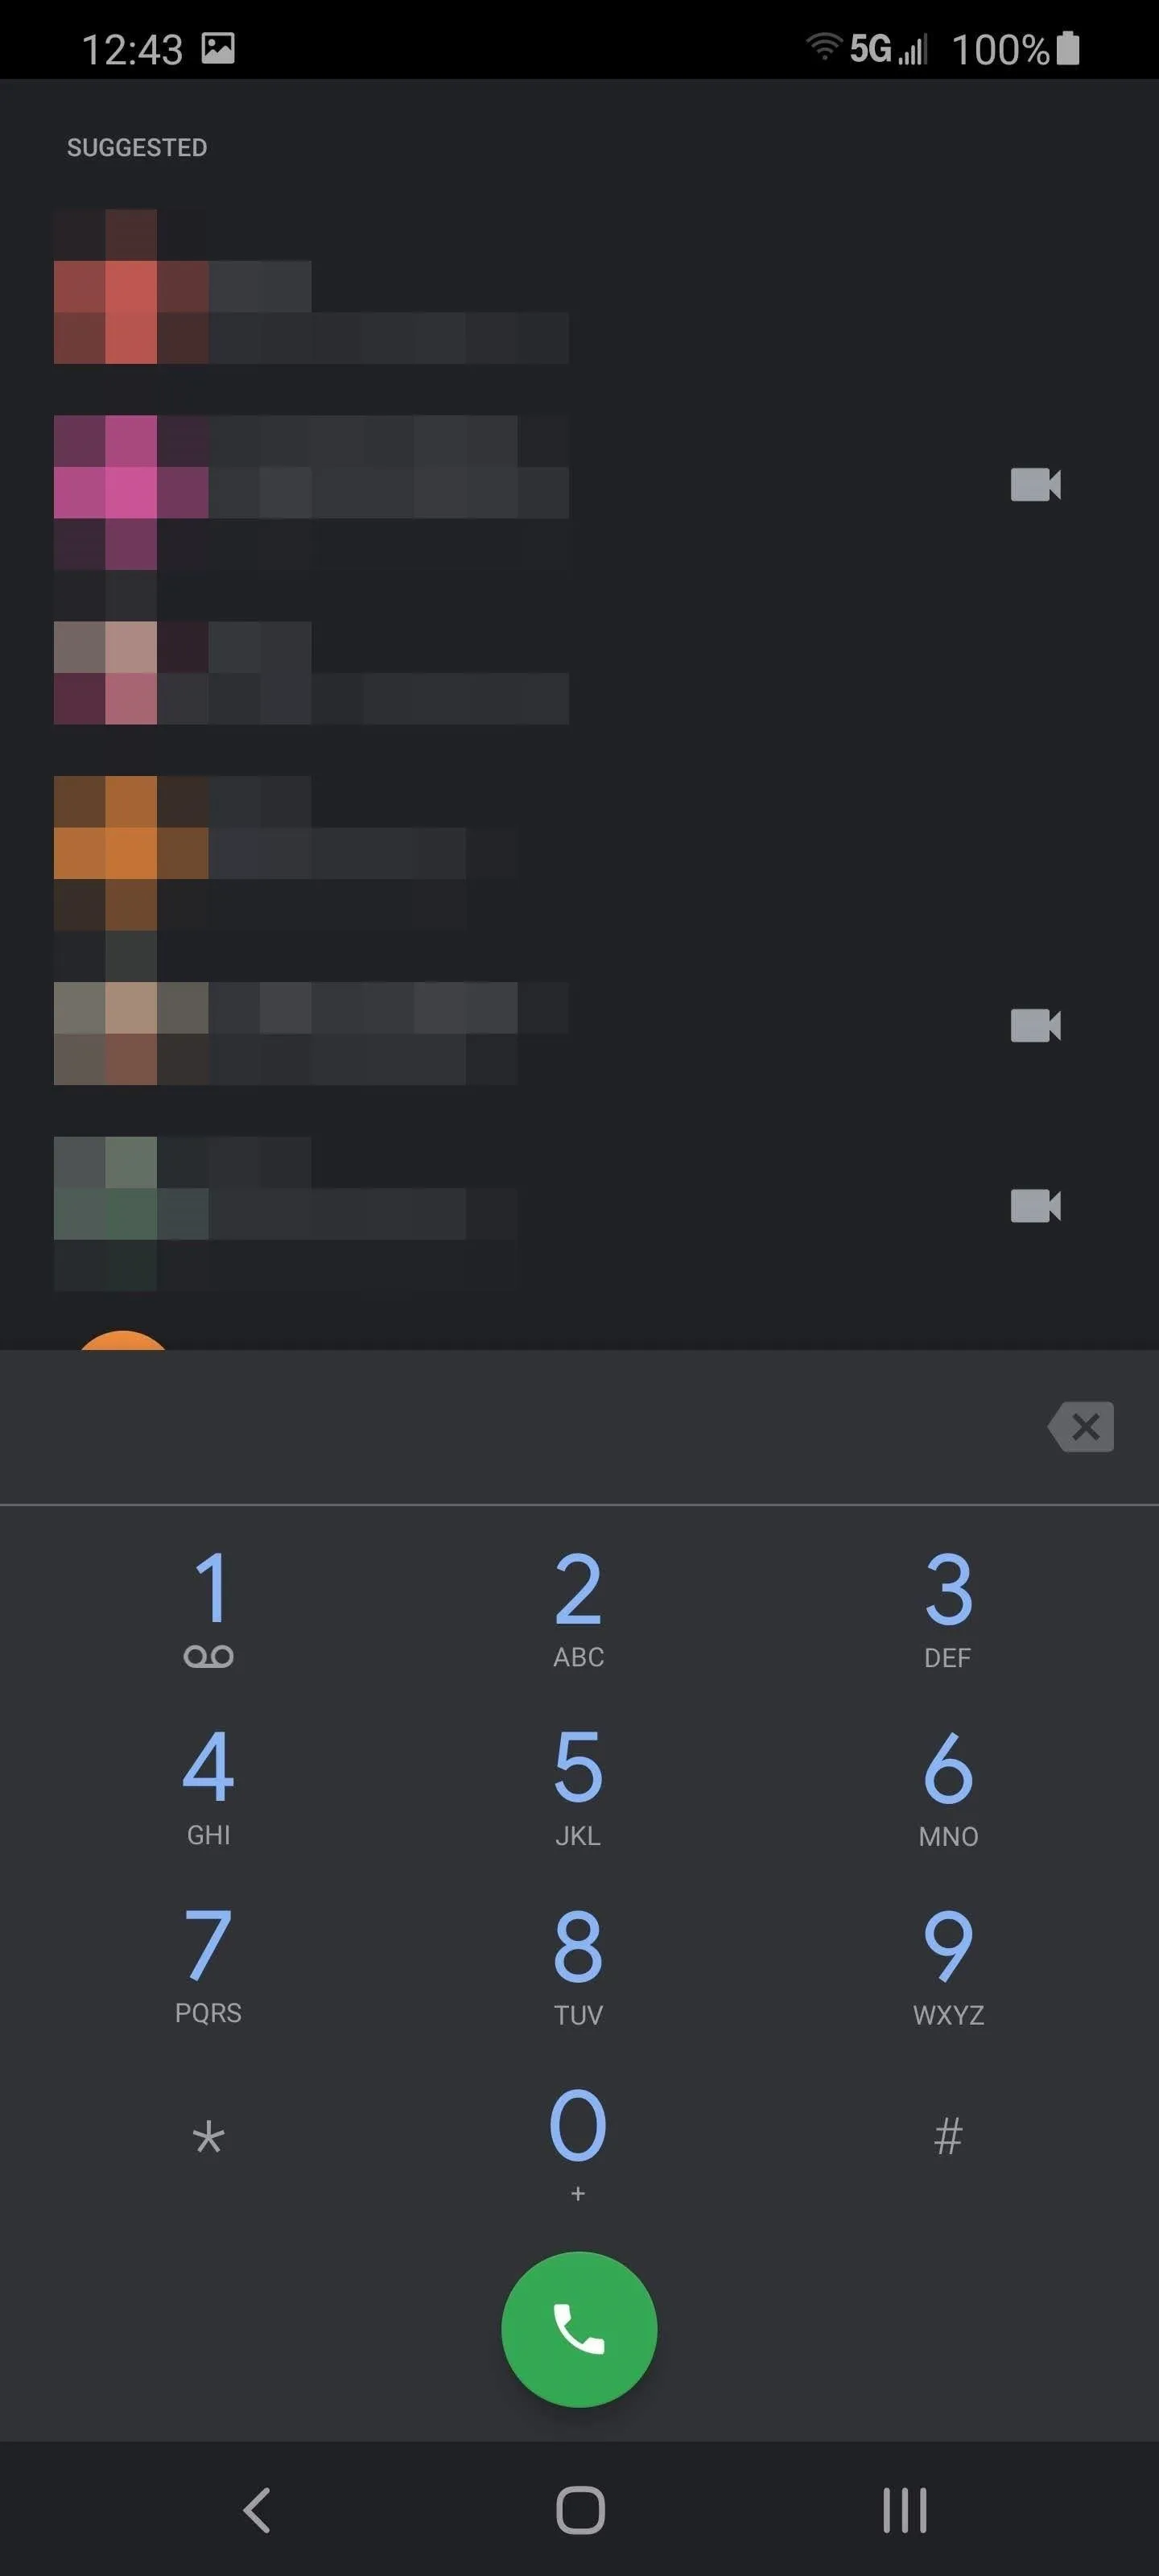
Just remember that you need to set the patched phone app to defaulting calling app to use, which is done by opening Settings, choosing "Apps," selecting the menu button in the top-right corner, and choosing "Default apps." Under "Calling app," select the phone app with the blue icon.
Recorder App
Another exclusive Google app that is unavailable to your Galaxy S20 is the new Recorder. However, unlike the phone app, it's not missing any features. Use the link below to sideload the modified version of the app (once again, the app will not appear in the Play Store if you search for it on your Galaxy S20).
Jon Knight/Gadget Hacks
Get Even More Stock Google Apps
Besides the apps that you need to sideload, most of the Pixel's default apps can be found on the Play Store. Many are already preinstalled on your S10, but to finish off the Pixel-ization of your Galaxy, here's a list of the remaining key Pixel apps.
Gboard
- Play Store Link: Gboard (free)
Google Calendar
- Play Store Link: Google Calendar (free)
Google Photos
- Play Store Link: Google Photos (free)
Google Wallpapers
- Play Store Link: Google Wallpapers (free)
Turn on Facial Recognition (Optional)
If you are hoping to replicate the experience of a Pixel 4, one significant change is the new biometrics. Pixel 4 is the first US Android phone to support secure face unlock using an array of sensors similar to Apple's Face ID.
Unfortunately, the Galaxy S20 doesn't include the technology necessary for secure facial recognition. While facial recognition is supported, it is the insecure method based on the front-facing camera, which can be tricked with a photo or video of your face. It is for this reason we don't recommend following this step unless you have other protections in place (such as taking advantage of the Secure Folder).
To turn on facial recognition, open Settings and select "Biometrics and security." Choose "Face recognition" and input your current PIN, passcode, or gesture for the lock screen. Follow the instructions to register your face. Once enabled, you can unlock your phone with your face but won't be able to confirm purchases or unlock app. Those transactions will instead require your password, PIN, or gesture.

Enable RCS via Android Messages (Optional)
"I can't switch from my iPhone because of iMessage" — how many of us have heard that one, right? The internet-based Apple-exclusive messaging service lets you send enhanced messages to other iOS devices. But because it uses data instead of SMS, you can do so much more with these messages and send large types of files. Not to be outdone, Google responded by backing the open standard RCS.
For those who are unfamiliar (you can learn using the link below), RCS is the evolution of SMS, allowing millions of non-Apple devices access to the same features of iMessage. Last year, Google made its biggest push yet with the platform by making the service accessible to all Android phones running 6.0 Marshmallow or newer, regardless of carrier support.
To take advantage of RCS, currently, you need to use Android Messages, the official messaging app from Google. However, if you look in your app drawer, you won't see this app. Instead, you will see the Samsung Messaging app. While it also supports RCS, since we are trying to emulate the look of the Pixel, we need to download the Google-developed app.
- Play Store Link: Android Messages
Once installed, open the app to be greeted with a prompt will appear titled "Messages just got better." Hit "Agree" to begin the RCS activation in Messages. If it doesn't appear right away, try waiting a day or two. You can also search the Play Store for "Carrier Services" and see if there is an update available, as you need the latest version for this work. Check out the link below if you run into any issues for a more detailed walkthrough of the process.
Cover image and screenshots by Jon Knight/Gadget Hacks


Comments
Be the first, drop a comment!