


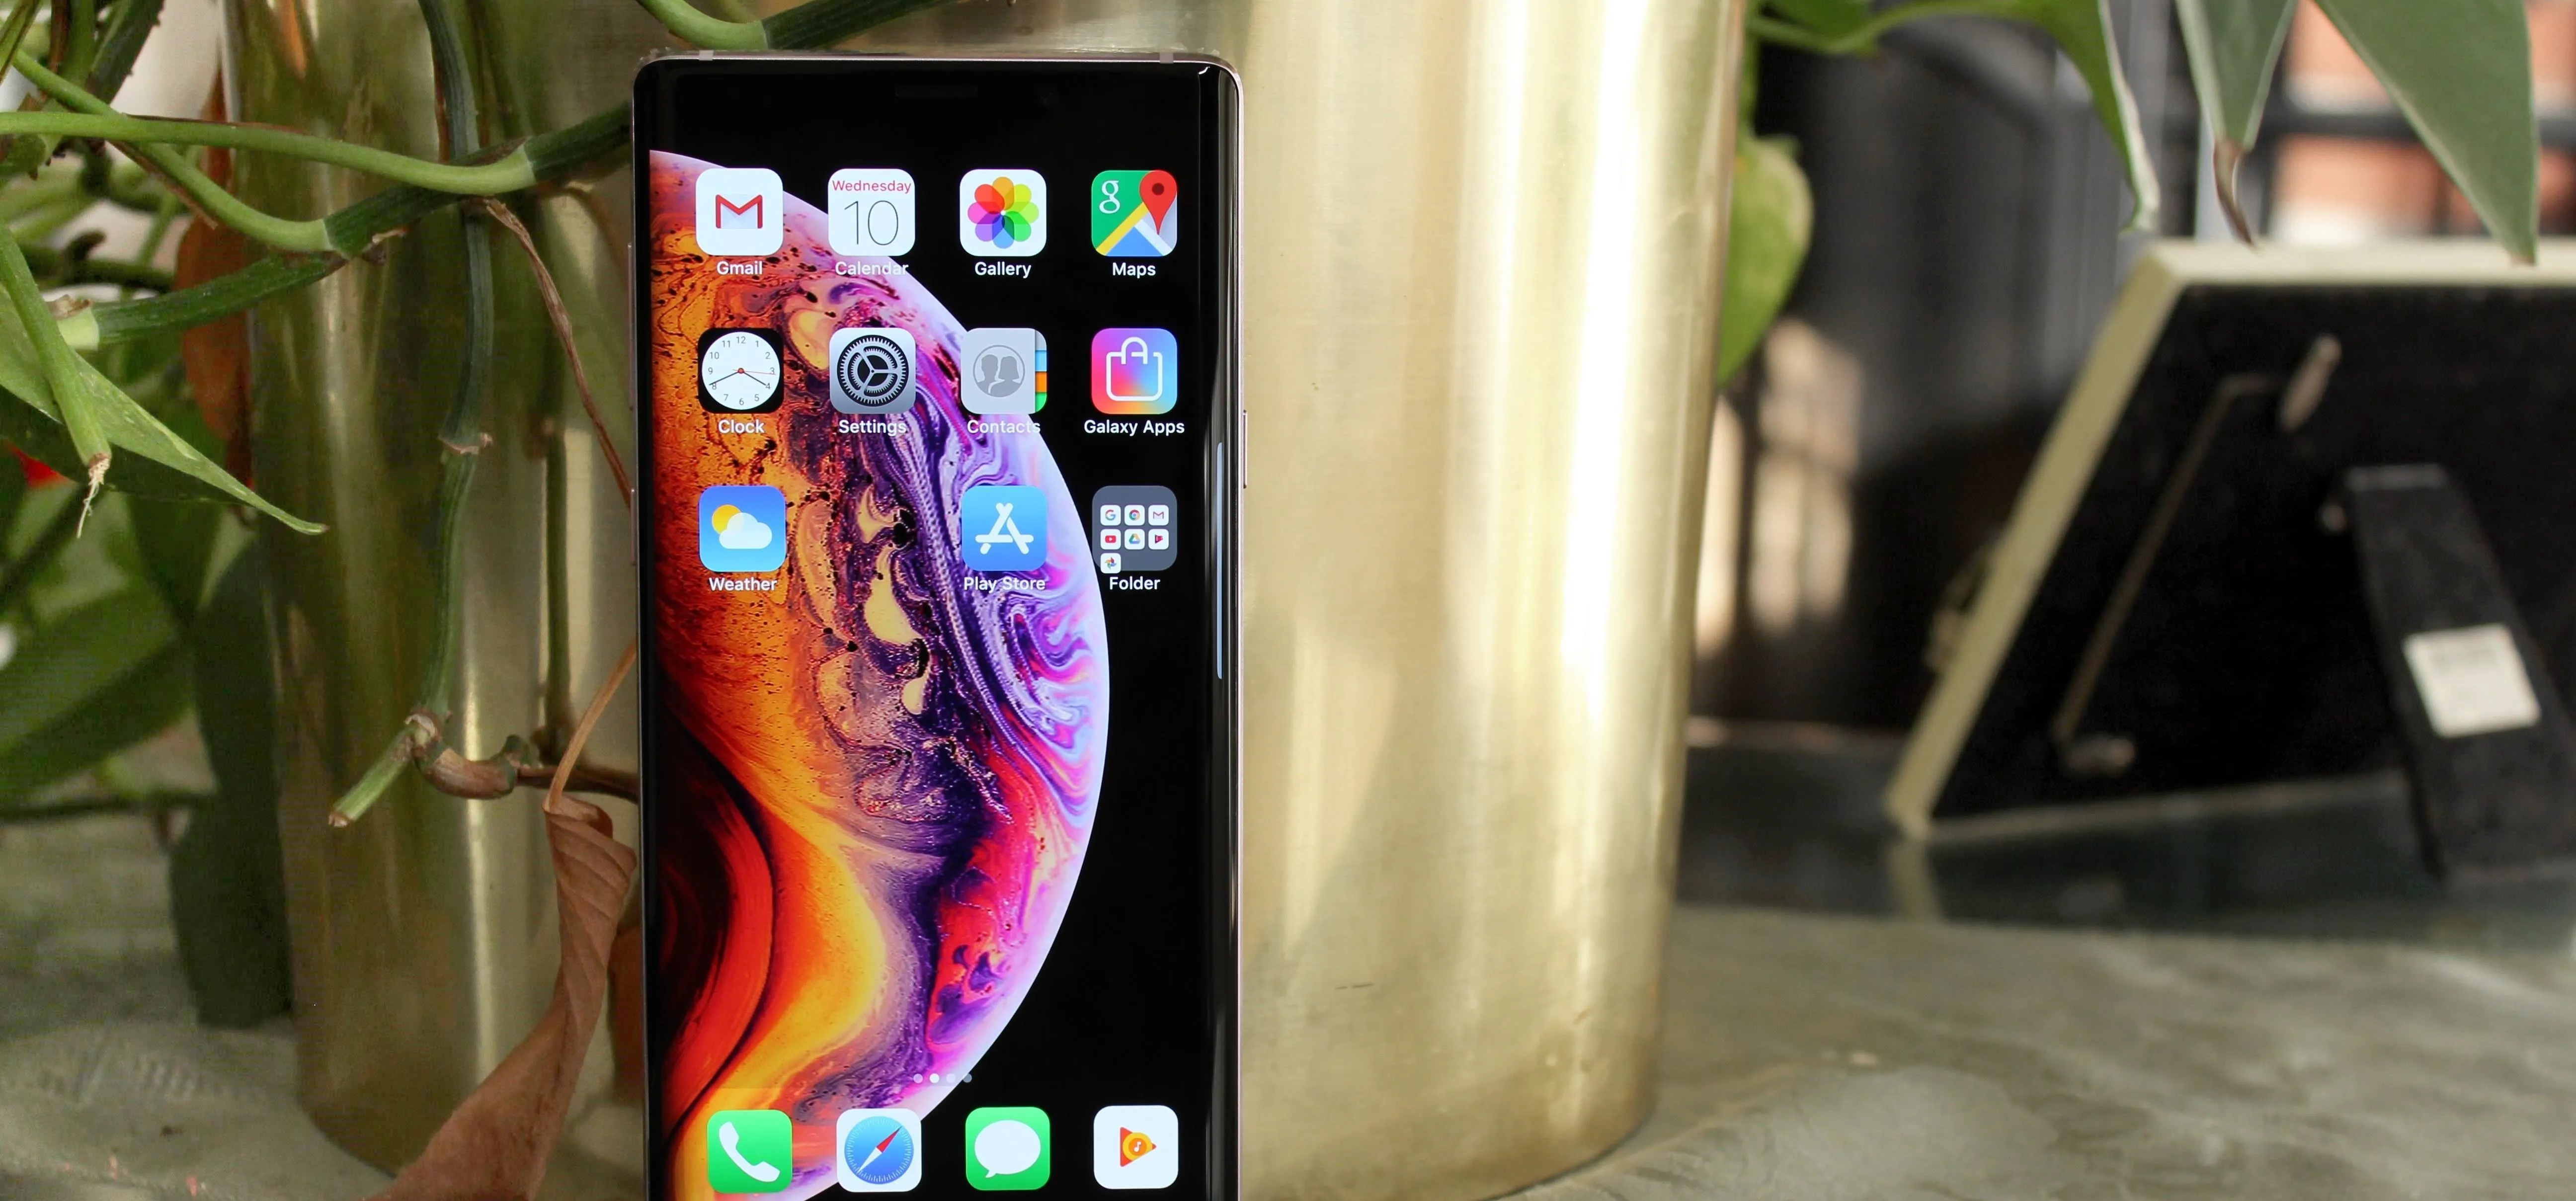
For some Android users, this guide is sacrilege — but for others, iOS is just an attractive operating system that can be admired without feeling like you've betrayed your own phone. If you're one of those Galaxy Note 9 owners that have peeked across the aisle and desired an interface as clean as the one on the iPhone XS Max, you can configure your Note 9 to look like its rival with some tinkering.
First off, this will not remove the Android operating system or Samsung Experience. Instead, what this does is change several aspects to emulate the look and feel of an iPhone. With these steps, your phone will actually look like it is running iOS 12 on first glance, but you'll still have the power and flexibility of Android underneath it all. And when you're tired of the look, you can easily adjust a few settings and return your Note 9 back to its original look.
Get the iOS 12 Home Screen
While it's possible to configure more popular third-party launchers, such as Nova Launcher, to look like iOS, LuuTinh Developer has done the hard work for us. Download and install his iOS 12 replica launcher from the Play Store.
- Play Store Link: Launcher iOS 12 (free)
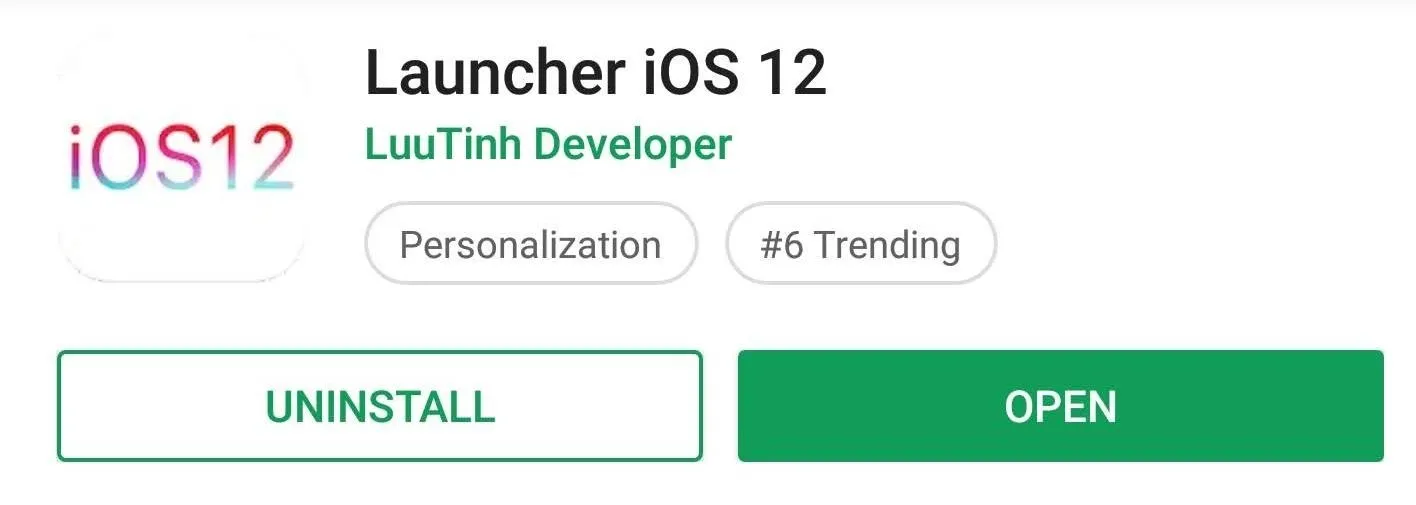
Once installed, open the app by selecting the app's icon (or tapping "Open" on the app's Play Store page). A series of permission requests will appear which you can choose to accept or deny. Denying them won't break the launcher, but you'll lose some functionality such as seeing your current weather.
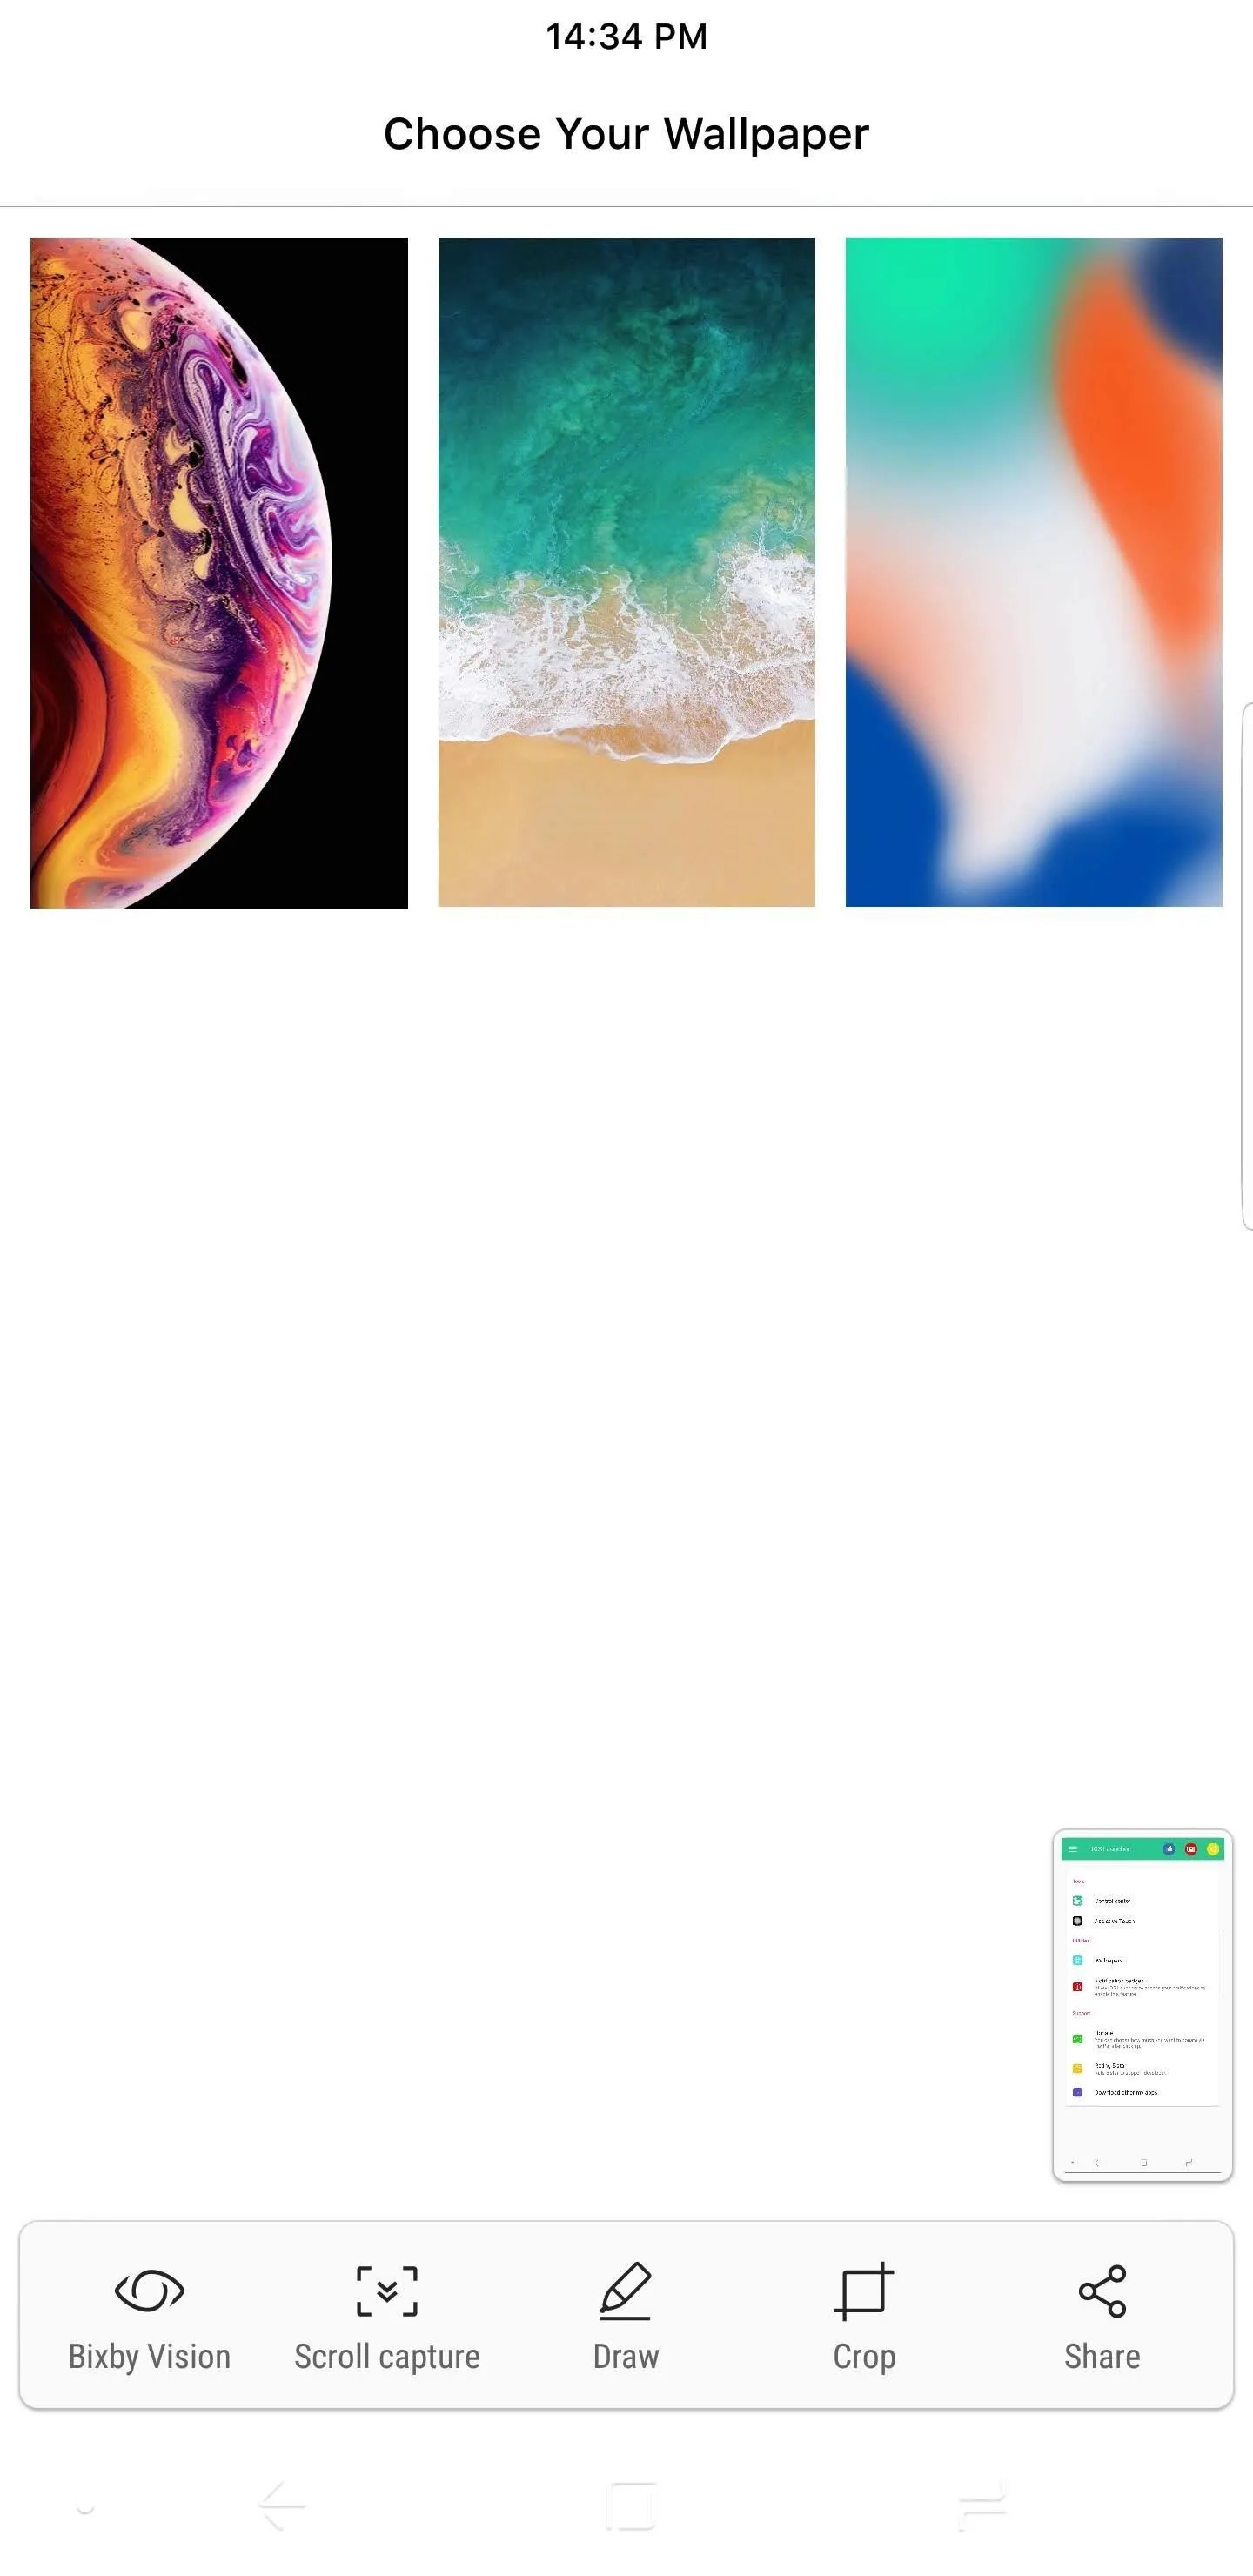
Next, in the main menu, select "Wallpaper" and choose the any of the provided iOS 12 wallpapers. Tap "OK" and choose whether you want to change the wallpaper of the home screen, the lock screen, or both. Once you do that, your phone will prompt you to select a default launcher. Choose "iOS Launcher" and select "Always" to set it as the default home screen.

Finally, the famous iOS notification badges requires us to enable another option. Choose "Notification badges" from iOS Launcher's settings menu (accessible by long-pressing any empty space on your home screen), then enable the toggle next to iOS Launcher. Choose "Allow" to add the feature.
The next time you open the iOS Launcher, this option will disappear. If you ever want to remove this access, open your phone's main Settings and search for "Notification Access." Select this option to bring up the previous menu where you can disable the feature.
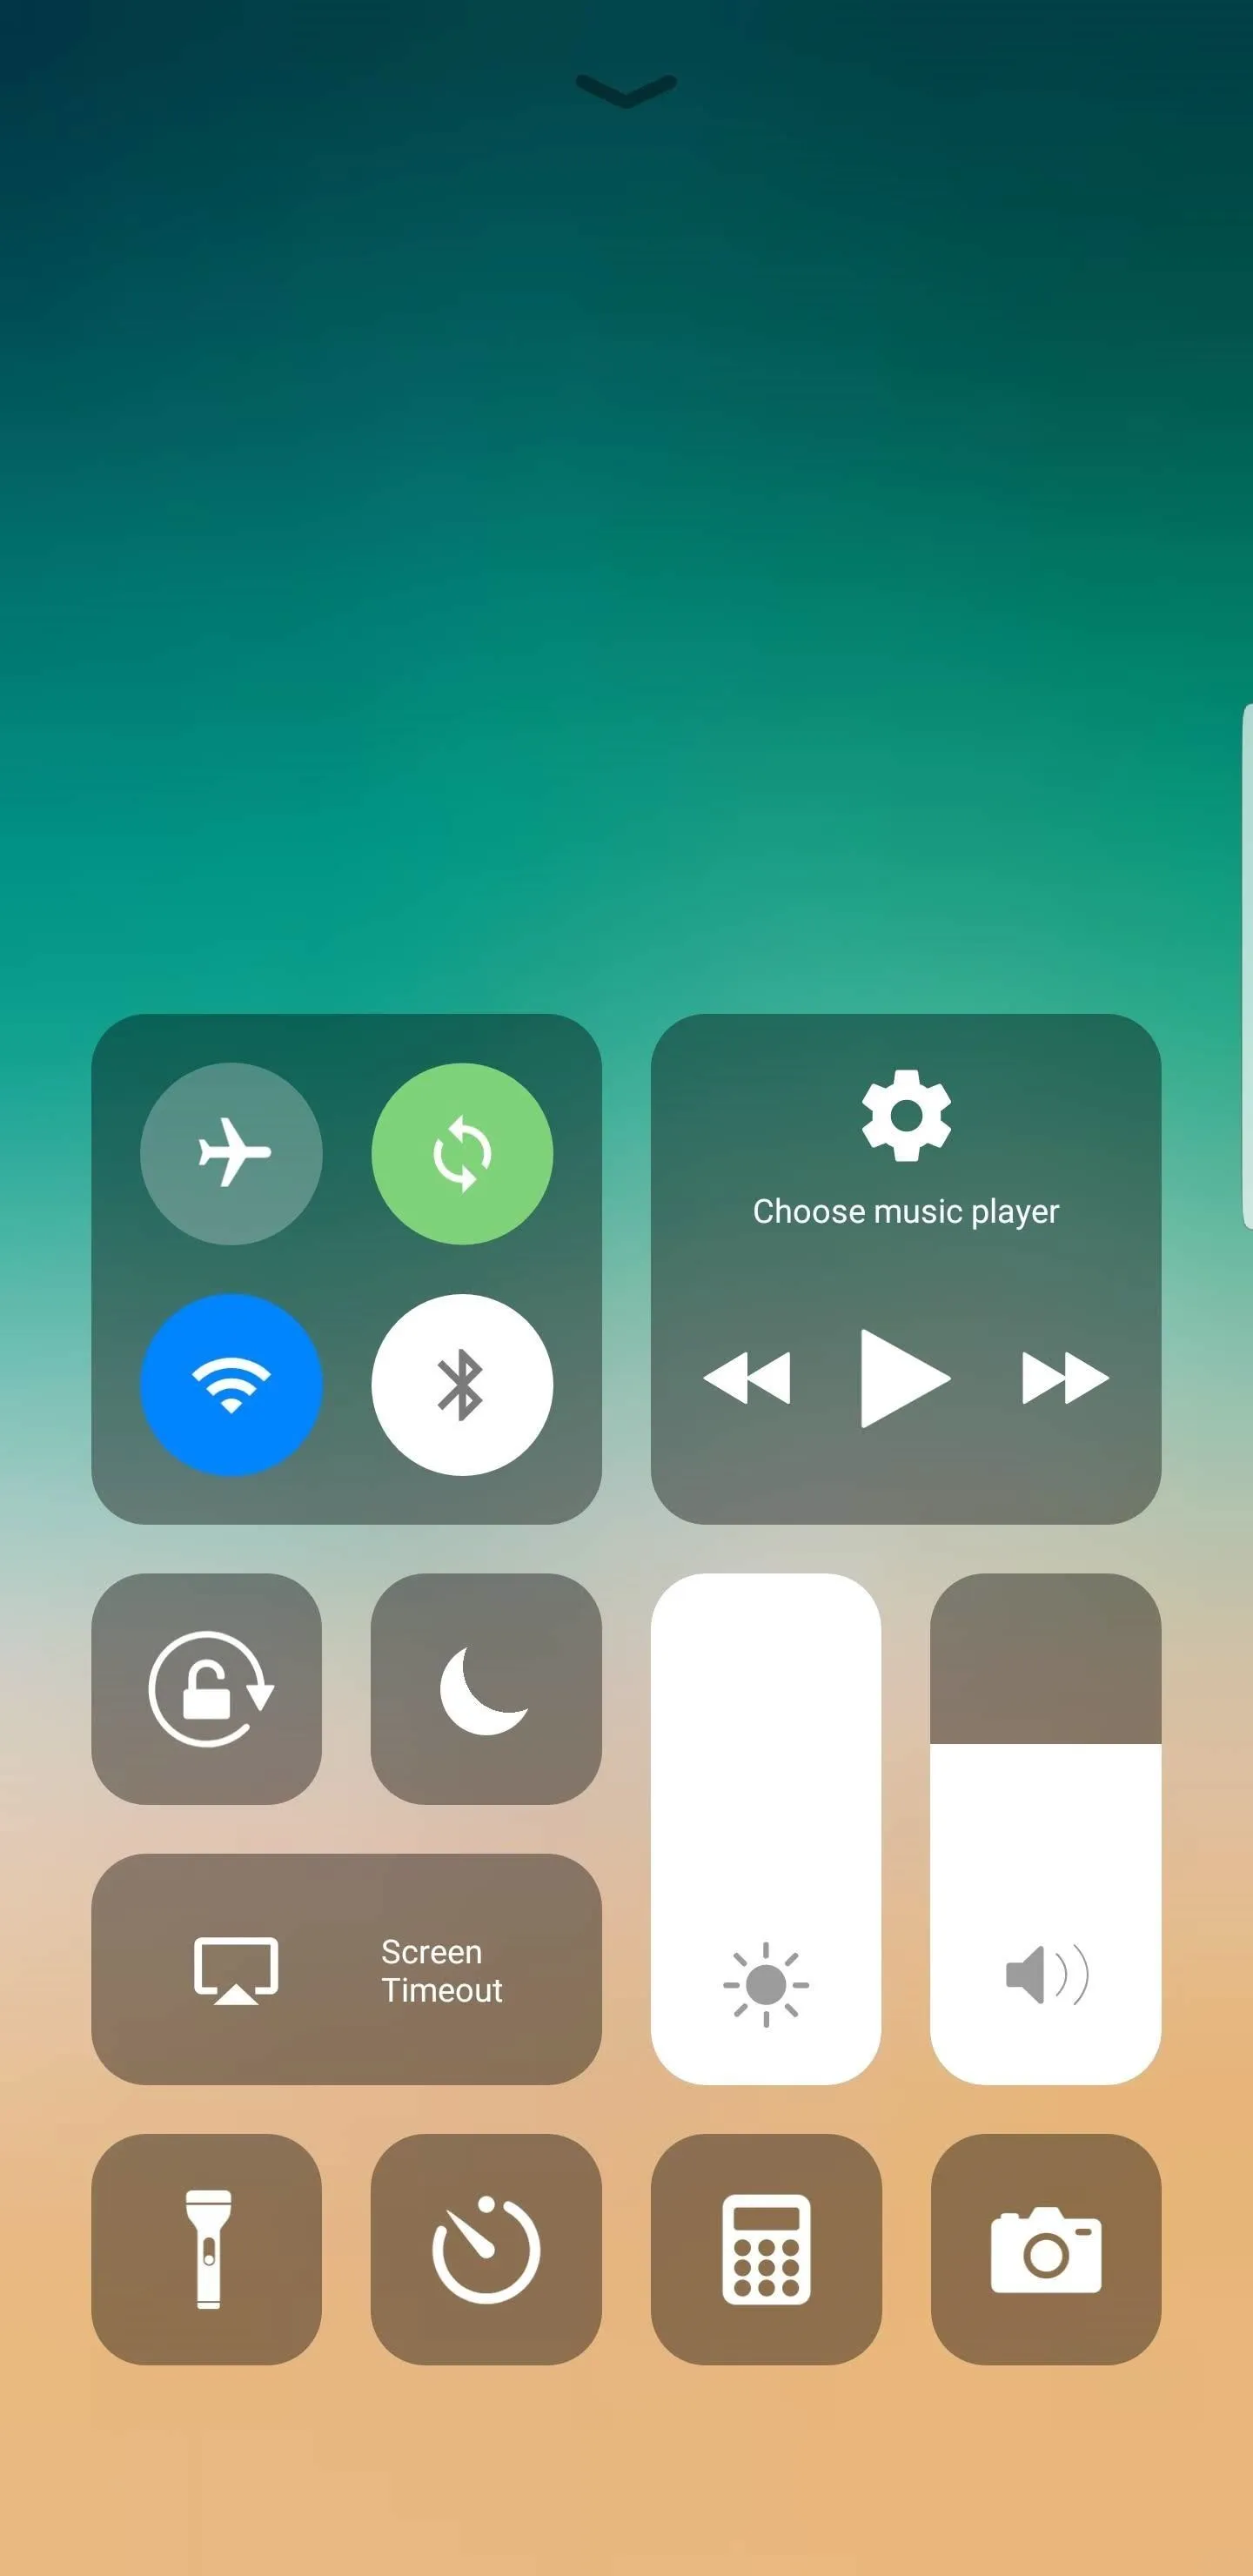
Add Control Center
So now your Galaxy Note 9's home screen looks like the iPhone Xs Max, but what about Control Center? The same developer as the iOS 12 Launcher also created a replica of Apple's equivalent to Android's Quick Settings panel, so download and install the app using the link below.
- Play Store Link: Control Center iOS 12 (free)
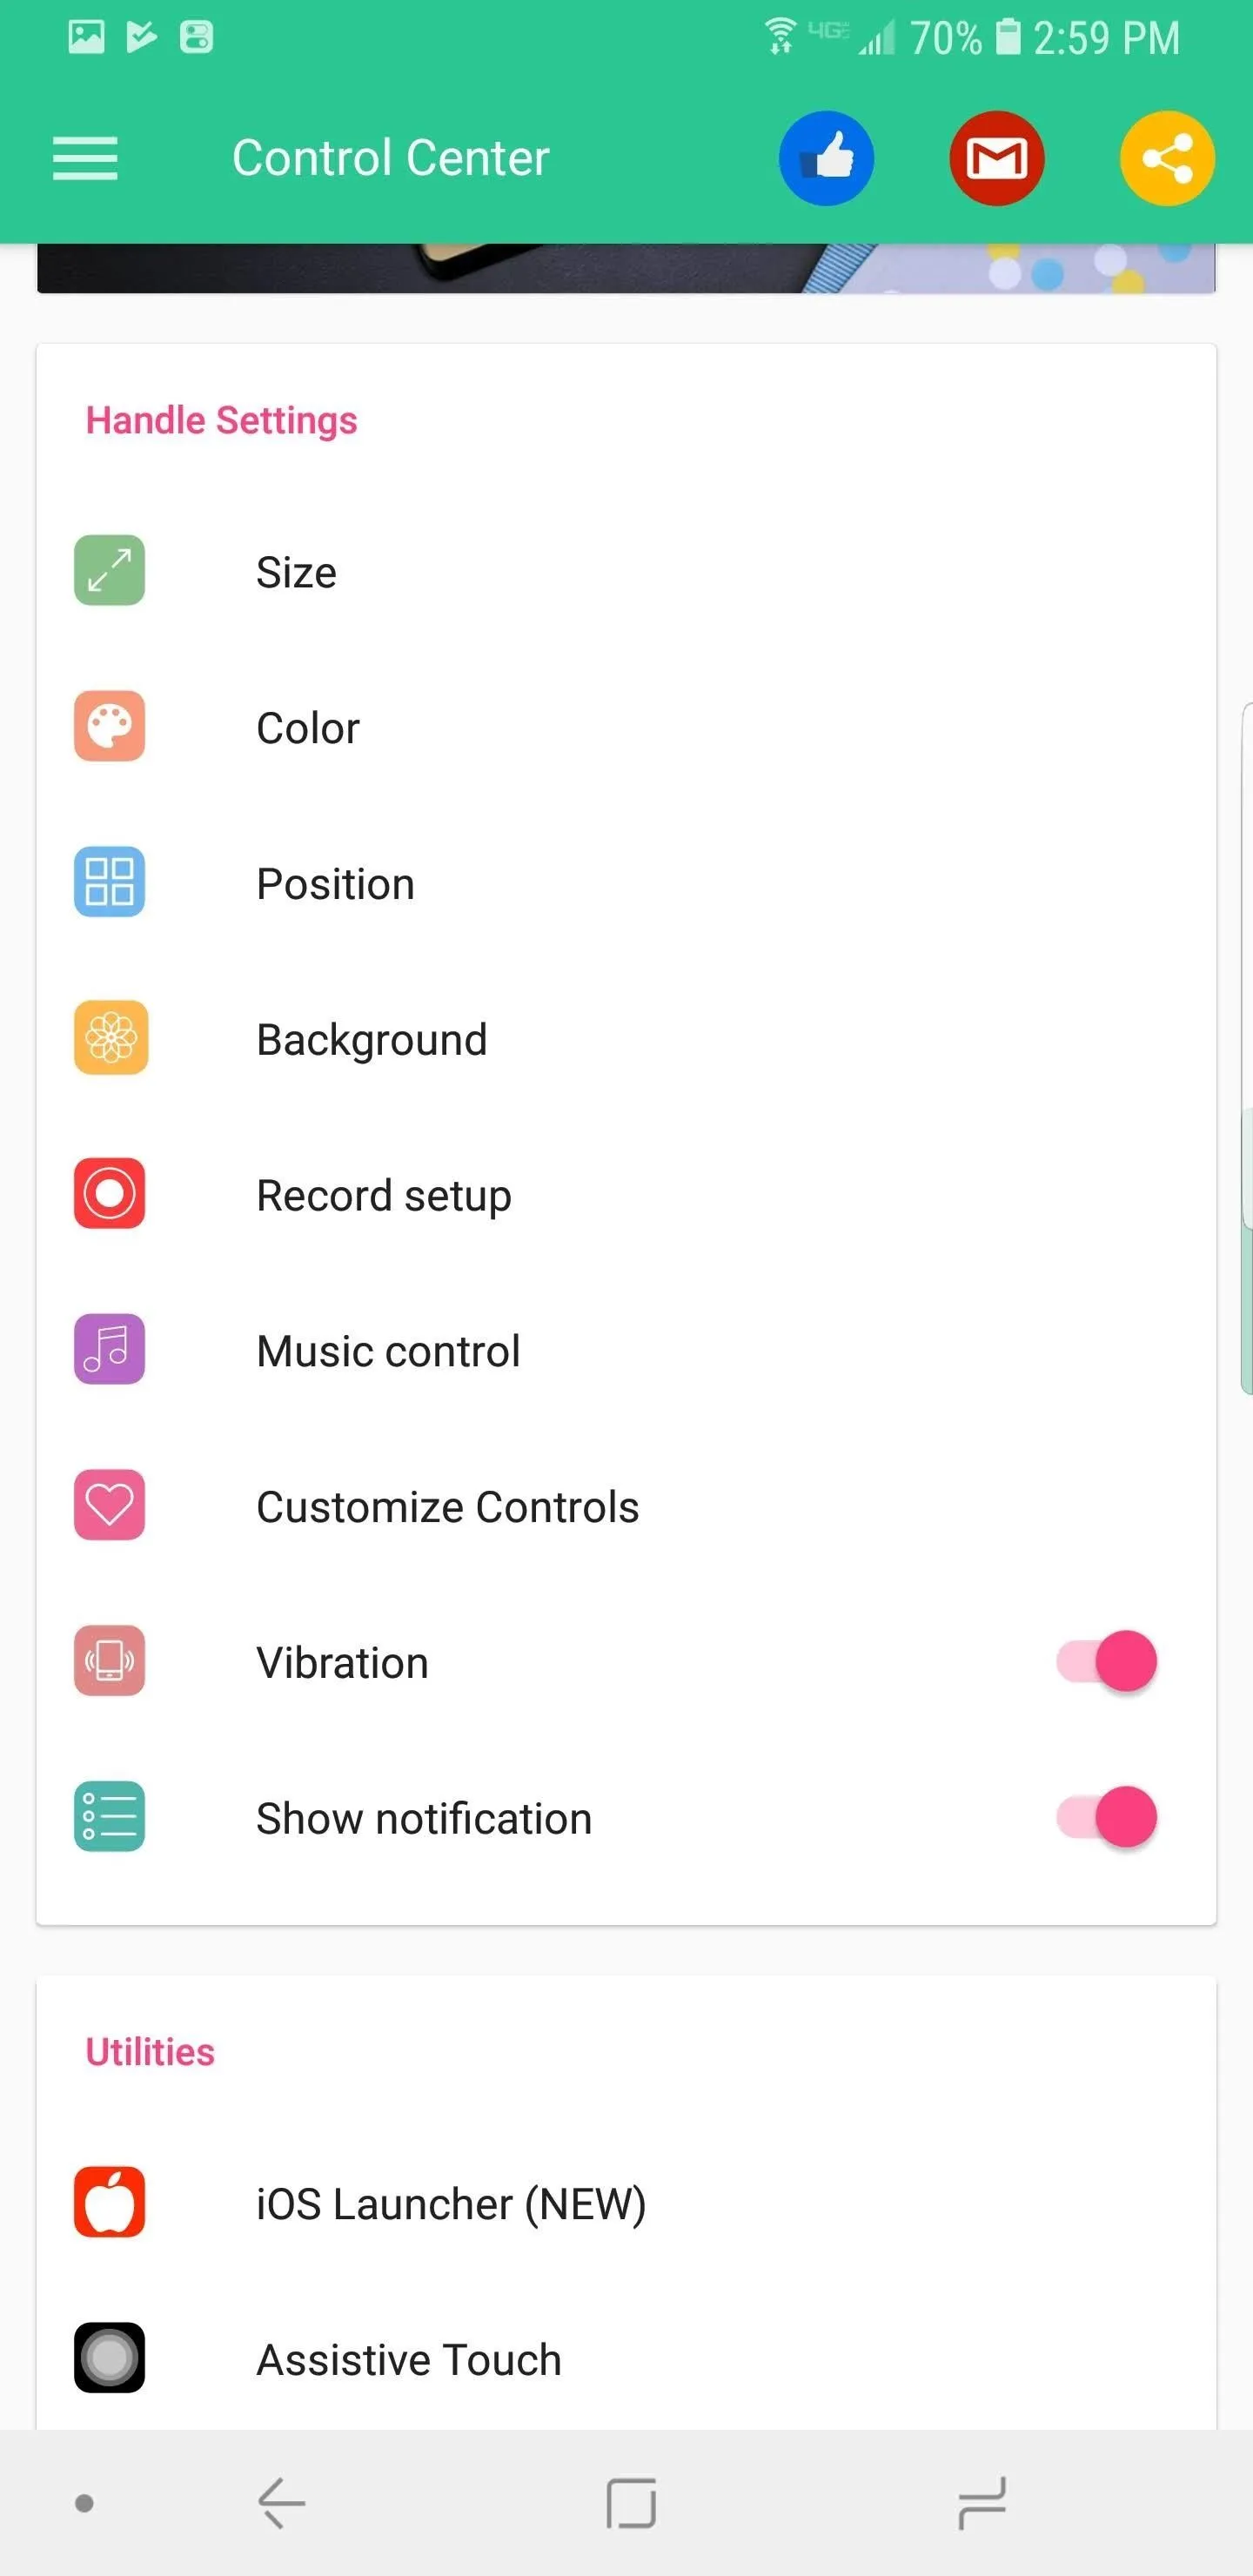
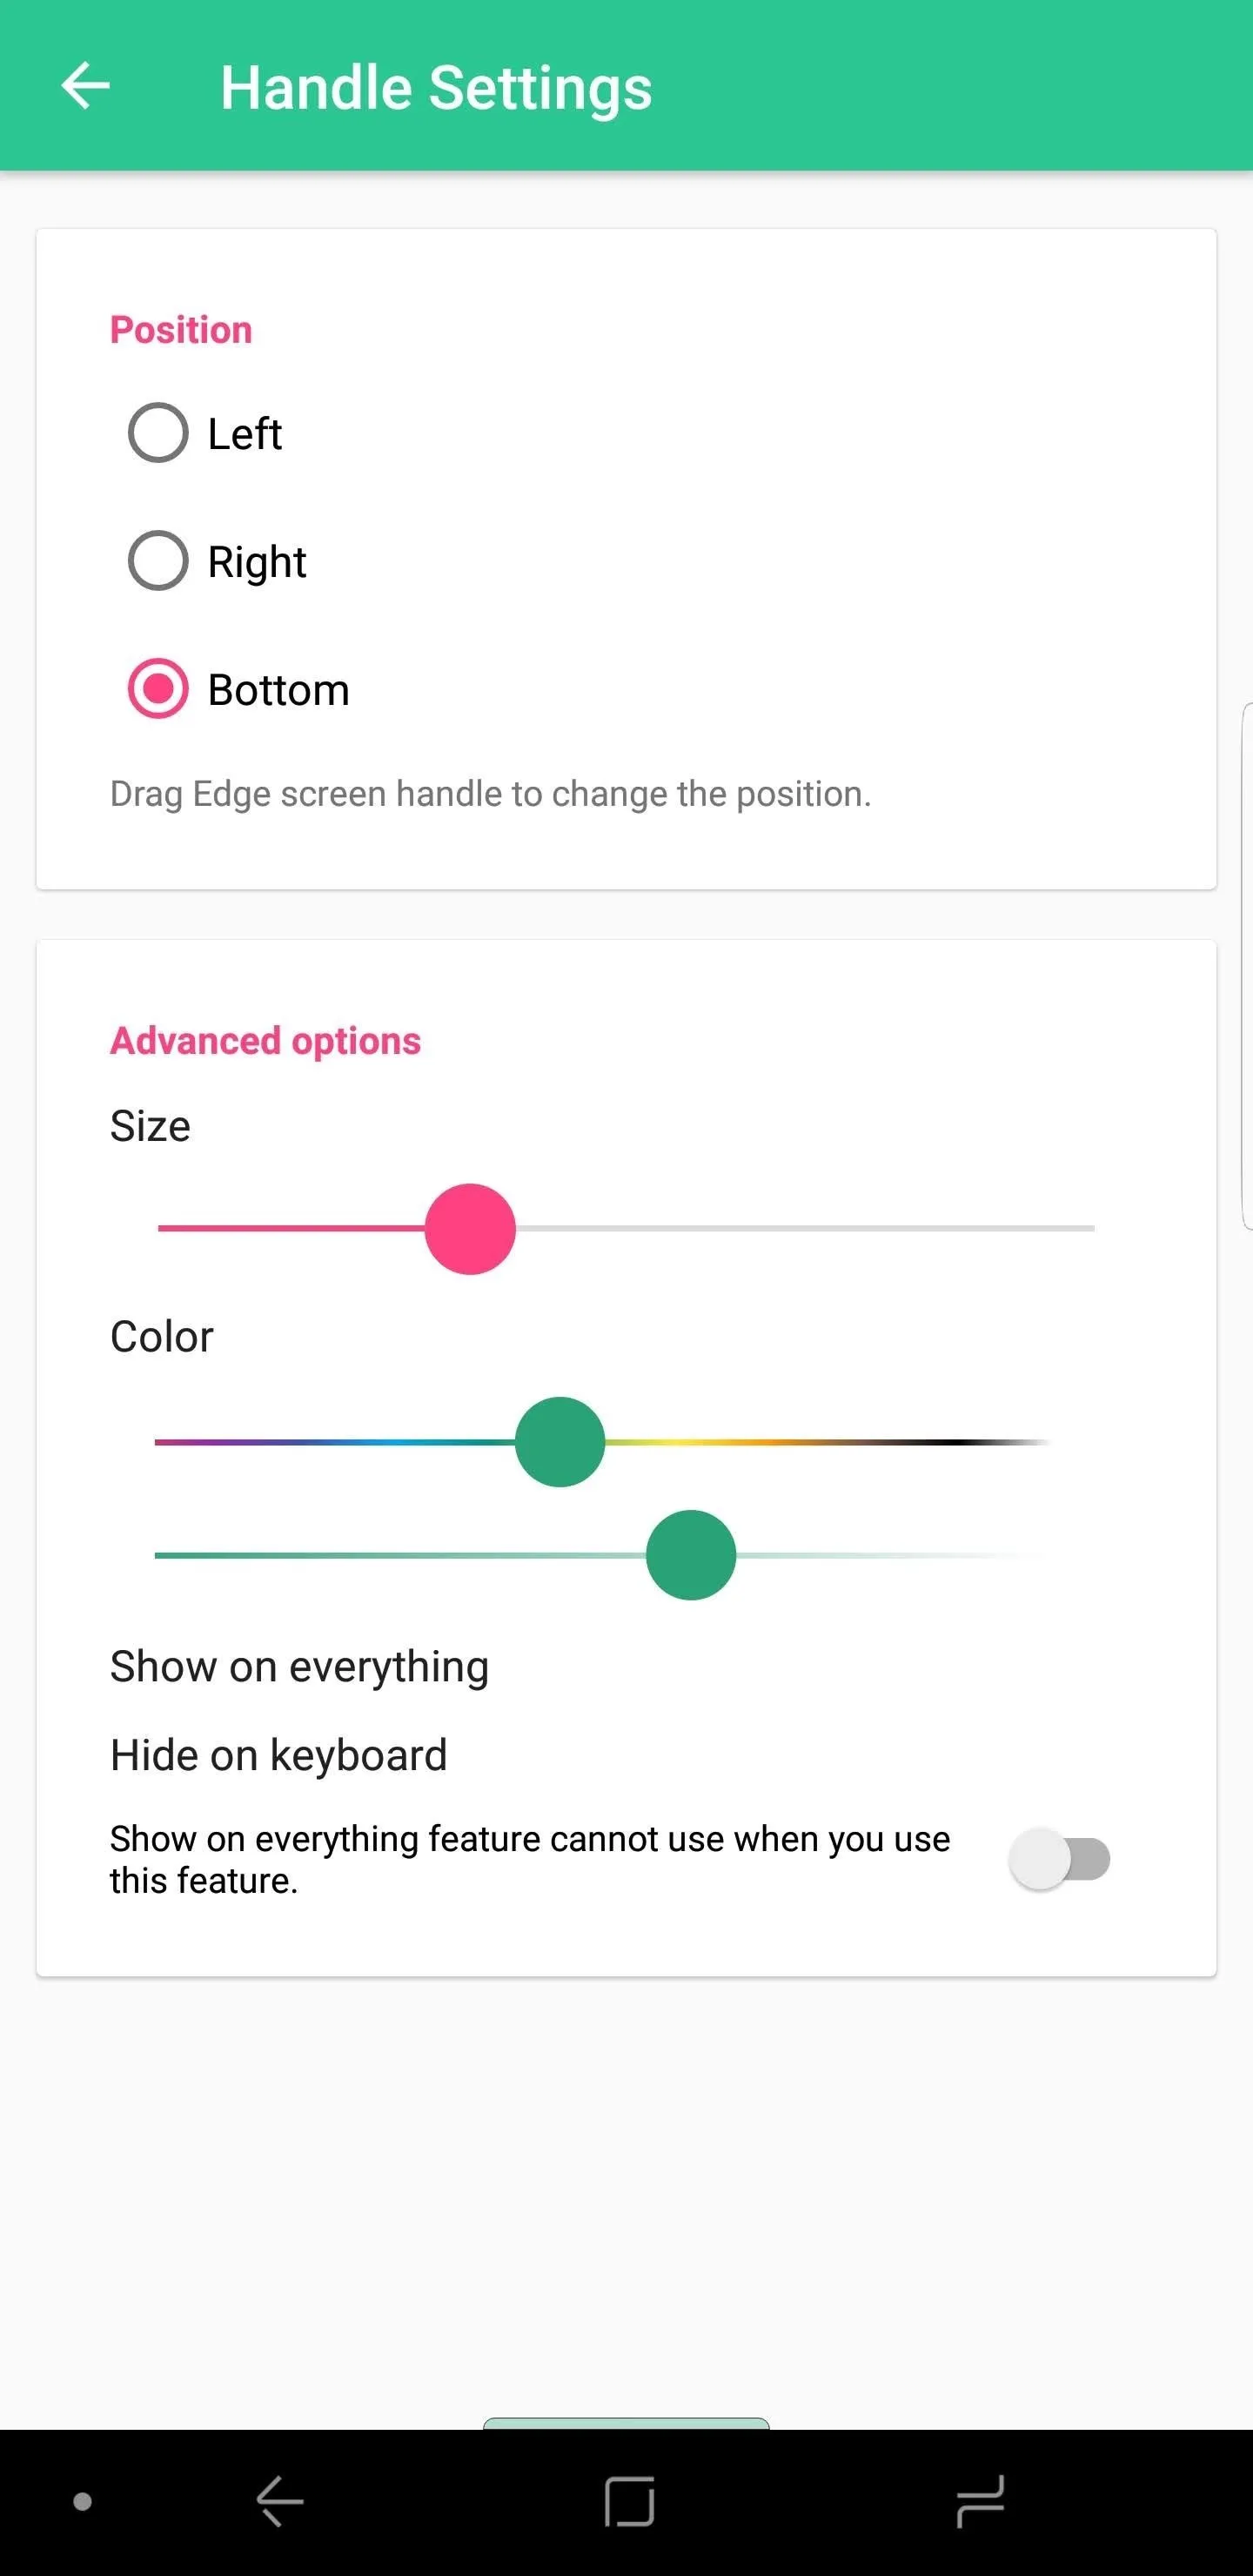
Once installed, open the app by selecting its icon. Choose "Position" and select "Bottom" so that you would need to swipe up from the bottom edge to reveal Control Center, the same gesture as most iPhones.
Hide the Status Bar
The Galaxy Note 9 has a feature called Immersive Mode which lets you take full advantage of the 6.4-inch display. Using ADB commands, you can remove the navigation and status bars on your Galaxy Note 9 so that your home screen uses the full length of the screen.
We have a complete tutorial on how you can accomplish this, which you will find using the link below. Be aware that you will need a computer and USB cable to achieve this, so be sure you gather that equipment beforehand. Also, the next step will hide the navigation bar, so do not enter full Immersive Mode or hide the navigation buttons.
Add Gesture Controls
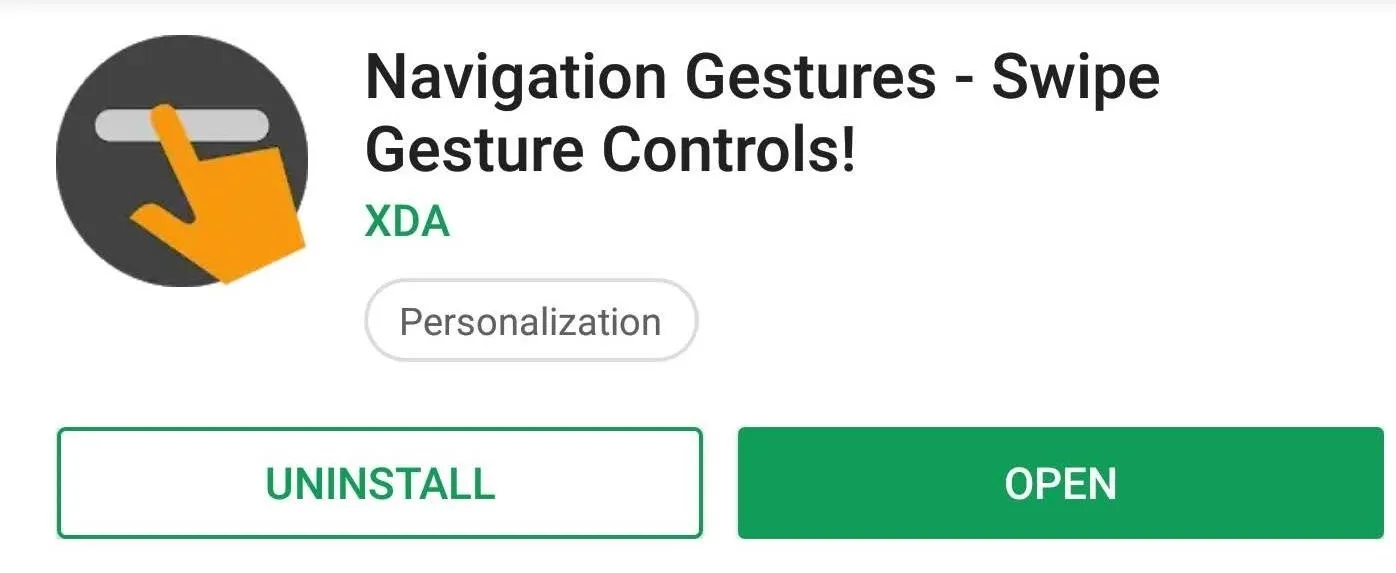
XDA has created an app that provides the same gesture controls found in iPhone Xs Max to any Android device. Similar to the apps before, you will need to do some tinkering, but once done, you'll be able to navigate your phone just like an iPhone XS Max. Use the link below to install the app onto your Galaxy Note 9.
- Play Store Link: Navigation Gestures - Swipe Gesture Controls! (free)
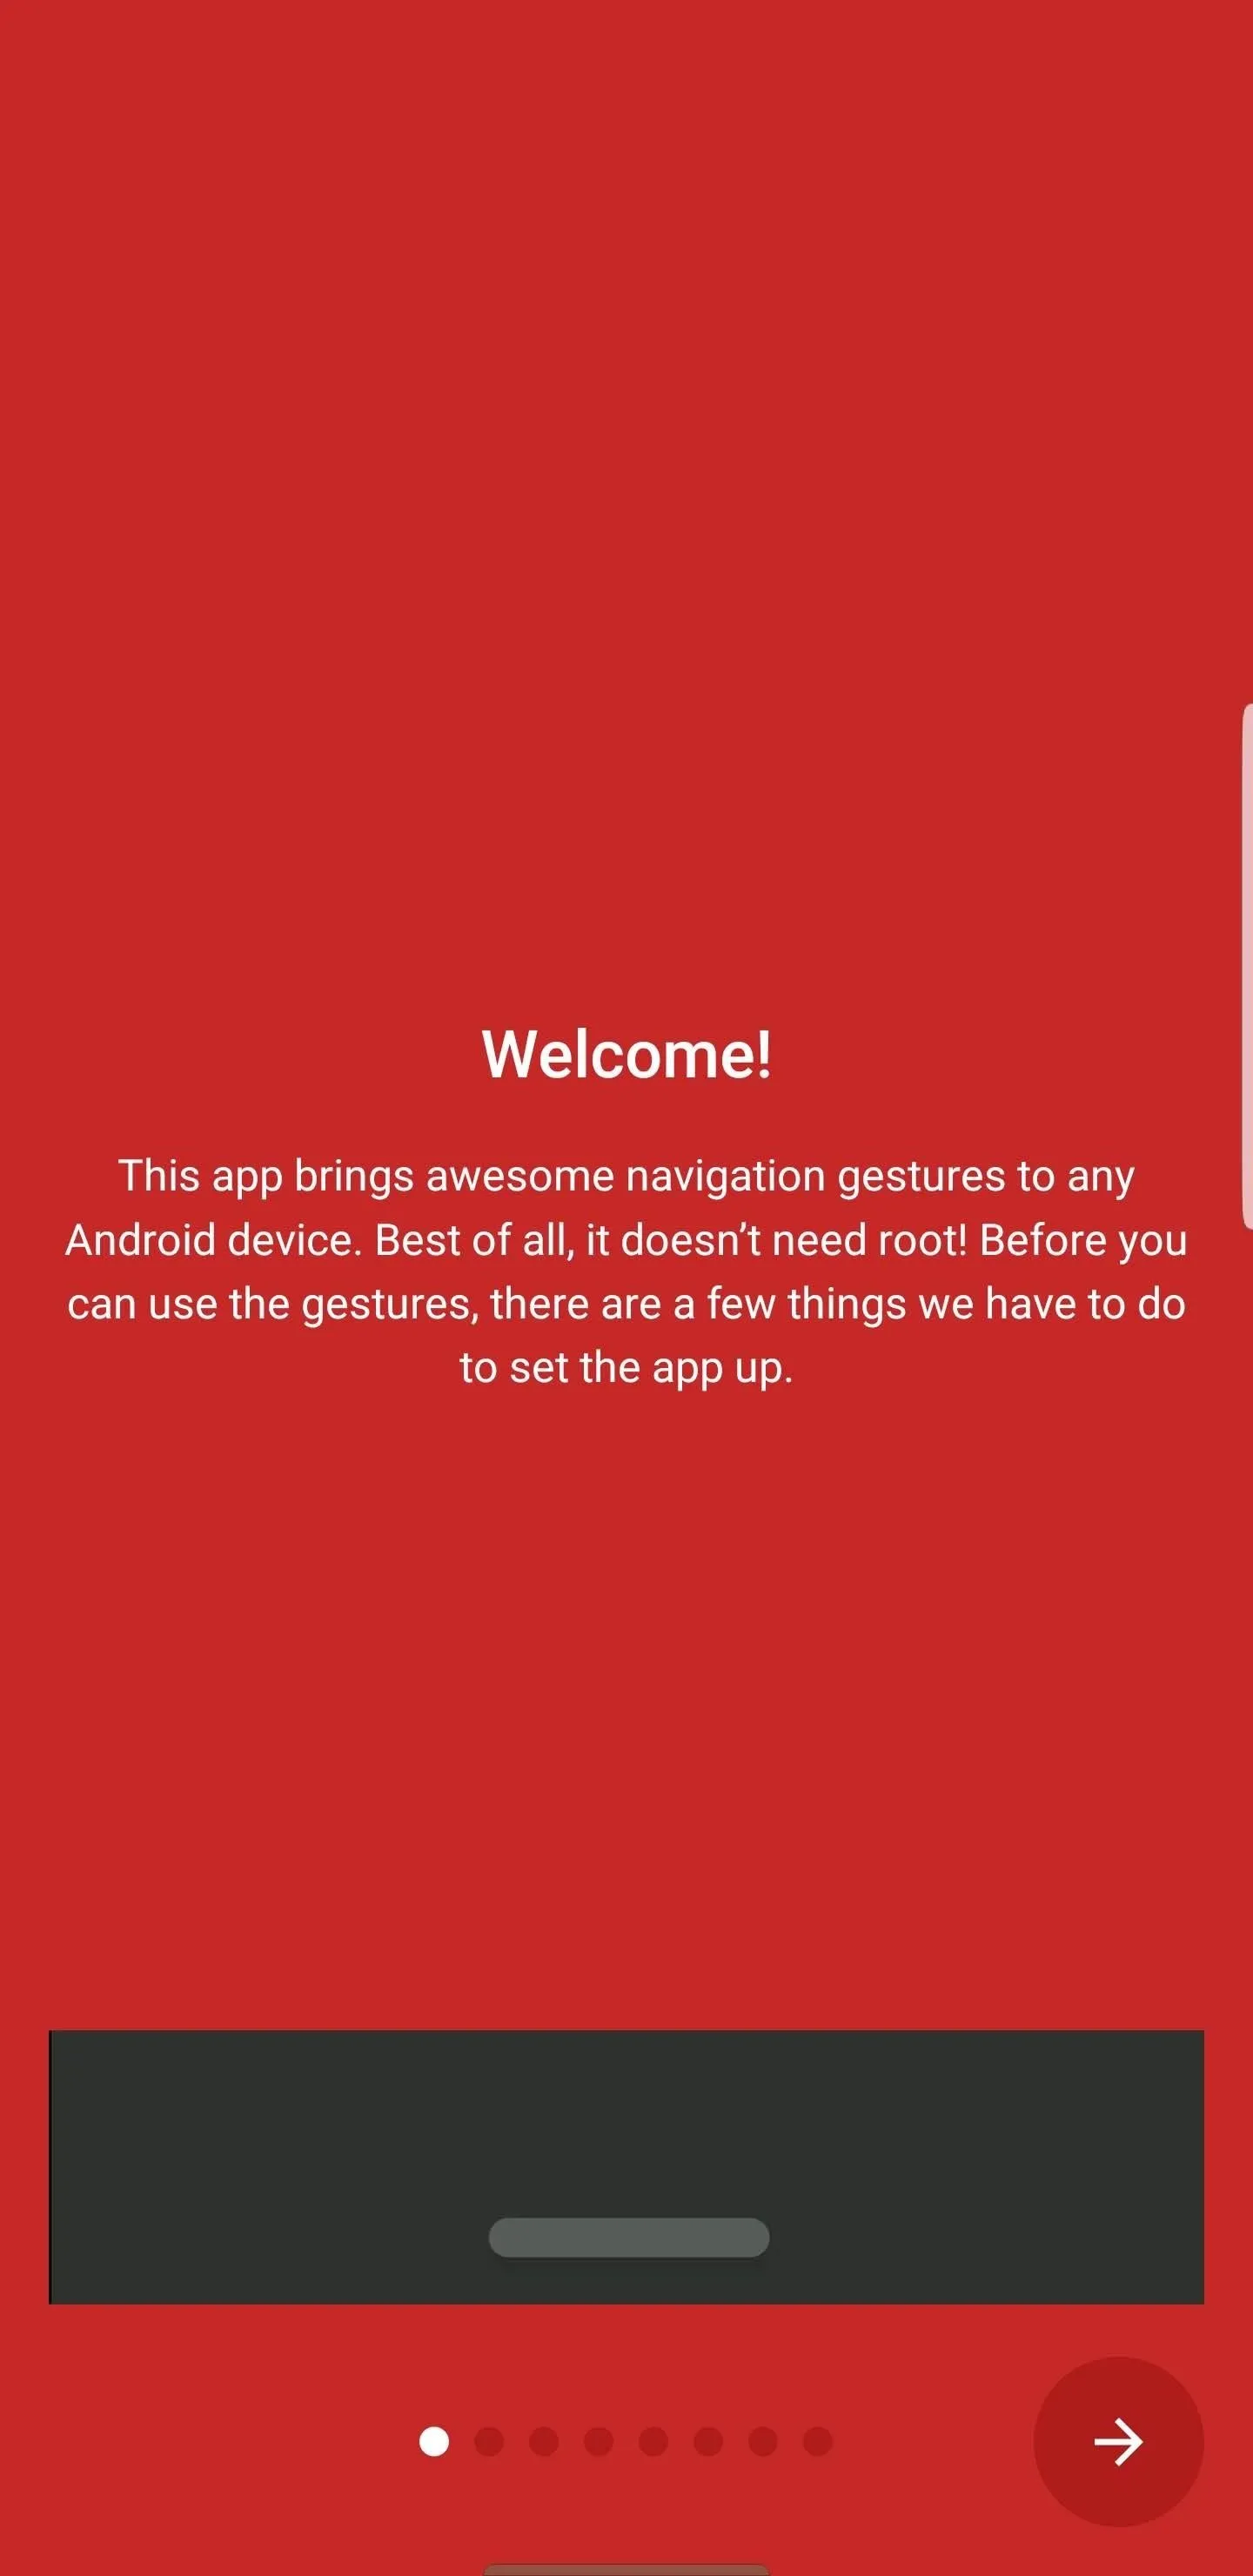
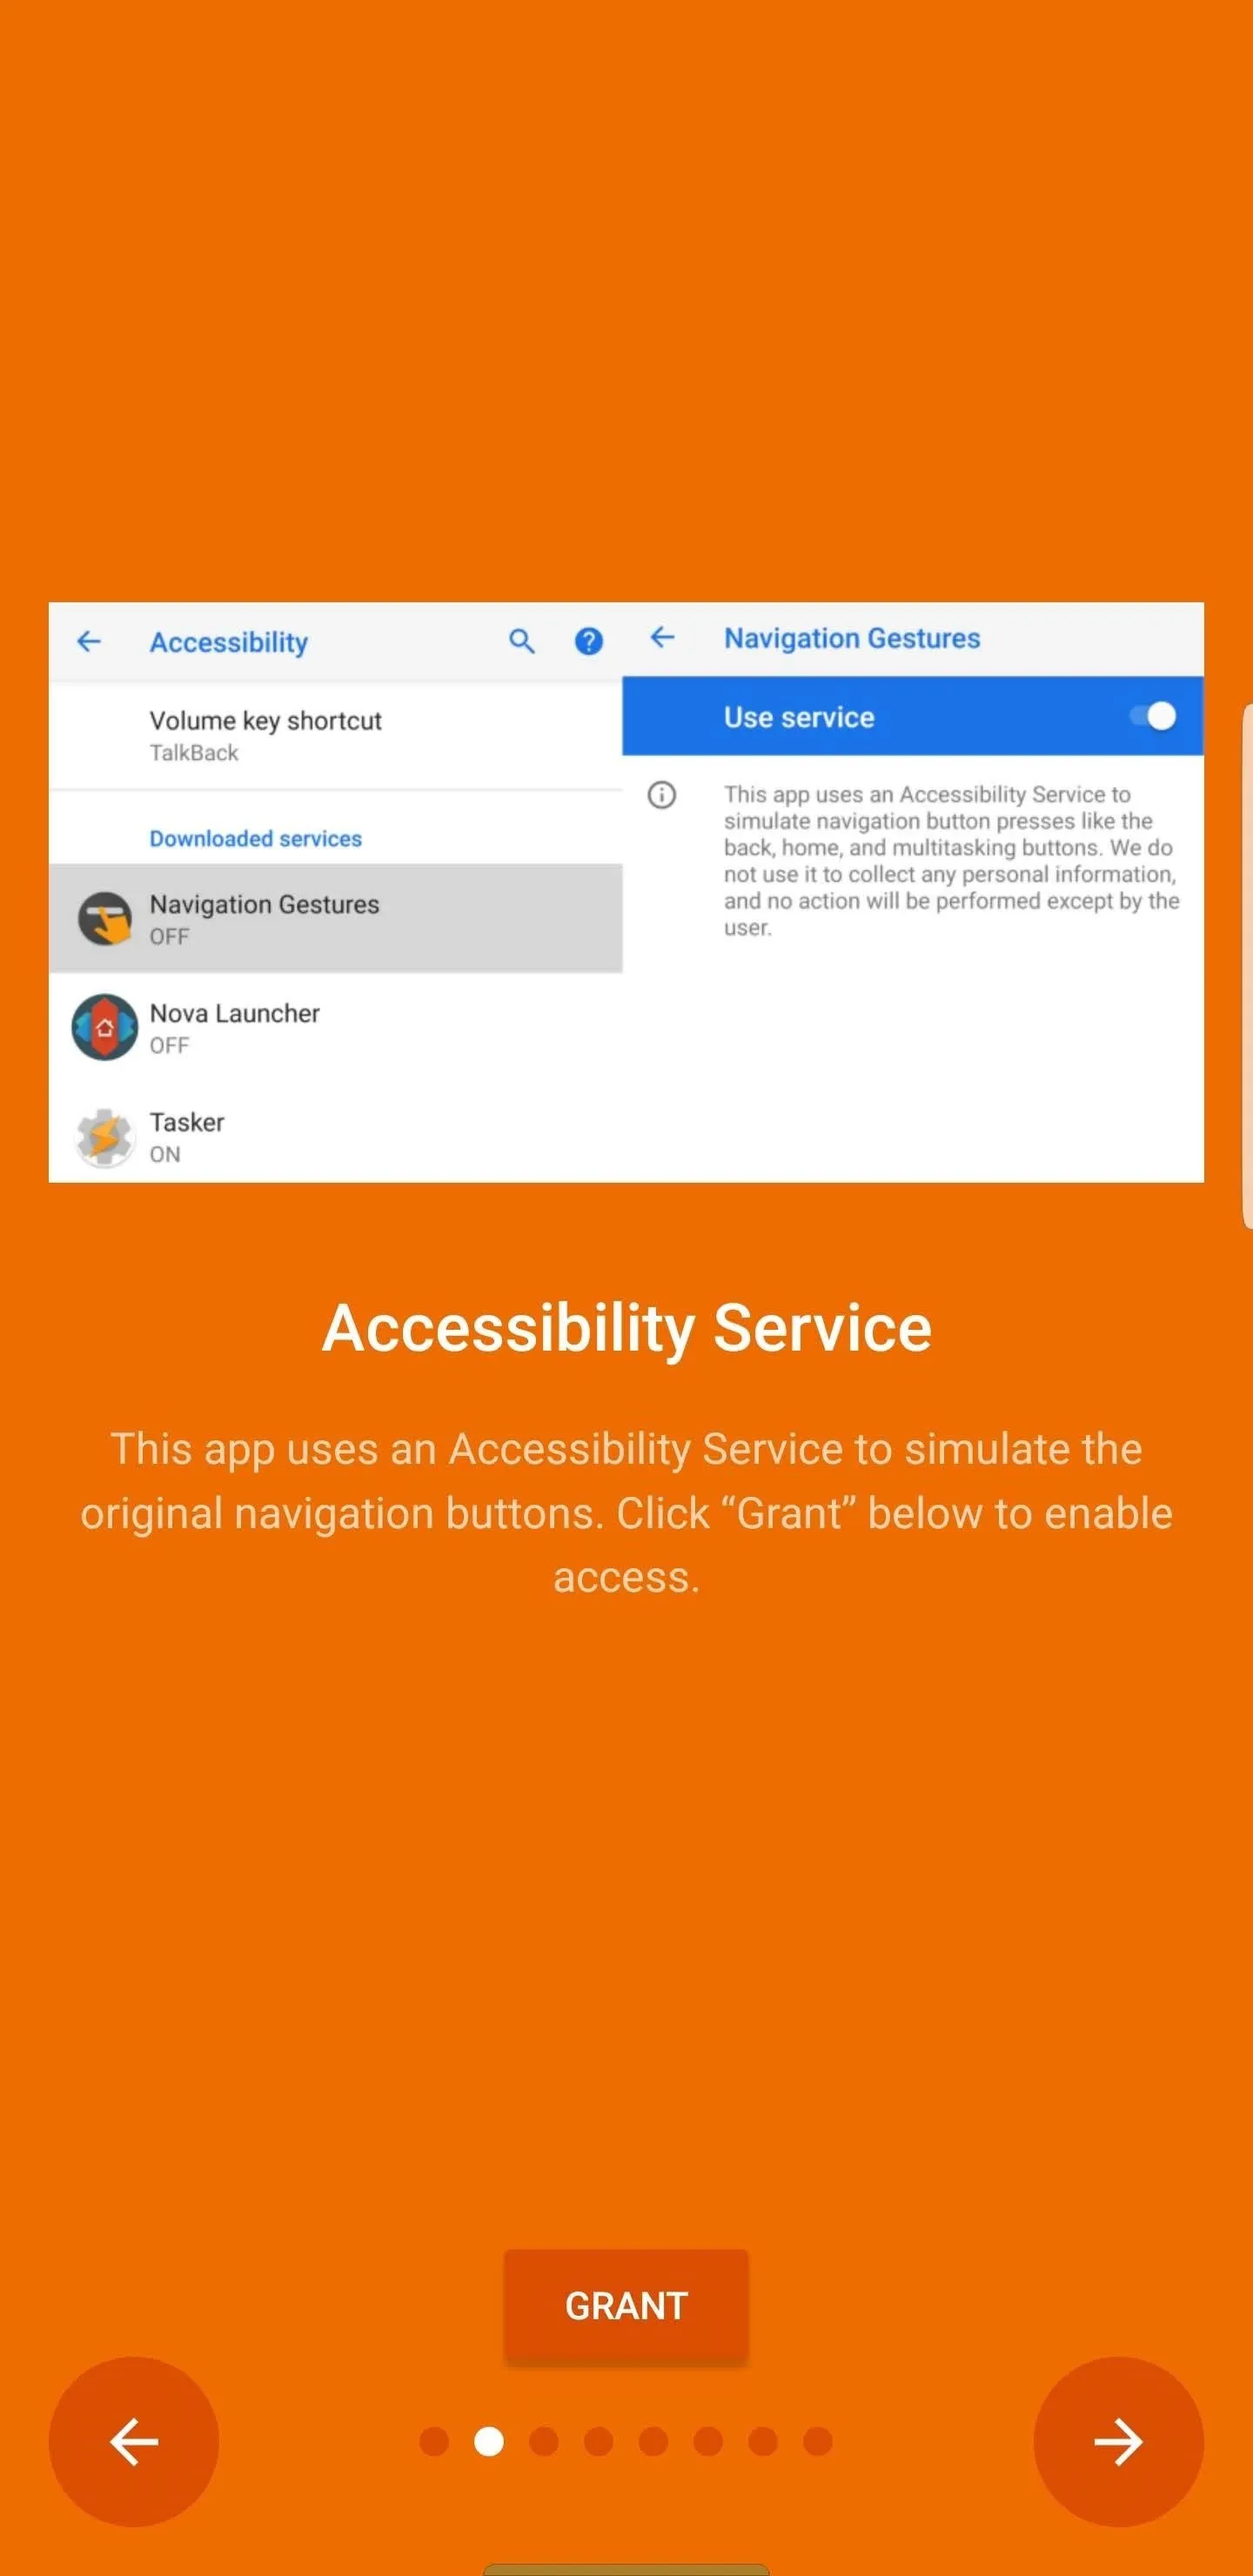
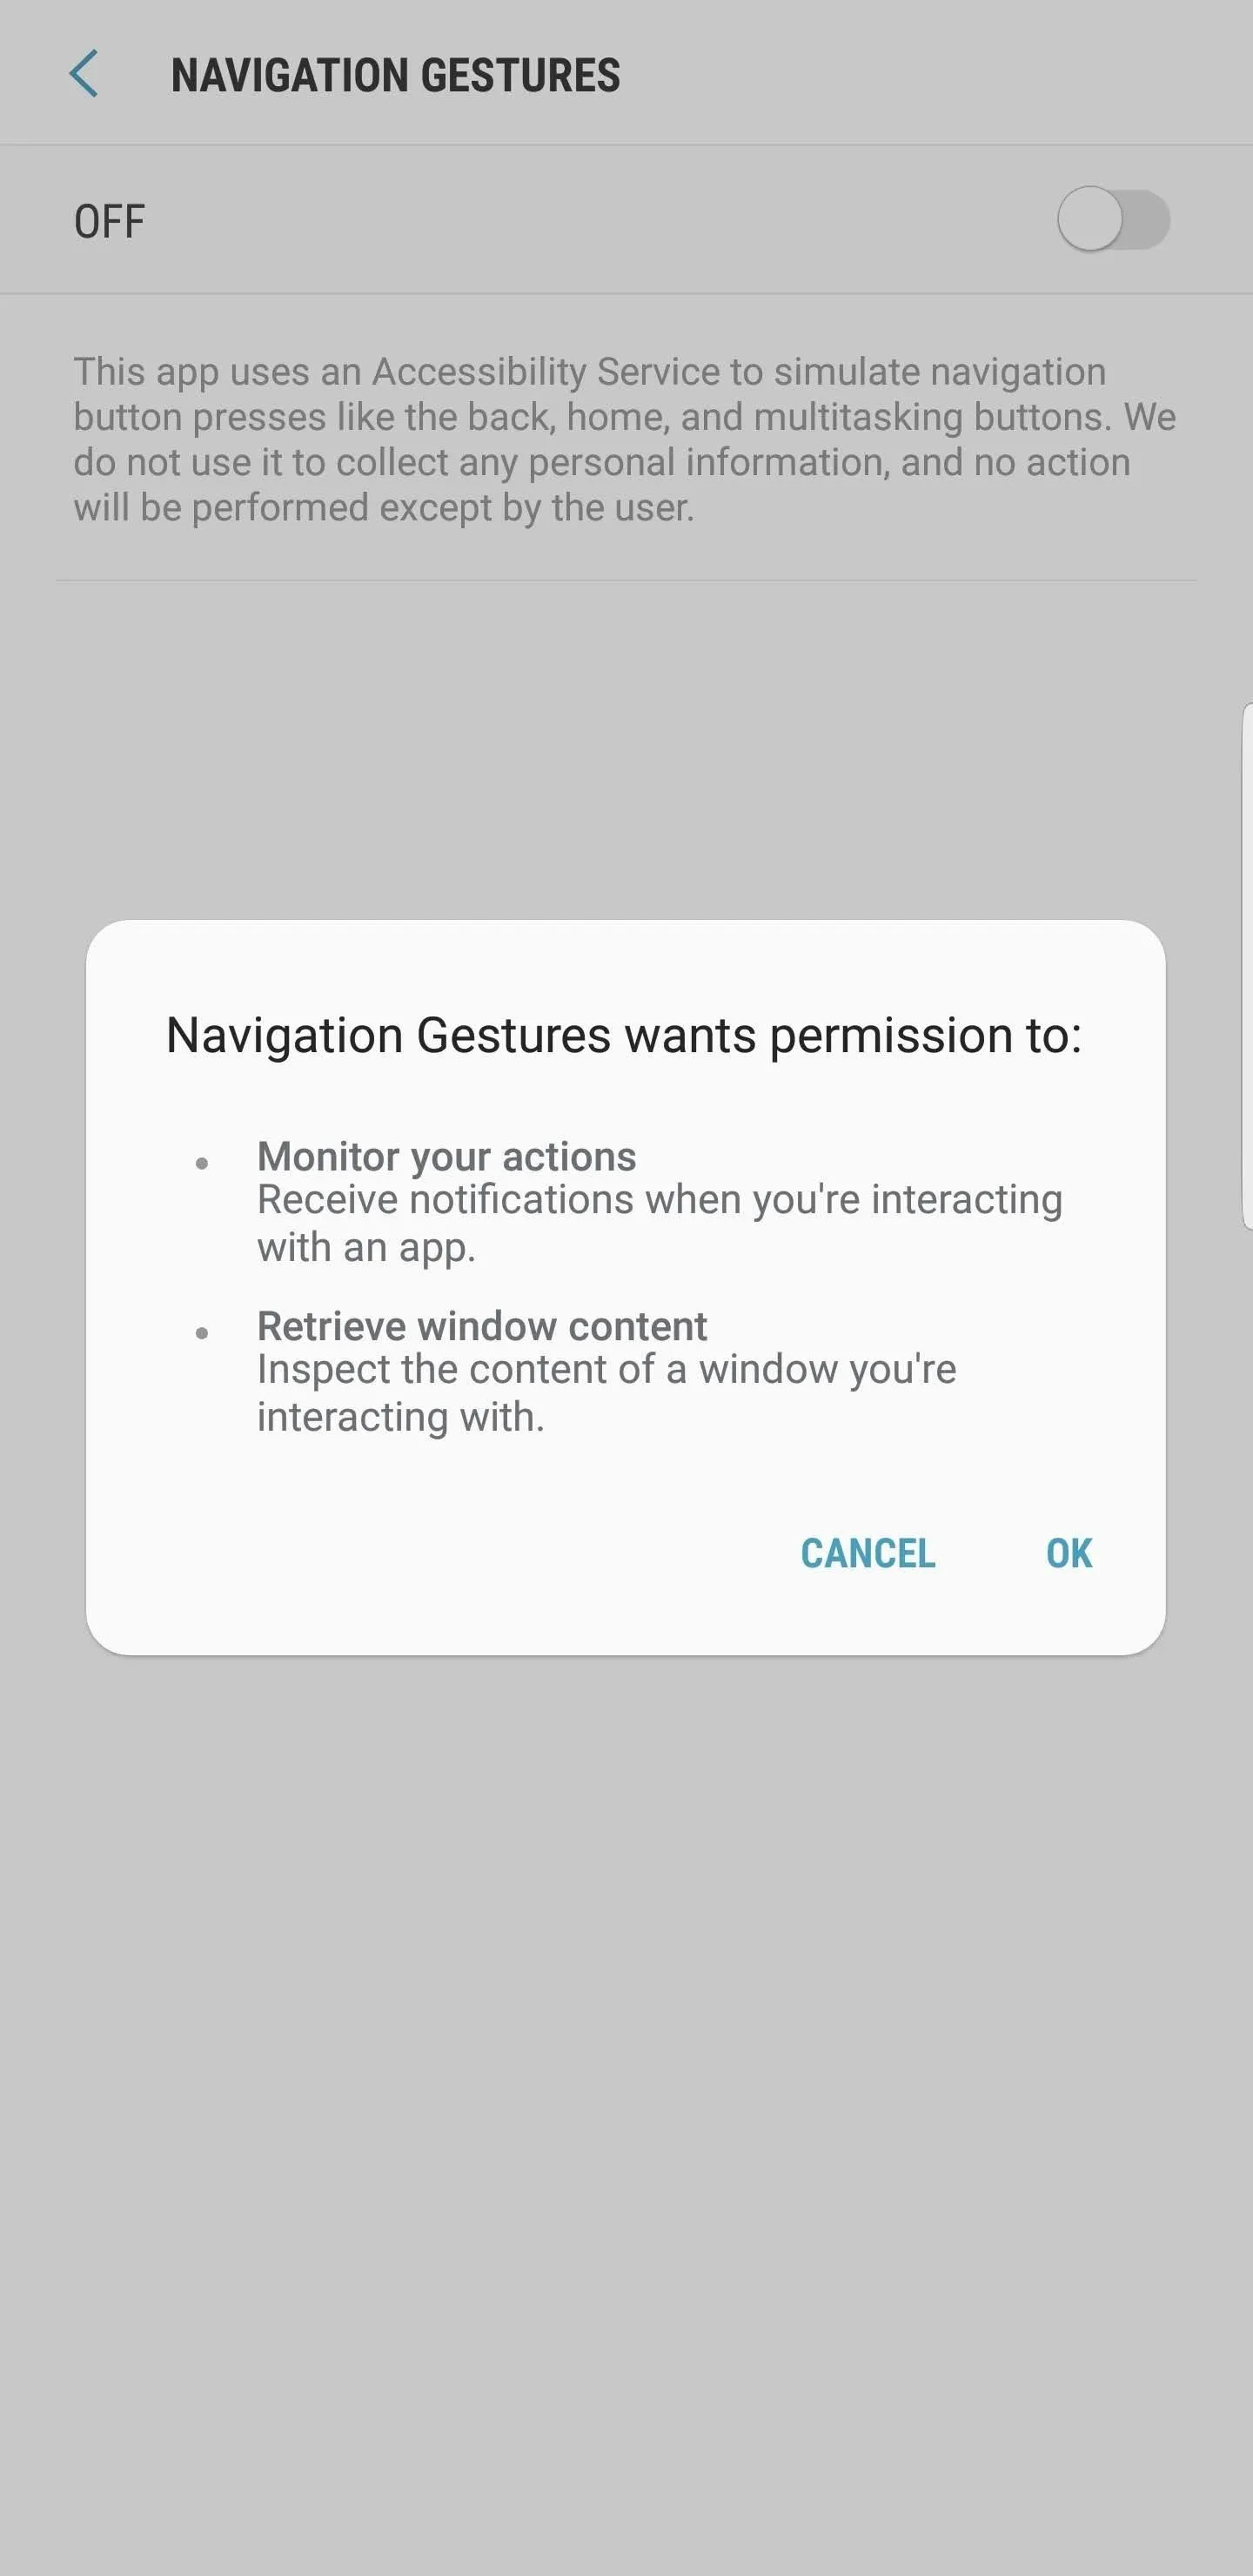
Open the app and select the right arrow to advance to the next page. On this new page, you'll be asked to enable an Accessibility Service for the app to simulate the original navigation buttons. Choose "Grant" and enable the toggle on the next page. Once enabled, you will return to the "Welcome" page.
Advance to the next page using the right arrow, then the app will ask you to use ADB commands to hide the status bar permanently. Since you already used ADB commands to enter Immersive Mode, this step isn't too difficult.
On your computer, redirect Command Prompt or Terminal to the platform-tools folder. Connect your Galaxy Note 9, open Developer Options and enable "USB Debugging." A pop-up should appear asking if you'd like to "Allow USB debugging?" Select "OK" to allow your computer to send ADB commands. Once accepted, run the following command:
Windows users: adb shell pm grant com.xda.nobar android.permission.WRITE_SECURE_SETTINGS
Mac/Linux Users: ./adb shell pm grant com.xda.nobar android.permission.WRITE_SECURE_SETTINGS
Press enter, and after a brief pause, ADB will create a new line. Disconnect your phone and select the right arrow in the Navigation Gestures app. Press the right arrow until you reach the end, which is designated by a white checkmark. Select the white checkmark to be brought to a new page, the app's main menu.
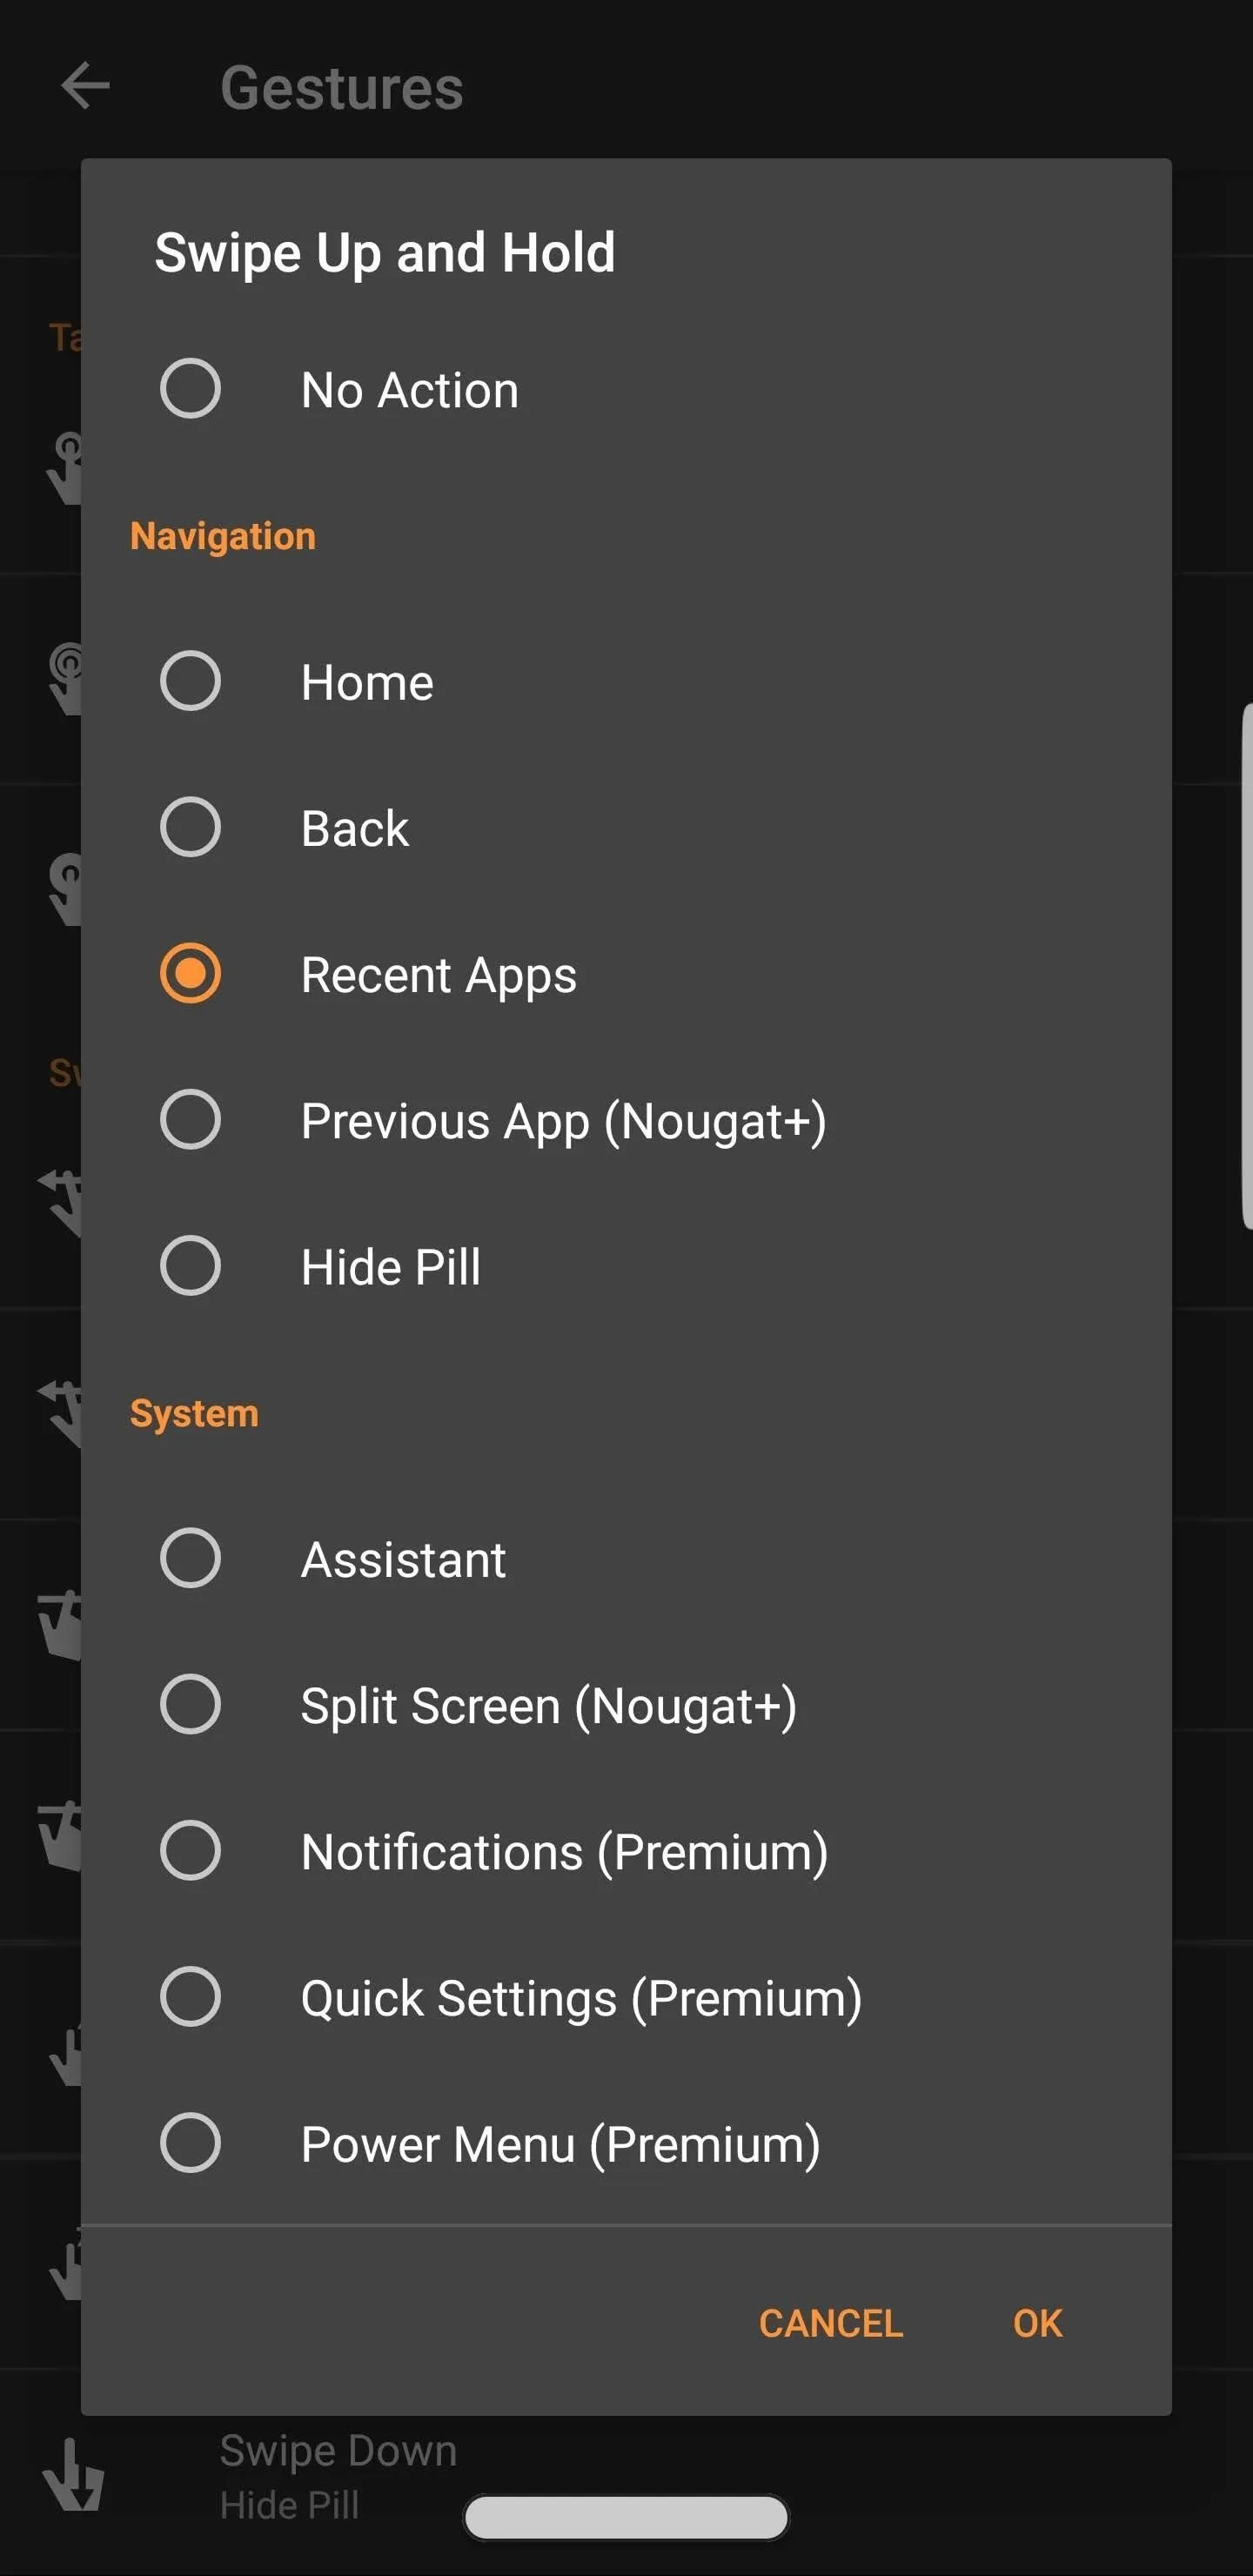
Choose the gear icon in the upper-right corner and select "Gestures." As you can see, some of the gestures are already configured, but we need to change a few to emulate iOS properly. First, select "Swipe Up" and choose "Home." Then choose "Swipe Up and Hold" and choose "Recent Apps."
Since the back button is so crucial for Android, I would recommend leaving the "Swipe Left" gesture as a Back button. However, I would recommend switching "Swipe Right" to "No Action" and "Swipe Left and Hold" to "Previous apps," but neither is necessary.
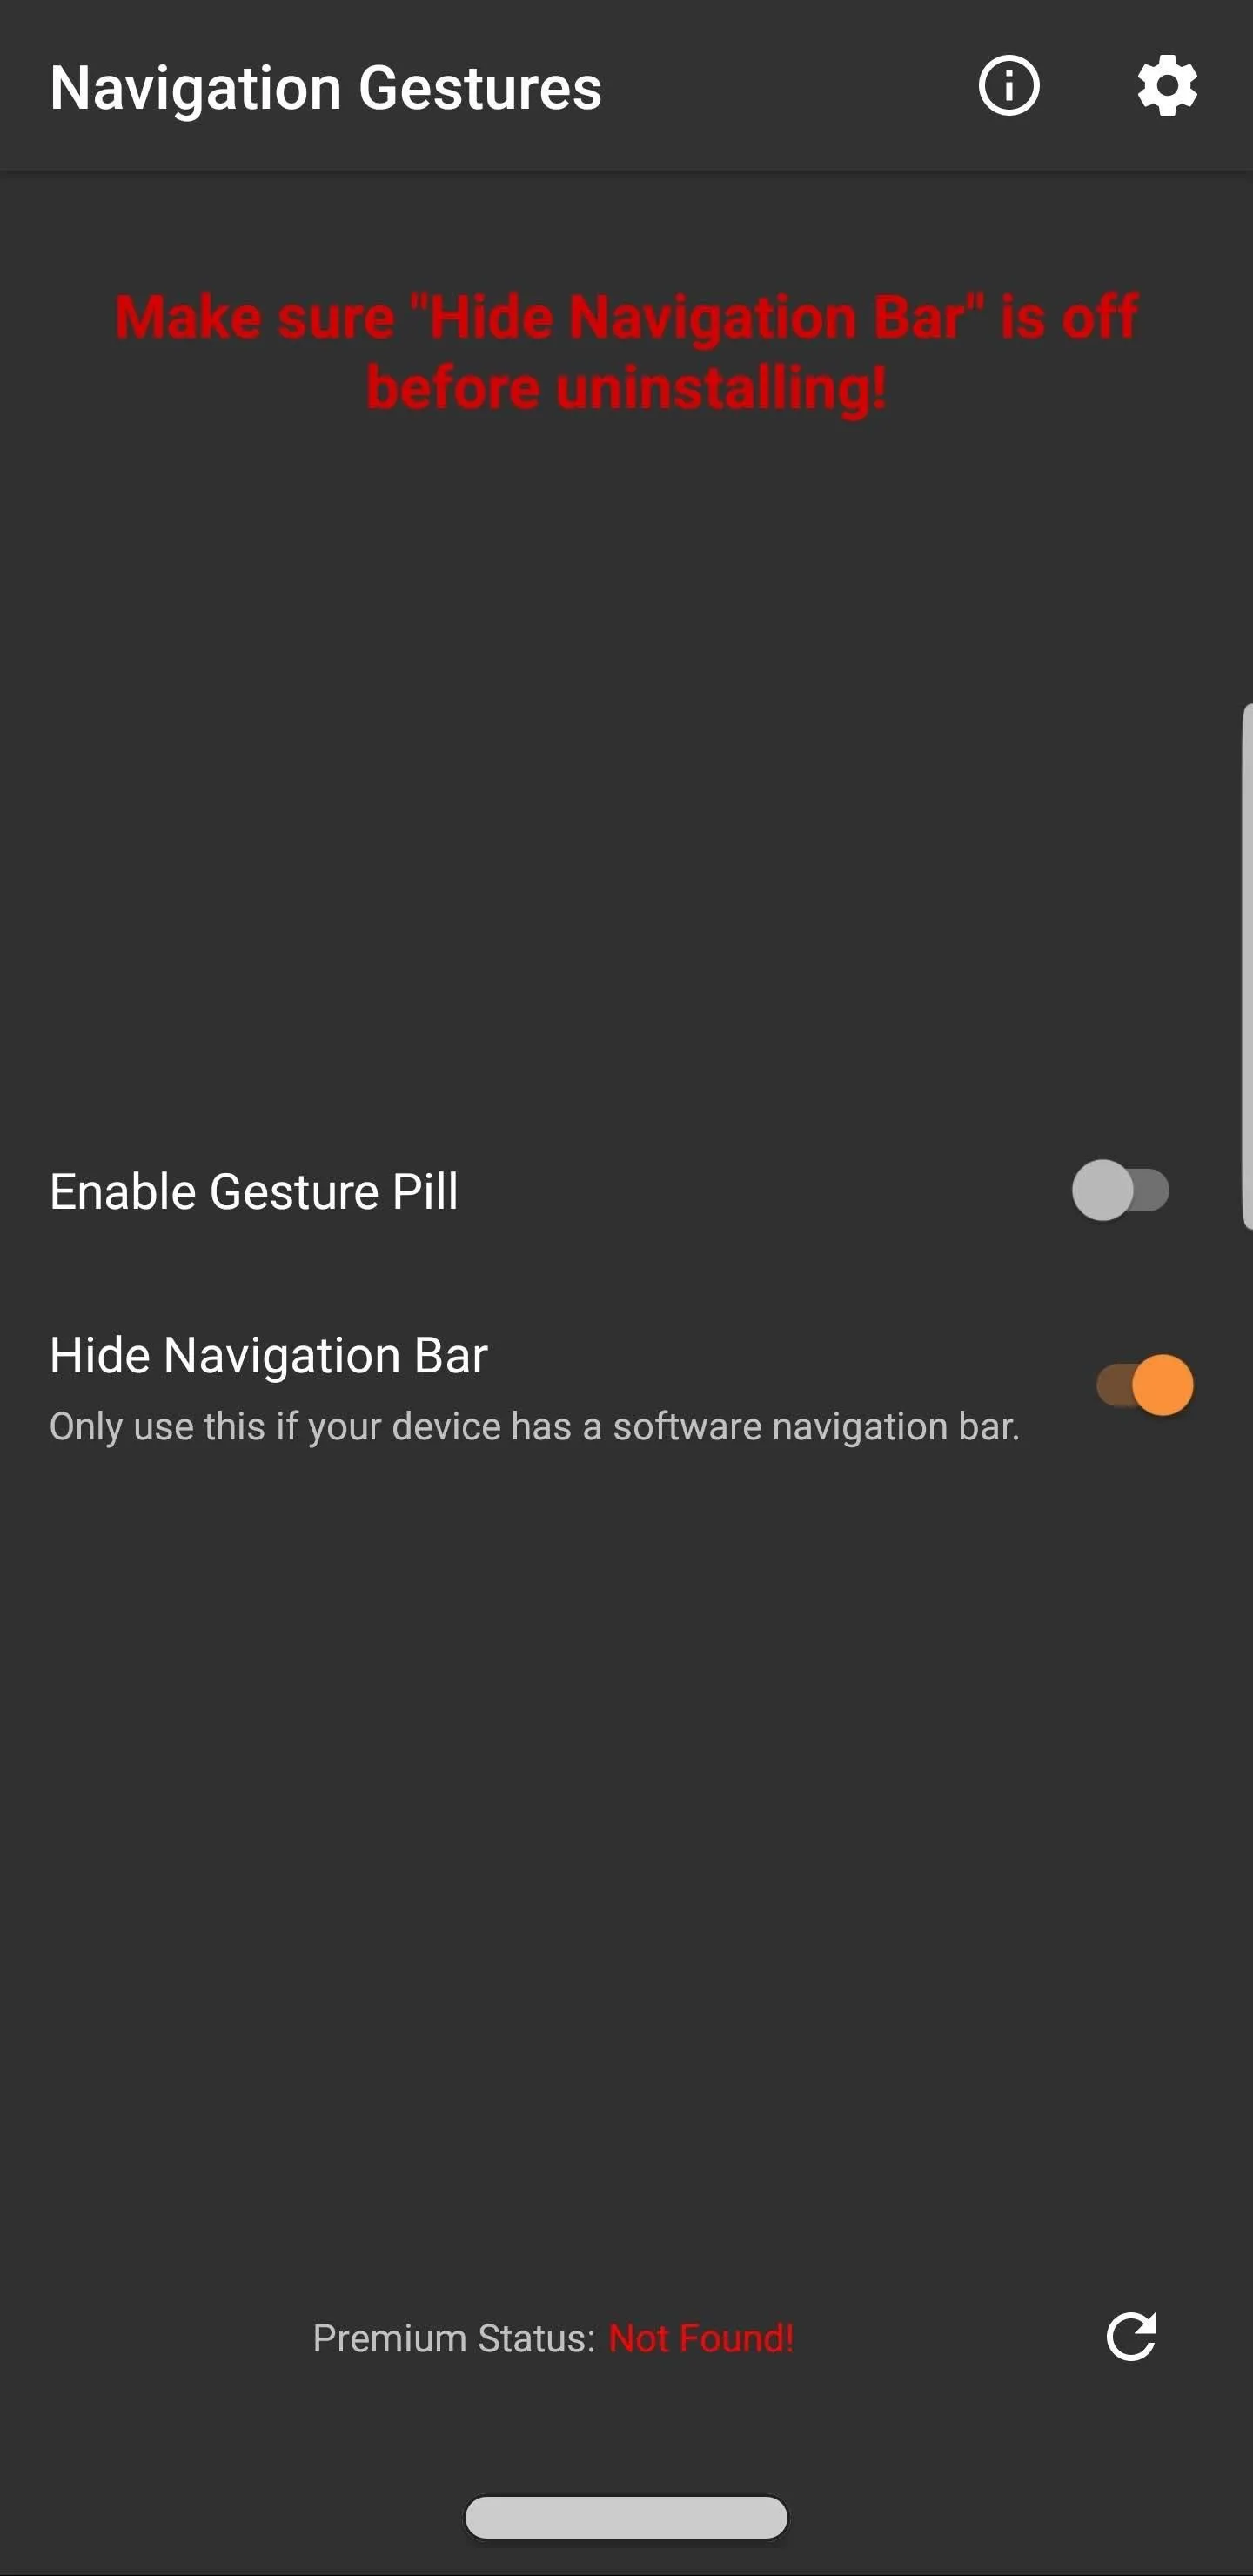

Note: Since you are using the app to hide the navigation buttons, you will need to unhide the buttons within the app if you ever choose to uninstall it. Otherwise, you won't have any navigation buttons.
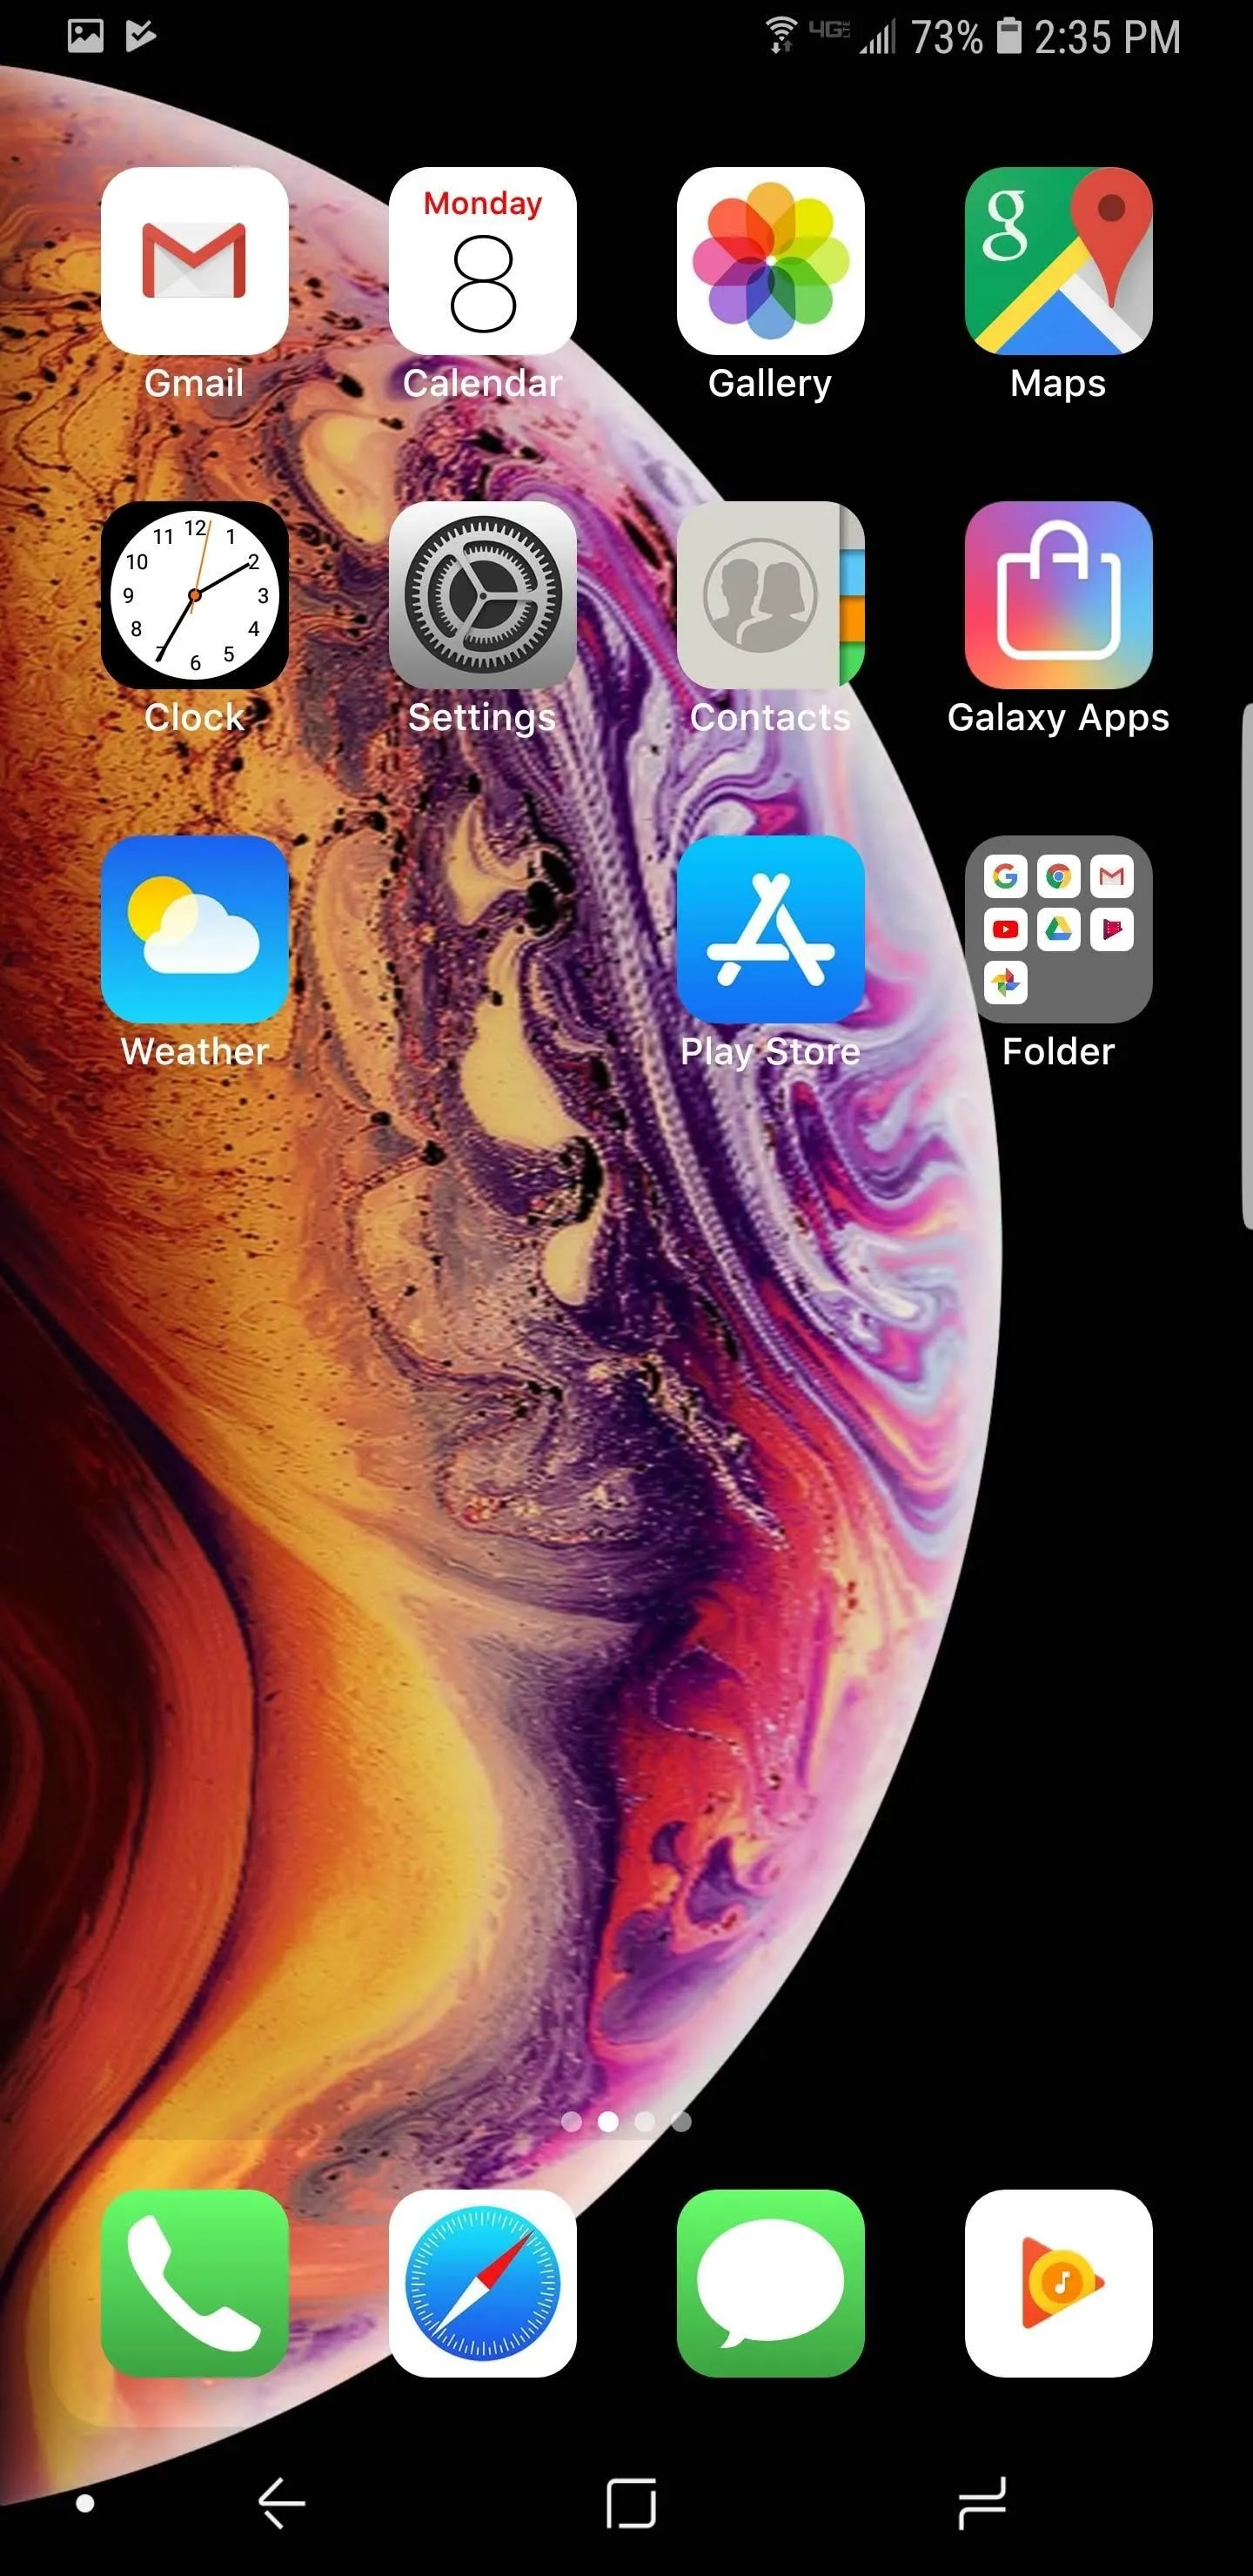
And with that, you've turned your Galaxy Note 9 into an iPhone! We did this on our Verizon Wireless Galaxy Note 9 and were thoroughly impressed by how easy it was to emulate iOS on Android (try doing it the other way around — no chance). At first glance, you could honestly trick your friends into believing you are using the iPhone Xs Max.

Jon Knight/Gadget Hacks
Whether you want to show off the customization flexibility of the Galaxy Note 9 or you miss your old iPhone, with these four steps, you can easily turn your Galaxy into an iPhone and have the best of both worlds.
- Follow Gadget Hacks on Pinterest, Twitter, YouTube, and Flipboard
- Sign up for Gadget Hacks' daily newsletter or weekly Android and iOS updates
- Follow WonderHowTo on Facebook, Twitter, Pinterest, and Flipboard
Cover image and screenshots by Jon Knight/Gadget Hacks


Comments
Be the first, drop a comment!