


You can't beat Samsung's hardware, but their software still isn't for everyone. That's the thing, though — software can be replaced. So if you're more a fan of Google's vision for Android, but you can't get enough of Samsung's beautiful screens and build quality, you're just 11 steps away from getting the best of both worlds.
Don't feel bad about this. Your Galaxy Note 20 is still one of the best phones money can buy. But if you were eying a Pixel 5 before pulling the trigger on a Note 20 because of its software experience, it's actually very easy to replicate on One UI — even without rooting your phone or using complicated tools like ADB.
Apply a Stock Android Theme
Few things can make as much of the difference to your phone's overall look than a theme. Hex Installer is a third-party theming app that leverages the integration of Galaxy Themes (the built-in theme engine) for applying themes, one of which is nearly identical to stock Android 10. It will cost $1.99 for this level of theming, but it is worth it, even if you decide the Pixel look isn't right for you.
Use the tutorial linked below to apply the AOSP 10 Day/Night theme to your Galaxy Note 20. Day/Night theme will let you switch between dark and light mode on your Galaxy Note while retaining the same Pixel look.
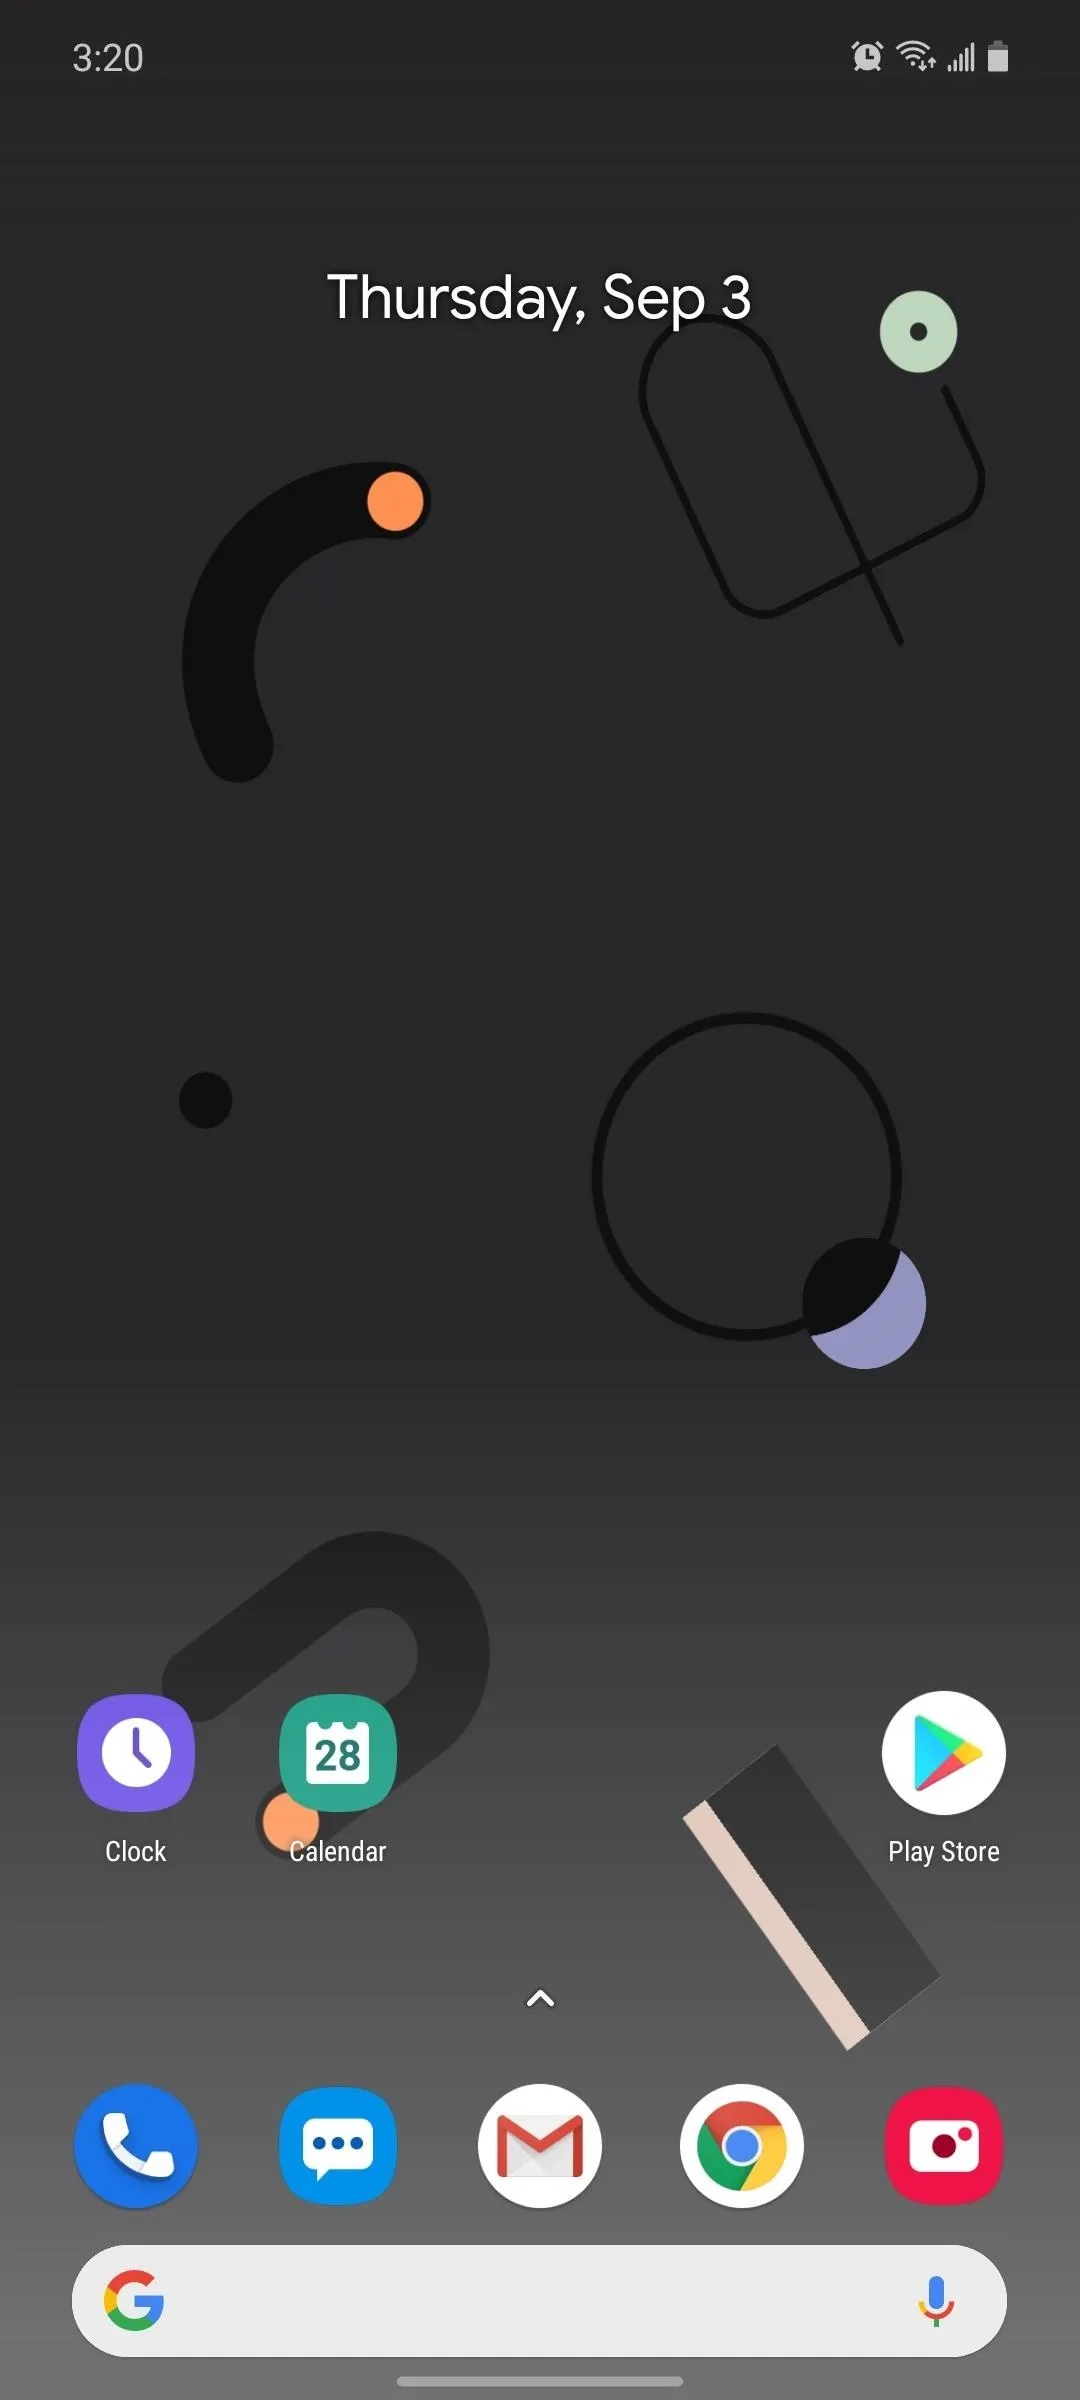
Replace the Home Screen
Now that you have the theme, next up is the home screen. The home screen is what you interact with the most and often what many judge when deciding whether they like a skin or not.
While you can always sideload the Pixel Launcher, a faster and easter option is CPL or Customized Pixel Launcher.
- Play Store Link: CPL (Customized Pixel Launcher)
As its name implies, this is the customizable version of Pixel launcher and, in many ways, a better version. It has all the Pixel launcher big features, including Google Discover and the At a Glance widget, and additional features such as customizable app drawer, folders, and gestures. Install the app and set it as your default launcher by going to Settings –> Apps, selecting the three verticals dots in the upper-right corner, and choosing "Default apps." Then choose "Home app" and select CPL from the list.
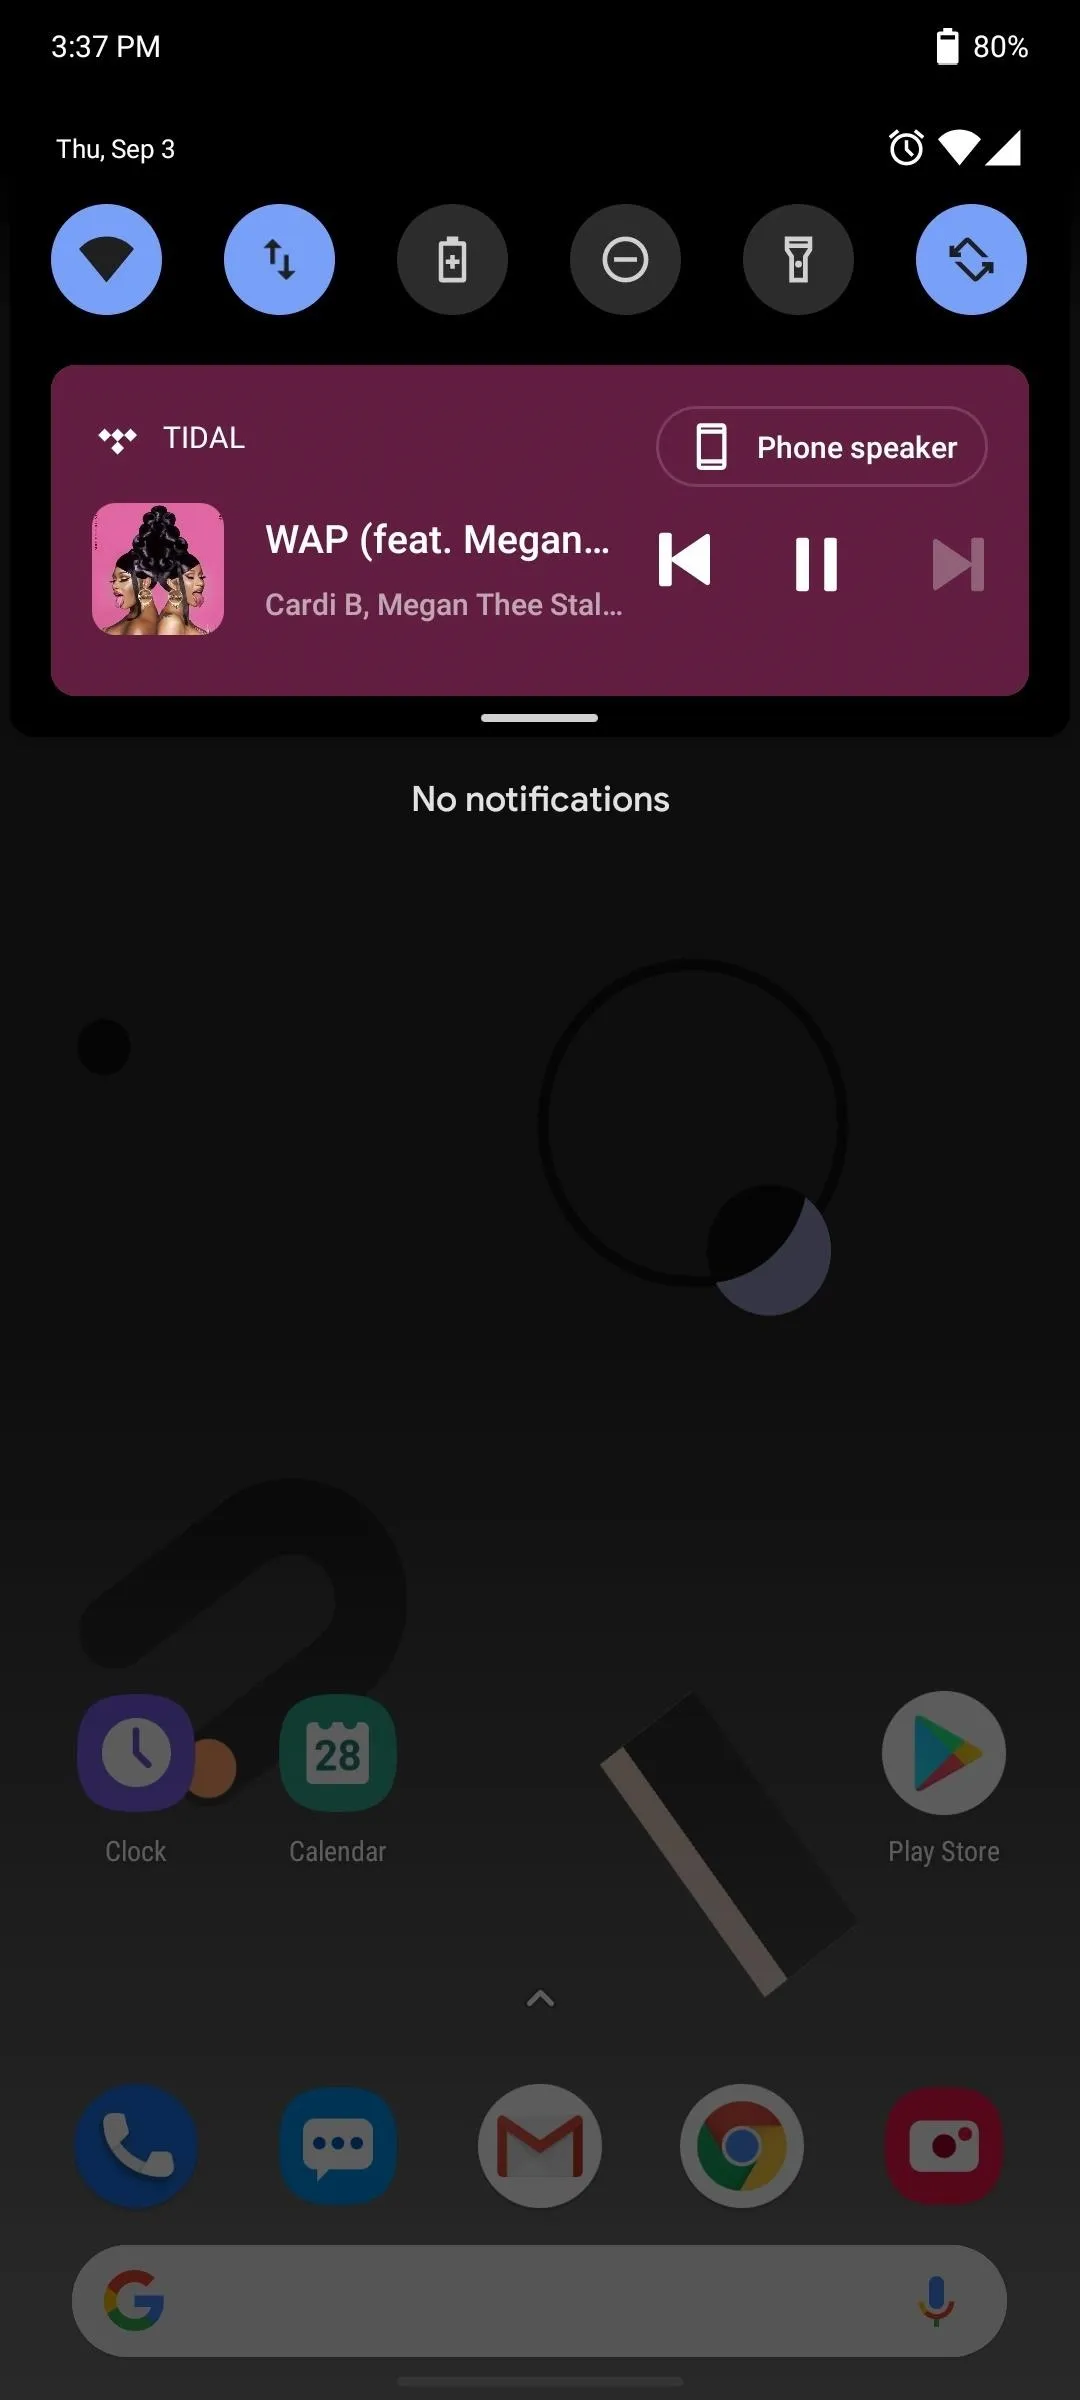
Get Stock Android's Quick Settings Panel
Stock Android's Quick Settings menu is a thing of beauty if you're into minimalistic UIs. Thank goodness for Power Shade, a third-party app that replaces One UI's pull-down menu with a more straightforward stock form. Follow our step-by-step guide linked below to get started.
One optional feature you can enable is the new Android 11 Quick Settings media controls, which Power Shade already supports. Enable this to enjoy a feature months before Samsung officially gets it in One UI 3.0.
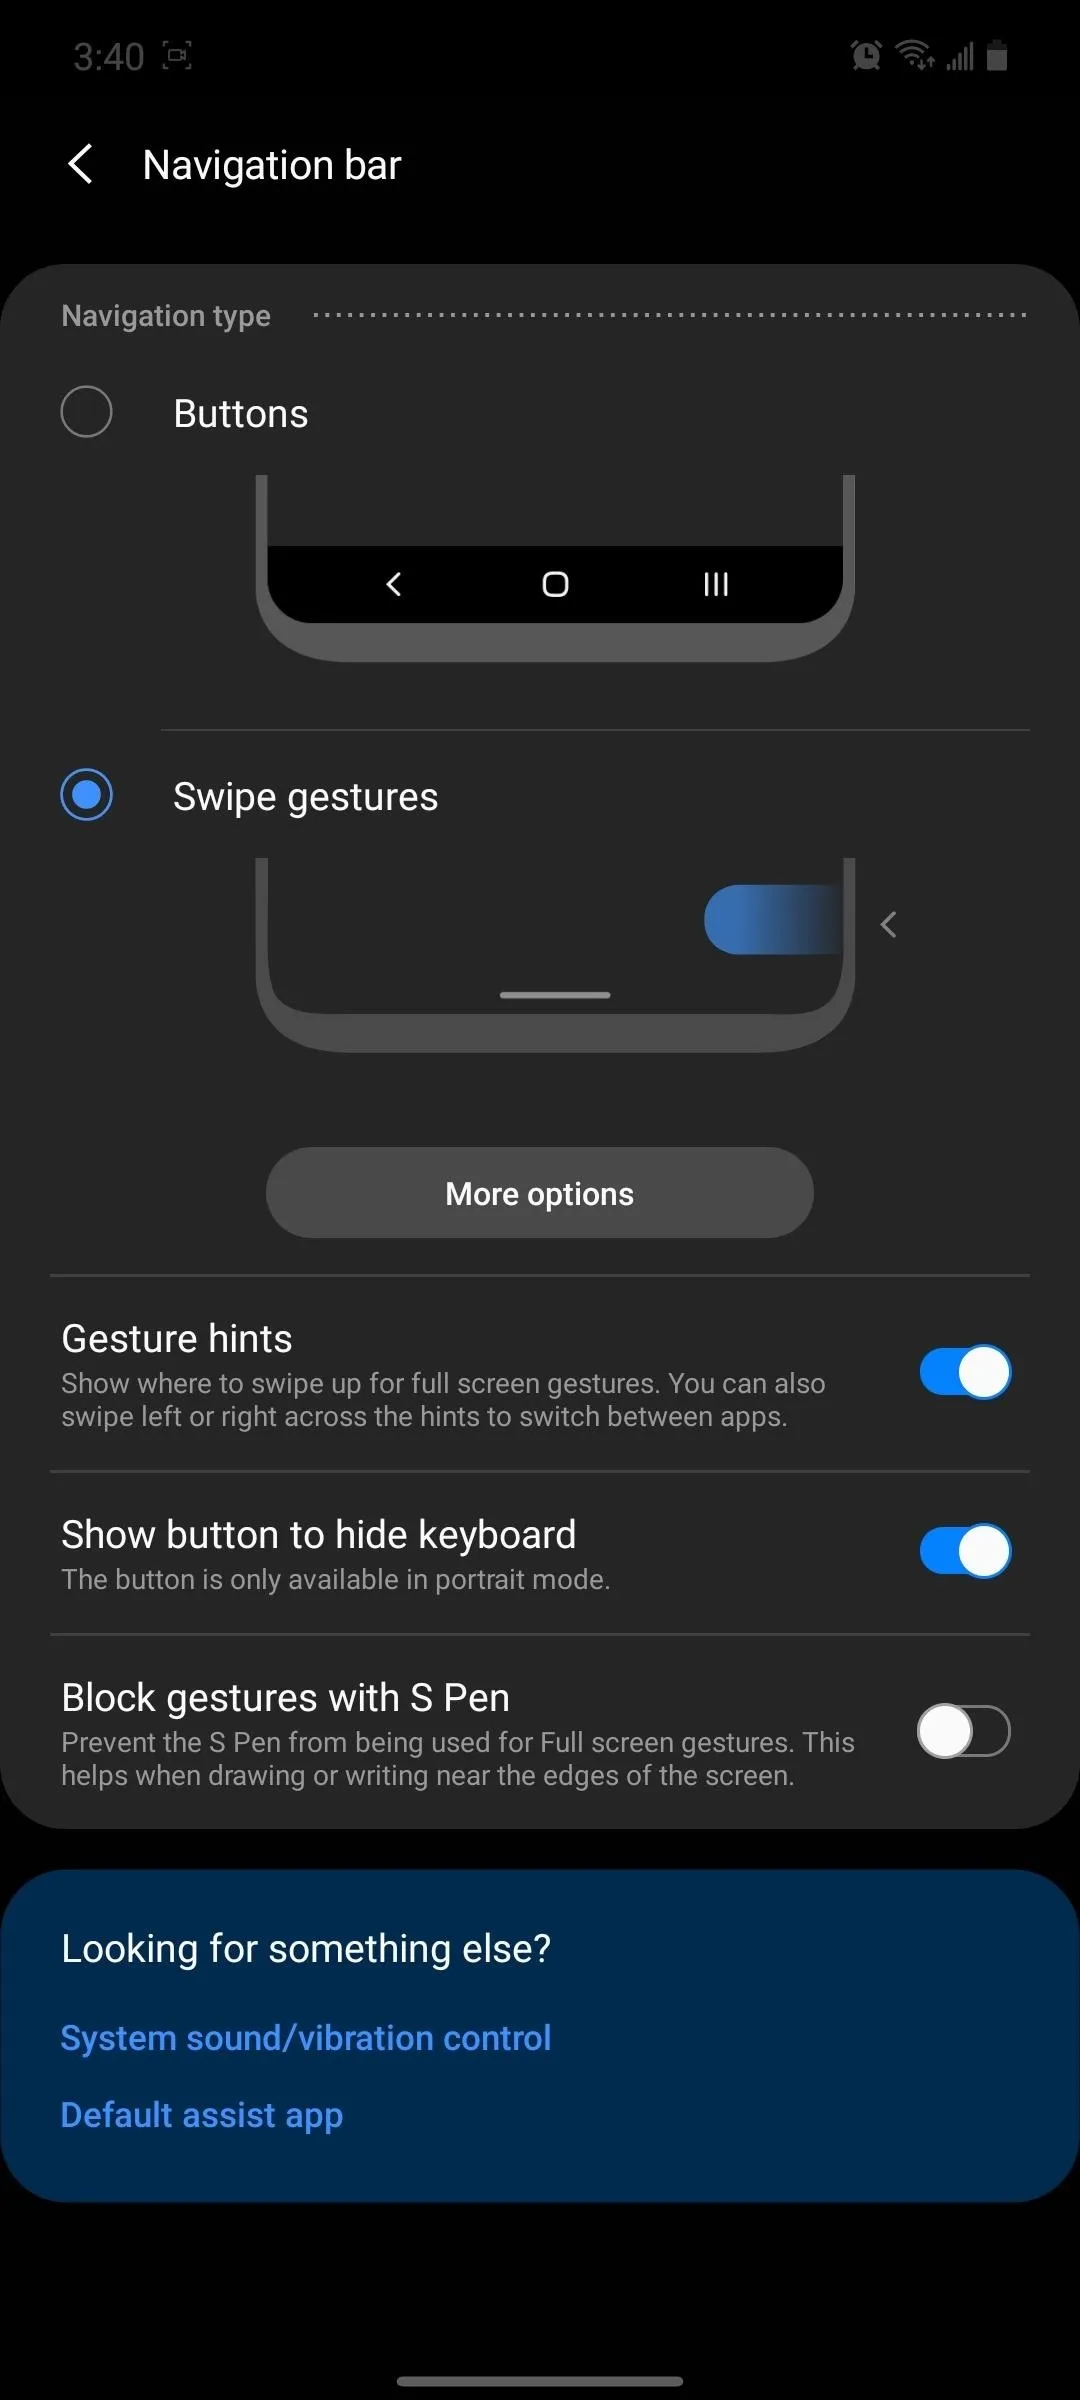
Enable Android 10 Gestures
To enable stock Android gestures, navigate to Settings –> Display –> Navigation bar –> Swipe gestures, then enable "Swipe from sides and bottom."
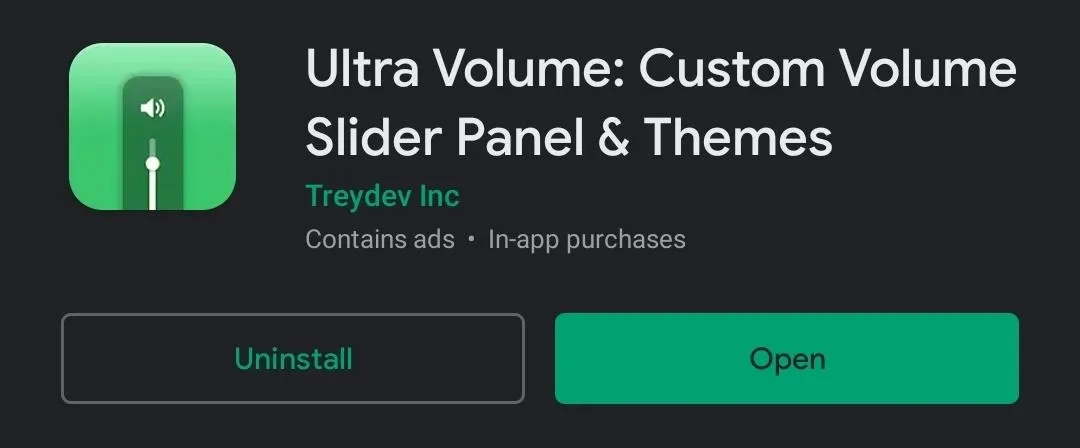
Replace the Volume Panel
Is changing the volume panel necessary? No, but does it help make the phone more Pixel-like? Yes. Best of all, it's pretty easy to change. All you need is to download the app, Ultra Volume.
- Play Store Link: Ultra Volume (free)
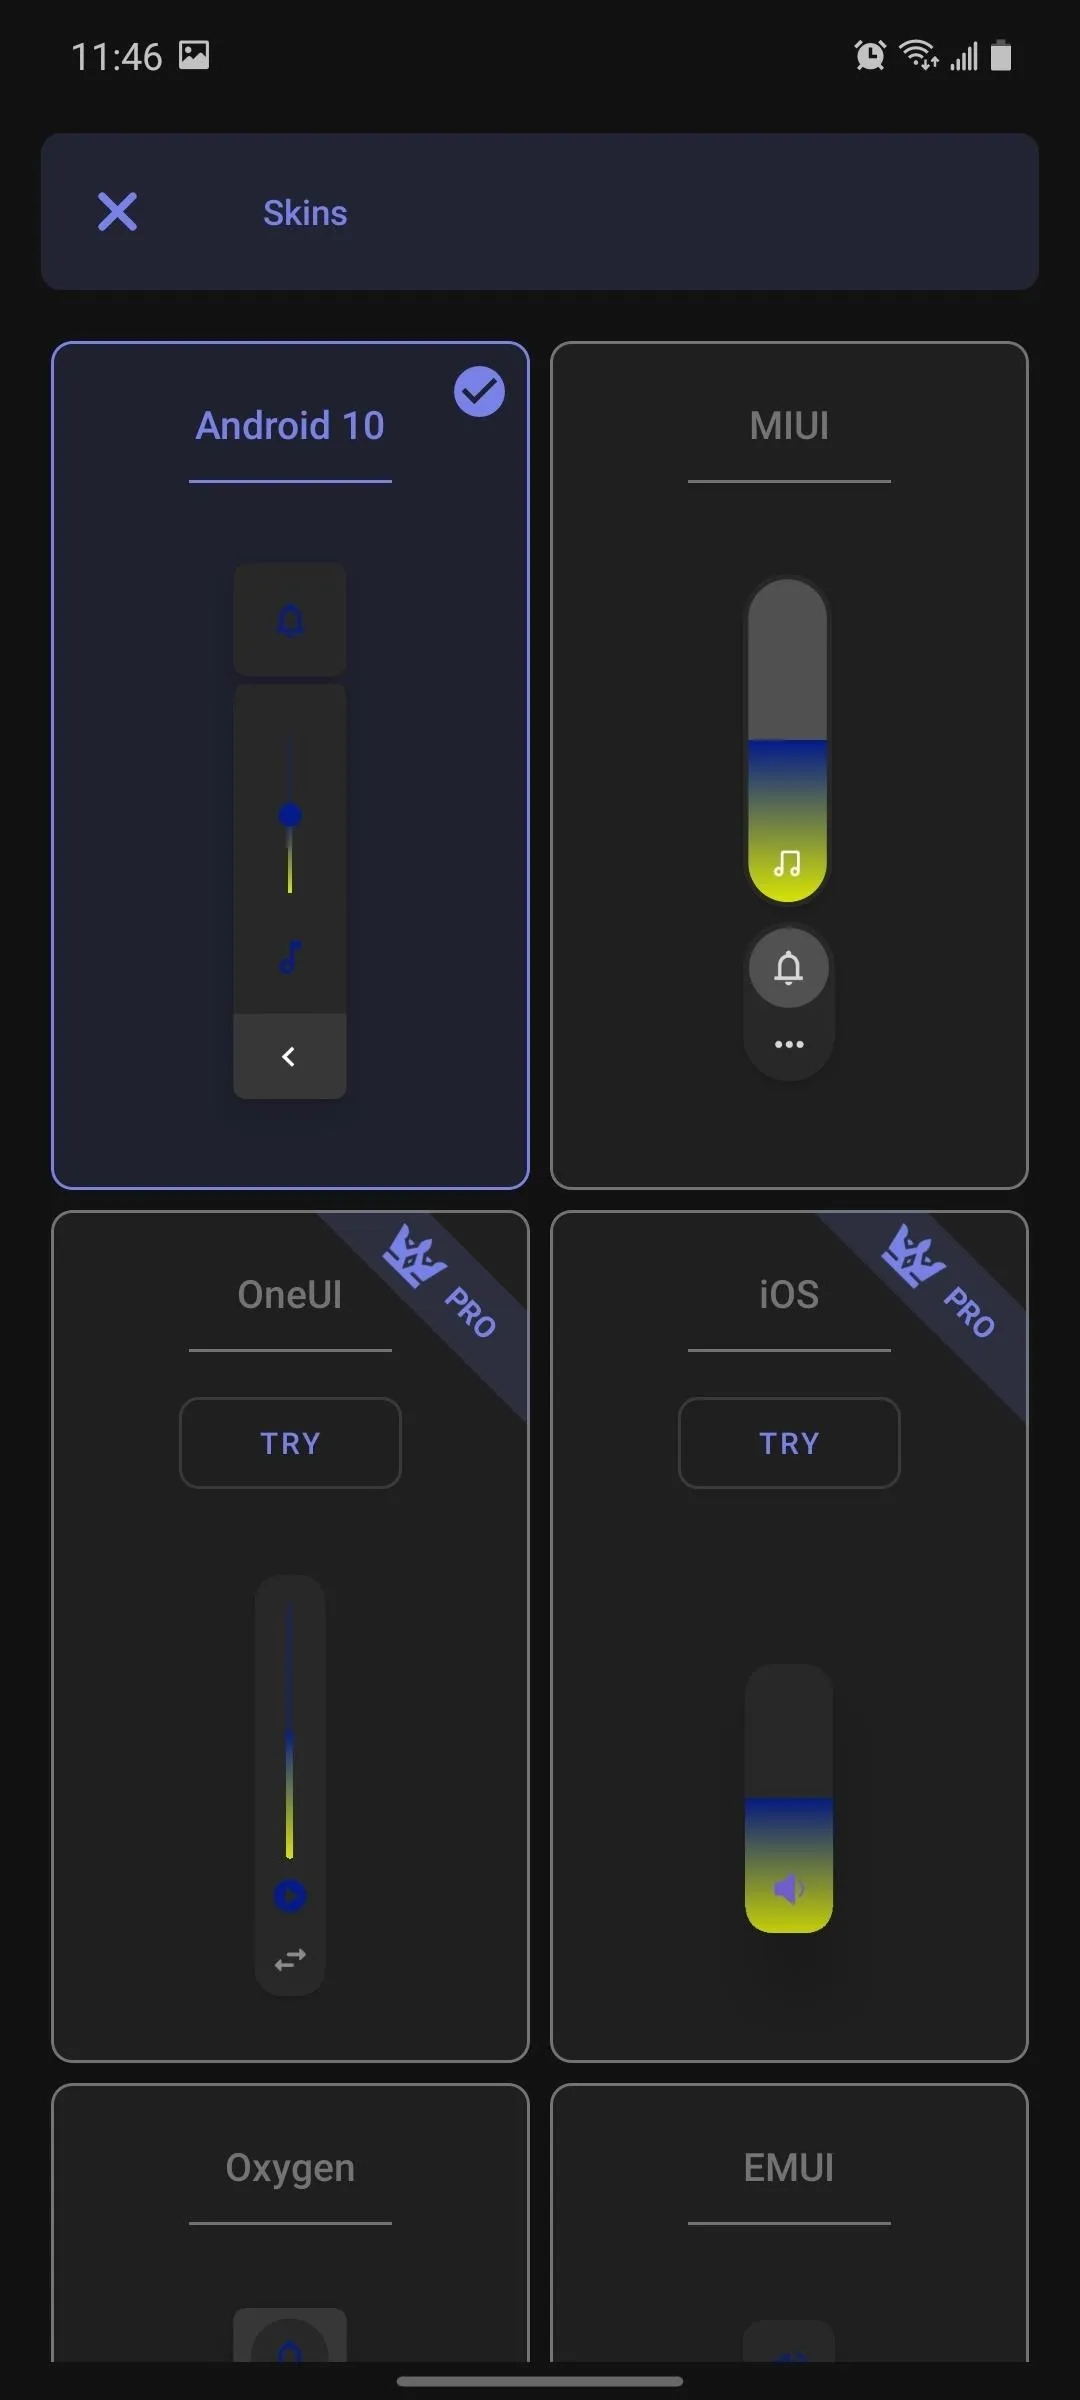
Once installed, open the app and select "Skins" on the main page. Choose "Android 10," then select the "X" in the upper-left corner to return to the main page.
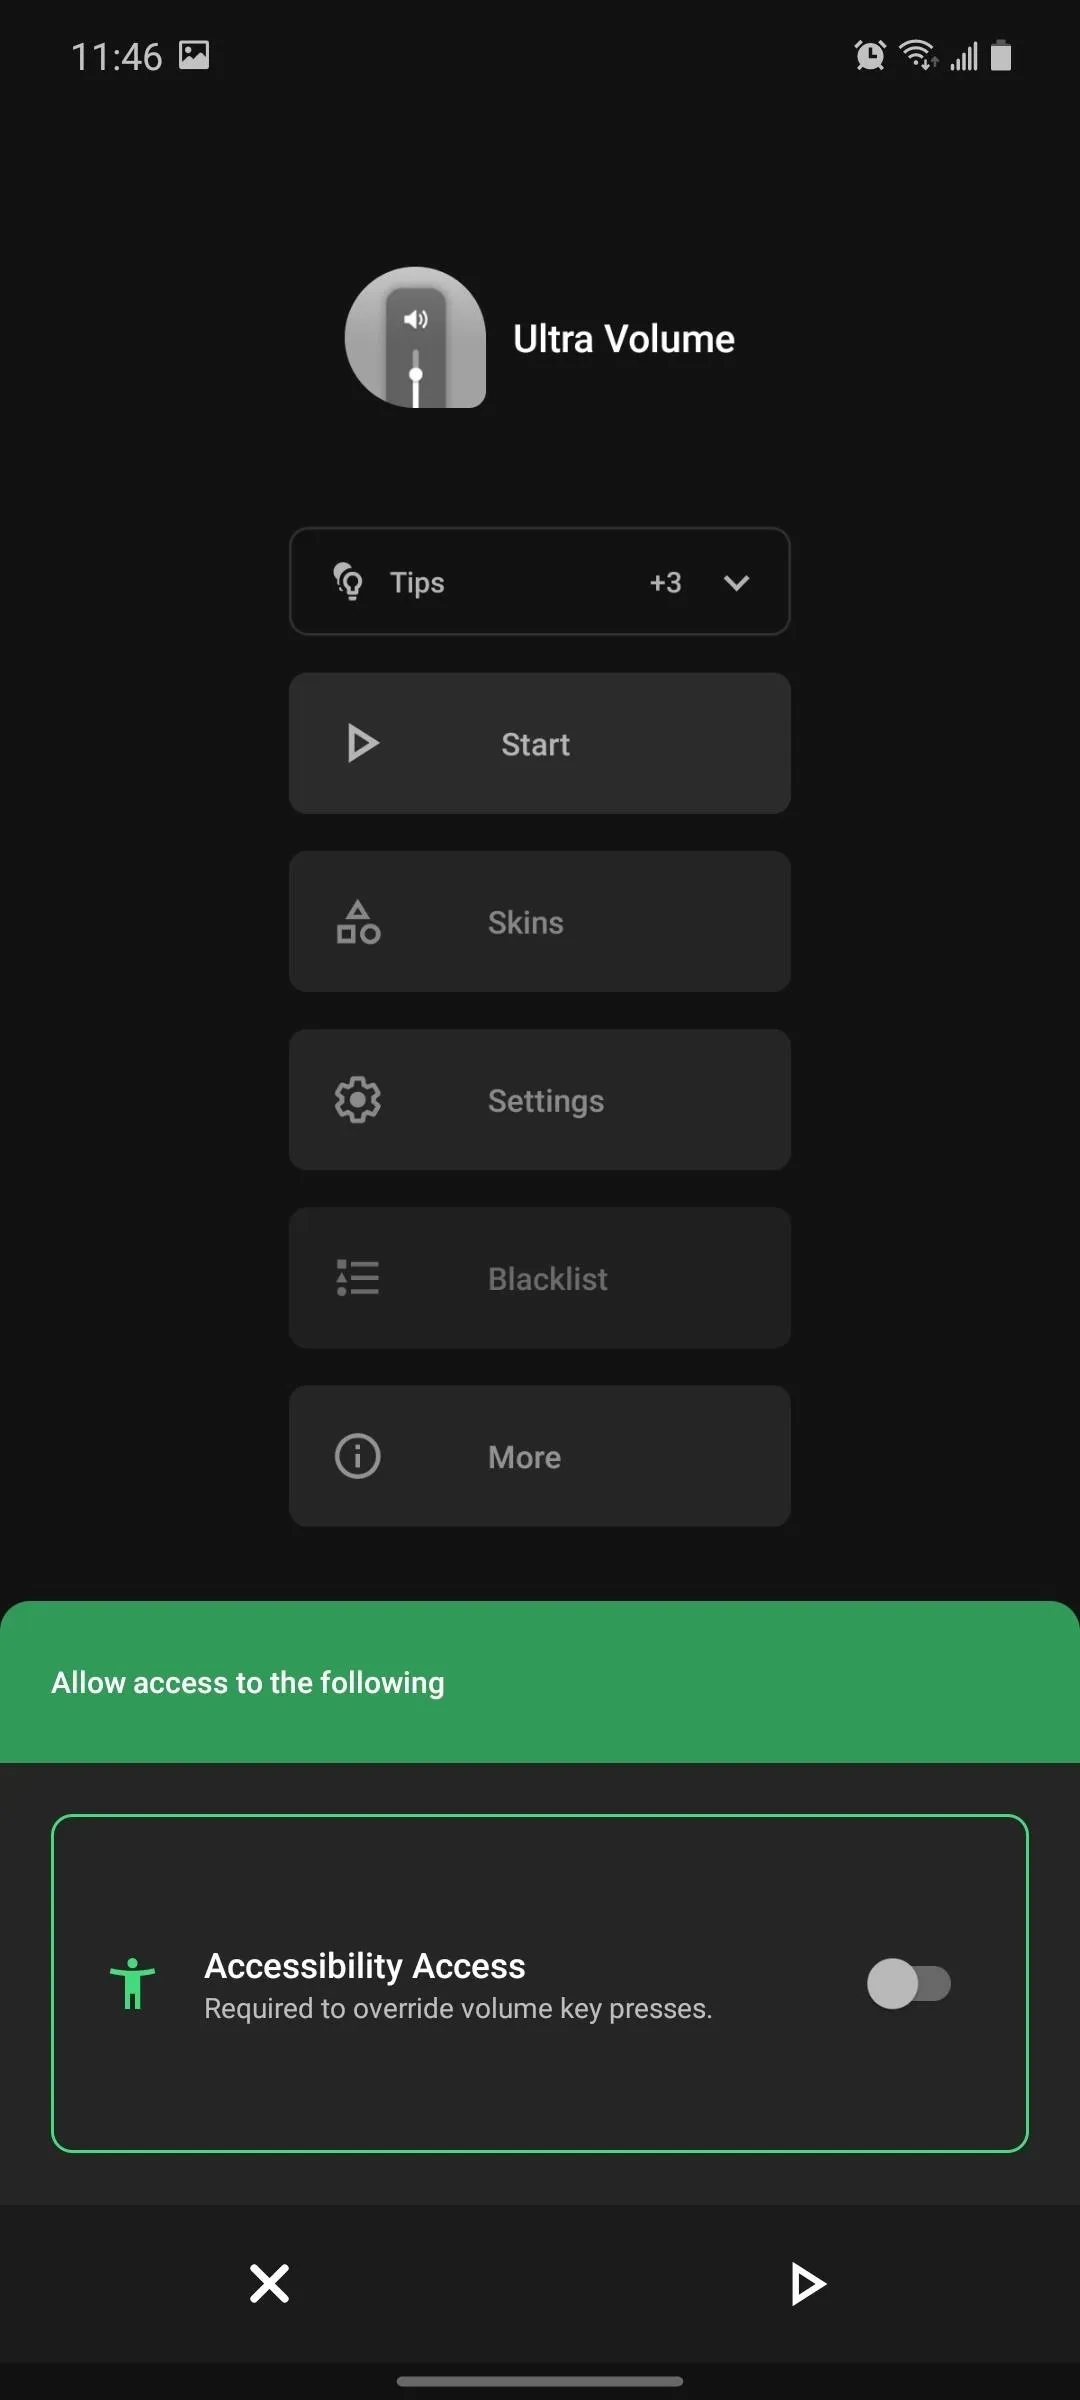
Choose "Start," then enable the "Accessibility Access" toggle to be redirected to the corresponding page within "Settings." Select "Ultra Volume" from the menu, then enable the toggle and choose "Allow." Your new Pixel volume panel will now appear when you press the volume button.
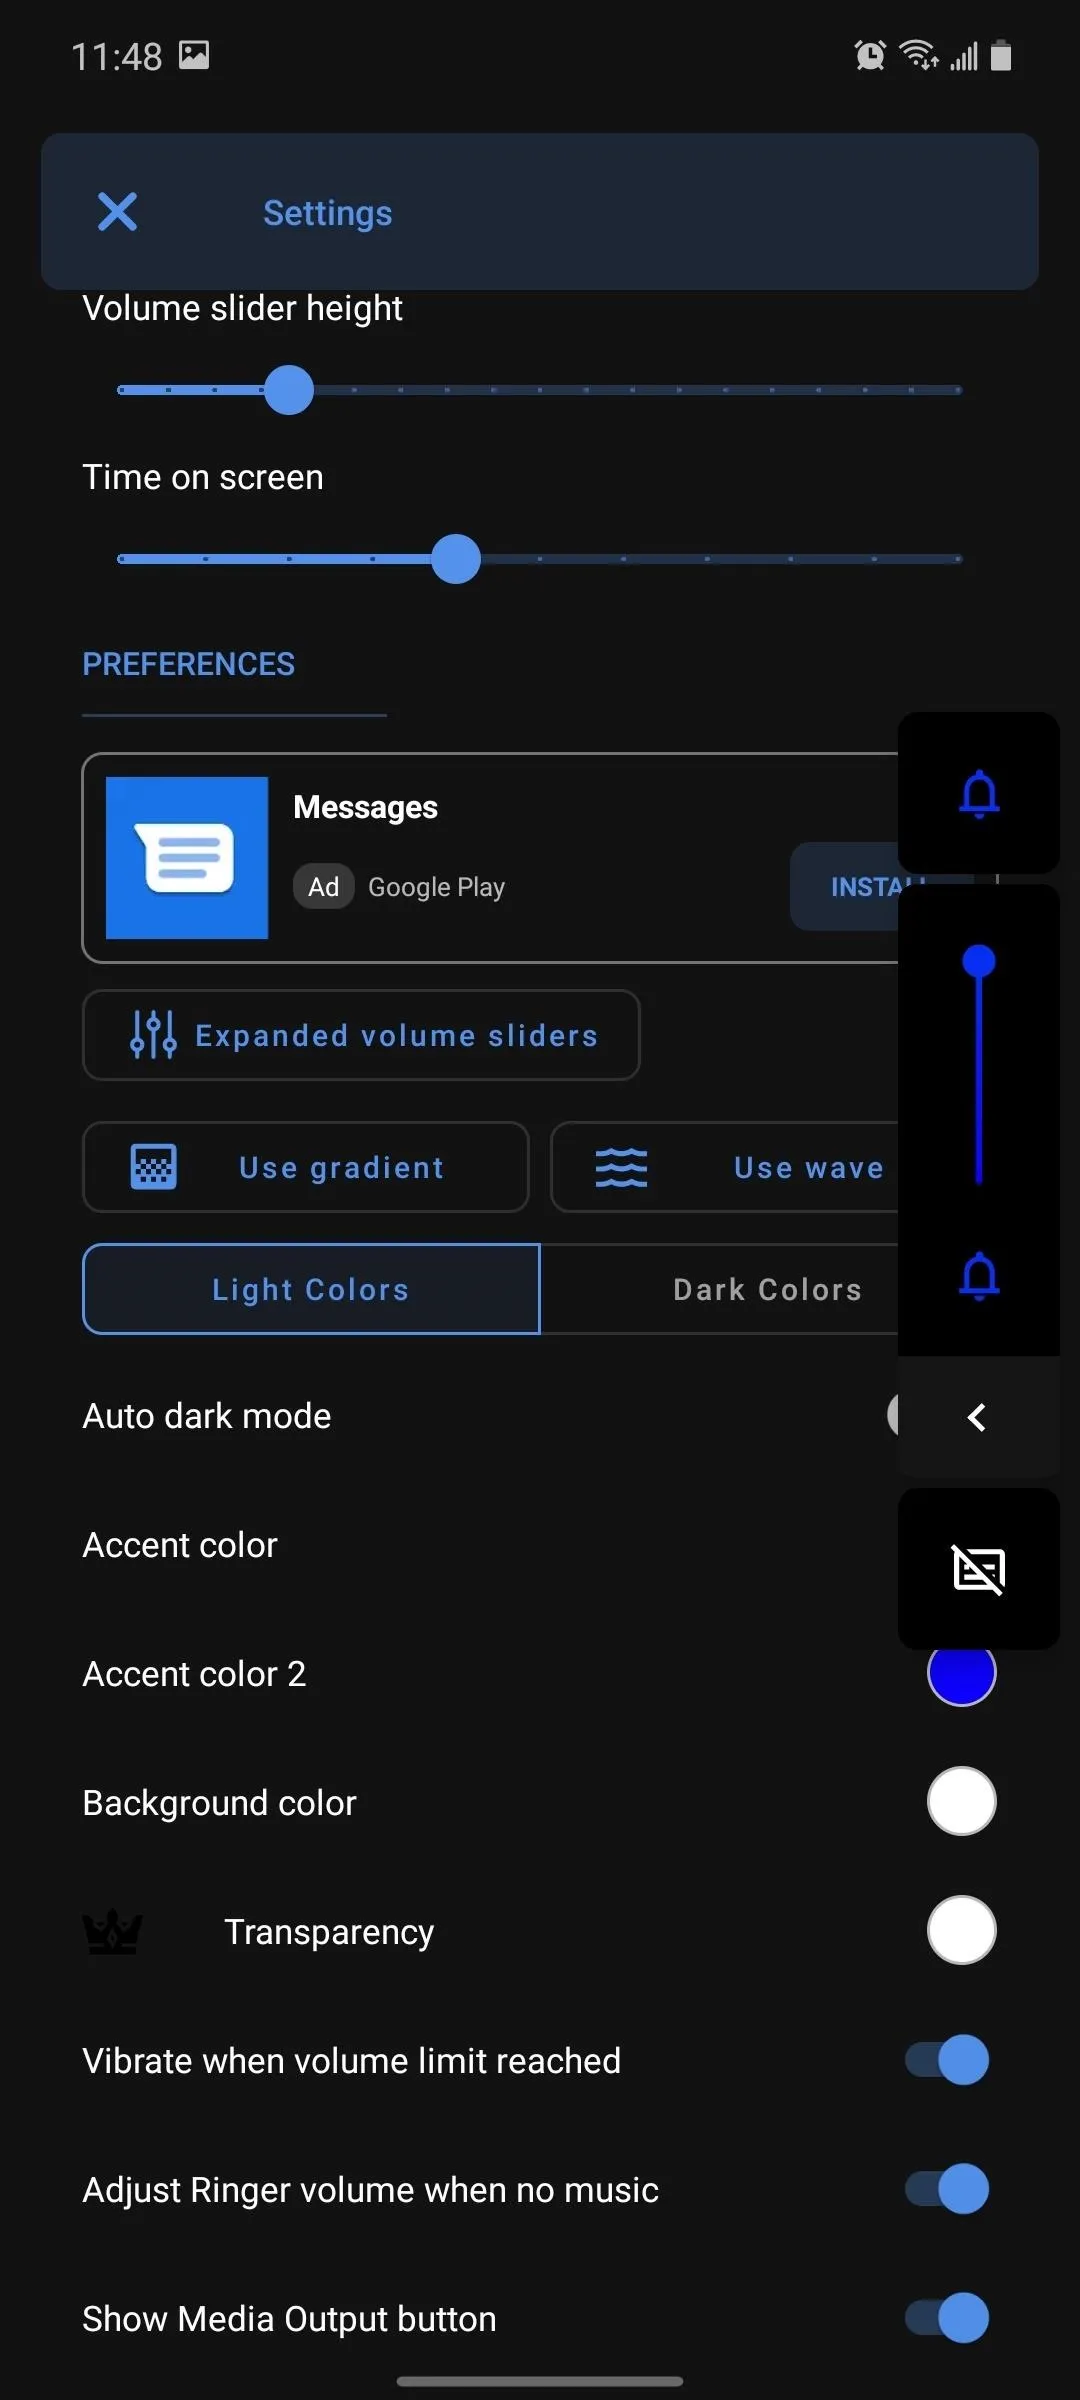
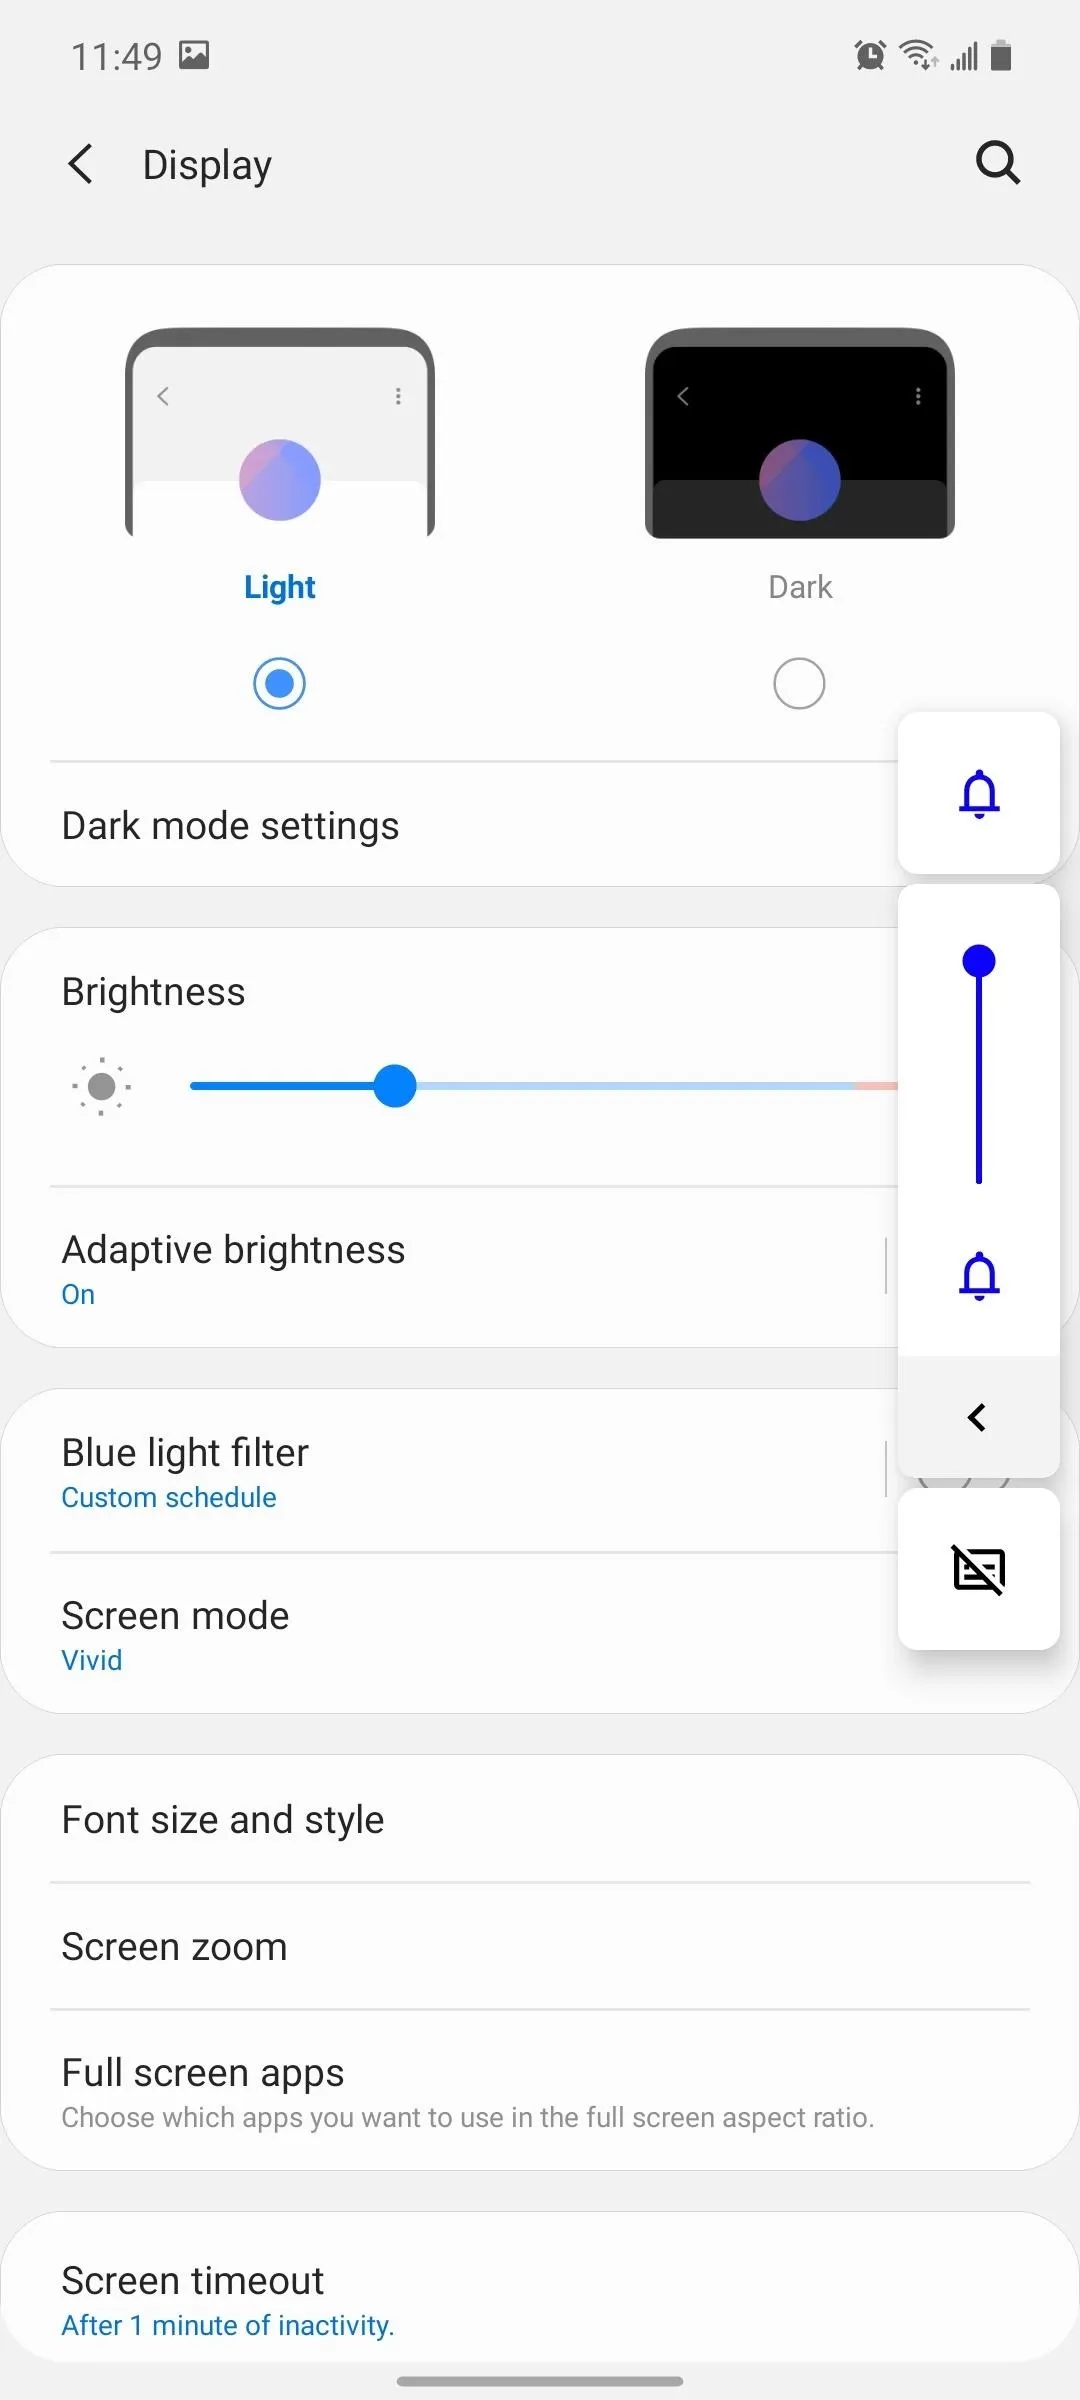
If you want to further customize the panel, tap "Settings" on Ultra Volume's main page and select "Light Colors." Configure "Accent color" and "Accent color 2" to one of the eight accent colors available on the Pixel 4. Select "Dark Colors" and configure both accent colors as well.
Bring Back the Power Menu
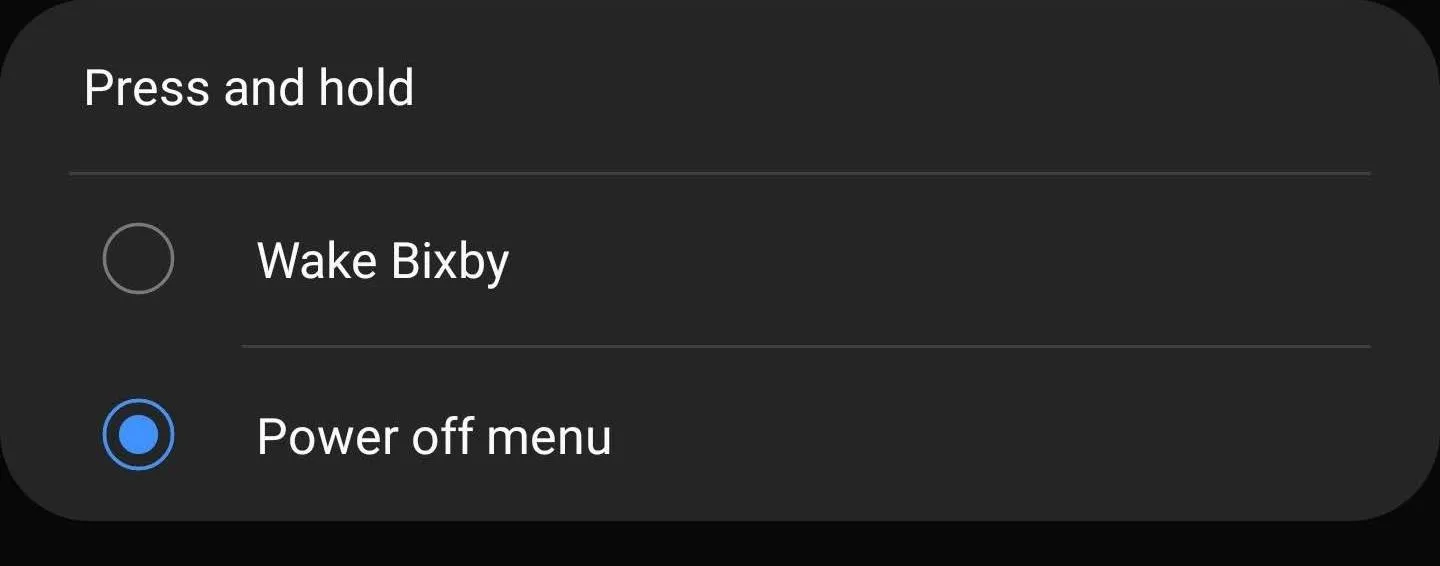
The "Side key," by default, brings up Bixby instead of the power menu. To change this, open Settings and go to "Advanced features." Select "Side key," then choose "Power off menu." Now, when you hold down the Side key, it brings up the power menu, just like the Pixel — and virtually every other phone on the planet that isn't pushing a second digital assistant on its users.
Change the Wallpaper
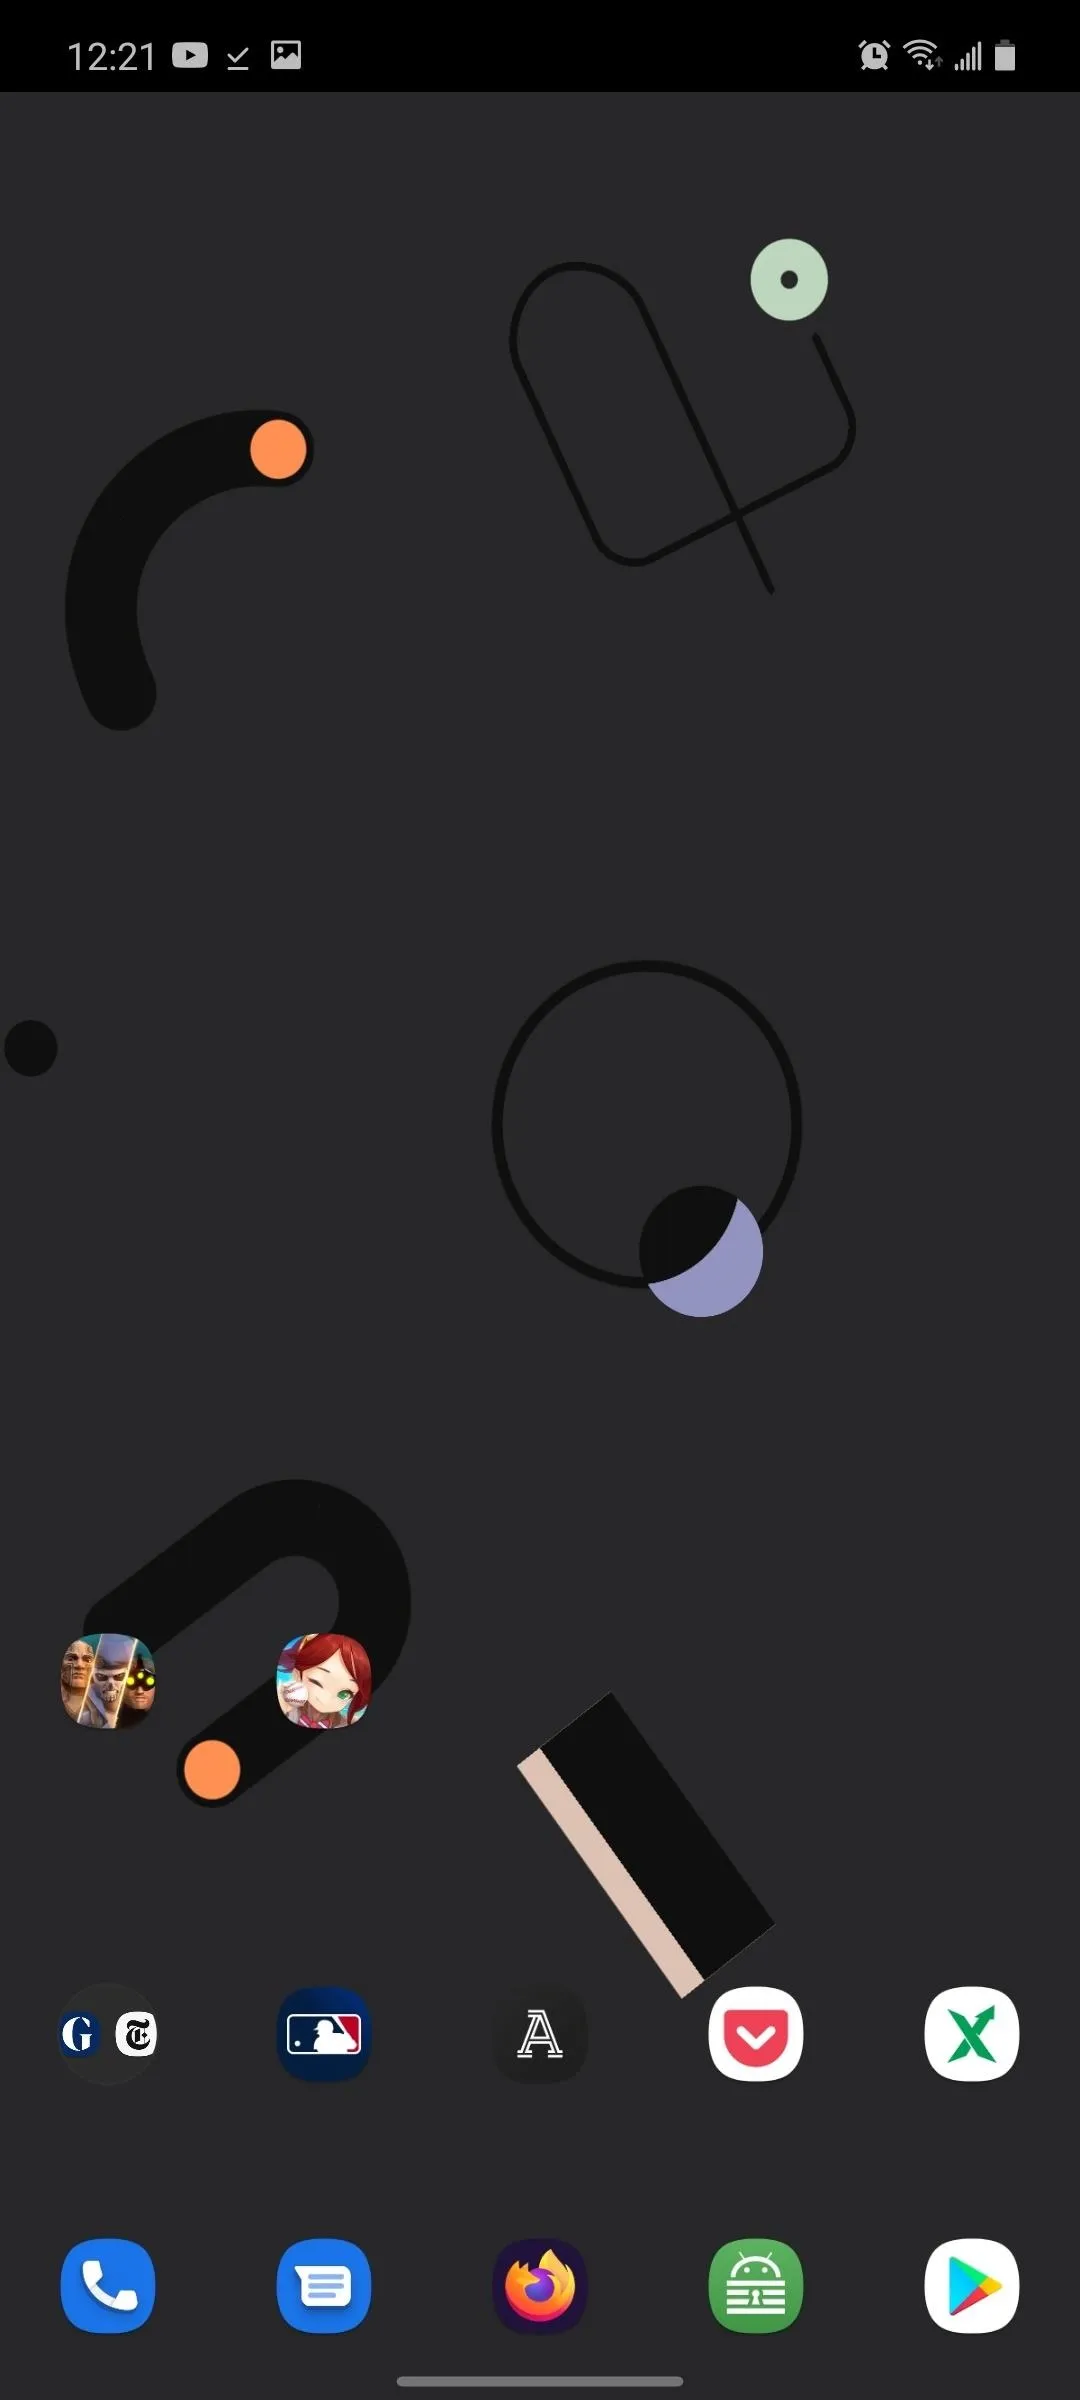
If you step back right now and look at your creation, you can already see a lot of One UI's design starting to fade. Now it's time for smaller details, like the wallpaper.
If you want the Pixel's live wallpaper, you will need to sideload a modified version of the Pixel Live Wallpaper APK from Pranav Pandey.
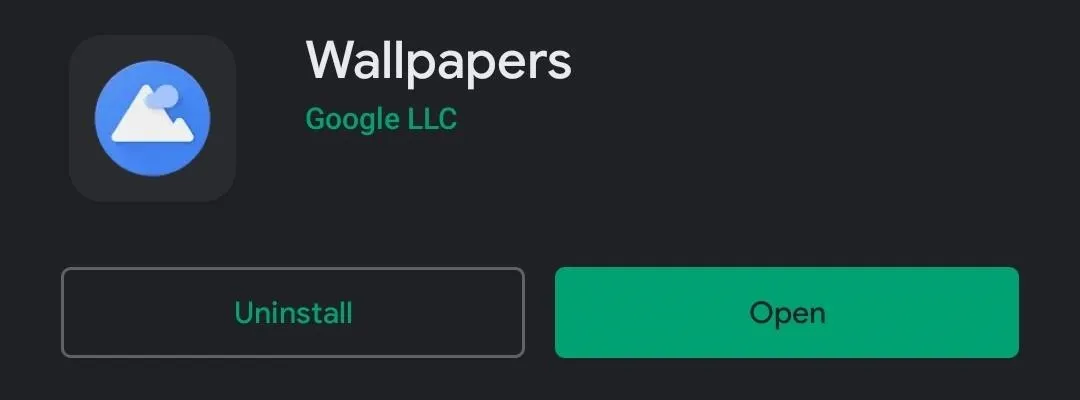
Once sideloaded, you will need to install Google's "Wallpapers" app from the Play Store.
- Play Store Link: Wallpapers (free)
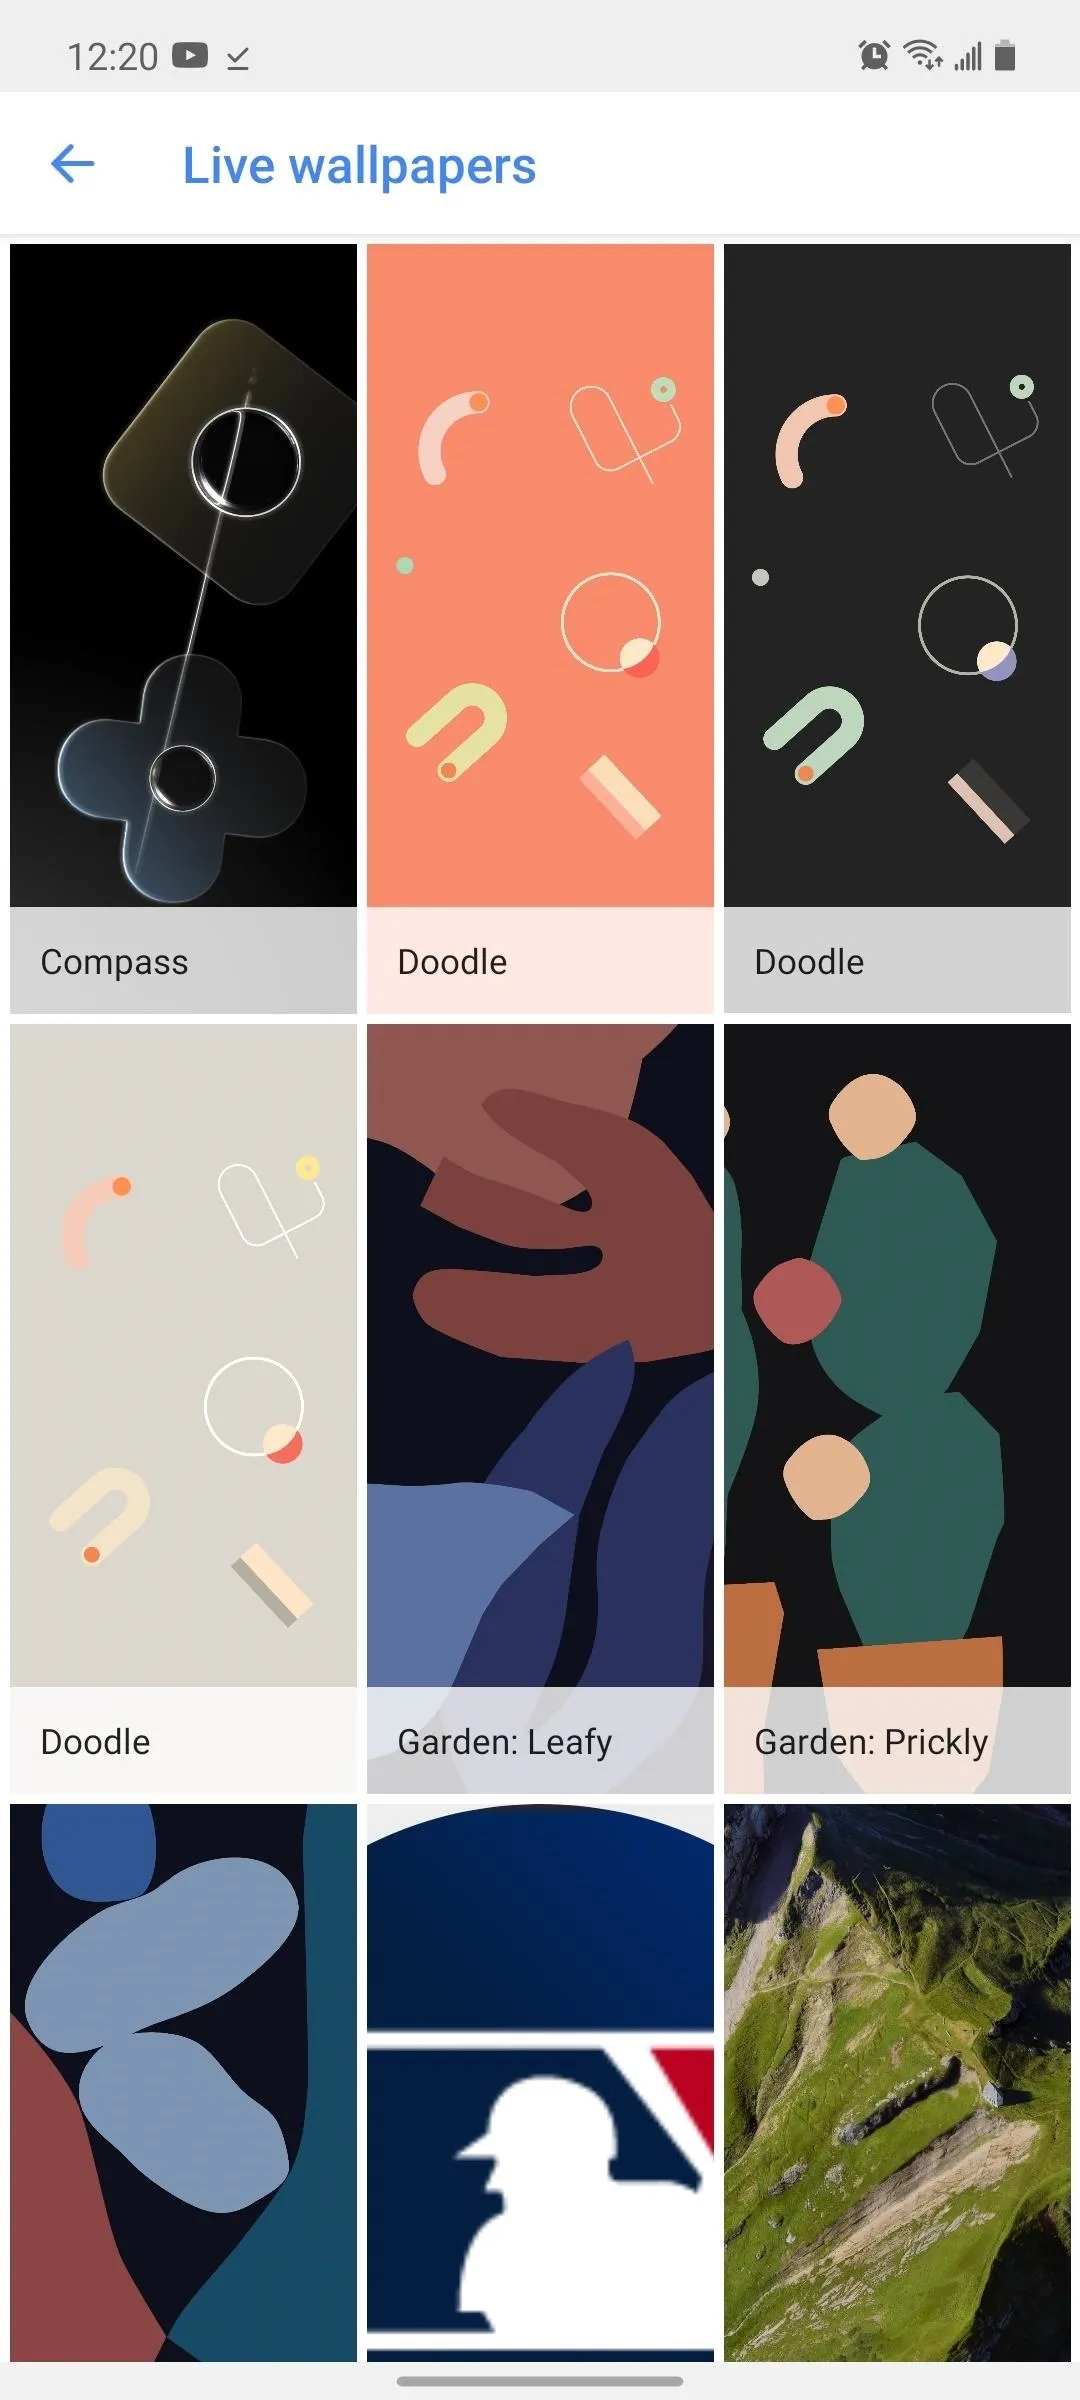
After installing, open Google Wallpapers and choose "Live wallpaper." Here, you will find all the exclusive Pixel wallpapers.
If you prefer the Pixel 4a's new wallpaper, check out the guide below.
Remove Bloatware
Besides the Pixel look and camera, one of the reasons you want a Google device is the lack of bloatware. Meanwhile, Samsung is one of the worst offenders, having more than 20 apps that meet the technical definition of "bloatware," many of which can't be uninstalled.
What you can do is disable the unwanted apps, which is very similar to uninstalling them except the app will come back if your factory reset your phone. They won't appear in the app drawer, won't consume data, or use your battery. The only storage disable apps will take up is the base APK file.
But this isn't as simple as tapping the "Disable" button in the app's system settings page — Samsung has grayed out that option for most of these apps. So you'll need to use ADB commands, which is a bit advanced. Fortunately, we have a step-by-step tutorial you can follow:
Get 'Now Playing'
"Now Playing" on Pixel devices detects music around you, even when the screen is off and the phone is in your pocket. It then displays the song title and artist name on the always-on display and as a silent notification. Sadly, you can't get this exact feature on the Galaxy Note 20.
The workaround is very similar, but not perfect. The first minor issue is that it requires the third-party app Shazam. Secondly, it will use more battery than Now Playing, as it uses the internet instead of a localized database. Finally, it takes longer to detect songs. But while it has its disadvantages, it is the next best thing to the Pixel's exclusive feature. Check out the link below on how to add this feature to your Galaxy Note 20.
Enable RCS via Android Messages
For those unfamiliar (you can learn using the link below), RCS is the evolution of SMS. RCS brings texting into the post-iMessage world, allowing you to send messages using data. This opens up a host of features, such as large group chats, typing indicators, read receipts, and so much more.
The GSMA Association, the organization behind the RCS specification, includes Samsung, which supports the standard on officially on Verizon, T-Mobile, and US Cellular, and unofficially on AT&T thanks to Google. By default, all Samsung devices support RCS via Samsung Messages, the preinstalled messaging app on your Galaxy Note 20 or 20 Ultra. But if you want a Pixel-like experience, you will need to move to Android Messages.
- Play Store Link: Android Messages
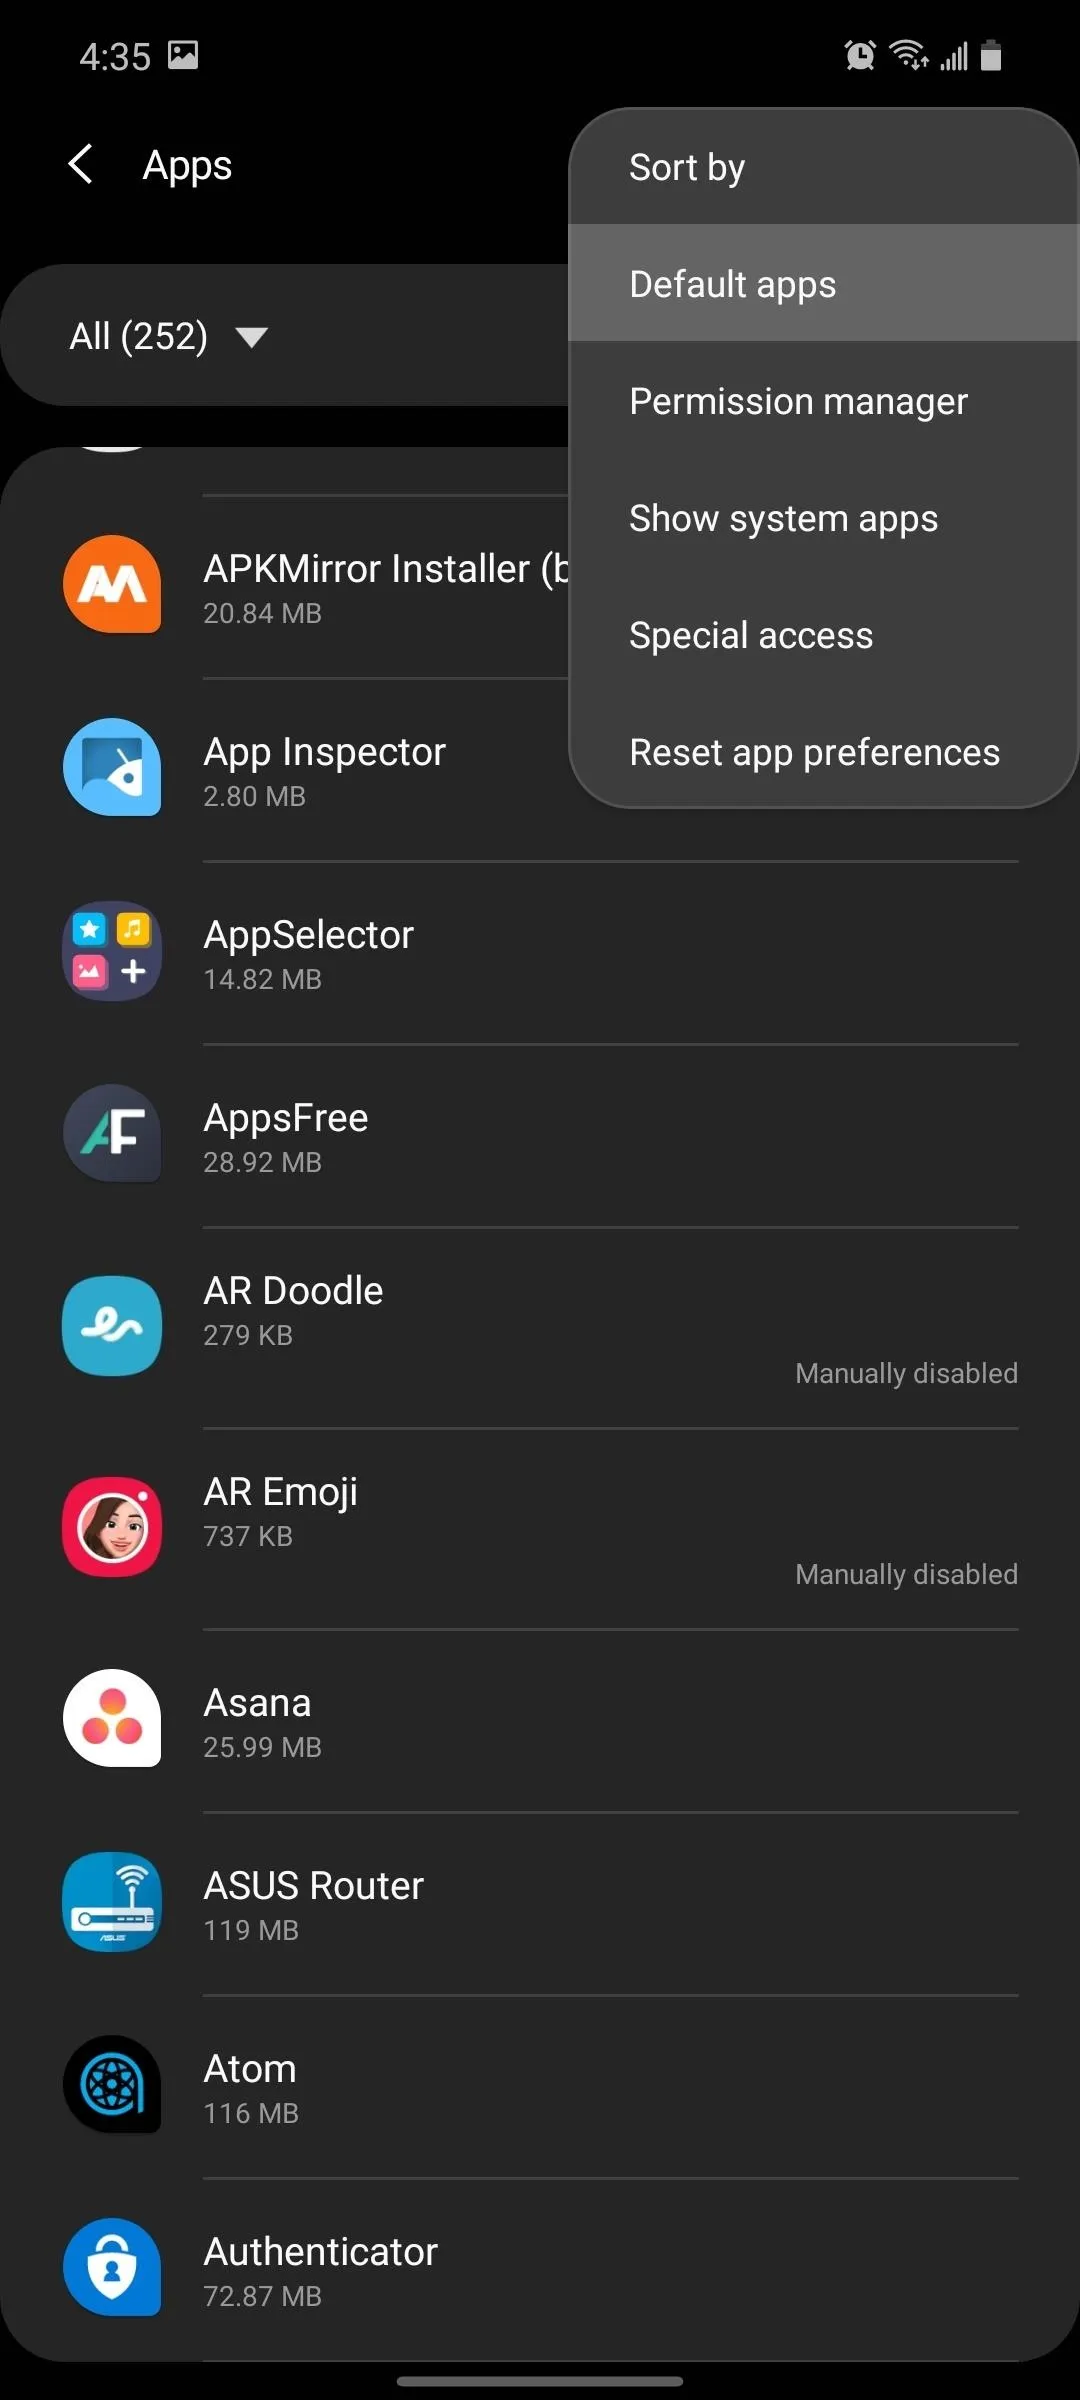
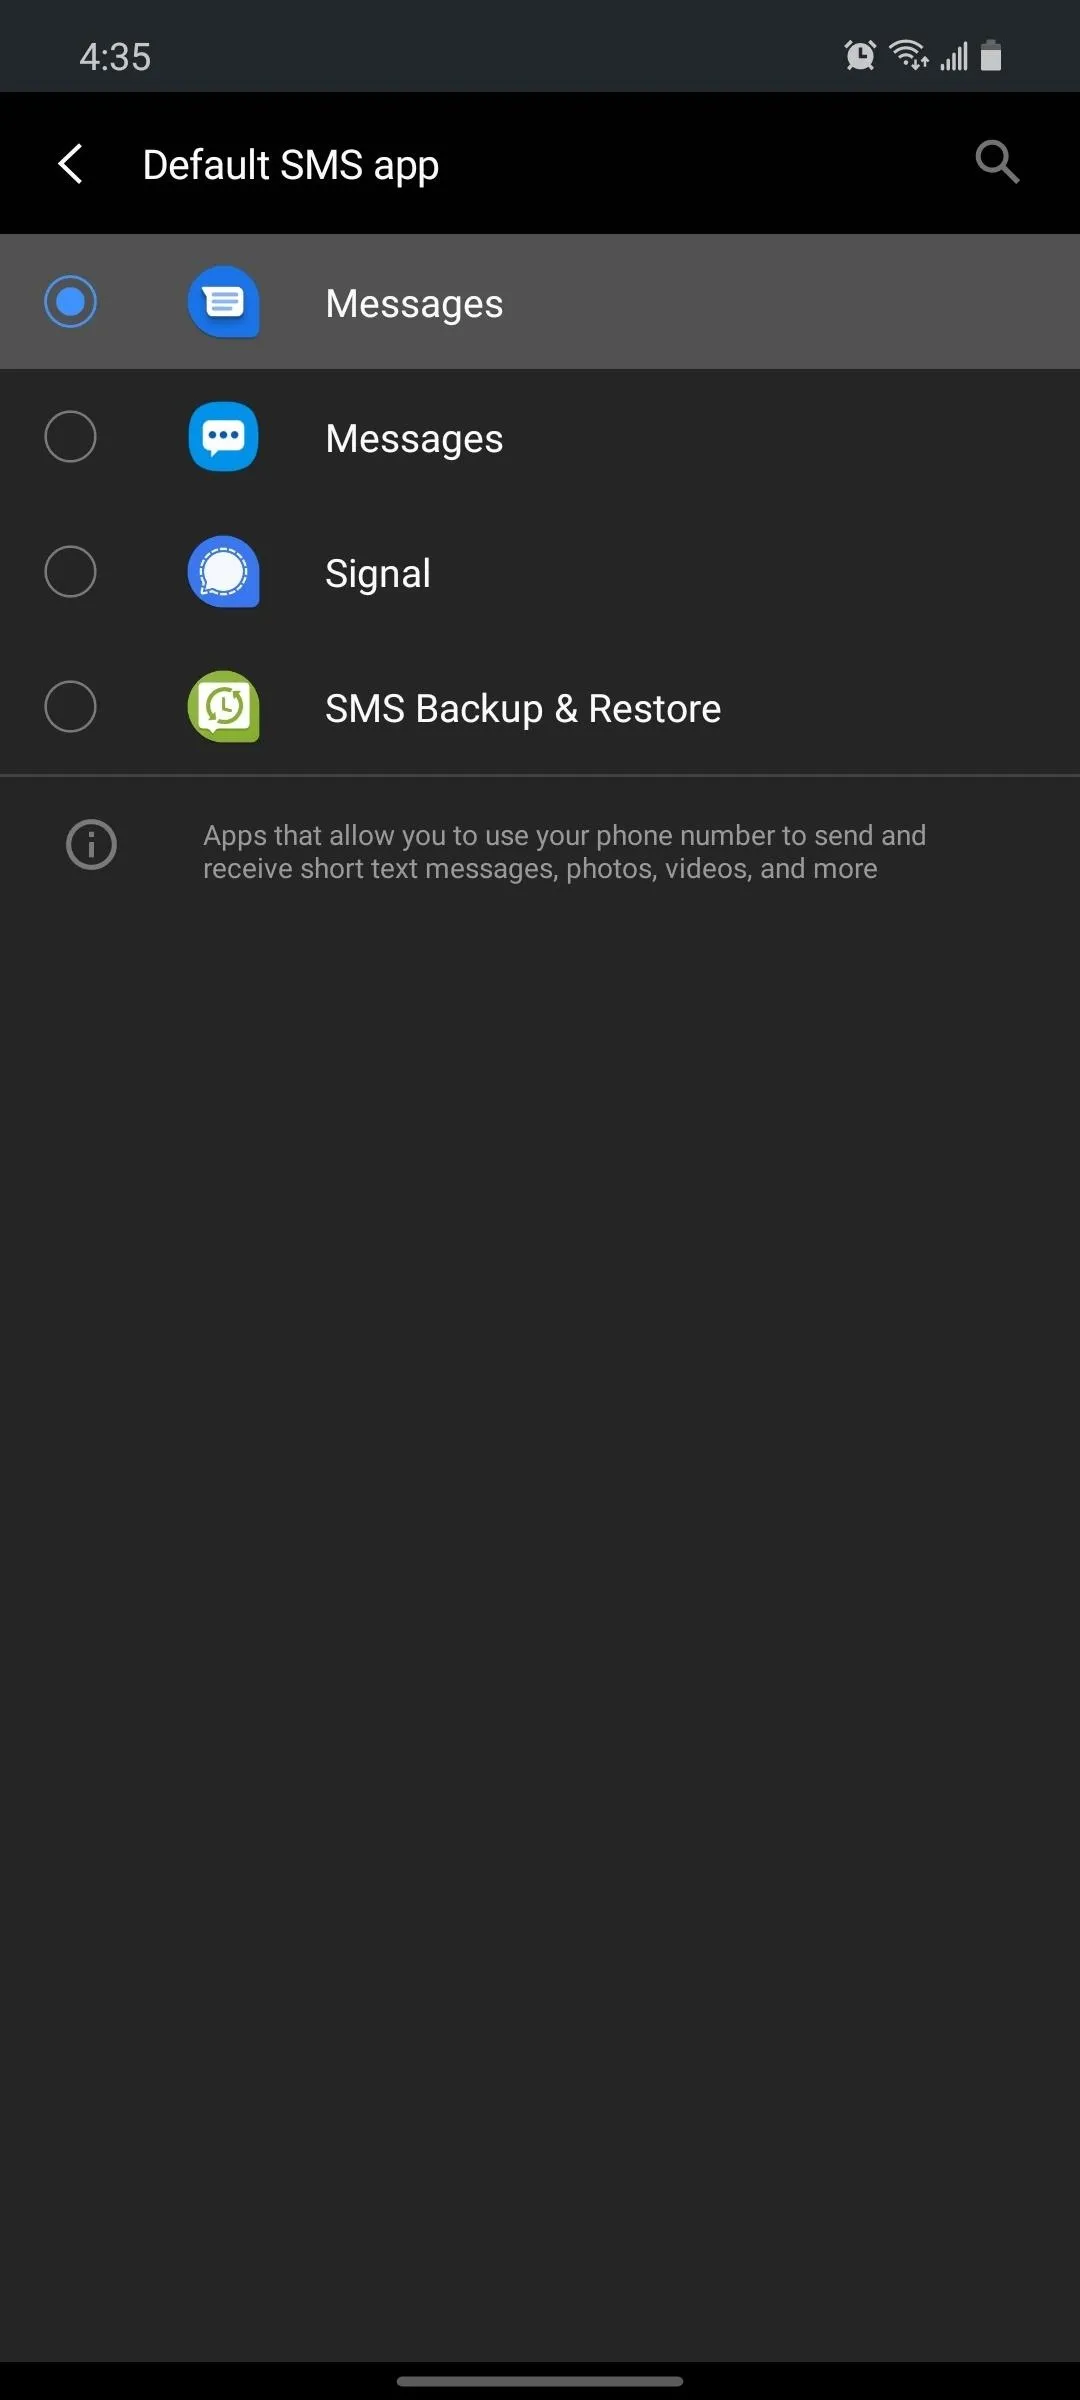
Once installed, make it the default texting app using the prompt in the app, or by opening Settings, then heading to "Apps." Here, tap the three-dot menu button, select "Default apps," choose "SMS," then select the "Messages" app (the one with the darker blue icon).
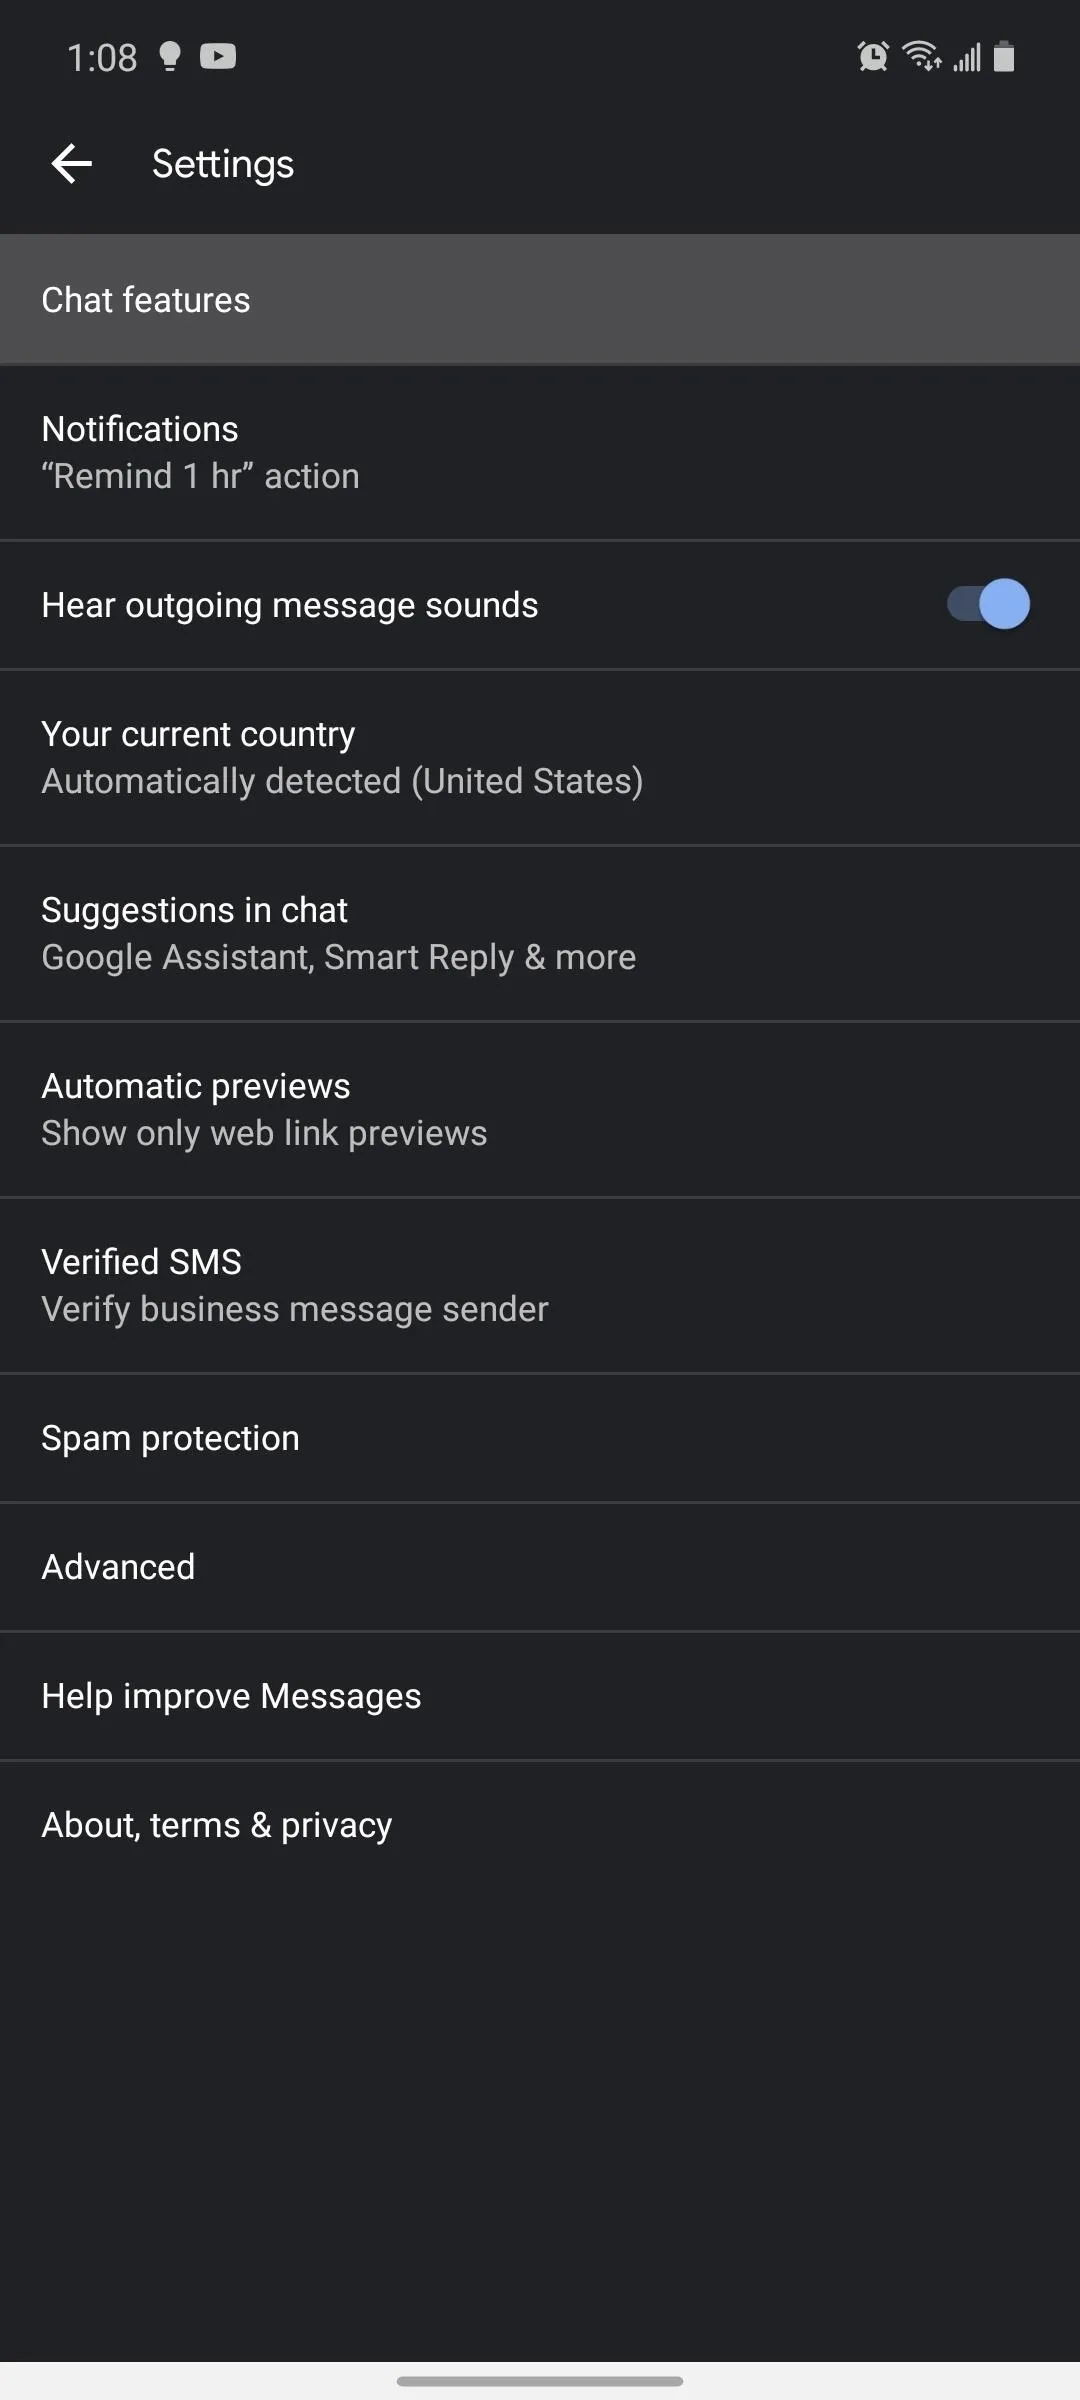
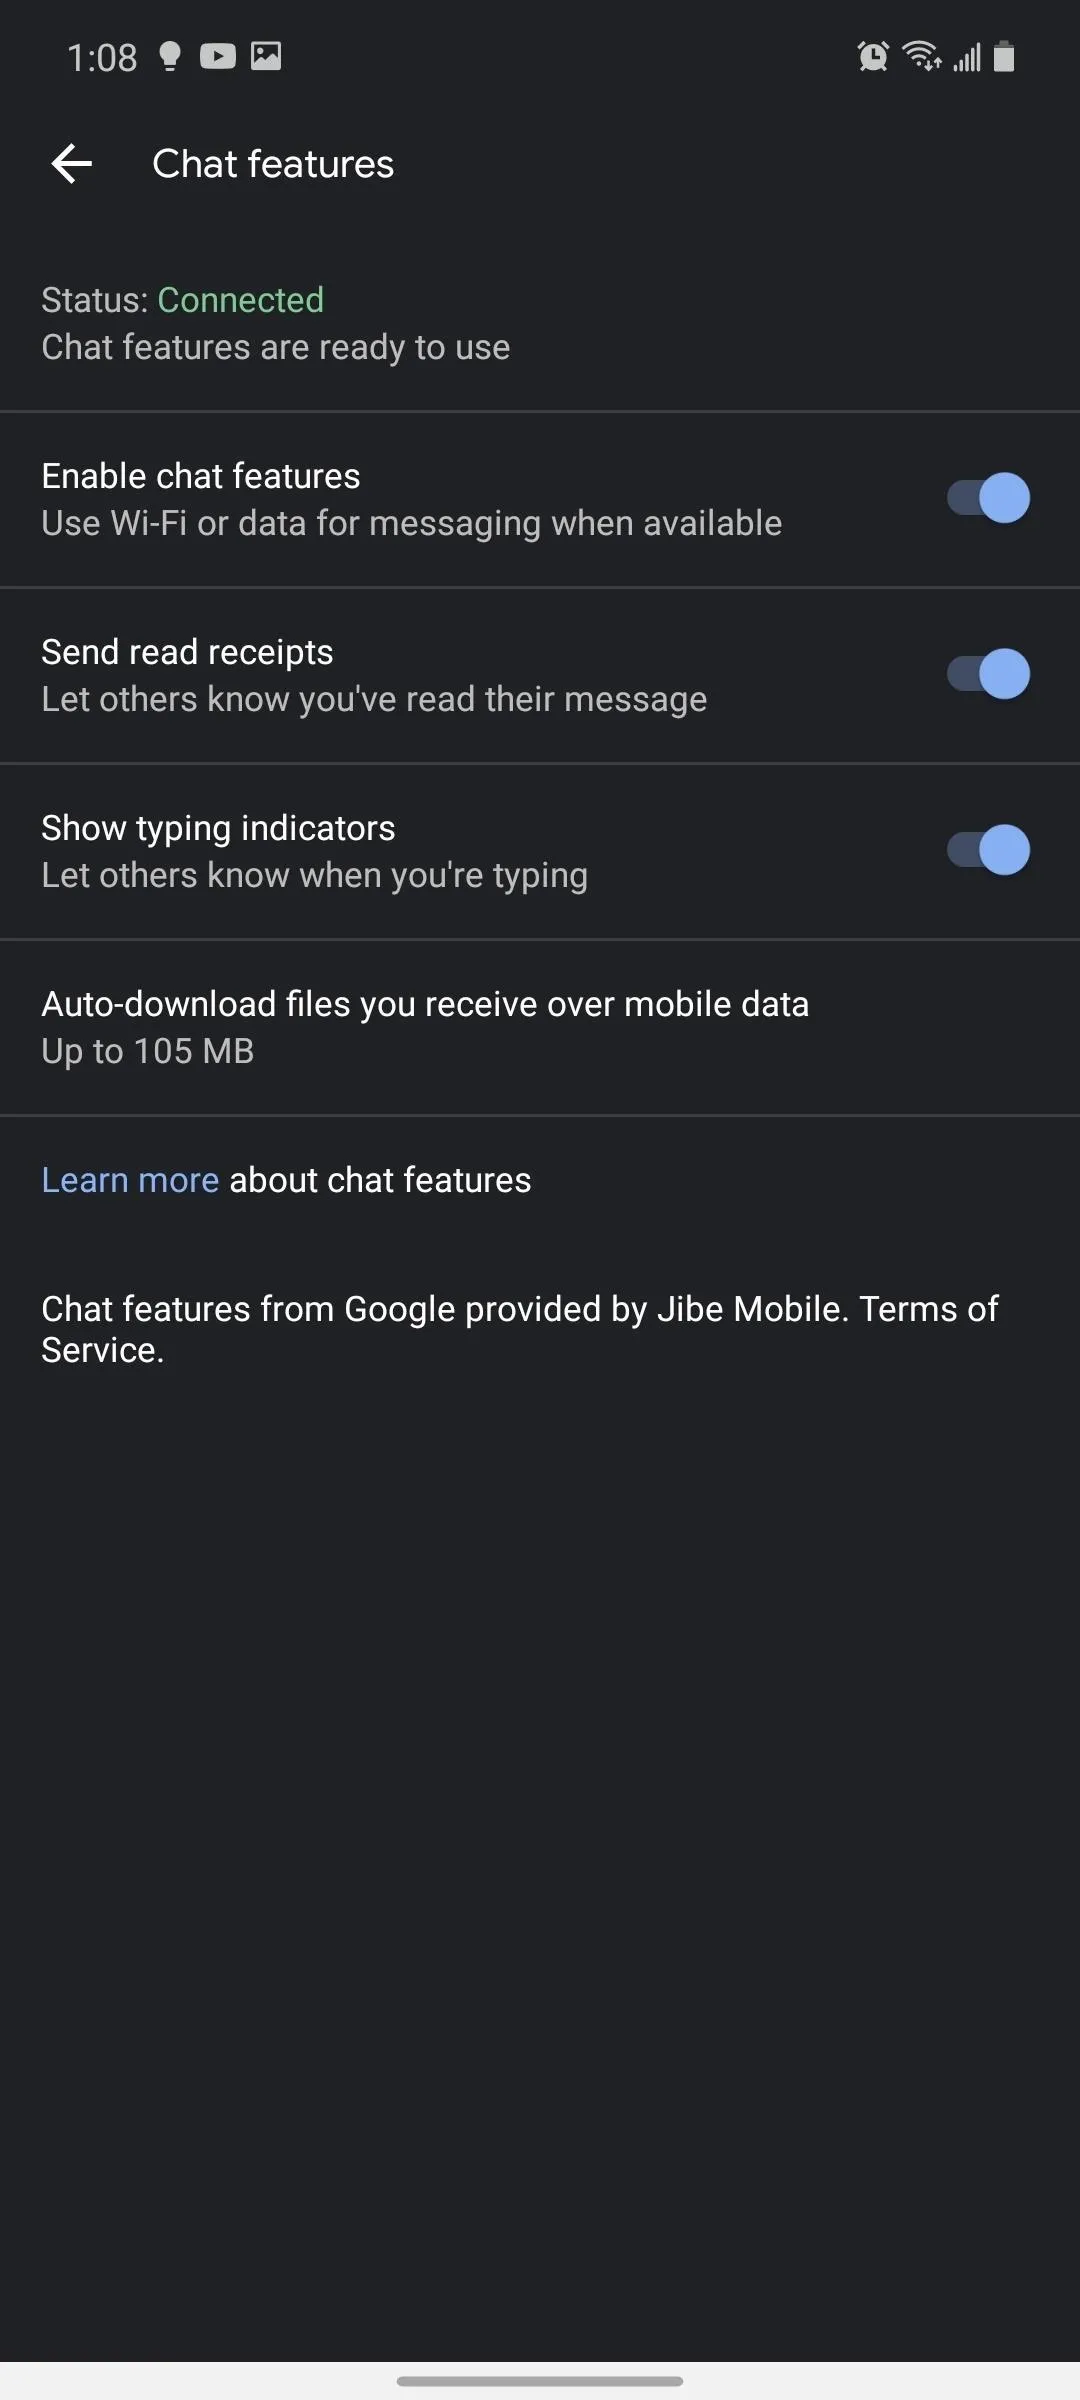
Now make sure RCS features are enabled in Android Messages. Open the app, select the three vertical dots in the upper-right corner, choose "Settings," then select "Chat features." Next to Status, wait until it says "Connected," which indicates RCS is set up for Android Messages.
Get Even More Stock Google Apps
There are a number of Google-developed apps that can be found on the Play Store. To finish off the Pixel-ization of your Galaxy Note, here are the ones you still need to install.
Phone
- Play Store Link: Google Phone (free)
Gboard
- Play Store Link: Gboard (free)
Google Calendar
- Play Store Link: Google Calendar (free)
Cover image and screenshots by Jon Knight/Gadget Hacks


Comments
Be the first, drop a comment!