


ADB and Fastboot are powerful tools that have always required a computer. But with the right setup, you can now send commands to a phone using another phone.
The ADB and Fastboot Magisk module, by osm0sis and Surge1223, will turn your phone into an ADB terminal using root access. You can then connect it to another phone with a USB Type-C cable and send commands to the child device. This means you can also unlock the bootloader on other phones, install TWRP directly, and even root them via Magisk — no computer needed!
Requirements
- rooted Android device with USB OTG support
- Magisk installed
- USB Type-C data cable or OTG adapter for connecting the two phones
This guide is mainly for someone who already has a rooted Android device. If you don't currently have a spare phone with root access or don't know how to do that, this might not be for you. You can always check the link below for the regular ADB and Fastboot computer instructions instead.
Install ADB & Fastboot for Android
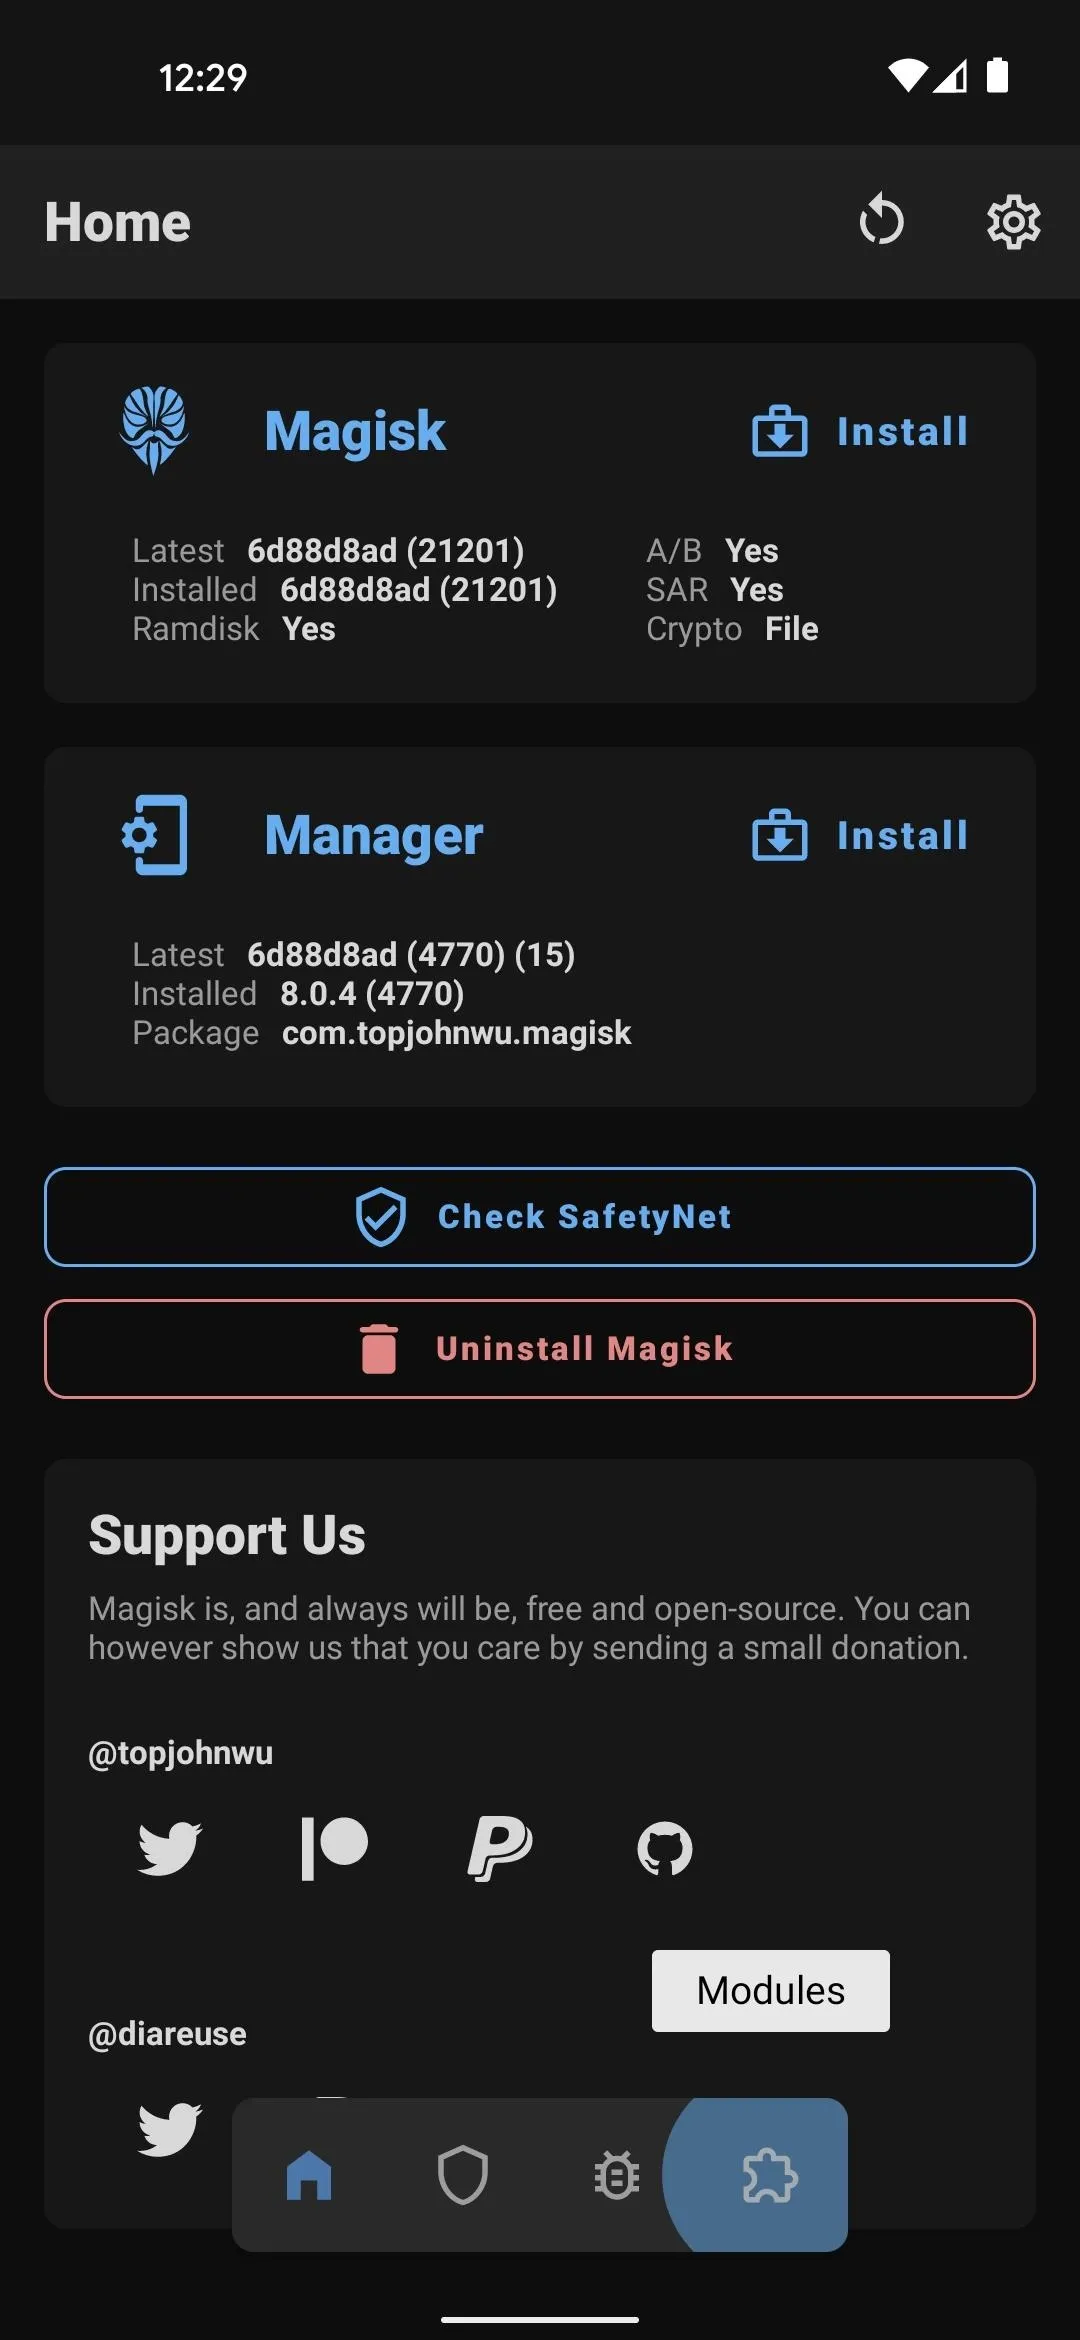
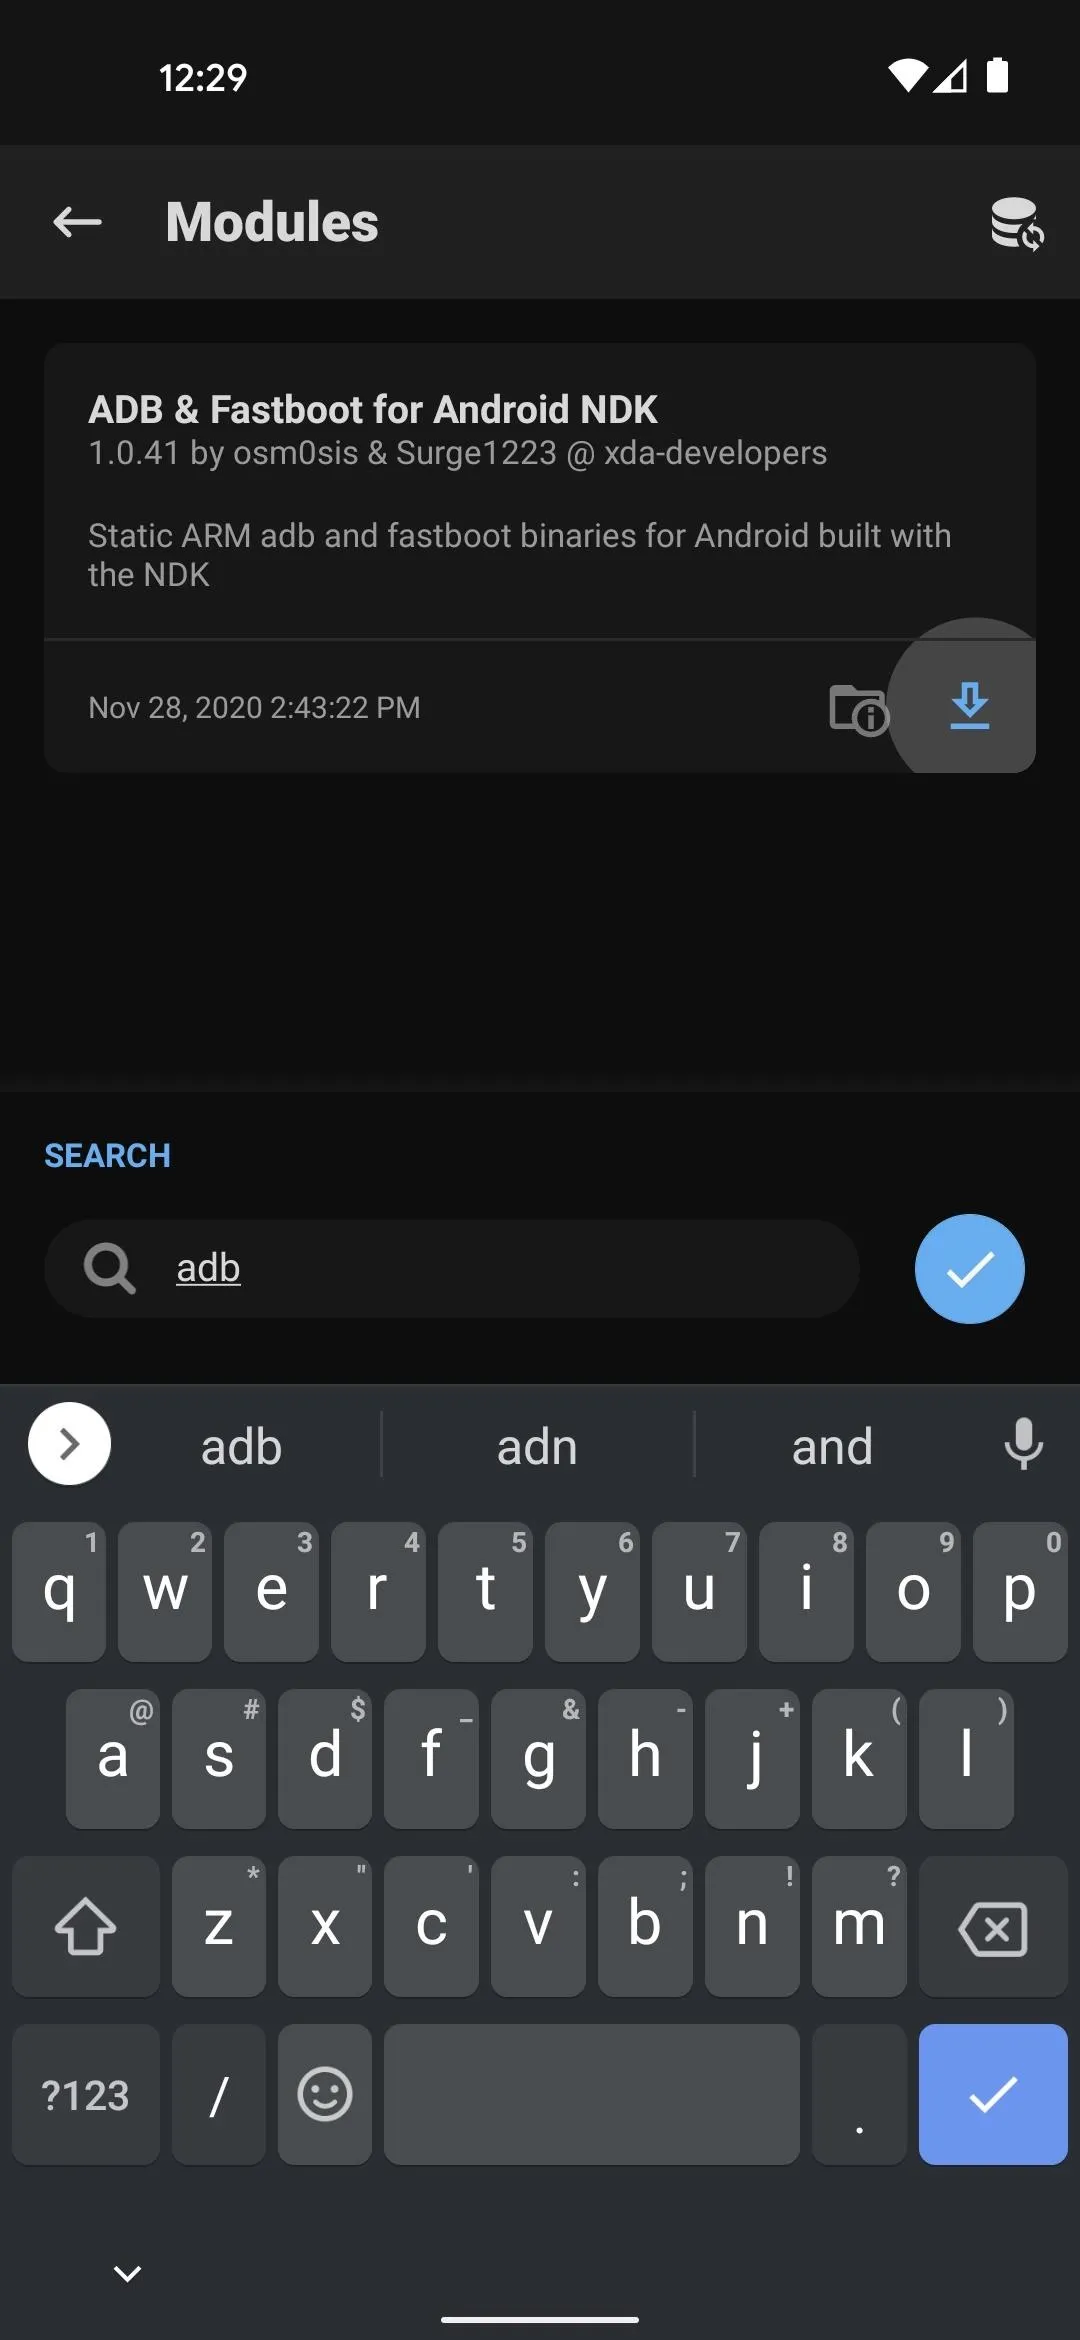
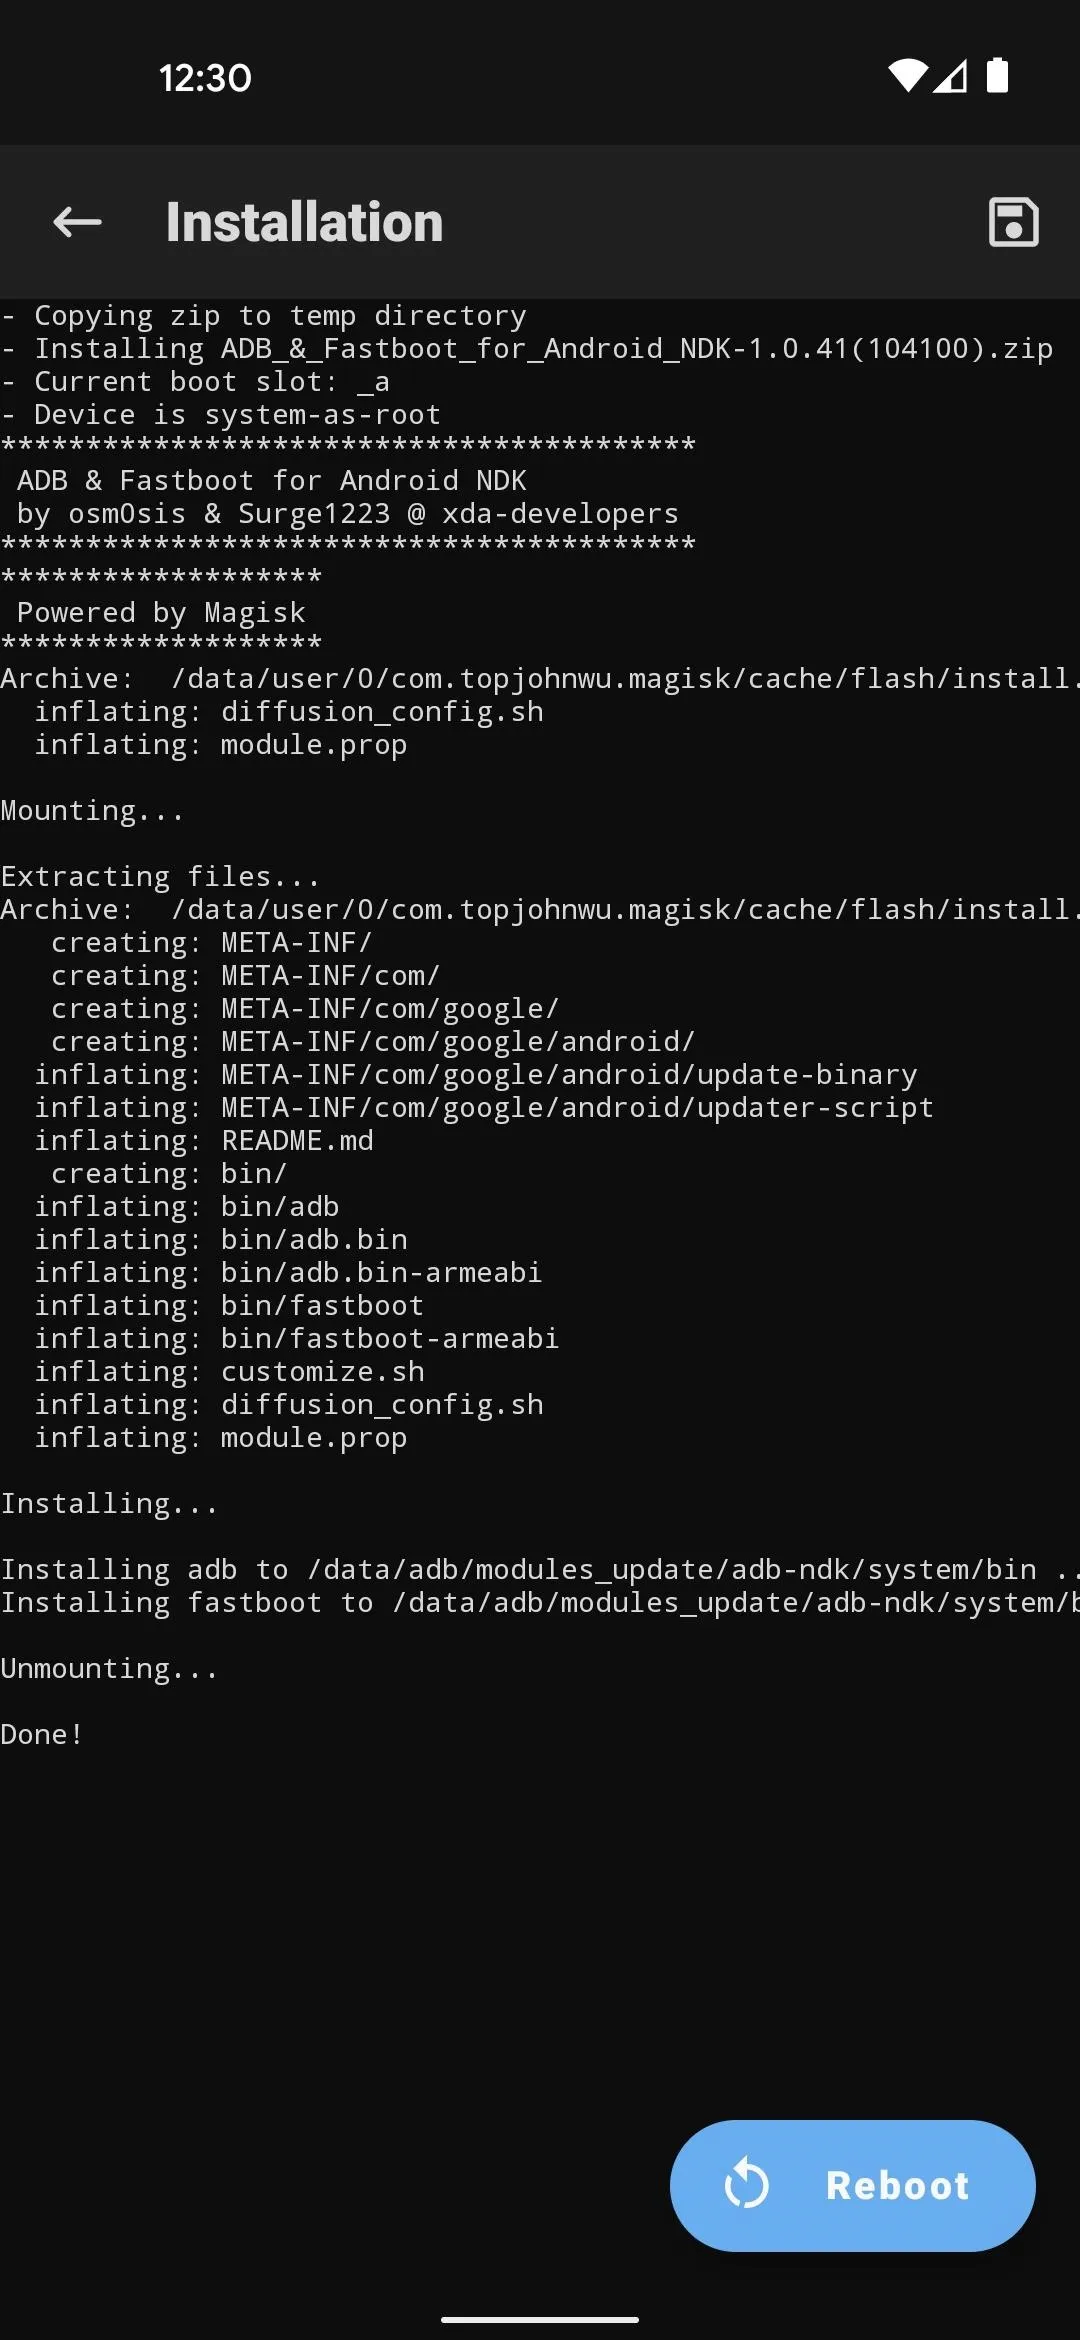
On your already-rooted phone, head into the Magisk Manager app and tap the puzzle piece icon on the menu bar at the bottom of the screen. Here, tap the search icon and enter "adb" into the field, then tap the download button next to the ADB & Fastboot for Android NDK module. Tap "Install" and grant Magisk Manager access to your media if prompted, then it will be installed. When done, tap "Reboot."
Install the Termux App
You'll need a terminal app on the phone that has root access in order to send over the ADB and Fastboot commands to the other phone. Some phones allow you to use a system terminal through the developer options, but the most universal method would be to download the Termux app.
- Play Store Link: Termux (free)
Enable USB Debugging
On the secondary phone that you want to send commands to, you'll need to enable the "USB debugging" toggle in Developer Options so the phone will accept commands. So go to Settings–> About phone, then tap "Build number" seven times quickly to enable Developer Options, then open the menu from Settings –> System –> Advanced (or the bottom of Settings) and enable "USB debugging."
Connect the 2 Android Phones
If both of the phones were released in the last five years, you'll probably only need a single USB Type-C cable to connect them together. However, if you don't have a Type-C cable that has the same connector on both ends, you'll need an OTG adapter. Many new phones come with this adapter in the box, so check and see if you have one laying around from a previous purchase.
- Buy a USB Type-C OTG adapter from Amazon (from $3.50)
If one of the phones is Micro USB and the other is USB Type-C, you'll need two things: a Micro USB OTG cable and a USB A to USB C cable. You can pick either of those up from Amazon for fairly cheap.
- Buy a Micro USB OTG adapter from Amazon (from $4.20)
- Buy a USB A to USB C cable from Amazon (from $5.99)
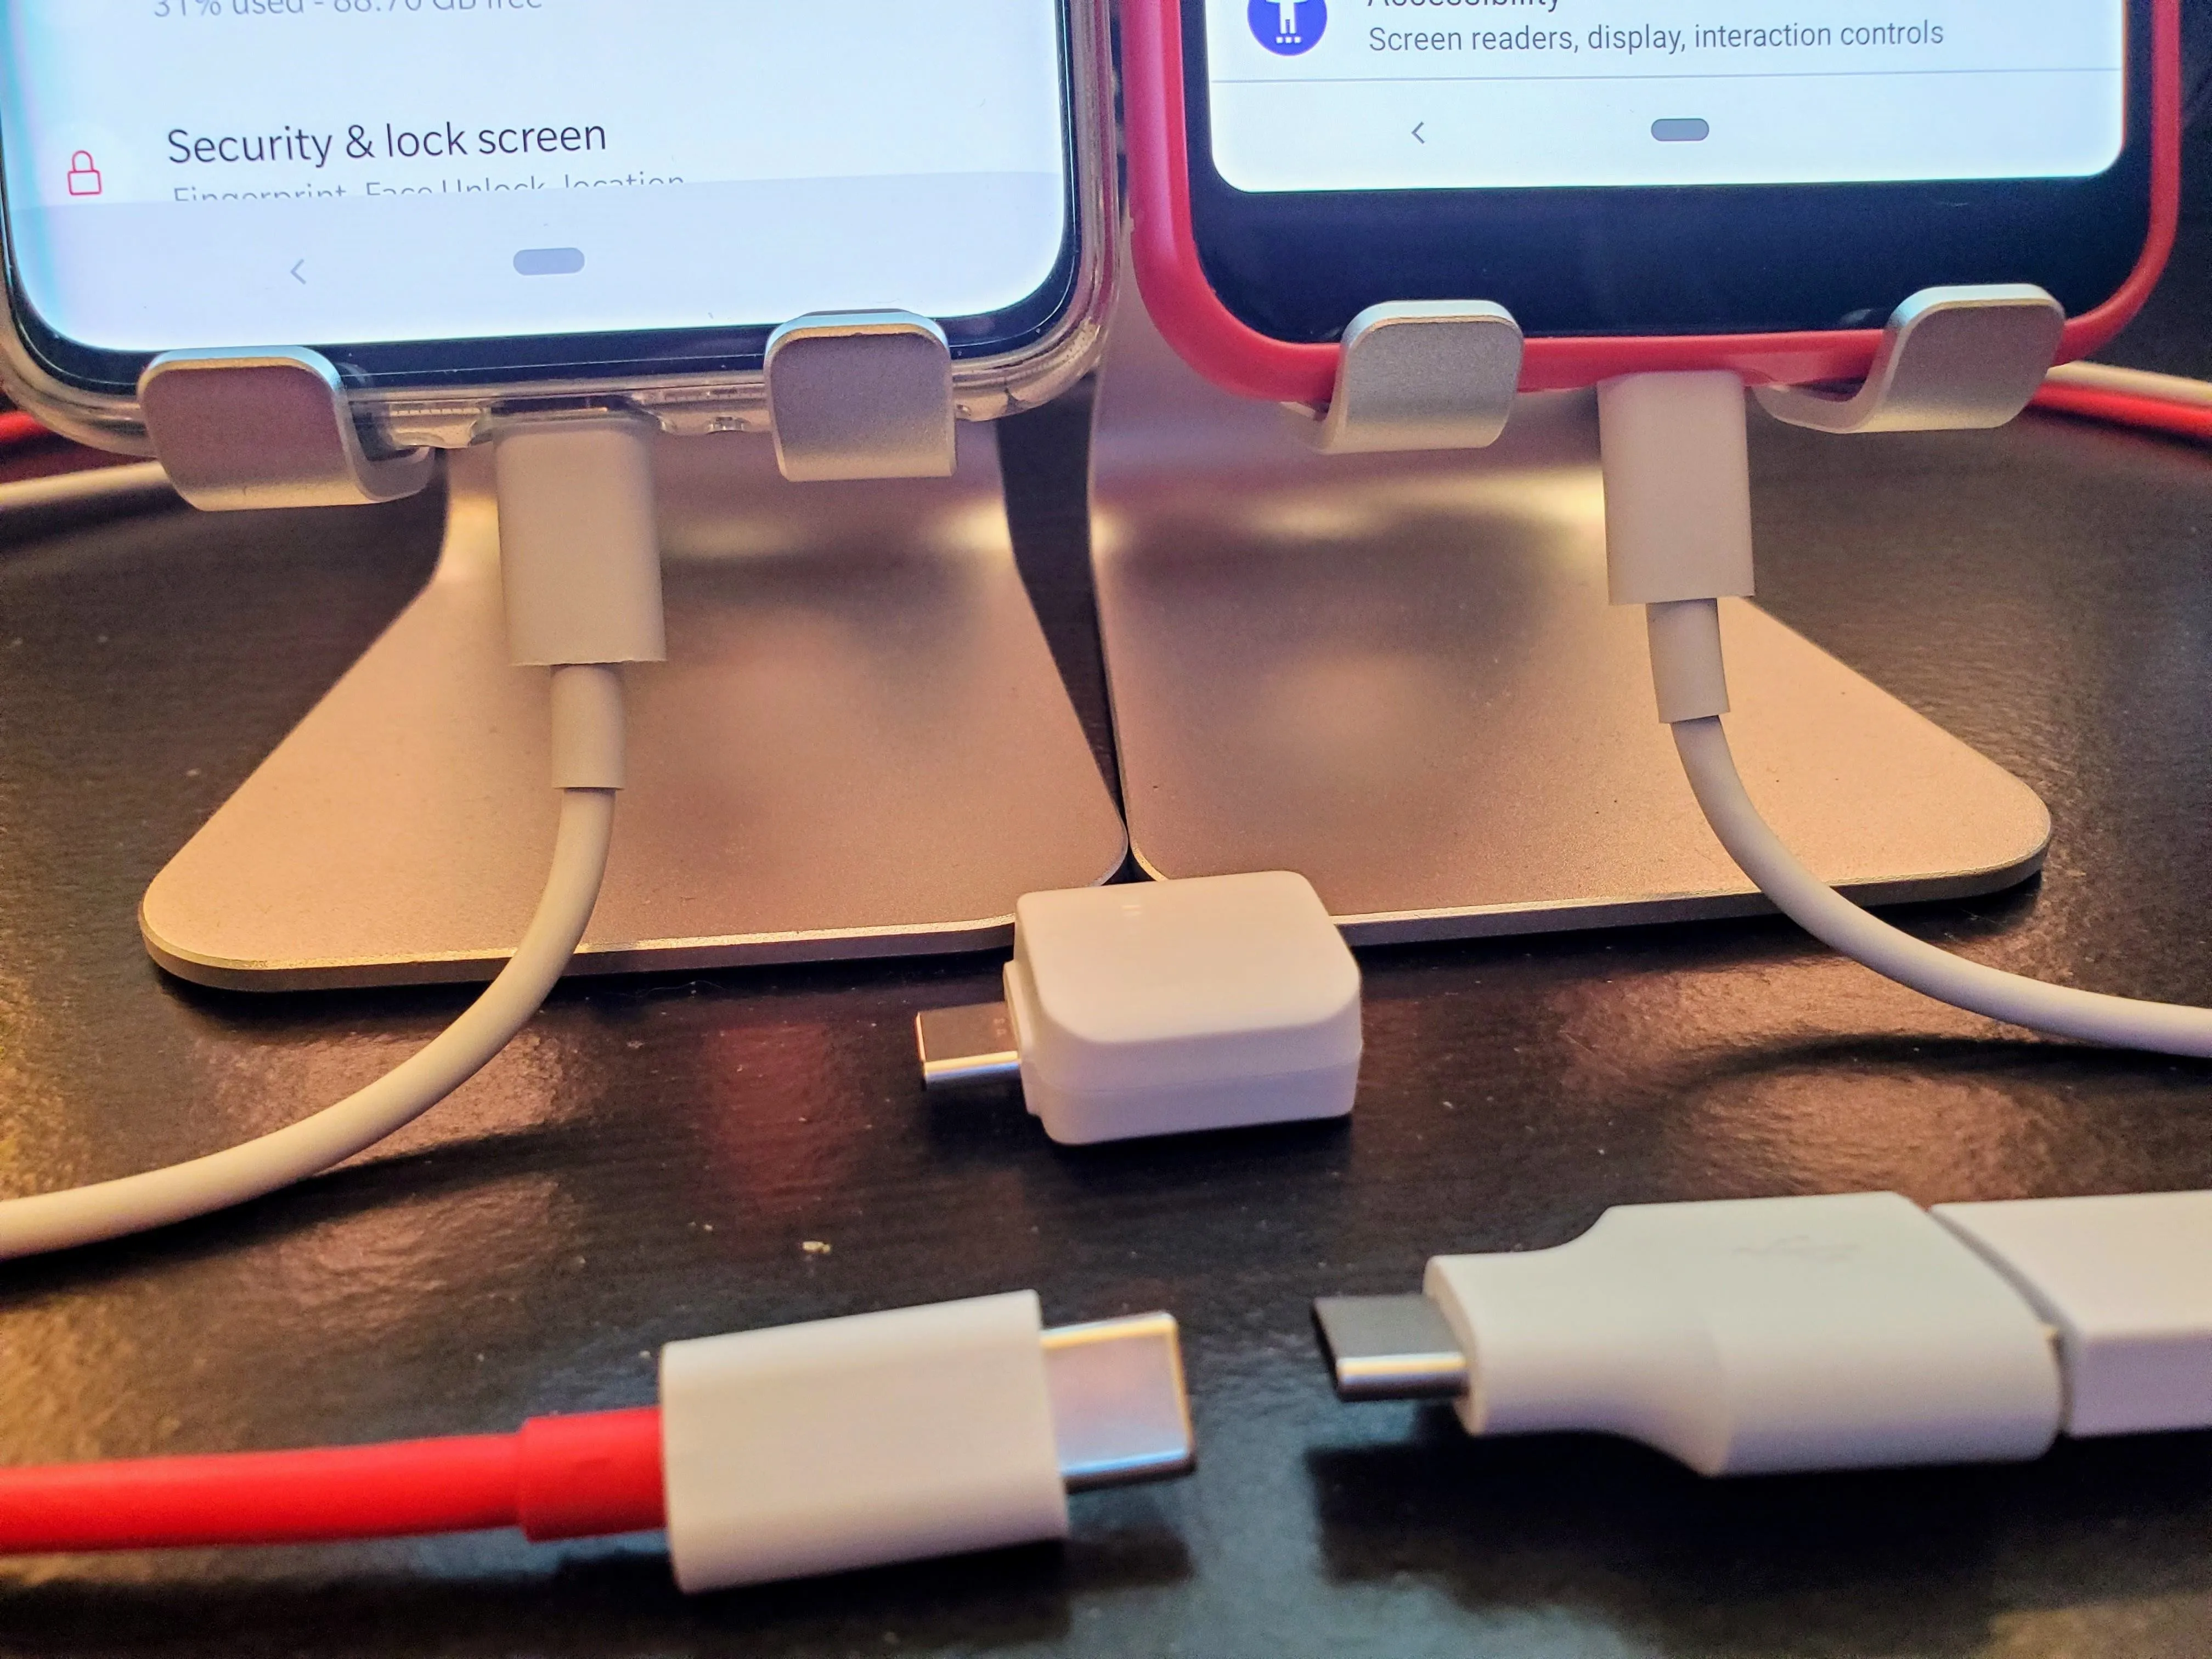
An example of two newer phones being connected with a single USB Type-C data cable.
If you need to use an OTG adapter, plug it directly into the phone that has root access and Termux installed, then connect the USB data cable from there to the other phone. Otherwise, you'll be using a Type-C to Type-C cable, which means it doesn't matter which phone you connect first since they both use the same connector. It all comes down to what cables you have available to you at the time.
Allow USB Debugging
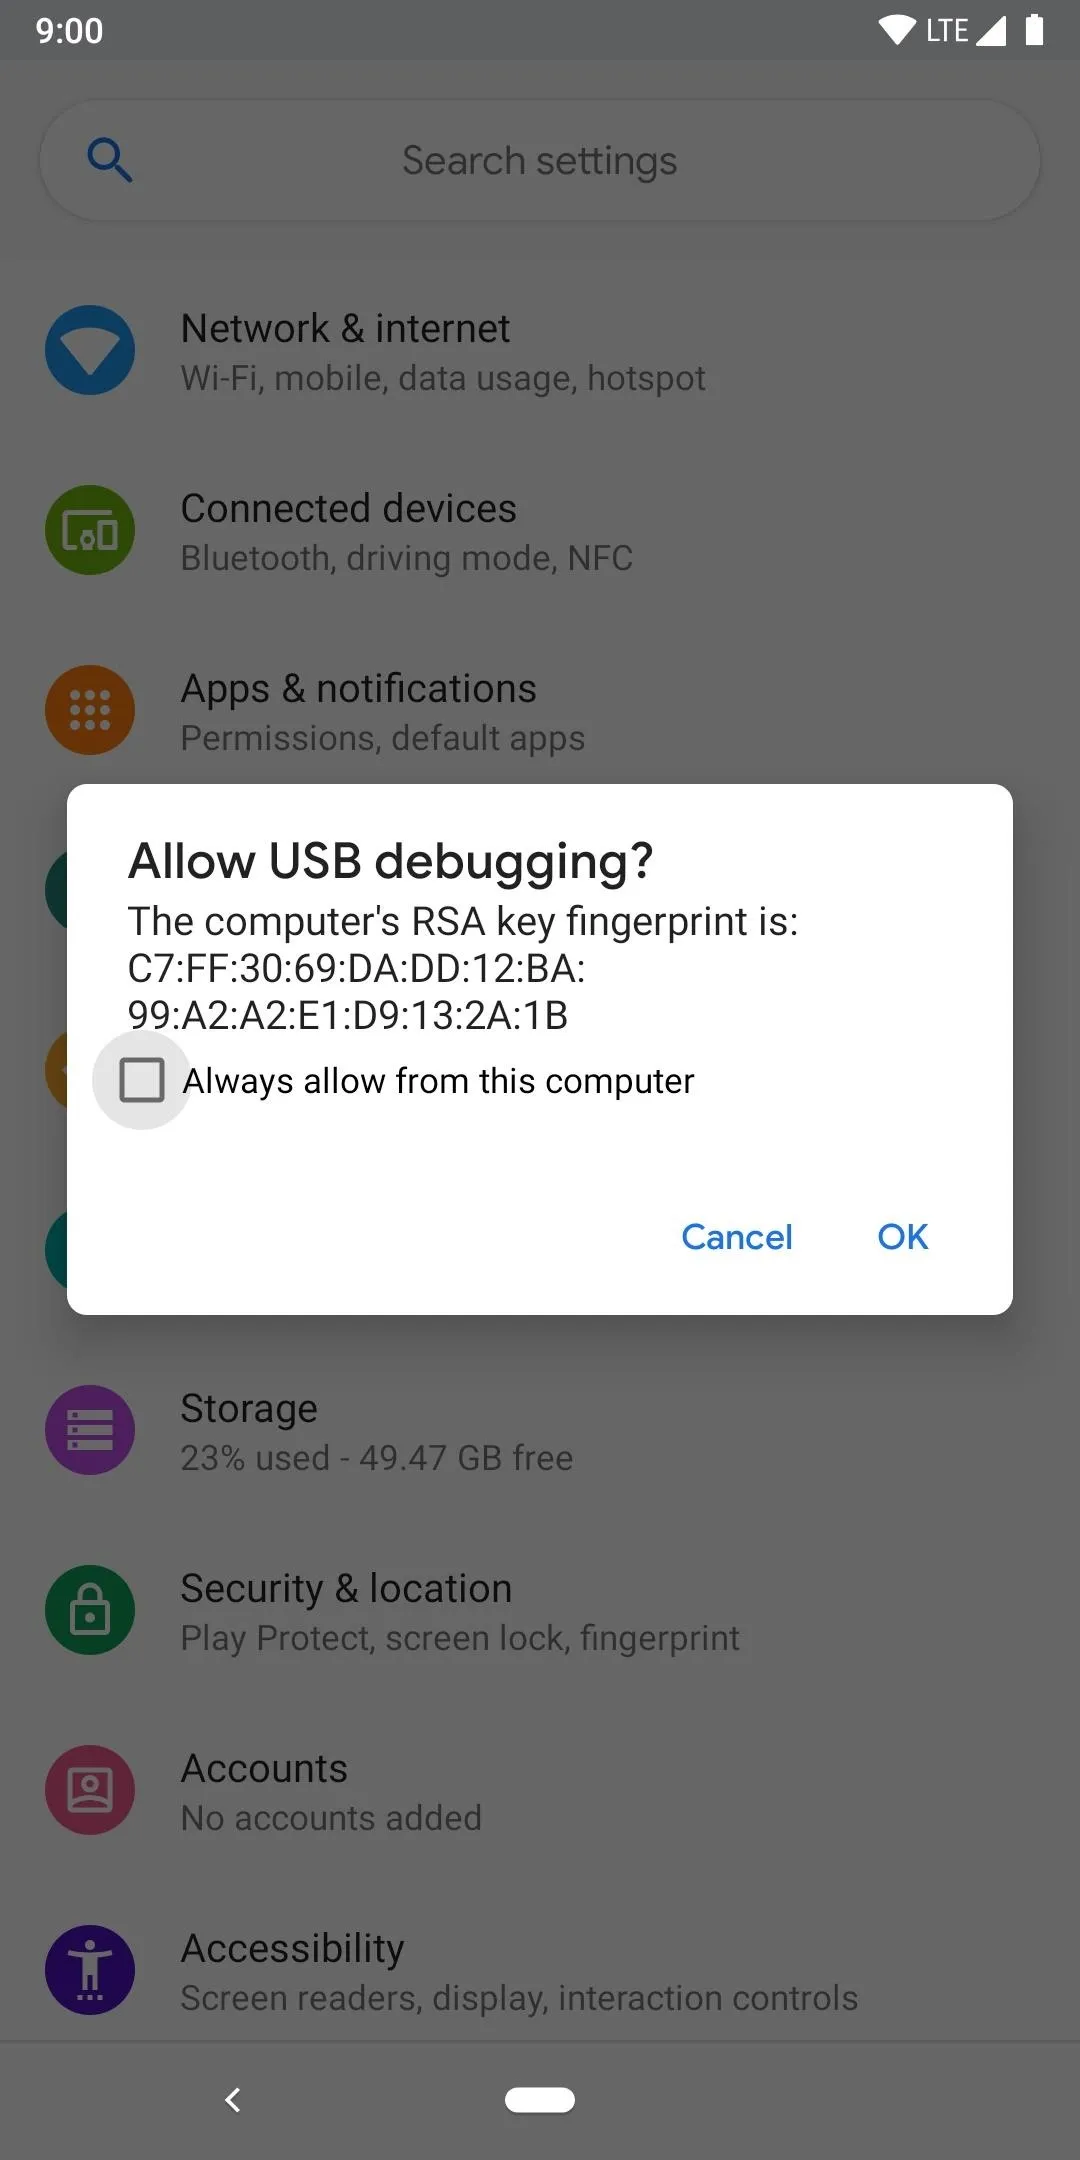
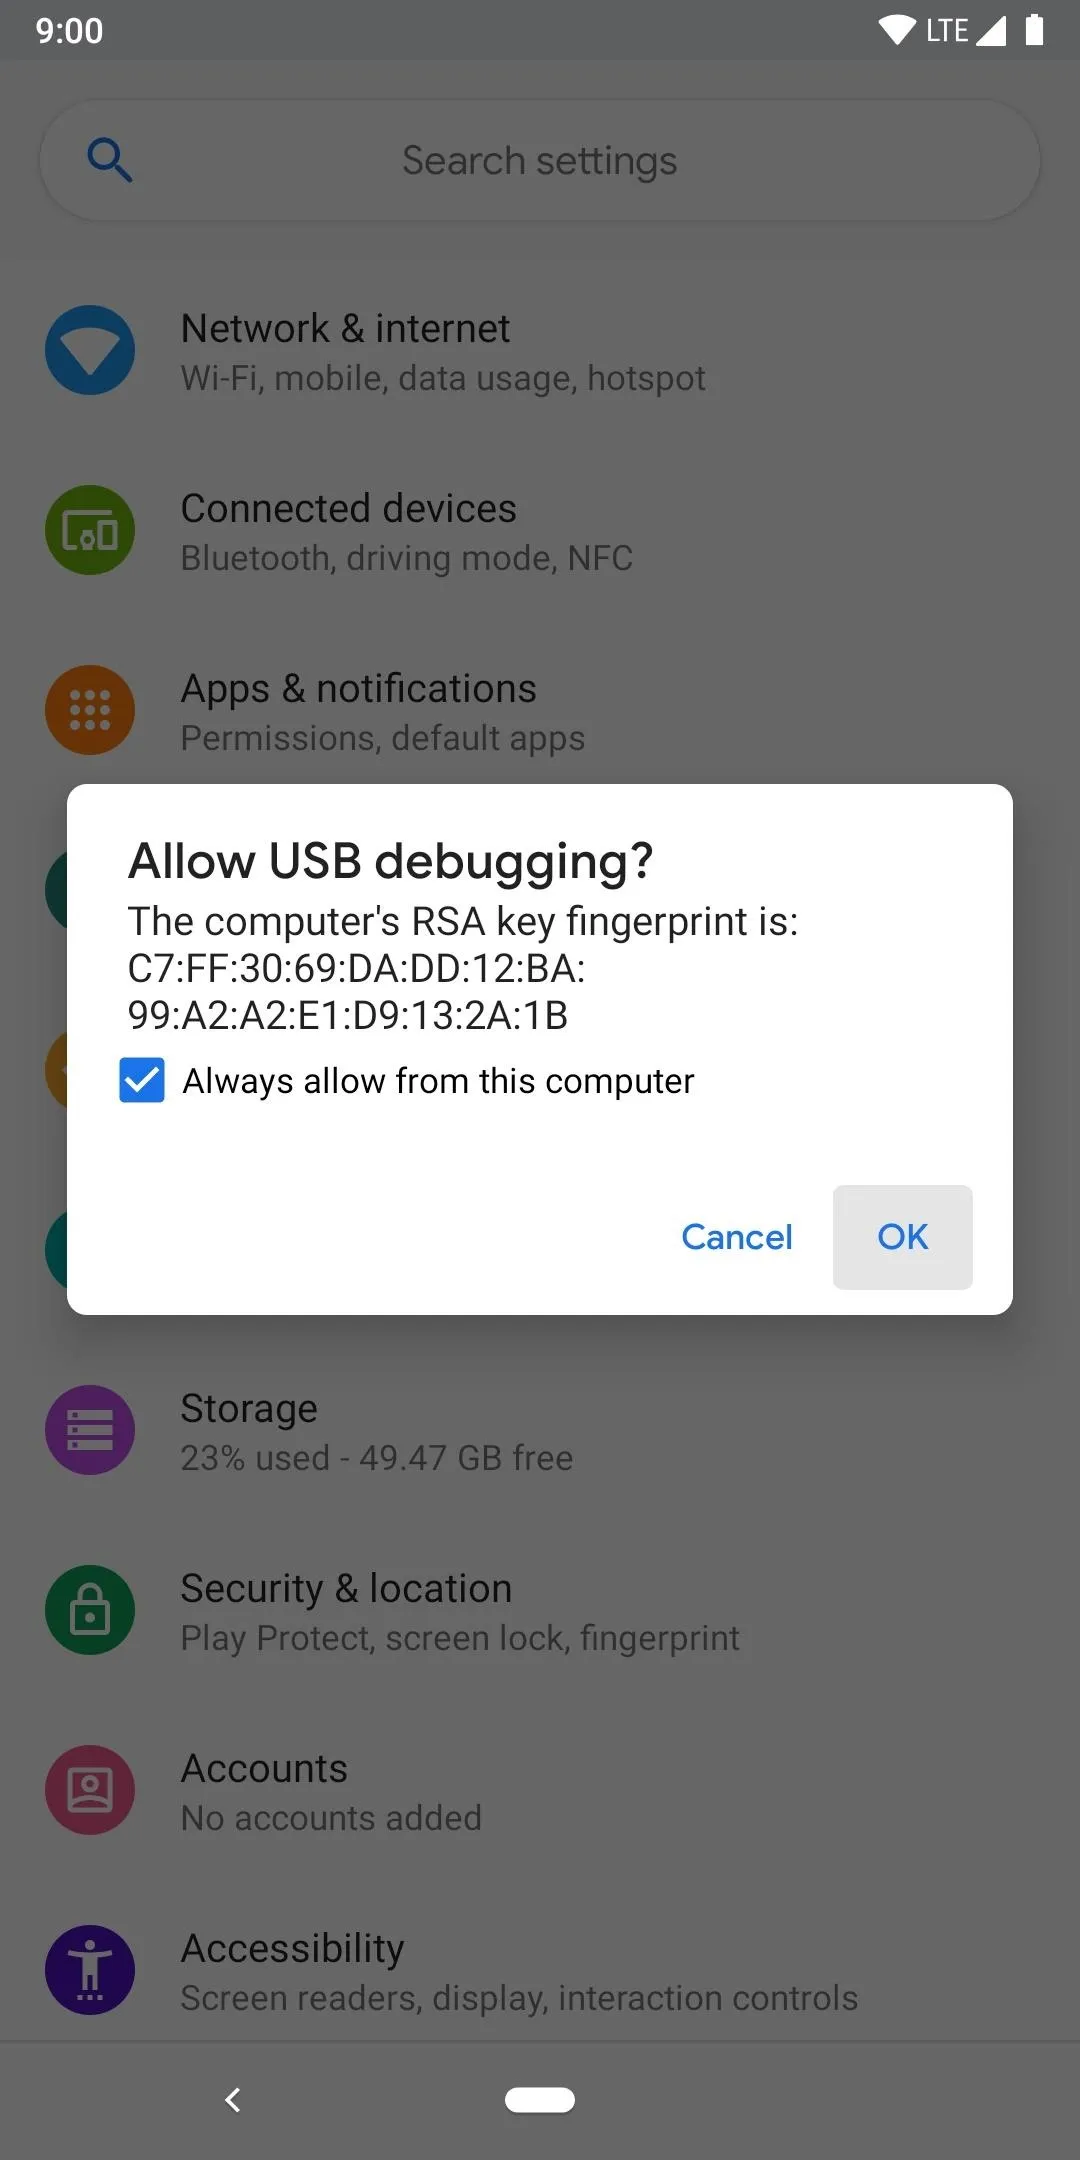
Once both phones are physically connected, the secondary phone should receive the "Allow USB debugging" prompt instantly (if not, try reconnecting the phone). Tick the box next to "Always allow," then hit "OK" to confirm the choice. This means your primary phone will now be labeled as a trusted device and can send commands to the secondary device at any time.
If you don't see this dialog box right away, don't panic — you can proceed with this guide. Just be on the lookout for this popup, particularly after sending the command in Step 7.
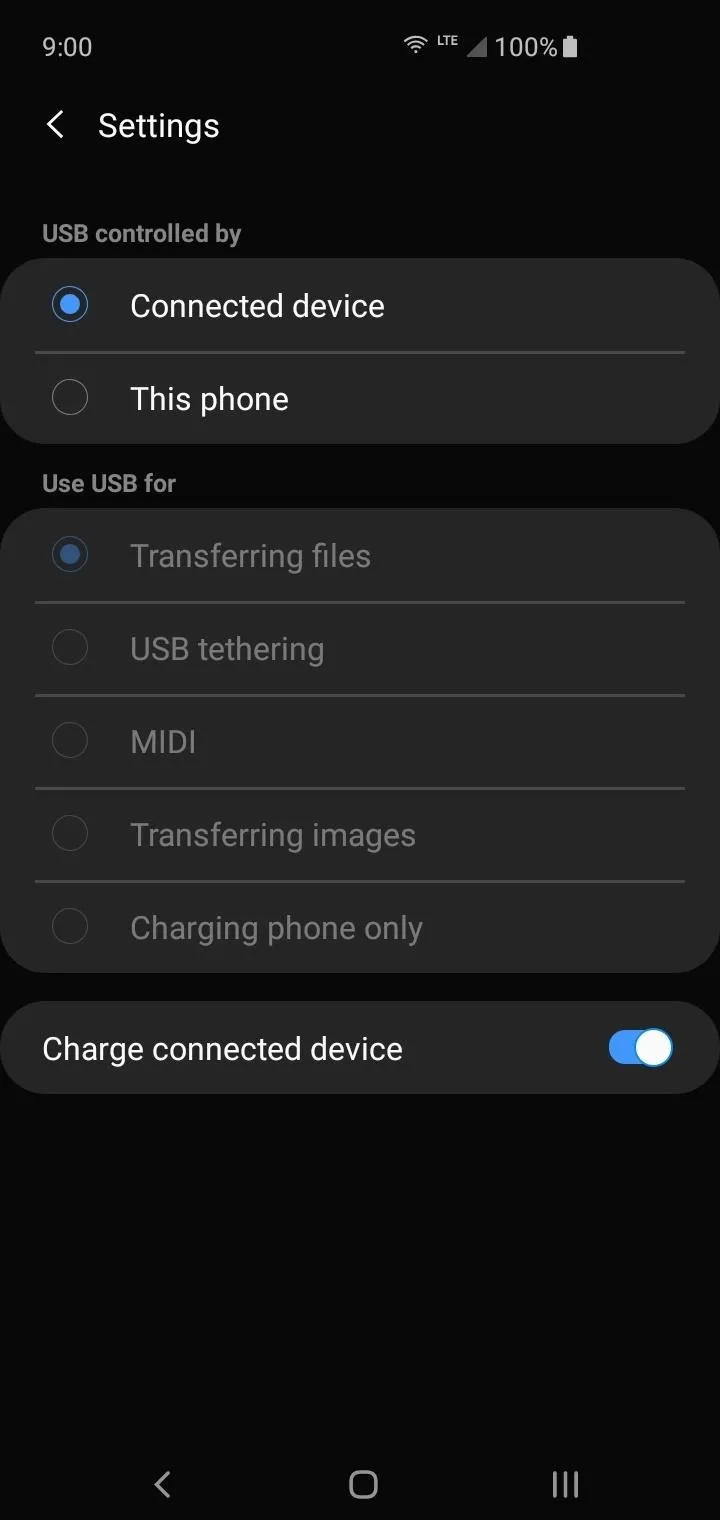
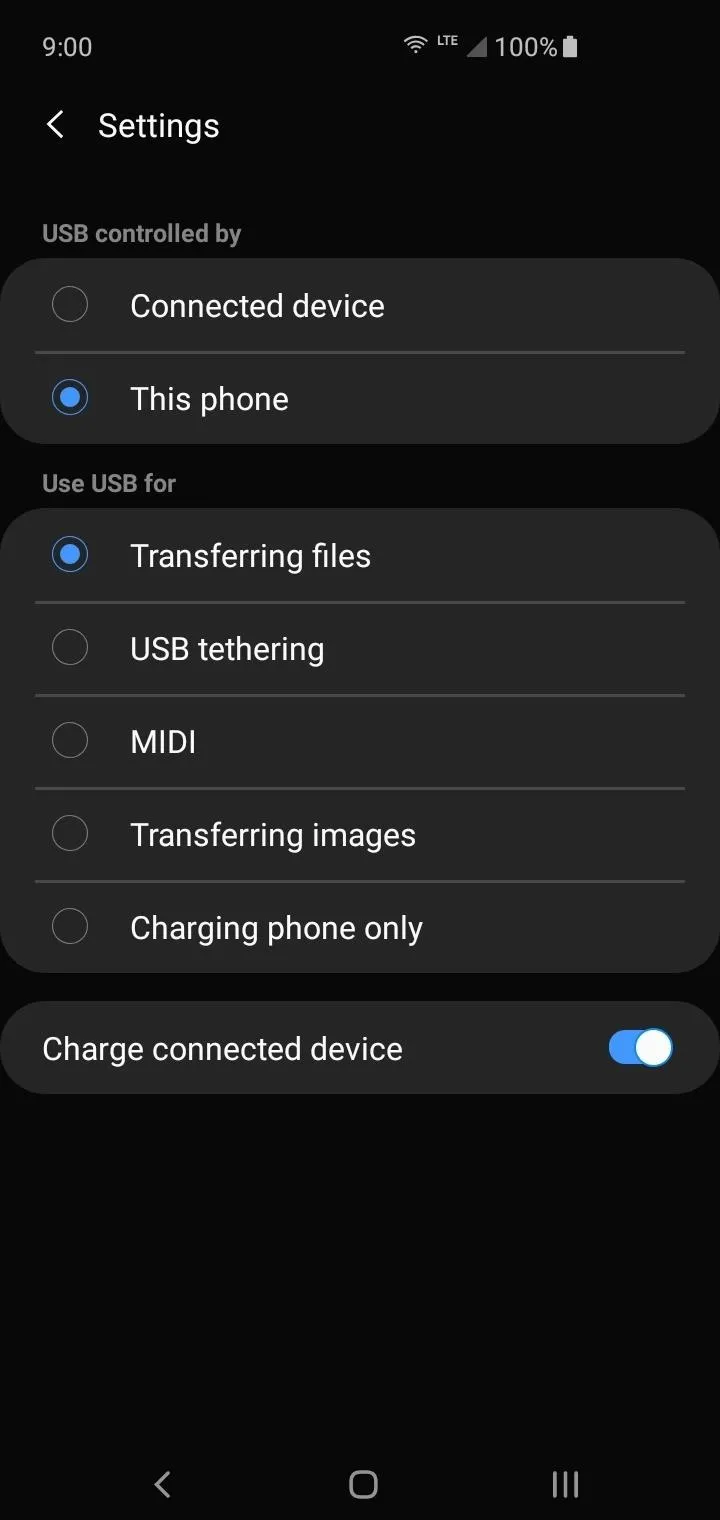
If your secondary device is a recent Samsung phone, you'll probably need to change the "USB controlled by" option via the file transfer notification. Change it from "Connected device" to "This phone," then once it's switched over, the USB debugging prompt should pop up. This might be the case for other specific devices as well, so keep that in mind if things aren't working for you right away.
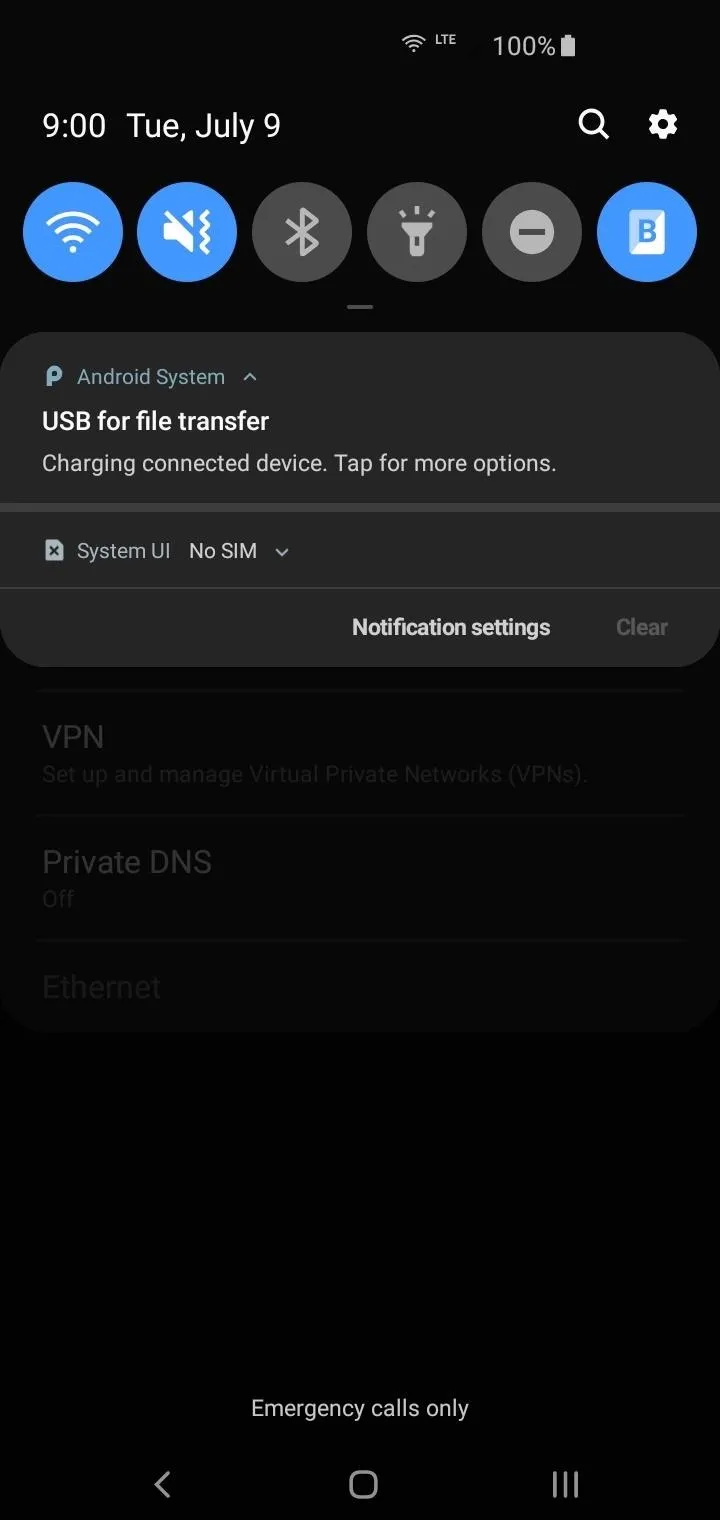
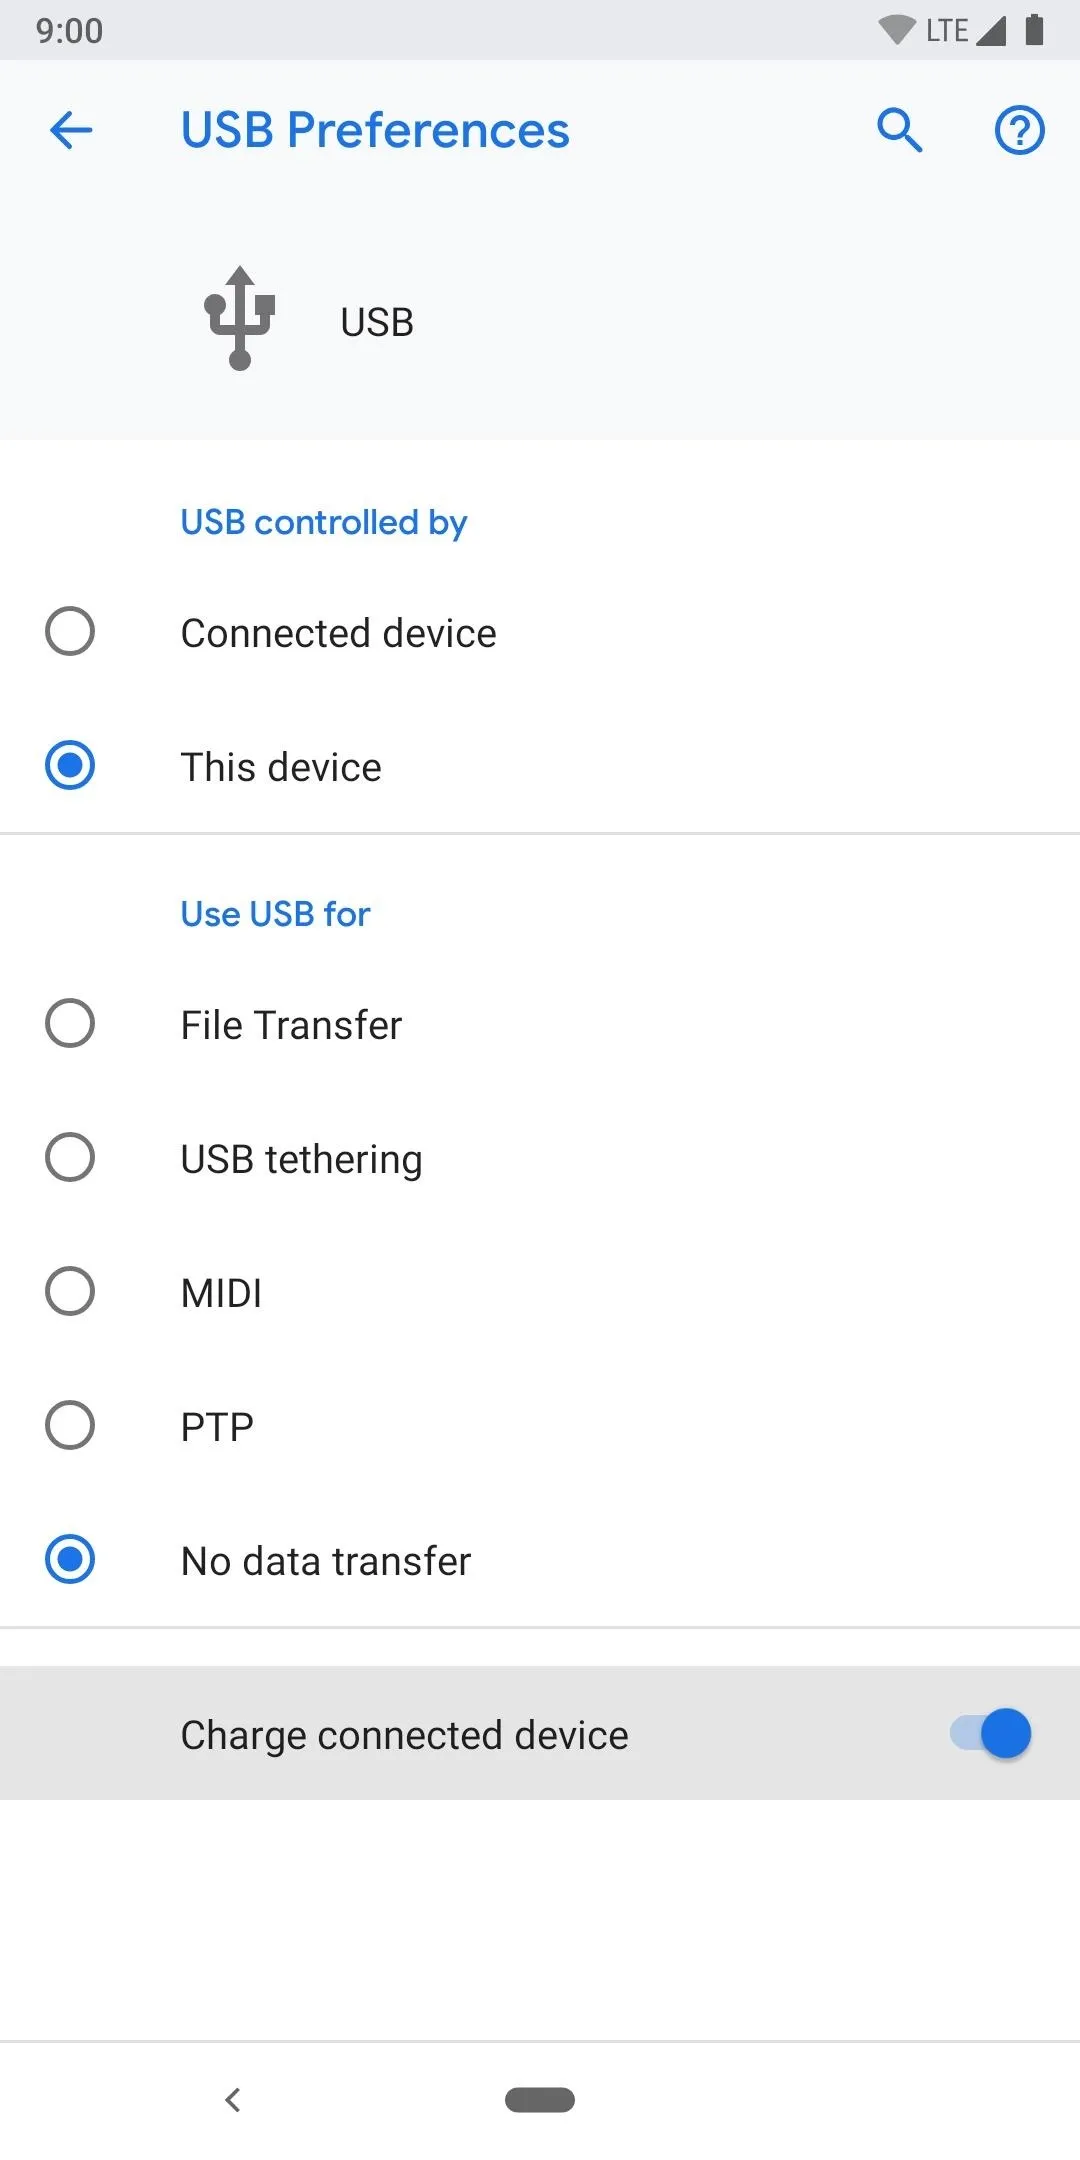
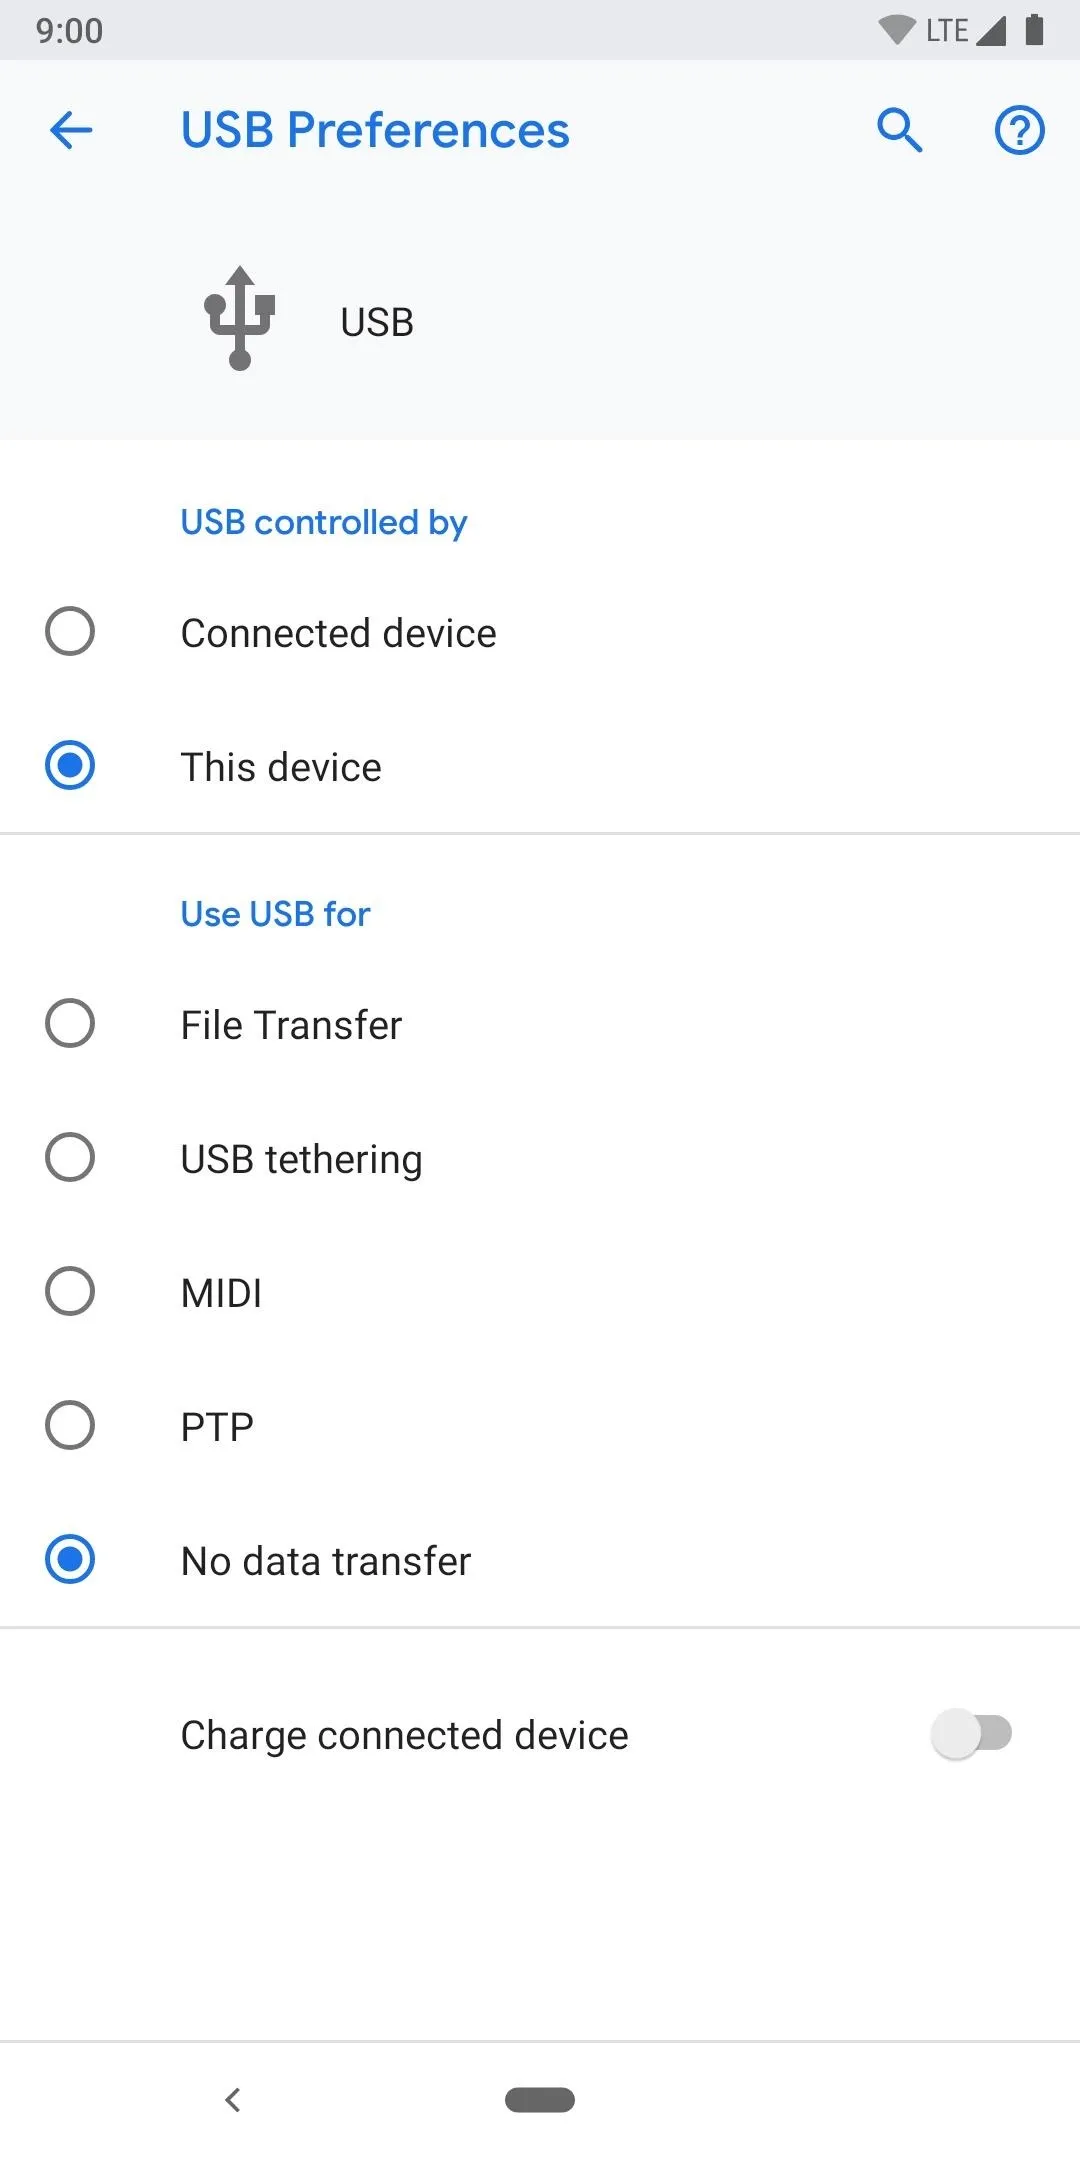
If you want to prevent one phone from draining the battery of the other, be sure to disable the "Charge connected device" option. This only affects phones that have a Type-C charging port, so keep that in mind as well for future use.
Grant Root Access
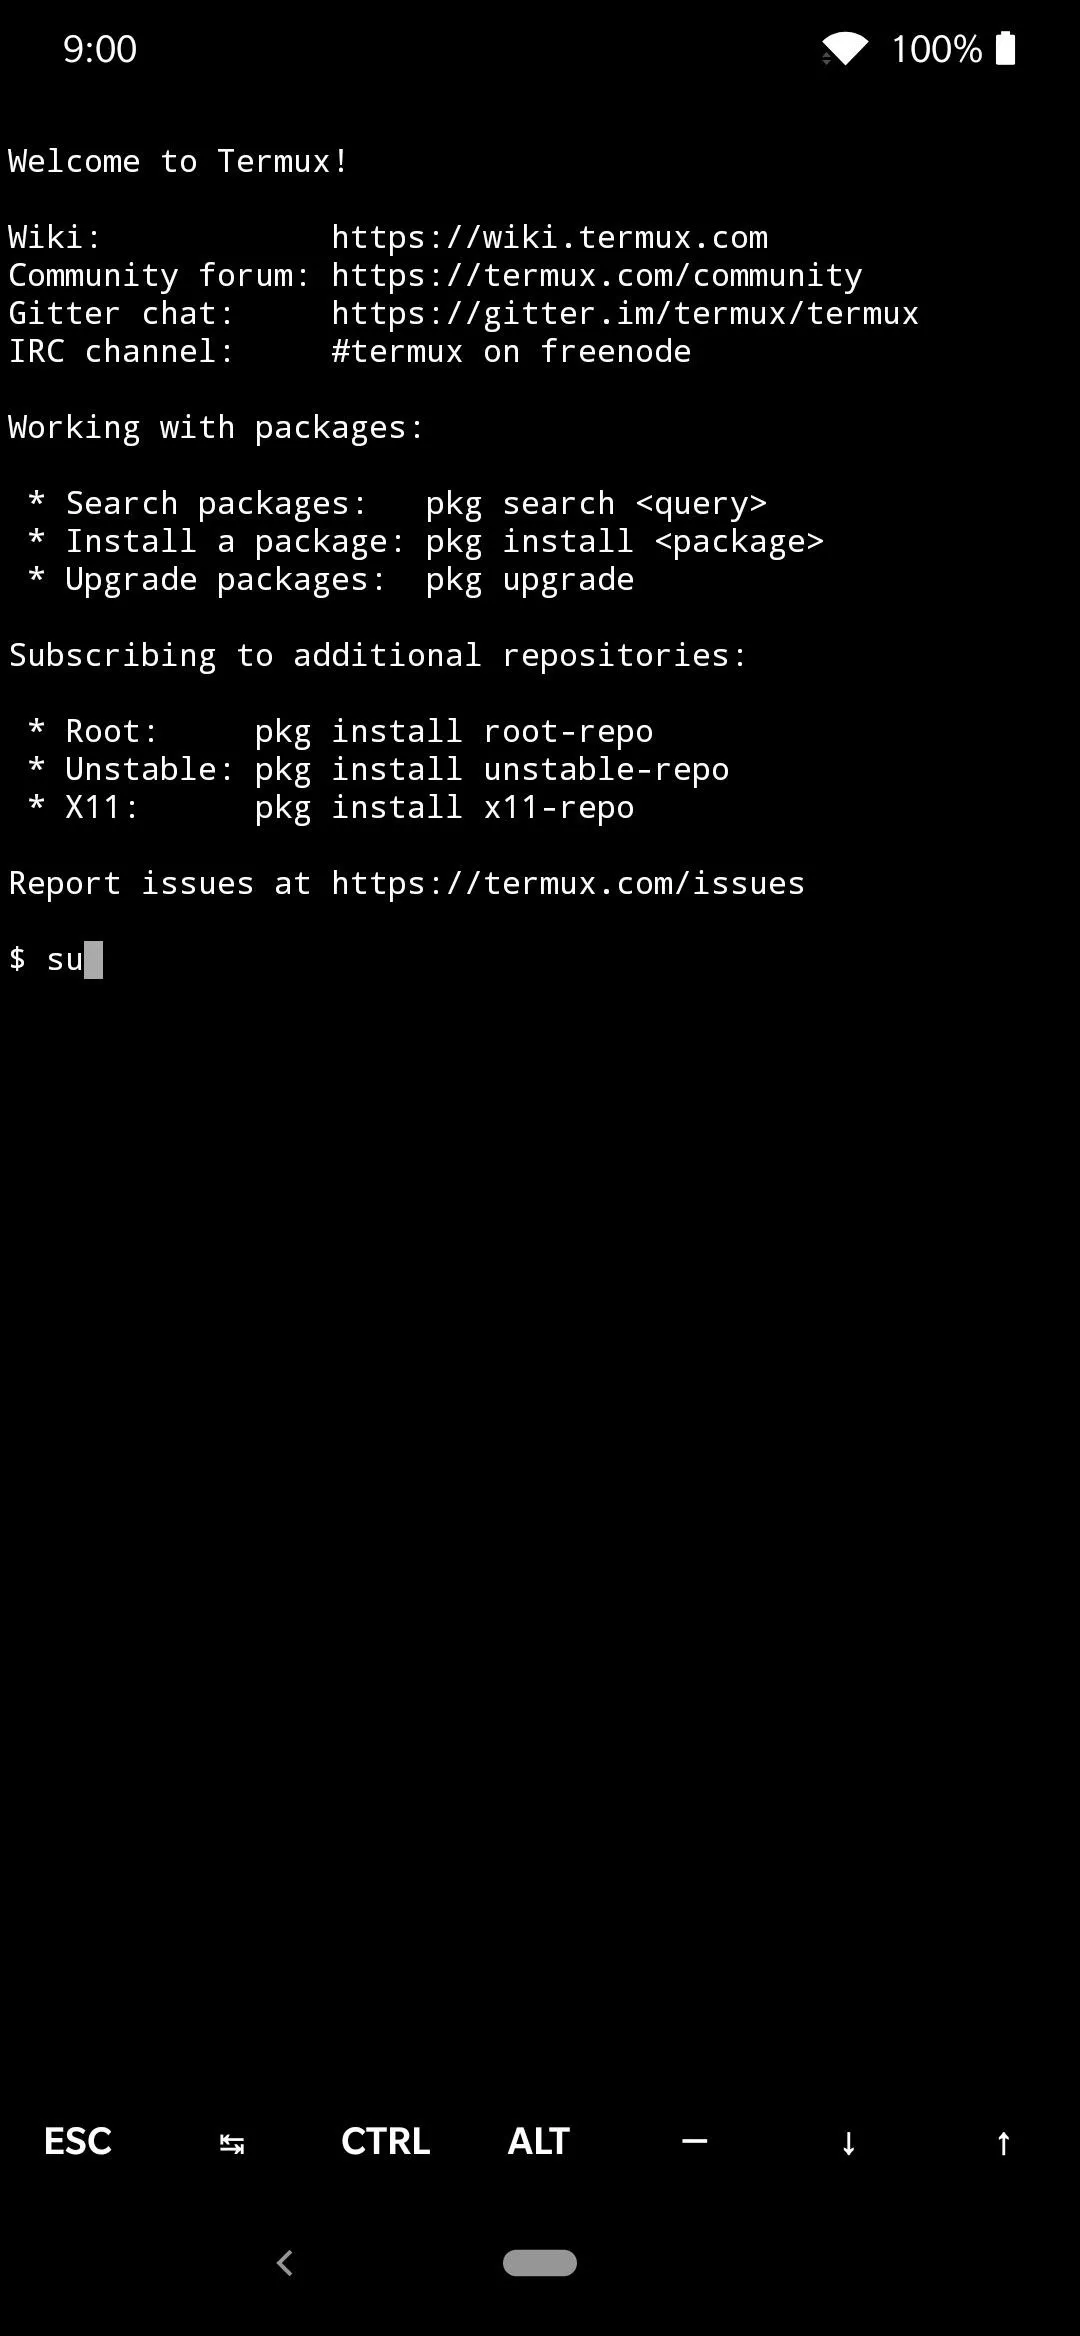
Now, head over to the phone that has Termux installed so that you can grant it root access, which is necessary for all this to work. Type the following command in Termux, then press enter.
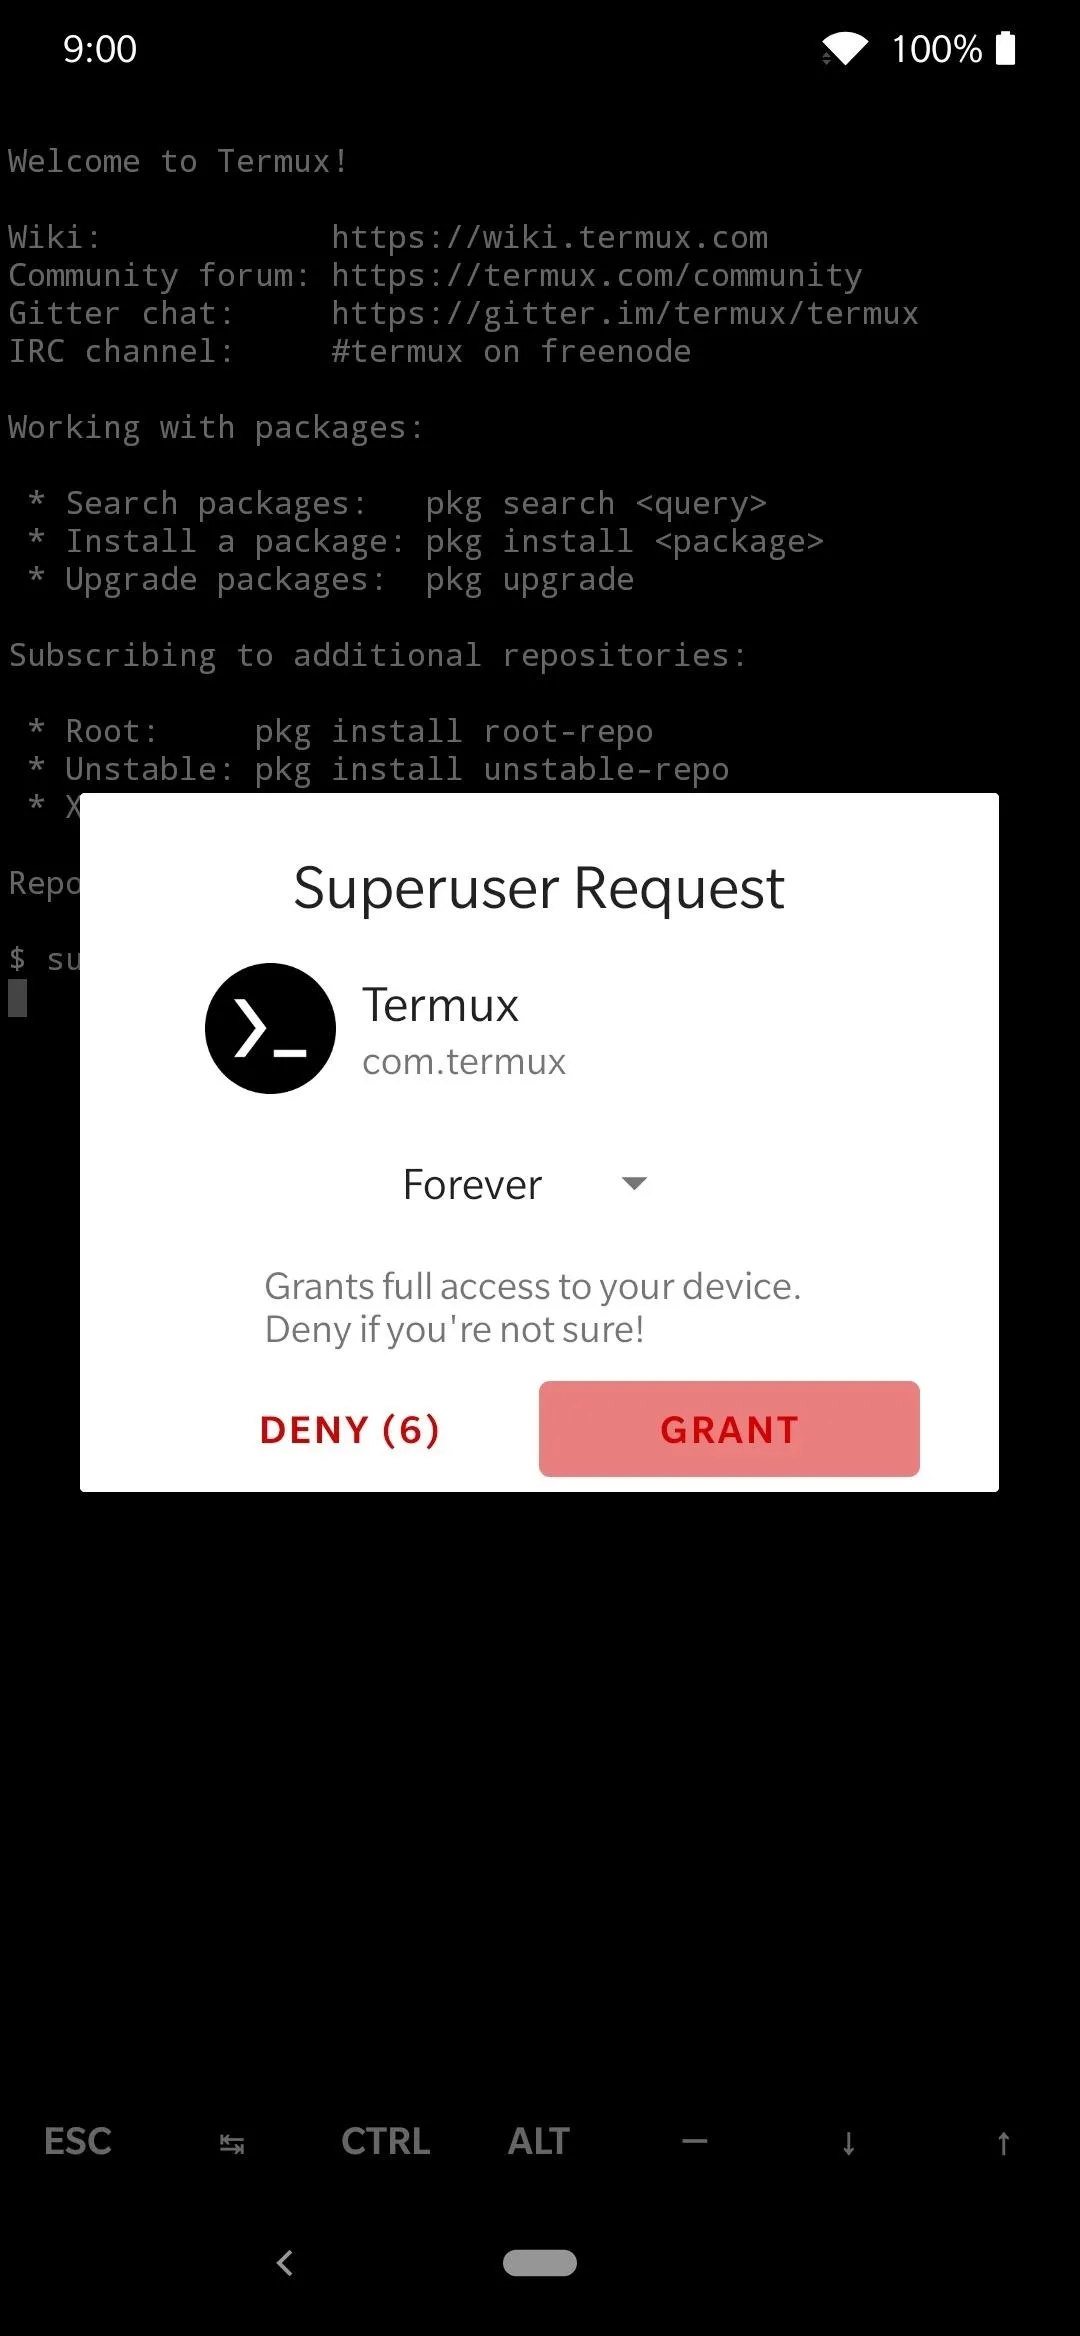
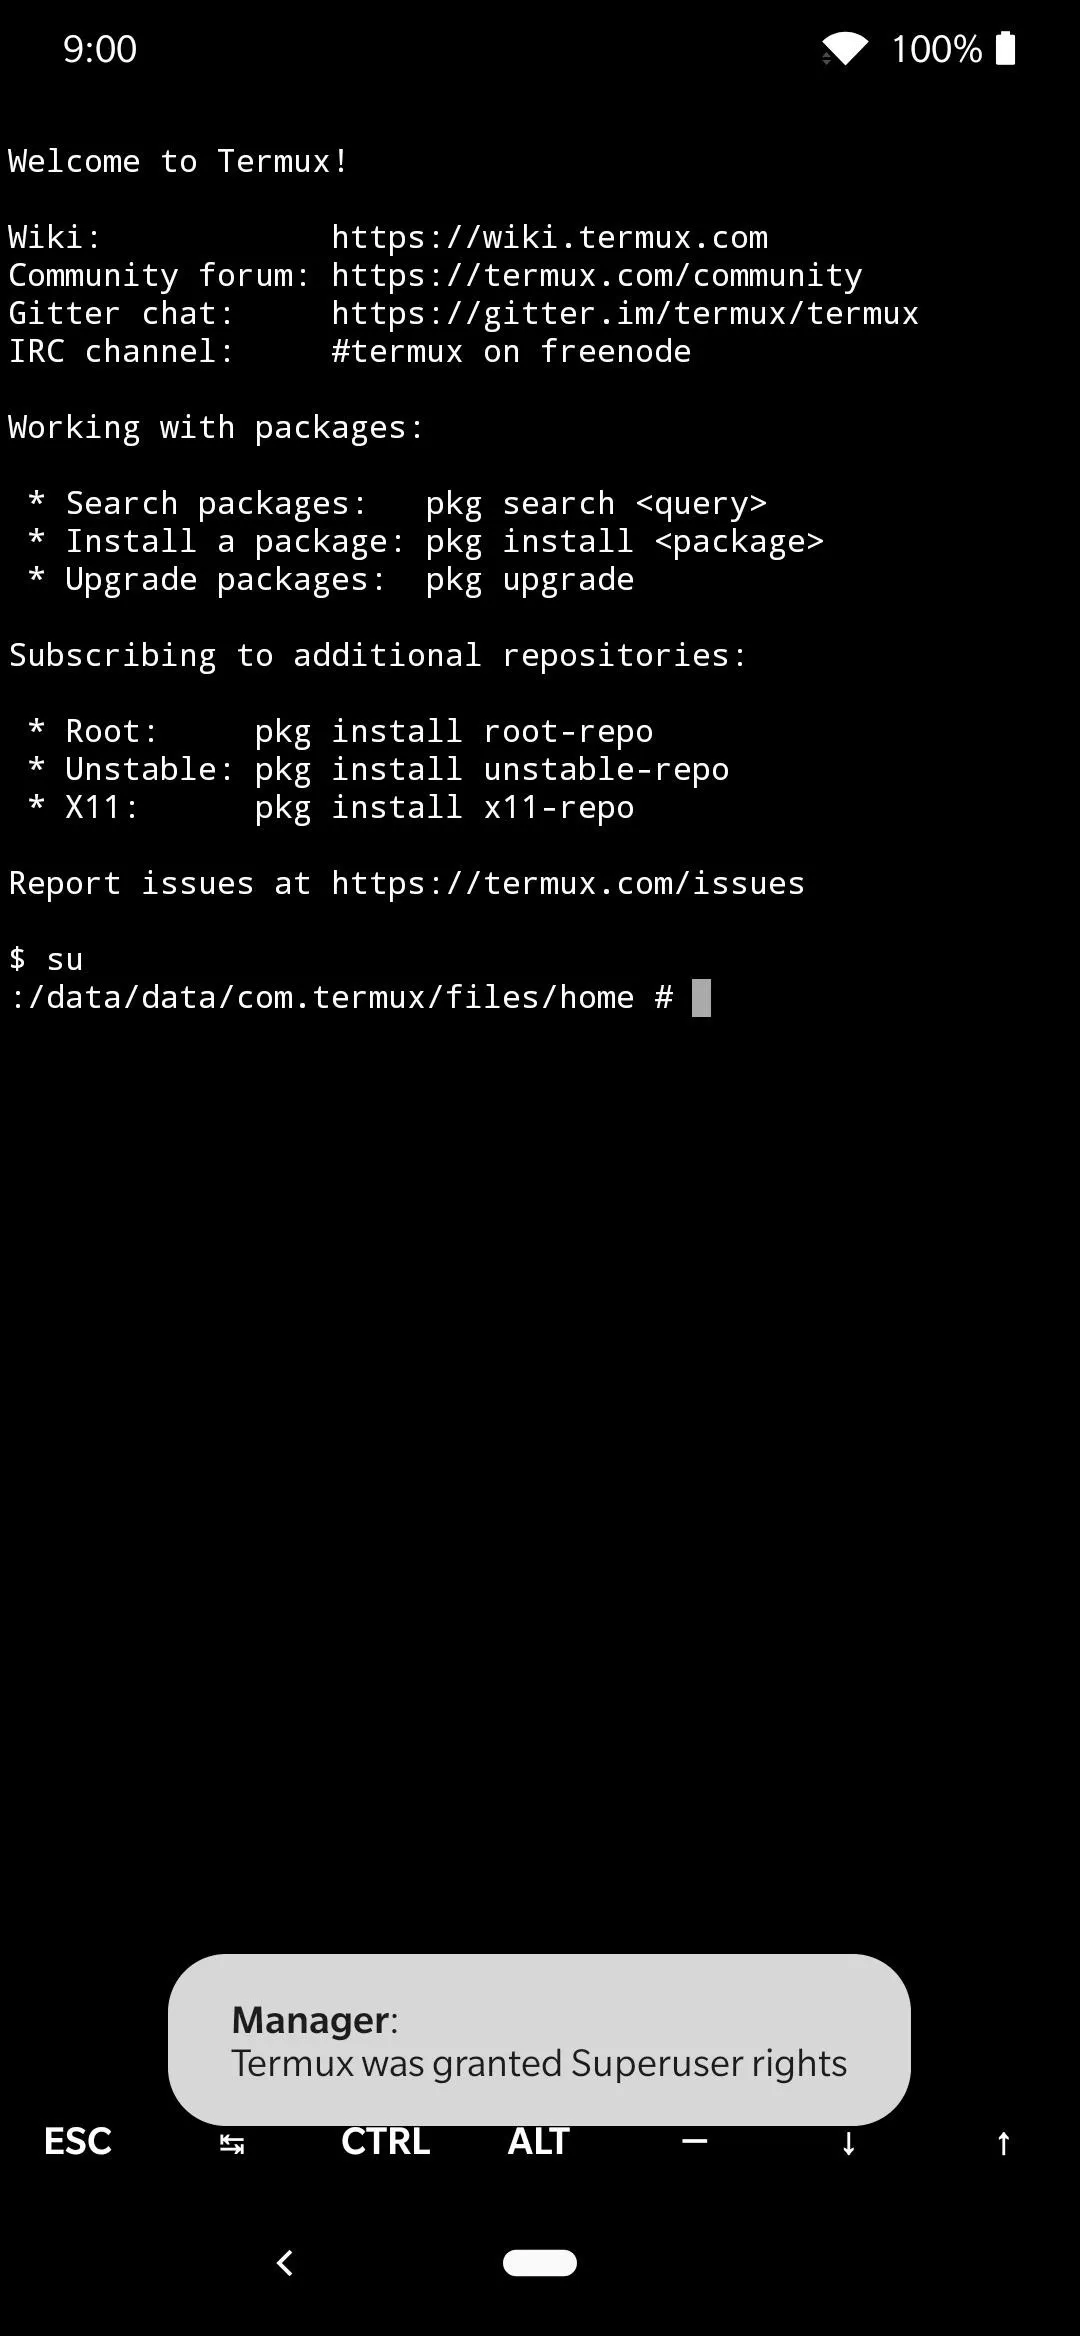
suThe above command will prompt Termux to acquire root permissions via Magisk. Confirm the Superuser request by tapping "Grant," then it will have full root access from here on out. You'll always have to execute this quick command whenever you do anything that requires root access in a terminal, but you won't have to tap "Grant" after the first time.
Verify Your Phone Connection
Now that your two phones are physically connected with one another, it's time to verify the connection to ensure everything is working correctly. On the rooted phone with the terminal access, type the following command in Termux, then press enter.
adb devicesThis command will send a signal to the other phone to check if it can communicate with it through ADB. If successful, you should see a device ID pop up under the "List of devices attached" line in Termux. If you do see your device ID listed, then that means everything is working as intended!
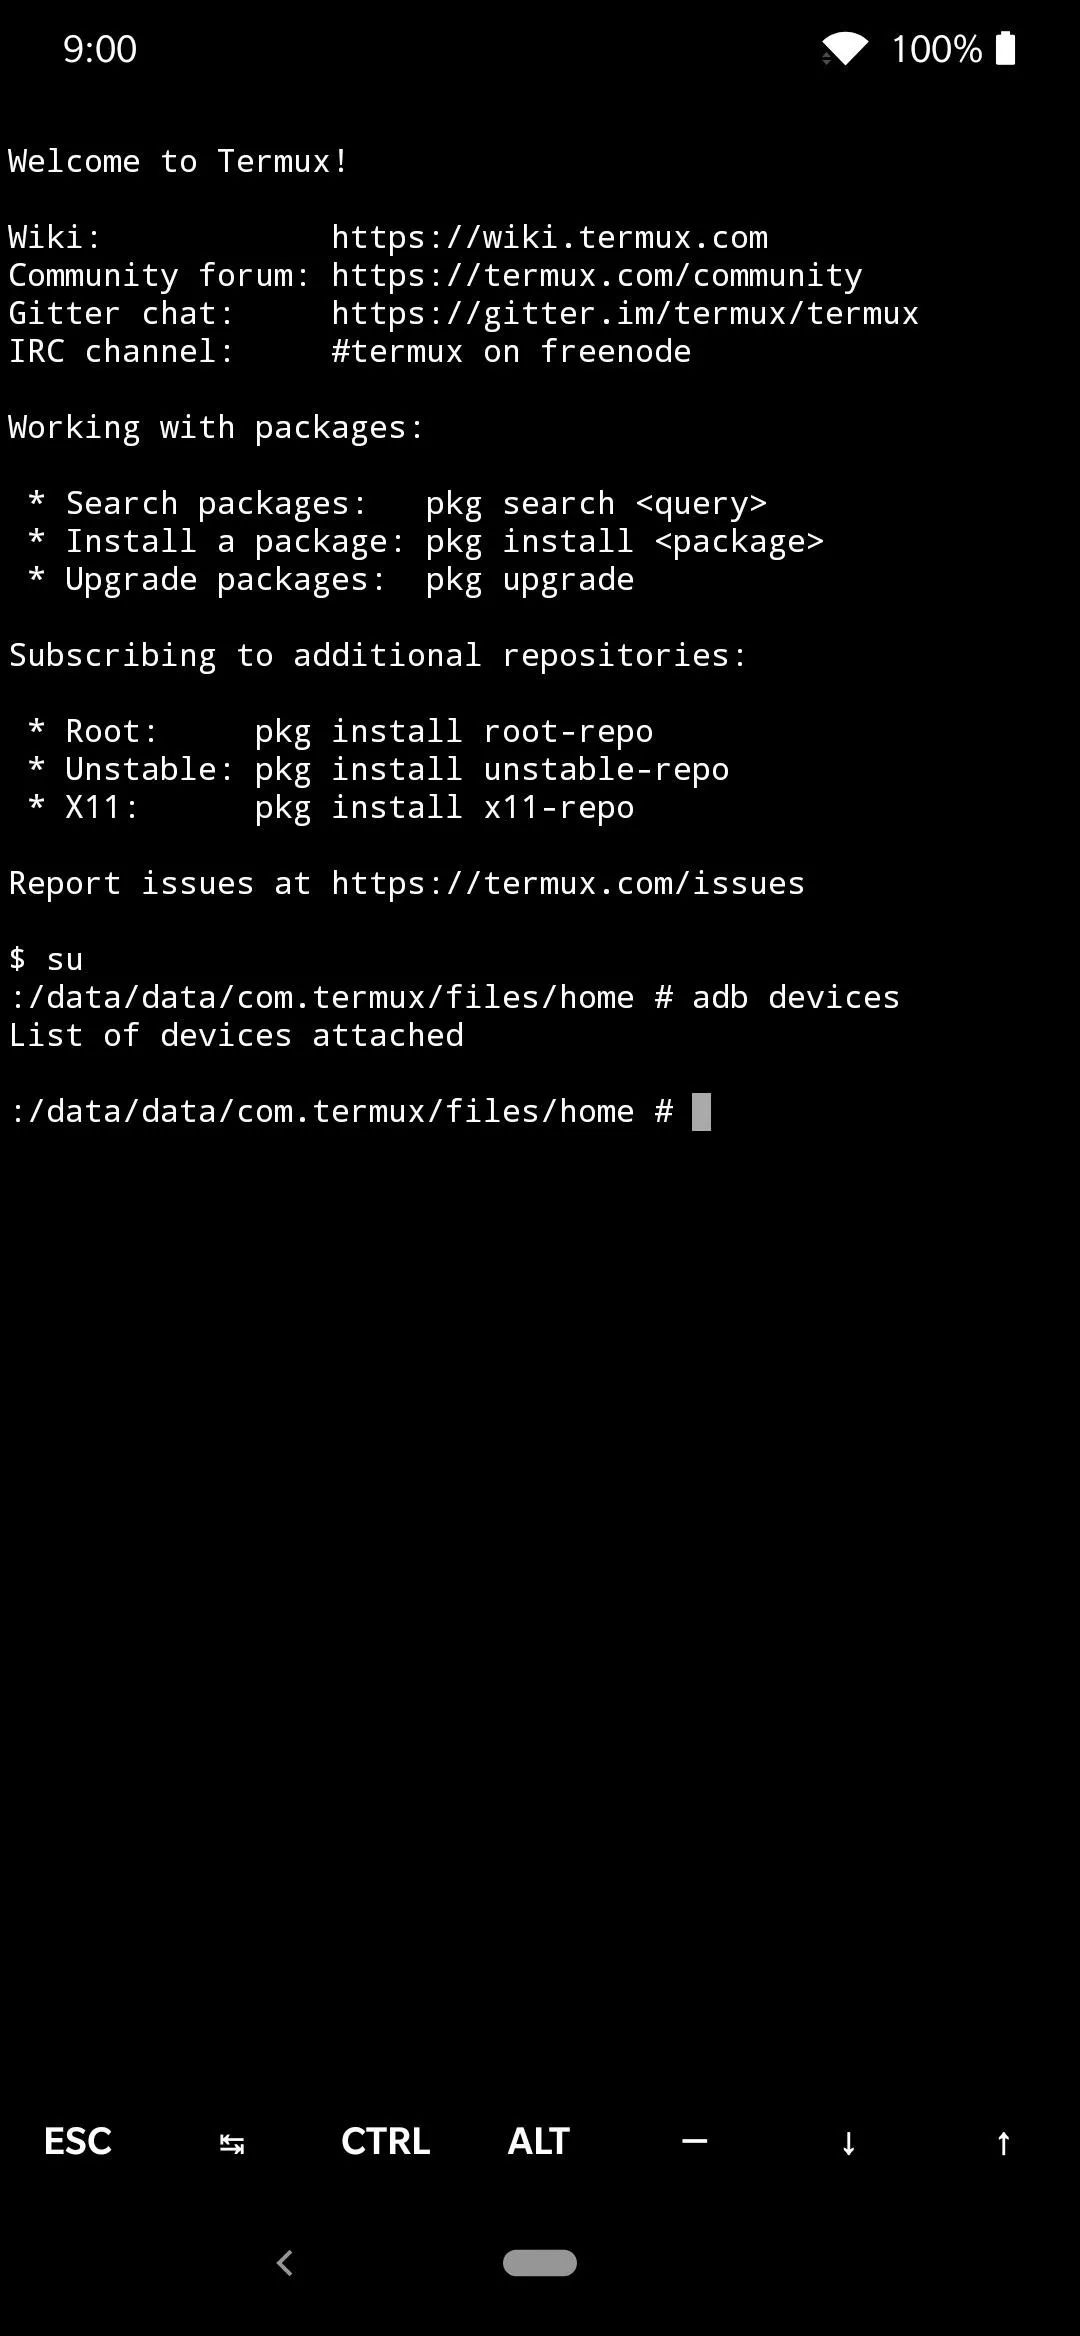
There won't be any devices listed if something went wrong.
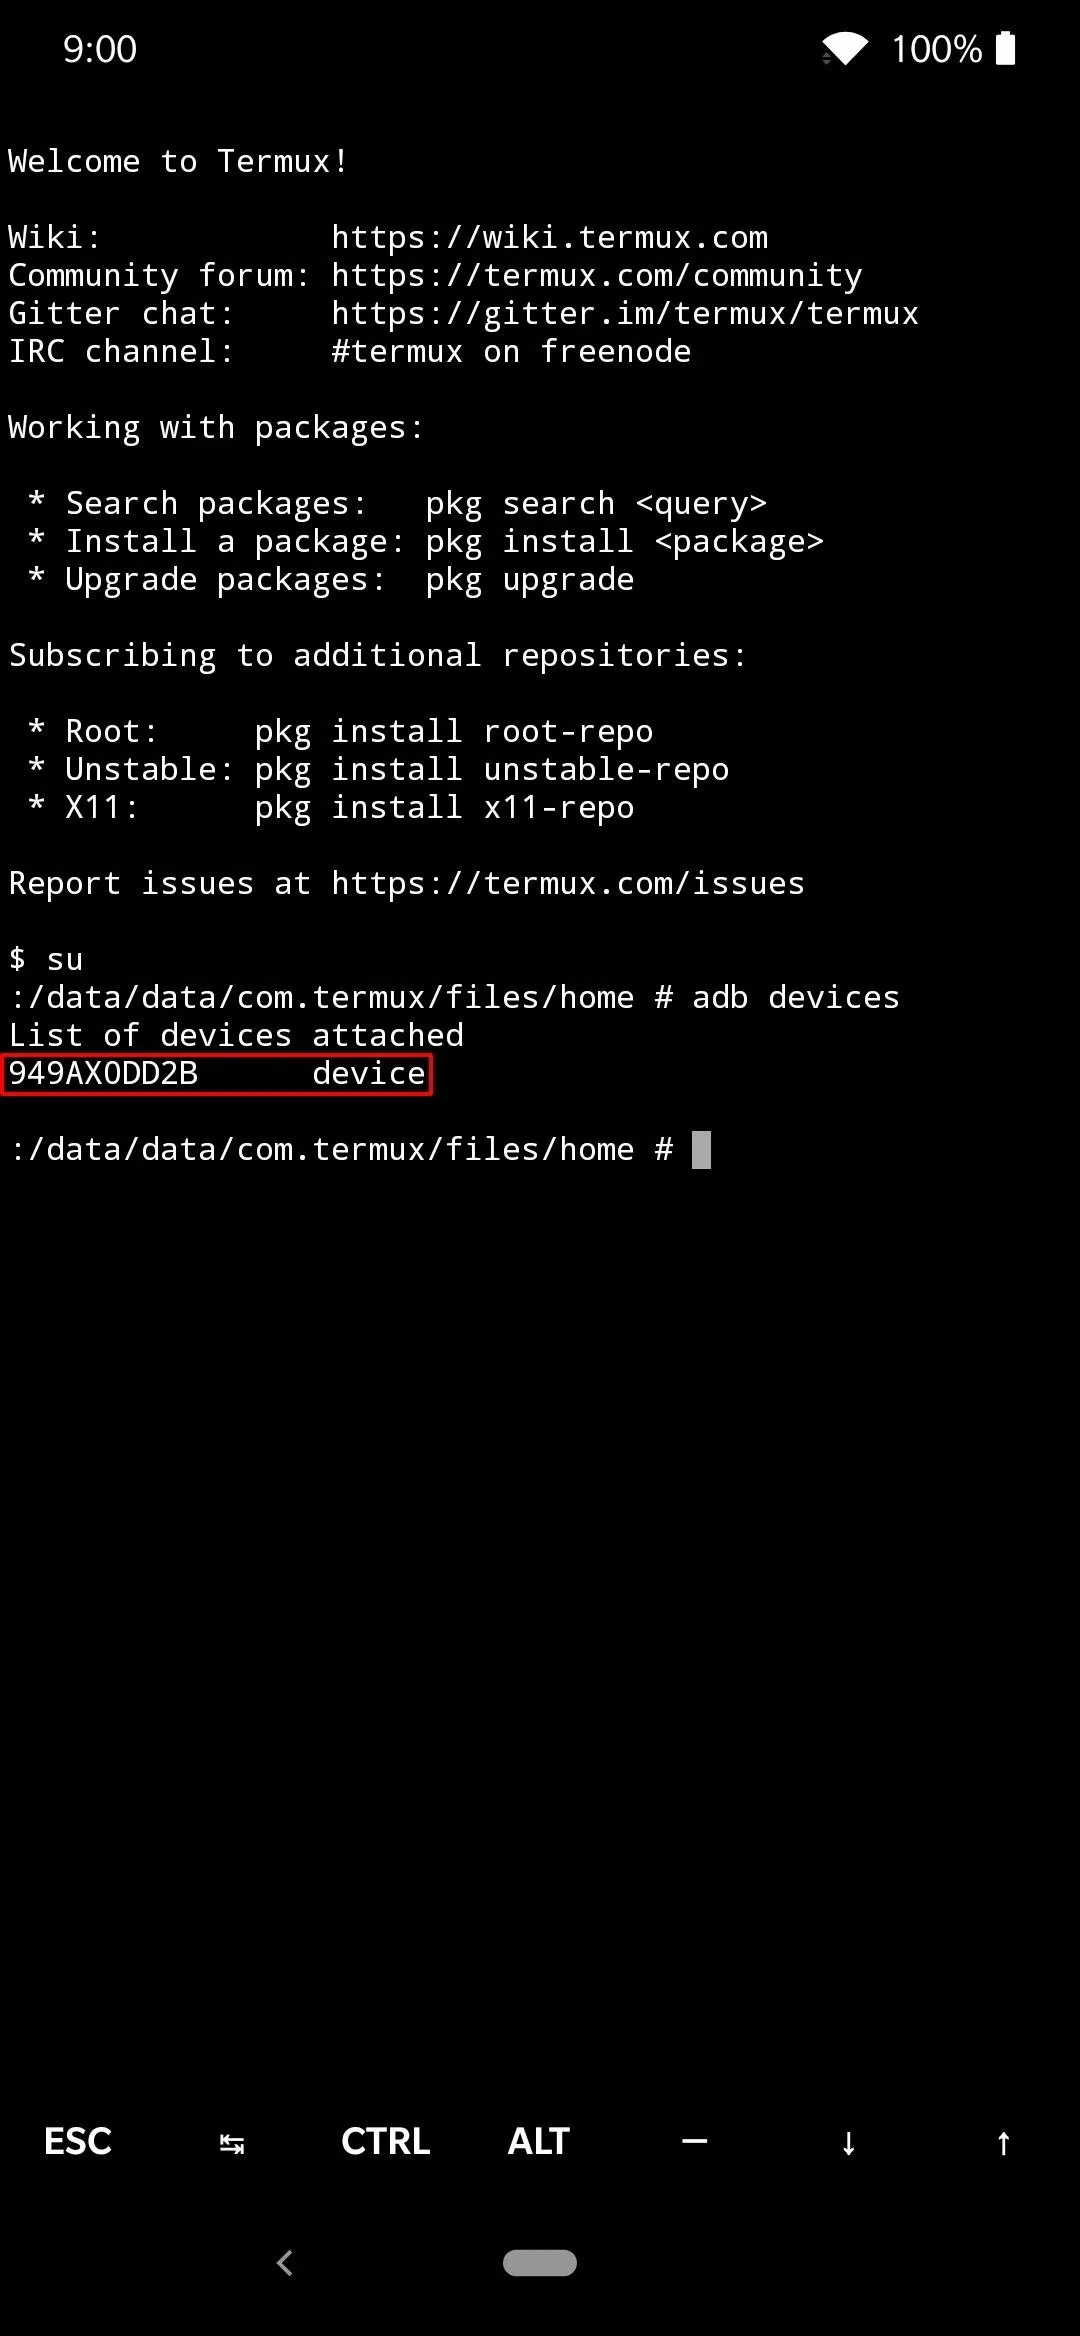
If all is well, the device ID will be displayed with a unique identifier of numbers and letters.
There won't be any devices listed if something went wrong.
If all is well, the device ID will be displayed with a unique identifier of numbers and letters.
To test out the new functionality a little more, type the following command in Termux, then press enter.
adb rebootThis command will send a signal over to your other phone that will force it to restart the system automatically. Neat! You just told one phone to reboot another phone via a command-line environment through the ADB interface.
Enjoy Your New ADB & Fastboot Commands
The two commands I listed above are obviously fundamental, but they're simply a gateway to the much bigger picture. You can use this new functionality to install all kinds of mods you want onto another phone, especially TWRP and Magisk. Being able to use one phone to mod another phone brings light to new possibilities — imagine unlocking the bootloader of a friend's phone right on the spot!
Alternatively, you should also be able to achieve the same end result with an Android tablet if you preferred to do it that way instead. As long as the tablet has an unlockable bootloader and can be rooted via Magisk, it should work just the same. Although Android tablets are not as popular in comparison to their smartphone counterparts, the option is still there to use if needed. Happy modding!
Cover image and screenshots by Dallas Thomas/Gadget Hacks


Comments
Be the first, drop a comment!