


There are many great reasons to root your phone, but if you're not experienced with tools like ADB and Fastboot, it can seem like a daunting task. Fret not, because if you want to root your HTC 10, we're here to walk you through the process.
Rooting is the only way to take full advantage of features like the unique 24-bit Hi-res DAC which HTC has hidden away. It's also the best way to get rid of bloatware such as News Republic (full of #fakenews and ads) and perform tons of other cool mods. But as a heads up, you'll have to wipe your HTC 10's storage in order to successfully root it, so be sure to back up the important stuff before proceeding.
What You'll Need
- HTC 10
- Windows, Mac, or Linux computer
- ADB and Fastboot installed
- USB data cable
Unlock Your Bootloader
First things first, you'll have to unlock your bootloader, which is the part that will wipe your data. This allows you to install your own firmware images, namely TWRP custom recovery, which then allows you to root. It's a fairly simple process that uses an official utility from HTC, so to get started, head to the following link where we've got the bootloader unlocking procedure outlined in detail.
Activate Developer Options & Enable USB Debugging
Next, you'll have to activate Developer Options in order to enable USB Debugging. Even if you just did this before unlocking your bootloader, you'll have to do it again, because your data and settings have been wiped. If you don't remember how to enable USB Debugging, we have a complete guide on how to do so at the link below.

Open an ADB Command Window
Now it's time to open an ADB window on your computer. To do that, Windows users will need to open the platform-tools folder inside of their ADB installation directory, which can usually be found at C:\Program Files (x86)\Android\android-sdk\. From there, hold down the shift button on your keyboard, then right-click any empty space and choose "Open command window here."
For Linux and Mac users, open a Terminal window, then change directories to the platform-tools folder. The location of this directory will vary, depending on where you installed ADB in the first place. So if you're unsure, simply search your hard drive for "platform-tools."
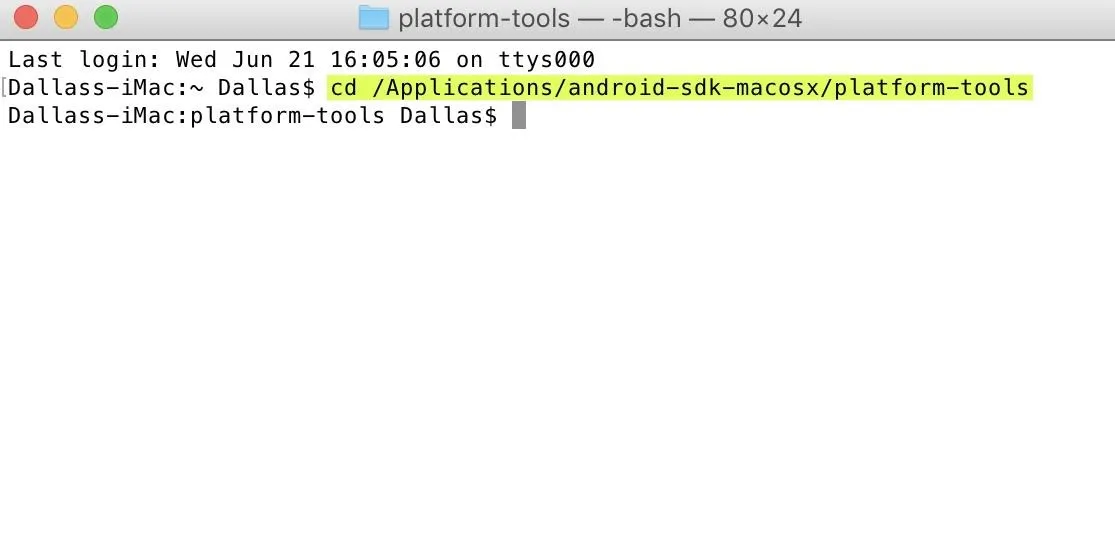
Changing directories to the platform-tools folder in Terminal on a Mac.
Install TWRP
Next, it's time to fire up ADB, so type the following line into the command prompt:
adb start-server
Then, we'll reboot into Download mode with:
adb reboot download
Next, download the TWRP IMG file for the HTC 10 at the following link (save it to your computer):
Once the download has completed, move the file into your platform-tools folder, then type the following into command prompt to flash TWRP on your device:
fastboot flash recovery twrp-3.1.1-0-pme.img
If the TWRP file is not in your platform-tools folder, be sure to type out the full file location for the downloaded TWRP IMG (fastboot flash recovery C:\Downloads\twrp-3.1.1-0-pme.img, for example). Alternatively, you can click on the IMG file and drag it into the command window after typing "fastboot flash recovery" and a space, then Fastboot will flash TWRP to your device when you hit enter.
Boot TWRP & Allow System Modifications
After flashing the recovery image, you'll need to boot into TWRP before booting into Android to ensure that Android doesn't overwrite TWRP with the stock recovery image. So while your phone's still on the Download Mode screen, use the volume keys to highlight the "Reboot to Bootloader" option, then press the power button to select it.
Once you make it into Bootloader mode, use the volume keys to highlight "Recovery Mode," and again, press the power button to select it.
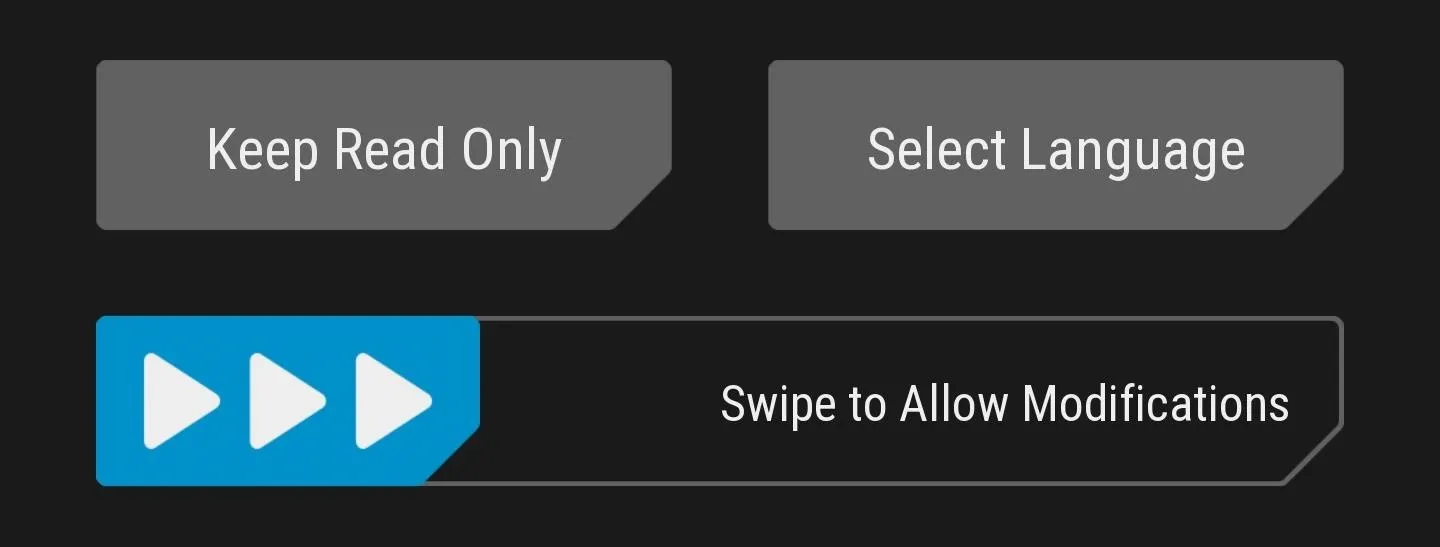
At this point, TWRP should boot up. As soon as it does, a welcome screen will notify you that TWRP can keep your system partition unmodified. We don't want this, as that would allow Android to overwrite TWRP with the stock recovery. TWRP is perhaps the greatest Android tool out there, so why would you ever want to risk that happening?
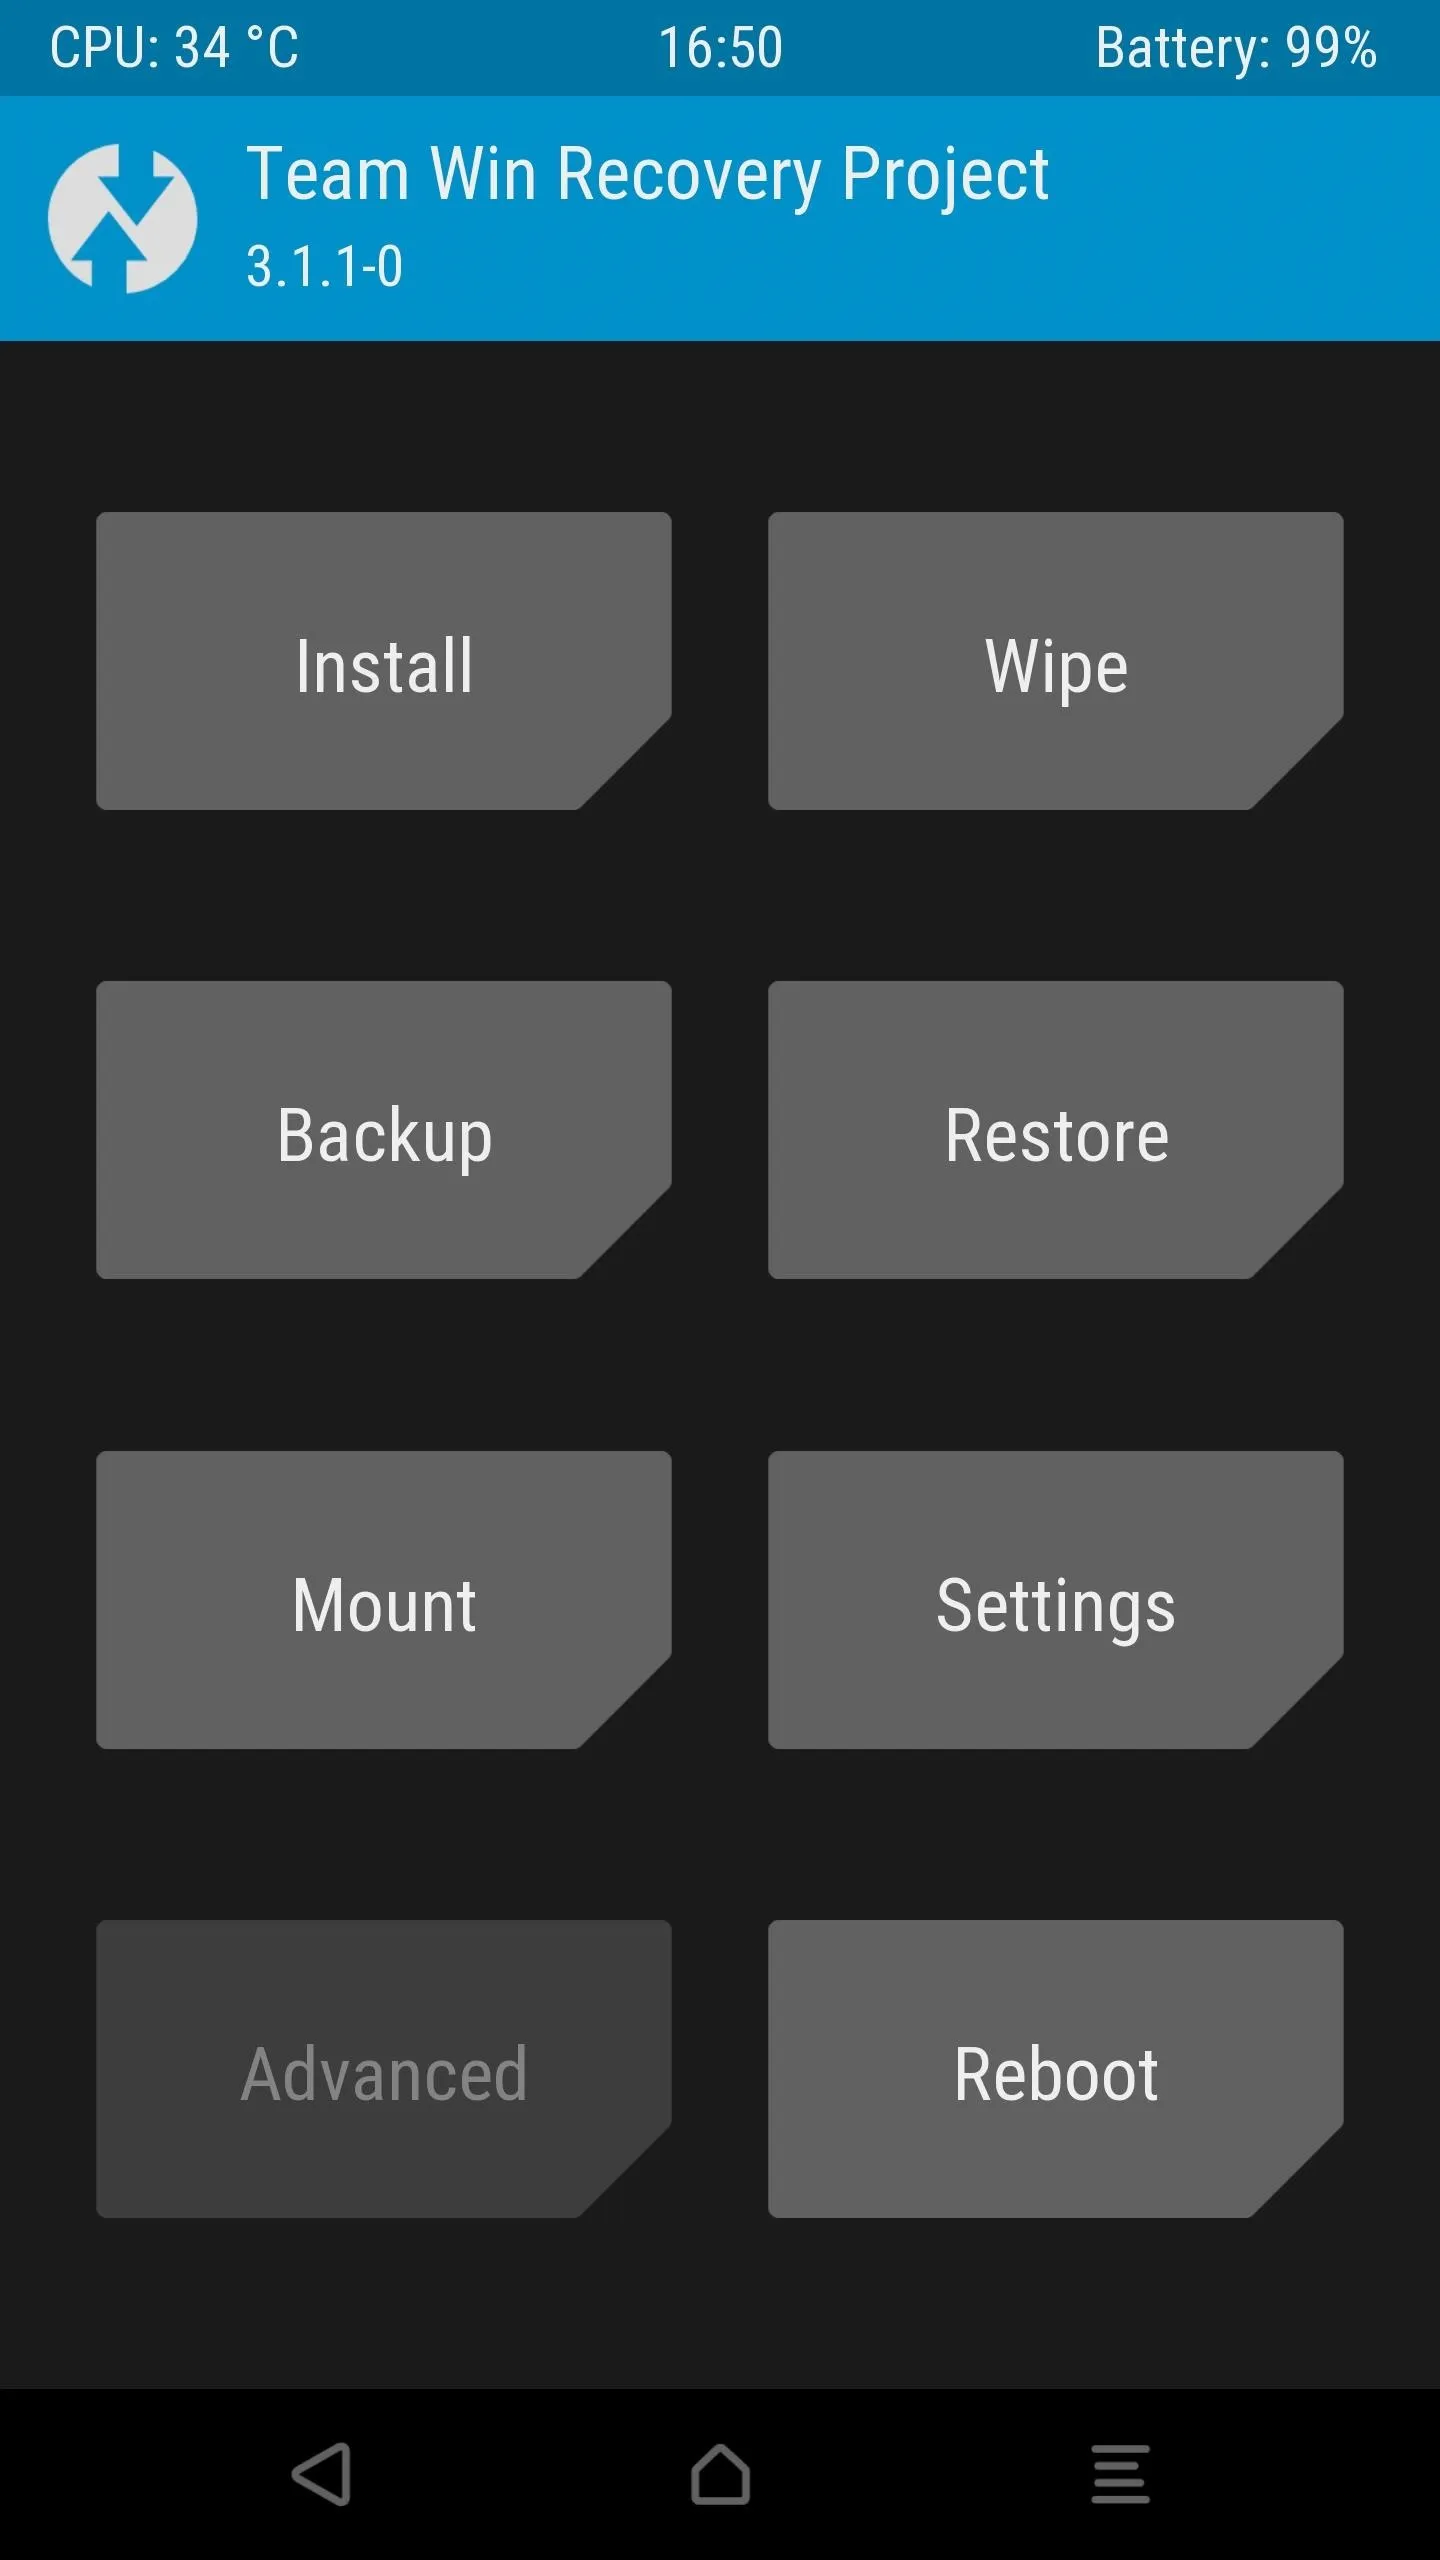
So to prevent that, swipe the slider at the bottom of the screen to make TWRP your permanent recovery mode. Once that's done, you'll be taken to TWRP's main menu.
Sideload SuperSU
Next, we're going to install SuperSU, which is what will actually root your phone. First, download the latest flashable ZIP of SuperSU on your computer from developer Chainfire's website:
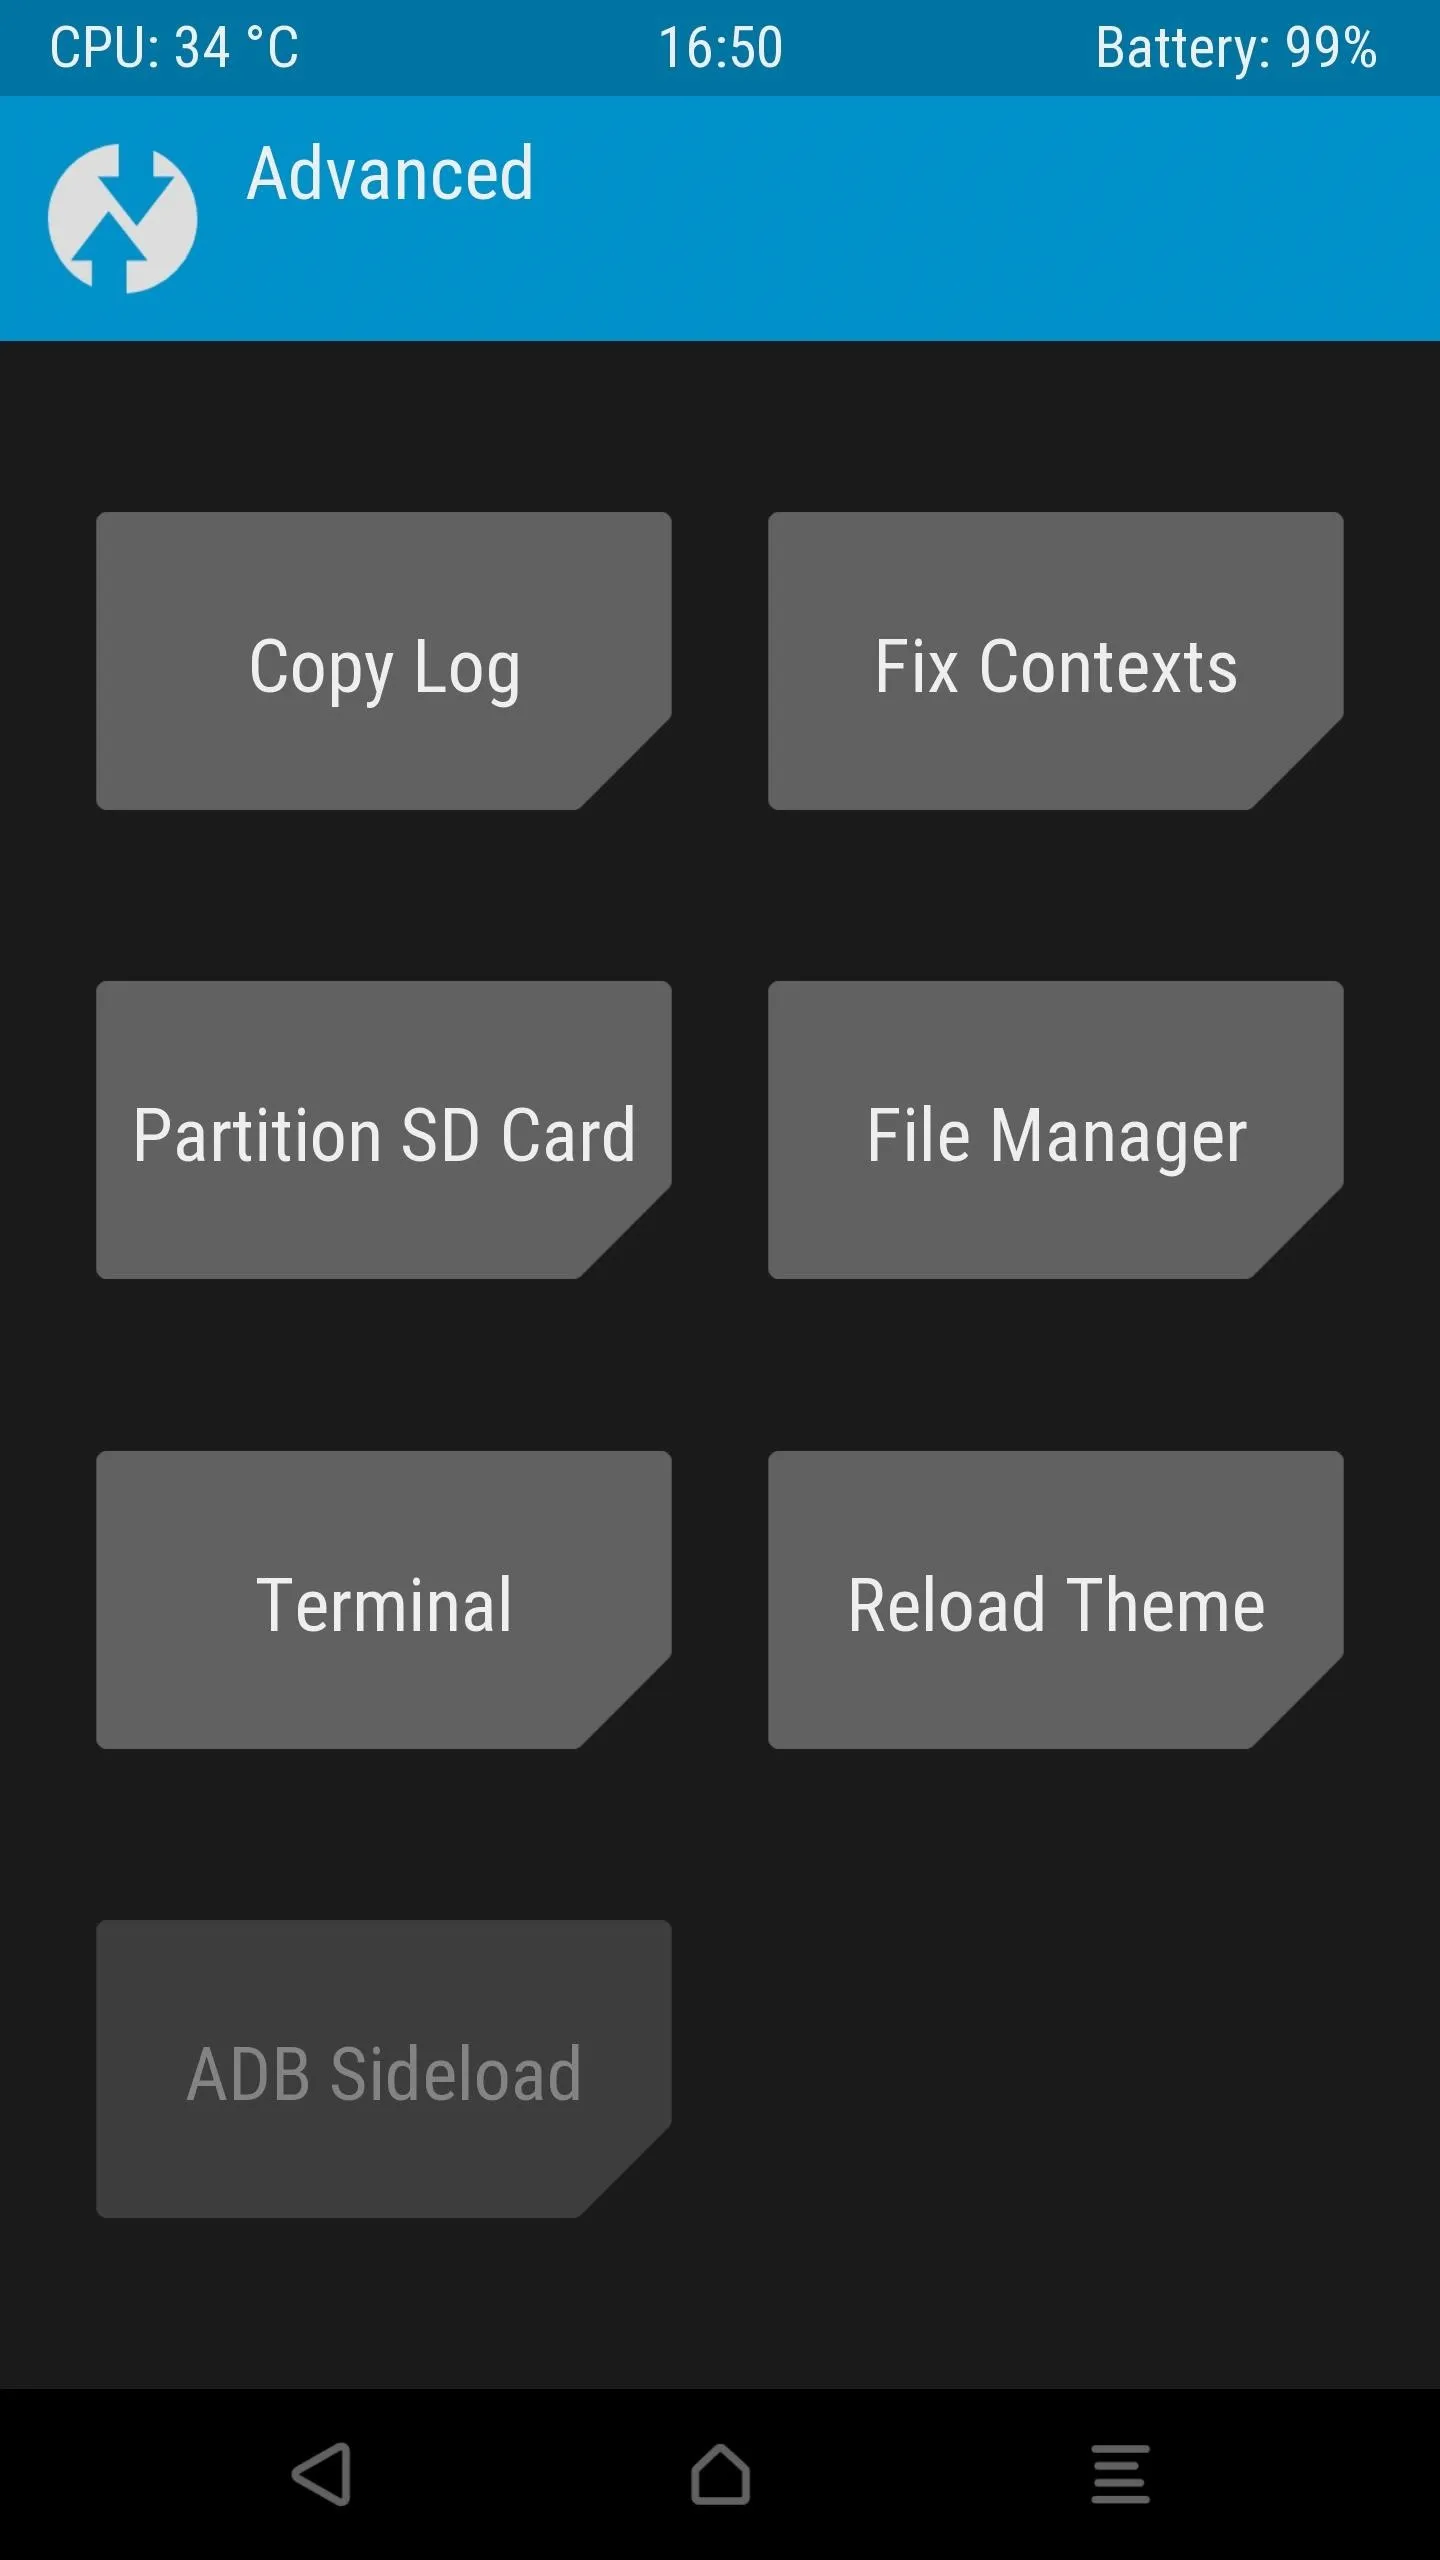
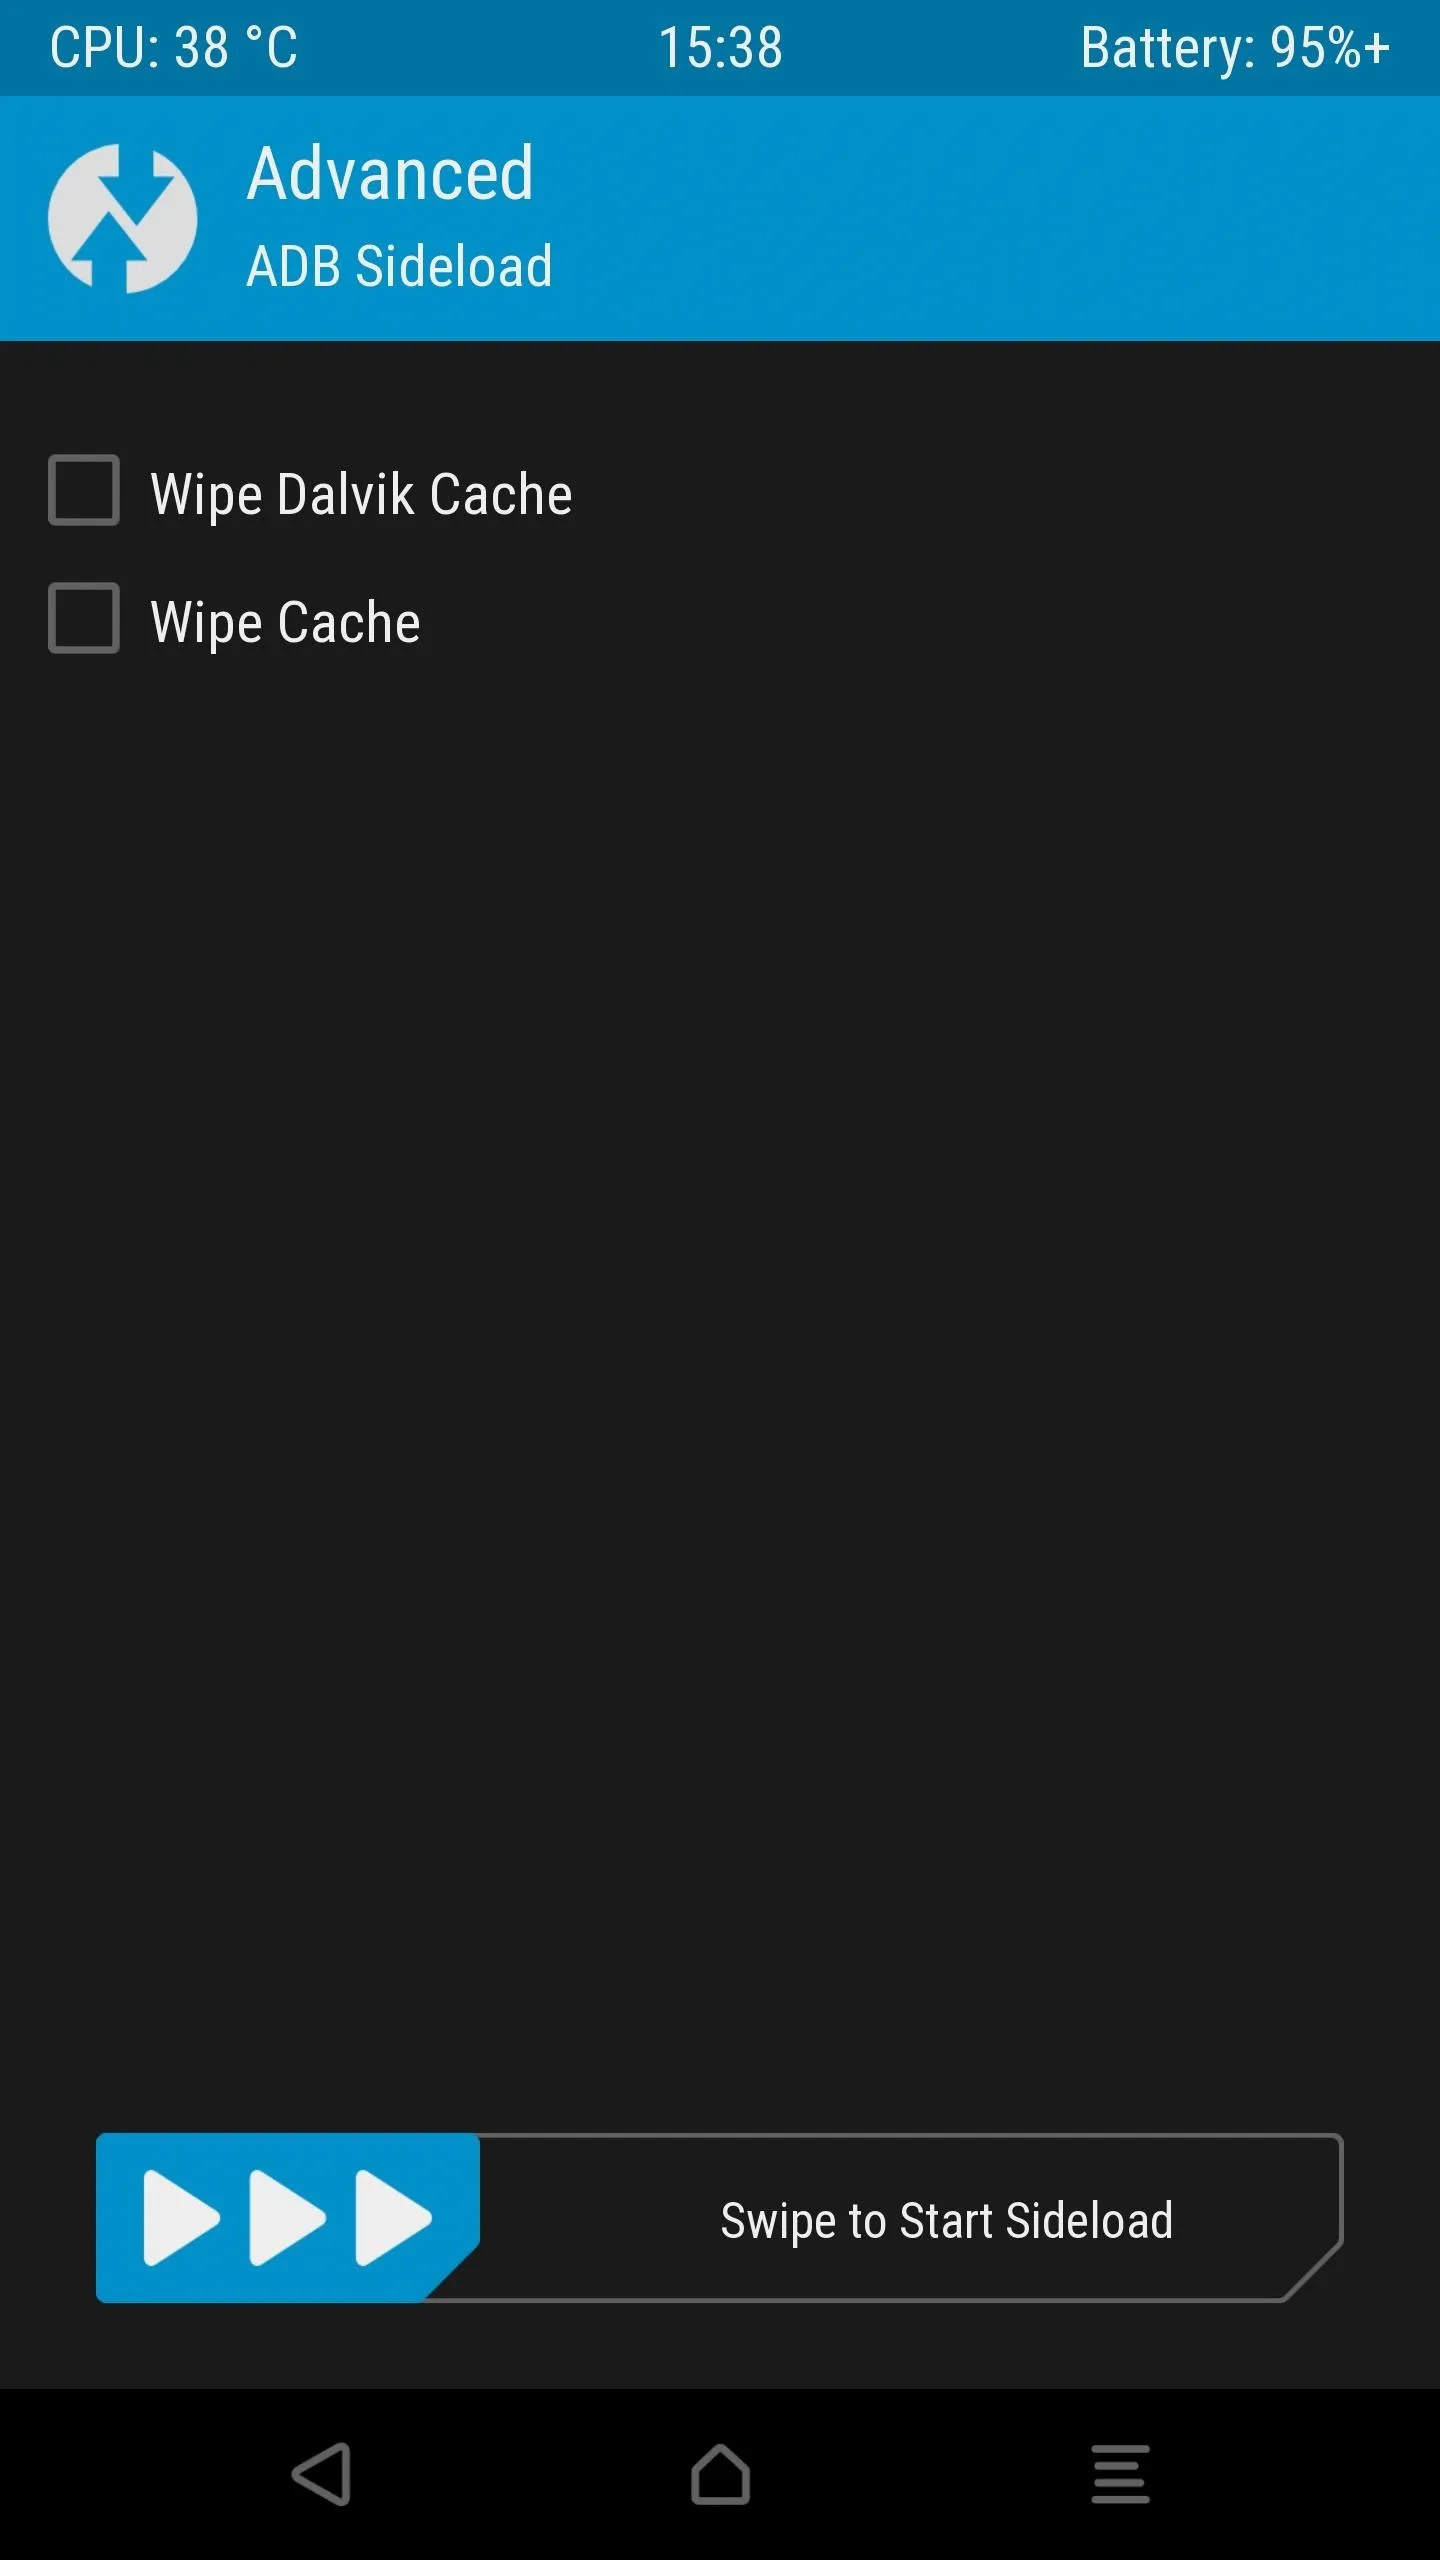
While your computer downloads the latest SuperSU ZIP, tap on "Advanced" on your phone, followed by "ADB Sideload," then swipe the bar to begin the sideload process.
At this point, the SuperSU ZIP should have finished downloading, so type the following command in command prompt/terminal to begin sideloading the ZIP to your HTC 10:
adb sideload SR1-SuperSU-v2.82-SR1-20170608224931.zip
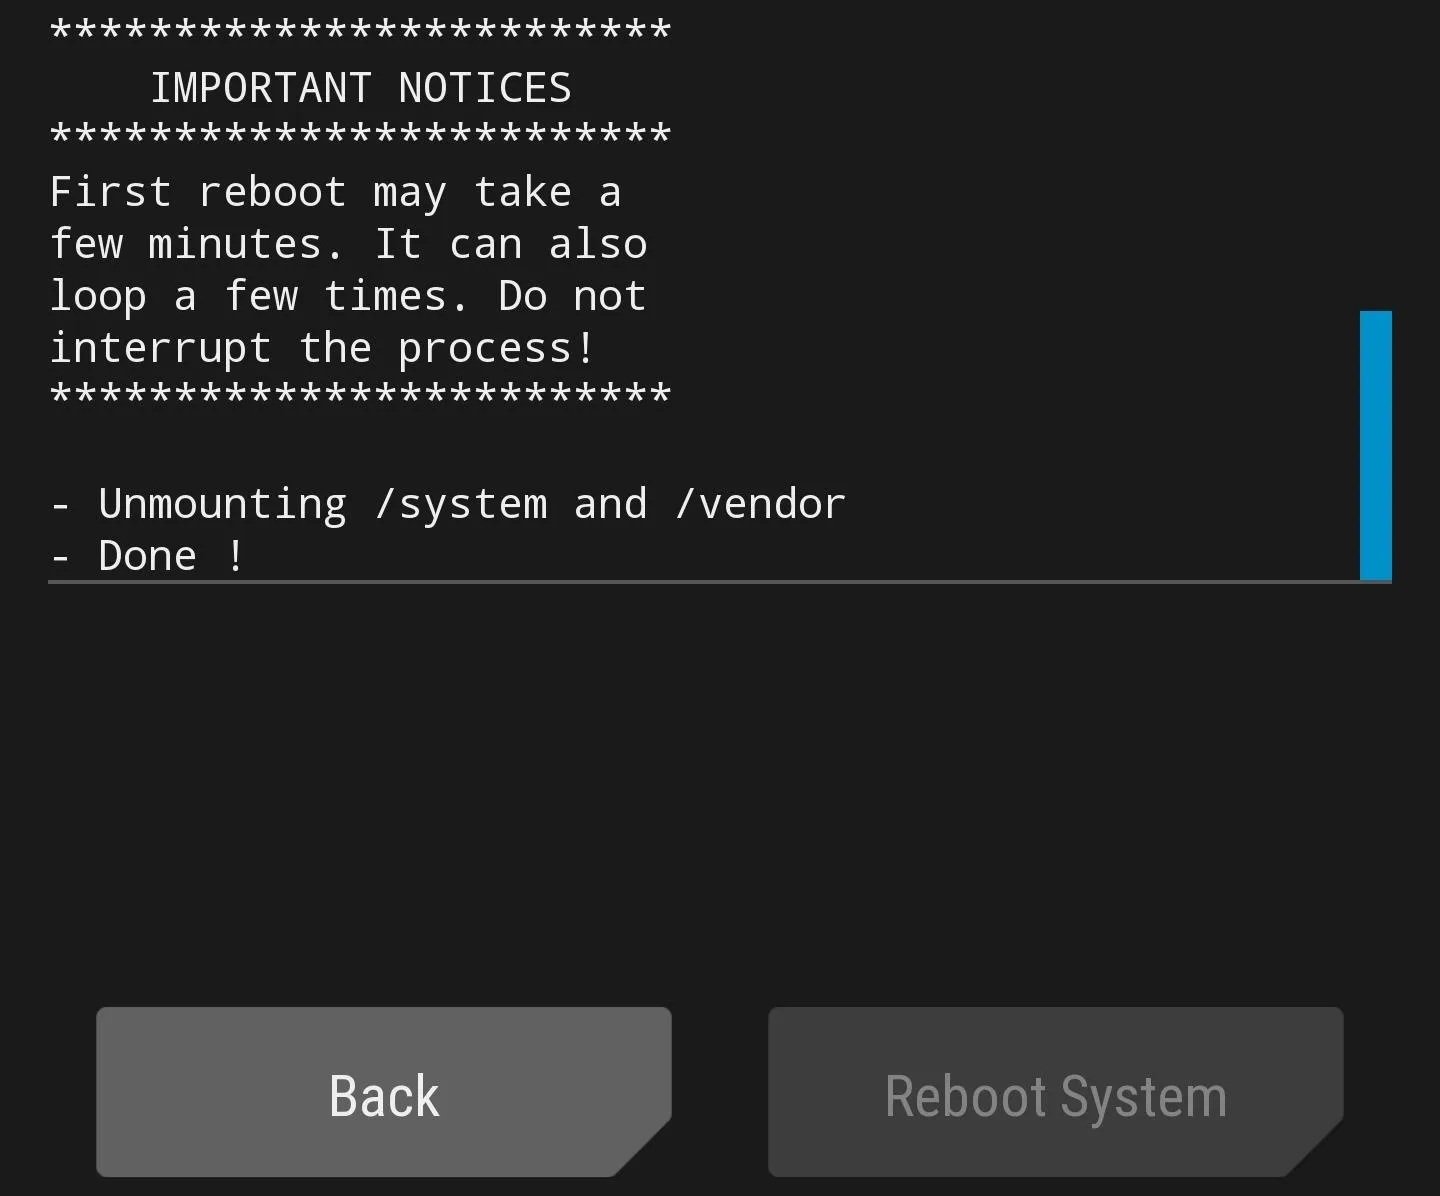
If the above command fails, make sure to move the ZIP file into your platform-tools folder. Or, as described above in Step 4, you can either type the full file location or click and drag the ZIP into the command window. When TWRP is done installing SuperSU, tap on "Reboot System."
Verify Root
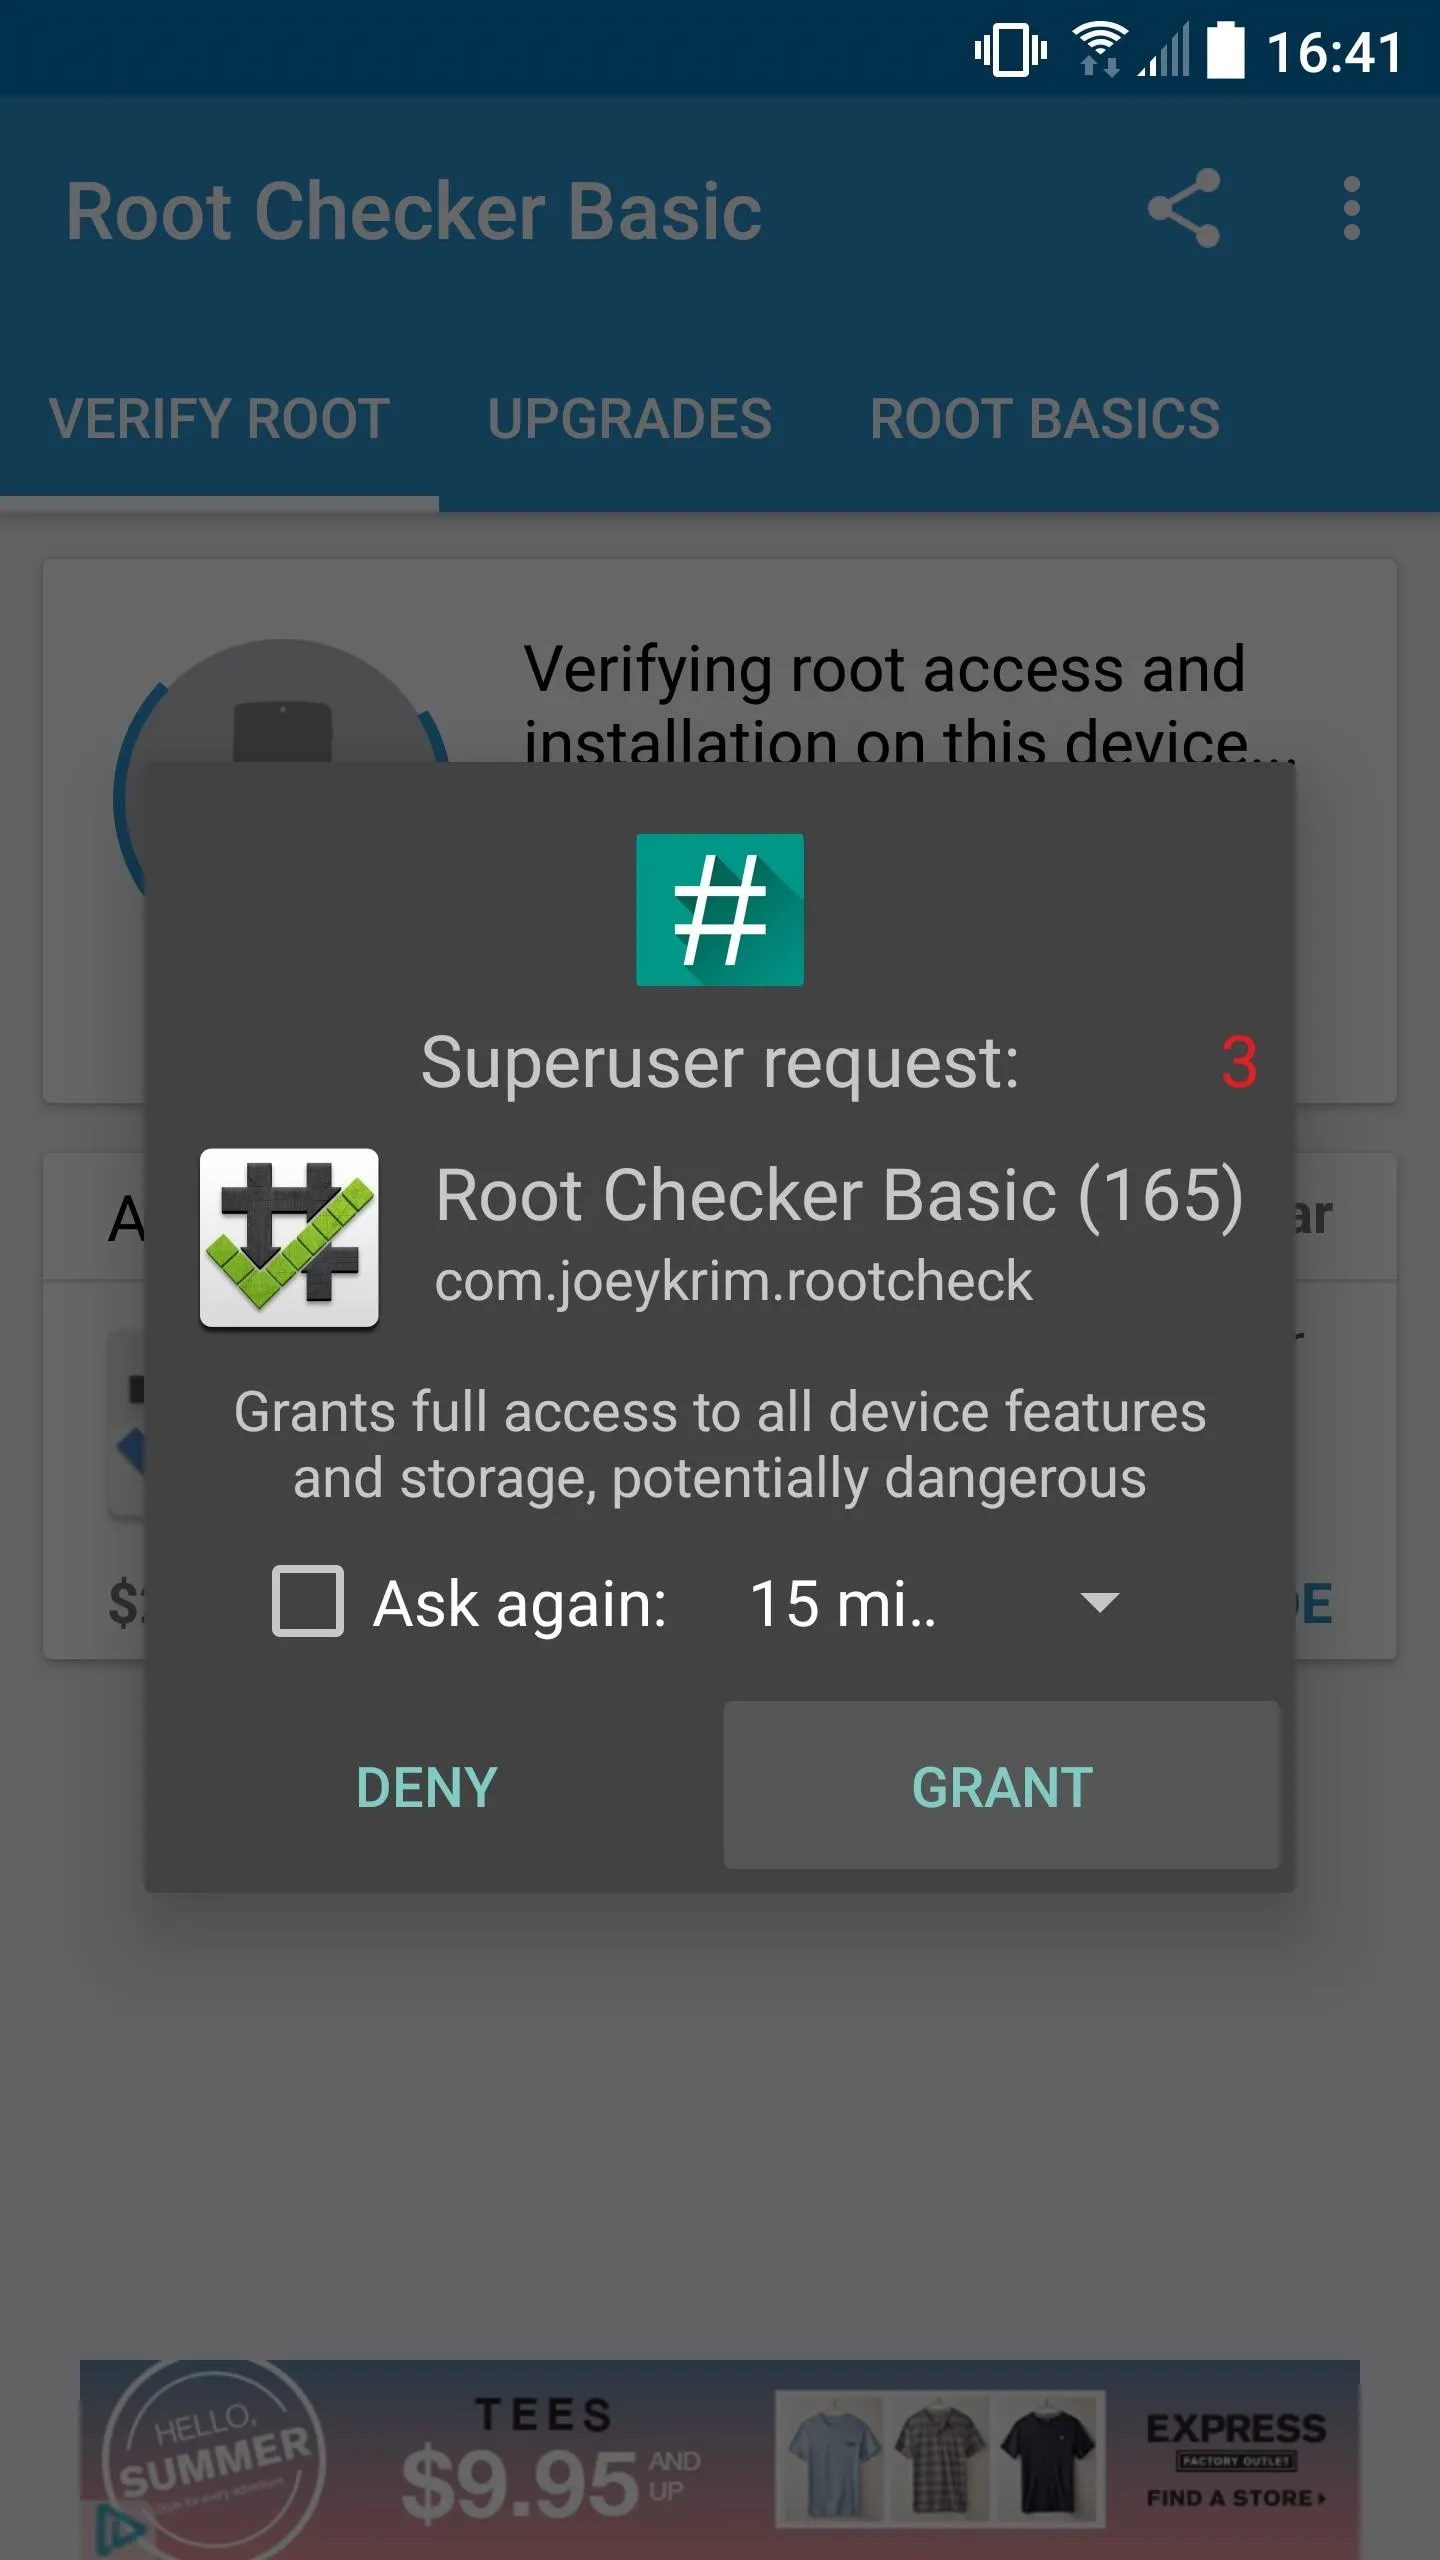
The final step is to verify that SuperSU rooted your device successfully. The simplest way to do so is to download an app called Root Checker by developer joeykrim.

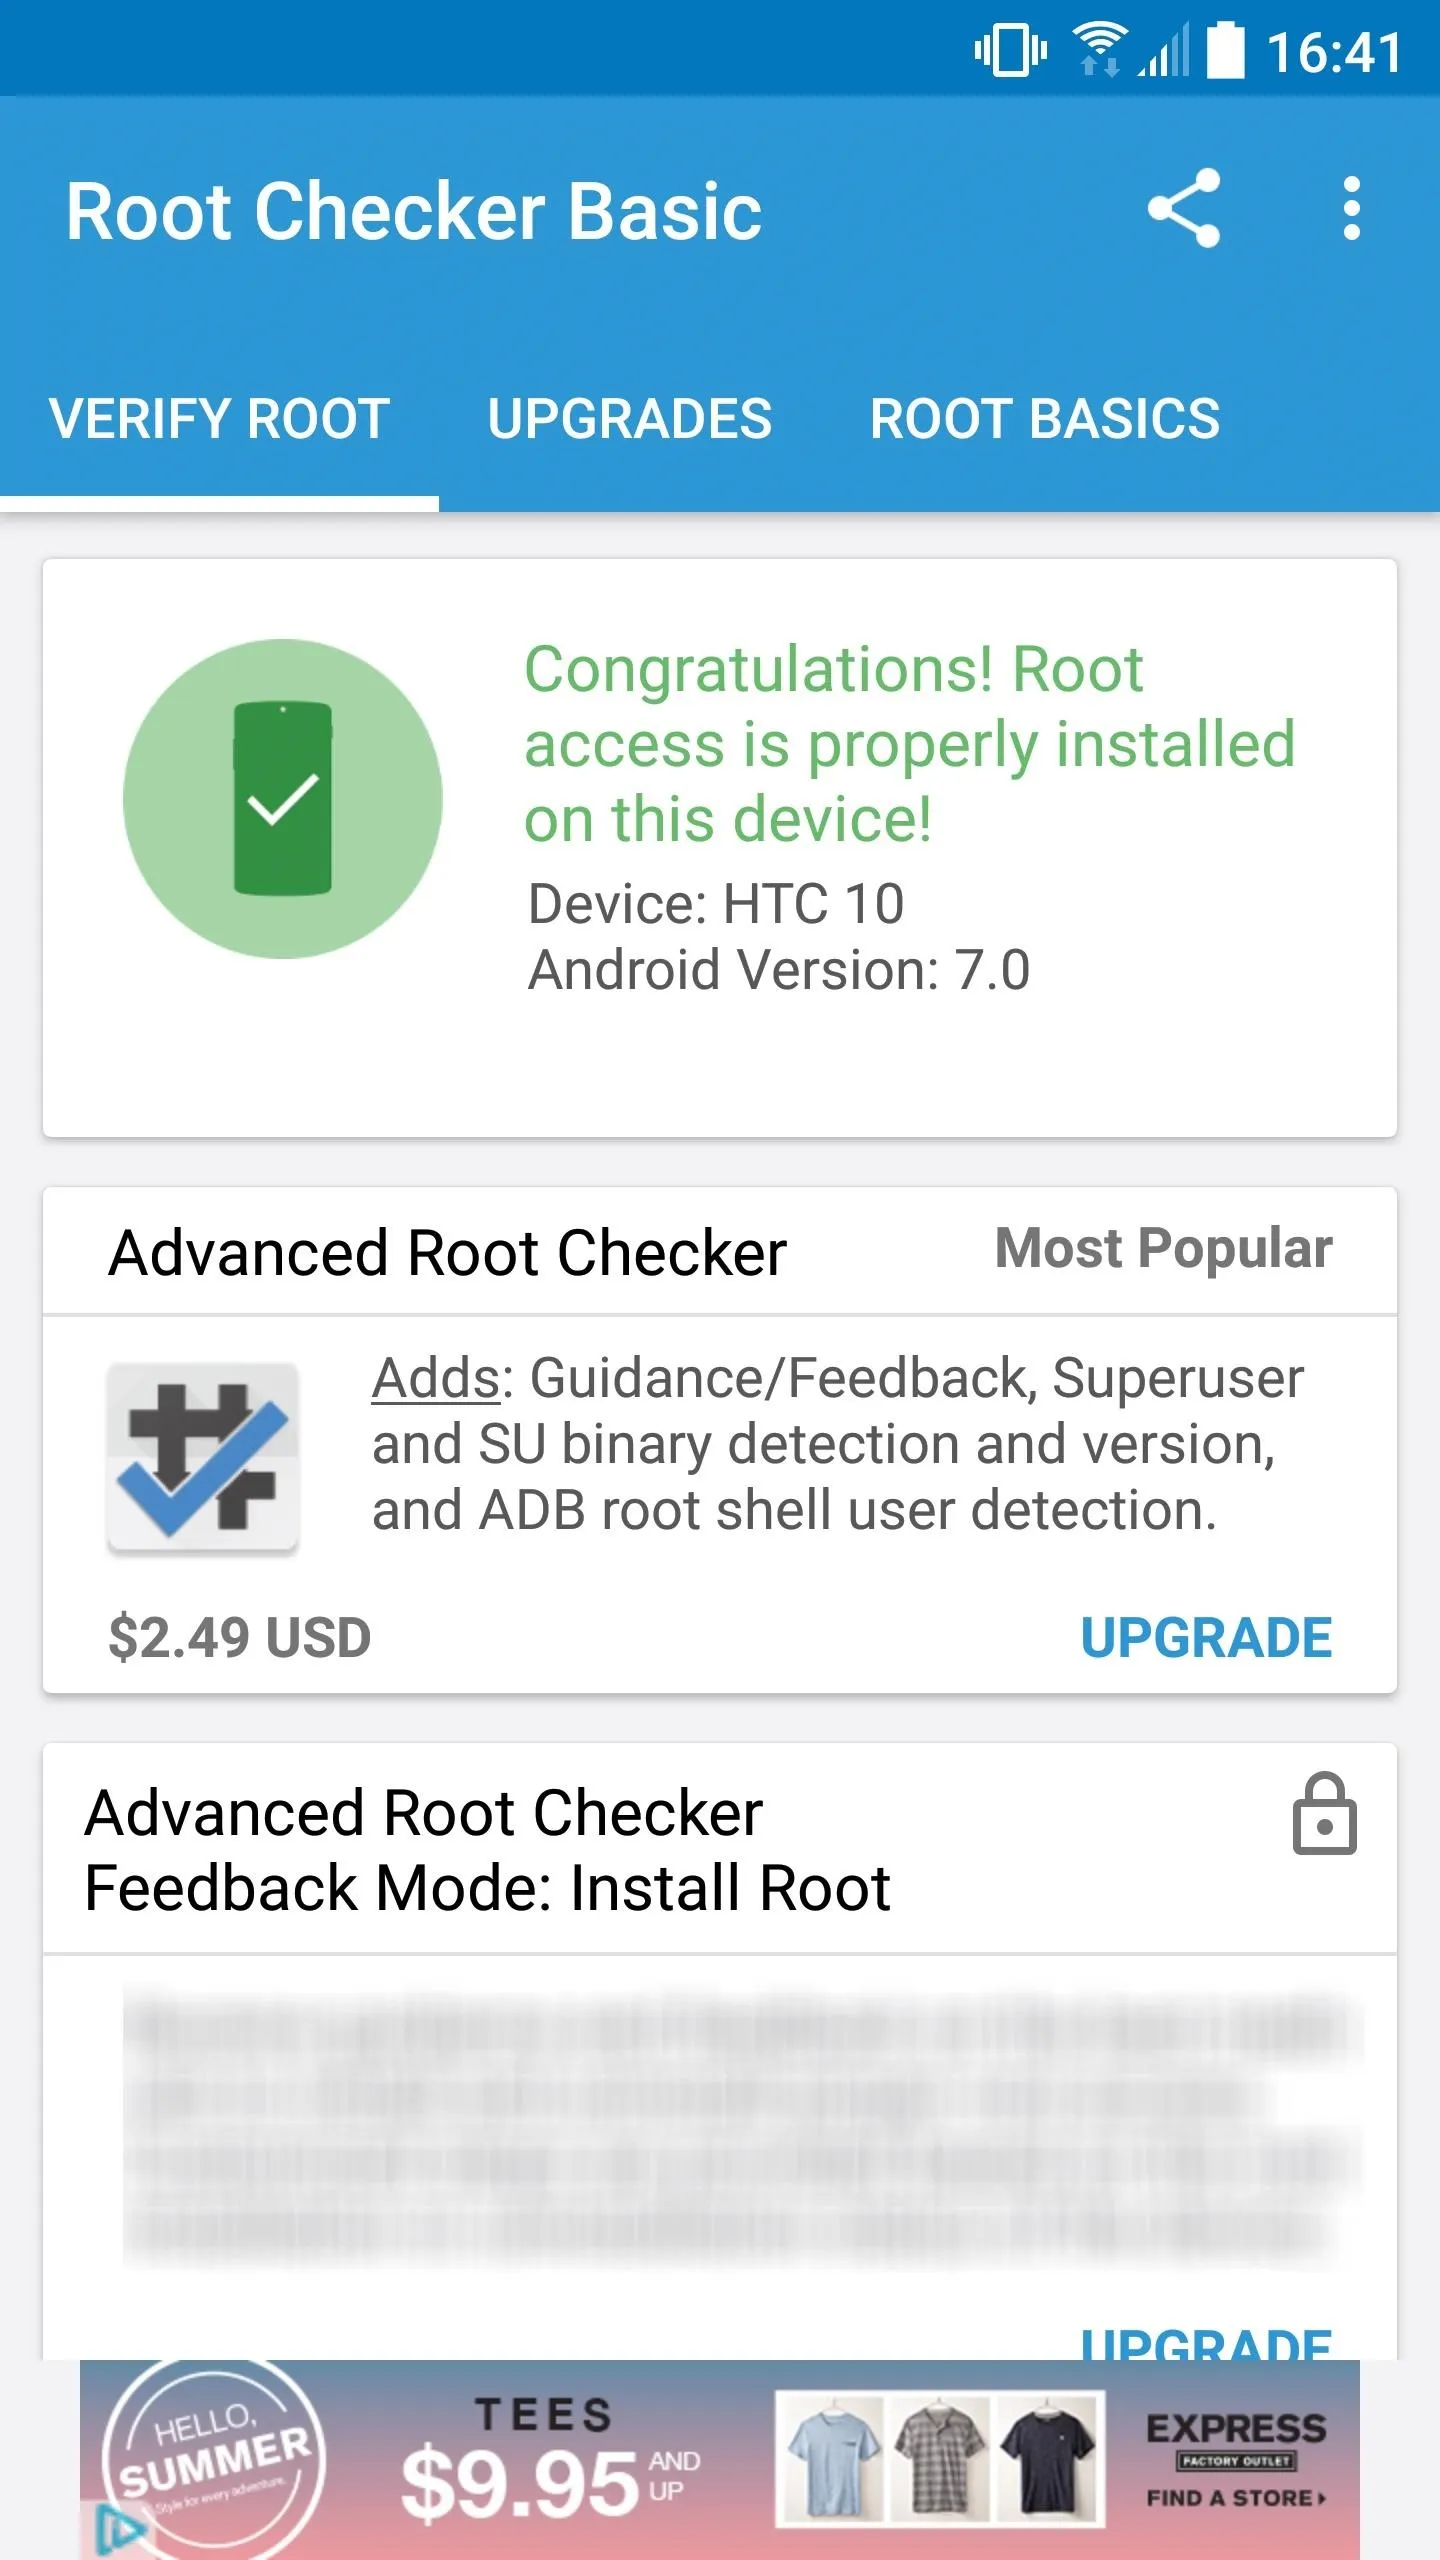
Just open the app, tap "Verify root" and press "Grant" on the Superuser access request. If everything went off without a hitch, you'll see a message saying "Congratulations! Root access is properly installed on this device!"
Now that you're rooted, what are the first root apps or mods you've applied? Have you killed off any bloatware? Let us know in the comment section below.
- Follow Gadget Hacks on Facebook, Twitter, Google+, YouTube, and Instagram
- Follow WonderHowTo on Facebook, Twitter, Pinterest, and Google+
Cover image and screenshots by Kevin M./Gadget Hacks


Comments
Be the first, drop a comment!