


The '90s were a great decade to be alive. Before the internet became a high-availability service, we were untethered from the bombardment of media present in today's culture. Children ran through the streets with levels of physical exertion beyond what's required to capture fictional creatures found in Pokémon GO. However, there were some video game consoles that kept kids indoors, such as the Game Boy, SNES, and more importantly—the first ever PlayStation.
Today, we don't have to pull out our clunky ol' PlayStations to play our favorite SquareSoft games. We can easily relive our earlier years using emulators on our Android phones.
Even though many PS1 games are currently available on the PlayStation Store at decent prices, it's possible to play titles you already own right on your Android phone using a DualShock controller. I'll show you how to rip your old media to your computer, install the ClassicBoy emulator, and connect a controller with an OTG USB dongle—all for less than $20.
What You'll Need
- Windows PC with CD-ROM drive
- PlayStation (PS1) games
- DualShock controller
- USB OTG cable (for some phone models)
Install ImgBurn
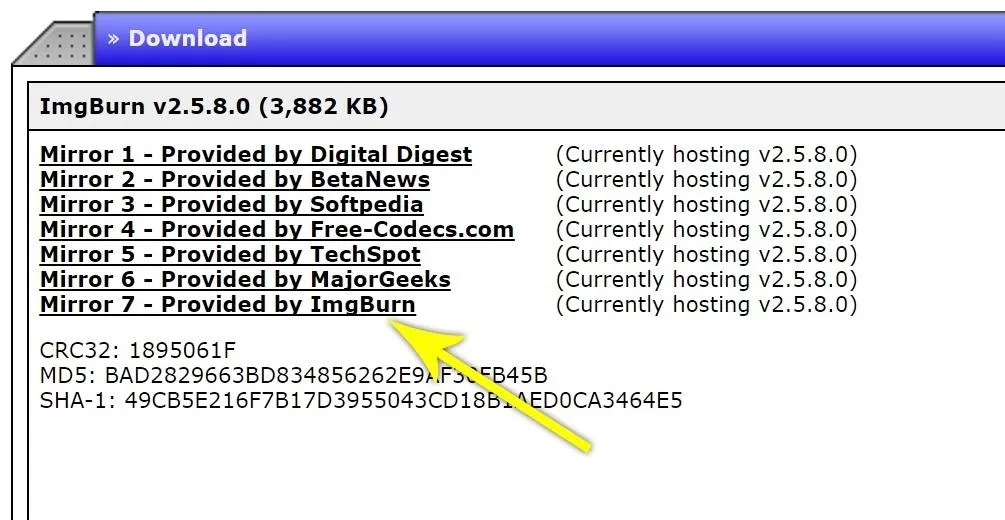
There are several free applications available to create image files out of your existing PS1 games. I typically prefer UltraISO, but it had issues with some of the PlayStation games in my personal library, so I would recommend ImgBurn instead, which you can download from the following link.
Make sure to download the setup file from the mirror provided by ImgBurn and not the other hosts, as some are packaged with unnecessary software. The only thing you'll have to circumvent in the ImgBurn mirror is garbage from McAfee.
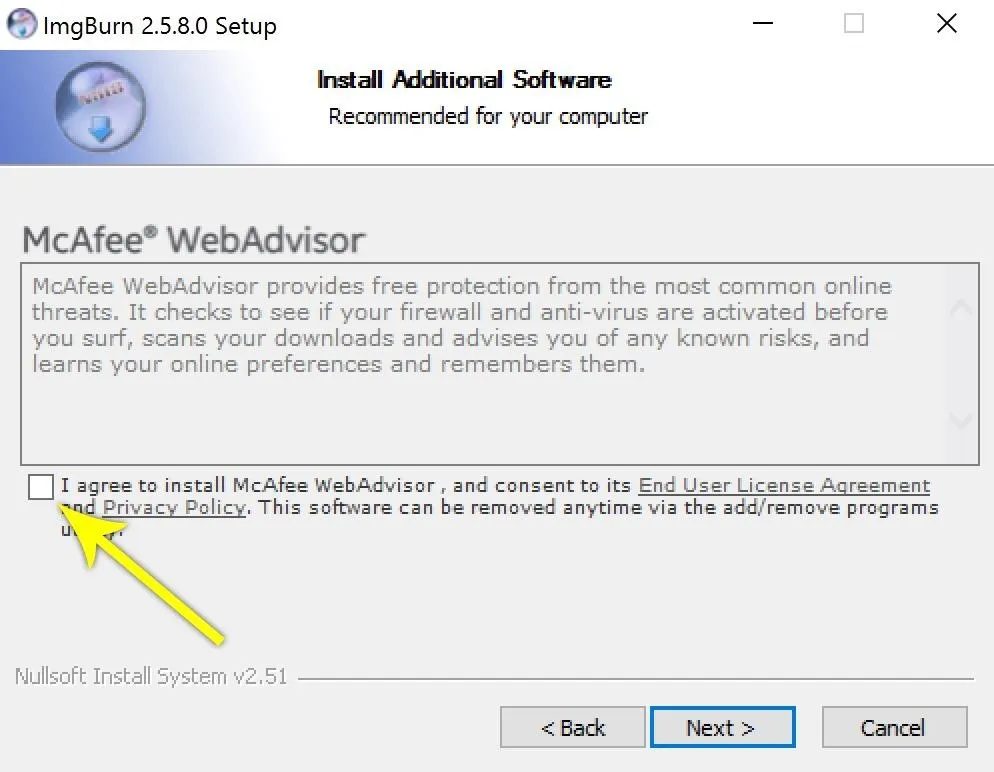
Throughout the installation process, you can leave most settings at default and simply click "Next" when prompted, but there's one exception to this. As you work through the prompts, pay attention to what you're installing and terms you're accepting. Nobody needs the McAffee WebAdvisor, so uncheck the box when the screen appears.
Rip Your Games
Now pop your favorite PS1 game into your computer's CD drive. From there, open ImgBurn on your computer and select the "Create image file from disc" option. On the next screen, select the drive where you have your game and pick an output destination. Make sure the file type is set to BIN, then simply follow the prompts to start ripping the game to an image file. Give it a few minutes to run and you should have a proper file to transfer to your Android device.
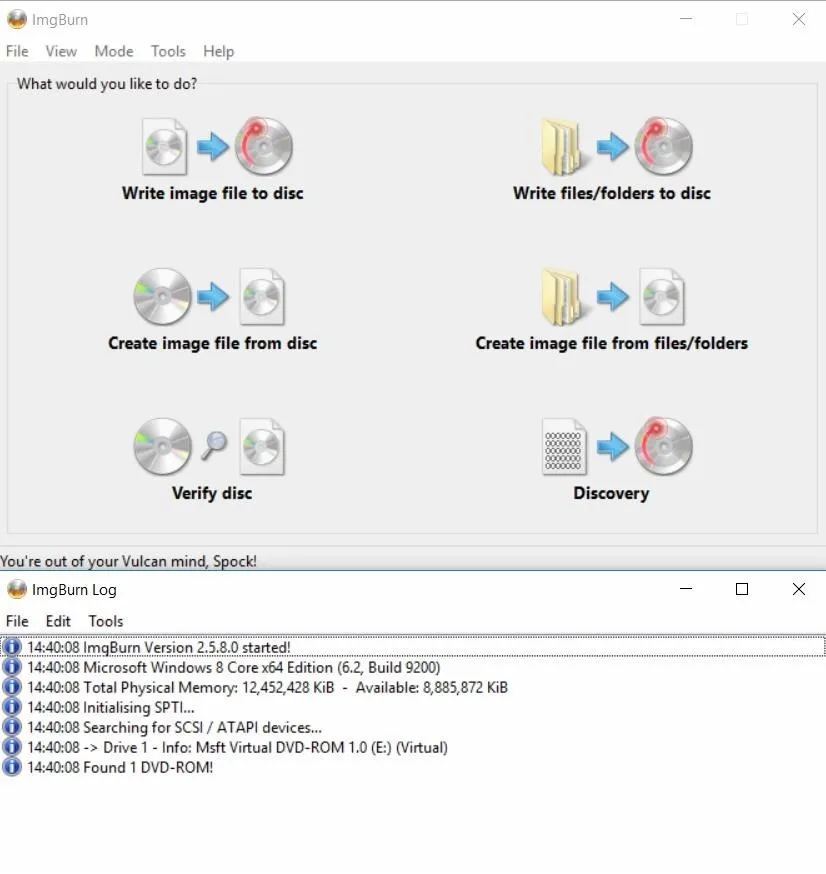
This and UltraISO are the quickest way to transform media into images.
I found it to be easiest to upload the file to Google Drive in order to download it later, but it's just as easy (not to mention faster) to physically connect your phone to your computer and move the files once the emulator is installed.
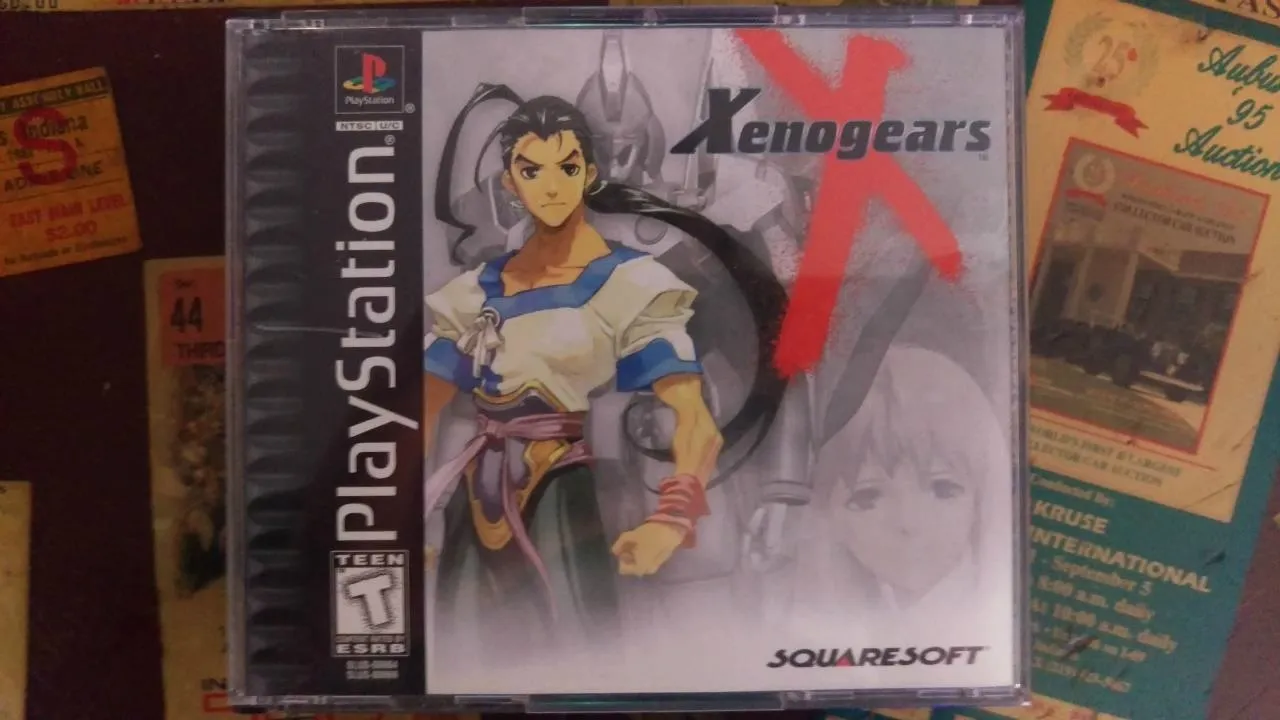
If you missed this game, you did 1998 all wrong.
Sometimes, ImgBurn will encounter issues. The weight of the discs is a bit different than modern media, and Blu-ray readers may have problems reading the discs from an optical standpoint. Ultimately, I had to resort to using an external LG DVD drive.
Connect a DualShock Controller to Your Android Device
Thanks to a paid app called SixAxis Enabler, you can connect a DualShock controller directly to your Android smartphone without rooting it. However, make sure to read the entire app description to see if your particular phone model is listed in the "Working" section. If it is, you can skip buying a USB OTG cable. Otherwise, you'll need both the app and a USB OTG cable.
If your device was listed in the "Working" section on SixAxis Enabler's Play Store page, simply open the app, then follow the prompts to pair your wireless DualShock controller with your Android phone. Once you're done there, you can skip ahead to Step 4.
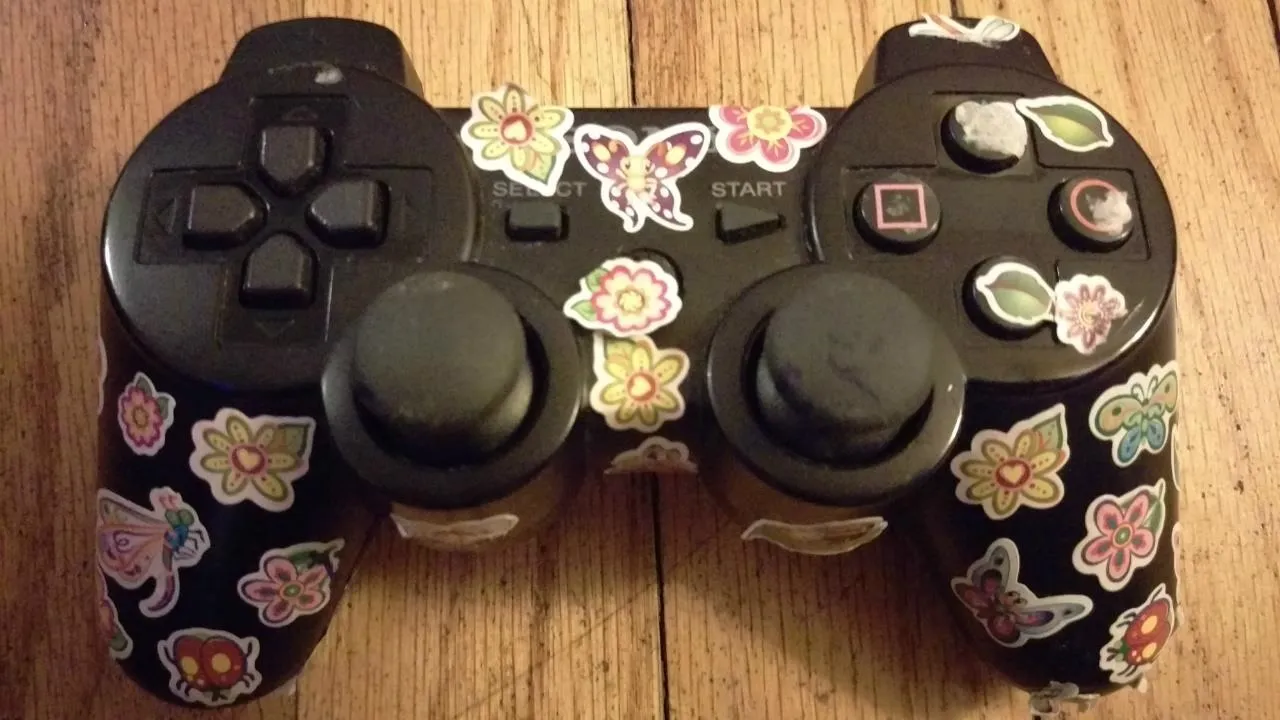
Toddlers aren't the best decorators but they love to help.
However, if your phone was not listed in the "Working" section, you'll have to get a USB OTG cable to play your games with a DualShock controller on Android. If you're willing to wait a couple days, you can find an OTG cable on Amazon at low cost. Or if you feel the need to relive Final Fantasy VII on your phone immediately, head to a Best Buy, Target, Office Depot, RadioShack, or whatever is closest. Most off-the-shelf products at national retailers seem to have a median price around $7.
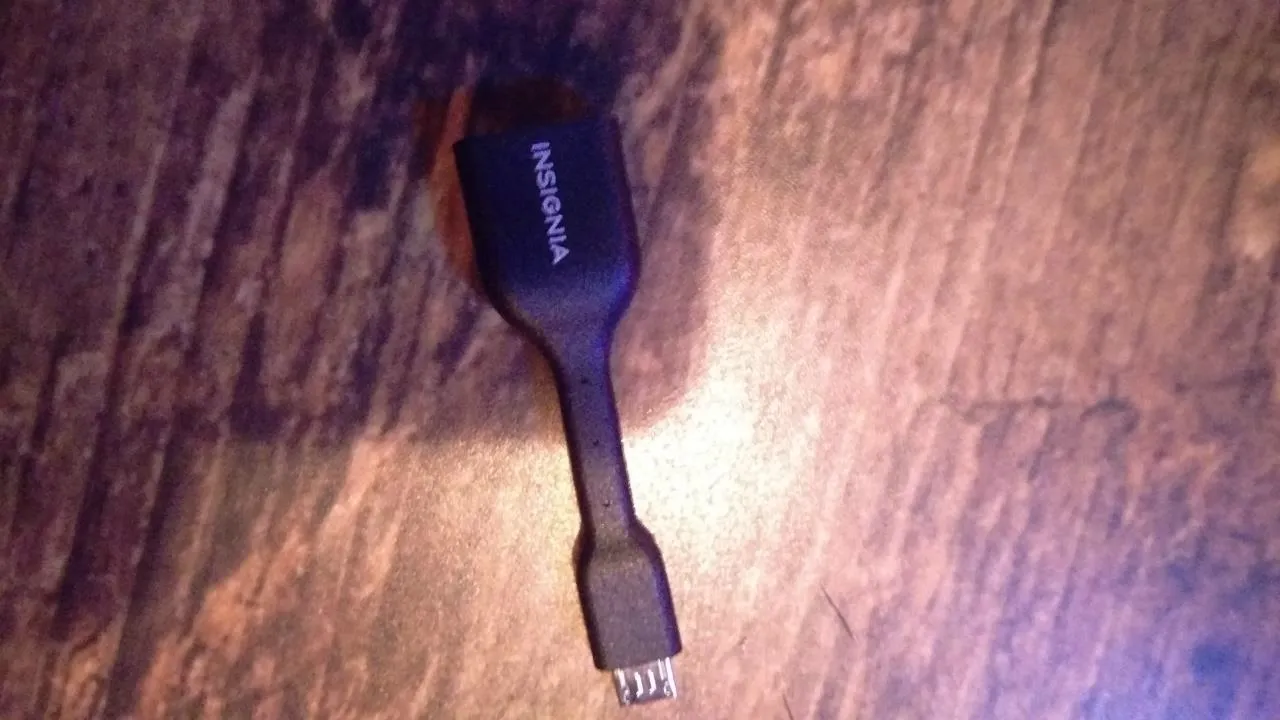
Nick Epson/Gadget Hacks
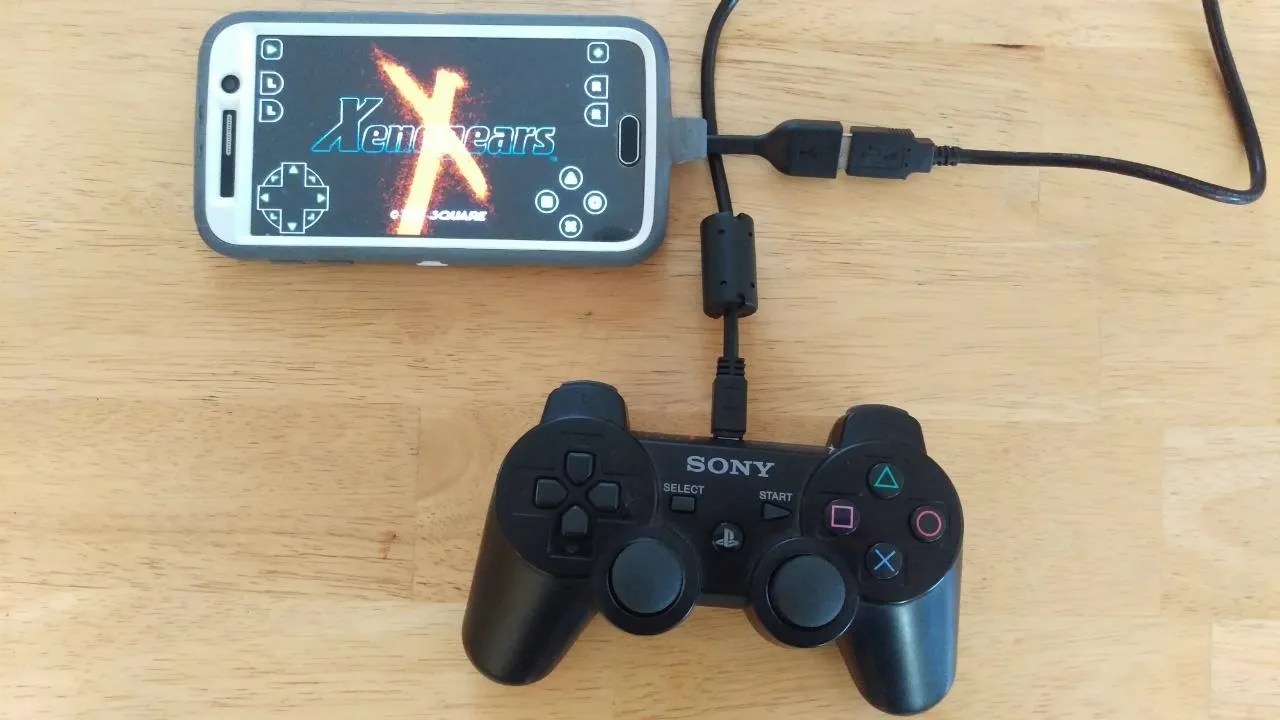
After acquiring both the hardware and software components, connect the dongle and open the SixAxis Enabler app. Connect the controller, and the message at the top should indicate that the Sixaxis is connected, at which point you will need to press the PS button on your controller. If all goes well, the "1" light on the top of the controller should light up, and the app will display "SIXAXIS ENABLED!"
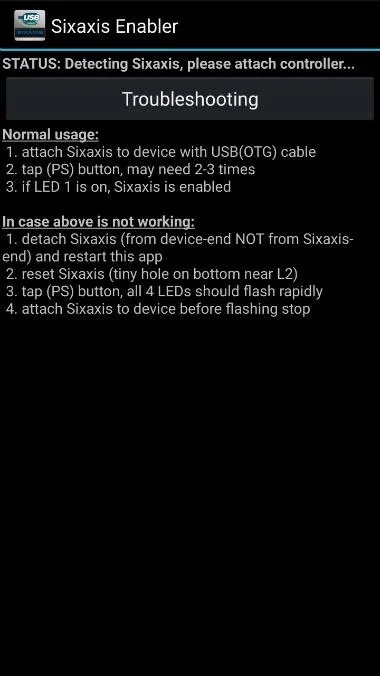
Pre connection.
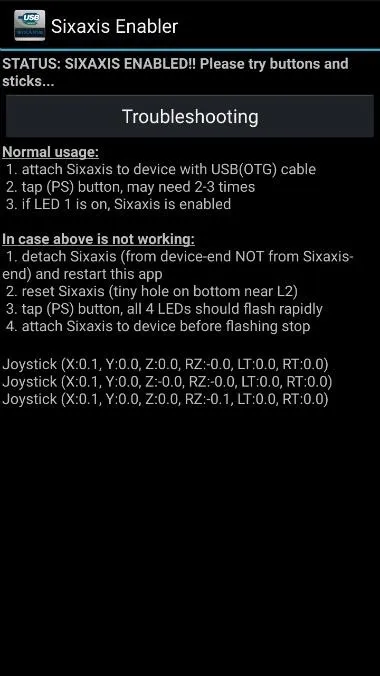
Successful connection of a DualShock 3.
Pre connection.
Successful connection of a DualShock 3.
A couple things should be noted if the app doesn't recognize the device. It is recommended to only use a Sony brand controller, so if you try a third-party controller and it does not connect, this is likely the reason. In other cases, a smartphone's firmware may be incompatible with peripheral input devices without rooting (check out our Android rooting guides for instructions on how to do this with your phone).
Play Your Games on an Android Device
If you browse Google Play for emulators, a plethora of different applications are available. As a fan of ePSXe for PlayStation emulation on a PC, I considered using this application, but instead opted for ClassicBoy since it's free to download and offers more systems beyond the PlayStation. Keep in mind, if you like it, you'll probably want to fork over the $3.99 for the full version of the app, as the free version won't allow you to save games with either a virtual memory card or with the save state feature.
Classic gaming bliss is imminent.
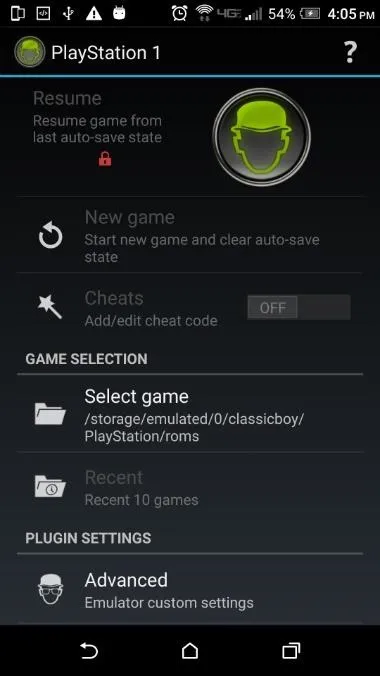
Once you've installed the app, open it up and take a look around under the "PlayStation 1" link. Take note of the following path.
- /storage/emulated/o/classicboy/PlayStation/roms
This is where you'll need to move the BIN files you transferred from your computer. Move your games to this directory, then tap the "Advanced" button to configure the controller.
It's pretty straightforward.
We'd all get lost without proper directions. Same holds true for your controller.
It's pretty straightforward.
We'd all get lost without proper directions. Same holds true for your controller.
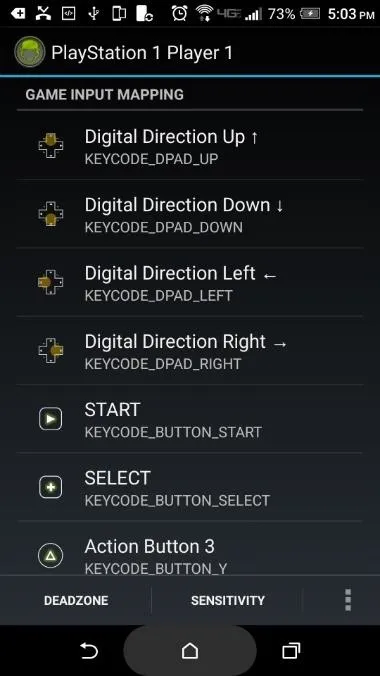
Tap the slider in the "Player 1" link to activate the physical controller, then tap the link itself to get into the configuration settings. You'll see that each portion of the controller needs to be mapped to the appropriate button, so make your way through all the items and press the corresponding button for each instance.
From here, you can exit the menu and run the game after selecting the appropriate ROM. The HUD for the integrated controller will appear by default, but this can be toggled from a menu accessible while a game is running. By hitting the back button on your phone (the R3 button seemed to work as well), a menu will appear where the 6th option will allow you to toggle the display on or off.
Nick Epson/Gadget Hacks
You can play several other classic games from different video game consoles with this application, thanks to the other built-in emulators. Ripping cartridges is a bit more involved as it requires special equipment. There are several sites (and torrents) available to acquire ROMs as well. Just keep in mind that you're technically supposed to own the game and copy it yourself. More importantly, beware of malware lurking within torrents and the handful of emulator hosting sites still lingering on the web.
- Follow Gadget Hacks on Facebook, Twitter, Google+, and YouTube
- Follow Android Hacks on Facebook, Twitter, and Pinterest
- Follow WonderHowTo on Facebook, Twitter, Pinterest, and Google+
Cover photo by Ninac26/Flickr
Screenshots by Nick Epson/Gadget Hacks


Comments
Be the first, drop a comment!