


For those with small hands, smartphones have gotten out of control as of late. Nearly every flagship phone is over six inches in length, so many are forced to use phones that are too big for them and hope they don't fall. Well, thanks to one developer, using these phones can be a lot easier.
With developer Tom Bayley's latest app, you can now make the hardest-to-reach menu on Android more accessible, the Quick Settings. Since we usually rest our phones in our palm, if our fingers aren't long enough, it's hard to reach up to pull down the status bar. Tom Bayley solved this problem by moving the menu to the bottom. Now, with a quick swipe of your thumb, you can access the Quick Settings menu and toggle sensors without readjusting your grip.
What You'll Need
- Android 5.0 Lollipop or newer
- computer (optional)
- USB cable (optional)
Download Bottom Quick Settings
To move the Quick Settings to the bottom, you'll need to download and install the app, Bottom Quick Settings. The app is free to download and can be found on the Play Store.
- Play Store Link: Bottom Quick Settings (free)
Enable Bottom Quick Settings
Once installed, open the app. You'll be greeted with a startup page which will help guide you to the options you need to enable to get the app working. Select the grey arrow in the bottom right corner to proceed to the next page.
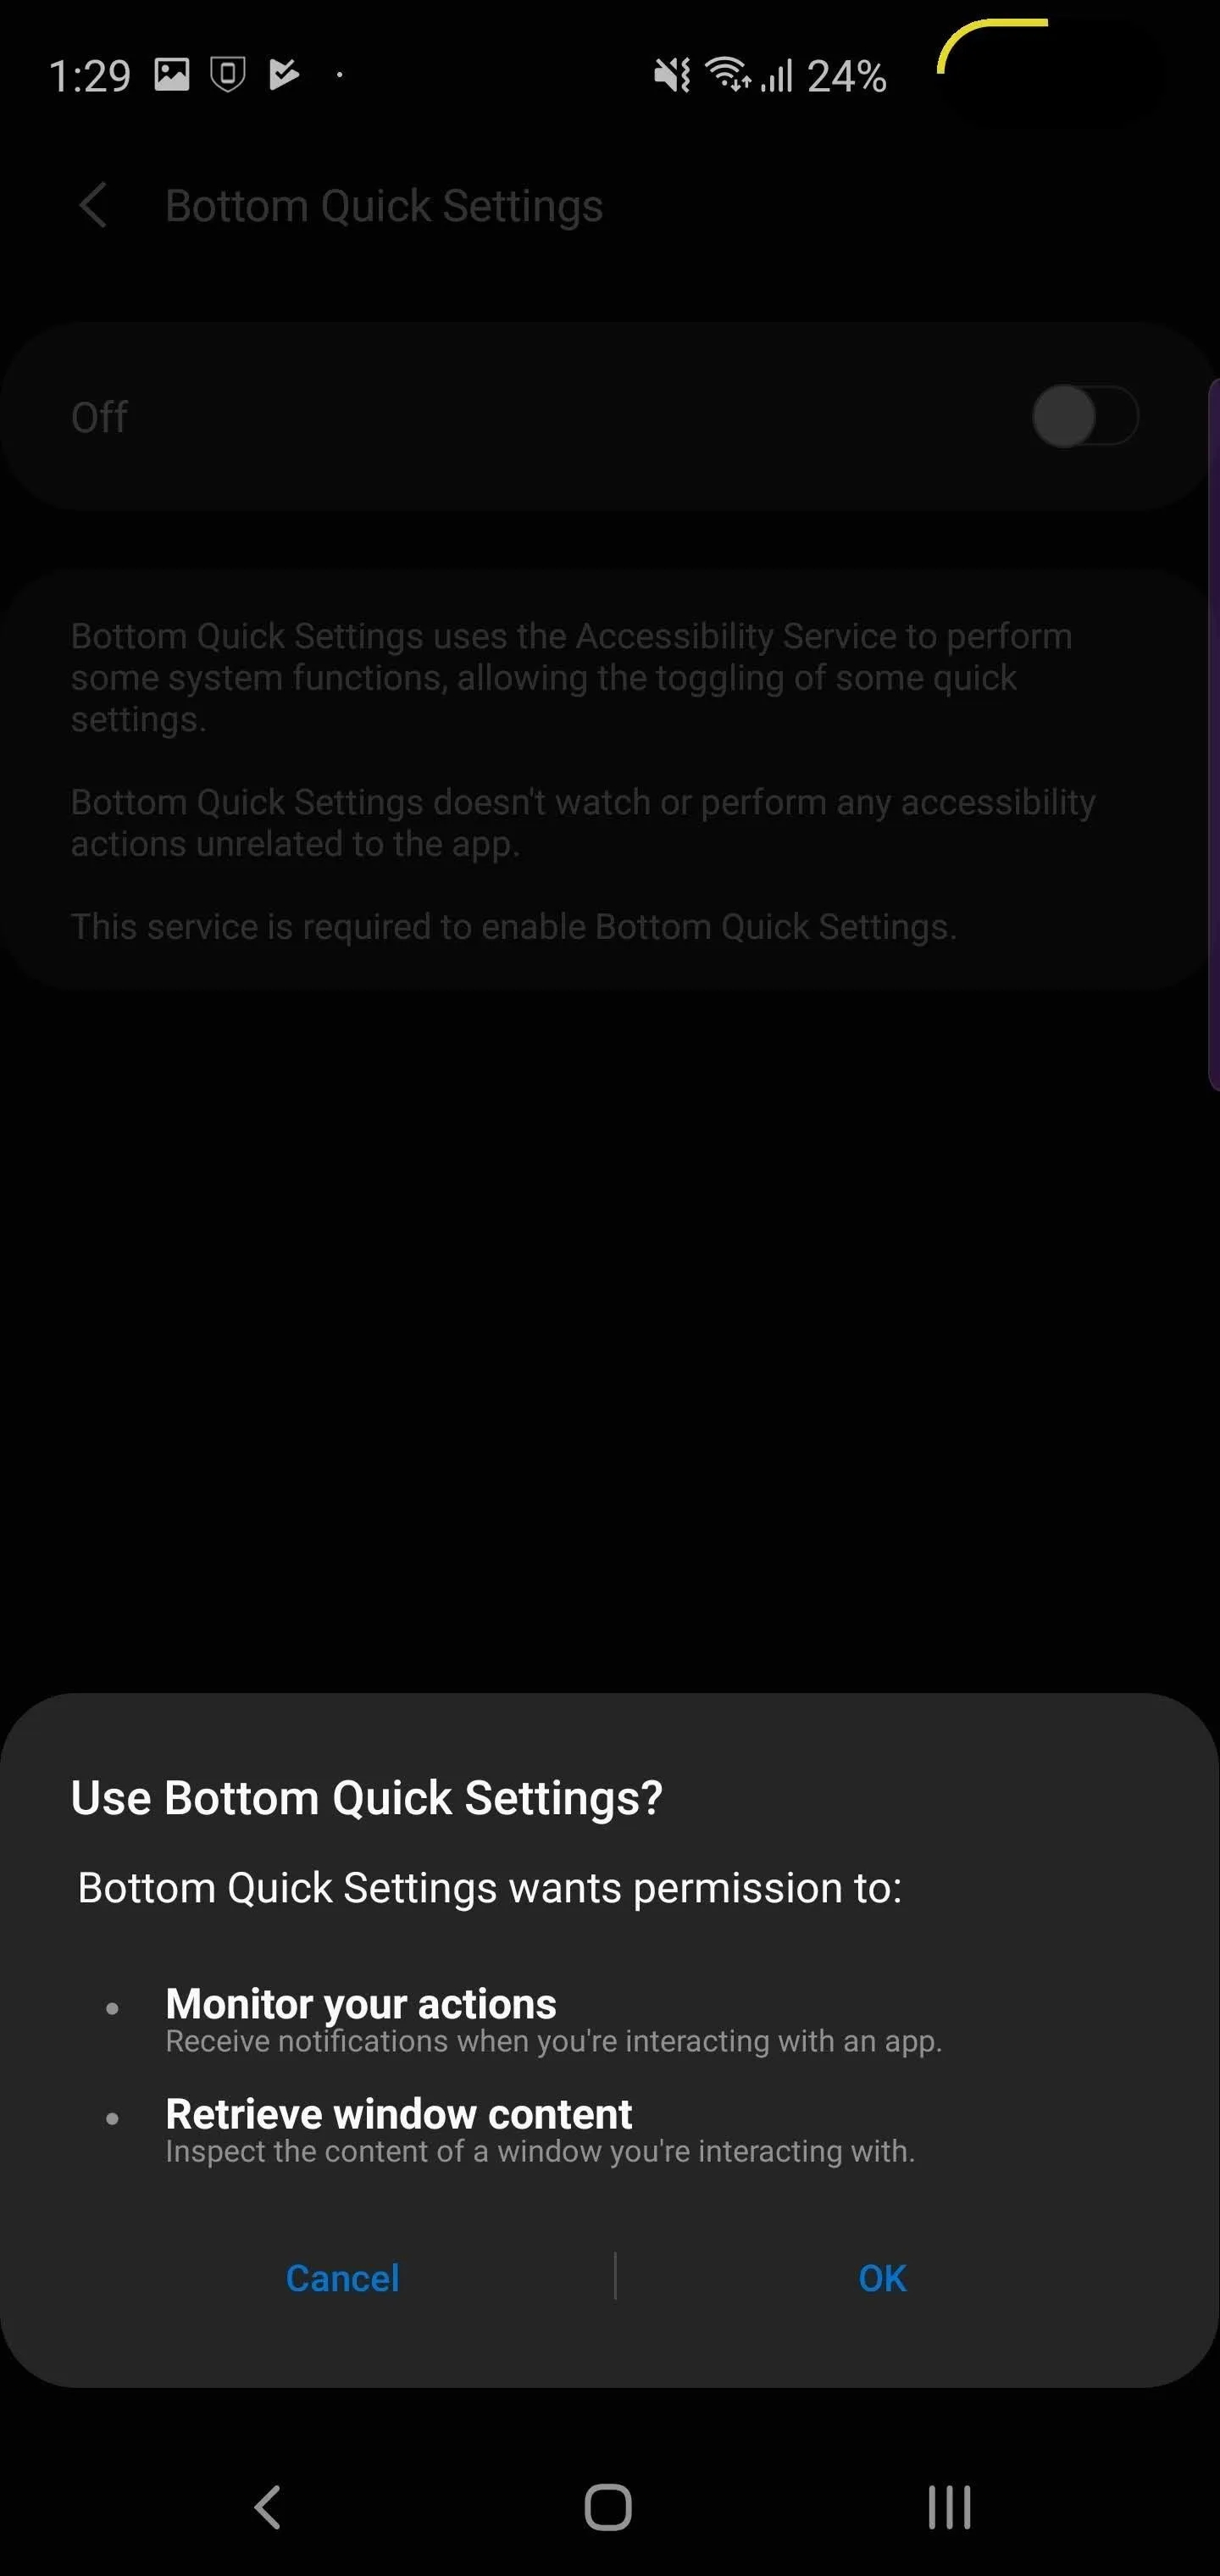
On this next page, you will be presented with three toggles, each corresponding to a permission you need to grant the app. Selecting an option will bring you to the specific page where you should enable the toggle in Android's settings. The developer even explains as to why you need to grant the app these permissions to ease any concerns.
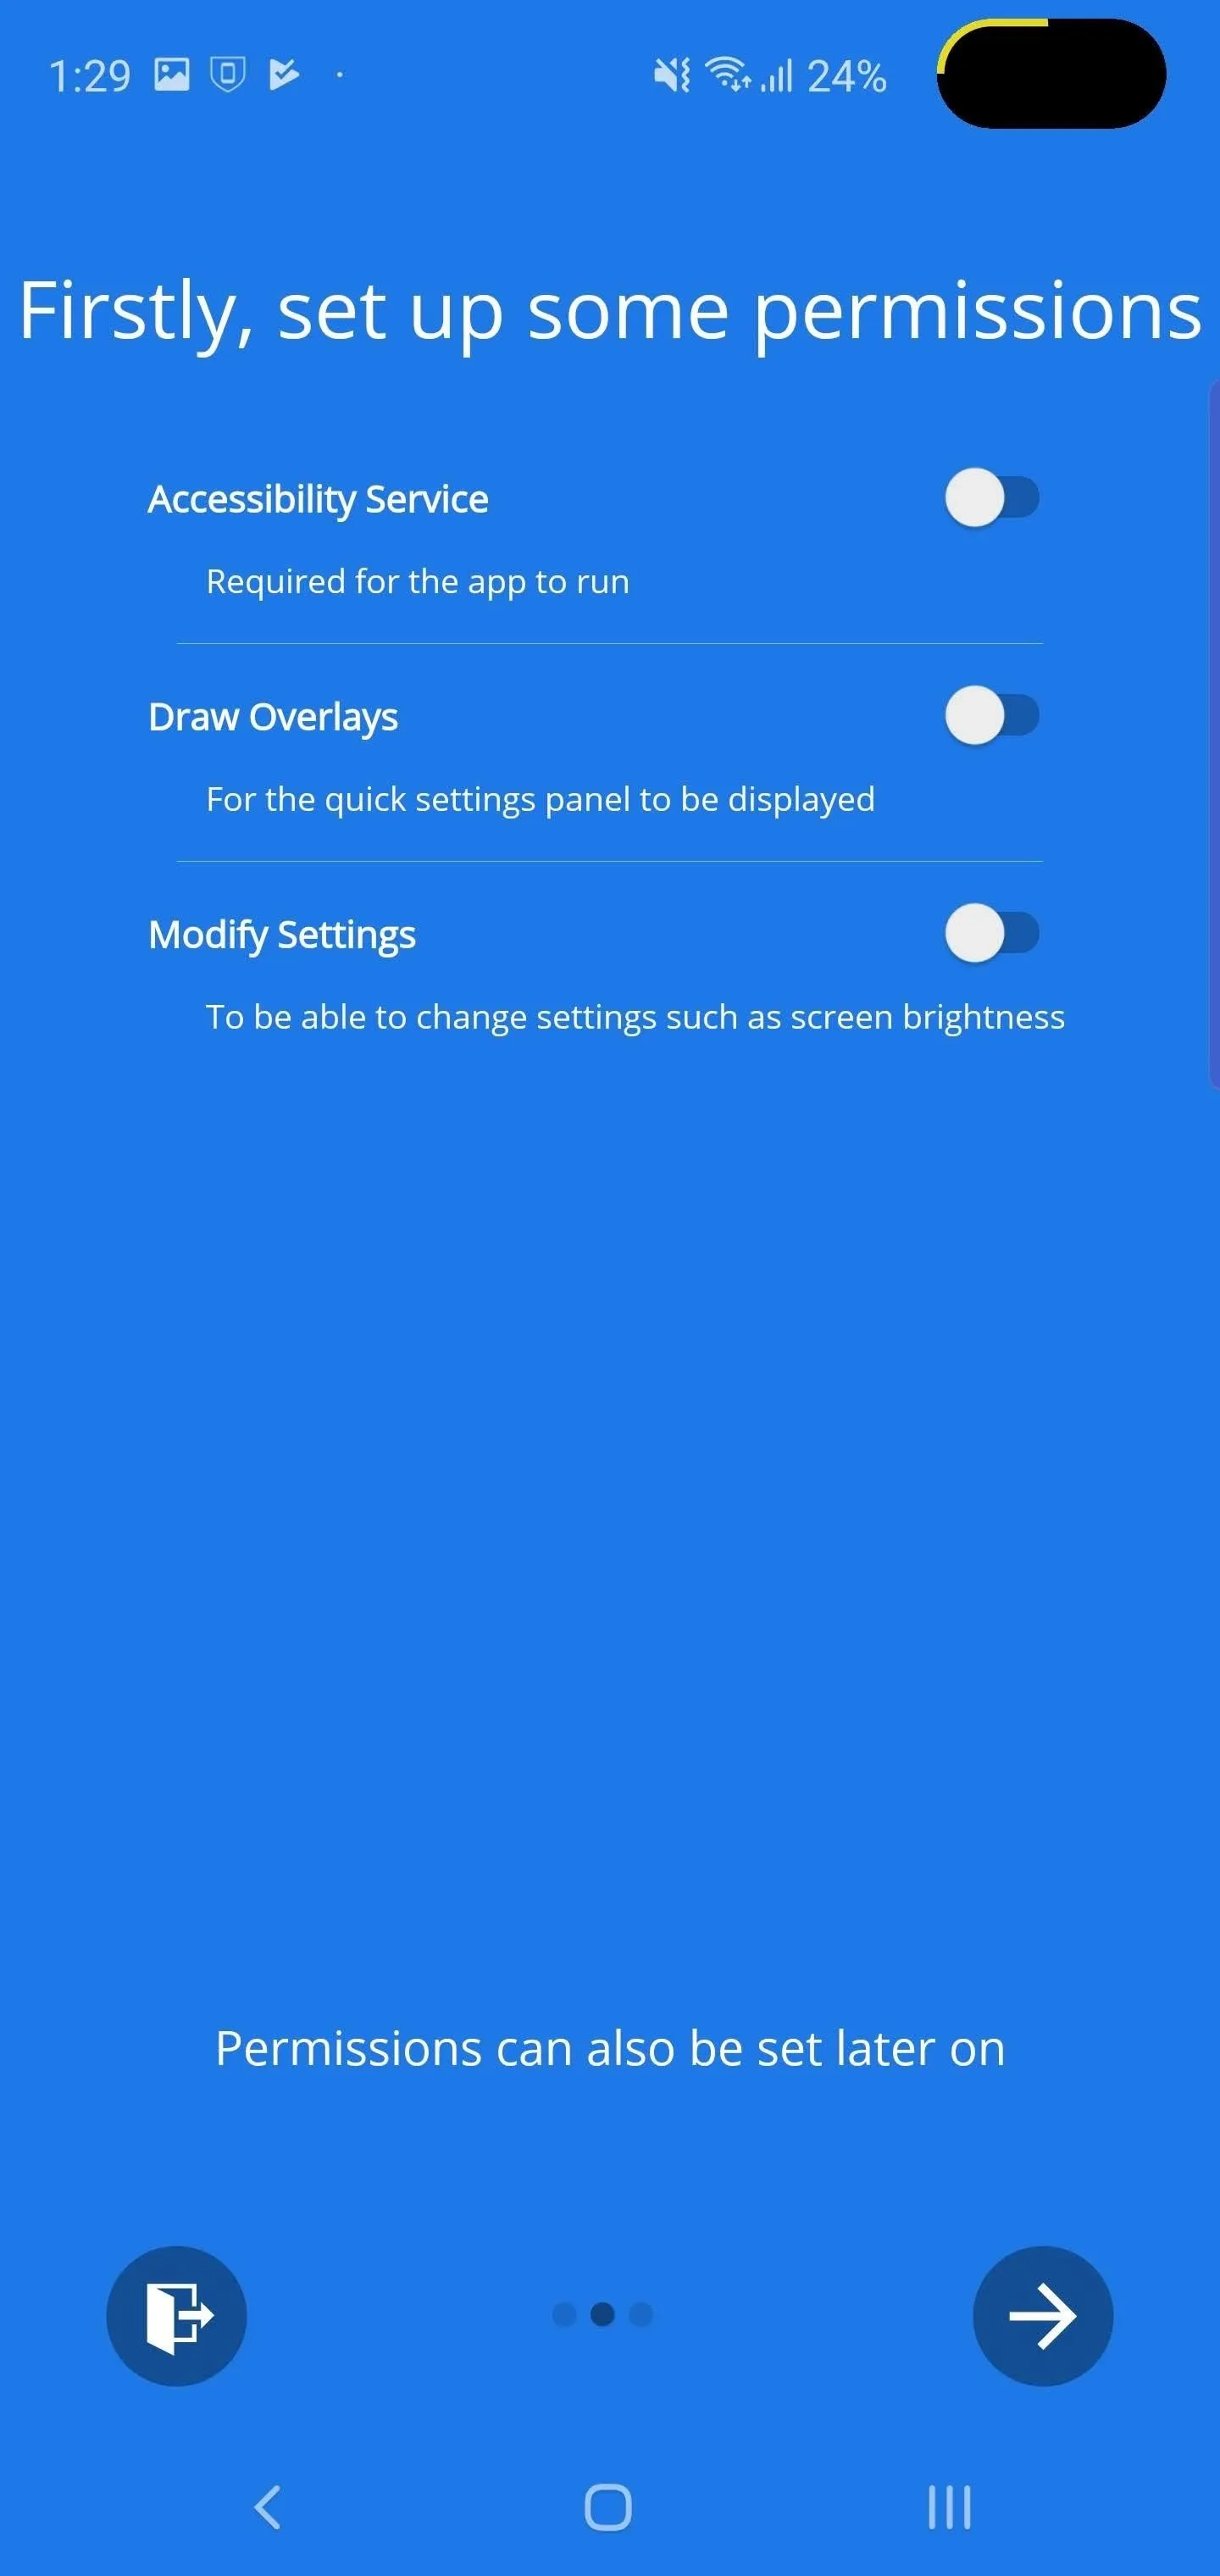
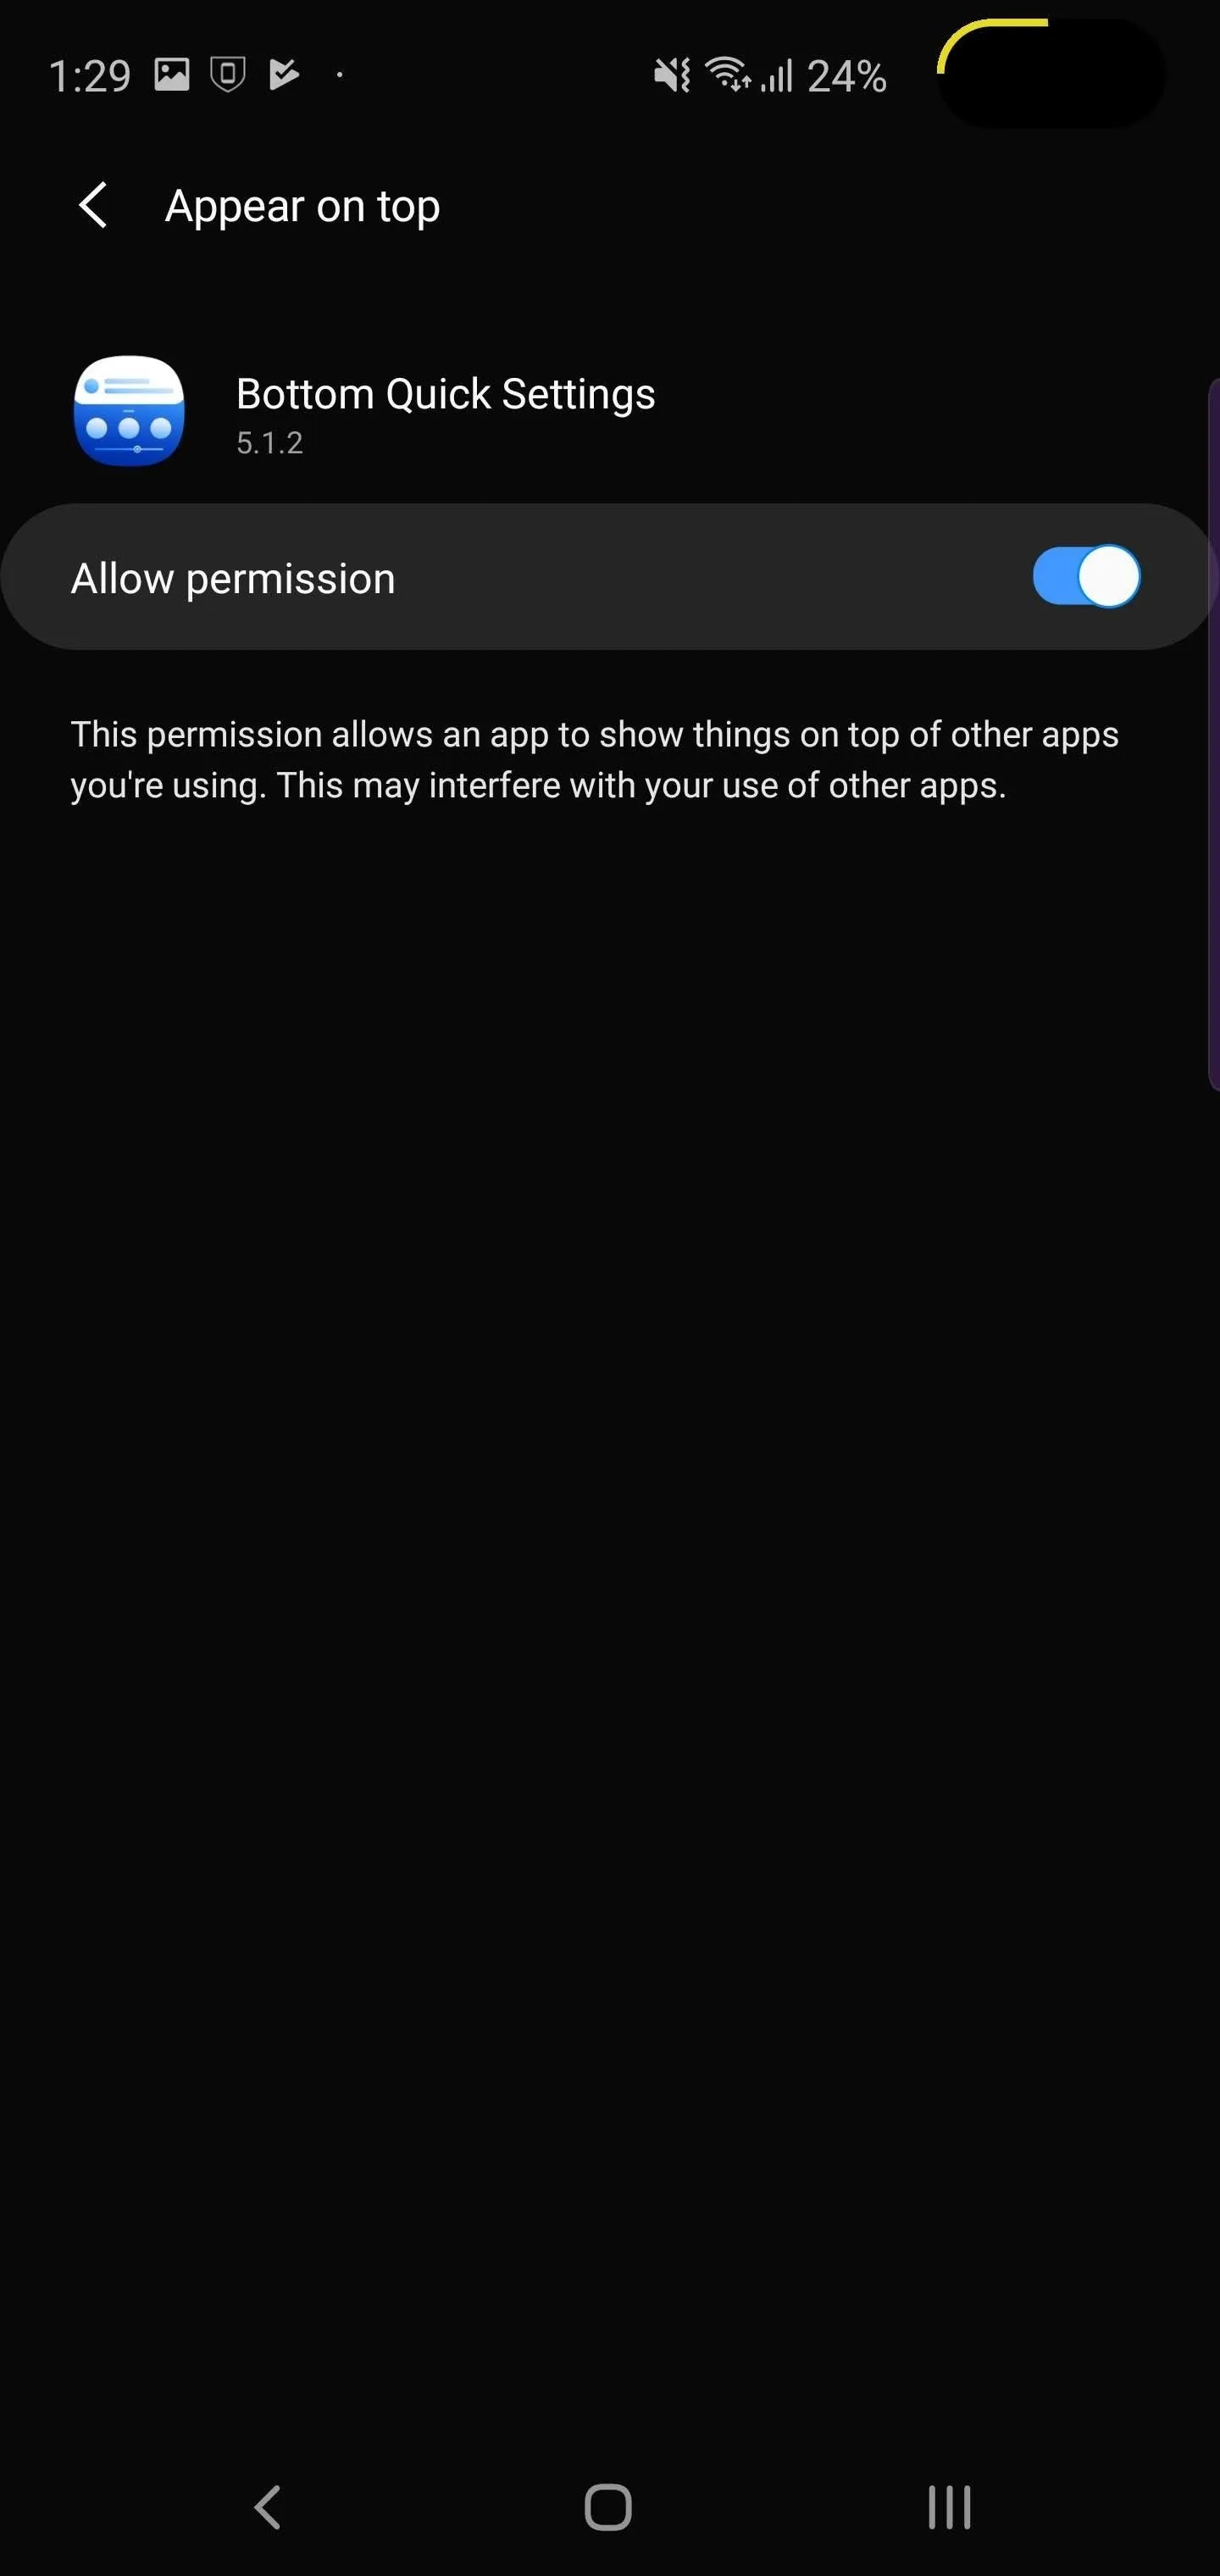
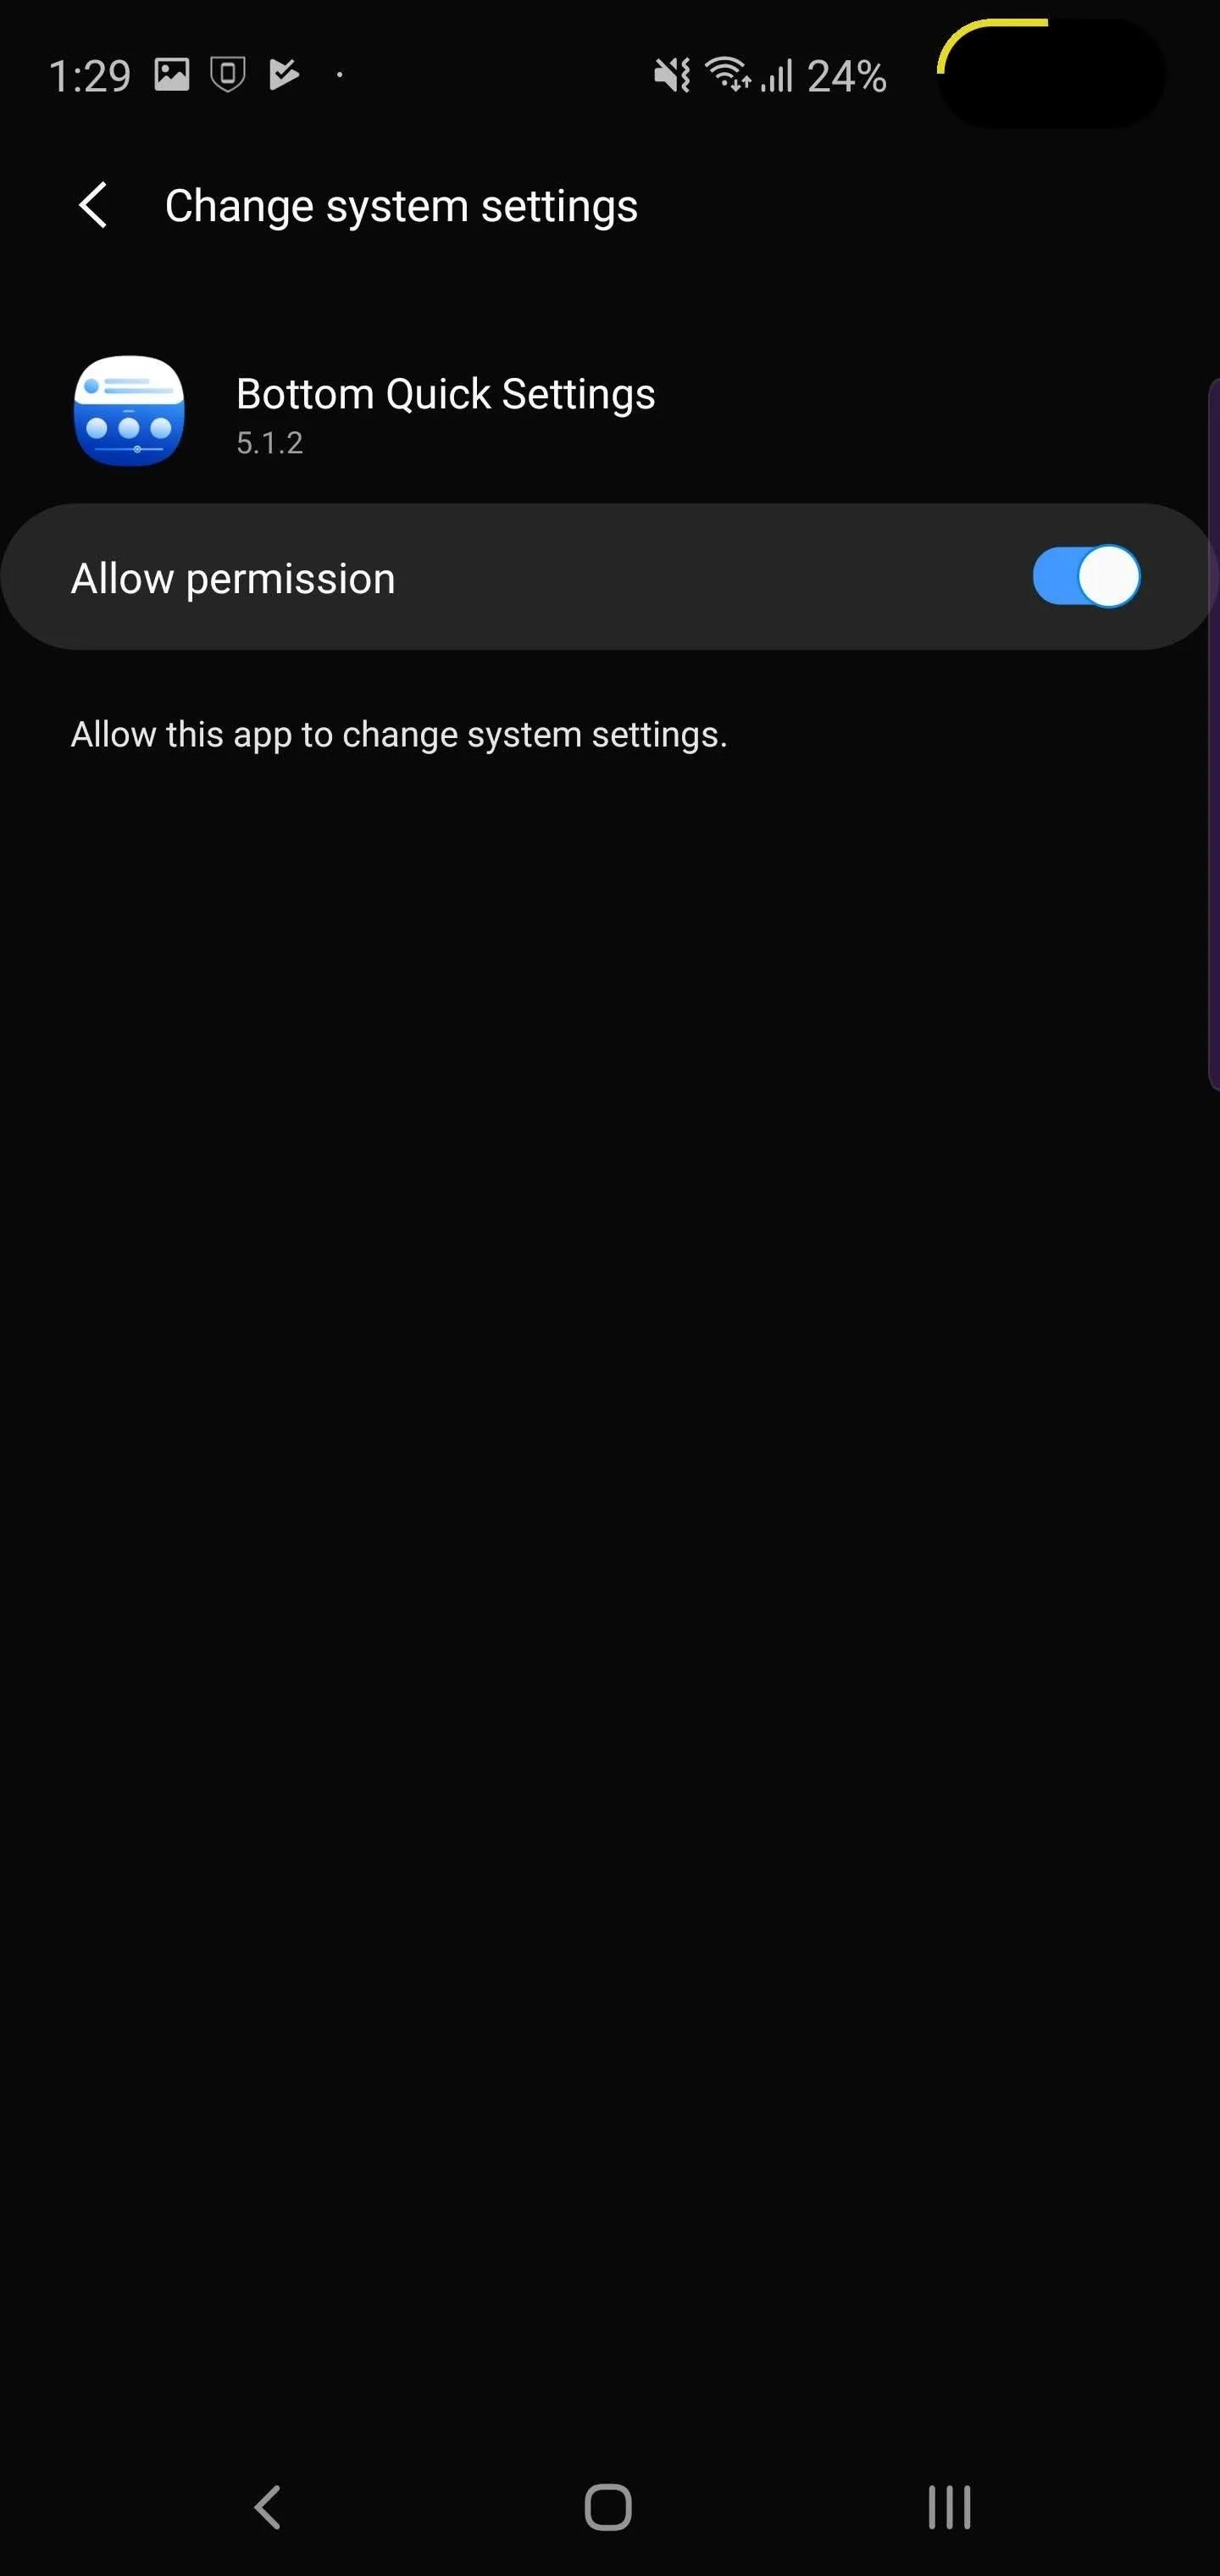
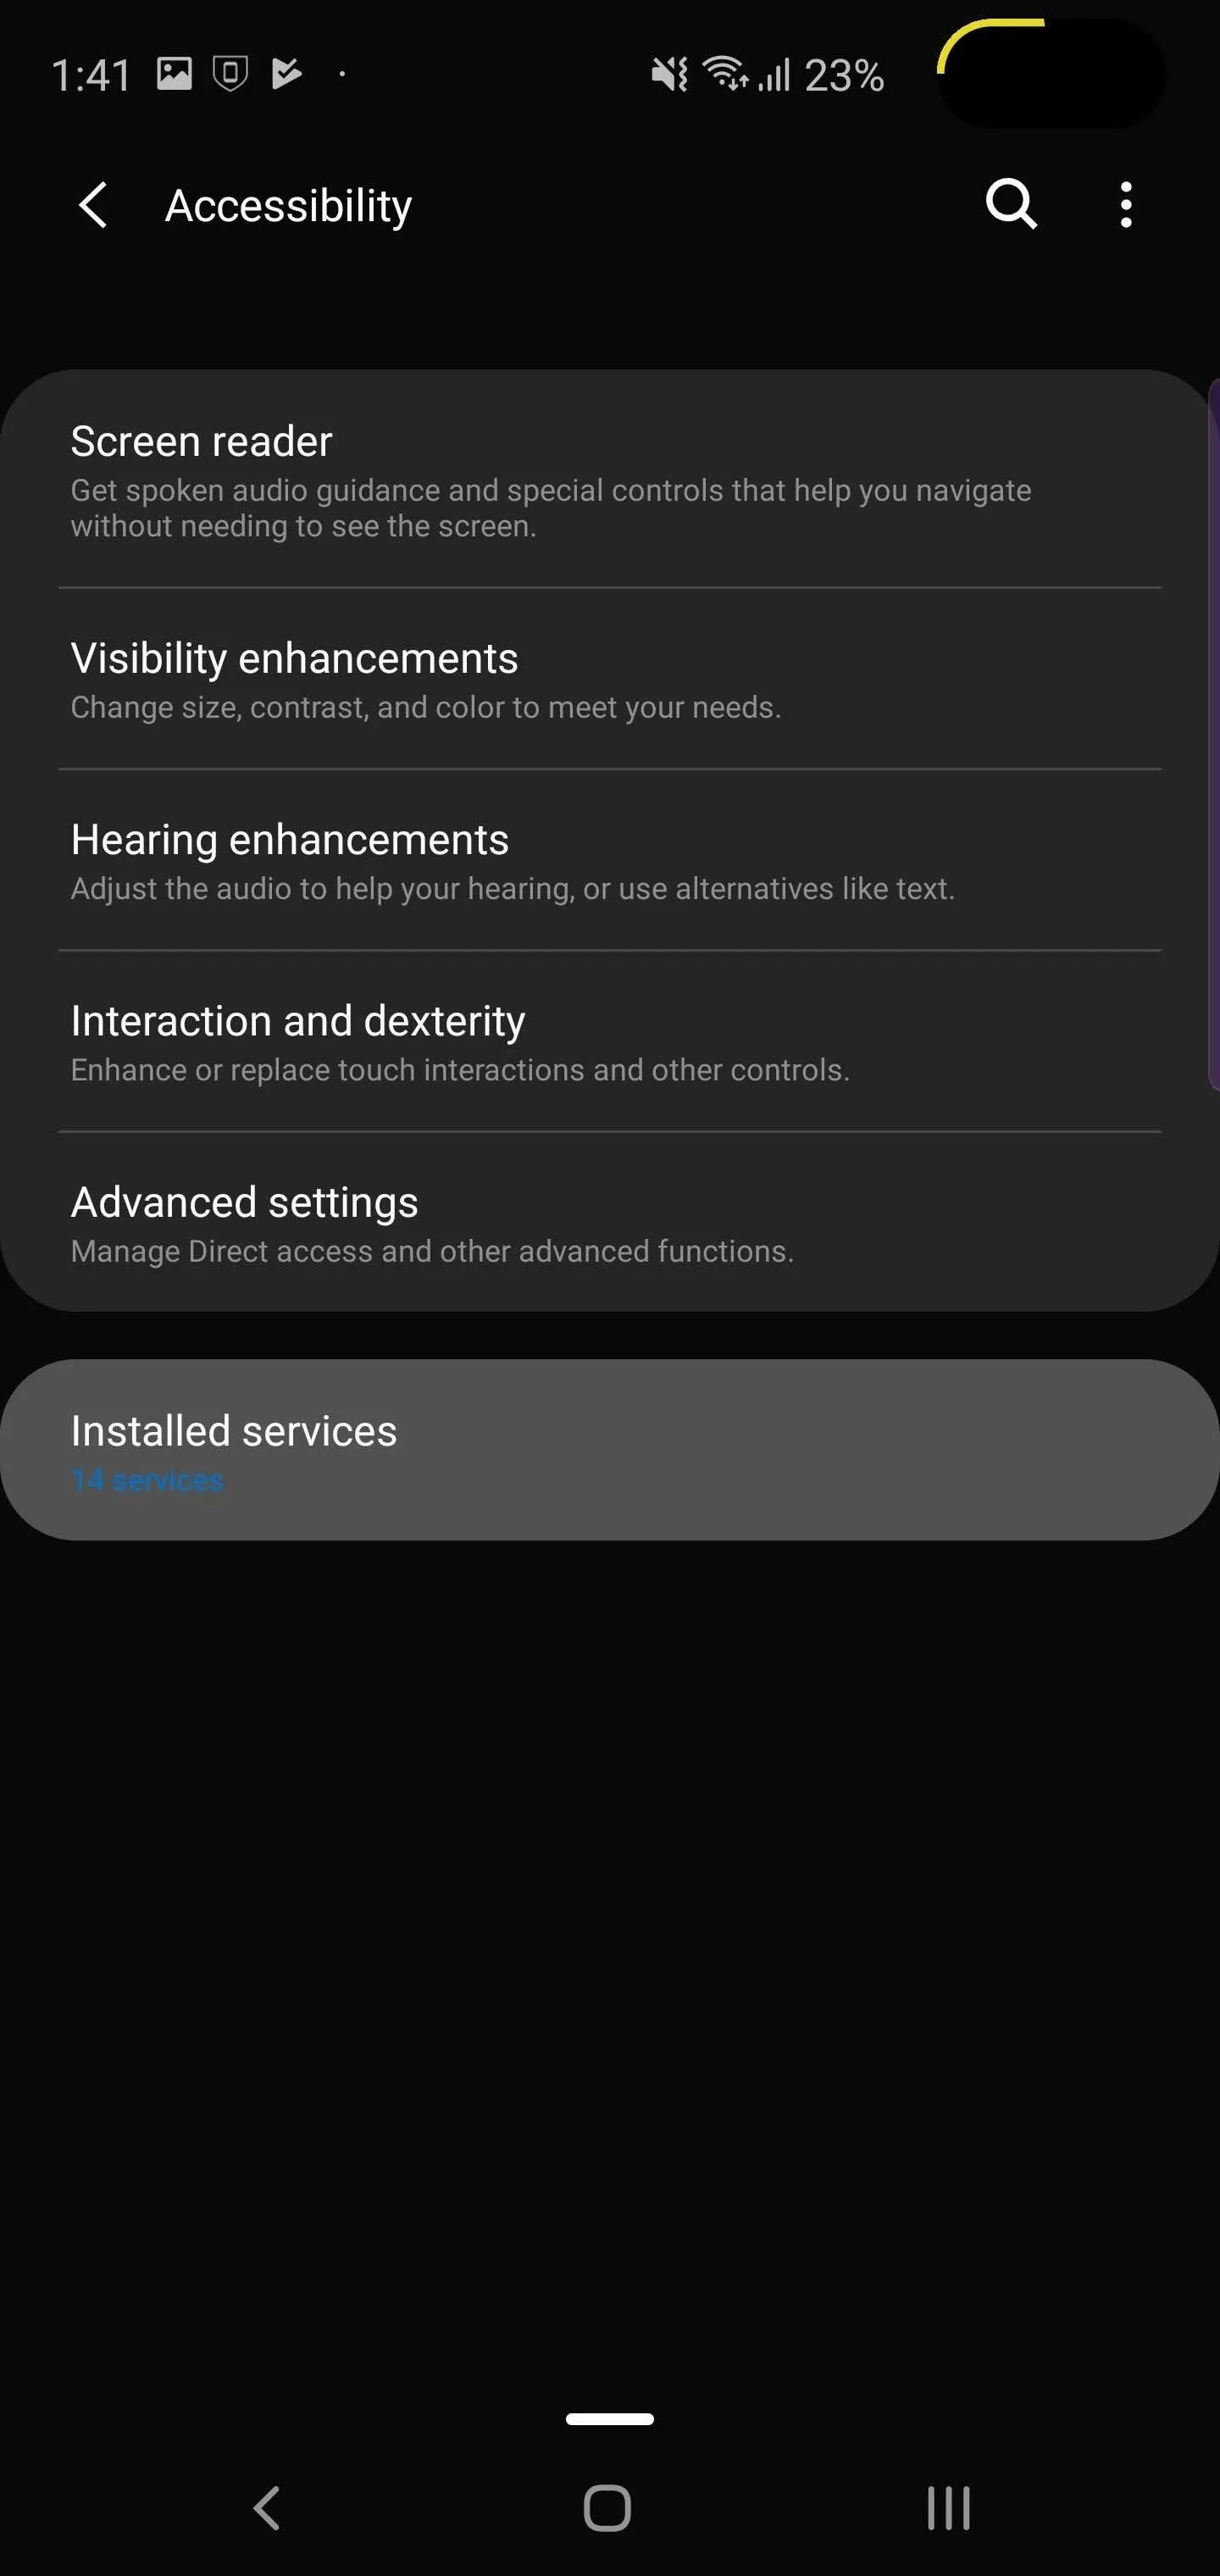
Select each option (starting from the top) and activate the toggles. After granting permission, select the back button until you return to permission page in the app. Samsung users running One UI should be aware that the skin hides Accessibility options behind the option "Installed Services." Once selected, the experience is the same as other skins (or stock Android). Find Bottom Quick Settings in the list, select it, then enable the toggle on the new page, and choose "OK" to grant Accessibility permission.
Enable the Service
Once you enable all three permissions and return to the app using the back button, you'll be greeted with a new page informing you are done. Choose the grey arrow in the bottom right corner to access the main page.
At the top of this page is a "Service not running" toggle. You need to enable this toggle first to turn on the app. Once activated, the toggle will change to "Service running," and a small white bar will appear right above the navigation bar (whether you are using the three button navigation or gesture controls). Swipe up from this bar to access the new Quick Settings menu.
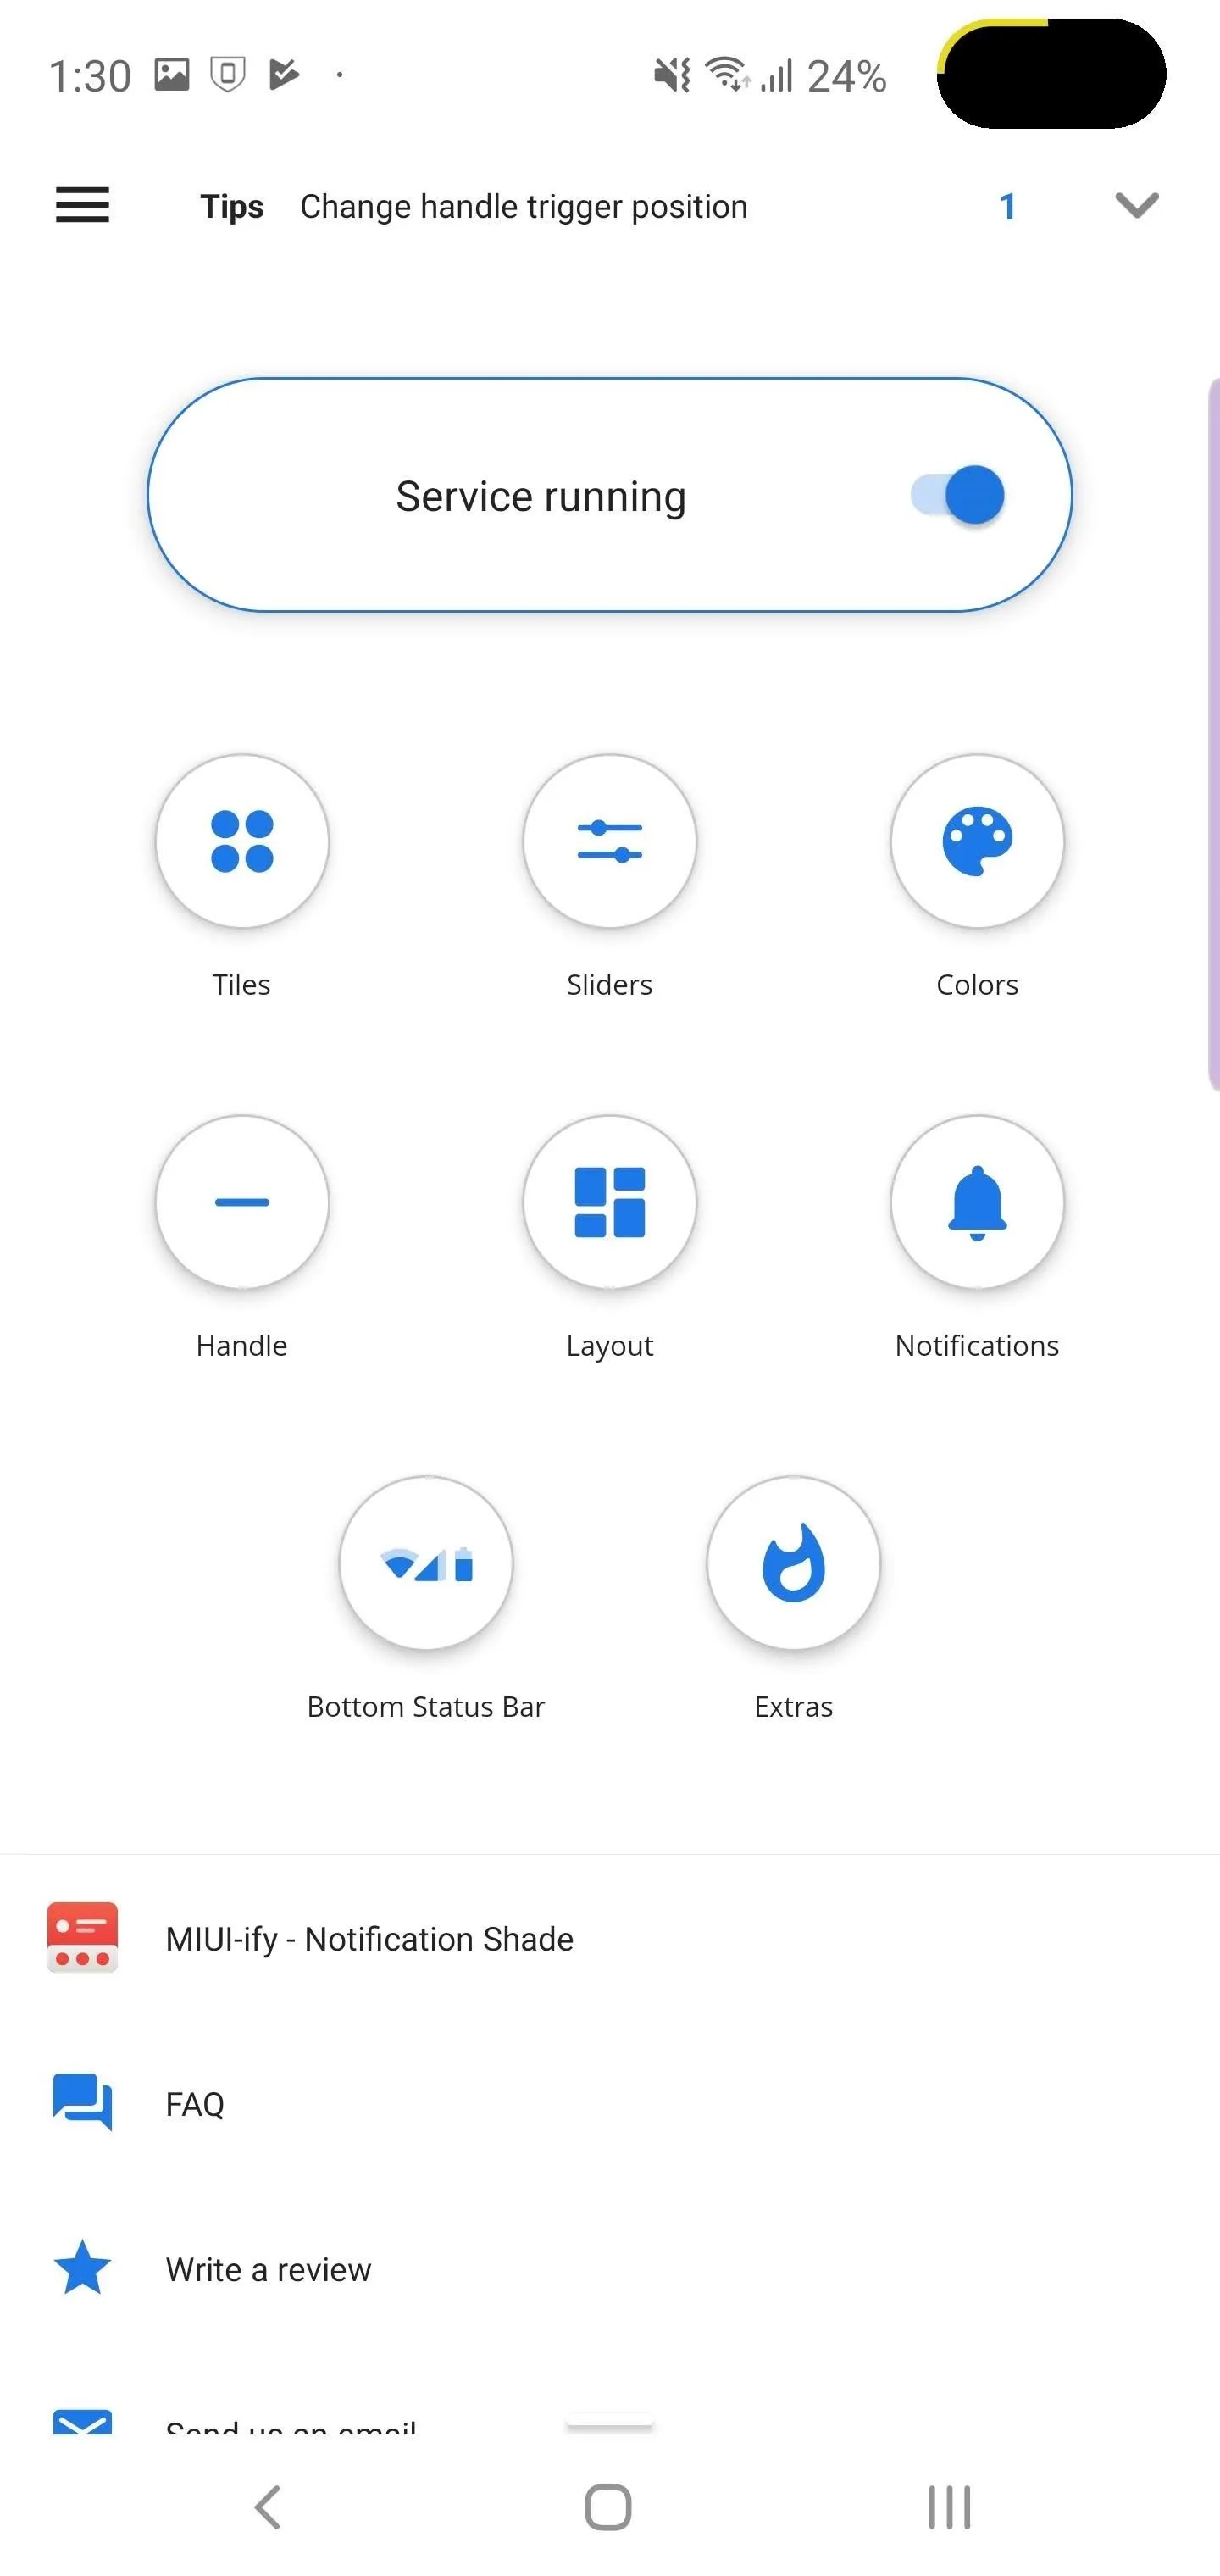
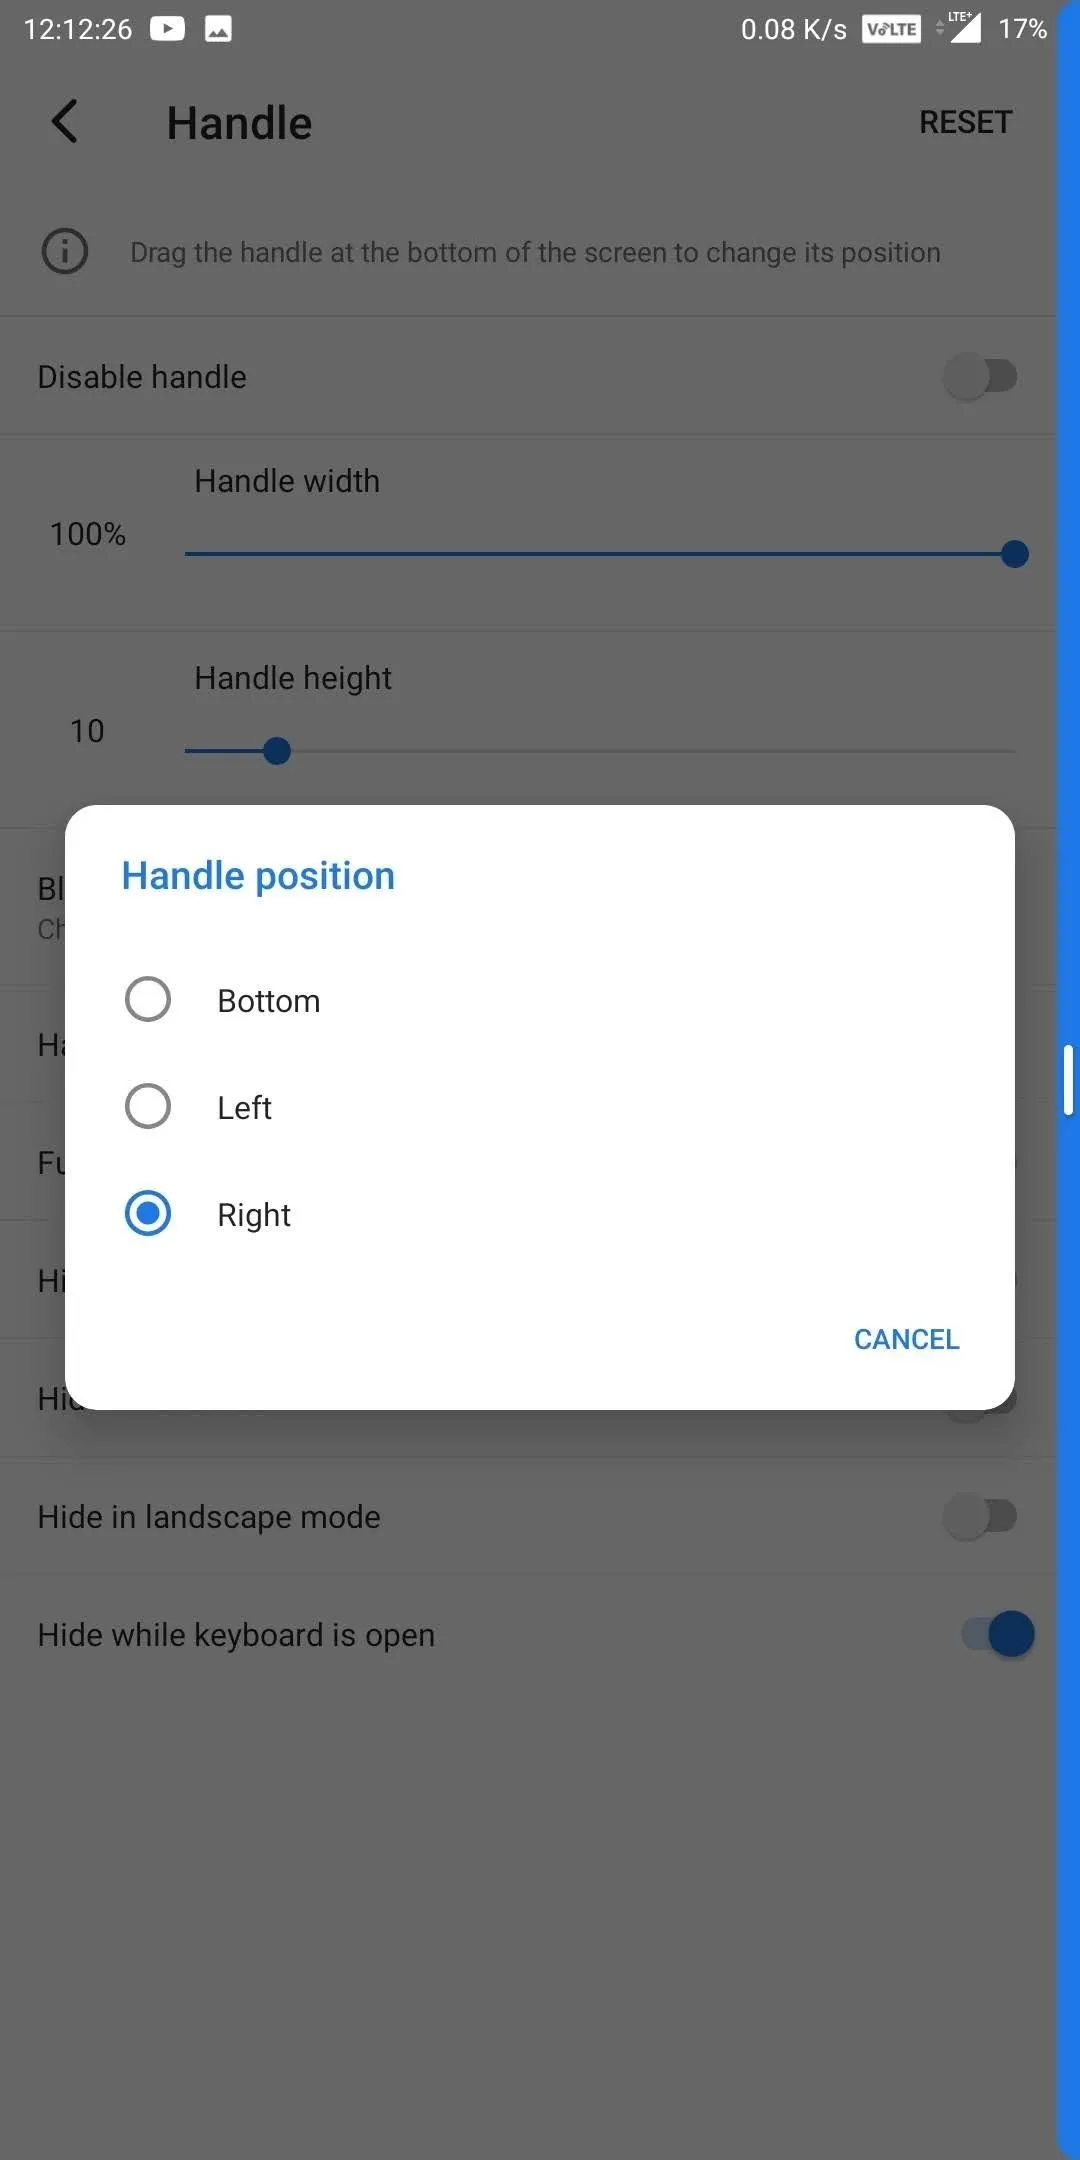
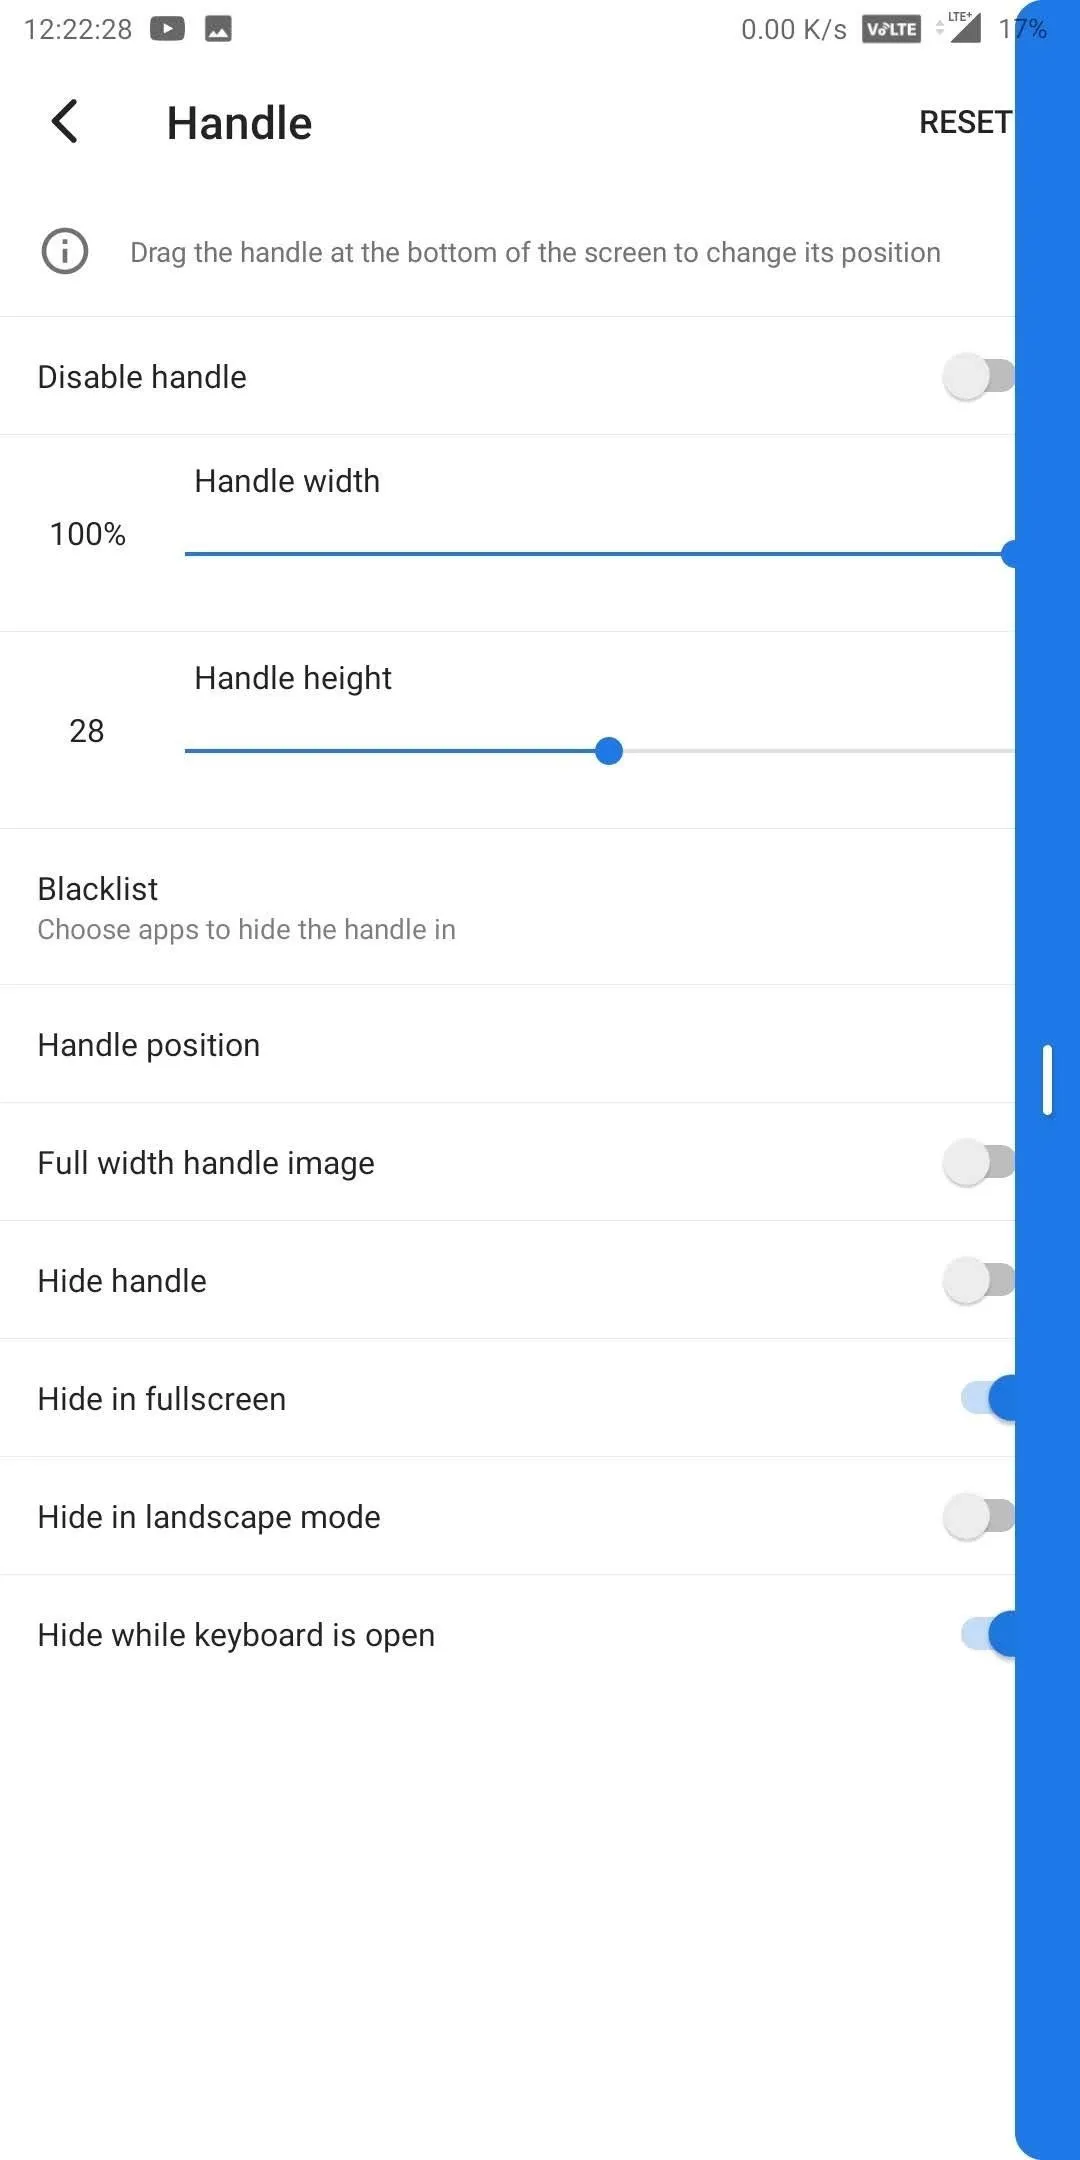
If you are using gesture controls, you can move the trigger area for your swipe-up gesture to the left or right edge by selecting "Handle" on the main page of the app, choosing "Handle position" and selecting either "Left" or "Right."
Now, instead of swiping up from anywhere along the bottom, you swipe up along the edge. Note that your swipe has to remain in the blue zone which appears while selecting the handle position. And if you need more space, you can use the "Handle height" to increase the size of the zone.
Enable Extra Features with ADB (Optional)
While the service works, there is one more step that is technically optional but goes a long way in improving its functionality. By default, some of the buttons will not toggle the sensors. Instead, they will direct you their page in Settings where you can then toggle them on and off. While this is doable, for this to replace Quick Setting, it needs one-touch toggling. There are several toggles with this limitation, so it is worthwhile to take this optional step.
To do this, you'll need to execute ADB commands. Setting up your computer to be able to send ADB commands to your phone does take some time. If you have already, skip to the next paragraph. However, if you haven't, check the link below for a guide on how to get ADB on whatever OS your computer is running.
With ADB set up and your phone connected via USB to your computer, you'll need to open a command window on your computer and change directories to the proper folder. If you're familiar with this, it goes like "cd C:\Downloads\android-sdk\platform-tools," for example. But if this is new to you, check out the following guide to get squared away.
Now, input the following command into the command prompt (Windows) or Terminal (MacOS and Linux) and hit enter:
adb -d shell pm grant com.tombayley.bottomquicksettings android.permission.WRITE_SECURE_SETTINGSMacOS and Linux users will probably need to place "./" at the beginning of each ADB command. So instead of writing "adb" at the beginning of your commands like Windows, you will instead write "./adb" The rest of the command is the same.
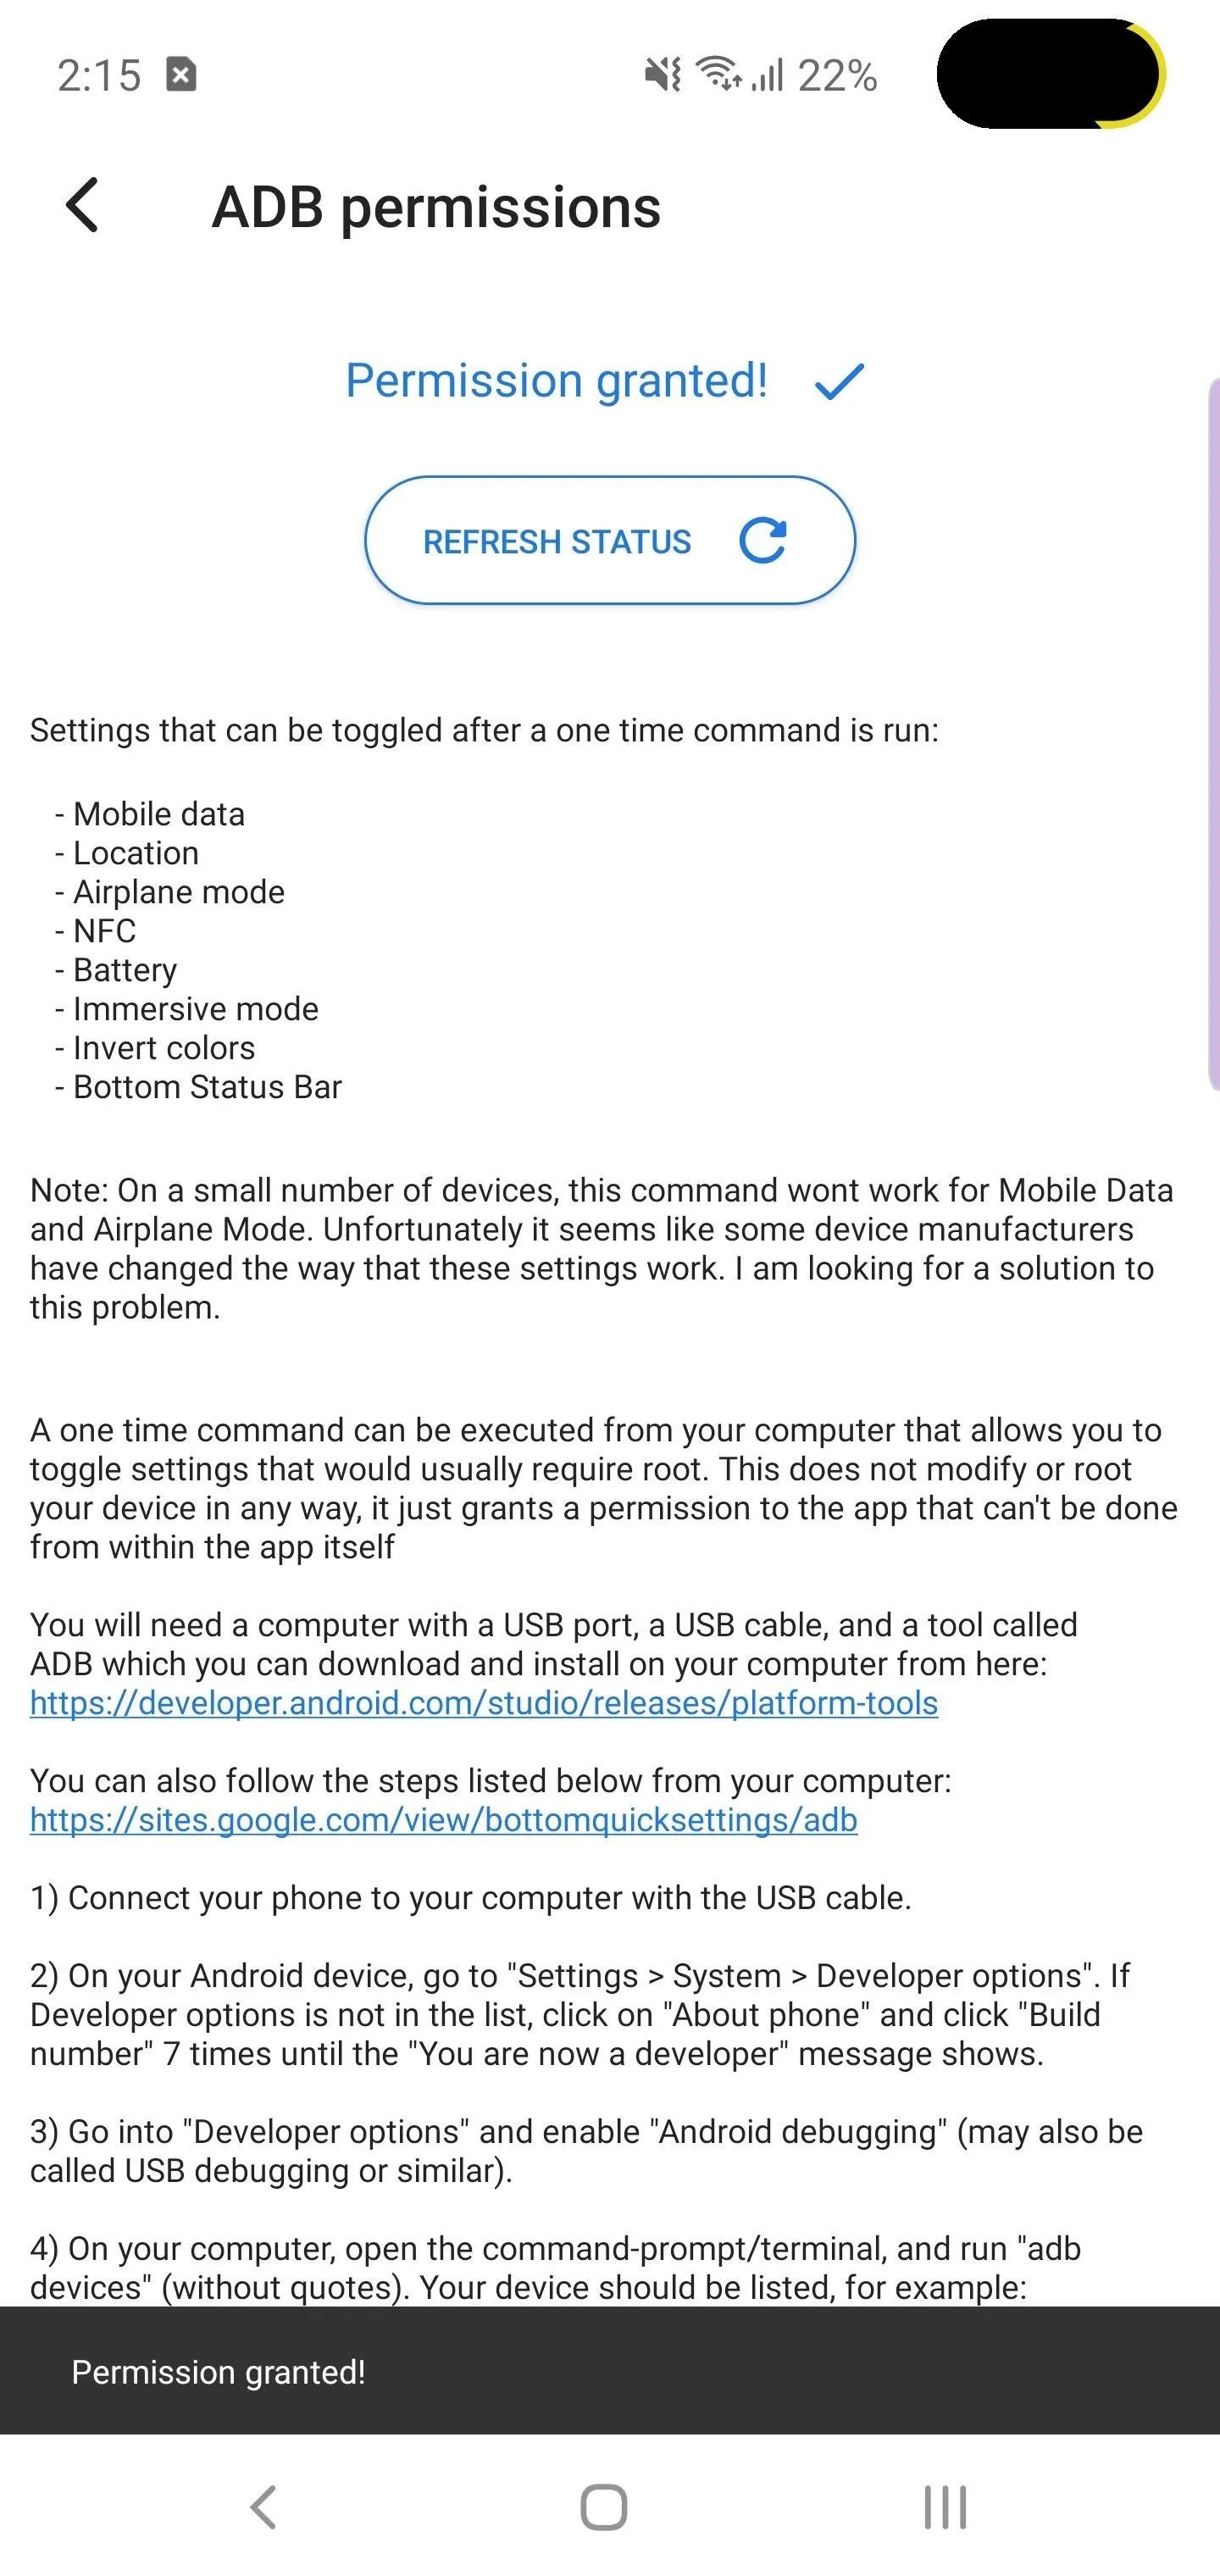
Once inputted, select the hamburger menu on the main page of the app and choose "ADB permissions." Select "Refresh Status," and when done correctly, this button will now change to text stating "Permission granted!" with a check mark.
Now, you can toggle mobile data, location, airplane mode, NFC, battery, and much more all from the Quick Setting menu.
Be aware that what I've described here is only the icing on the cake. Bottom Quick Settings has much more to offer if you pay $2.49 for the premium version. With the paid version, you can customize the colors, add and remove tiles, and backup and restore your arrangement. You will even be able to access your notifications, eliminating any need of using the top bar. And with a few ADB commands, you can hide the notification shade for a cleaner look.
Cover image by Jon Knight/Gadget Hacks


Comments
Be the first, drop a comment!