


When anyone brings up Tasker, the first topic that always gets discussed is how powerful the Android automation app can be. But all of that power can be overwhelming for some people, so even if you're a Tasker pro, it's hard to share your awesome creations with friends that don't quite understand what's going on.
- Don't Miss: 5 Easy Tasker Profiles to Help Beginners Get Started
- Don't Miss: 7 Must-Have Paid Apps for Android
An awesome Tasker plugin from the same developers as the main app can help with this issue, as it allows you to convert any task or scene into a standalone Android app that can be installed on any device. To put it simply, this means that you can now create and share your own Android apps in a few simple steps, and I'll show you how to do it below.
Install Tasker & App Factory
Since Tasker App Factory operates as a plugin, you'll need to have the main app, Tasker, installed on your device to use it. Tasker is a paid app that normally costs $2.99, but if you'd rather test the waters before you buy it, you can sideload the 7-day trial version from this link. Otherwise, use the link below to install or update Tasker from the Google Play Store.
Then, with Tasker installed, you'll also need to download Tasker App Factory to export your tasks and scenes as full-fledged apps. You'll notice once you've installed the app that there is no "Open" button—this is because App Factory operates solely as a plugin for Tasker, meaning all of the work will still be done through the main Tasker app.
Create a Task as a Base for Your App
With both apps installed, creating your own Android app is as simple as making a Tasker task, then exporting it as an app. Essentially, every action your task performs will be performed by the app once you've exported it and installed it on any phone, so the possibilities here are virtually endless.
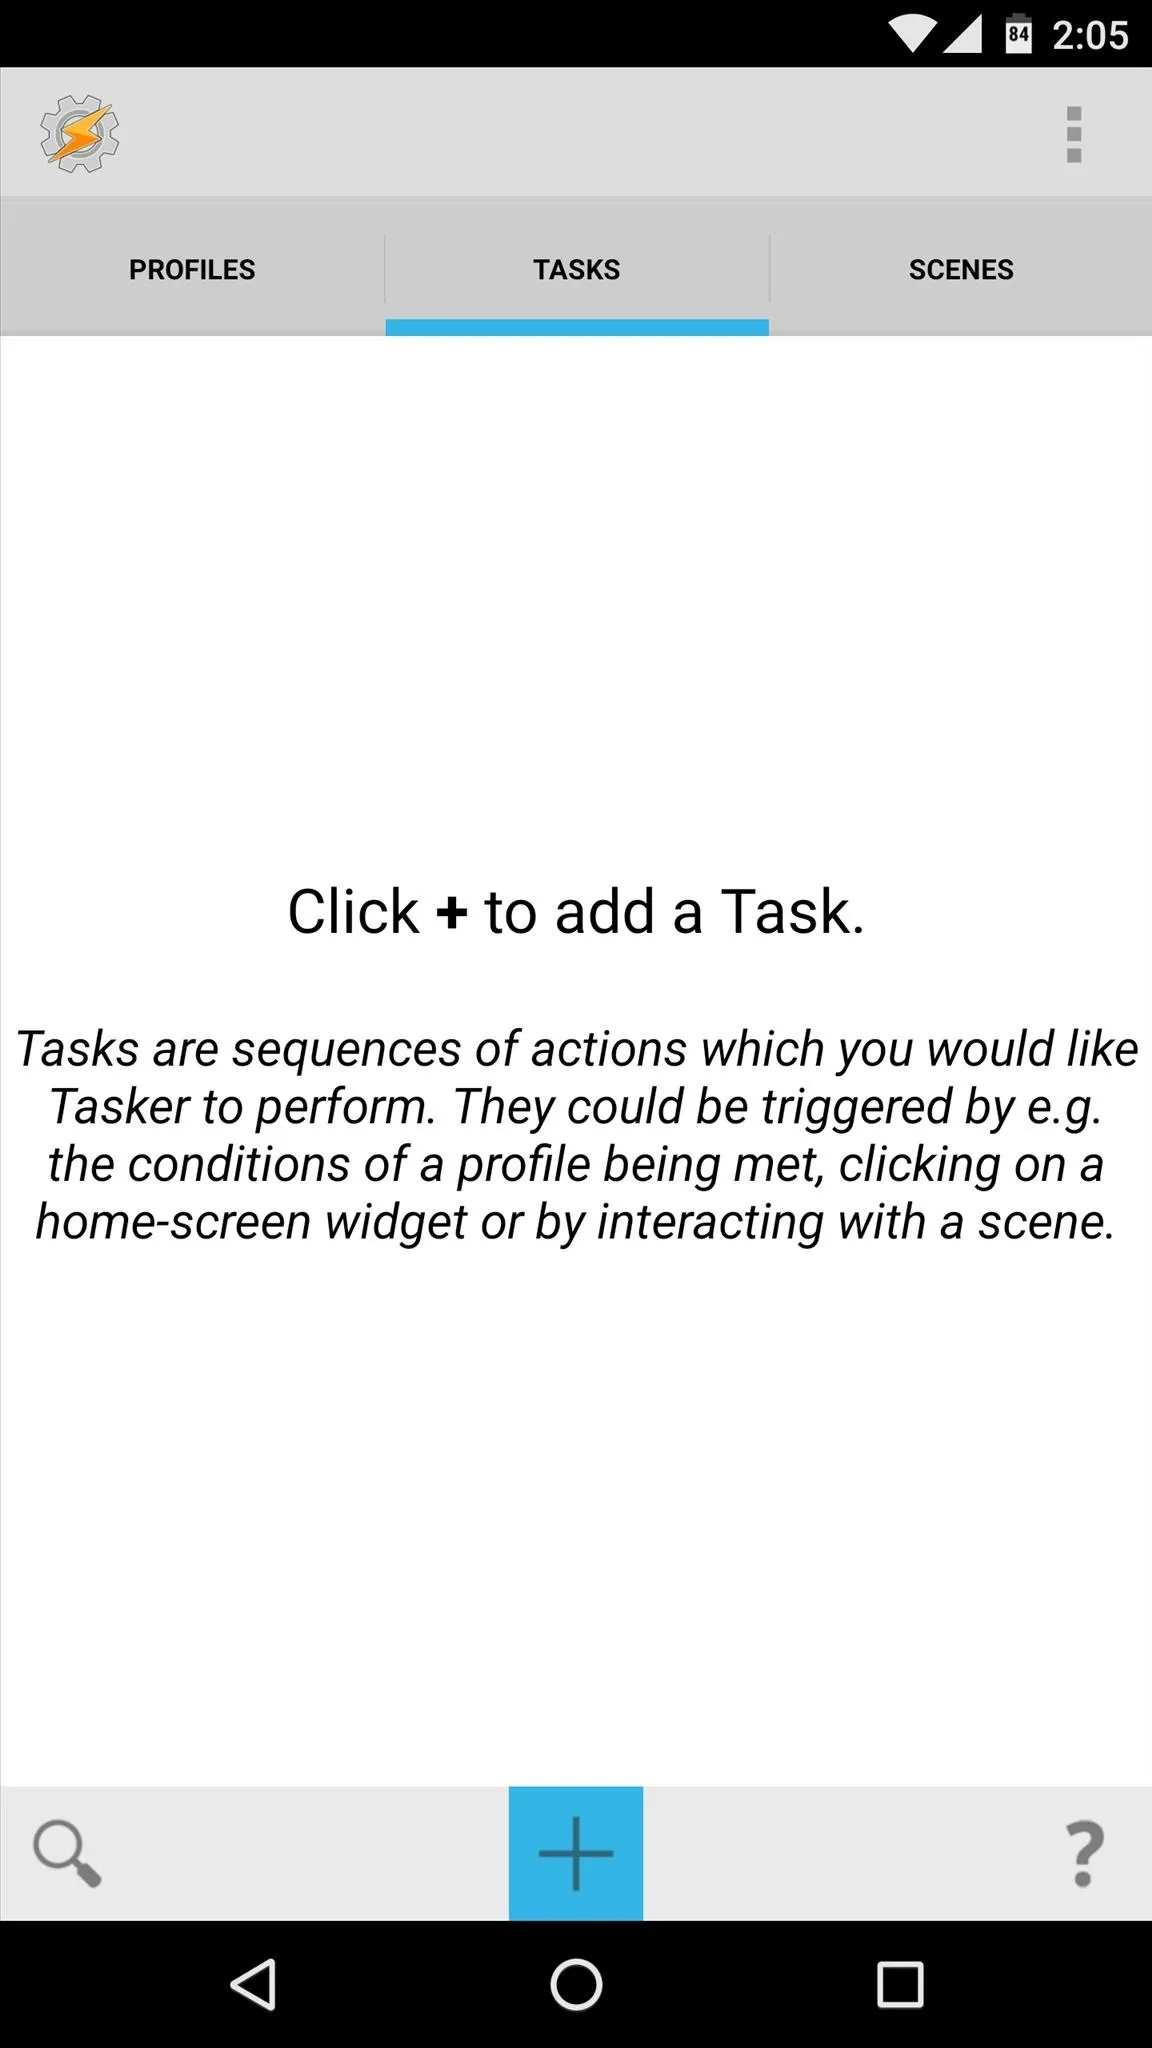
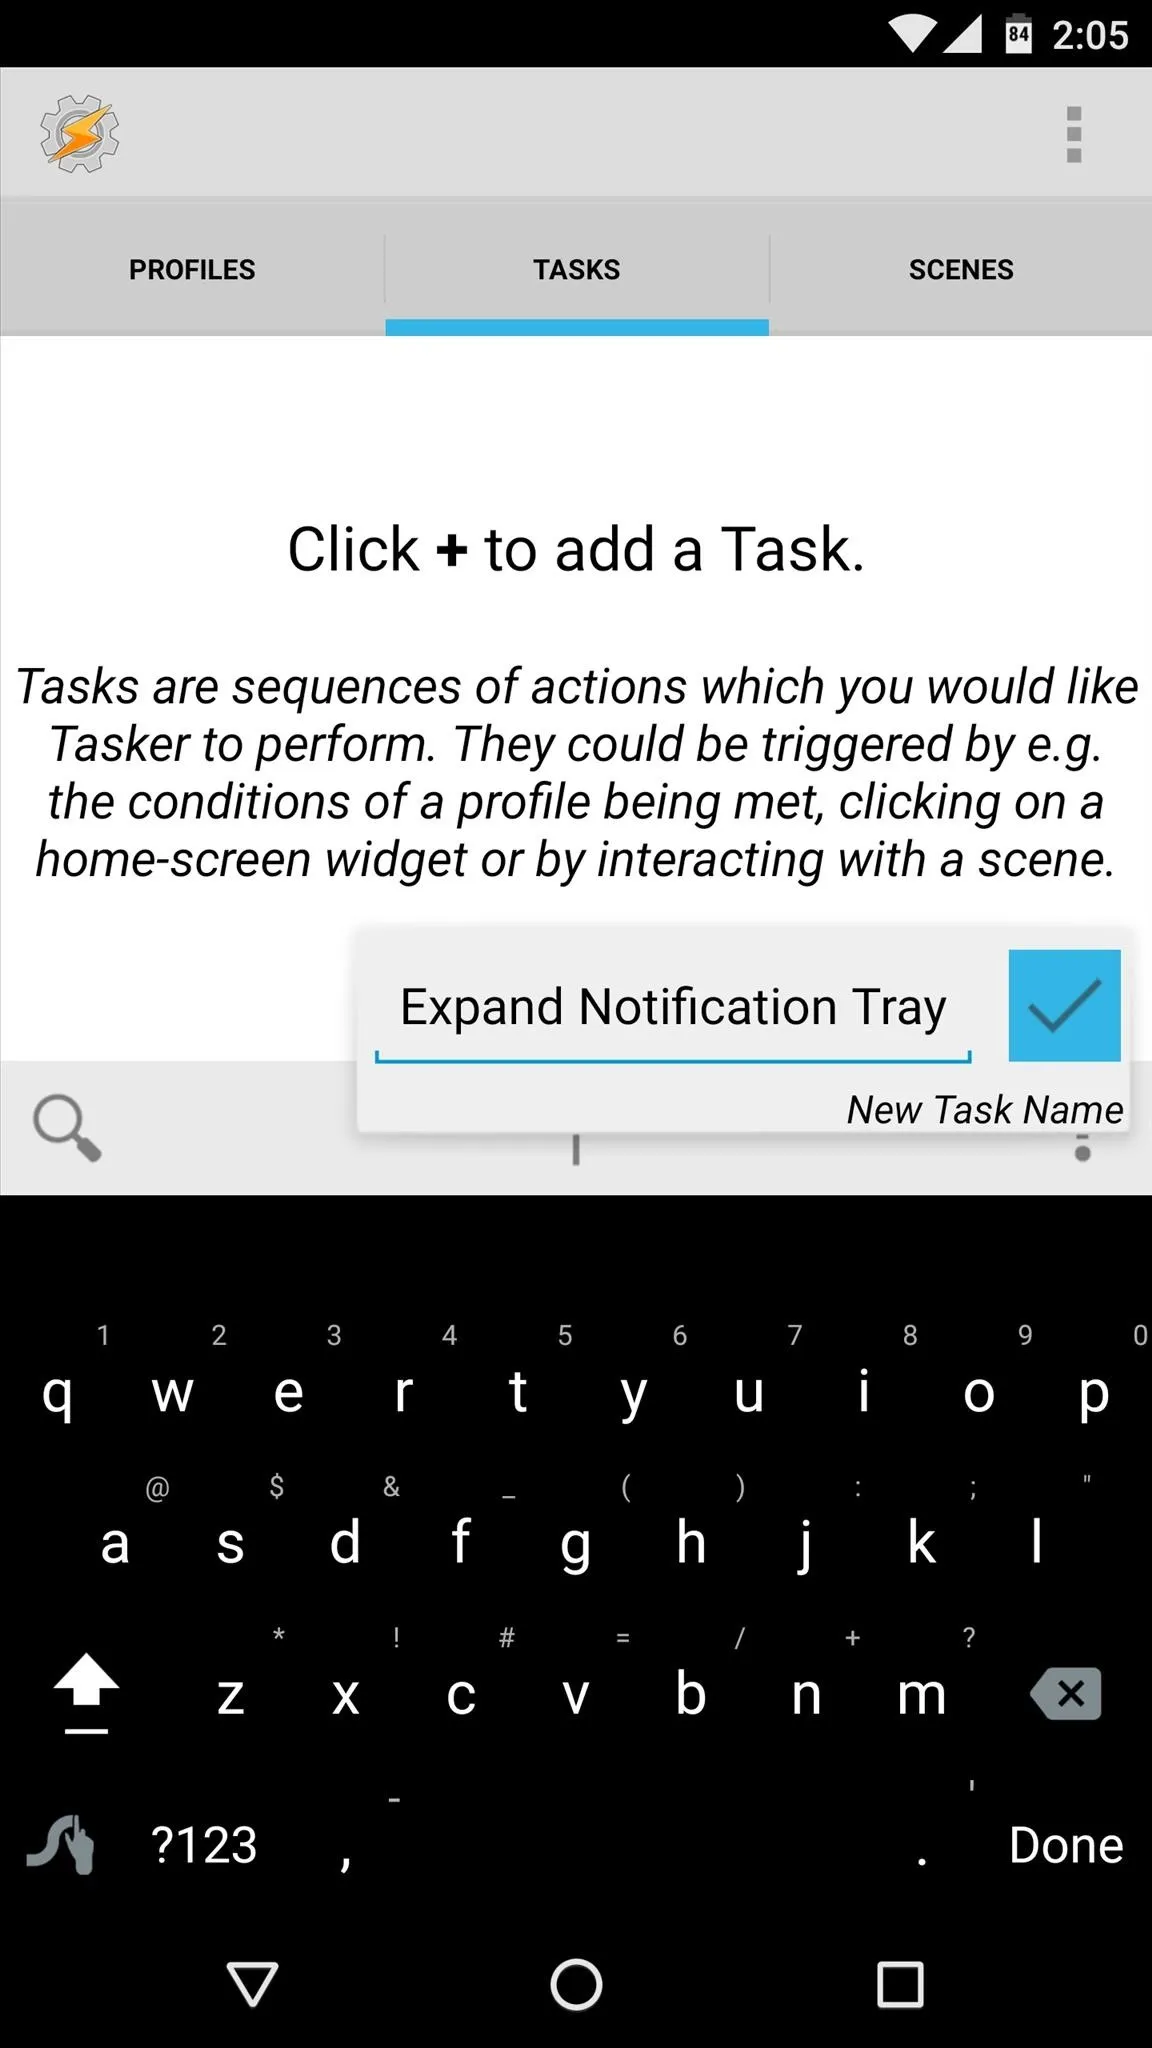
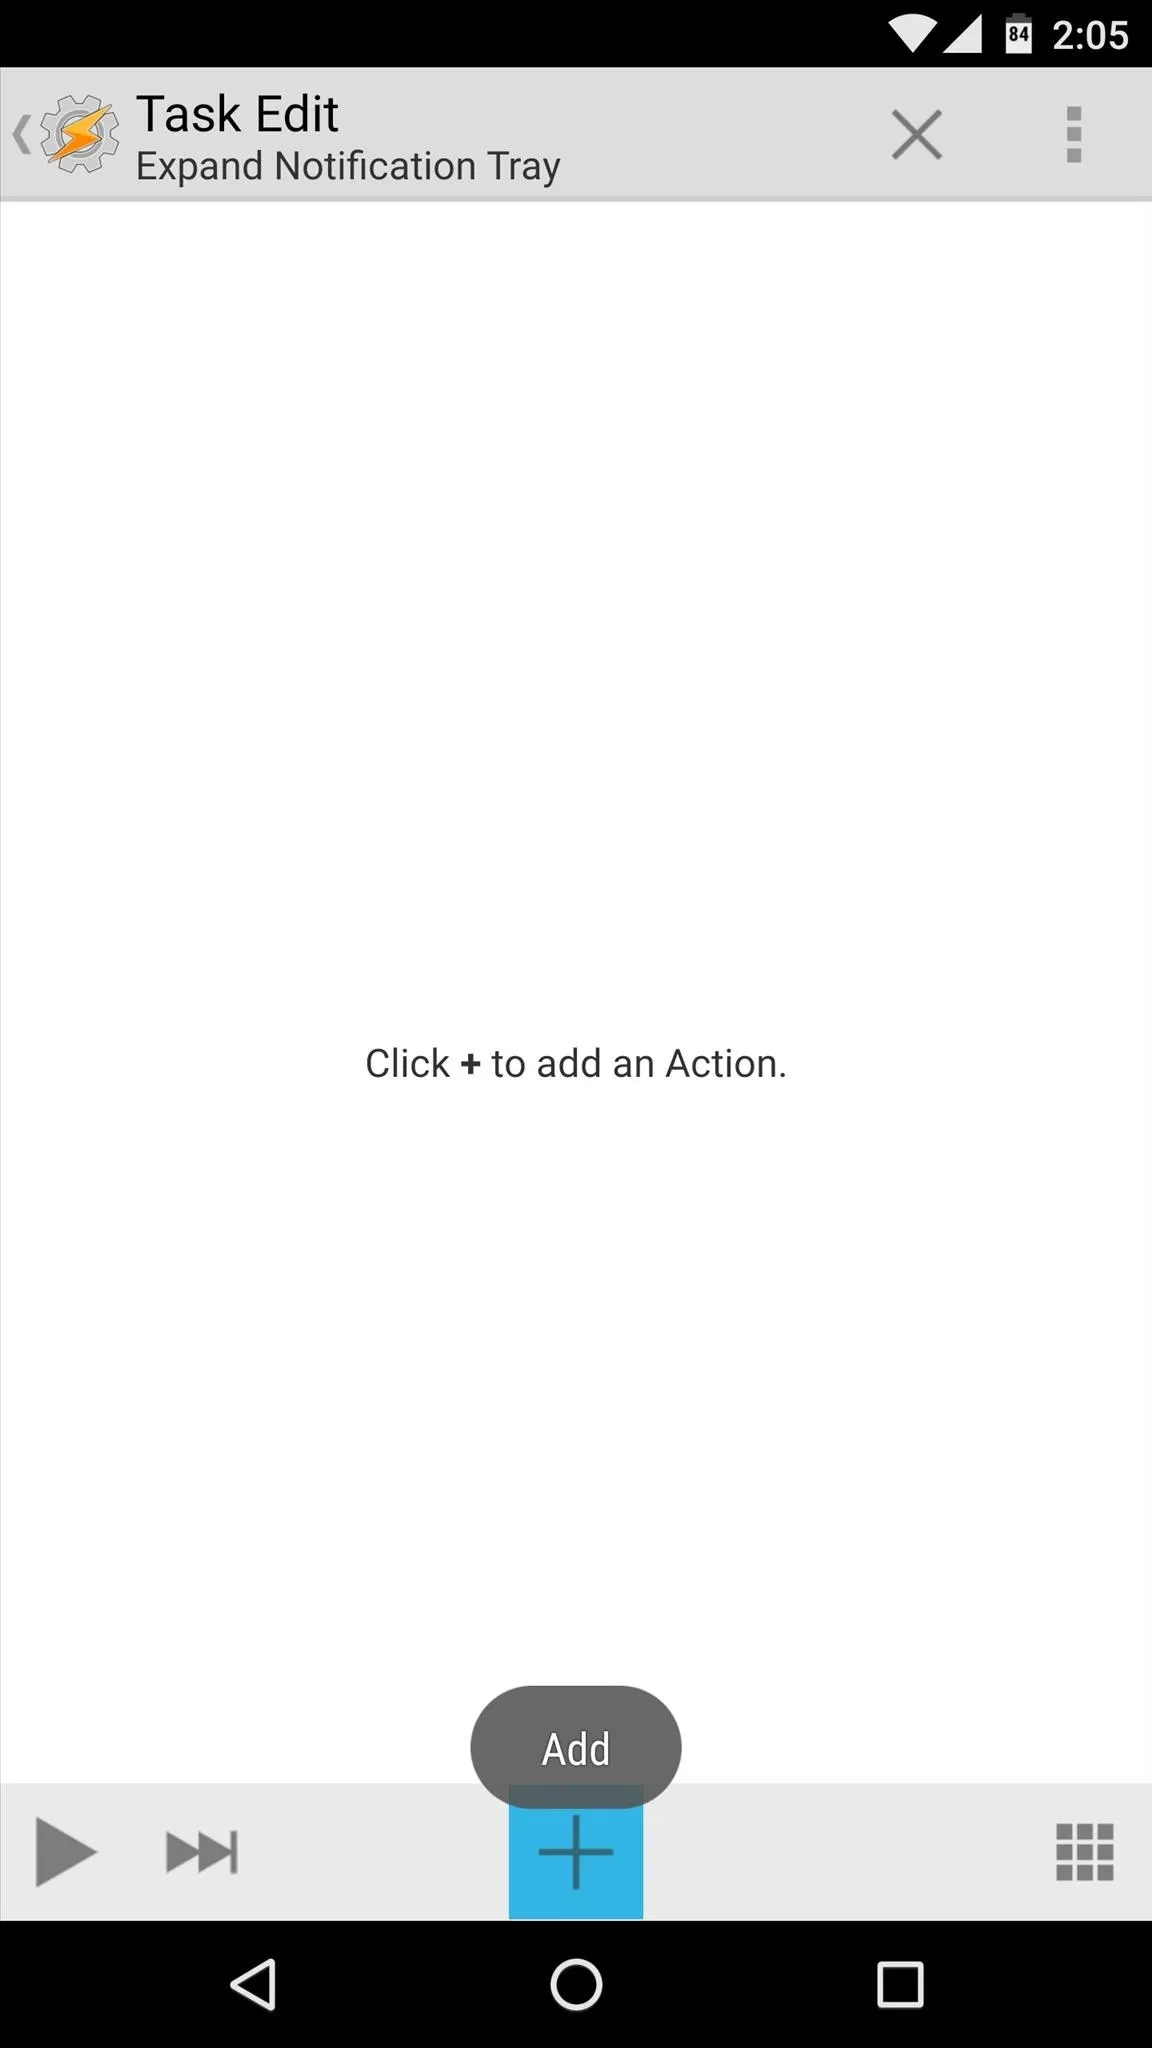
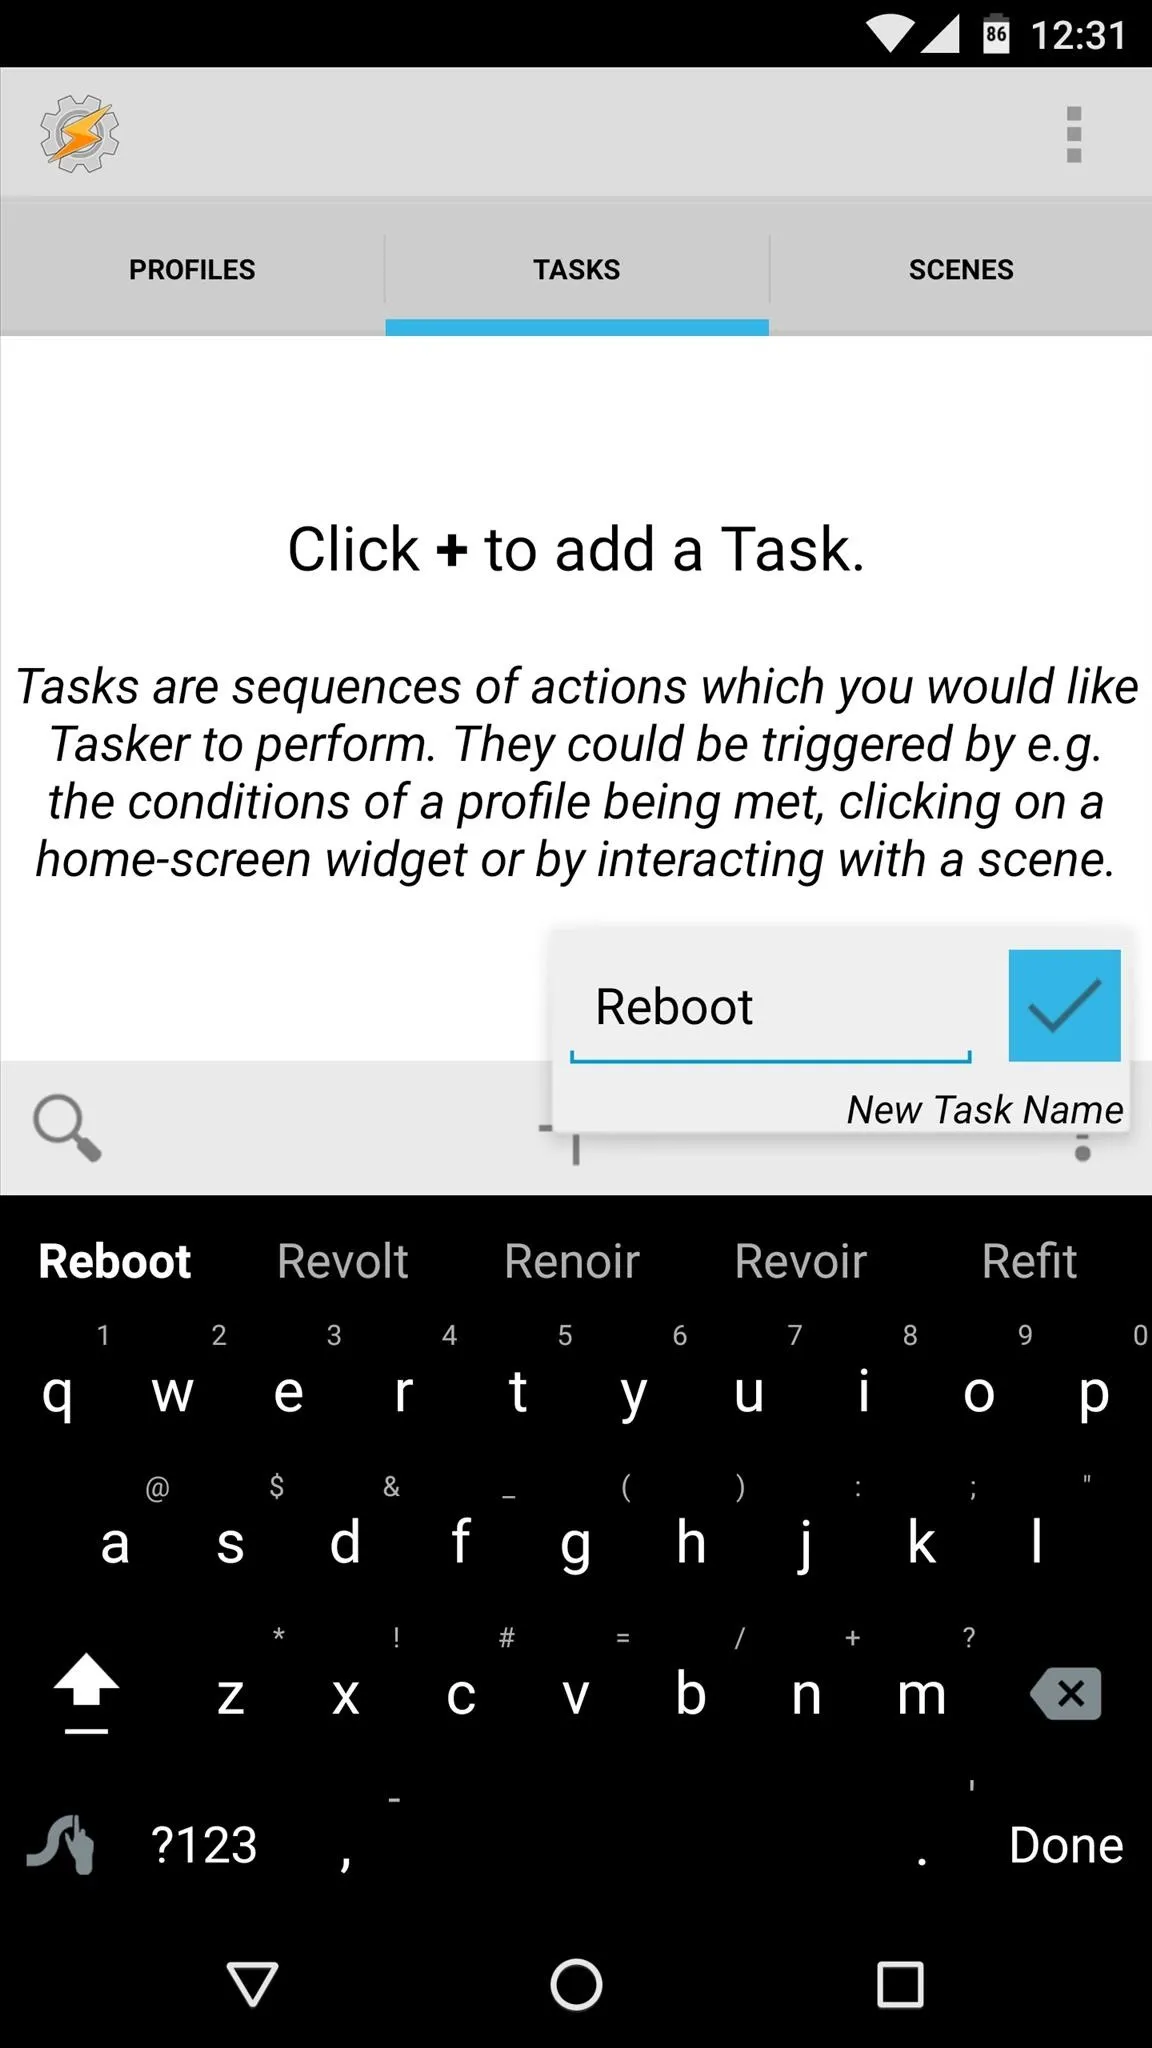
To begin, head to the Tasks tab in Tasker's main interface, then tap the + button at the bottom of the screen. From here, give your task a name, and make sure it's a good one since this will also be the name of your app.
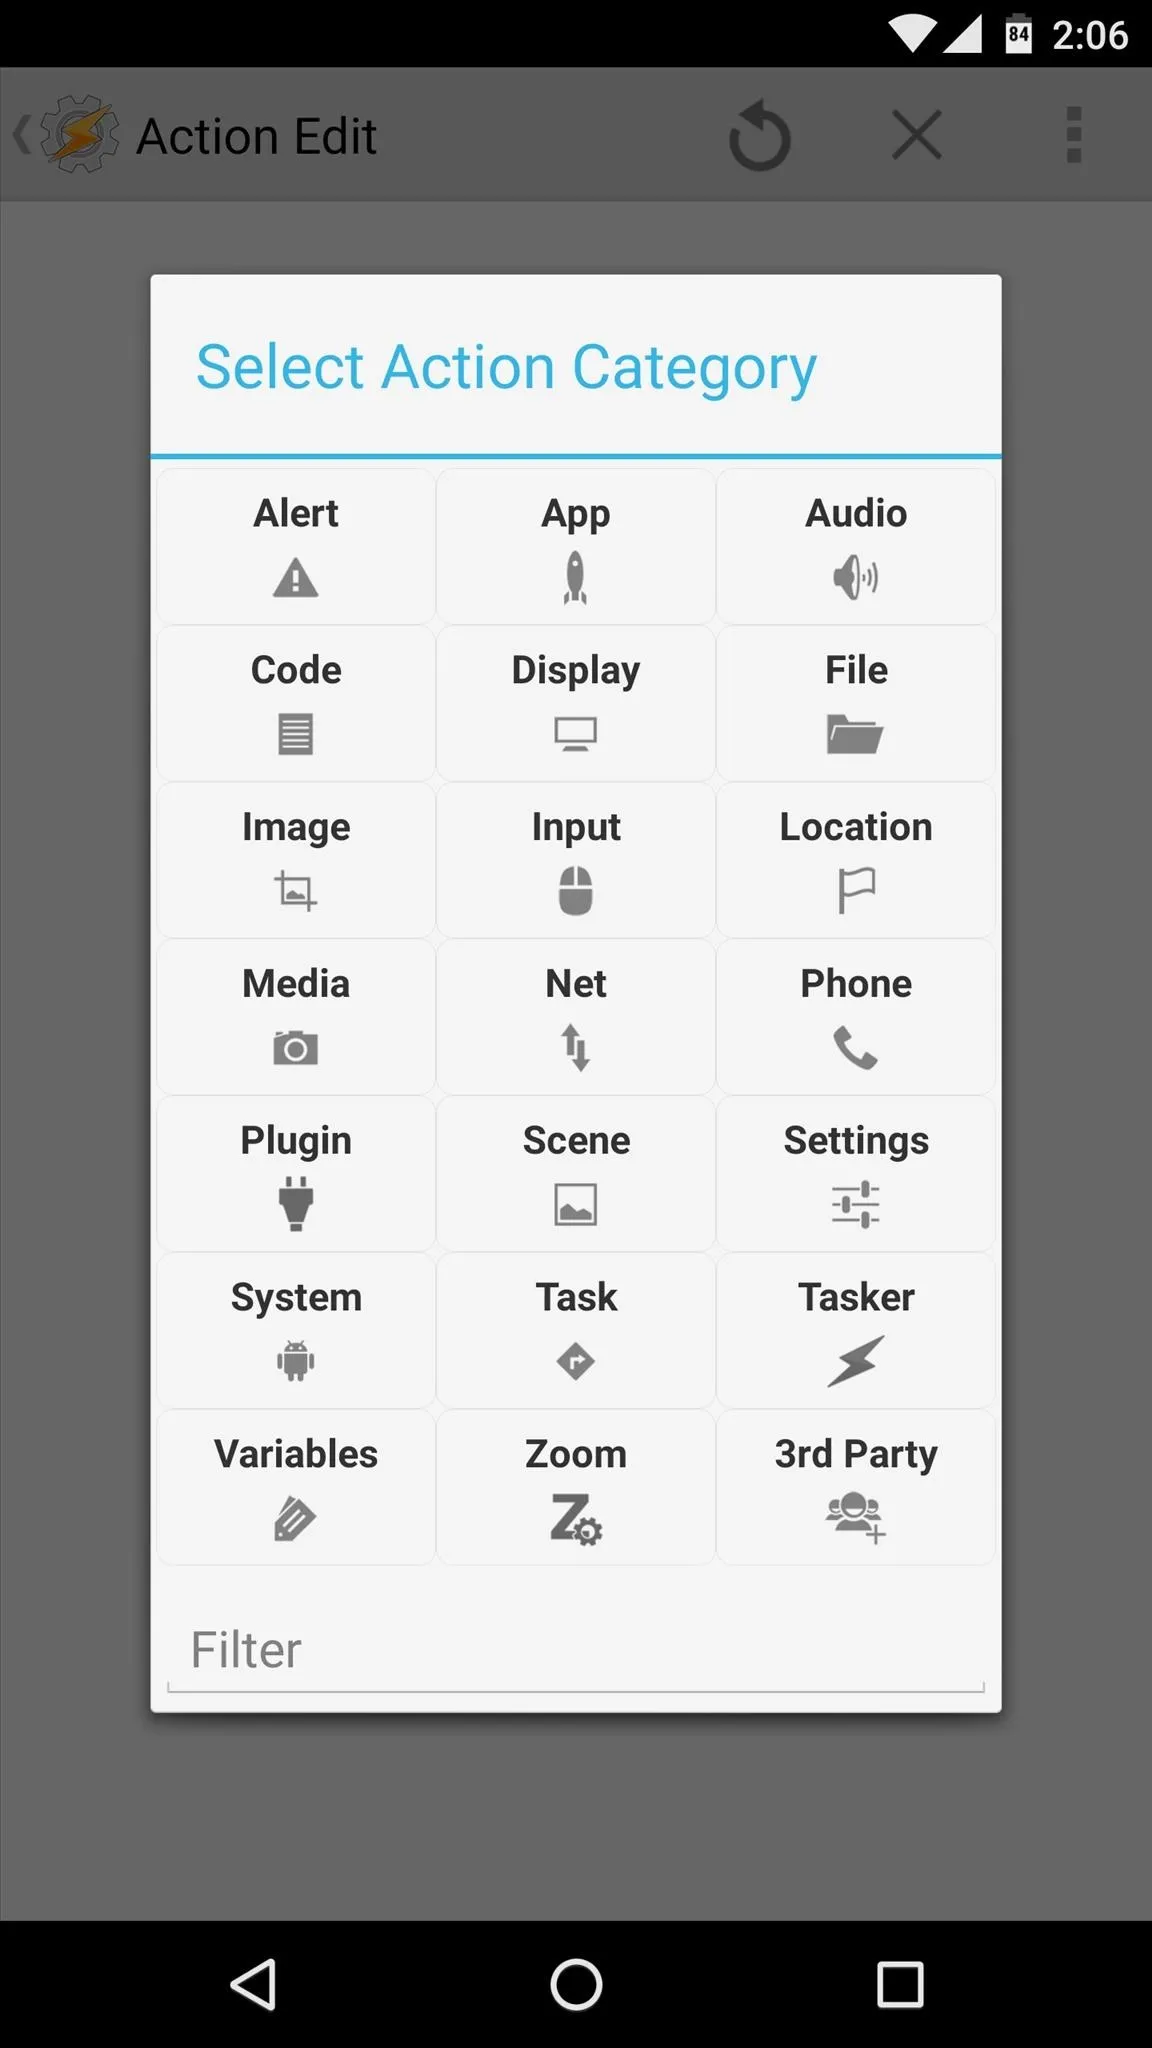
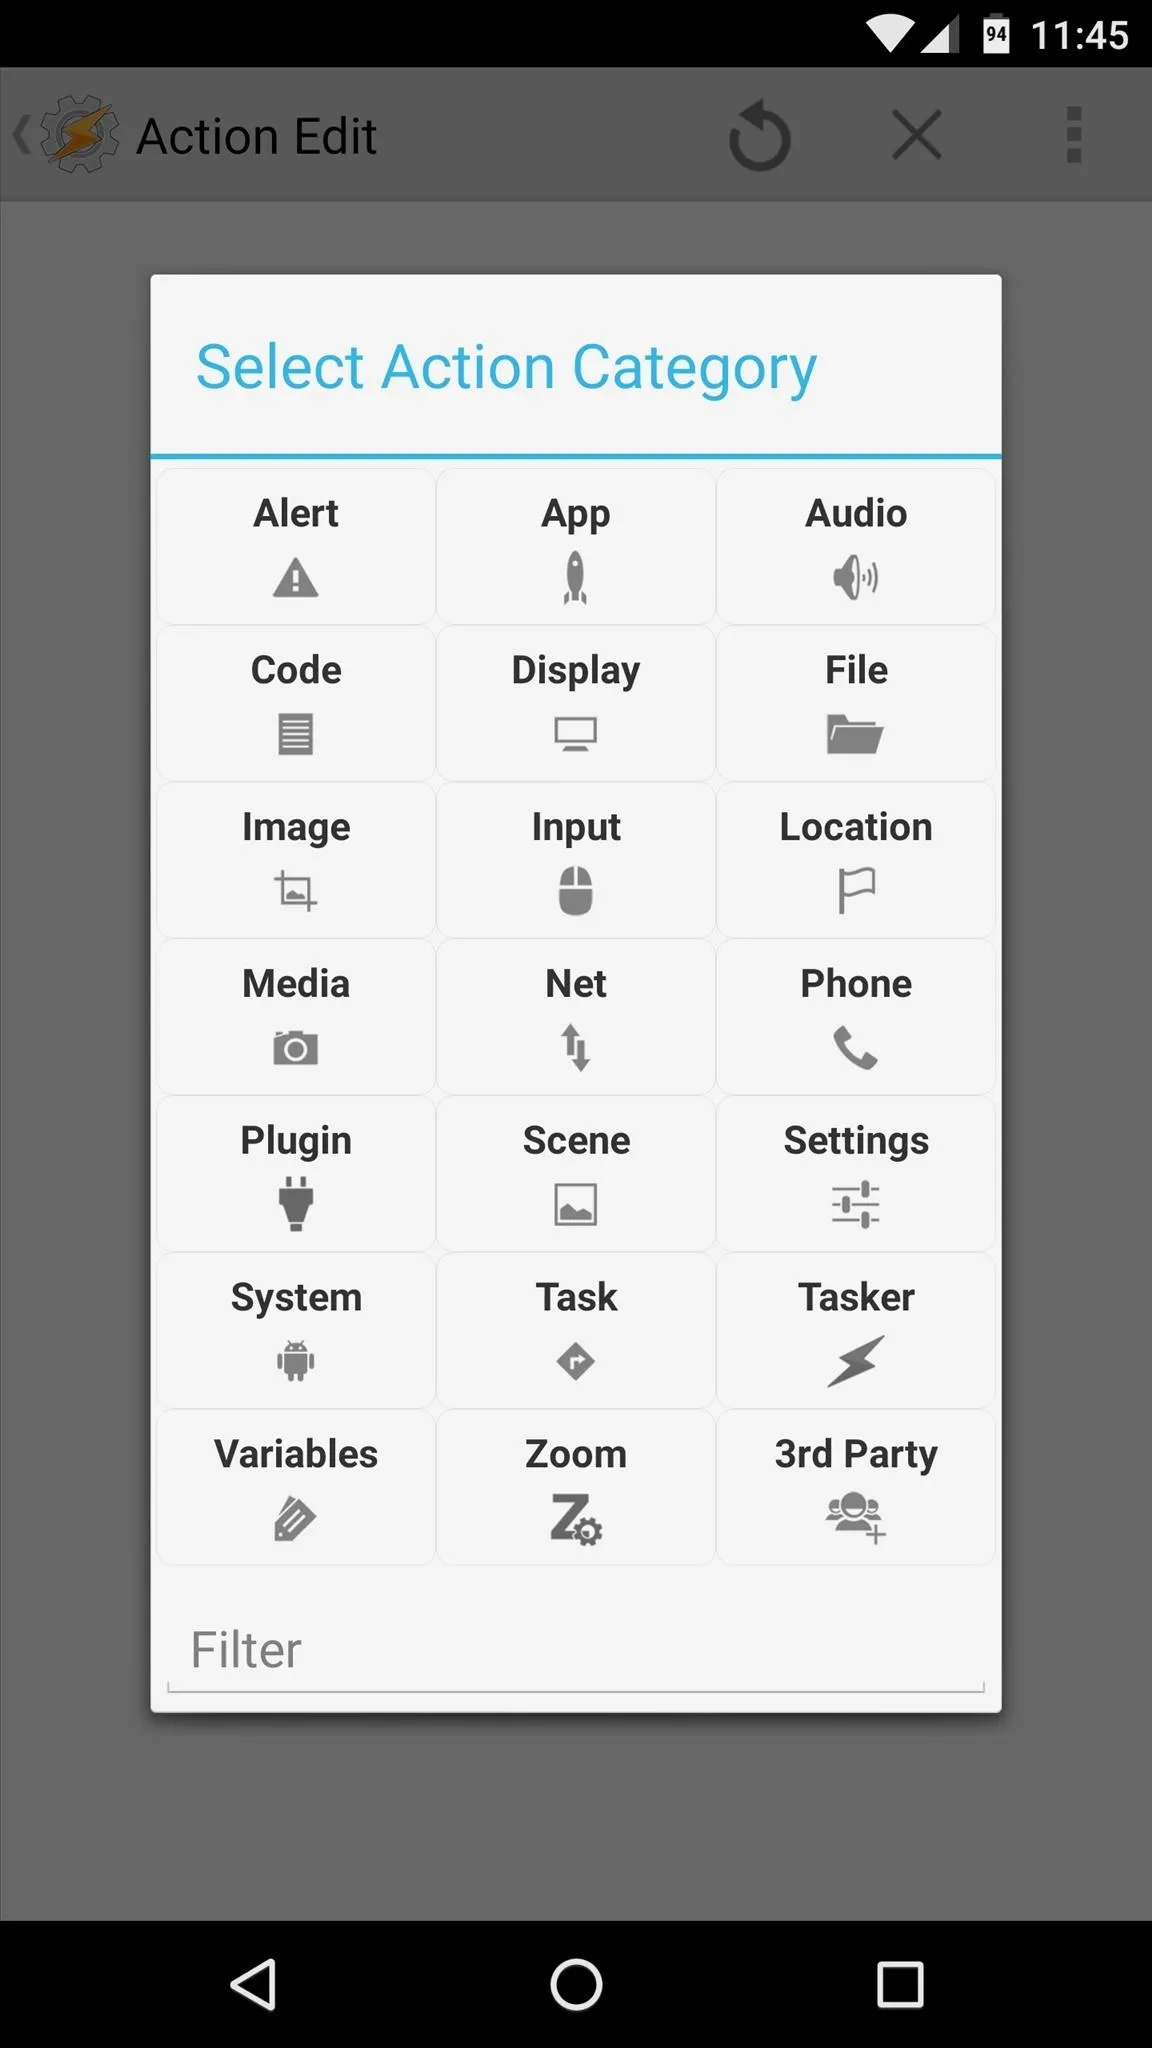
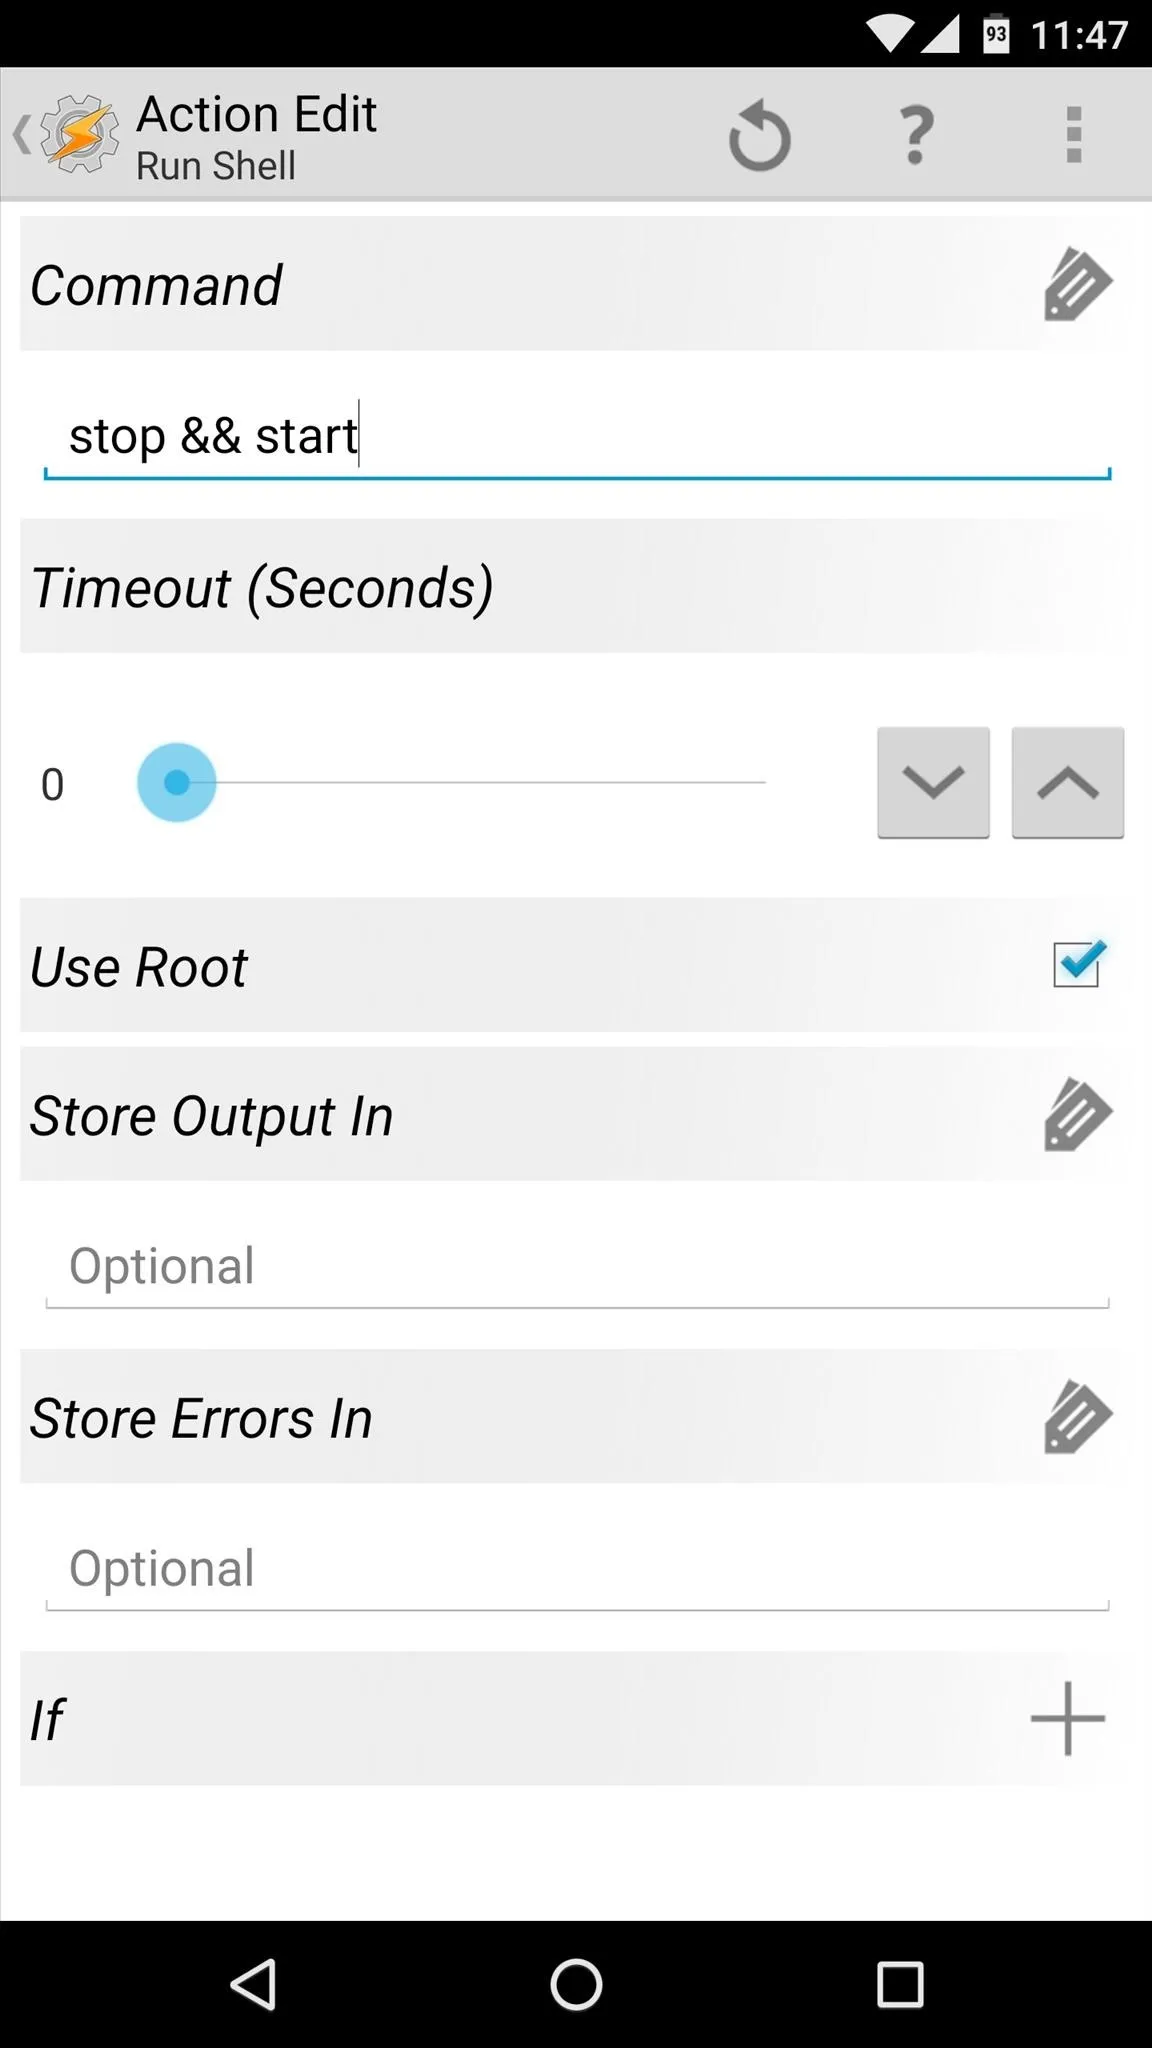
Next, tap the + button at the bottom of the Task Edit menu to add an action or set of actions to your task. One thing to note while you're doing this is that any dependencies your task might have will also be a dependency for your app. As an example, if actions in your task require root, your app will also require root.
Also note that, for similar reasons, your task cannot rely on an external Tasker plugin such as Secure Settings, since the app you end up creating from it will not necessarily be able to call on these external plugins on all systems.
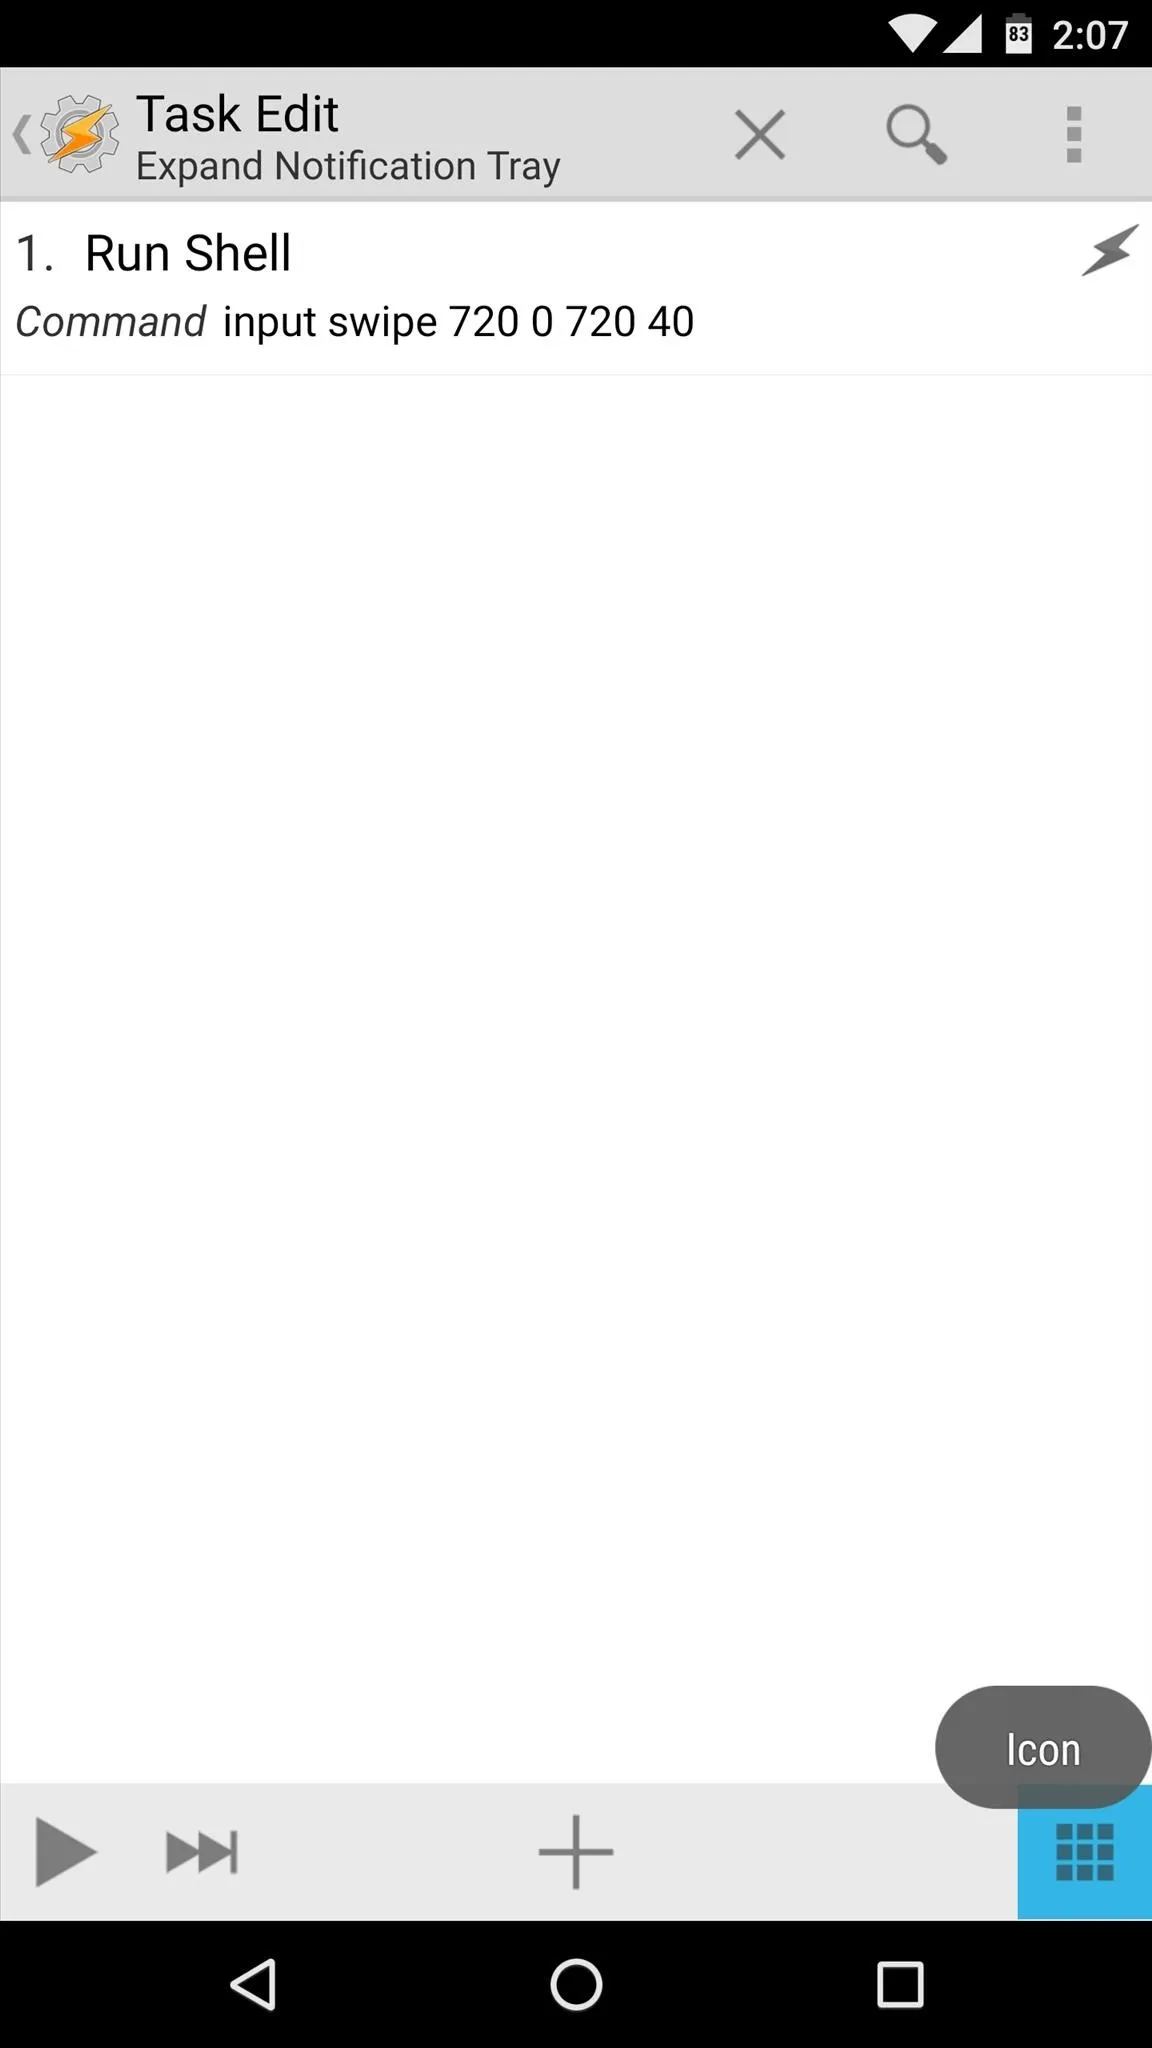
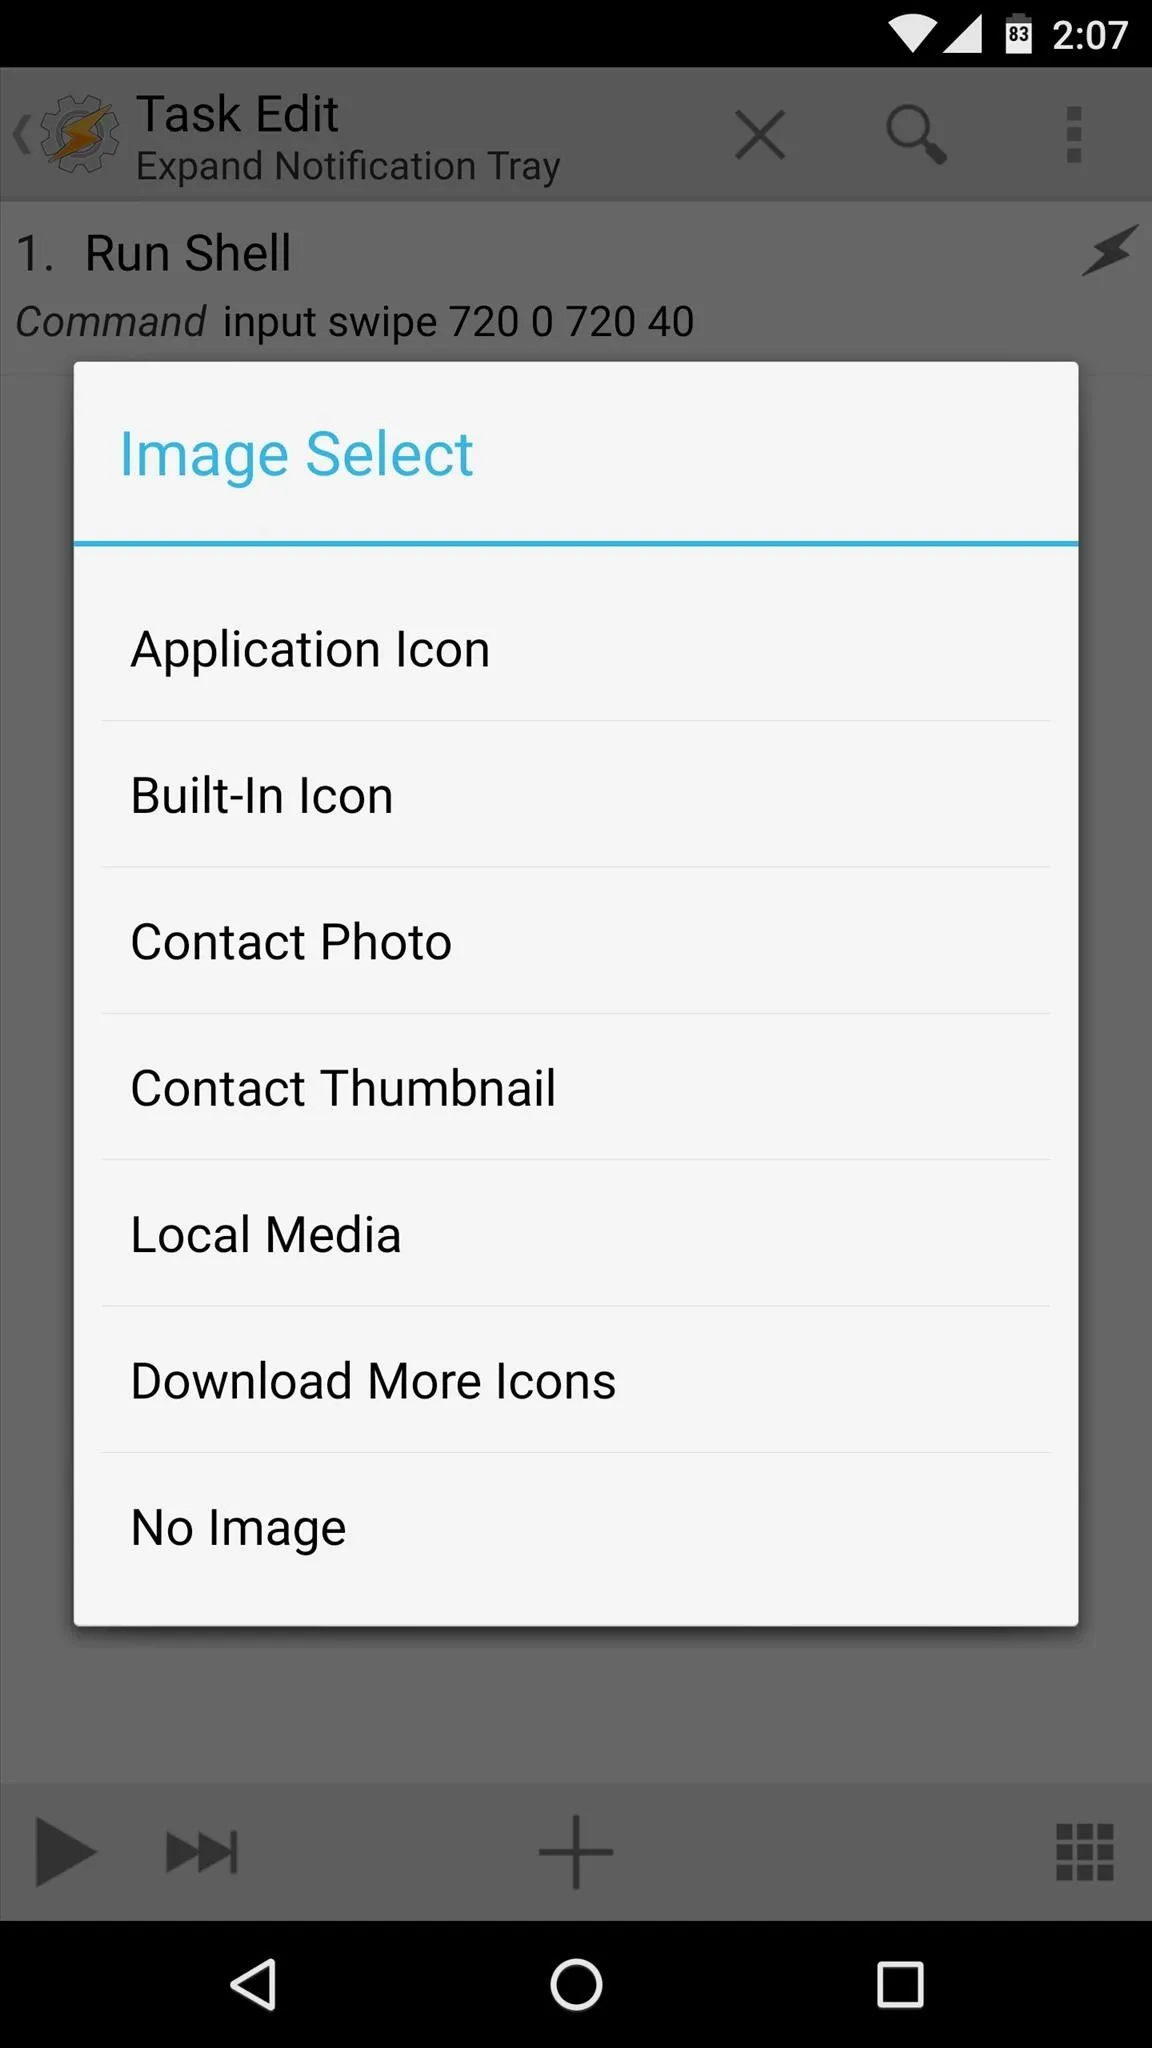
When you're done adding actions to your task, head back out to the Task Edit screen and tap the button in the bottom-right corner to add an icon. From here, use the following menu to either pull your icon from an existing app or add an icon from your local storage. In the end, this will be your app's launcher icon, so make sure to pick out a good one.
Add a Scene to Your Task (Optional)
Exporting a task as an app will result in an app that simply runs your task and exits—meaning there won't be a user interface. This should be fine in most cases, but if you'd like to create an actual UI for your app, you'll have to make a Tasker scene, then add it to your task.
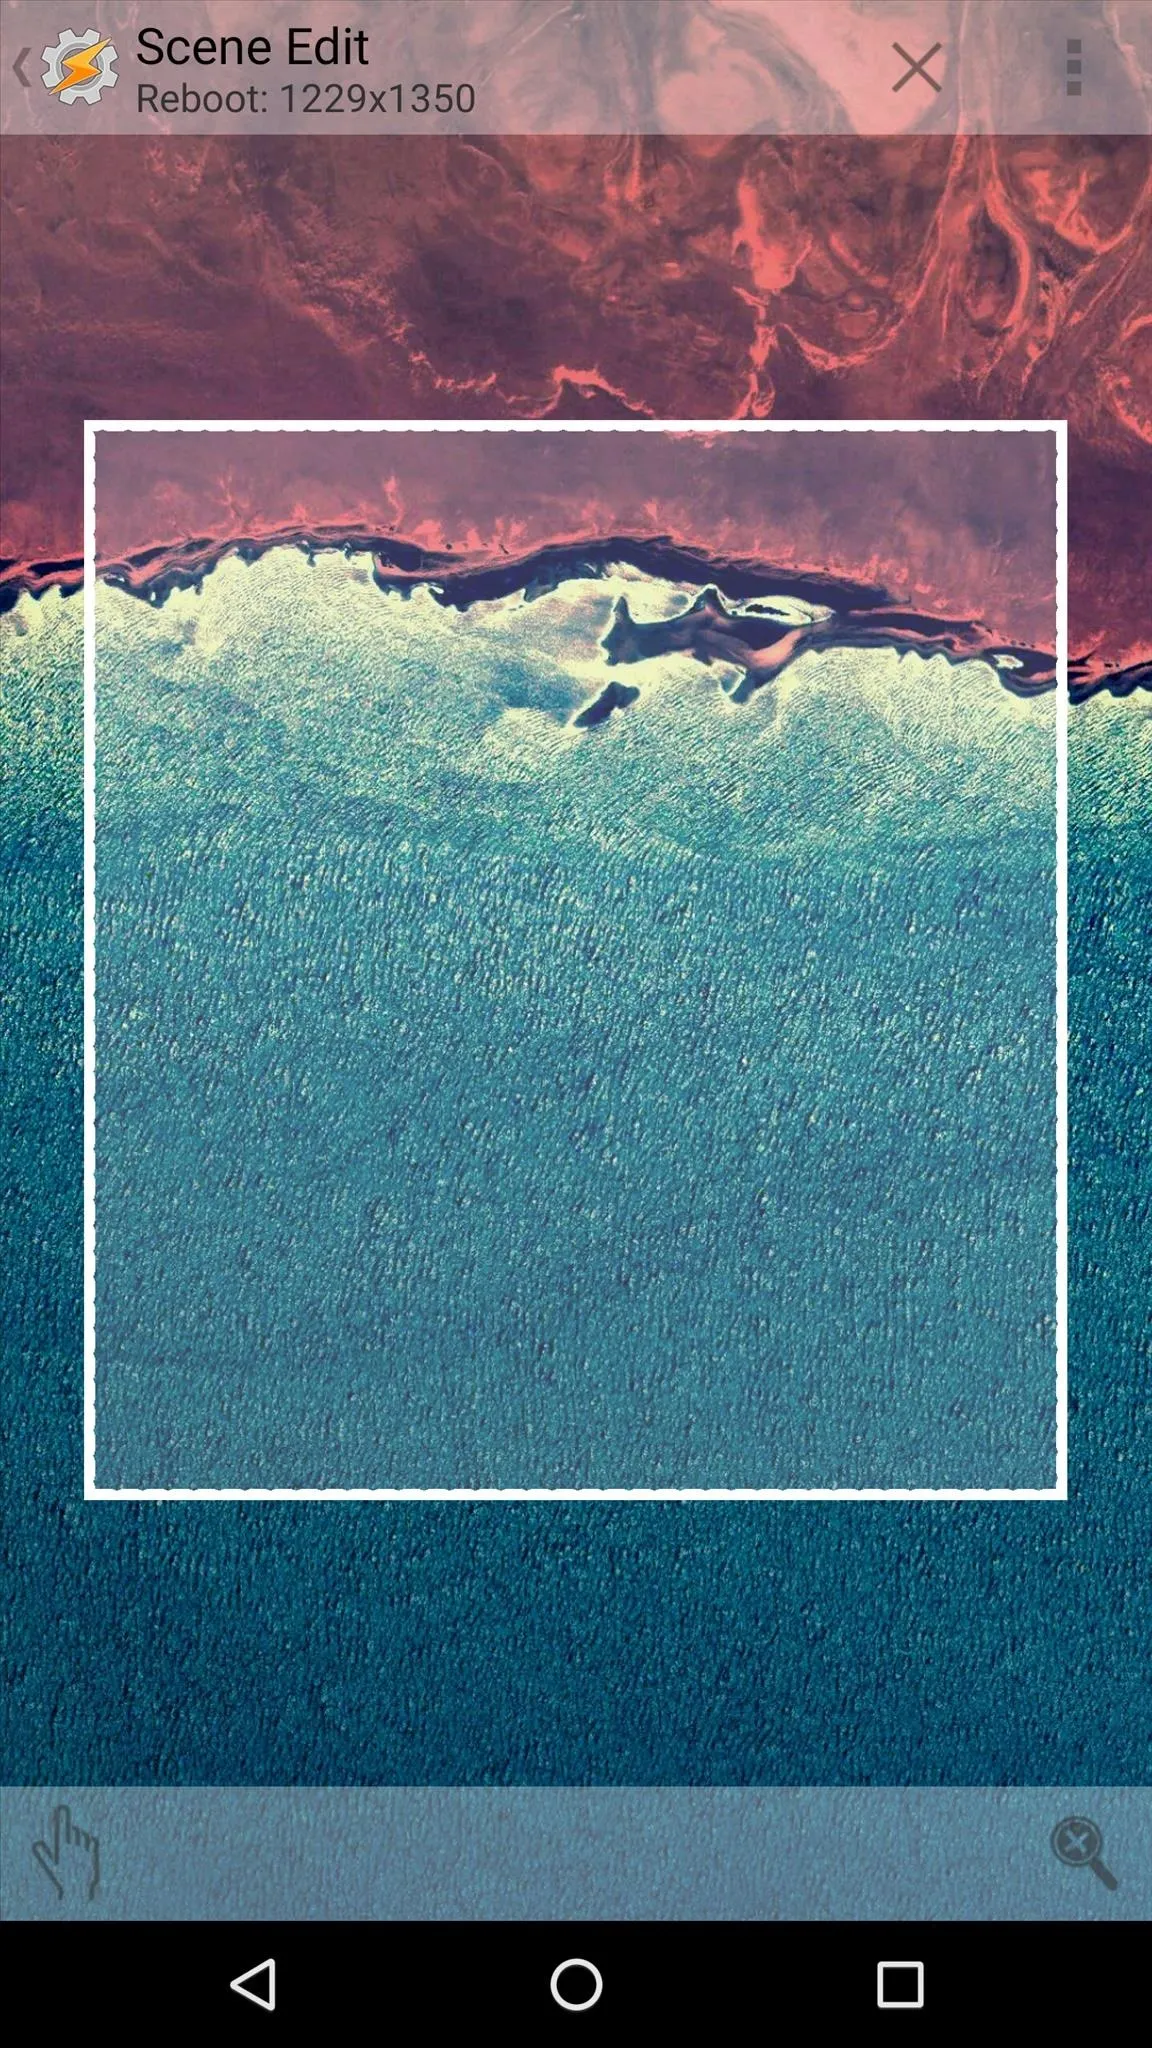
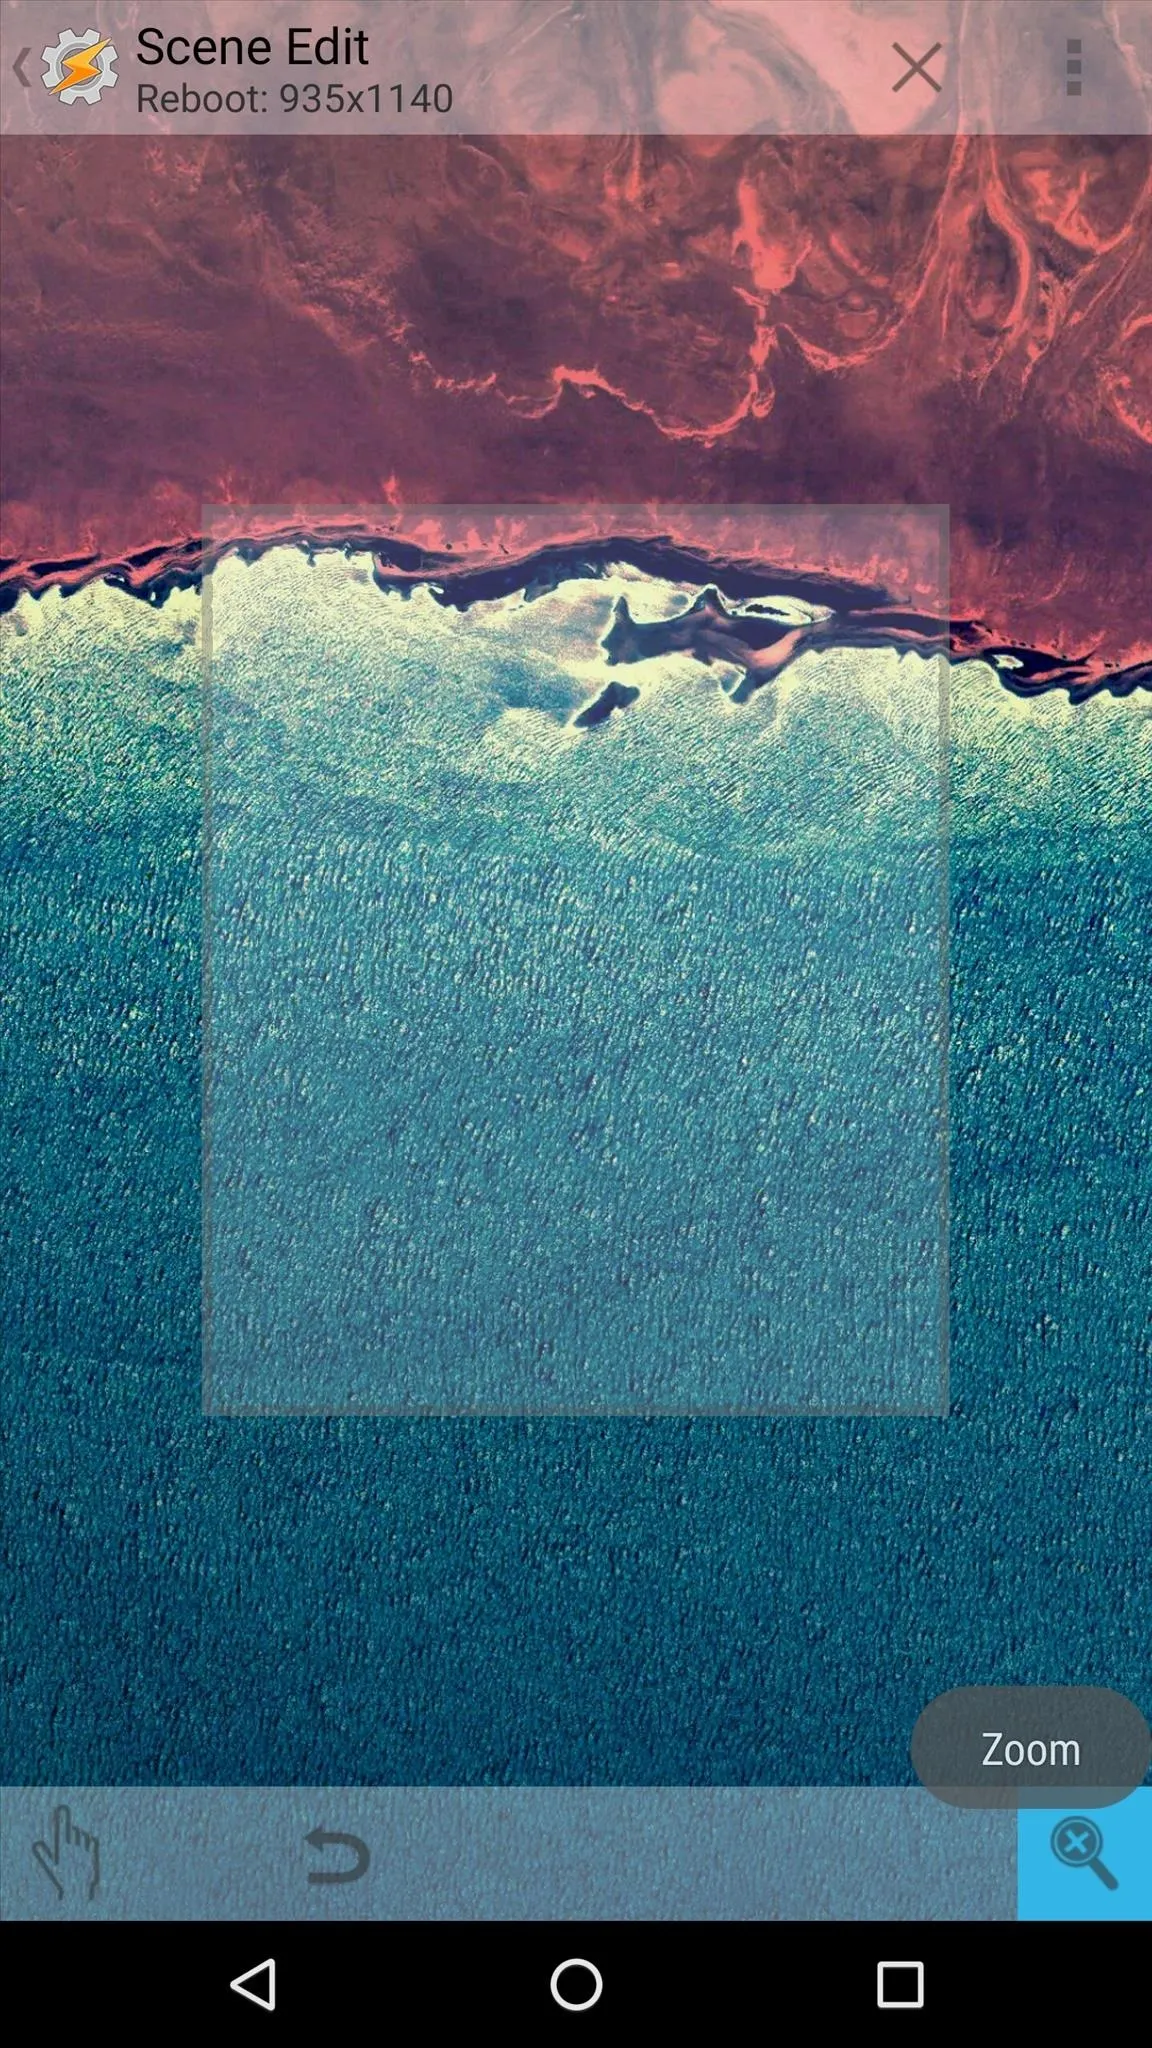
If you'd prefer to go this route, head to the Scenes tab in Tasker's main interface, tap the + button to create a new scene, then give it a name. From here, use the next menu to re-size your scene, which can either be a popup or a full-screen window. When you're satisfied with the layout, tap the Zoom icon in the bottom-right corner to enter edit mode, where you can add buttons and other elements.
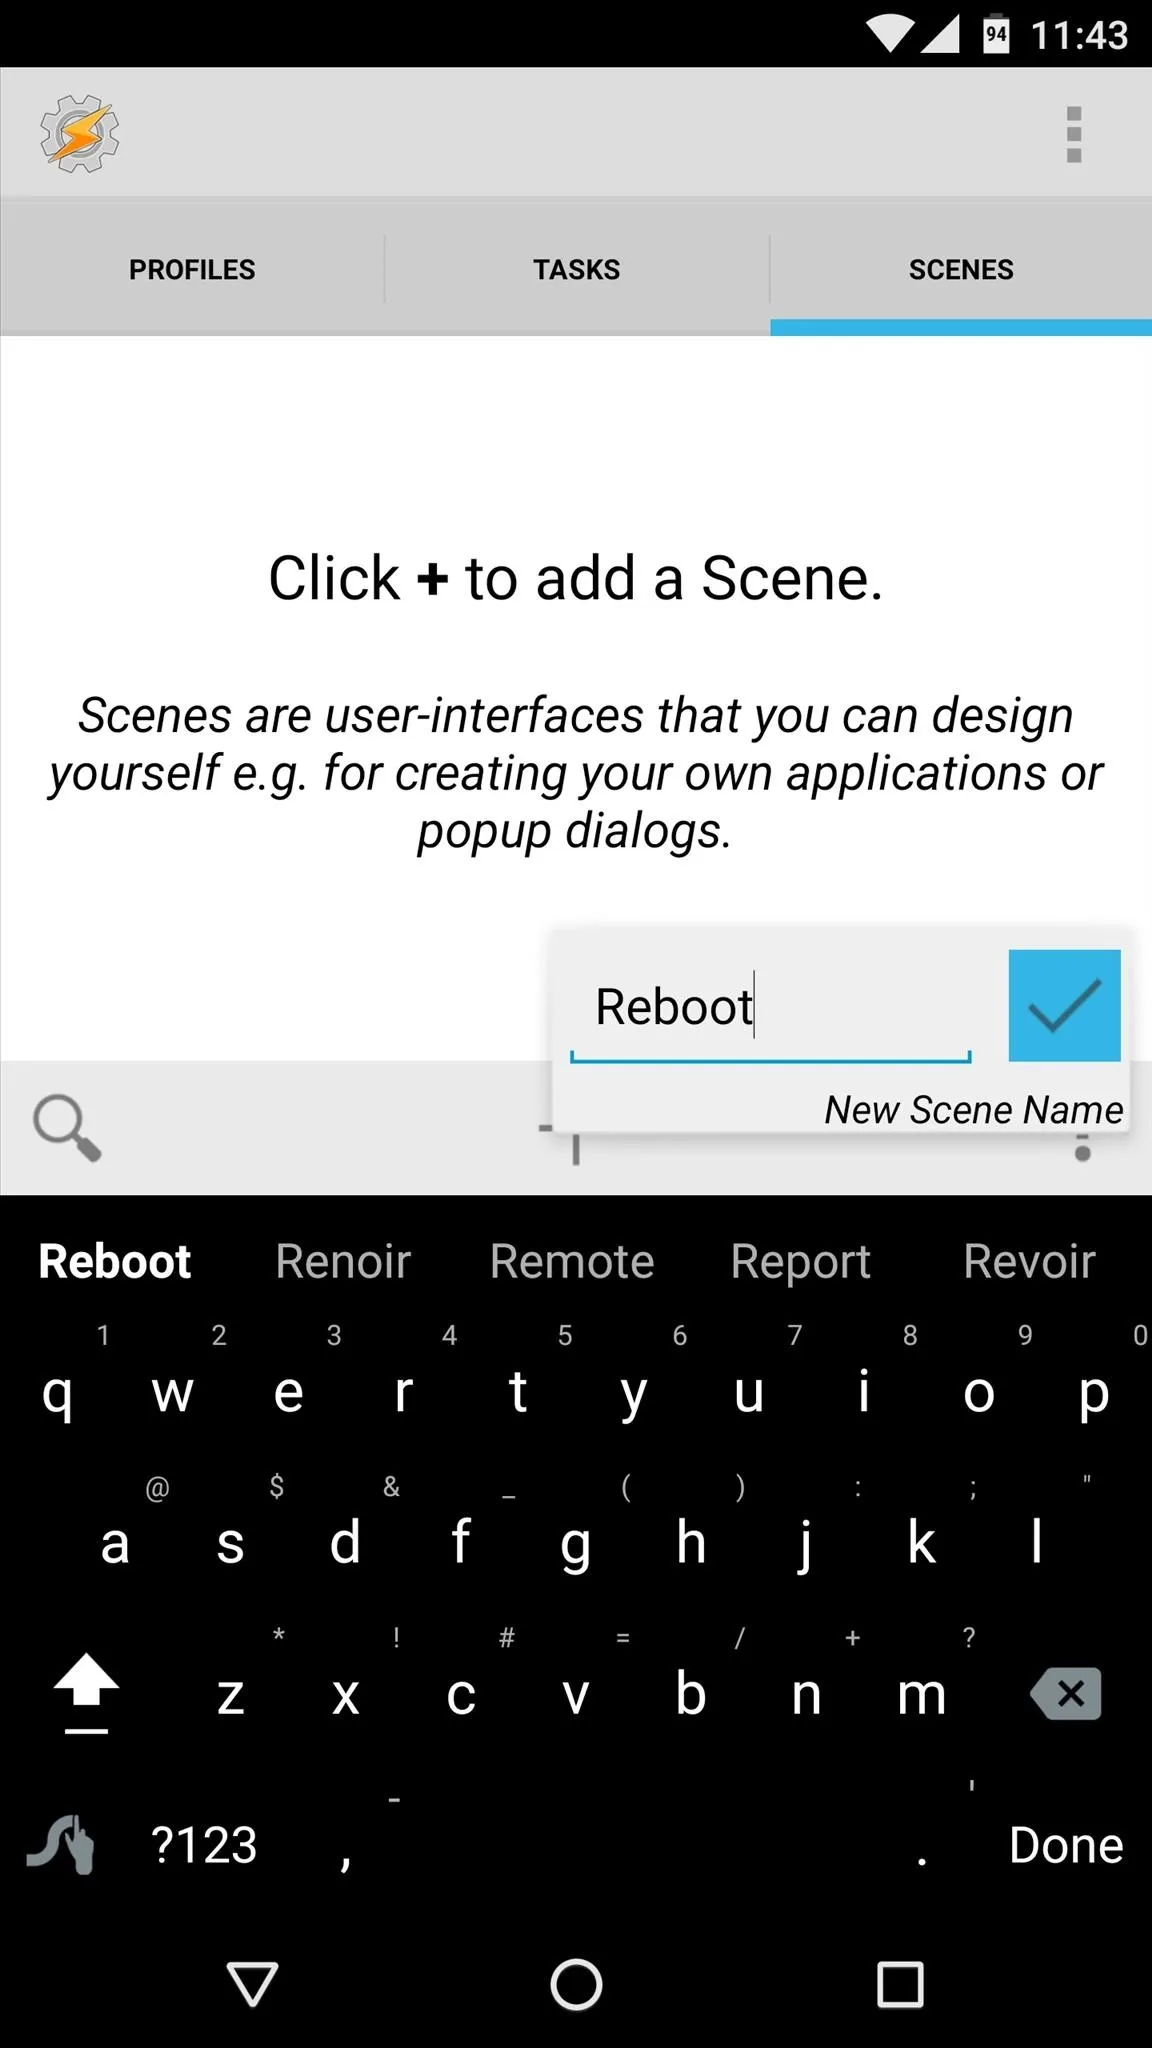
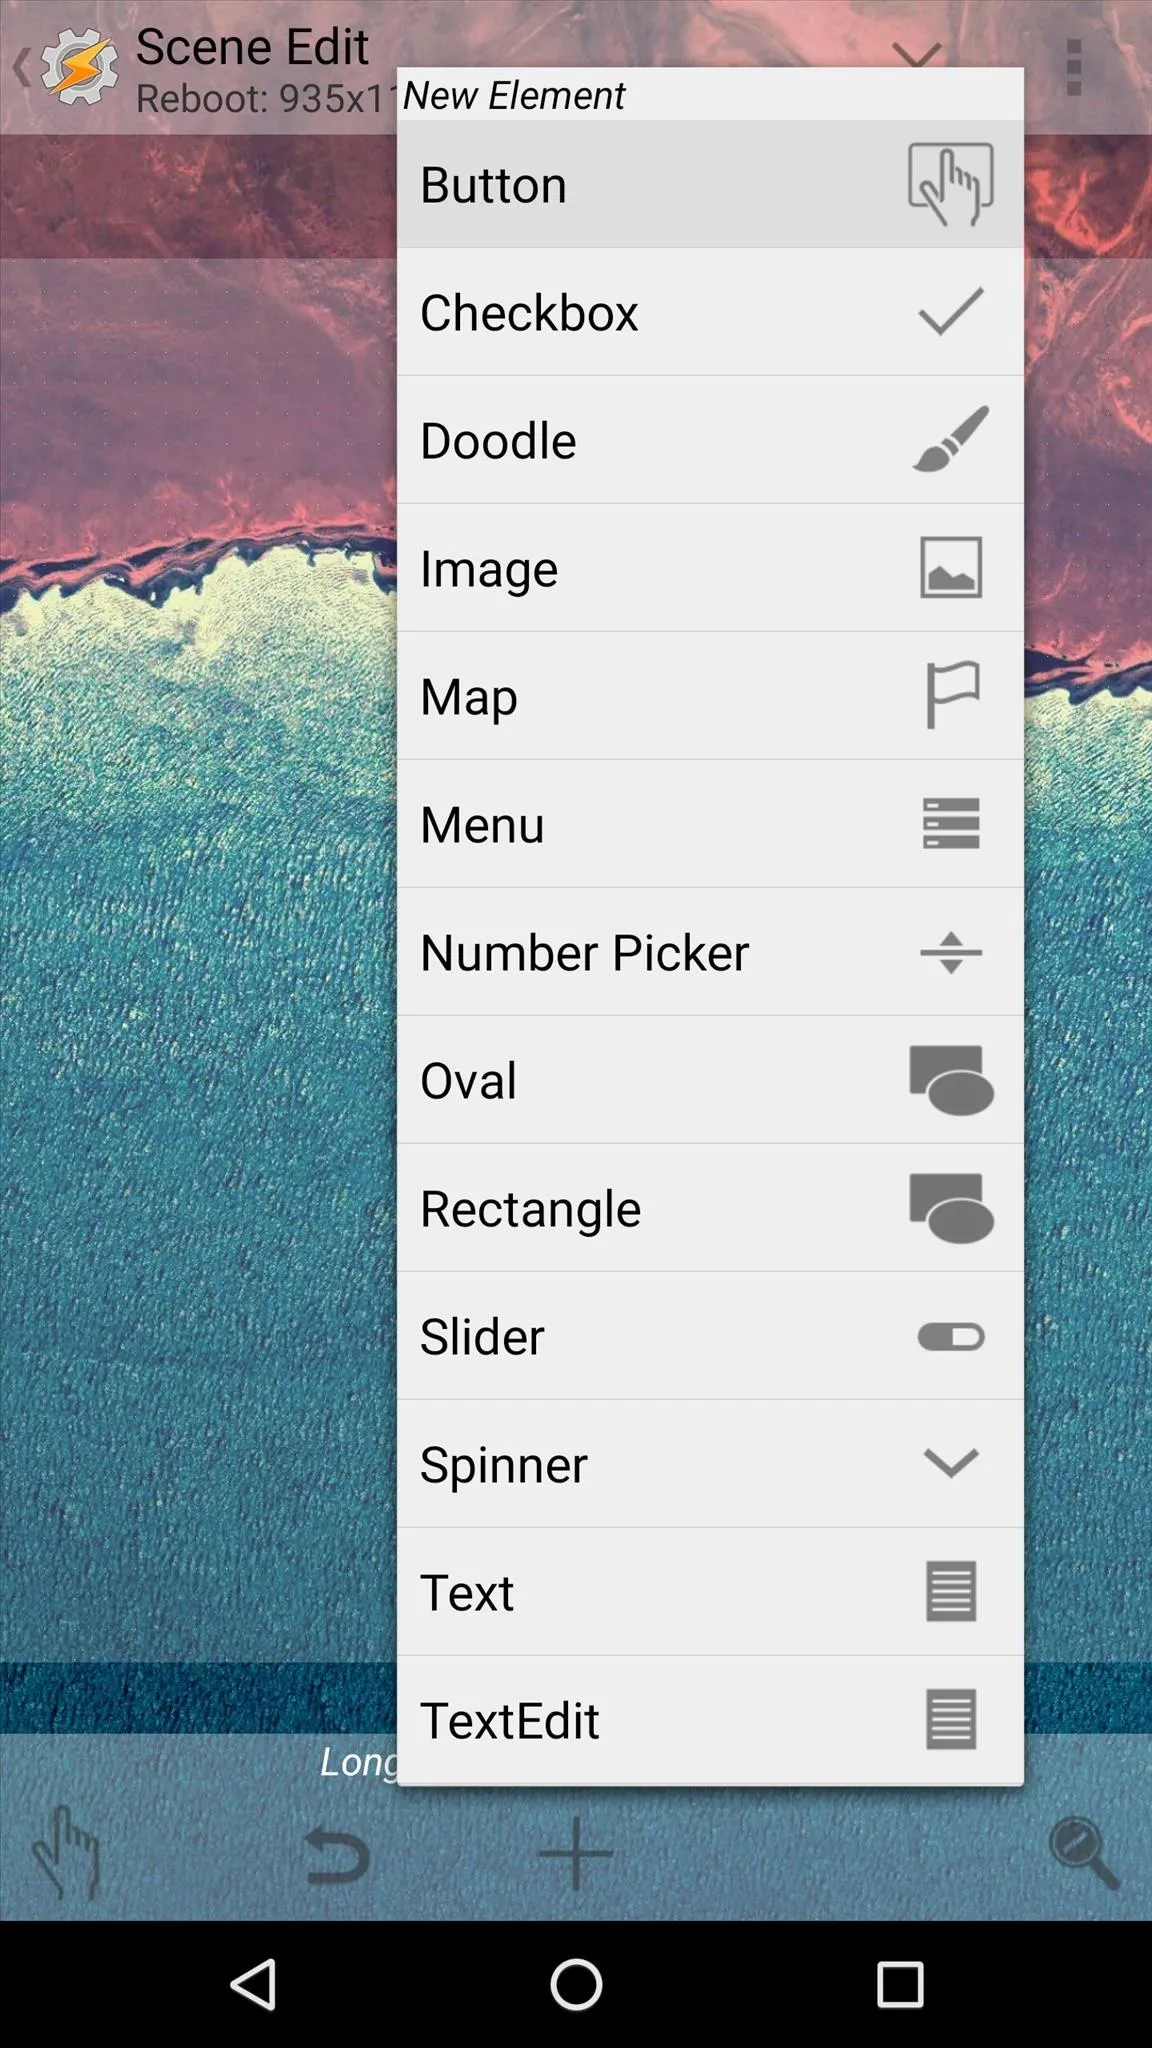
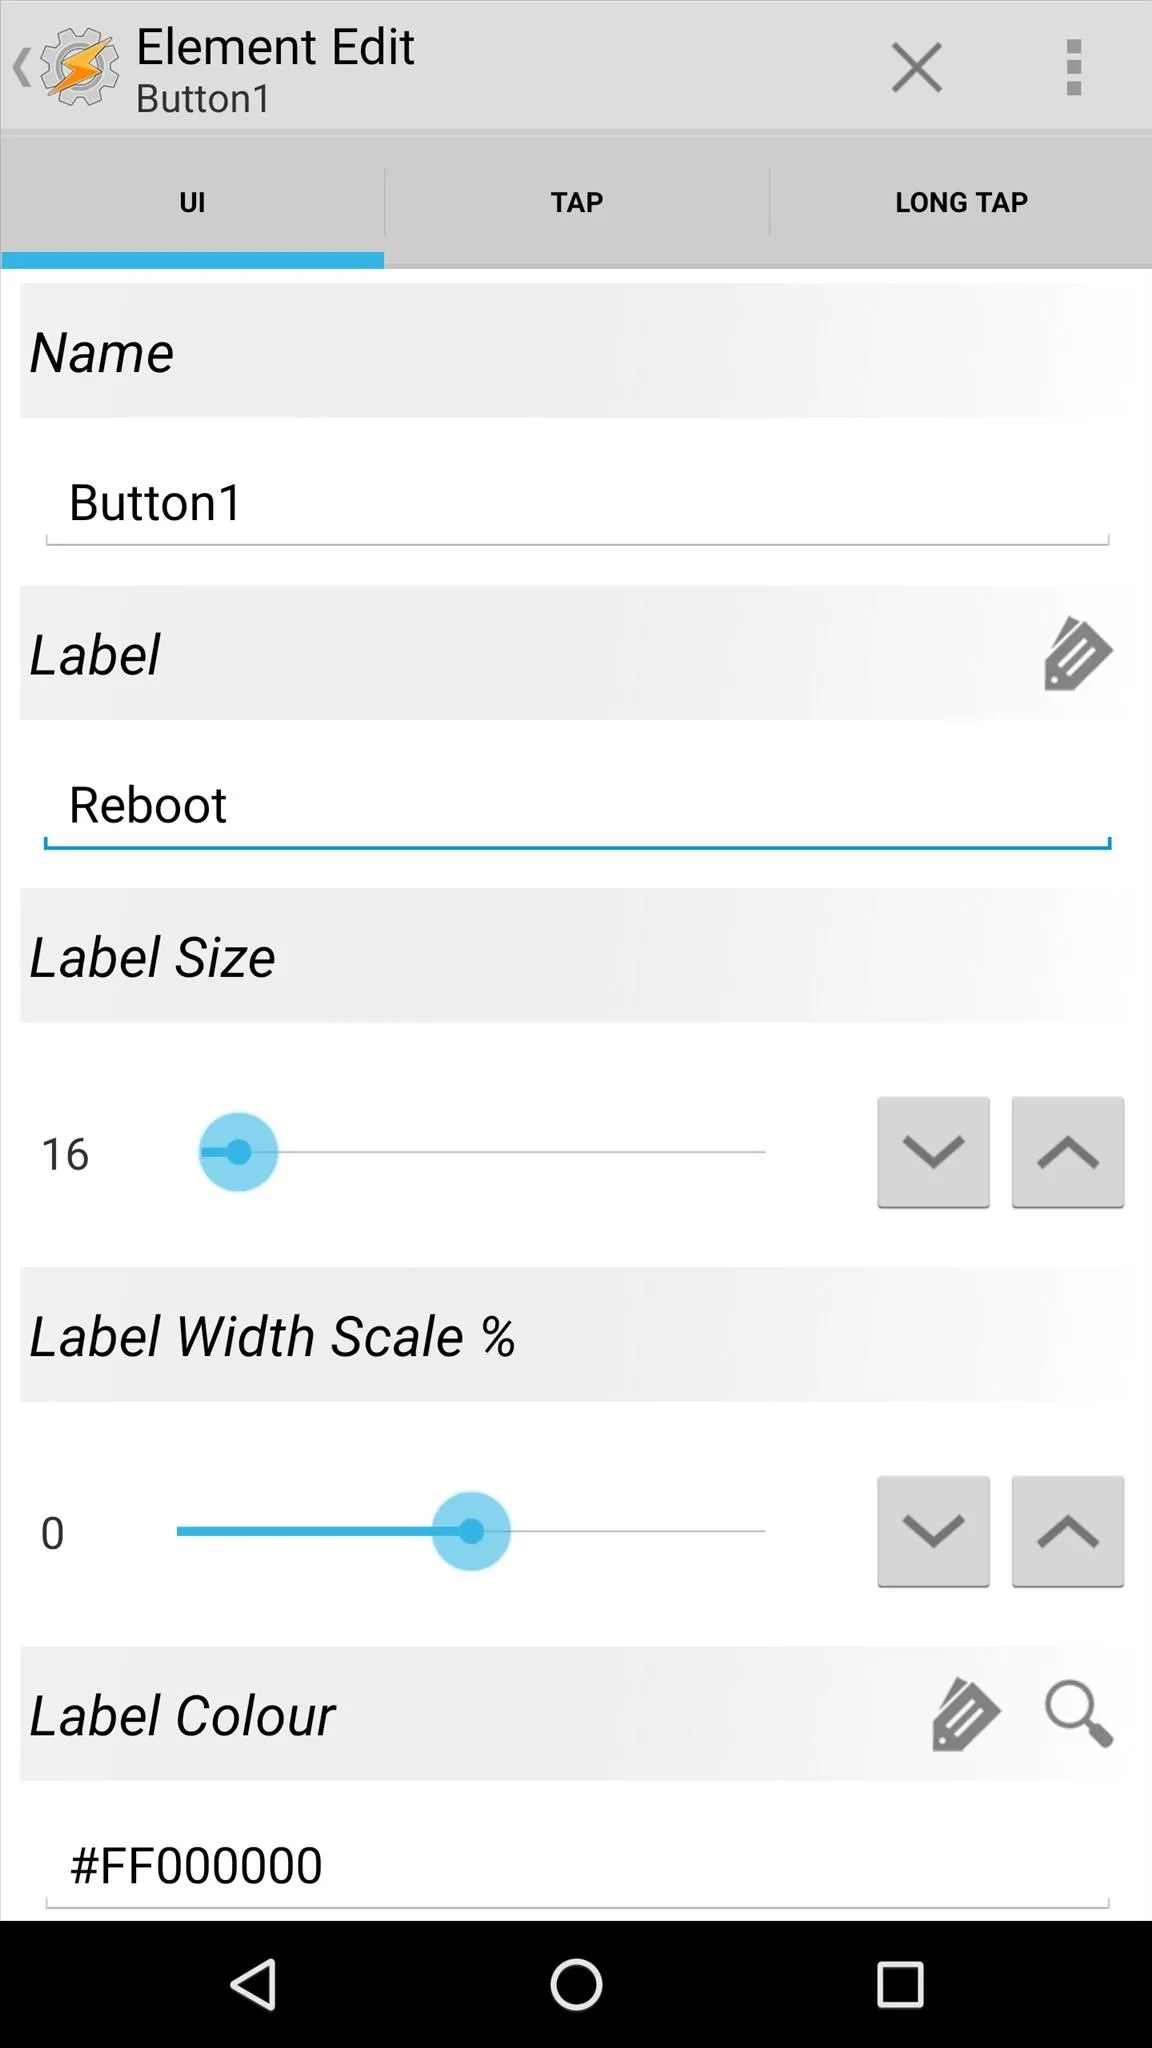
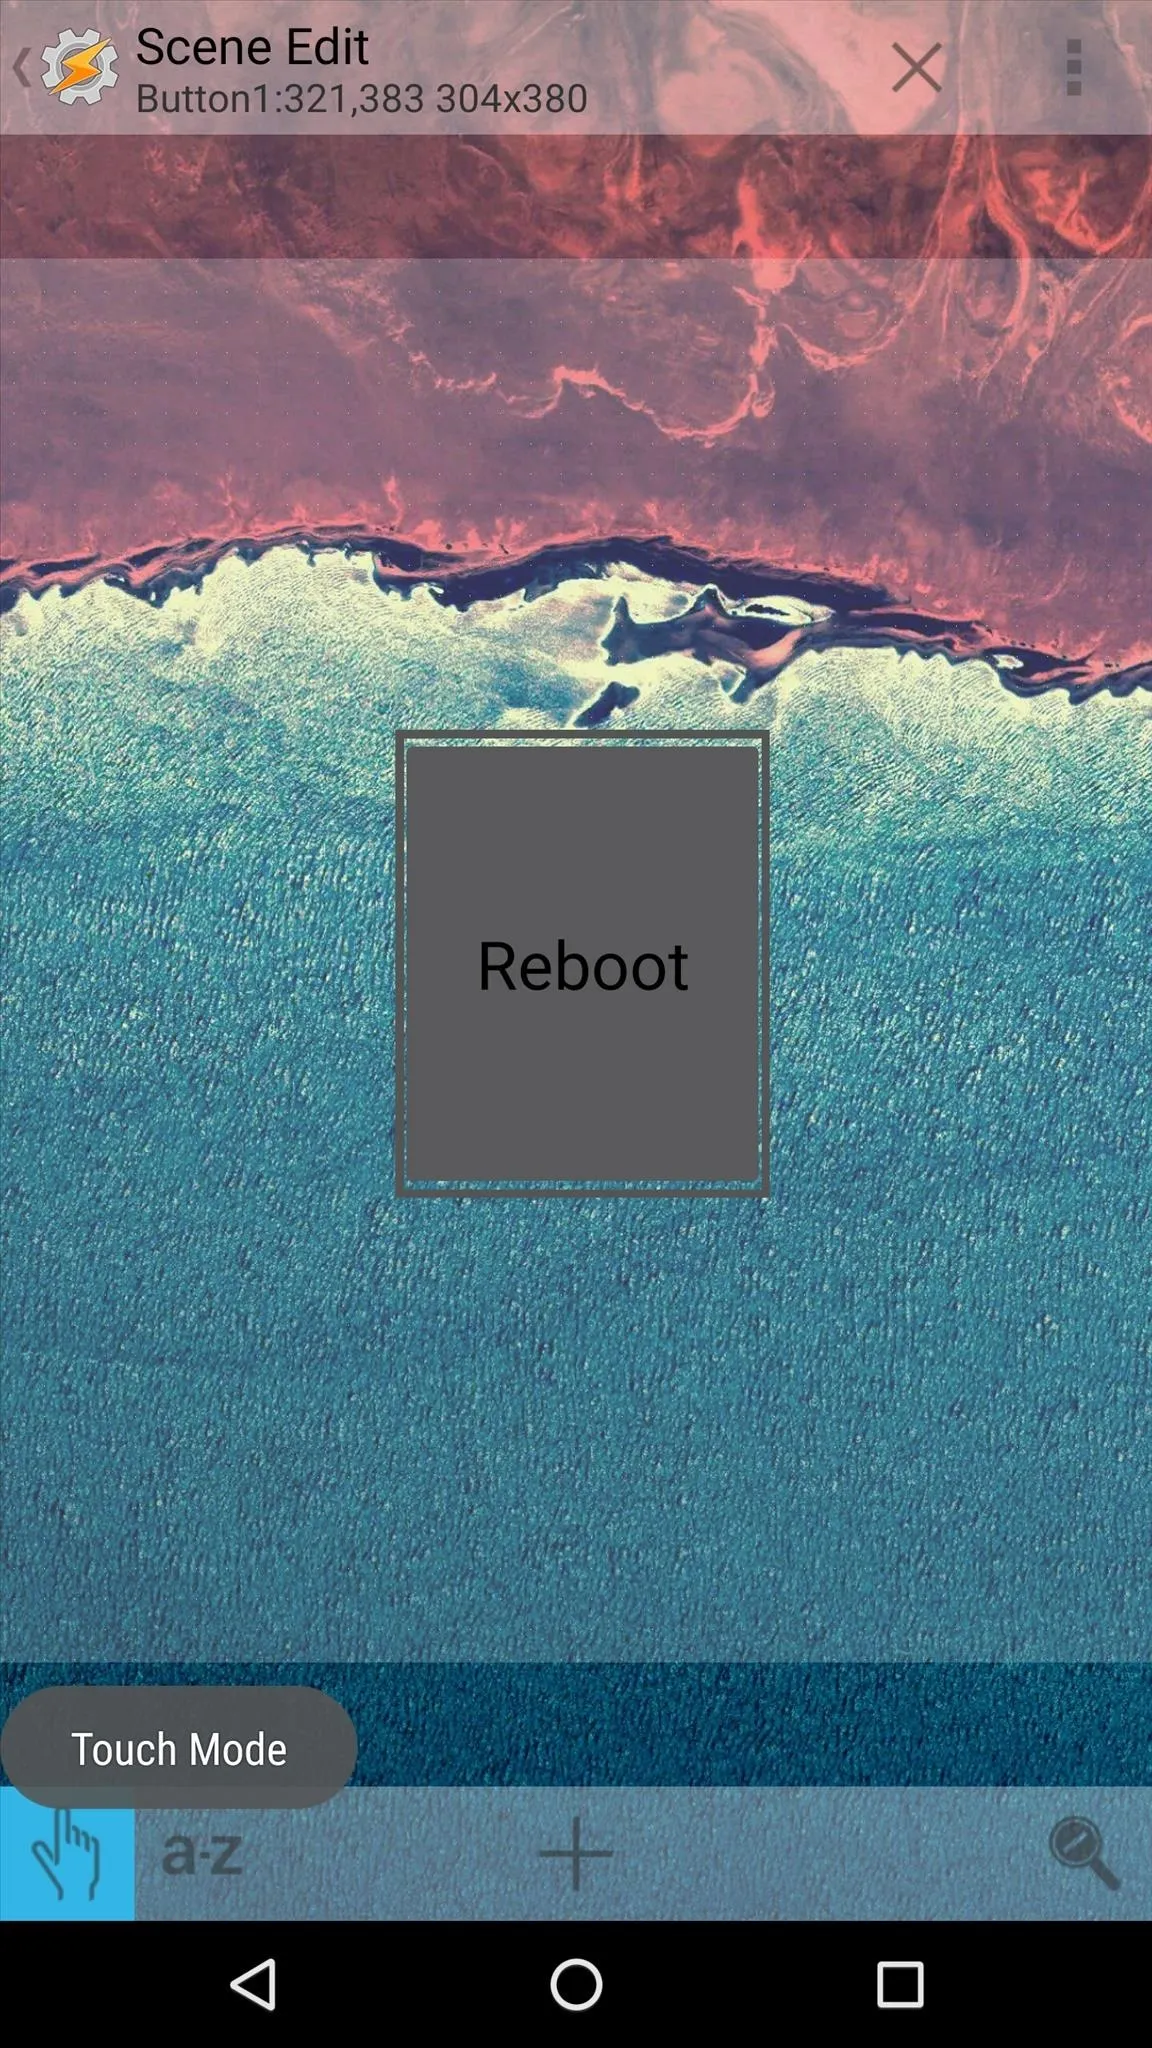
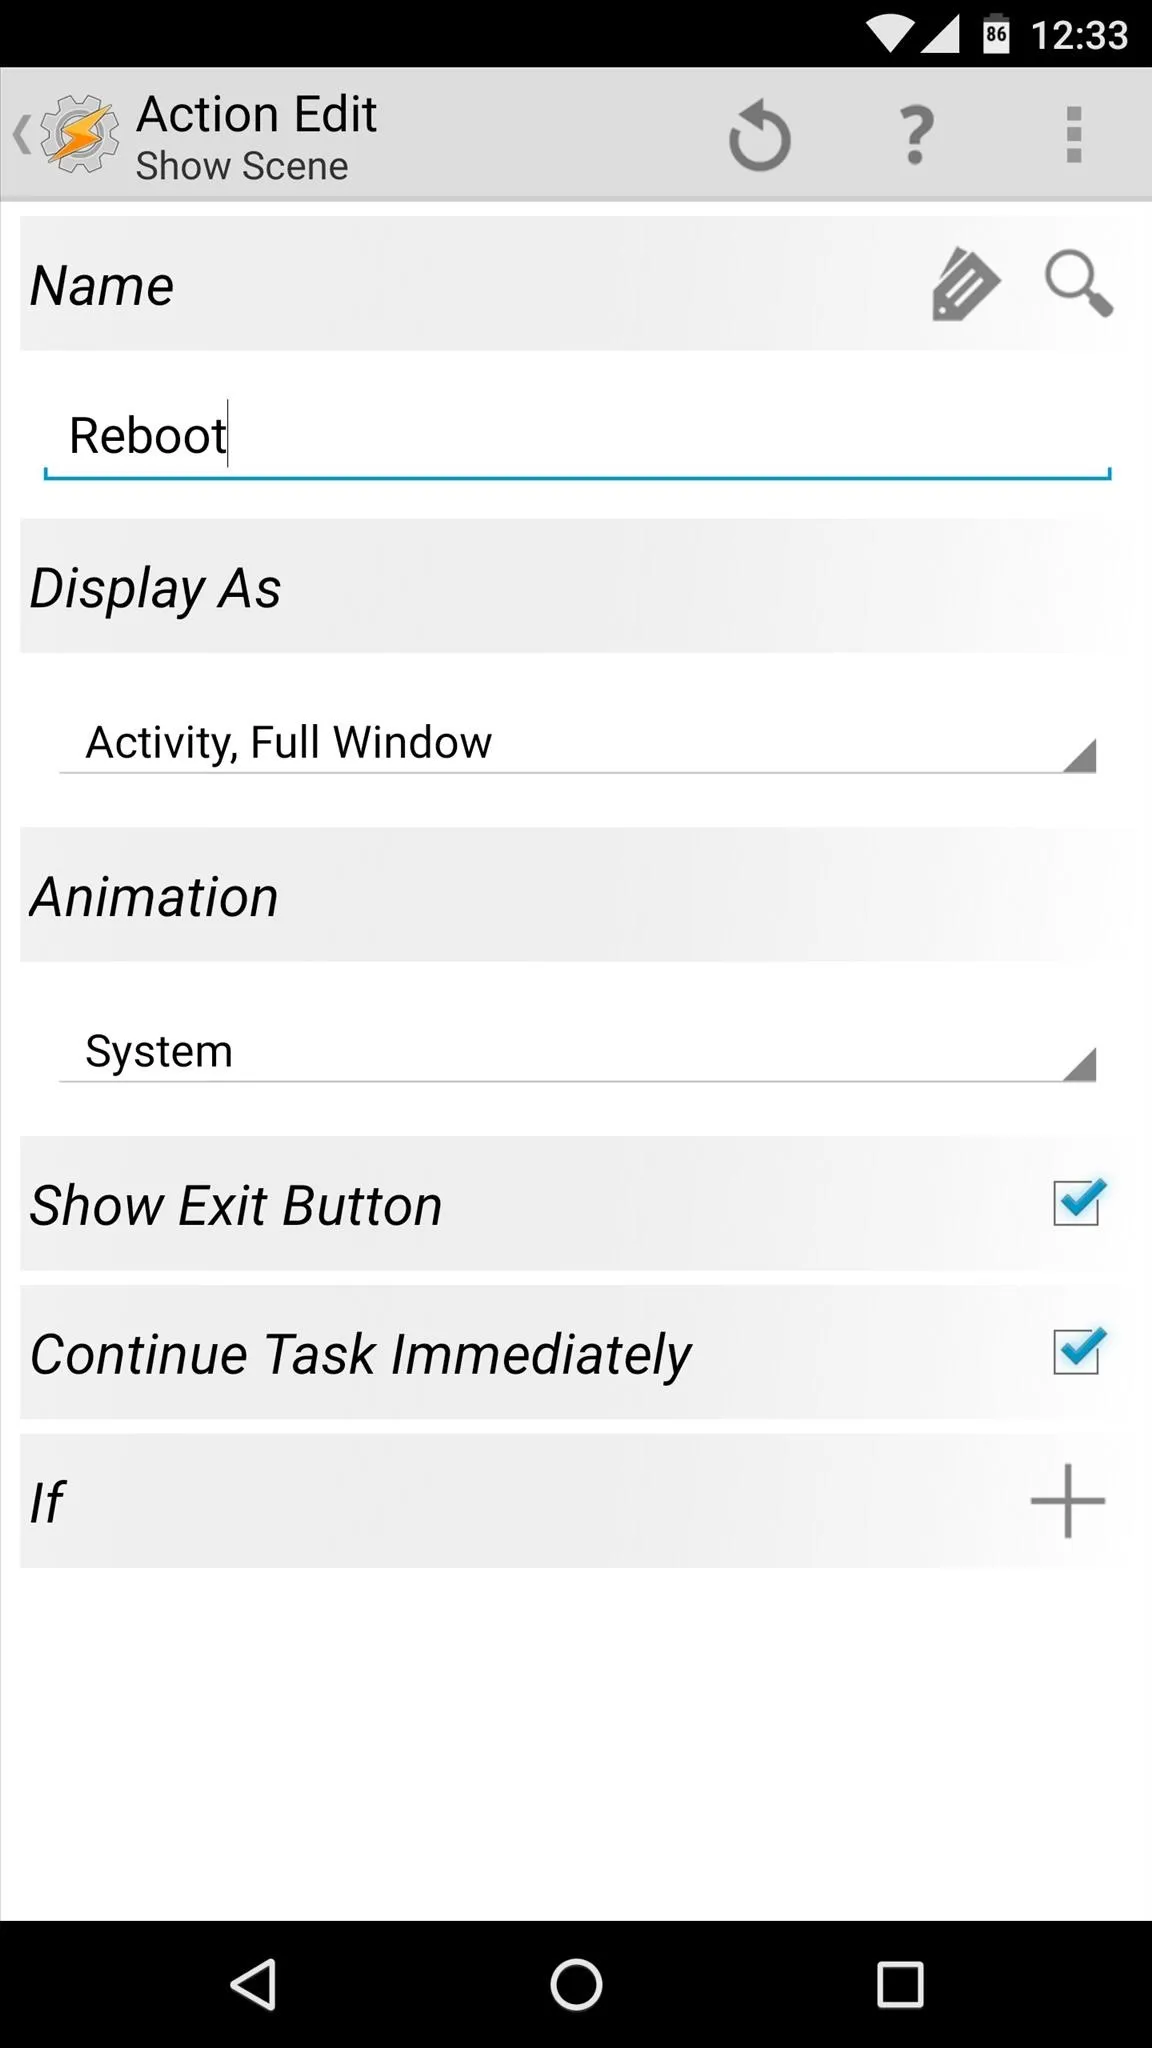
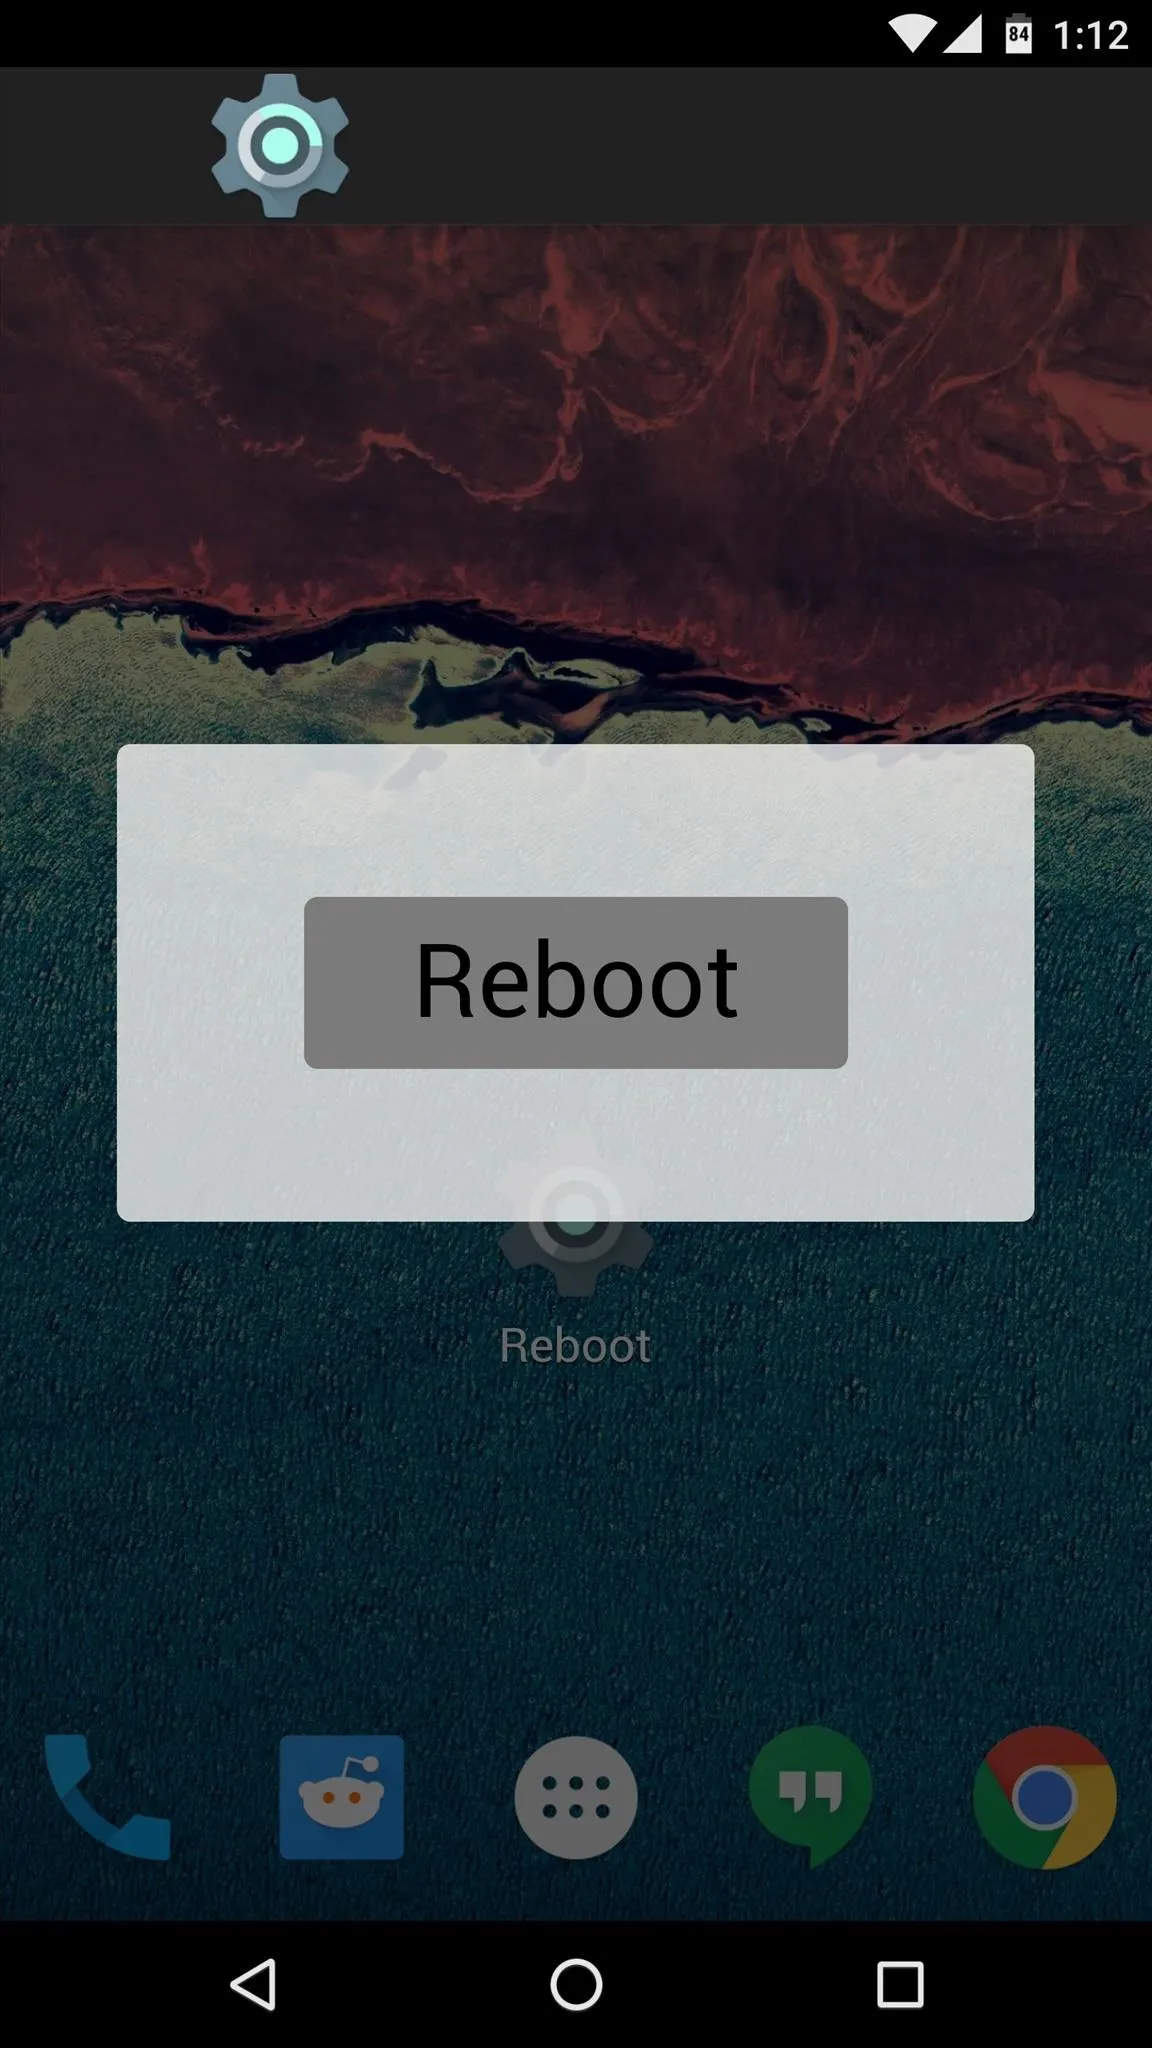
From here, tap the + button at the bottom of the screen to add a new element—in this example, I'll be adding a button that reboots my phone. After adding an element, you'll be taken to the Element Edit menu, where you can assign a label (such as "Reboot" in this example), then adjust the size and scale.
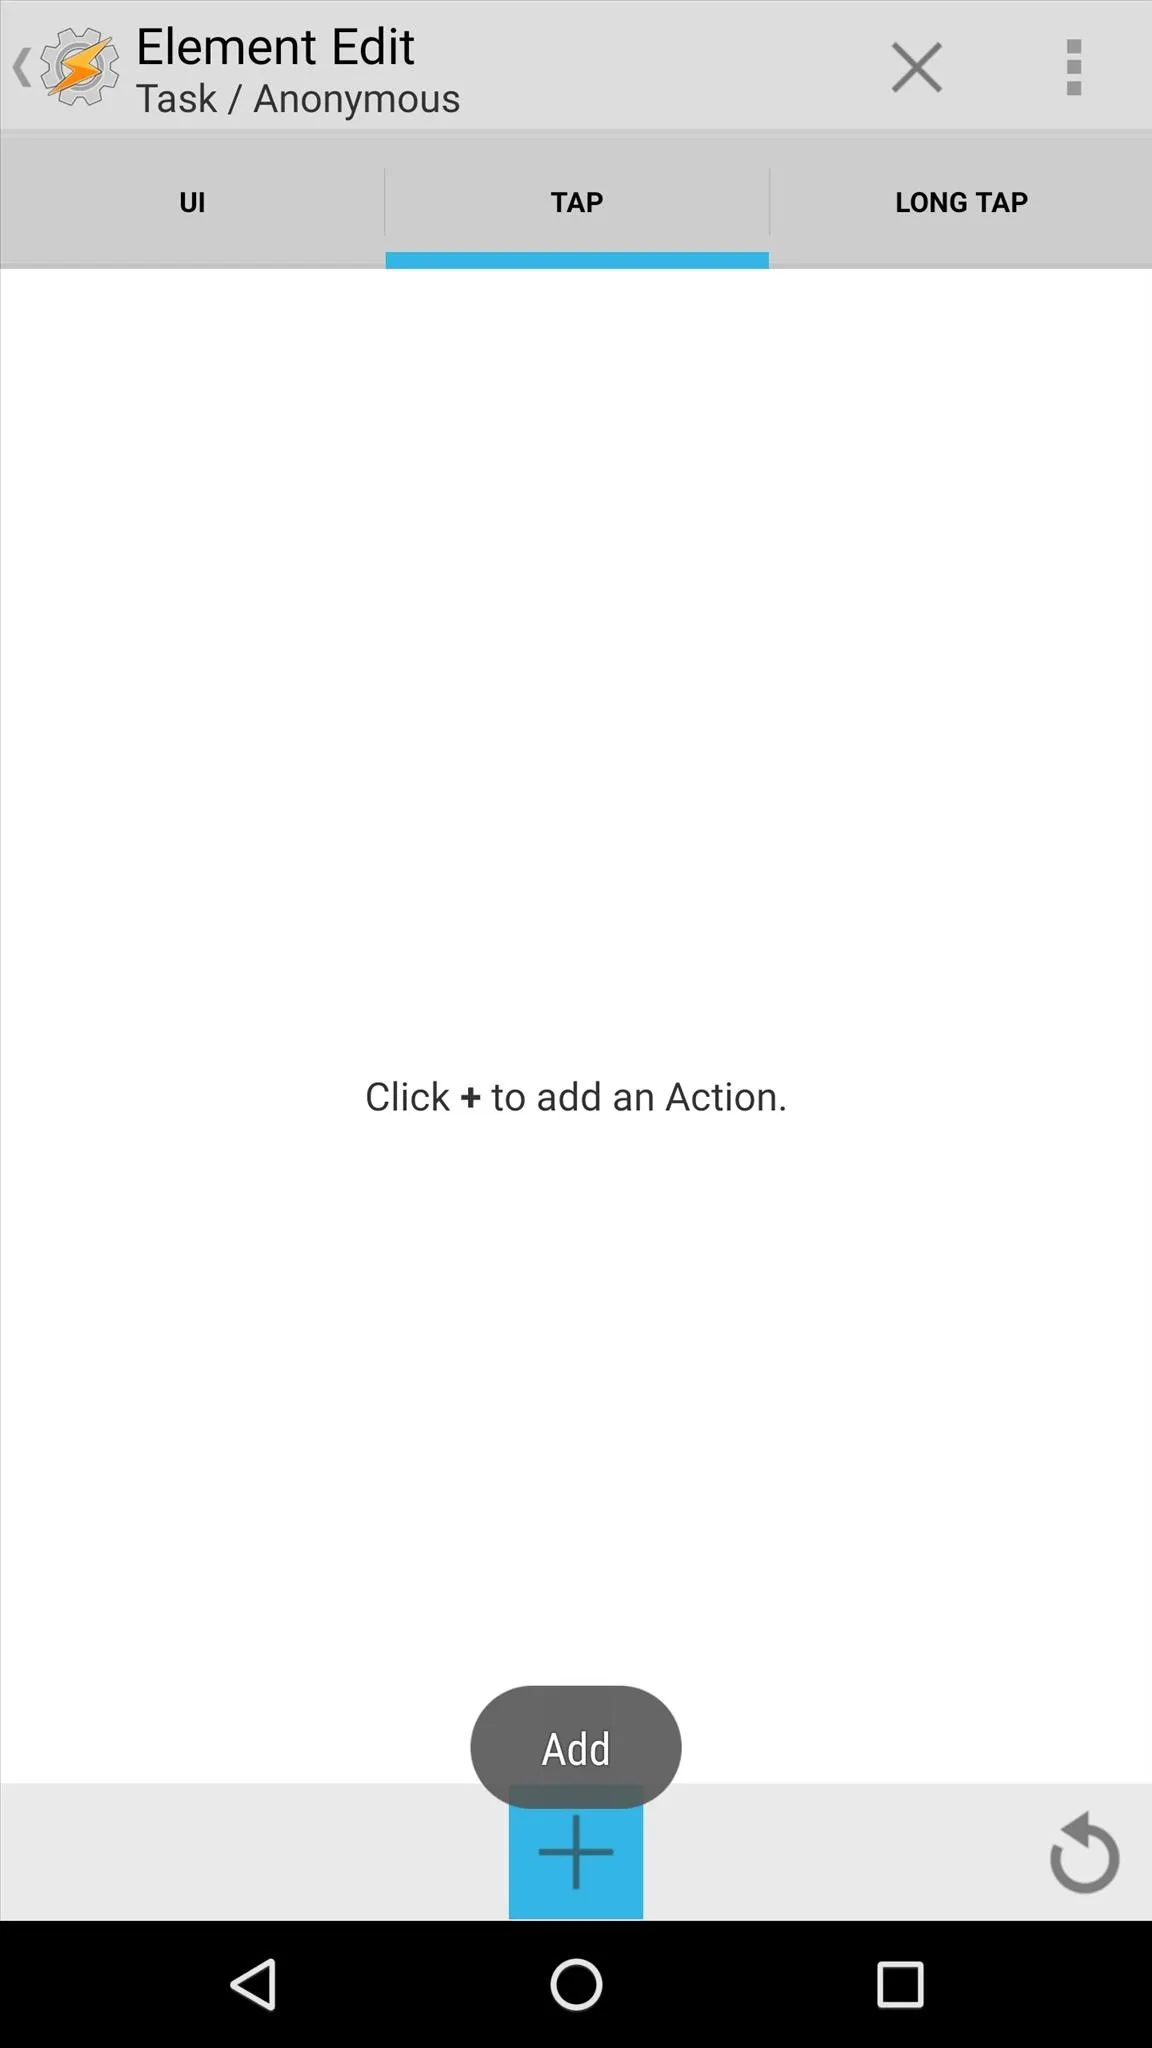
Once you're buttons or elements are all arranged the way you'd like them to be, head over to the Tap tab on the Element Edit menu to choose what will happen when this element is pressed. From here, treat it like a regular task—so tap the + button at the bottom of the screen to add an action or set of actions to this UI element.
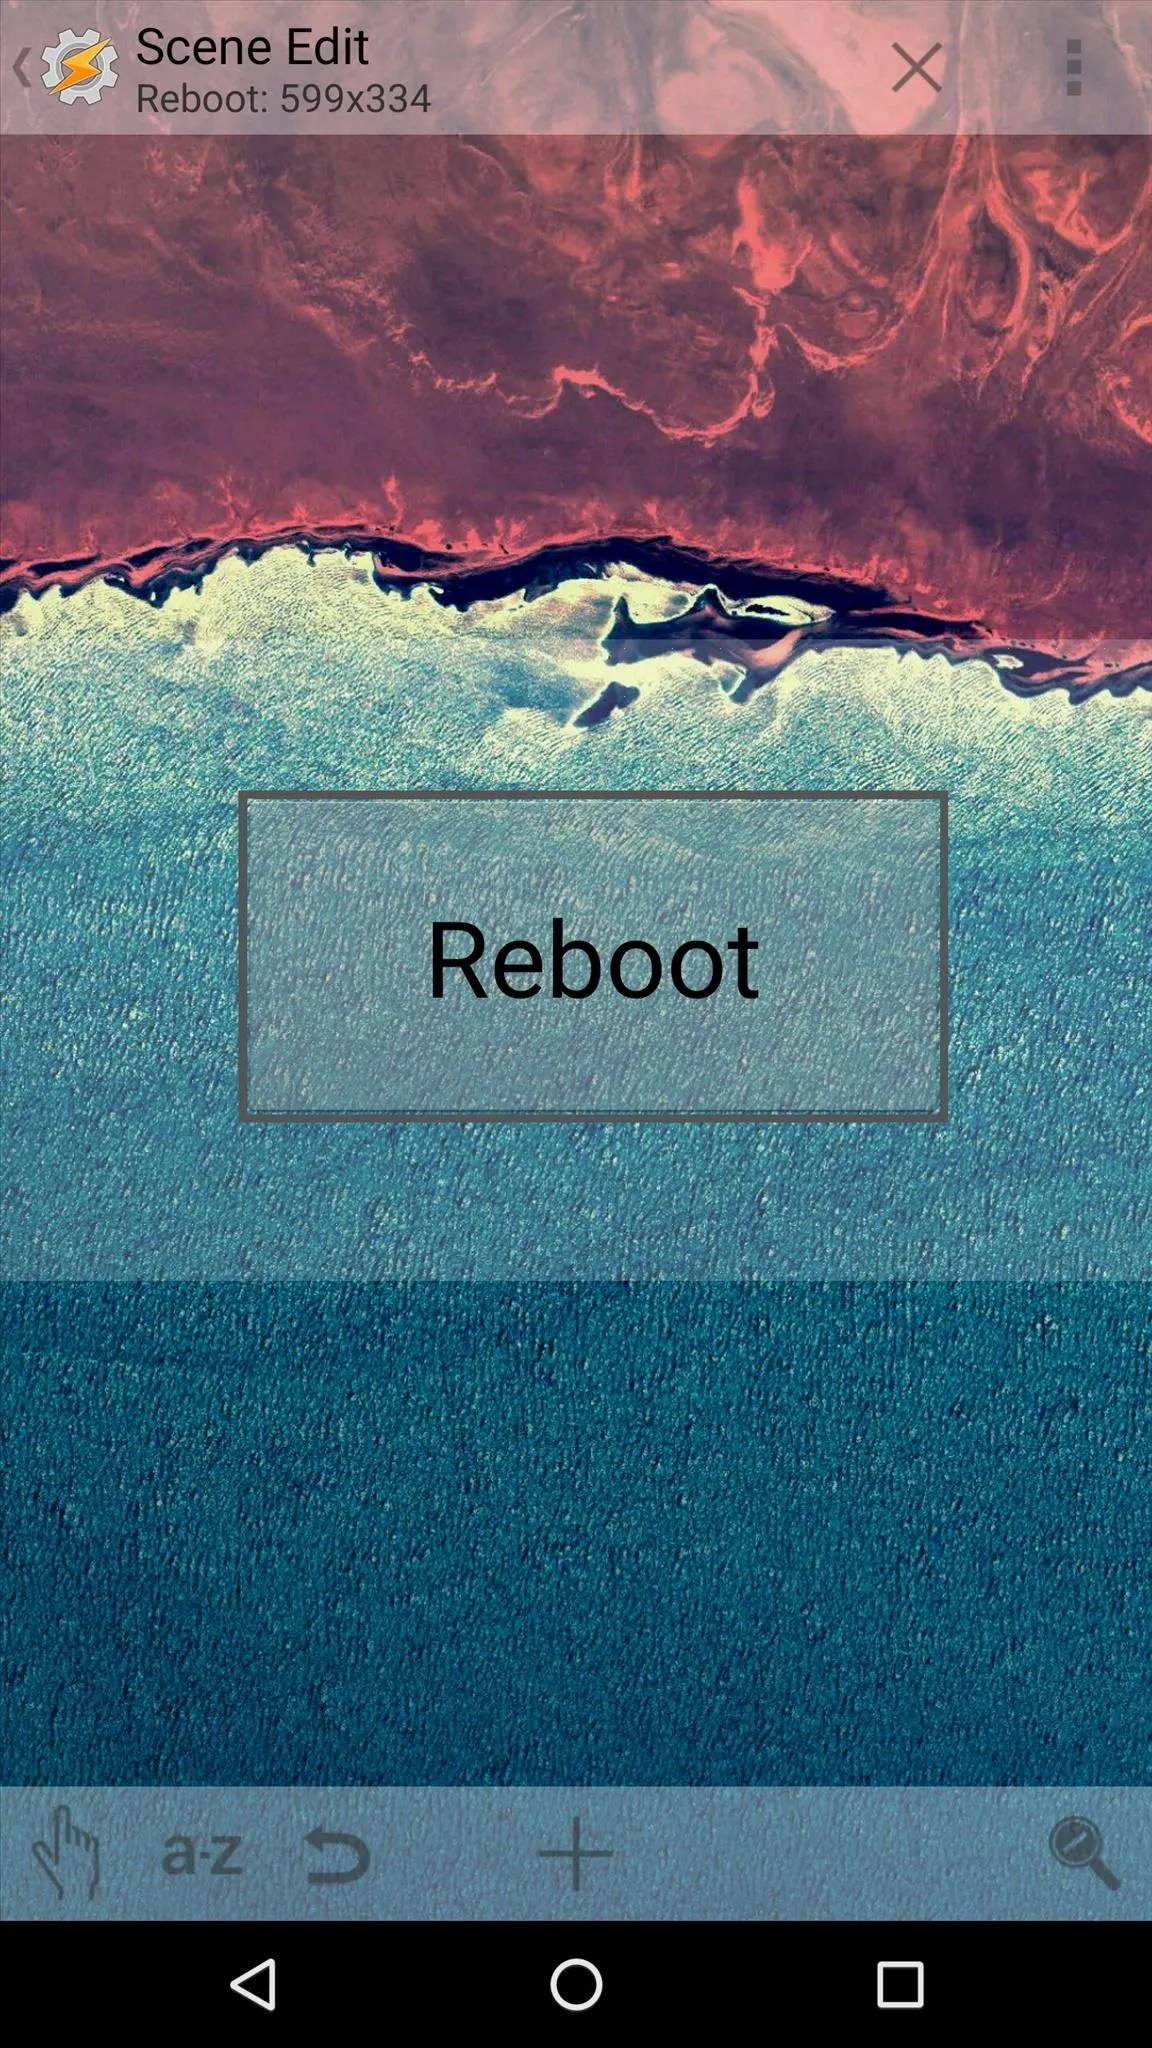
Once you're finished adding elements and actions to your scene, back out to the Scene Edit menu, where you can select the finger icon in the bottom-left corner to rearrange and re-size buttons or UI elements. When everything looks good to you, simply back out to Tasker's main menu.
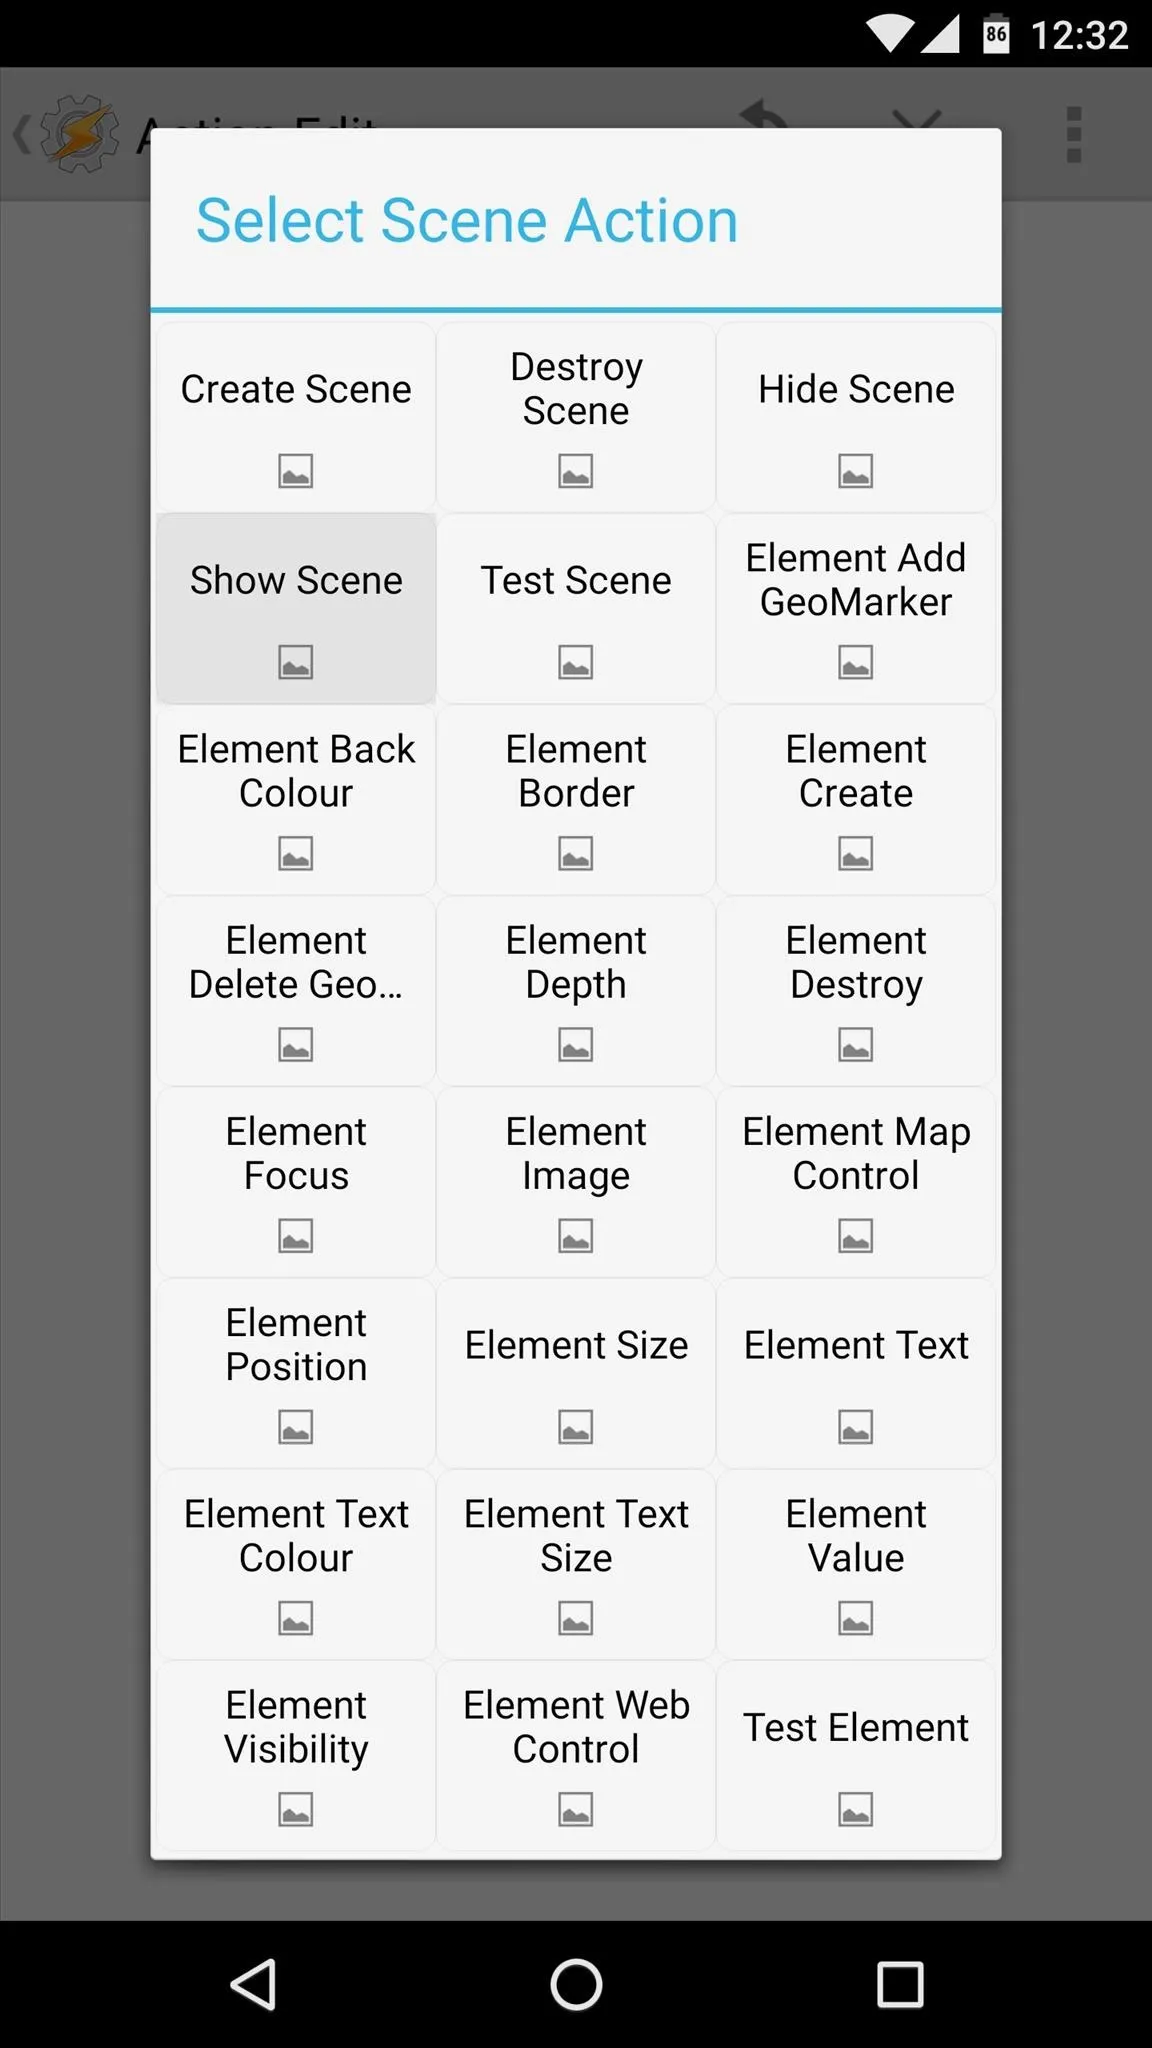
Next, to allow Tasker App Factory to export your scene as a standalone app, you'll have to include it in a task. So head over to the Tasks tab in Tasker's main interface, then tap the + button and give your new task a name. From here, select the "Scene" option from the following menu.
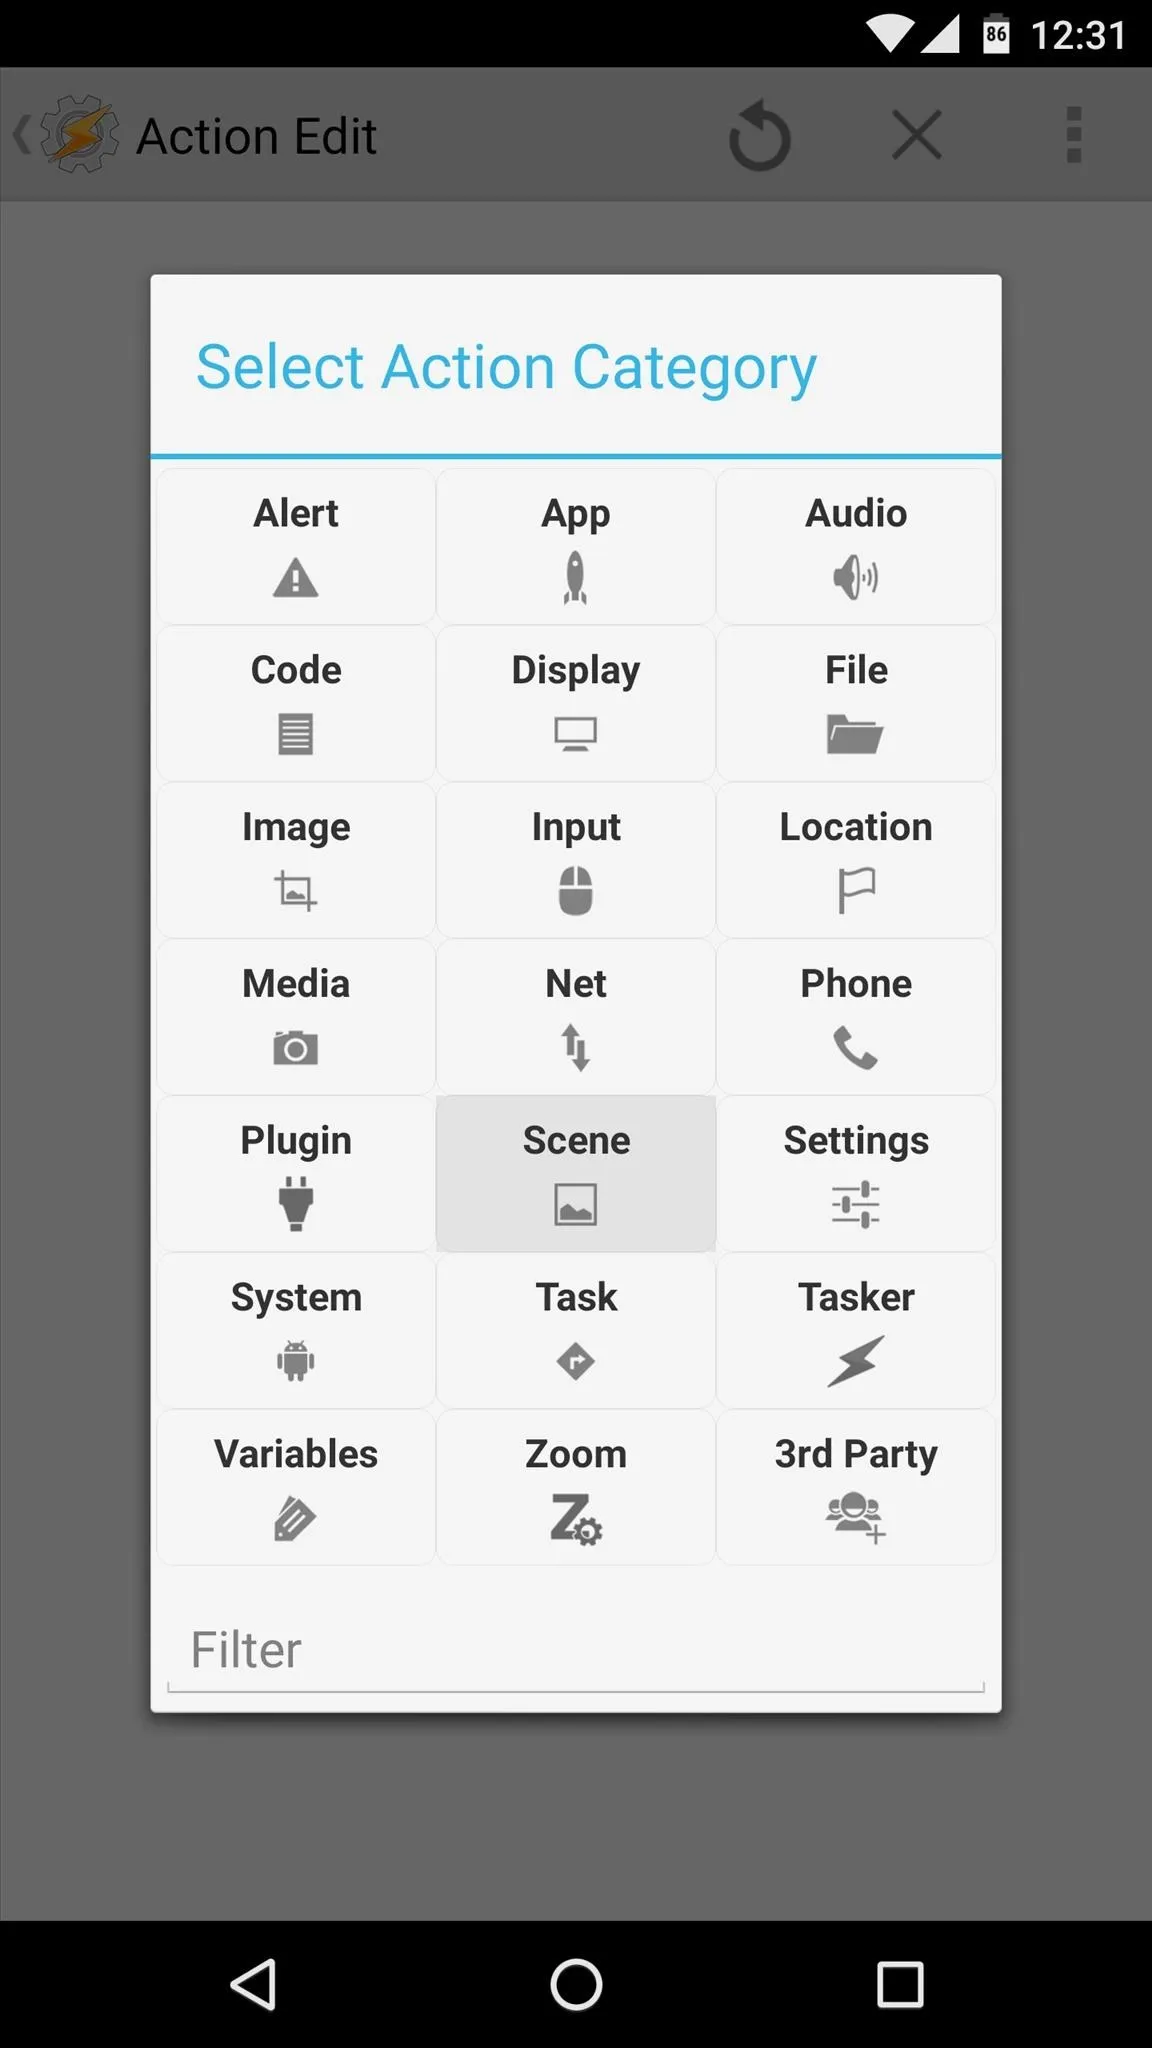
After that, choose "Show Scene" and type the name of your scene into the first field on the Action Edit menu, then back out to Tasker's main screen. At this point, you've created a task that will simply run your scene, which will then provide a user interface once it's exported as an app.
Export Your Task as an APK
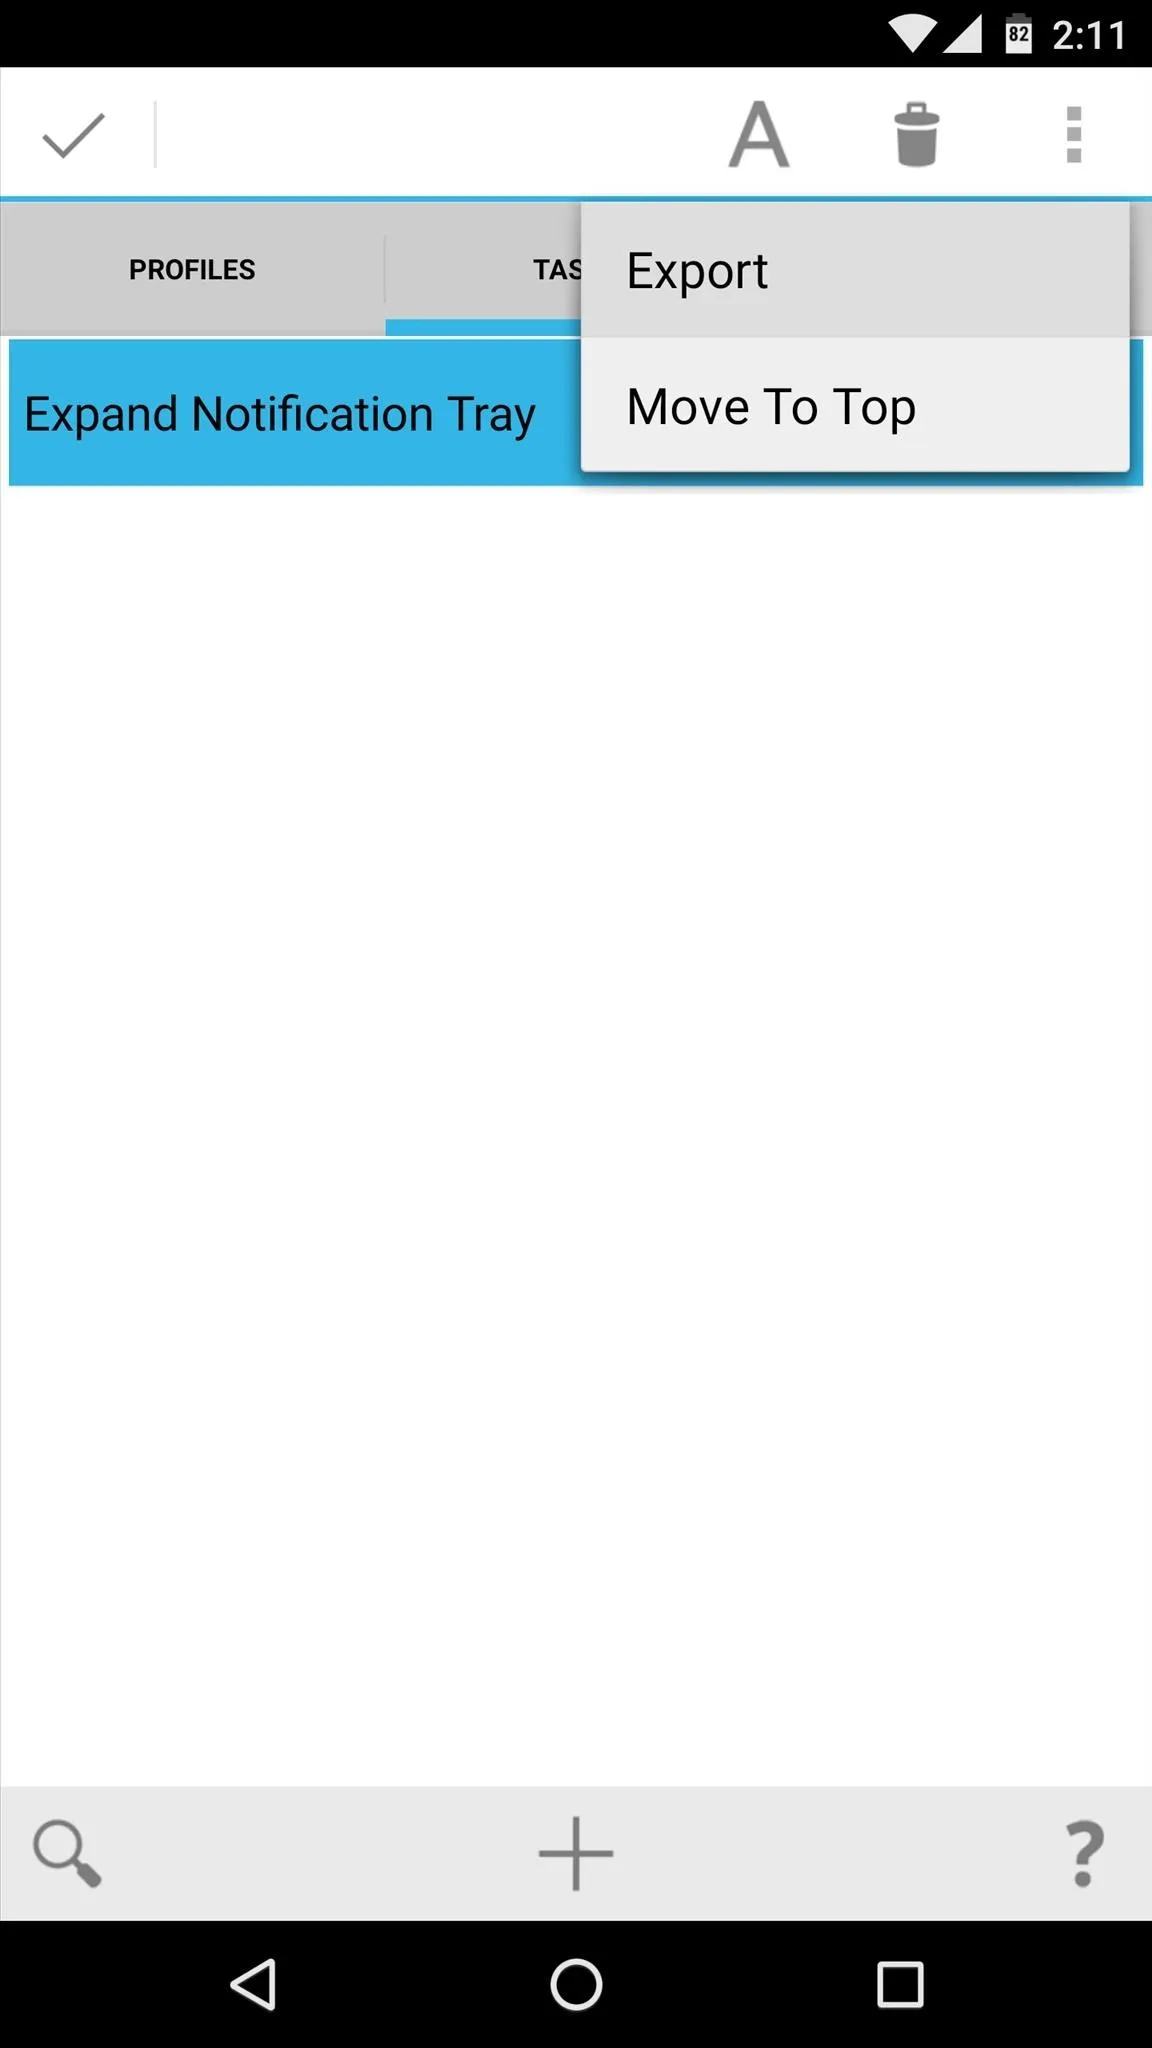
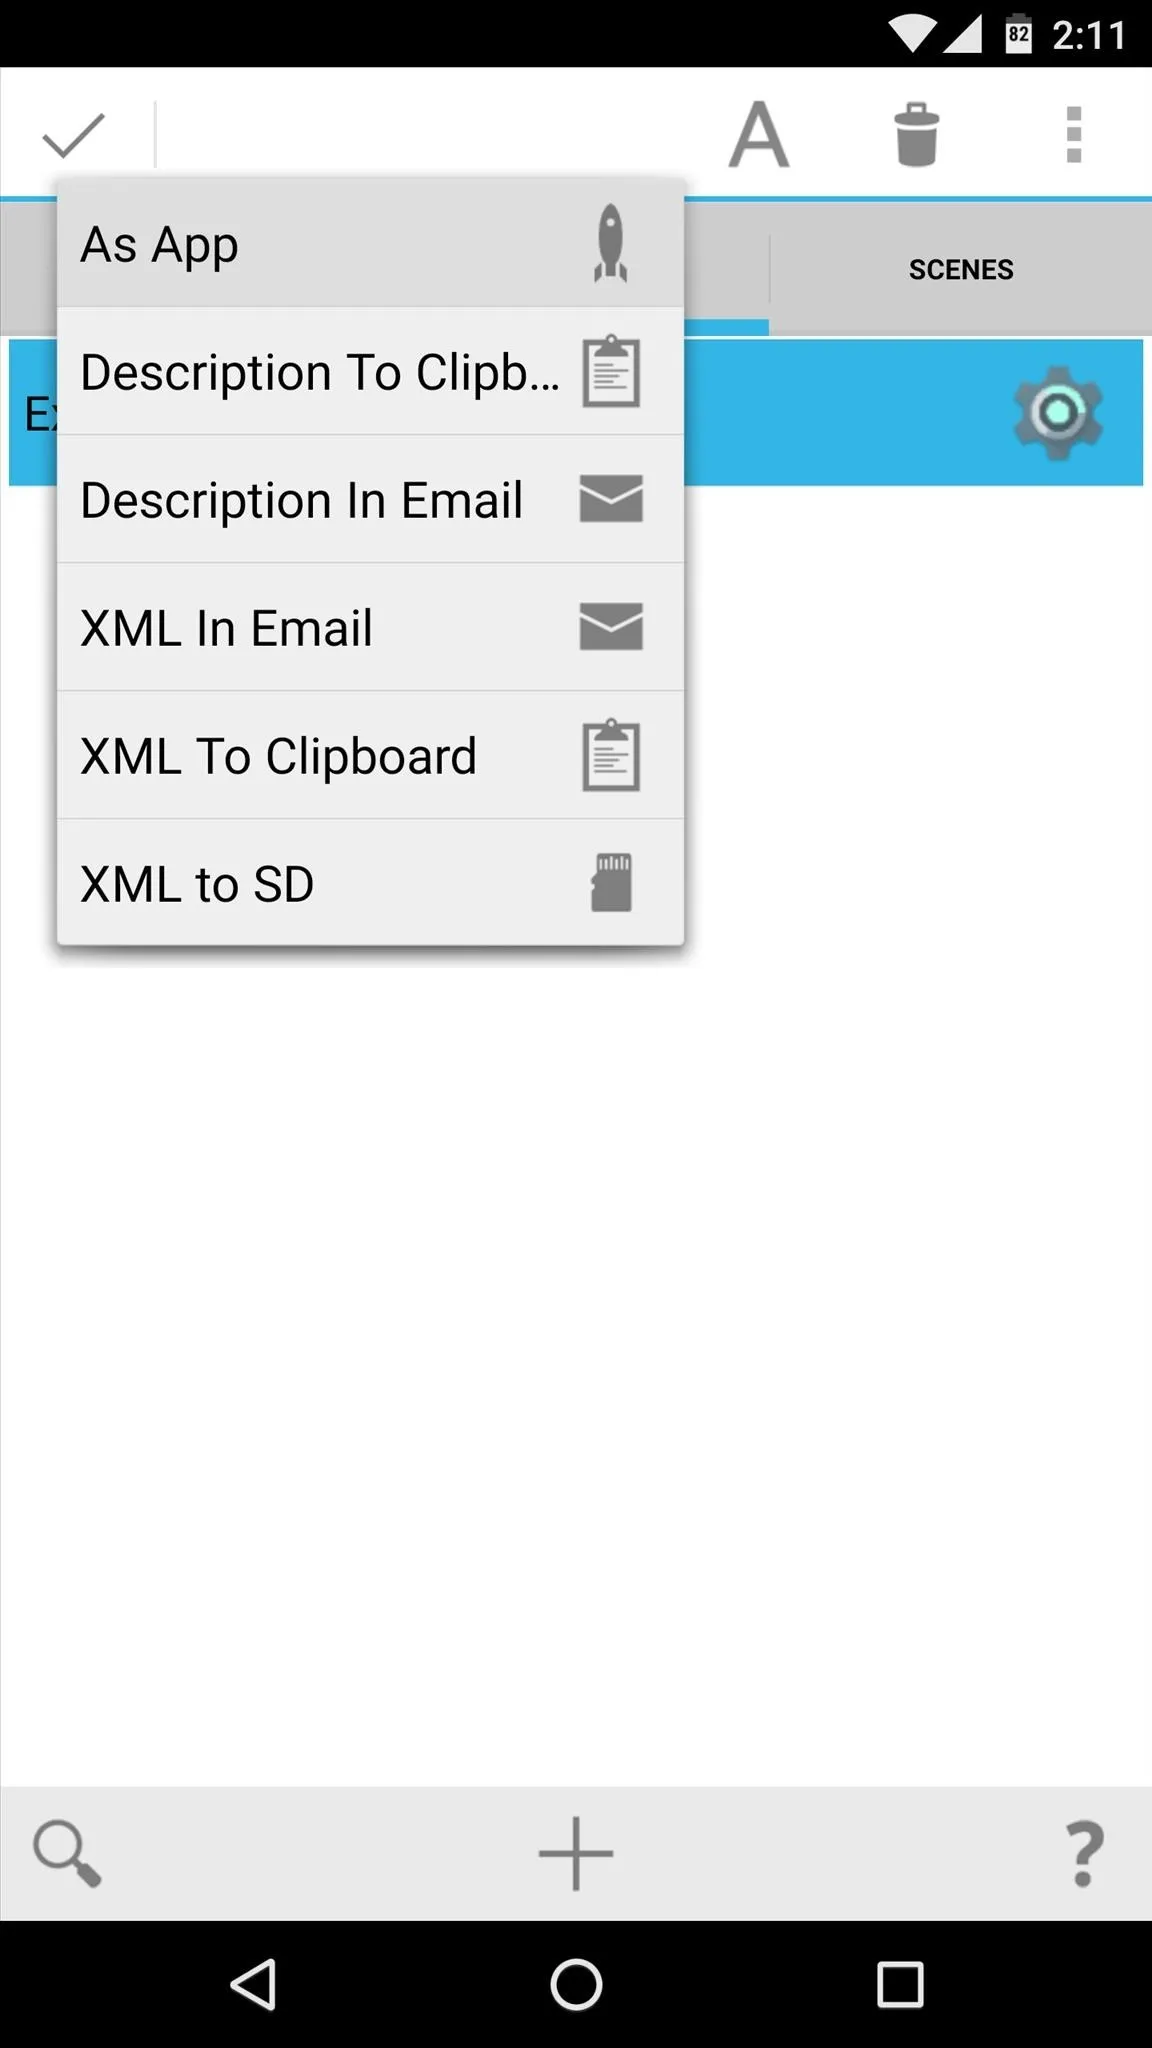
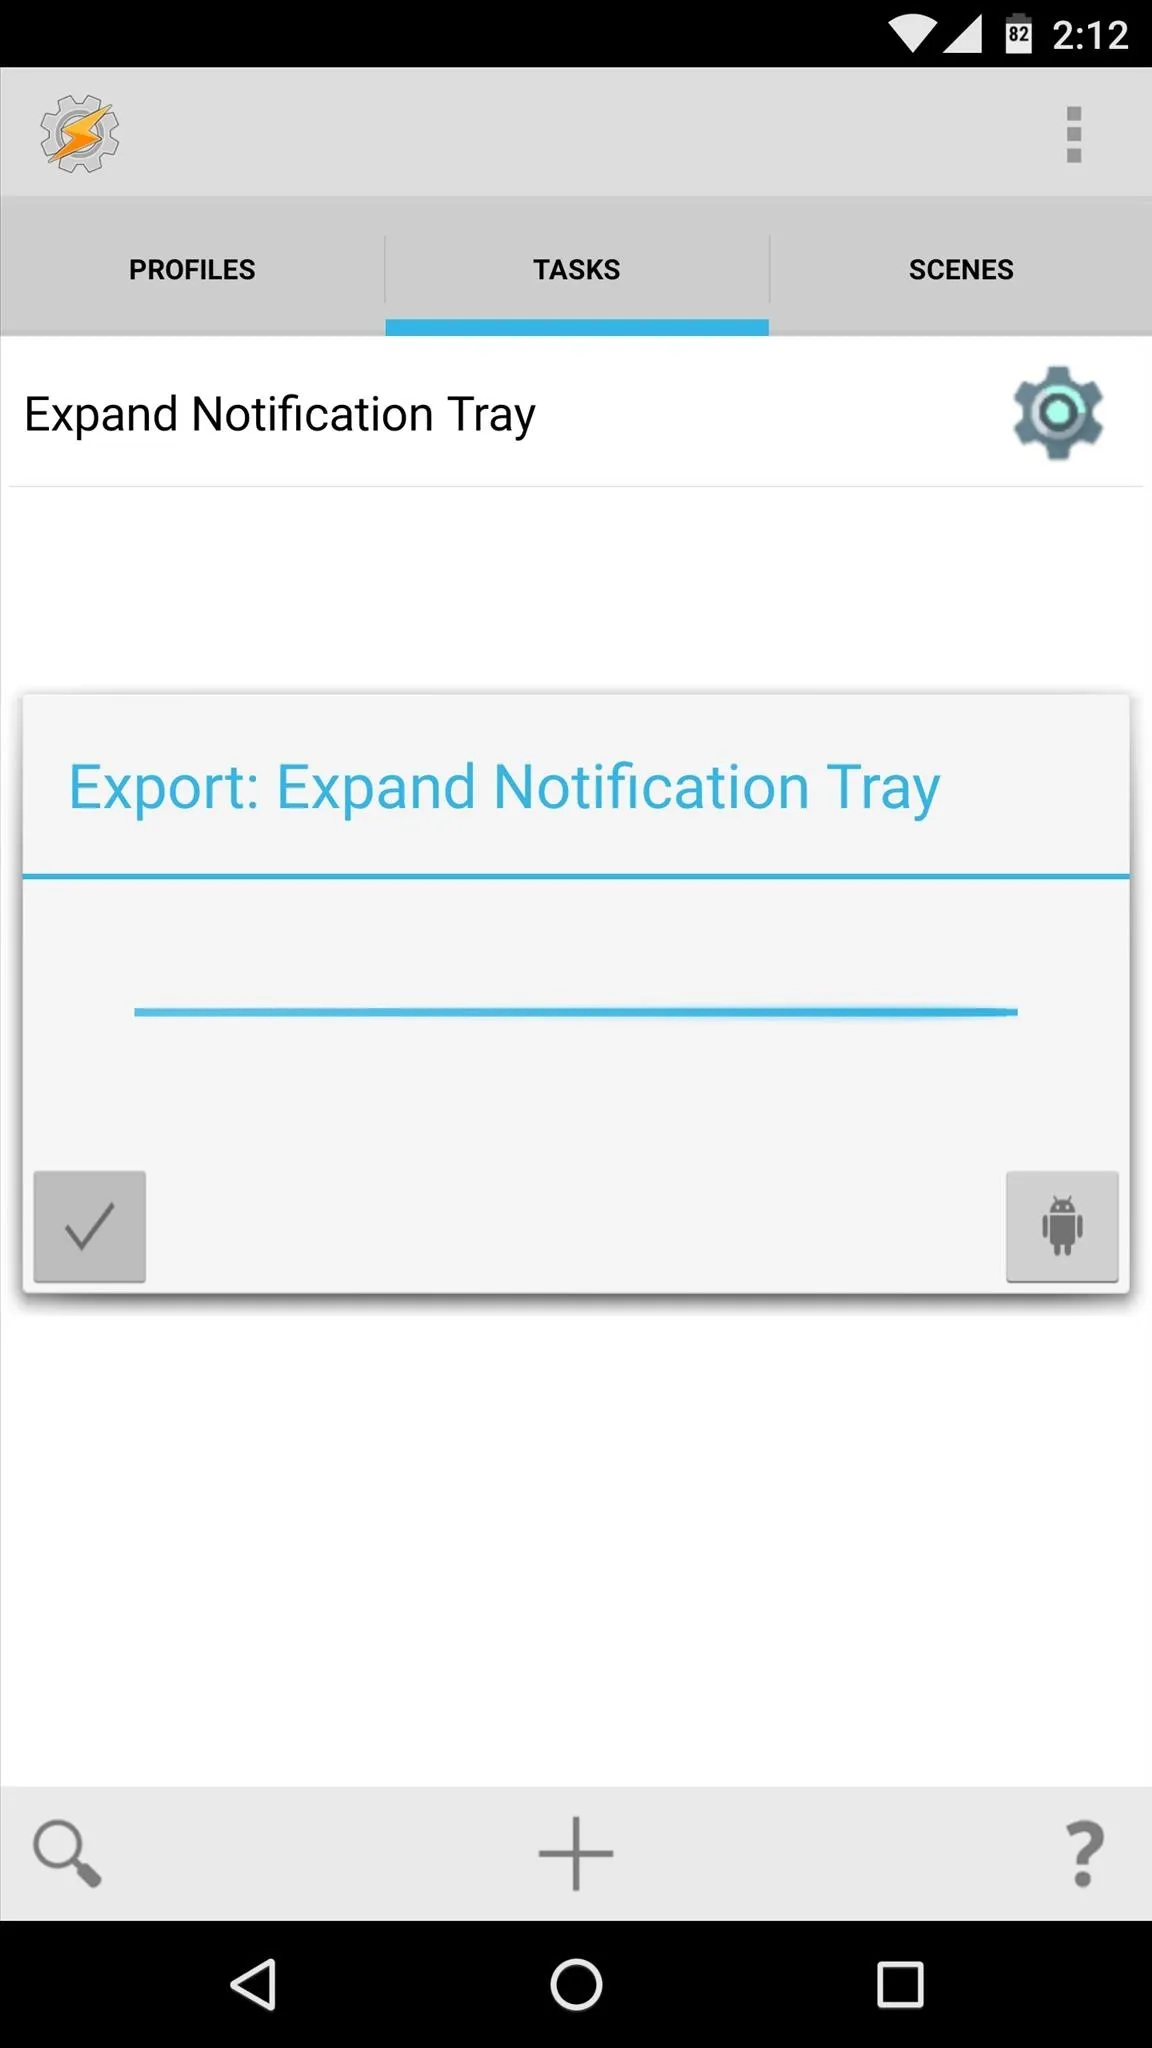
Whether you only created a task or you chose to add a scene, exporting your creation as an app is simple. Start by heading to the Tasks tab, then long-press your task. From here, tap the three-dot menu button in the top-right corner and choose "Export," then select "As App" from the following menu.
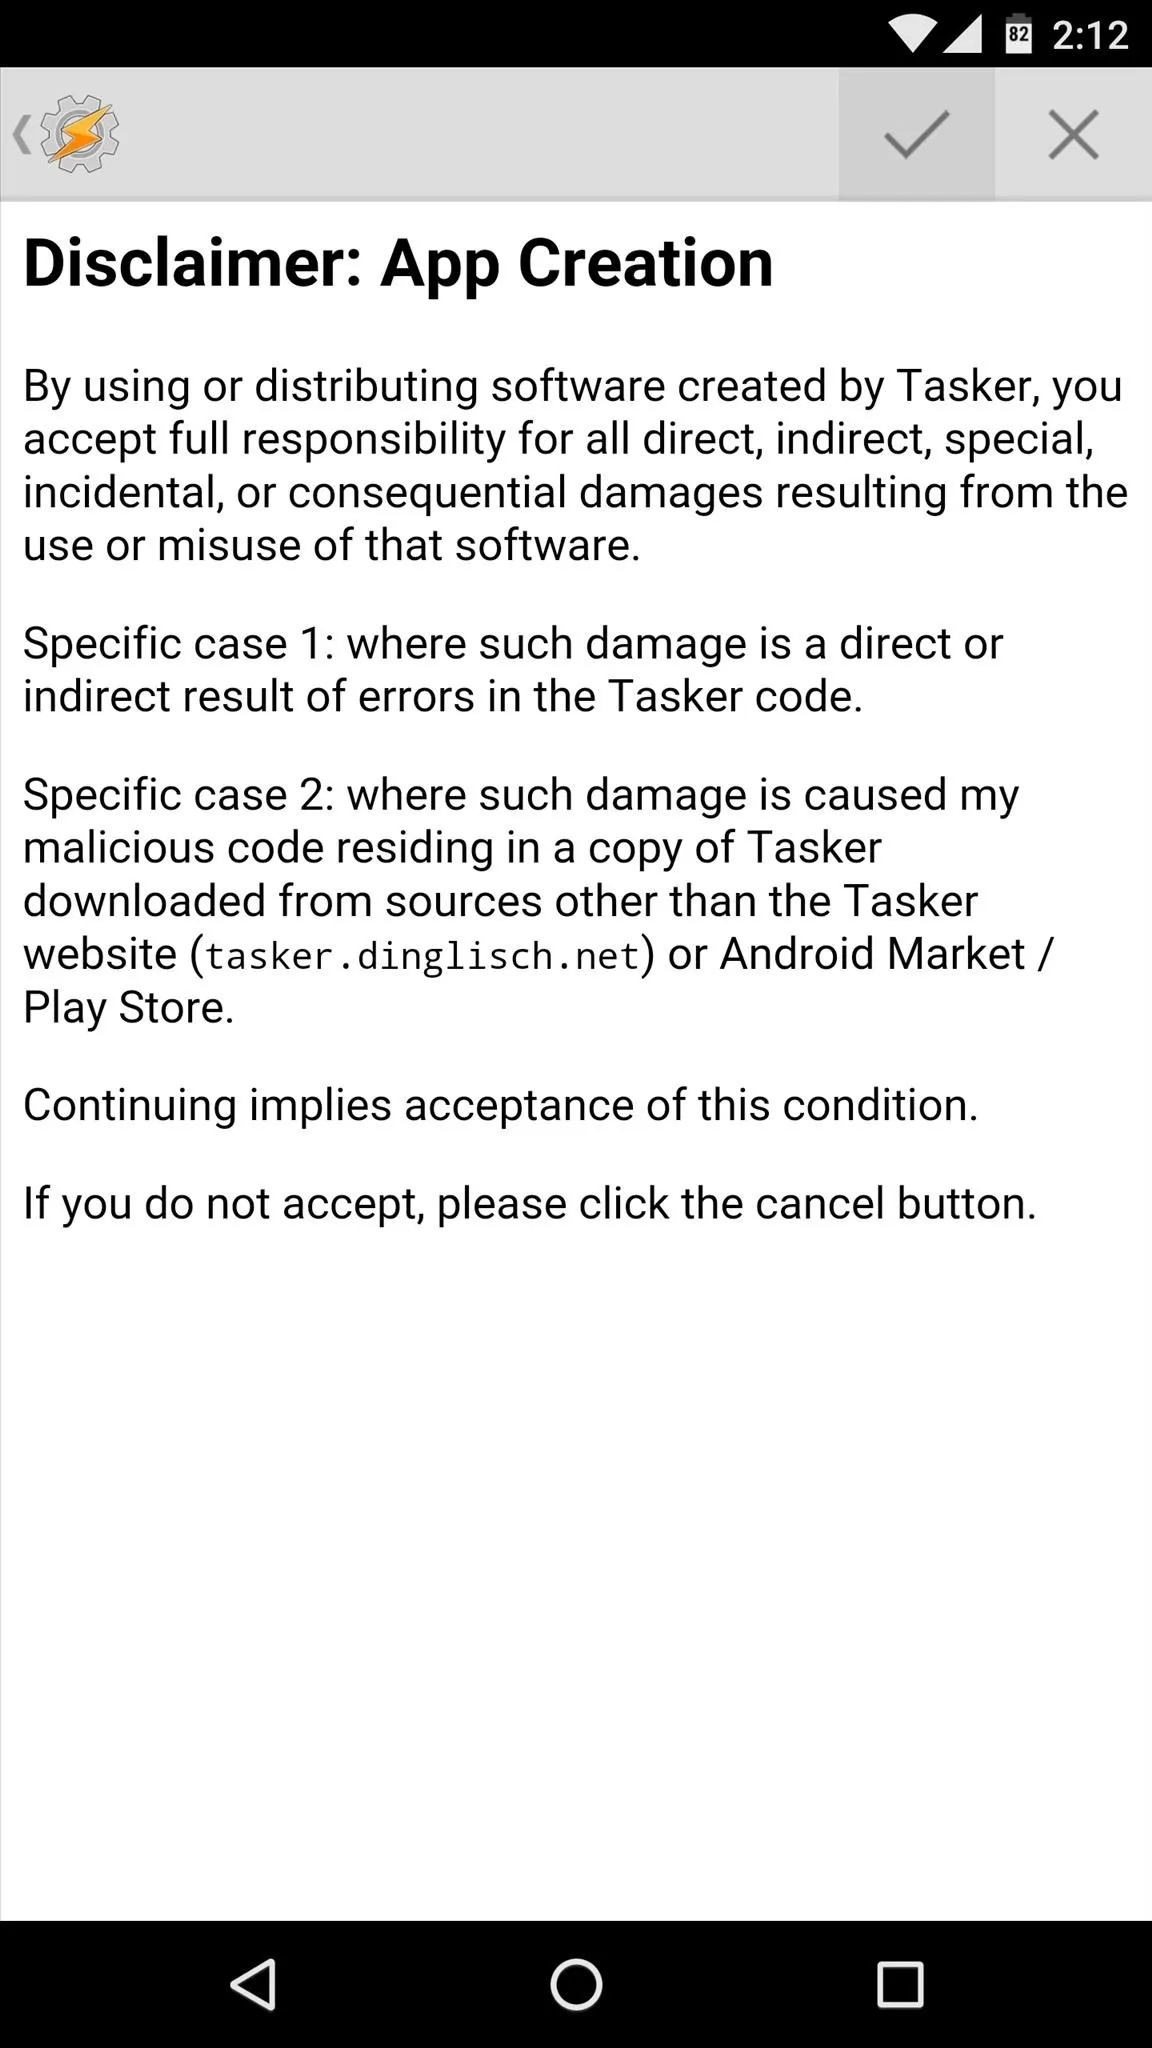
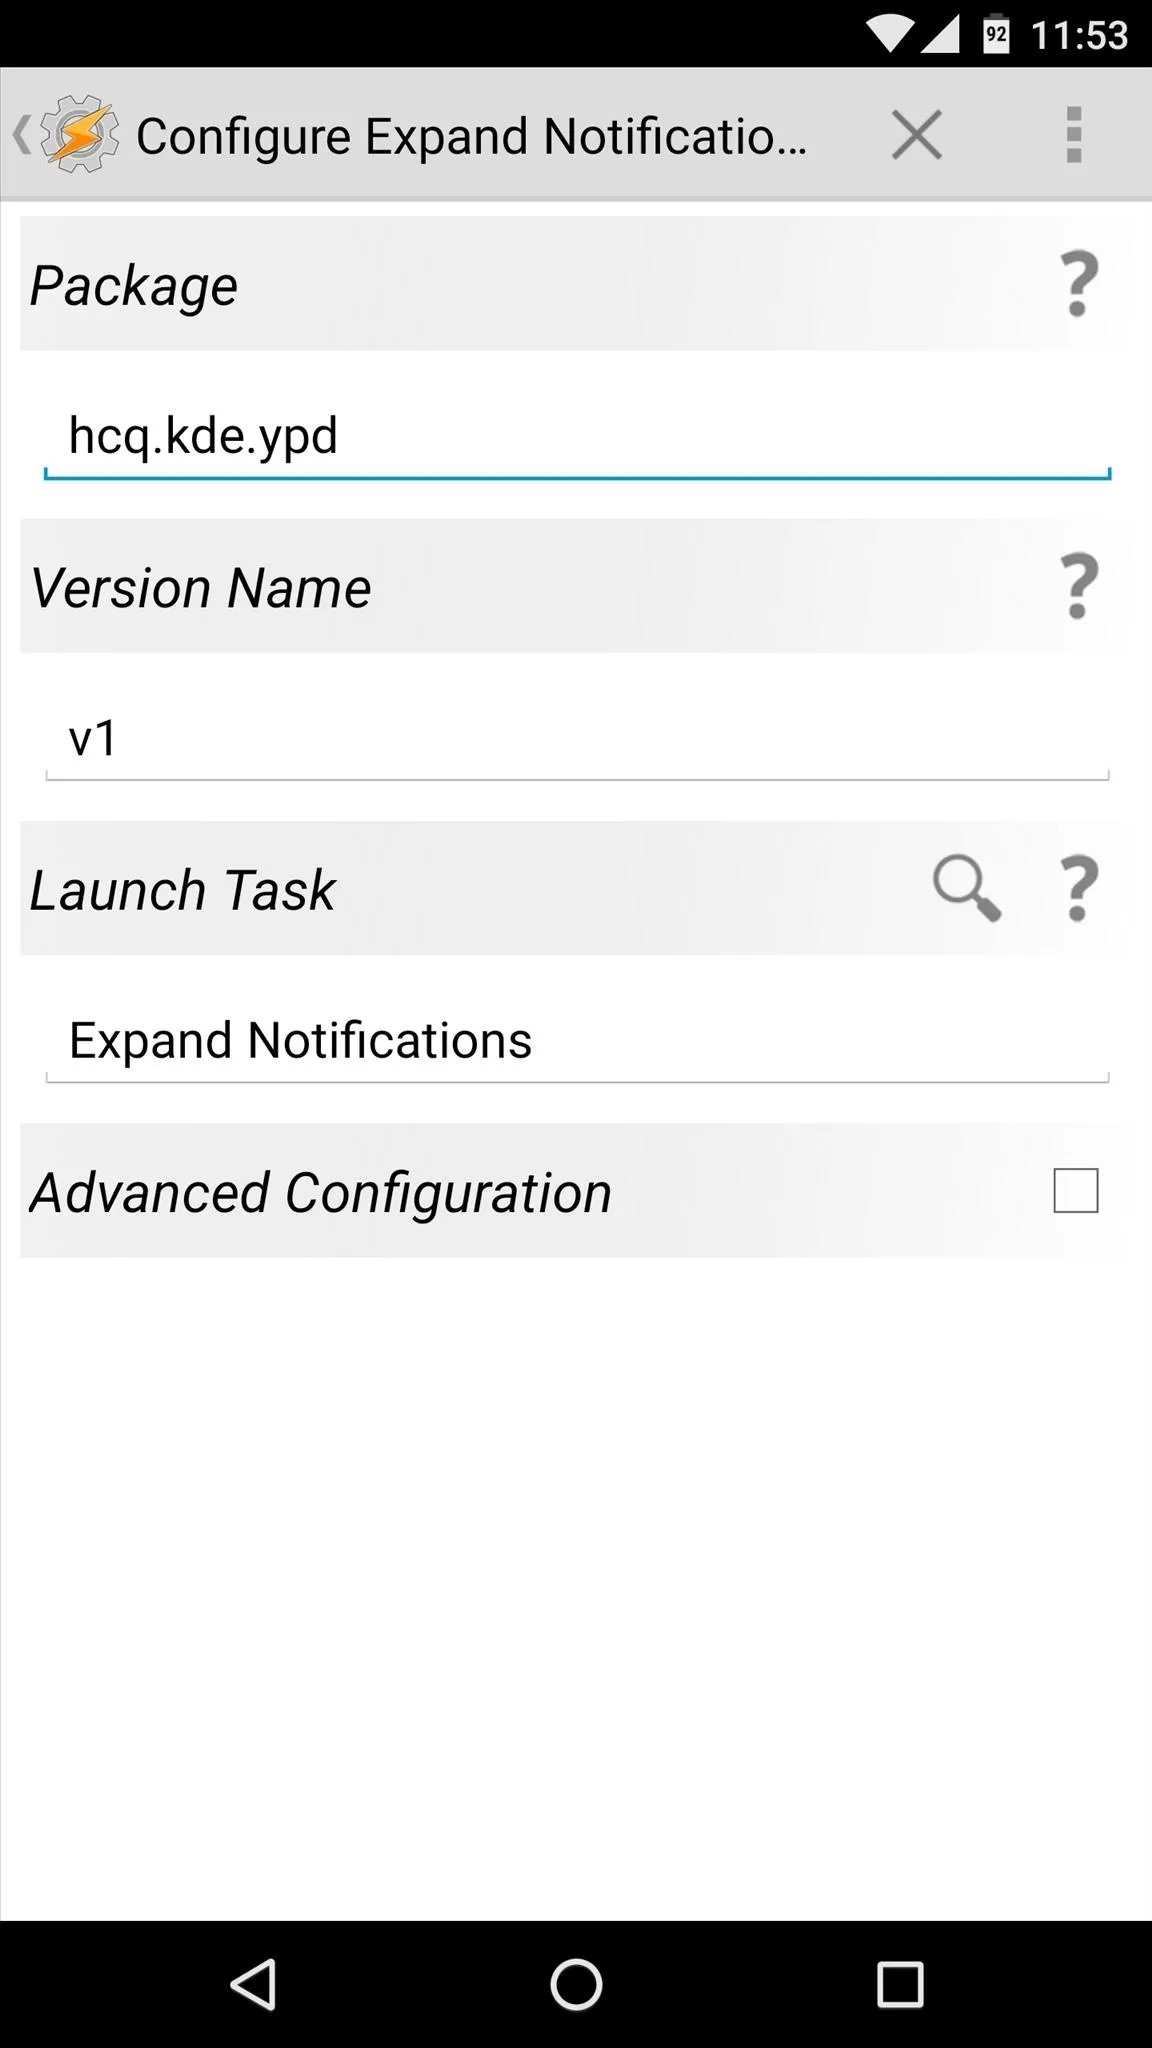
From here, you'll see a disclaimer that explains the usage rights for your app, so read it carefully, then tap the check mark. Next, if you opted to create a scene for your app, you'll be given a chance to assign details like package name and version number.
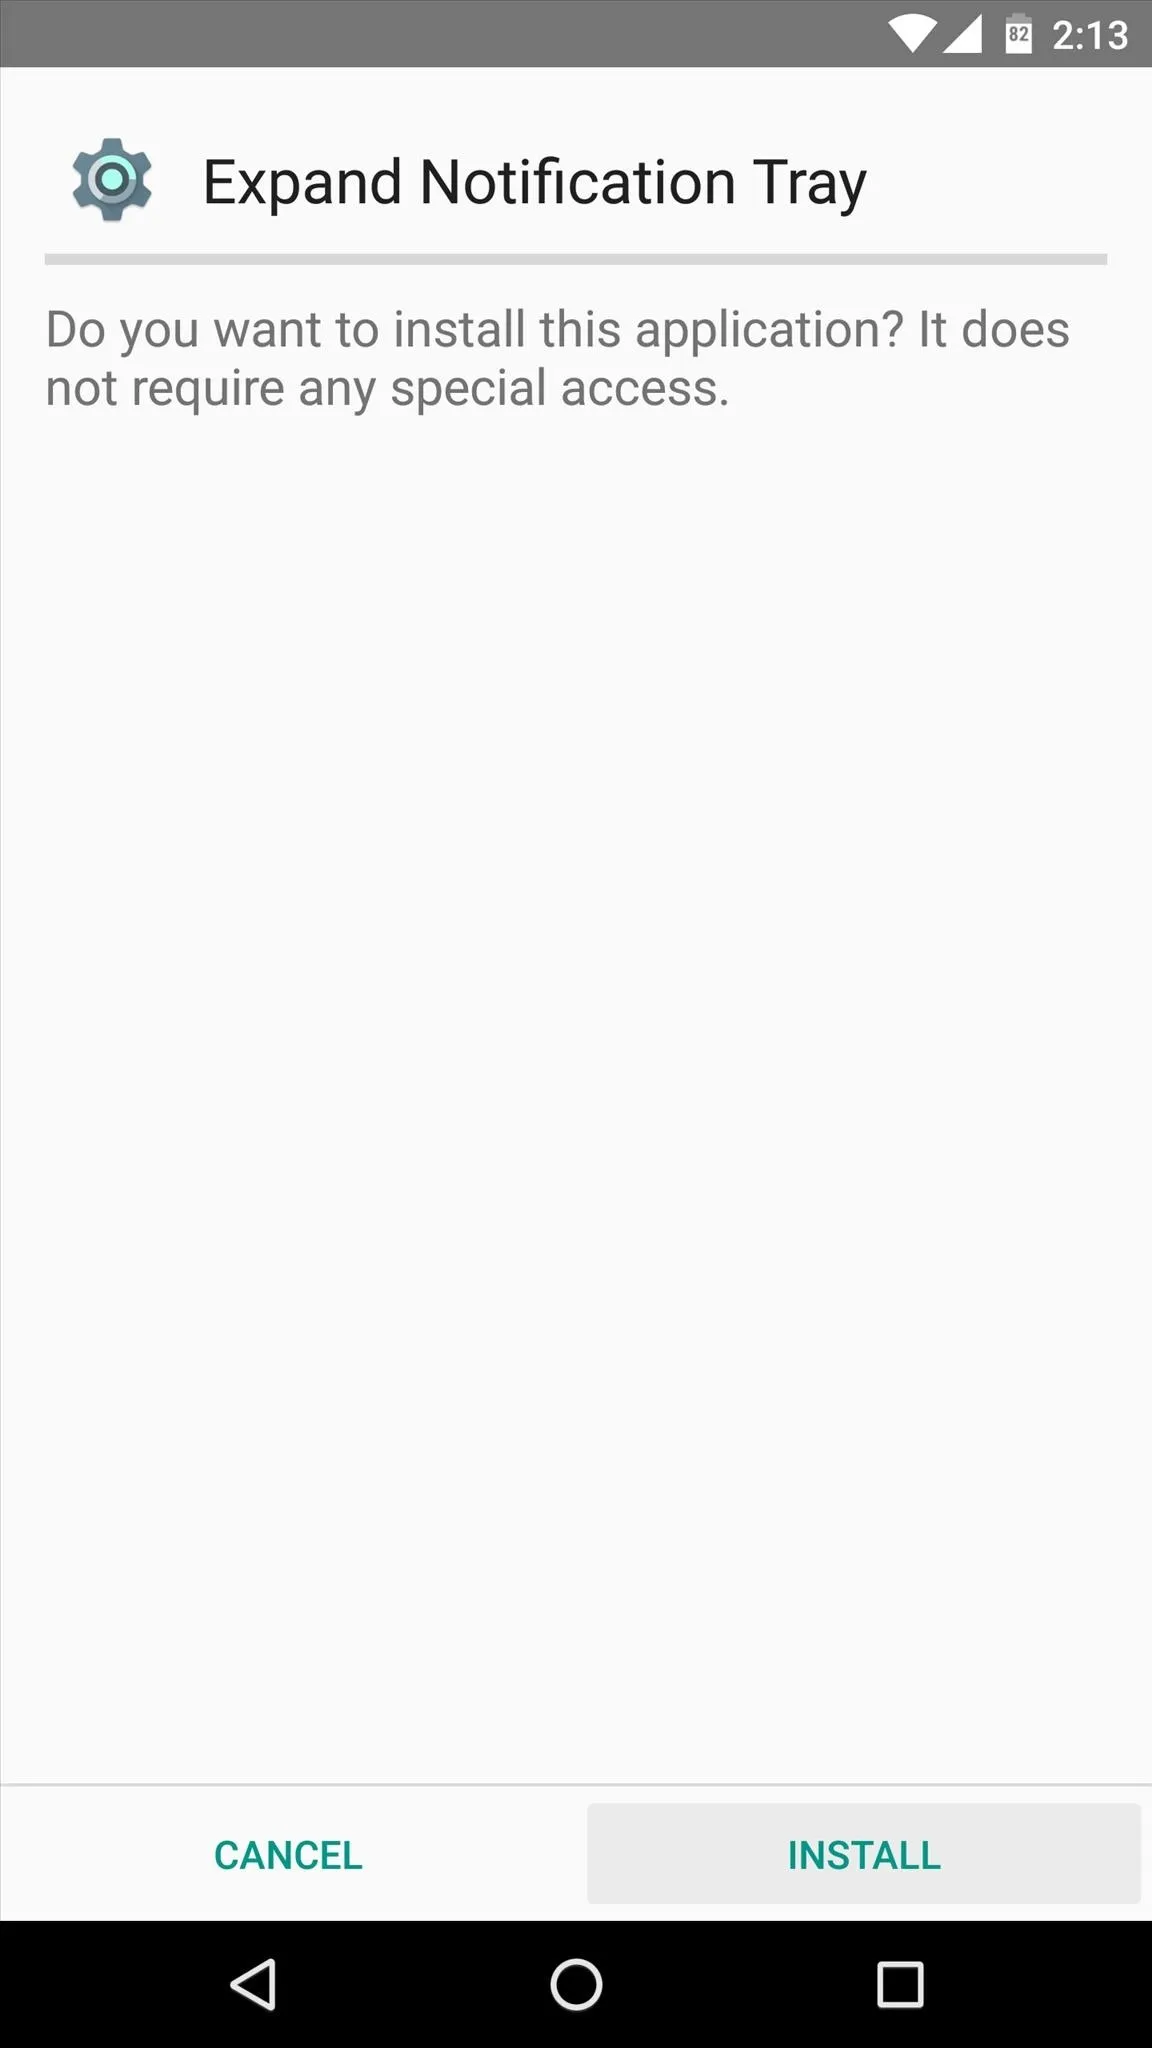
Once that's out of the way, Tasker will convert your creation into an installable APK. When that process is finished, you can either tap the Android icon in the bottom-right corner to install the app on your own device, or simply tap the check mark to dismiss the dialog.
Install the APK on Any Device
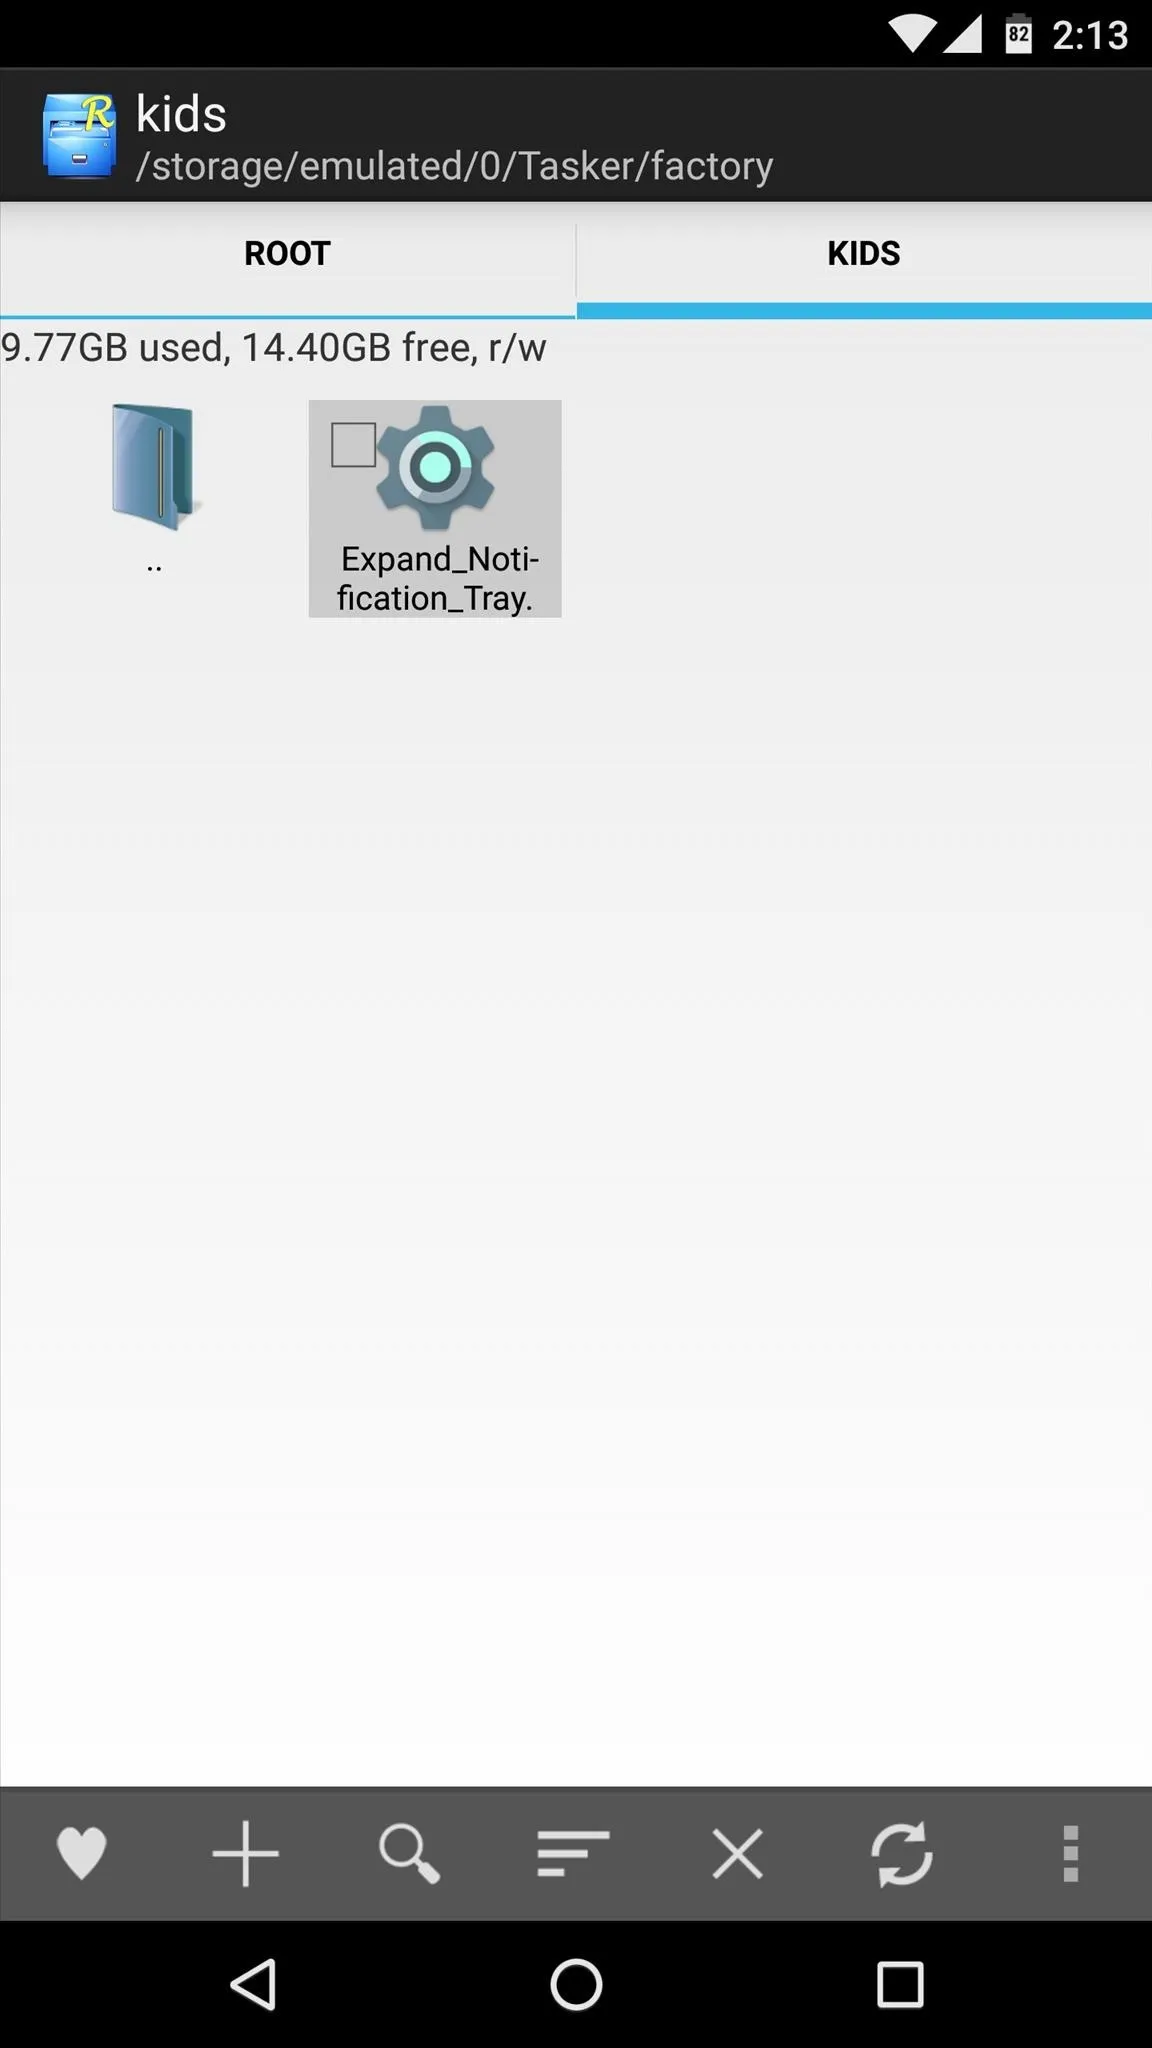
Once you've exported your task as an app, you'll find the APK installer file in the /Tasker/factory/kids folder on your device's internal storage or SD card. If you'd like to share this app with someone else, just send them the APK and have them sideload it on their device.
From there, anytime someone runs your app, it will execute your Tasker task or display your Tasker scene. At this point, all that's left to do is sit back and gloat, because you're officially an Android developer now.
Check out the app I made for this tutorial by sideloading it from here (root required).

What's the best app you've created using Tasker App Factory? Tell us about it in the comment section below, or drop us a line on Android Hacks' Facebook or Twitter, or Gadget Hacks' Facebook, Google+, or Twitter.


Comments
Be the first, drop a comment!