


Essential just dropped the Oreo Beta Program for their flagship PH-1 phone. Users have been eagerly awaiting this update as the early Nougat builds of the PH-1 software have suffered from numerous performance issues and lag. The good news is that you can grab the Oreo update today with a few simple steps.
The announcement of the Oreo Beta Program went up on Essential's website earlier today. In order to enroll in the beta, you will only need your email address. Before proceeding with these steps you should take note of the Release Notes posted on the Beta Program page.
Essential mentions that Android Auto users may see compatibility issues with certain vehicles and head-units. In addition, bluetooth battery drain is increased on the beta software. Hopefully, improvements in smoothness, usability, and camera quality will compensate for these minor hiccups in the beta software. If none of these warnings seem like deal-breakers to you, let's get to the process of installing Oreo on your Essential phone!
What You'll Need
- Essential PH-1 running the latest firmware
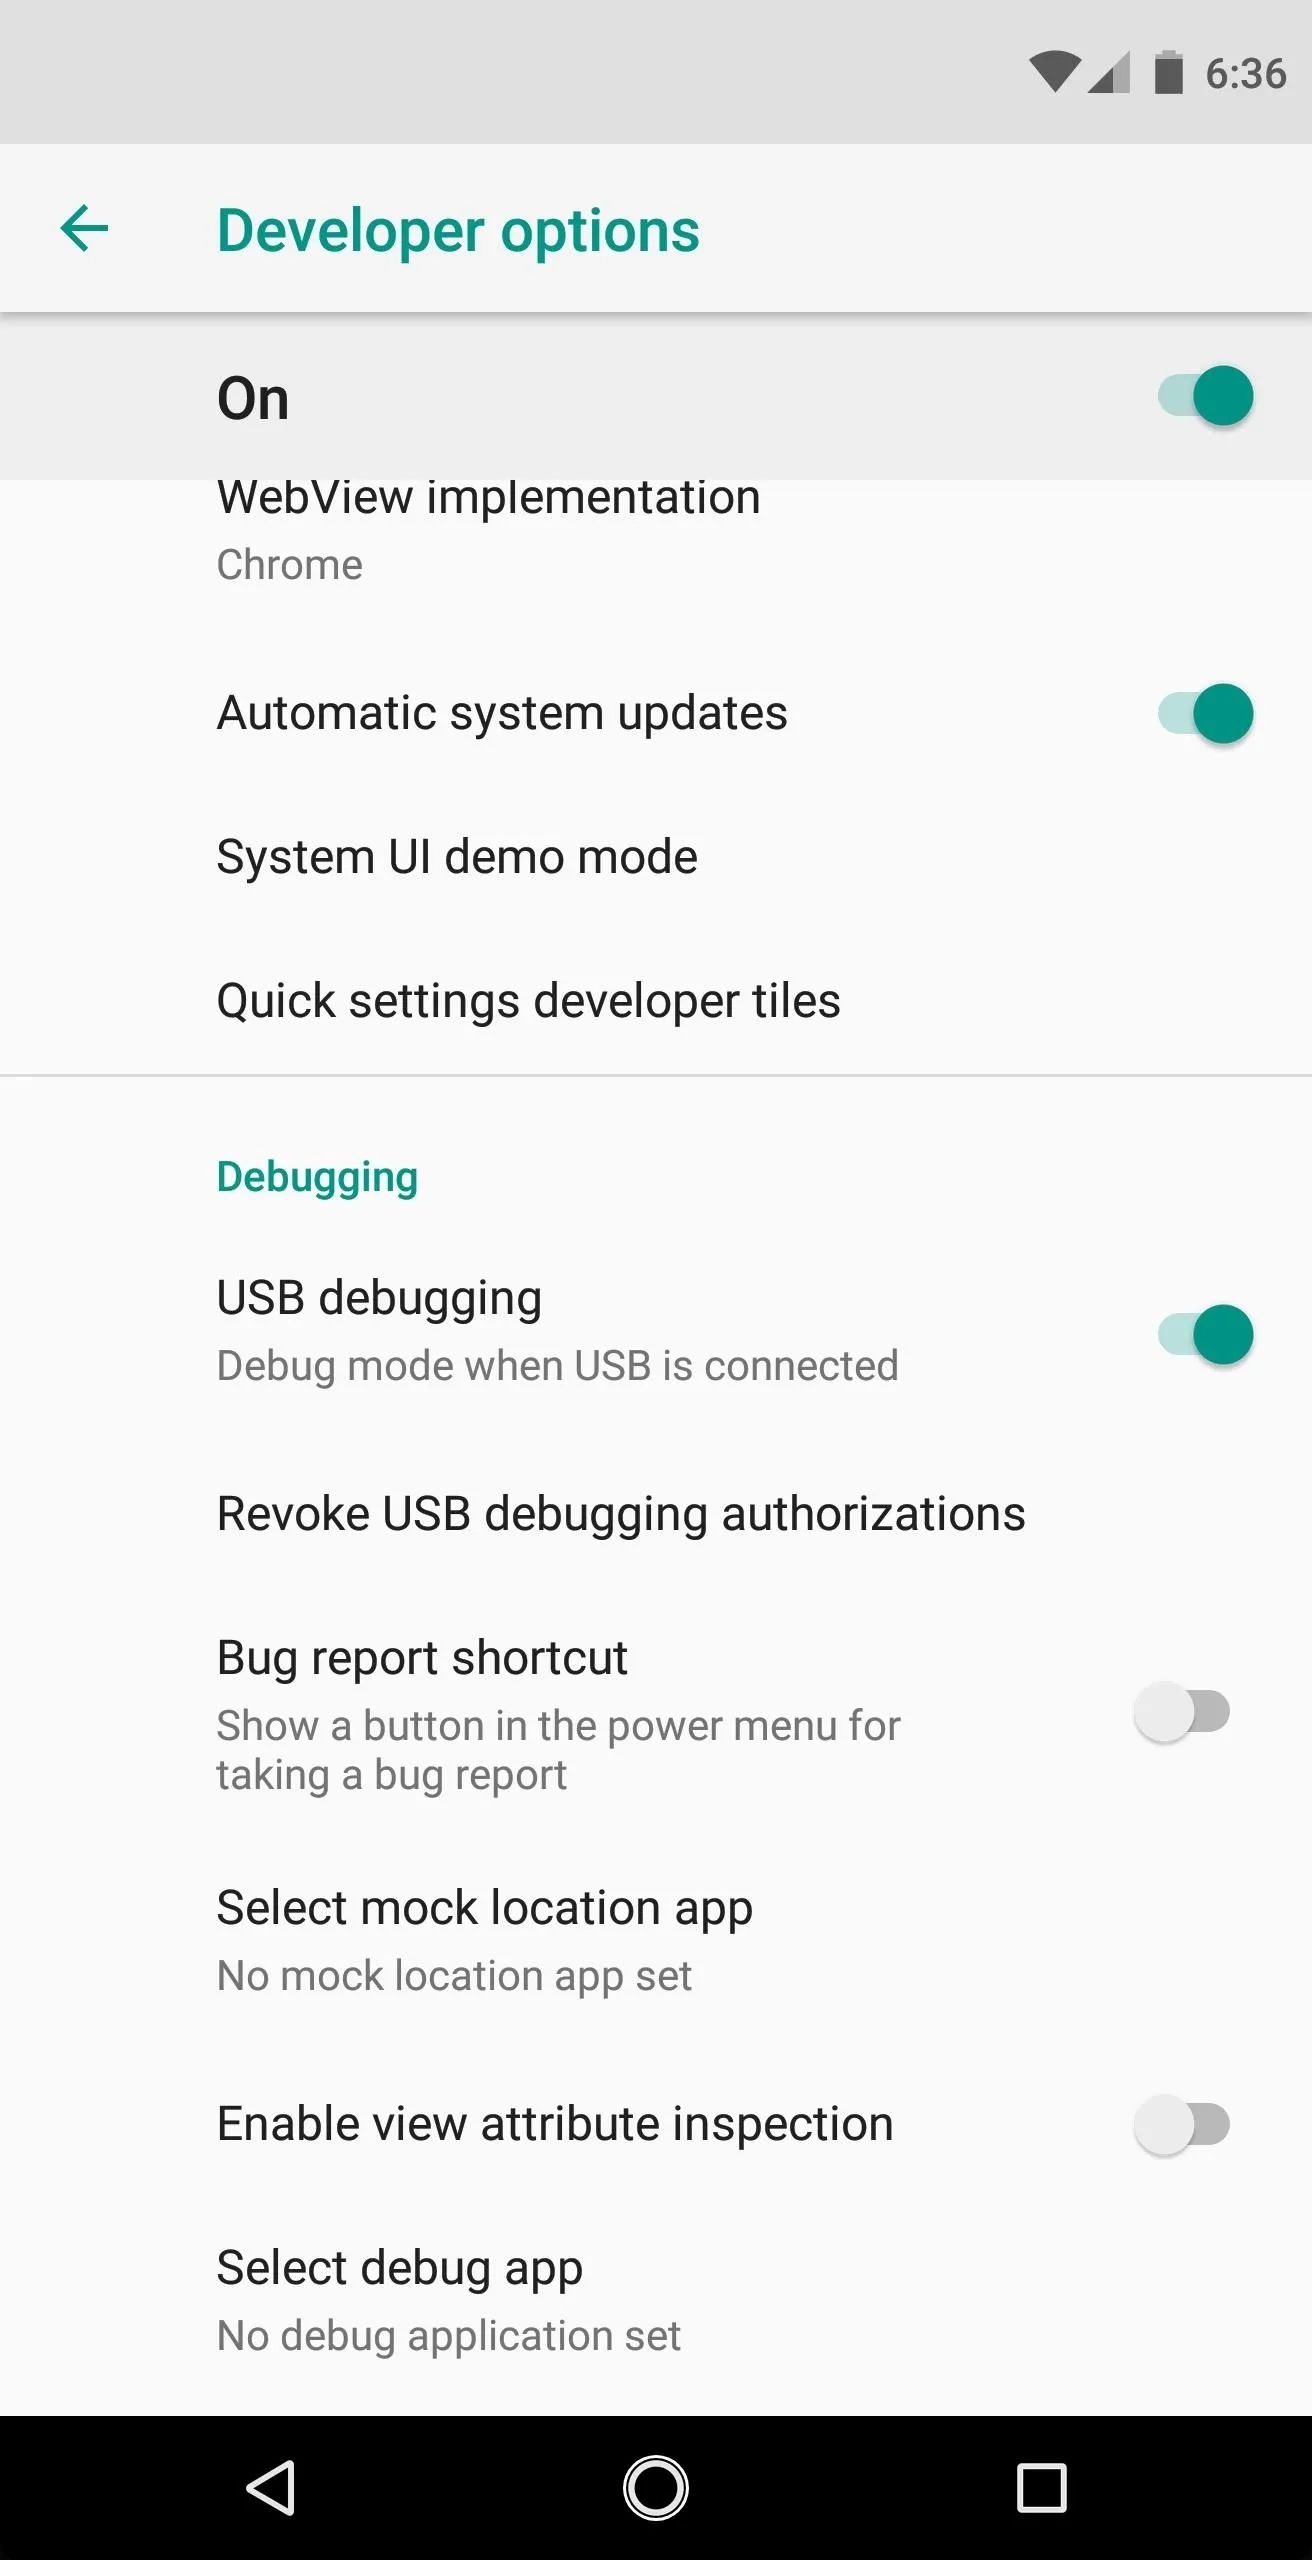
- Developer options and USB Debugging enabled
- Windows, Mac, or Linux computer
- USB data cable
Sign Up for the Oreo Beta
To sign up for the Essential Oreo Beta Program, head here and enter your email. Also choose whether you'd like to receive future developer updates from the Essential team. Make sure you check your Essential PH-1 for any pending OTAs before you proceed with installing the beta.
Download the Update ZIP
After you enter your email, the page will redirect to a download page. Download the beta update ZIP file to the desired location on your computer (preferably Desktop for easiest access). When you're done there, connect your phone to your computer with a USB data cable.
Install ADB on Your Computer
On your computer now, it's time to install ADB and Fastboot. We recommend installing the latest official version from Google, as there are a few new commands in Oreo that other tools like Minimal ADB & Fastboot might not have yet. So if you haven't already done so, head to this guide for full setup instructions.
Open a Command Window in the Right Directory
This next part is where most people struggle with ADB and Fastboot: Getting a command window open to the proper directory.
The easiest way I've found to do this is to locate the platform-tools folder inside of your ADB and Fastboot installation directory. For Windows users, this can usually be found at C:\Program Files (x86)\Android\android-sdk\platform-tools. For Linux and Mac users, the folder's location will vary, so use your computer's search function to find the platform-tools folder.
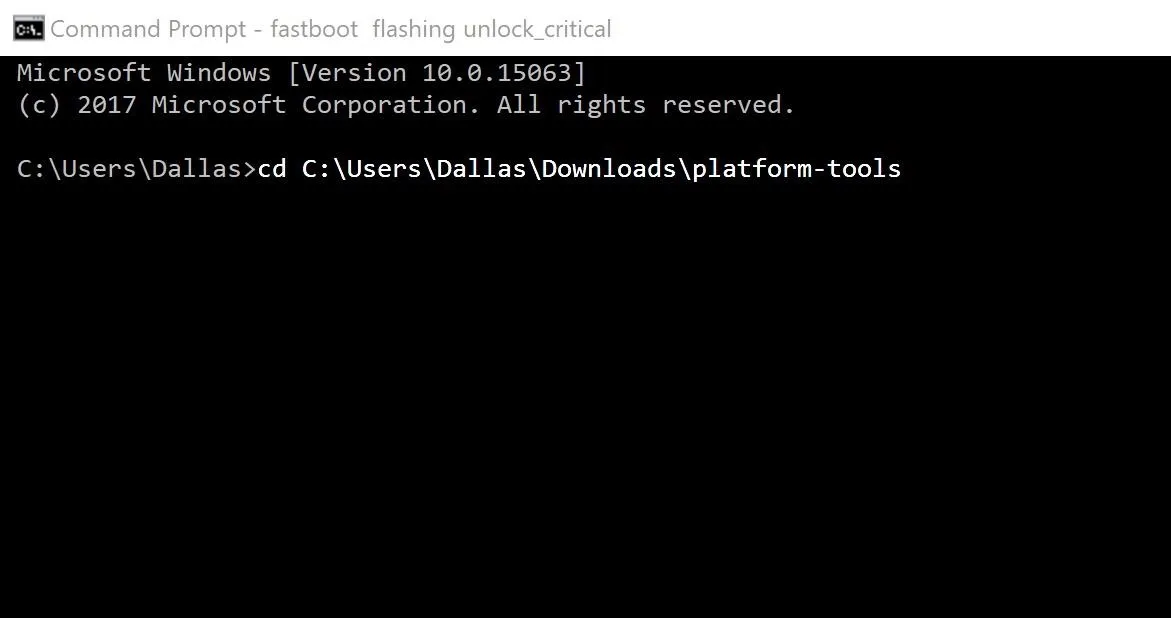
Once you've found the platform-tools folder, copy the location from the address bar at the top of your file browser (e.g., Windows Explorer). Then, open a command prompt or terminal window. On Windows, press the Windows button on your keyboard, then type in "cmd" and hit enter to do so. On Linux or Mac, open "Terminal" from your Applications folder.
Once you've got the command window open, you'll need to change directories to the platform-tools folder before you can send the Fastboot command to unlock your bootloader. To do that, type "cd" (without the quotes) followed by a space, then paste in the file location for your platform-tools folder:
Boot Your Phone into Recovery Mode
Connect your phone to your computer using the USB data cable that came with the phone. Remember to verify you have enabled USB Debugging in this step. To boot your phone into recovery mode, simply type adb reboot recovery into the command prompt.
The phone will reboot and you will see a screen with a bugdroid and a red exclamation mark. Hold the power button, then press the volume up button a single time. This will take you to the recovery options menu. When this menu appears, choose "Apply Update from ADB."

Sideload the Update
Now we're ready to use a few ADB commands. First type "adb devices" into the command prompt (without the quotes), then press enter. Verify that the word "sideload" shows up next to the name of your device. If not, you may need to revisit the ADB setup instructions linked out in Step 3.
Next, type "adb sideload" (without the quotes), then add a single space, but don't hit enter just yet. Instead, drag and drop the OTA file from your computer's file browser (it should be on your desktop) into the command prompt window, then the full file location will be populated. Once the command looks something like adb sideload C:\Desktop\ota.zip, hit enter.
At this point, the update will take several minutes to load onto your device. At the end of the process, your Essential phone should reboot with the newly loaded Oreo beta update!
How are you liking the update so far? Did you run into any bumps during the installation process? If so, let us know in the comment section below and we'll do our best to steer you in the right direction.
- Follow Gadget Hacks on Facebook, Twitter, Google+, YouTube, and Instagram
- Follow WonderHowTo on Facebook, Twitter, Pinterest, and Google+
Cover image and screenshots by Jeff Springer/Gadget Hacks


Comments
Be the first, drop a comment!