


Android lets you sync your contacts across devices. The OS will use not only contacts saved on your phone, but also your Gmail. This choice can lead to a contacts list populated with entries that don't have a phone number, which can quickly add up. To mitigate this problem, there are a few methods.
Previous versions of Android used to include an option in the Google-developed Contacts app to only show contacts with phone numbers, but this was removed in Android 5.0 Lollipop. Because of this decision, you'll need a workaround to accomplish this now. Fortunately, our first method is simple to perform and is accessible to most Android users.
Set Your OEM Contacts App to Only Show Phone Numbers
While the Google-developed Contacts app can't hide phone number-less contacts without a workaround, many OEM replacement apps do. Since only a handful of devices run stock Android, there is a good chance your device has one of these alternatives preinstalled. These apps tend to include an option to assist specifically with contacts without phone numbers. Here are just a few examples.
Samsung Experience
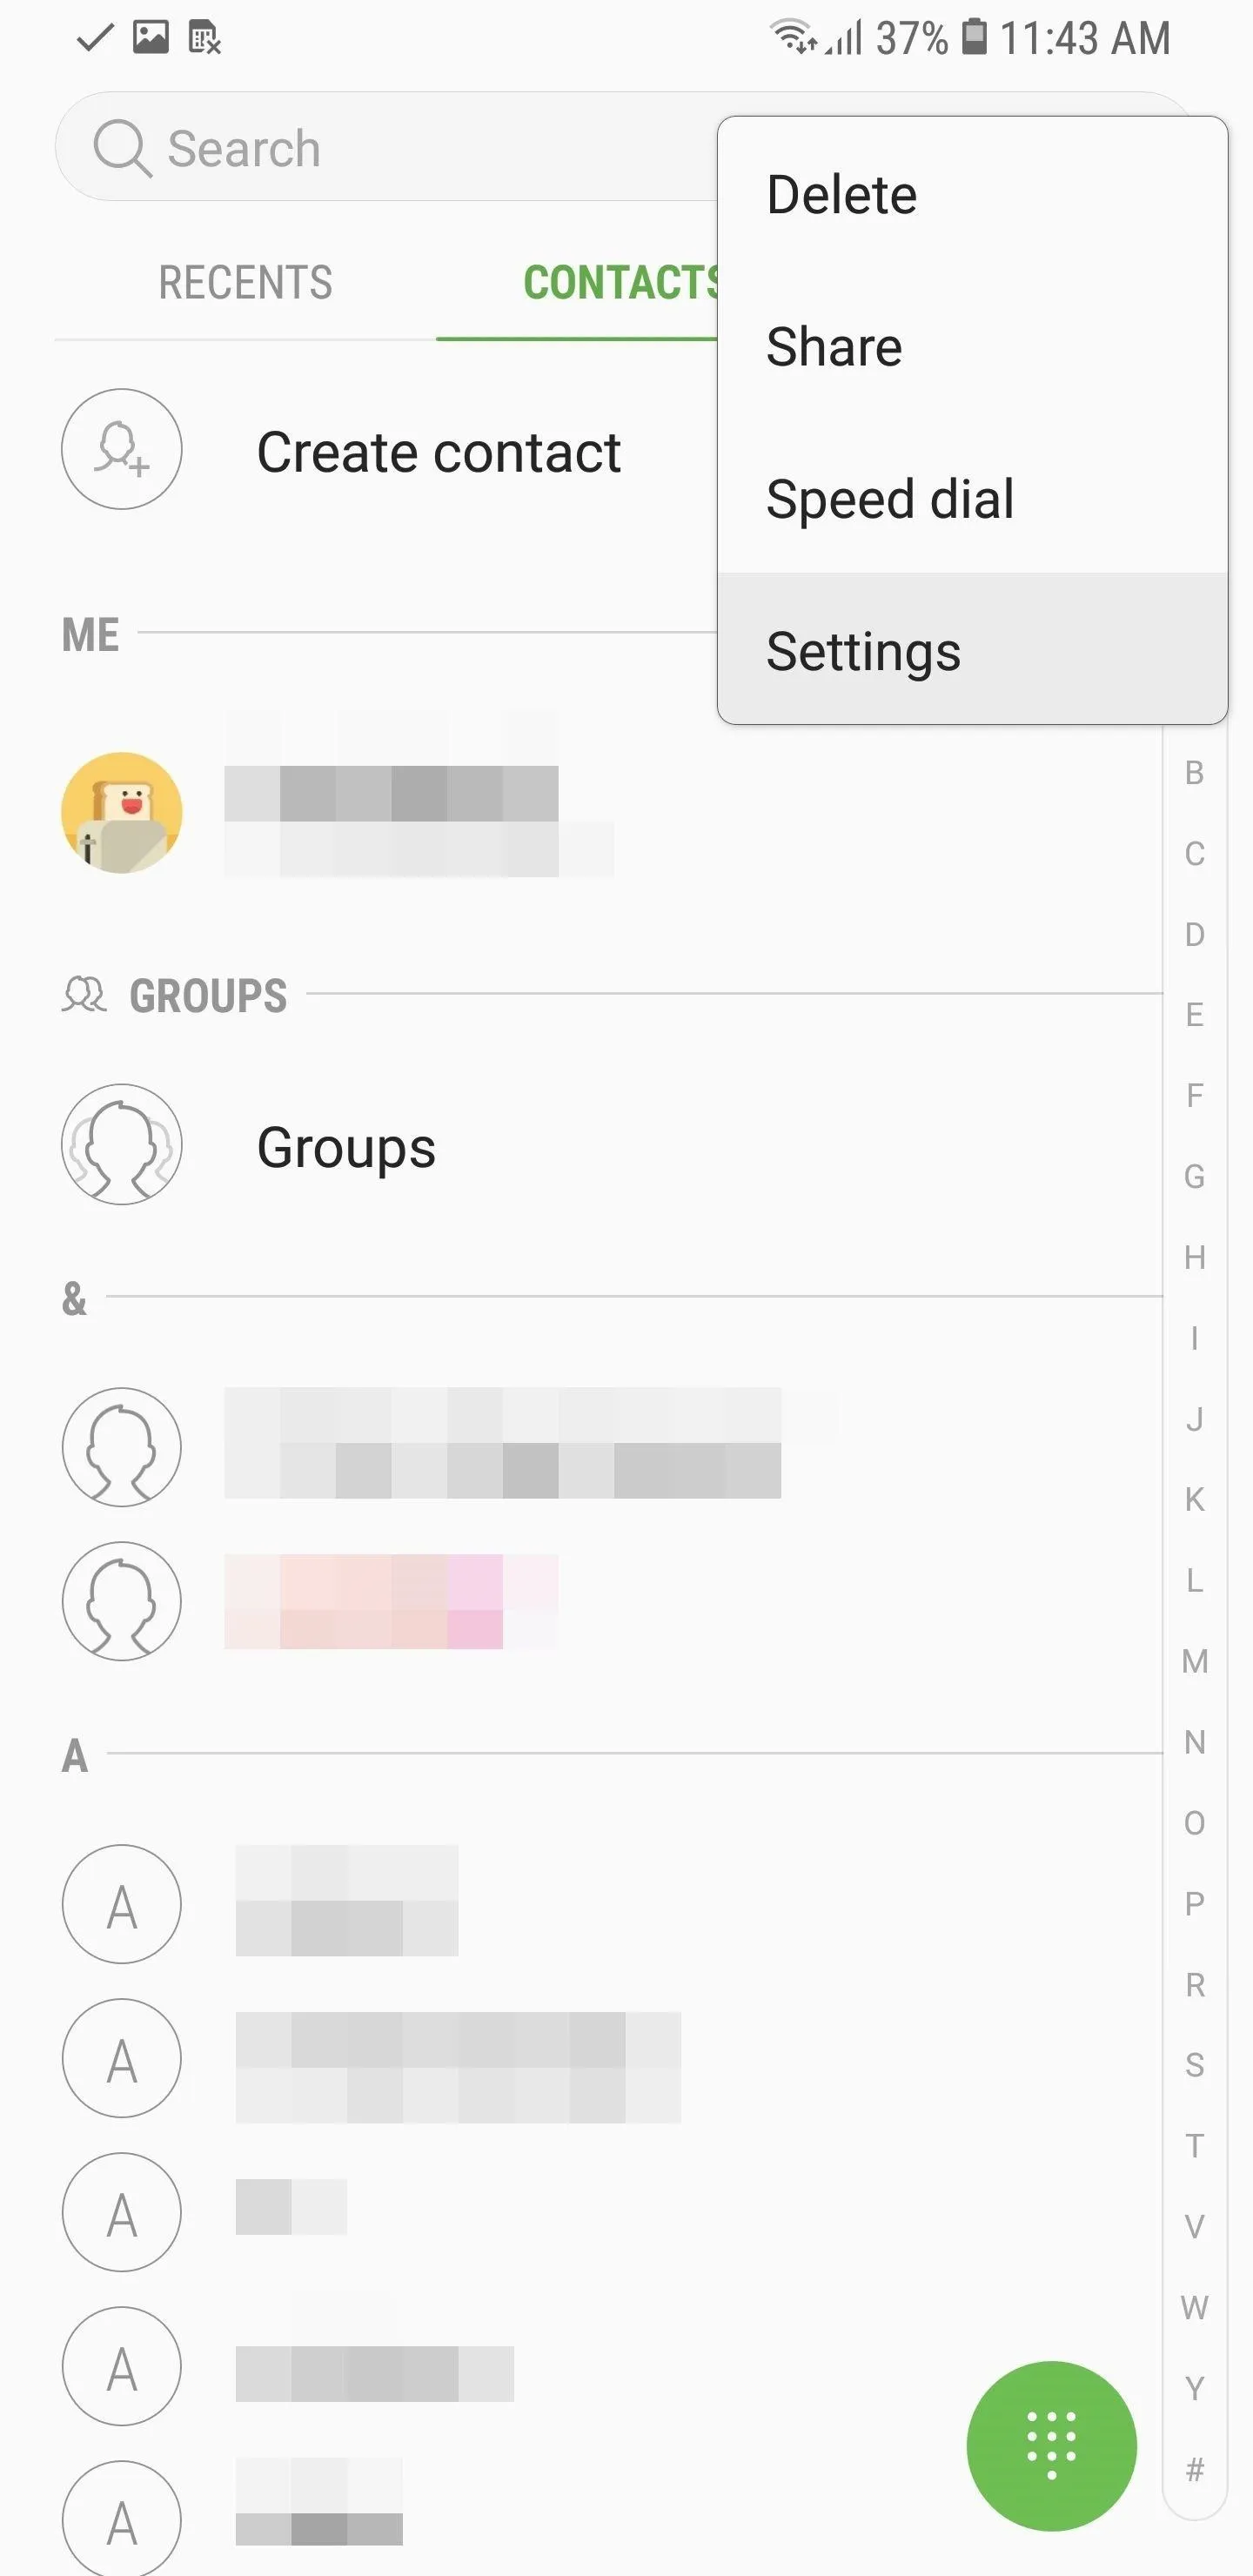
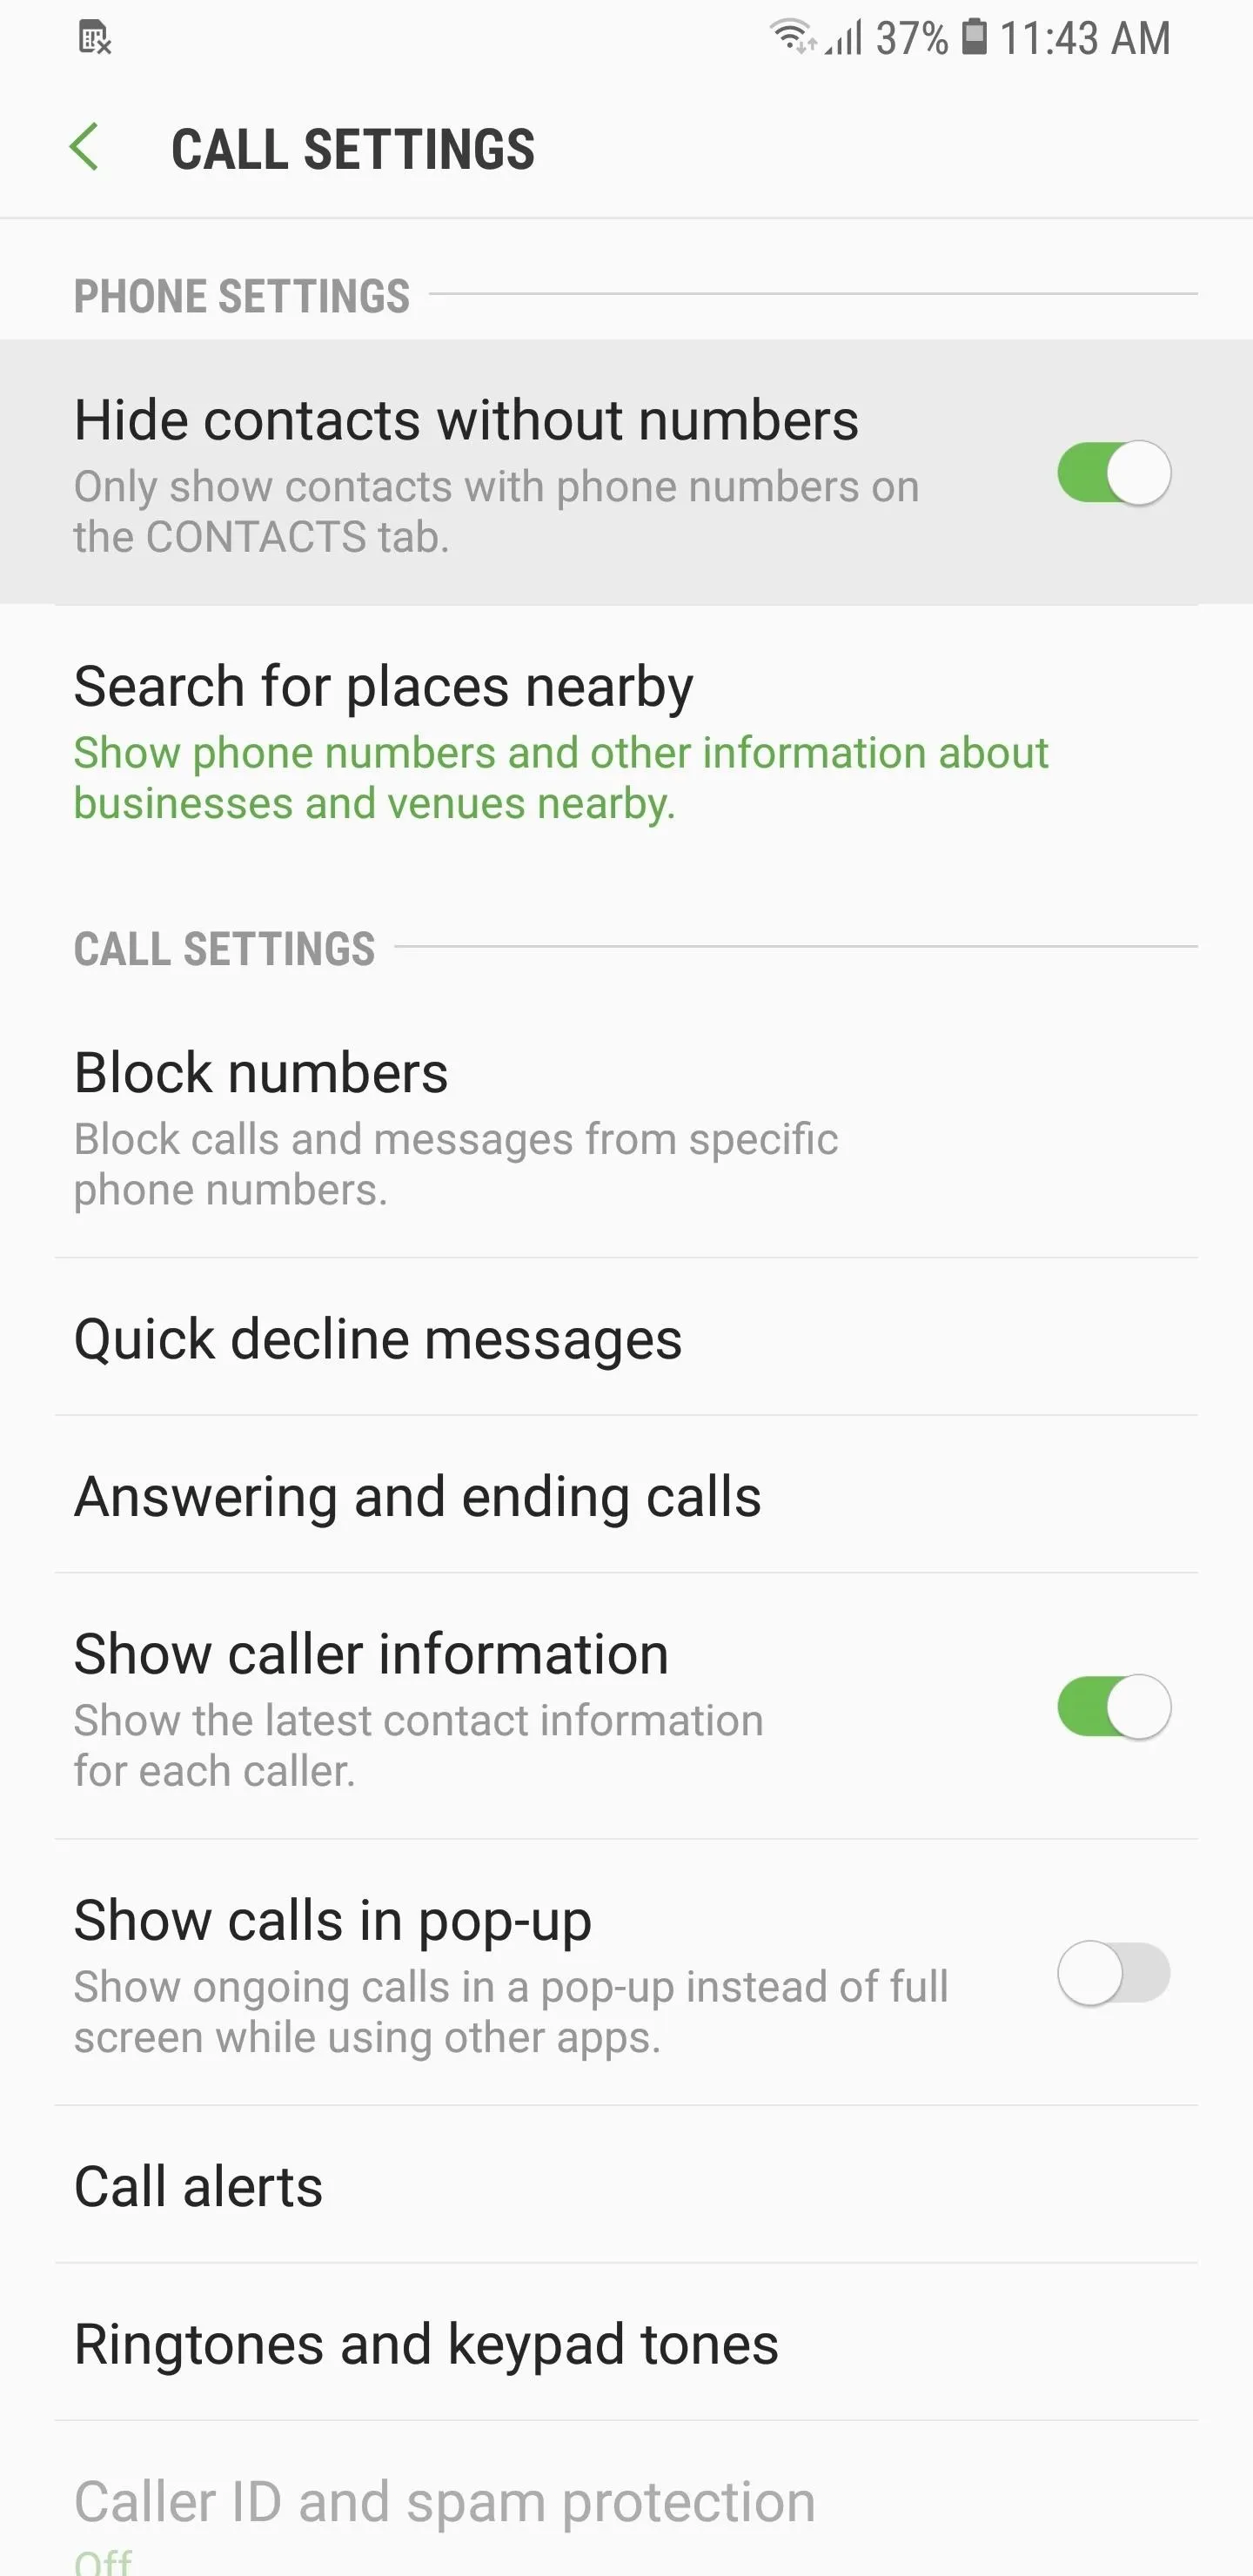
For those using a Samsung device, you can find the option using the Phone app. Select the three vertical dots in the upper-right corner of your display and choose "Settings." Here is where you can enable the "Hide contacts without numbers" option.
Oxygen OS
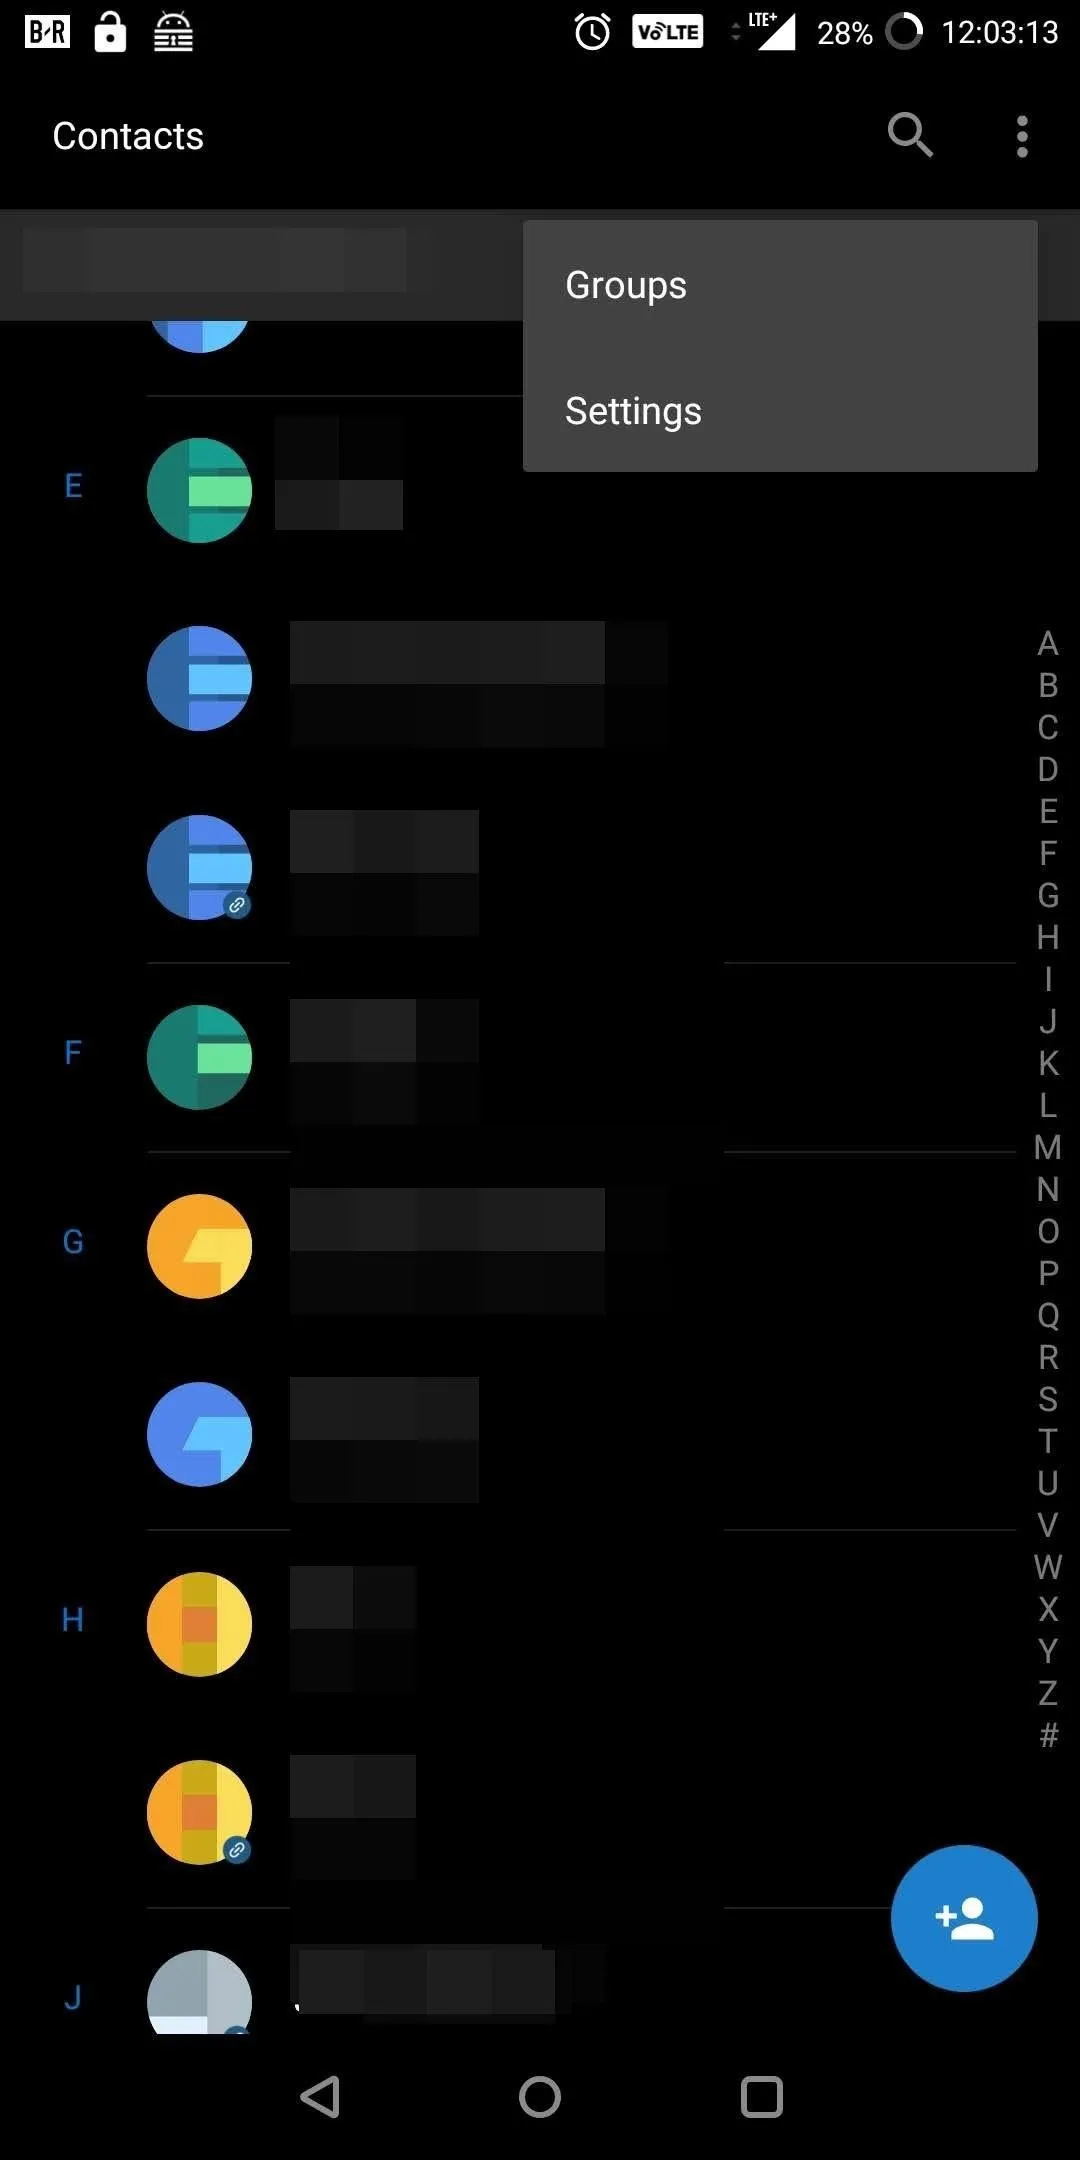
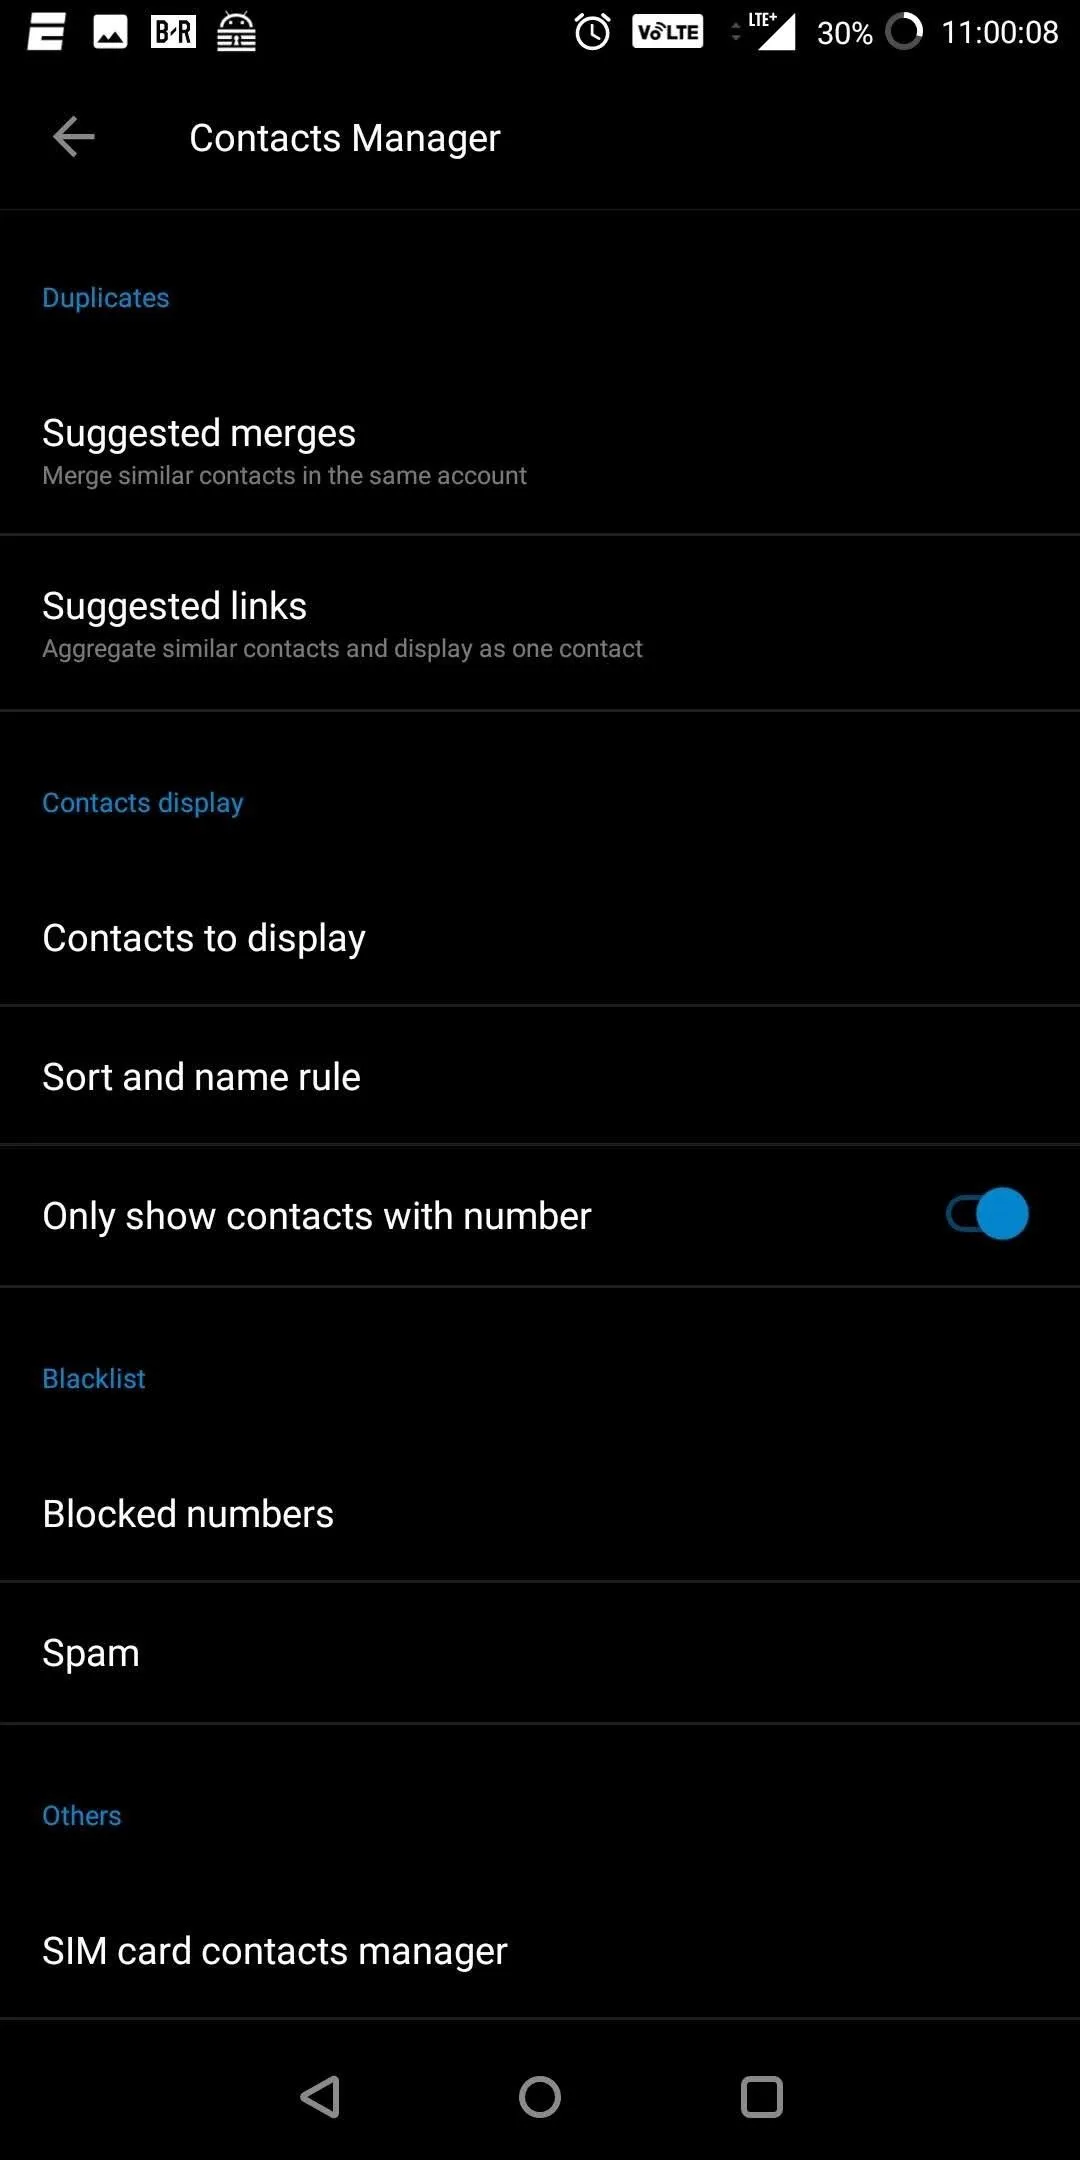
For OnePlus users, this option is pretty straightforward to find. Open your Contacts app and select the three vertical dots in the upper-right corner of your display. Choose "Settings" then enable "Only show contacts with number."
LG UX
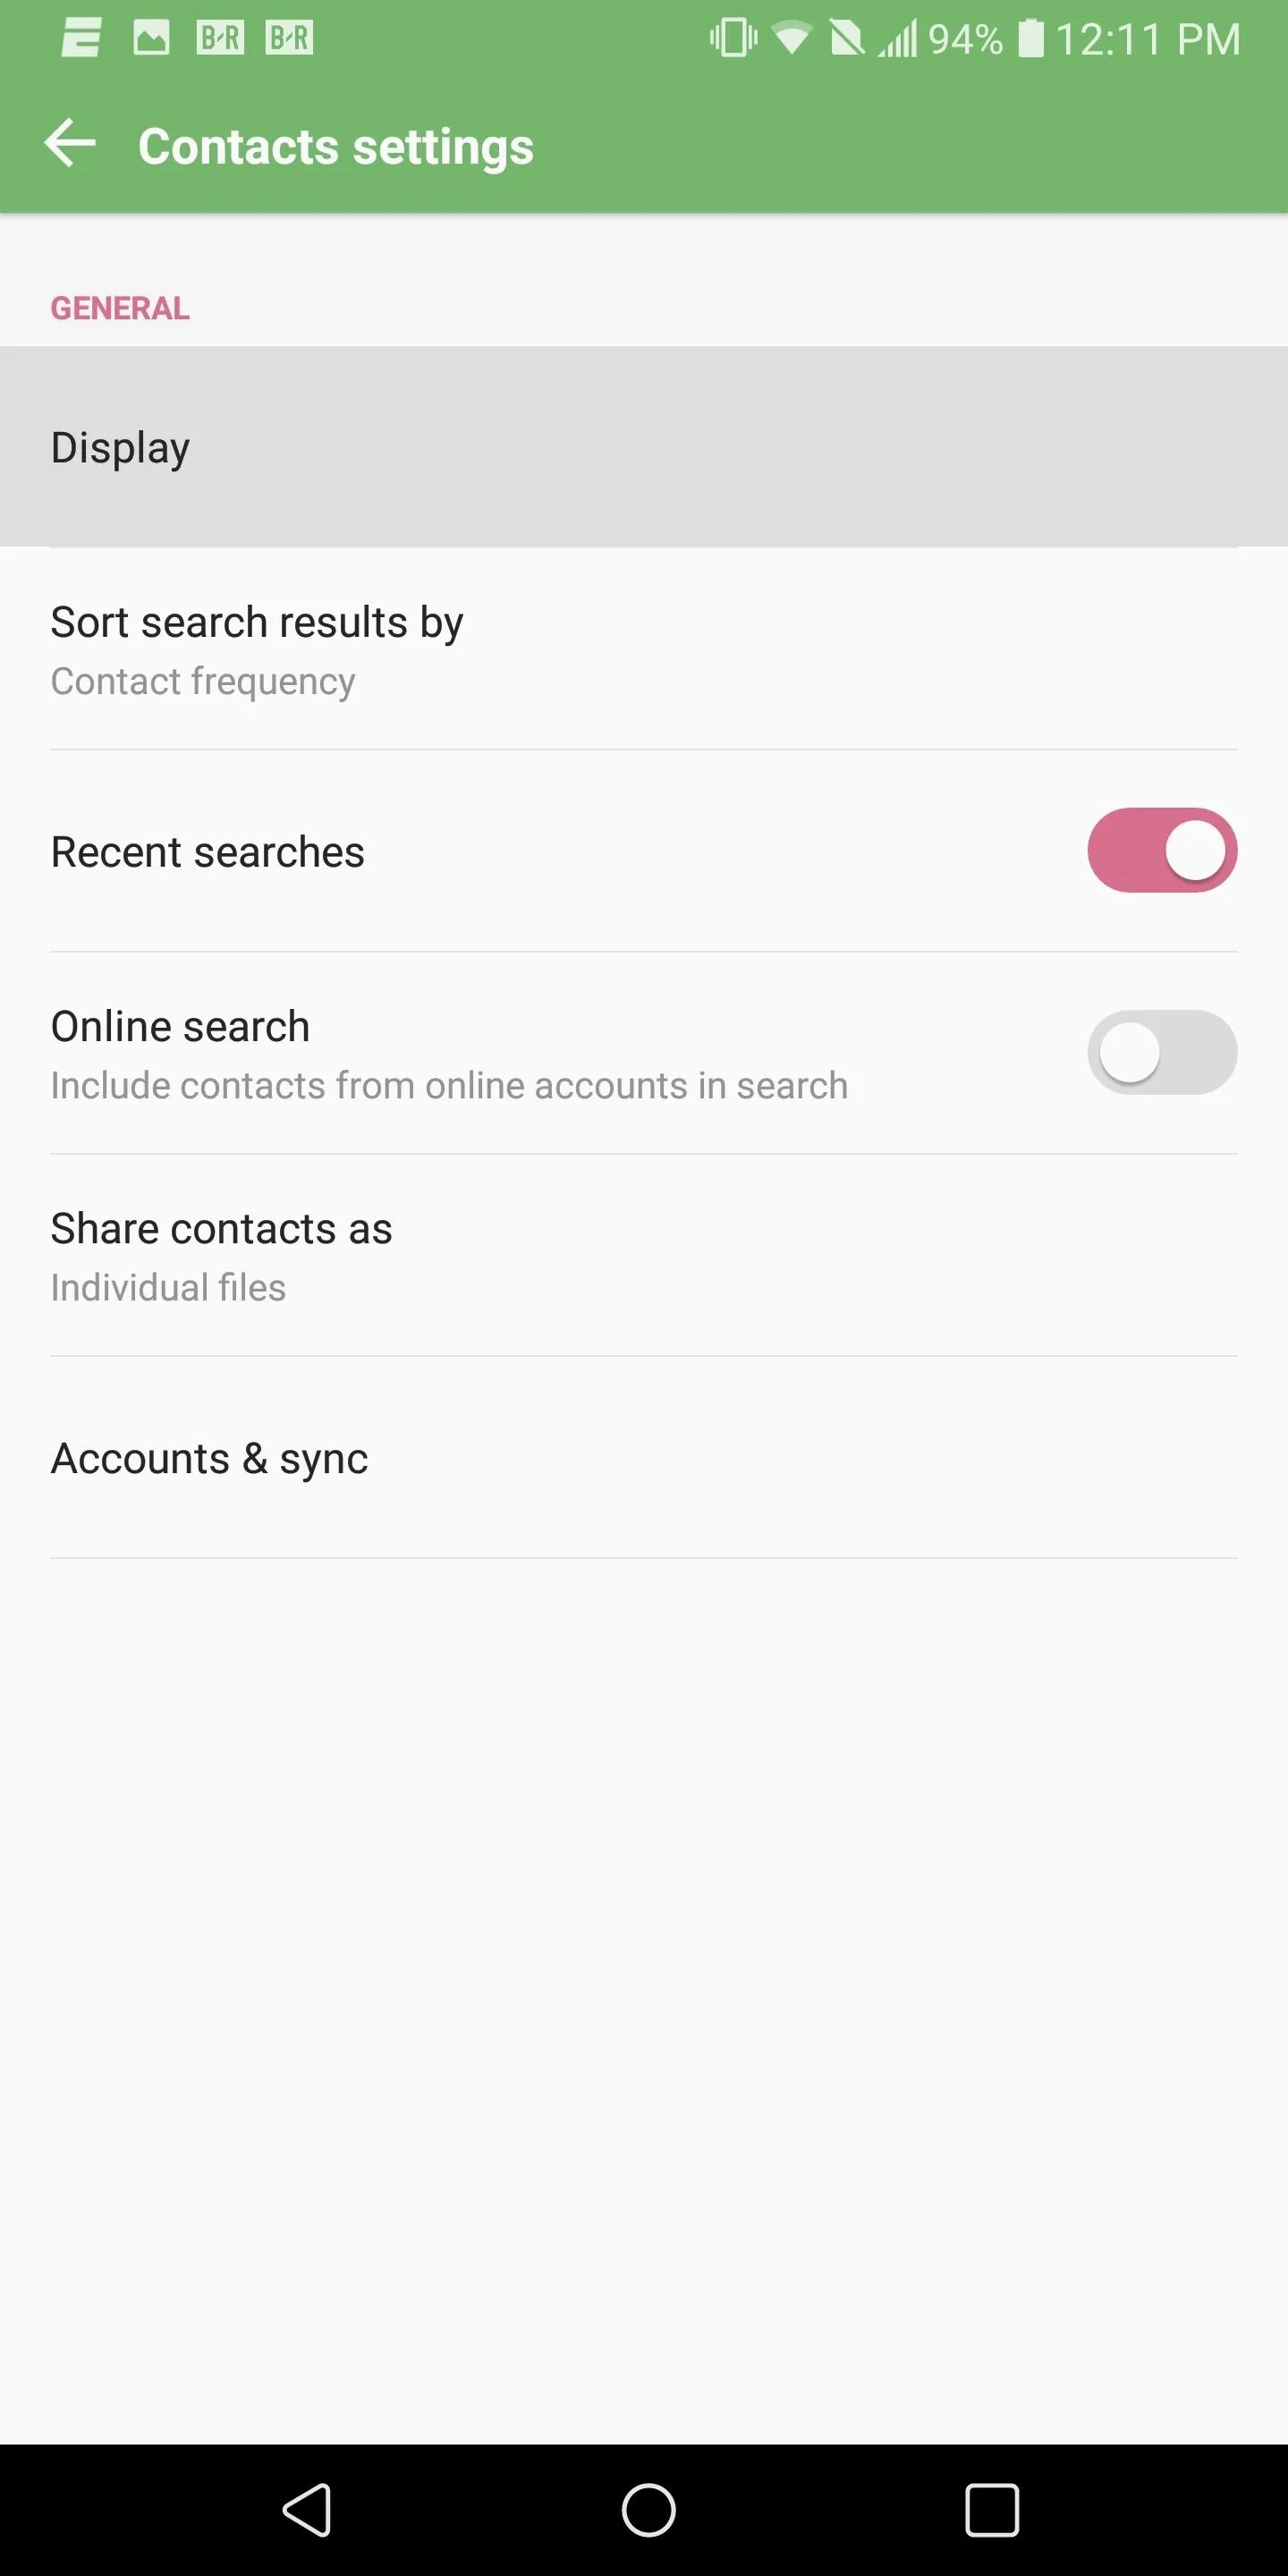
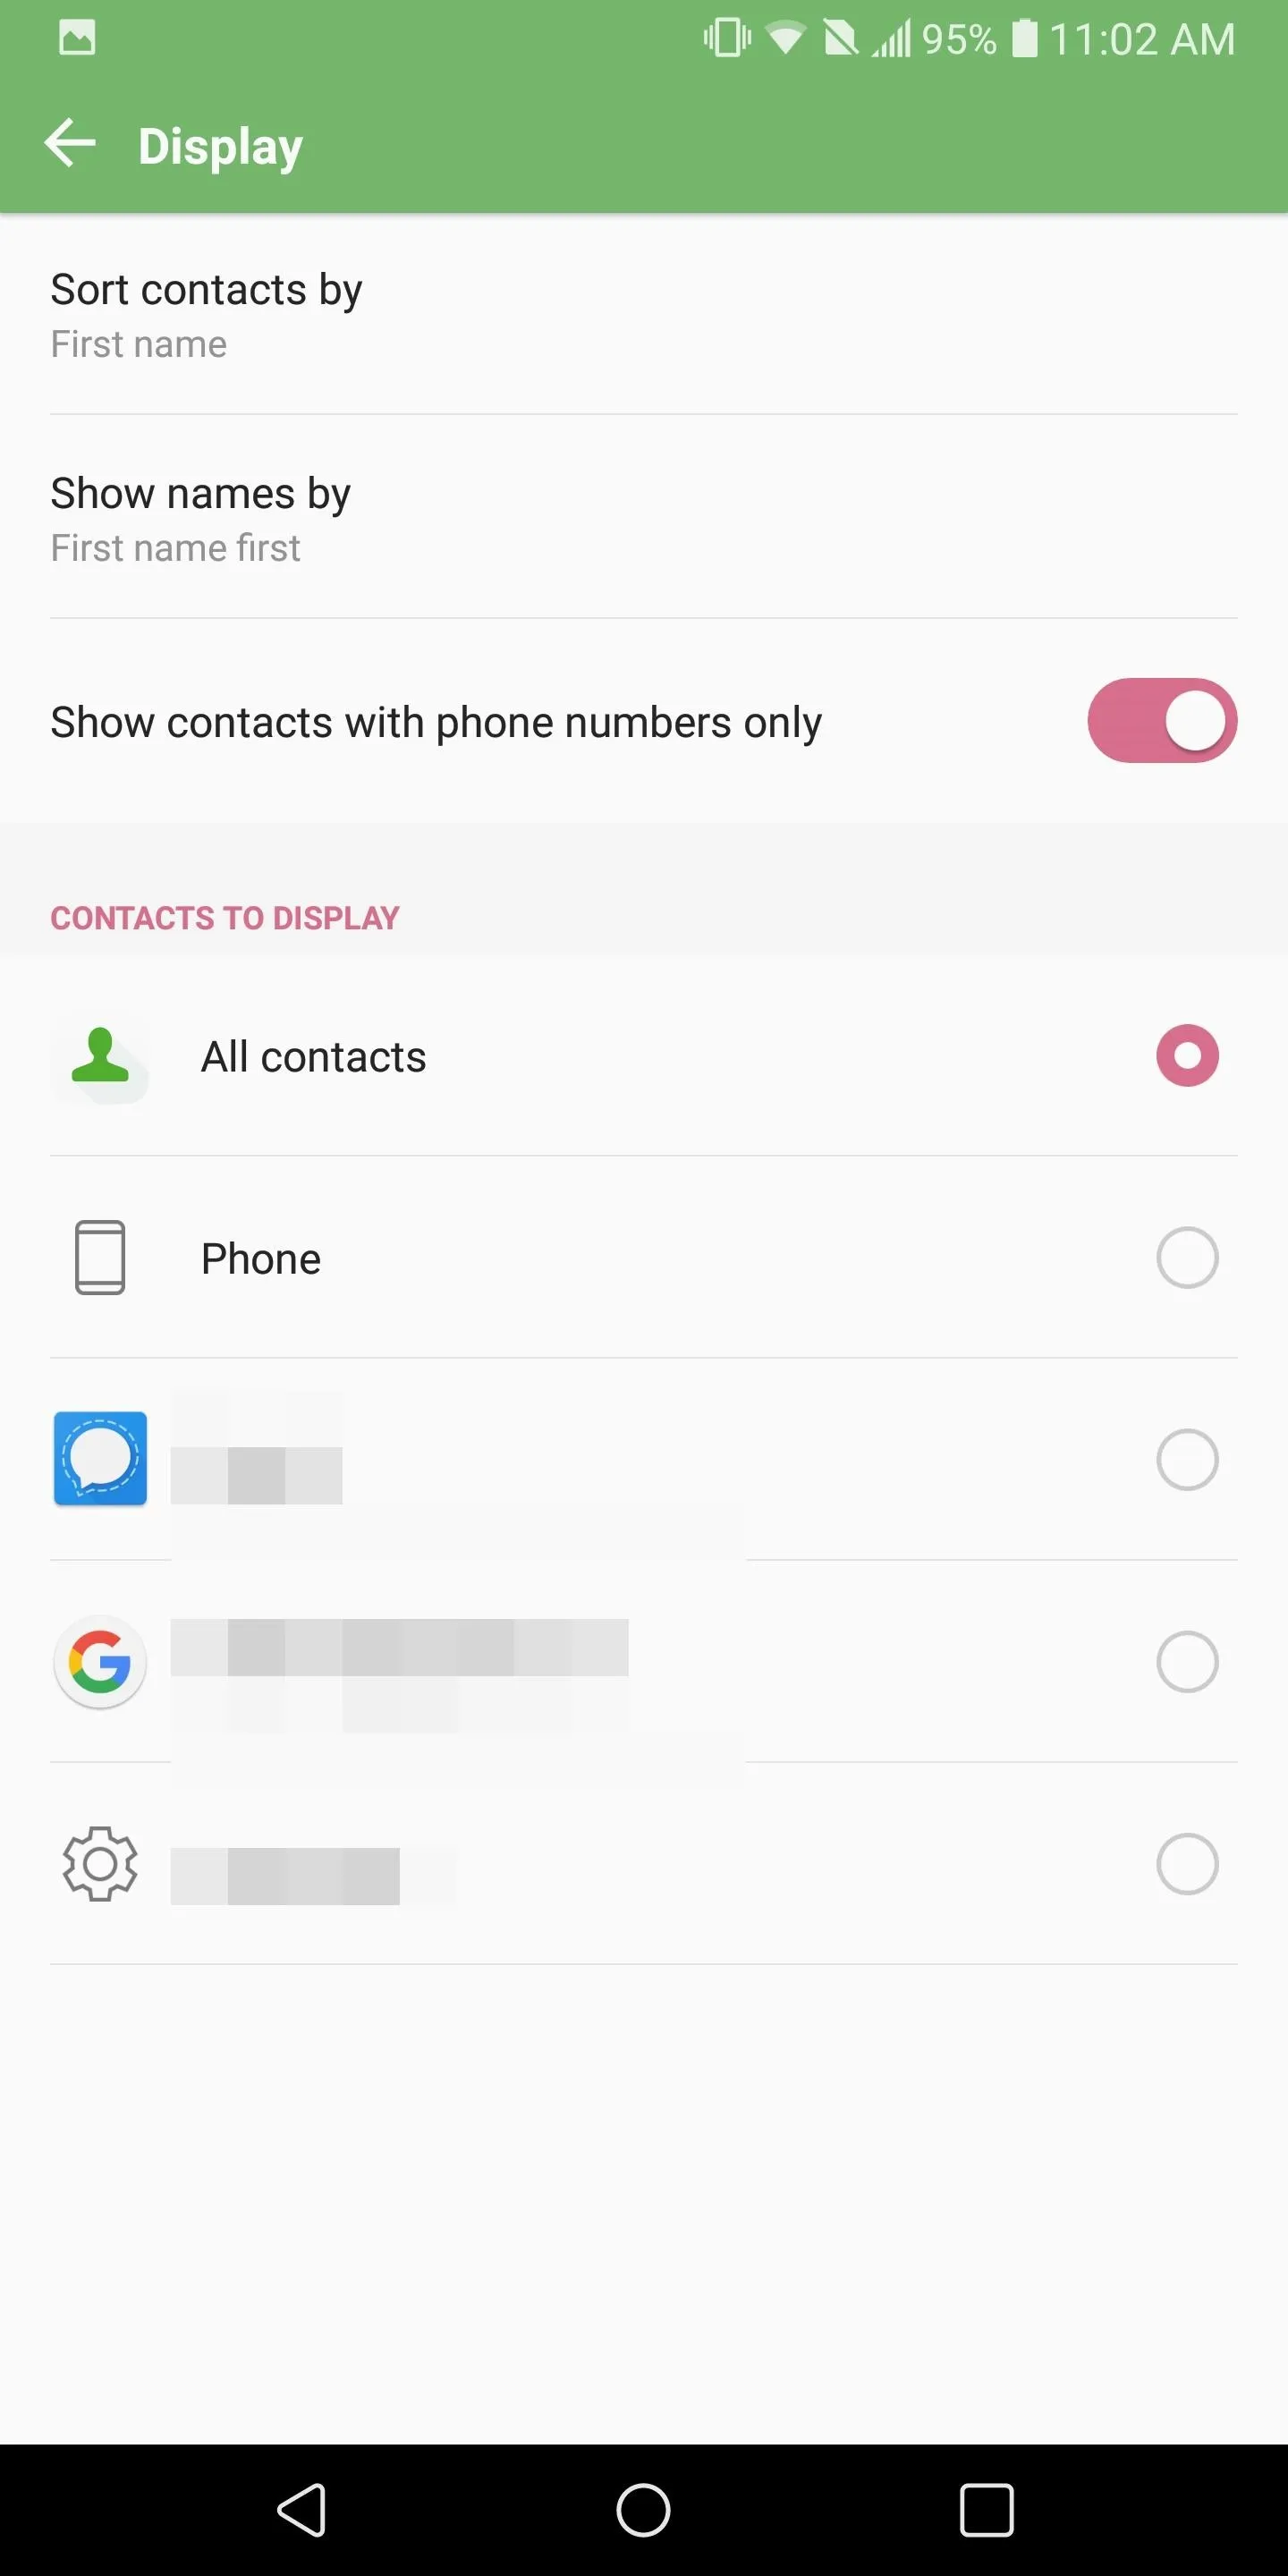
For LG devices, it requires a few more steps. Open the Phone app and select the Contacts tab. Select the three vertical dots in the upper-right corner of your display and choose "Contacts settings." Select "Display" and then enable "Show contact with phone numbers only."
Use a Third-Party App
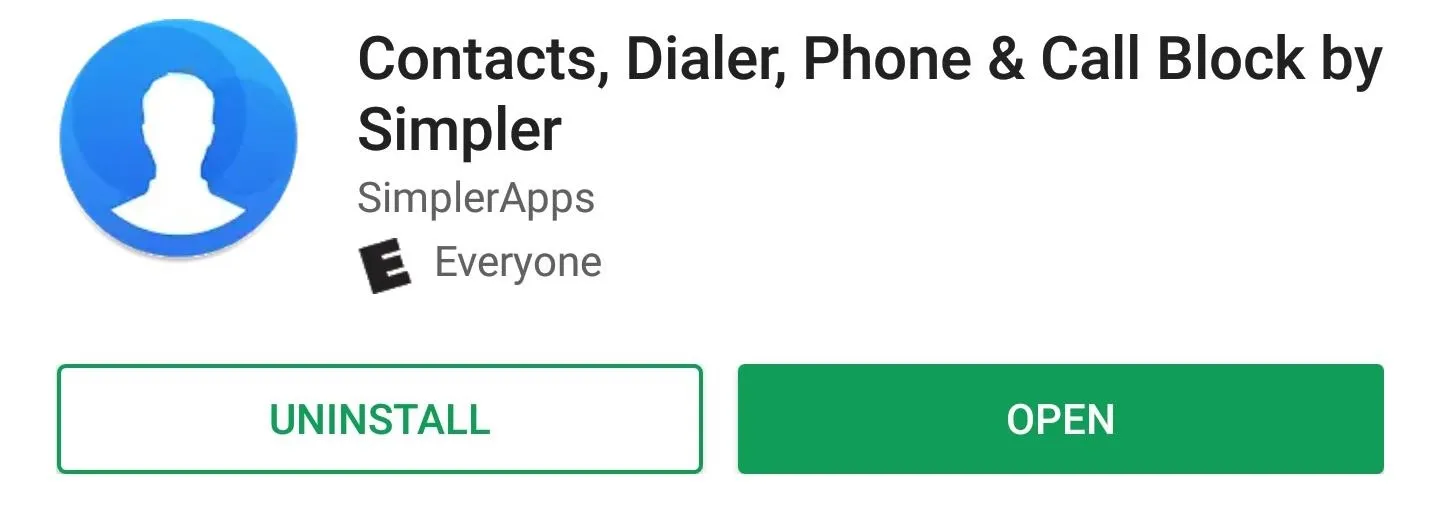
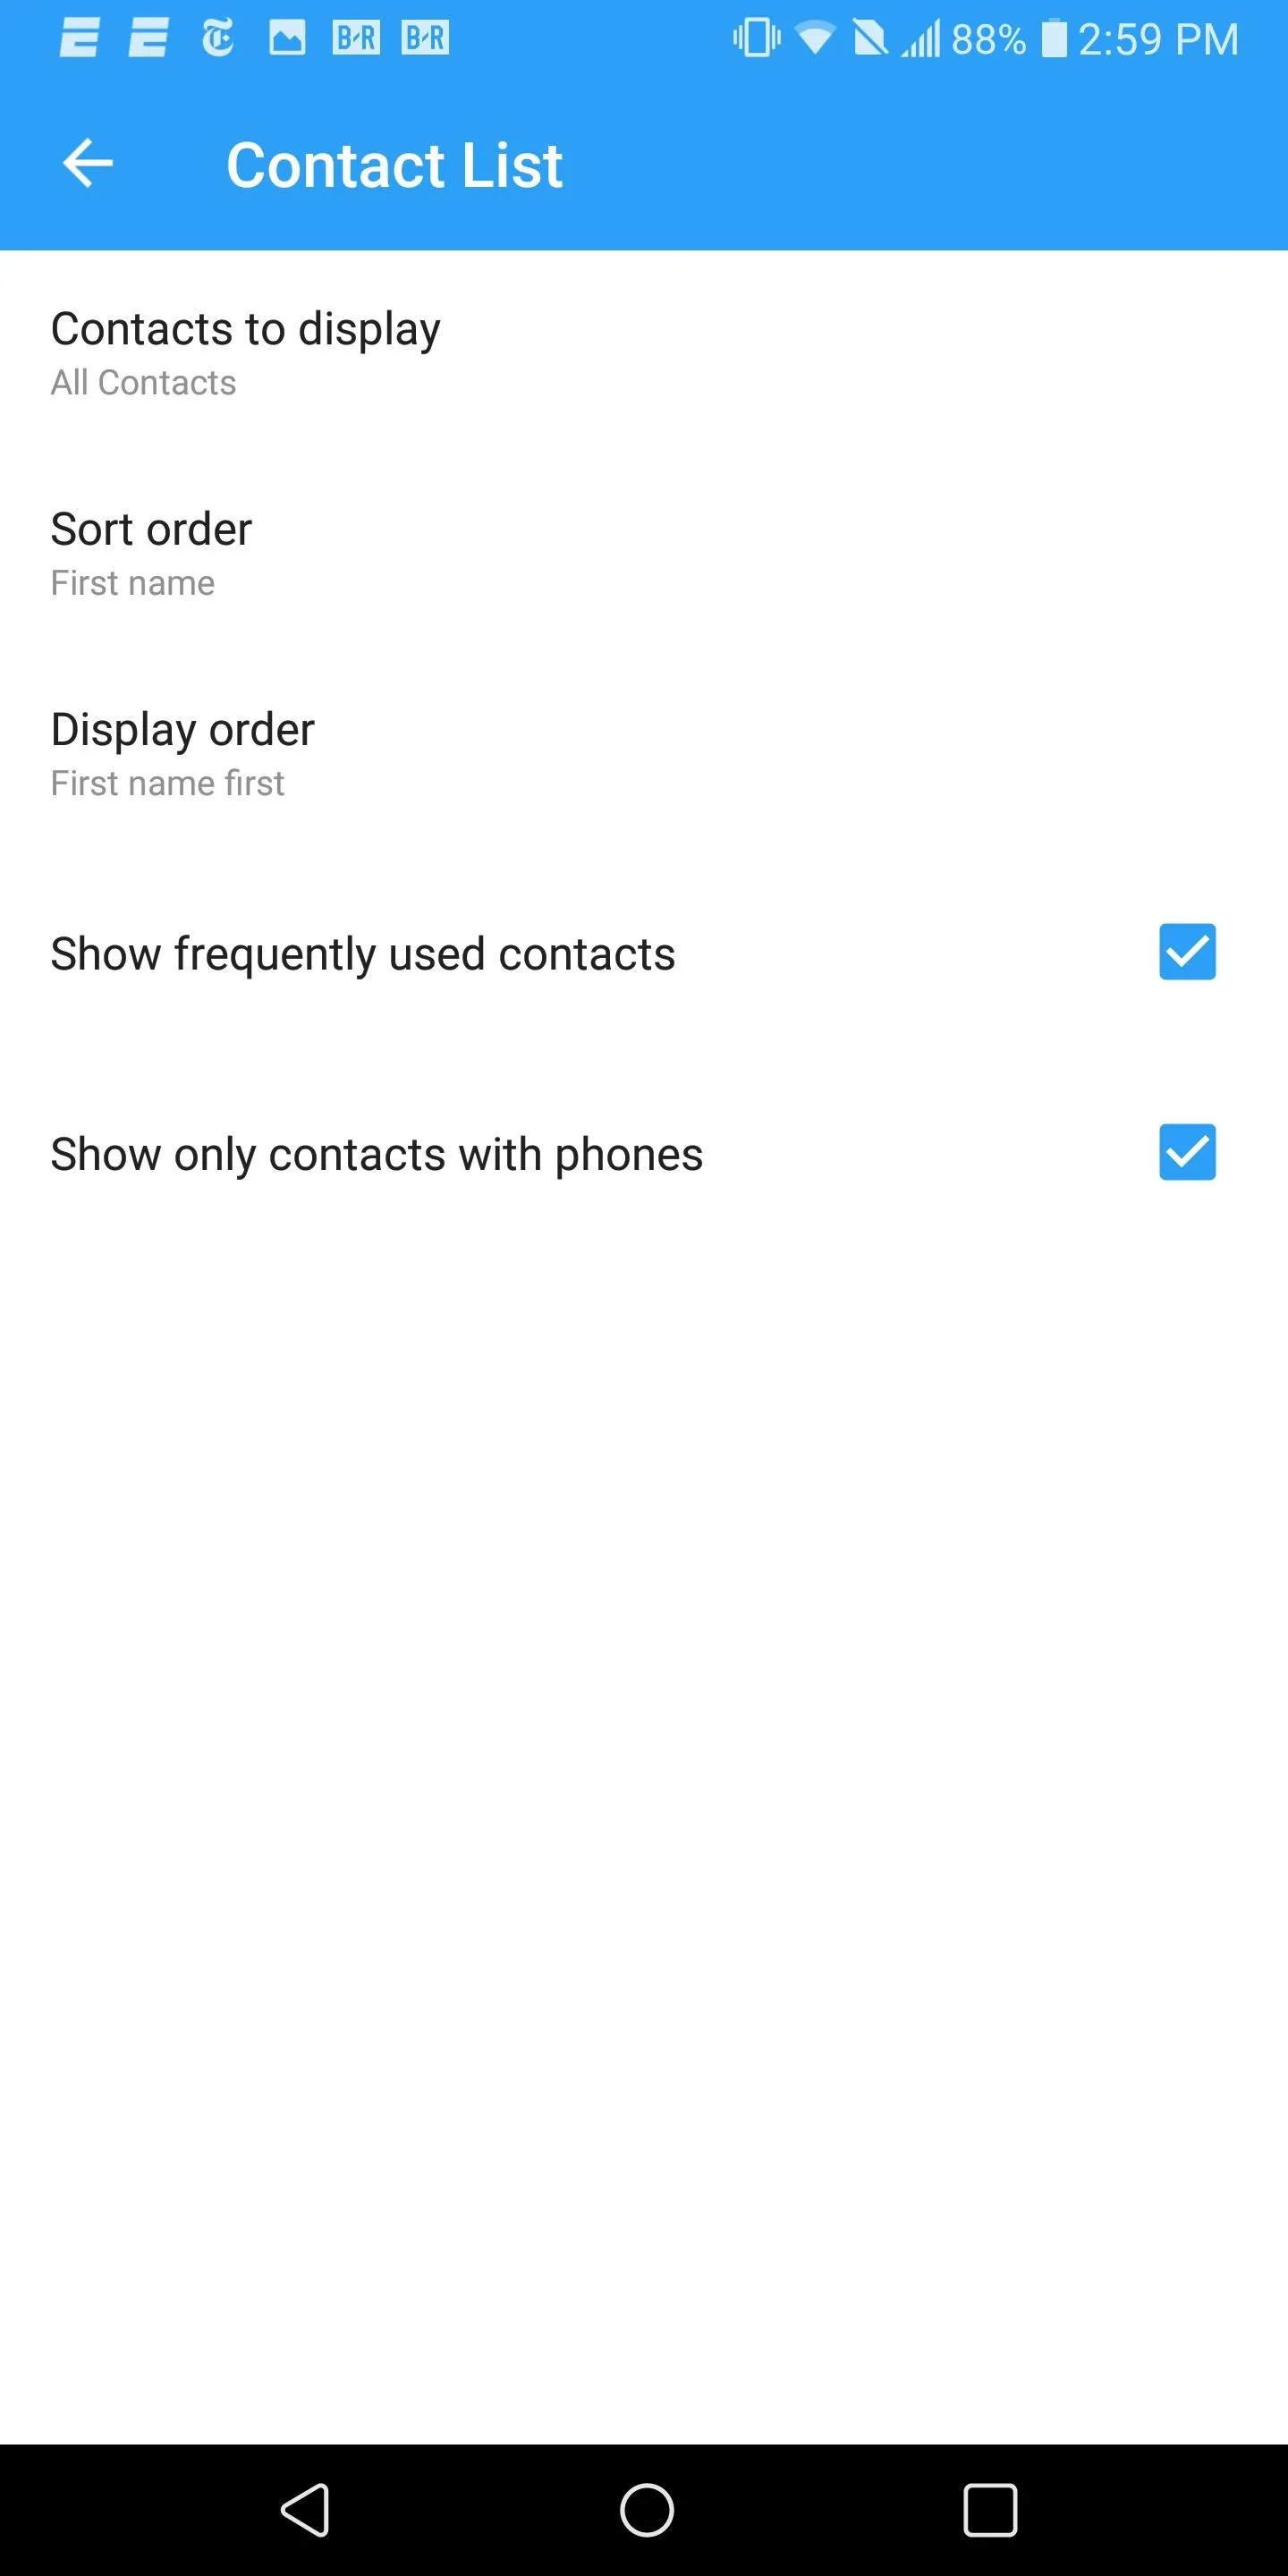
There are some apps which include the ability to hide contacts with phone numbers. One of the cleanest choices we found was Contacts, Dialer, Phone & Call block by Simpler. This free app offers an experience similar to Google Phone, but it's a bit more customizable.
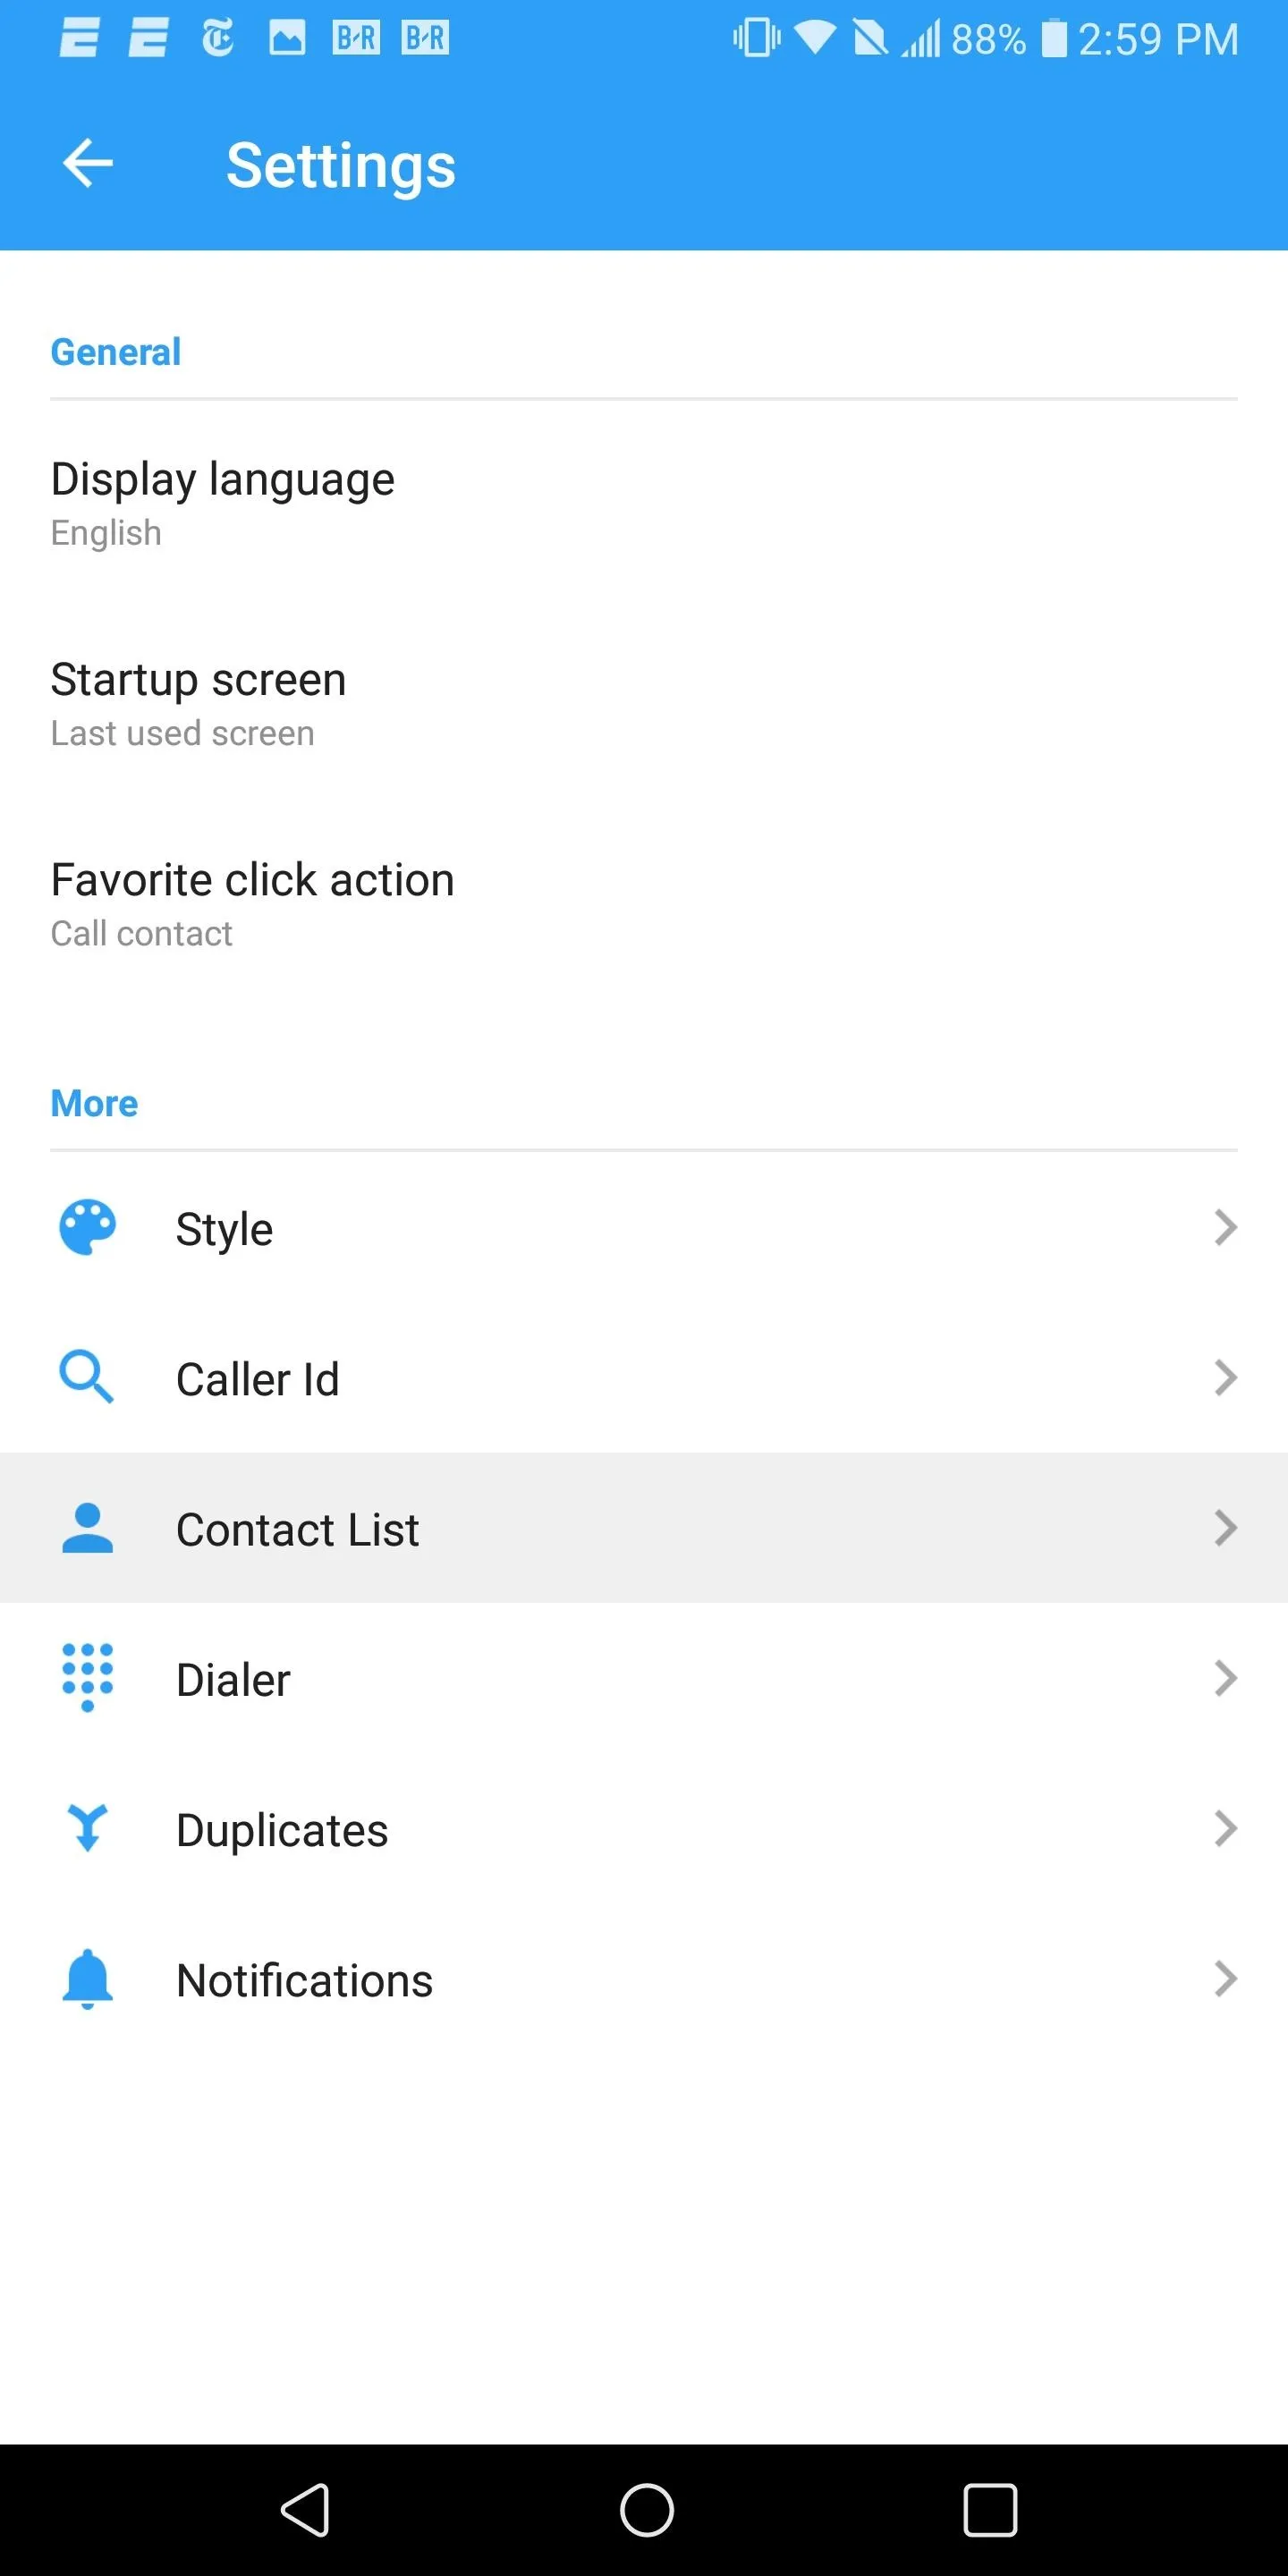
After installing the app and going through the signup process, select "More" located in the bottom-right corner of your screen. Choose the "Settings" option, then "Contact List," to find a checkbox for "Show only contacts with phones."
This app, like many contacts replacement app,s includes several tools outside just the ability to store and retain your address book. One such tool is the dialer. Depending on how you feel, you might wish to use the default app dialer that came with your phone.
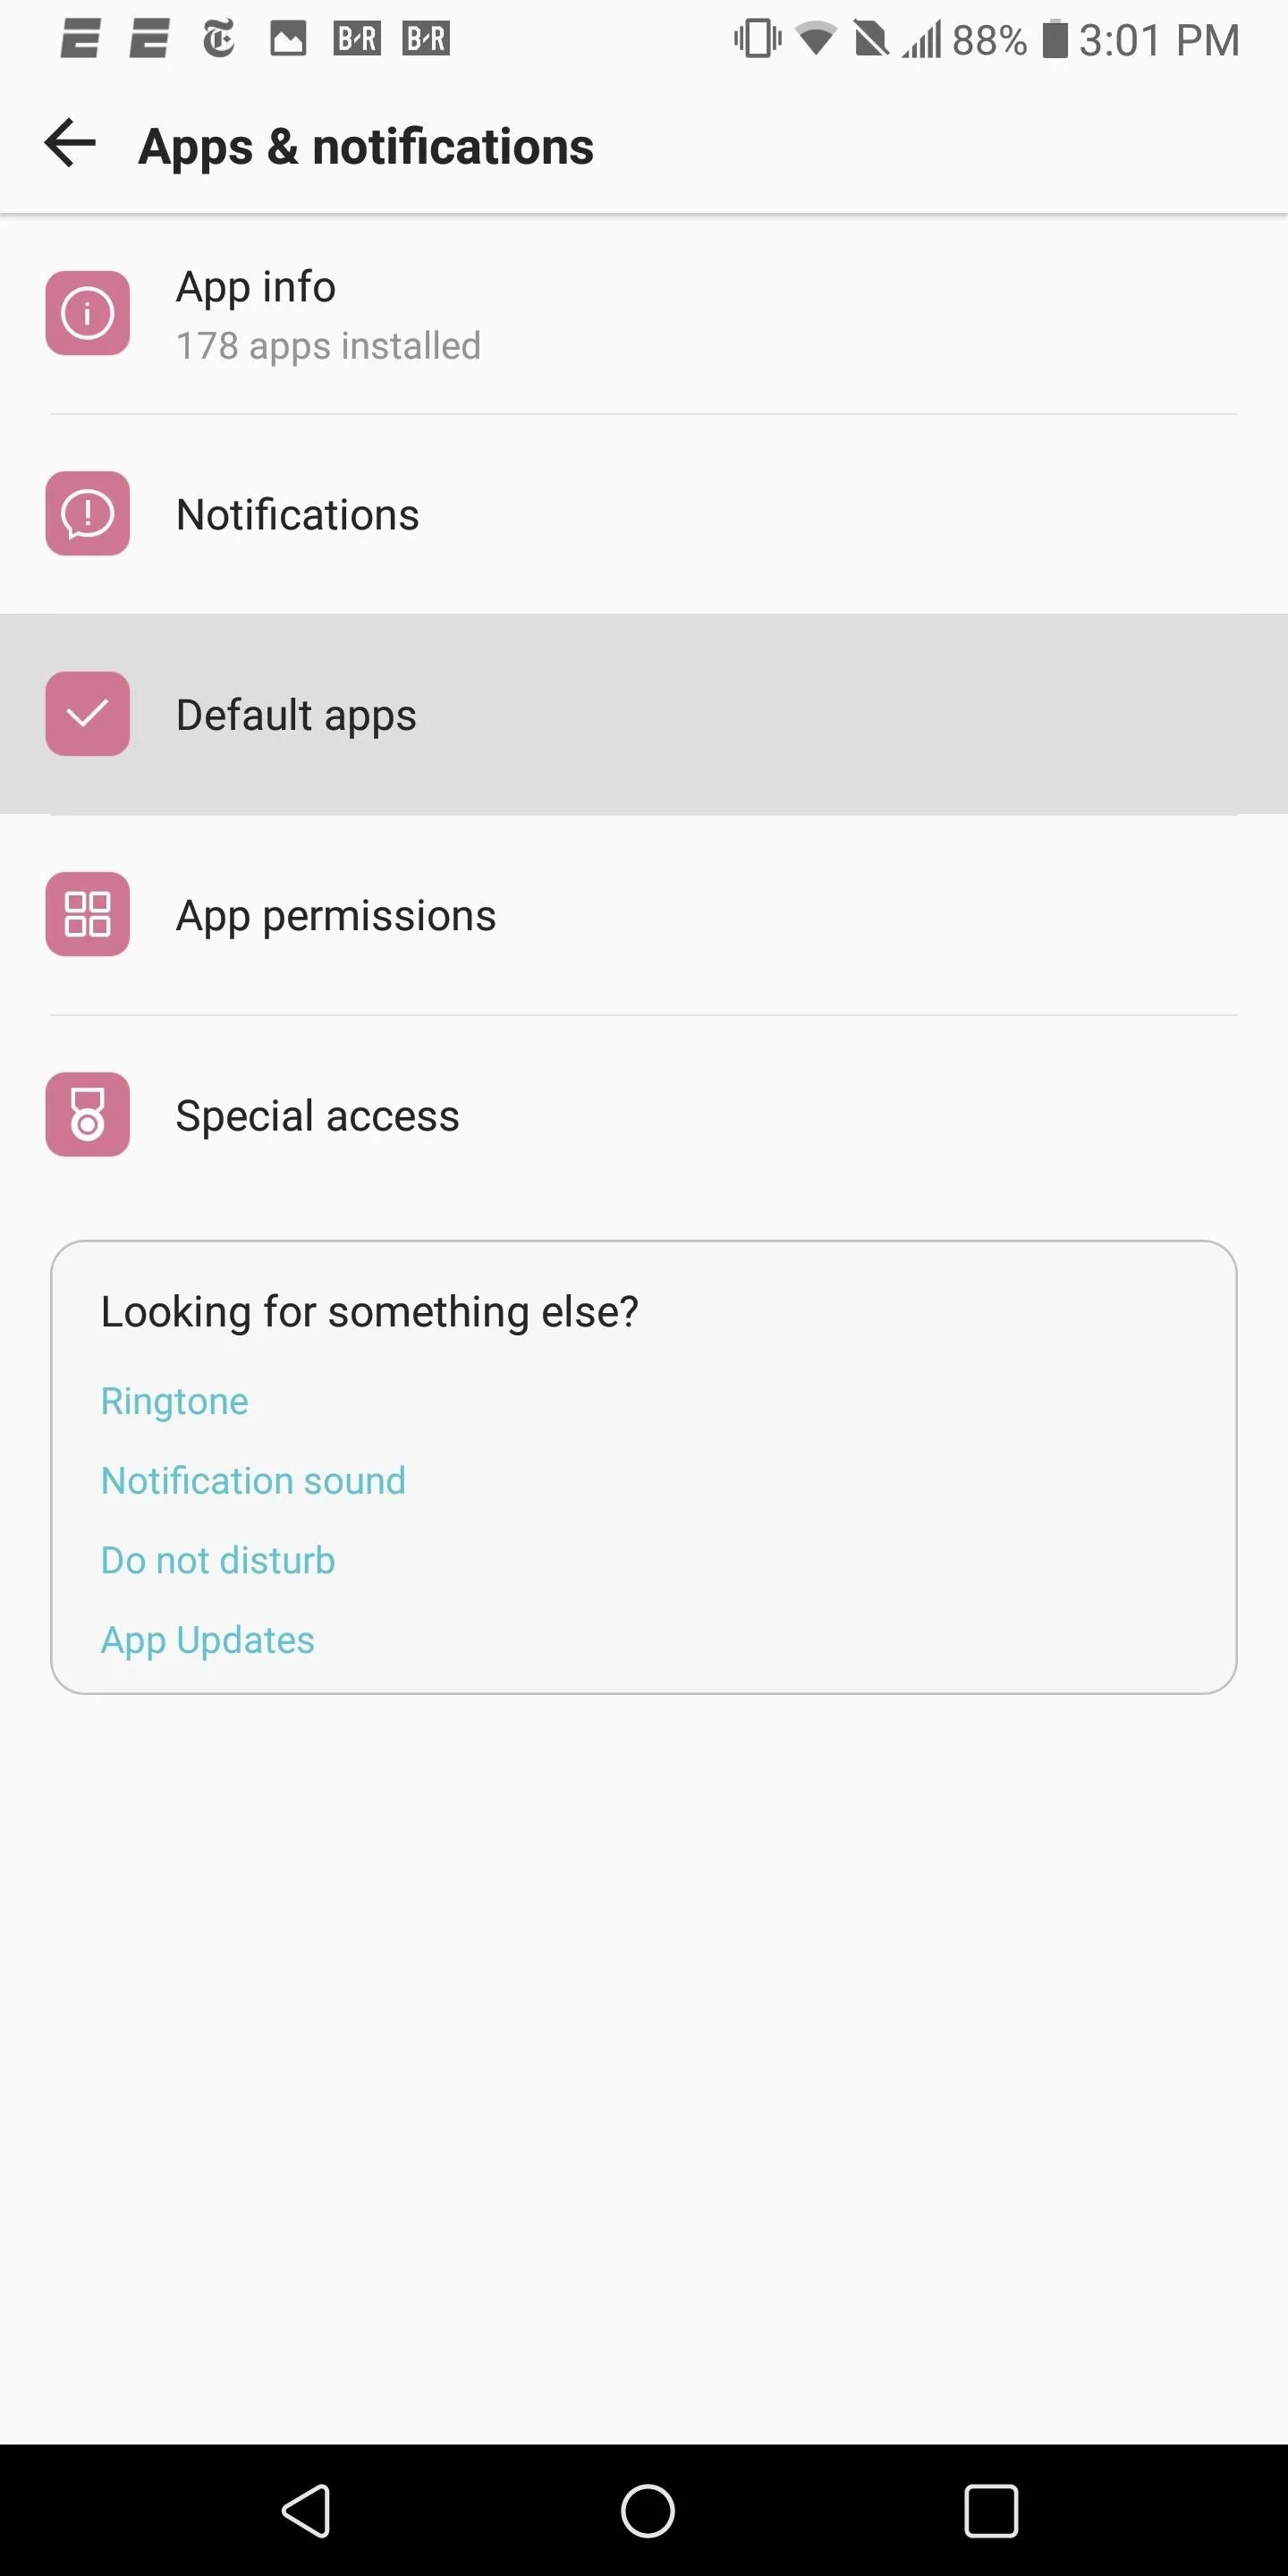
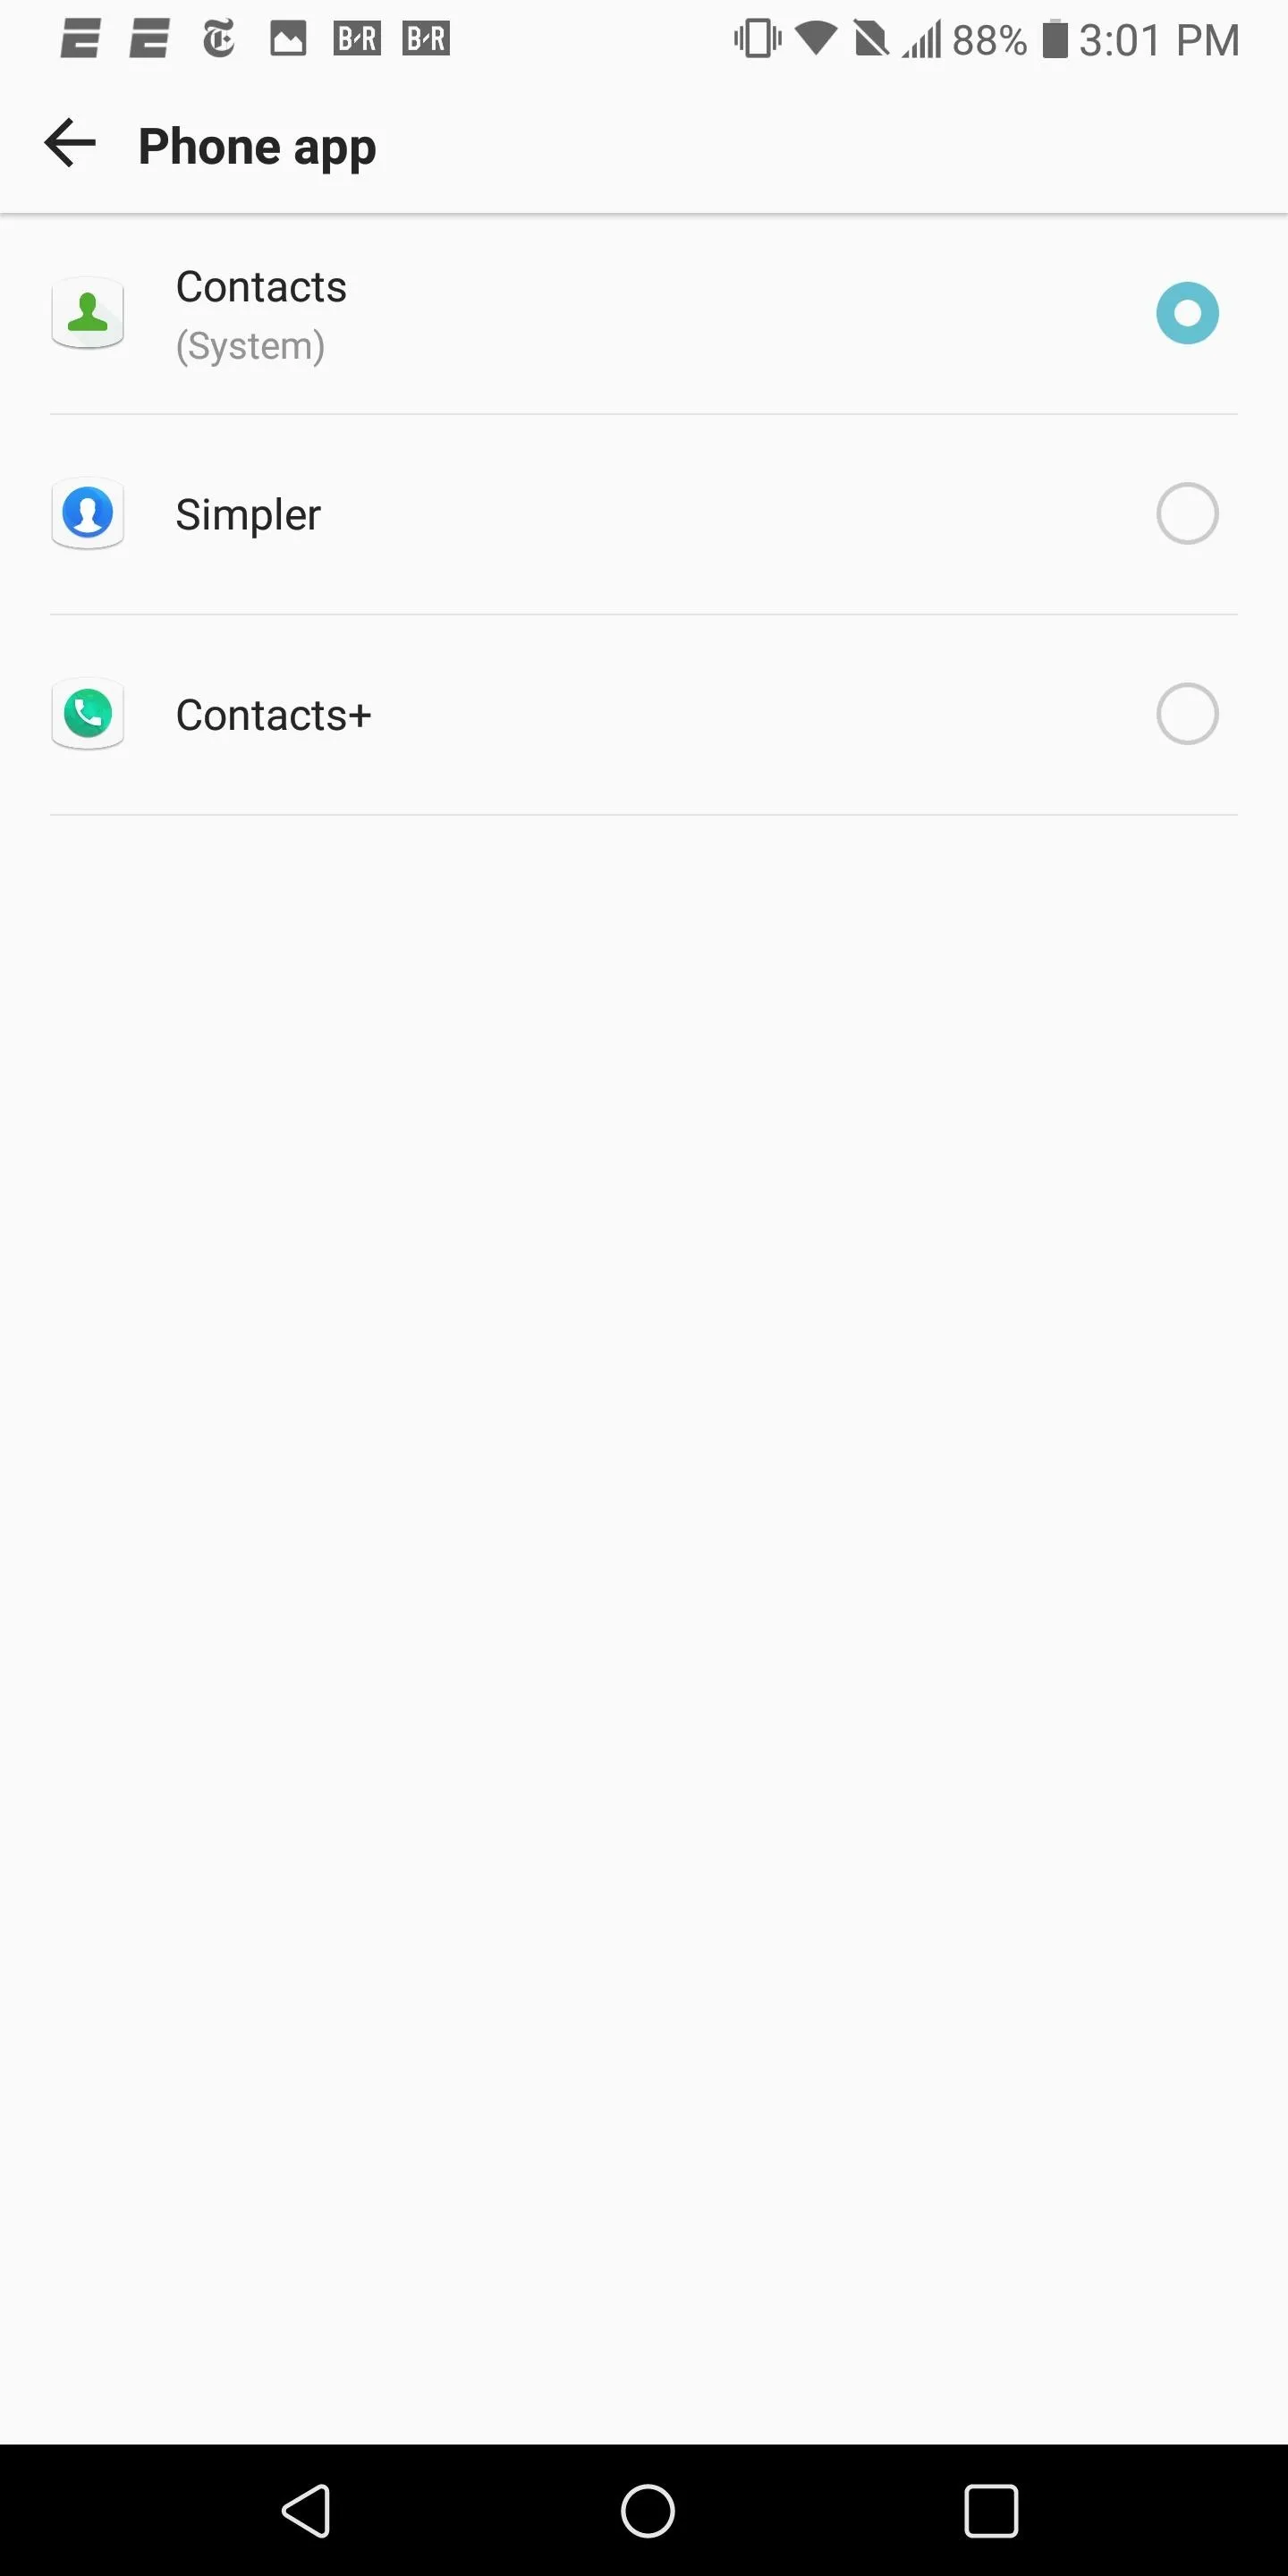
To accomplish this, navigate to the phone's Settings menu and select "Apps." Depending on the skin, locate "Default Apps" which will be either on the main "Apps" page or in the sub-menu which you access using the three vertical dots in the upper-right corner of your display. Select "Calling App" (or "Phone App") and choose the dialer app you wish to use.
Create a Phone Number-Only Label
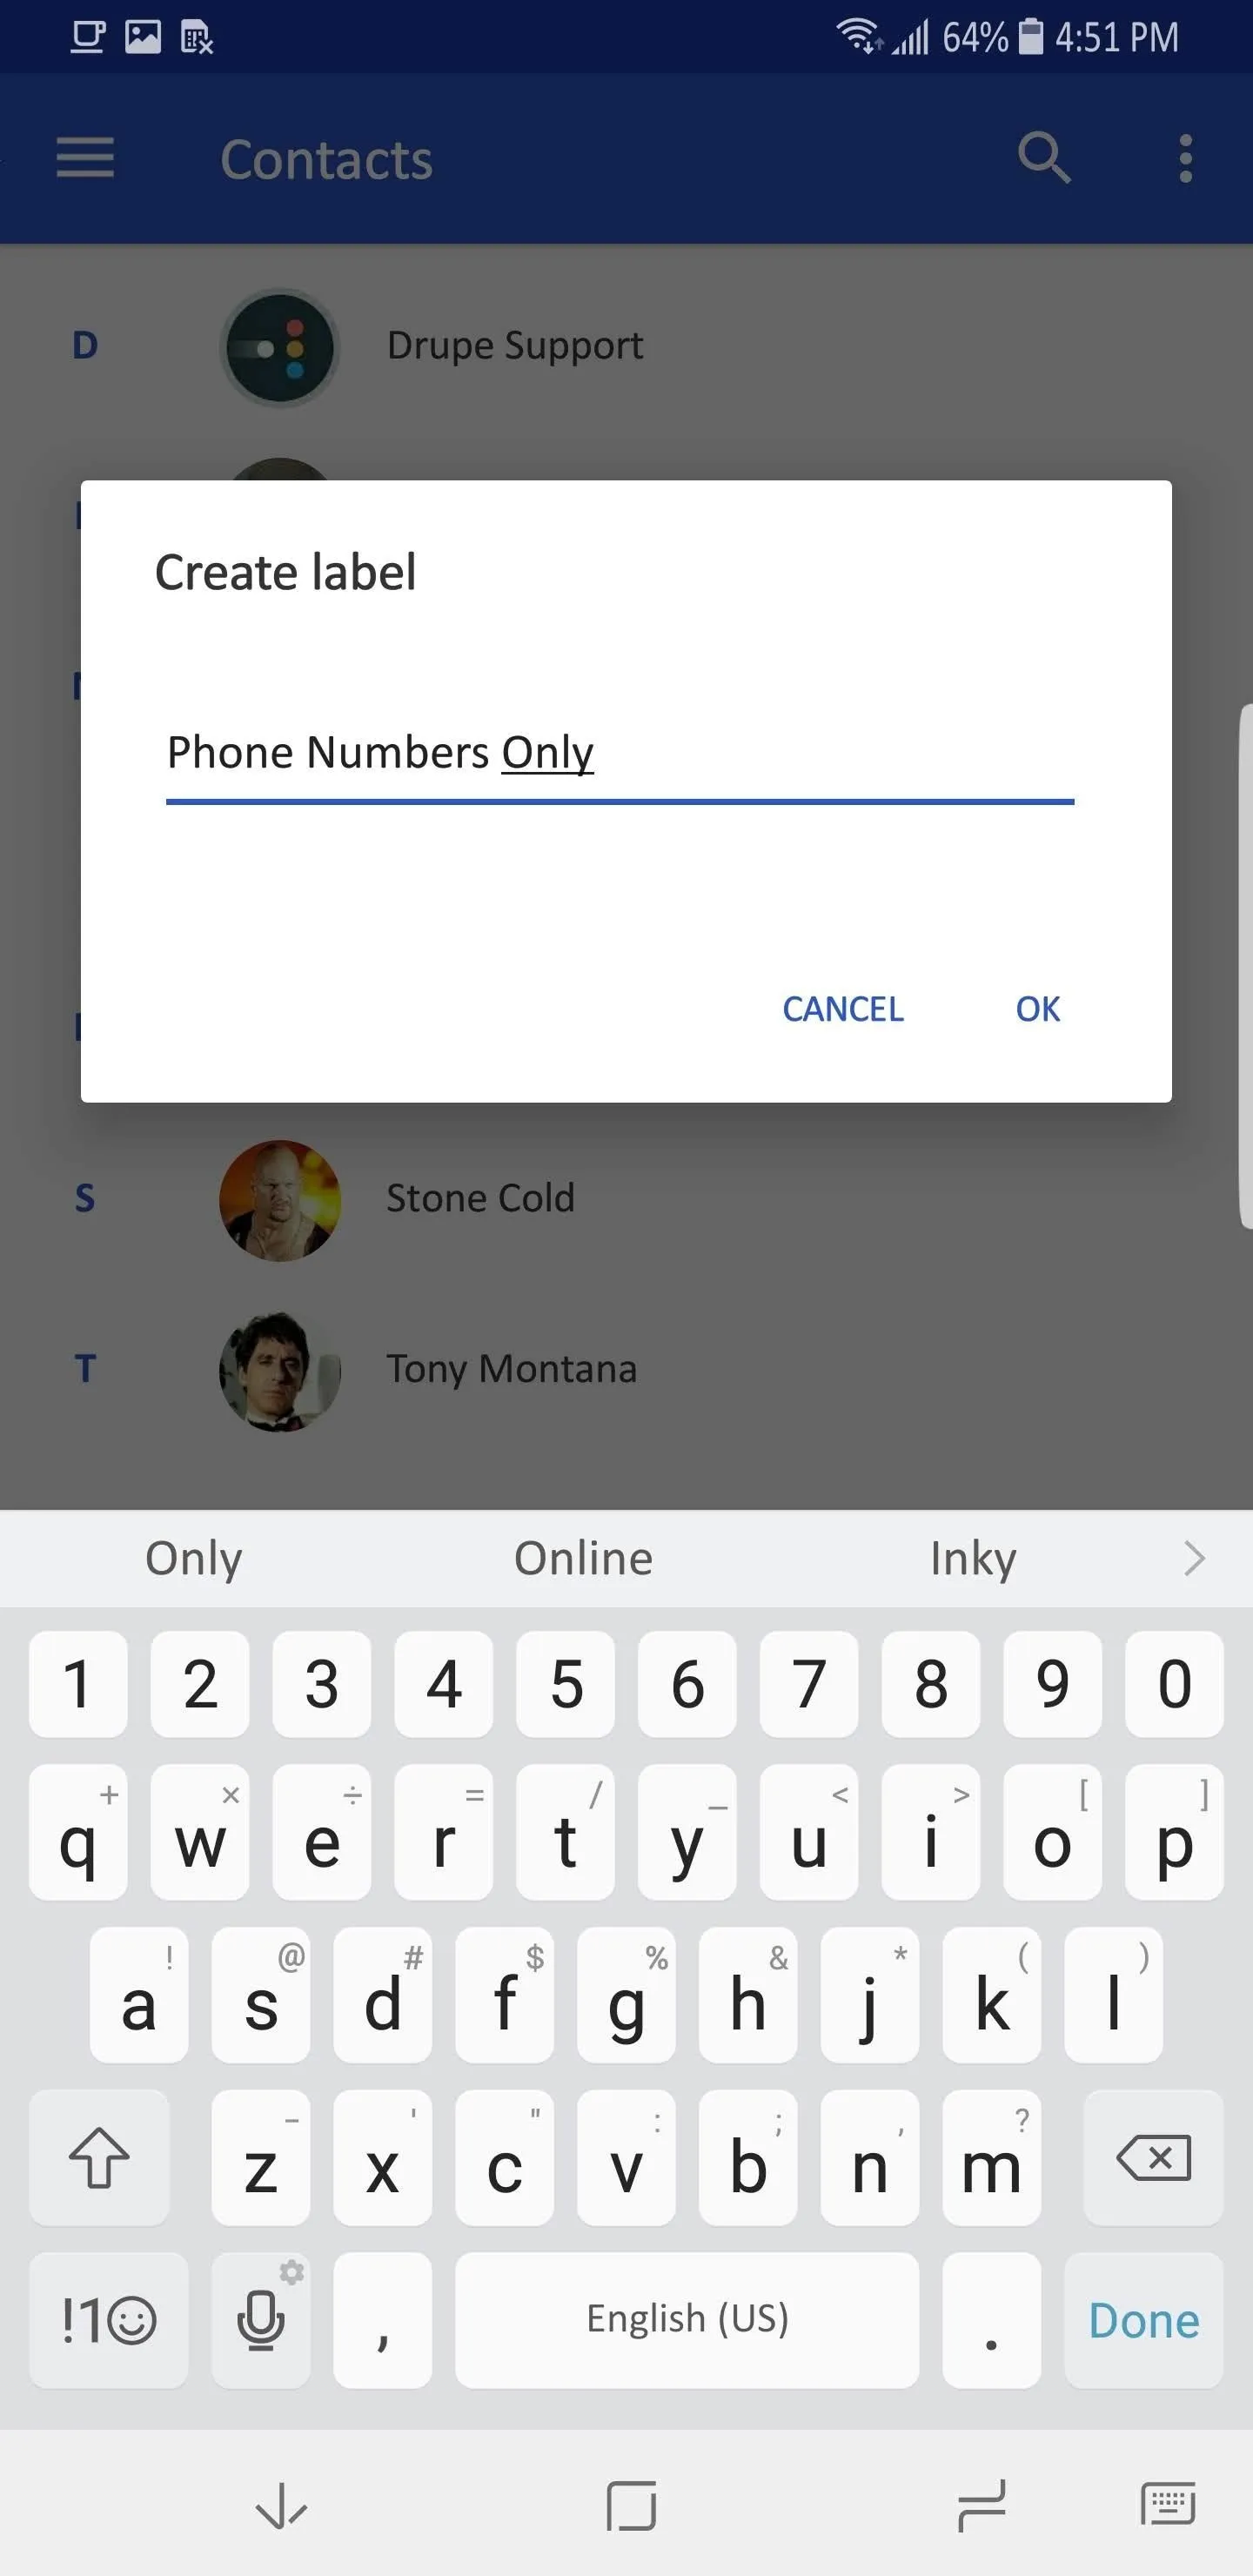
For those of us who use a stock Android device and prefer not to use a third-party app, there is a workaround which you can use to accomplish this task within the default phone app. Open Google Contacts, select the hamburger menu in the upper-left corner, and choose "Create label."
Type "Phone Numbers Only" (although you can use whatever label you want) and select "OK." On the new page, select "Add contacts" and choose each saved contact that has a phone number (use the person-shaped icon in the upper-right corner of your display to continue to add contacts).
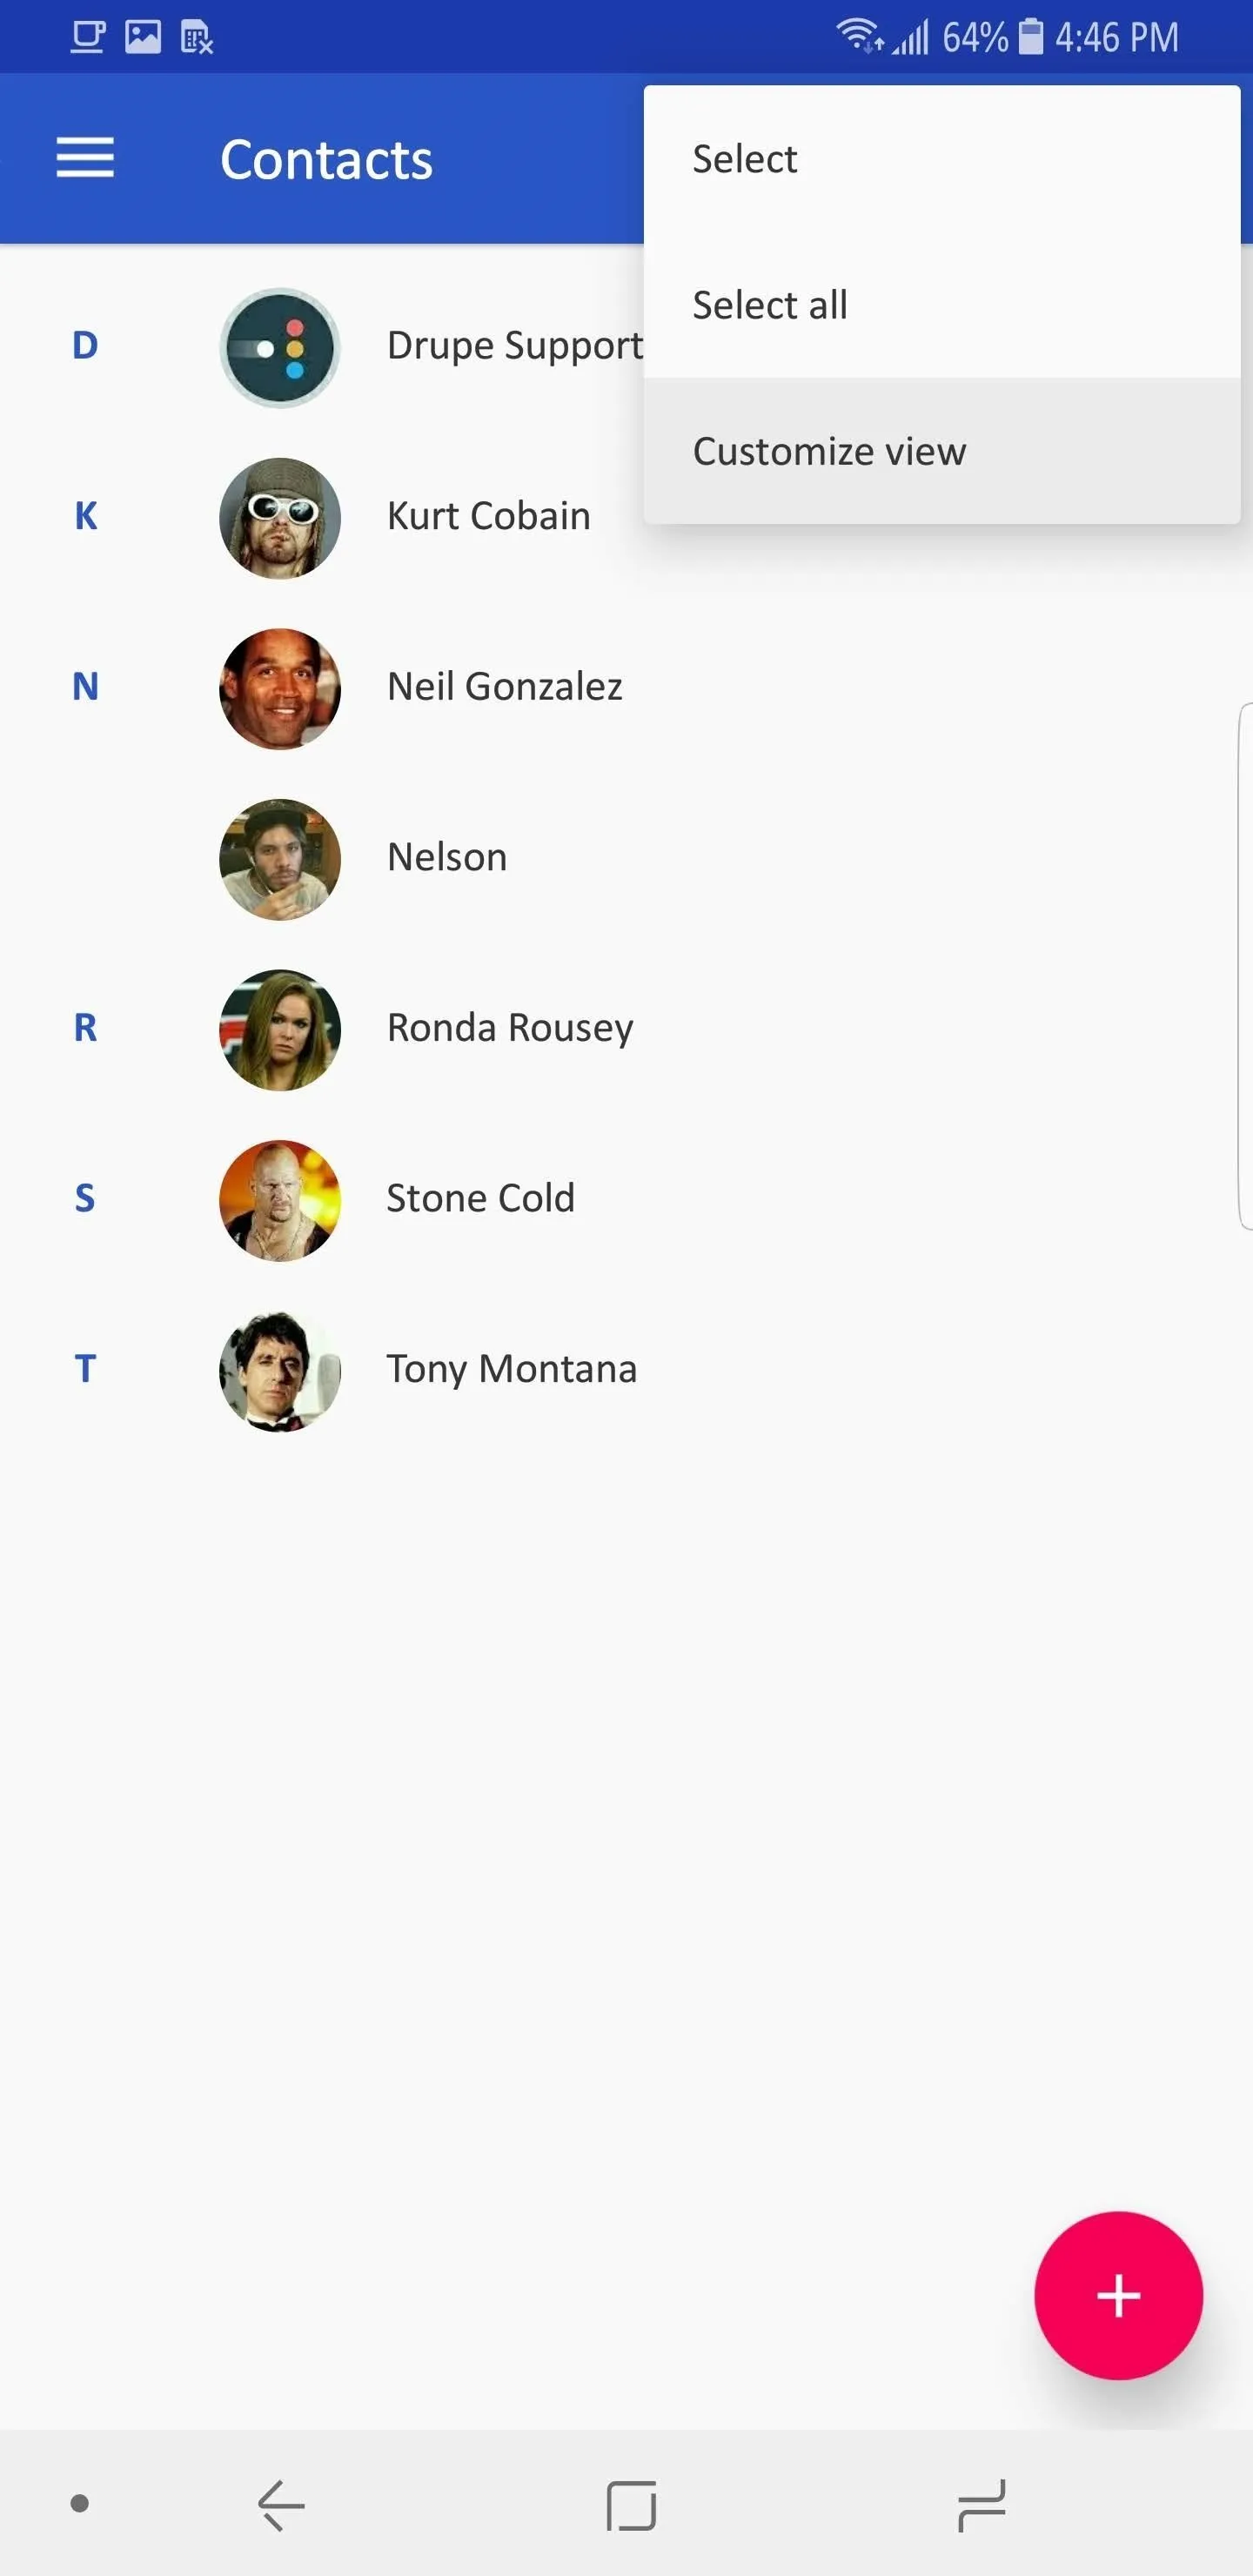
Once you finish adding each contact, select the back button to return to the main page. Select the three vertical dots in the upper-right corner and choose "Customize view."
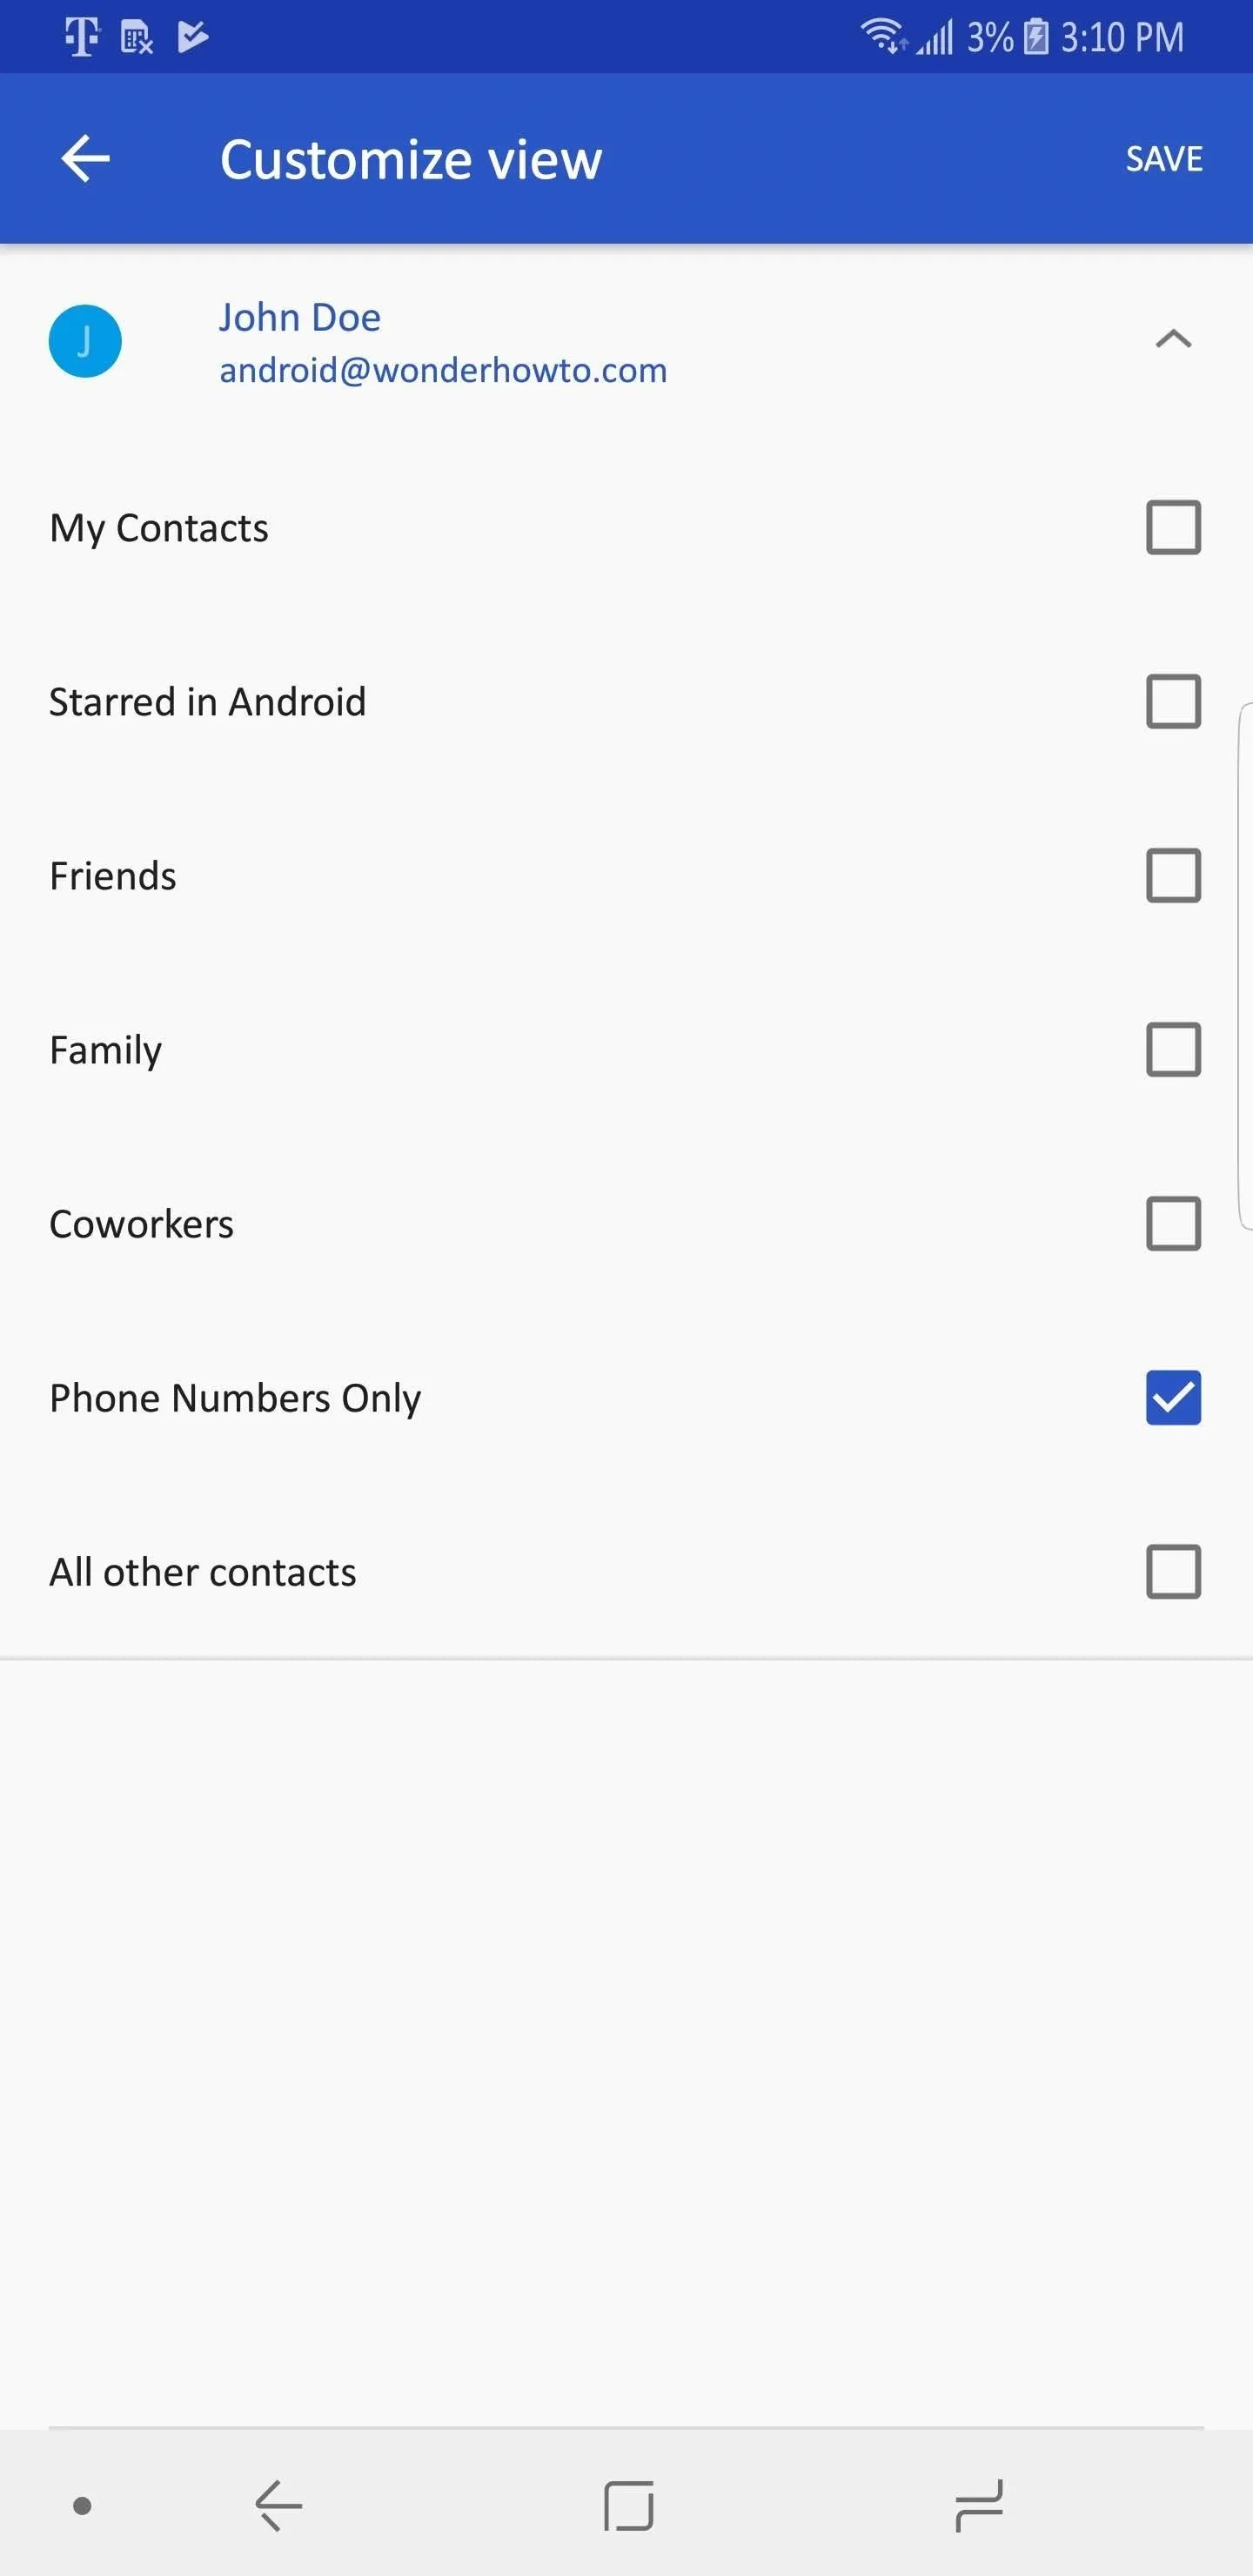
Select "Customize," and on the next page, uncheck every check box except for the "Phone Numbers Only" (or whatever you decided to label the new group). Choose "Save" in the upper-right corner, which will return to the main page with only the contacts you just added.
No longer do you need to scroll through an unnecessarily long list of contacts populated with saved entries that you can't call. Using any one of our methods, you can clean up your phone's contacts. Which method did you use? Let us know in the comments below.
- Follow Gadget Hacks on Facebook, Twitter, YouTube, and Flipboard
- Follow WonderHowTo on Facebook, Twitter, Pinterest, and Flipboard
Cover image and screenshots by Jon Knight/Gadget Hacks


Comments
Be the first, drop a comment!