


Great ideas often strike at random times, but messaging friends and loved ones at an inopportune hour not only risks their wrath, but also increases the chances of your message not being paid proper attention to. Thankfully, there's an app that lets you create and post WhatsApp messages at the time you wish for maximum effect.
SKEDit is an Android app that lets you schedule posts on both WhatsApp Business and WhatsApp itself, providing a handy way of relaying messages to friends and colleagues at the most convenient times. The app is also perfect for greeting people on their birthdays, ensuring that you'll never forget a birthday again — even if you did forget. It's an interesting WhatsApp hack, so I'll show you how it works below.
Before You Begin
Before getting started, you should know that SKEDit may require you to disable your phone's lock screen security, depending on how you want it to send your messages. There are other settings you can enable that offer a great compromise between automation and security, but I'll expand on that more below.
Install SKEDit
SKEDit is free to download over at the Google Play Store, so either go there or tap on the provided link to install the app.
Grant Permissions
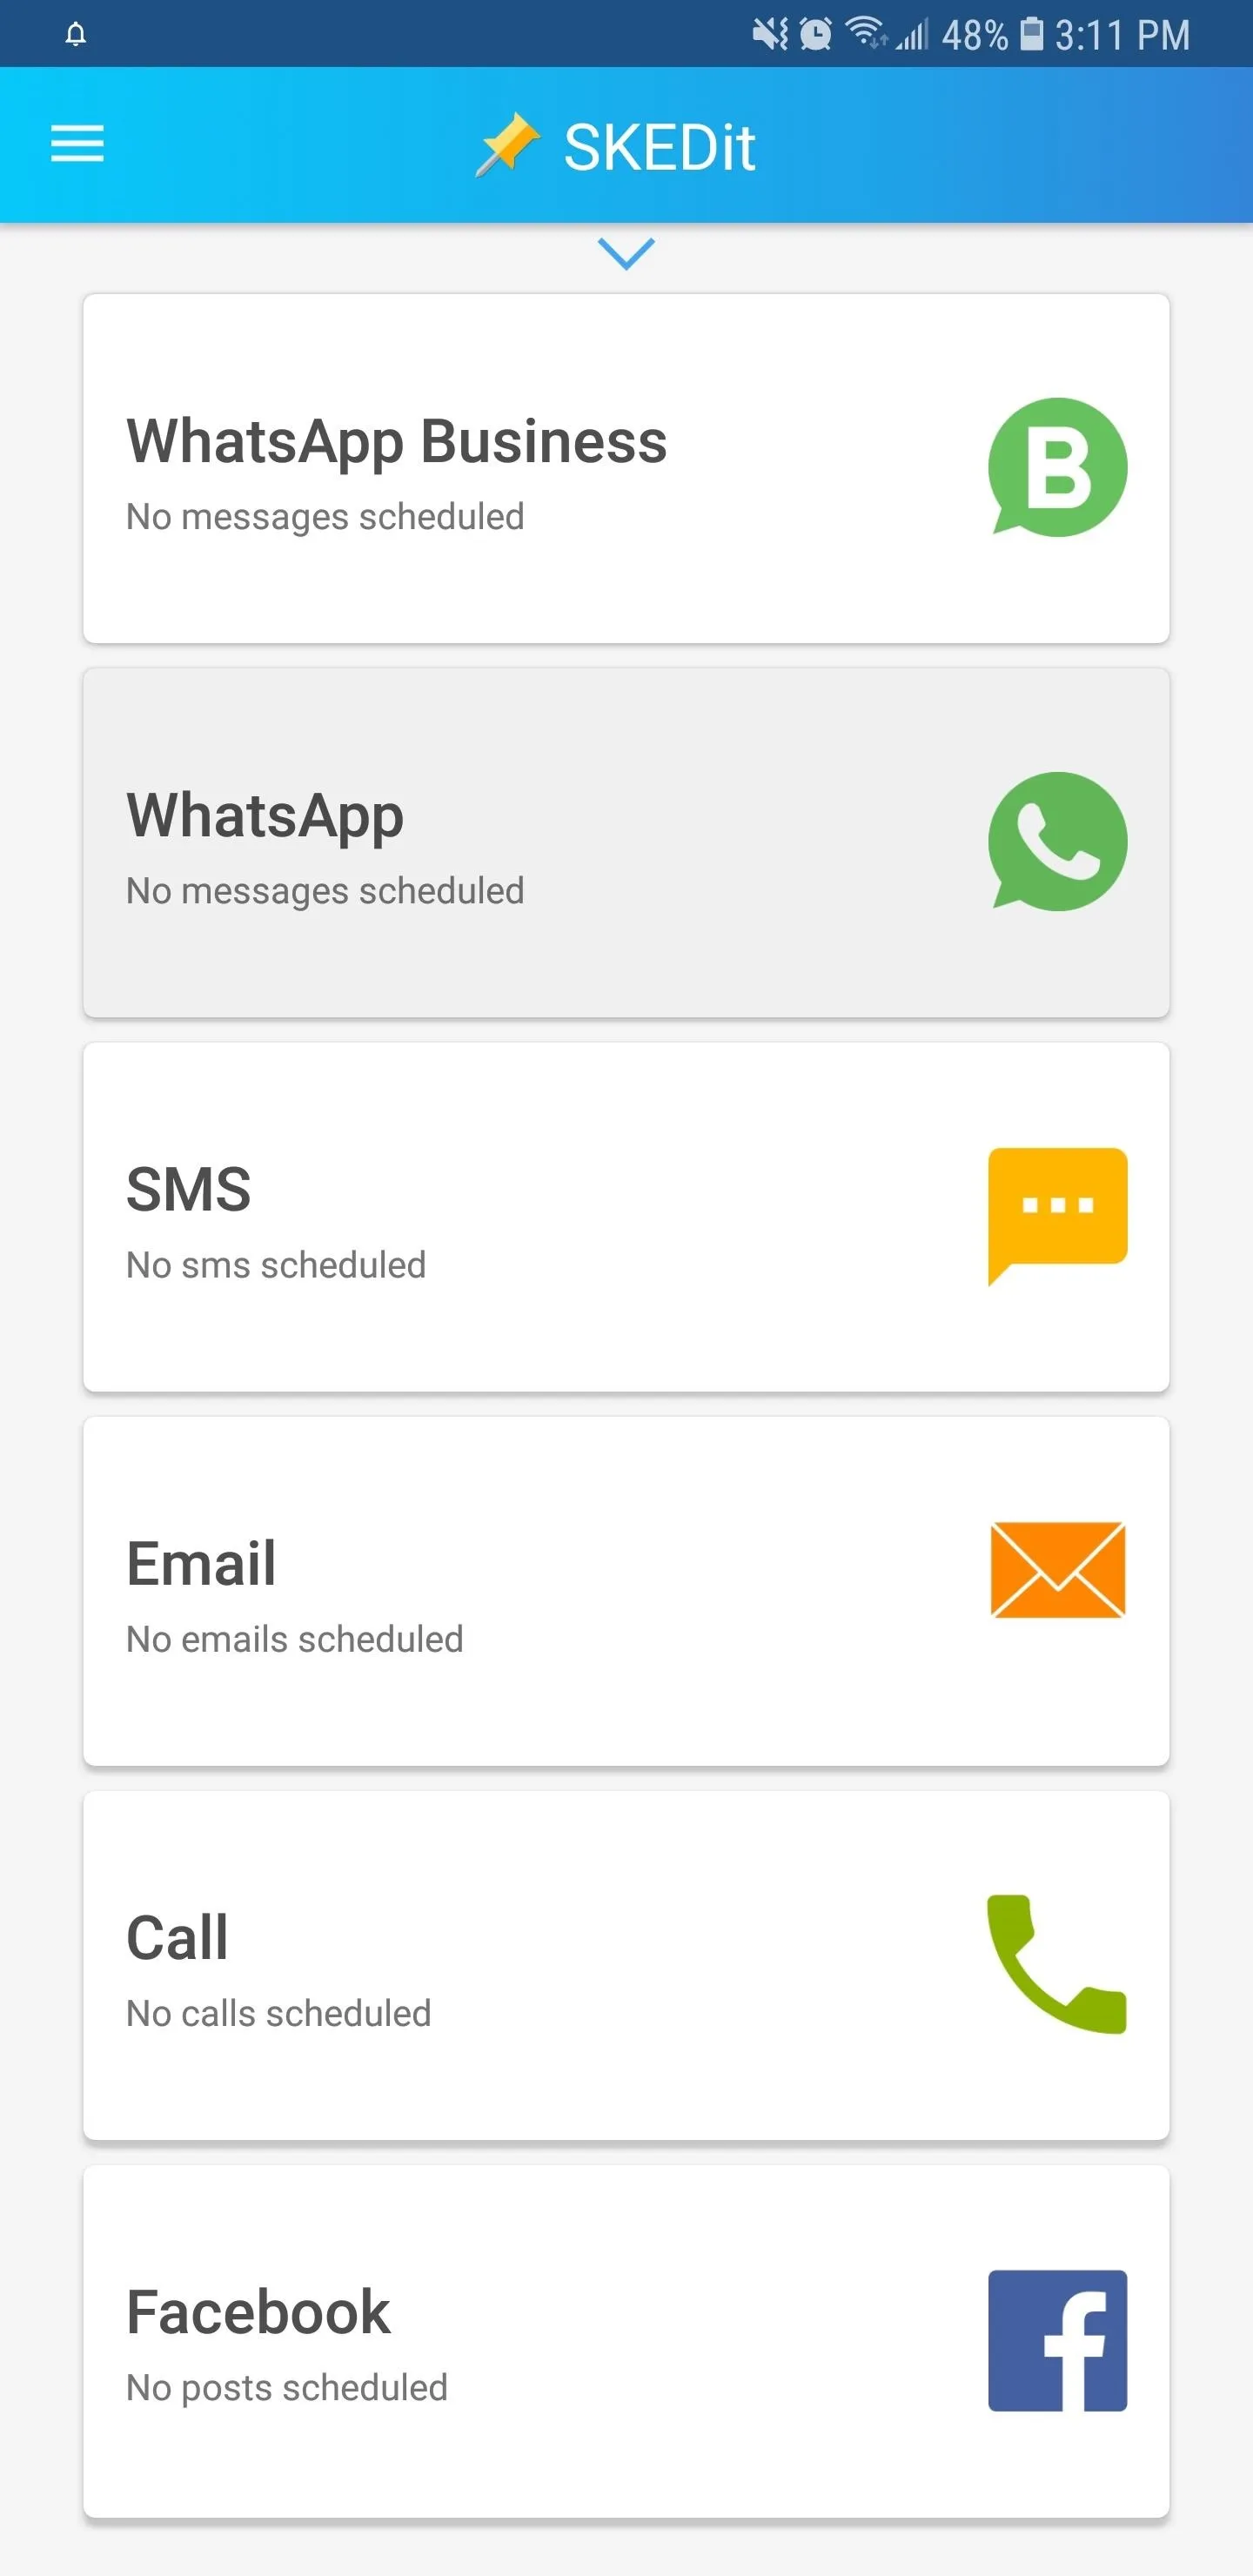
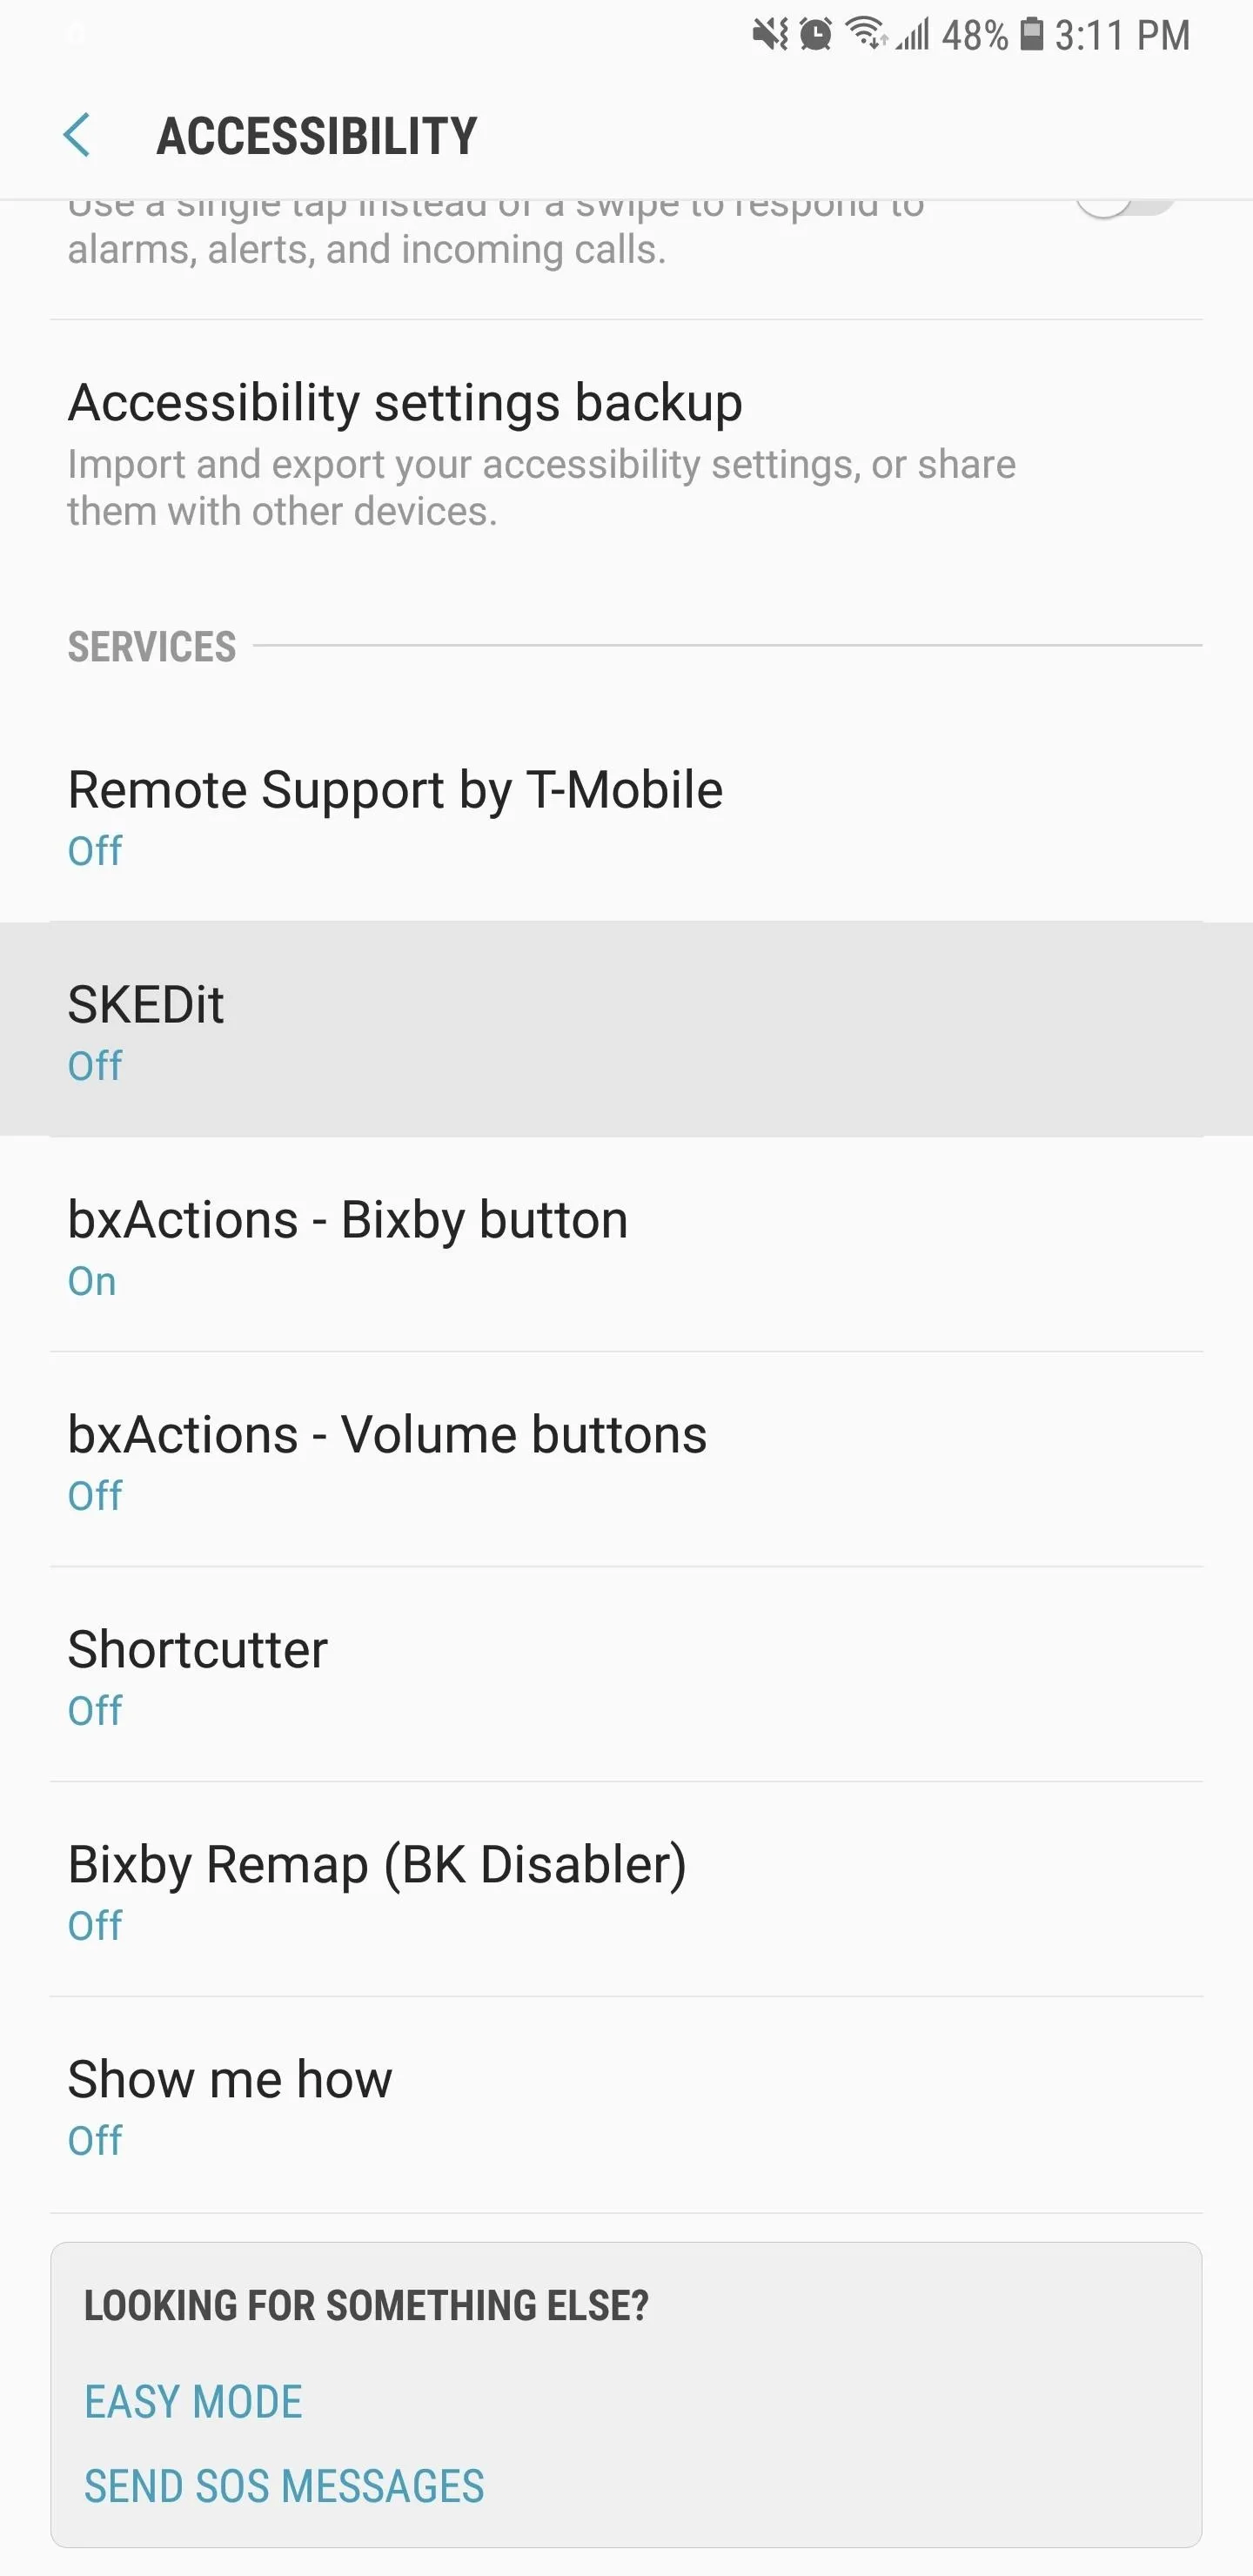
Open you've installed SKEDit, open the app and tap on either "WhatsApp Business" or "WhatsApp," depending on the type of account you use. The app will now ask you to grant it accessibility permissions, so tap on "Open Settings," then scroll down on the next menu and select "SKEDit."
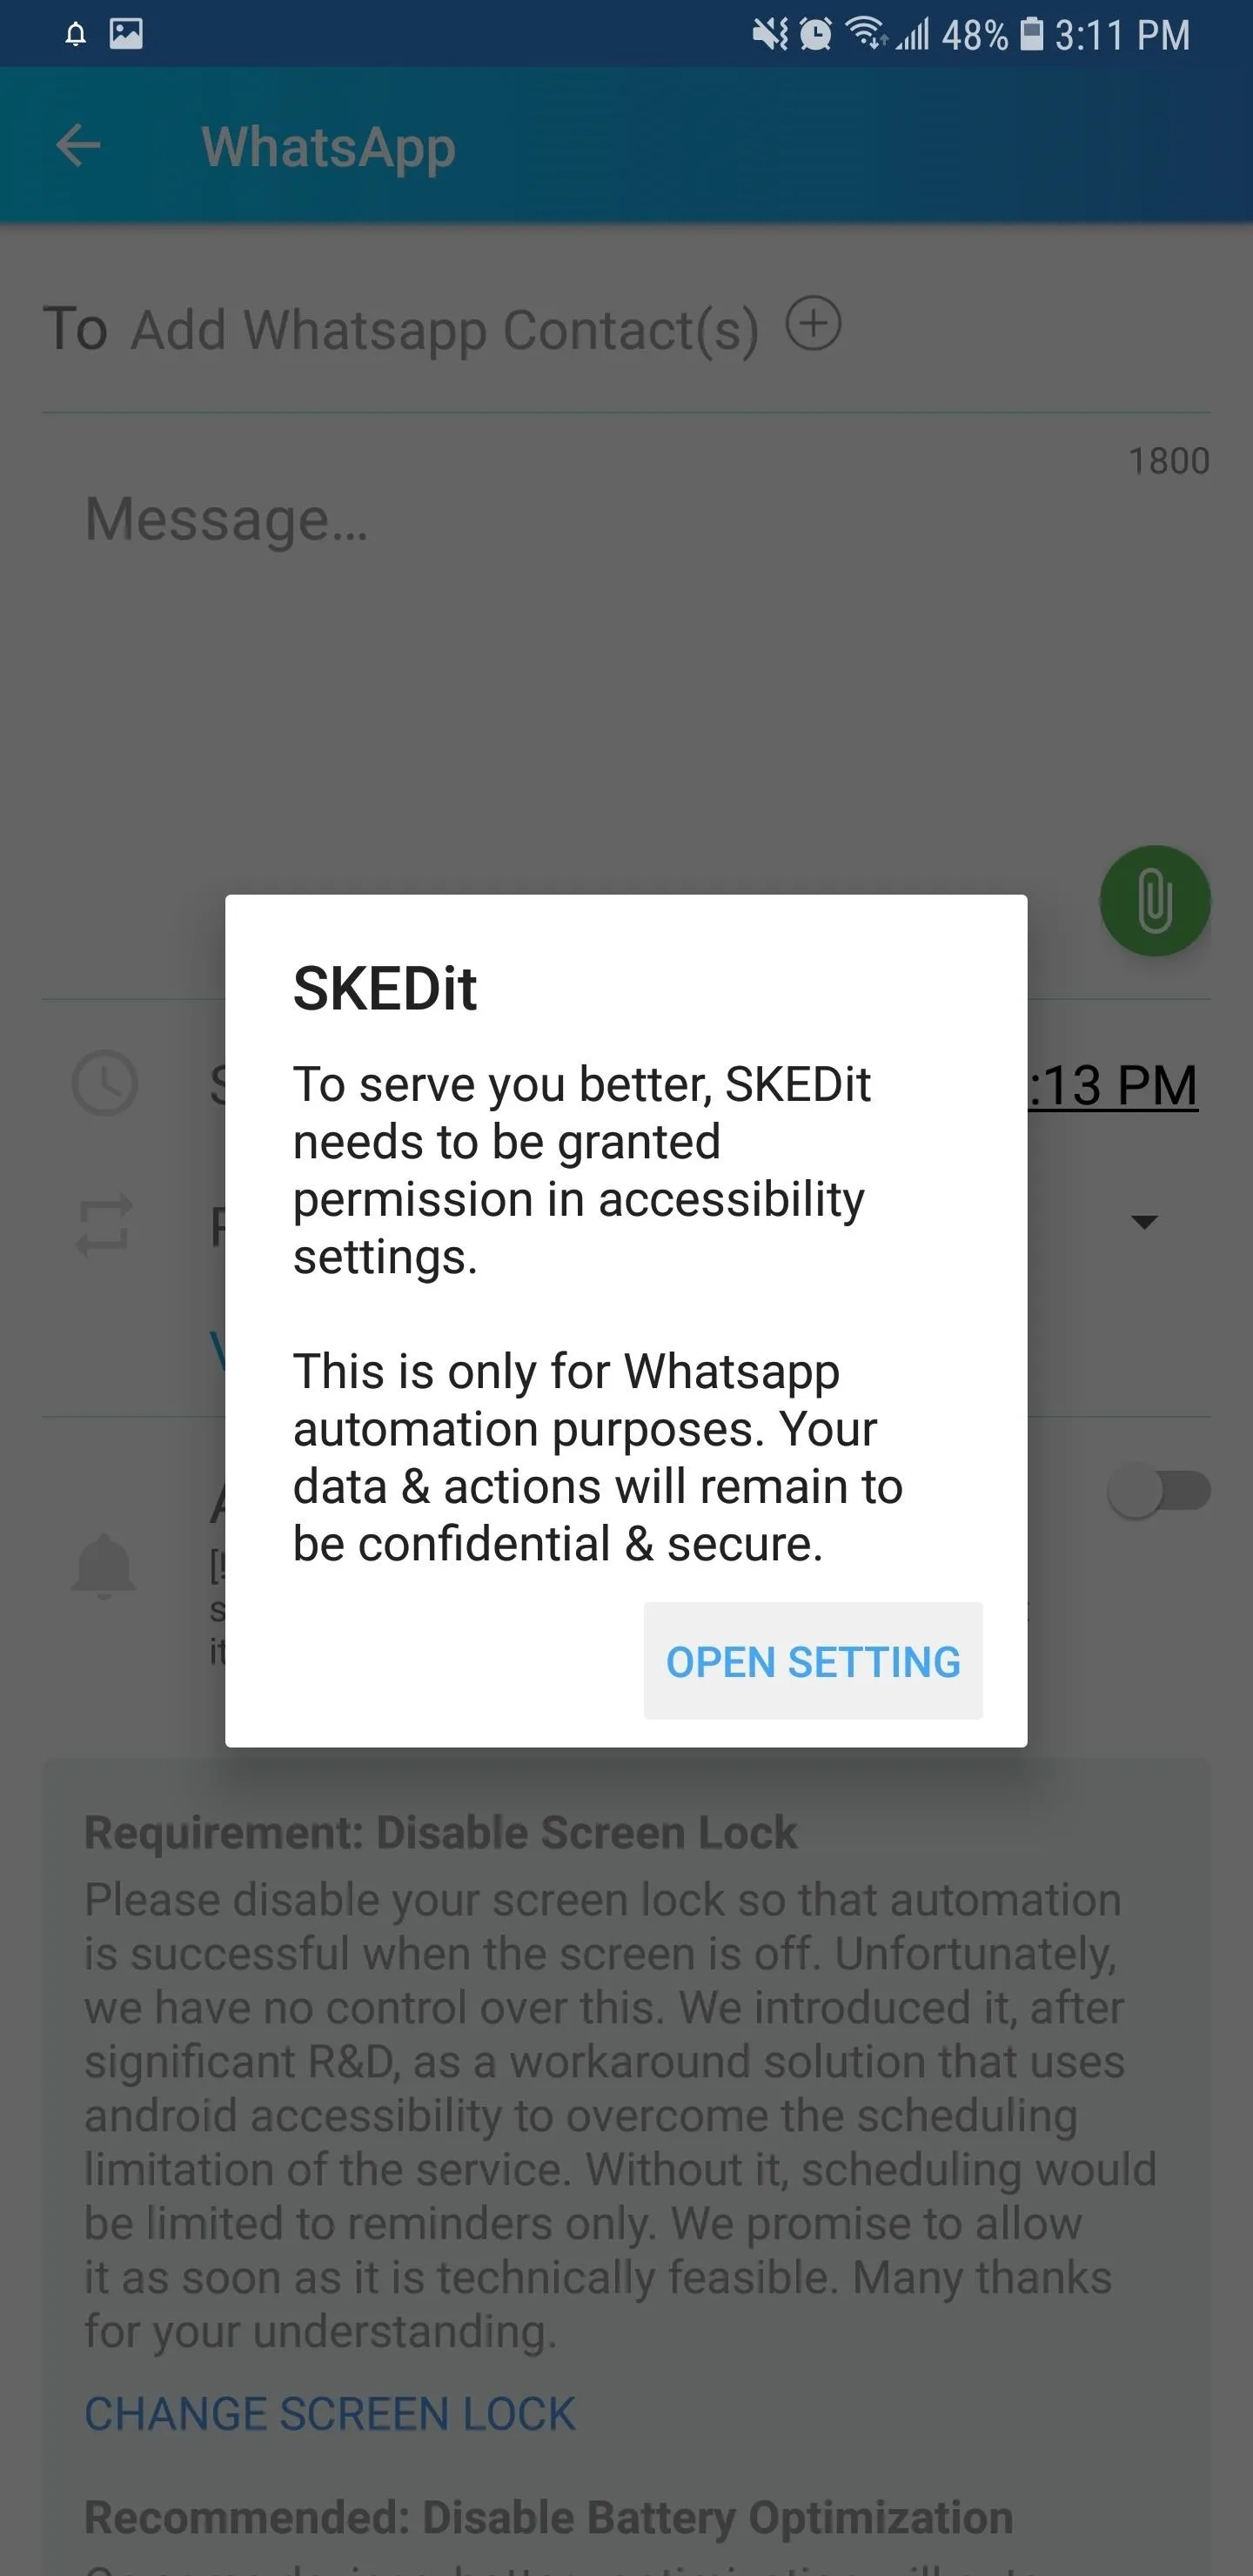

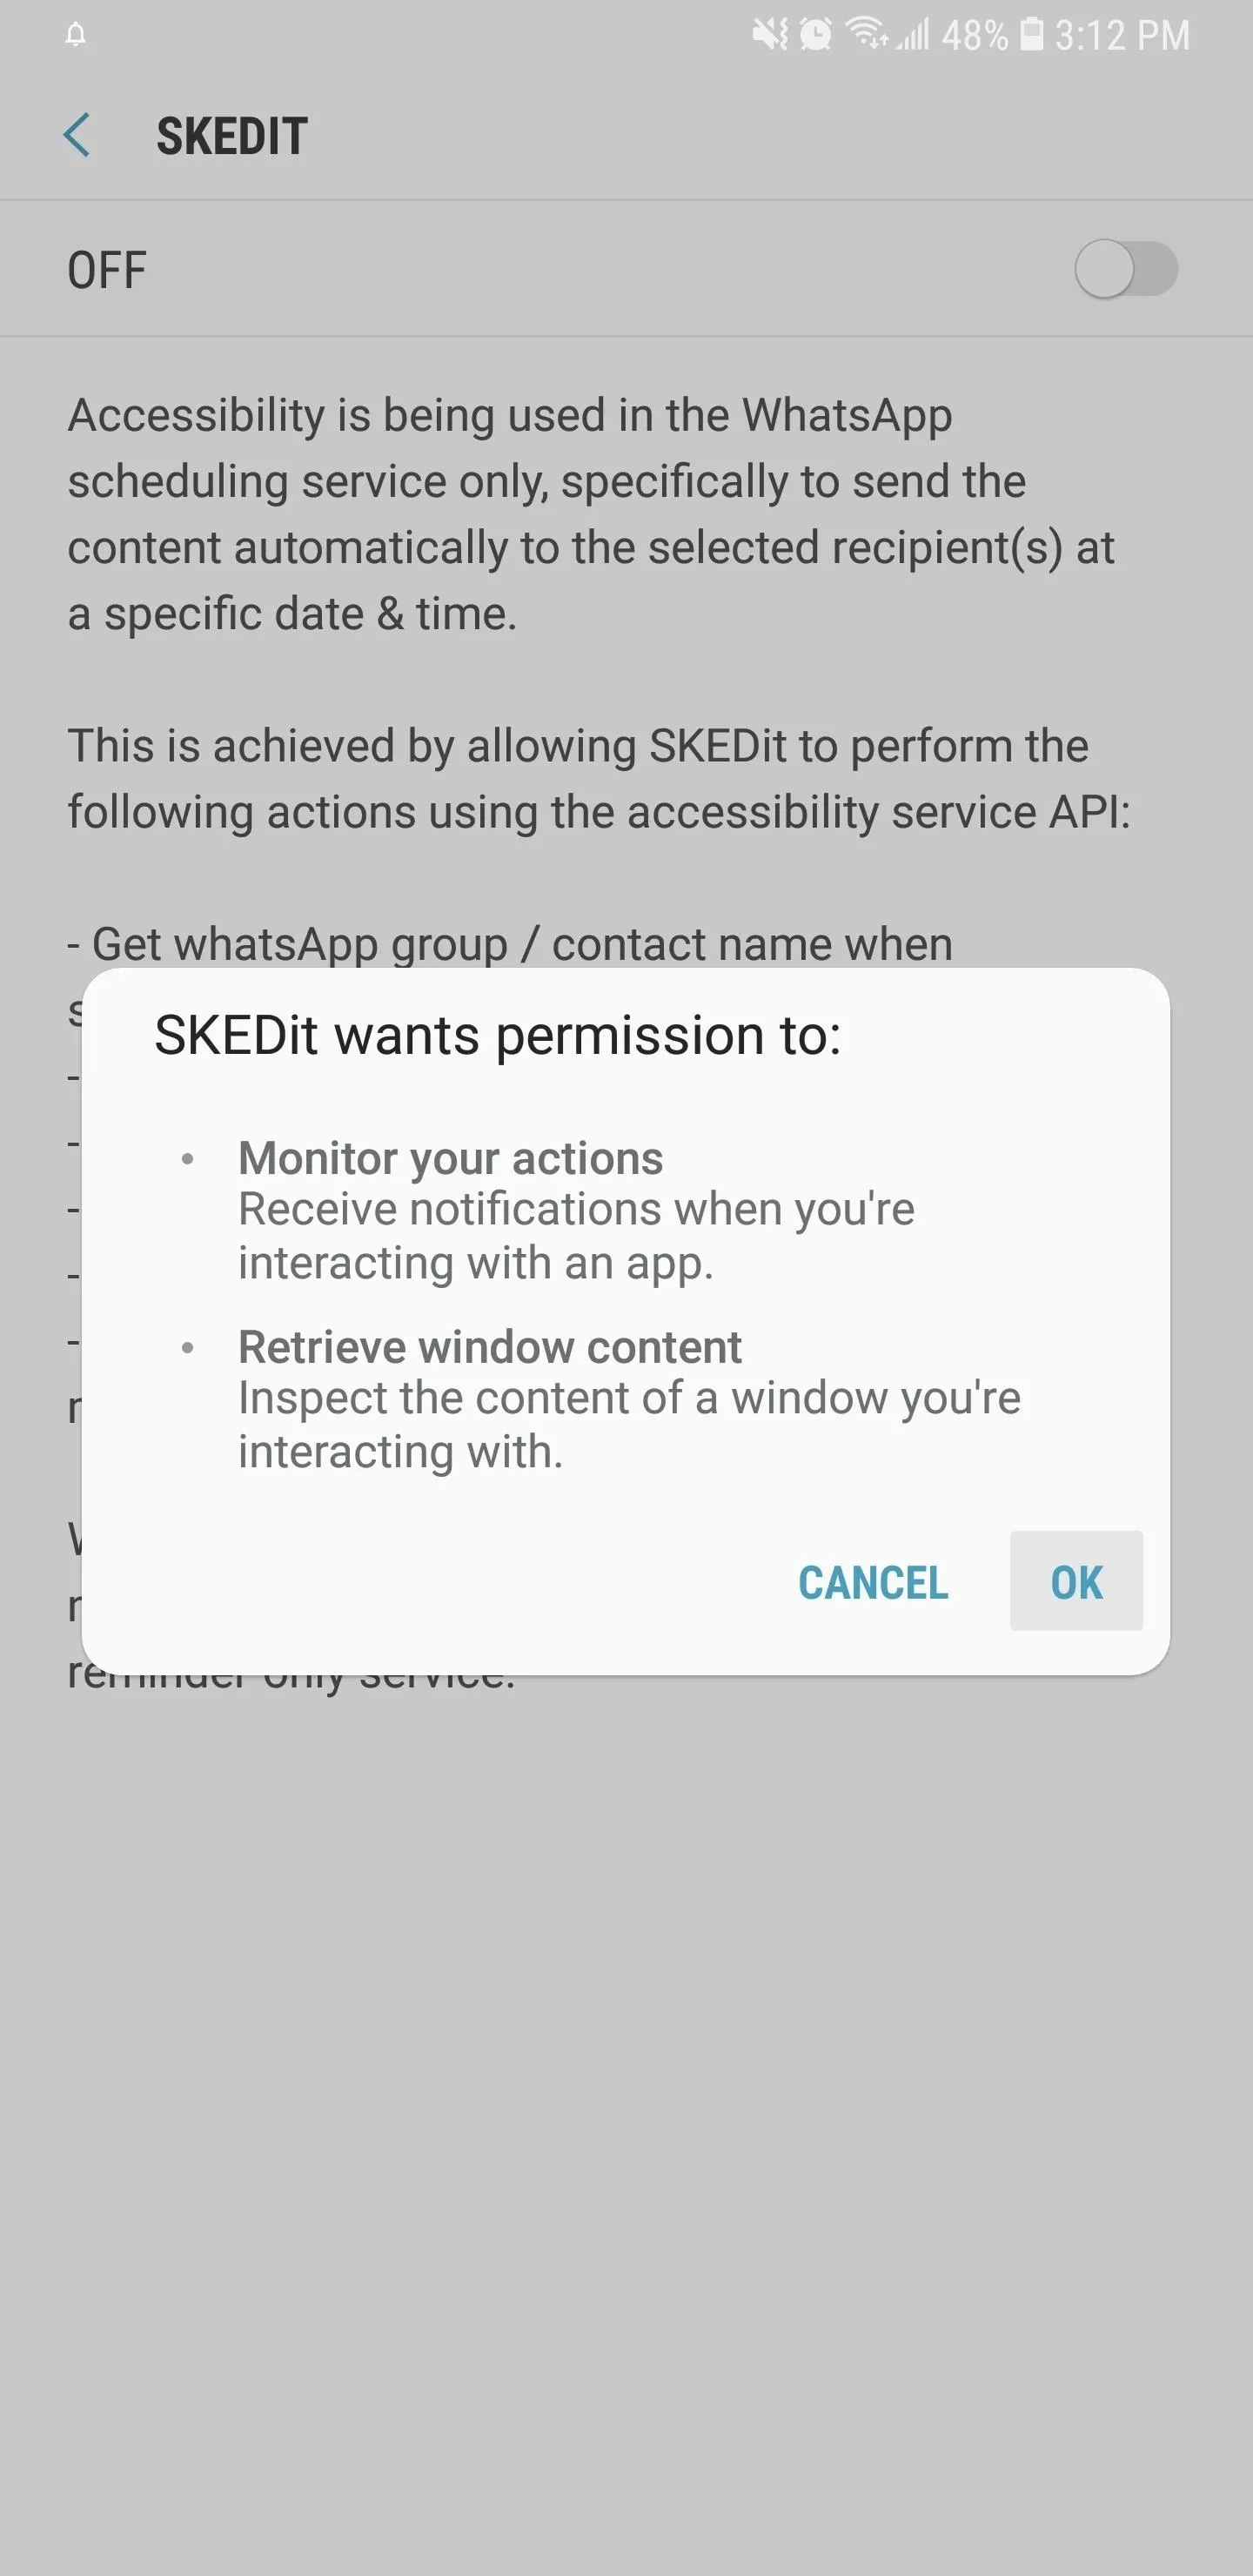
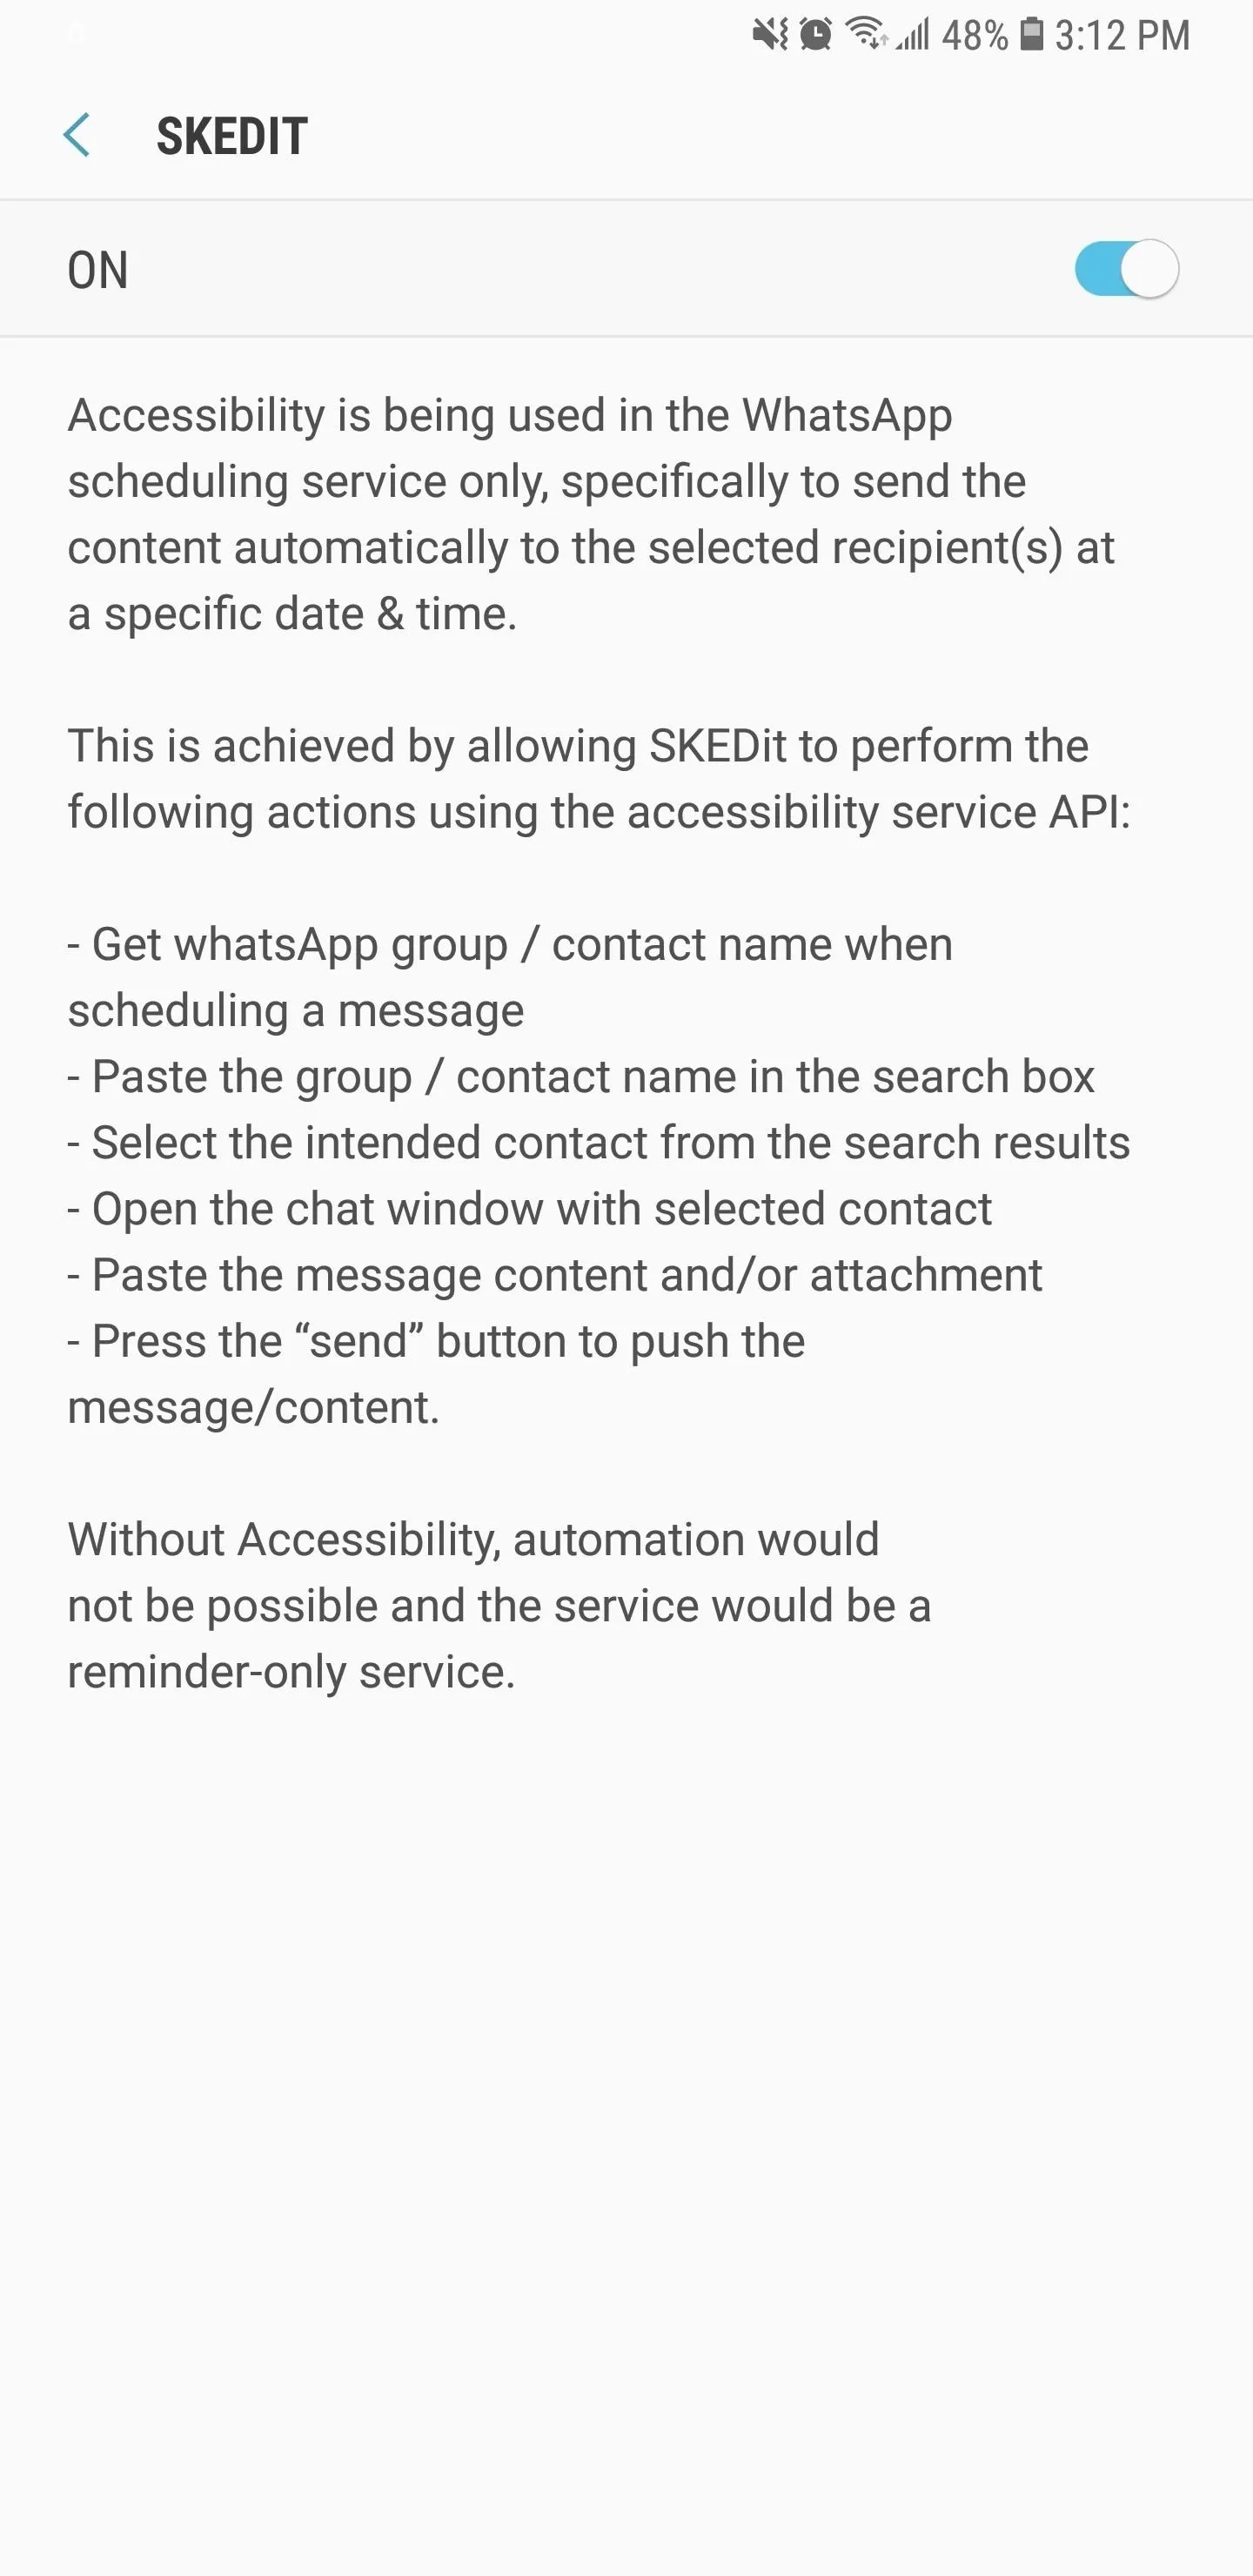
Now, tap on the toggle within the SKEDit menu to grant it accessibility permissions. A final confirmation prompt will appear summarizing what the app will have access to, so tap "OK" to finish setting up.
Set the Time & Date for Your Scheduled Post
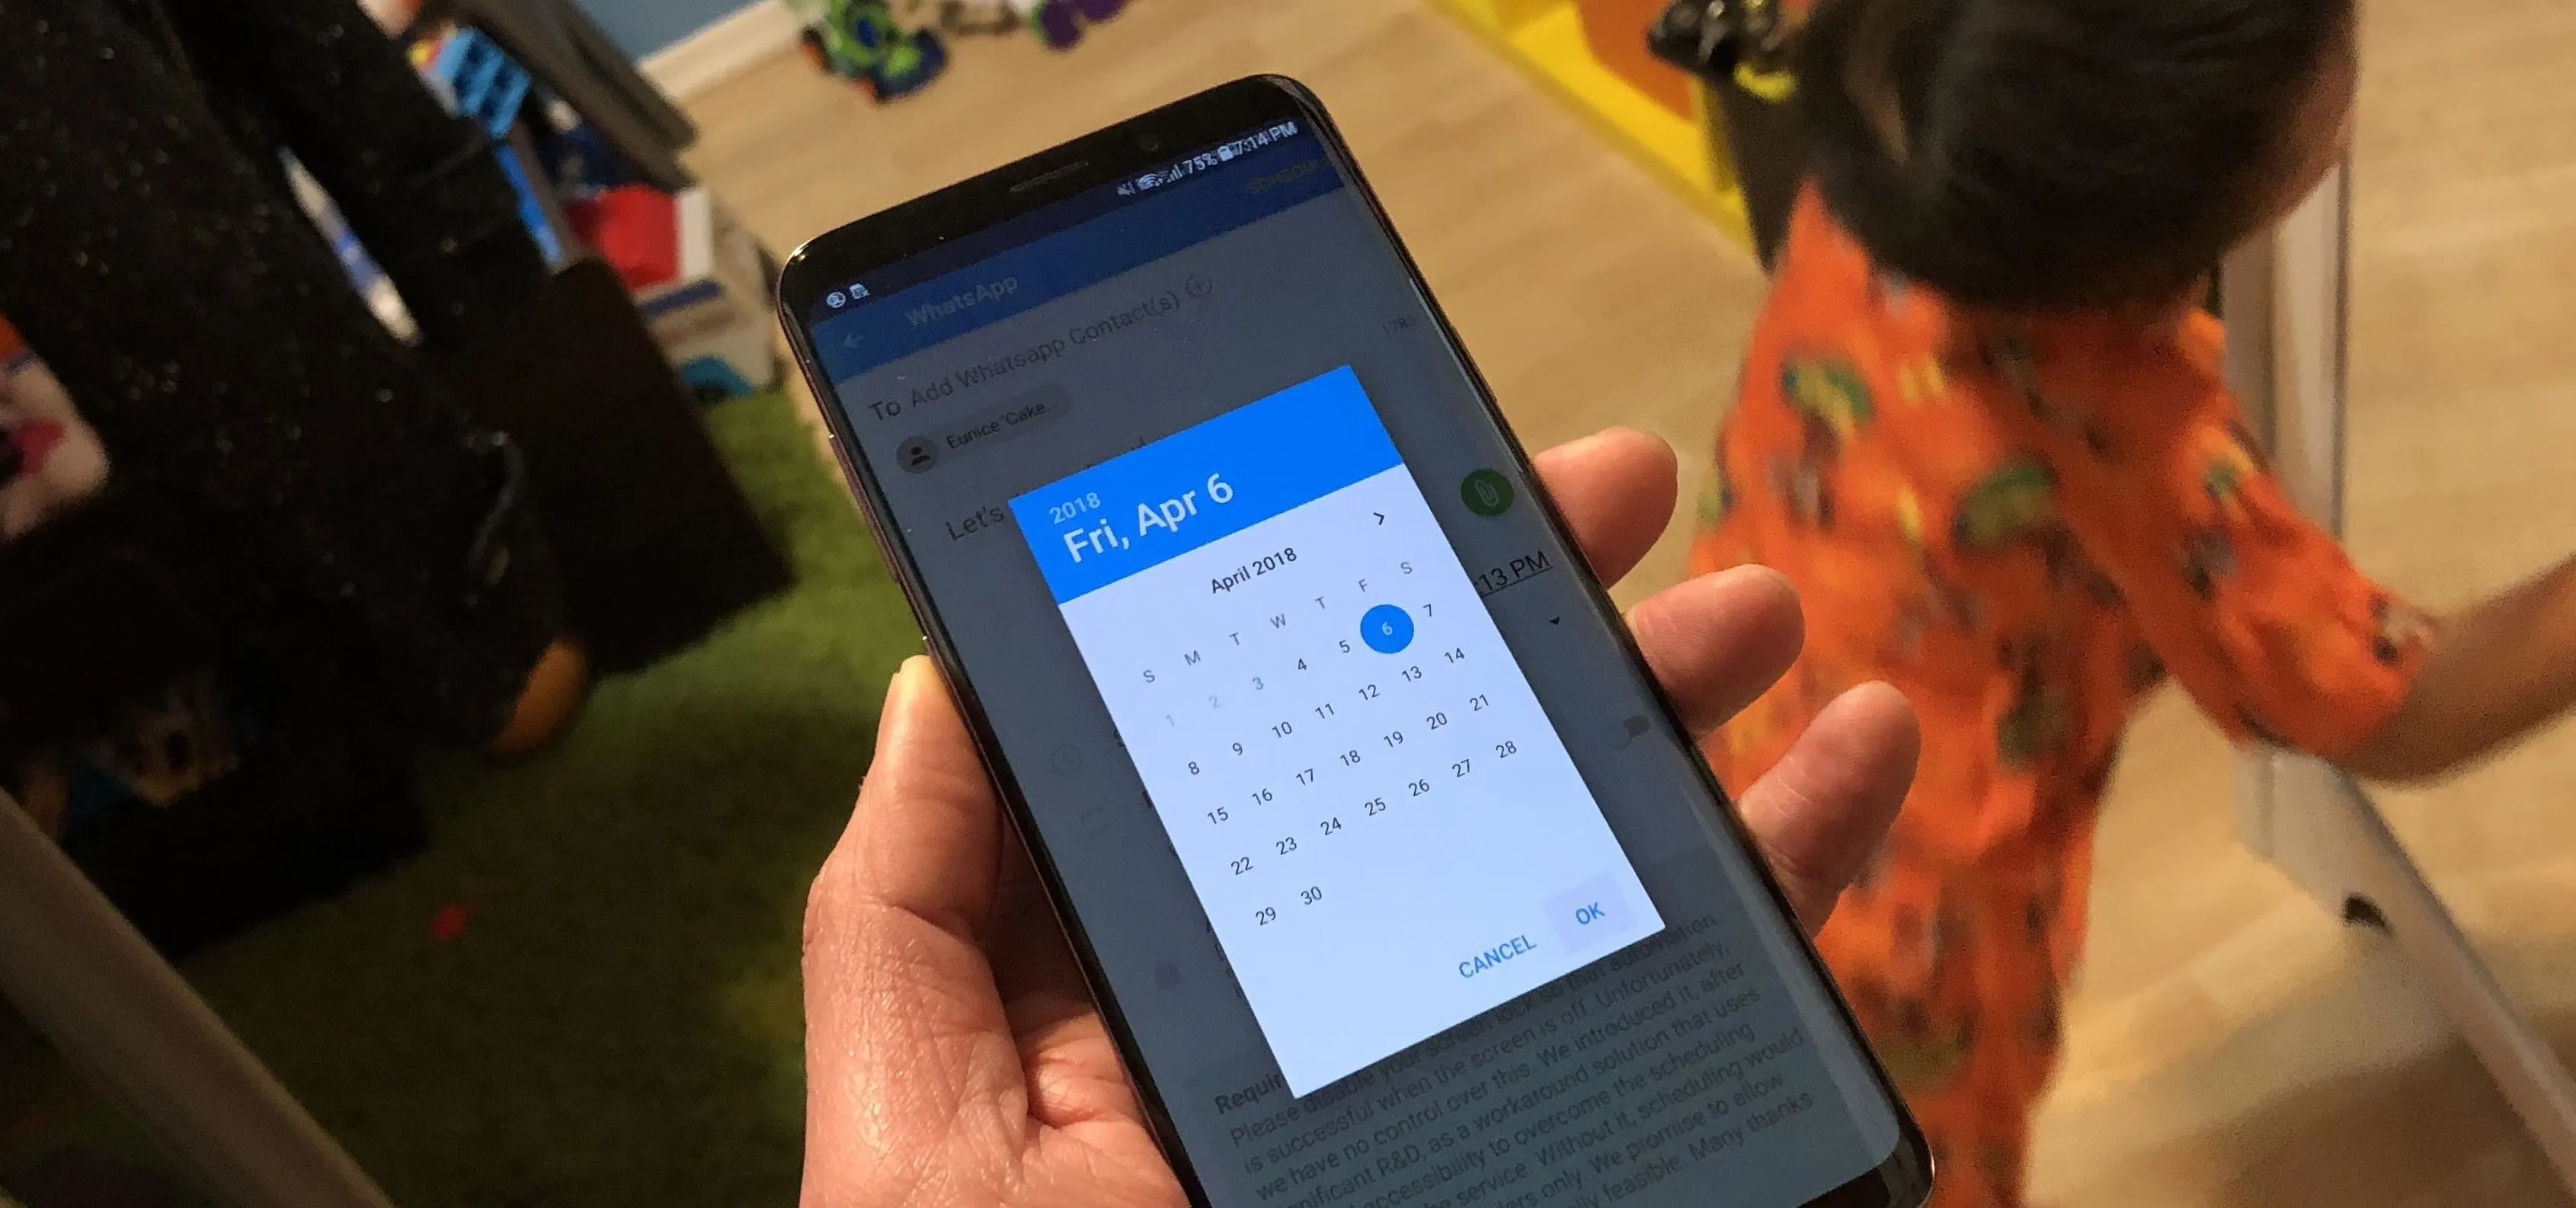
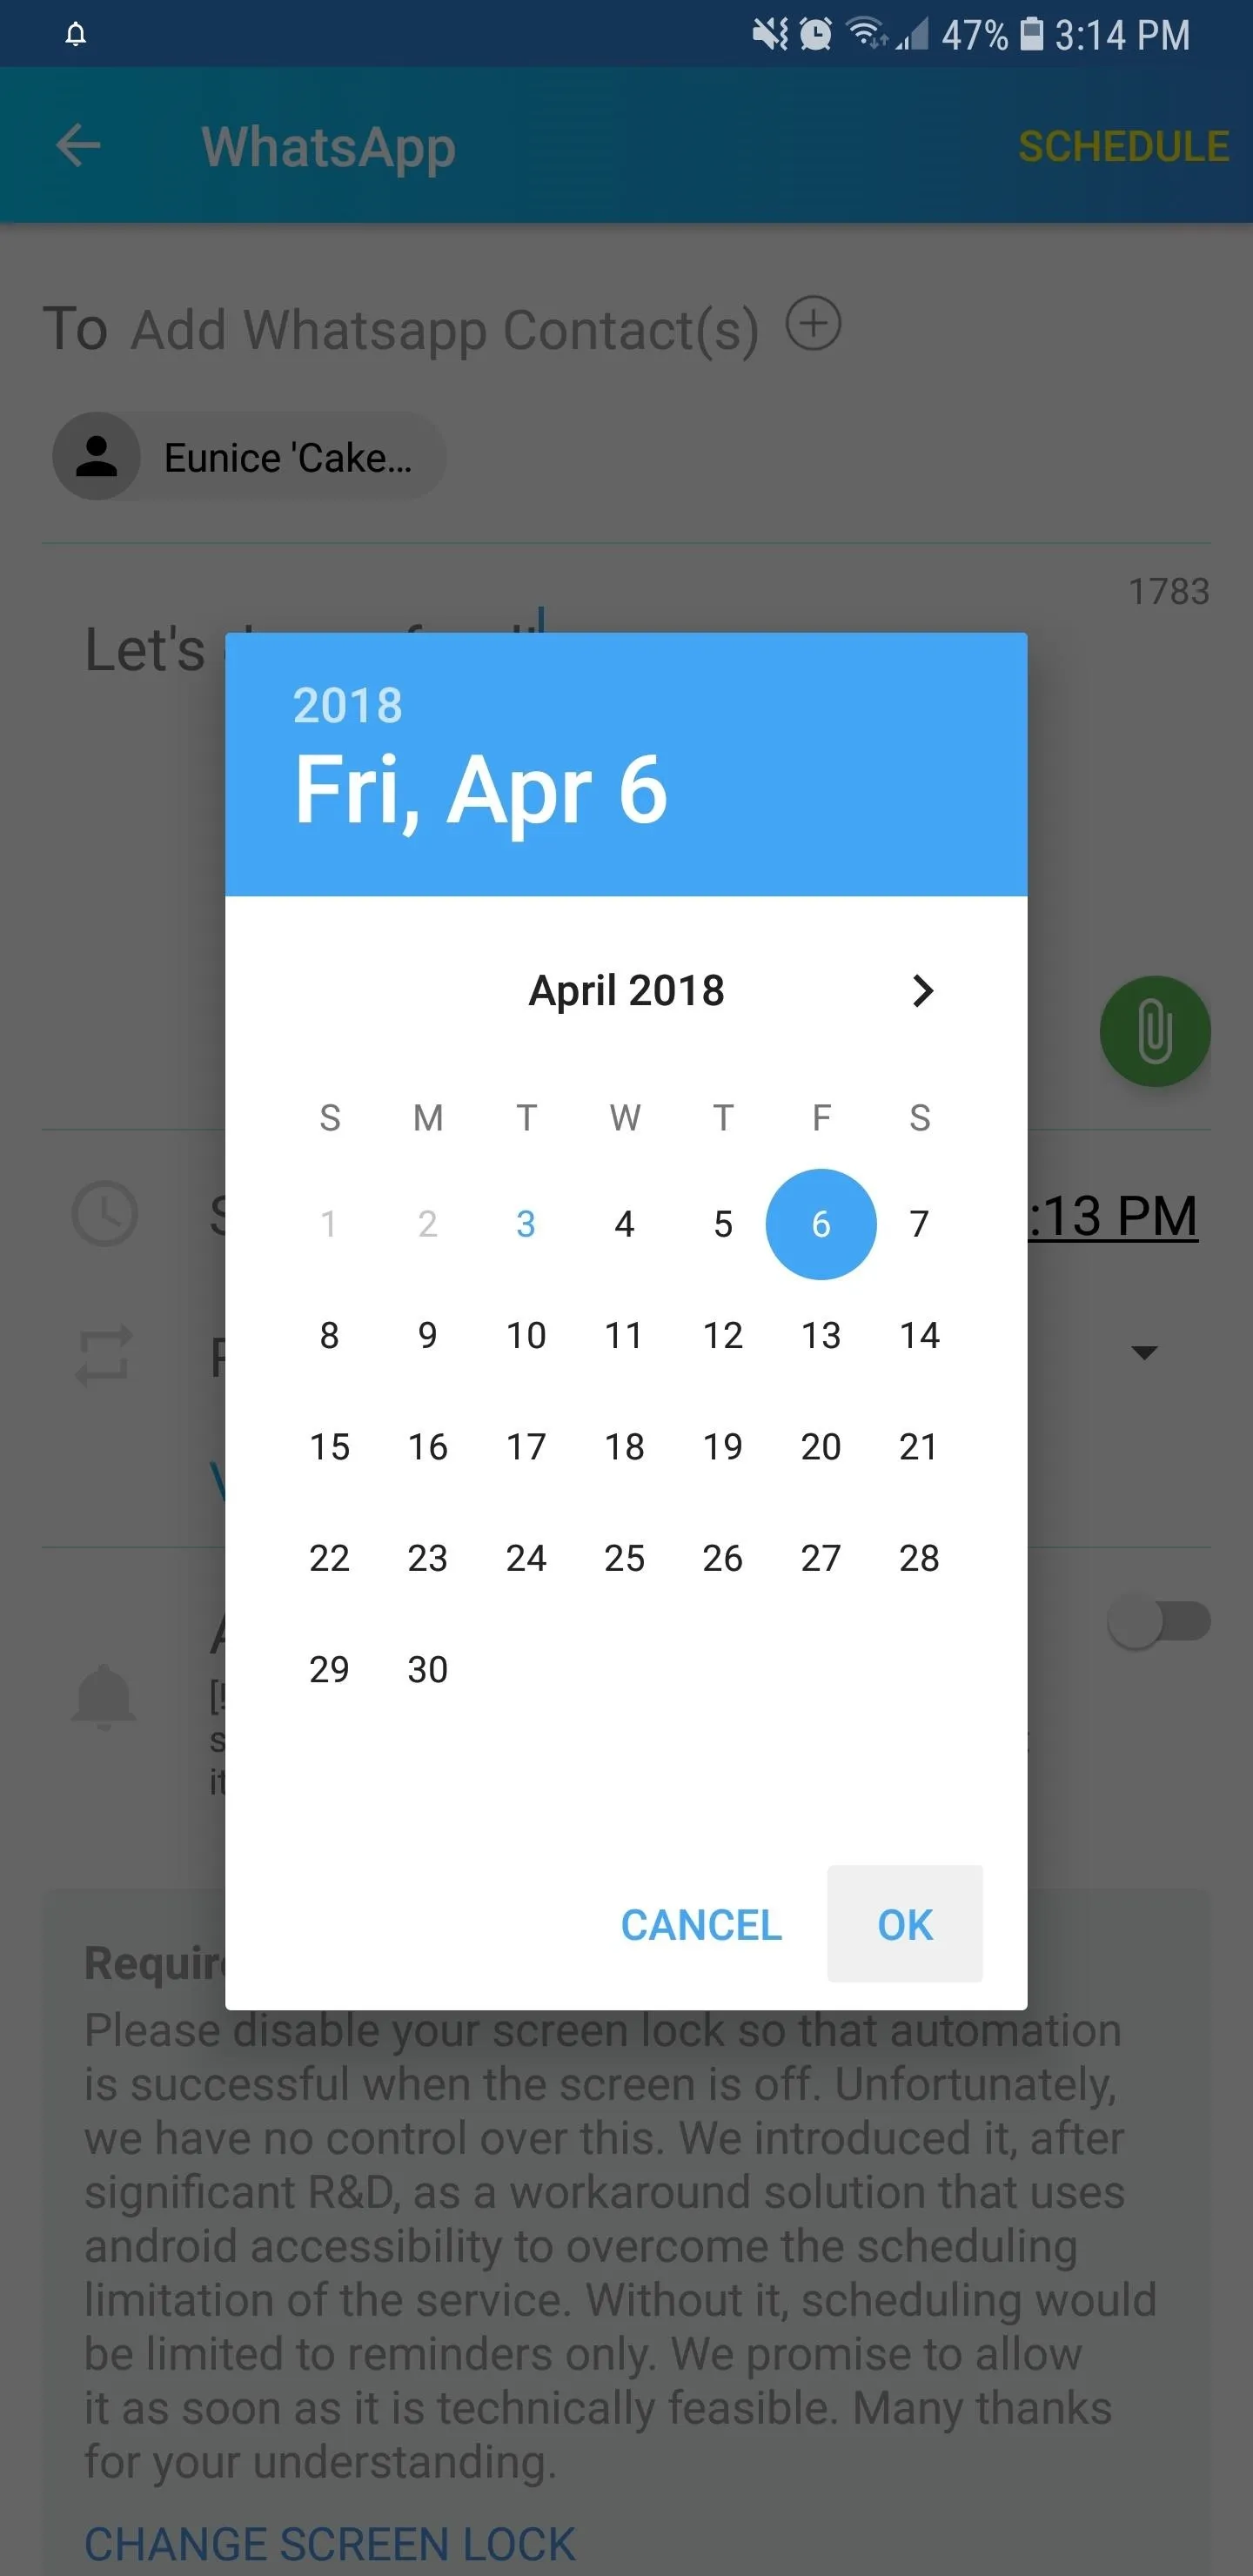
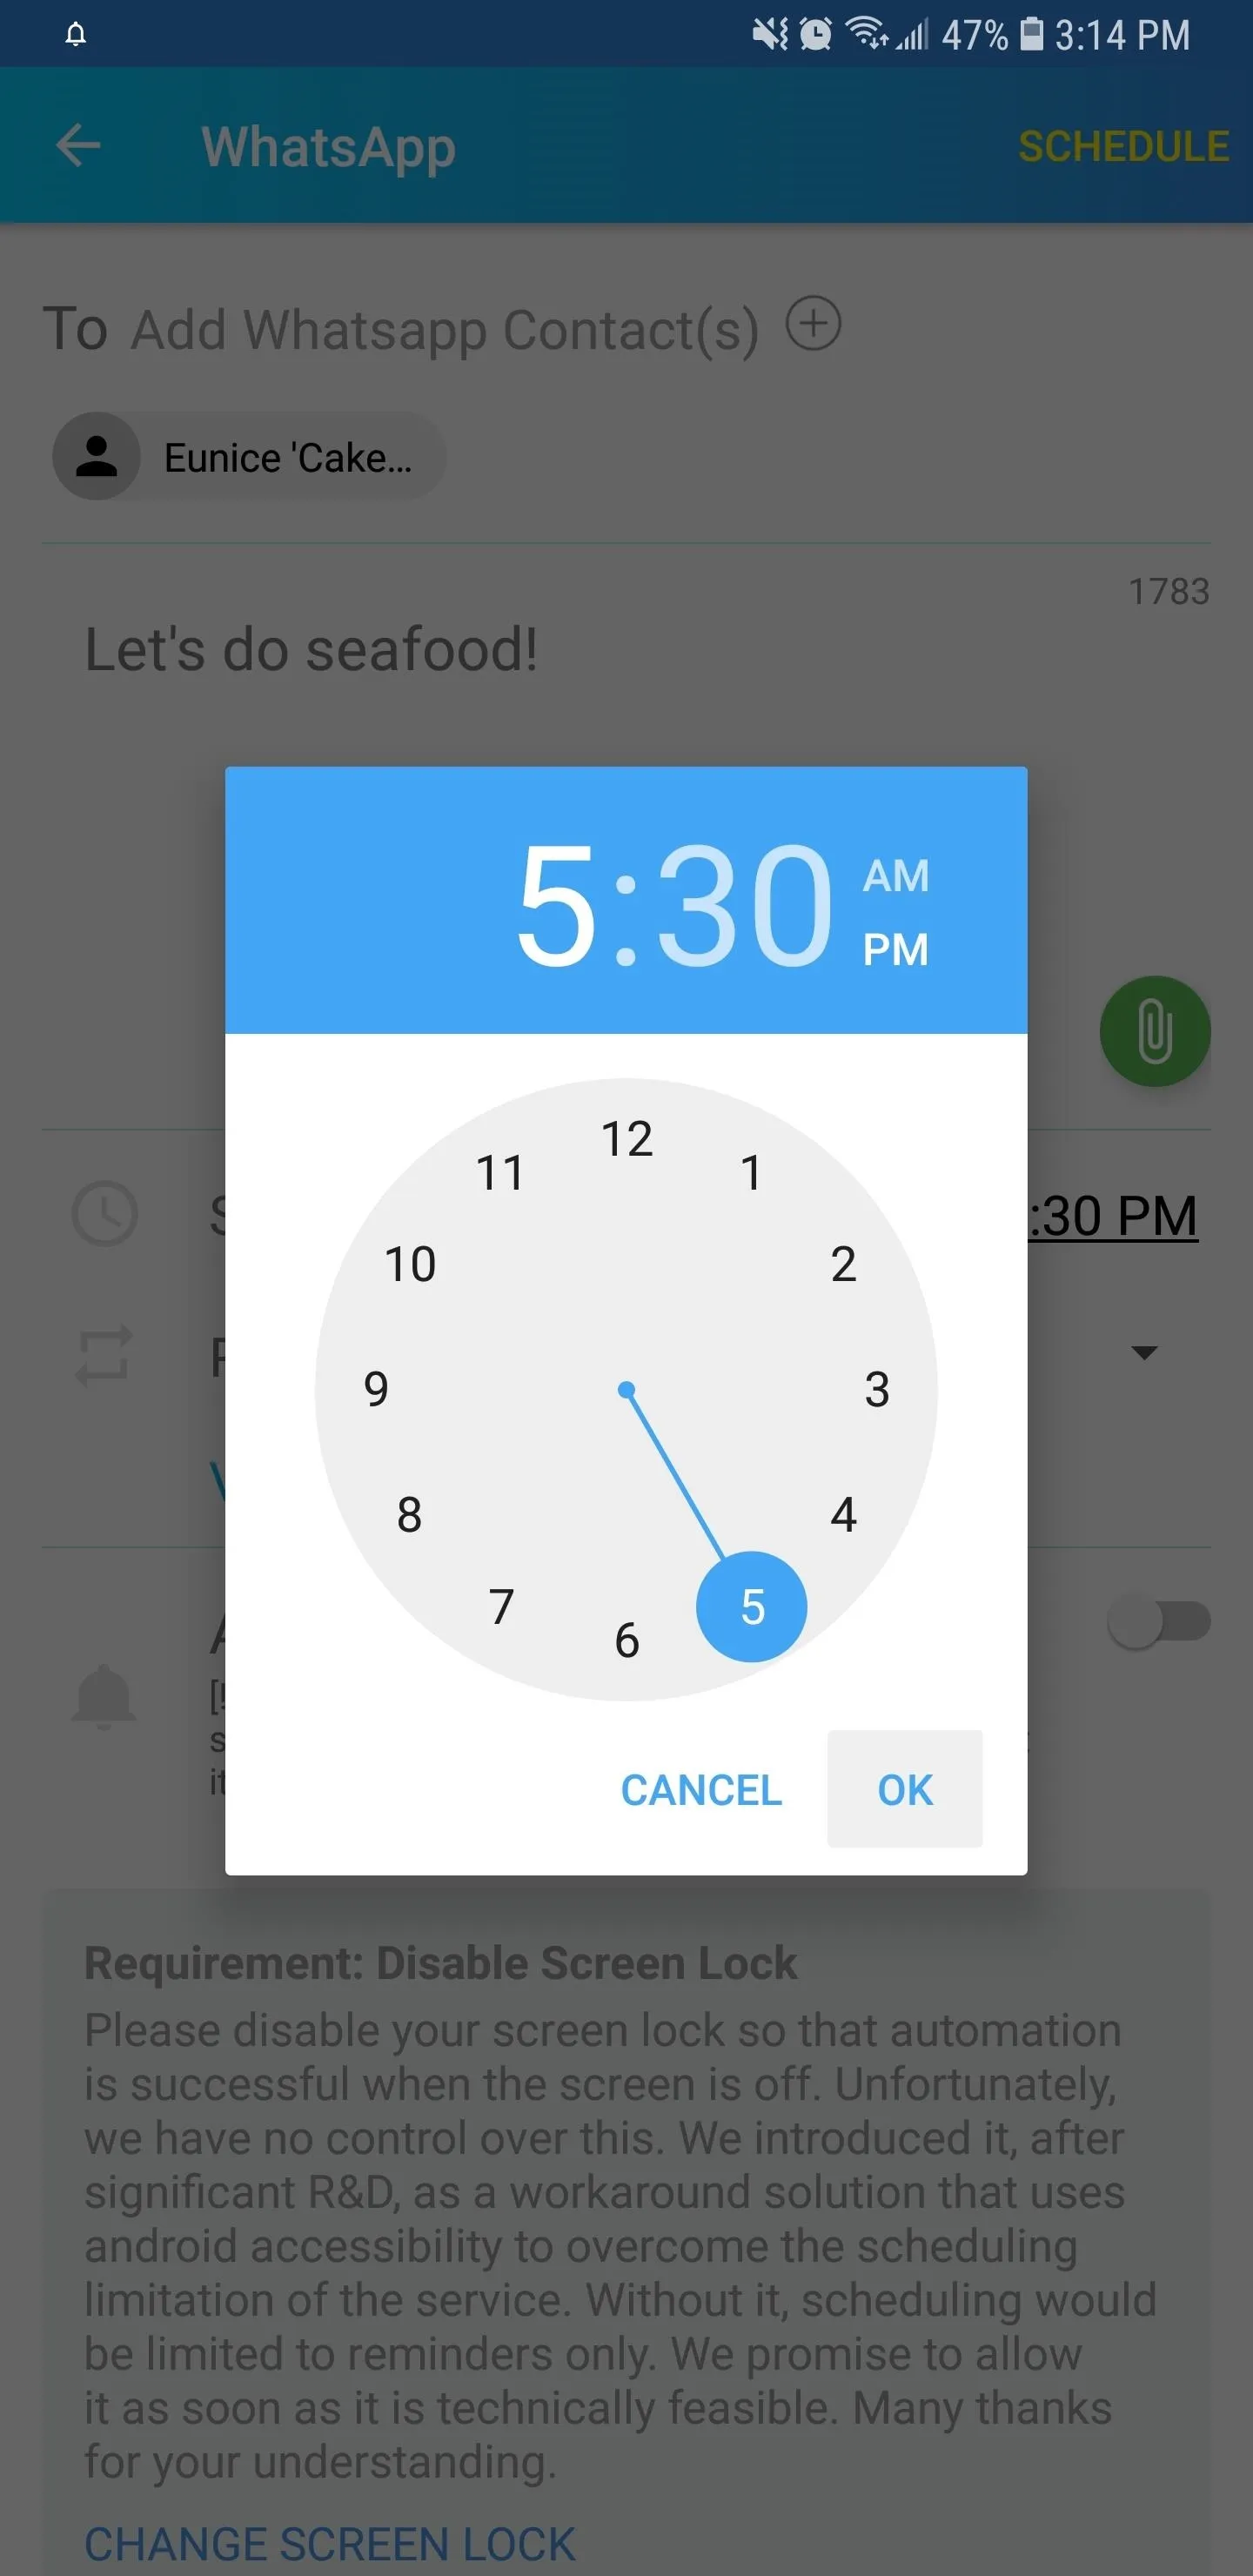
After granting the app permission to access data, you can create and schedule a post for a later date. To do so, simply tap on the "WhatsApp Contacts" tab along the top and choose your WhatsApp recipients, then enter your desired text or media file in the empty field right below it. Tapping on the date and time fields will yield either a calendar to set your target date, or a clock to set the desired time.
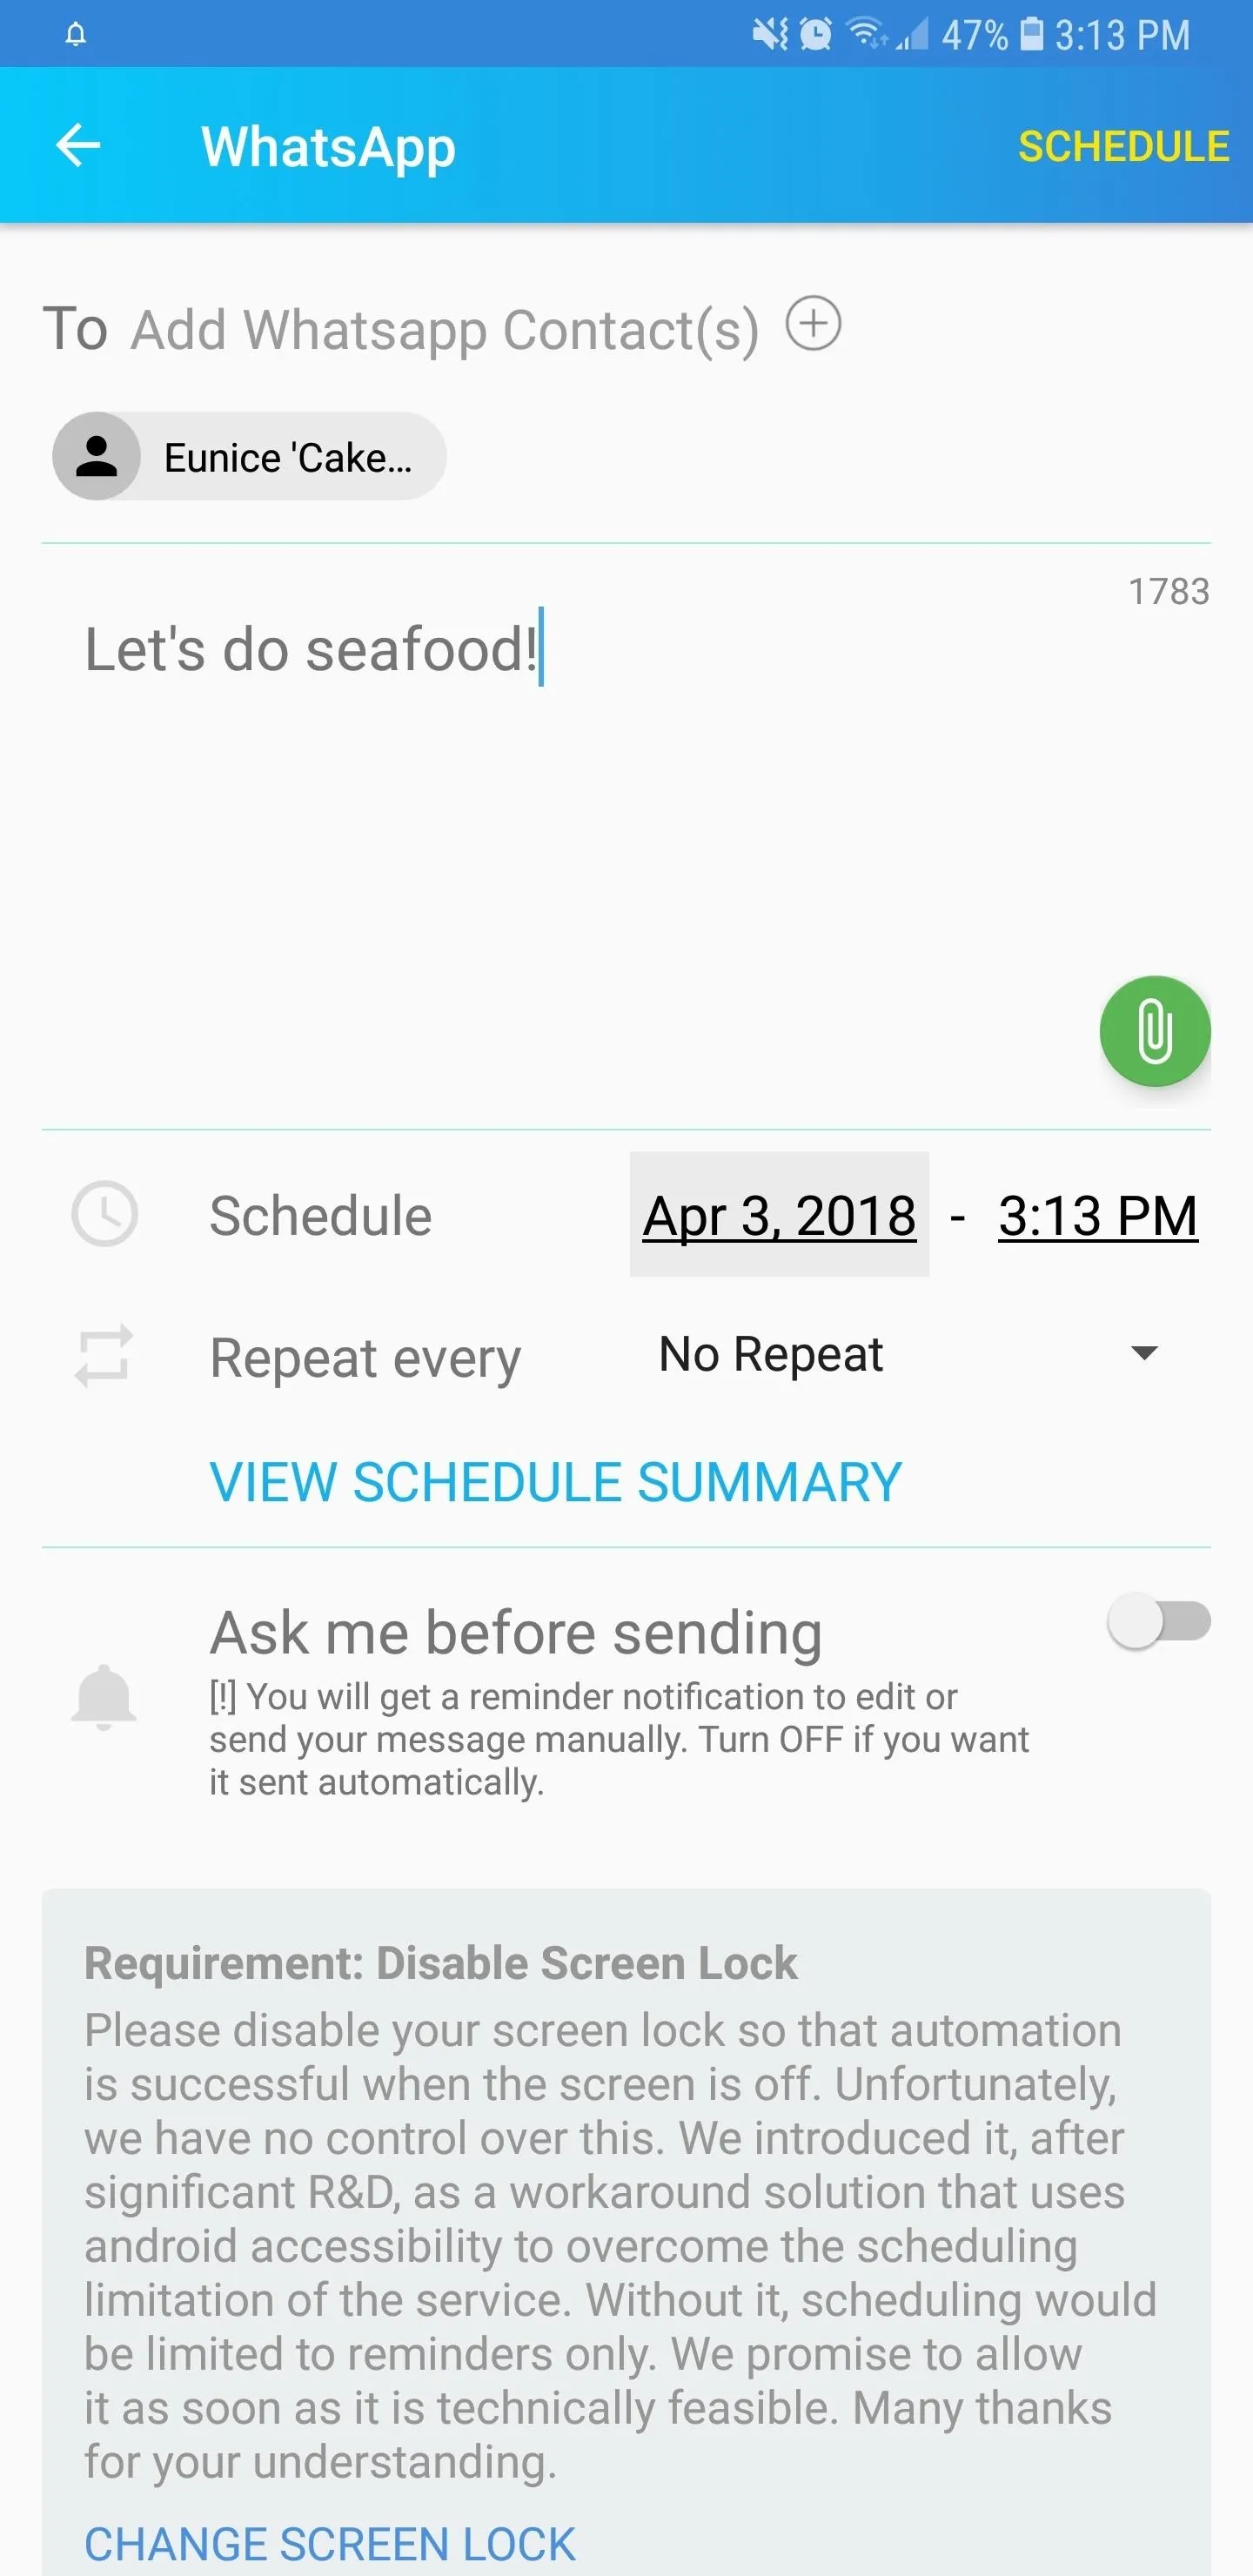
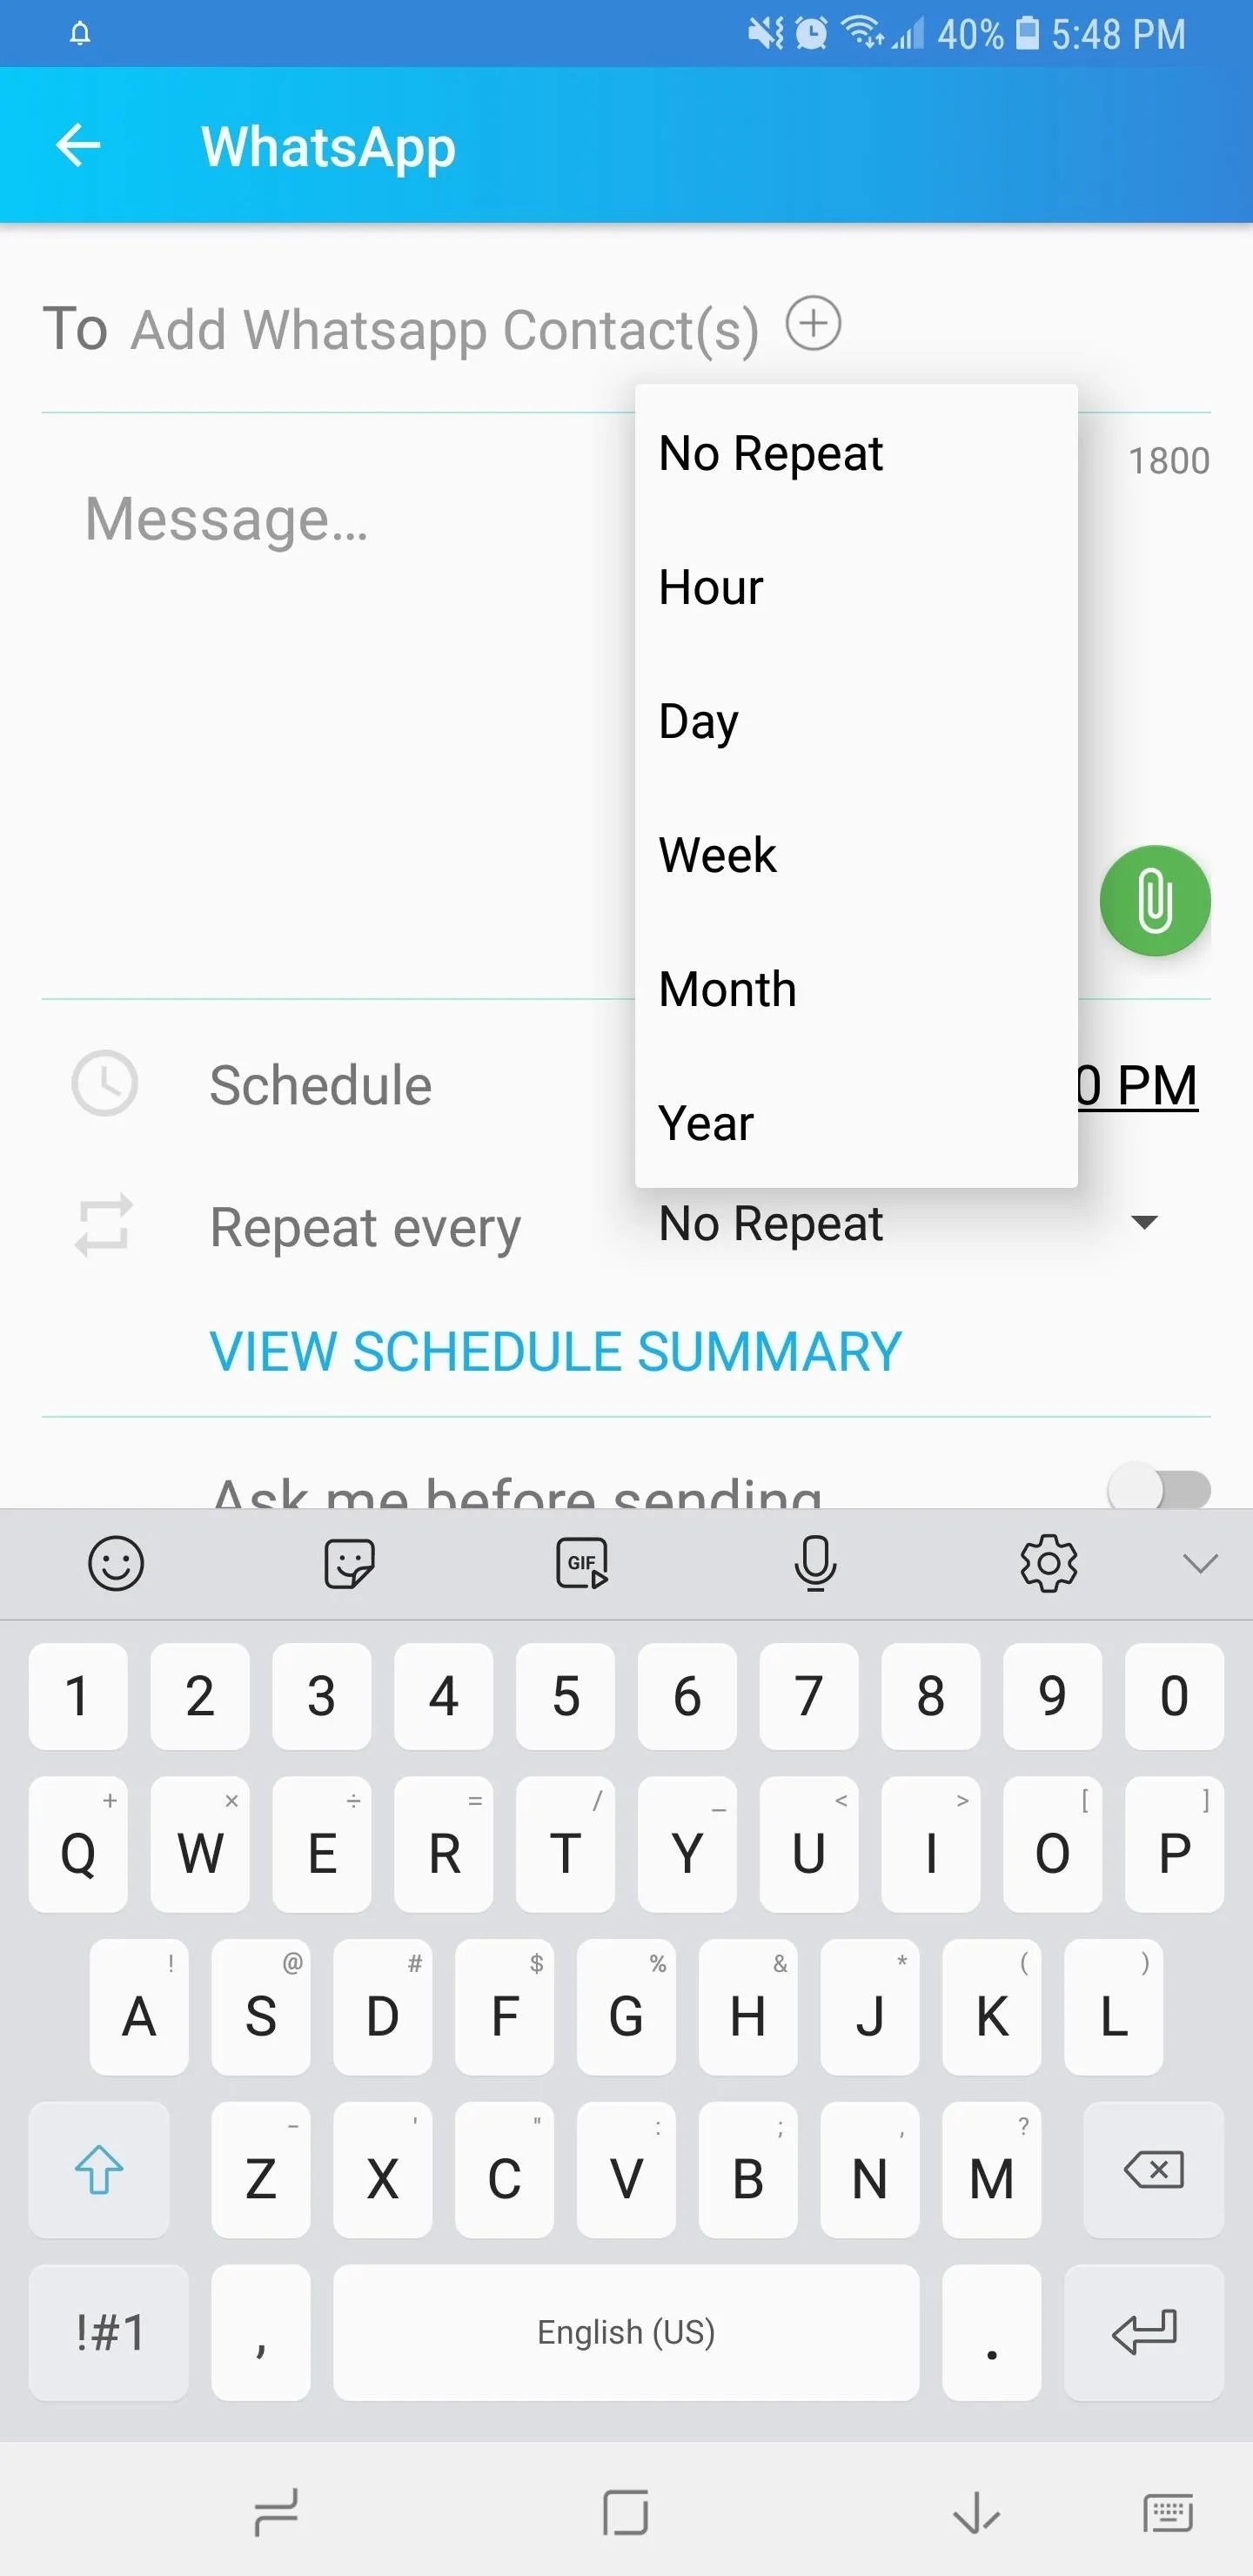
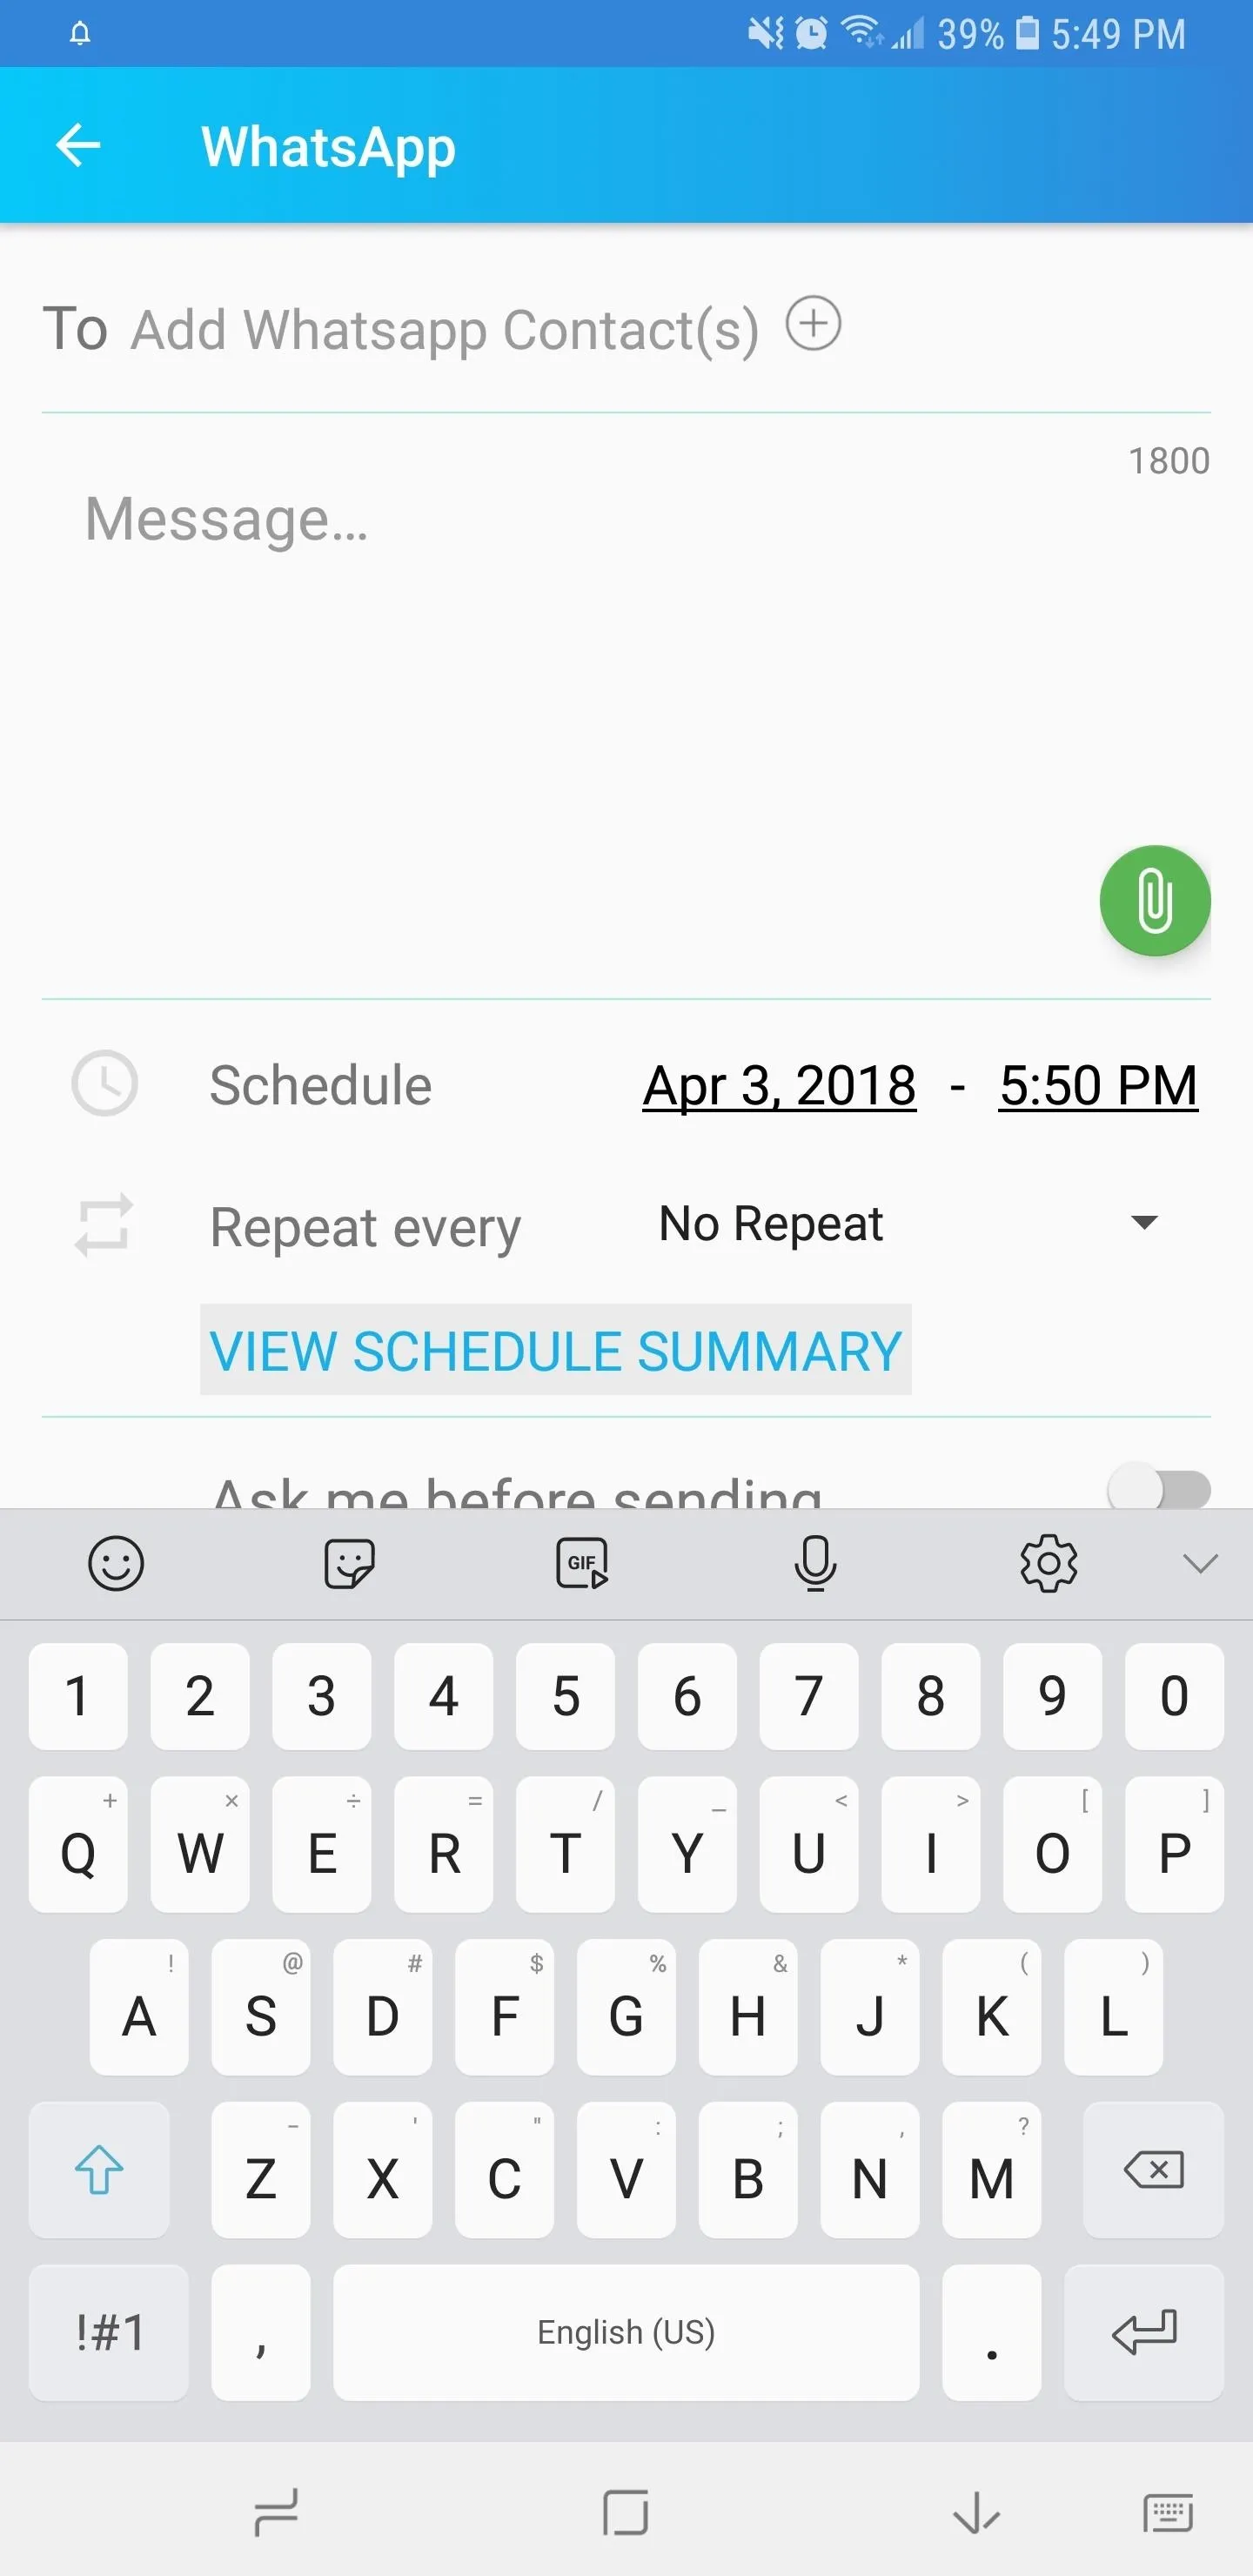
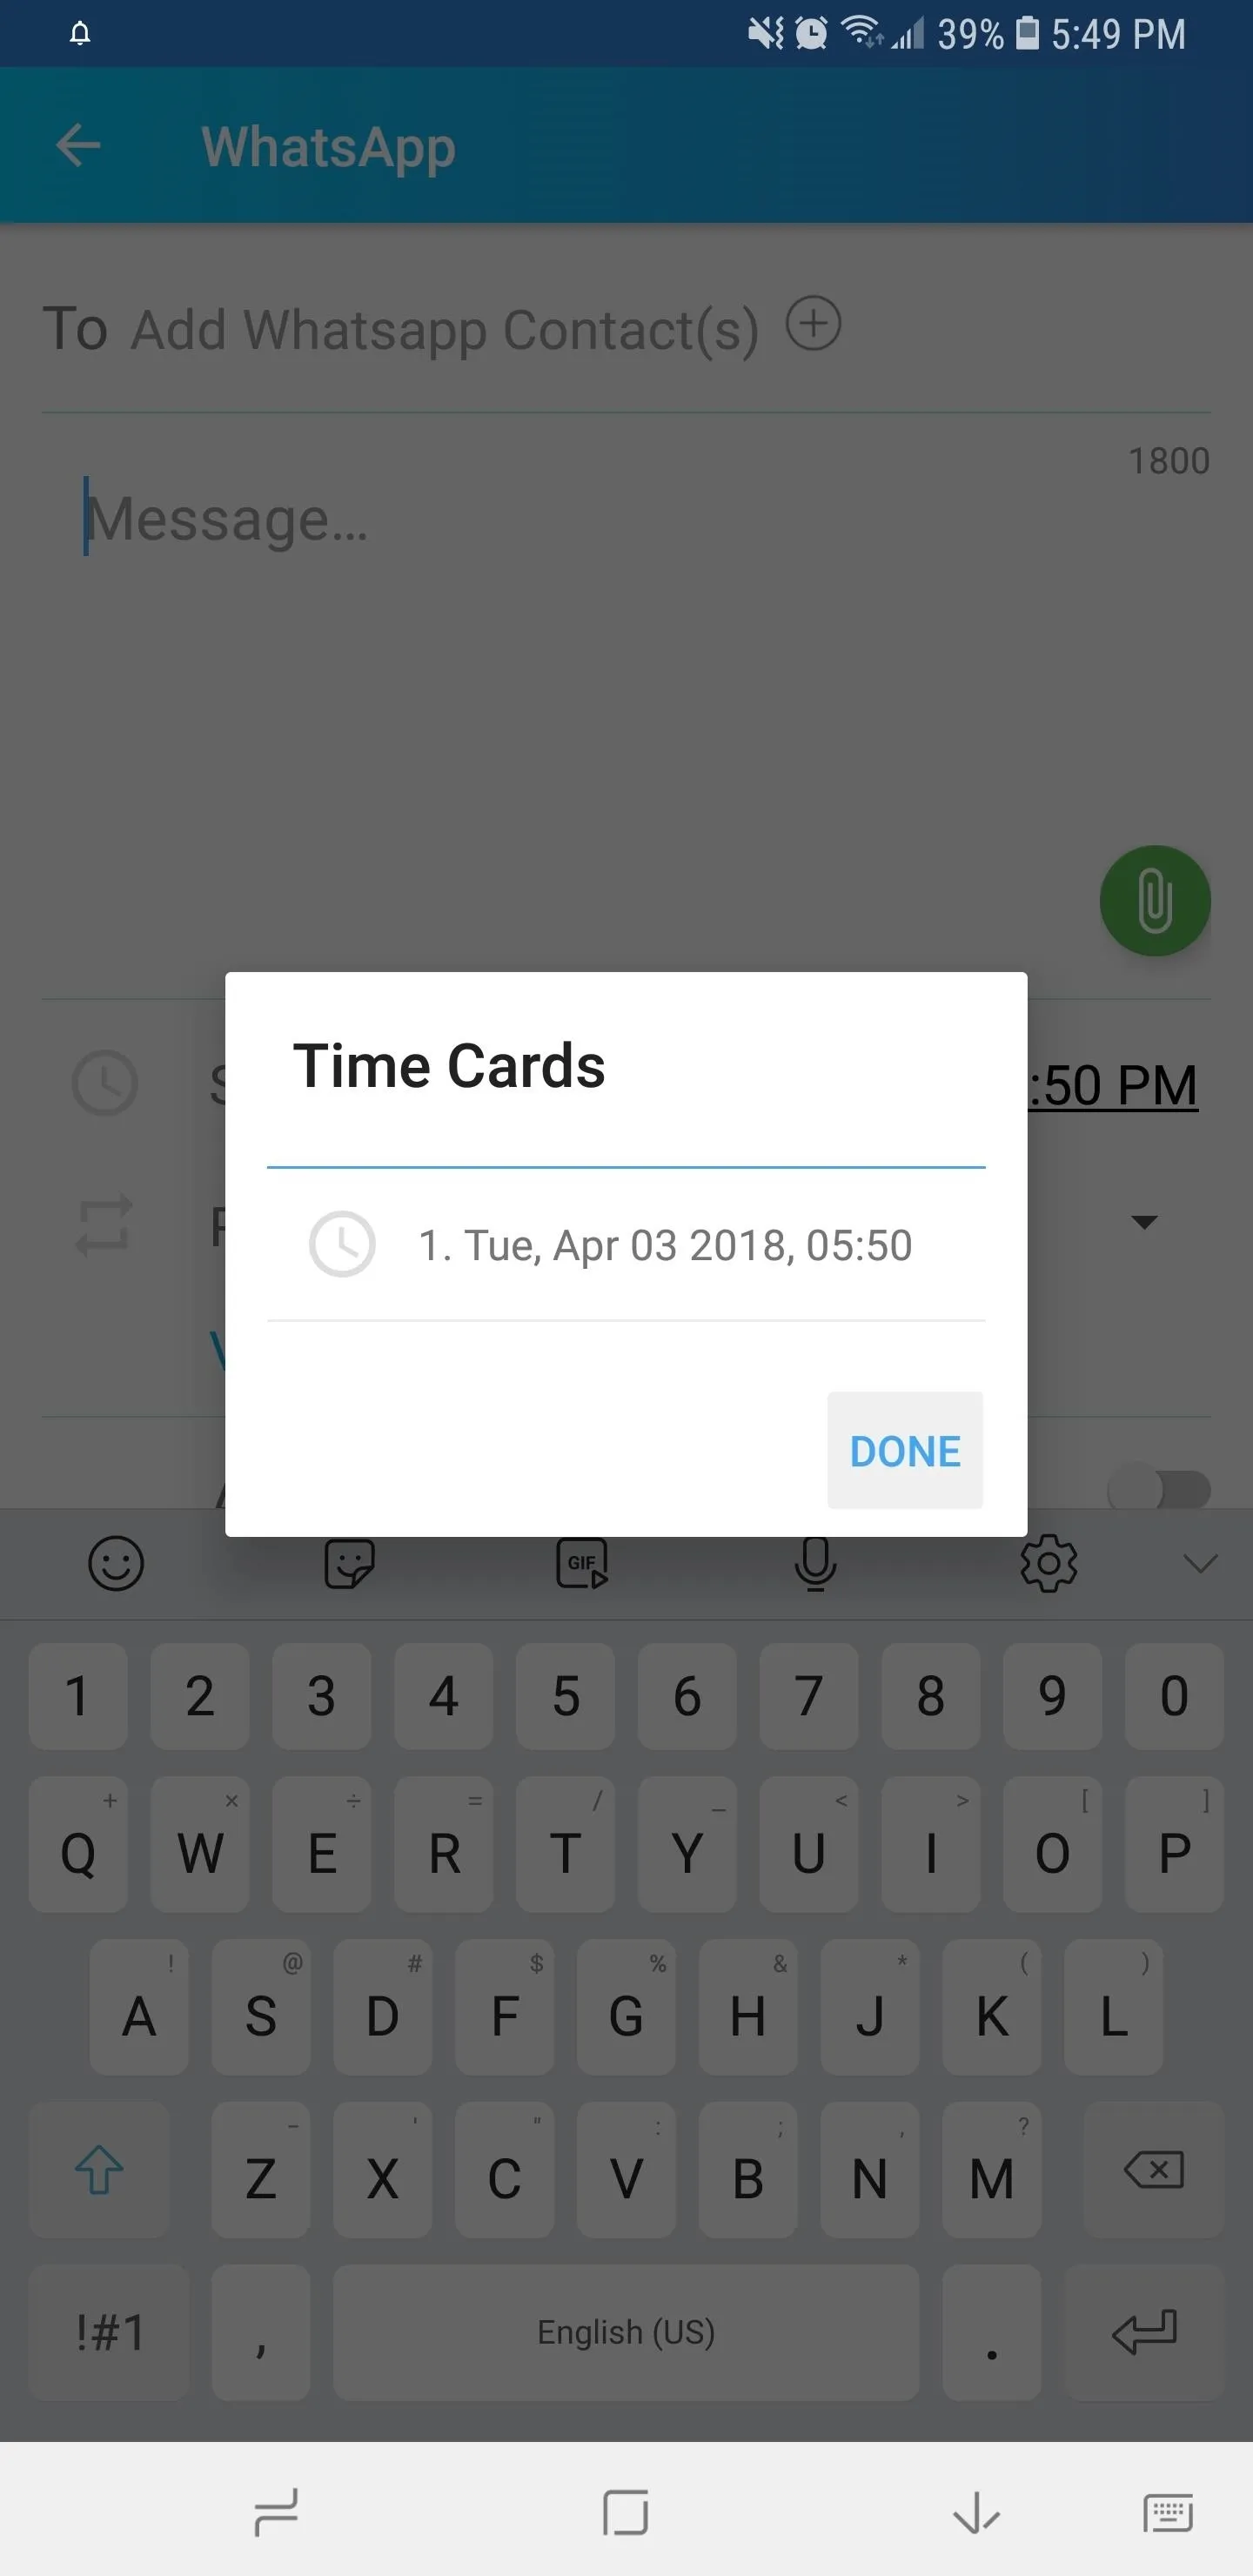
In addition, you can choose to repeat your post by tapping on "Repeat every" which will give you an option to repeat your post in hours, days, weeks, months, and years. If you'd like to look at a summary of your scheduled post, tap on "View Schedule Summary" to pull up a timecard detailing when your post will be sent.
Choose Between Automatic or Manual Scheduling
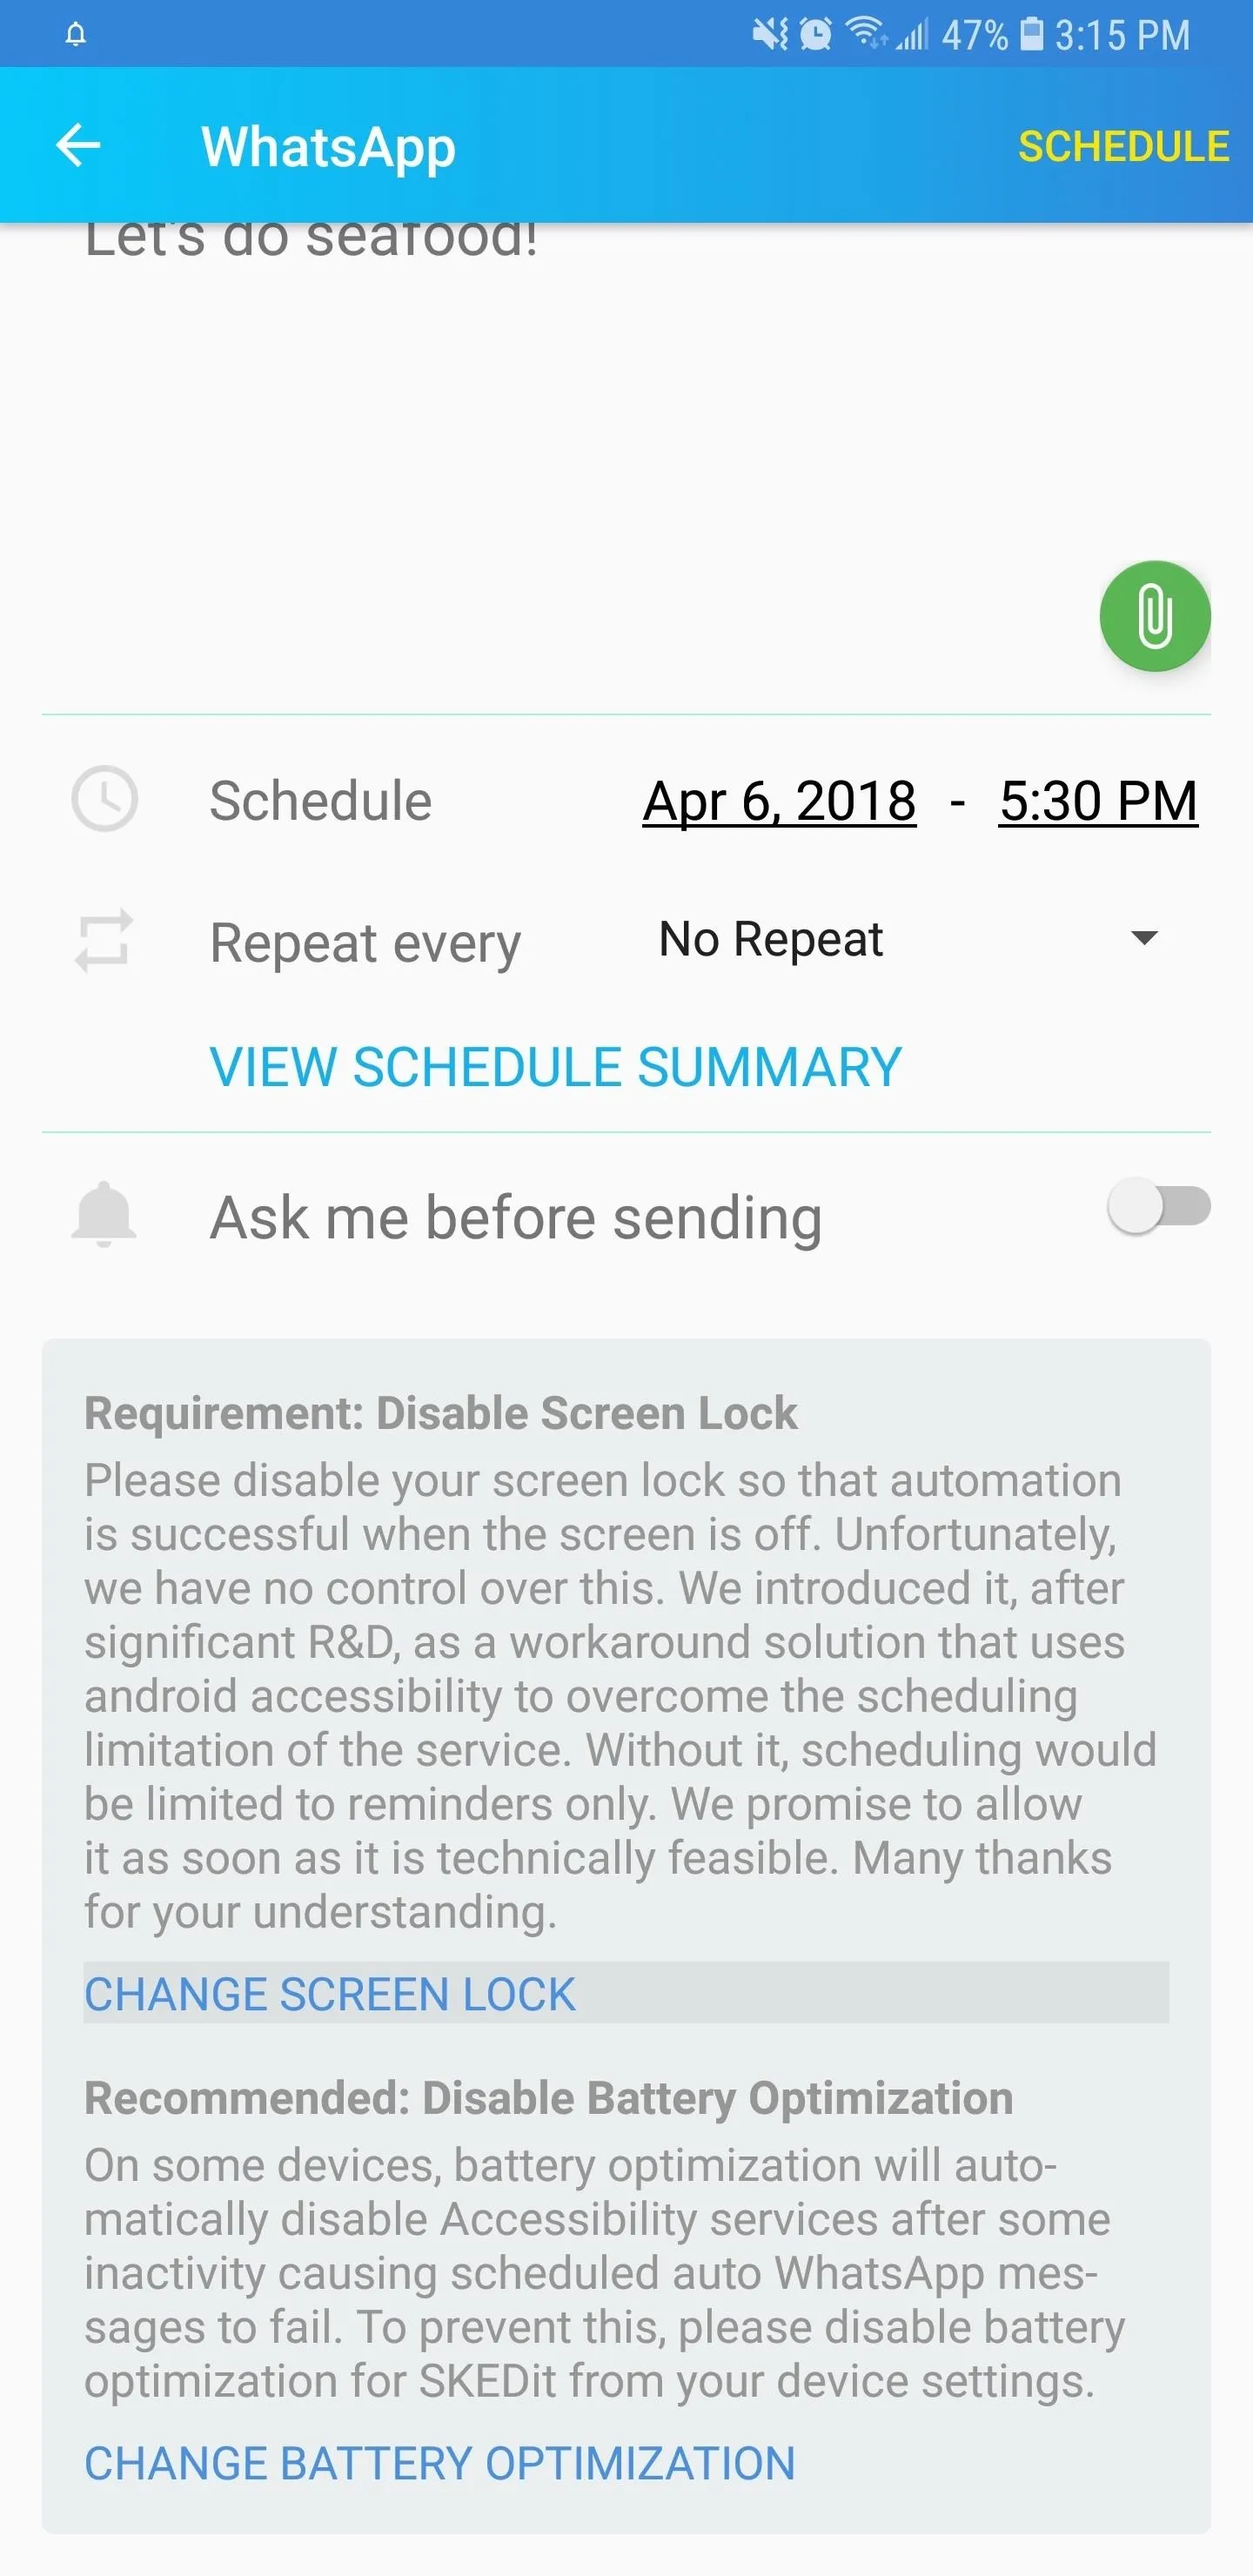
Before scheduling your post, you'll still need to choose between sending posts manually and automatically. Doing so automatically has the obvious benefit of sending messages at your desired time hands-free. This setting, however, has one big drawback: In order to post automatically, SKEDit, recommends that you disable your device's lock screen security.
Turning your phone's security off is never a good idea, as it basically gives anyone free reign over your phone to access sensitive data at will. So whether you're out and about or simply at work, this basic lack of security leaves you completely vulnerable to snoopers and would-be thieves.
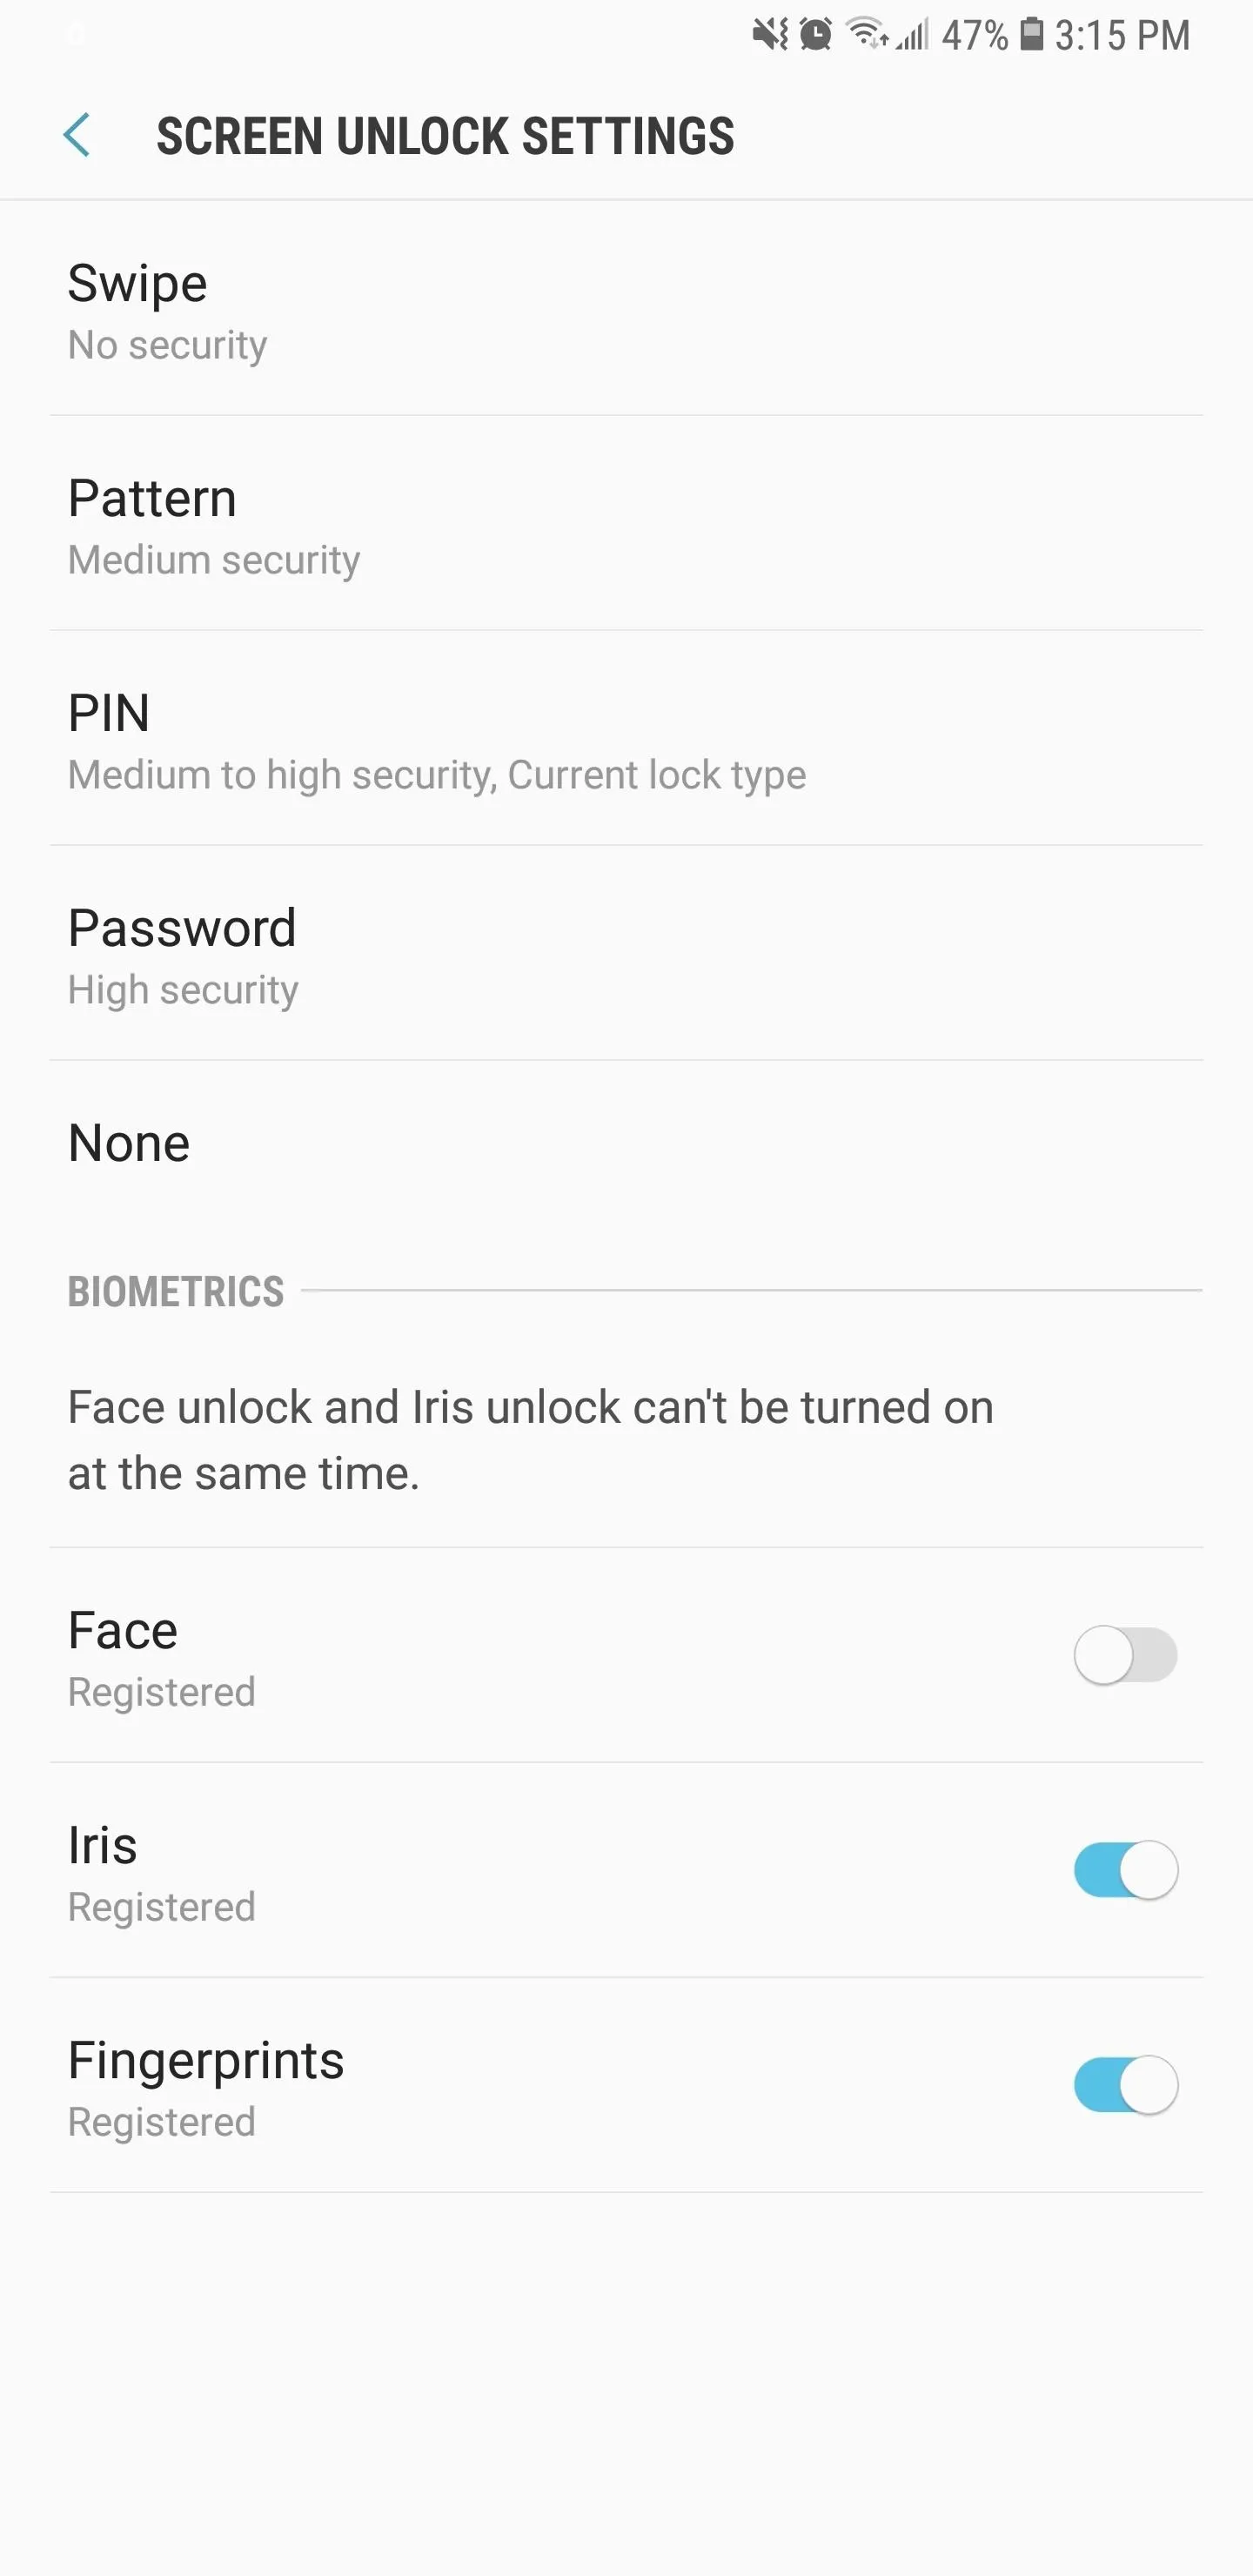
If you're fine with this, tap "Change Screen Lock" on the prompt, then choose "None" from the system settings menu that appears.
Because of the security that comes with automatically scheduling posts, however, we highly recommend the manual method, which works even if your lock screen security is enabled. This setting also has the added benefit of reminding you of your upcoming posts, and gives you a chance to look them over and make any last minute edits — like not making it to dinner in time due to a heavy workload, and so on.
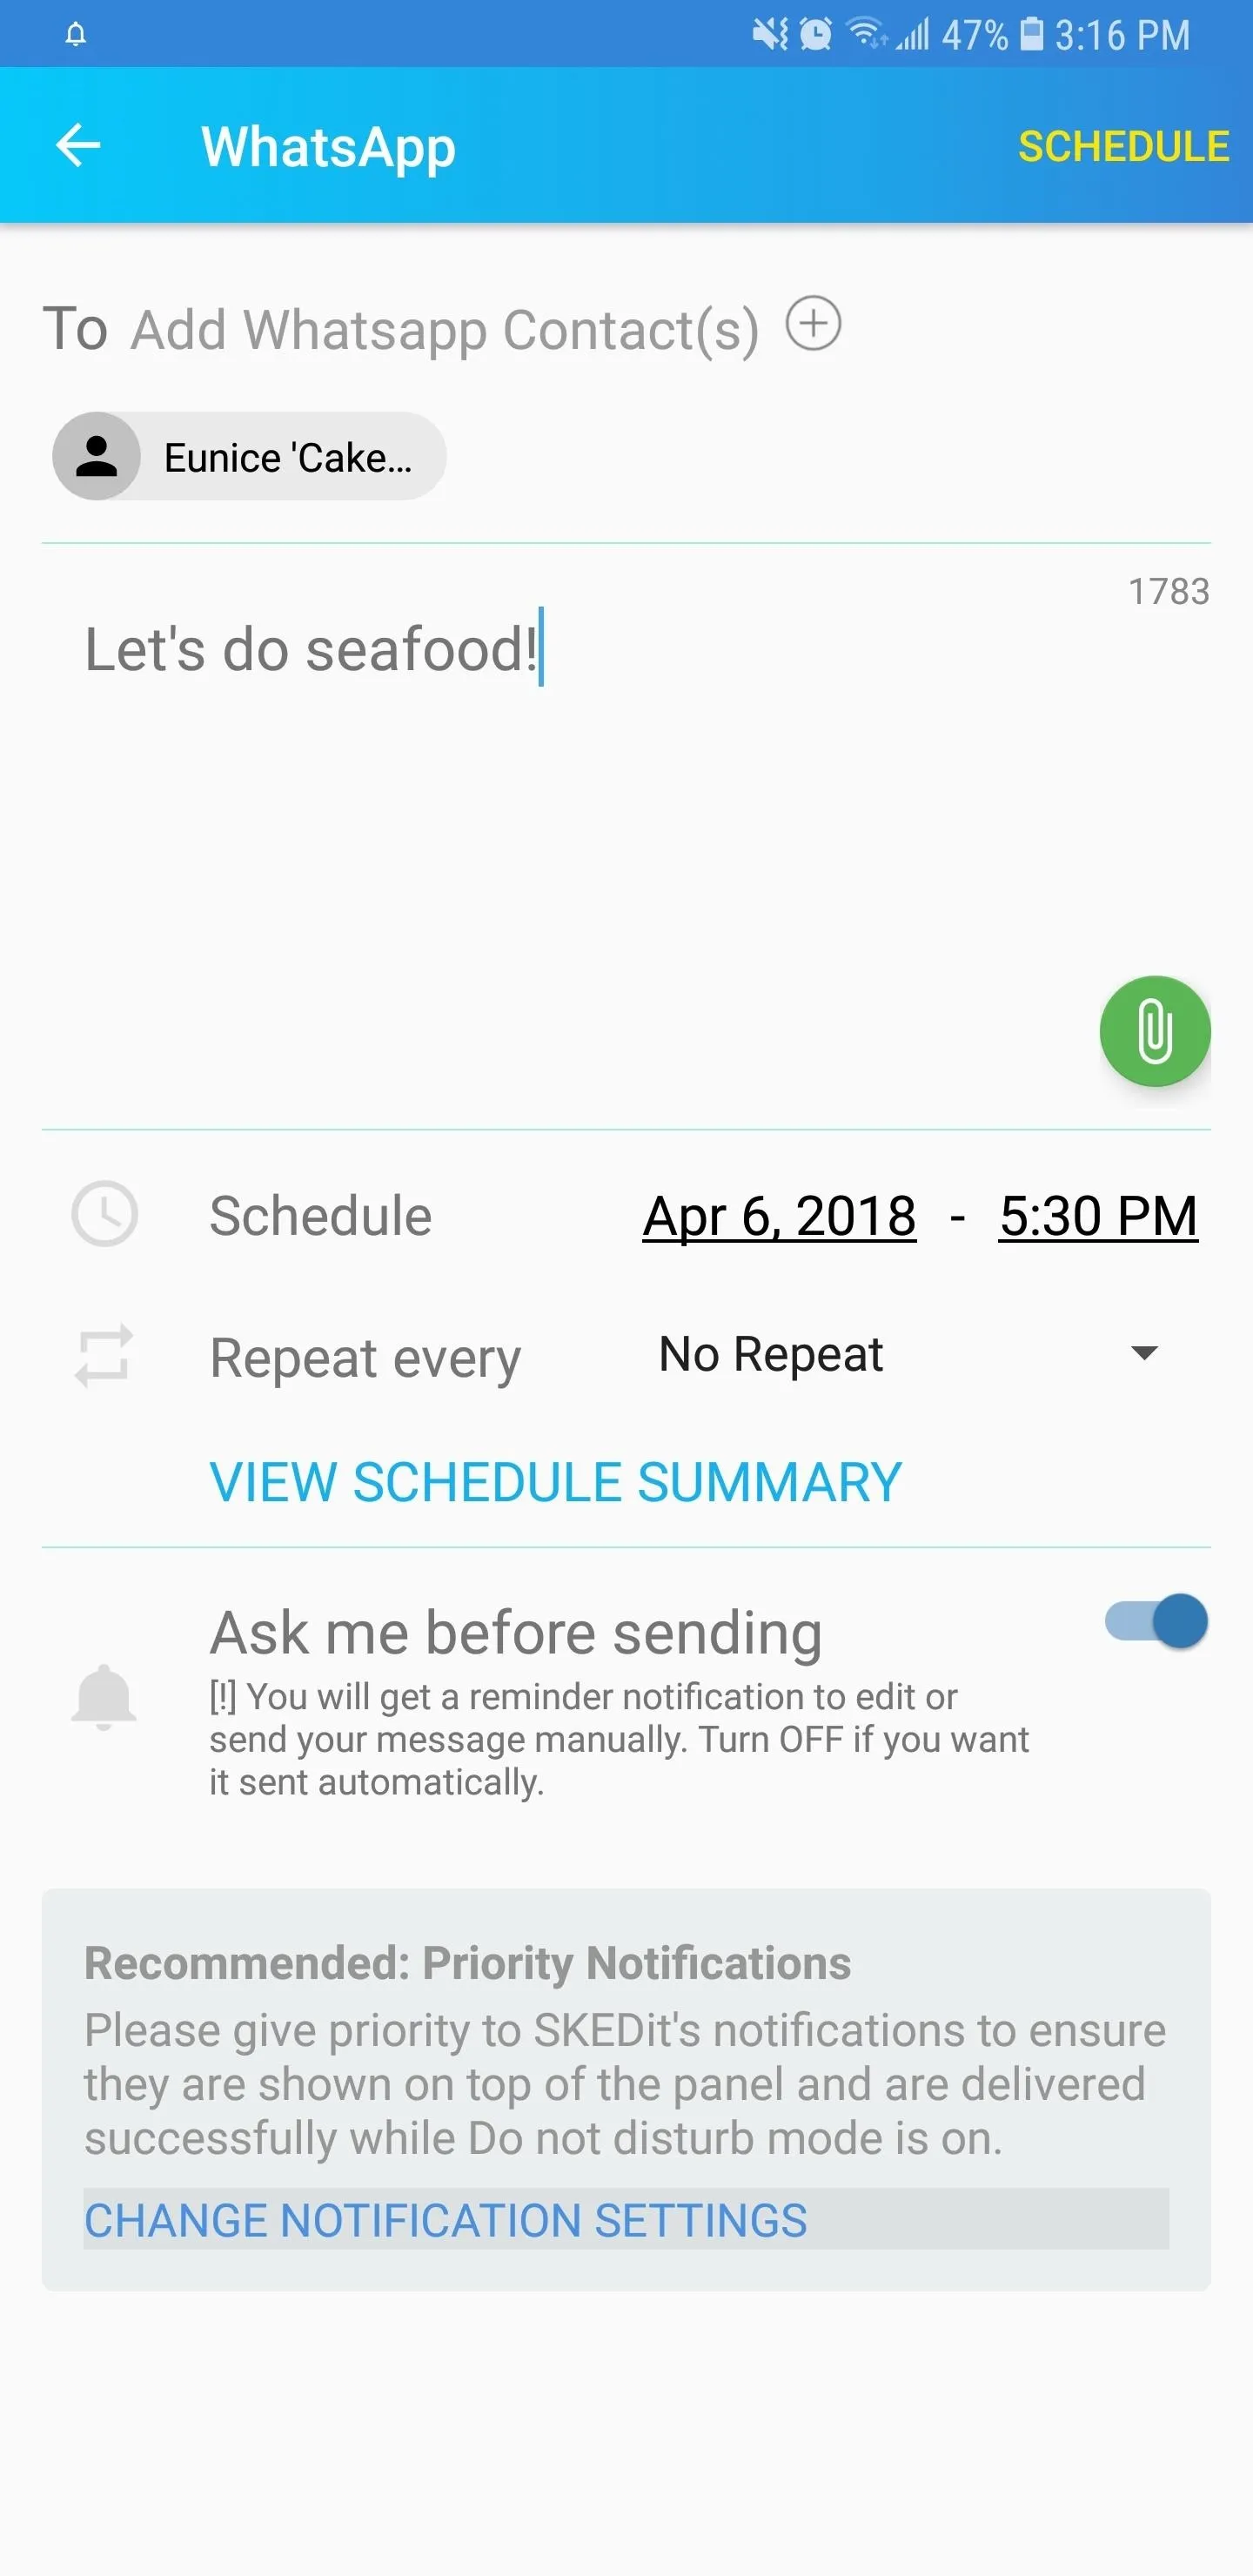
To manually schedule posts, tap on the toggle next to "Ask me before sending" to turn it on. Next, tap on "Change Notification Settings," then make sure that all the app notification settings — especially "Do not disturb custom exception" — are enabled on the following menu. Exit the settings page once you're done, and you're now free to schedule your post by tapping on "Schedule" in the upper-right corner.

Send Scheduled Messages Manually (Optional)
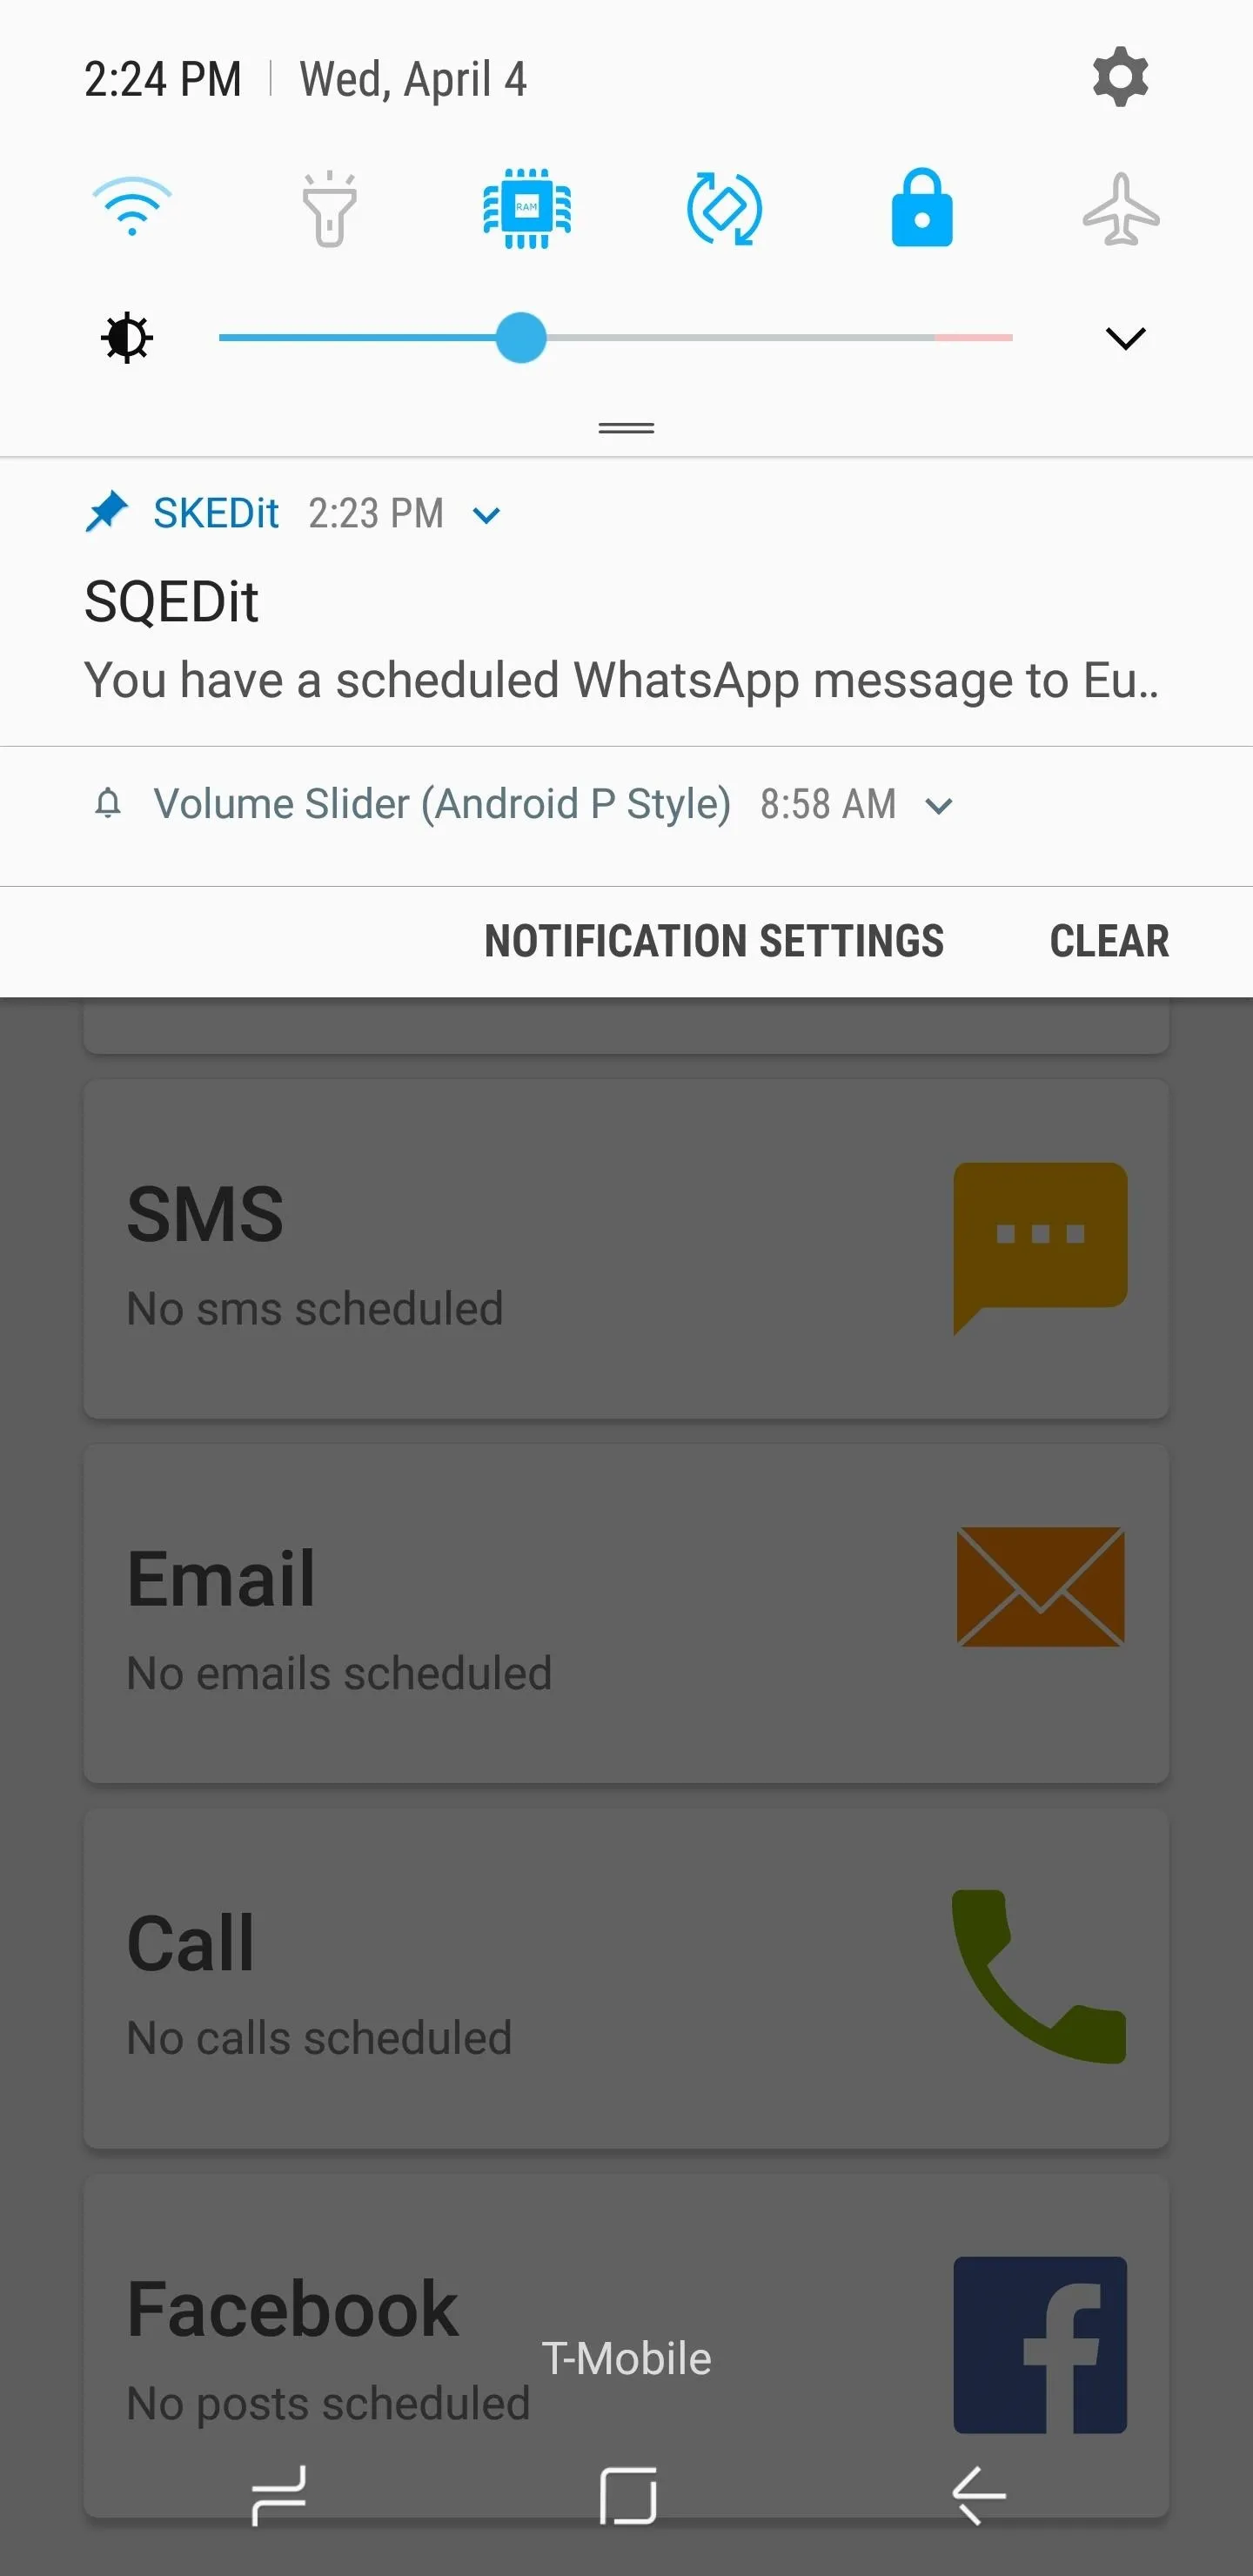
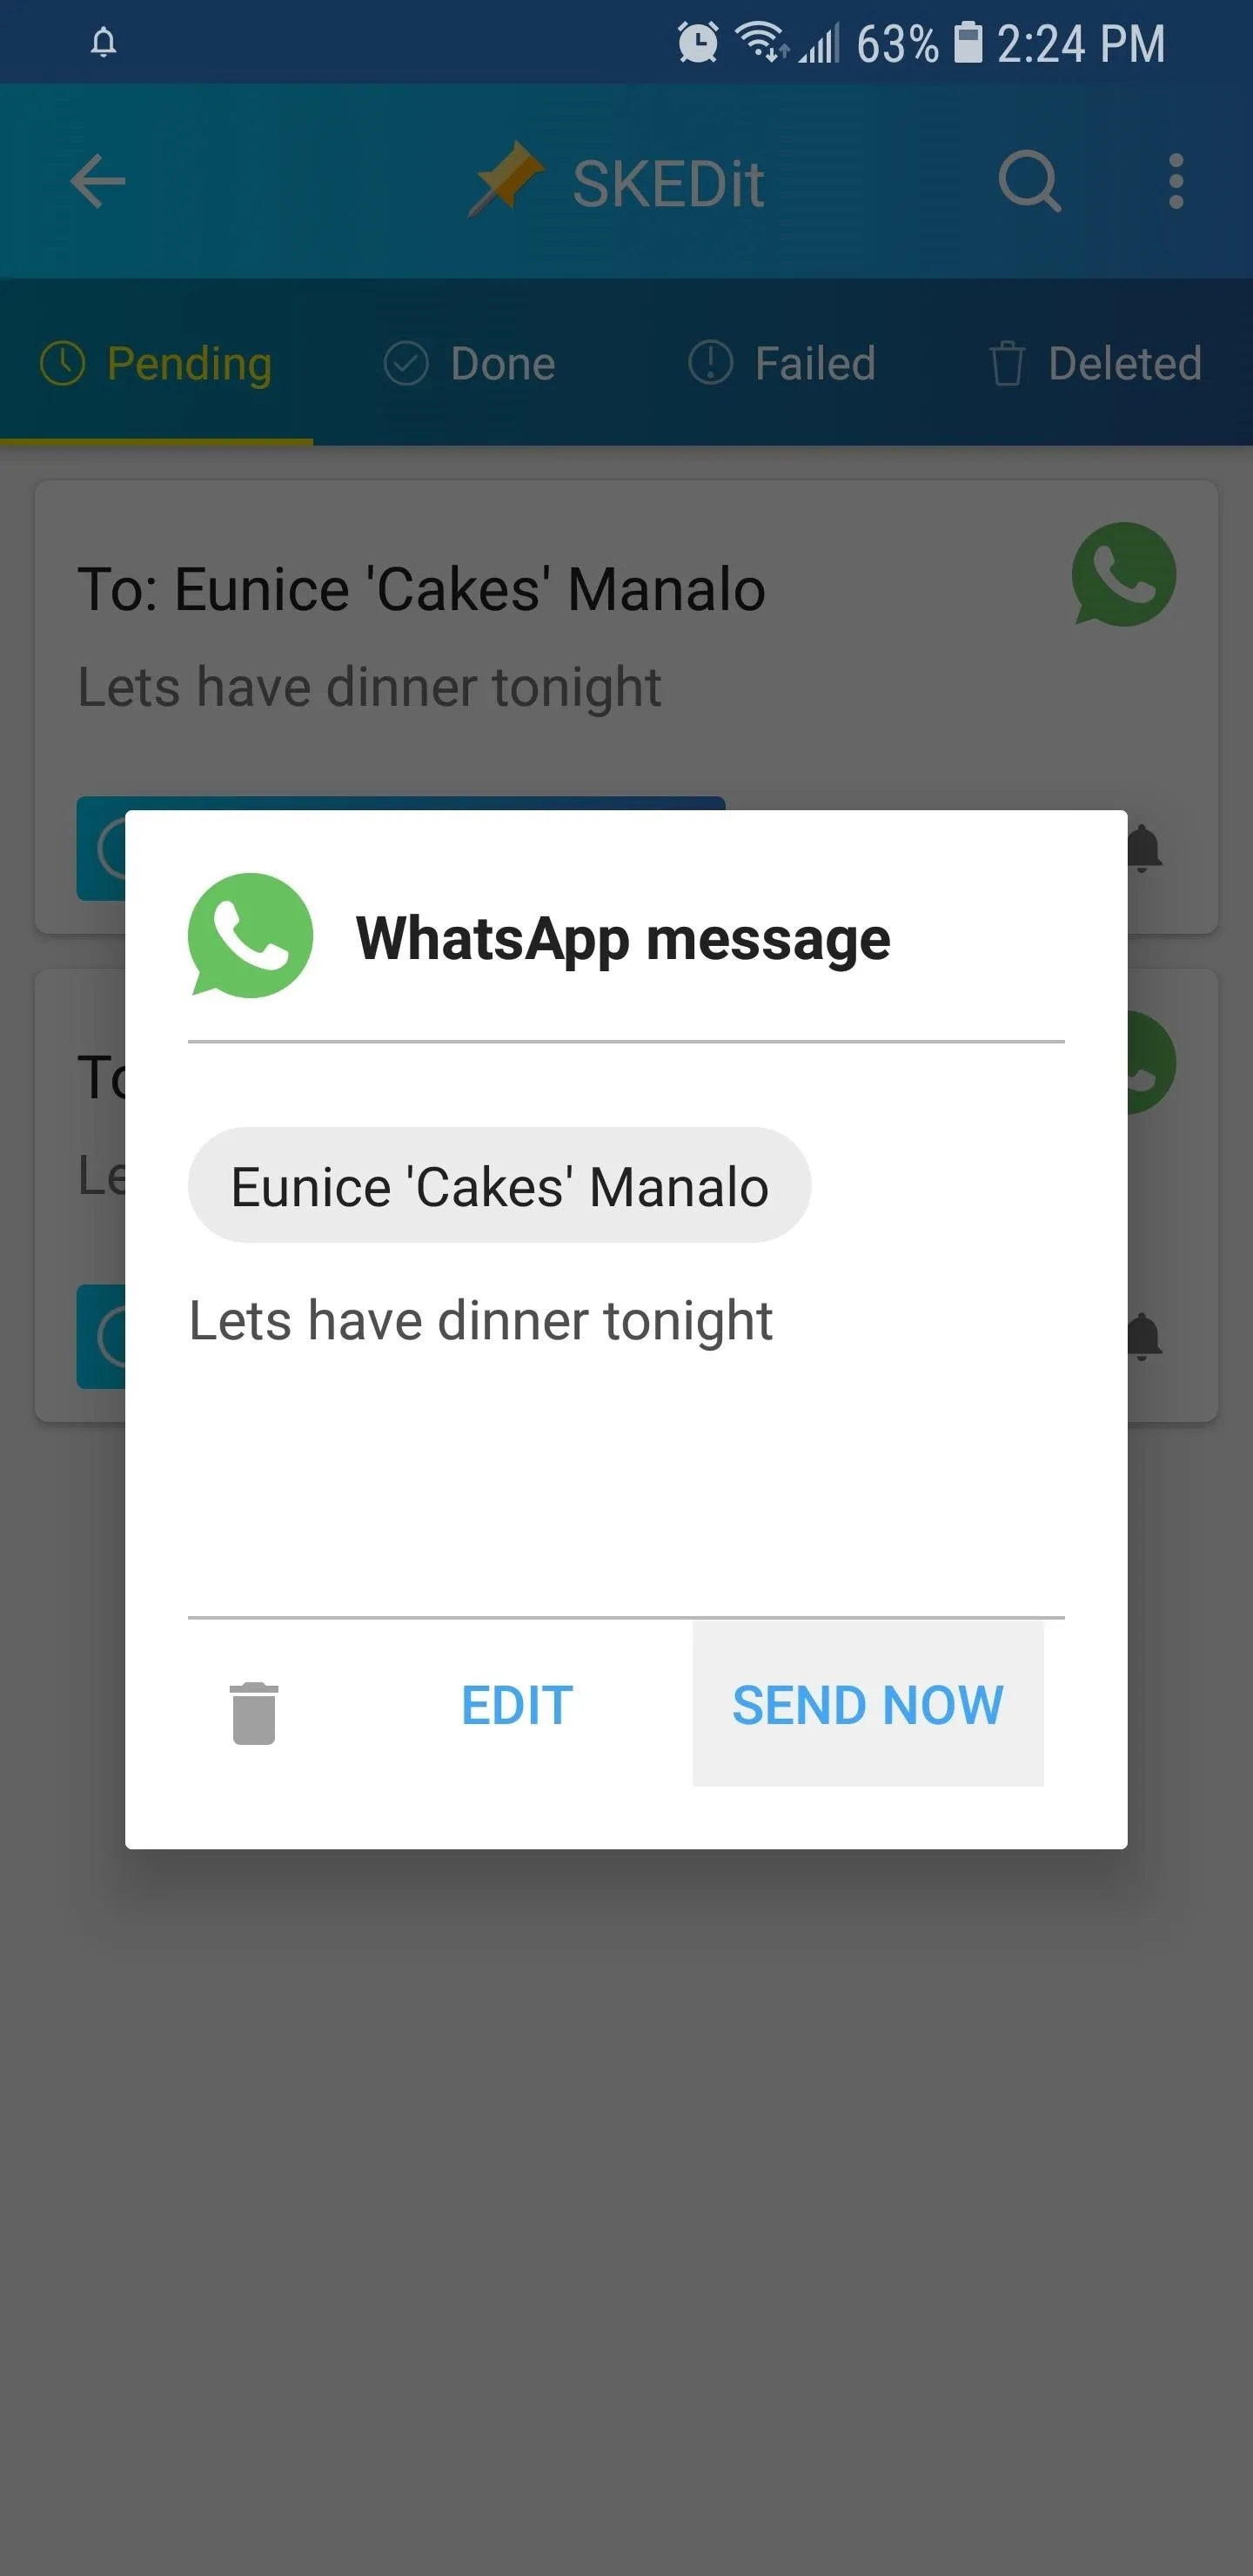
If you opted to use the manual method depicted above, you can kick back and wait — even forget about the message you scheduled completely. When the time comes, you'll get a notification from SKEDit prompting you to send the message. Just tap this notification, then press "Send" on the popup to send your pre-written message right on time. You can also opt to edit or delete your message on this same prompt.
- Follow Gadget Hacks on Facebook, Twitter, YouTube, and Flipboard
- Follow WonderHowTo on Facebook, Twitter, Pinterest, and Flipboard
Cover image and screenshots by Amboy Manalo/Gadget Hacks


Comments
Be the first, drop a comment!