


Samsung isn't known for its timely rollout of major Android updates, and Android 9.0 Pie won't be an exception. If we go by their Oreo update timeline, we can expect Android Pie to officially touch down for the Galaxy S9 and S9+ sometime around November, with the final version rolling out the around the first quarter of 2019. But a leaked version of the beta has already hit the internet.
If you're itching to get your hands on Android Pie for your Galaxy S9 or S9+, you are in for a treat. A reasonably stable Android 9.0 Beta build has recently leaked out for you to install. Unfortunately, this build isn't official, so you'll have to do a little bit of digital finagling, as you'll see below.
Keep in mind that as a beta, this version of Android P is far from a complete product, and will have some bugs and other issues that may not be ironed out until its official release. In addition to that, there's a high risk of data loss during the installation process, not to mention that reformatting may be needed just to help improve overall stability. So proceed with extreme caution if you want to dive in.
Requirements
Before we get started, it's very important to note that this leaked update will need to be flashed into your device from an external source. Here's what you'll need for the process.
- Unlocked US Galaxy S9 (G960U or G960U1) or S9+ (G965U or G965U1)
- ADB and Fastboot installed
- Windows computer with appropriate Samsung drivers installed
- USB-C data cable (Samsung OEM preferred)
Download the Android Pie Firmware File
First, you'll need the firmware file that you'll be flashing with Odin. Download the leaked Android Pie beta for your respective device below and save the file to your computer's hard drive. Note that this file is rather large, so the download will take quite some time.
- Download the Android Pie beta build for the Galaxy S9
- Download the Android Pie beta build for the Galaxy S9+
Check Firmware
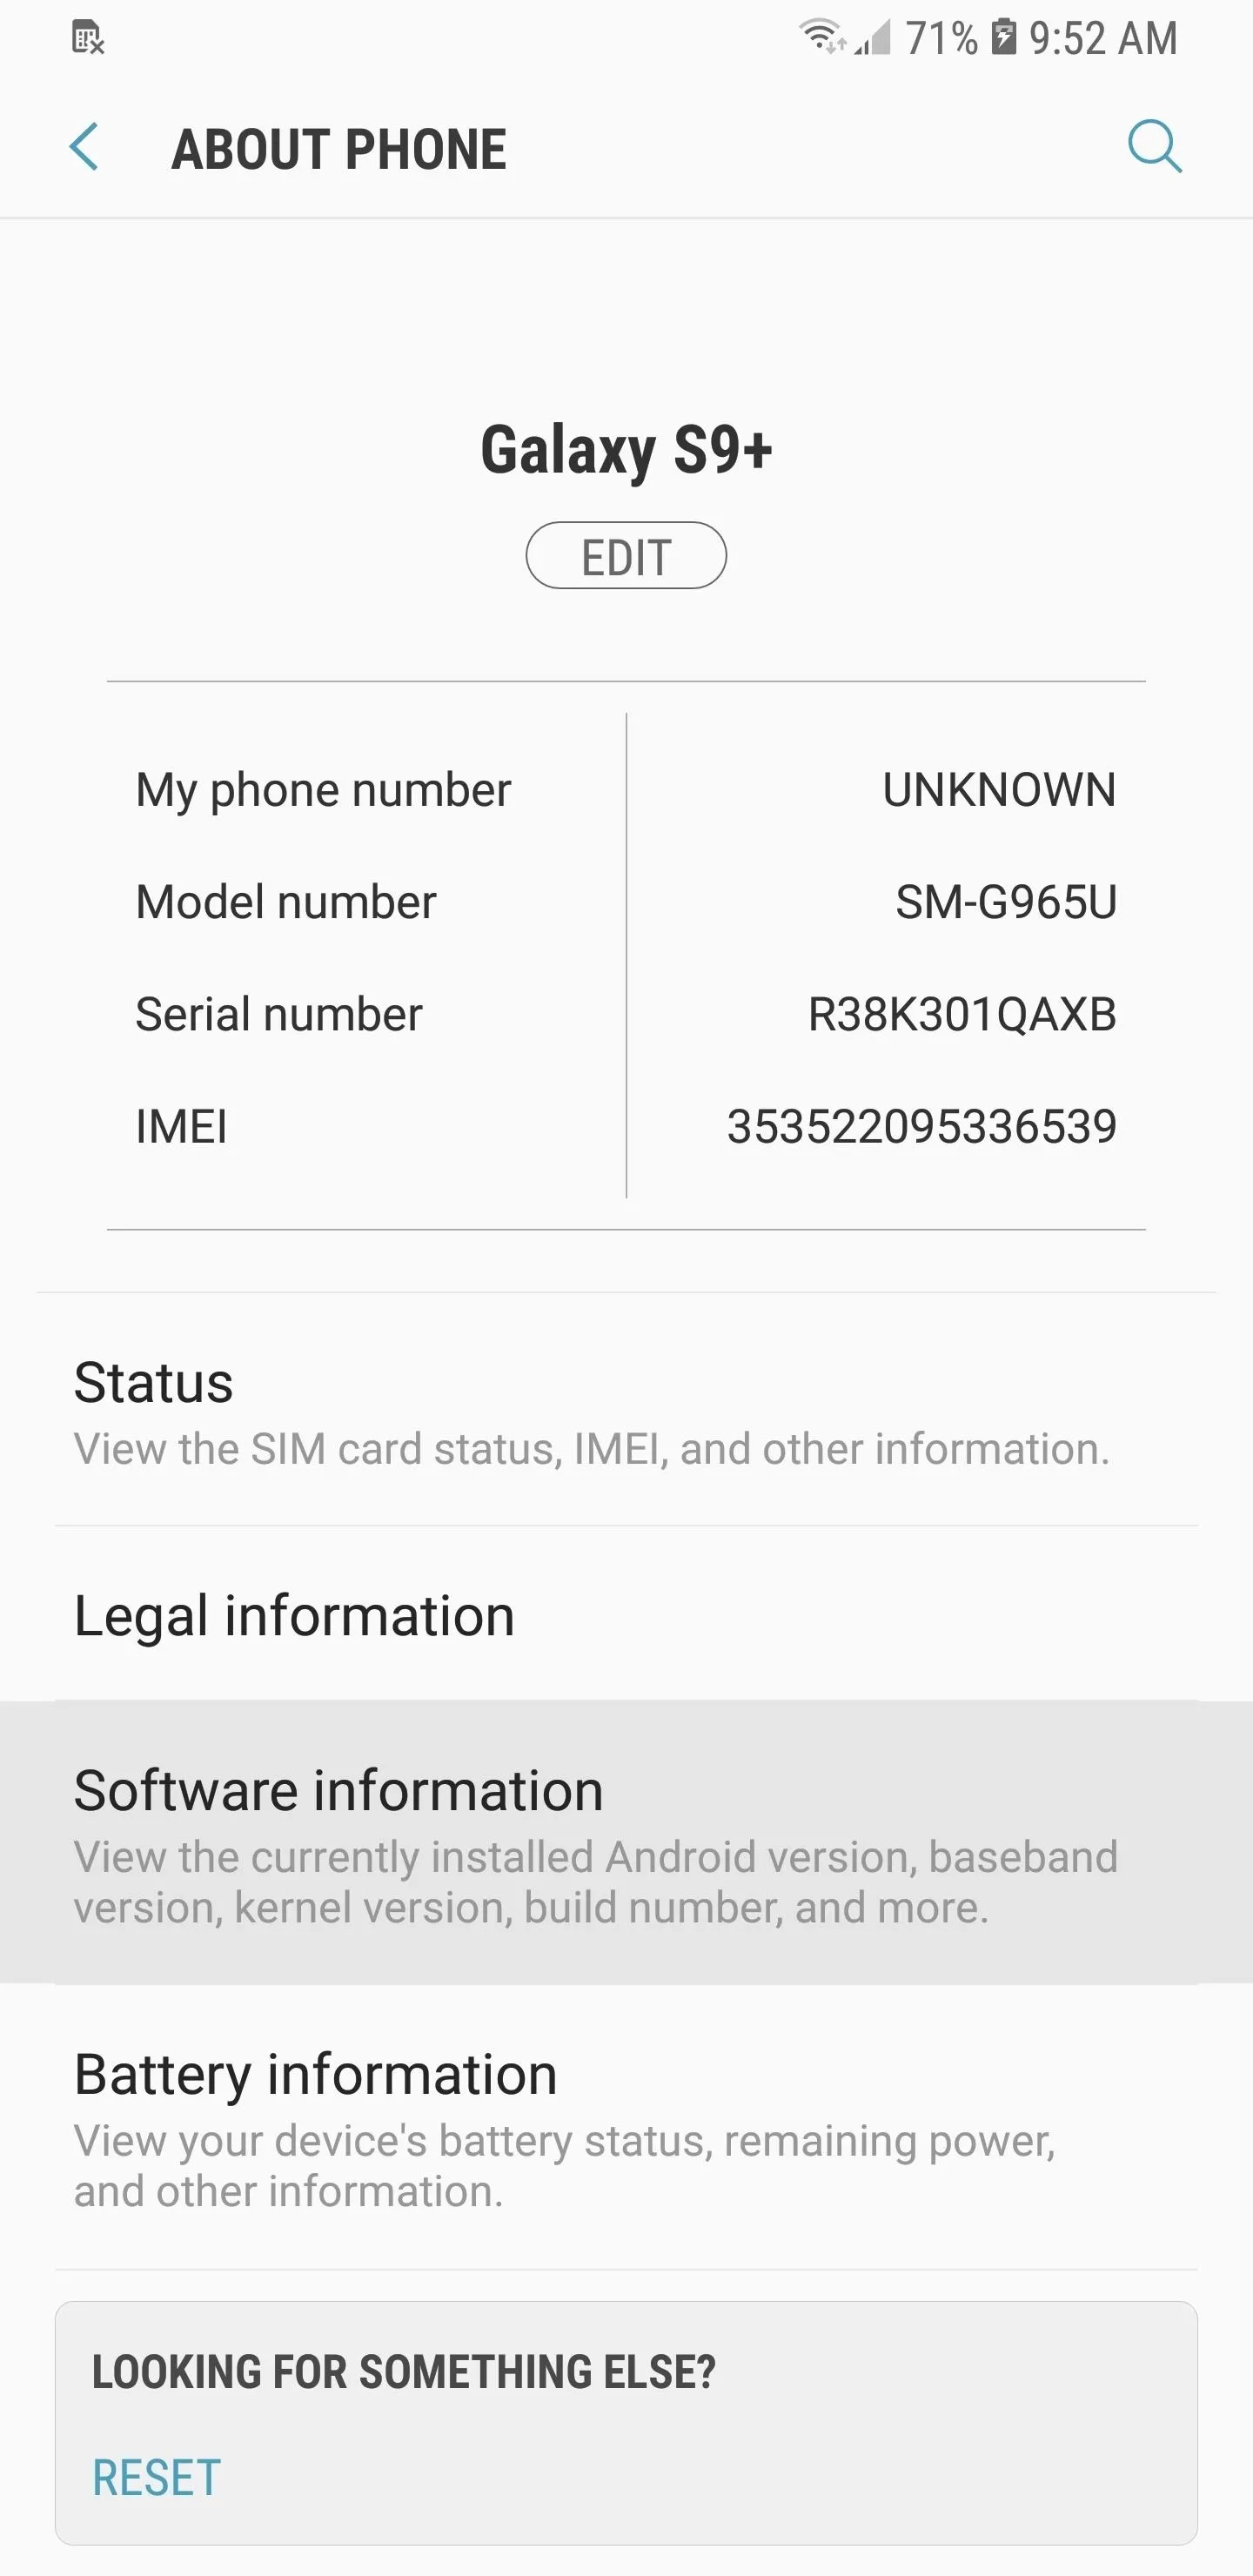
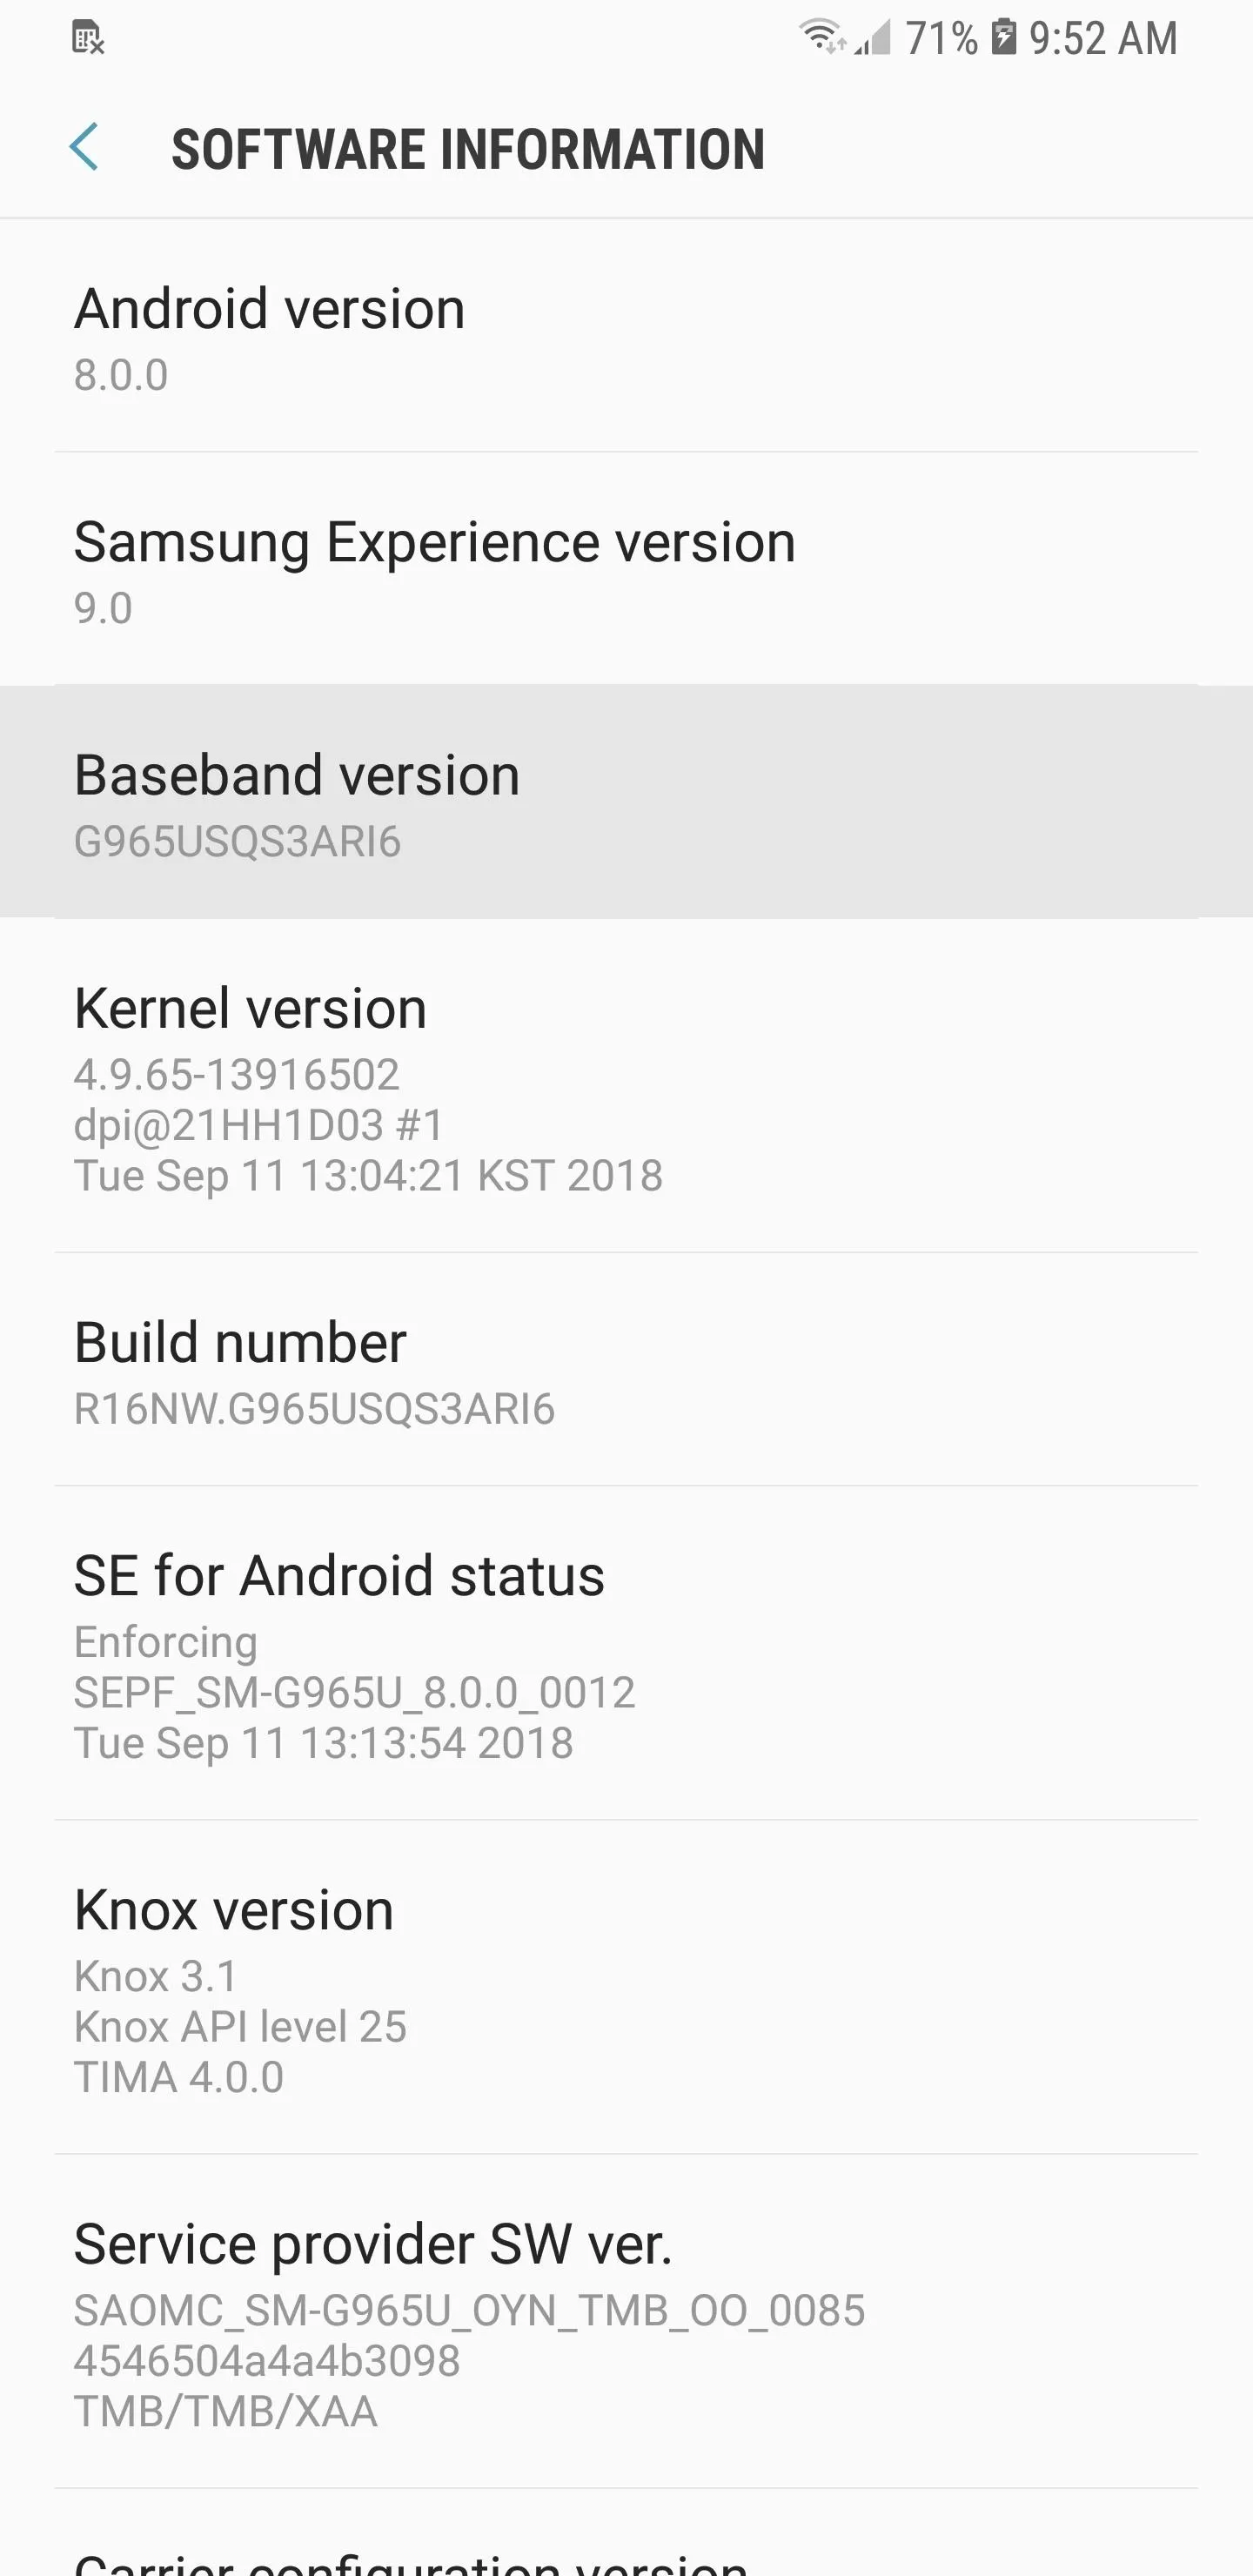
Next, you'll need to know the current software version of your S9 or S9+, so open the Settings app and tap on "About Phone." From there, select "Software Information," and check out you device's "Baseband version" on the following page. If the baseband version ends in "ARI6," you can proceed to Step 7. Otherwise, you'll need to go to the next step.

Download the Latest Oreo Update
If your S9 or S9+ isn't running an AR16 build, you'll need to flash it to the latest Android Oreo version using Odin on your computer. Click on the following links to download Odin and the firmware that corresponds with your Galaxy device, then extract the files to a location on your computer that you can access easily.
- Download Odin
- Download the ARI6 Oreo update for the Galaxy S9
- Download the AR16 Oreo update for the Galaxy S9+
Enter Download Mode & Connect to Your PC
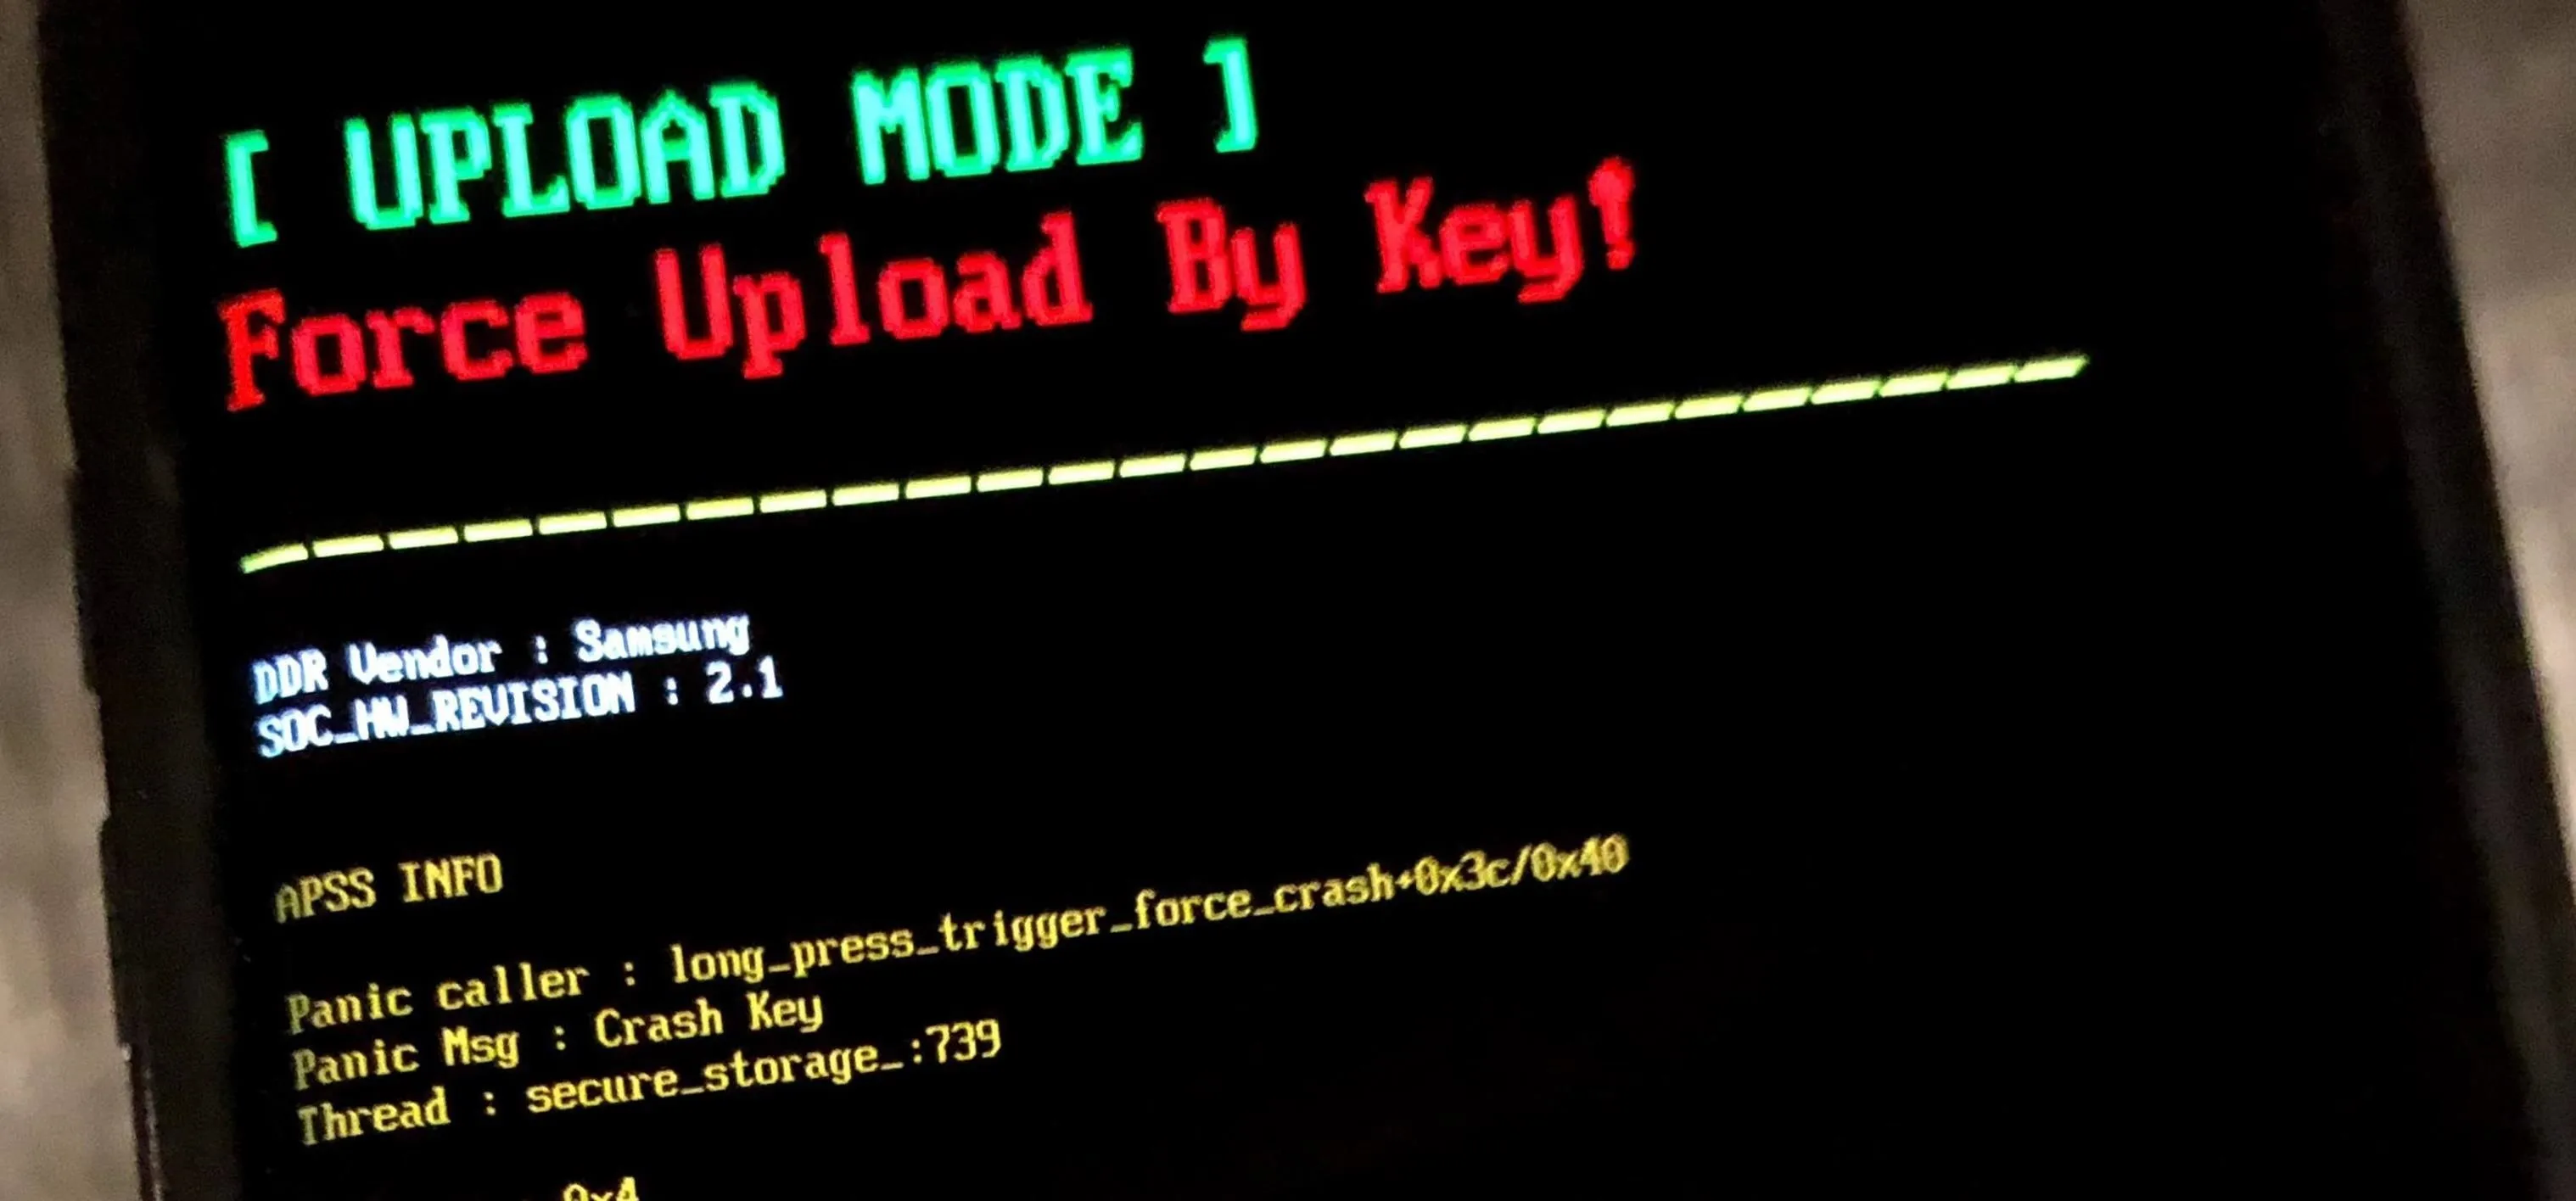
Once you've gotten a hold of Odin and the latest Oreo build for your S9 or S9+, go back to your device and boot it into Download mode. To do so, first power off you phone, then press and hold both the Bixby and volume down buttons, then press and hold the power button. Release all three buttons once it boots into download mode, then press on the volume up once again to enter Download mode.
With your handset on download mode, connect it to your computer using a USB-C data cable, and proceed to the next step.
Get Files Ready in Odin
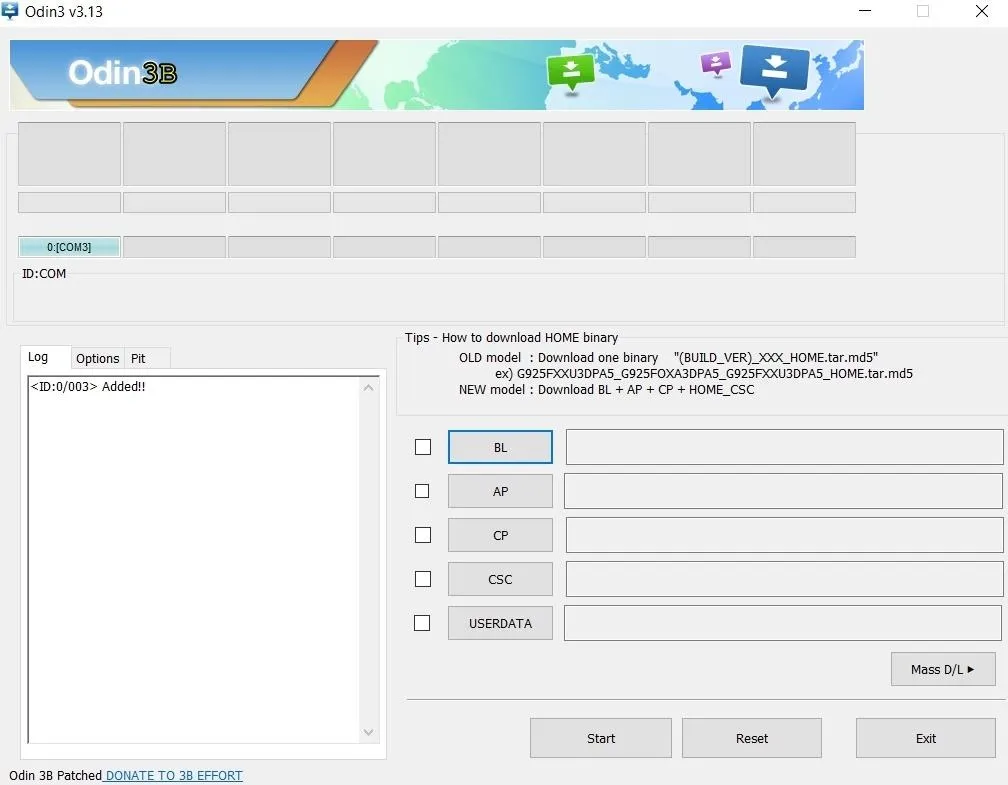
Once you've established connection between your Galaxy and your PC, right-click on the Odin executable file and choose "Run as Administrator," then enter you Windows login credentials if prompted. You'll see "Added" within the "Log" box of the program, along with a light blue bar along the top-left verifying that Odin is connected to your device. If you don't see these, close out Odin and unplug your device, re-enter Download mode, and reconnect to your PC.
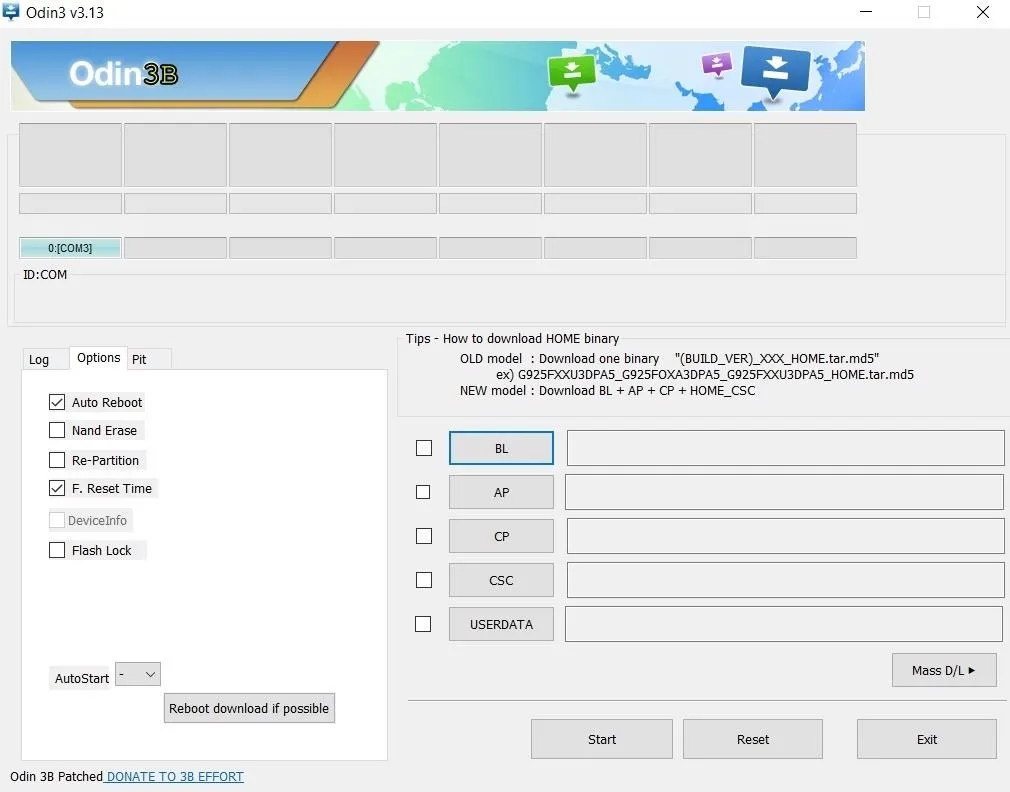
After establishing connection between Odin and your device, you'll still need to make sure the program is properly set in order to stave off potential disaster. To do so, click on the "Options" tab on the box located on the lower left-hand side of the program. From there, make sure the the small box next to "Re-Partition" is not checked on.
Flash the Latest Oreo Build on Your S9 or S9+
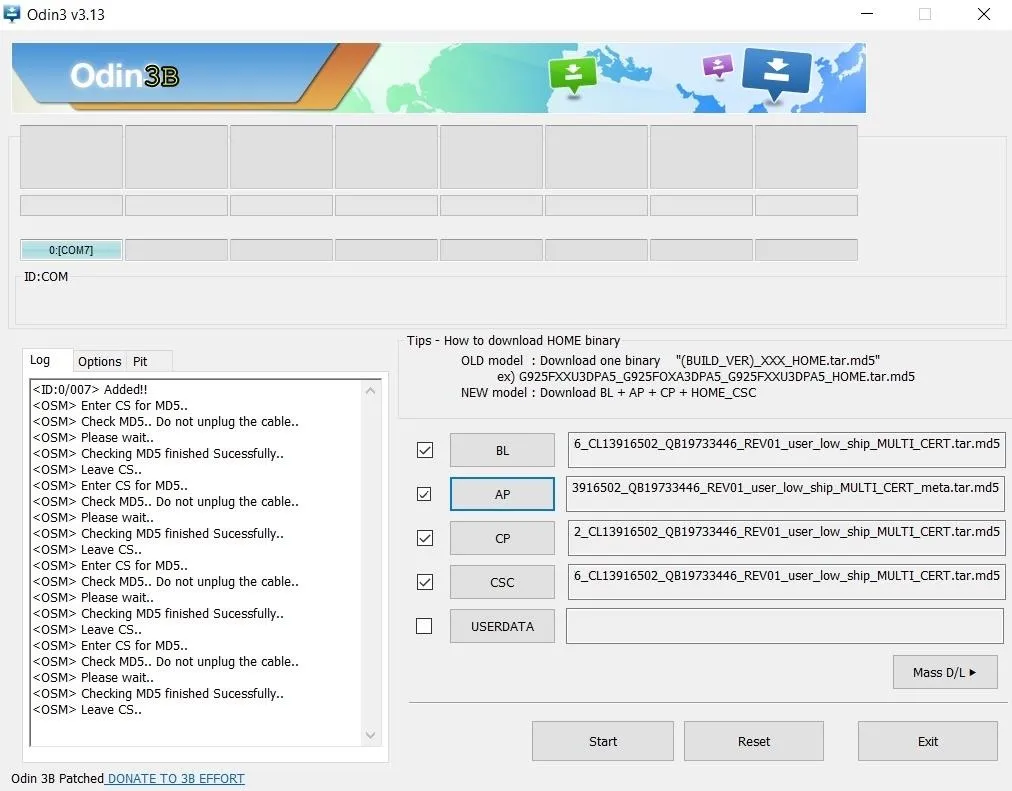
With Odin properly set, you're now ready to flash your device to the latest Oreo build ahead of an Android Pie Beta update. To get started, click on the "BL," "AP," "CP," and "CPC" boxes one by one, and select the corresponding files which have matching letters on the beginning of their file names. Leave the "USERDATA" field blank.
It's worth noting that when you load the file starting in "AP" Odin may become unresponsive for a couple of seconds up to a minute. This is due the the sheer size of the file, so sit back and wait for the process to complete. As for the CSC file, you may have noticed that the firmware files you downloaded come with a regular CSC file and another file that starts with HOME_CSC.
According to XDA, choosing the former file will wipe your device clean, while selecting the latter will keep all your data intact. In our research however, we found that using the regular CSC file kept still all the data intact. Of course, the results may still vary from handset to handset, so use your best judgement when selecting a CSC file.
You're now ready to flash your S9 or S9+, so hit "Start" along the bottom-middle of the program to run the process. Please note the you'll need to start the process again from Step 4 if you either get stuck on "setup connection" or if Odin fails to flash your device. If this problem persists, we recommend either plugging into a different USB port on your PC, using a different cable, or a combination of both to fix the issue.
At any rate, the flashing process will take a couple of minutes to complete, so sit back and wait until Odin finishes its job. Once it's successfully updated your device to the latest Oreo build, Odin will display a green "Pass!" on the top-left of the program's screen.

Enter Recovery Mode
Now that your S9+ or S9 has been updated to Oreo 8.1, the way is now clear for you to update to Android Pie. To do so, first boot into recovery mode by powering off your device. Once its off, press and hold the Bixby and volume up buttons, followed by pressing and holding the power button. Let go of the power button once the phone boots up, then let go of the remaining buttons once you see a blue screen.
The blue screen with the Android logo will automatically transition to the recovery screen after the phone fails to detect any updates or commands. After entering recovery mode, proceed to the next step.
Open ADB
Now you'll need to run an ADB command to sideload the Android Pie update on your S9 or S9+. This means you'll need to open a Command Prompt in the platform-tools folder inside of your ADB installation directory. In addition to this, you'll also need to select "apply update from adb" within the recovery screen on your device, using the same button combinations mentioned on the previous step.
If you did a default installation of the SDK Tools from Google, head to the C:\Program Files (x86)\Android\android-sdk\platform-tools folder. Otherwise, go to the folder where you installed ADB, then open the platform-tools folder within the page.
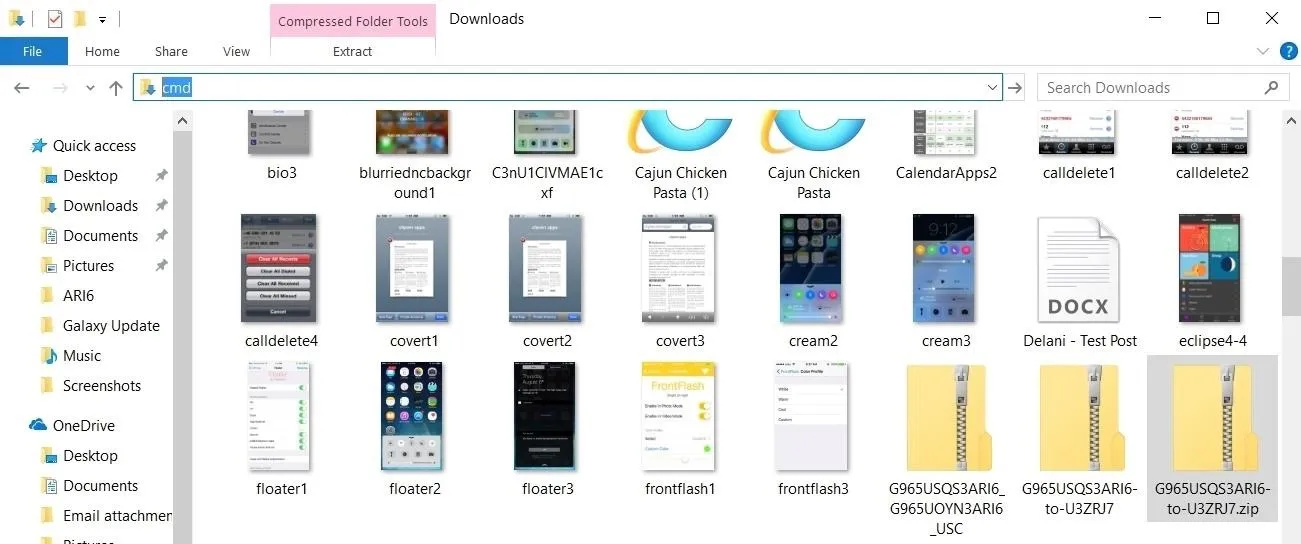
Once inside the folder, either press and hold on the shift button on your keyboard, then right-click within the window and choose "Open command window here," or input "cmd" within the folder's address bar. Alternatively, if you've enabled ADB to run on any folders in your computer, you can open a command window straight from the update file's folder.
Now, enter the following command in the terminal, and hit enter right after. Proceed to the next step one you're done.
adb start-serverUpdate to Pie
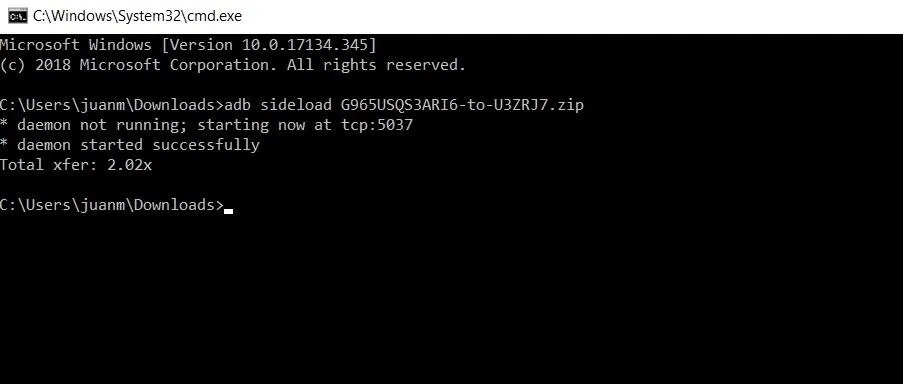
With ADB up and running, input "adb sideload" followed by a space, then the location of the update ZIP file. For example, if the update file is found within the Downloads folder on your PC, and the name of the file is piebeta.zip, you'll need to input the command as follows.
adb sideload C:\Users\juanm\Downloads\piebeta.zipIf you opened a command prompt from within the update file's folder, you'll only need to type in the command, along with the name of the .zip file.
adb sideload piebeta.zipMake sure you have the command properly keyed in, then hit enter to run it. Once done, your S9 or S9+ will now be updated to Android Pie Beta via ADB, which will take a couple of minutes due to the size of the file. While installing, however, its status will be displayed in percentage within the command prompt to let you track its progress. Your device will automatically reboot once the update is complete.
- Follow Gadget Hacks on Pinterest, Reddit, Twitter, YouTube, and Flipboard
- Sign up for Gadget Hacks' daily newsletter or weekly Android and iOS updates
Cover image and screenshots by Amboy Manalo/Gadget Hacks


Comments
Be the first, drop a comment!