


Google just rolled out a revolutionary feature to its Pixel devices — Google Lens. Previously, Lens had only been available in the Photos app, but now, whenever you want to learn about something in the real world, you can just bring up Google Assistant, turn on the camera, then let Google's famous AI analyze the scene.
For the time being, Google Lens is only available on the Pixel, Pixel XL, Pixel 2, and Pixel 2 XL. So if you own one of Google's recent flagship phones, just make sure to update the Google app, then check out this guide to see how Lens really works. There's a handful of quirks and a few things you'll need to know about, but we've got you covered below.
Find the Google Lens Button
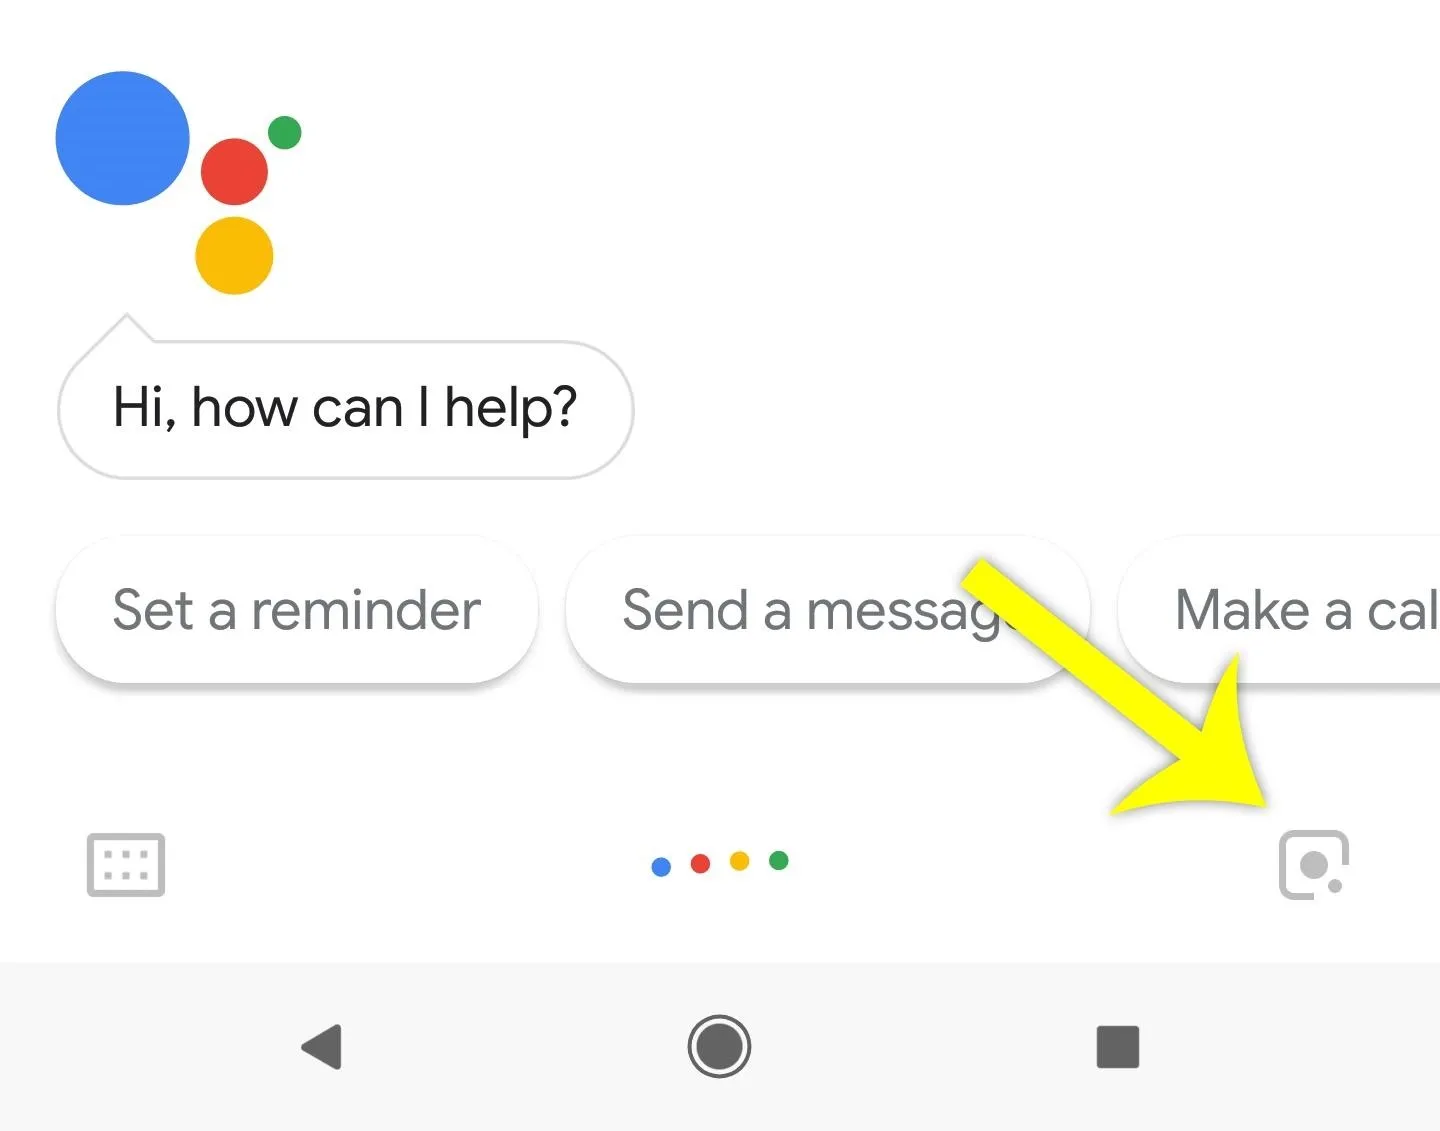
To try Google Lens, start by triggering your Google Assistant — that's as easy as long-pressing your home button from any screen. From there, you'll see the Google Lens icon in the bottom-right corner. Familiarize yourself with this button, as it's how you'll access Lens in the future.
Enable Camera Access
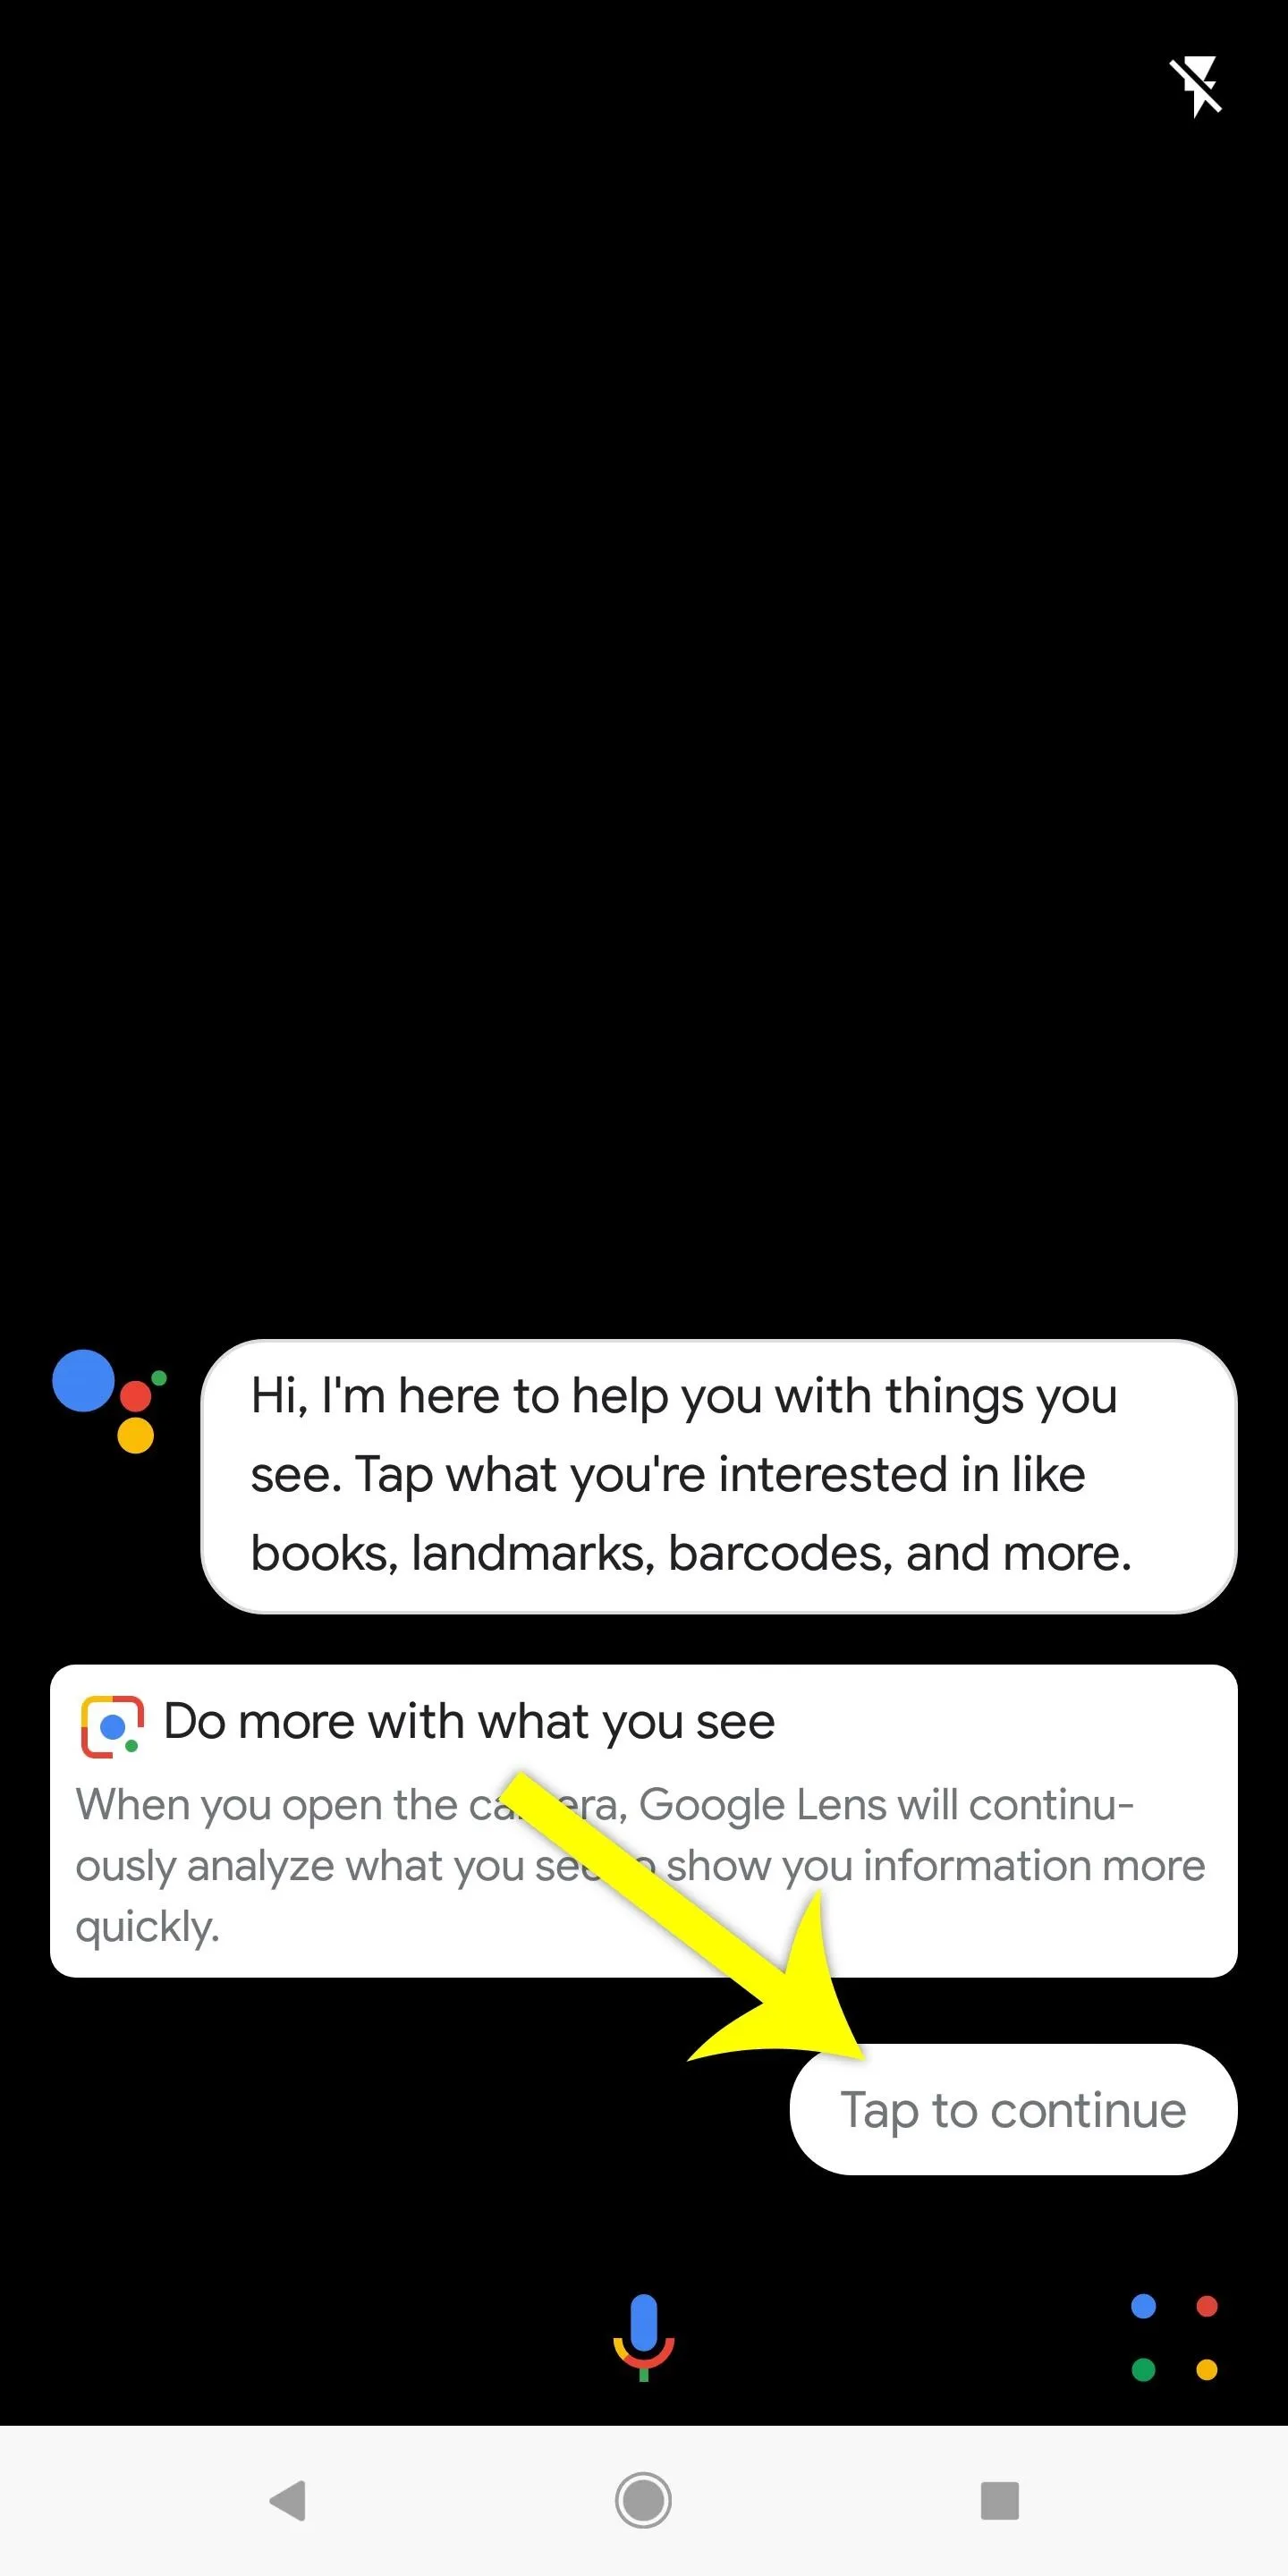
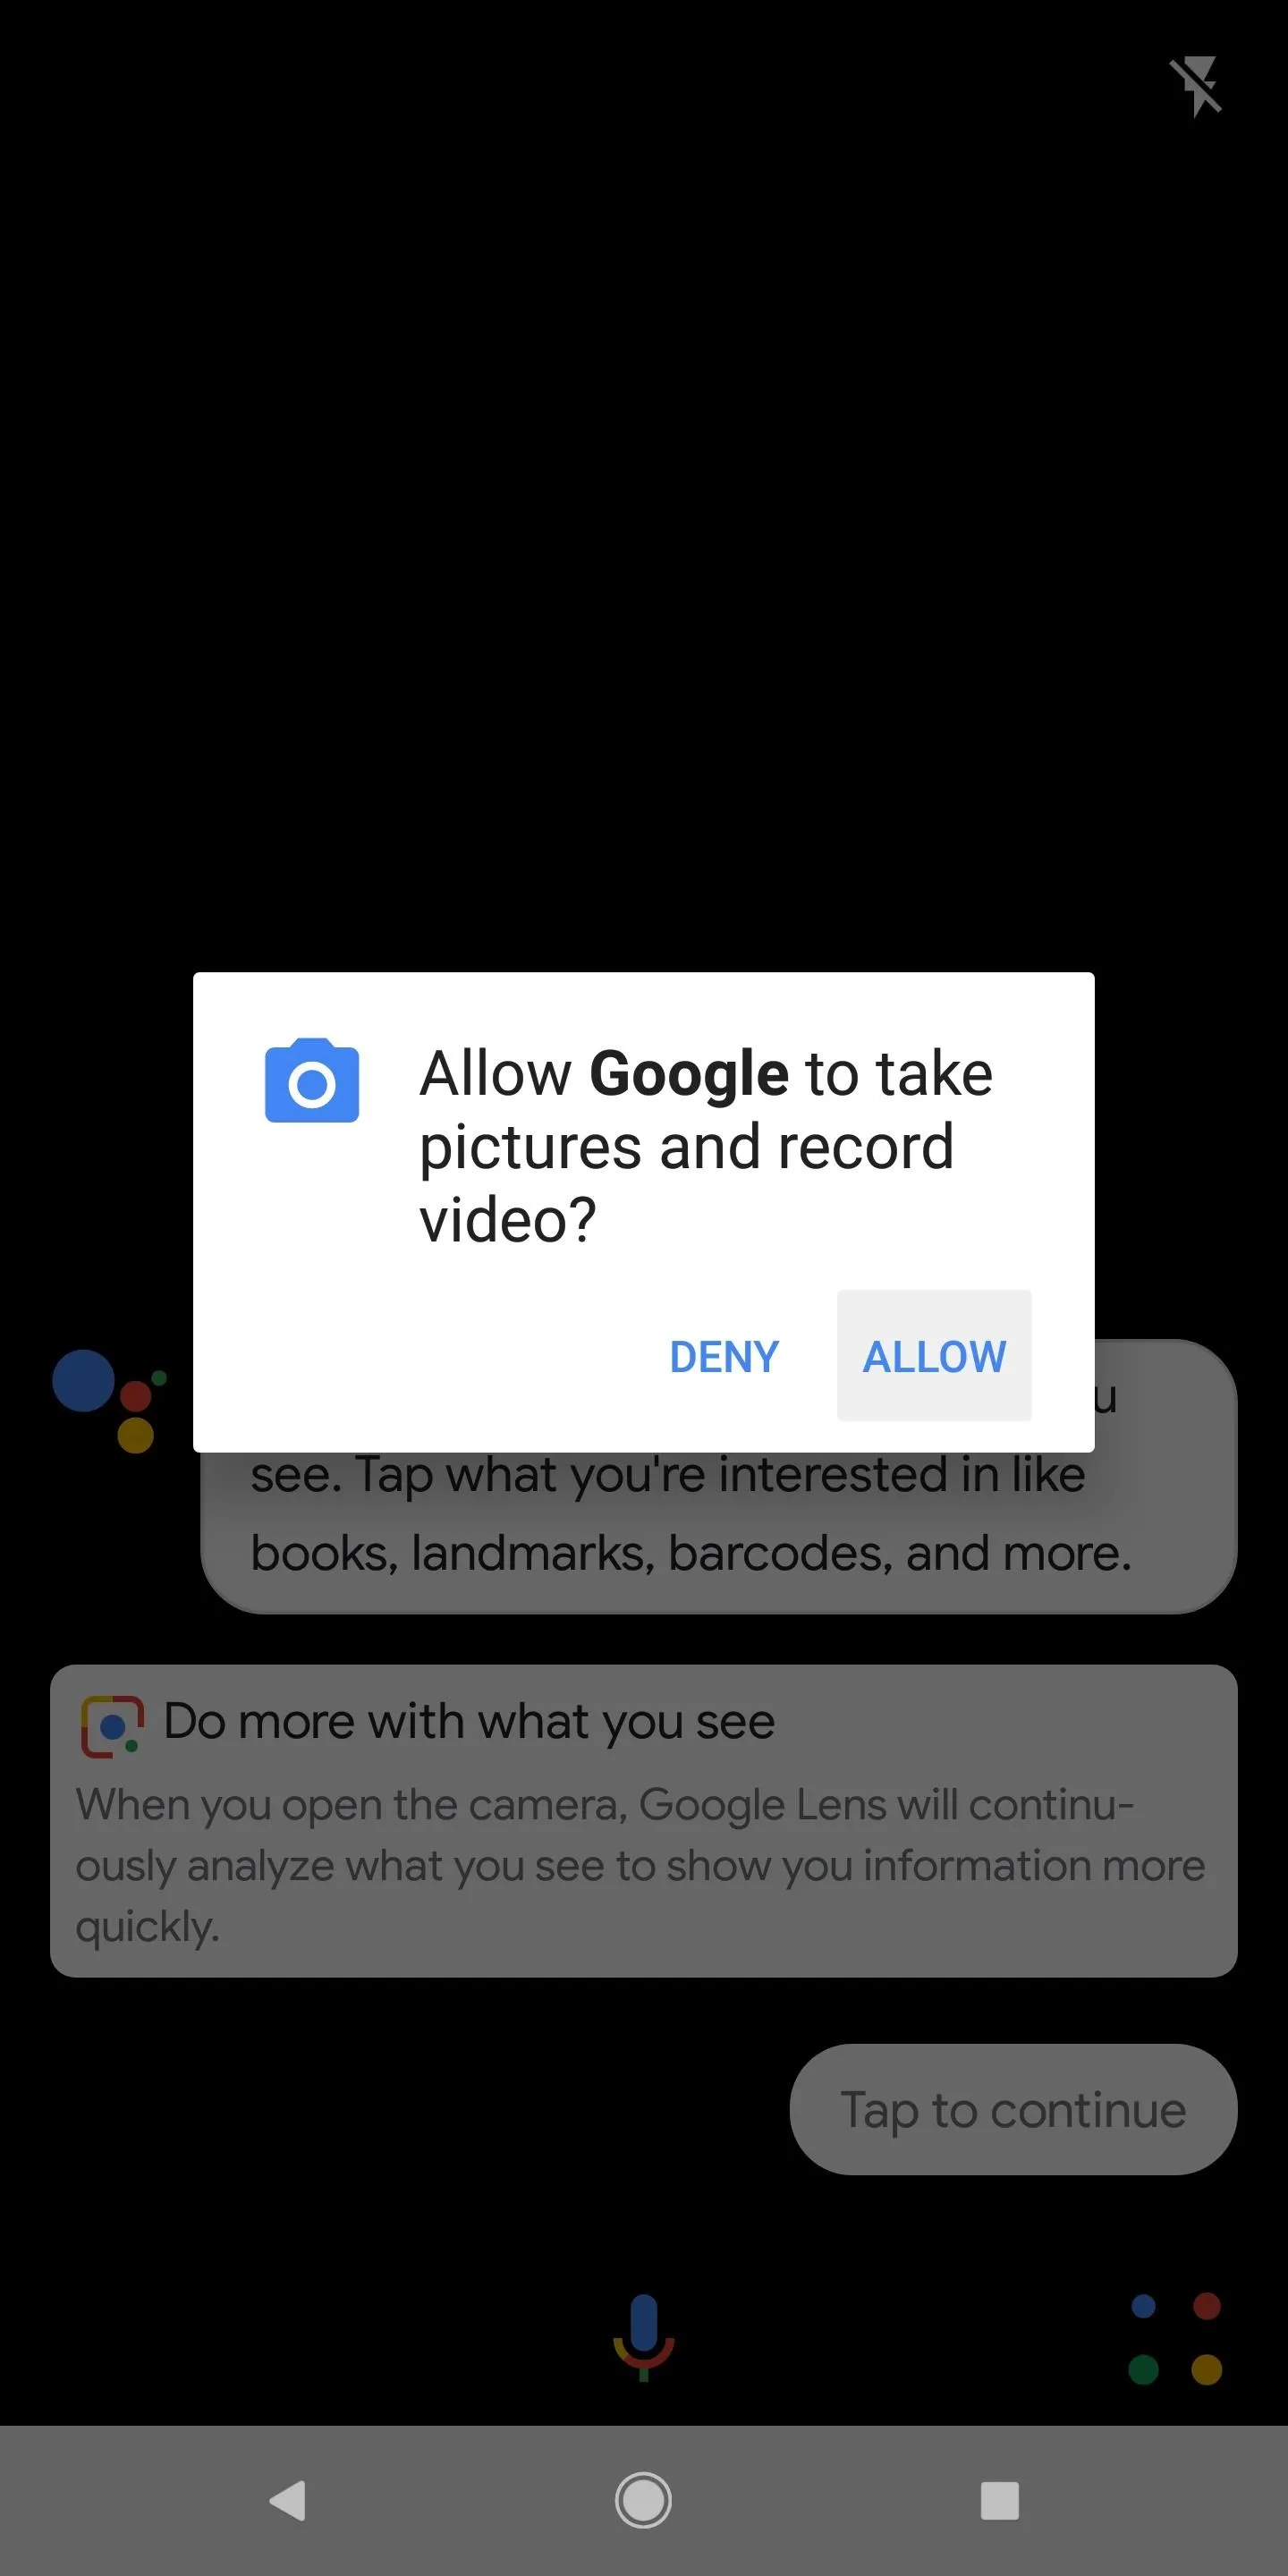
The first time you access Google Lens, you'll get a quick explainer. Beneath that, you'll see a button that says "Tap to continue" — go ahead and press this button. At this point, you'll be asked to give Google Lens permission to access your camera, which it needs in order to "see" the world around you. So tap "Allow" on the popup, then you'll be ready to get started.
Tap Something to Learn More About It
The tutorial that appears on first-run mentions that the camera will continuously scan for items that Google Lens can identify, but I haven't had success with this method yet.
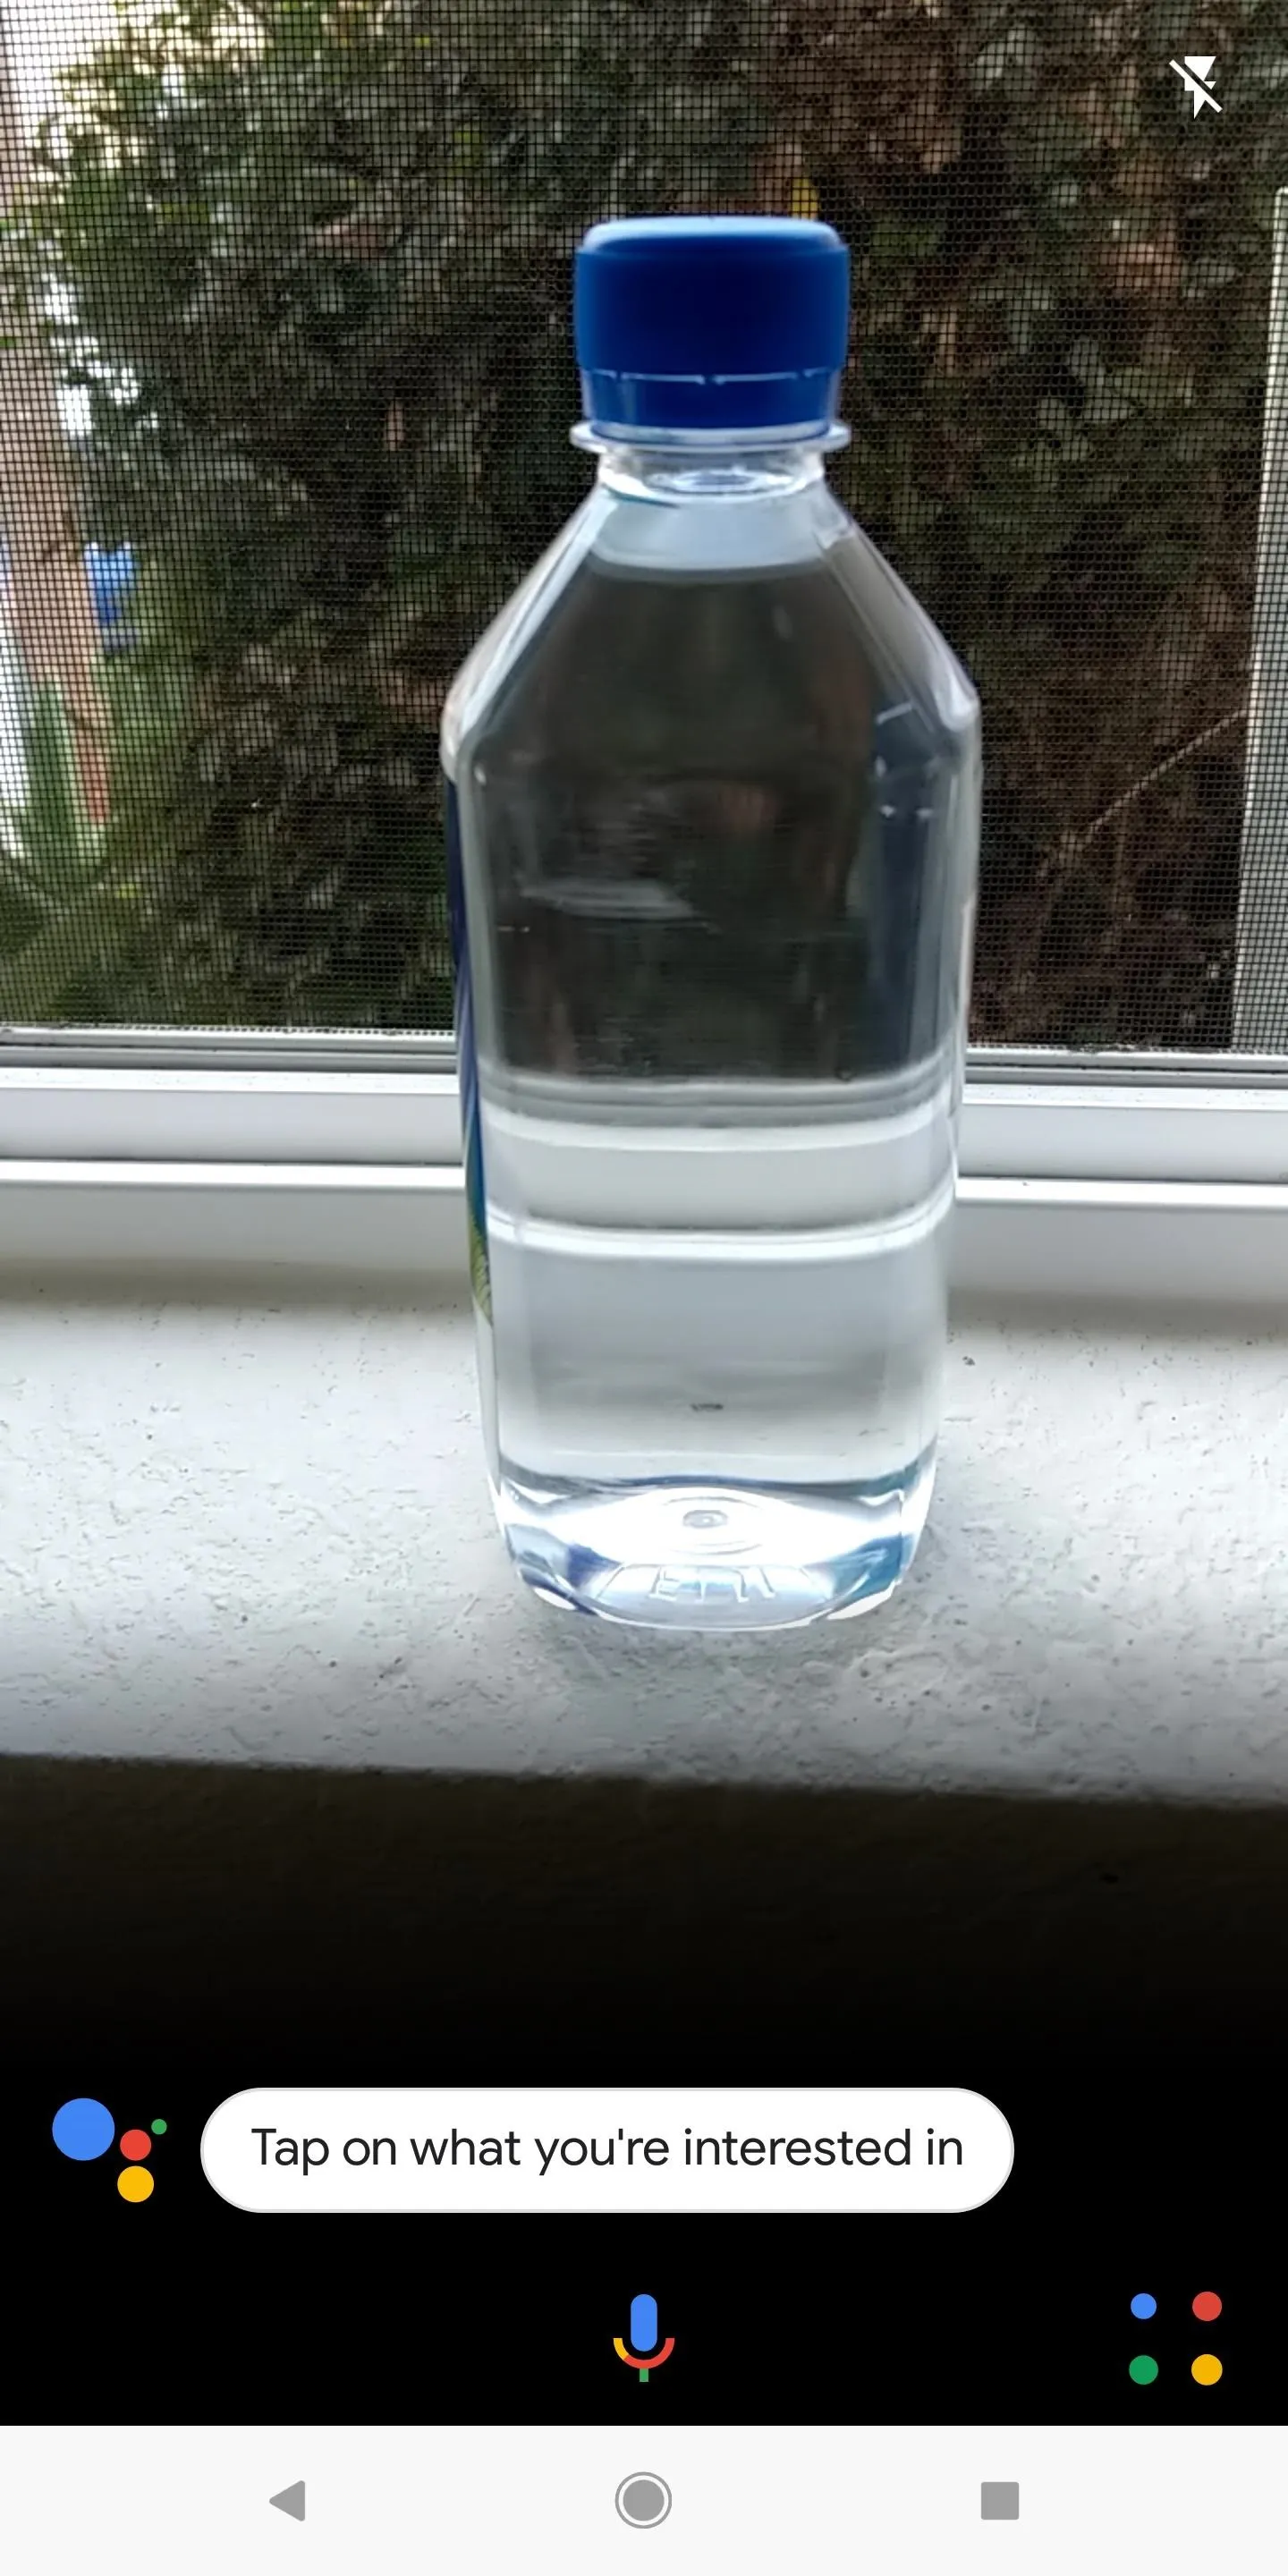
At least for now, the only way to get Lens to give you information about something it sees is to line your camera up with the item, then tap the item on your screen.
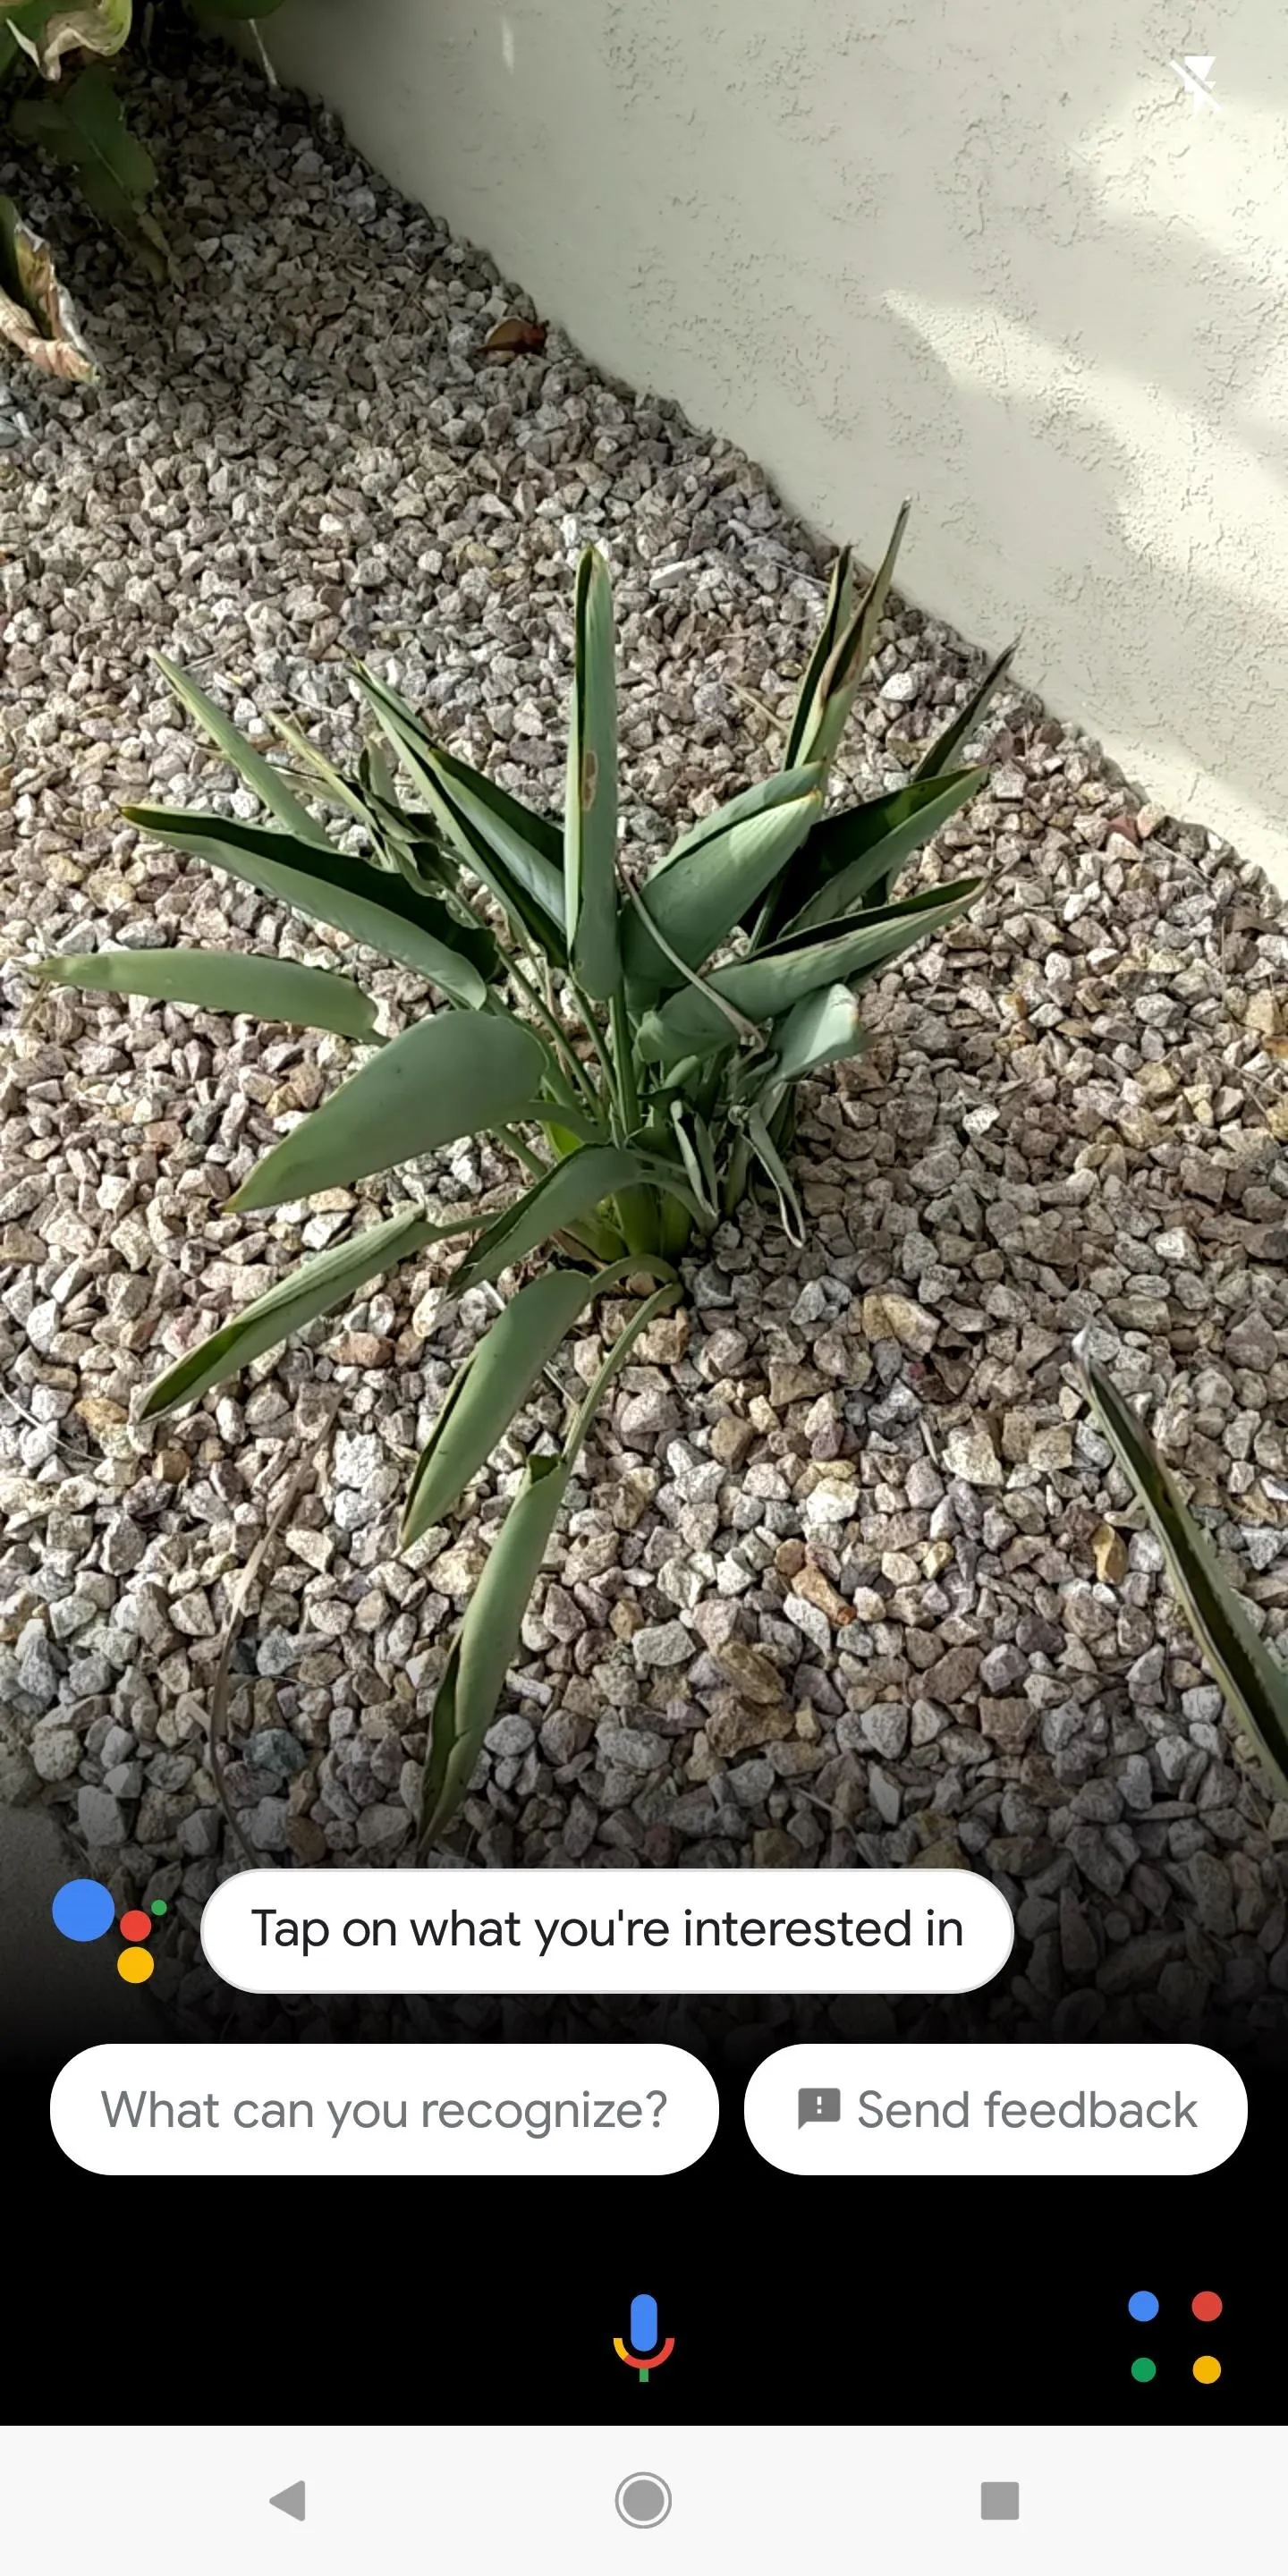

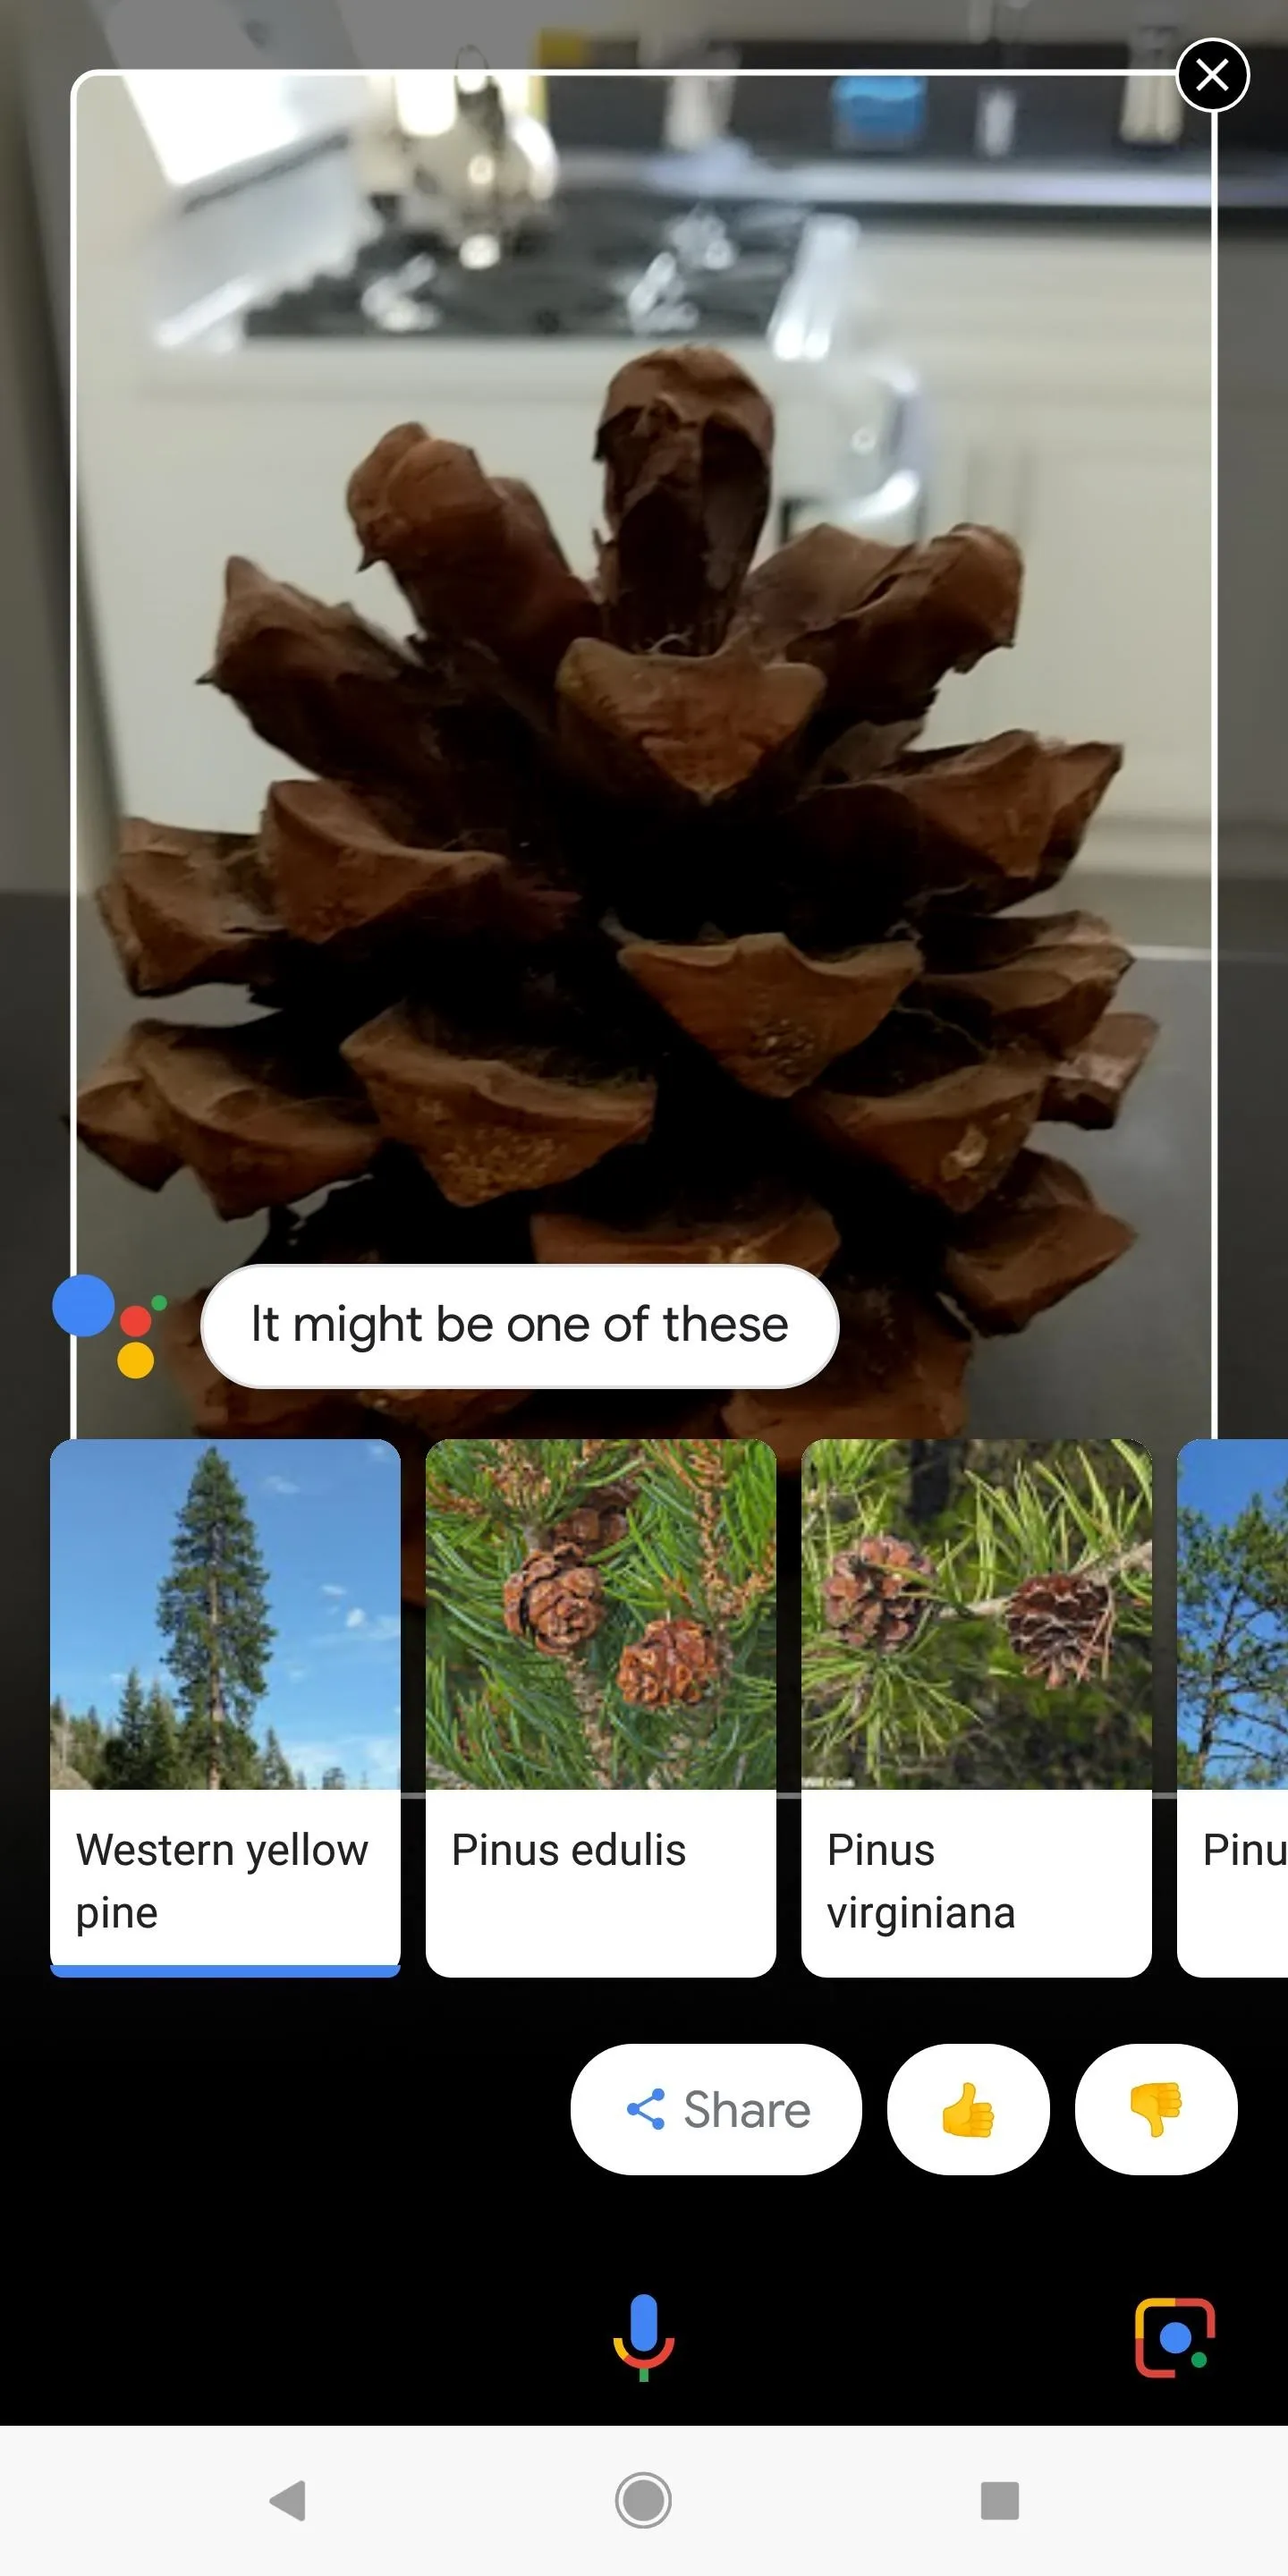
Depending on the item, you'll receive varying results. Some objects are natively recognized, in which case you'll see small info cards as shown in the second screenshot above. Other results represent Lens' best guess, in which case you'll see buttons to perform a Google search for that term.
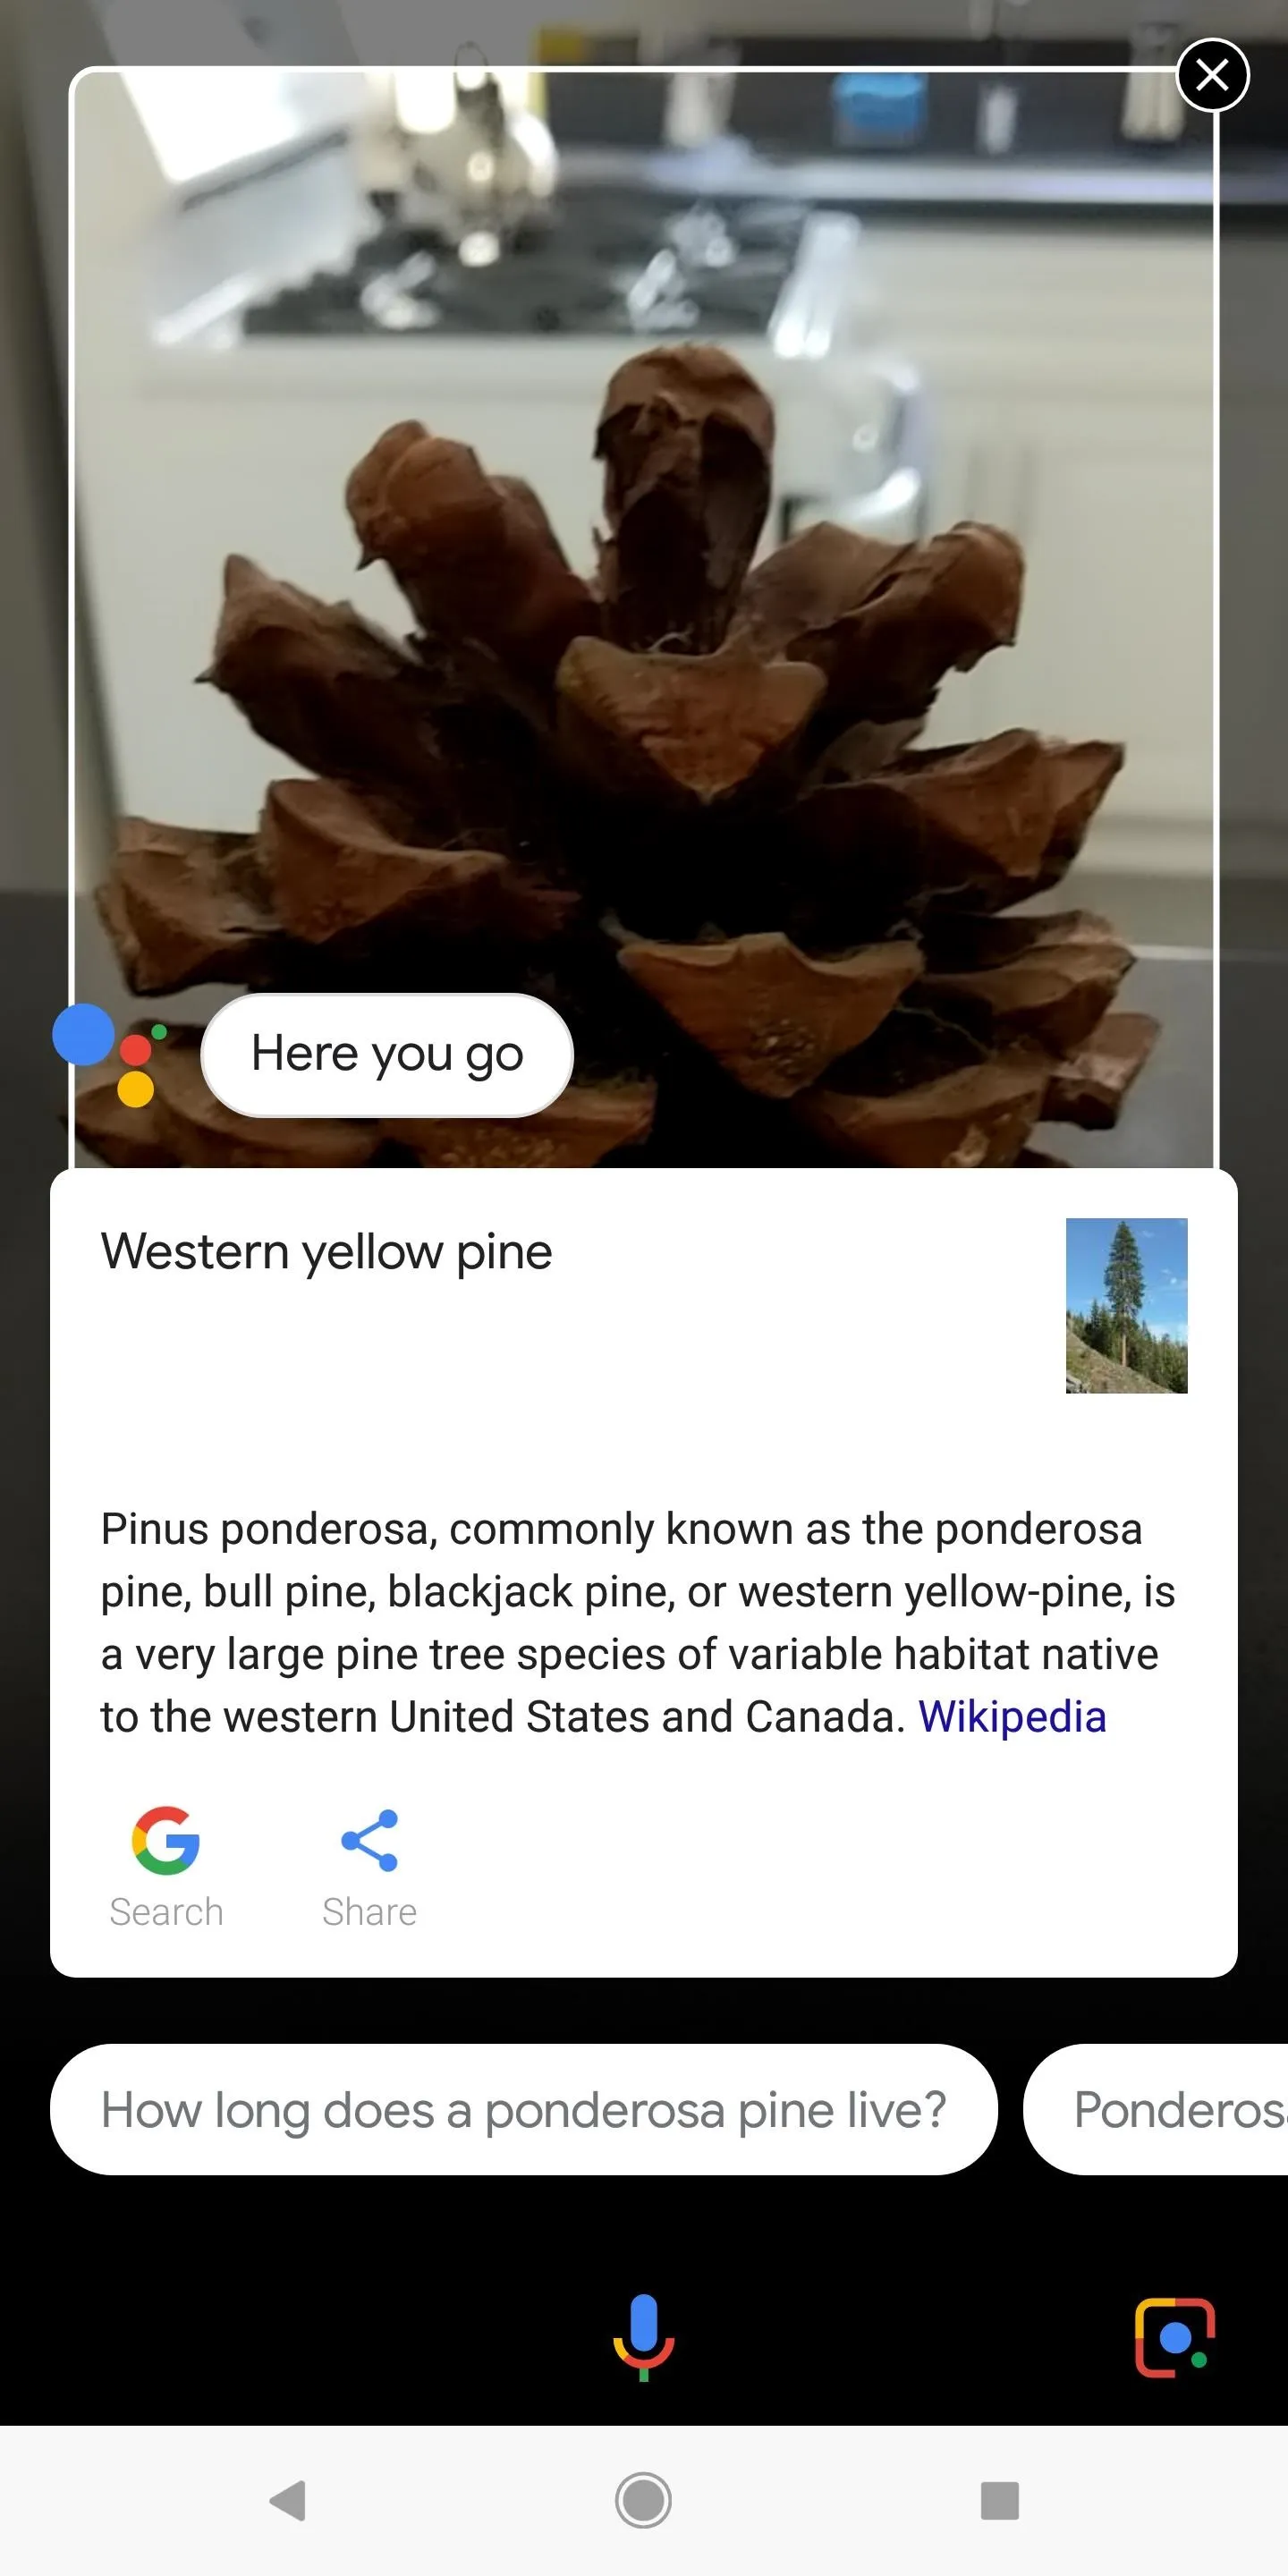
If Lens has an info card for an item it recognized, you can tap it to learn more about the item without even leaving the Google Assistant app.
Tapping an info card to learn more about an item without leaving Google Assistant.
Tapping an info card to learn more about an item without leaving Google Assistant.
Learn What Google Lens Can Identify
Google Lens is far from perfect. It struggles with random items from around the house, and it's not very good at recognizing subtle differences between certain types of objects. But it definitely has its strengths.
Where Lens really shines is its OCR (Optical Character Recognition). This has several great uses — it will translate text from another language (other than your system default), let you easily Google a word without typing it, or even offer to import business cards as a contact.
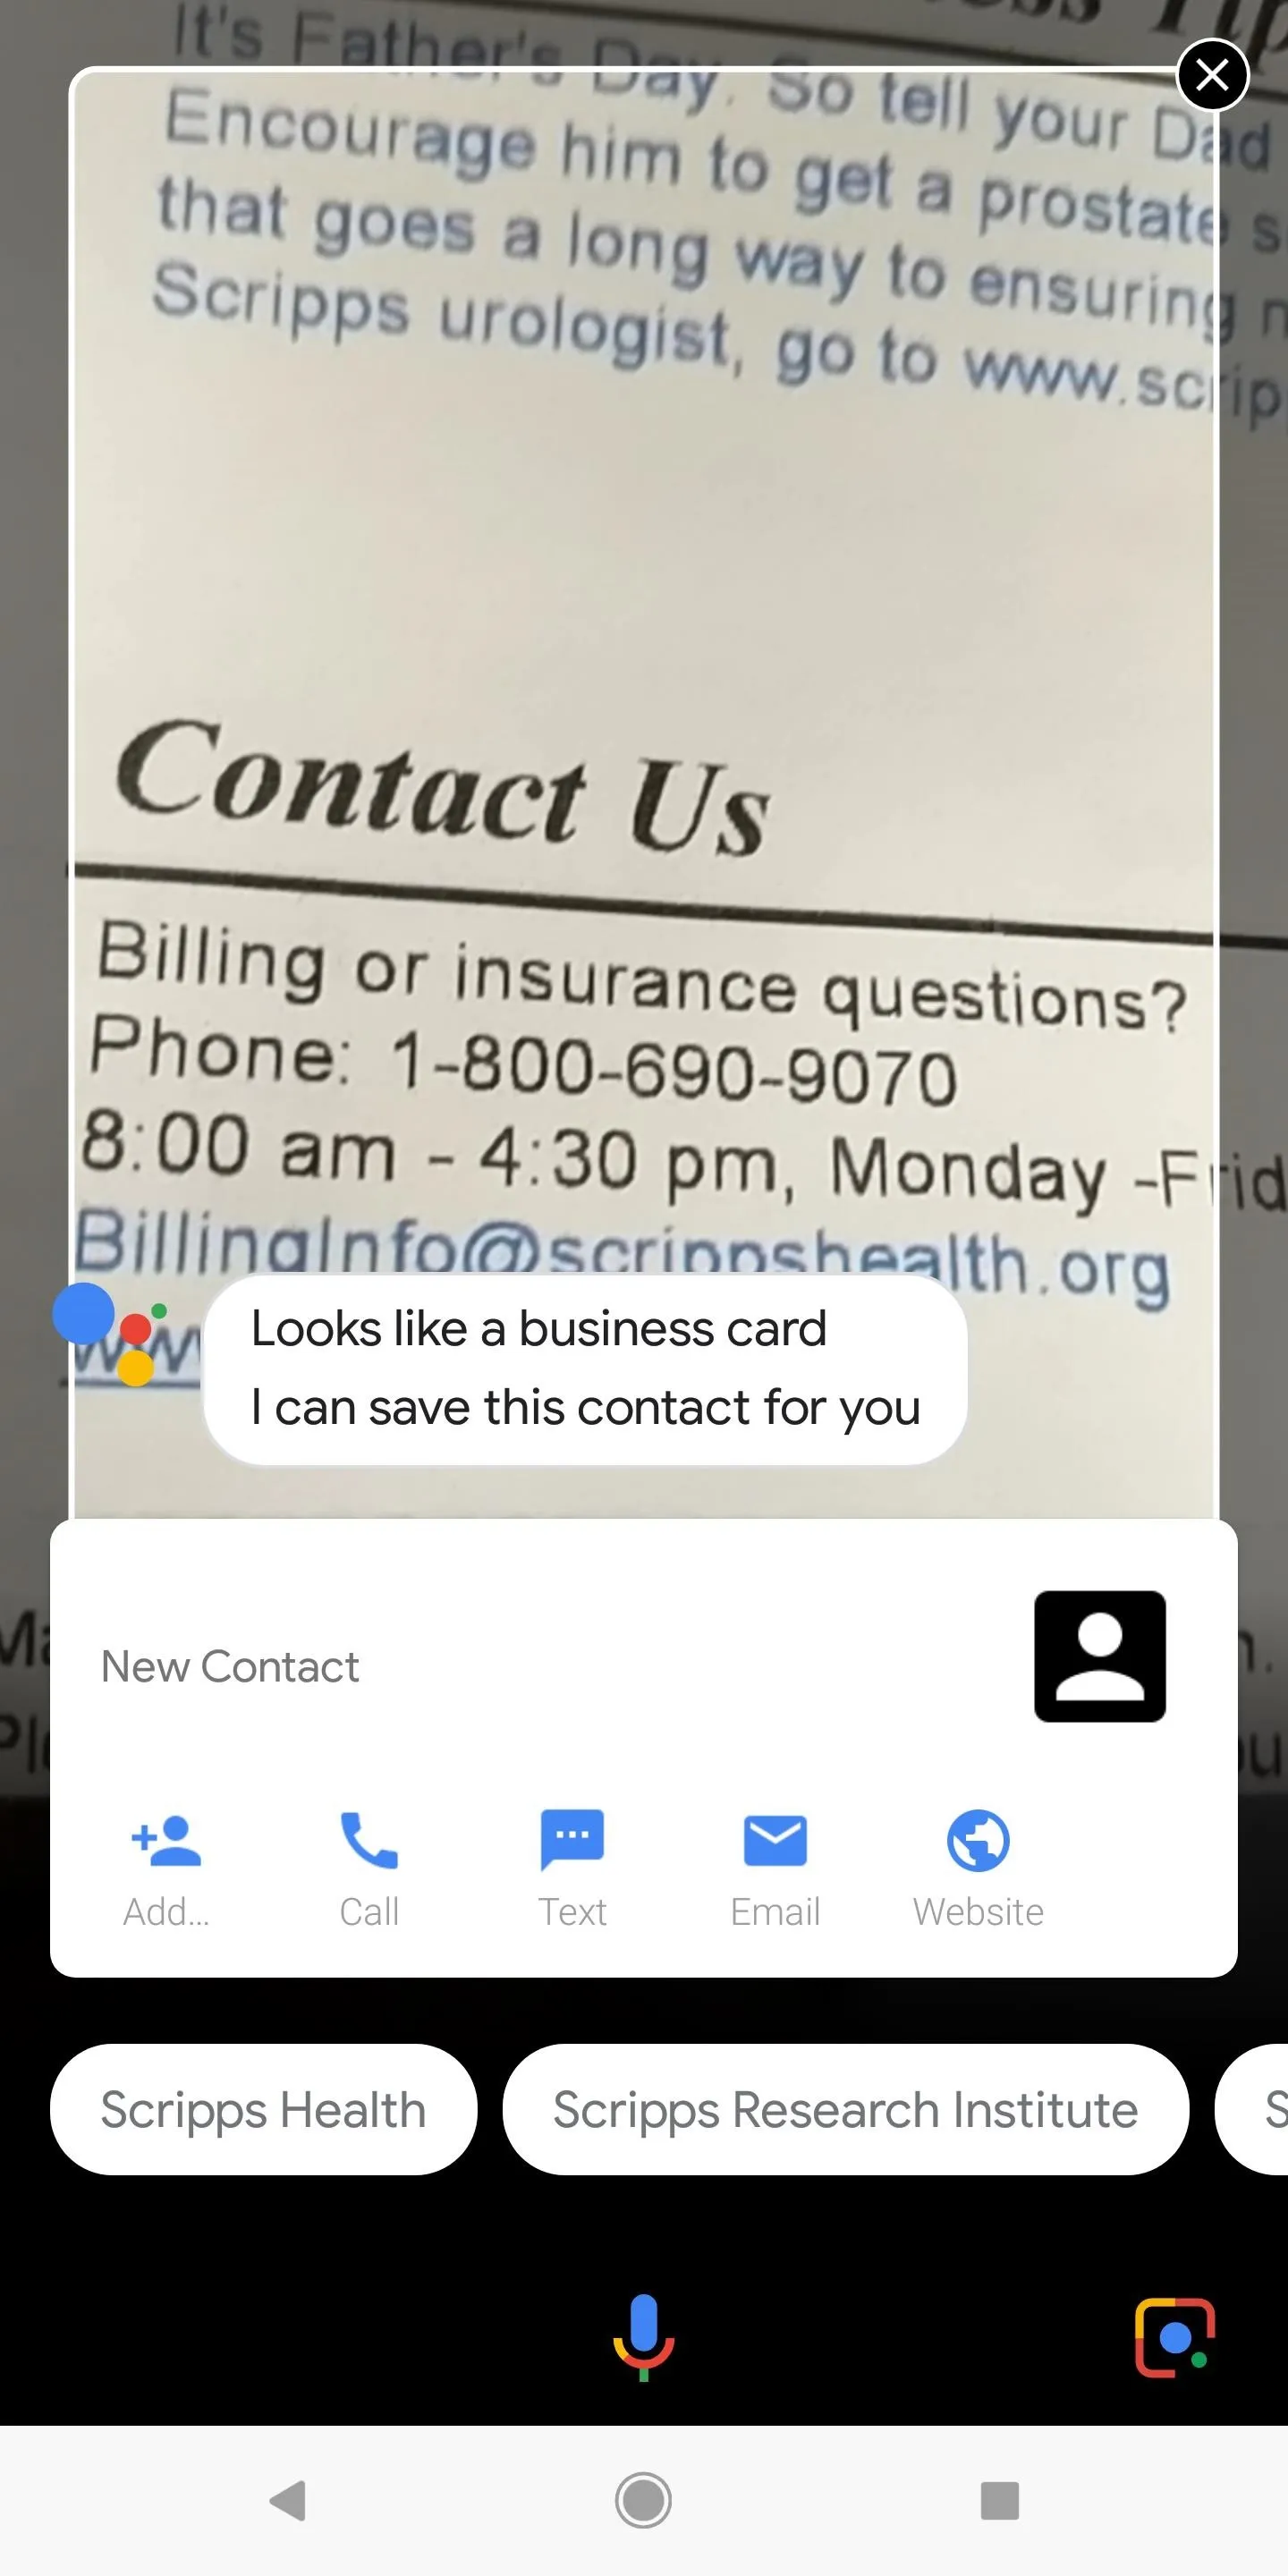
Scanning a business card or contact info will even let you call the number directly.

Scanning a business card or contact info will even let you call the number directly.
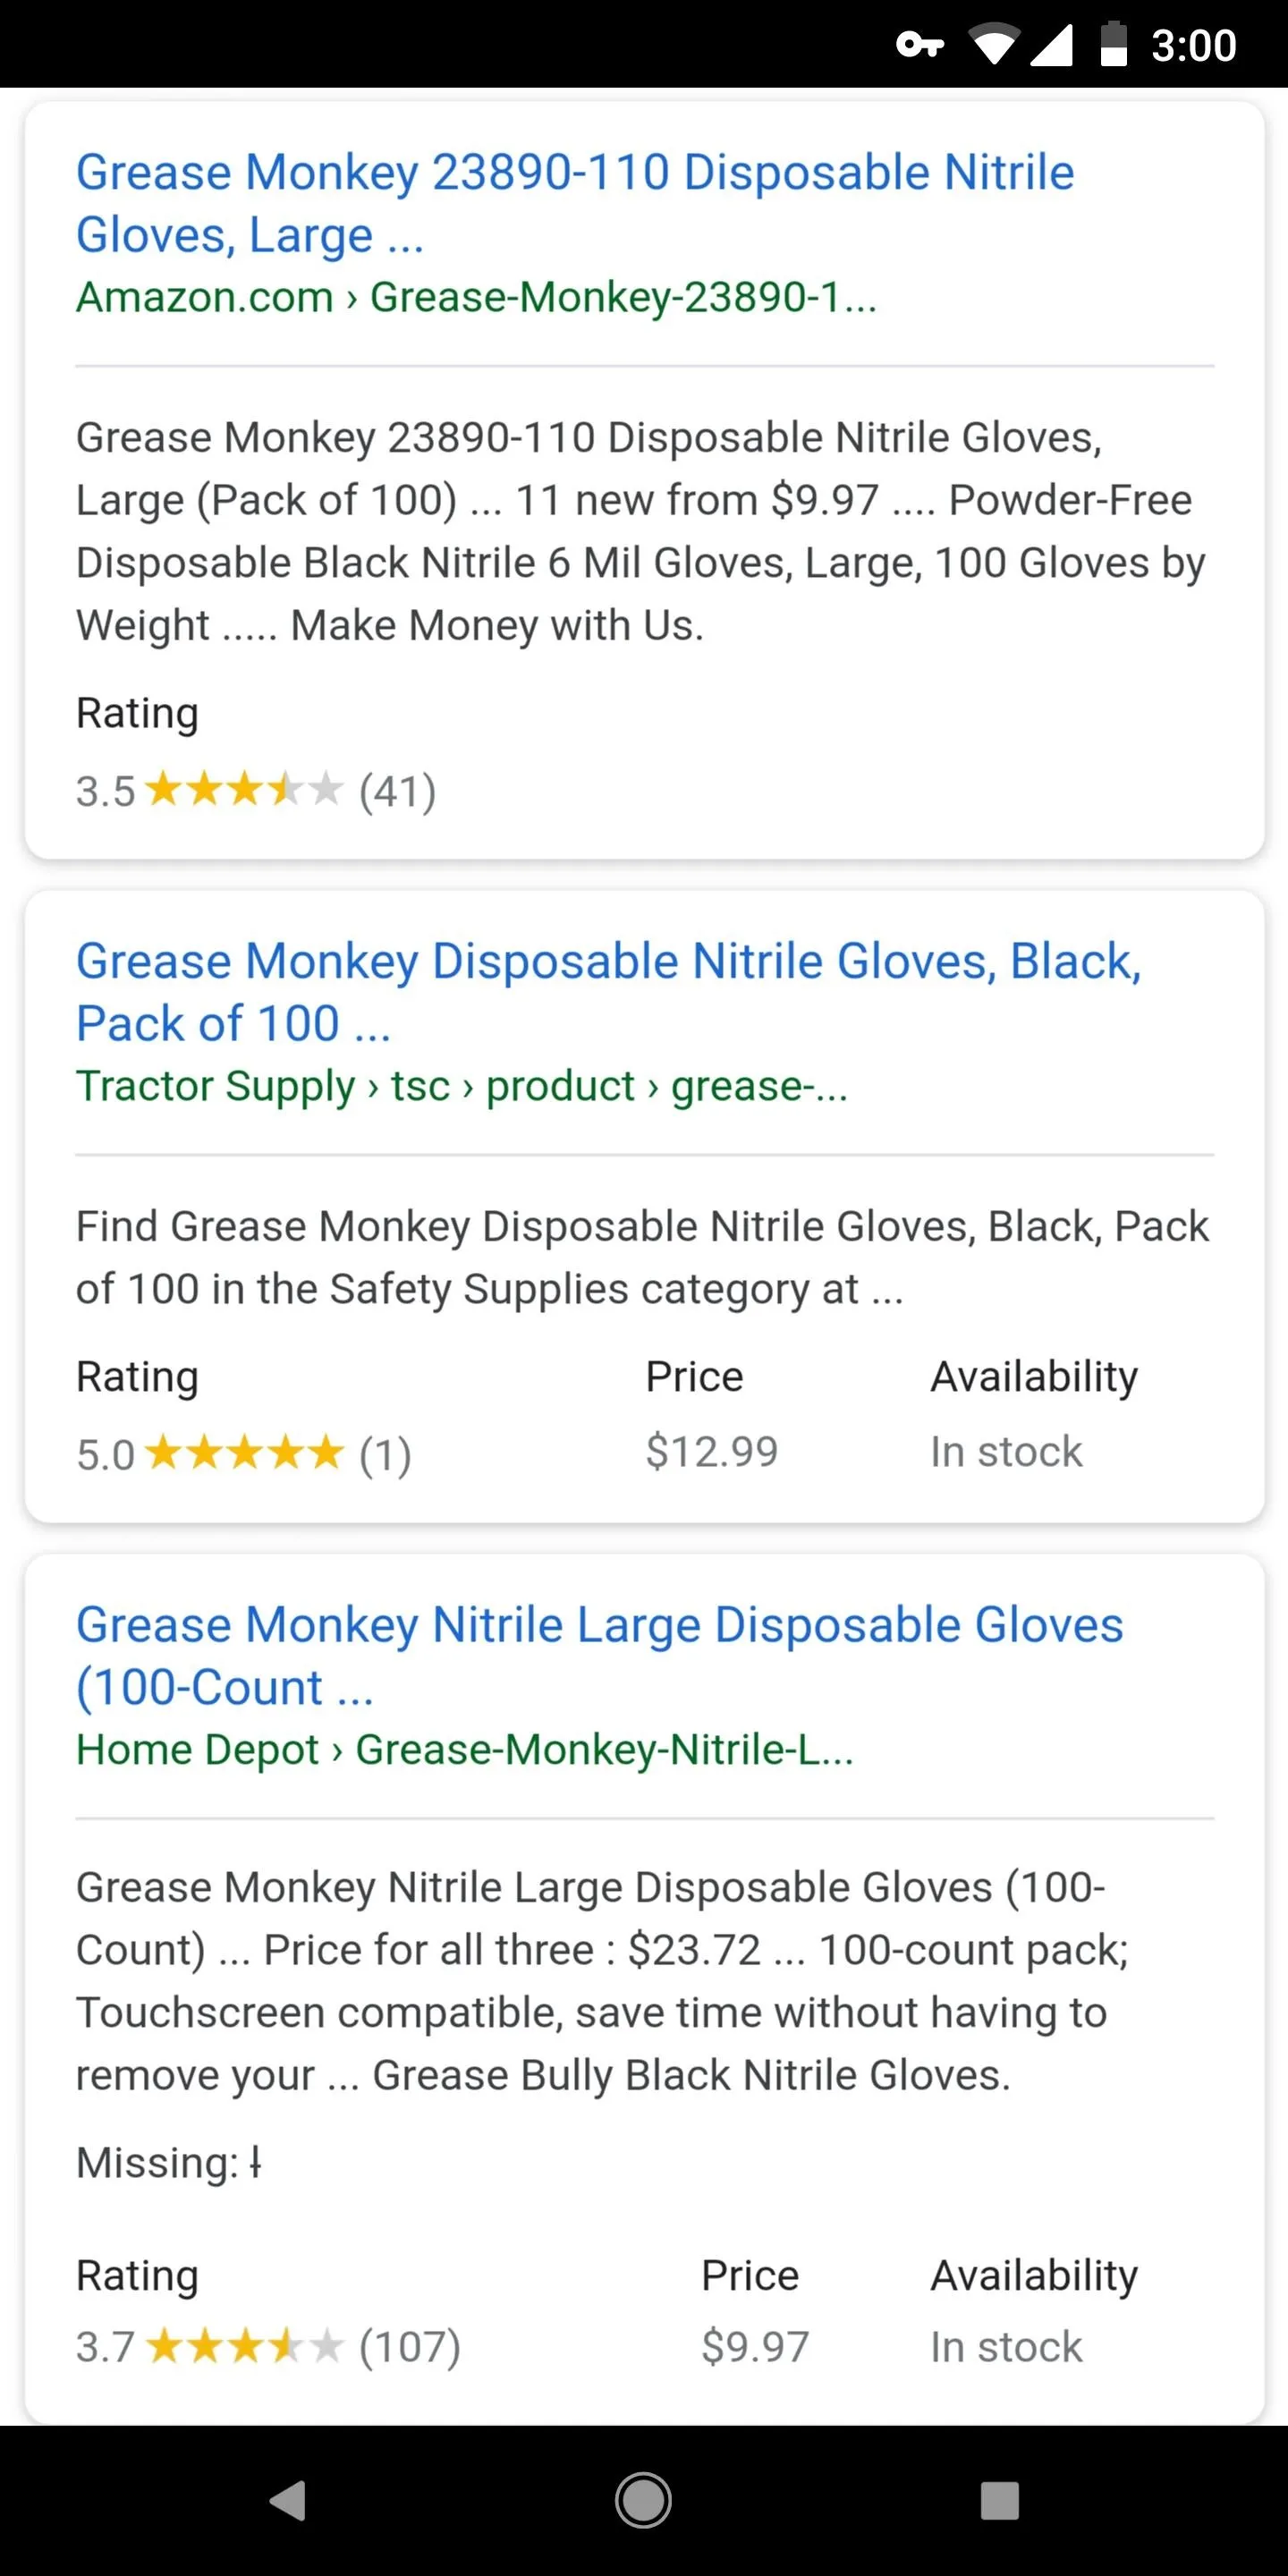
Google Lens is also great at scanning barcodes. Just line the barcode up on the screen, tap it, then you'll get information about the product. You can also tap the Google button to do a search for this item, which makes it incredibly easy to compare prices.
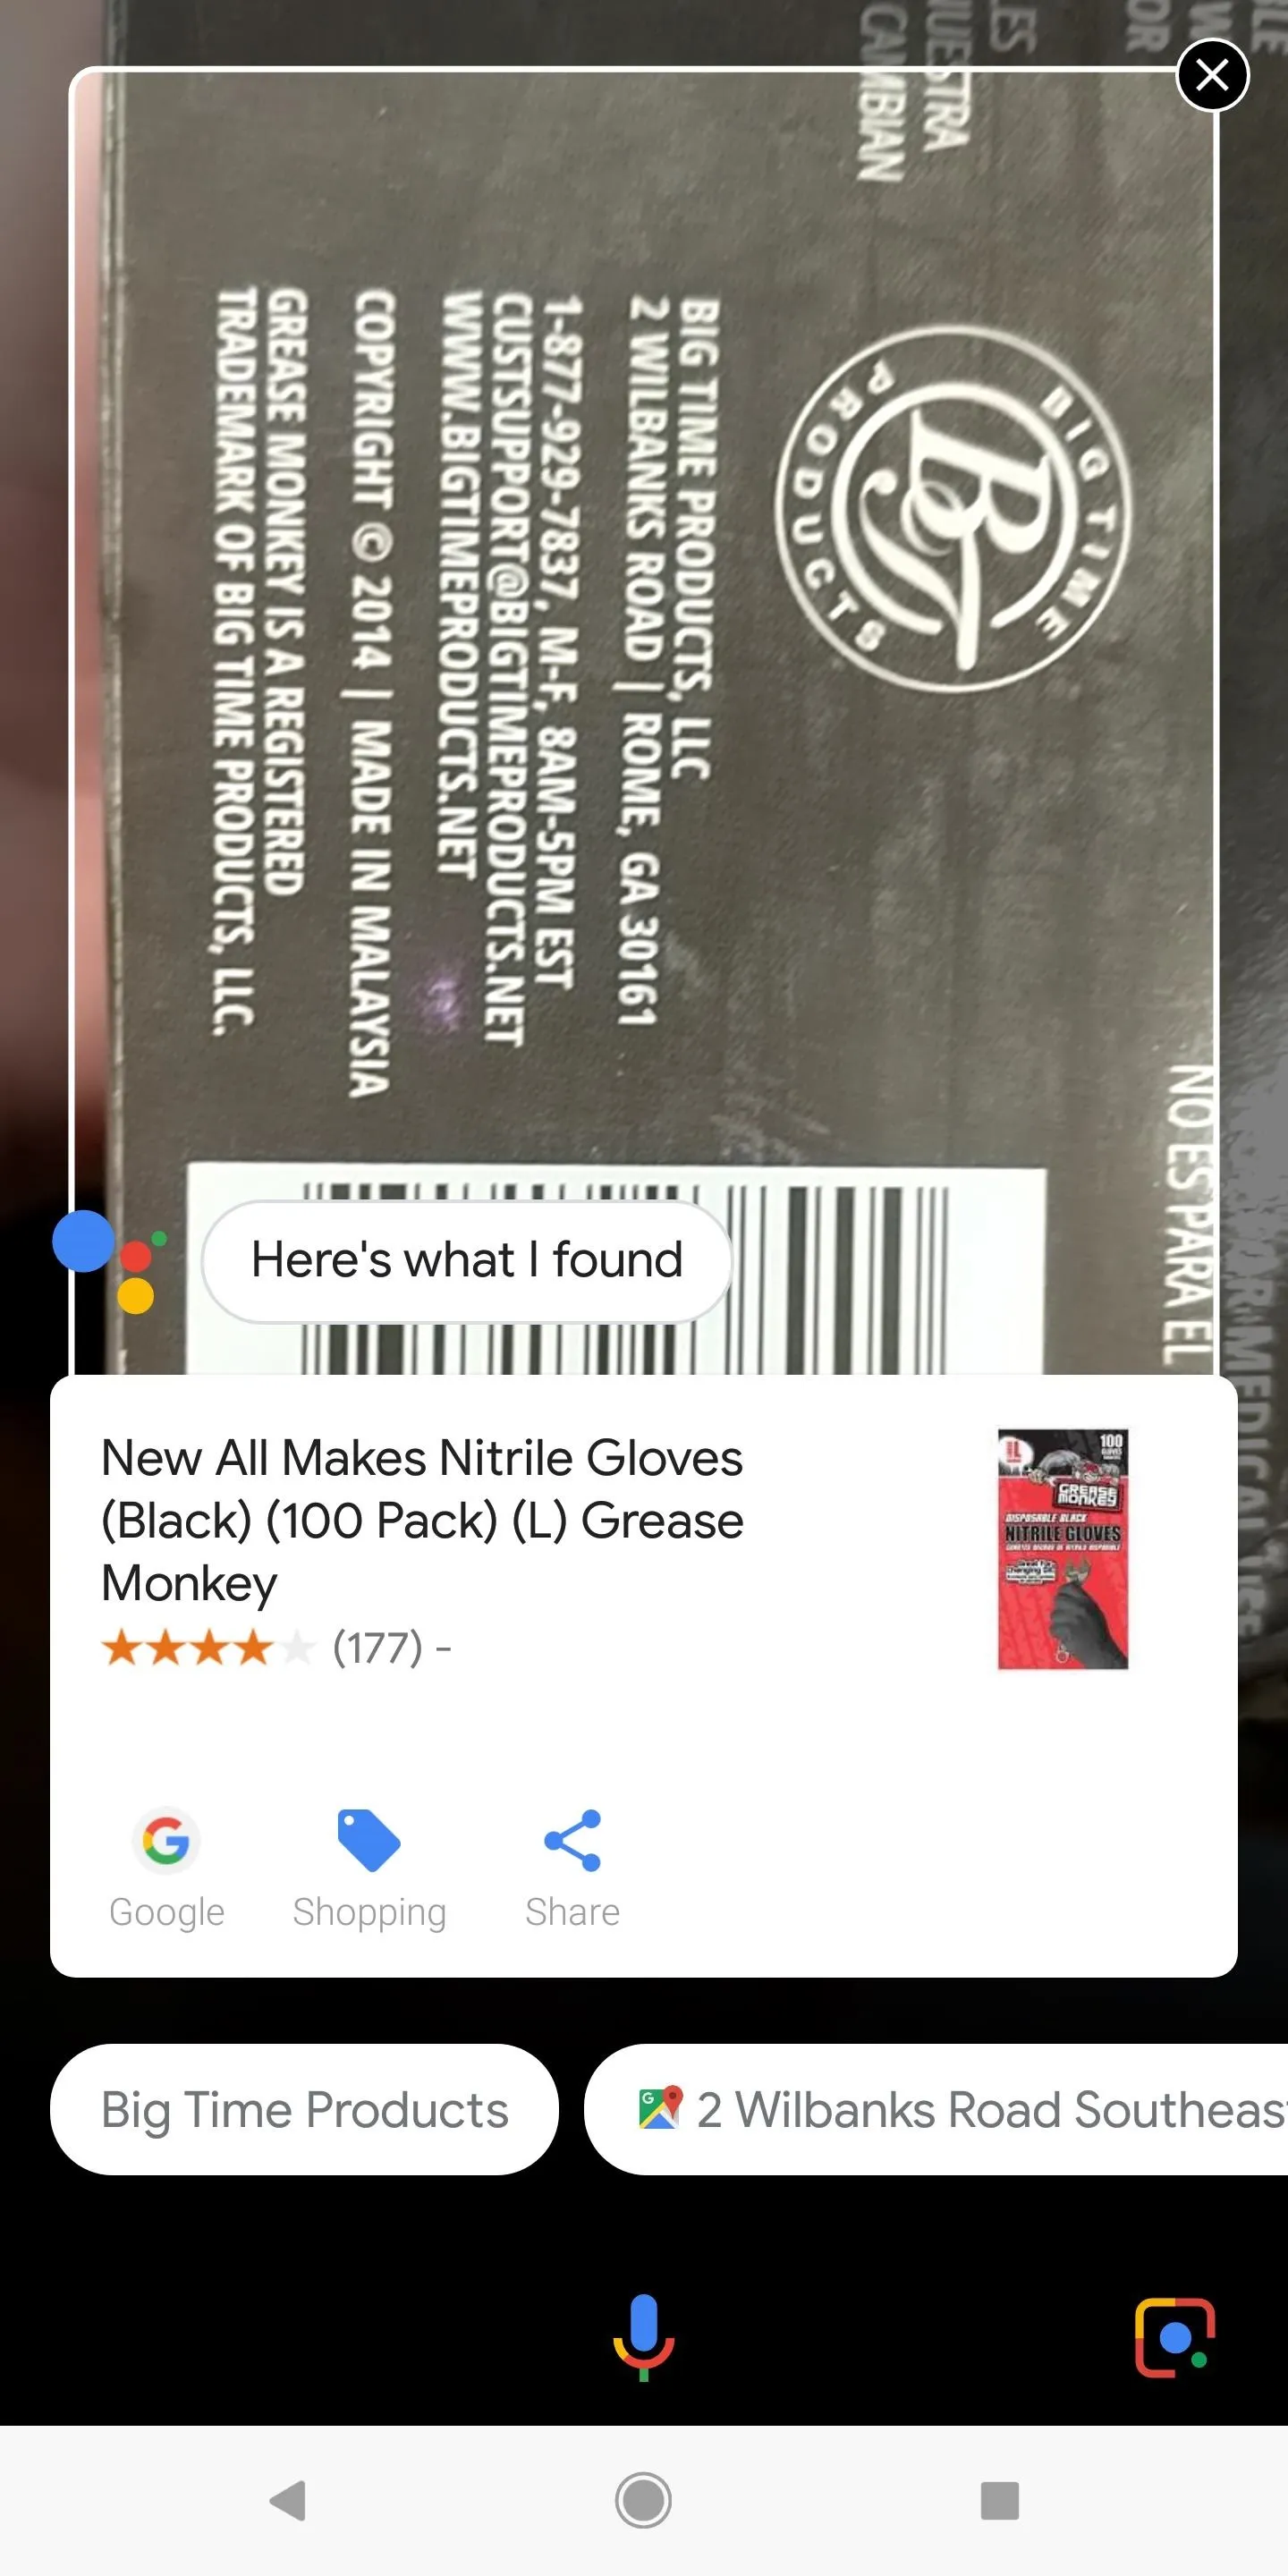
After scanning a barcode, tap the Google button to search for the product from other retailers.
After scanning a barcode, tap the Google button to search for the product from other retailers.
Lens can also recognize logos and book covers with precision. It's good at recognizing plant and animal species, but not perfect. It should recognize any famous landmarks and artwork, which is a great way to learn more about a place you're visiting.
That said, you should still experiment with Google Lens on your own to get a feel for what it can and cannot do.
Give Results a Thumbs Up or Down
This next step is very important — Google Lens is using machine learning to recognize the world around you, and the keyword there is "learning." It will get better as more people use the service and Google's AI continues to train itself. But there's a way you can help speed this process up.
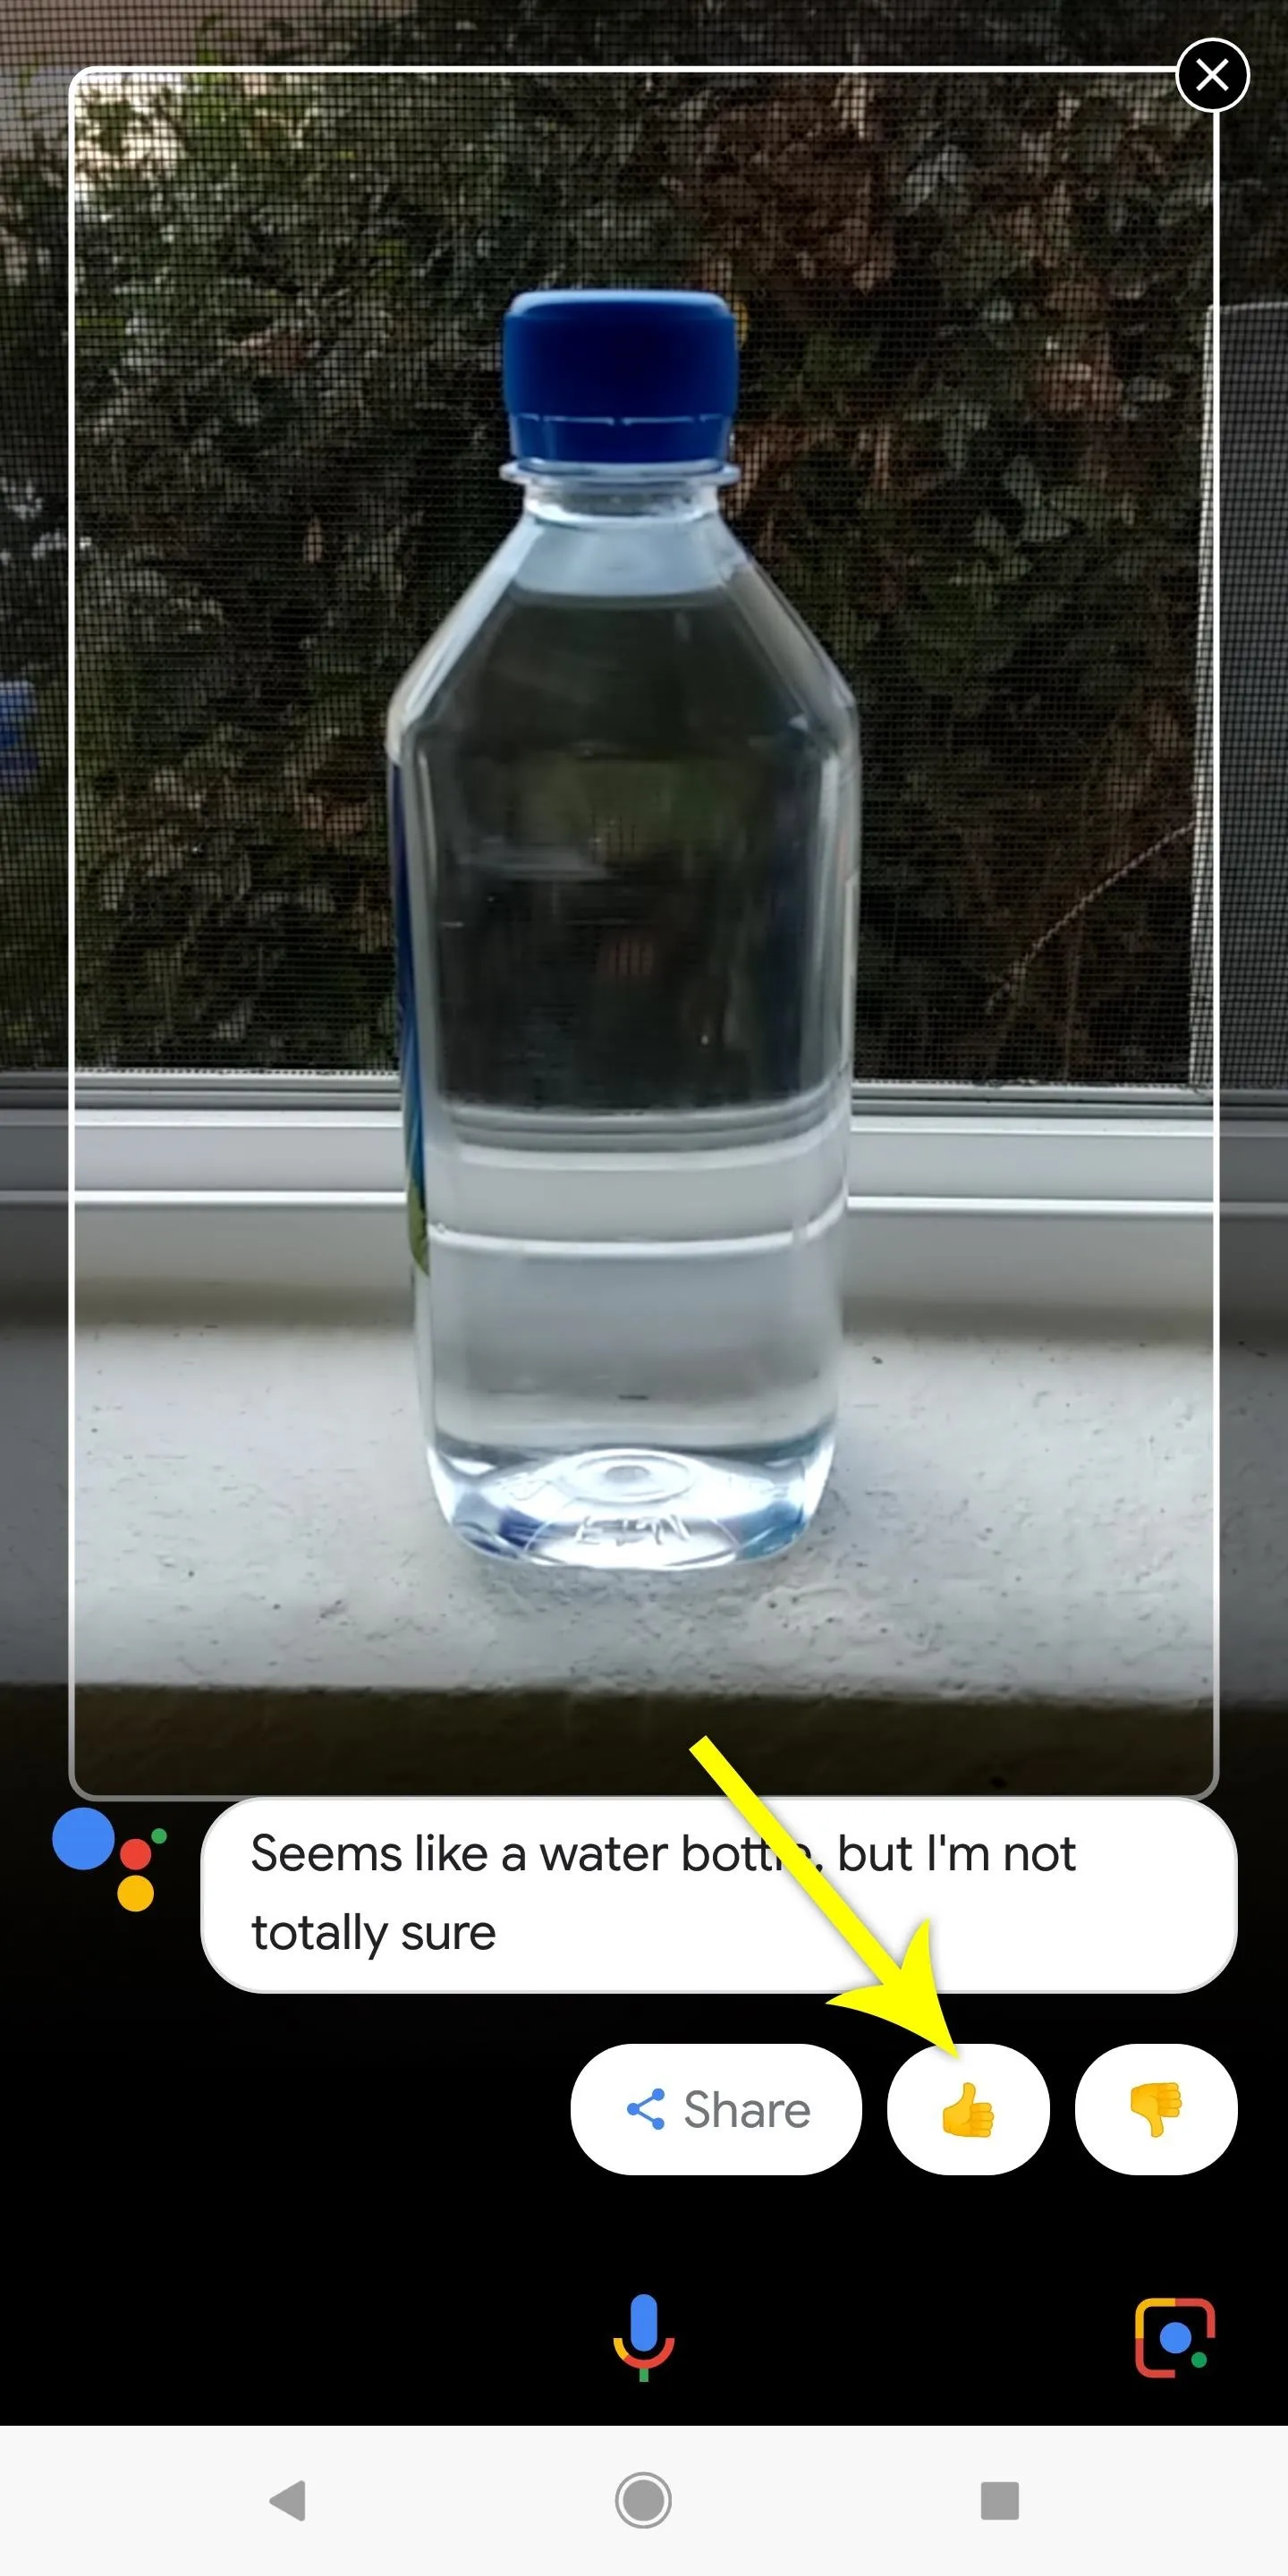
When Google Lens recognizes something properly, make sure to give the result a thumbs up. When it's wrong, do the opposite and give it a thumbs down. This can be done by tapping the thumb up/down icon after receiving a result, and it will greatly improve the service if everyone does the same.
Good results should always get a thumbs up; wrong results should get a thumbs down.
Good results should always get a thumbs up; wrong results should get a thumbs down.
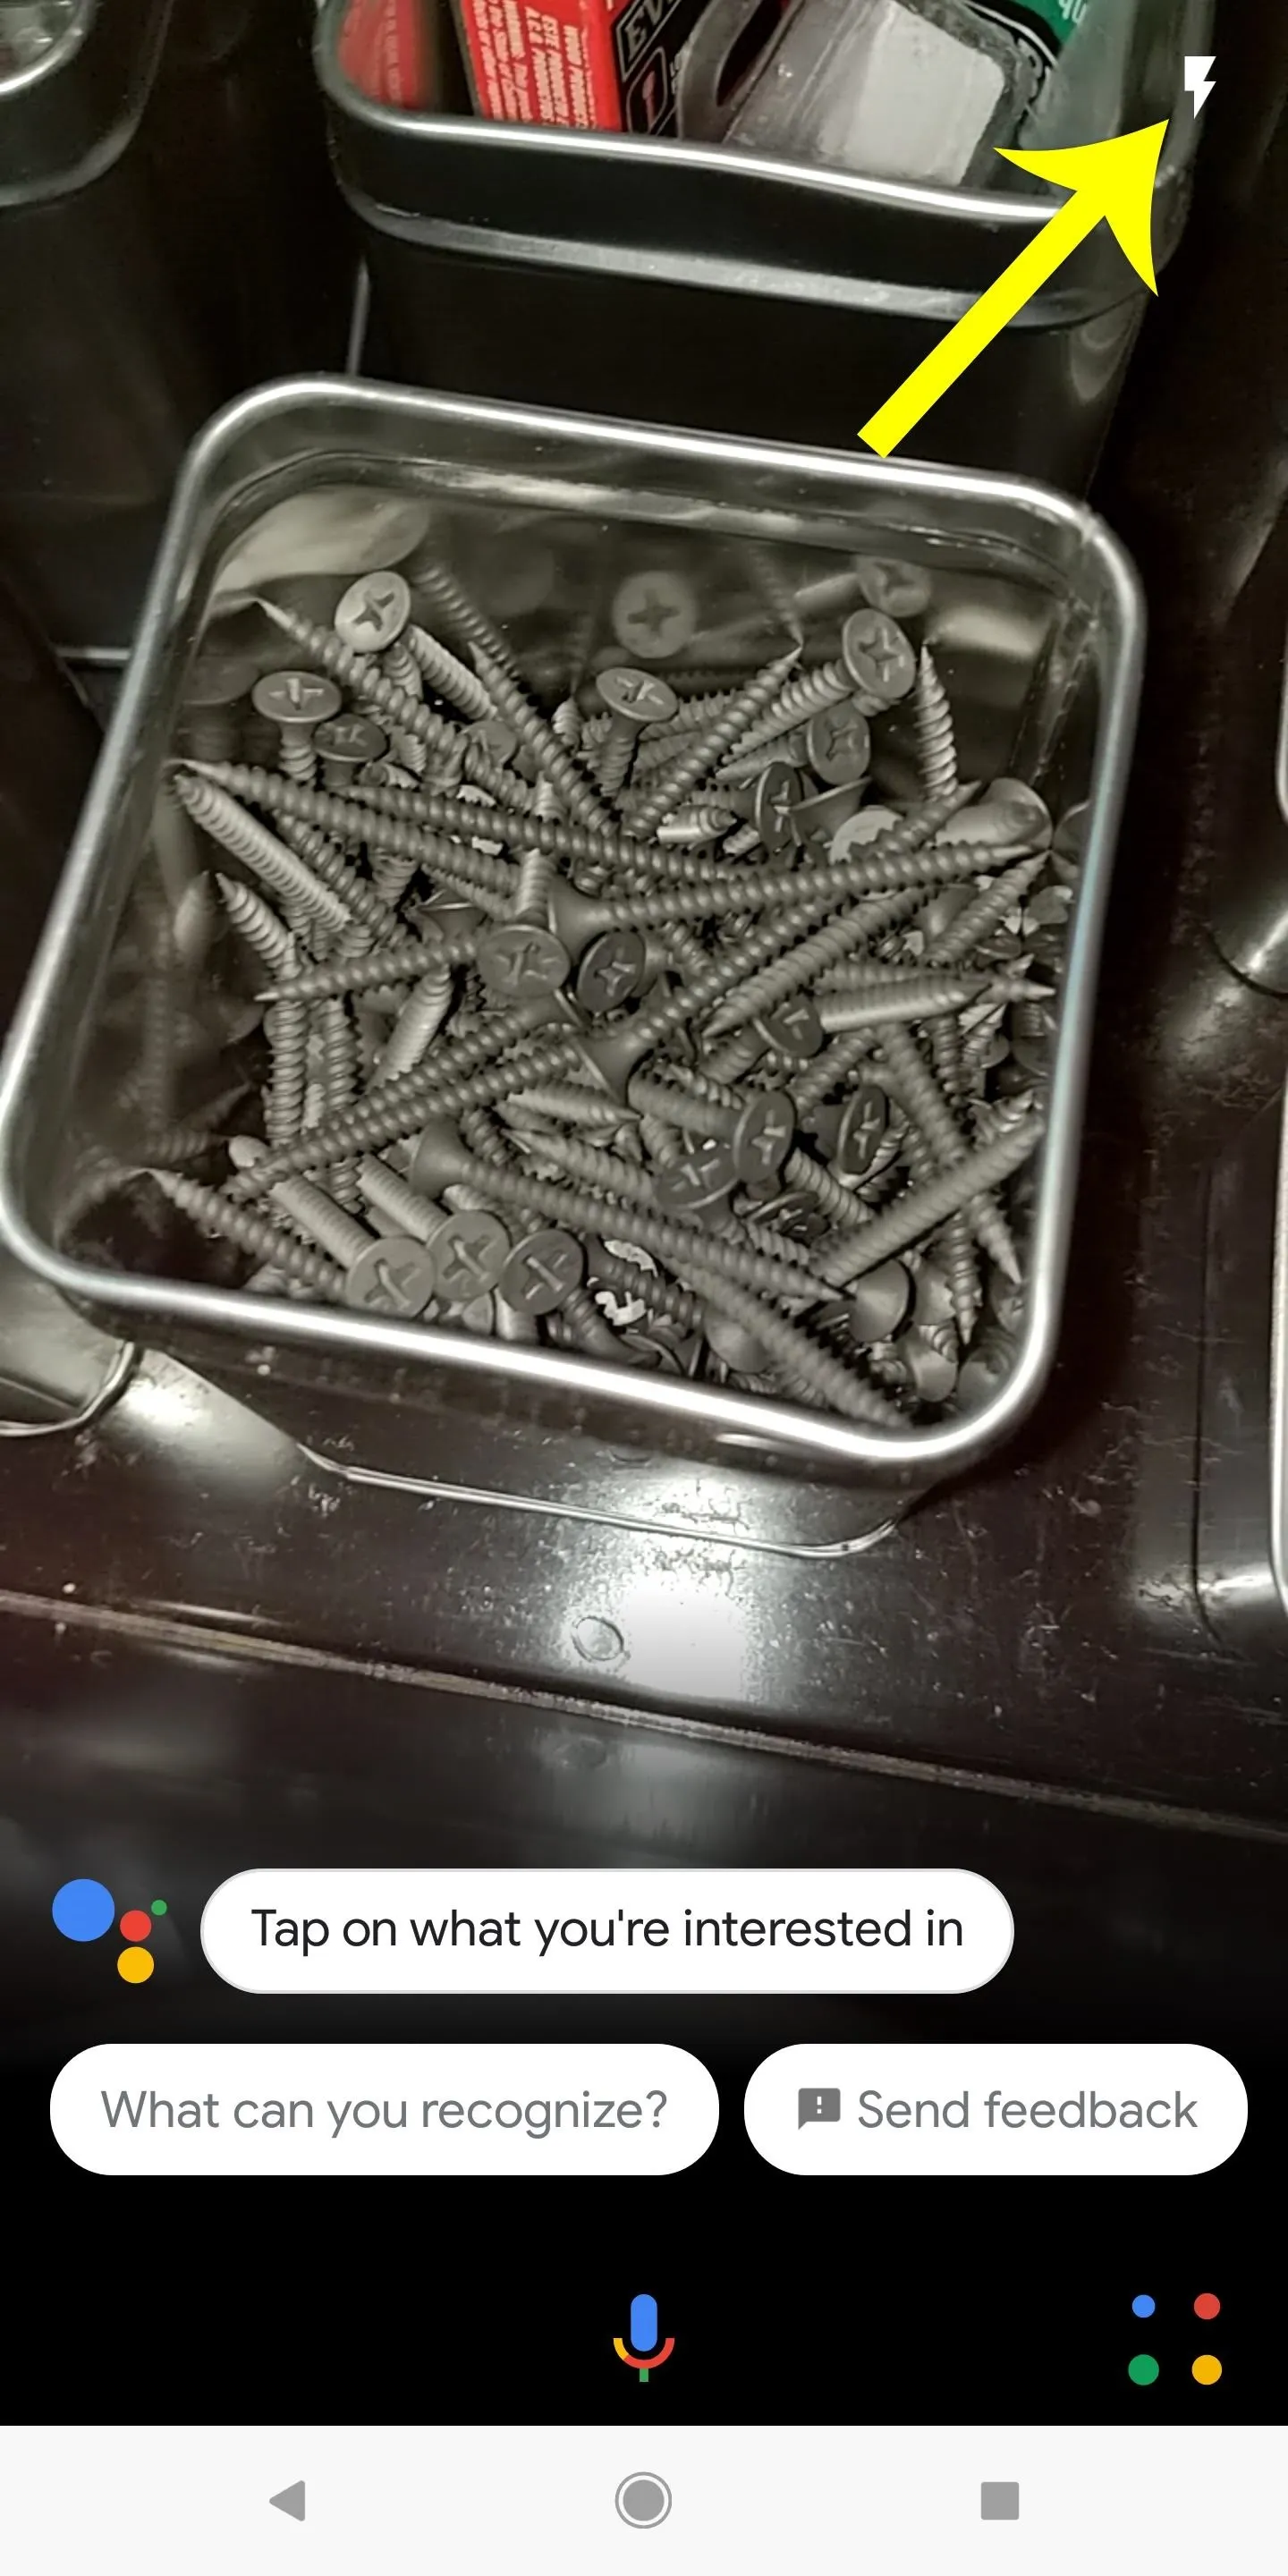
Use Zoom & Flash for Better Results
Finally, there's a pair of features that can help Google Lens see the world a bit better. When an object is too small or too far away, you can pinch your screen to zoom in, which helps Lens focus on the specific item you want it to recognize. And if it's too dark for Lens to see anything, you can tap the flash icon in the top-right corner of the screen to light things up with your camera flash.
Lens is still in its early days, but I can already tell it's a lot more sophisticated than the old Google Goggles app. How has your Google Lens experience been so far? Let us know in the comment section below.
- Follow Gadget Hacks on Facebook, Twitter, Google+, YouTube, and Instagram
- Follow WonderHowTo on Facebook, Twitter, Pinterest, and Google+
Cover image and screenshots by Dallas Thomas/Gadget Hacks


Comments
Be the first, drop a comment!