


Whether we like it or not, our personal information and smartphones are tied together at the hip. The former needs the latter to deliver a personalized experience that matches our individual needs. This personal data, however, makes your phone a prime target for thieves of all sorts to turn your privacy into illicit profit.
Threats can range from hackers that are out to steal your personal data to nosy individuals who want to dig up dirt that can be used against you. Law enforcement also can't be ignored, as they have the power to subpoena your device arbitrarily.
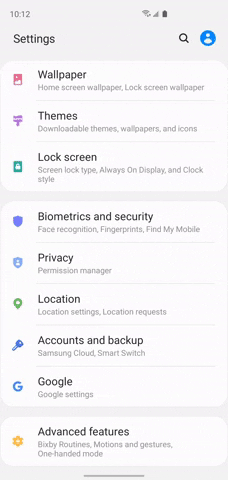
Fortunately, your Galaxy S10 comes with options developed specifically with your security and privacy in mind. You probably have some of the more obvious security measures addressed already, but it's still a great idea to look over all the settings we've highlighted below just to be on the safe side.
Jump to a section:Location | Alerts | App Access | Anti-Theft | Google
1. Location History
The setup process on your S10 can be a little tedious, and if you rushed through it, you might've given your device permission to log your location history. As the name implies, this feature constantly monitors your movements, which you can then view anytime by accessing this this link and signing in using the Google account linked to your phone.
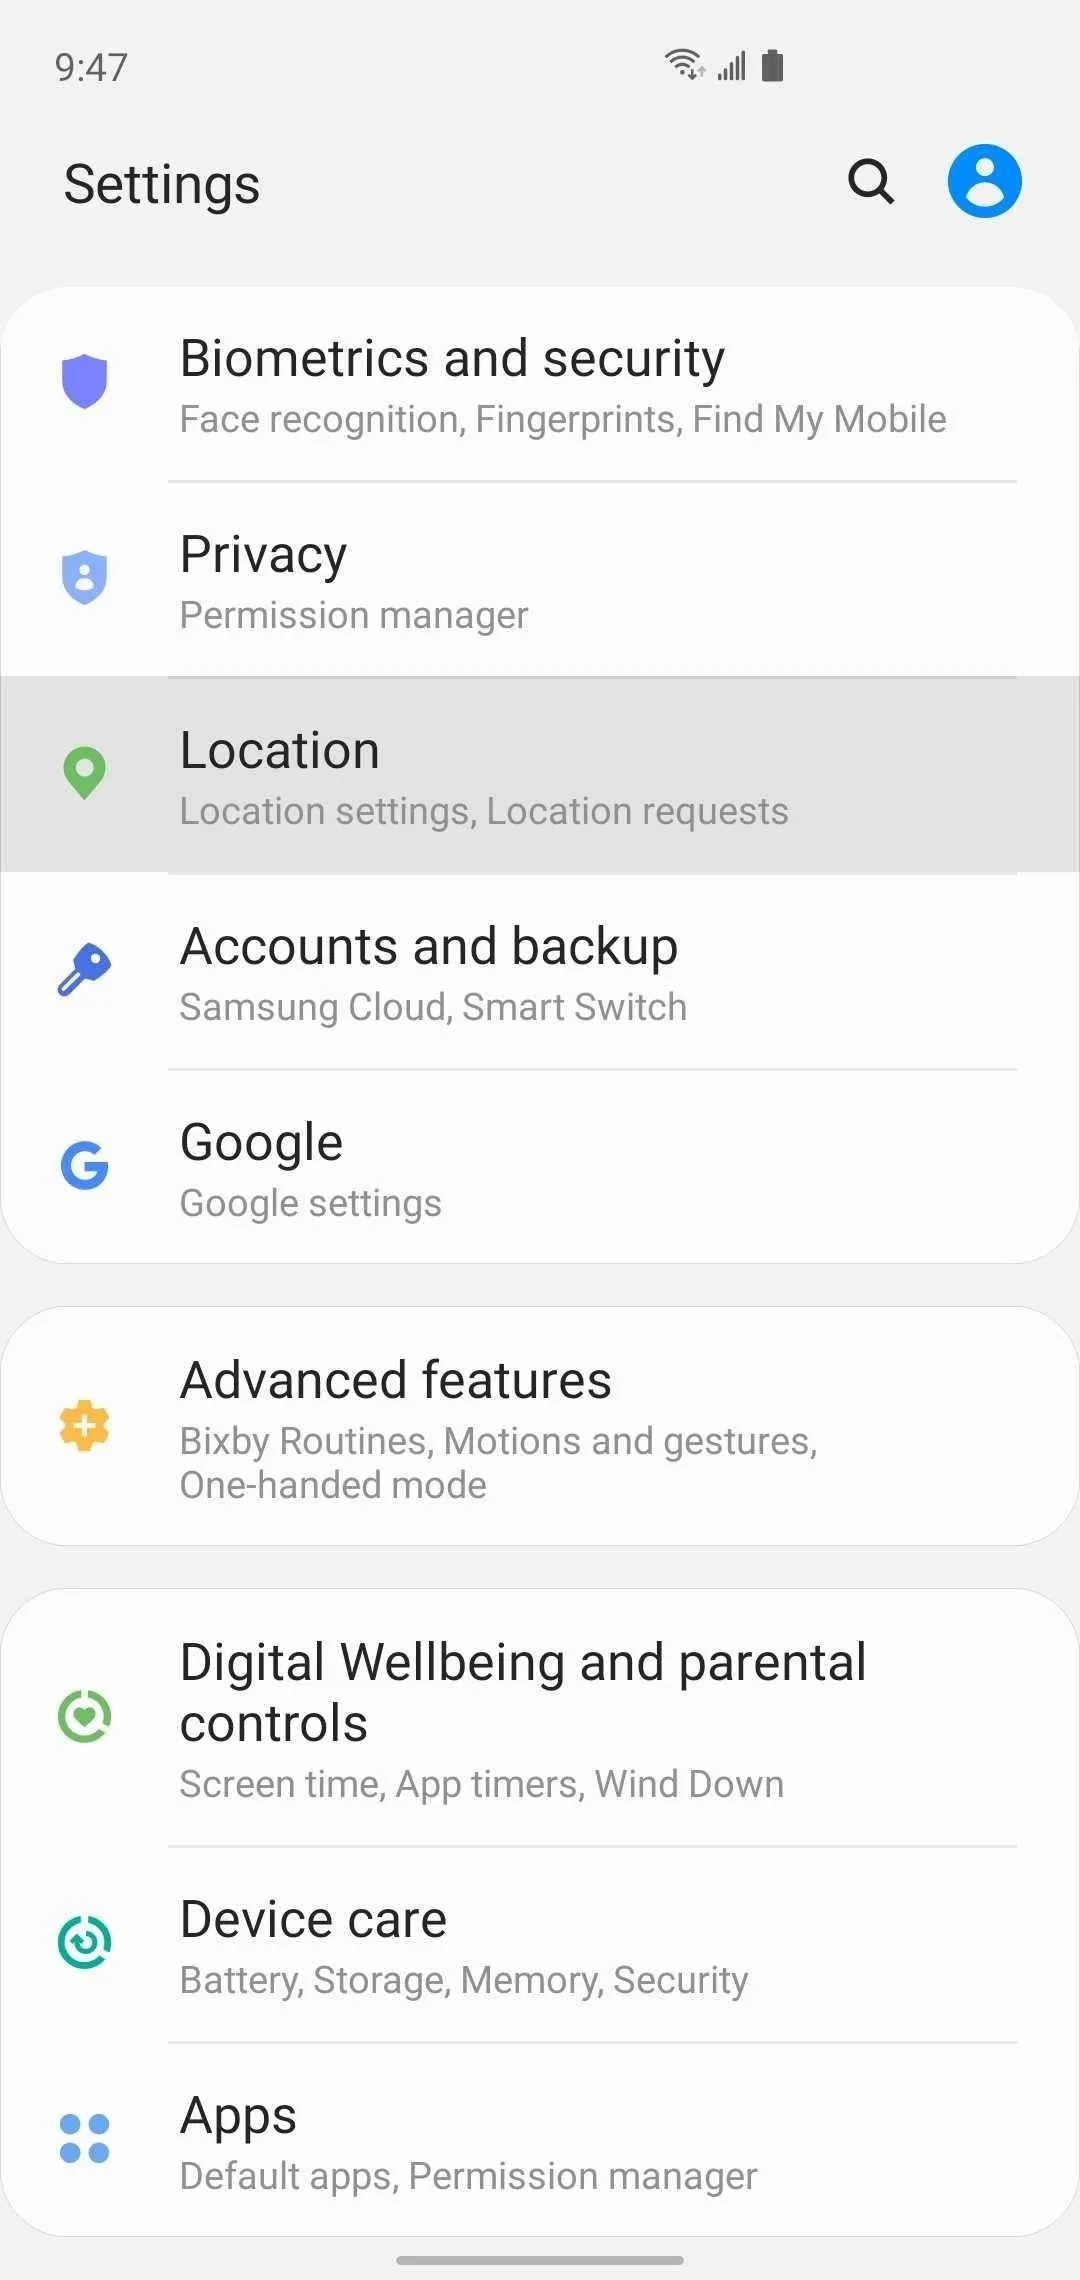
To disable location history, open Settings, then navigate to either "Privacy" or "Location," and select "Google Location History." From there, tap on the toggle in center of the screen, and hit "Pause" twice on the confirmation page to wrap things up. Keep in mind that disabling Google Location History will also turn off Google Location Sharing.
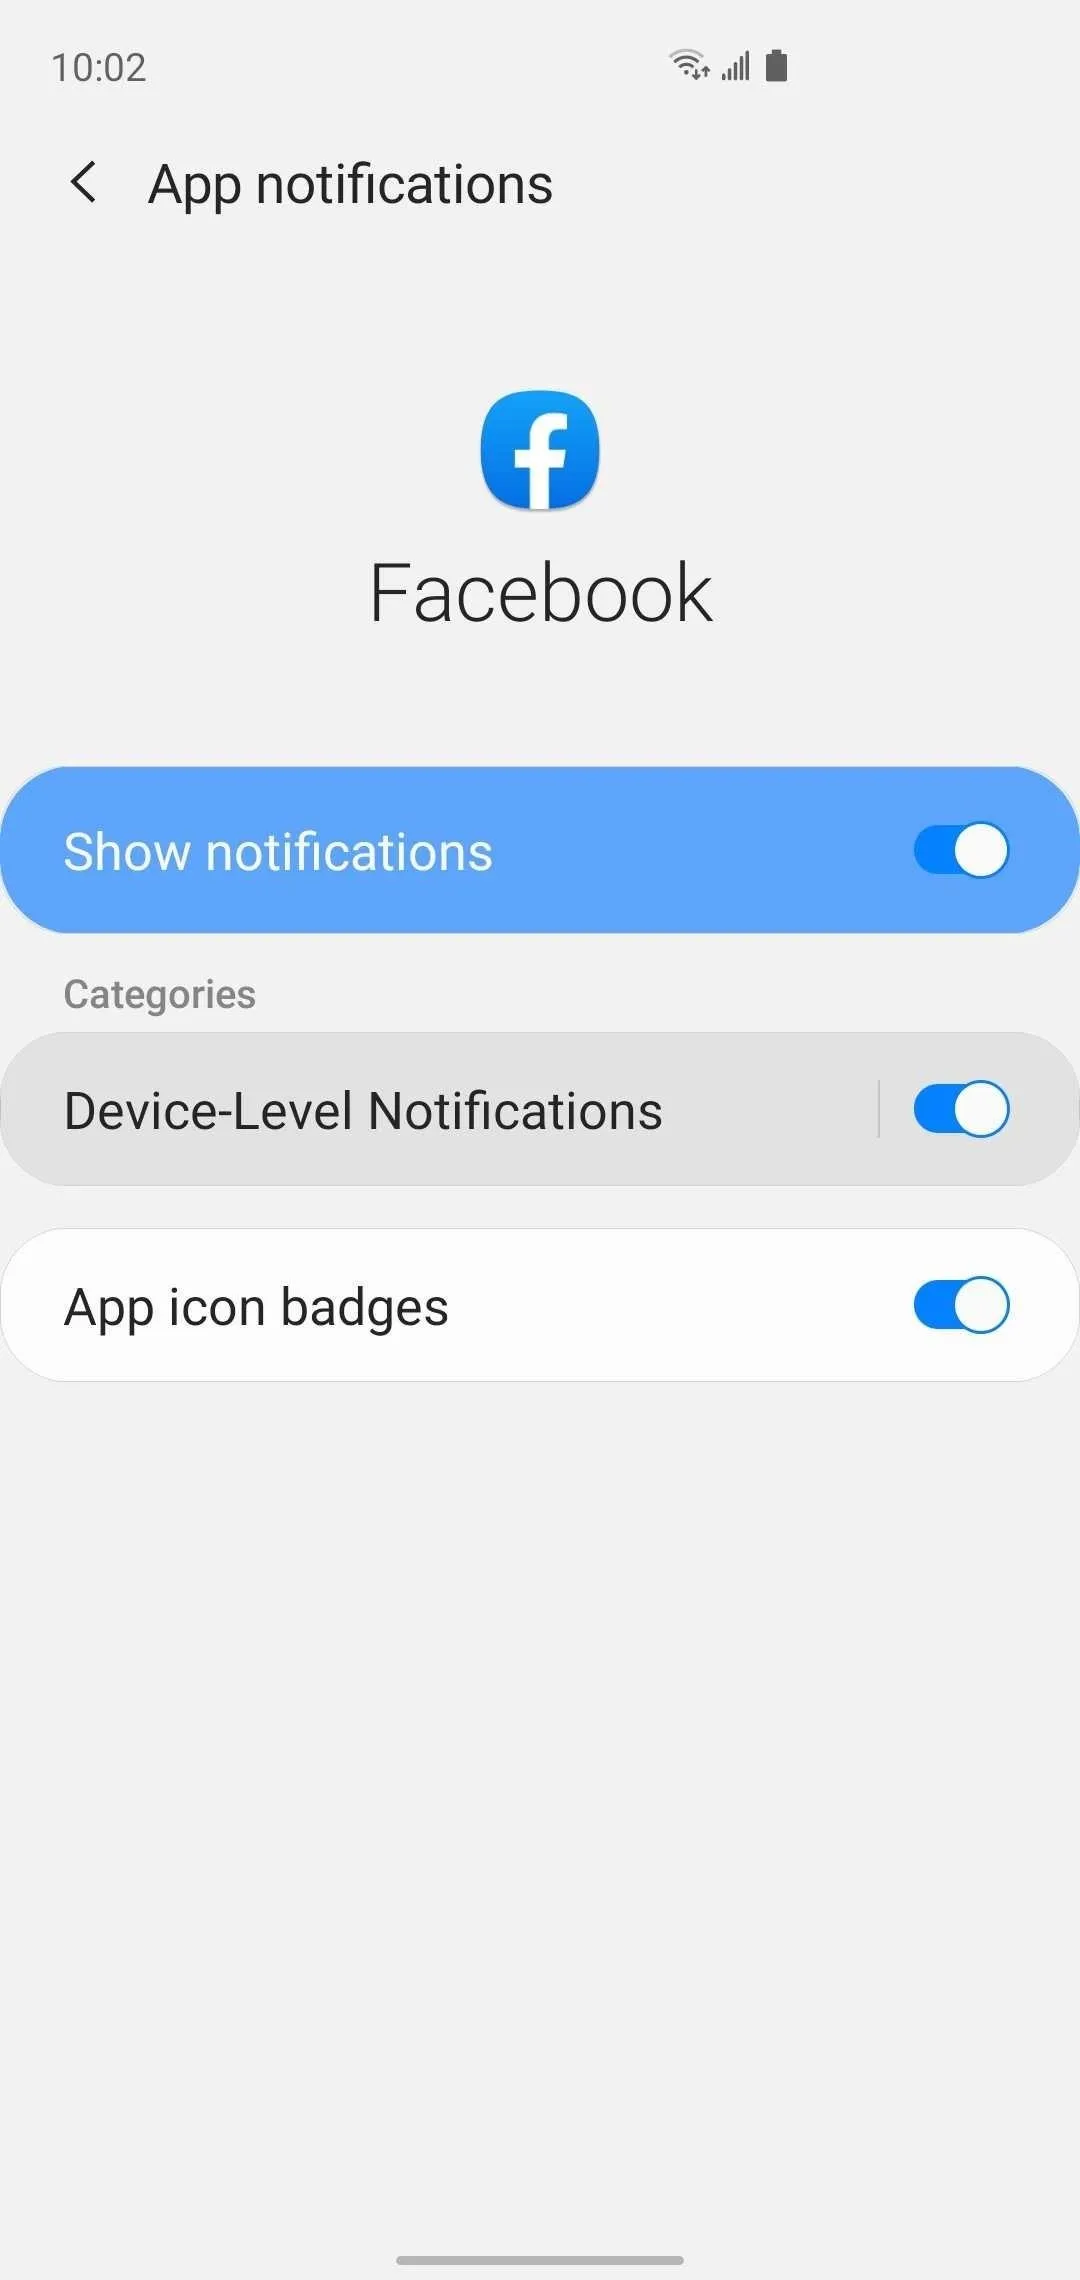
2. App Notifications
Having important notifications like incoming messages, emails, and calendars in full view can have some serious repercussions is someone happens to come across them. If you want to keep this potential disaster from happening, you'll need to get into the "Notifications" menu within Settings and tap on the toggle next to each app you wish to keep private to disable alerts.
Additionally, some apps give you the option to receive notifications silently. To access this, you'll need to get into the app's notification settings by tapping on its name. Once inside, hit specific alert elements for the app under the "Categories" section, then select "Silent" on the following page, and toggle "Minimize notifications" on to keep your alerts even more discreet.
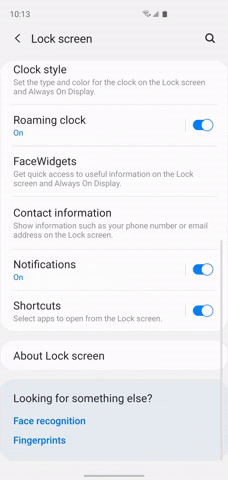
3. Lock Screen Notifications
Notifications that appear on your S10's lock screen can also be problematic privacy-wise. To access this vital setting, go to Settings –> Lock screen –> Notifications.
From there, you have the ability to disable lock screen notifications altogether by tapping the toggle at the top of the screen to turn the feature off. If you still want to receive alerts, but in a more secure manner, you can either hide the content of the alert by enabling the "Hide content" toggle, or select "Icons only" from the "View styles" menu.
4. Notification Access
Some specialized apps need to access to your S10's notifications to function as they should. WhatsRemoved, for example, saves WhatsApp notifications as they arrive to give you the ability to view them in case the sender deletes them. Obviously, a majority of apps won't need this level of access to run normally.
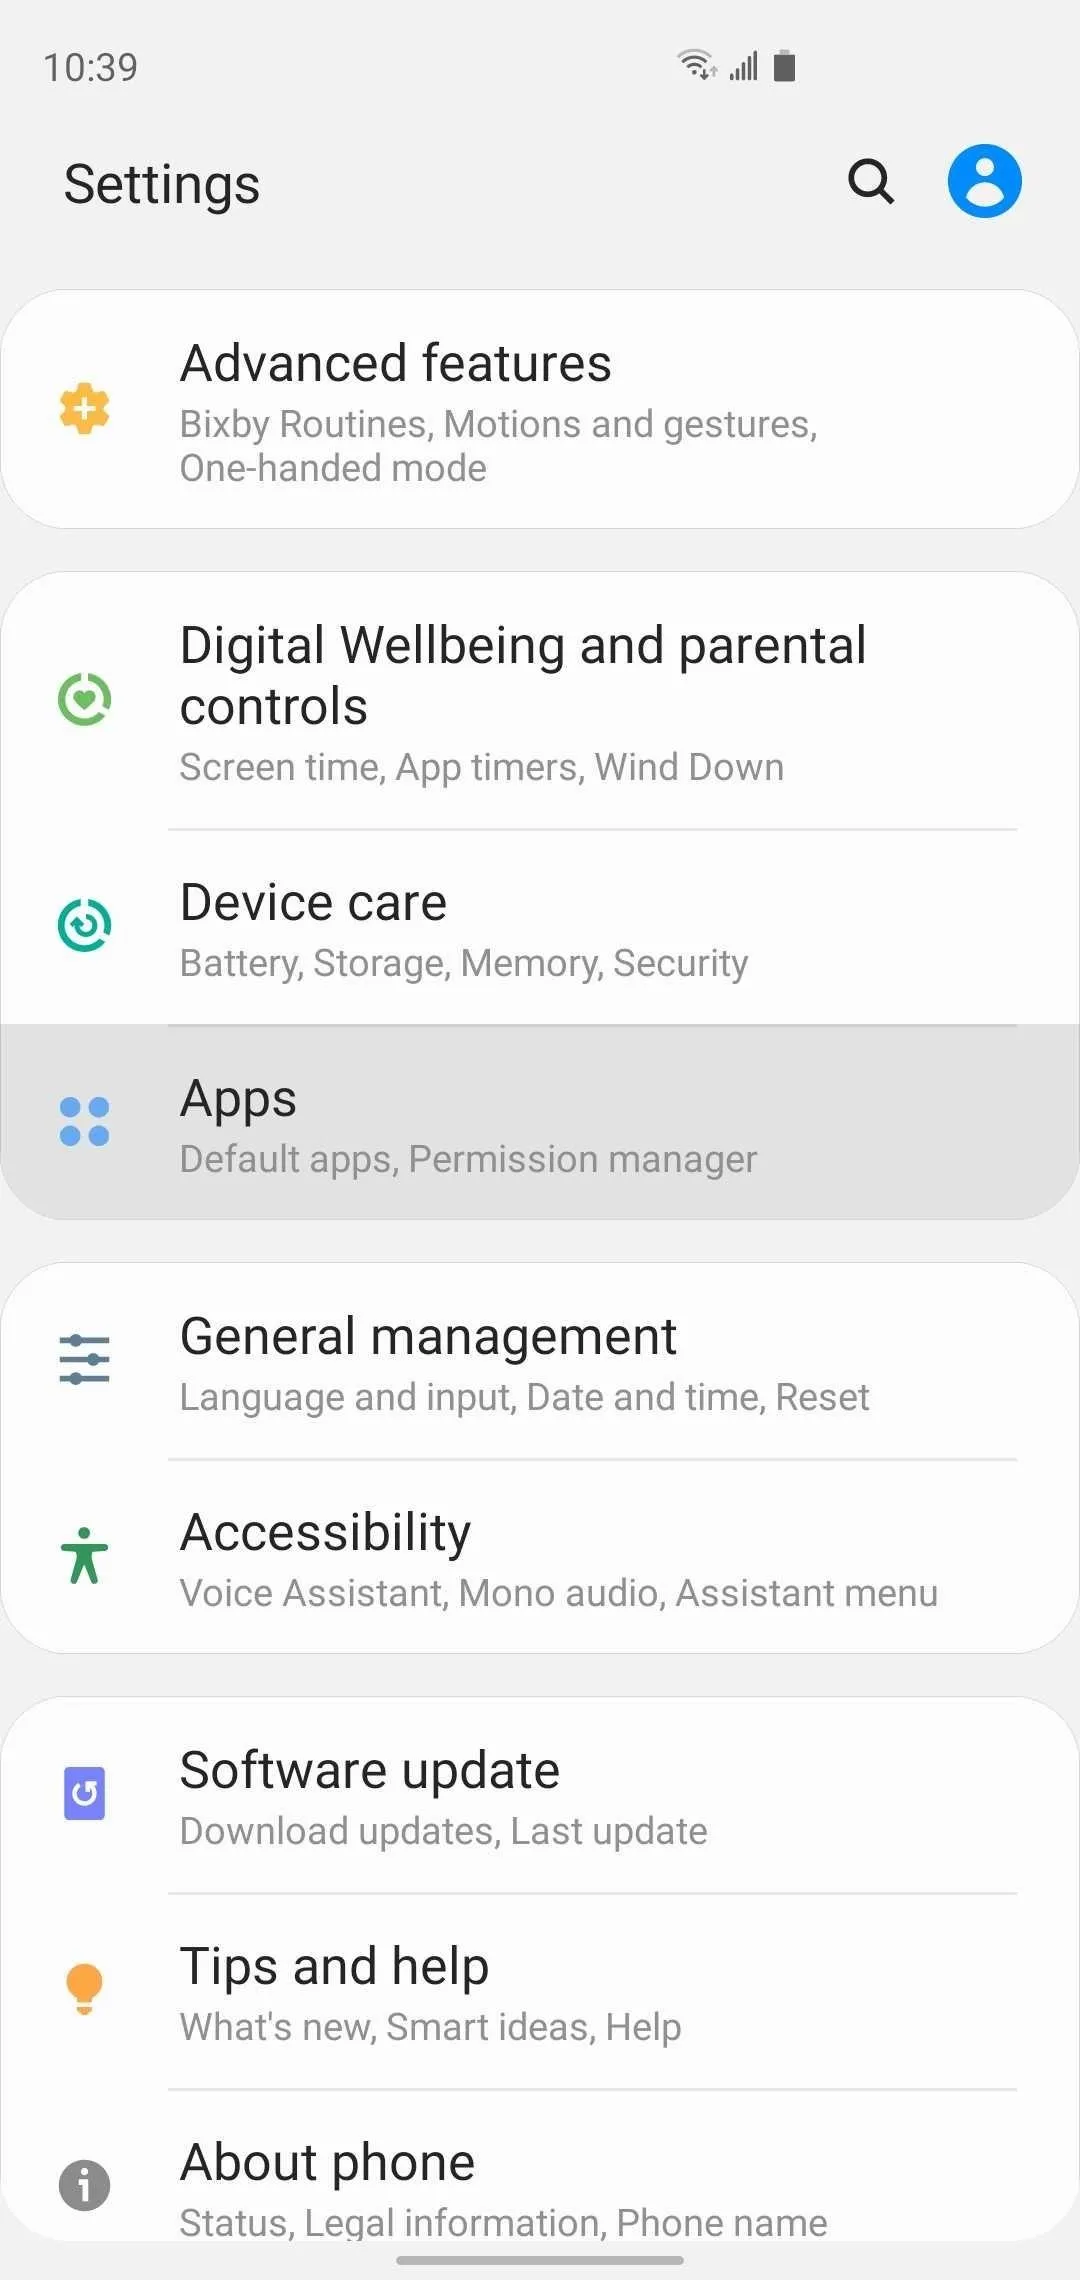
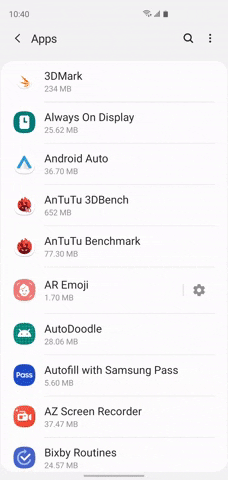
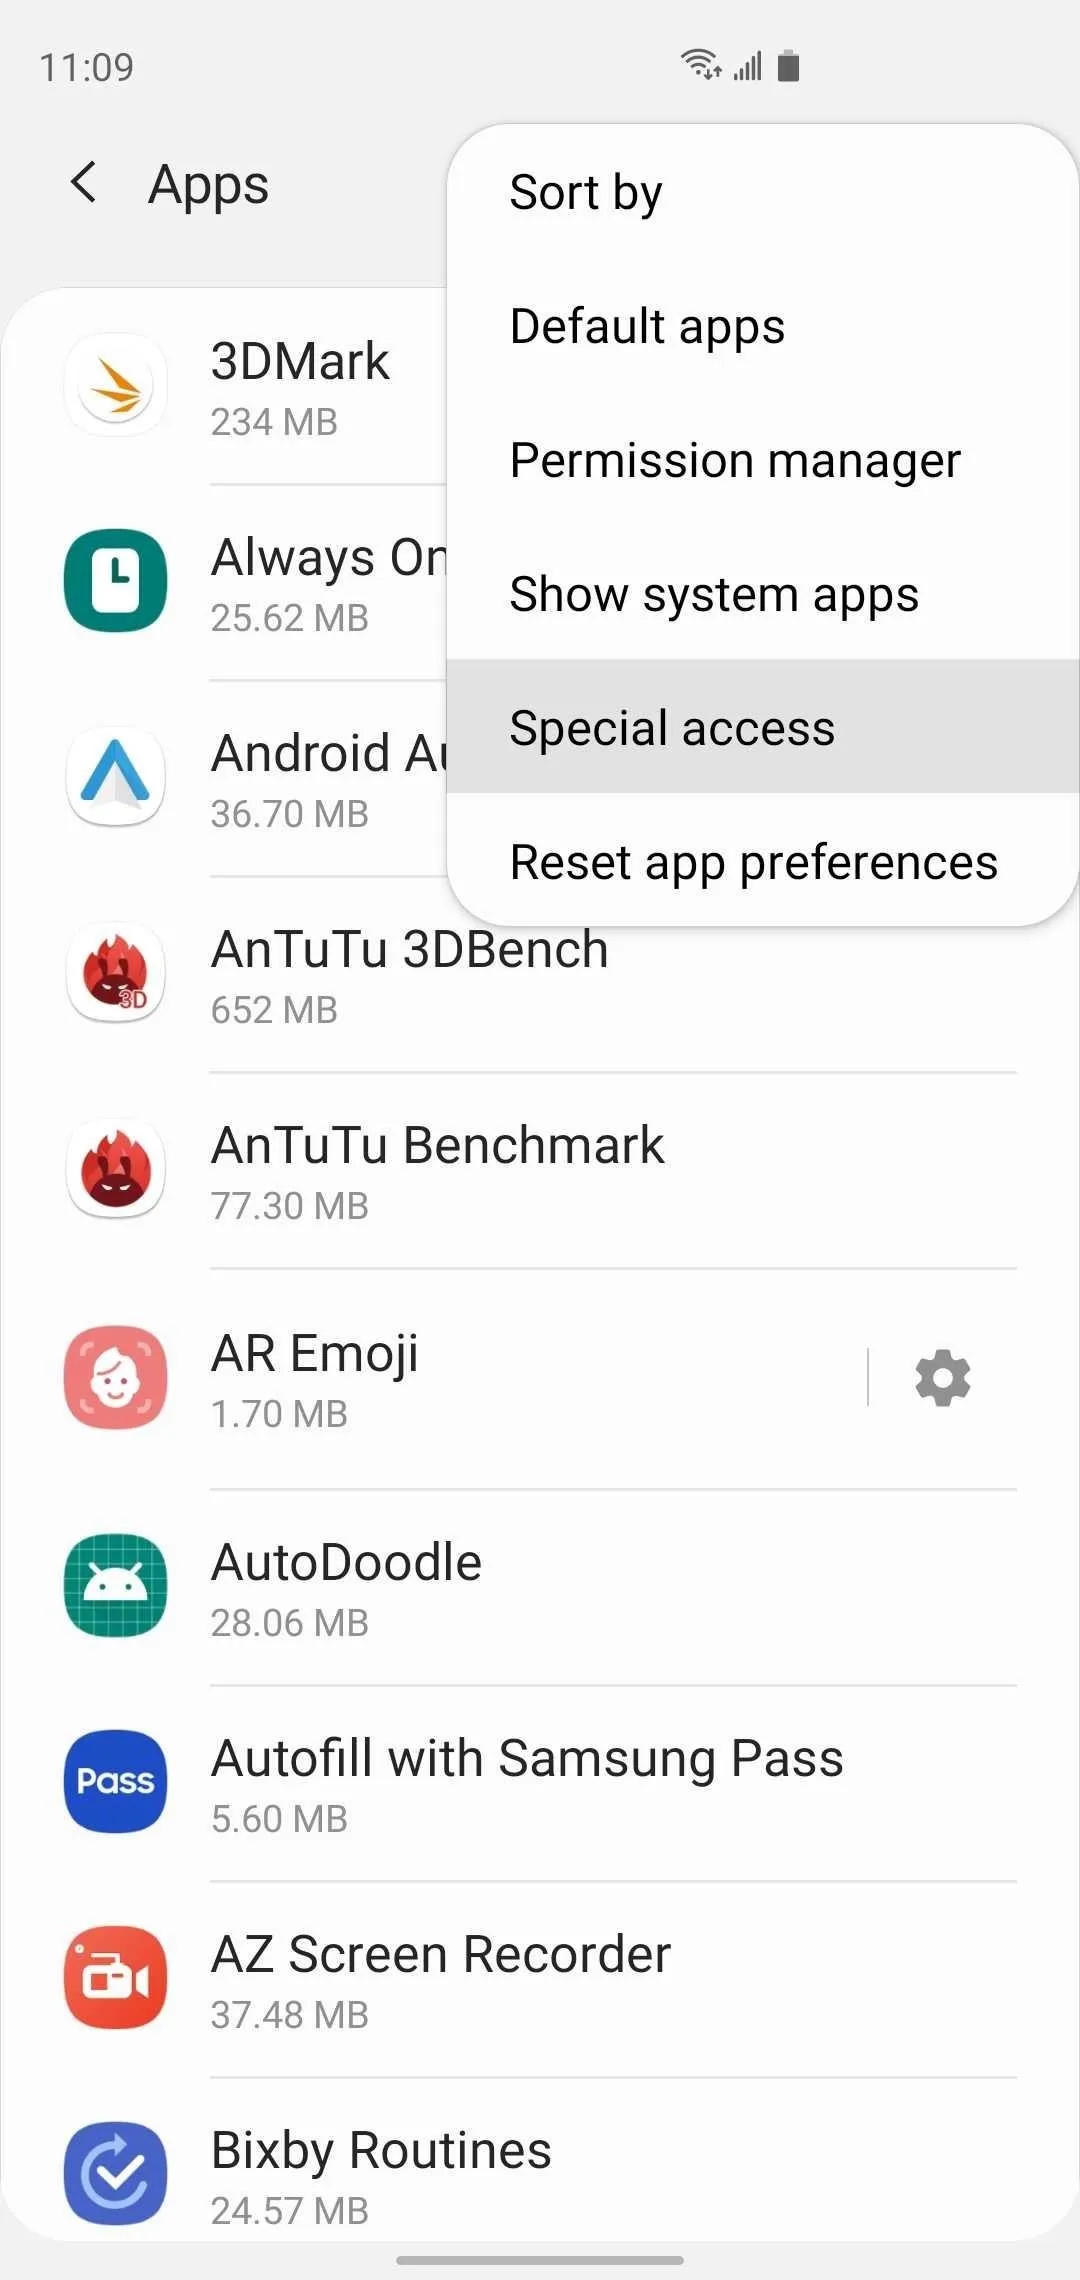
So, head to Settings –> Apps –> Menu button –> Special Access –> Notification access to get into this setting. Once inside, simply tap on the toggles to turn off the feature for any apps that don't need access to your phone's notifications.
5. Camera, Mic & Location
When you first open an app, you're often prompted to let it access important functions like your S10's microphones and cameras. If you breezed through the initial setup, there's a fair chance that you may have granted the app permission to access sensitive information it can otherwise do without.
Fortunately, you can always revisit these options via Settings –> Privacy –> Permission manager, and revoke any wayward permissions you may have granted an app. Inside "Permission manager," you'll be able to view a list of all the data that third-party apps can access, with "Camera," "Location," and "Microphone" being the most important ones to keep track of.
6. Device Administrators
A handful of third-party apps can be granted device administrator privileges upon request to gain slightly elevated permissions that can be useful for apps like ad blockers, for example. Sketchy apps, on the other hand, can abuse this high level access to prevent you from uninstalling them.
Granted, this permission needs to be explicitly granted for third-party apps, though it's often easy to overlook. Still, it's a good idea to periodically revisit these settings by heading to Settings –> Apps –> Menu button –> Special access –> Device admin apps, and carefully sorting through the list within "Device admin apps."
From there, tap on any suspect app that may have it enabled, and select "Deactivate" on the following page to revoke administrator privileges. Just be sure to leave "Find My Device" and "Google Pay" alone, as this permission is needed for them to properly run.
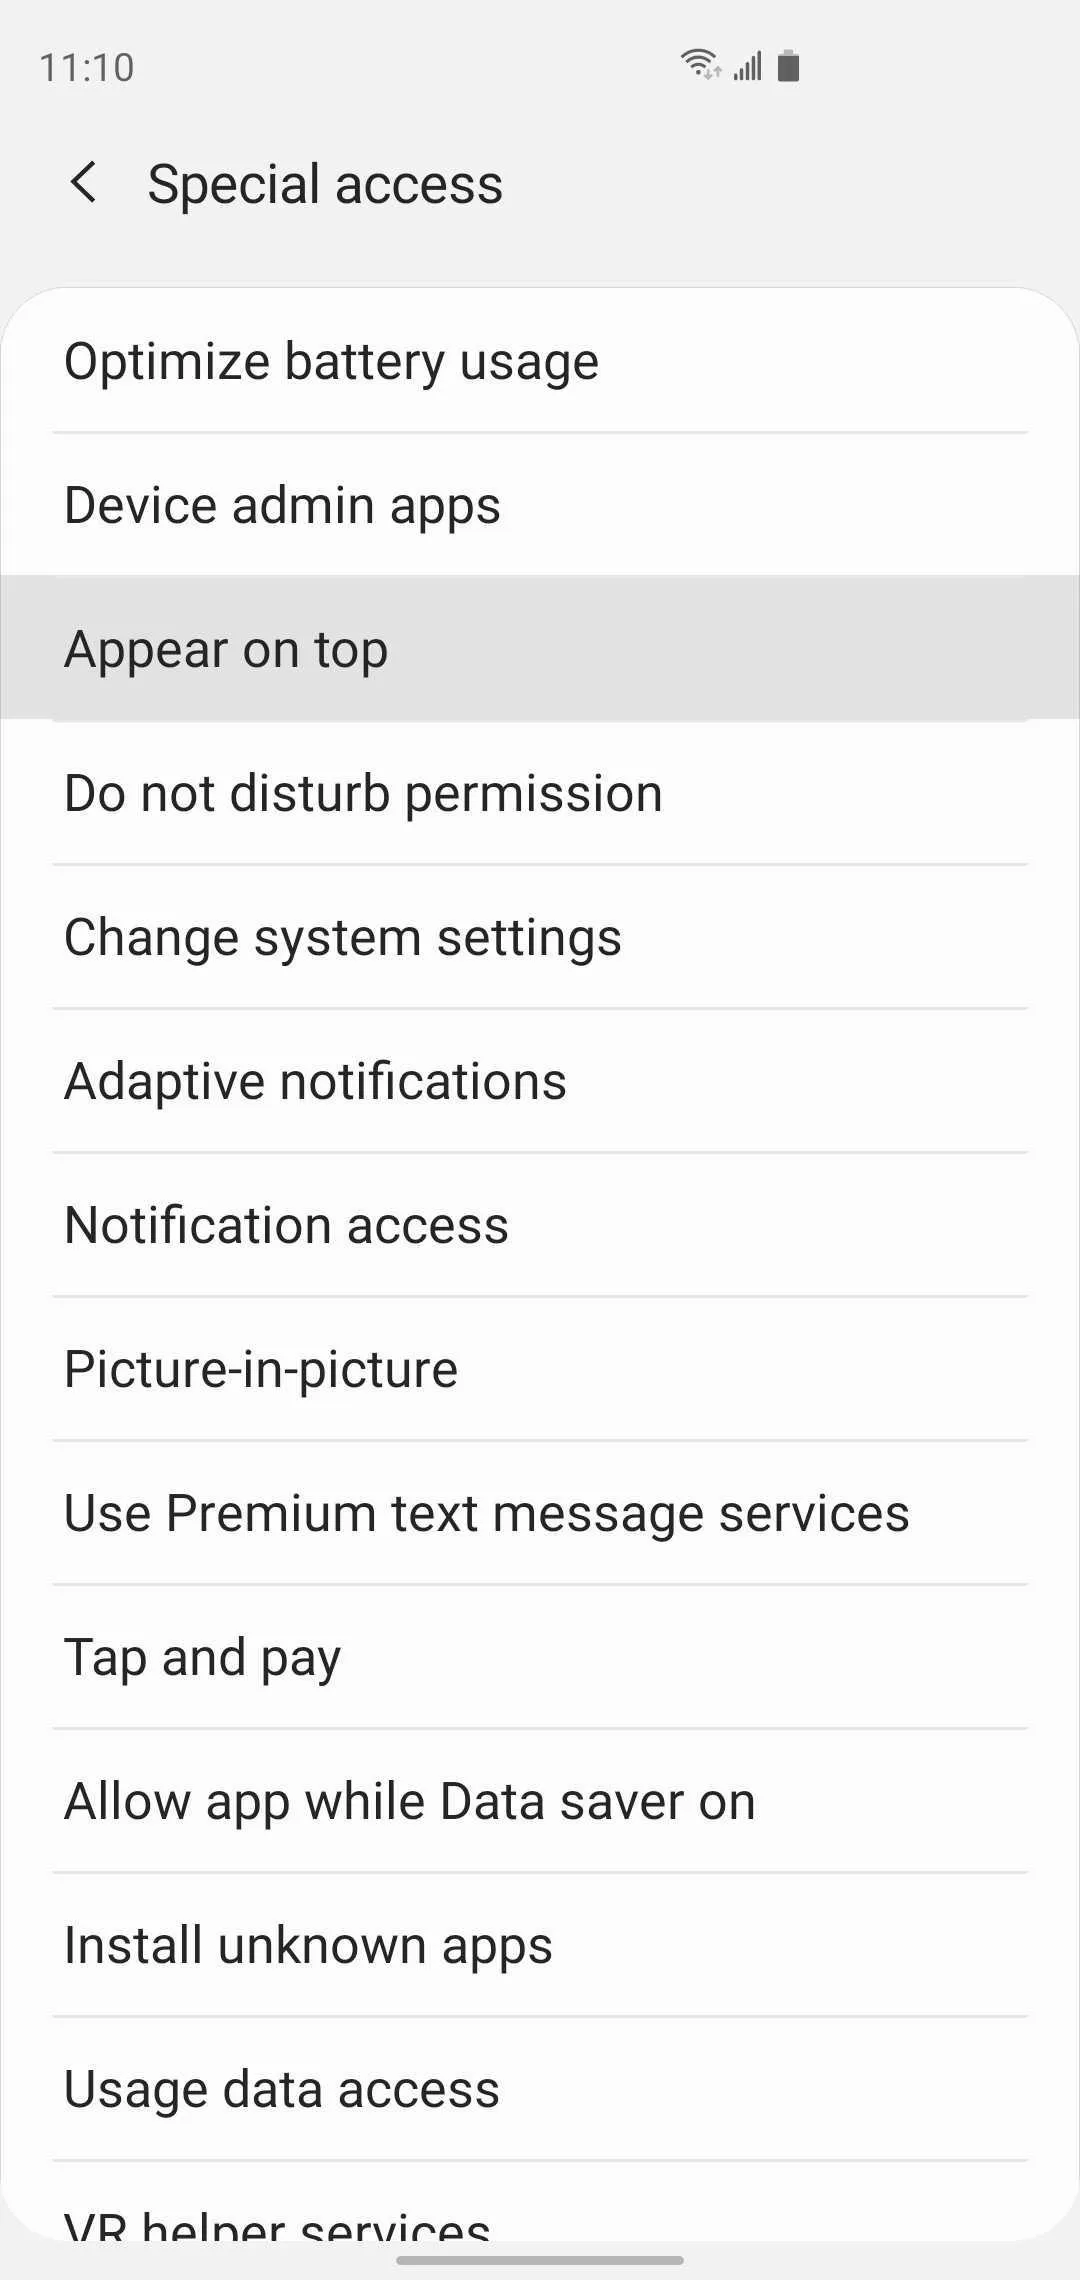
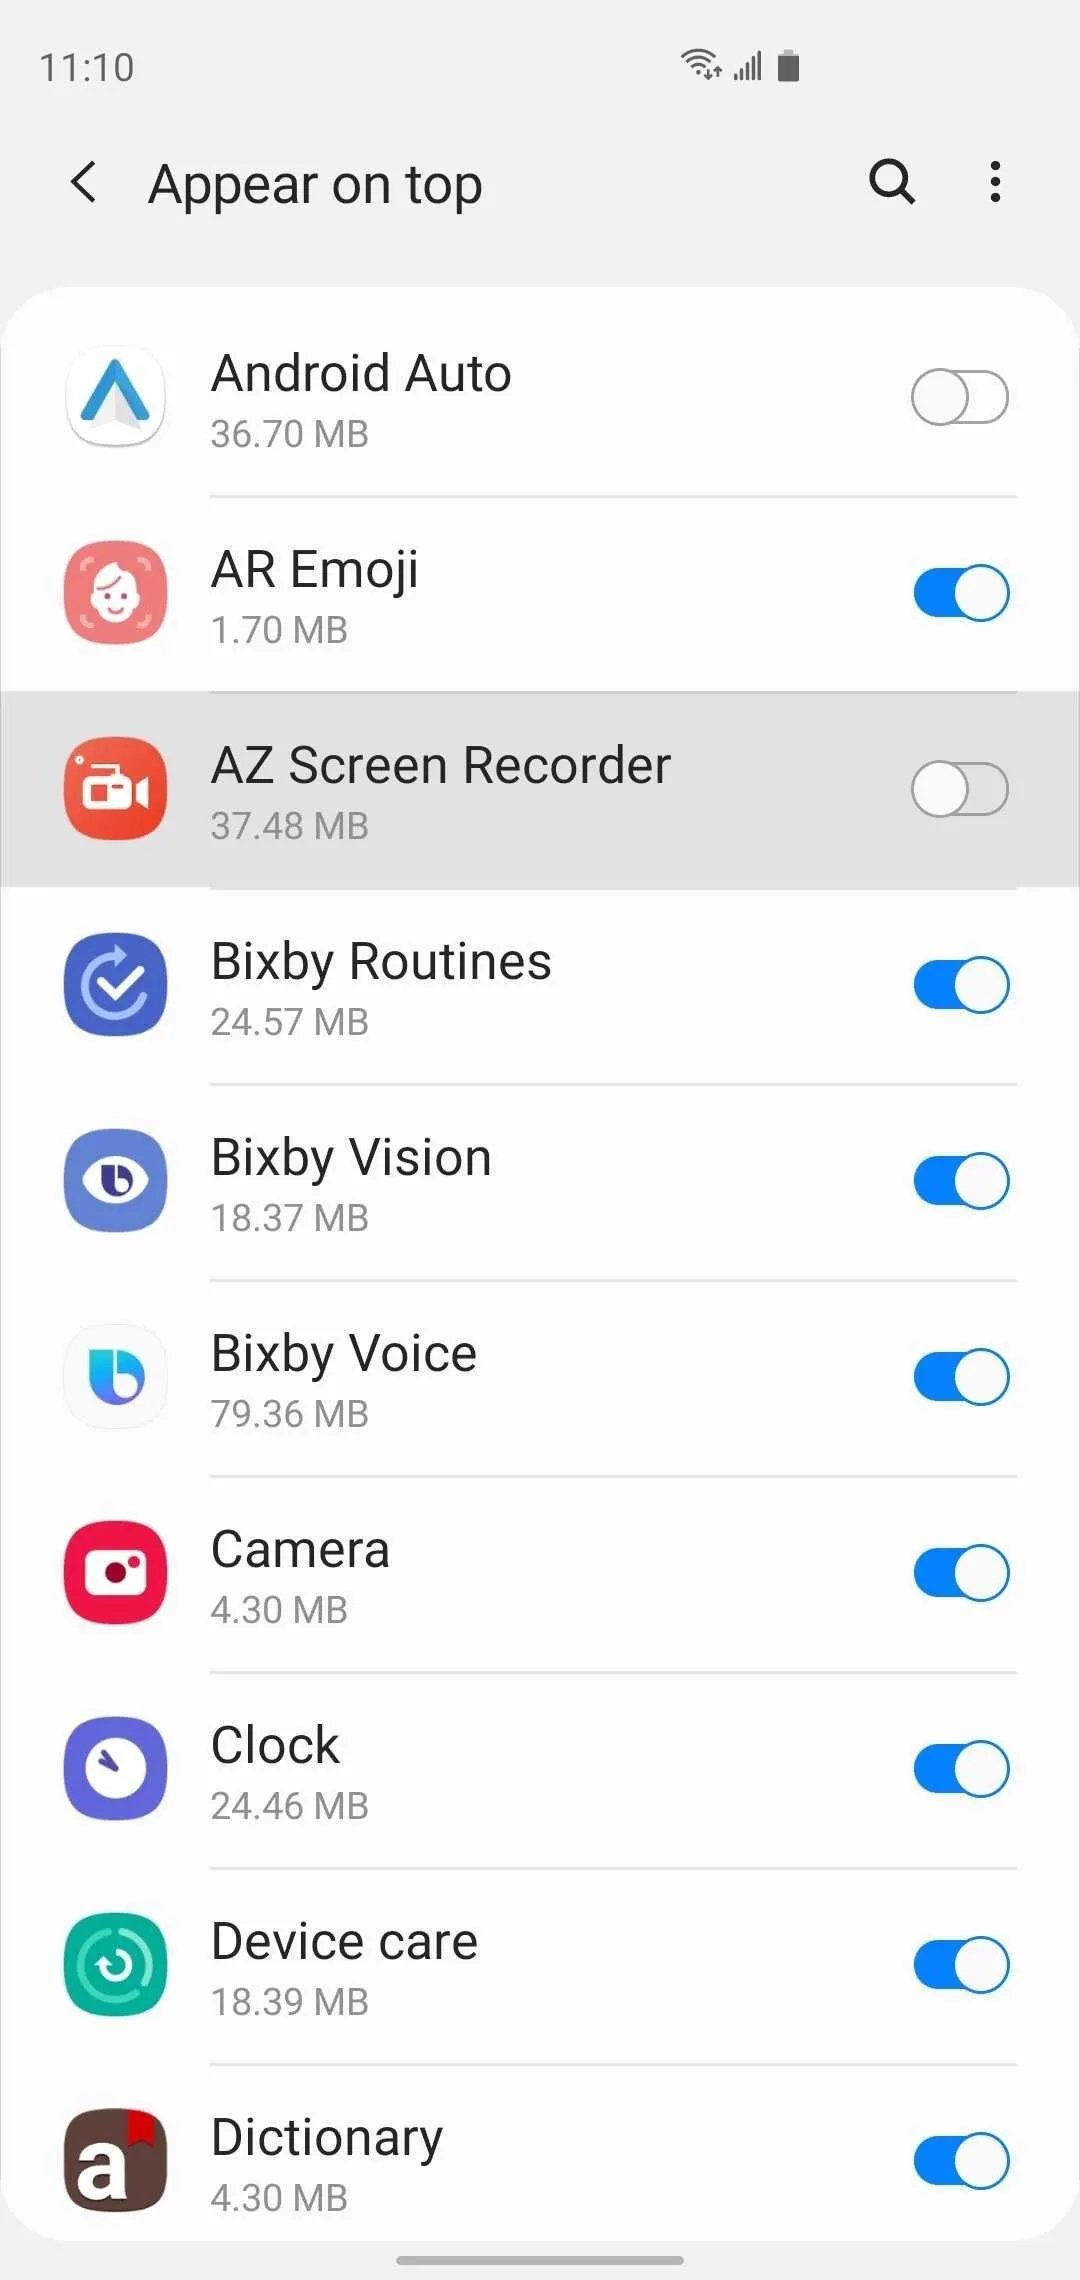
7. Apps That Can Appear on Top
Apps like screen recorders and battery indicators have a nifty overlay feature that applies controls such as record buttons and battery level rings on top of your S10's screen for added convenience. Unfortunately, malicious apps can also take advantage of this feature and employ sneaky means like drawing "Cancel" over the "Install" button on an Android system prompt to fool you into installing malware.
To access this option, go to Settings –> Apps –> Menu button –> Special access –> Appear on top, and keep a close eye out for third-party apps within "Appear on top." From there, simply hit the toggle next to any suspect app to disable the functionality for it.

8. Apps That Can Change System Settings
Voice assistant apps like Bixby are a great example of the ability of some apps to access and make changes to system settings, as they use enhanced permissions to enable or disable settings like GPS at your command. This level of access can have have serious consequences to your privacy and security if granted for a questionable app.
To access, navigate to Settings –> Apps –> Menu button –> Special access –> Change system settings, and examine the list of apps carefully once inside. Look for any third-party app that you think shouldn't have this permission enabled, and tap on the toggle next to it to disable the feature.
9. Usage Data Access
Providing a personalized, streamlined experience is vital for any app to succeed, and because of this, many will ask for permission to monitor data related to your smartphone habits. This information gathering can vary from finding out your carrier, where you're located and the language you've set, to monitoring apps you use and how often you interact with them.
If you find this feature too invasive, head to Settings –> Apps –> Menu button –> Special access –> Usage data access. From there, sift through the list of apps and turn the feature off for any third-party app by selecting it and switching the toggle off on the following page. Just don't go overboard and disable it for native apps and services like Game Launcher, Samsung Pay, and Google Play Services — they need the feature to work properly.
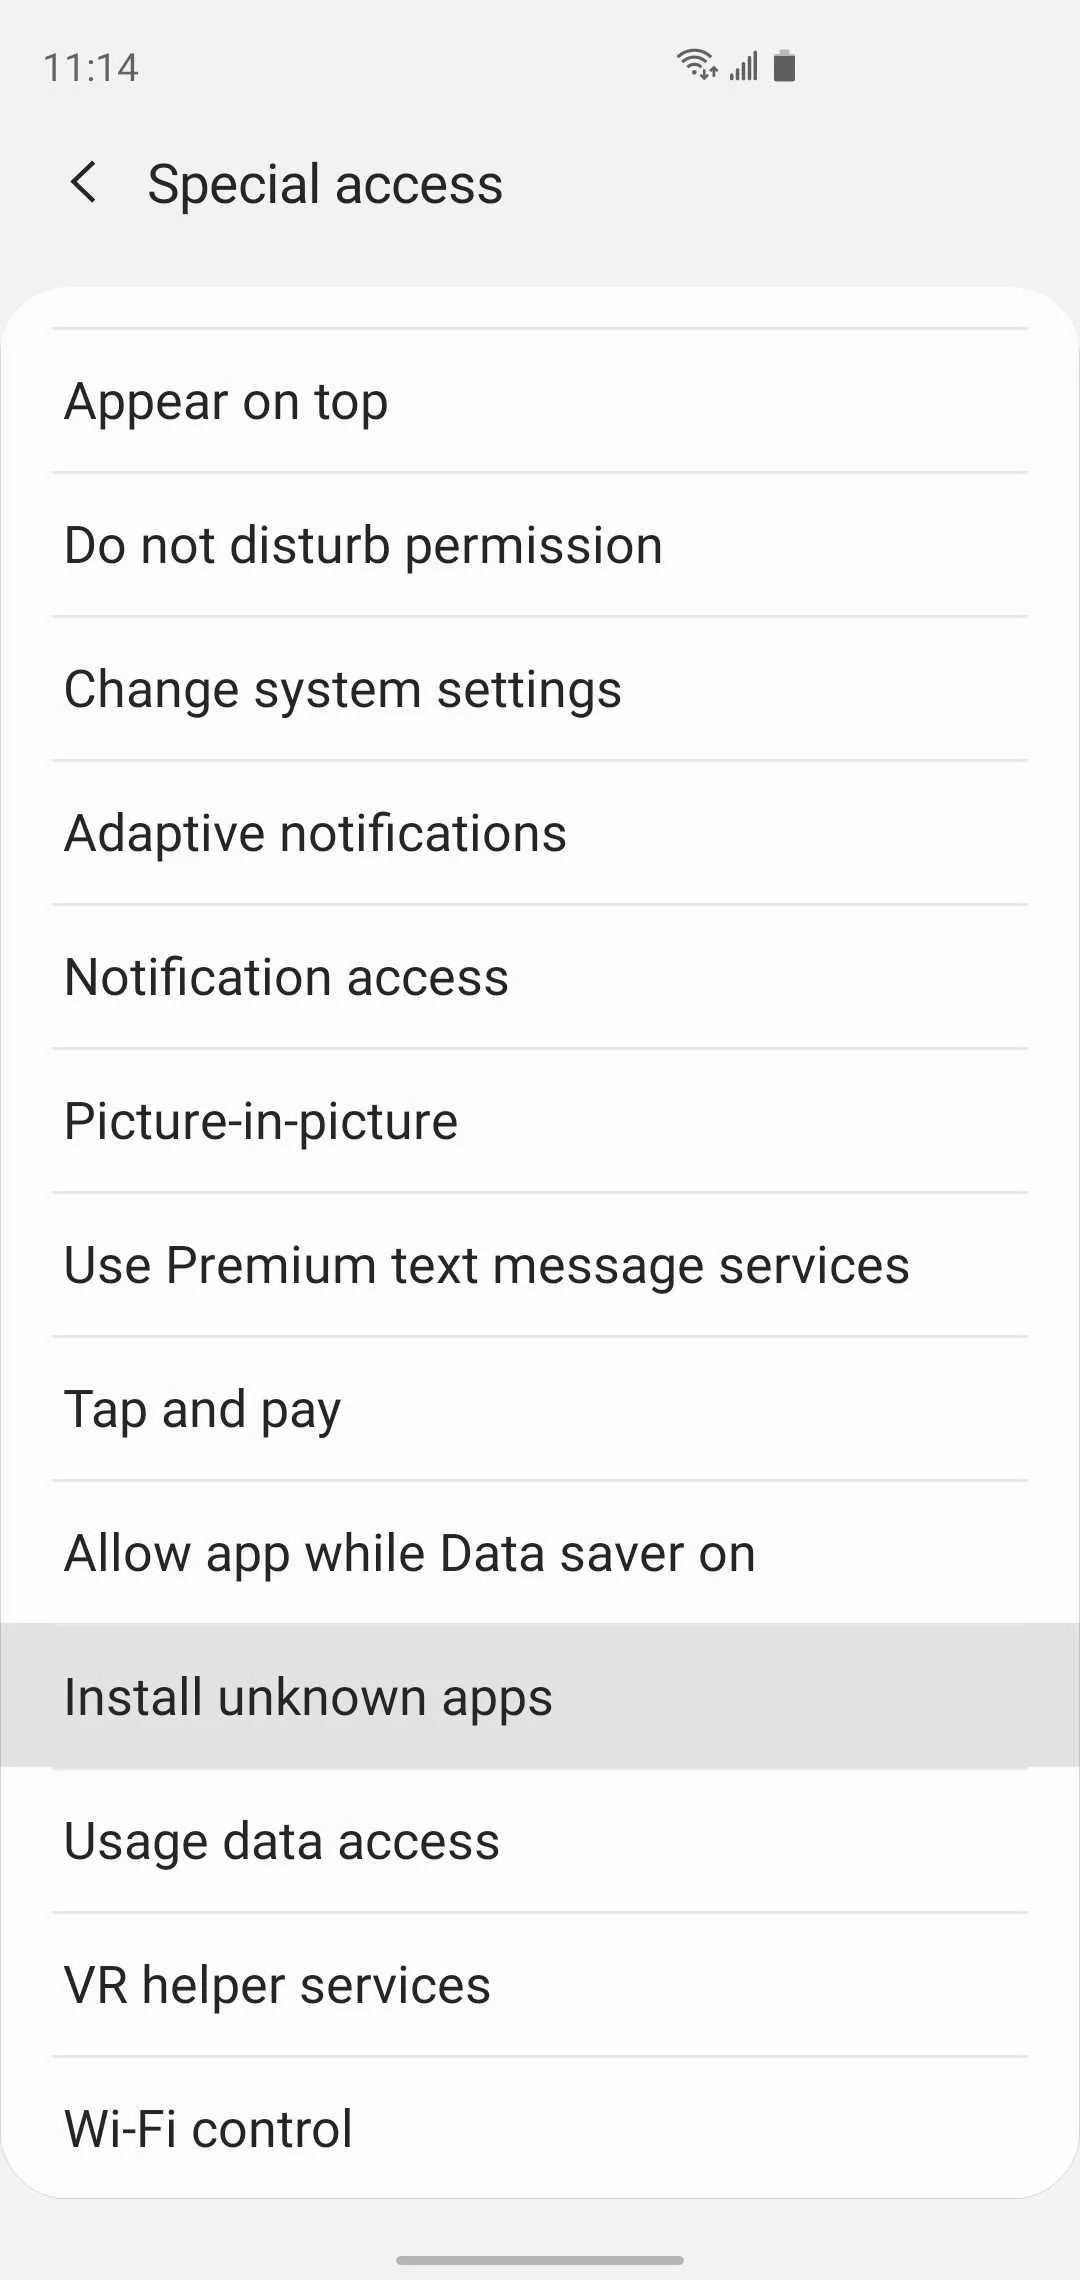
10. Install Unknown Apps
As tempting as sideloading may be, installing apps from sites outside of Google Play or the Galaxy Store can leave your S10 vulnerable to Android malware. However, there's now a permission that has to be granted to an app before you can use it to download any other app.
While it makes sense for internet browsing apps to have permission to install apps from unknown sources, the same can't be said for random apps that provide a different service like social media or gaming. As such, you should periodically check for which apps have this permission granted.
Go to Settings –> Apps –> Menu button –> Special access –> Install unknown apps to access this setting, then go through the list to view which apps have this permission. Disable the toggle next to "Allow from this source" for any apps that don't need this functionality.

11. Face Recognition
Samsung has done away with the Iris Scanner on the S10, though you can still set Face Recognition as an option alongside other security features like the fingerprint sensor. Unfortunately, the feature relies solely on the front camera and is less secure than other facial recognition systems like Apple's Face ID. This may make it easier to fool with photos of your face.
That said, simply head to Settings –> Biometrics and security –> Face recognition –> Face unlock to disable the feature. If you want to keep using it, however, there are options within the "Face recognition" page that you can set to make it more secure. For instance, enabling "Stay on Lock screen" gives you an added layer of security by requiring you to swipe up to unlock your S10 after your face is recognized to keep unwanted access to a minimum.
12. Smart Lock
"Smart Lock" is one popular feature that keeps your S10 unlocked for instant access whenever you're in a trusted location or using a specific paired device. Because this feature essentially keeps your phone in an unlocked state, however, just about anyone can access your device in these "trusted" environments and comb through your private information any time you leave it unattended.
As such, you may want to disable Smart Lock by heading to Settings–> Lock Screen –> Smart Lock to maximize your privacy and security. Inside the "Smart Lock" page, turn off the setting for "Trusted devices" by deleting any devices shown. You should also consider disabling "On-body detection," "Trusted places," and "Voice Match" to keep your S10 as secure as possible.
13. Google Data Collection
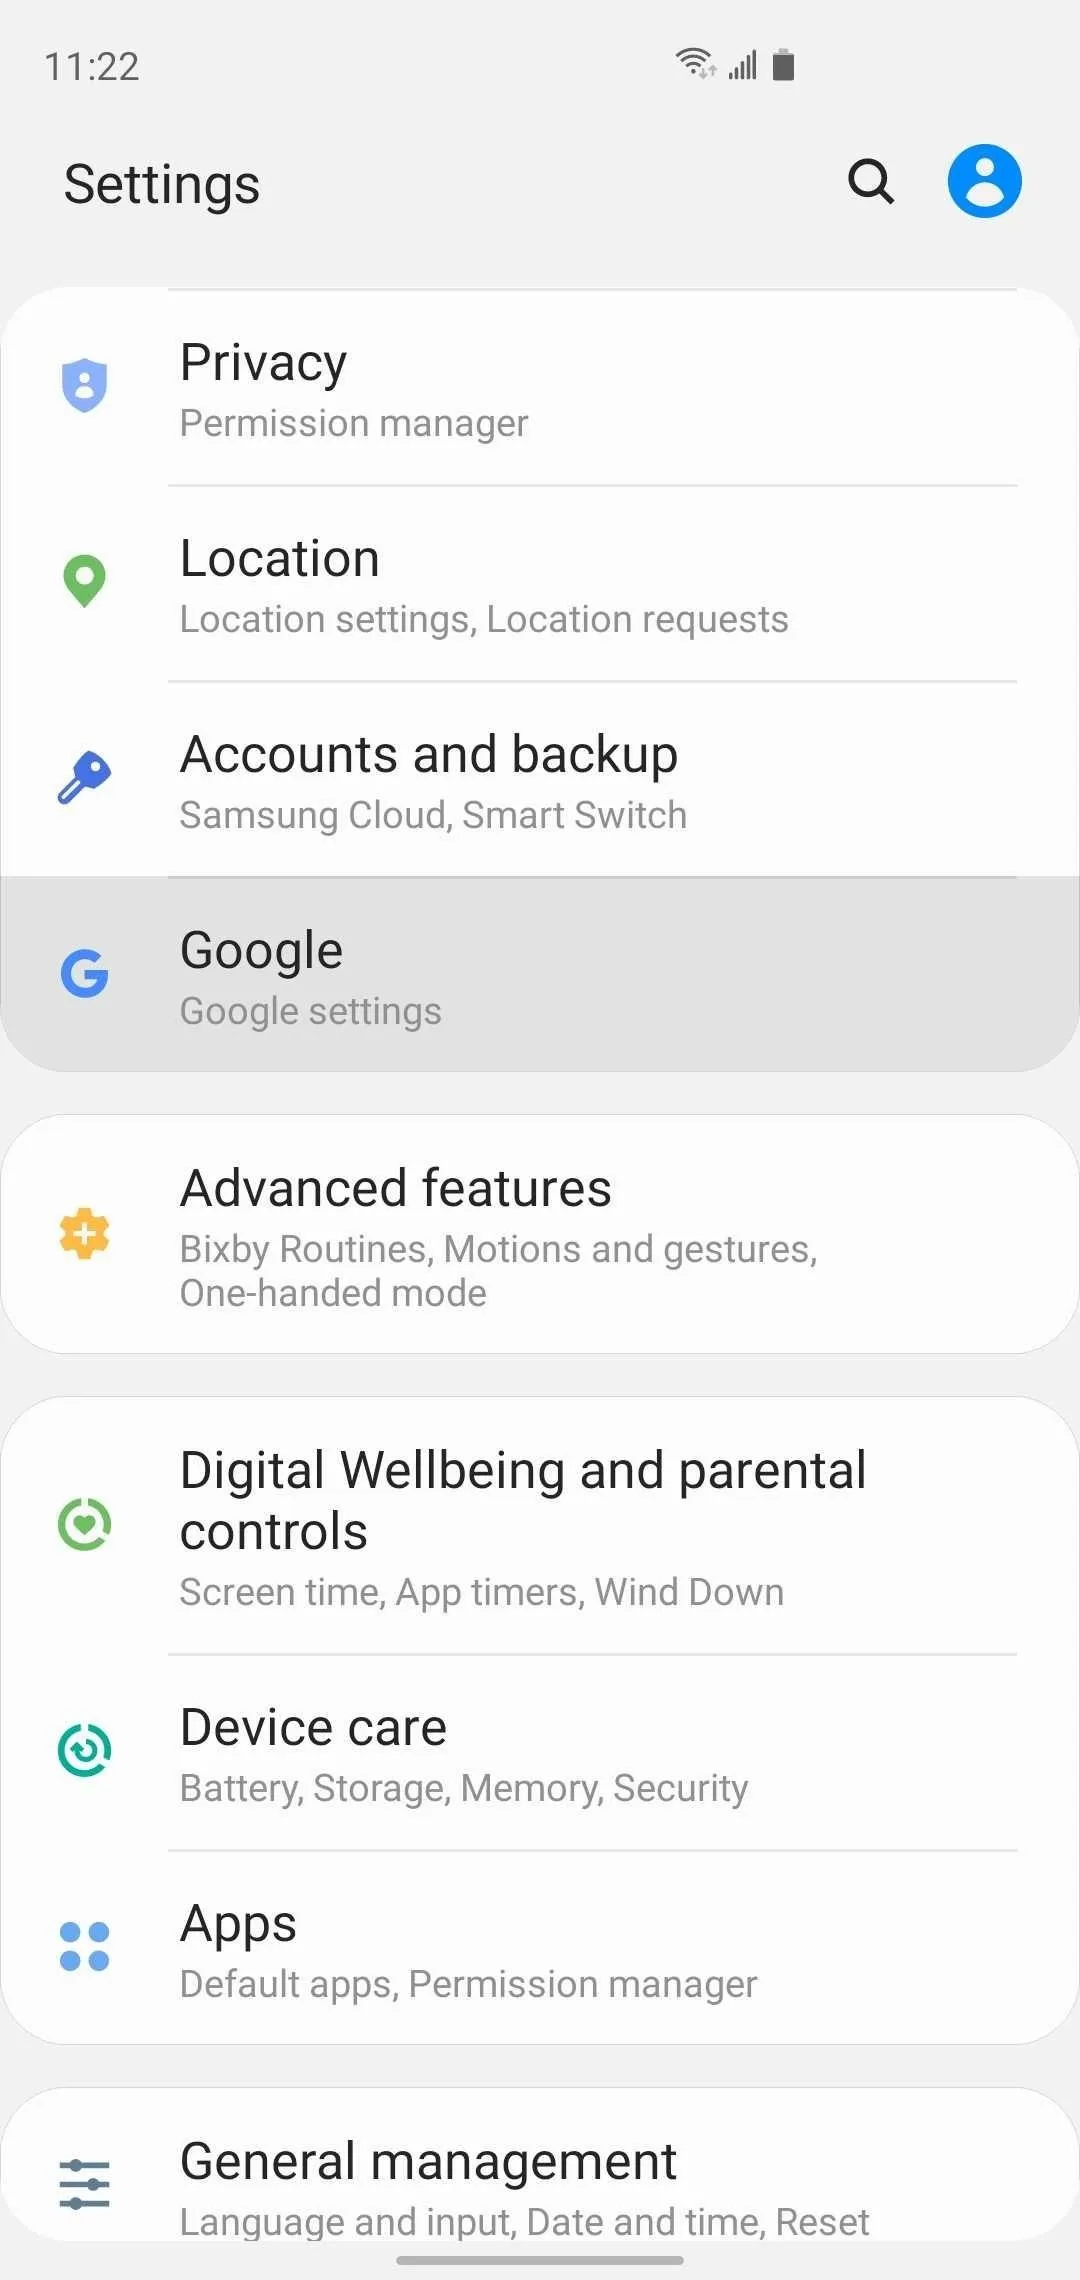
As a Google product at its heart, the Android-based One UI that's running on your S10 comes packed with Google apps and services like Google Assistant and Google Maps that take in data from your device to give you a personalized experience. If you'd rather not share your data with Google, you can easily disable this feature to curtail its data collection for account-based services by going to Settings –> Privacy –> Activity controls.
Within the "Activity controls" page, there are various options you can tweak to minimize data collection."Web & App Activity" is the big one, as it can be disabled to prevent Google from collecting information about sites you visit using its search engine, along with apps you use on your S10.

Beyond that, you can also opt to kill YouTube history and location history to remain as private as possible. Just bear in mind that Google apps that depend on these features (including any Google Home devices you may have) will lose functionality.
14. Ads Personalization
Advertisements account for a significant chunk of Google's total revenues, and the tech giant uses data sourced from your S10 to deliver targeted ads that cater specifically to you. While Google never shares your data with outside parties, "Ads Personalization" can be concerning, as it lets third-party apps access your advertising ID to create a profile centered on you.
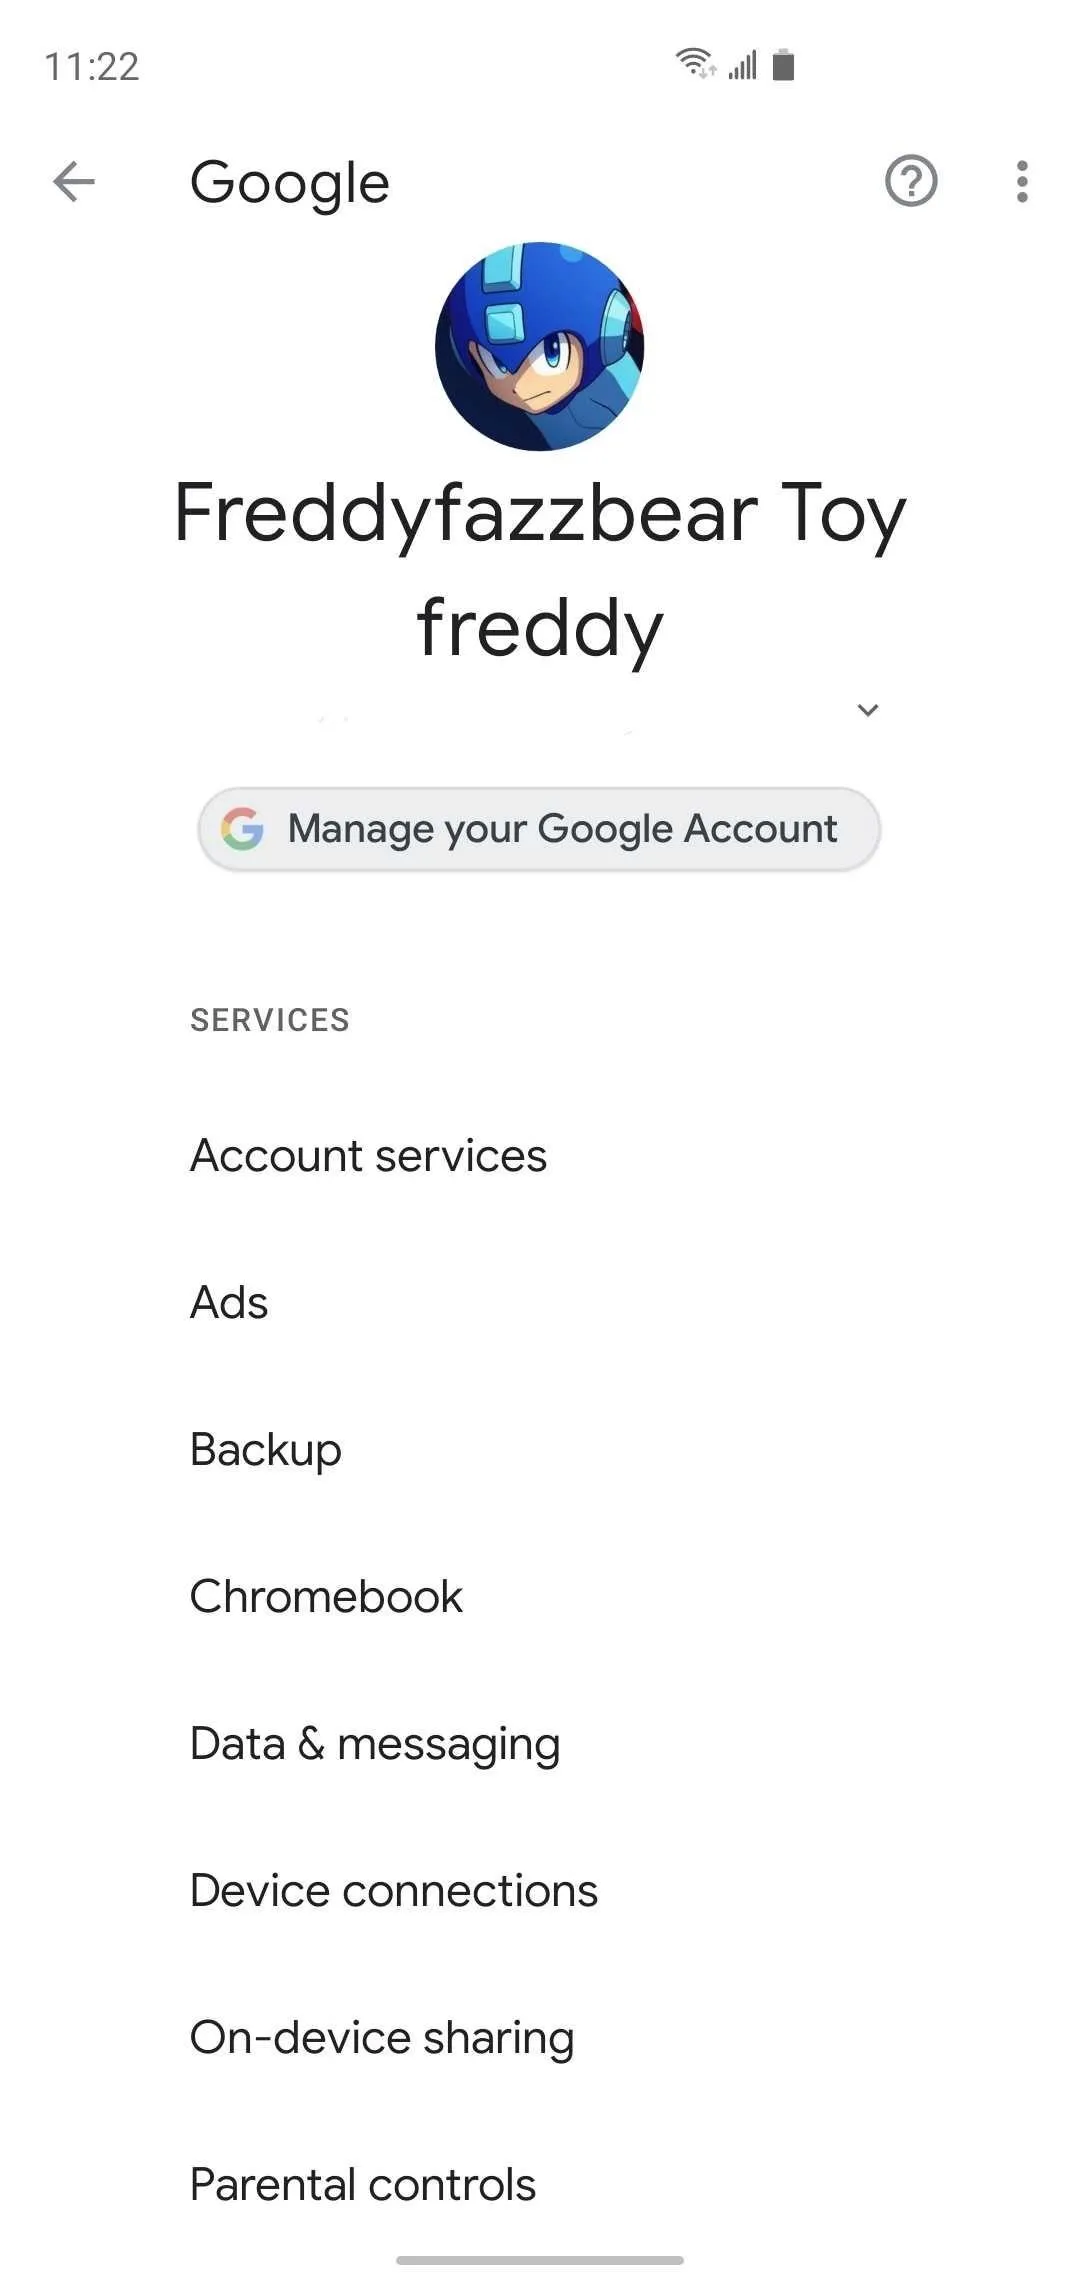
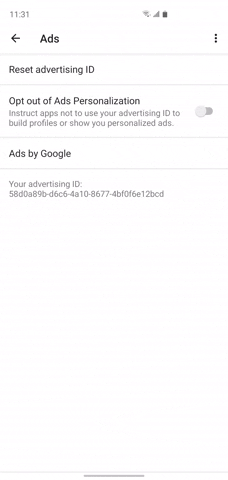
Sadly, there's no way to totally prevent Google from building a personalized ad profile based on your data short of short of installing a custom ROM, but opting out of Ads personalization by navigating to Settings –> Google –> Ads –> Opt out of Ads Personalization will prevent external apps from tracking you to a certain degree. It's also a great idea to tap "Reset advertising ID" within this menu from time to time to erase your ad profile from Google's servers.

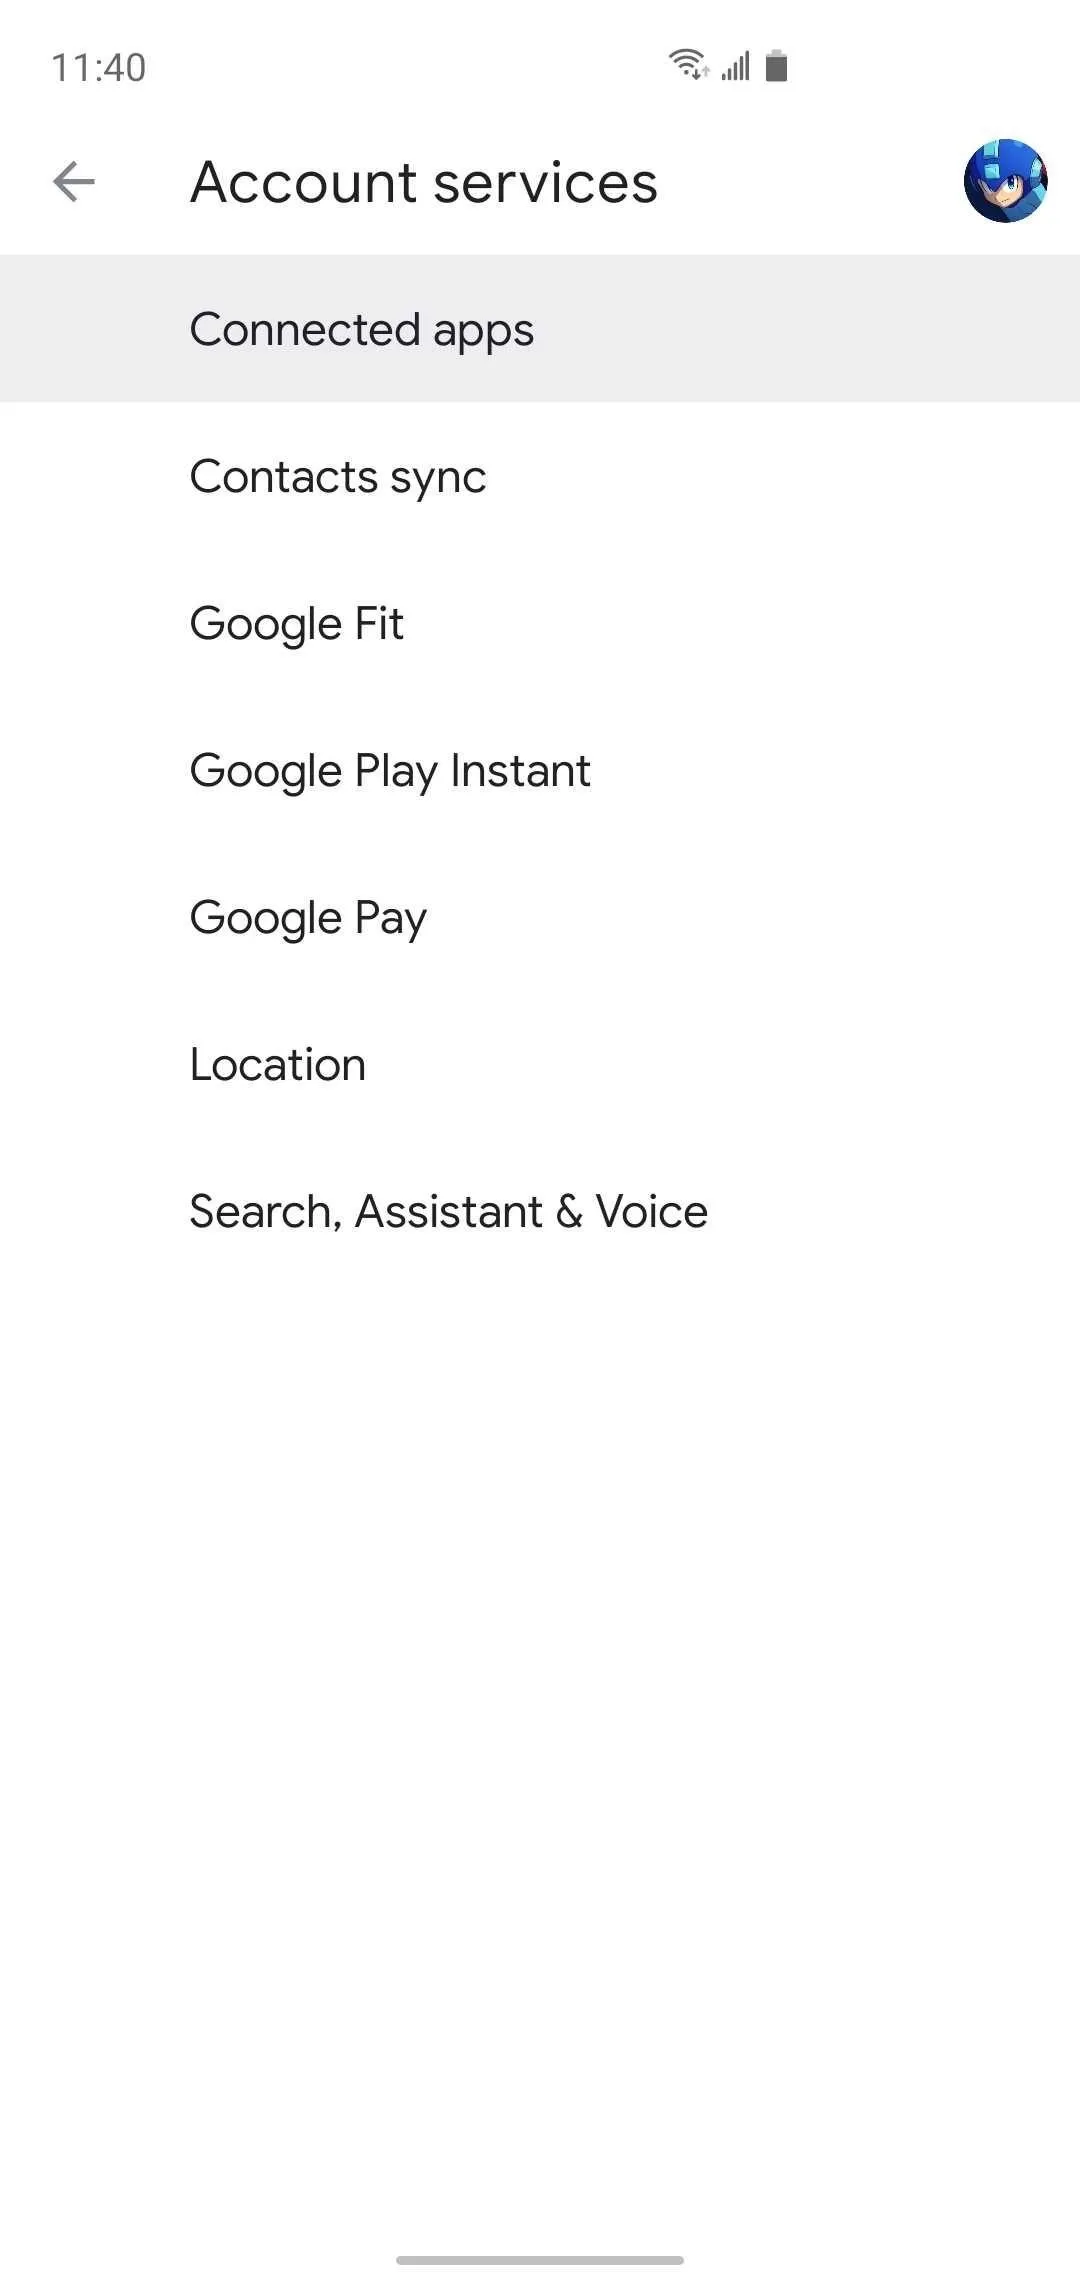
15. Connected Apps
For convenience, a lot of apps and services will require you to sign in using your Google login for verification or access to more content. While this can streamline your experience overall, it can come at the expense of your privacy, as the "Sign in with Google" option can permit third-party services to access personal data associated with your Google account.
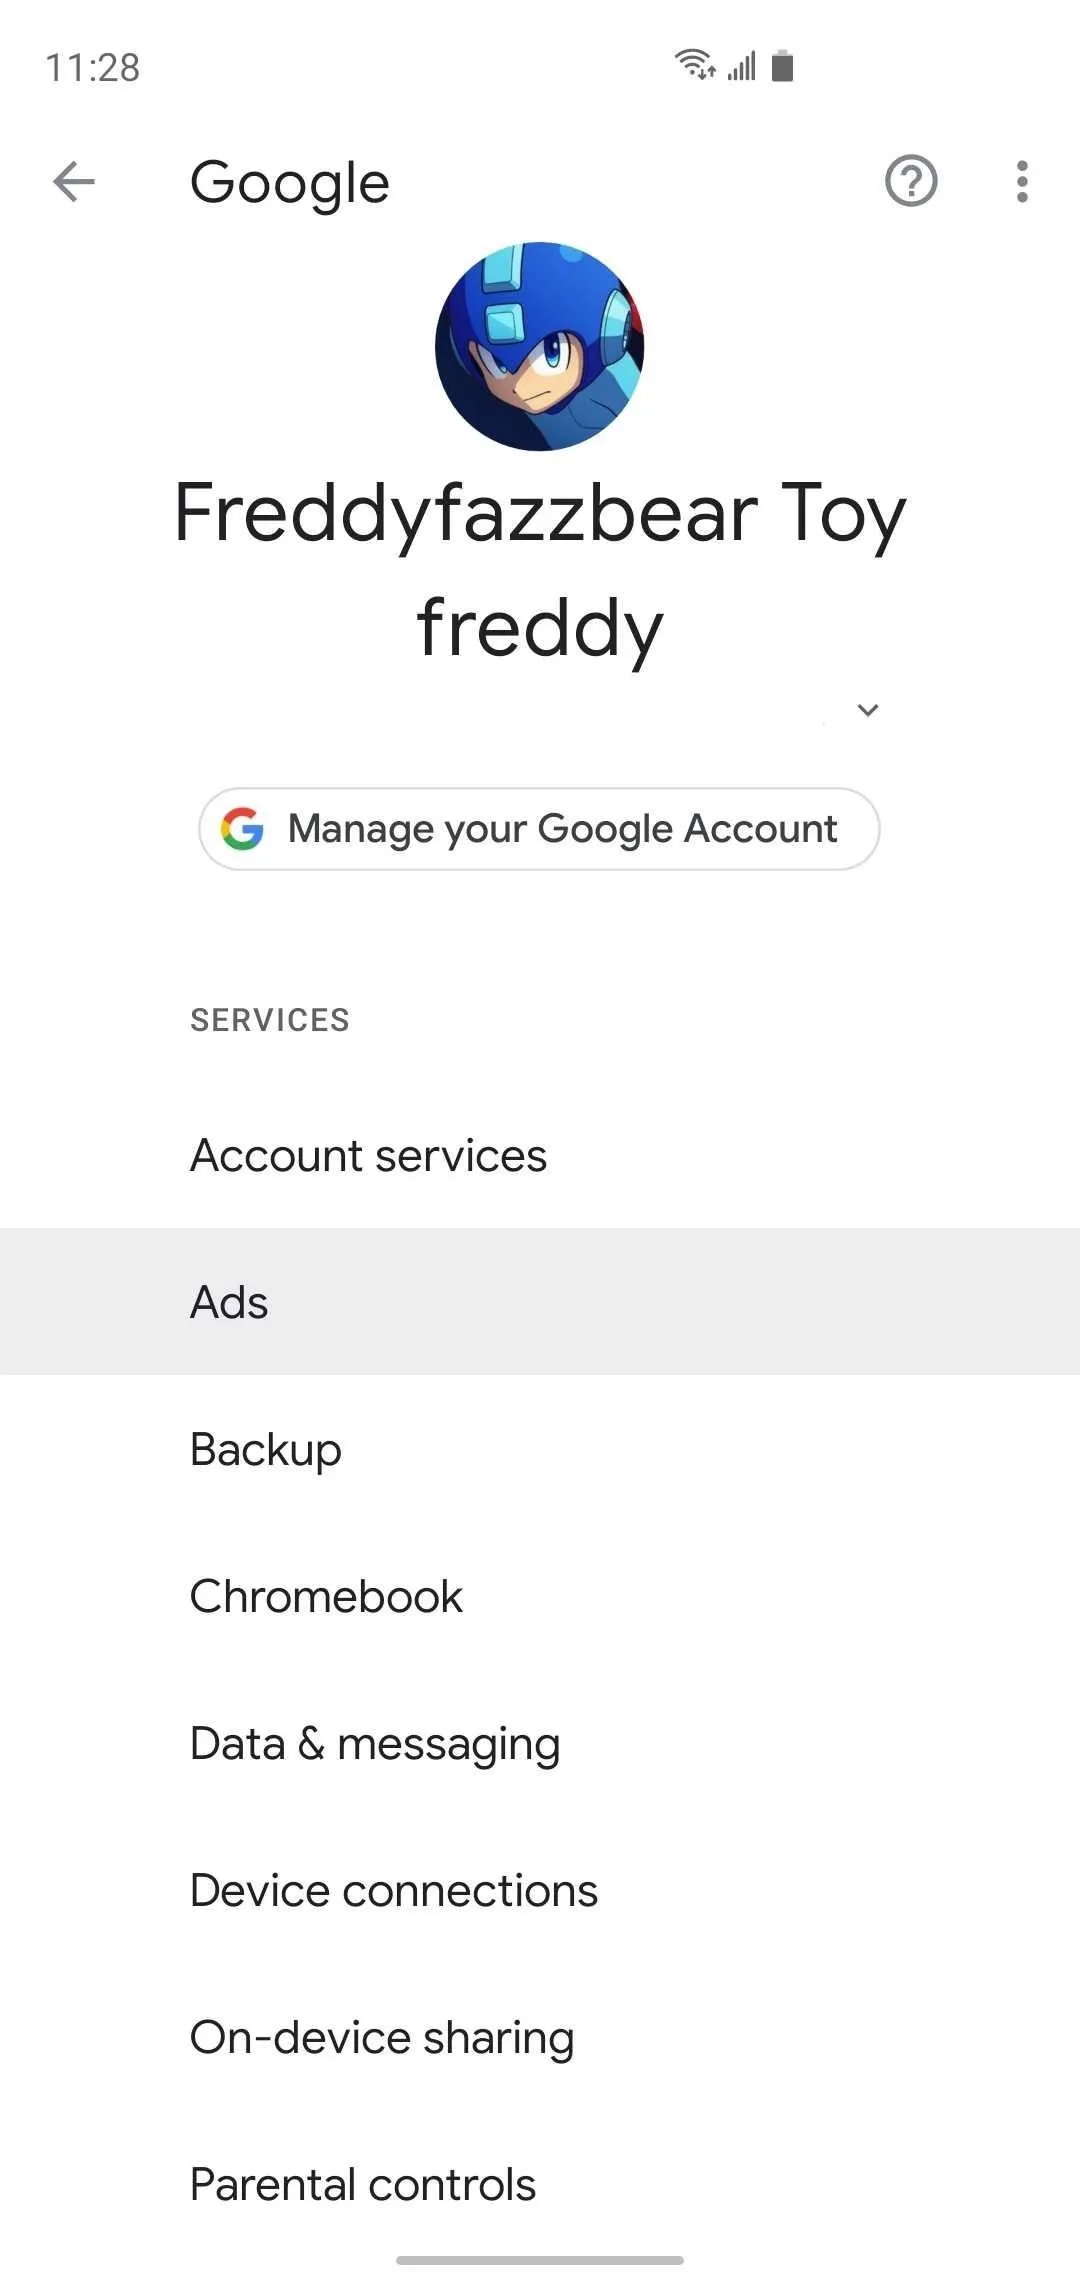
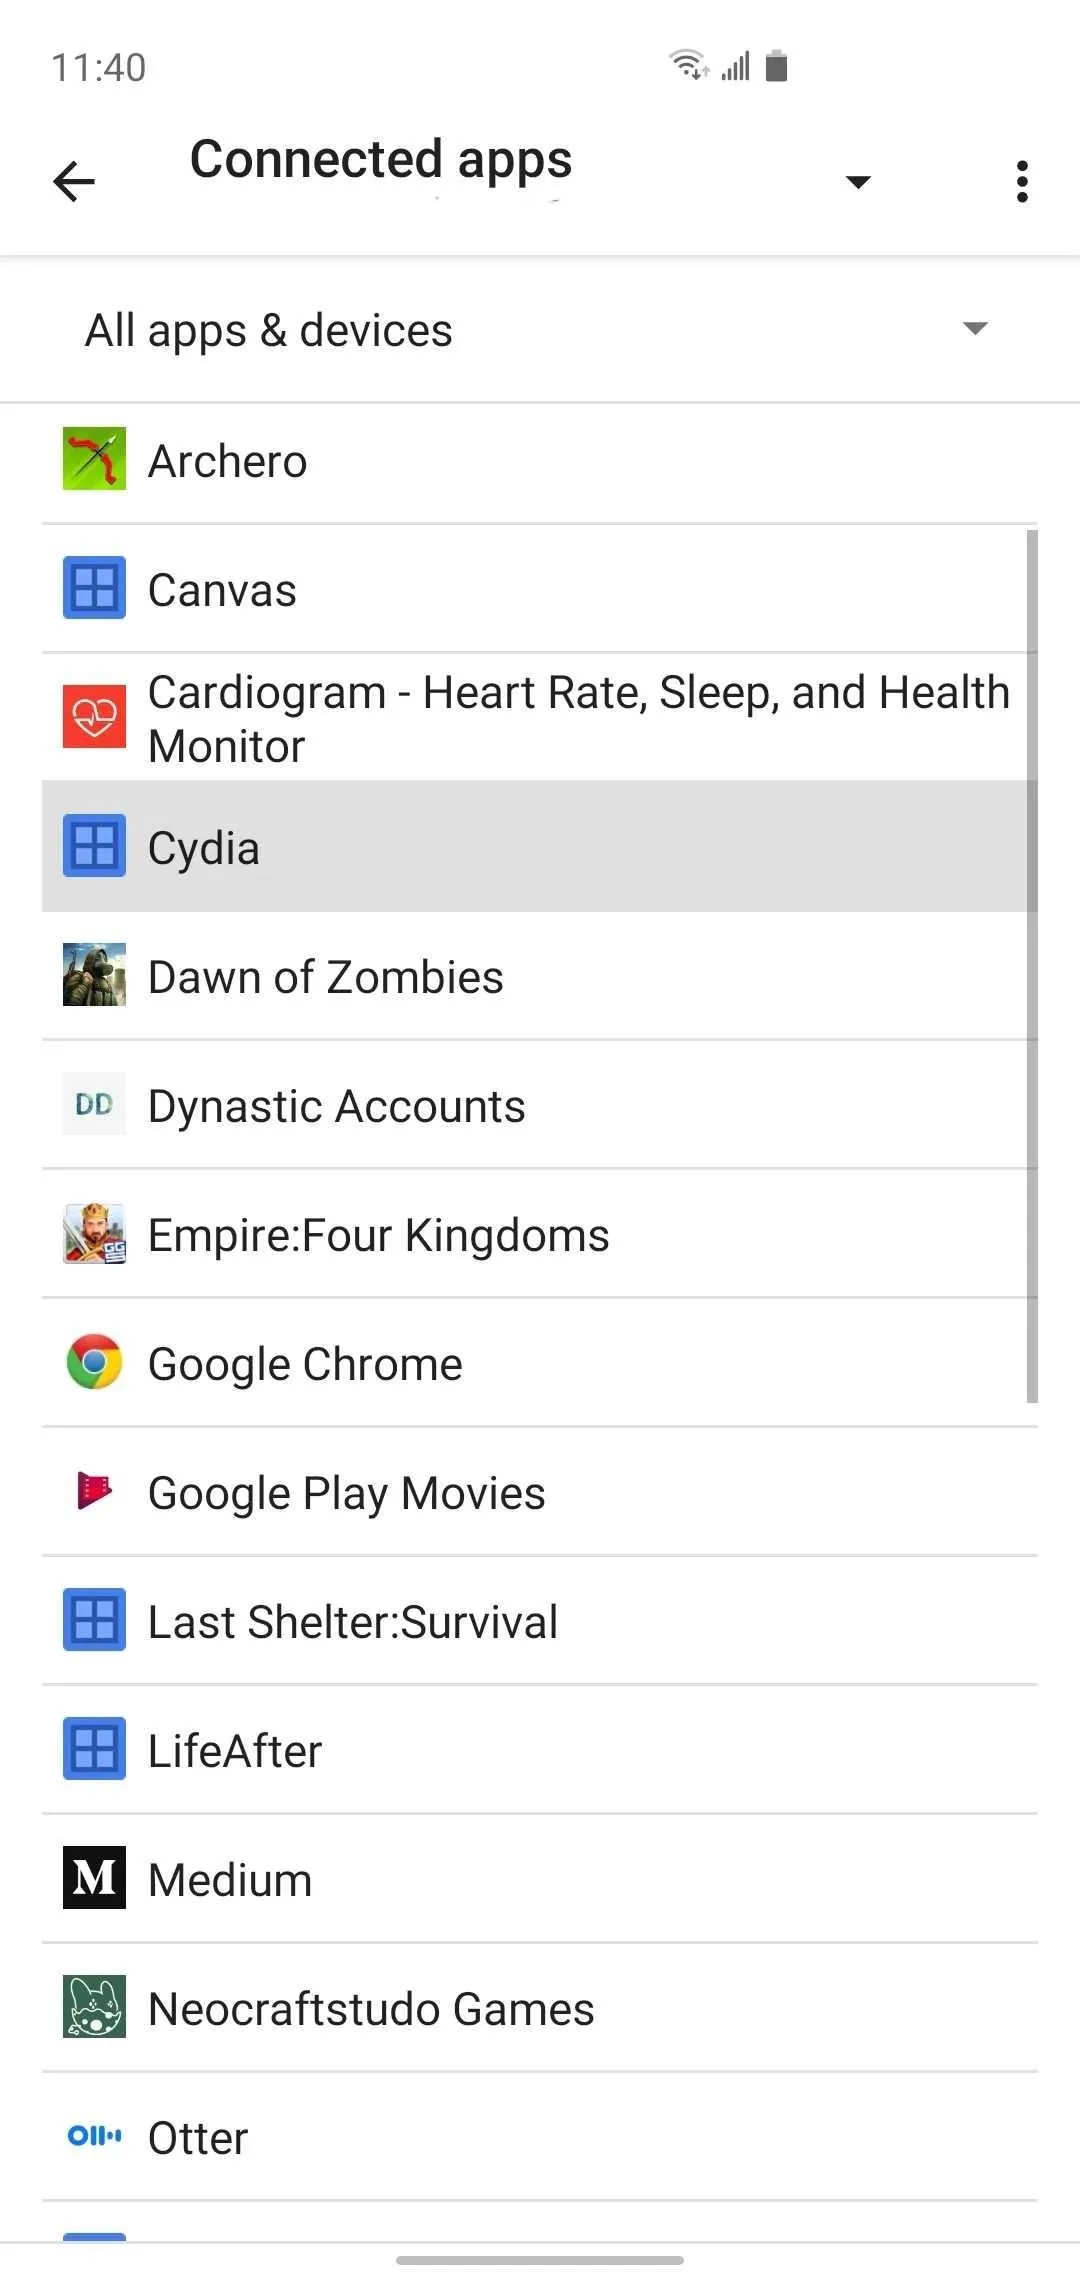
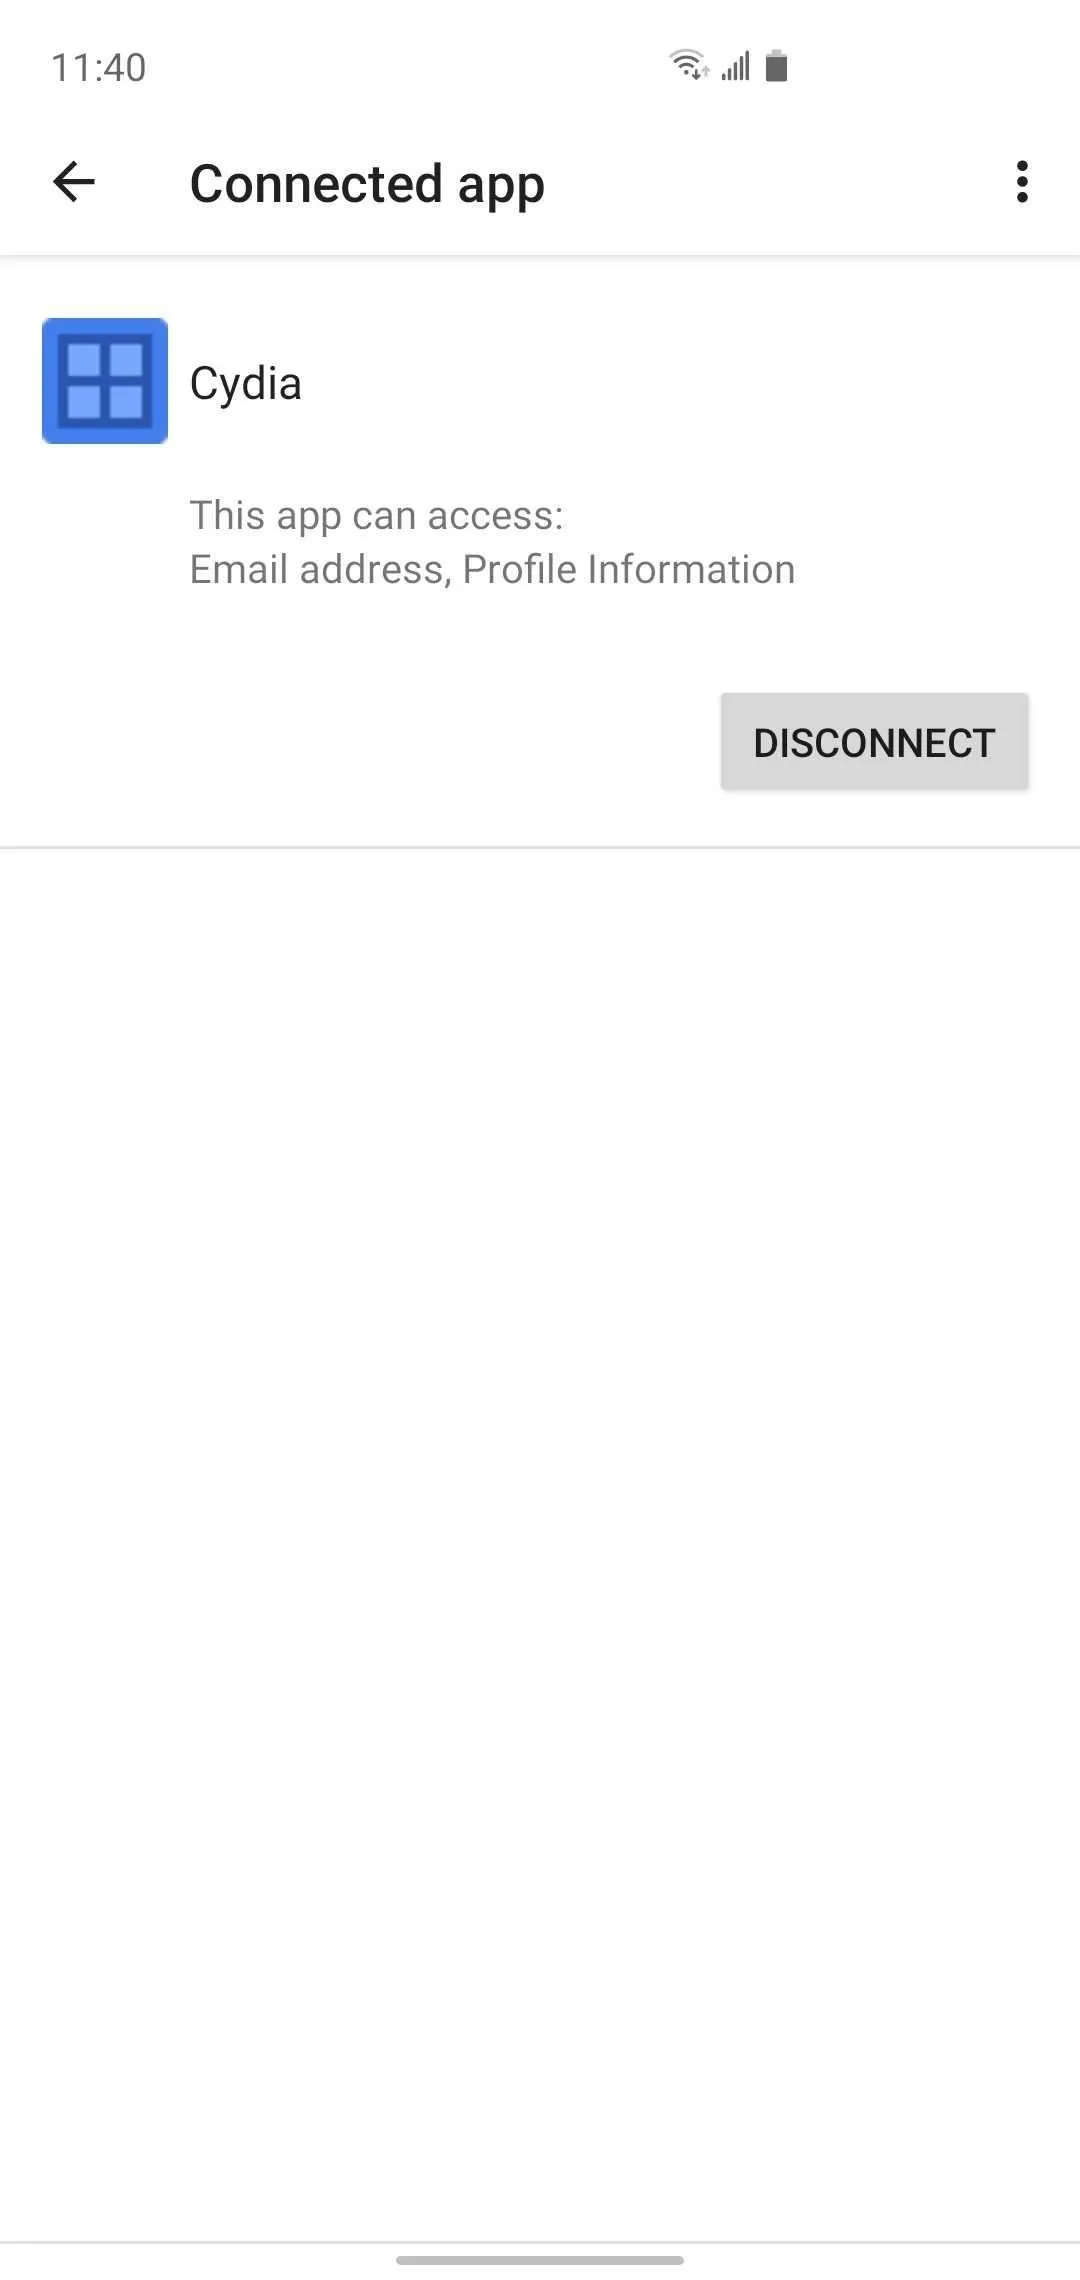
Navigate to Settings –> Google –> Account services –> Connected apps, look through the list, and select all of the apps, services, and websites that you're not using one by one, then tap "Disconnect" on the following screen and confirm on the popup. It's also a good idea to repeat the process for any app or service that you're unsure about having access to your Google account, just to be on the safe side.
This article was produced during Gadget Hacks' special coverage on smartphone privacy and security. Check out the whole Privacy and Security series.
Cover image, screenshots, and GIFs by Amboy Manalo/Gadget Hacks


Comments
Be the first, drop a comment!