


The first question people ask me when they come to my apartment is usually "What's your Wi-Fi password?" While I'm happy to give my friends free access to the internet, it's hard to walk each person through my secure password. Luckily, there's a way to create a QR code that will let people easily connect to a Wi-Fi network.
By using a simple Android app, you'll be able to easily create a QR code that you can then share with anyone you want. When the other person scans this QR code, they'll be automatically connected to your Wi-Fi network. You can also save it for future use, so you don't need to tediously enter and re-enter in your Wi-Fi network's information every time you use it.
Find Your SSID & Network Encryption Type
First of all, you need to locate your SSID, or service set identifier. This is basically your Wi-Fi network's name. For example, if you named your wireless network "PuppiesAreGr34t," then that's your SSID.
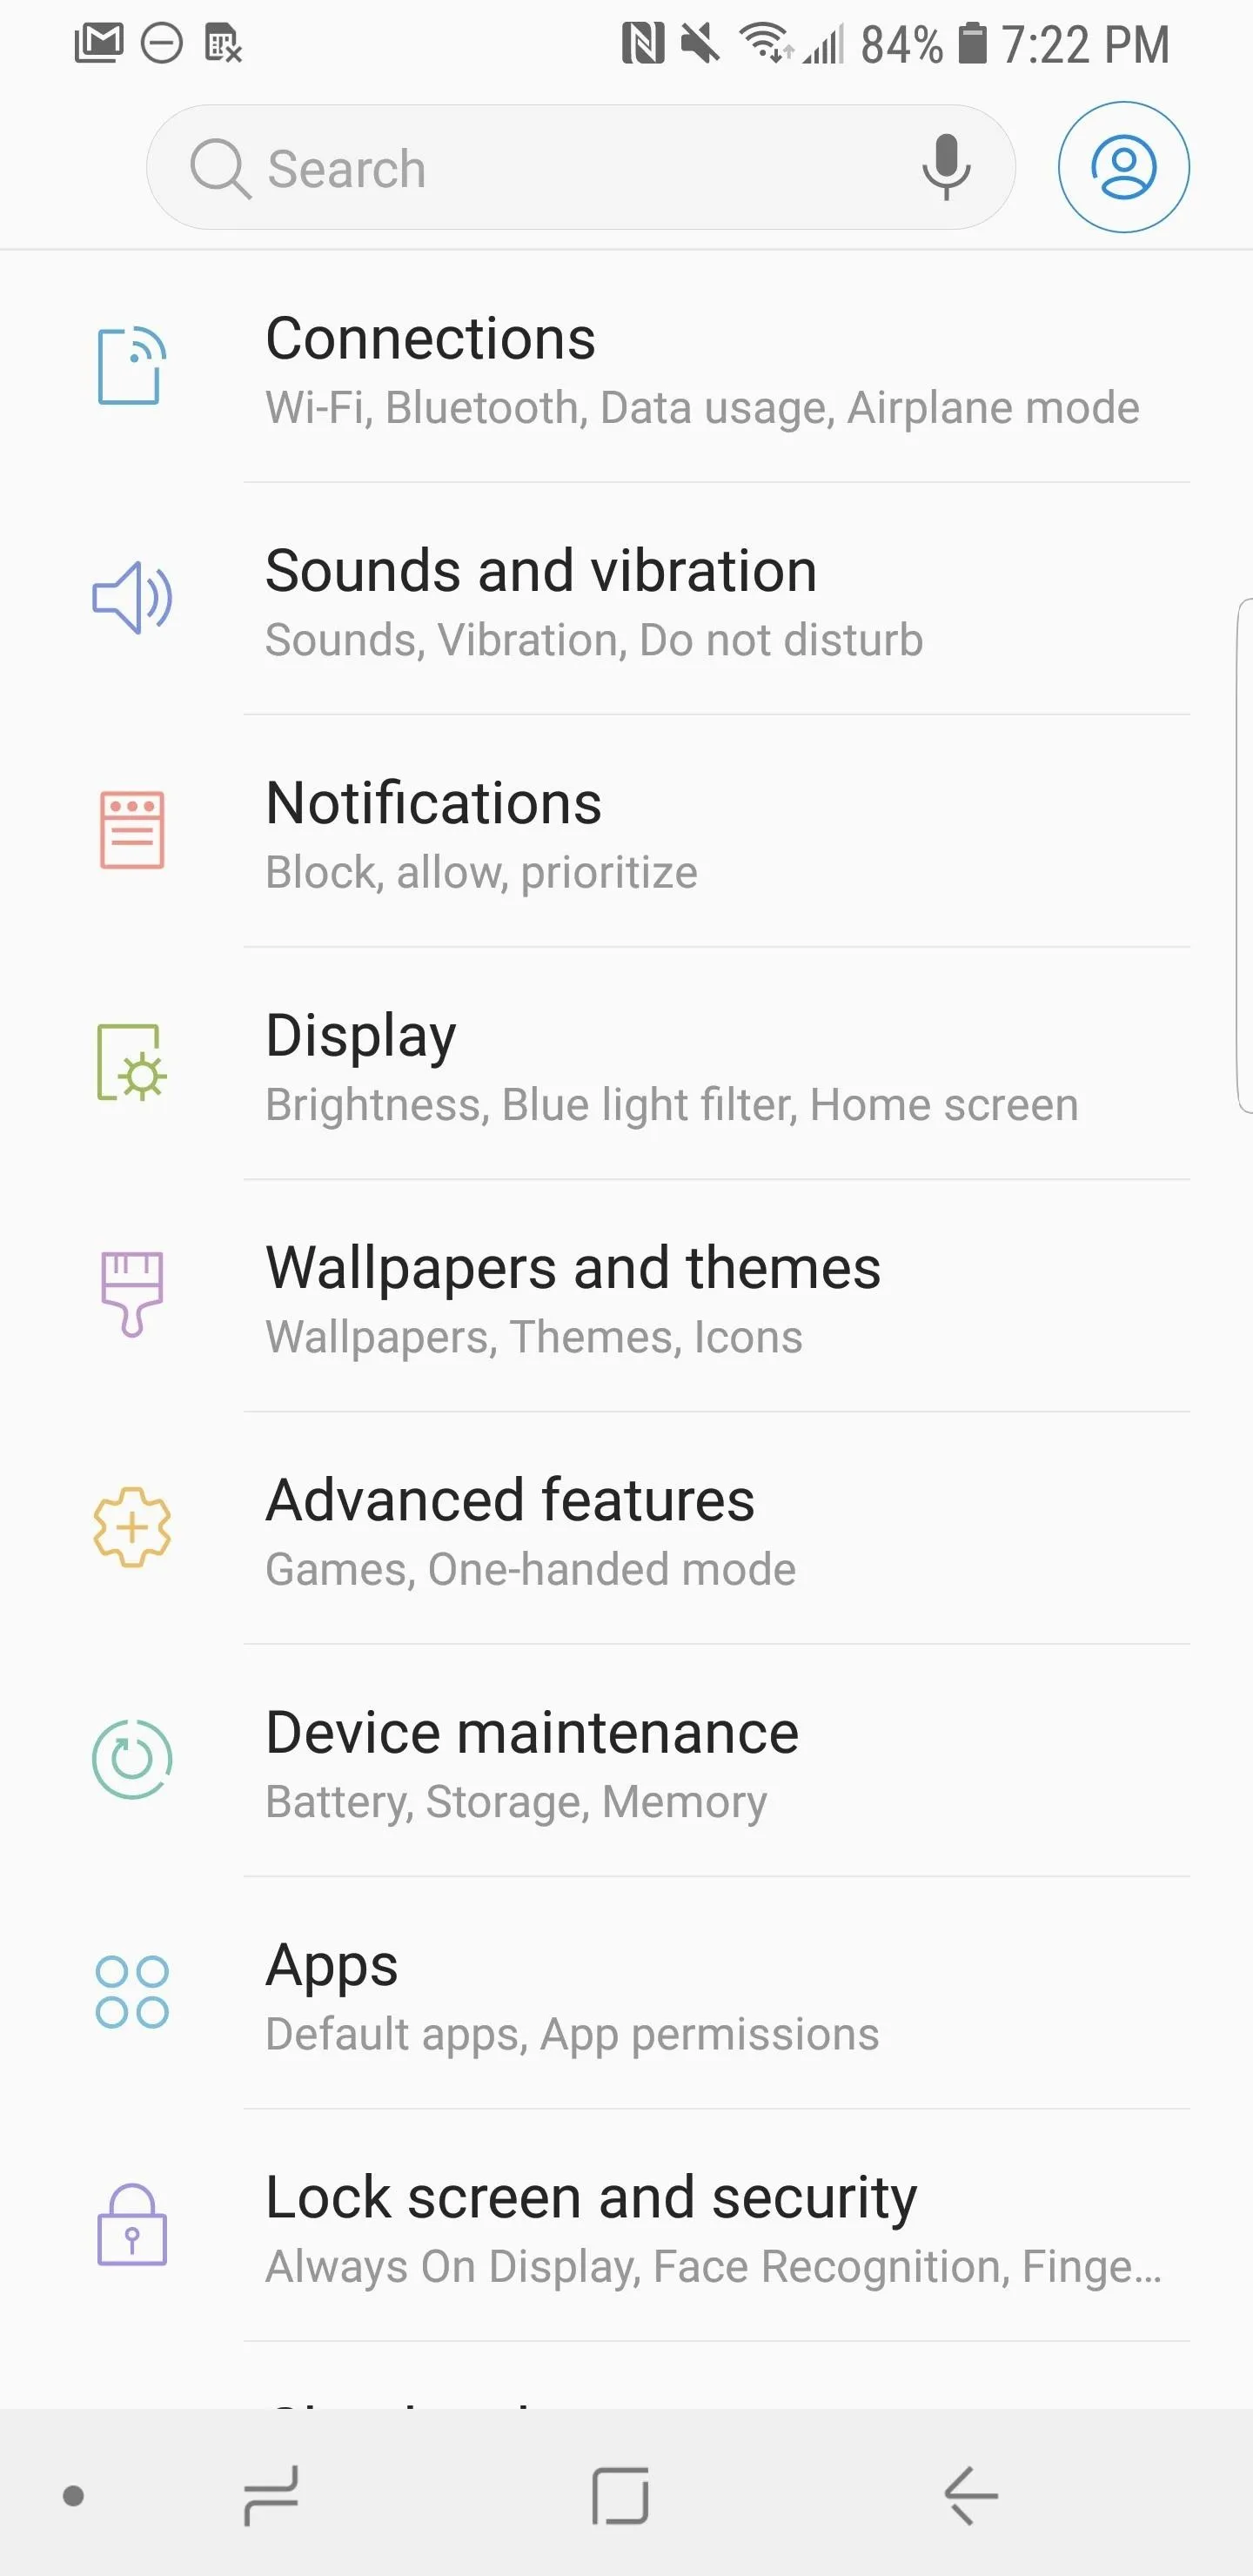
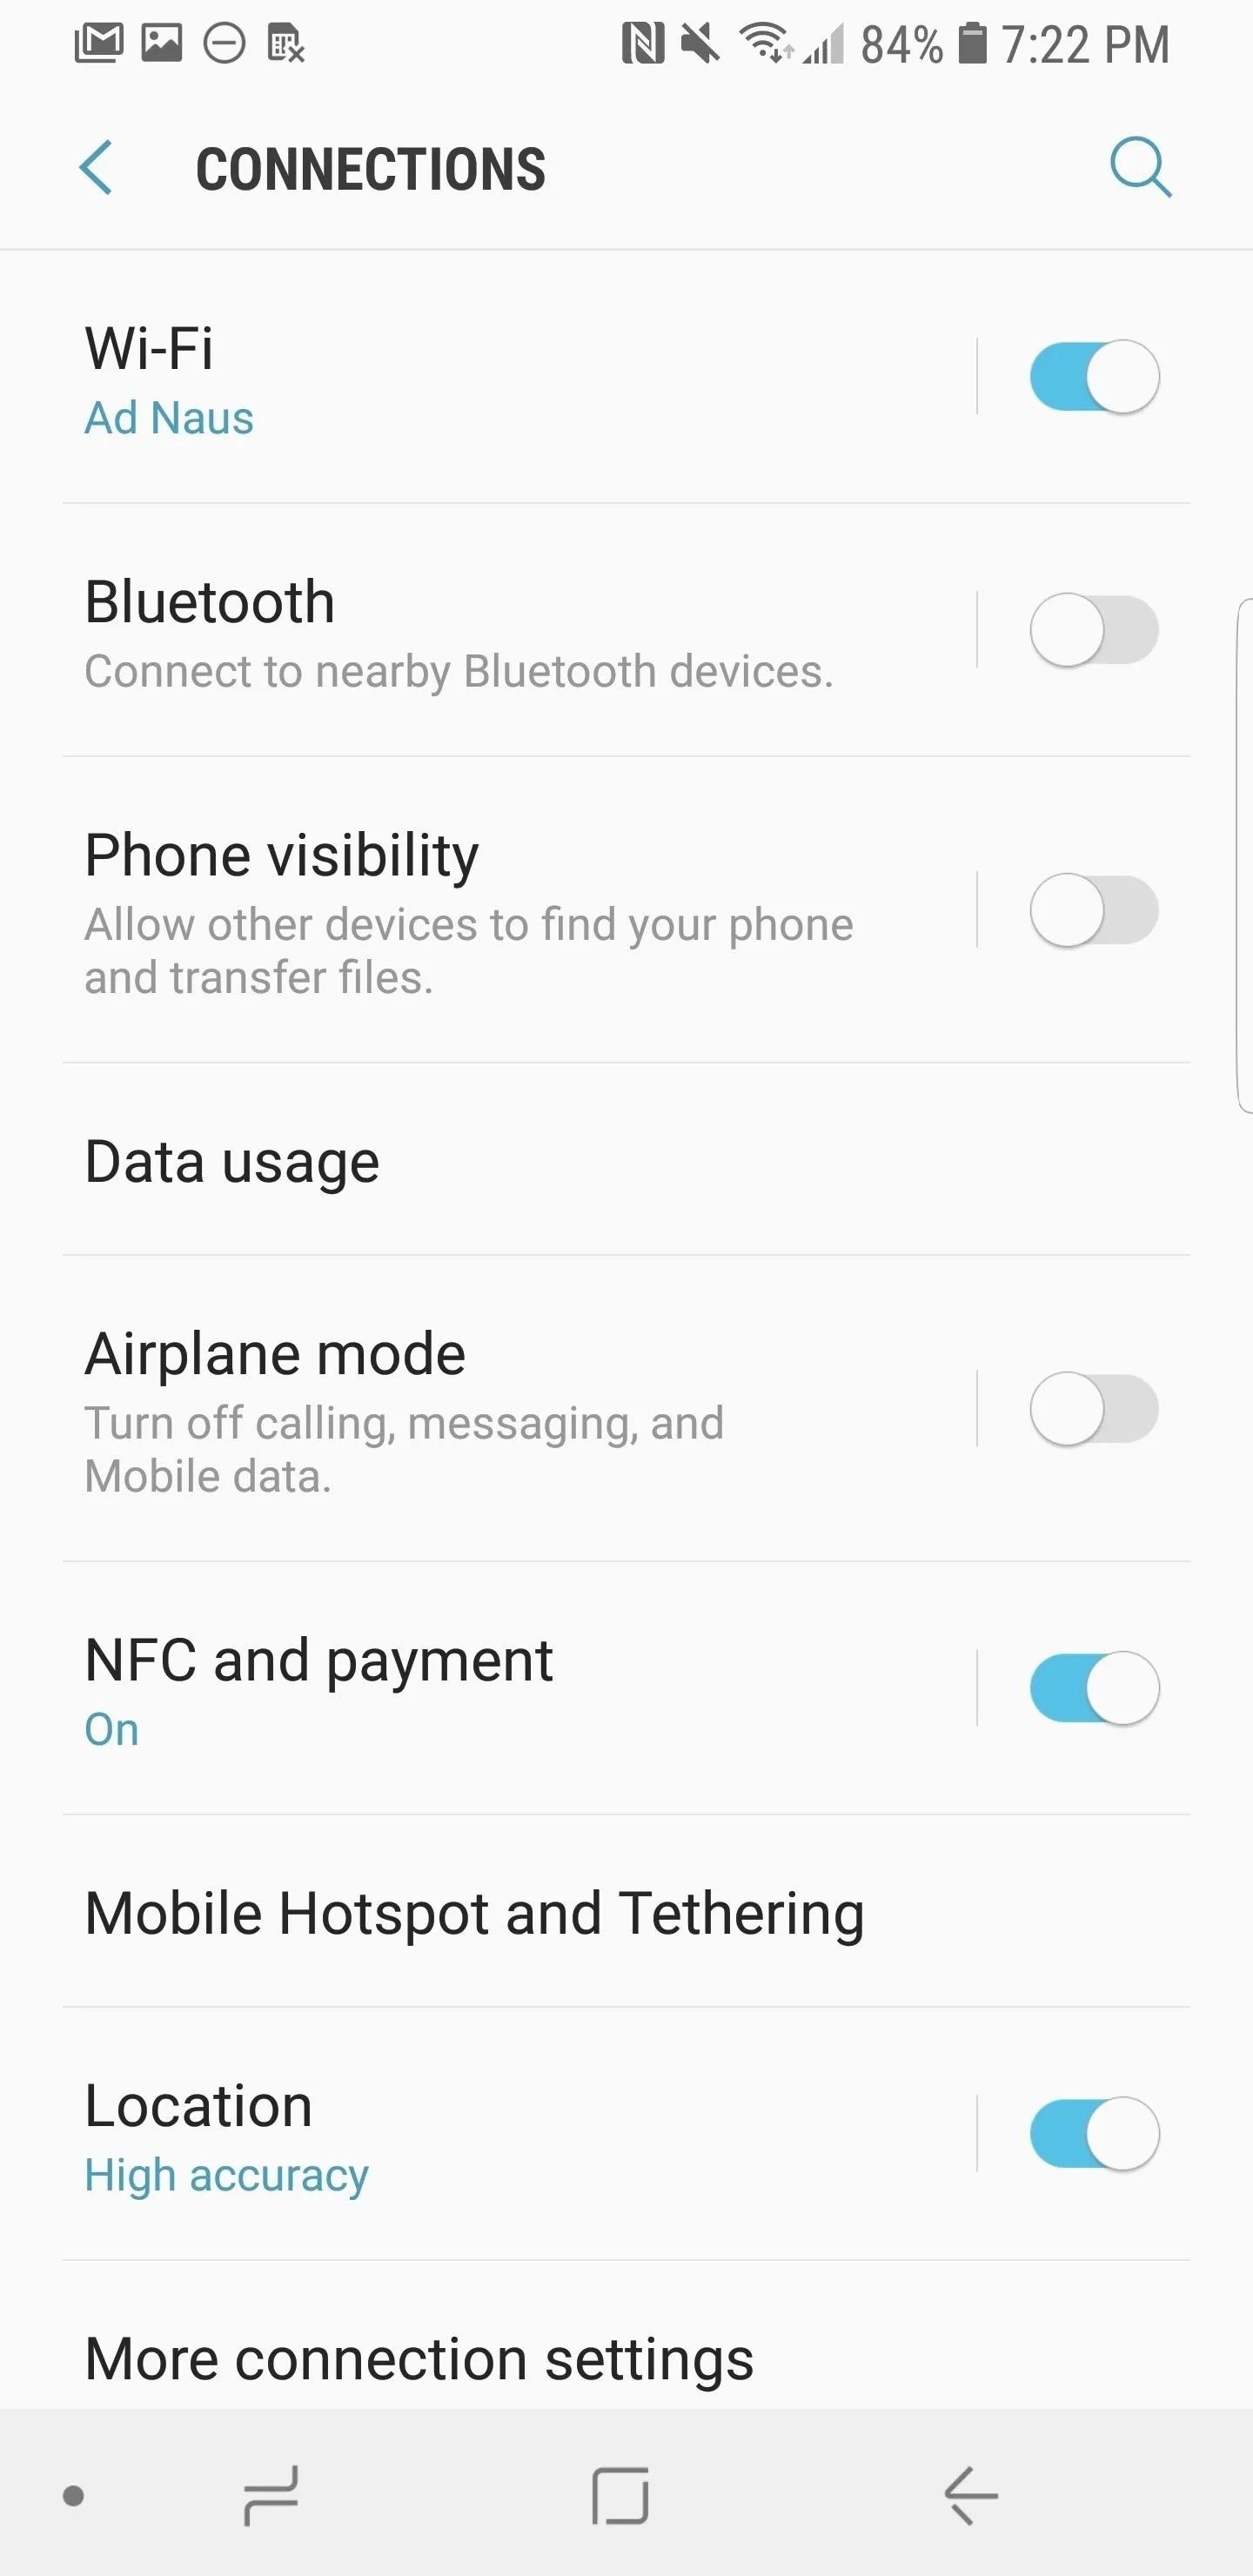
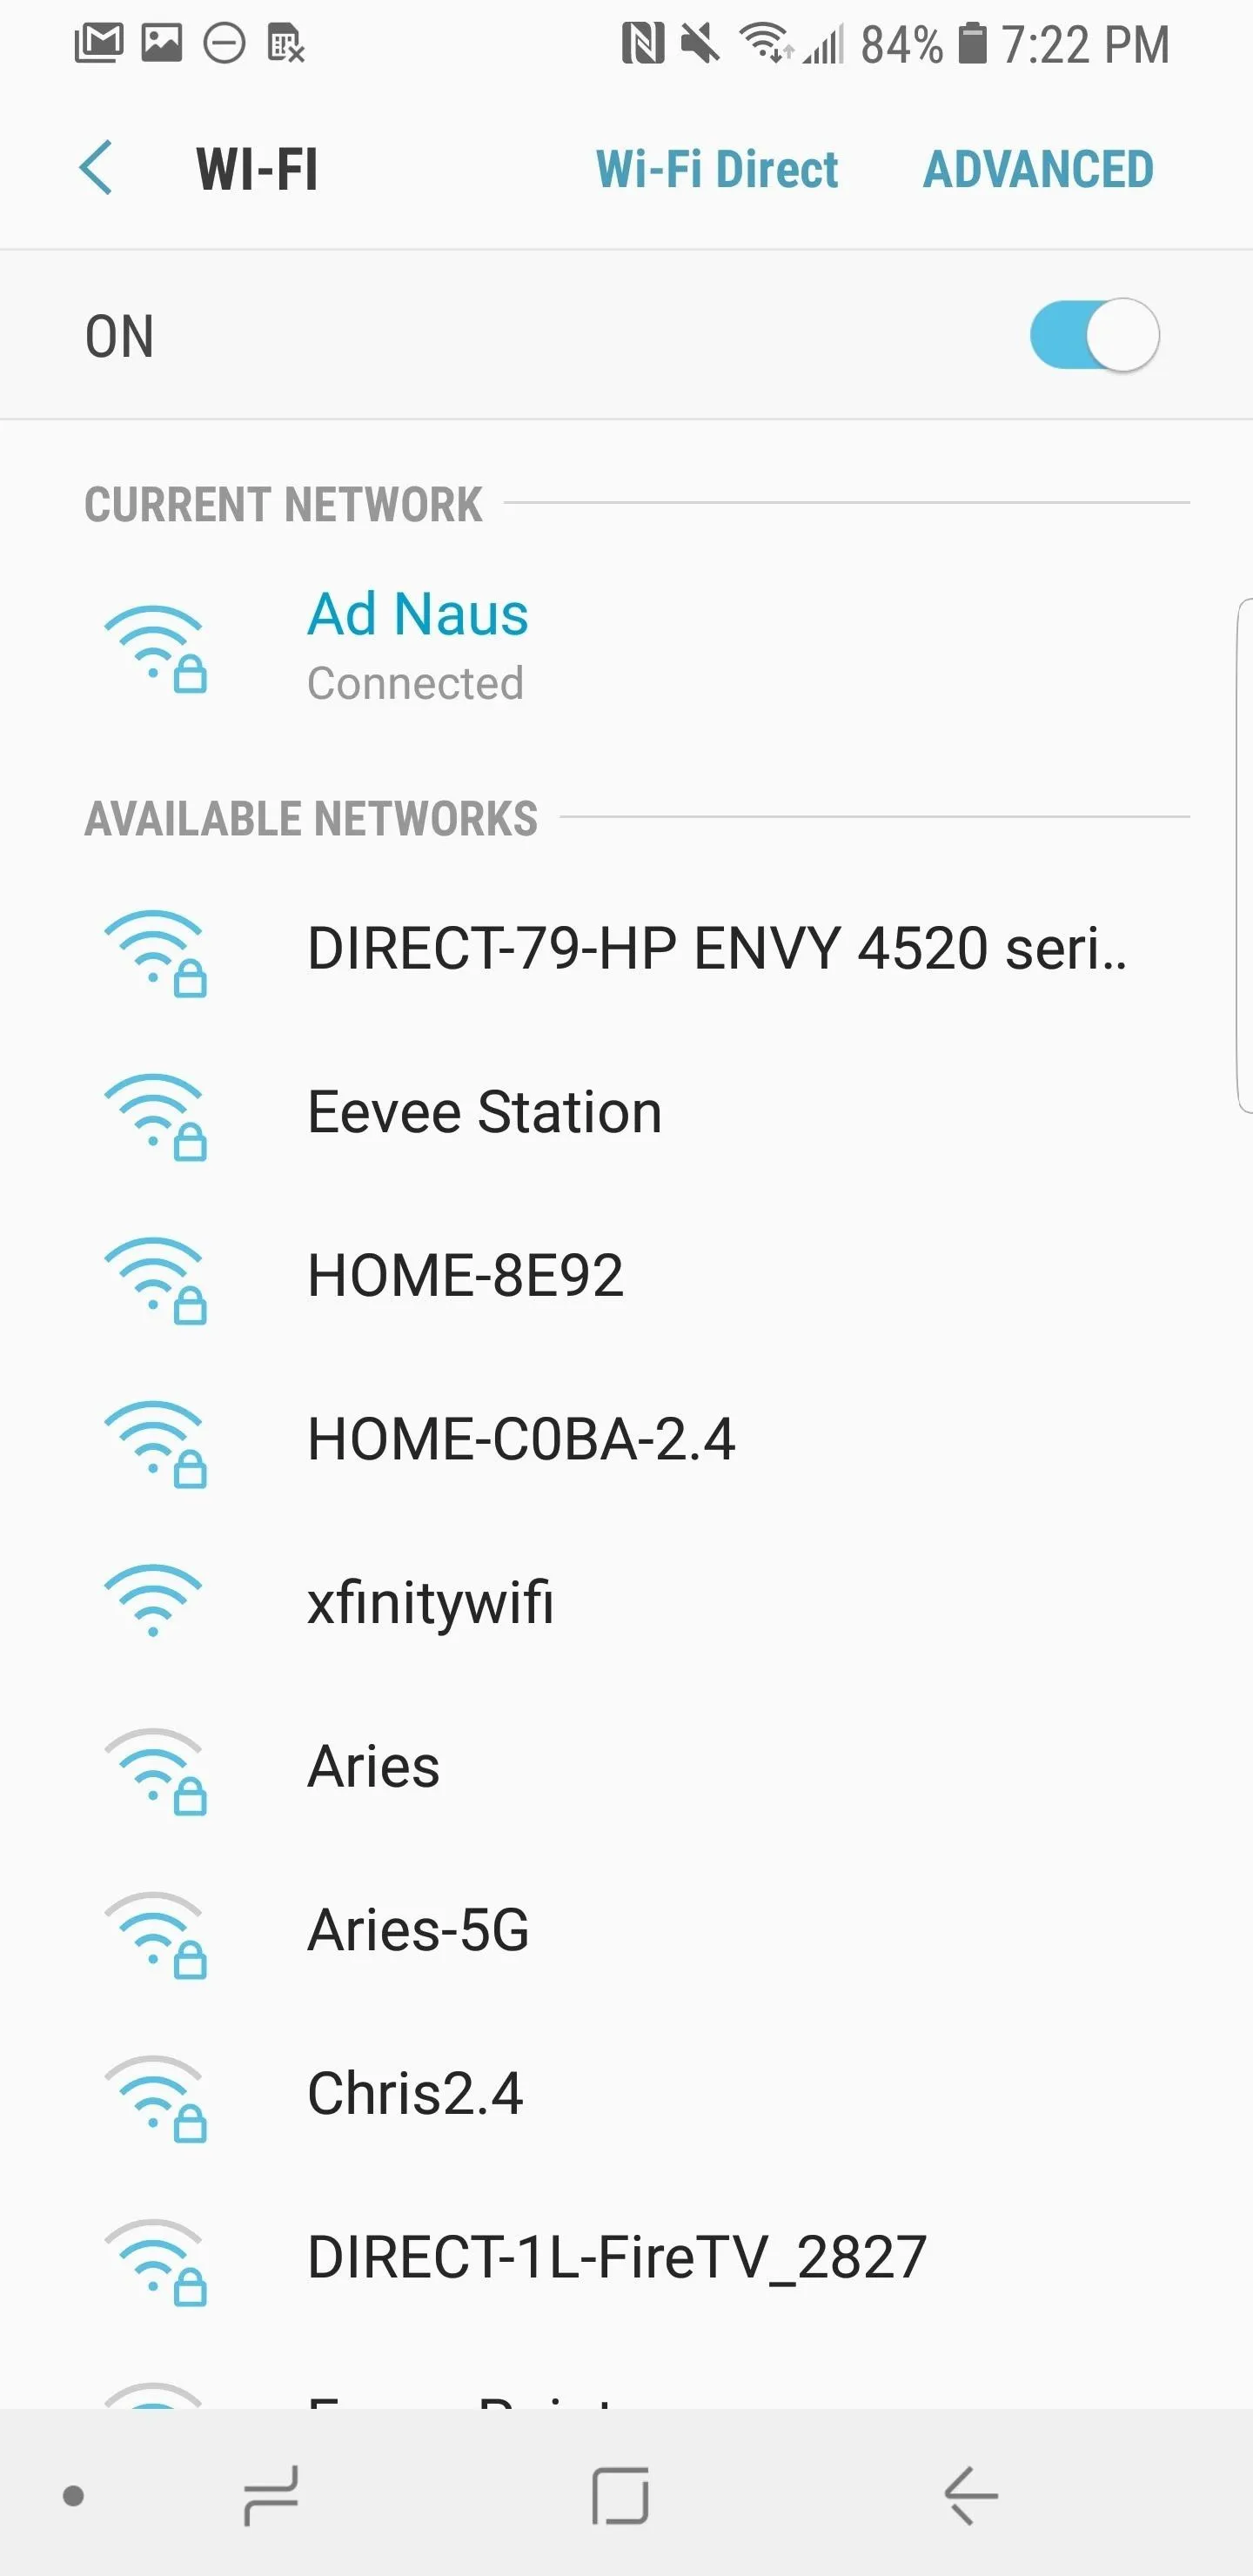
If you're not sure what your SSID is, head to the Wi-Fi menu in your phone's settings. Depending on your device, this menu could be hidden inside a sub-menu like "Connections" or "Network & Internet." Your SSID will be the Wi-Fi network that says "Connected" beneath it. Keep in mind that your SSID is case-sensitive, meaning capital and lowercase letters need to be recorded as such.
Next, you'll need to identify your Network Encryption Type. To do so, tap on your SSID from this same menu, and your Network Encryption Type will be under a header that reads something like "Security" (depending on your device).

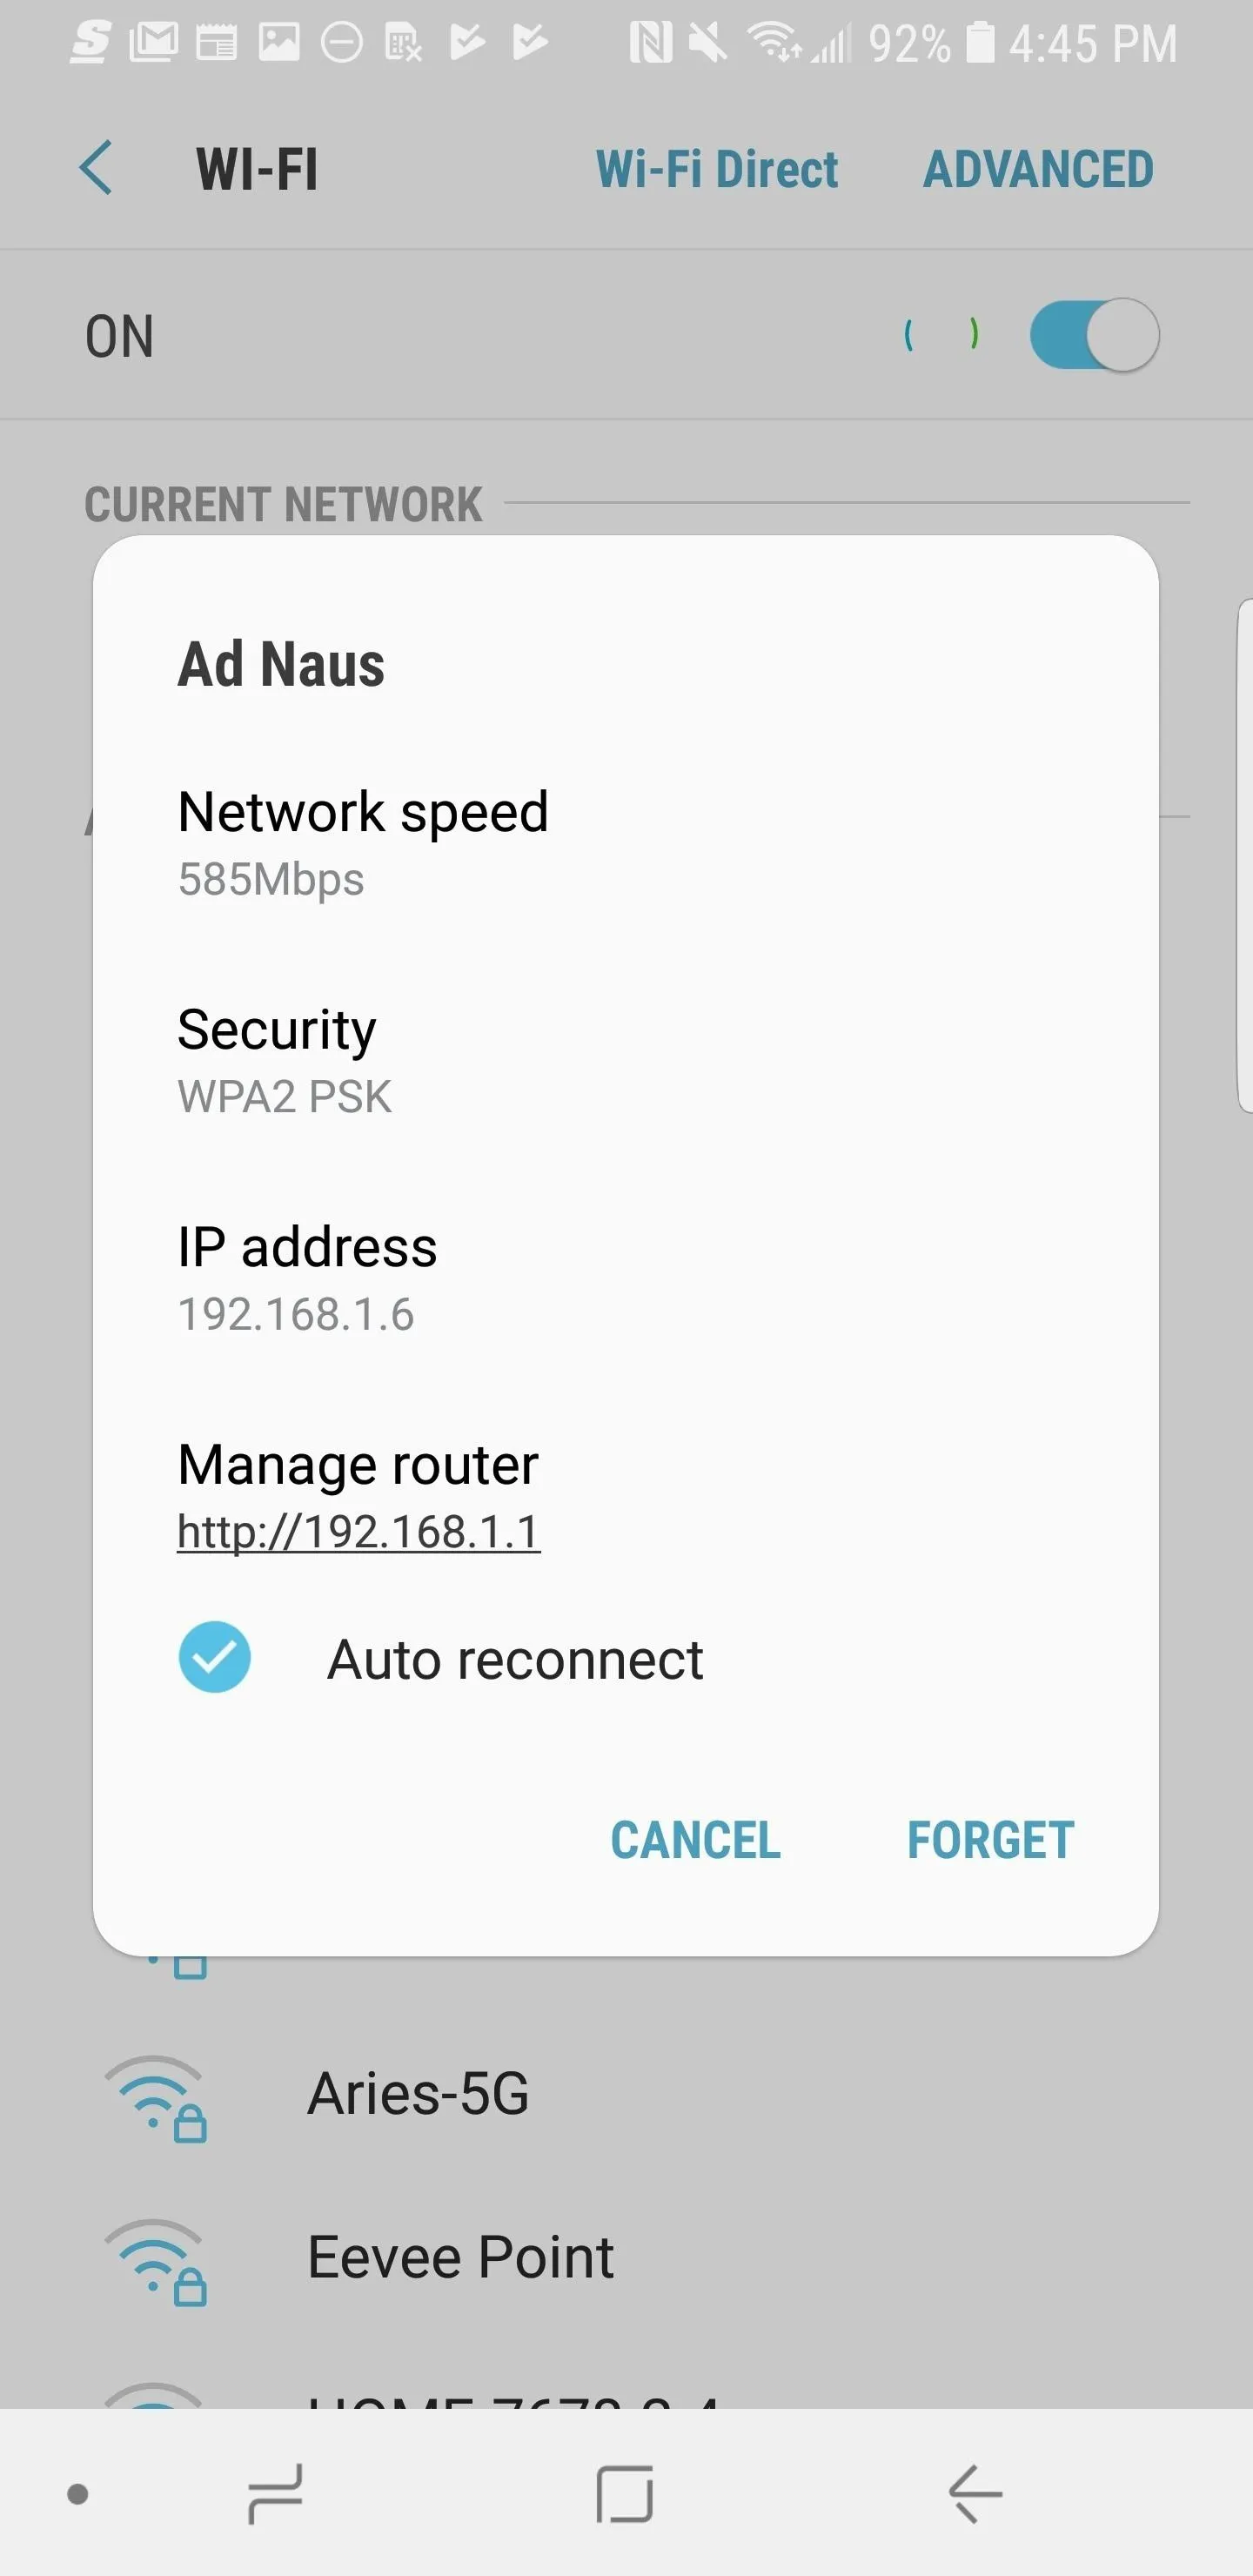
After you find your SSID and Network Encryption Type, write them both down somewhere. You'll need them in a later step.
Install QR Code Generator
The app that will be doing the bulk of the work here is called QR Code Generator, and you can find it on Google Play. If you'd rather jump straight to the install page, just tap the link below then press the "Install" button.
Create Your QR Code
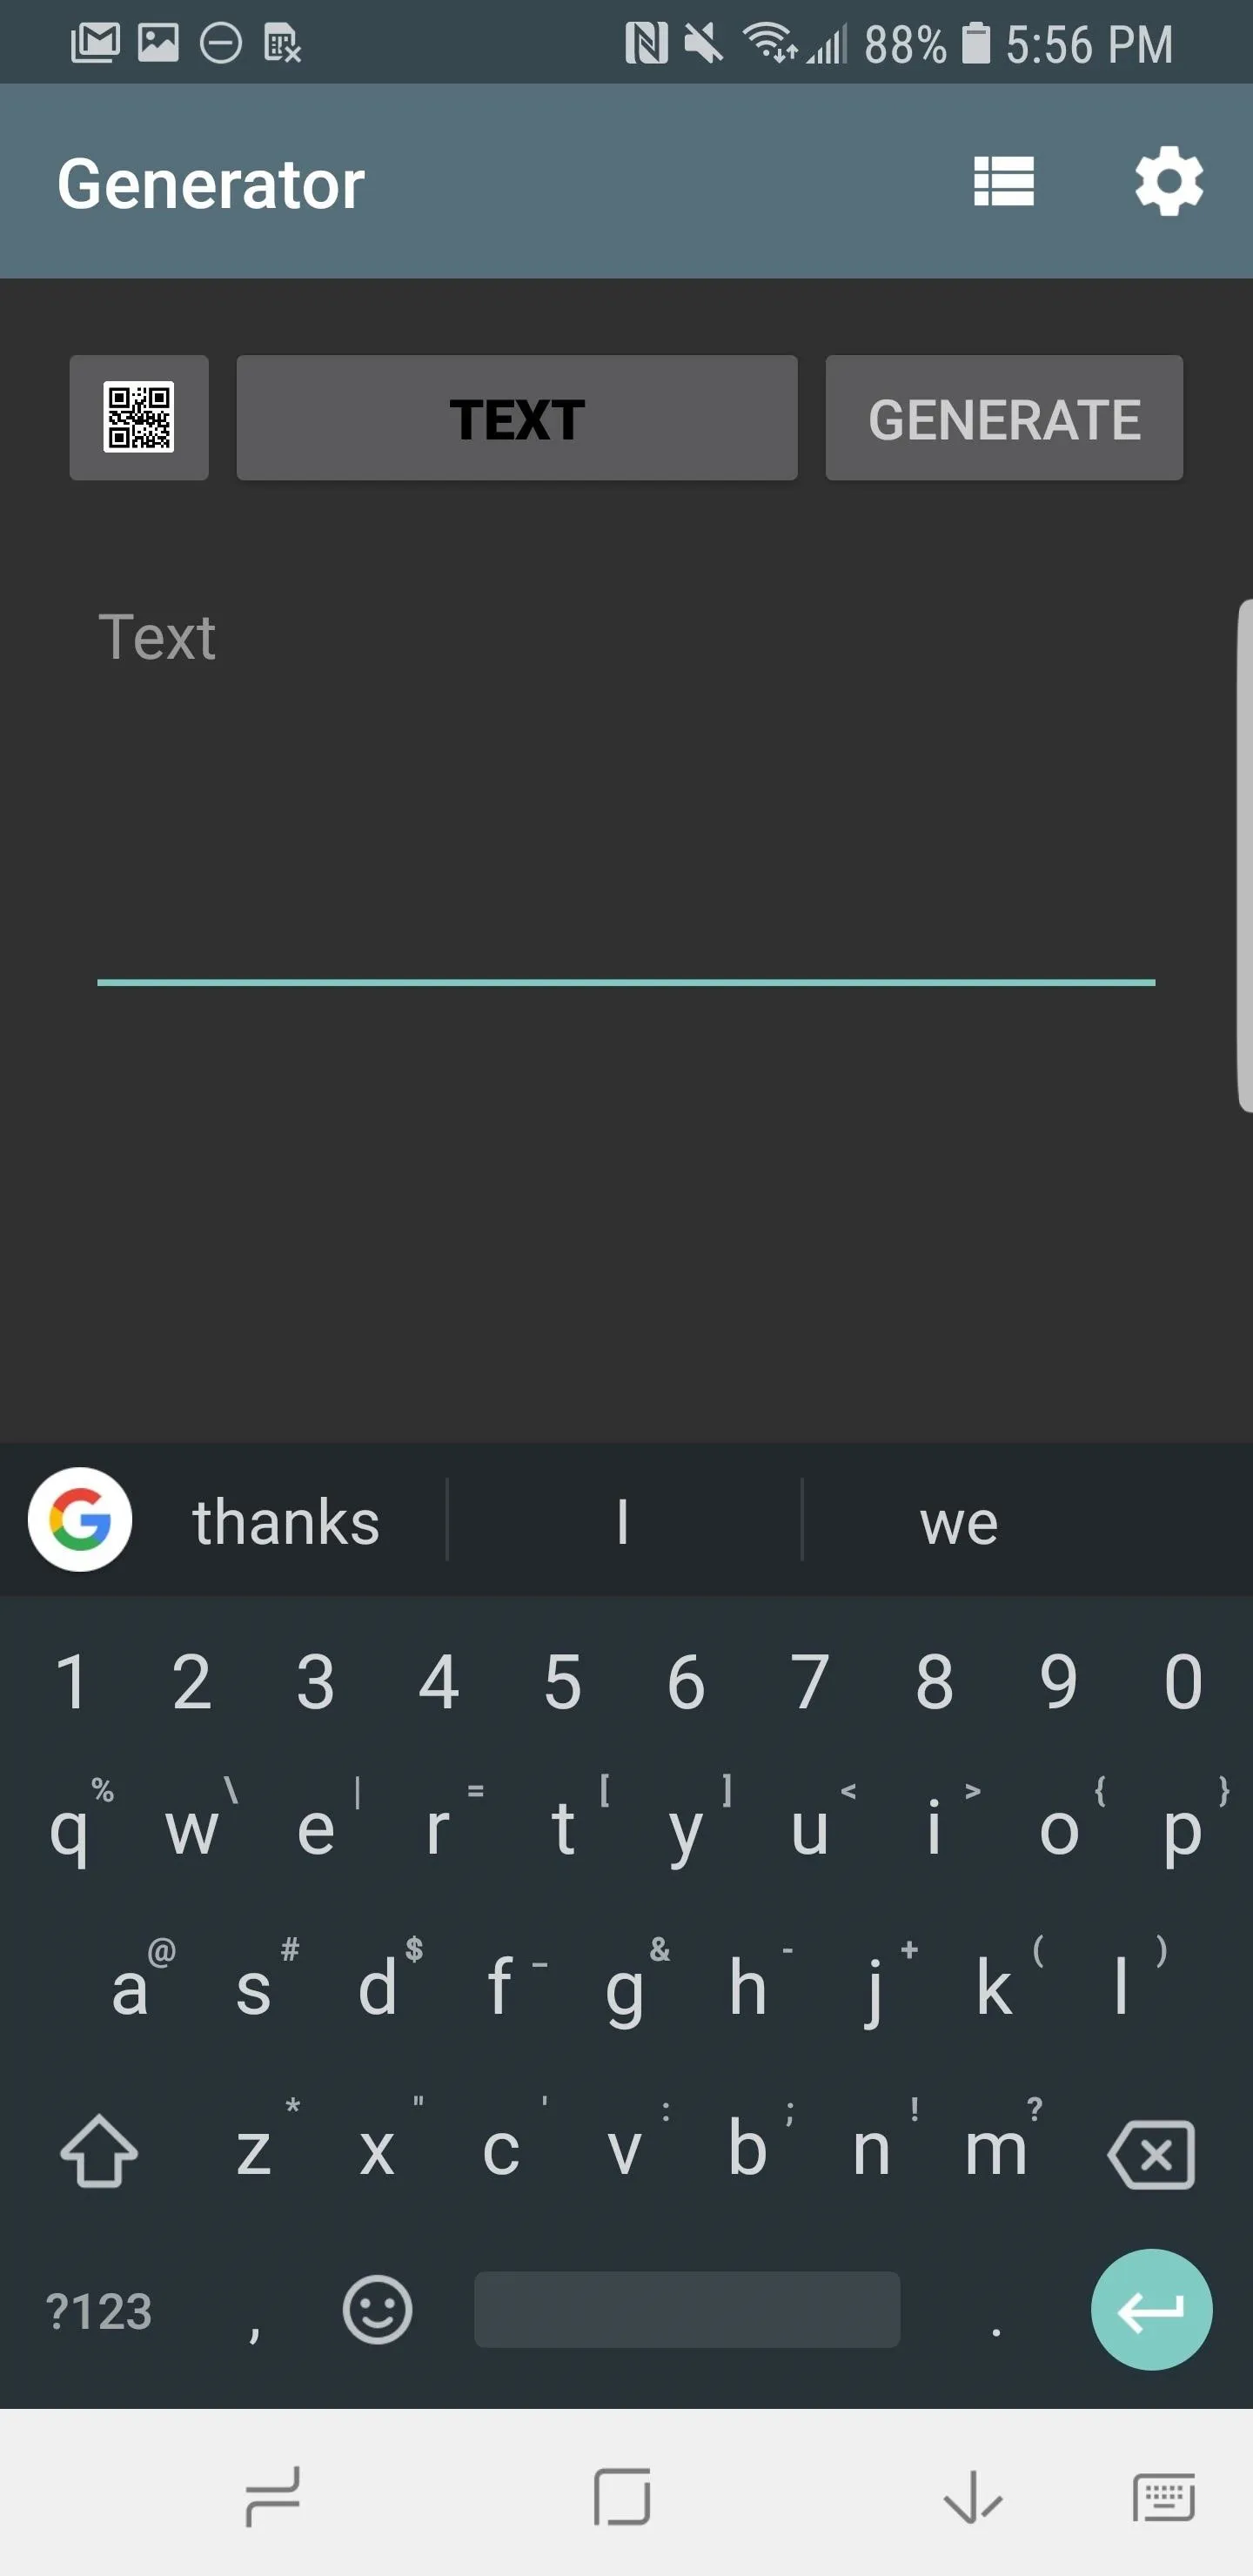
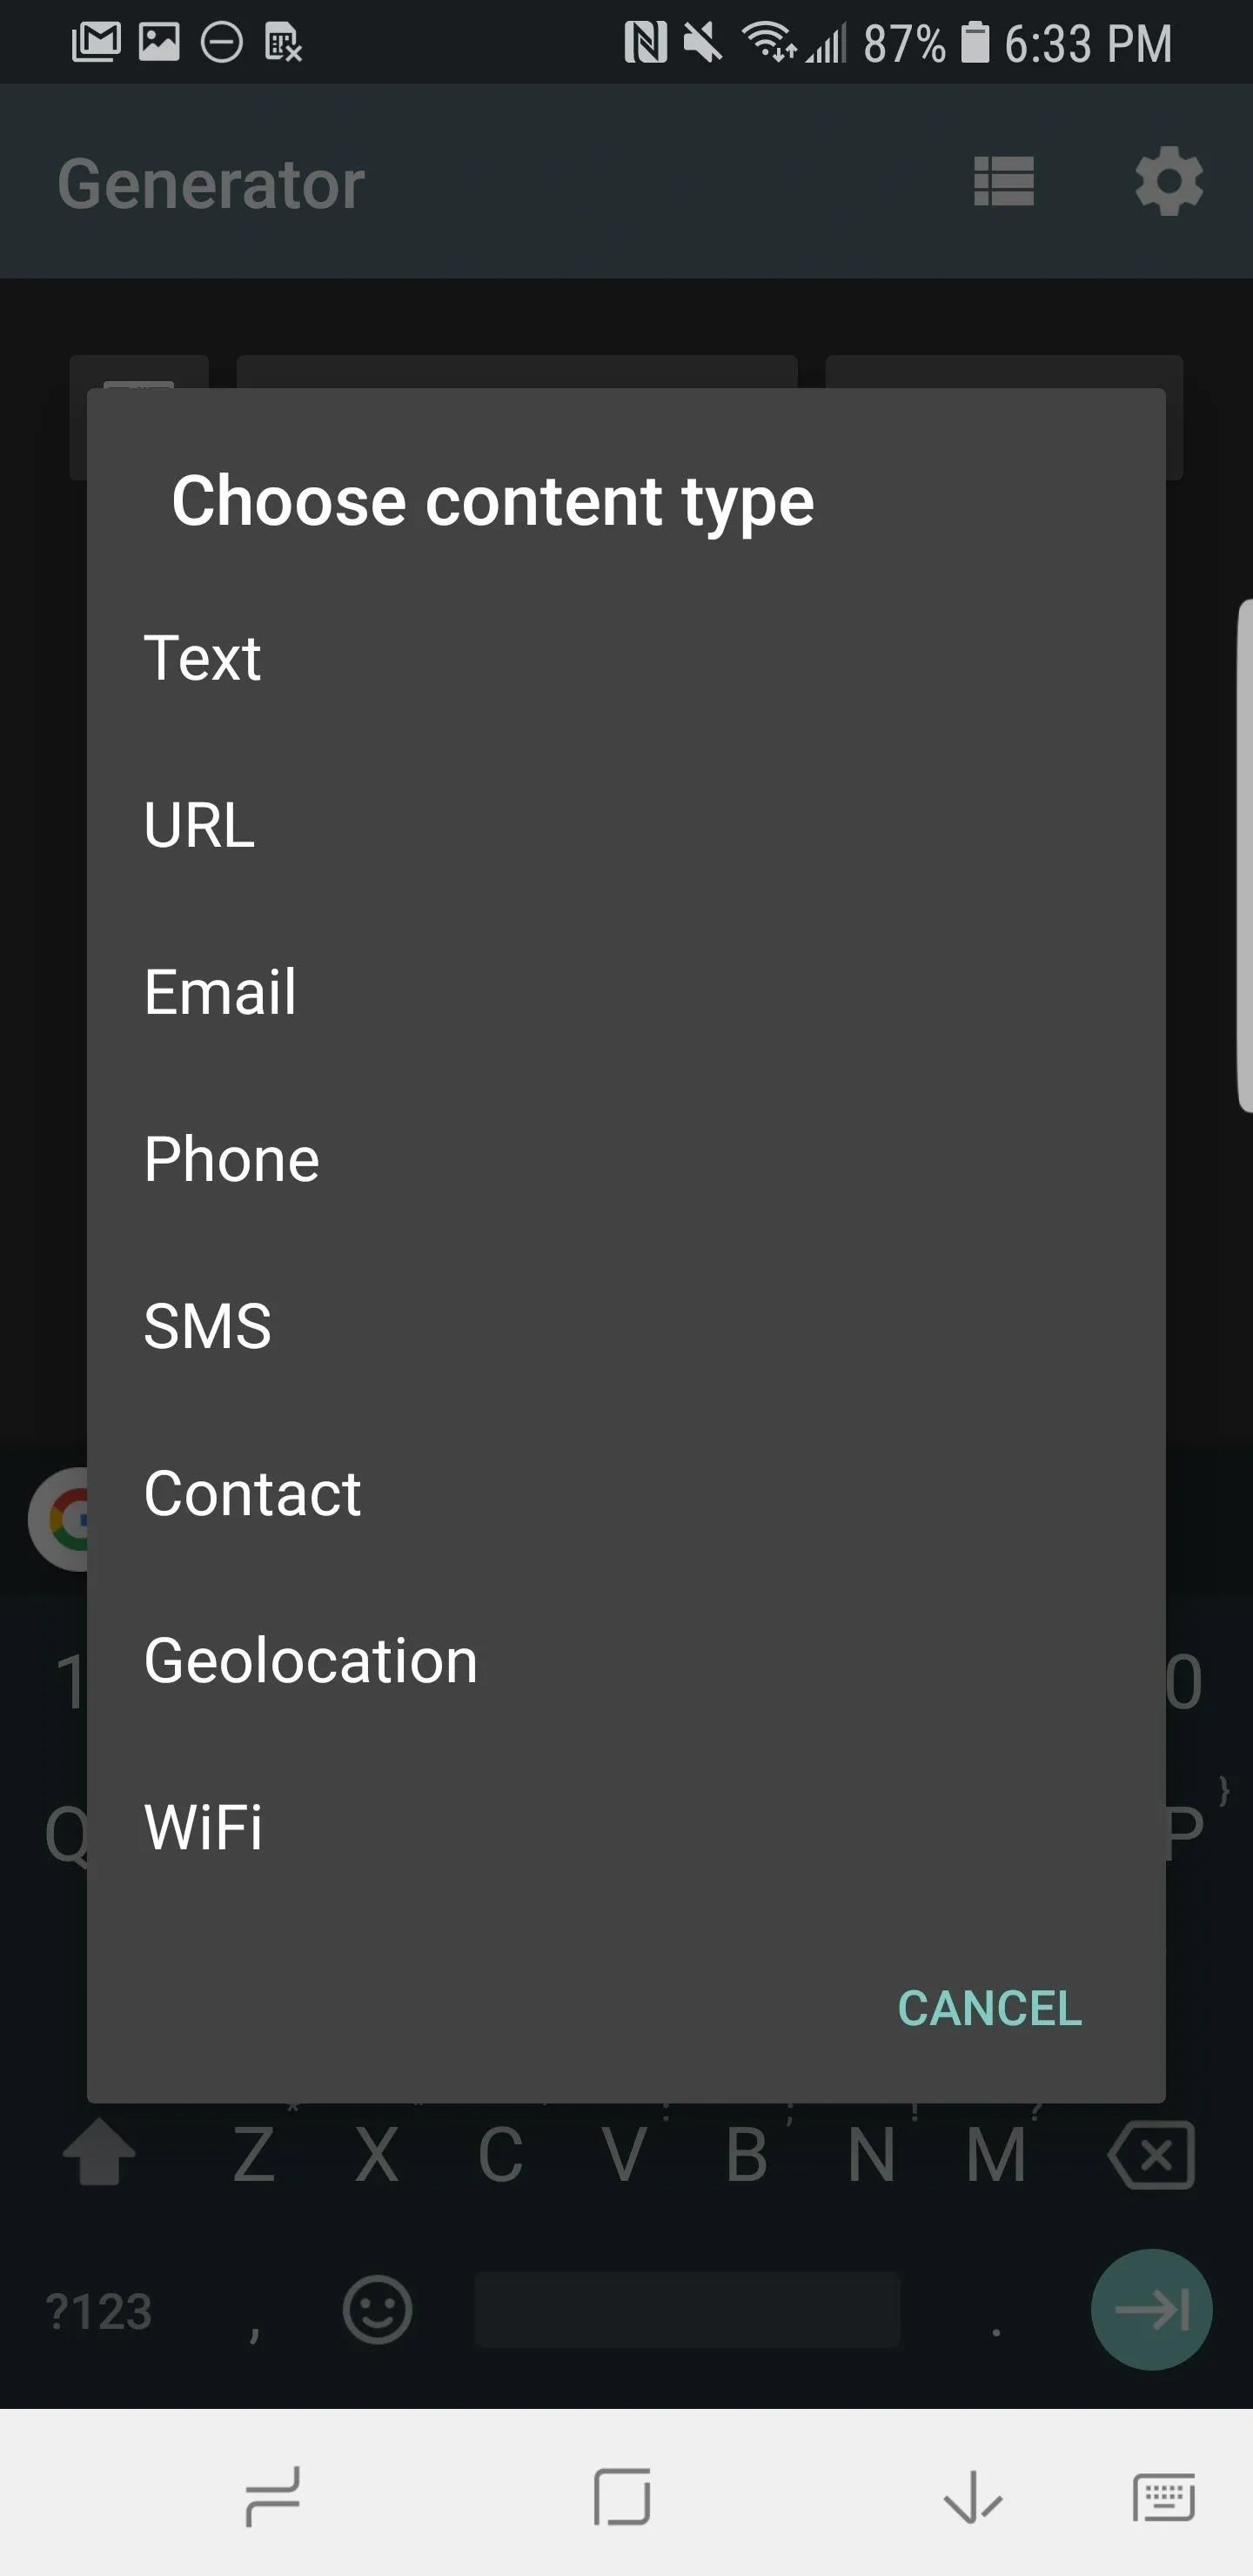
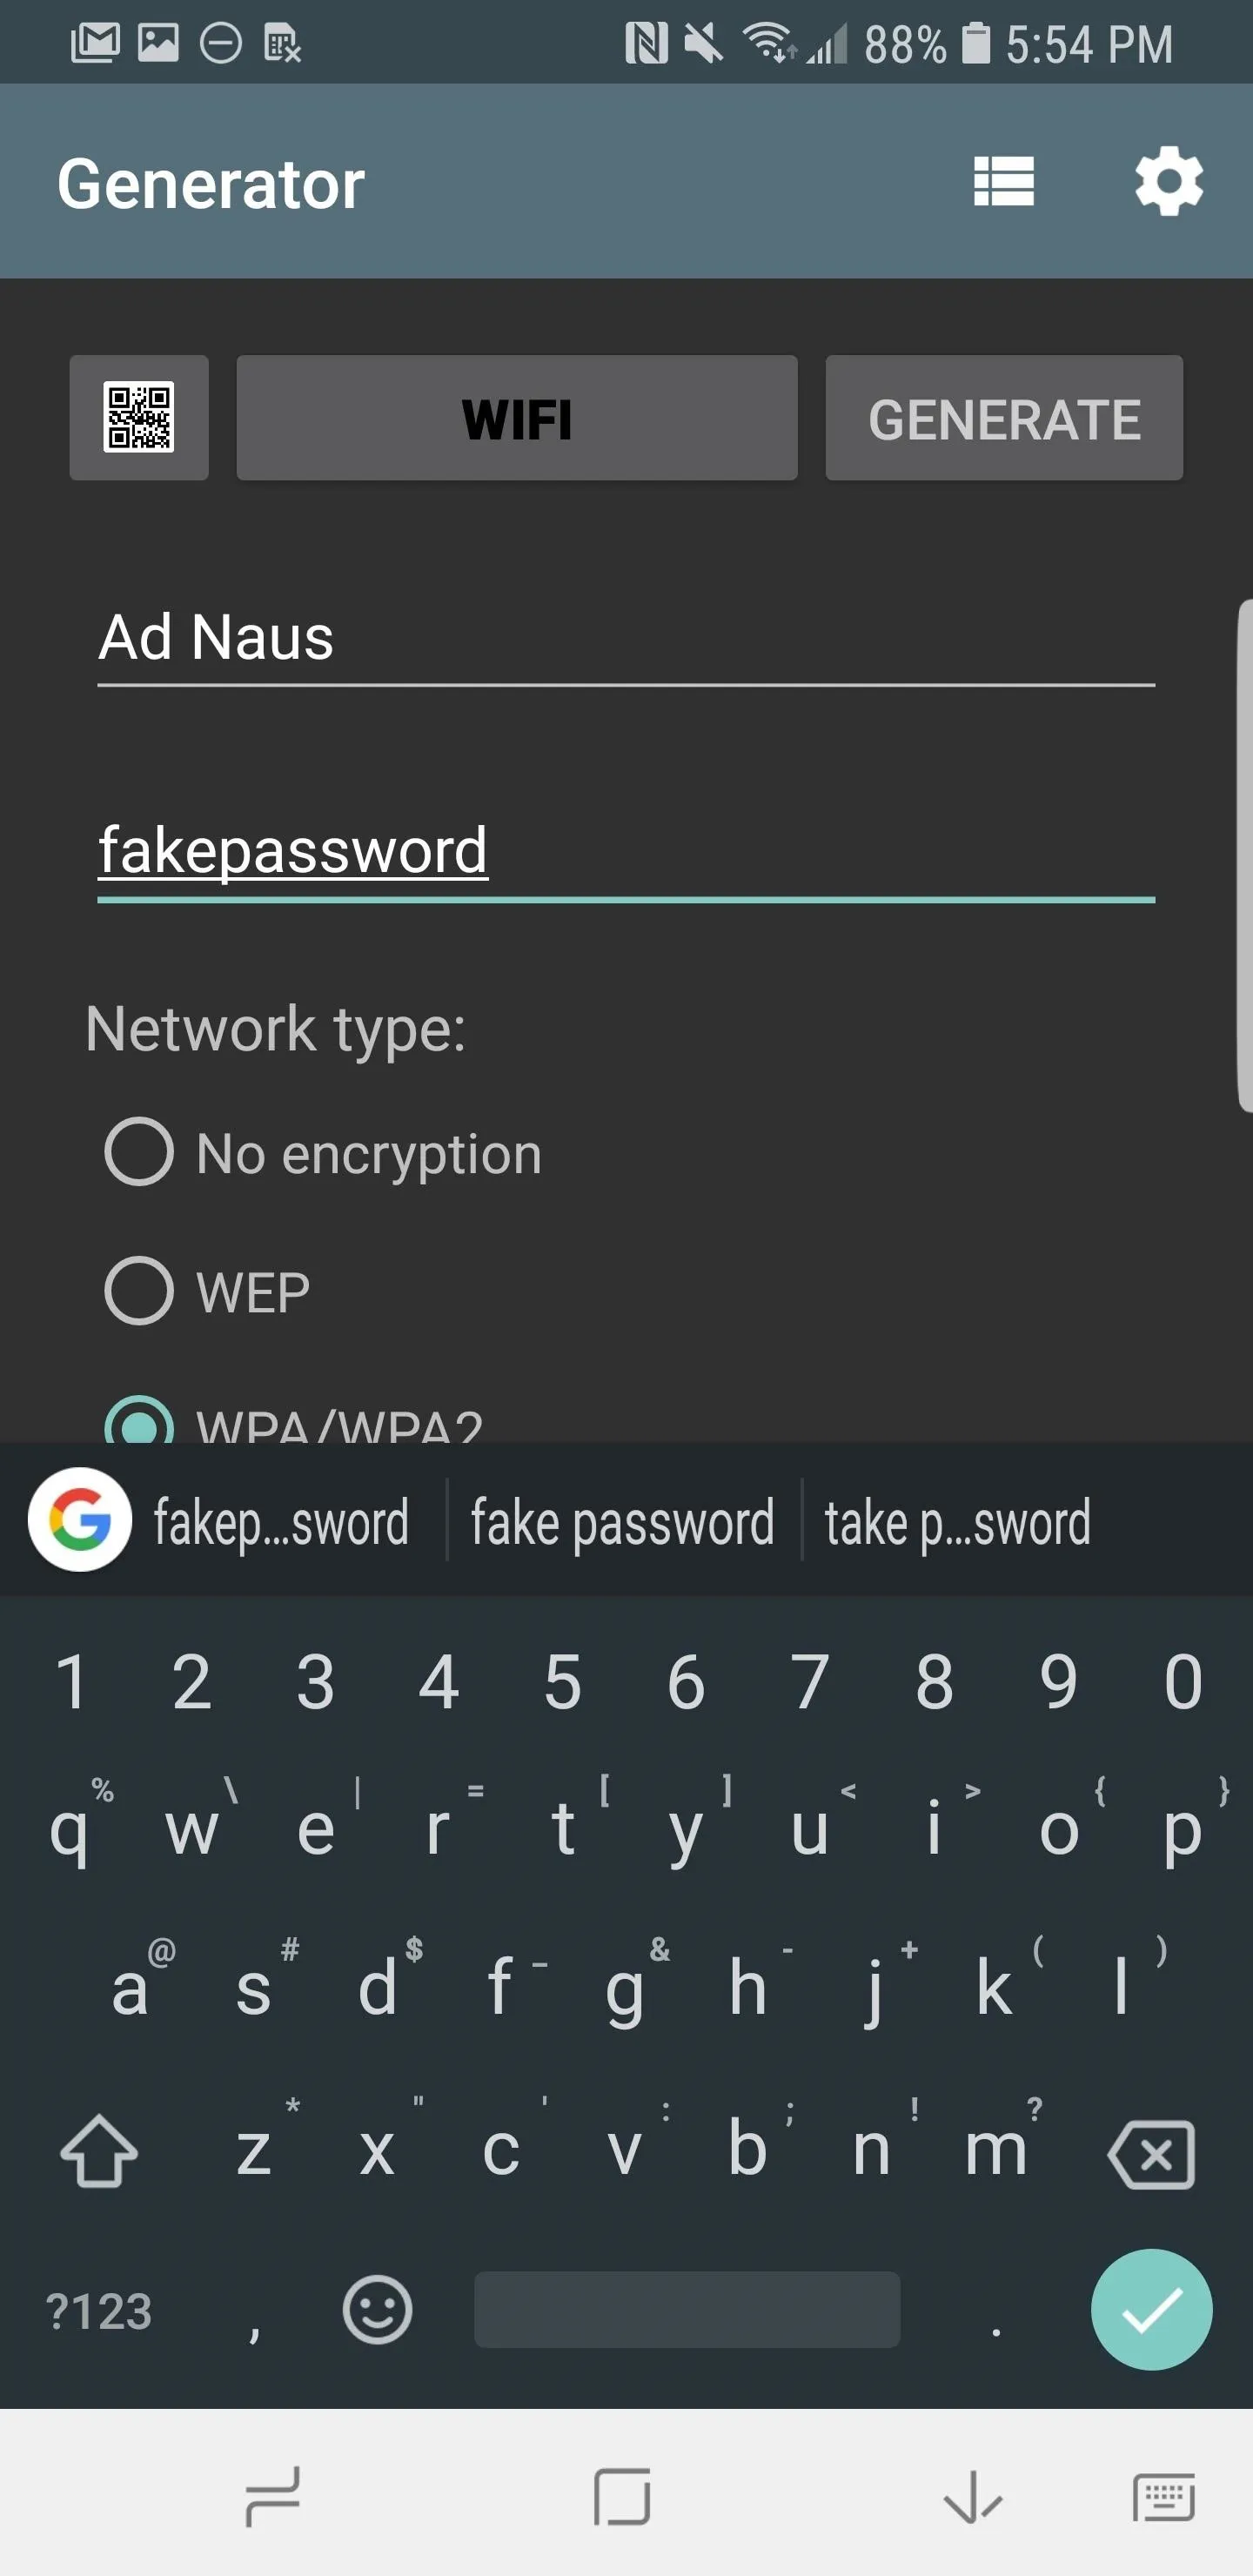
QR Code Generator can create a number of QR codes. Of course, we're mostly concerned with its ability to create one for your Wi-Fi network. By default, the app will make a QR code that only displays text. To change the mode, tap the button that says "Text," and another menu will open up. From this menu, select "WiFi."
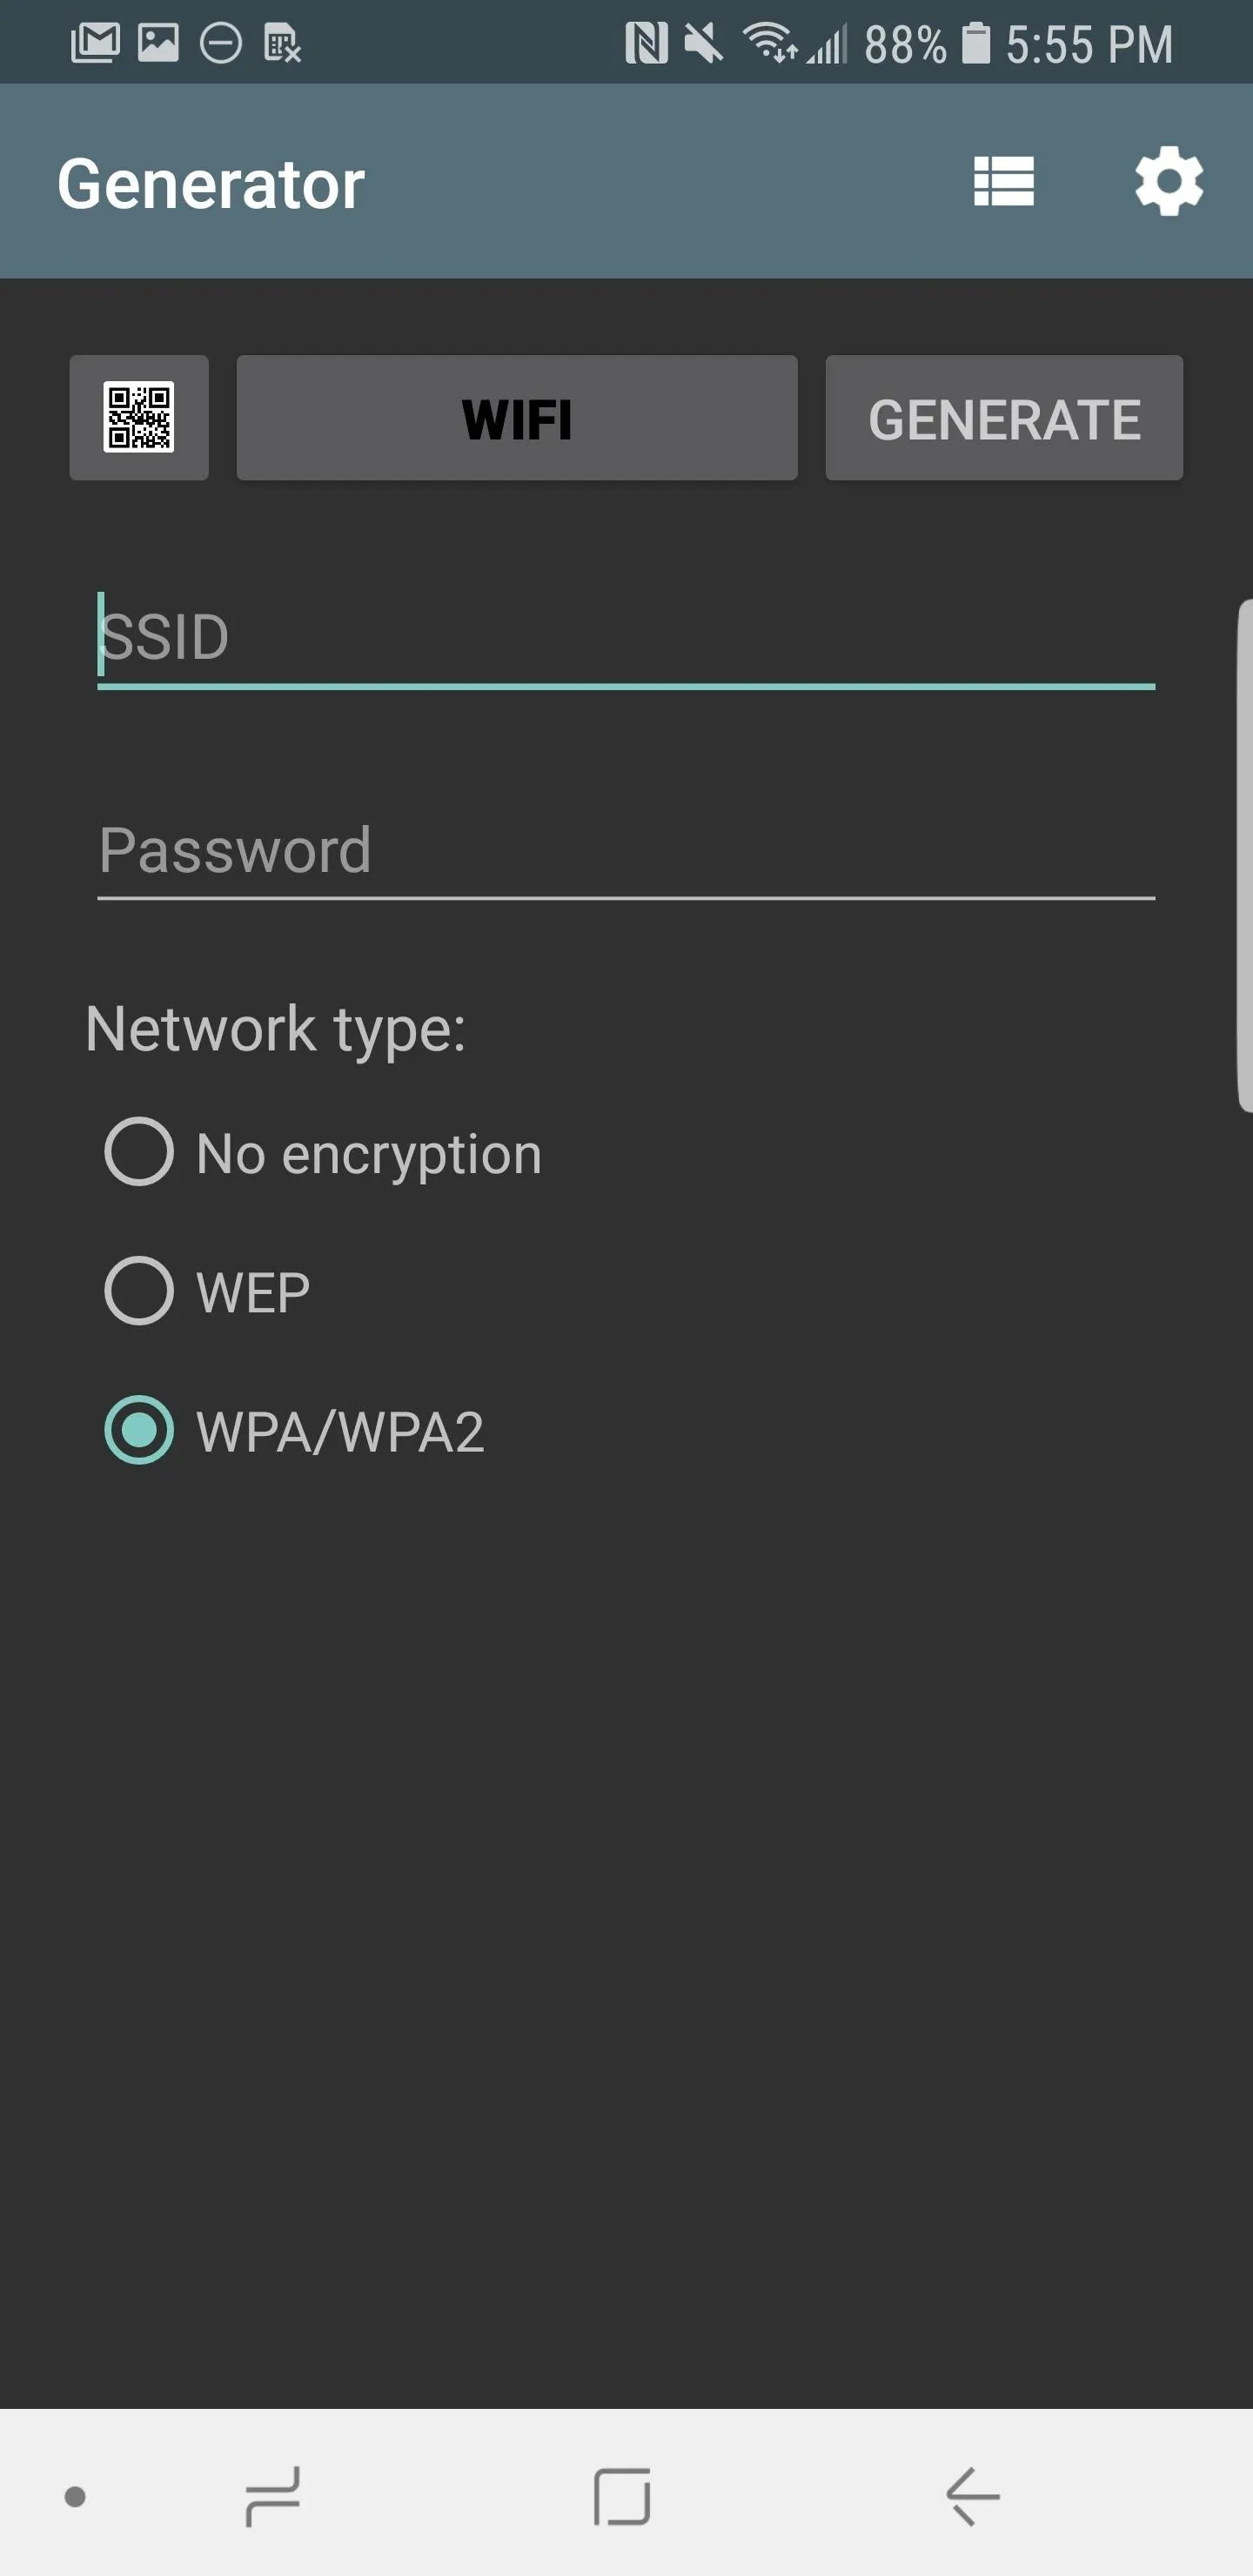
Now, you'll be asked to enter in your SSID, password, and to choose the network type. The SSID is the same as the one you recorded in Step 1, and the network type is the Network Encryption Type that you recorded alongside the SSID. The last field is simply the password you created to access your Wi-Fi network.
Remember, it's important to enter all this information in correctly, as the app has no way of knowing whether or not it's correct. It'll just create a QR code based on what you enter. After you put all the information in, hit "Generate" to create the QR code.
Save Your QR Code
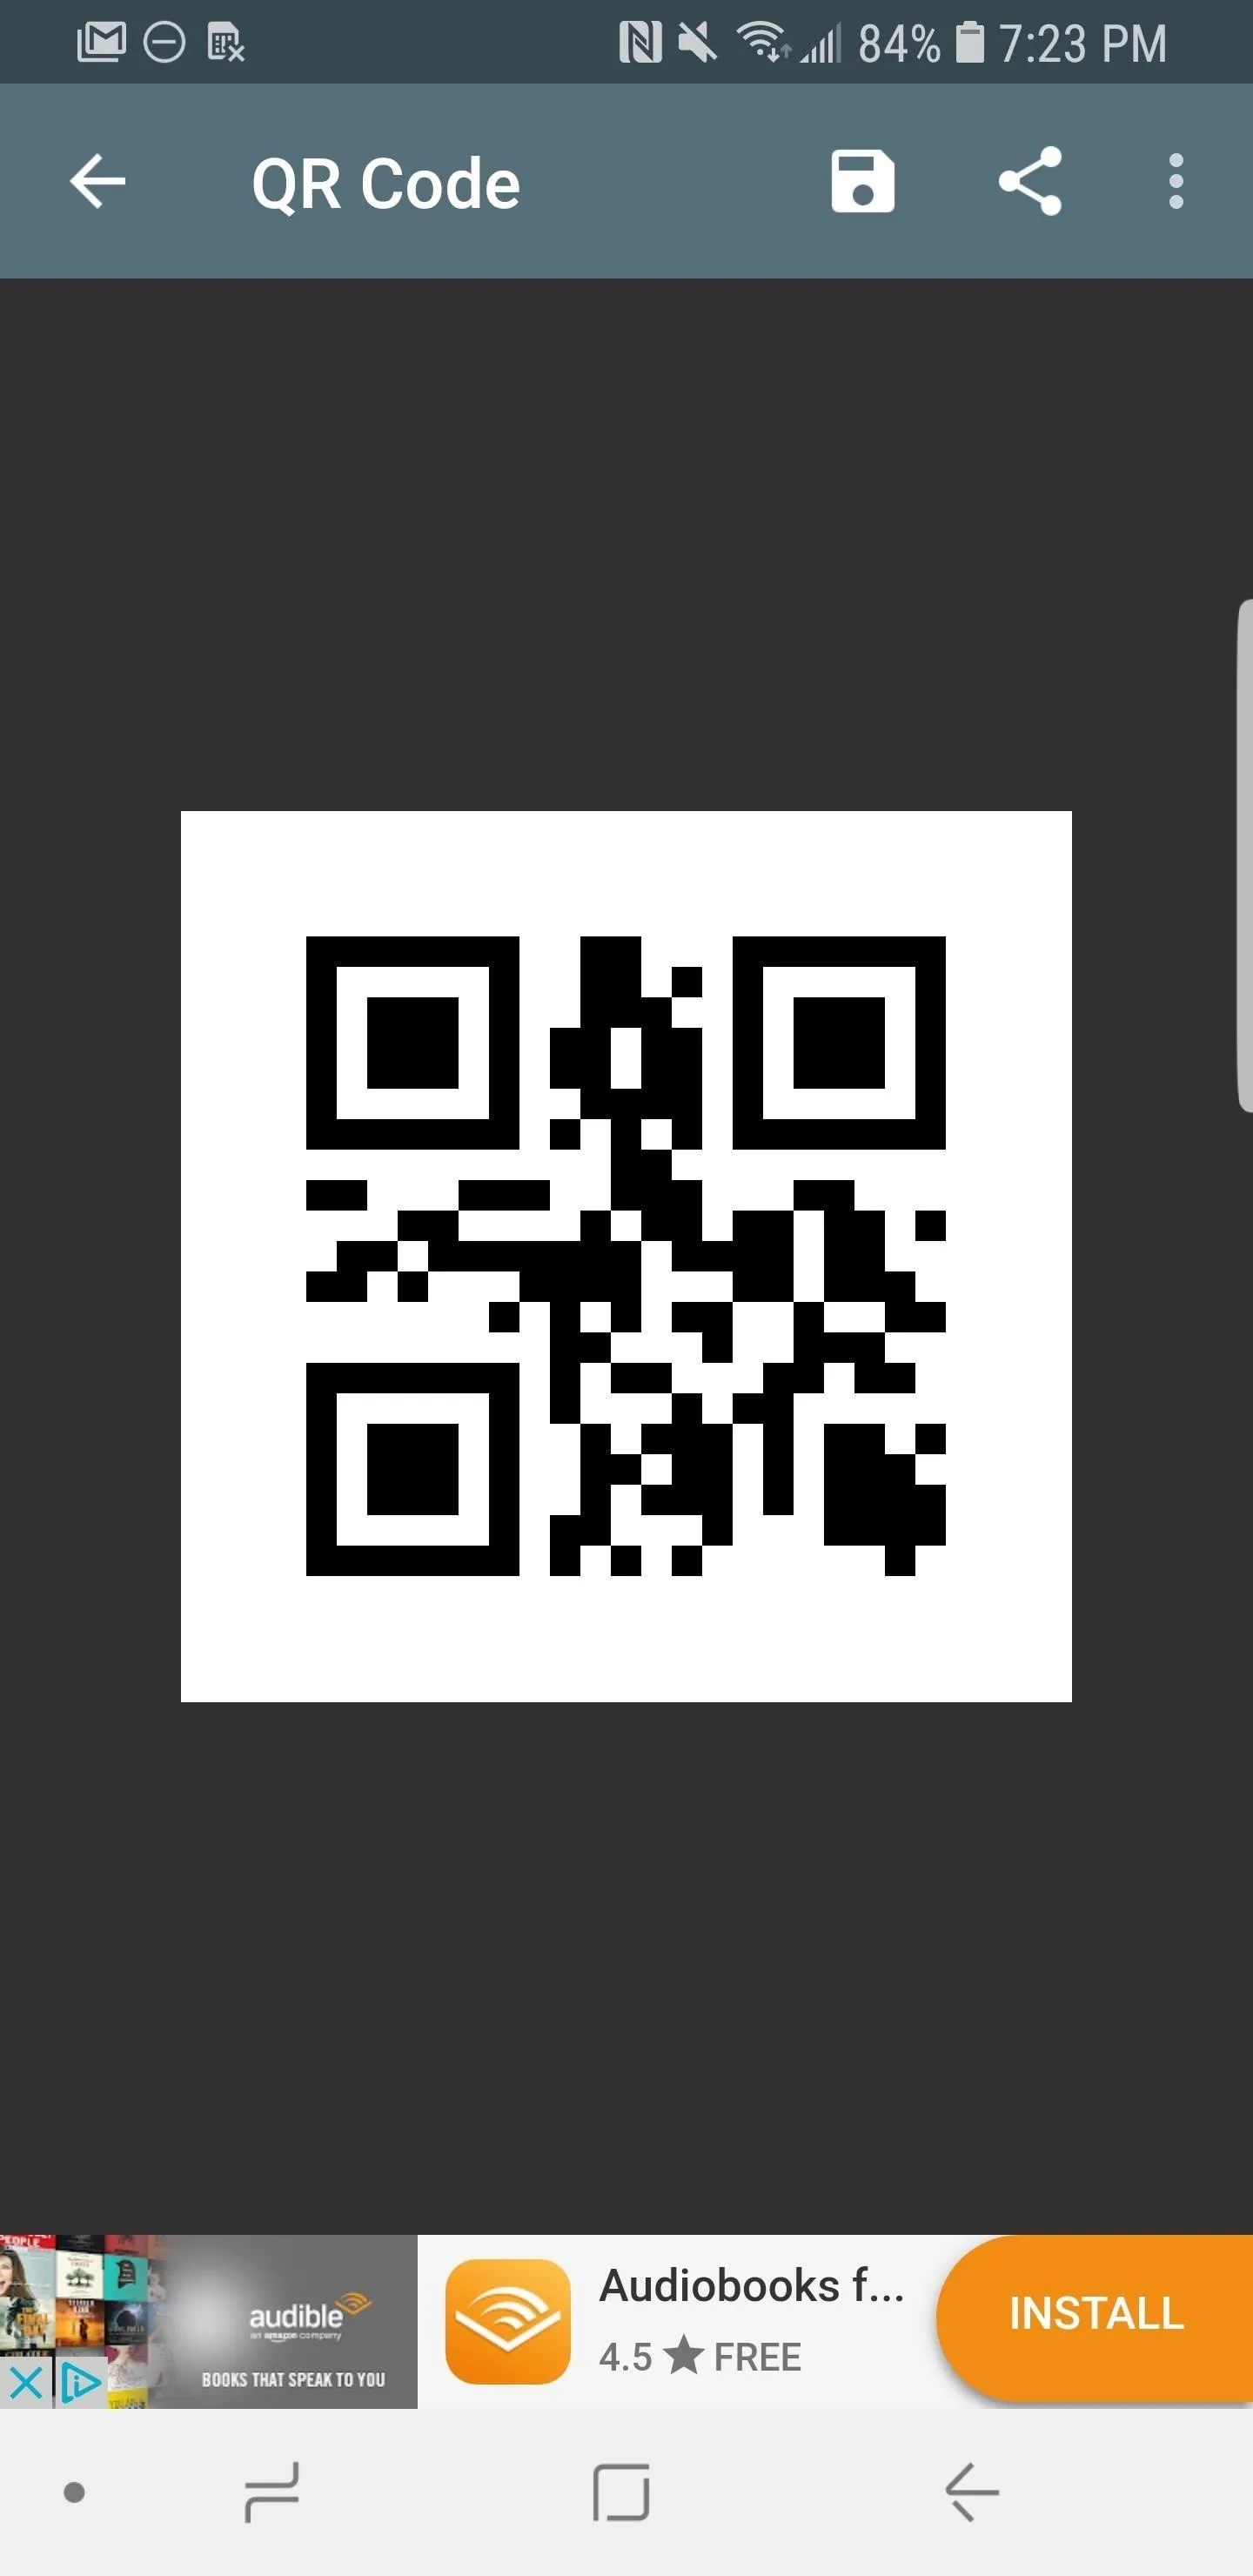
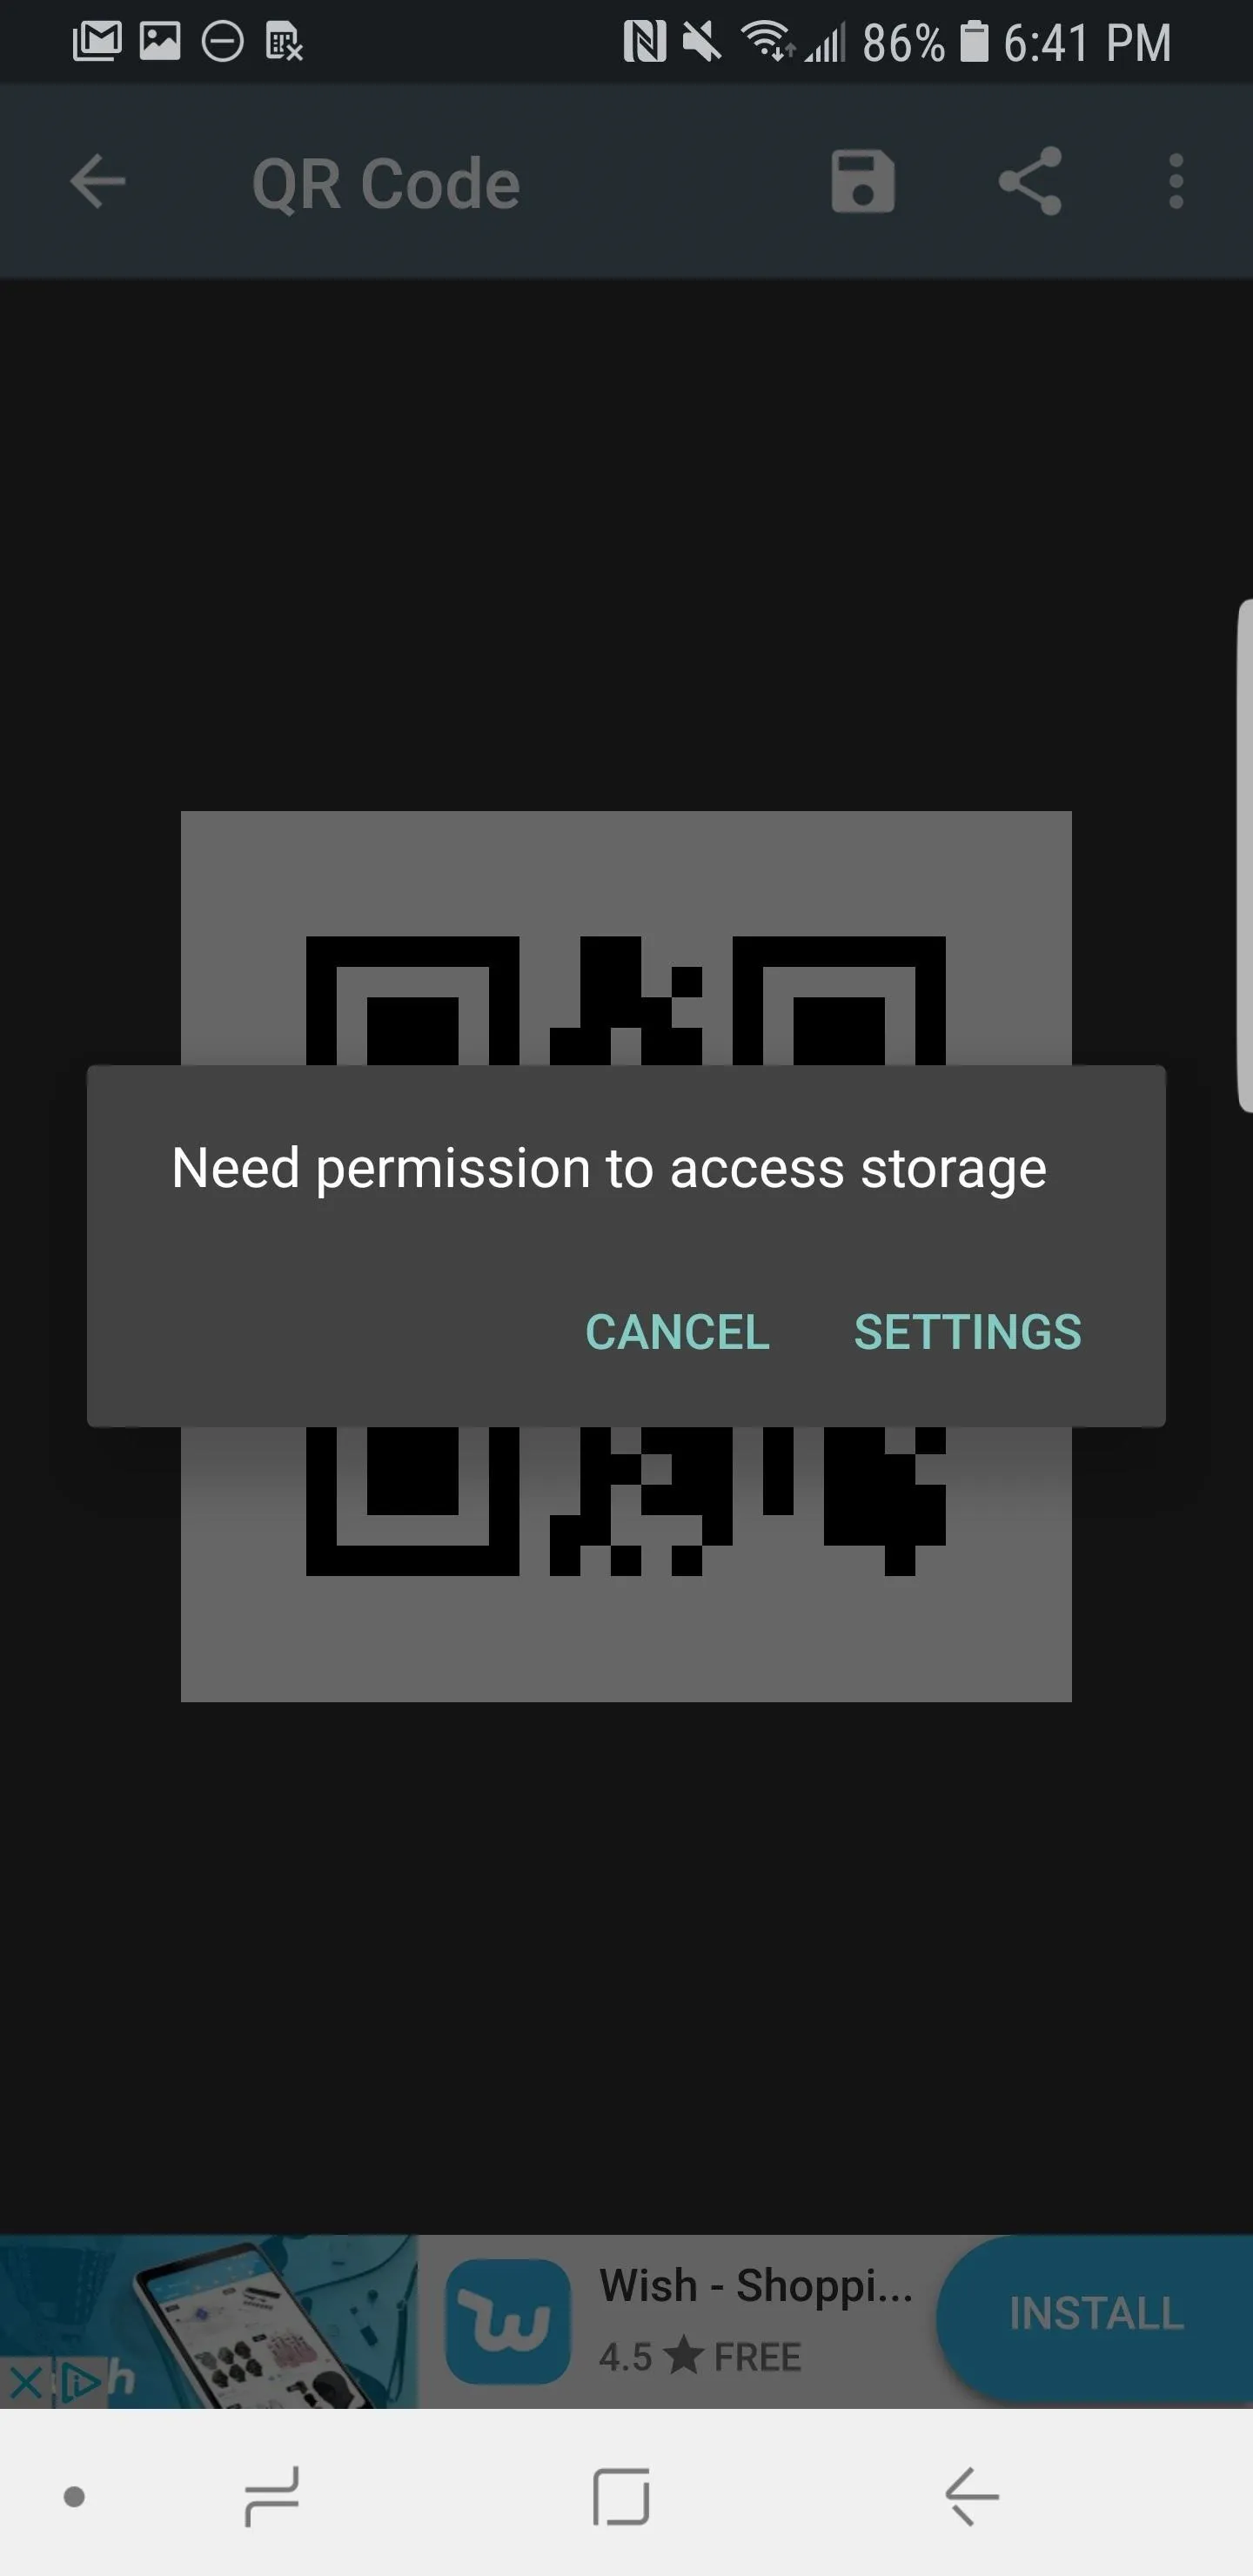
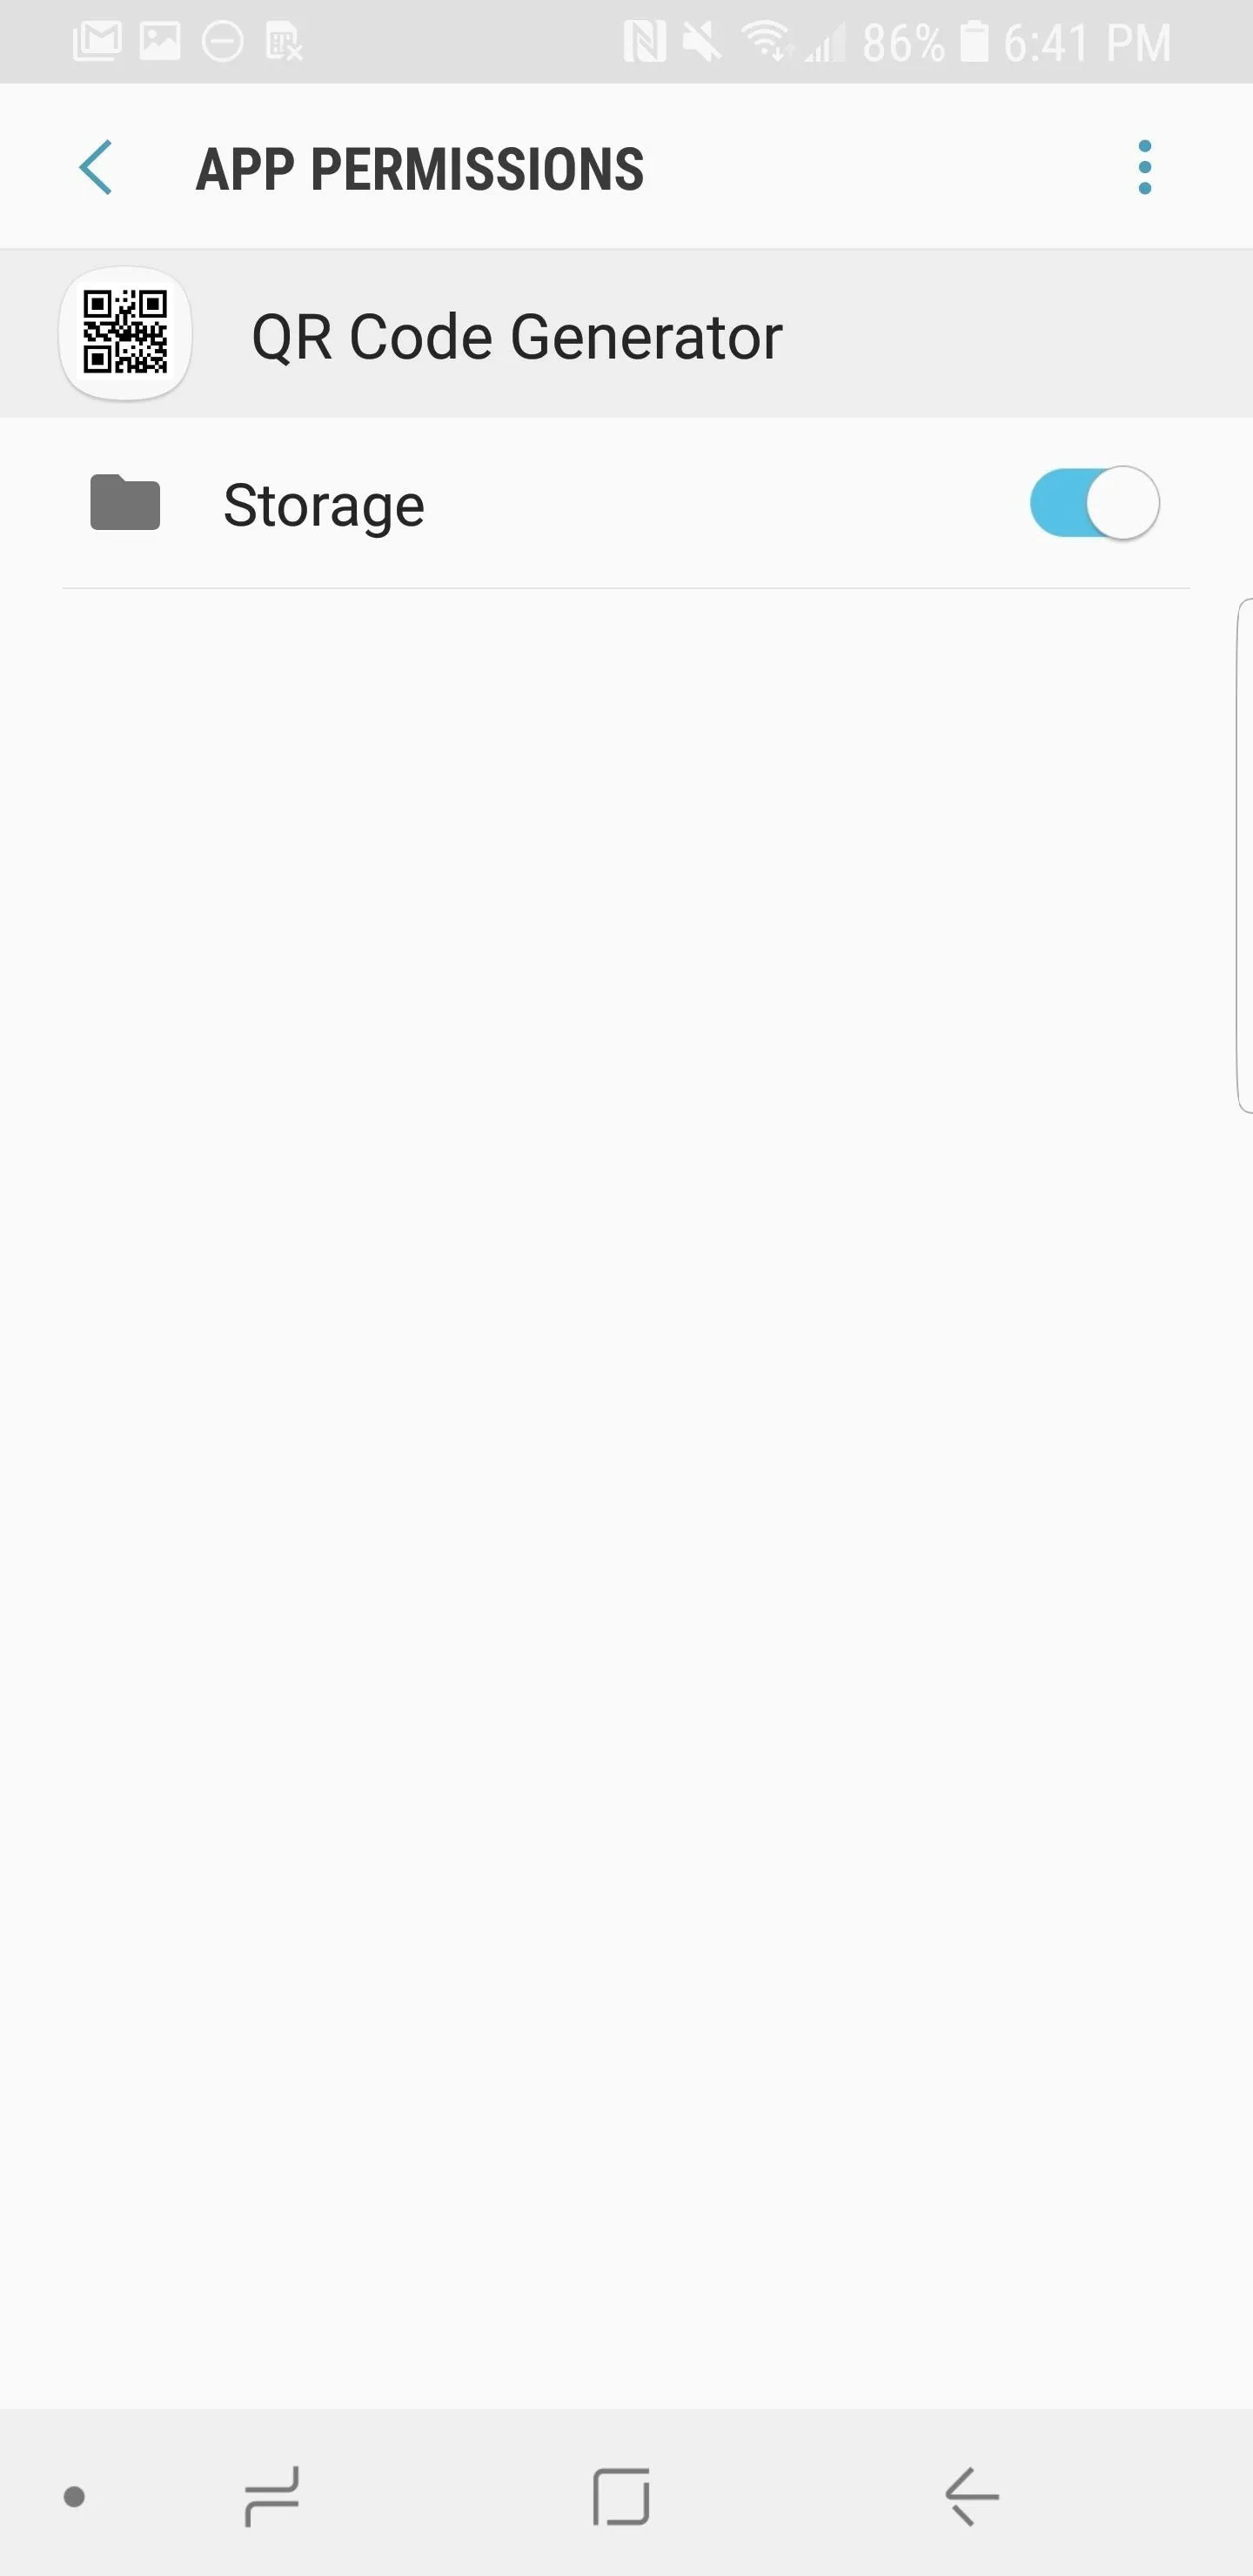
From here, tap the floppy disk icon to save your QR code as a PNG image file. You may be prompted to grant the app permission to access storage at this point. If so, tap "Settings" on the prompt, then scroll down until you see "App Permissions." Tap that, then make sure the "Storage" box is ticked.

You can then hit the back button to get back to the app, tap the save icon and hit "OK" to confirm that you want to save. This will save a permanent copy of the QR code to your phone, which makes it easy to access at any time later.

Give Your Friends Your Wi-Fi Login
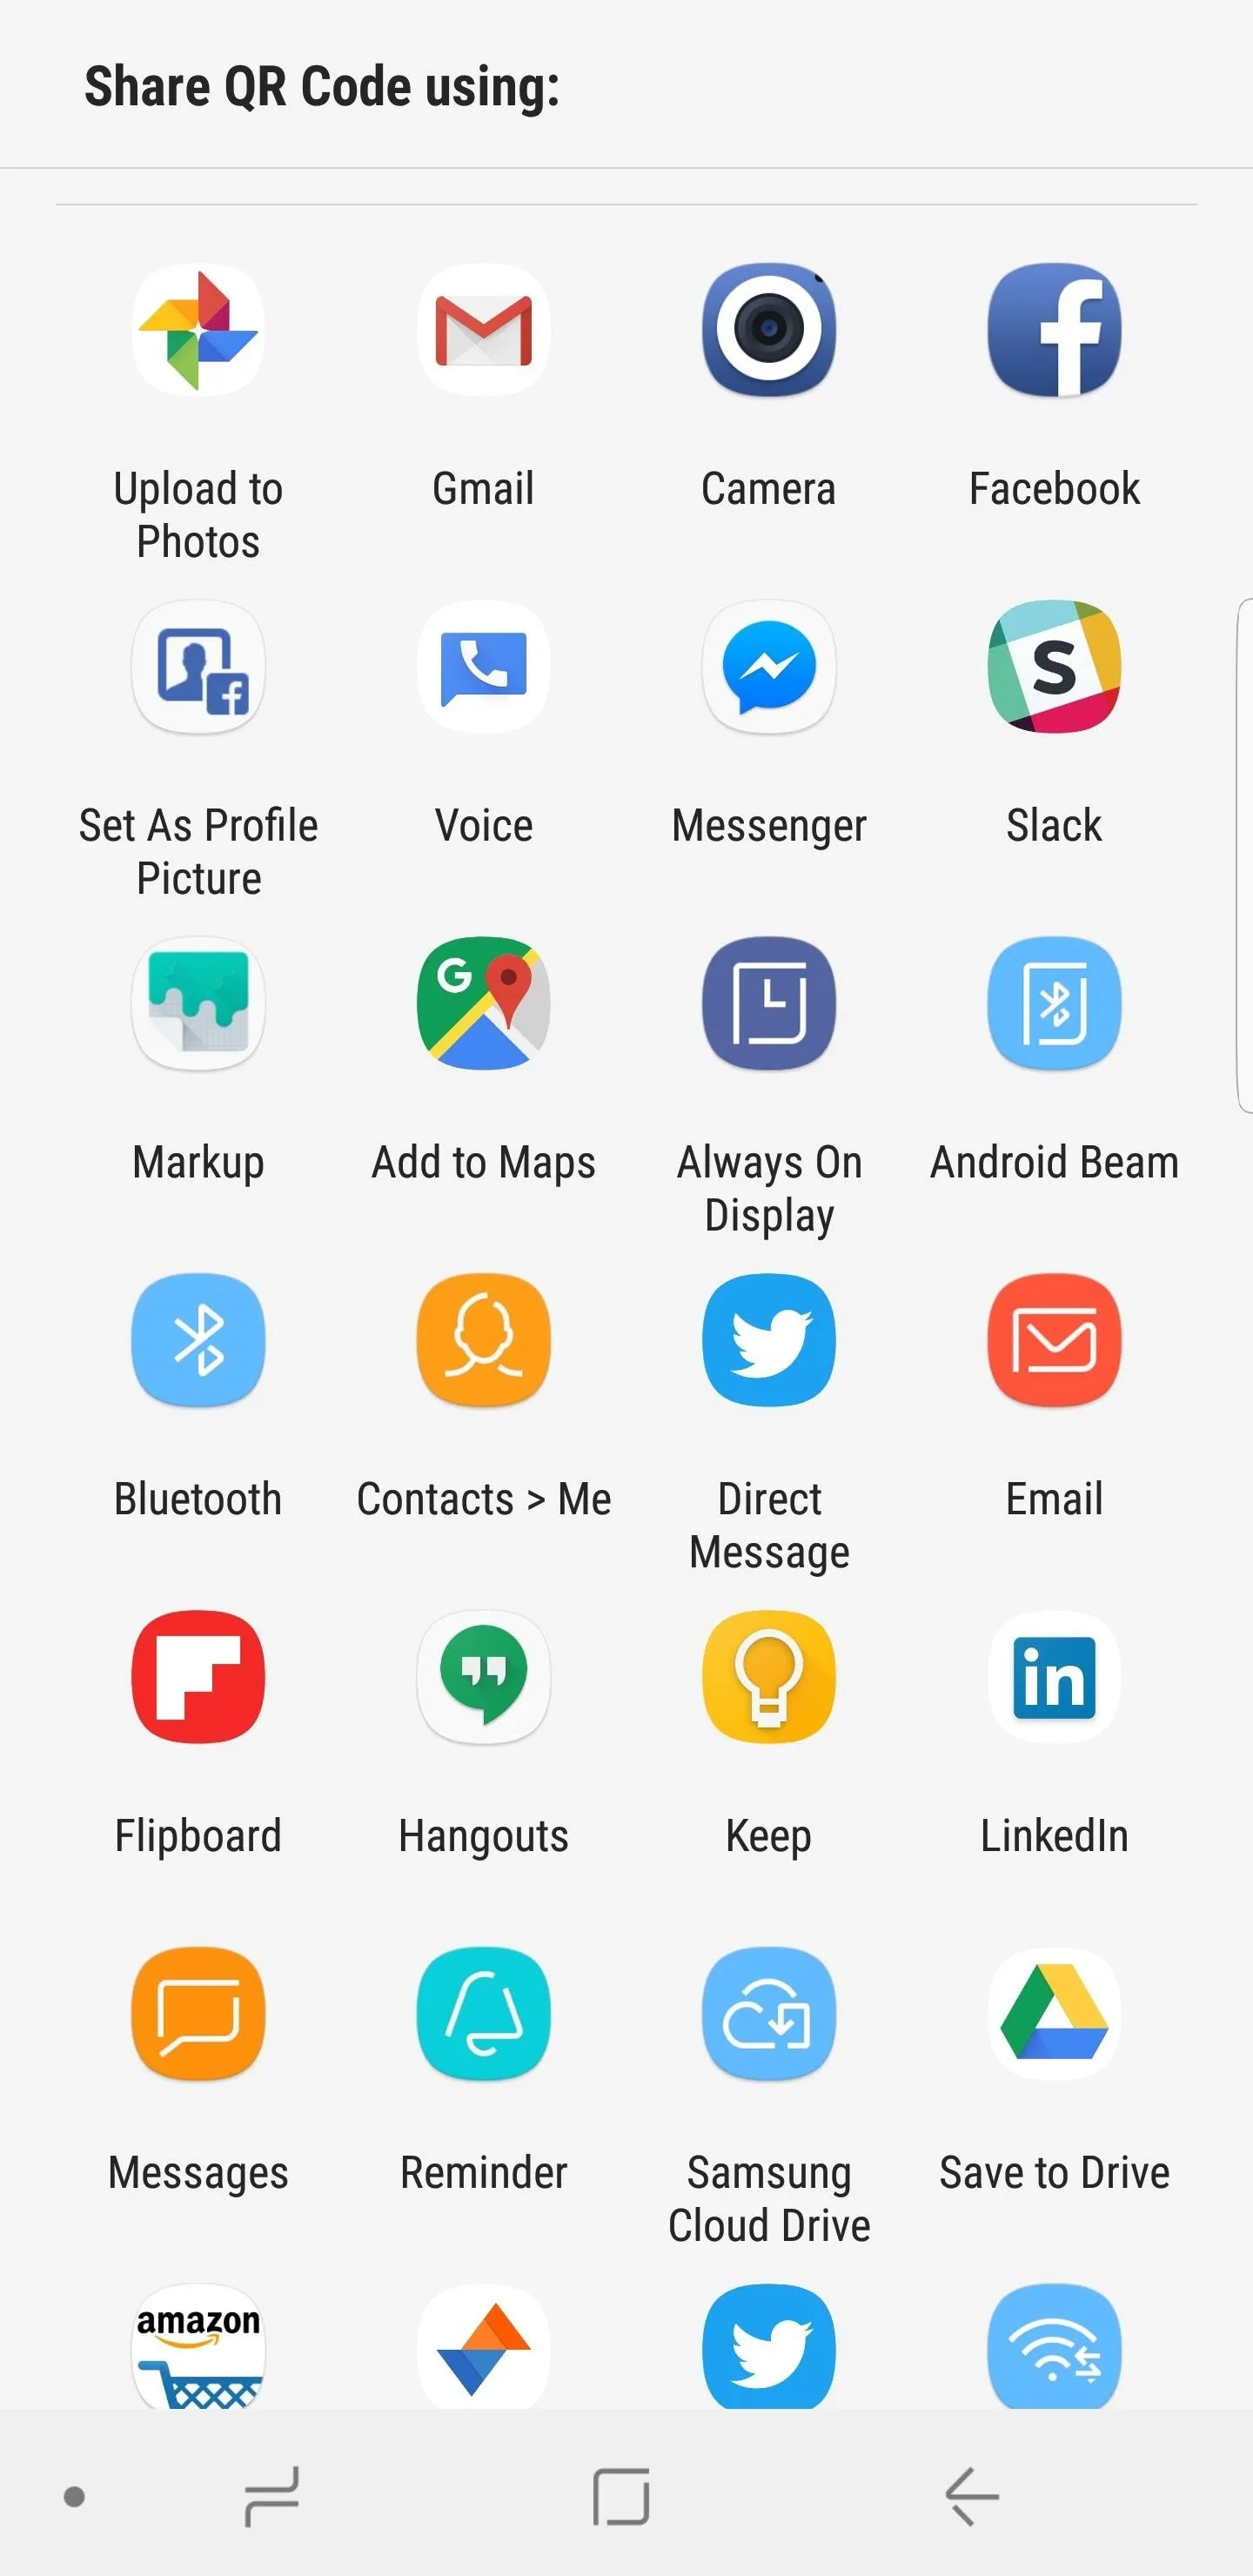
Now that everything's taken care of on your end, it'll be easy to share your Wi-Fi credentials in the future. To start, find the QR code you created in your Gallery or Photos app (it's in the "QRCode" folder on your SD card or internal storage). Open the image in full screen, then have your friend bring their phone over.
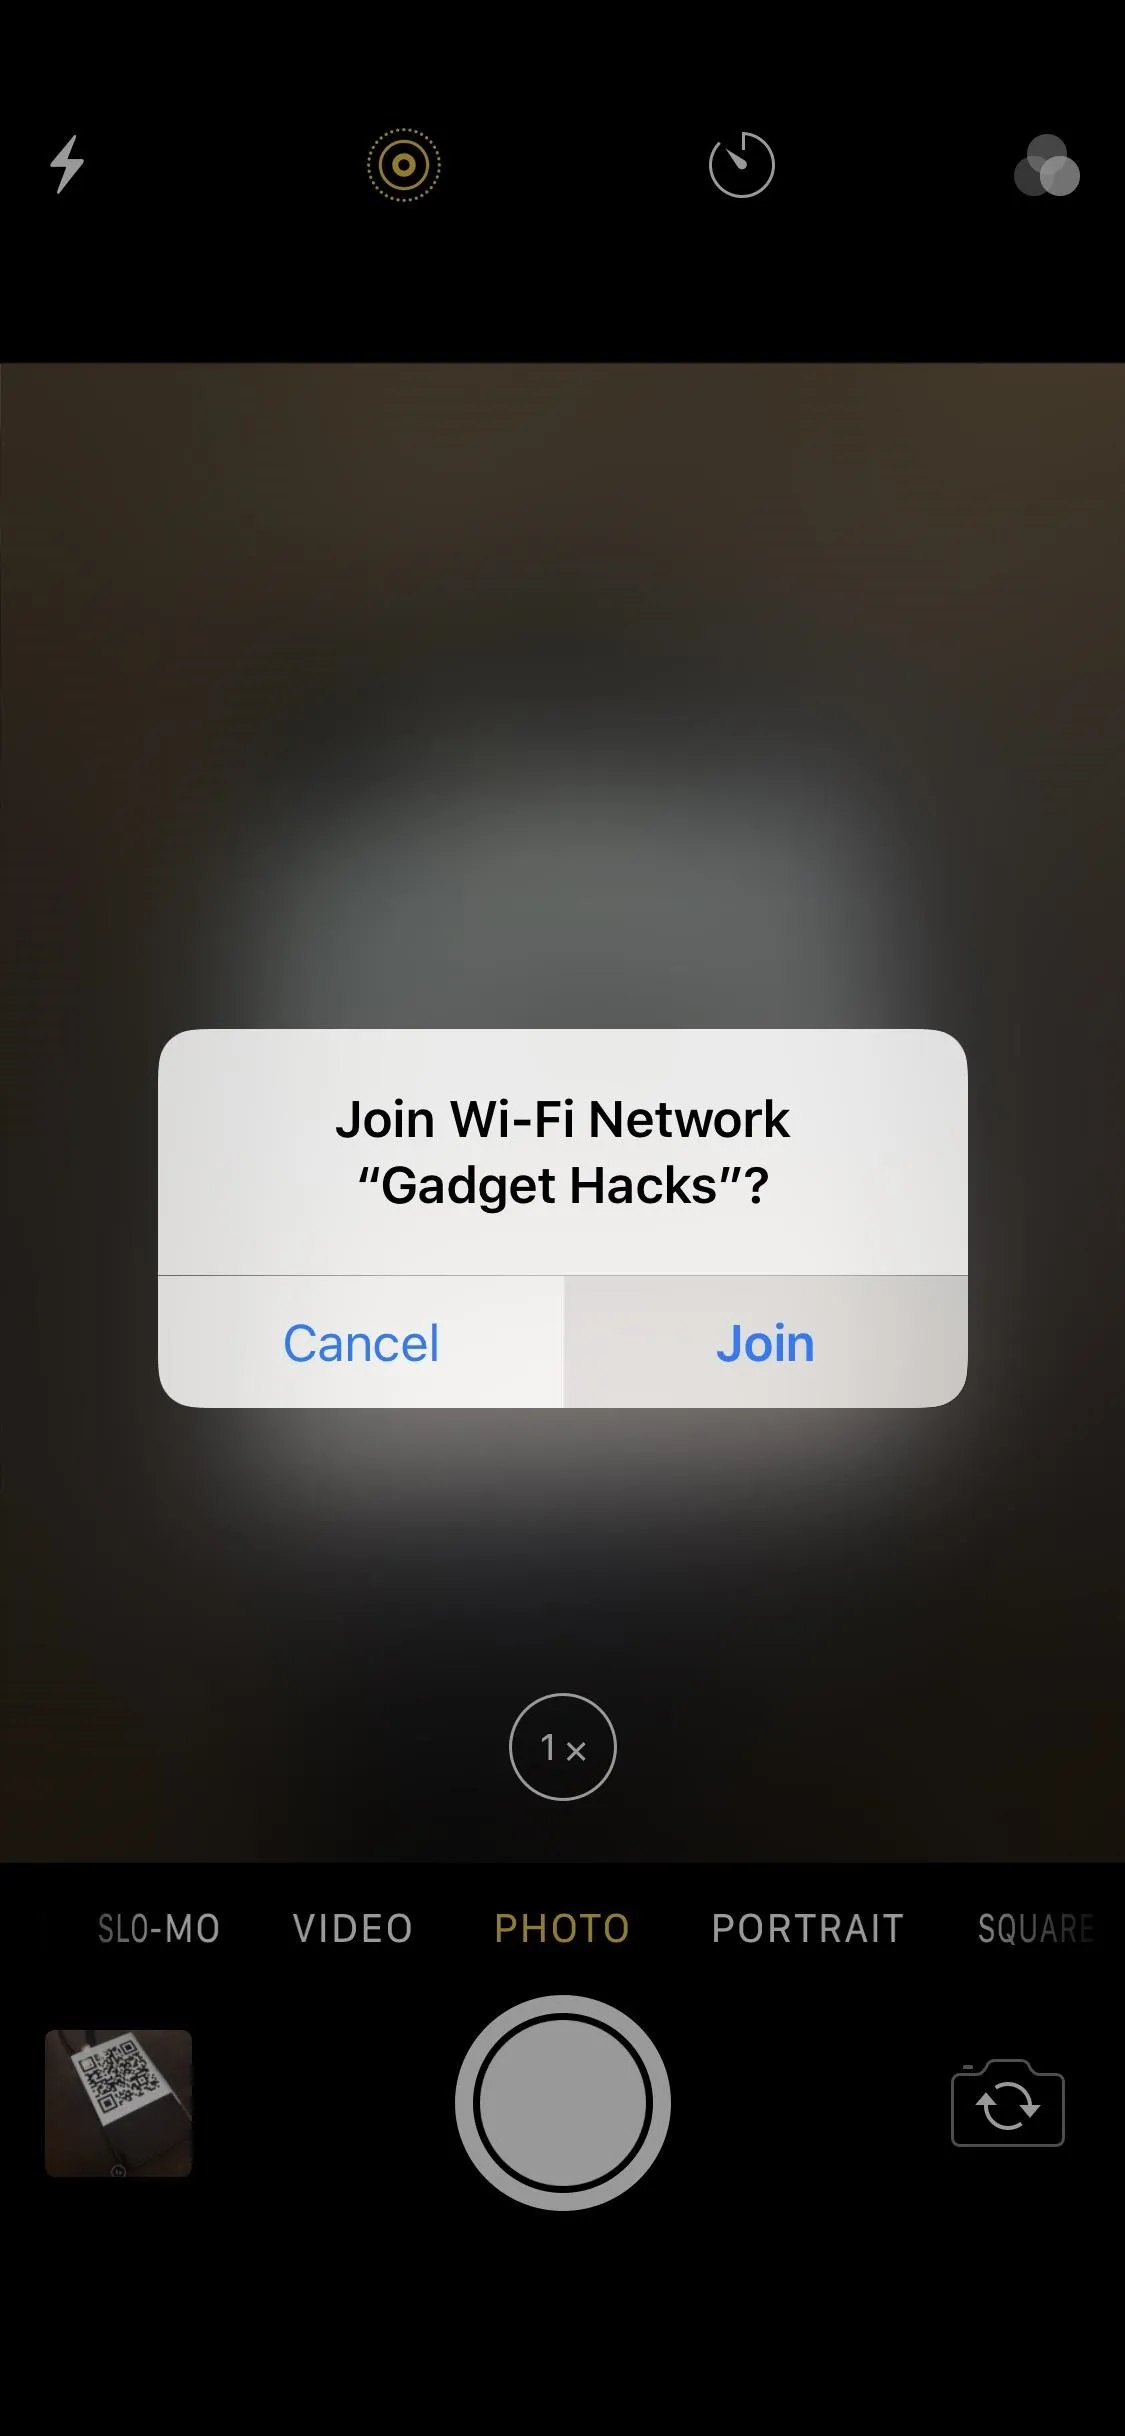
If your friend is using an iPhone and they've updated to iOS 11, the next step is really simple. Just have them open their Camera app and point their phone at your screen. Almost instantly, they'll get a notification offering to connect to your Wi-Fi network. Have them tap this notification, then hit the "Join" button — that's all there is to it!

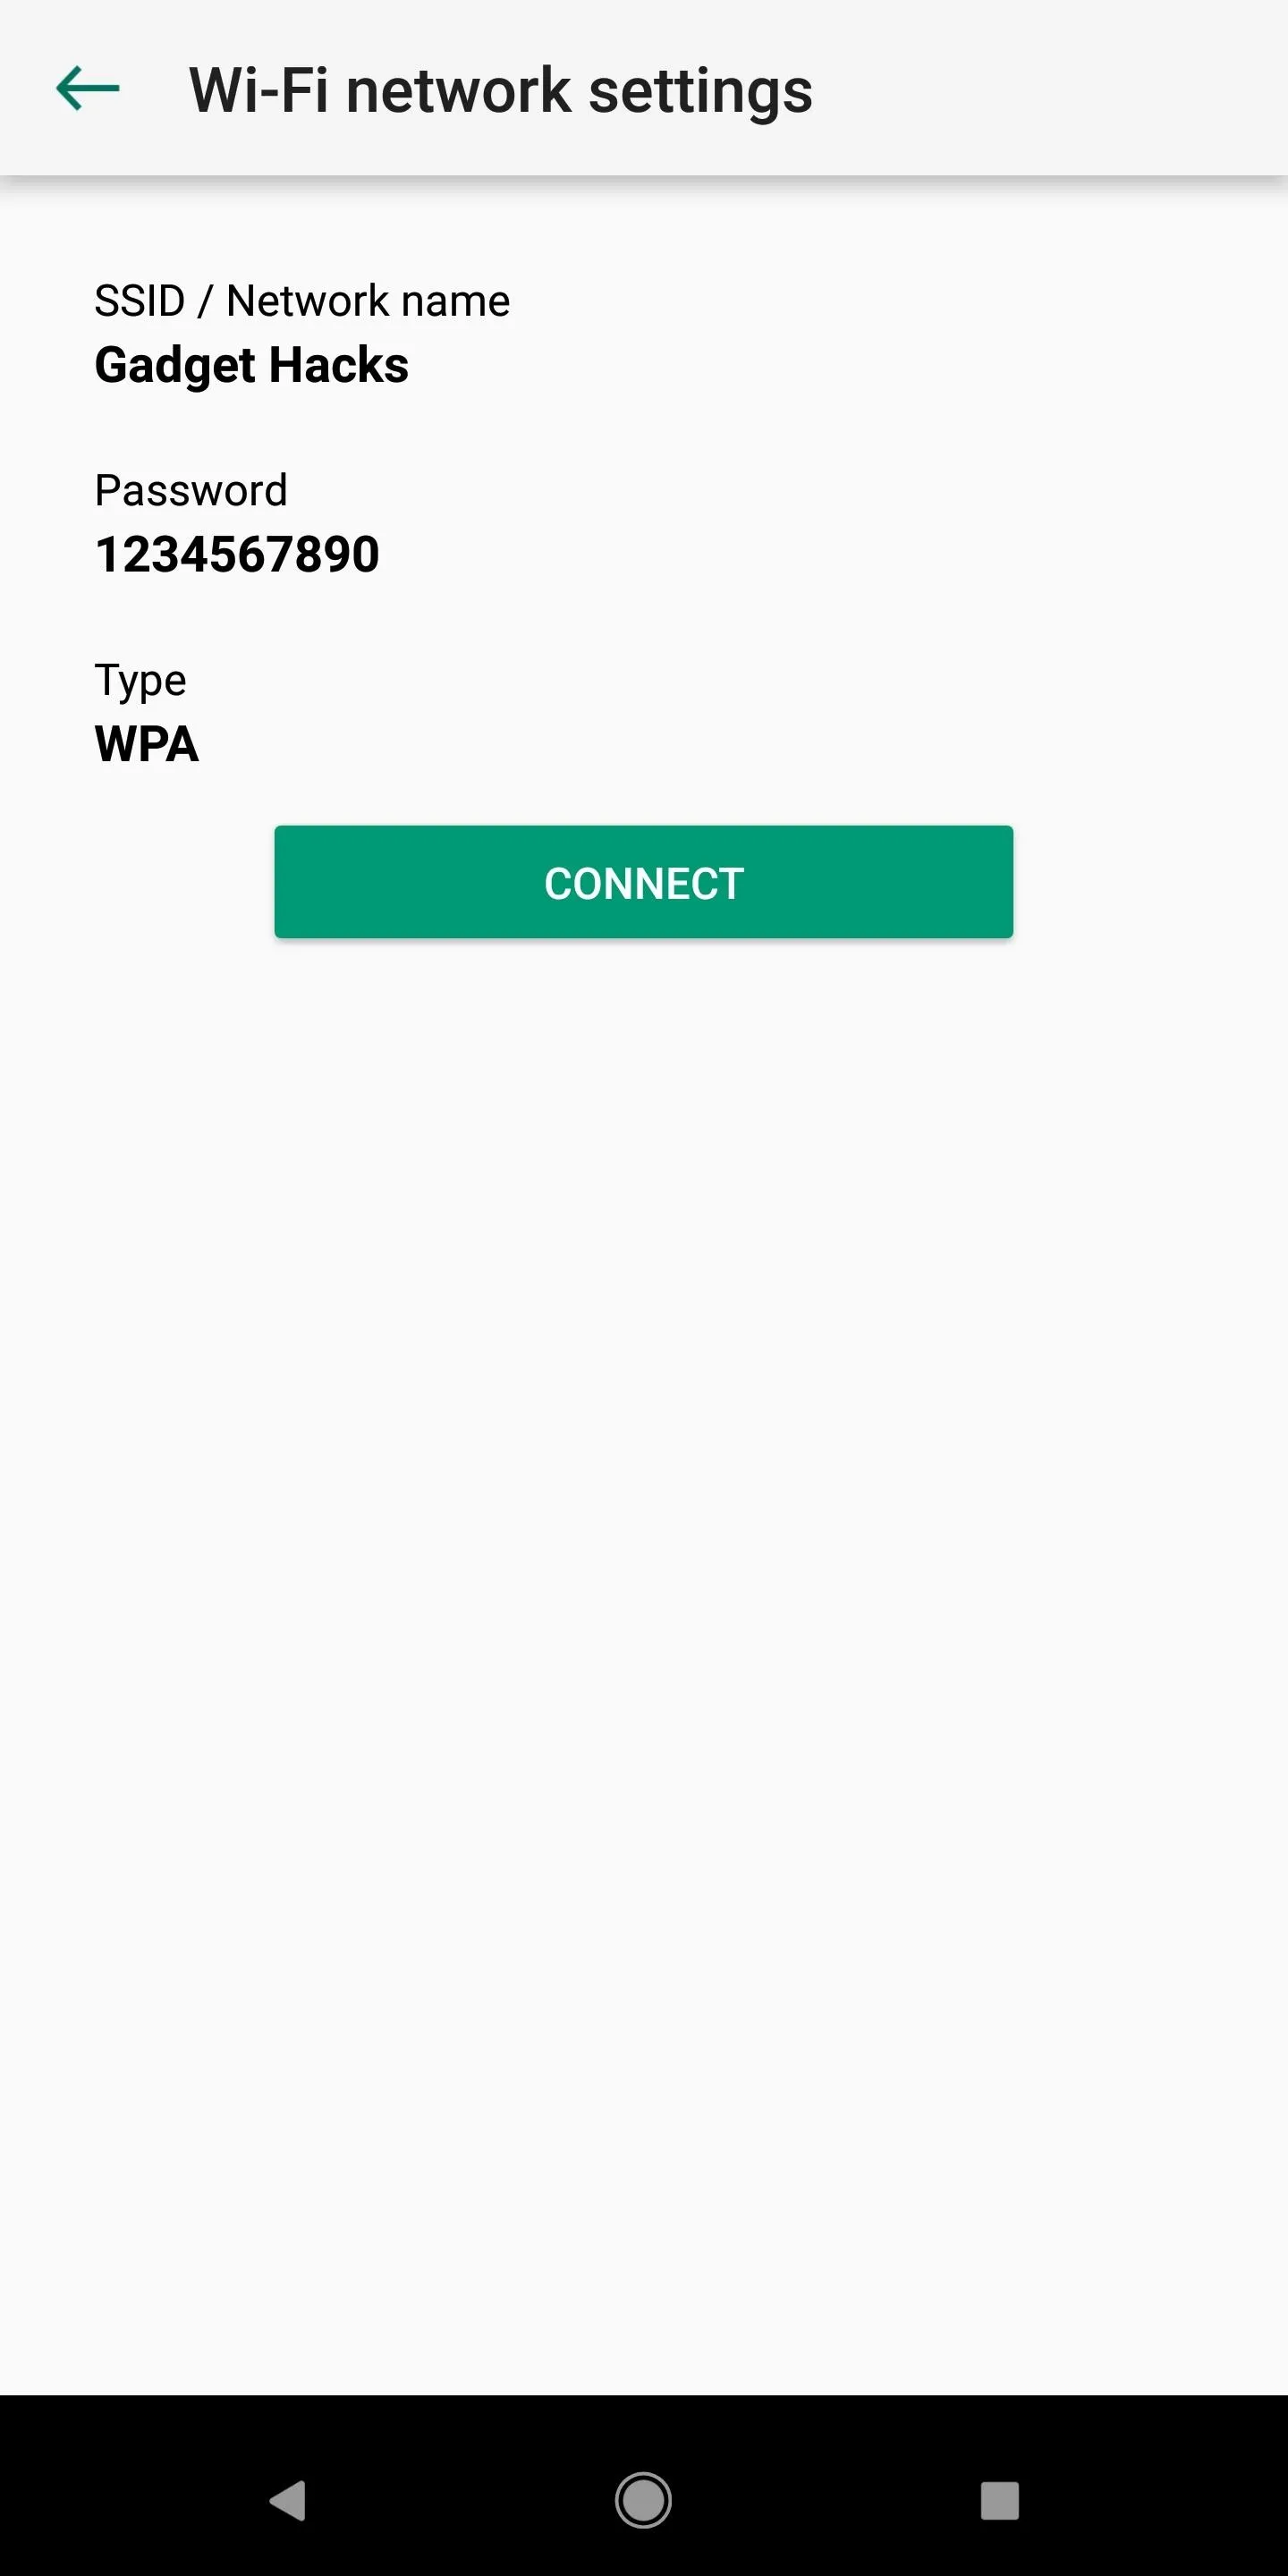
If your friend is using an Android device, they'll probably need a good QR scanner app, as most phones don't have this built into the camera. We recommend this one. Once the code is recognized by the QR scanner app, your friend can simply tap "Connect" to connect automatically.

If you wanted to take things a step further, you could even print out this QR code by sending the PNG file over to your computer. From there, cut out just the code and tape it to your router or a surface nearby. Then your friends can just use Step 5, but with a physical QR code instead of your phone's screen!
- Follow Gadget Hacks on Facebook, Twitter, YouTube, and Flipboard
- Follow WonderHowTo on Facebook, Twitter, Pinterest, and Flipboard
Cover image and screenshots by Brian Lang/Gadget Hacks


Comments
Be the first, drop a comment!