


We've all been hit by inopportune screen rotations at some point or another. Having the display orientation suddenly go from portrait to landscape when reading an interesting article in bed is one of the biggest irritations that come with using a smartphone (at least, for me). Thankfully, there are apps out there for your Android to help alleviate this inconvenience.
Rotation Manager by Meerkat is one such app, and it's pretty effective at clamping down on unwanted screen rotations. This app also gives you numerous options as far as orientations go, which can get very confusing if you don't know the ropes. But we love to make things as straightforward as possible, and the setup provided below will get you there, so let's get started.
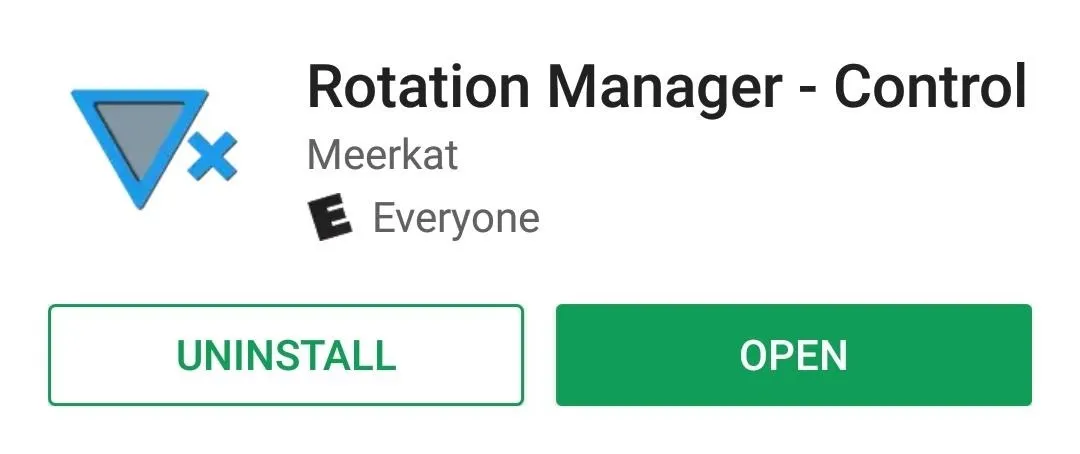
Install Rotation Manager
To install Rotation Manager, simply head to the Google Play Store and download the app for free.
Set Up Rotation Manager
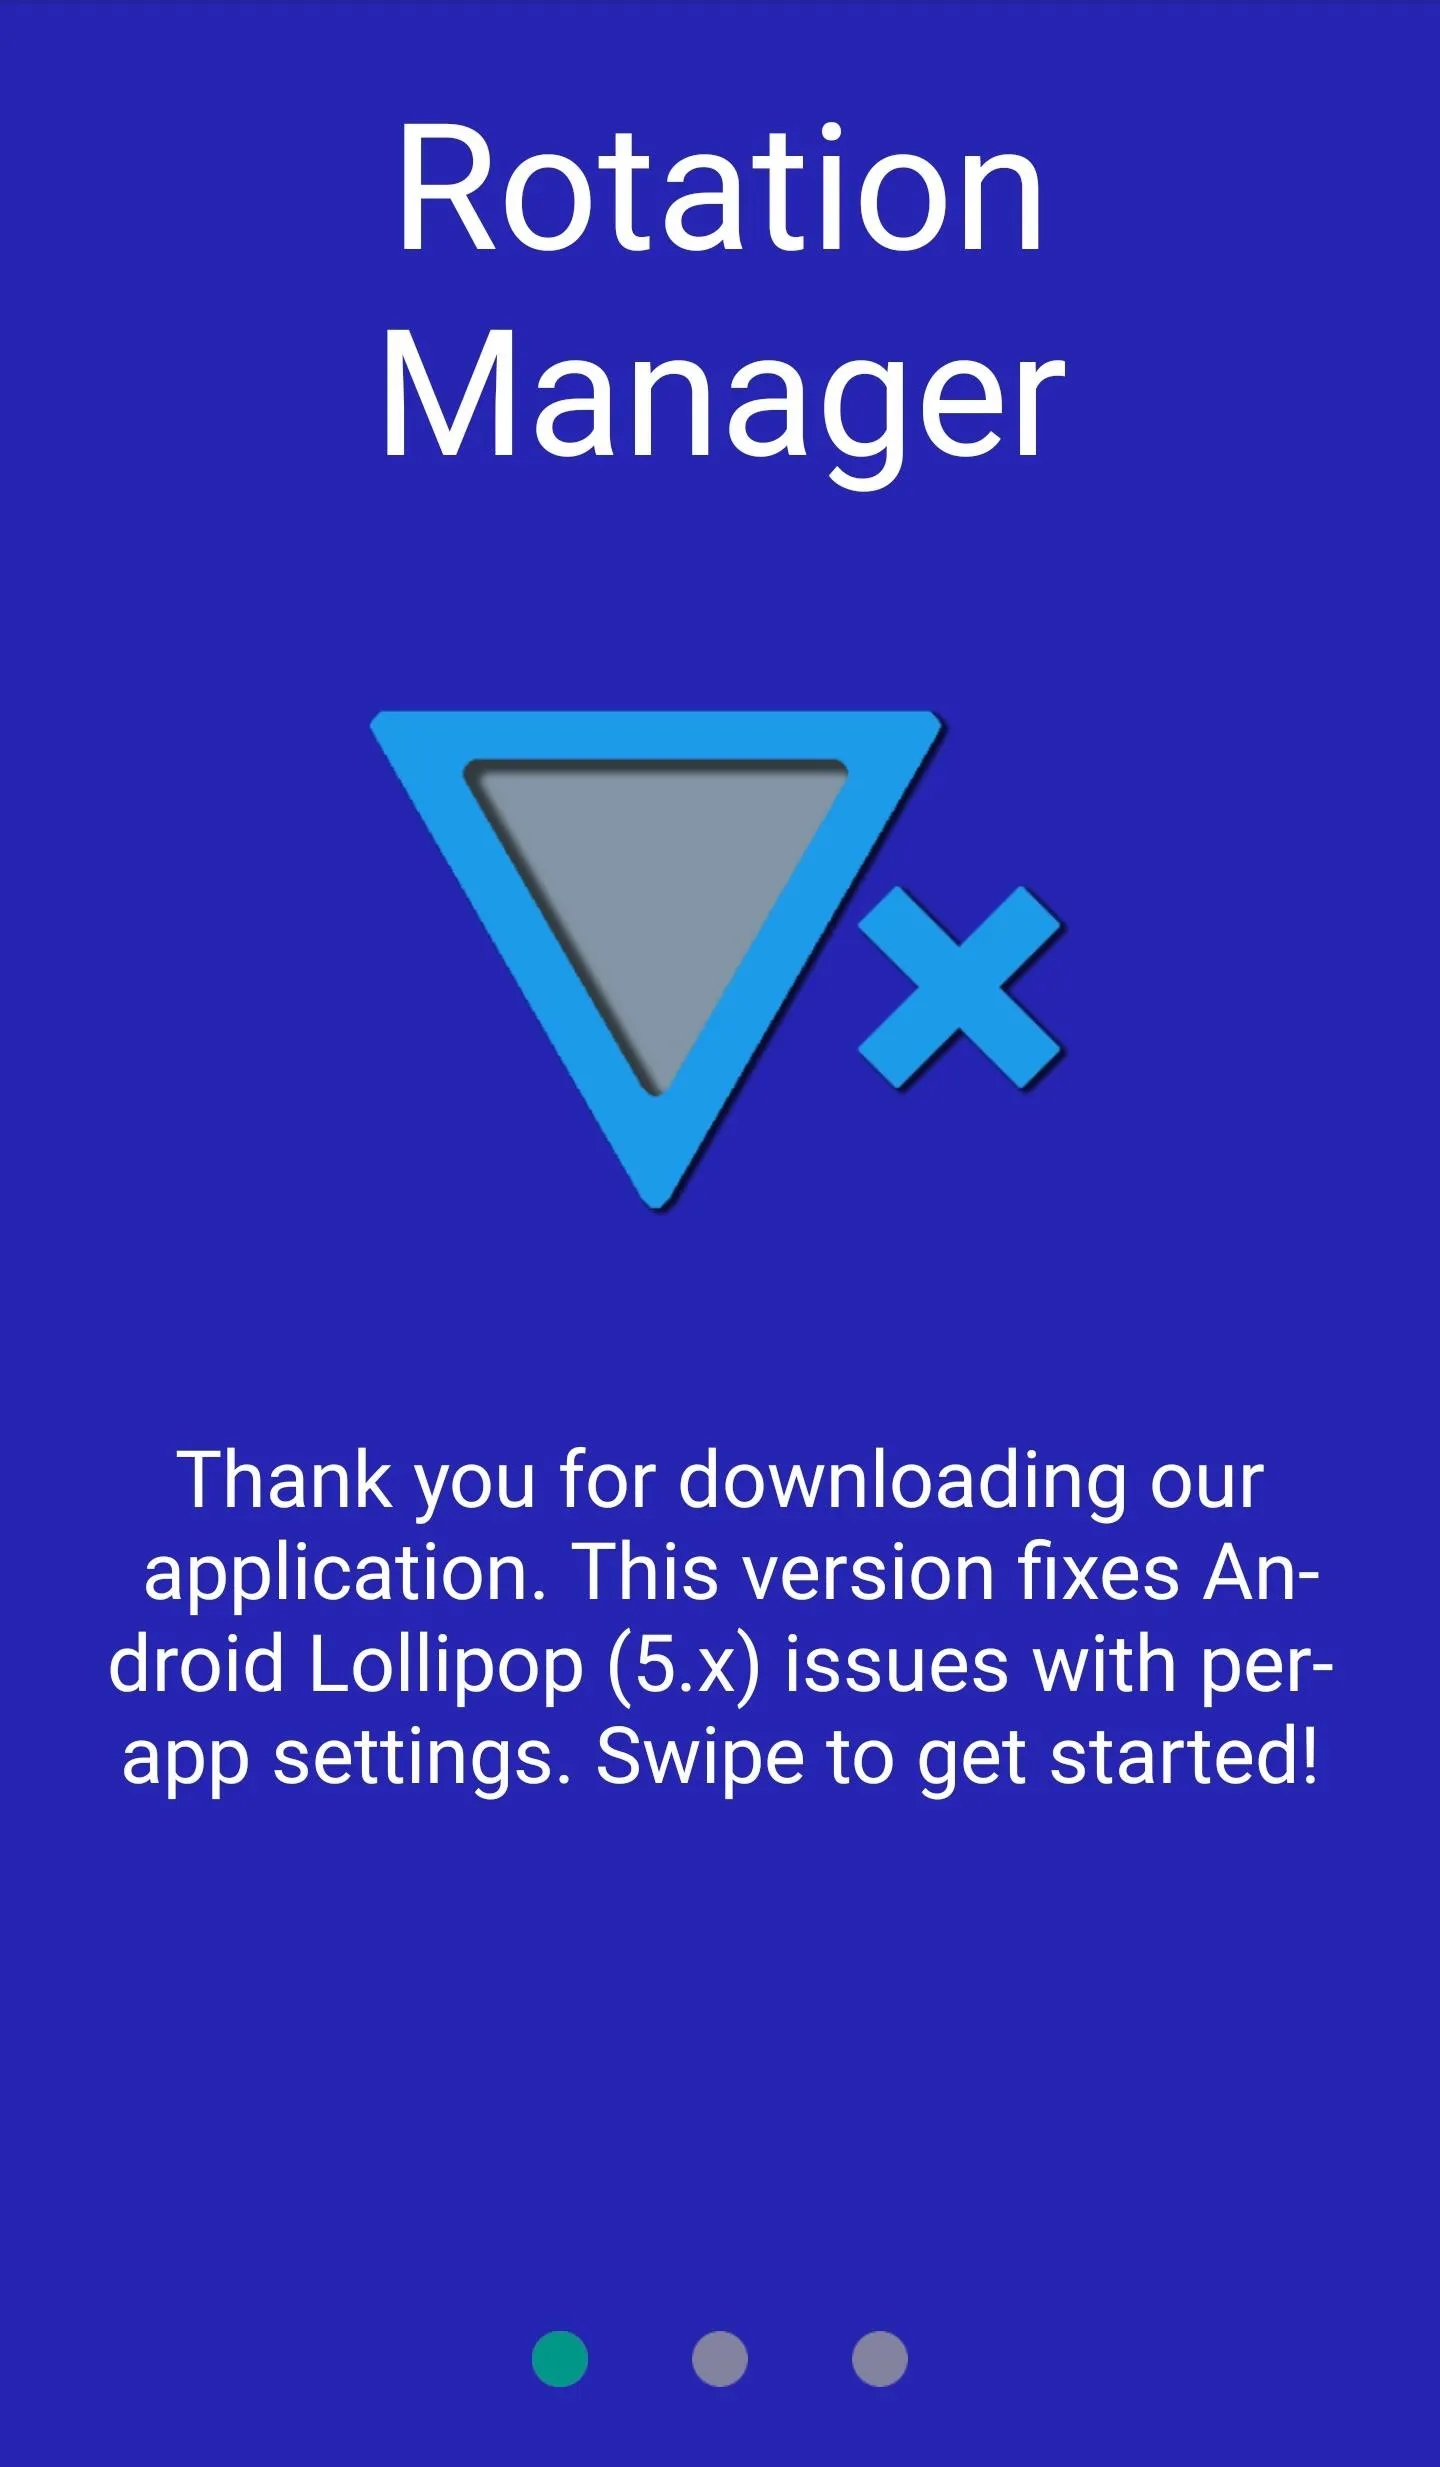
An initial set-up and tutorial page will greet you when you open Rotation Manager for the first time. Swipe to the next page and tap on the circular icon next to "Auto-Rotate On" until the text changes to "Forced Portrait." This will set portrait mode by default and let you customize rotation for other apps later on.


Grant Permissions
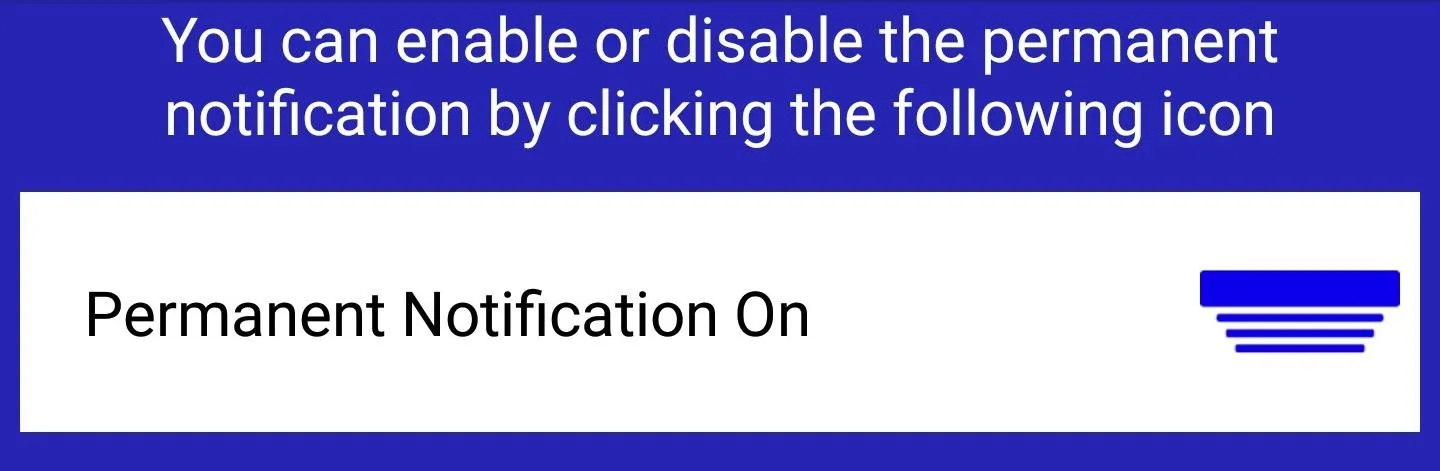
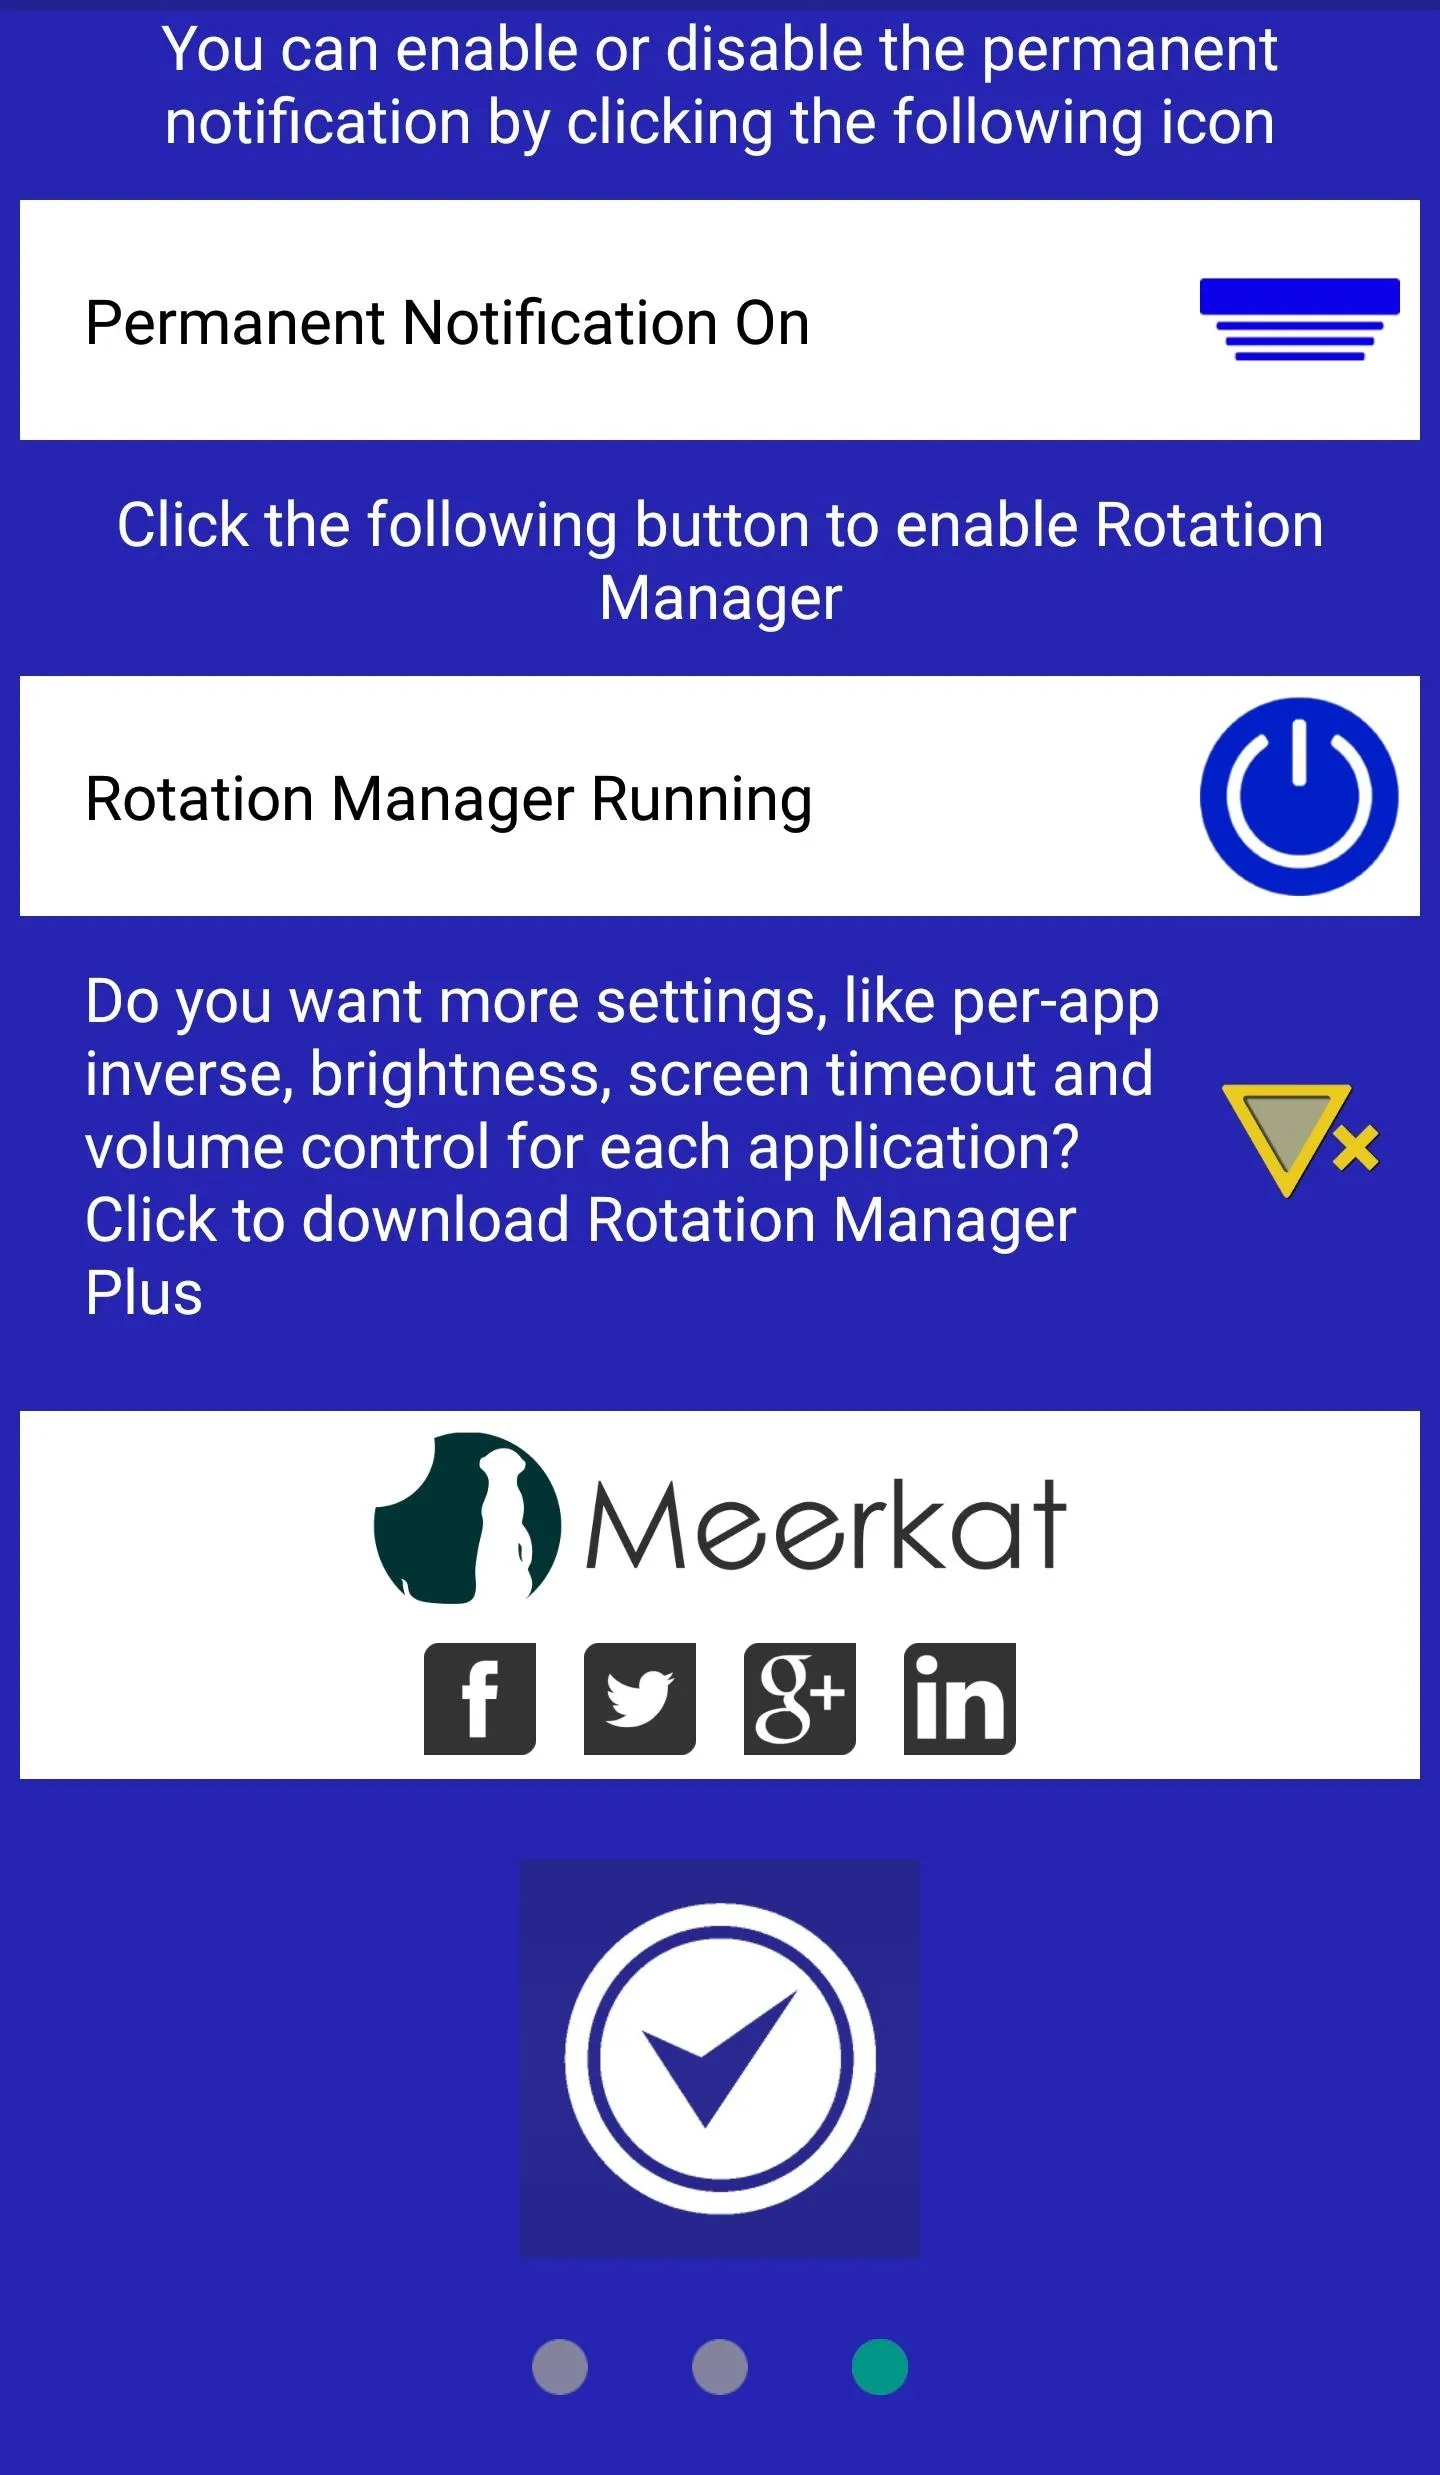
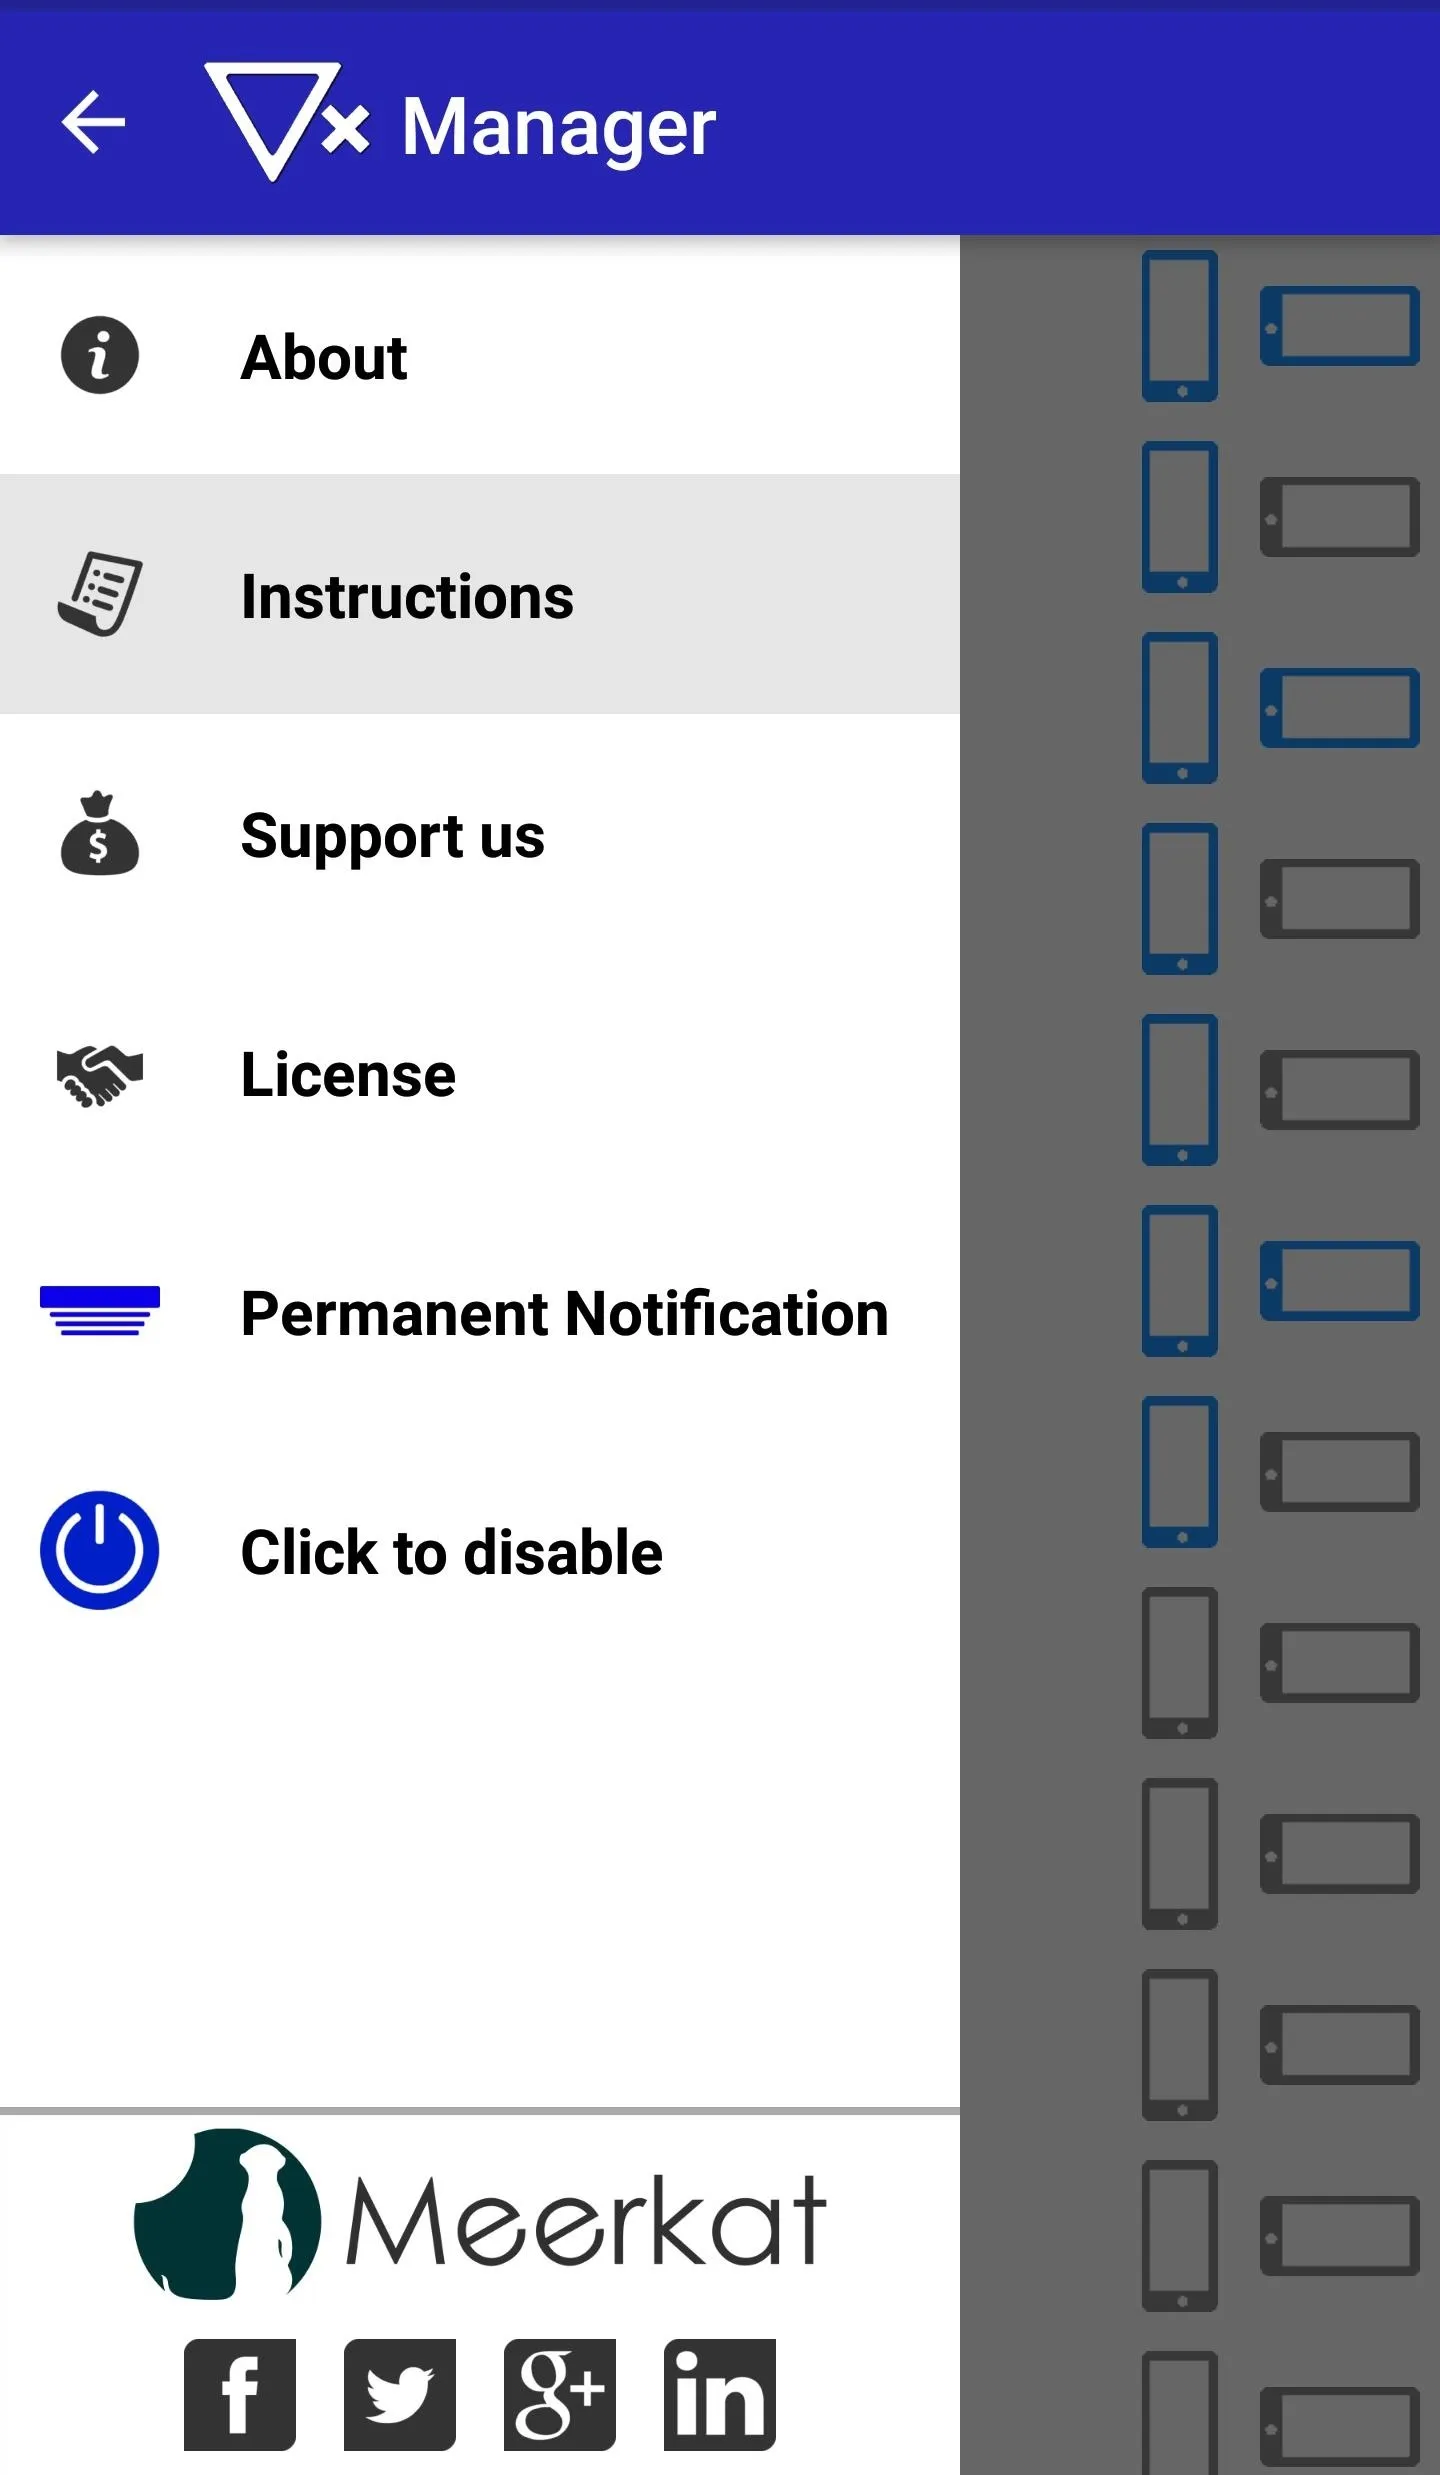
Once you're on the final page, you'll have the option to disable the "Permanent Notification," which is enabled by default. Leaving this on will have the app show up as a notification whenever you swipe down from the top of your screen, but it will also help ensure that the app doesn't get closed by Android's memory management system while running in the background. So it's a judgement call, but we haven't experienced any issues with it turned off, so that's what we'd recommend.
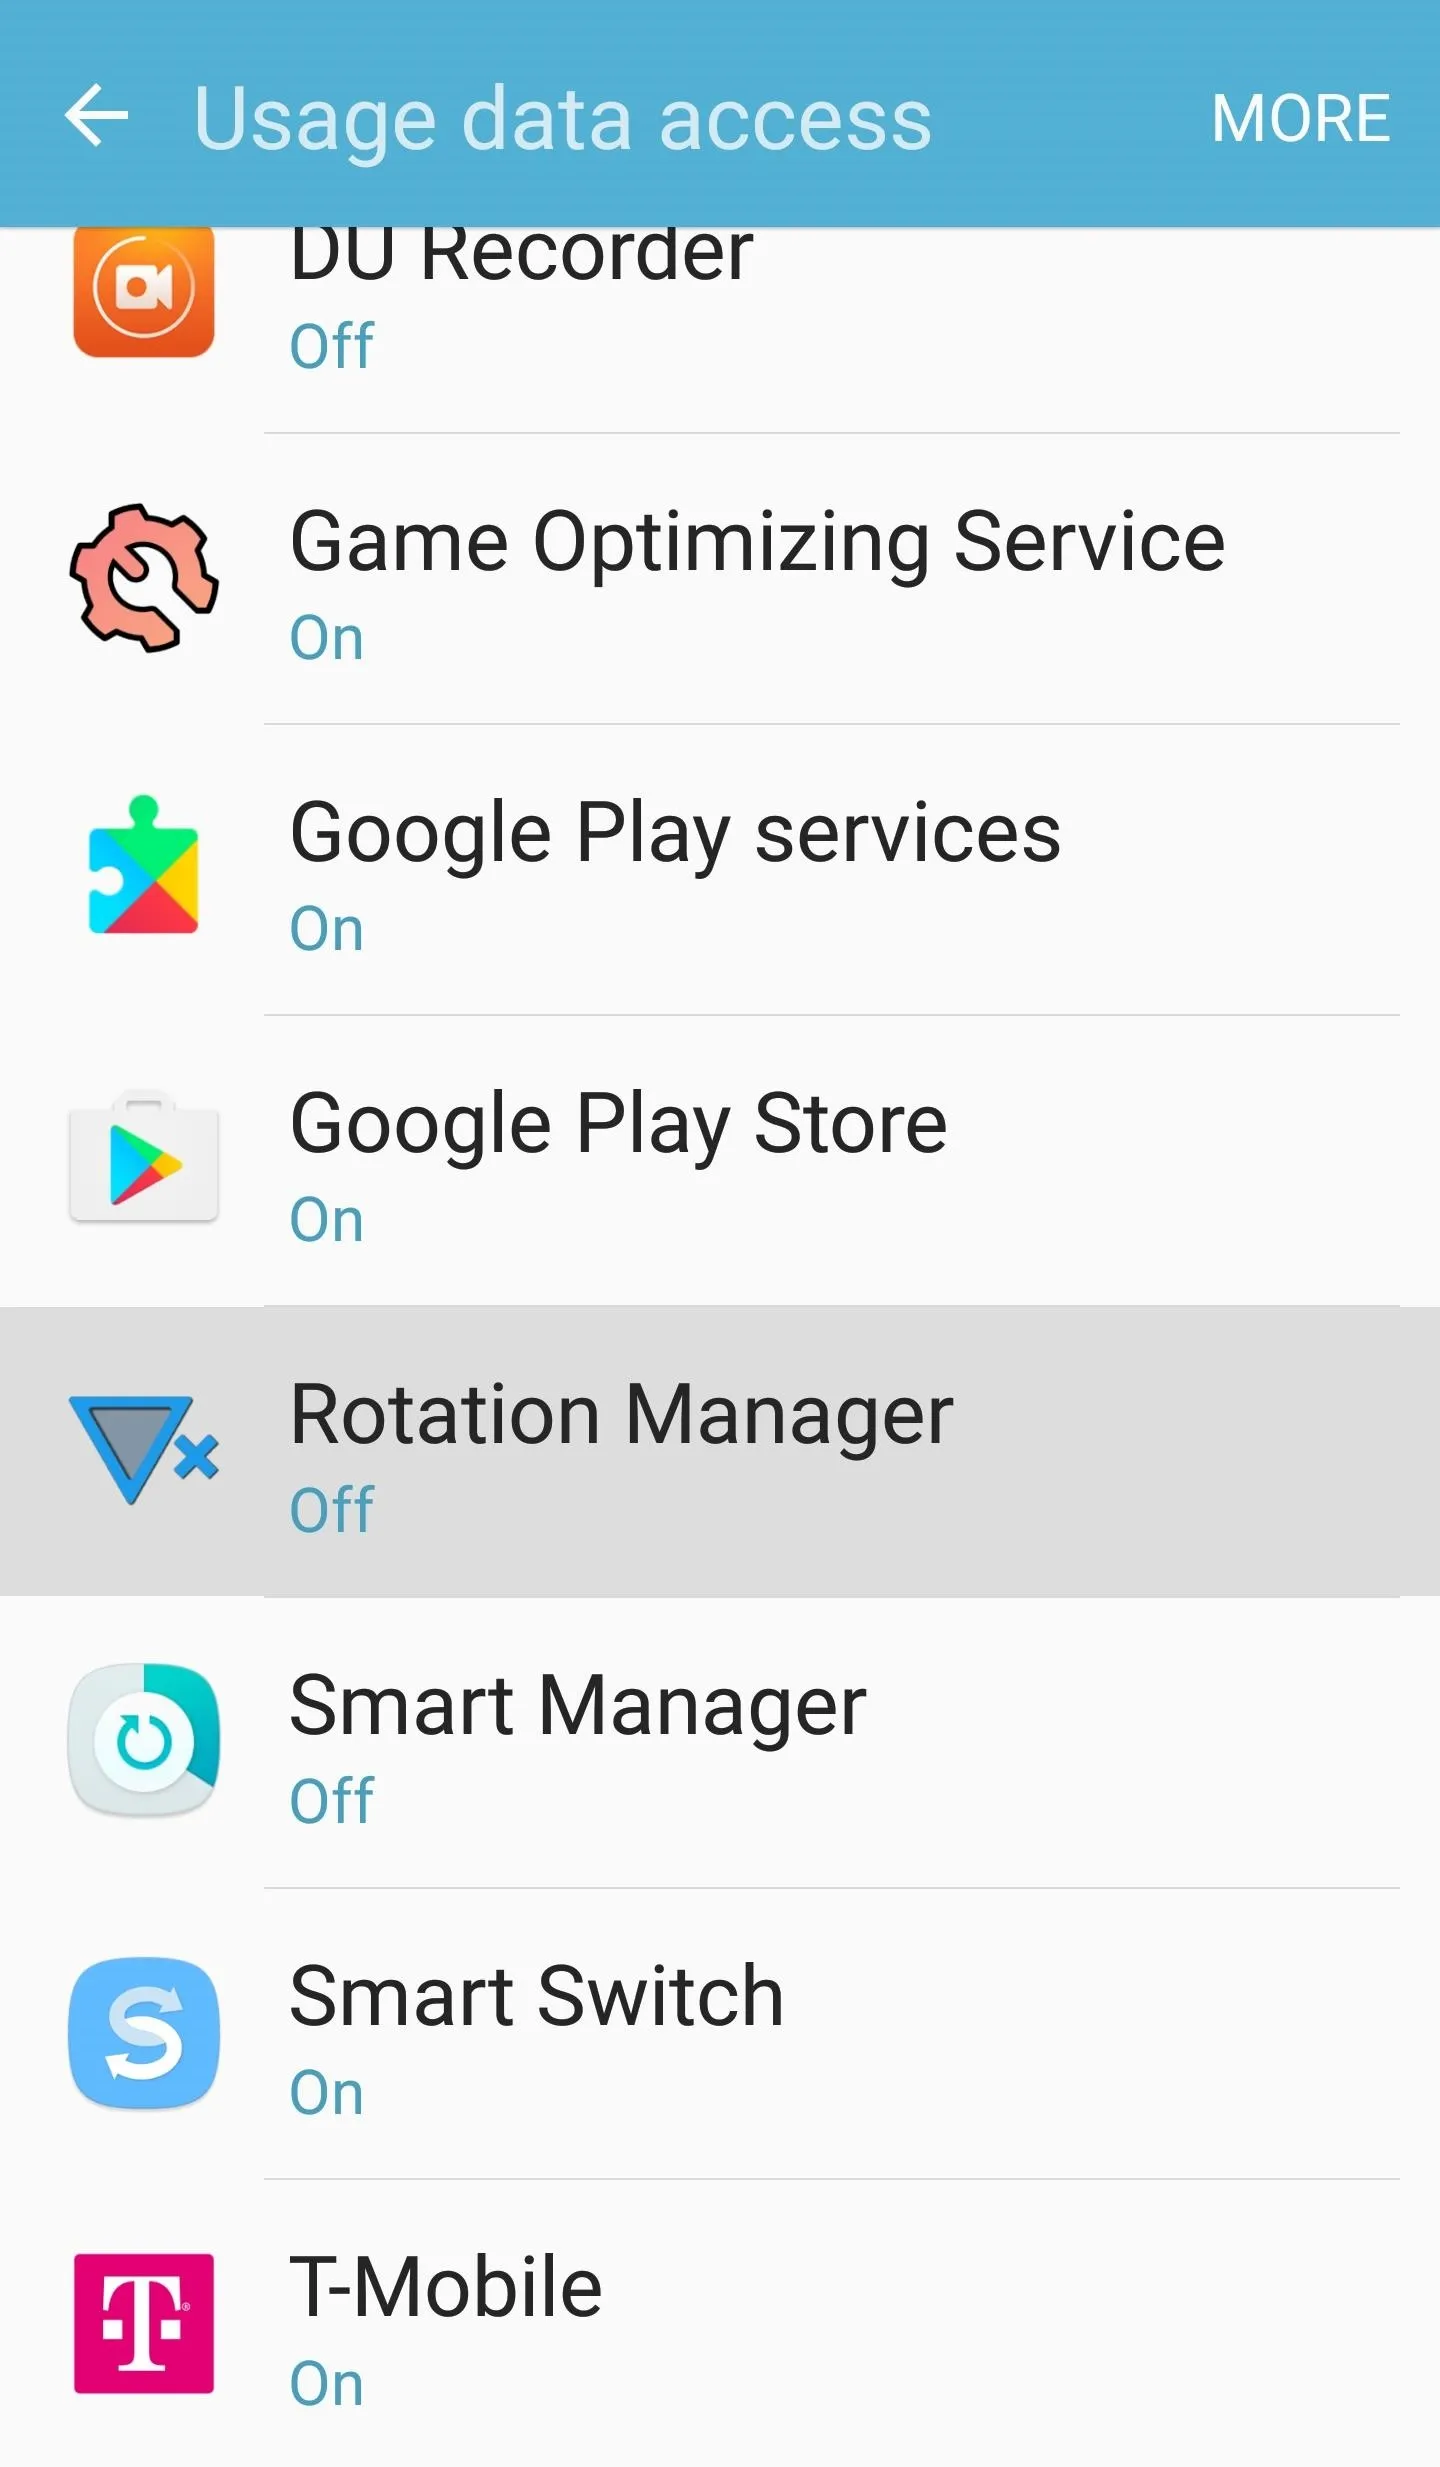
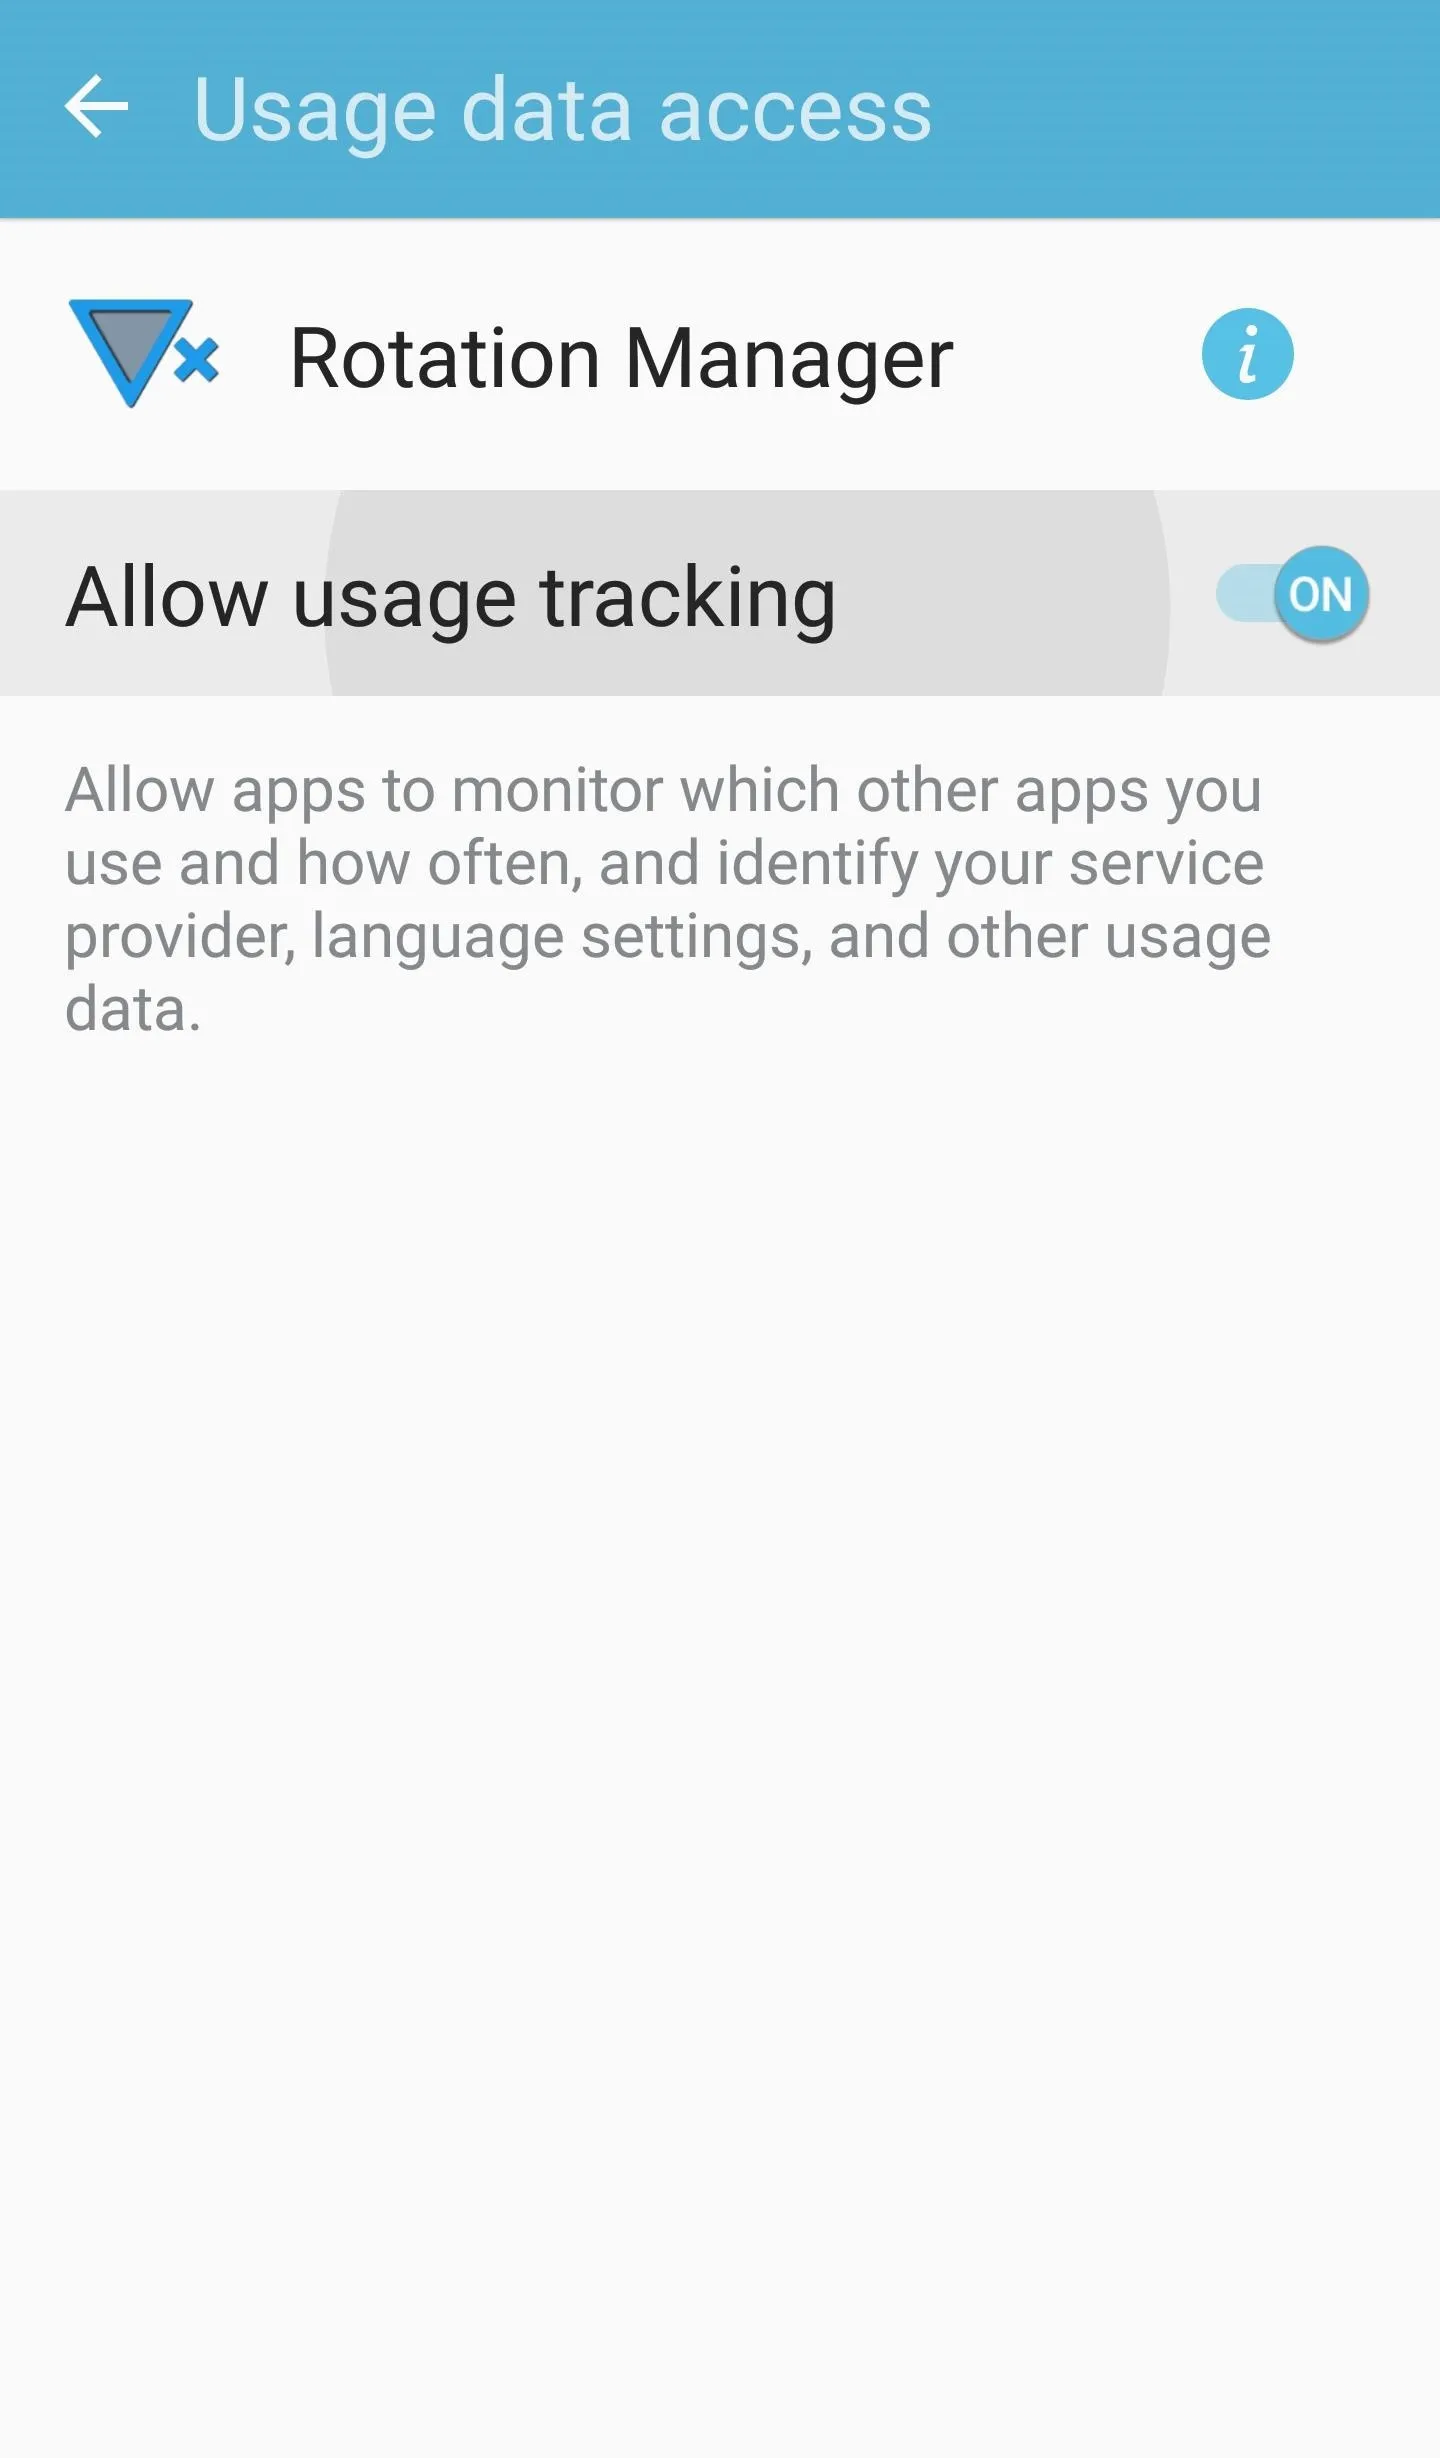
After you've set that up, turn on Rotation Manager using the circular power icon in the app. You'll be redirected to a system settings page for Usage data access, so scroll down and search for "Rotation Manager." Once you've found it, tap on it and turn on Allow usage tracking. When you're done, head back to the app and hit the check symbol at the bottom of the page to finalize initial setup.
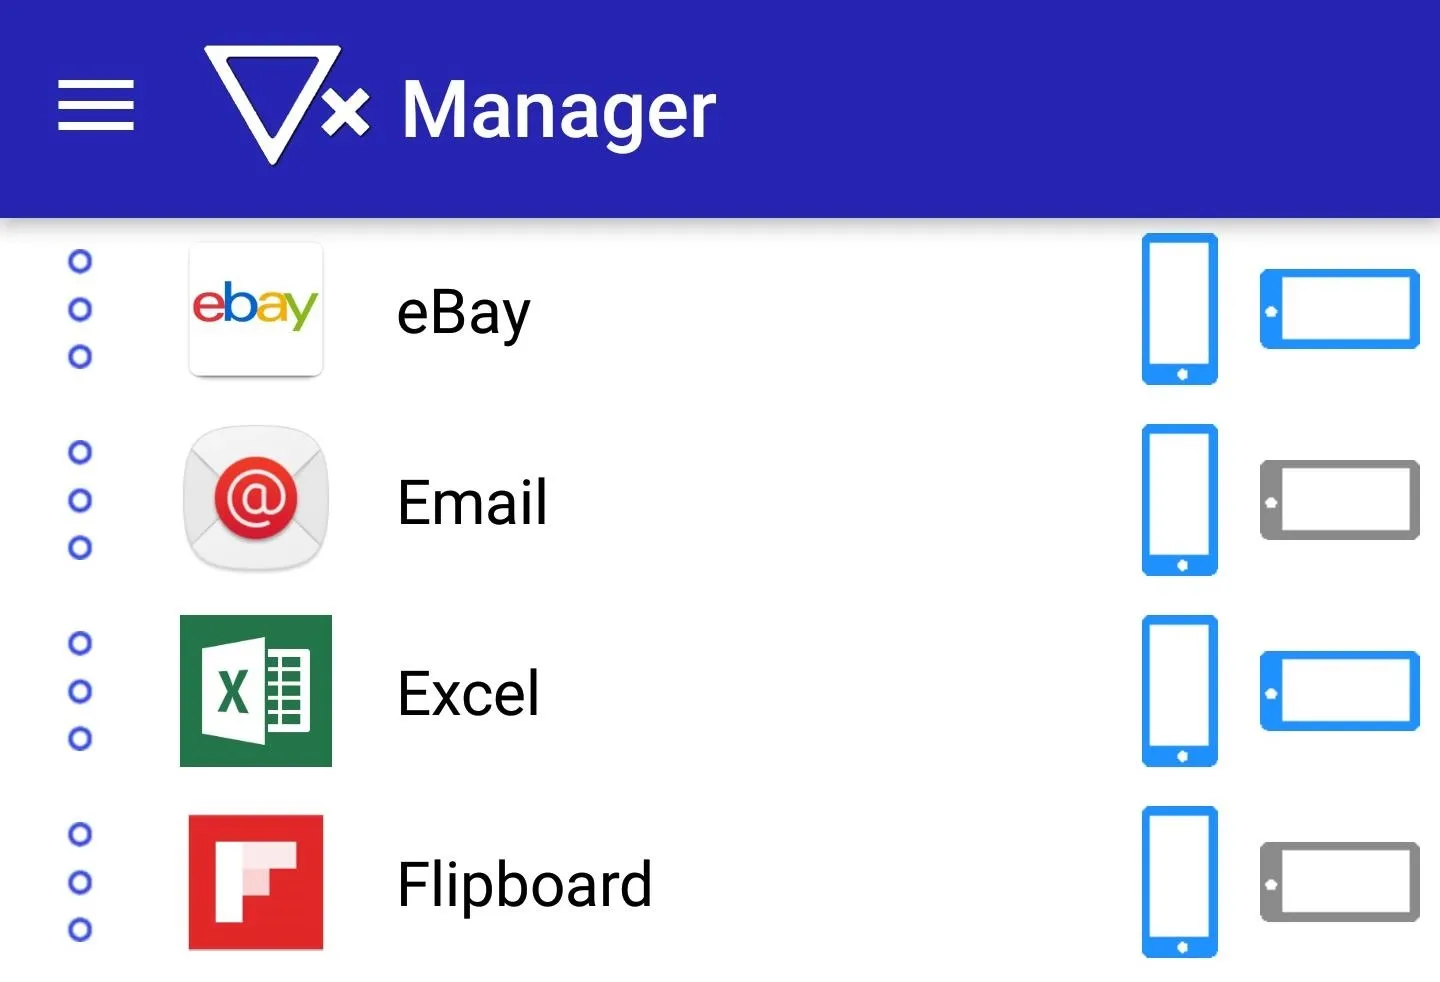
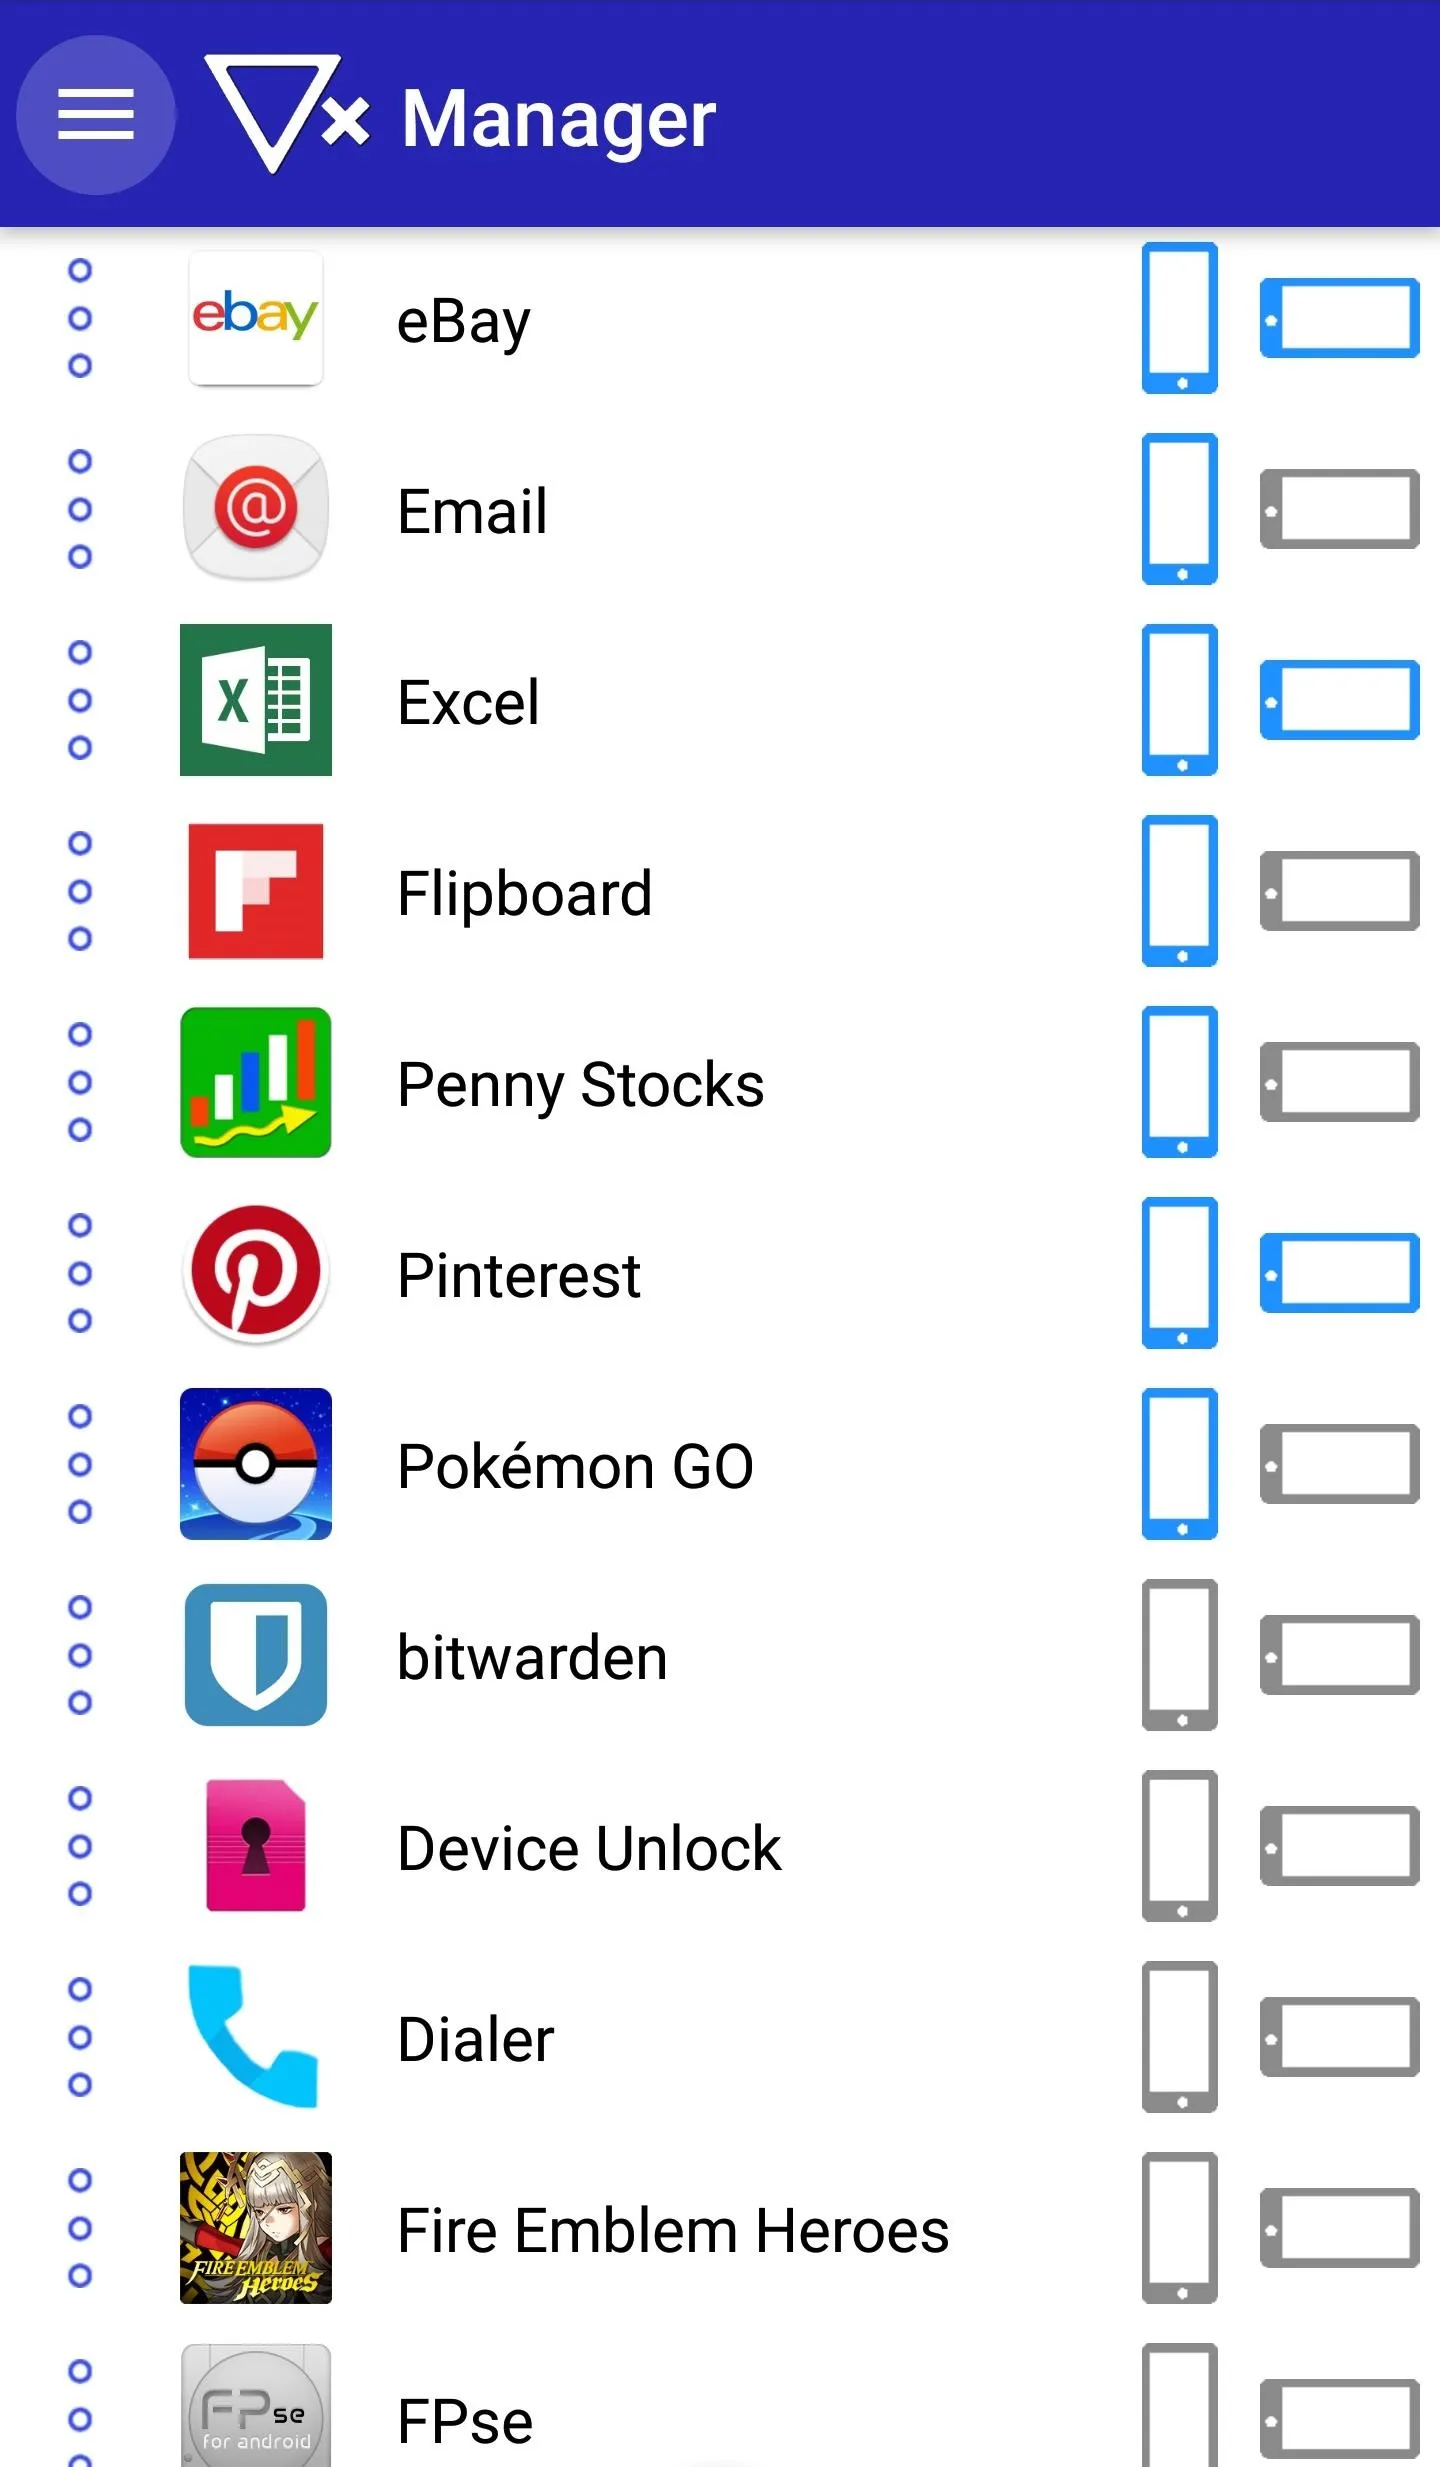
Choose Which Apps Can Rotate
Now it's time to set up and control the orientation of individual apps. On the main screen of Rotation Manager, select an orientation by tapping on either the vertical or horizontal icons next to a specific app to lock it into either landscape or portrait mode. Highlighting both icons will allow that particular app to auto-rotate.
Never Deal with Accidental Rotation Again
At this point, you're all set up and ready to go. From now on, you won't have to worry about an app auto-rotating when you didn't want it to, and instead, it'll be locked into the orientation you chose in Rotation Manager.
As mentioned before, there are more options as far as global rotation settings go. You can always go back to learn about each settings by heading to the side navigation menu in Rotation Manager and choosing "Instructions." This will give you the opportunity to experiment with your smartphone's rotation beyond the settings we've depicted above.
What do you think of Rotation Manager? Feel free to share your thoughts on this convenient app and drop us a line in the comment section down below.
- Follow Gadget Hacks on Facebook, Twitter, Google+, and YouTube
- Follow Android Hacks on Facebook, Twitter, and Pinterest
- Follow WonderHowTo on Facebook, Twitter, Pinterest, and Google+
Cover photo and screenshots by Amboy Manalo/Gadget Hacks


Comments
Be the first, drop a comment!