


The share menu is a vital part of Android that lets you send data between between apps. Many of your favorite apps support the feature, including the new Direct Share sub-menu, which can lead to a messy share menu. However, there are a number of tools to clean up this clutter, three of which don't require root.
With an organized share menu, you'll easily be able to send a picture, link, or file from one app to another without spending time looking through a list. We organized our list of tips based on both ease of use and how much it alters the share menu, with the simplest method at the top. Check out each one, and decide which method best fits your needs.
Pin Items to the Top
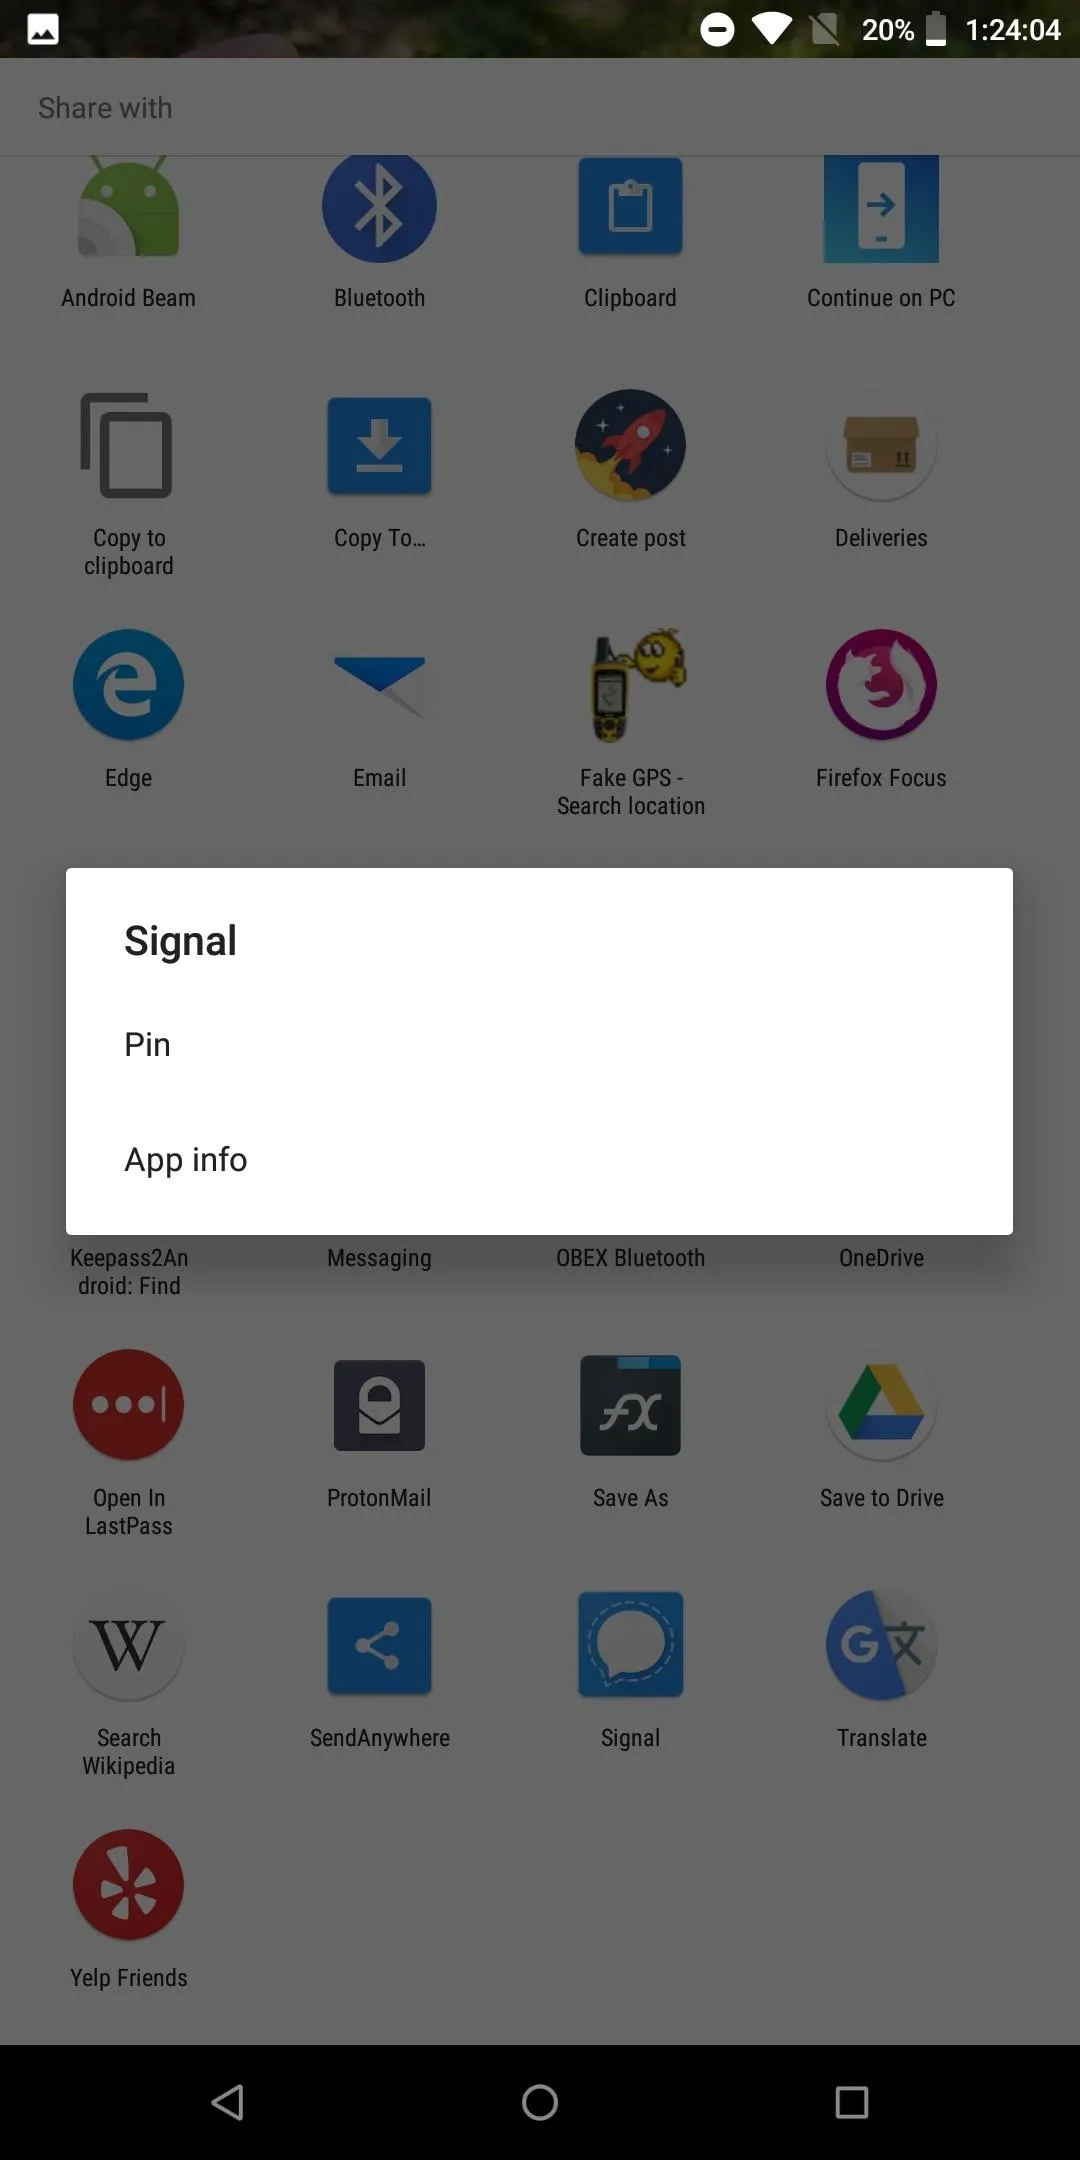
First introduced in 6.0 Marshmallow, Android now includes the ability to pin the most used items in both your Direct Share menu and regular share menu to help ease the process of locating them. To pin an item, long-press it in the share menu choose the "Pin" option.
Pinned items will be listed alphabetically by app name. While this solution is limited in customization options, it is the easiest to execute and does assist in undoing the clutter.
Reorganize the Share Menu with AppChooser
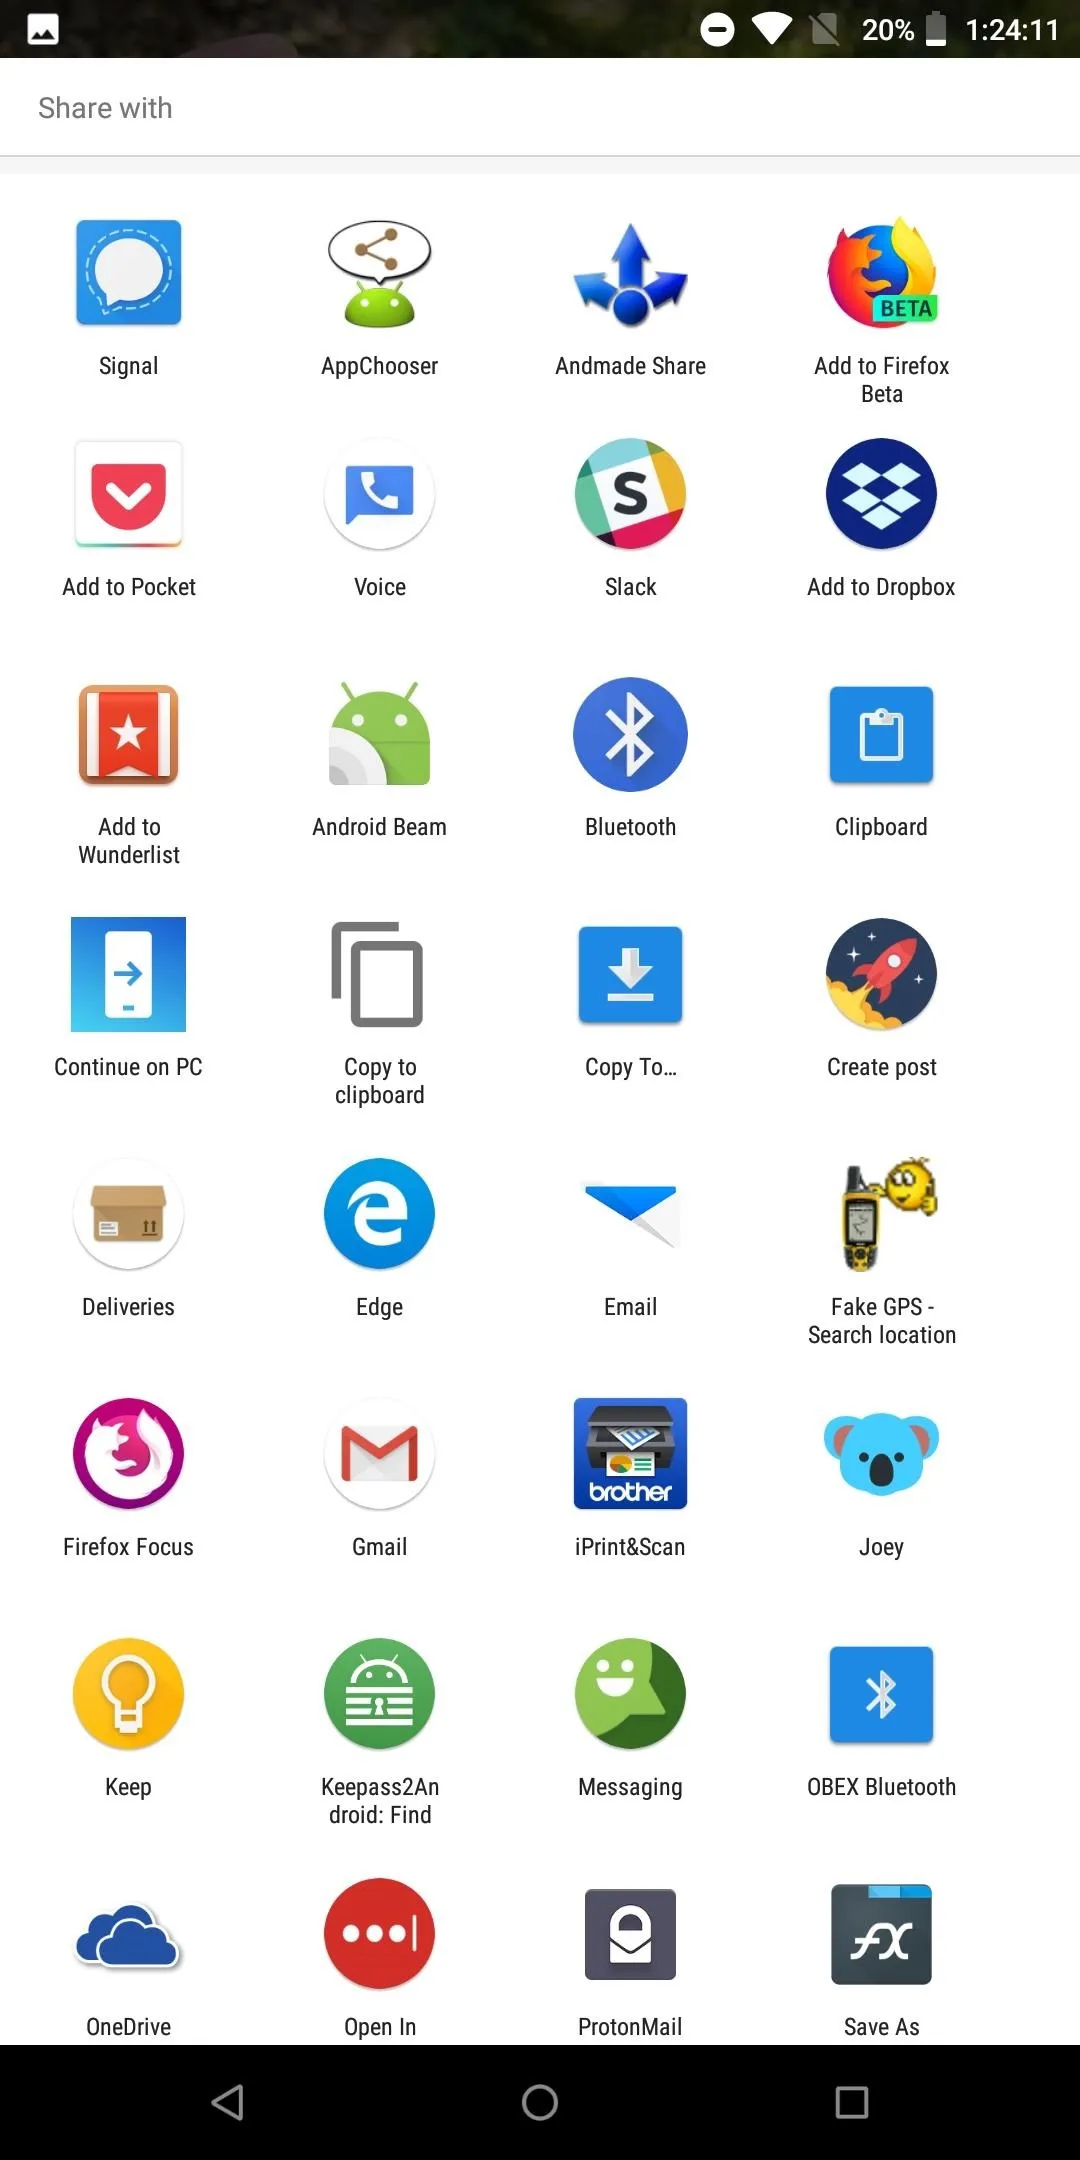
Another way to enjoy a more organized share menu is to replace it with an app called AppChooser. AppChooser changes the look of the Android's share menu from rows of apps to a list, which you can edit.
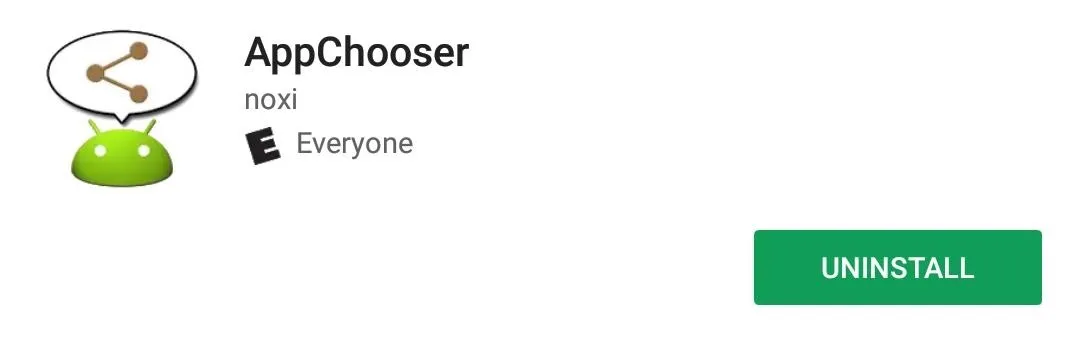
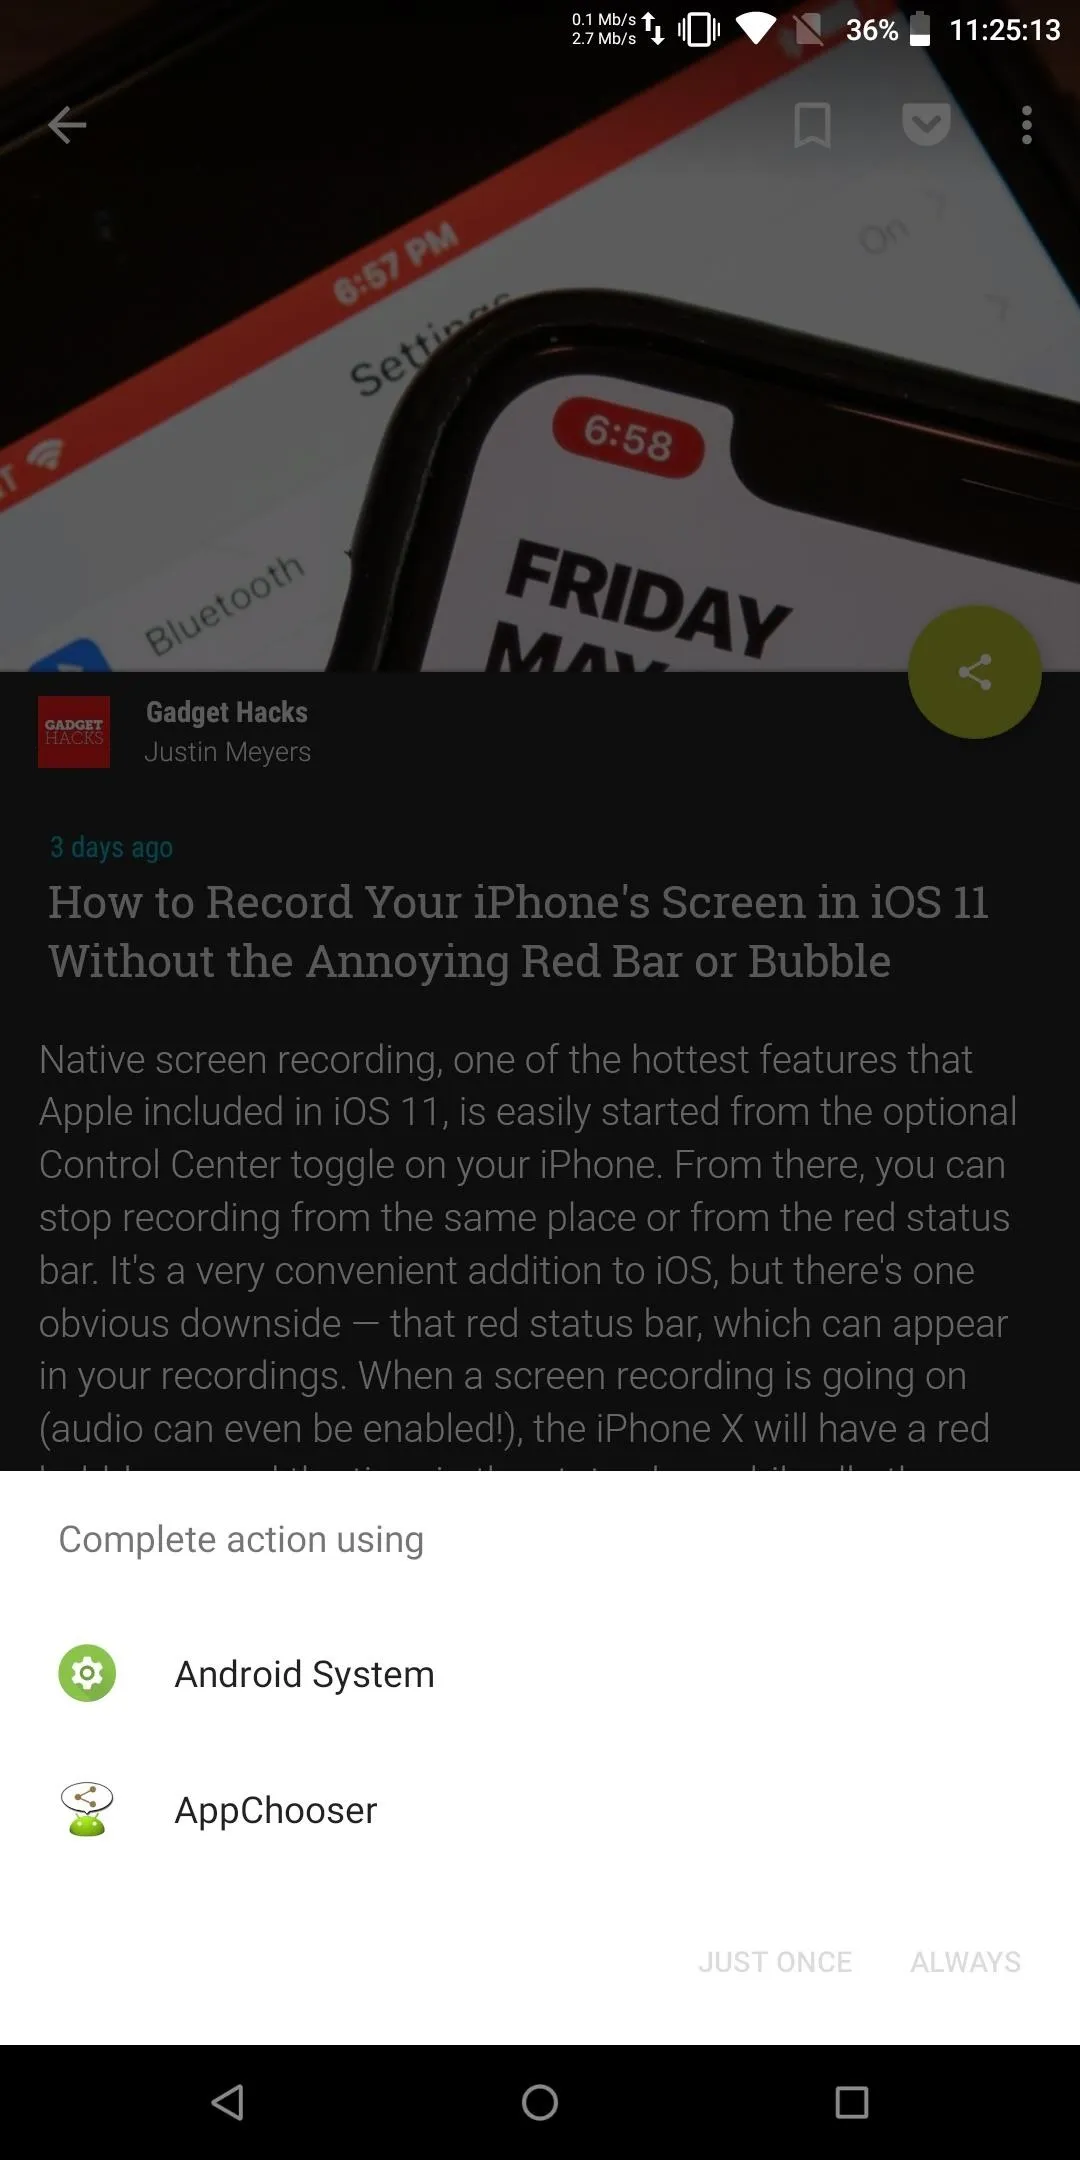
When you install AppChooser, there will not be an option to open the app on its Play Store page. Instead, to launch it, you need to share an item. When selecting the share button (or option), a prompt will appear asking you if you wish to use Android System or AppChooser. Choose the latter to open the app.
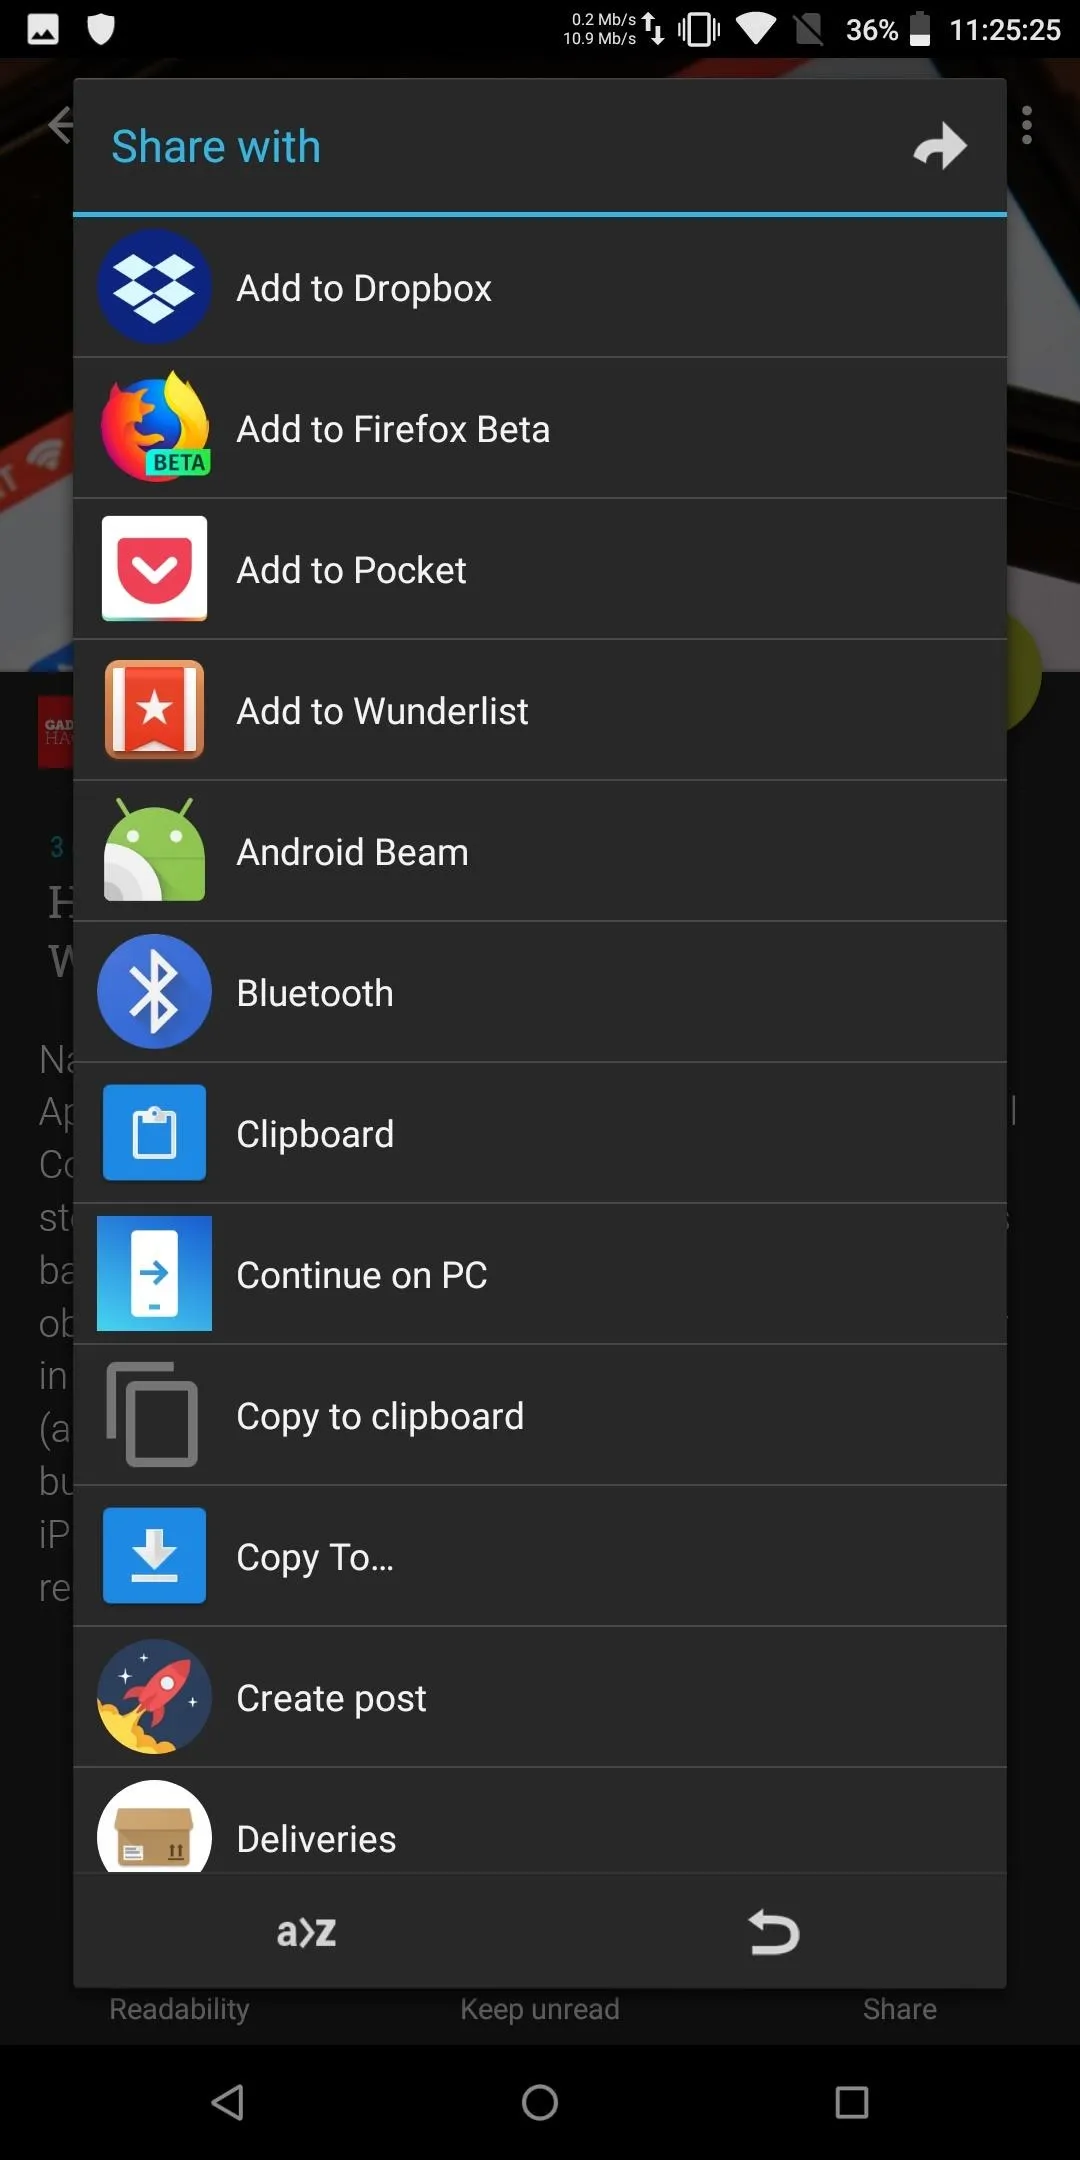
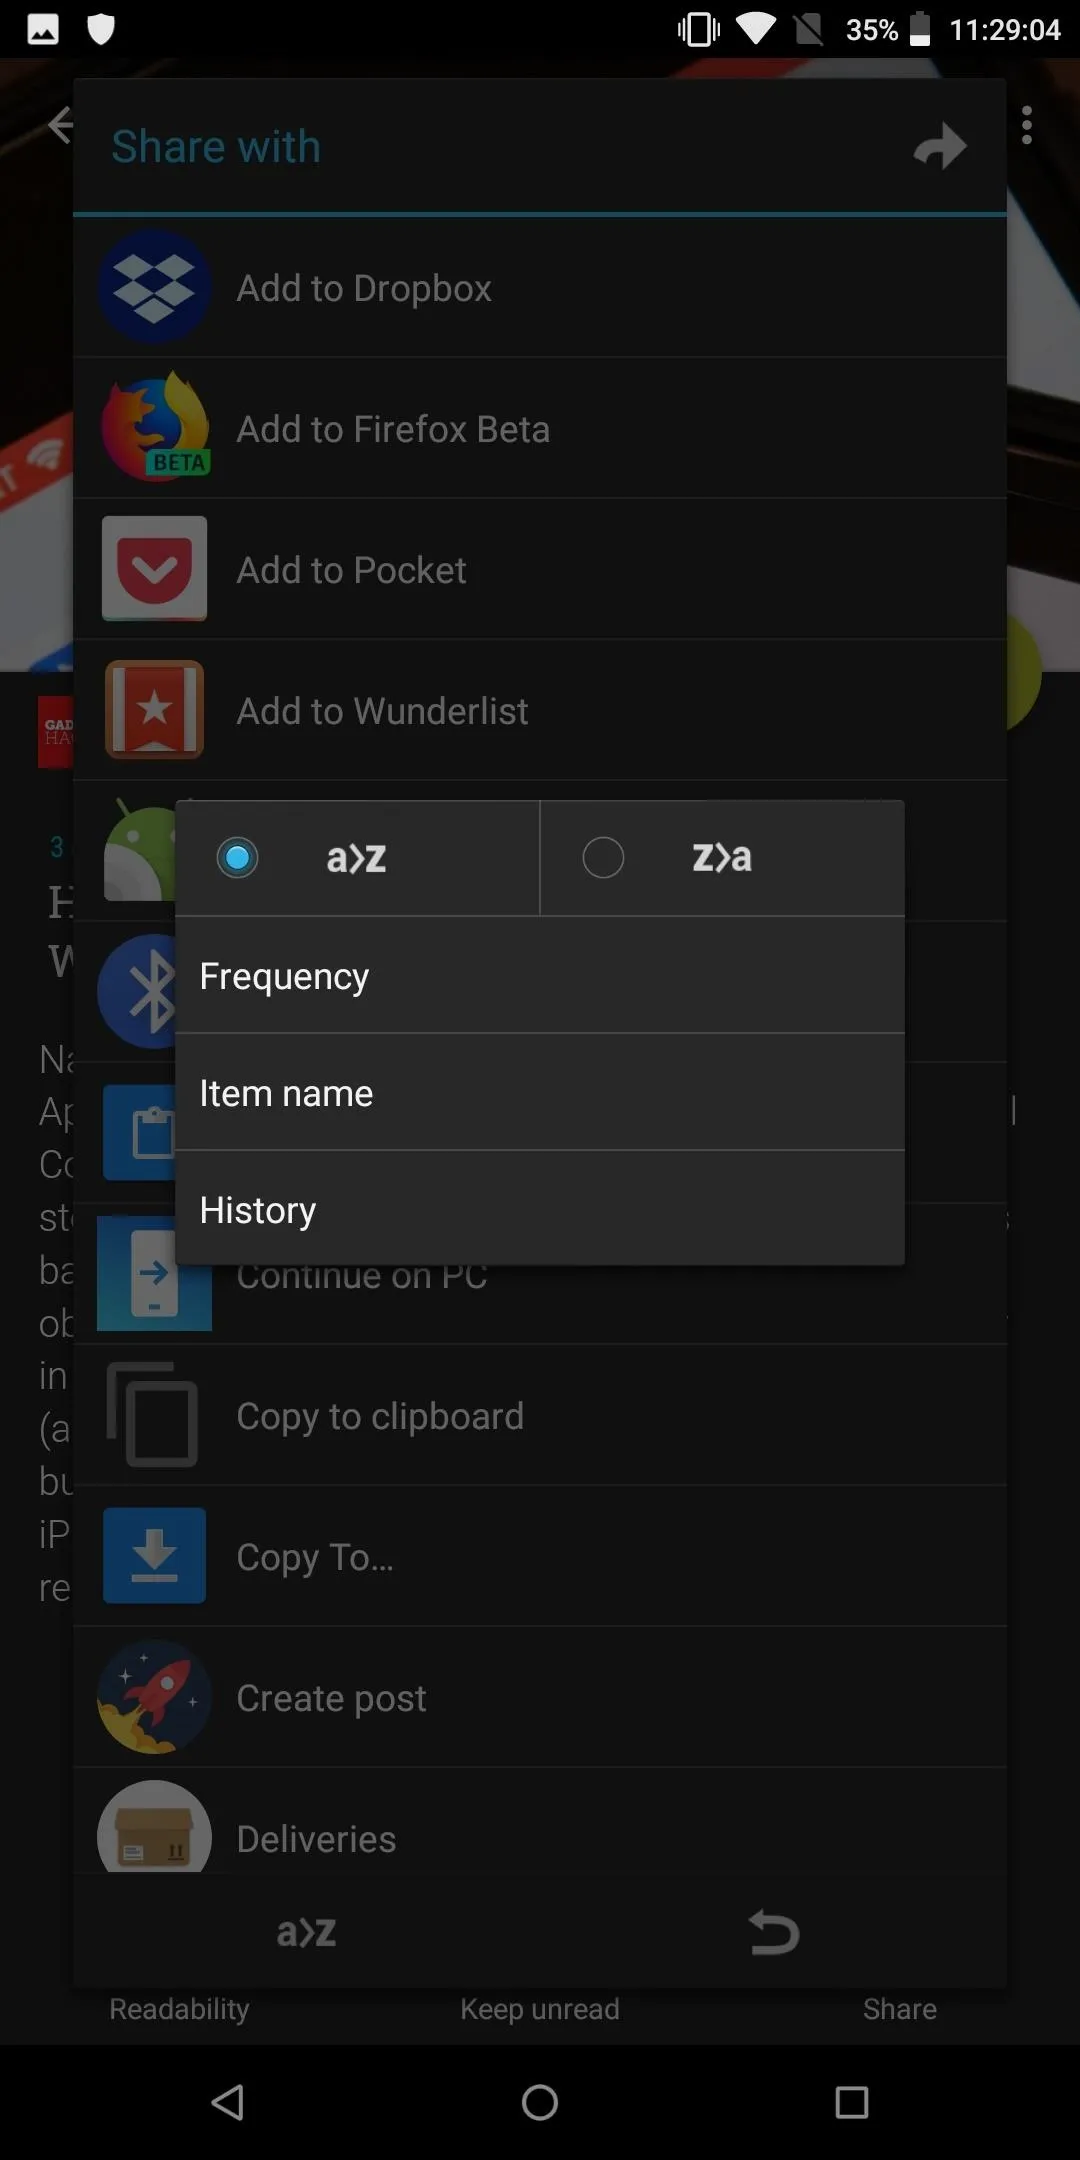
By default, the app will list every item in the share menu in alphabetical order. However, you can modify this. By selecting "a>z" button located in the bottom left corner of the display, you can use the pop-up menu to alter the order.
The list can only be sorted from A to Z or Z to A. However, you can alter the list to also account for app usage. By selecting "Frequency," the list will show the most used apps on the top. "History" will place the last used app on the top of the list. With either option, the remaining portion of this list will be shown in the specified order, either A to Z or Z to A.
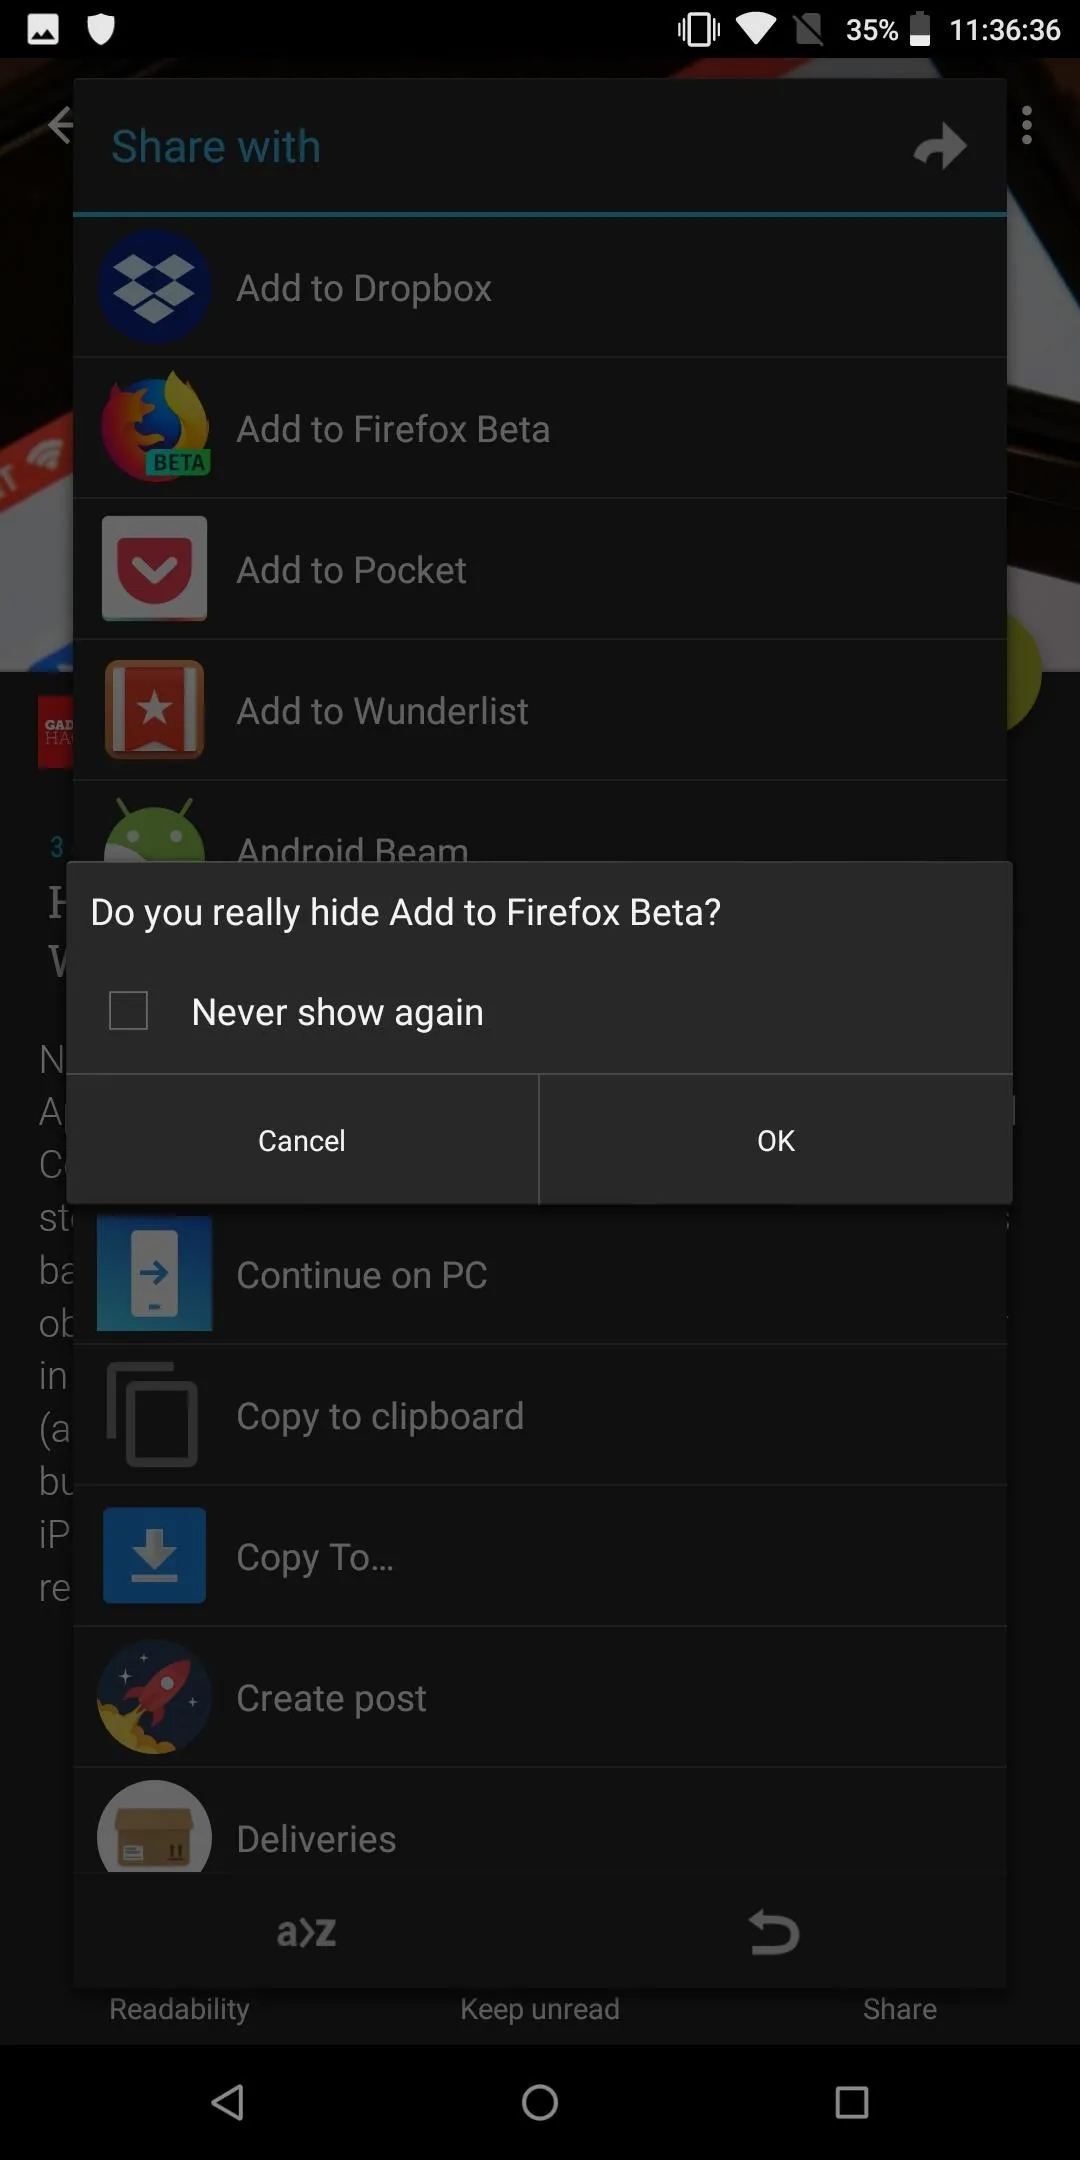
You can long press an item to hide it from the list. There is a pro version available, which will increase the number of apps to three rows.
Unfortunately, support ended in 2012, so don't expect any bug fixes or an updated UI (which uses design language from Android 2.3 Gingerbread).
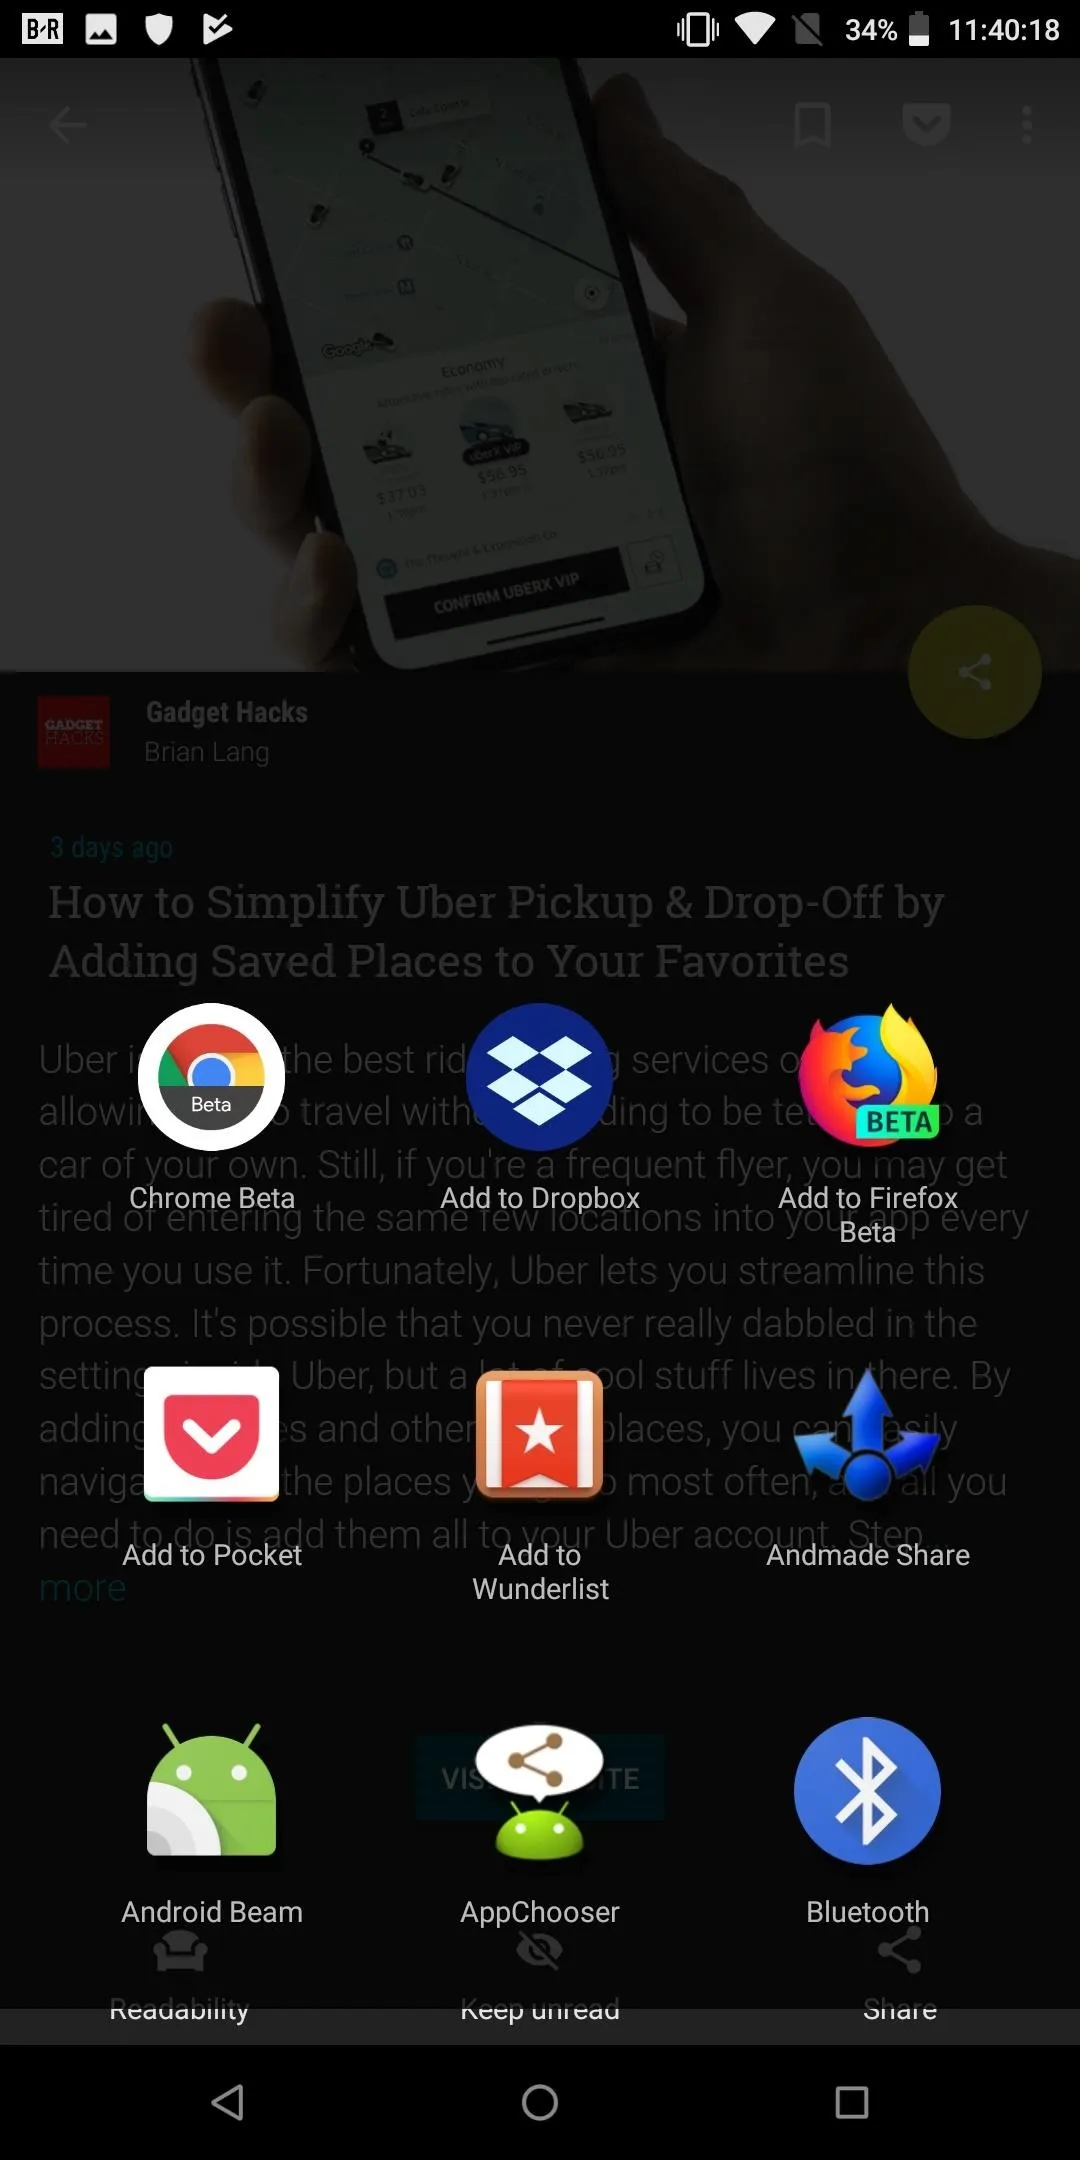
Replace the Share Menu with Fliktu (Or Andmade Share)
My favorite option is Fliktu. Fliktu replaces the share menu with its own list. However, unlike any of the other methods, Fliktu also lets you use gestures to call up the share menu in relevant situations.
Fliktu reworks the UI to a three-item row behind a transparent background. Under the Menu tab of the app, you can customize the layout of its share menu. The top row can be manually set or determined based on frequency of use. You can also hide specific apps so they don't appear on the share menu.

Fliktu also lets you use gestures to open this menu after selecting a link. Select the checkbox for "Enable Fliktu for Links" under the Links tab. Then, whenever you select a hyperlink, with a flick or shake of your phone, Fliktu will open instead of the browser. Once there, you can quickly share the link with an app.
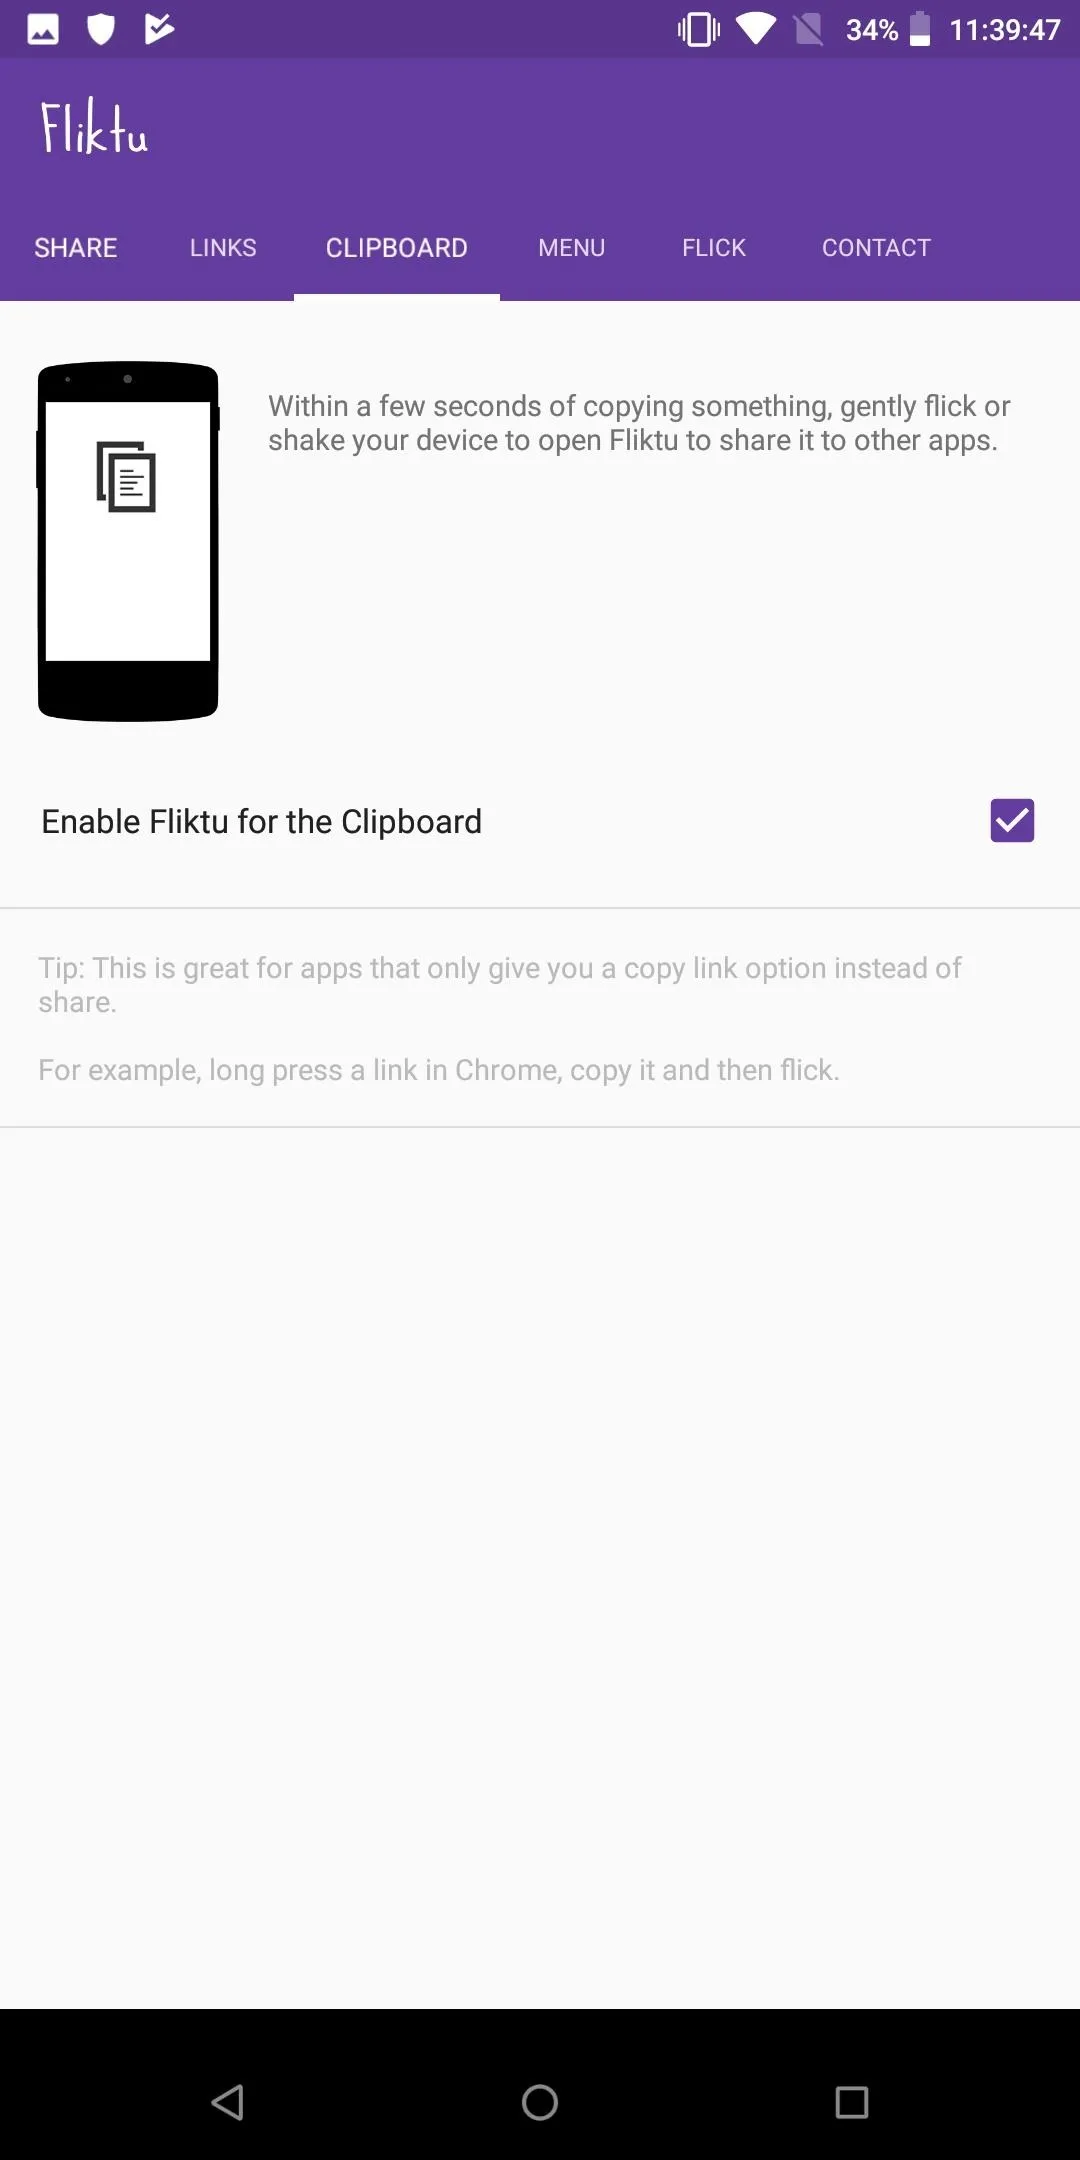
Similar functionality is extended to copied texts. After selecting the checkbox under the tab Clipboard, whenever you copy text, you can flick or shake your phone to open Fliktu to share the text with another app or person easily. With both features, you have only a few seconds to perform the gesture.

Similar to AppChooser, this app isn't updated frequently. While the developer still supports it, it is a "side project" for him. The last update was in 2015, so like with our previous version, don't expect any bug fixes, UI changes, or new features anytime soon.
Another option is Andmade Share which is similar to Fliktu without the gestures. It includes the ability to share with multiple apps simultaneously and allows for reorganization by long-pressing an item and dragging it up and down its list. However, it's not the prettiest UI, and support stopped in 2013. Additionally, it doesn't appear to work on Android Oreo.
CustomShare Xposed Module (Root Required)
Finally, there is an Xposed module called CustomShare. As with any Xposed module, you will need a rooted device and the Xposed Framework installed. Head to the link below for more information on how to install Xposed on your phone.
- Don't Miss: How to Install the Xposed Framework
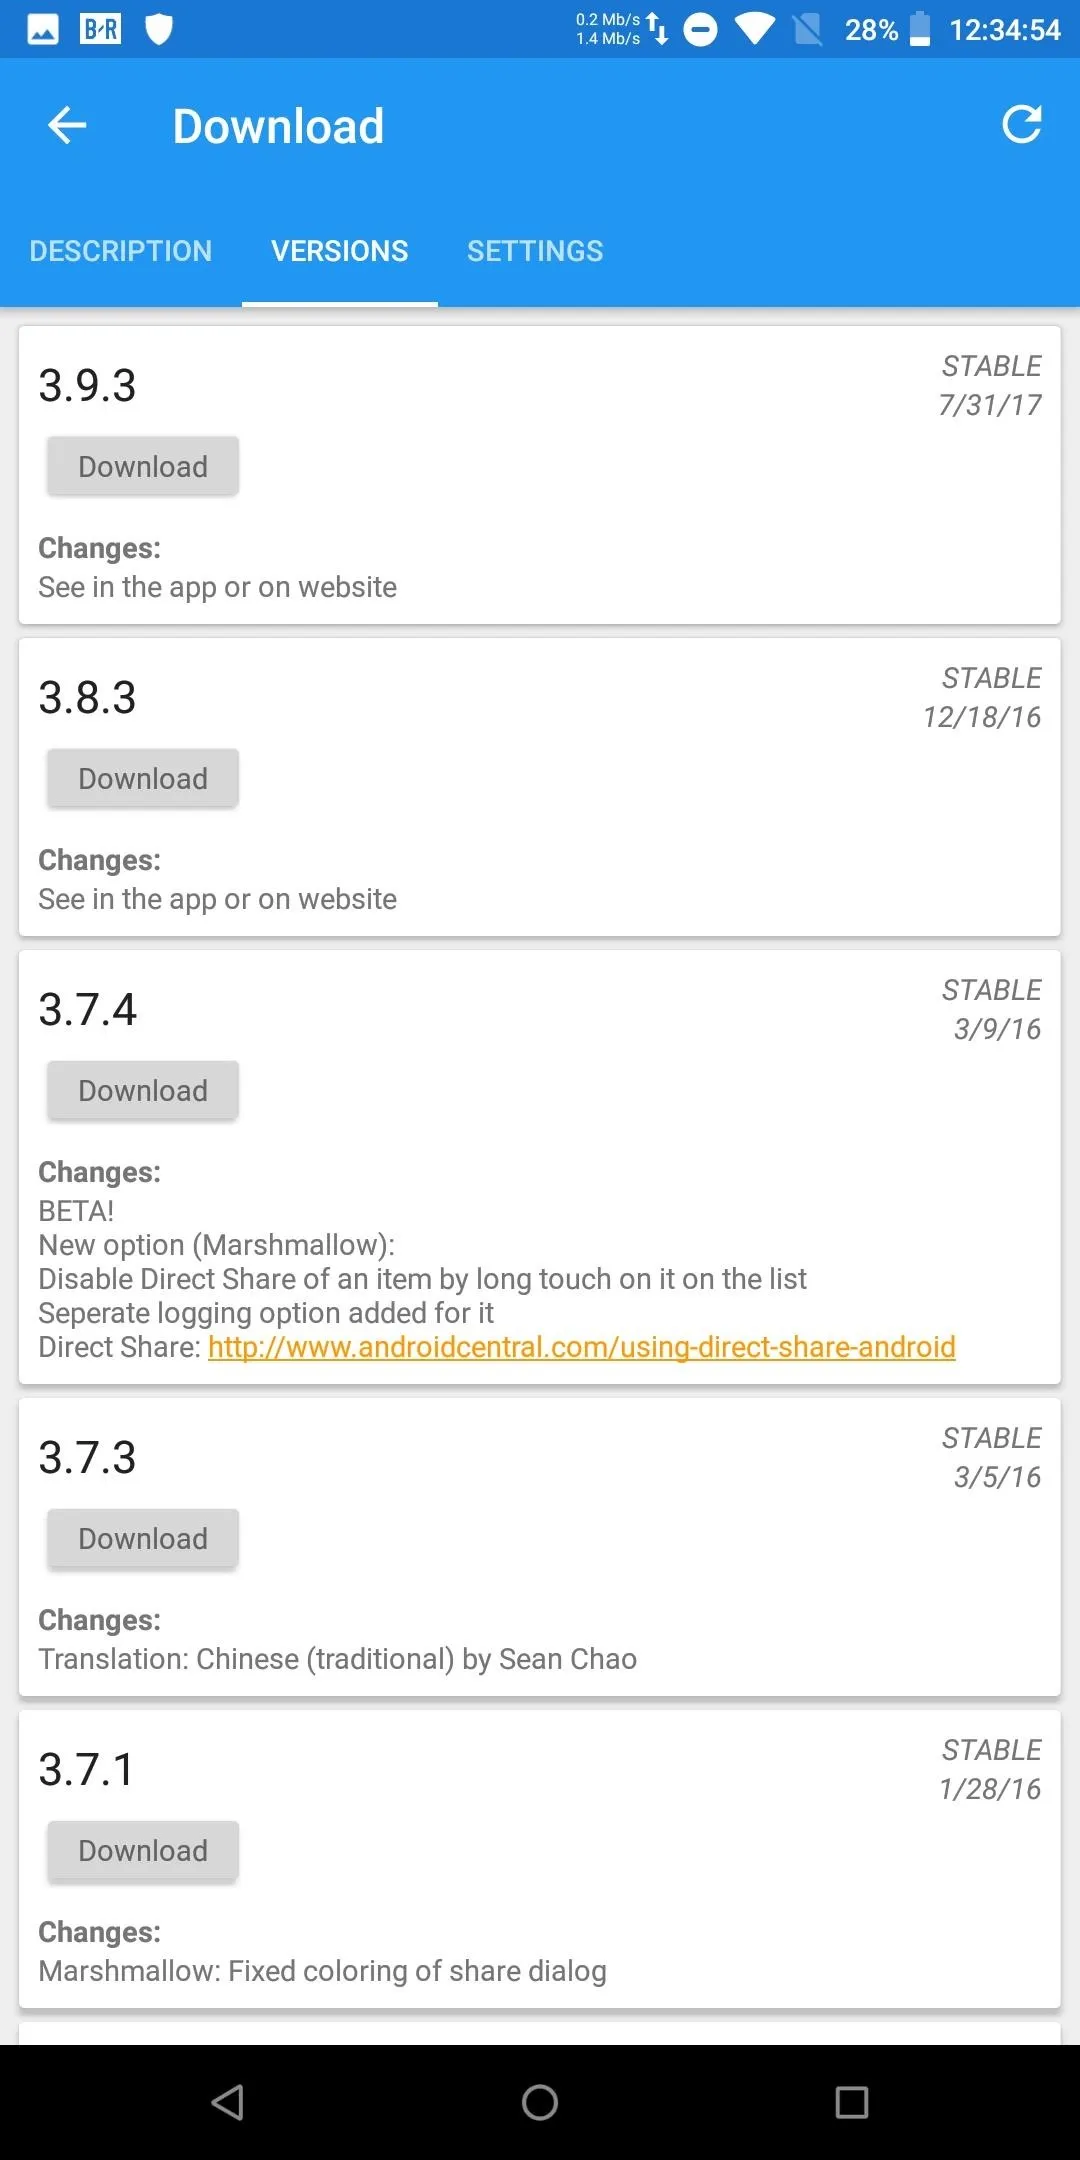
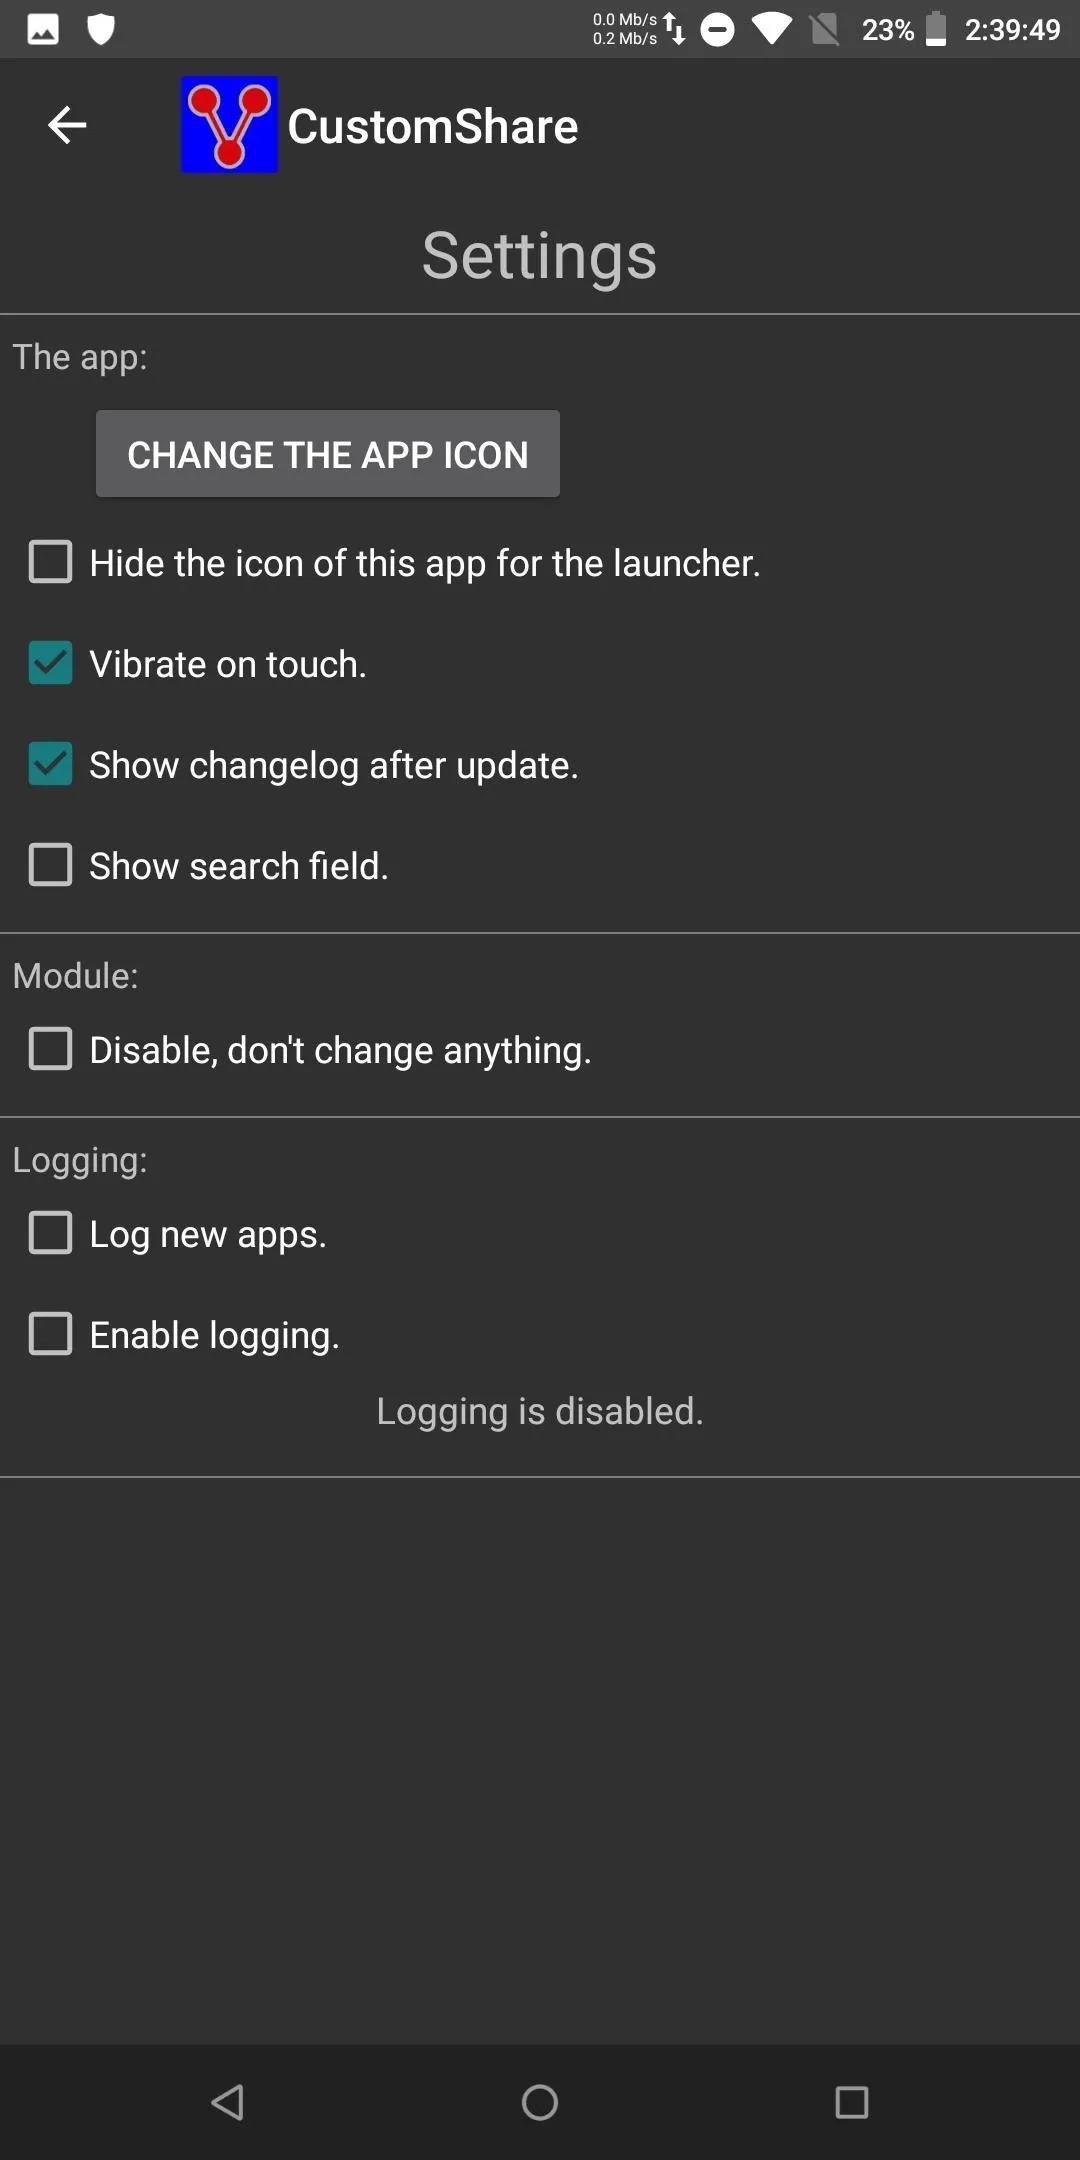
Once you have Xposed installed, search for CustomShare under "Download" and install the latest version. From there, you'll find the app in your app drawer.

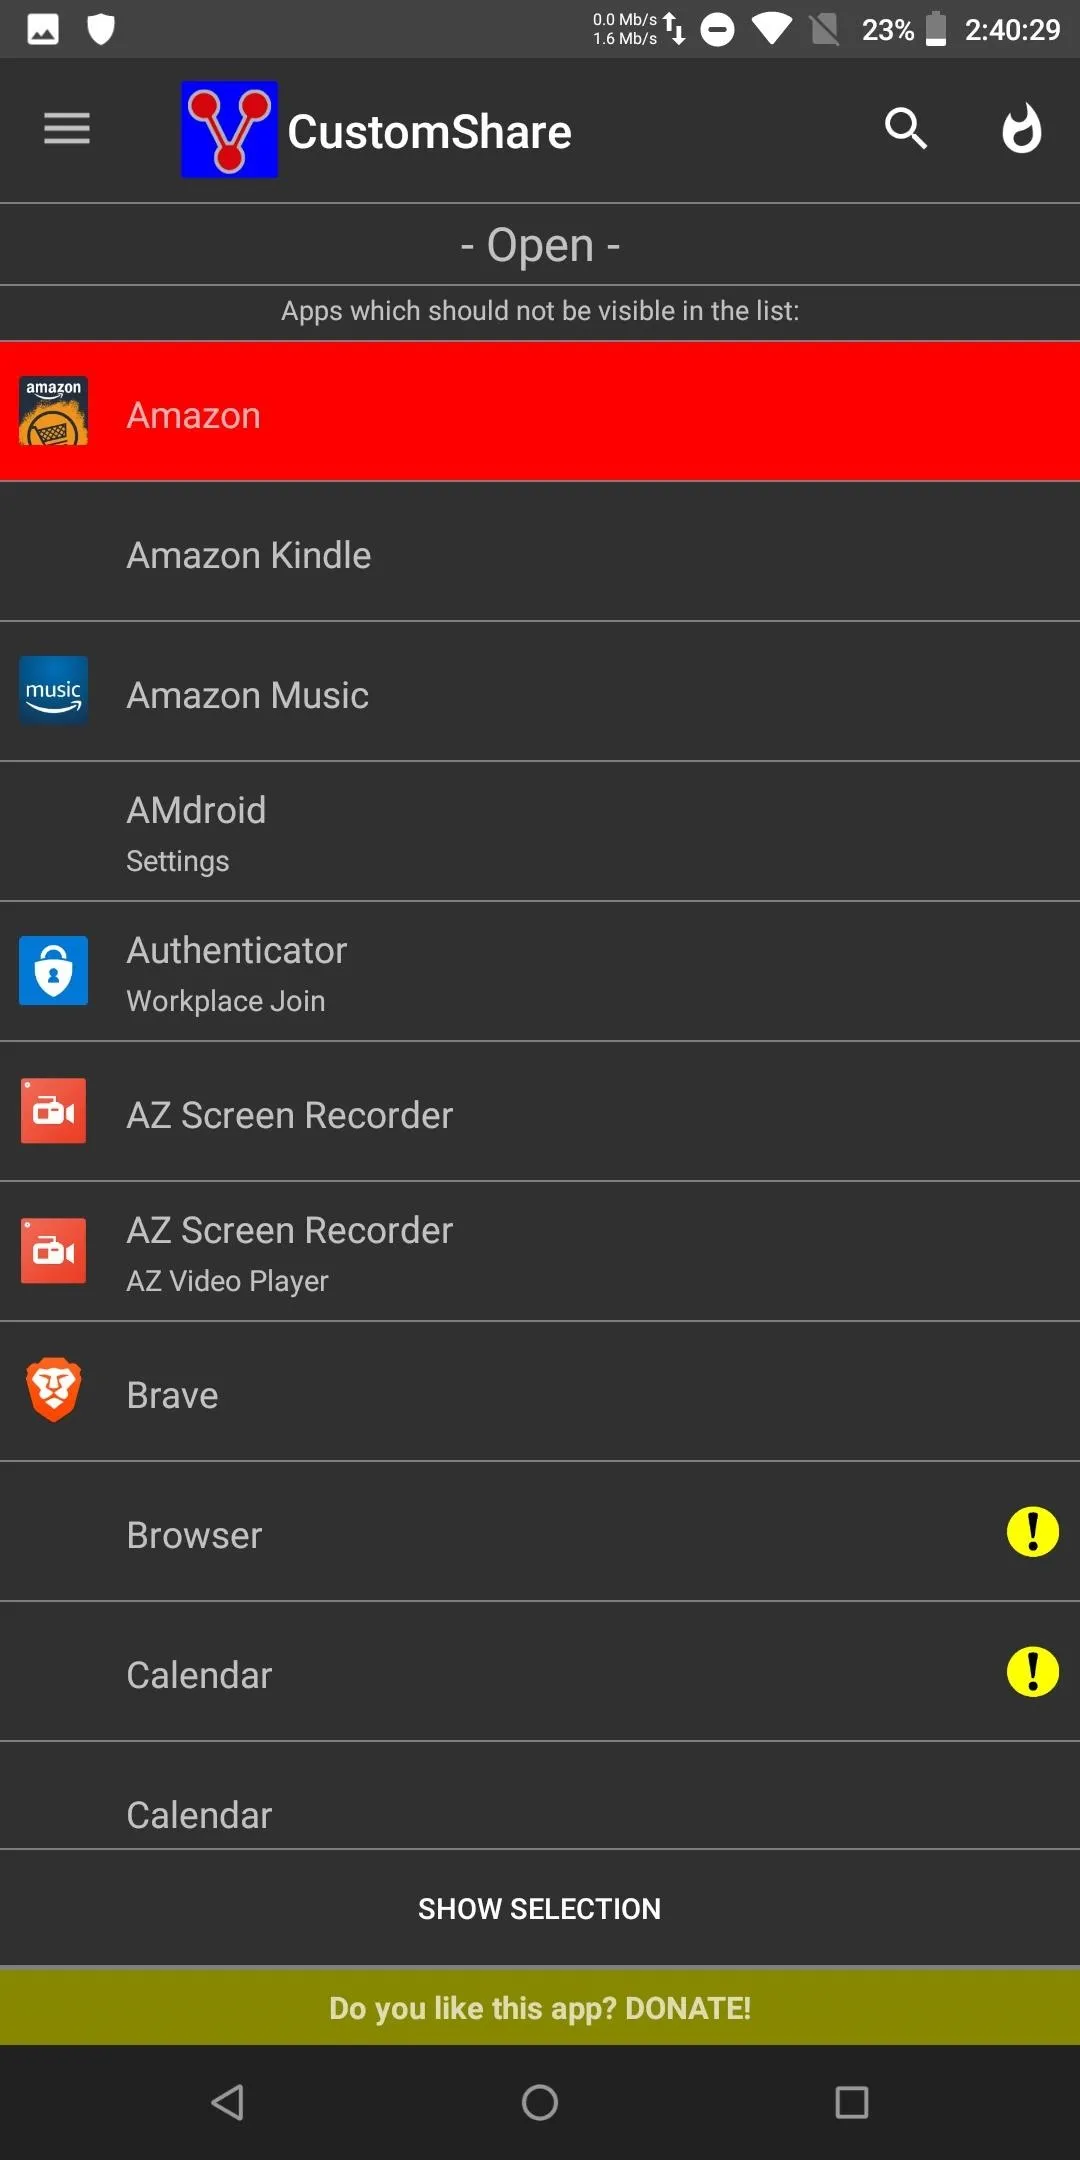
What's special about this one is it lets you change your phone's existing share menu instead of replacing it. CustomShare lets you remove up to 9 apps from the menu for free, but by purchasing CustomShare-Donator, you can gain the ability to remove as many as you'd like.
Any of the options above will help organize the mess known as the share menu. Depending on your preferences and needs, there is a different option that helps share your items quickly and effectively. Which method did you opt for? Let us know in the comments below.
- Follow Gadget Hacks on Facebook, Twitter, YouTube, and Flipboard
- Follow WonderHowTo on Facebook, Twitter, Pinterest, and Flipboard
Cover image and screenshots by Jon Knight/Gadget Hacks


Comments
Be the first, drop a comment!