


Android 11 has plenty of new features as you'd expect, including a fancy new embedded media player. Rather than a constant notification, your audio controls now get pushed up into the Quick Settings panel when playing music. However, to make way for this new media player functionality, your total number of quick settings tiles had to be cut from nine down to six.
This new Android 11 change may not be welcomed by some since six tiles in a three-by-two panel could seem too little. Luckily, developer Tulsadiver has put together a little Magisk module to solve this very issue. Even better, there's no extra fluff — its only purpose is to bring back the 9-tile layout in your Quick Settings panel, just like Android 10 used to have.
- Not Rooted? Try PowerShade with Media Integration Disabled
Requirements
- Root access
- Pixel device running Android 11 (mod not tested on other models)
- Magisk installed
Download the 9 Tiles QS Module
To kick things off, you'll need to download the Magisk module, so tap the link below from your Android 11 Pixel device. Depending on your browser, you may need to long-press and choose "Save file."
- Download the 9 Tiles QS Module (.zip) | Mirror (.zip)
It should be mentioned, Tulsadiver got permission to use the base for this 9 Tiles QS module from j to the 4n, the developer of the Edge Sense Plus mod.
Install the Module
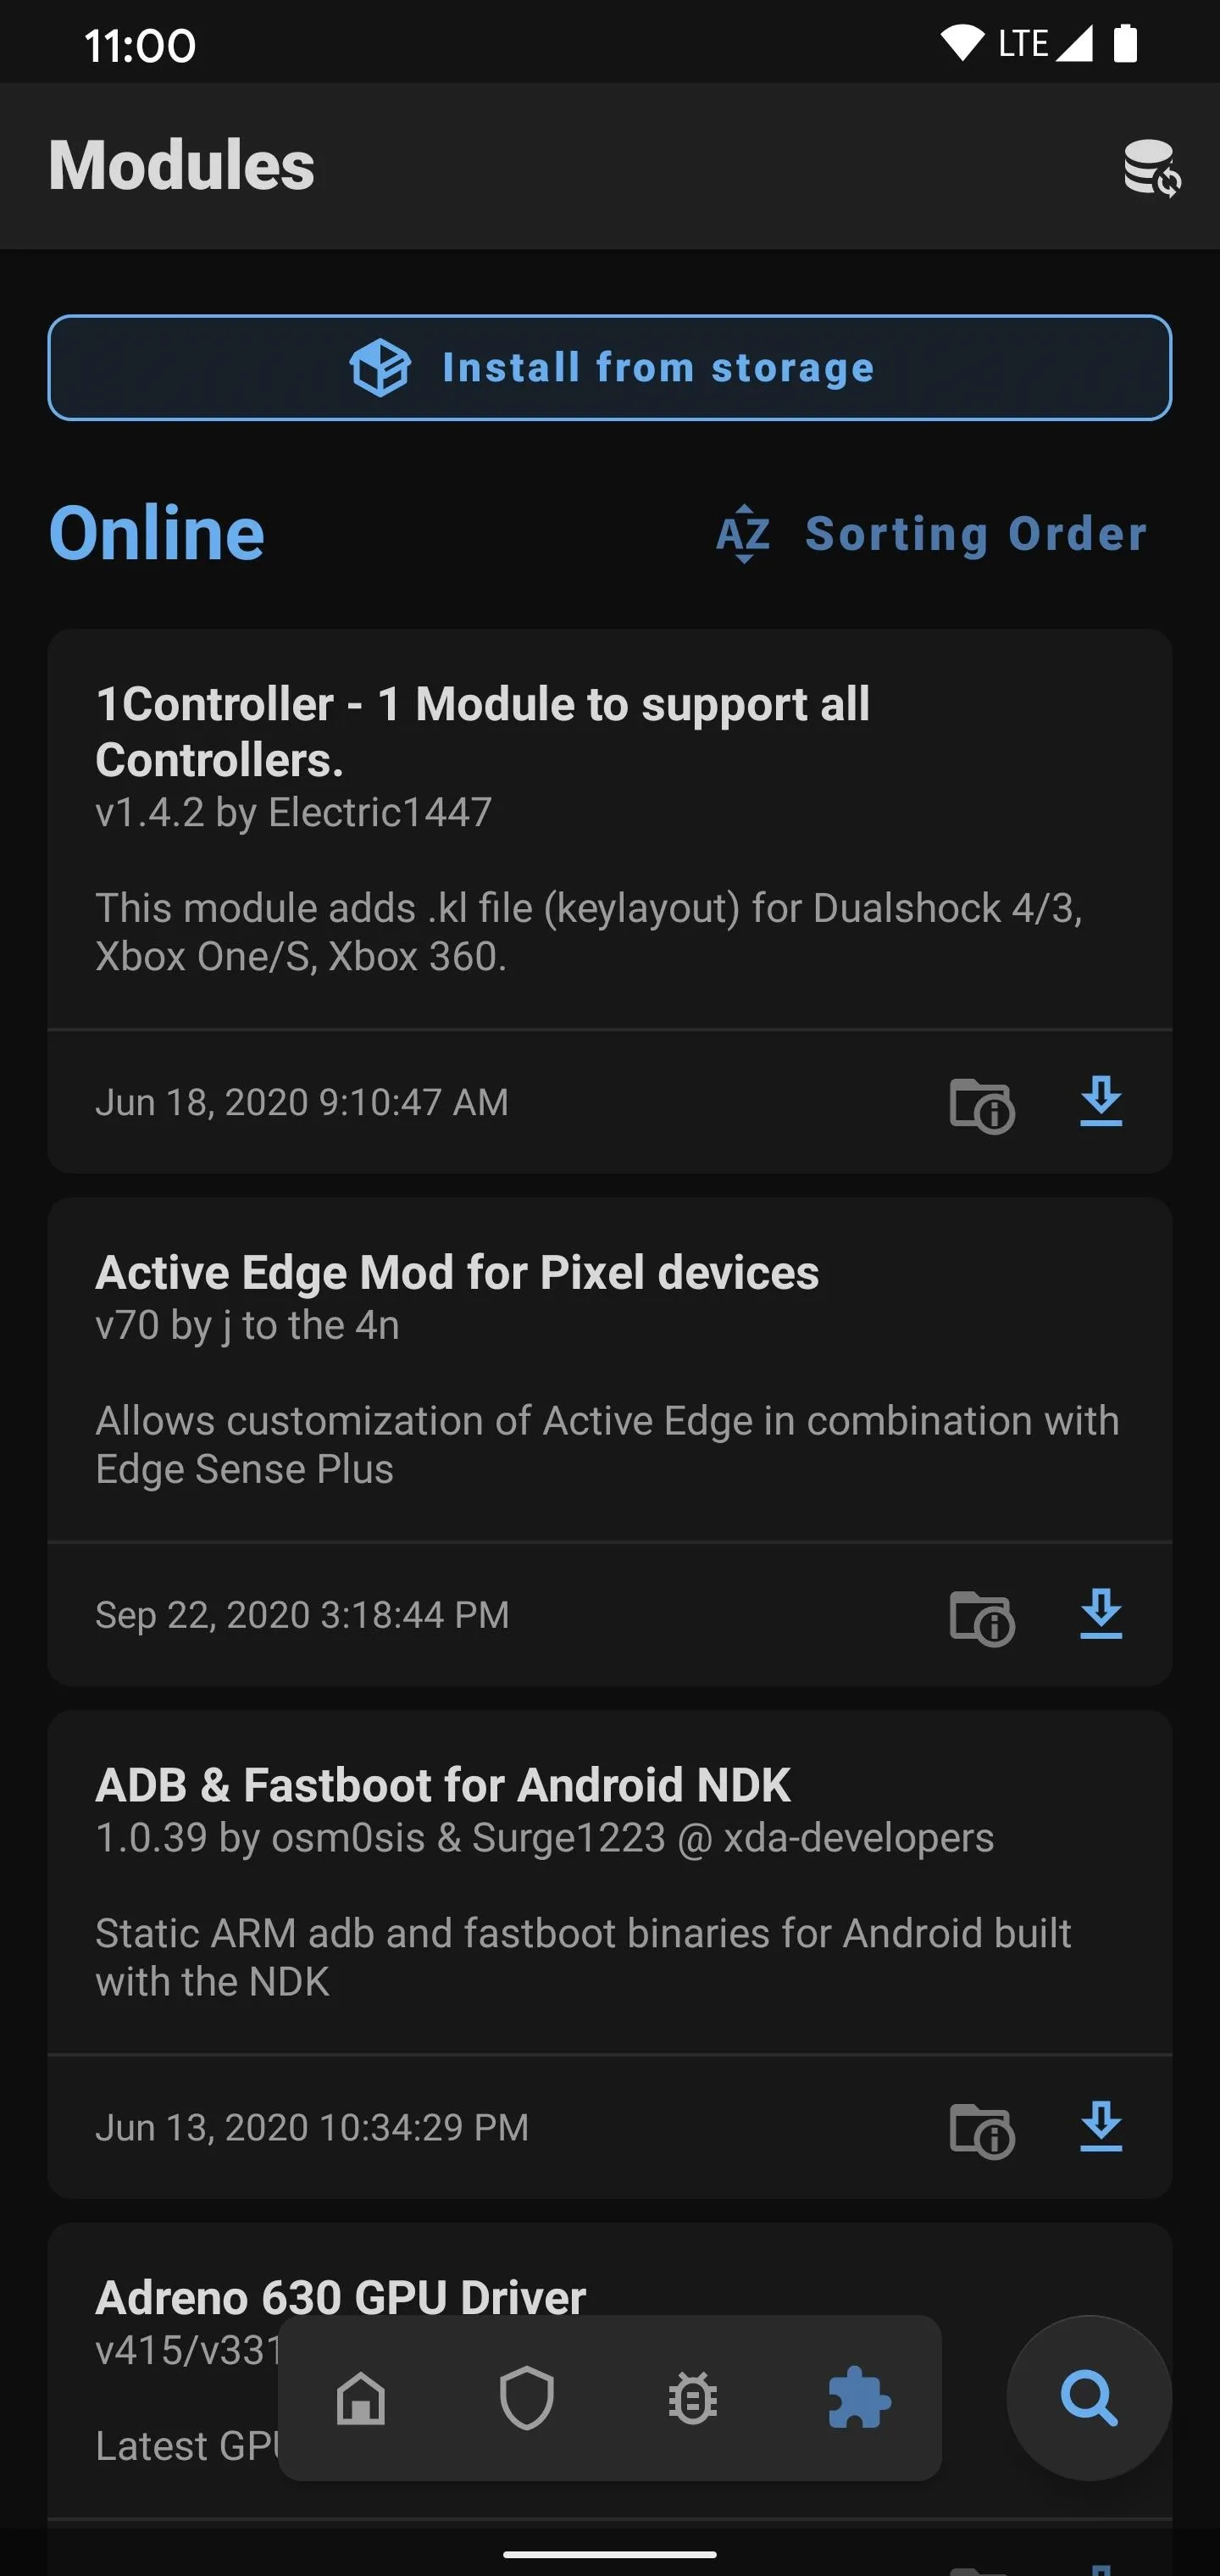
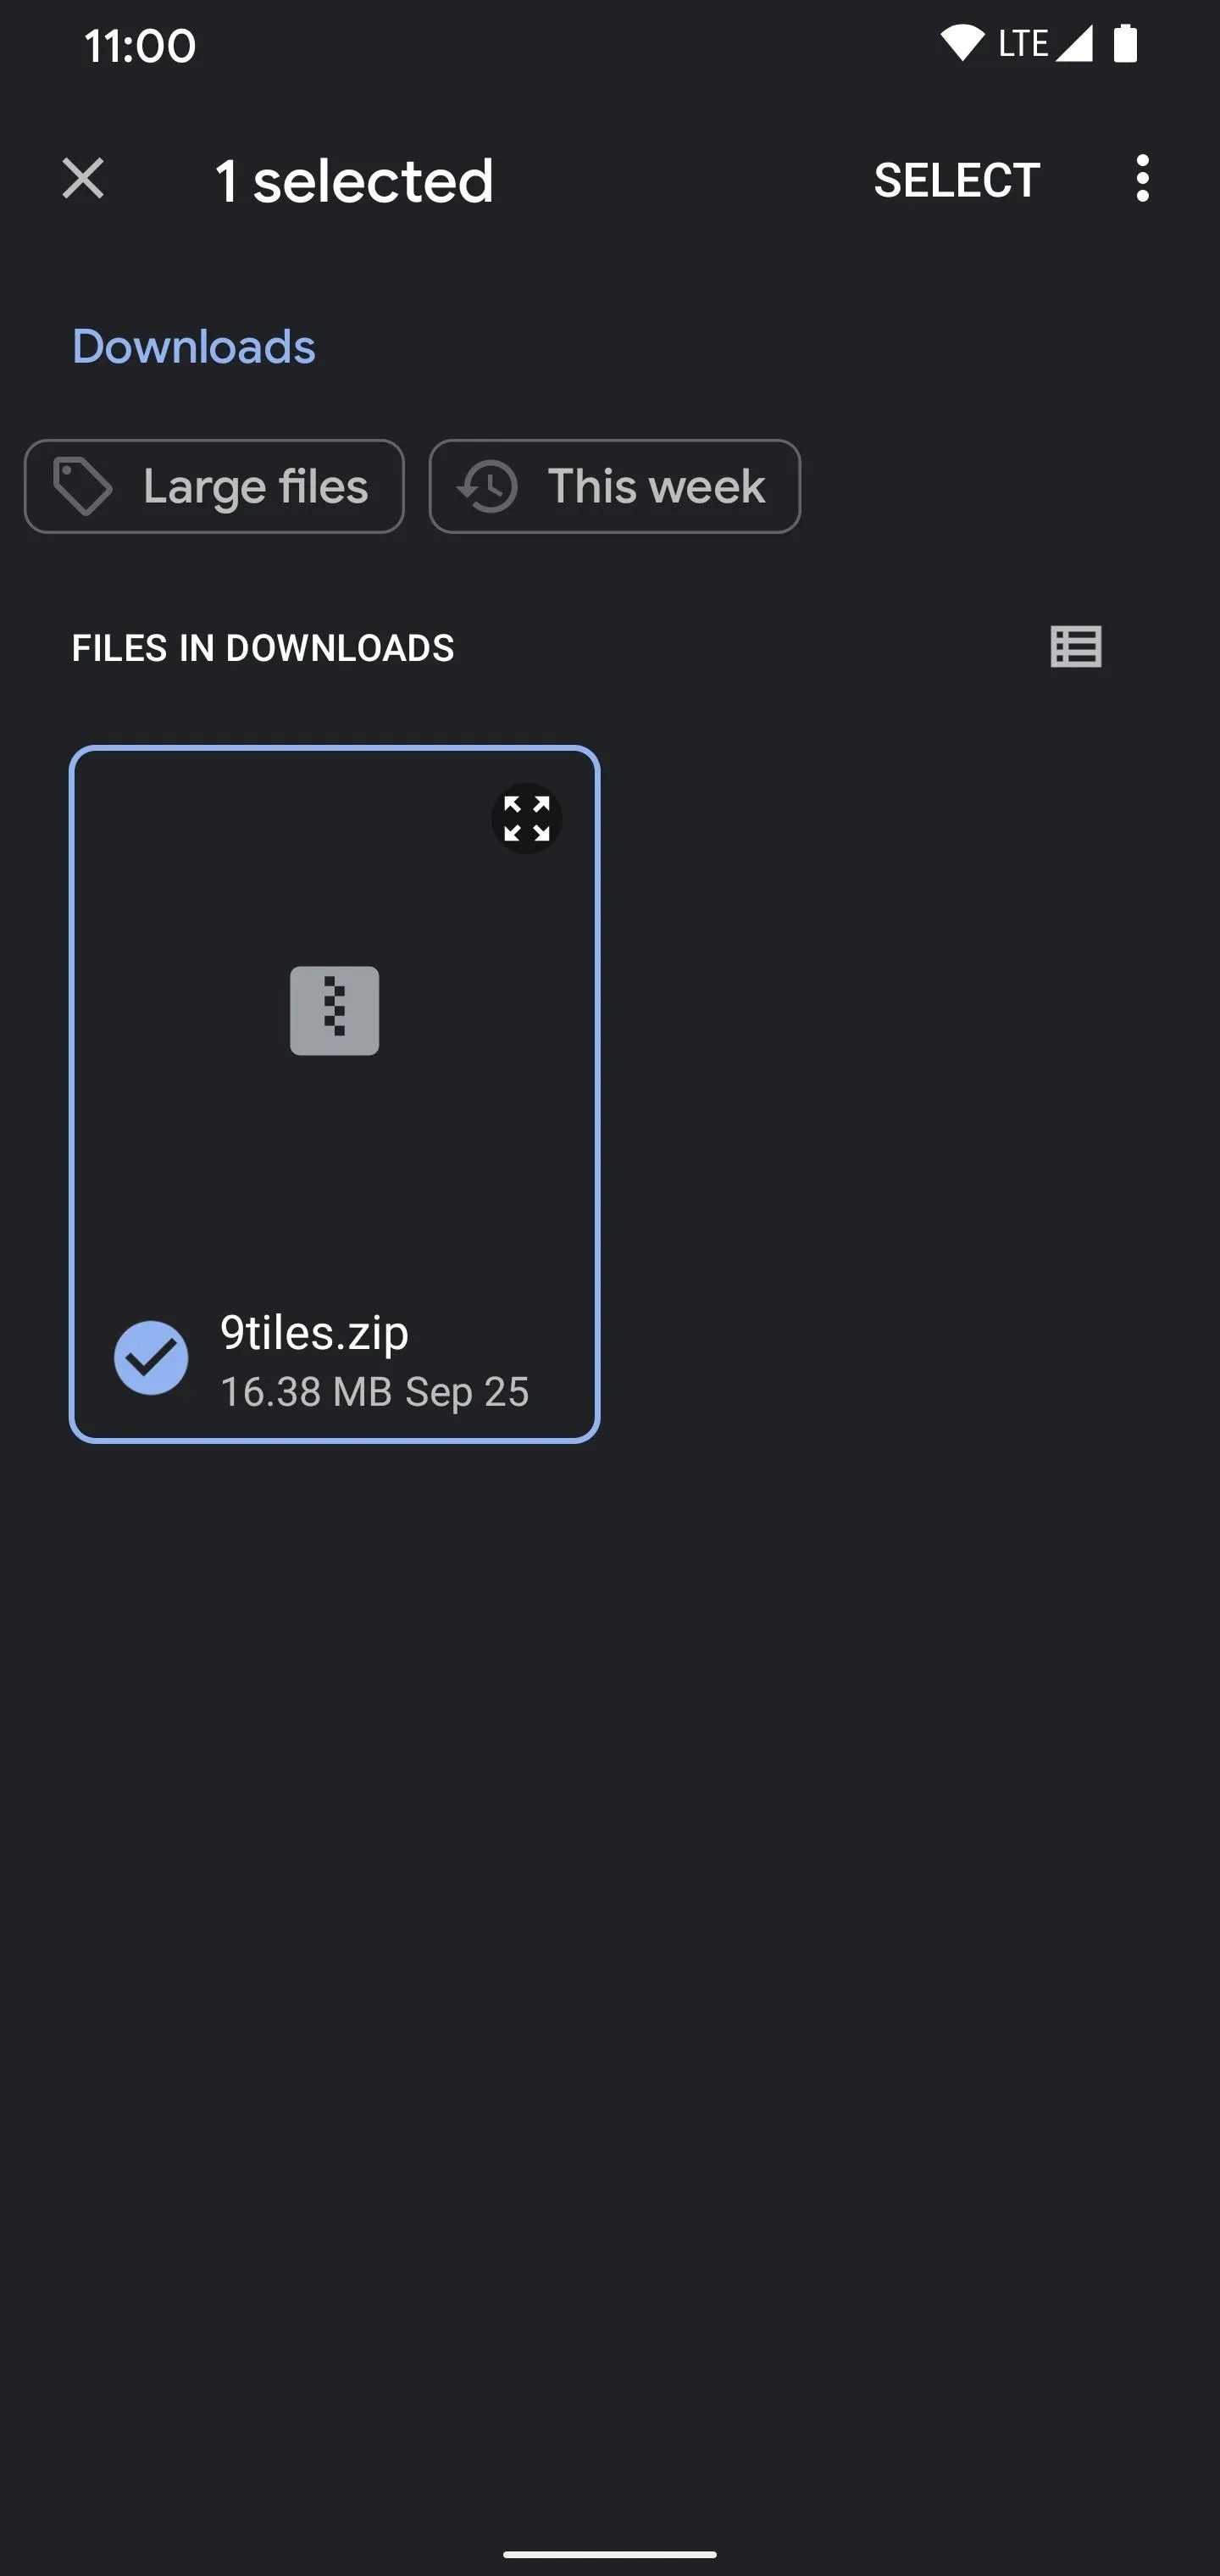
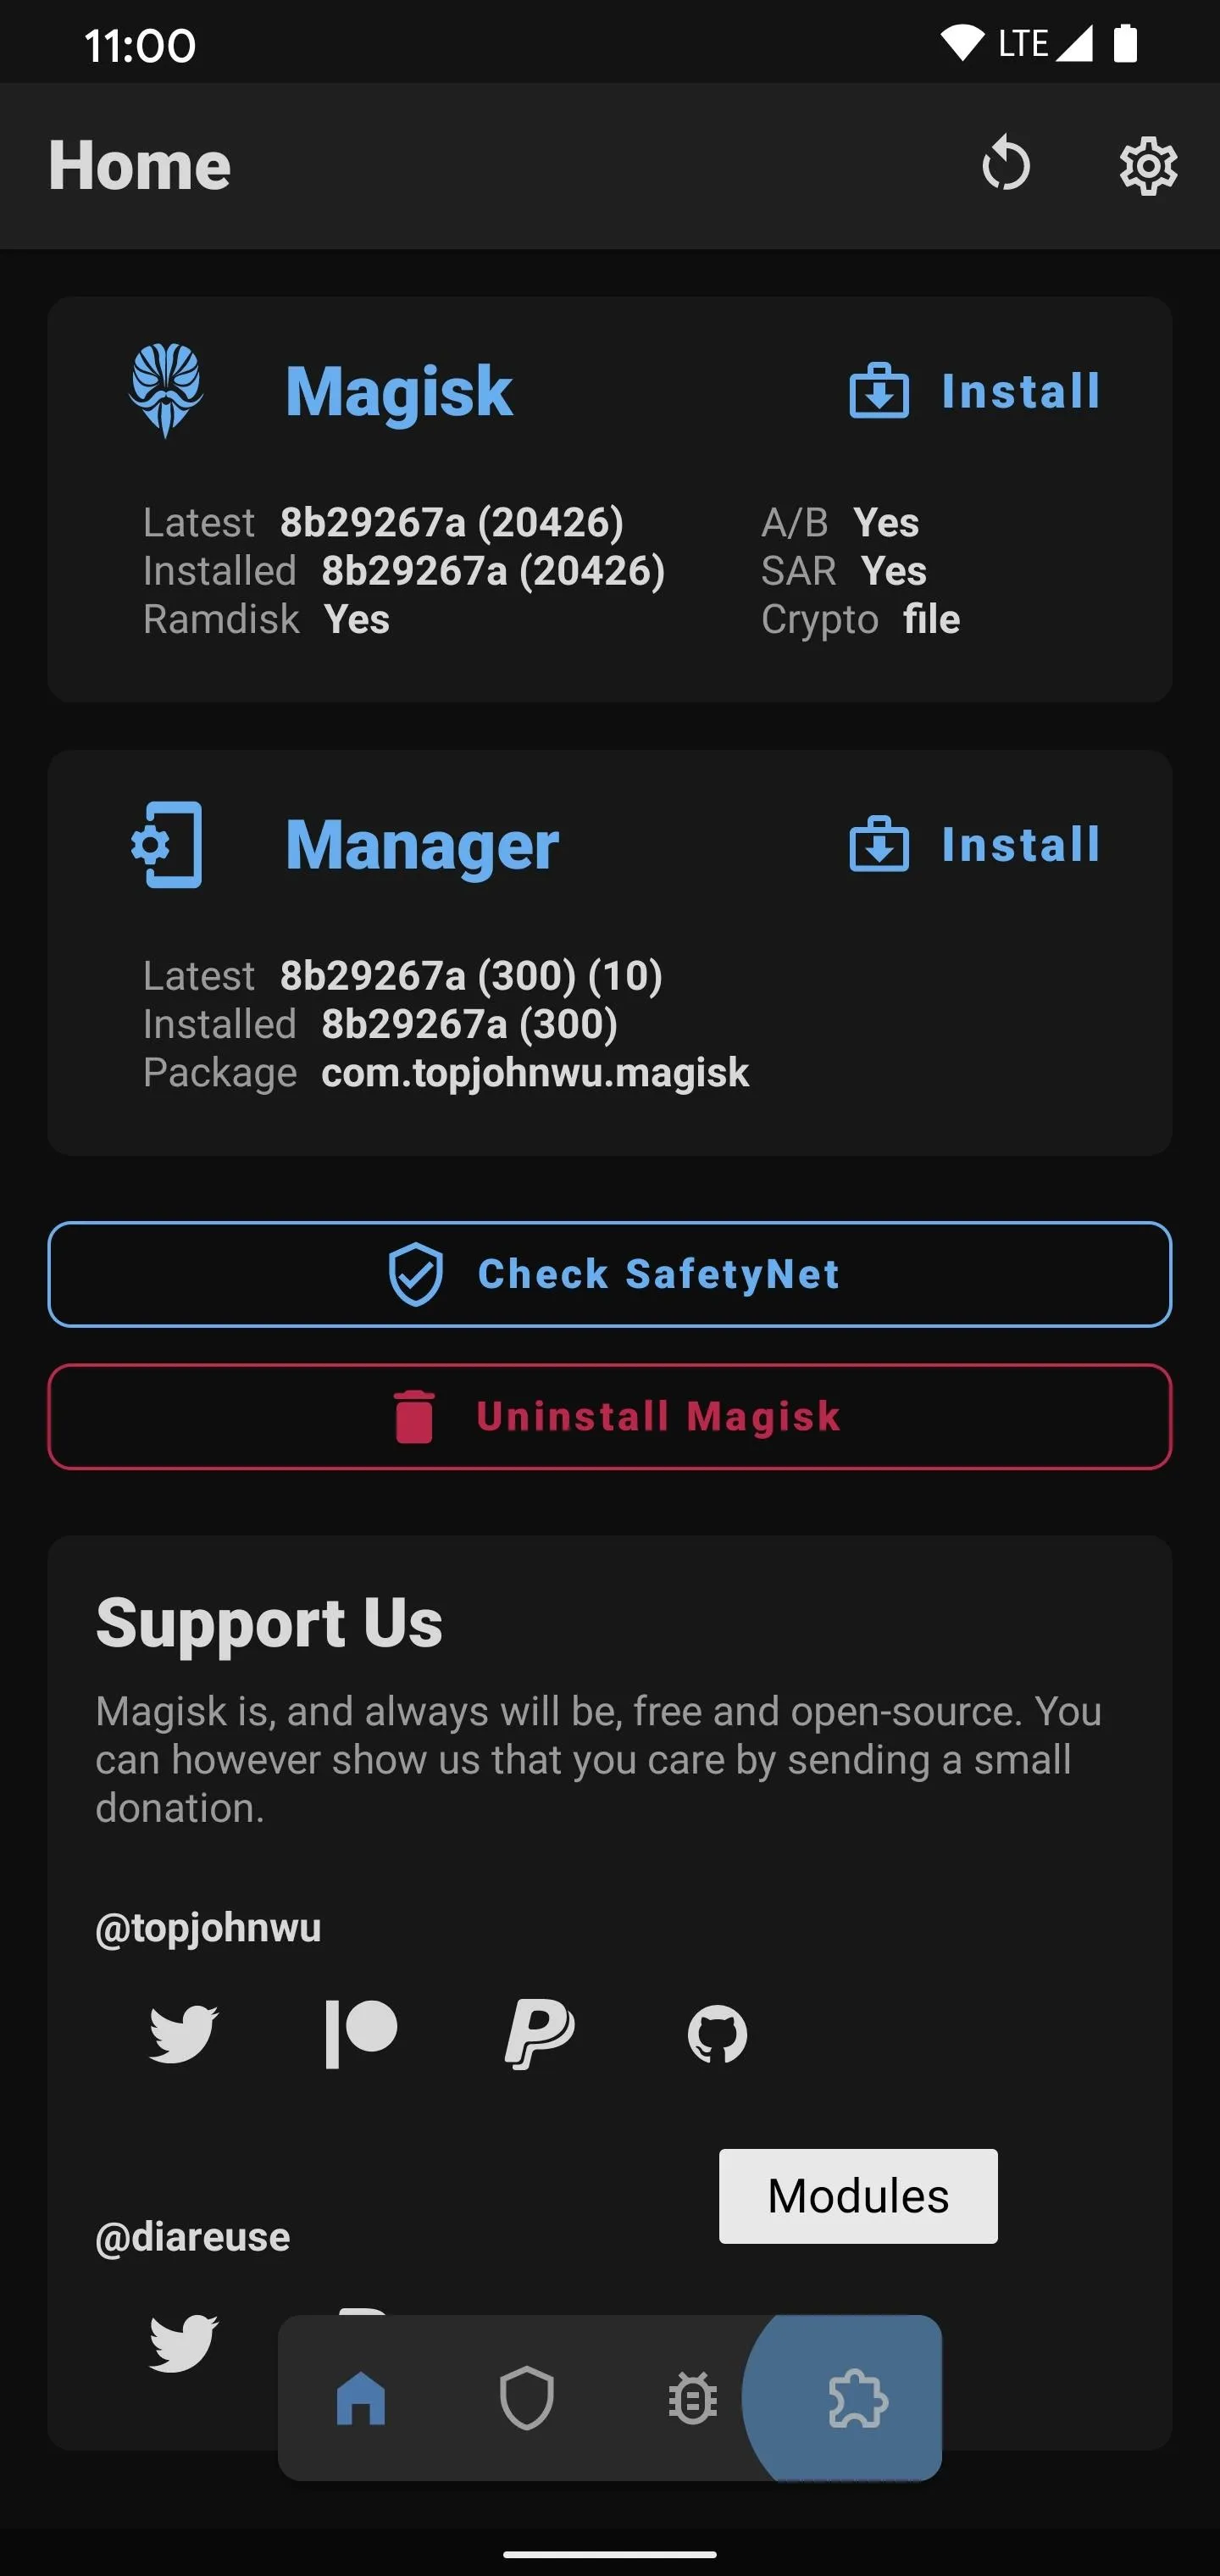
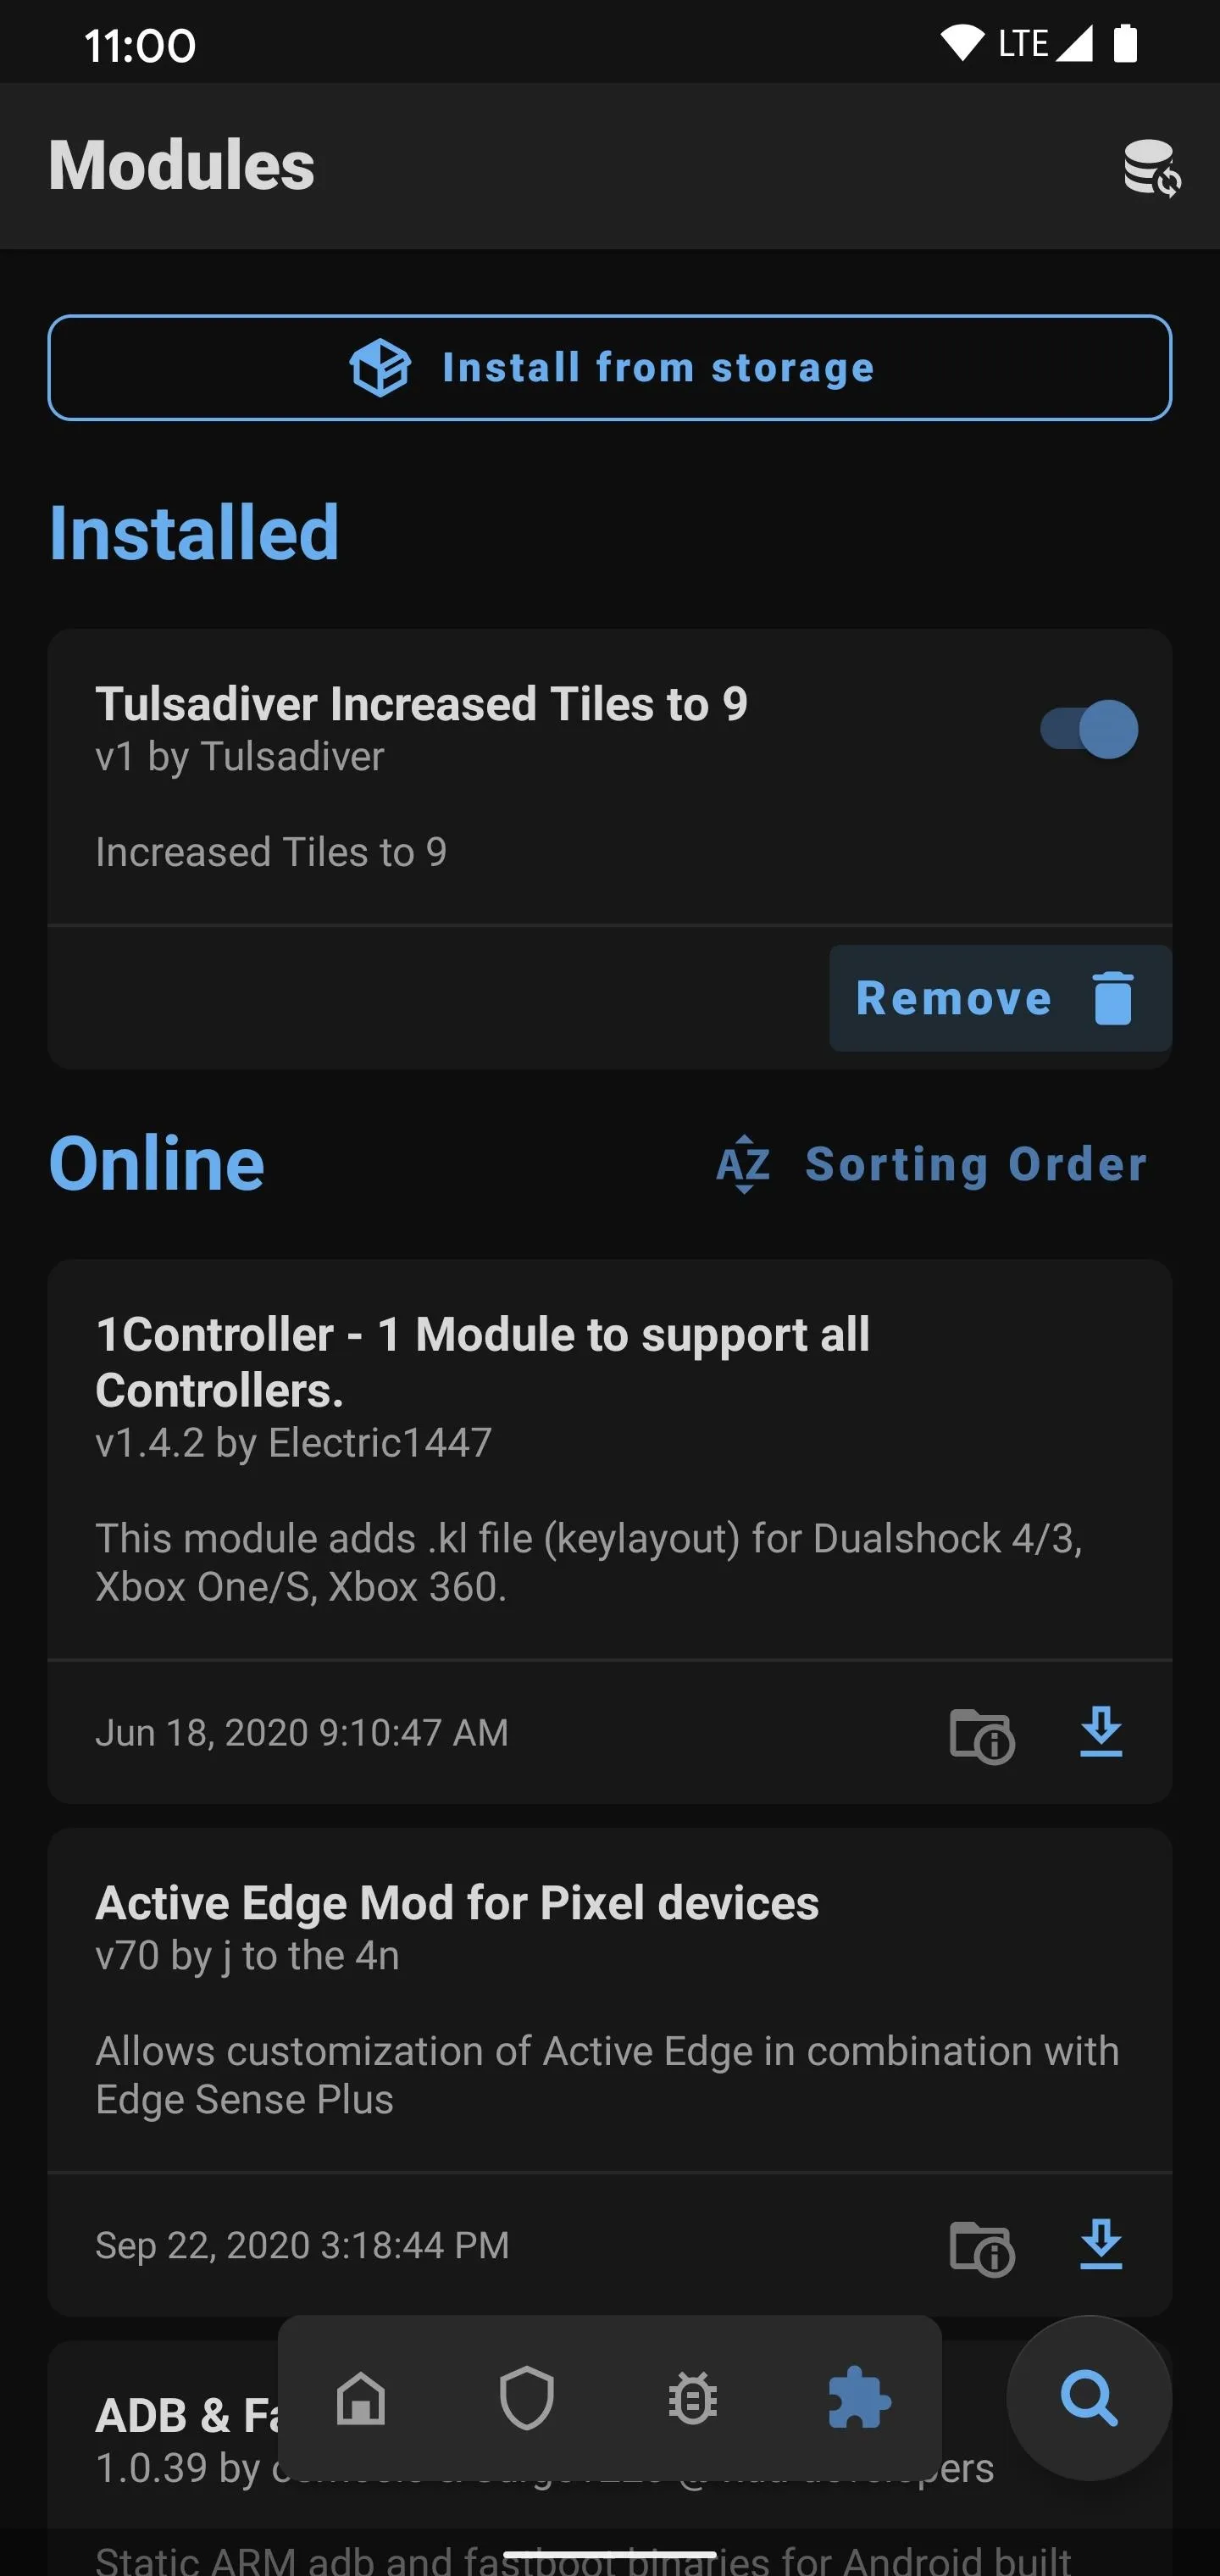
Since this is a third-party module and not listed in the official Magisk repo, you'll need to manually install it. Open Magisk Manager, tap the "Modules" icon at the bottom, then press the "Install from storage" button. It should show your recent downloads, but if not, navigate to the location where the file is saved (the "Download" folder by default).
Note: If you're on the old version of Magisk Manager, head to "Modules" from the hamburger menu instead.

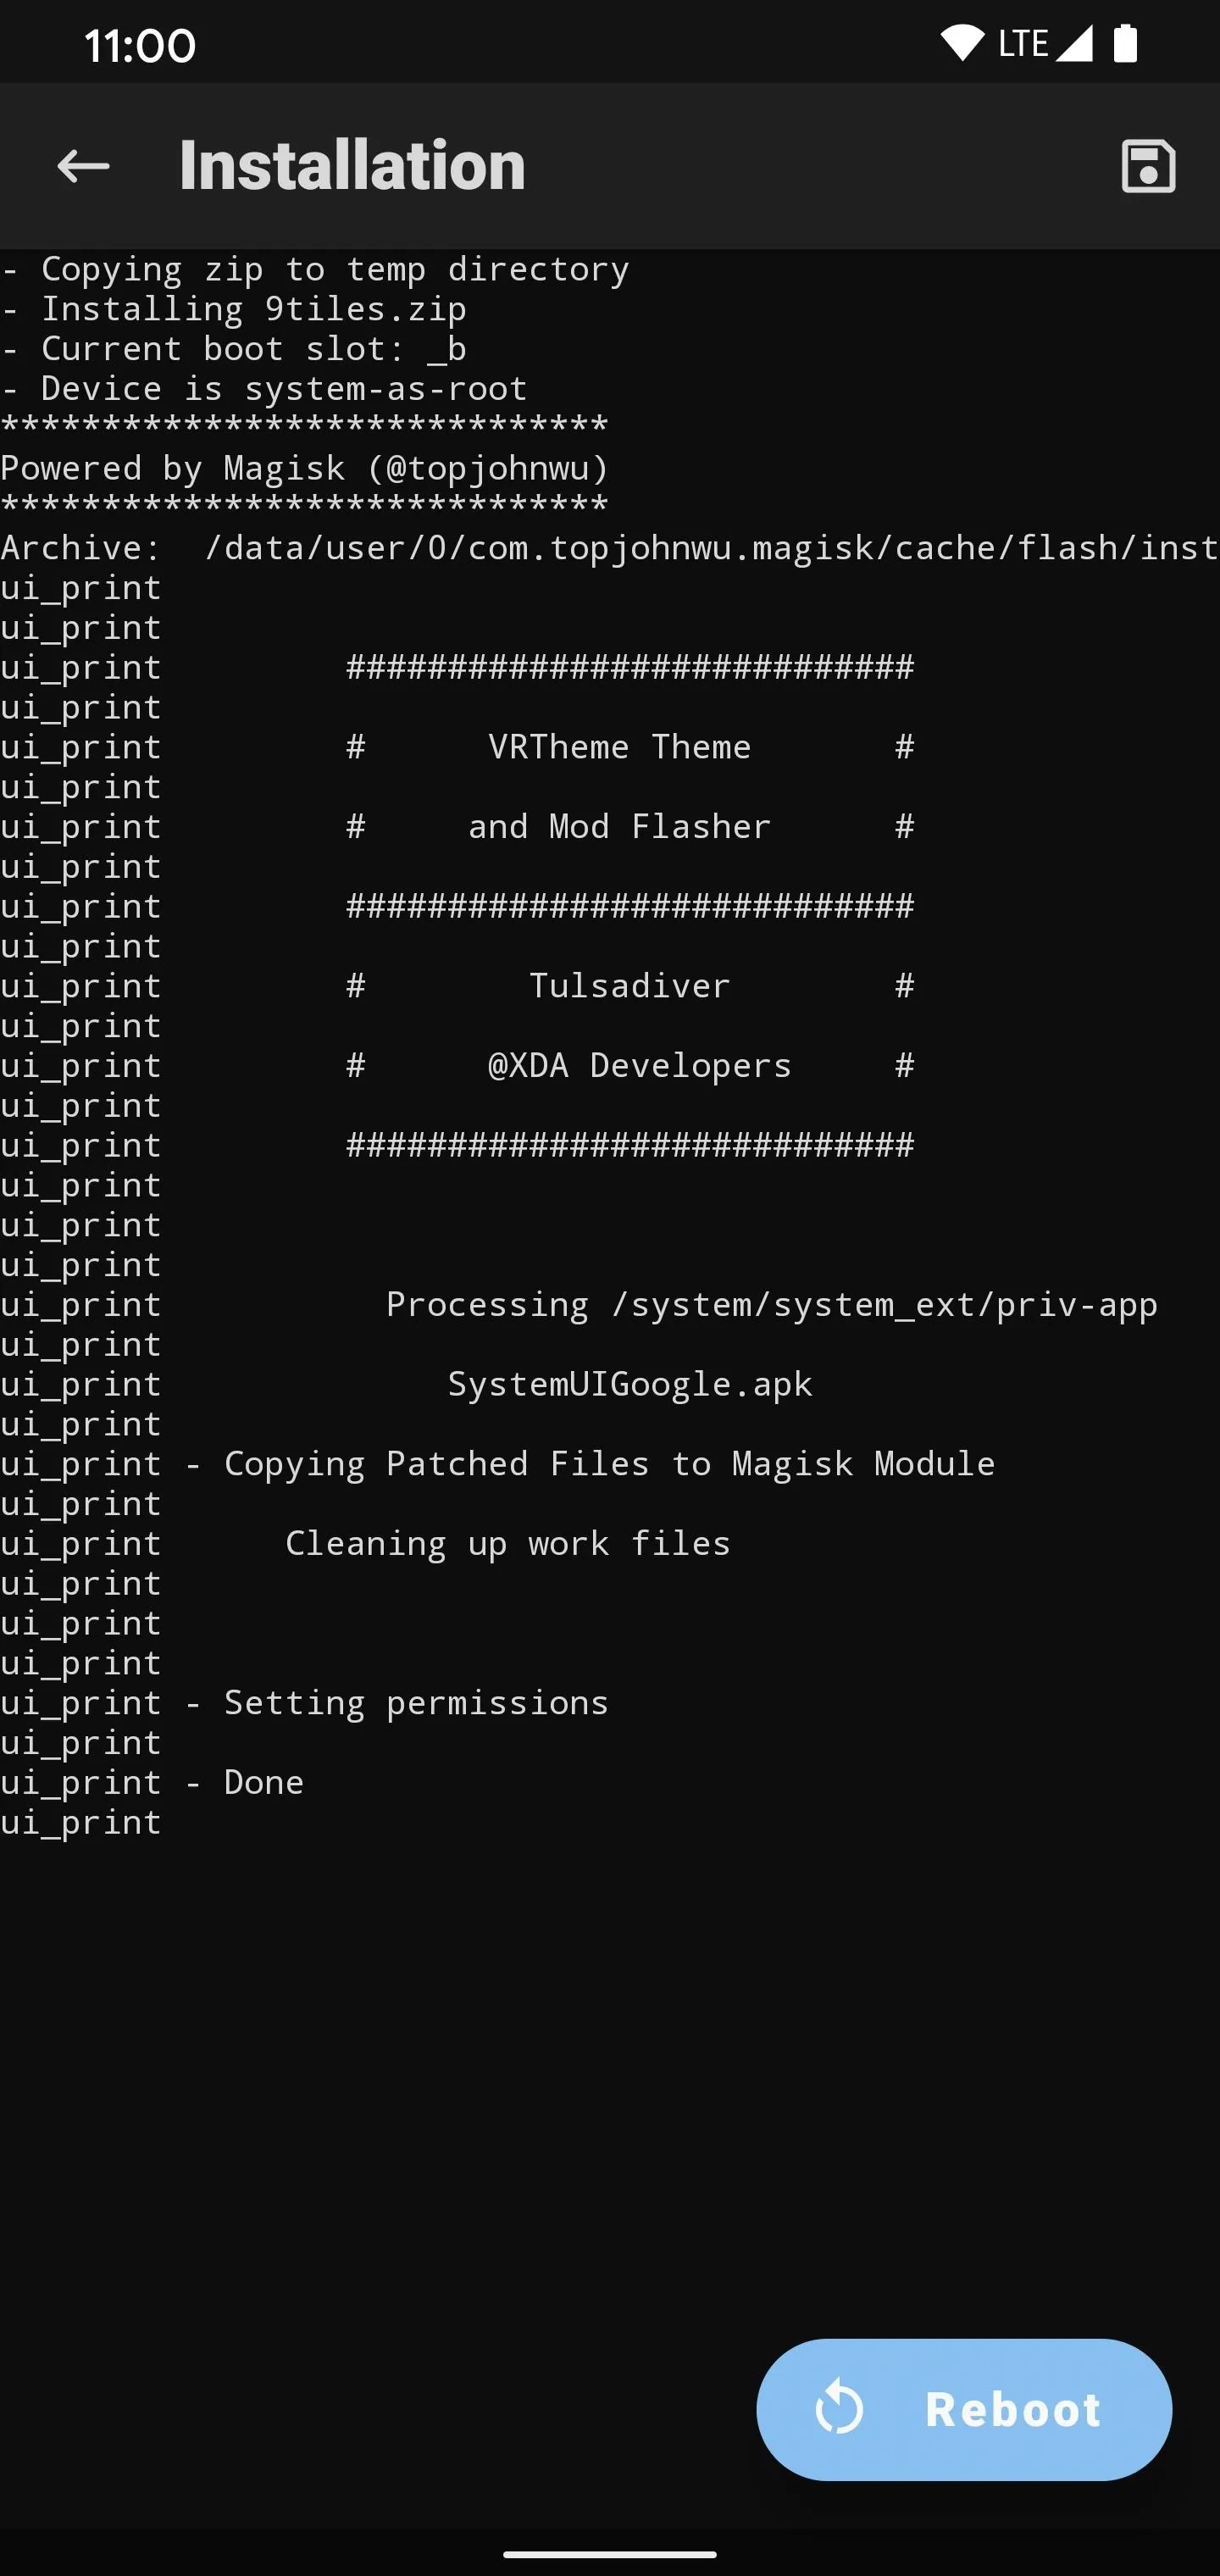
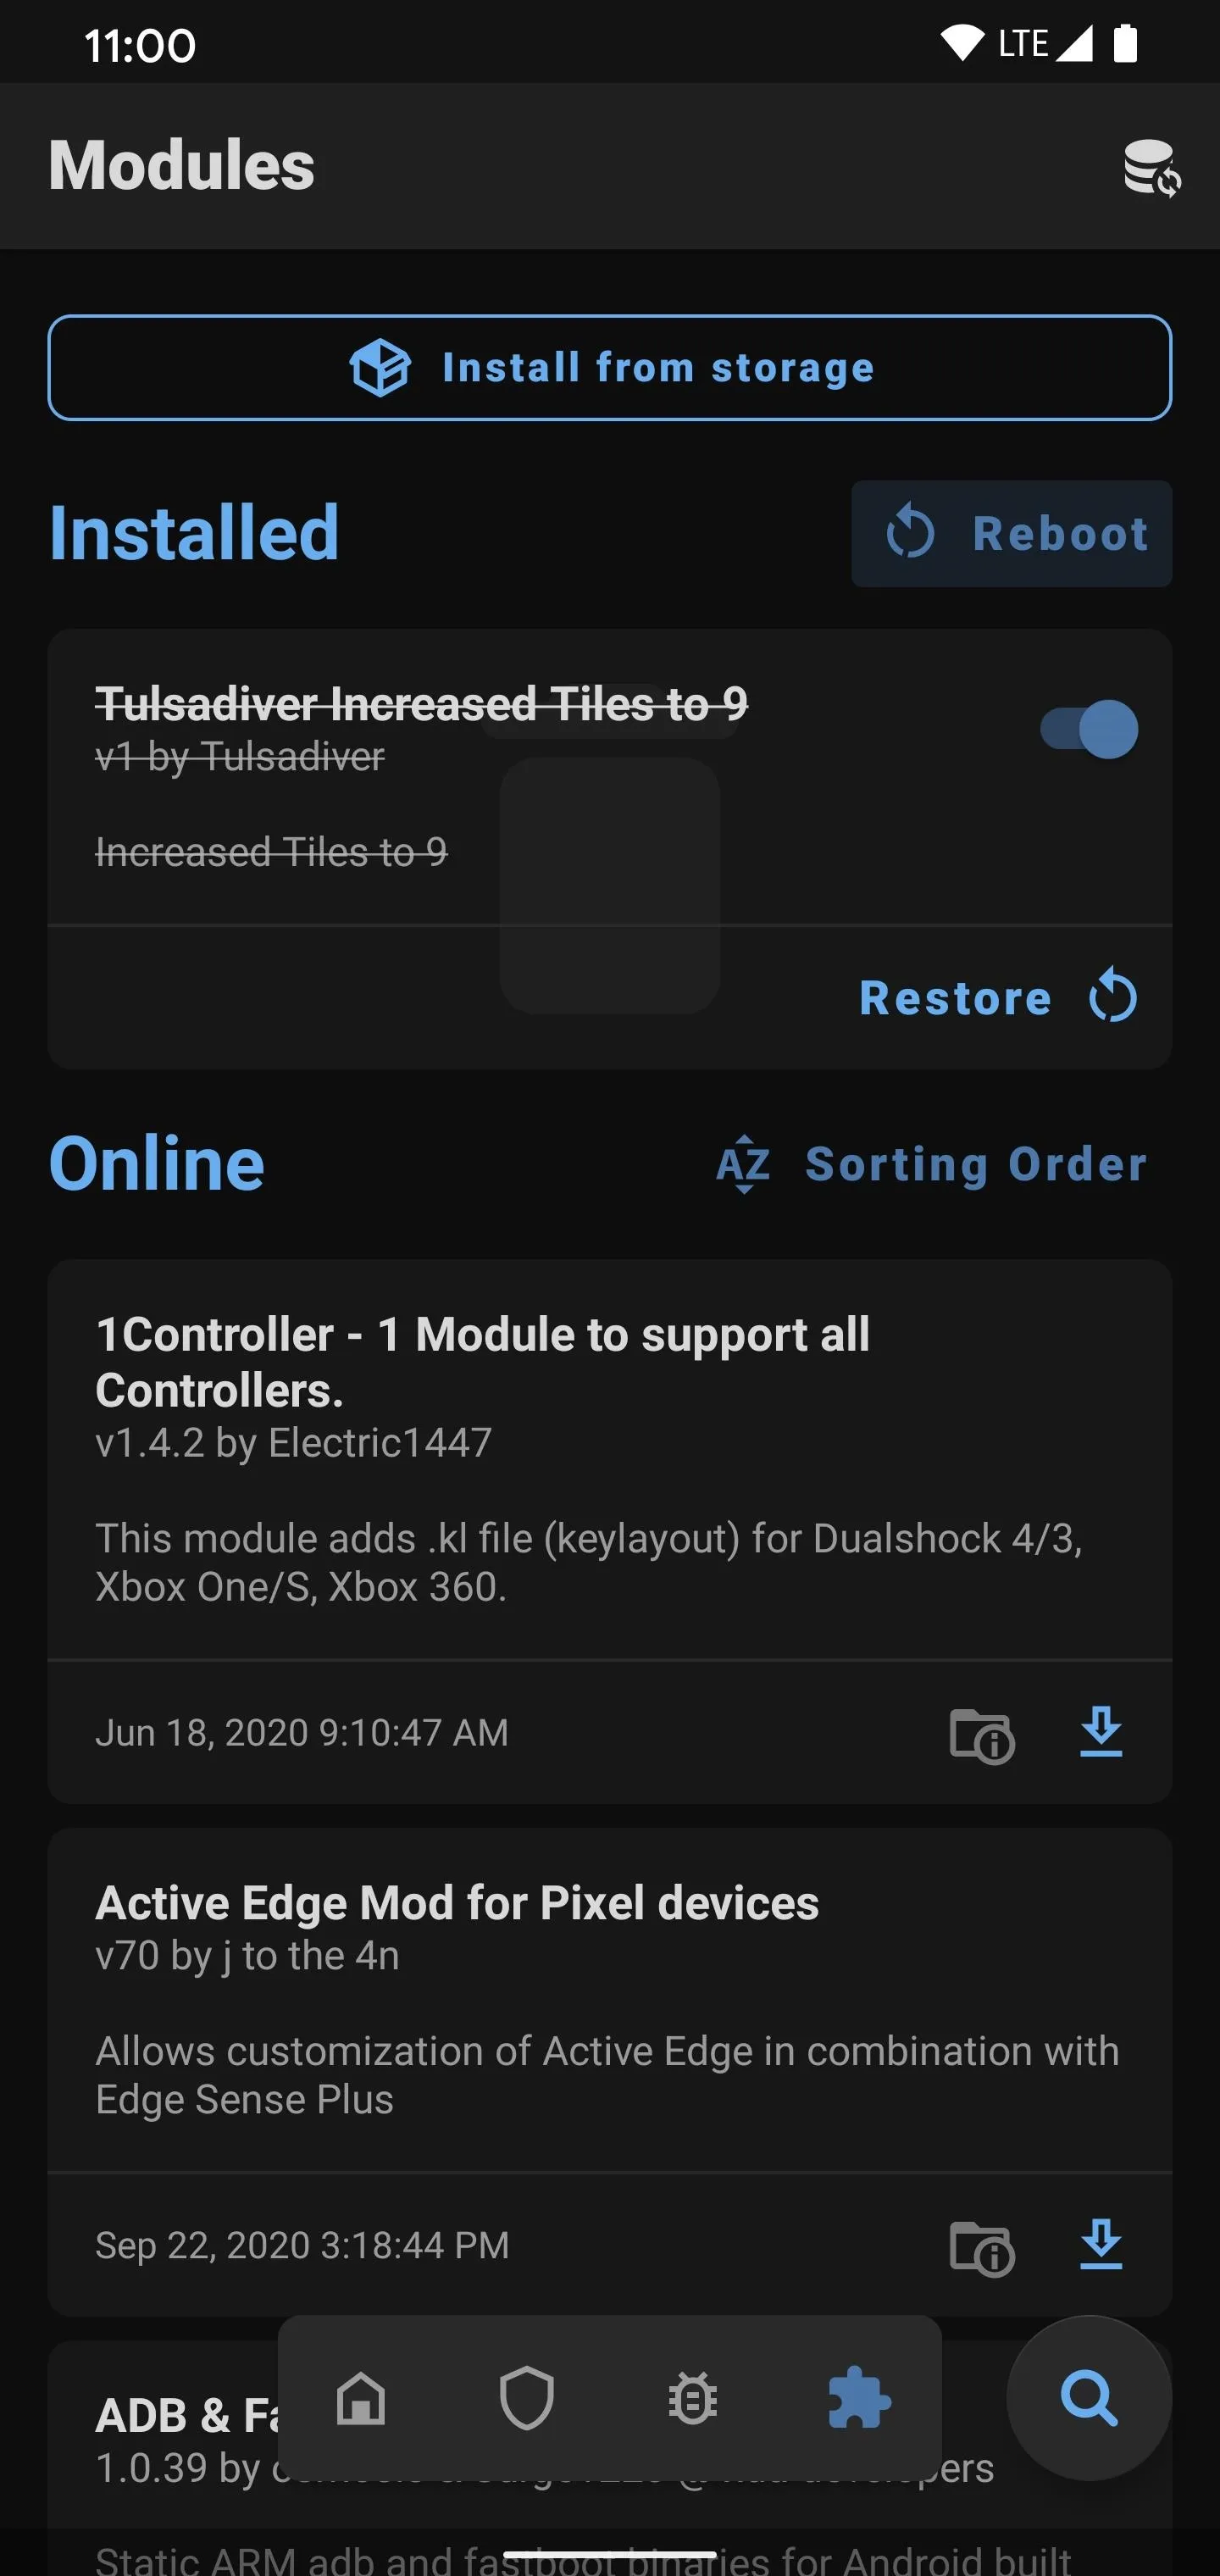
Tap the "9tiles.zip" file once, then it'll begin installing. This might take a minute or so to process, so give it some time. Once finished, hit the "Reboot" button at the bottom to restart your device and activate the module.
Enjoy Your 9-Tile Quick Settings Panel
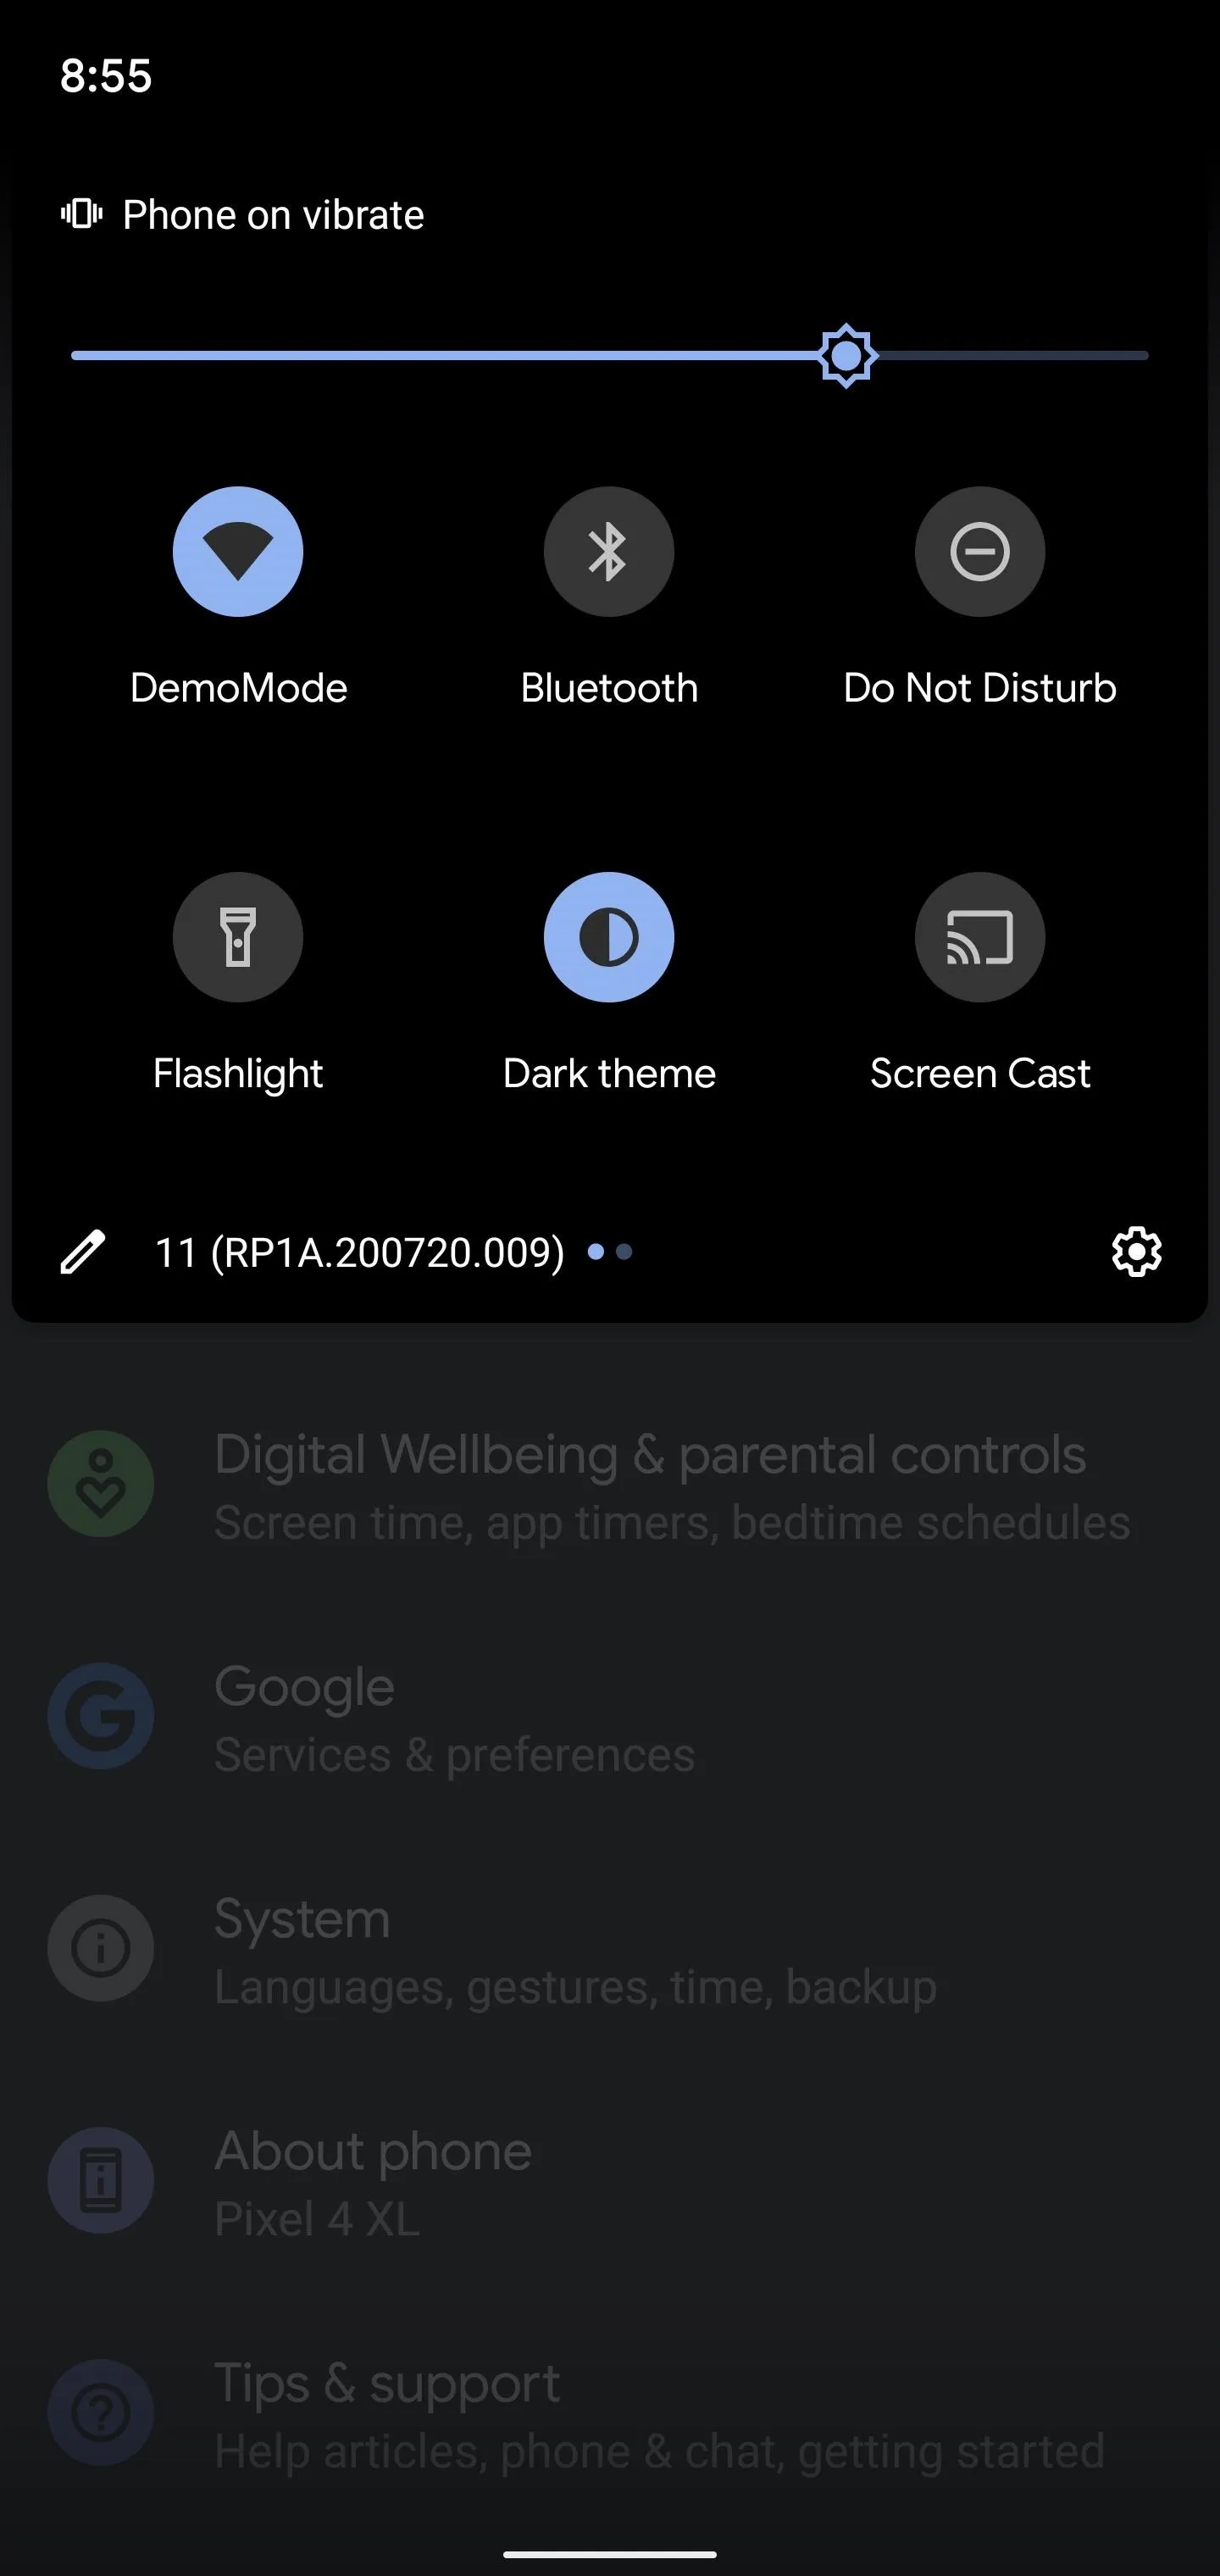
Now it's time to check and make sure the module worked on your device. Swipe down to access your quick settings panel like usual and behold — you should now see a 3 by 3 grid with 9 icons. If not, hit the "Edit" pencil icon, then drag and drop more tiles onto your quick settings panel. You need a minimum of nine tiles now when making changes here.
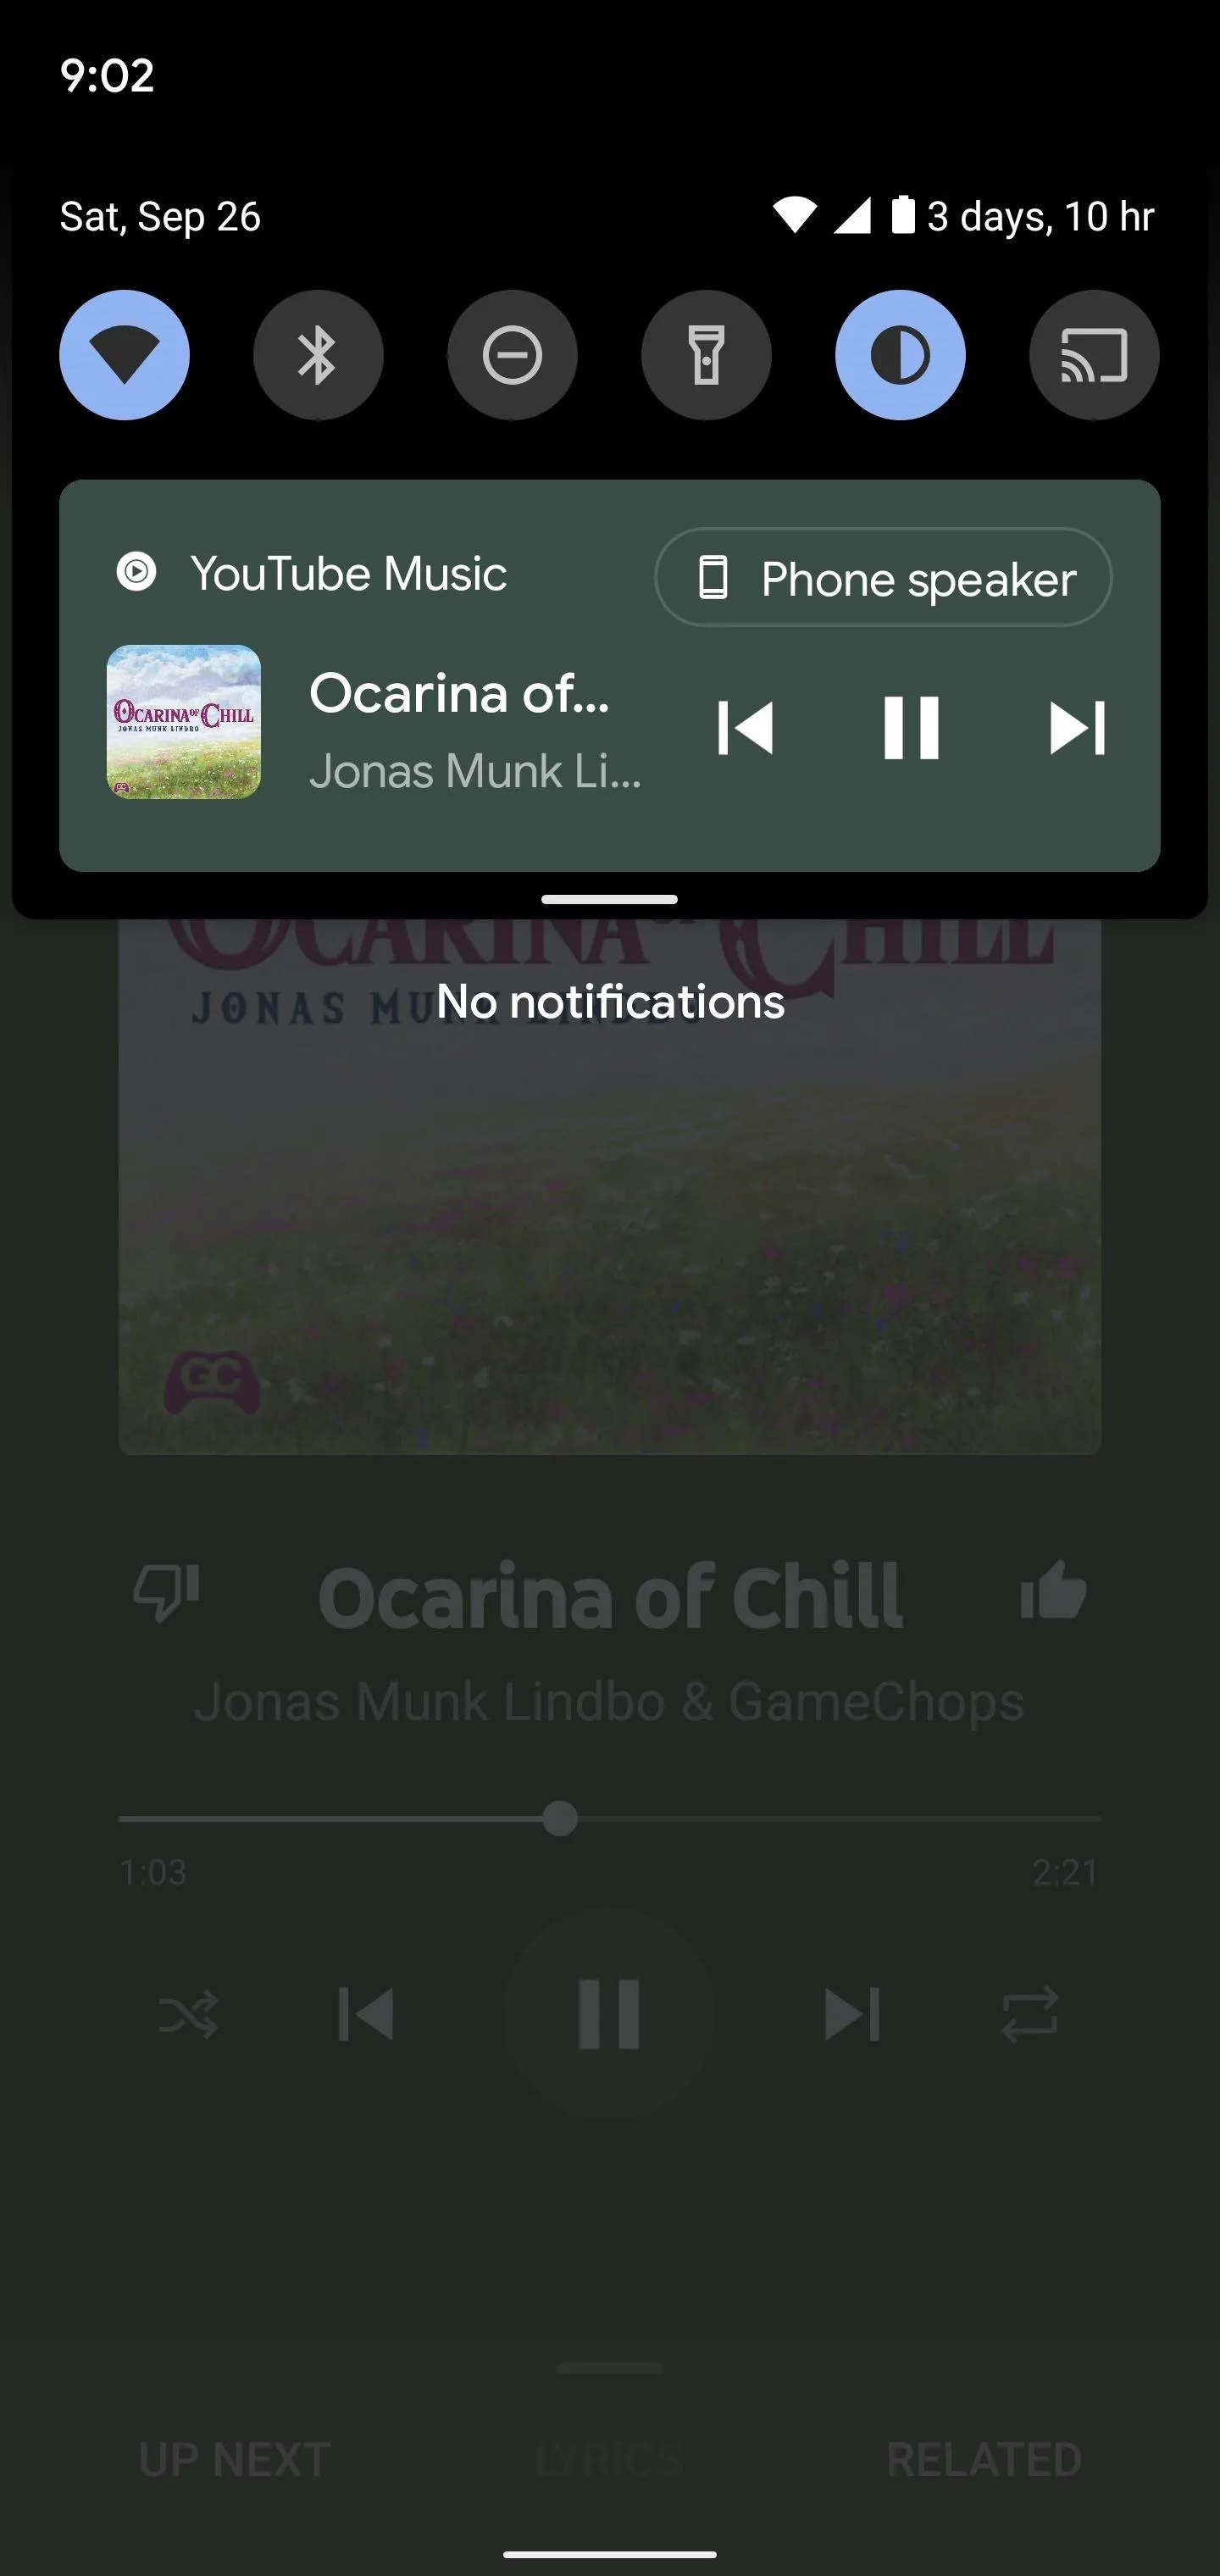
The default 6 QS tiles you get from stock Android 11.
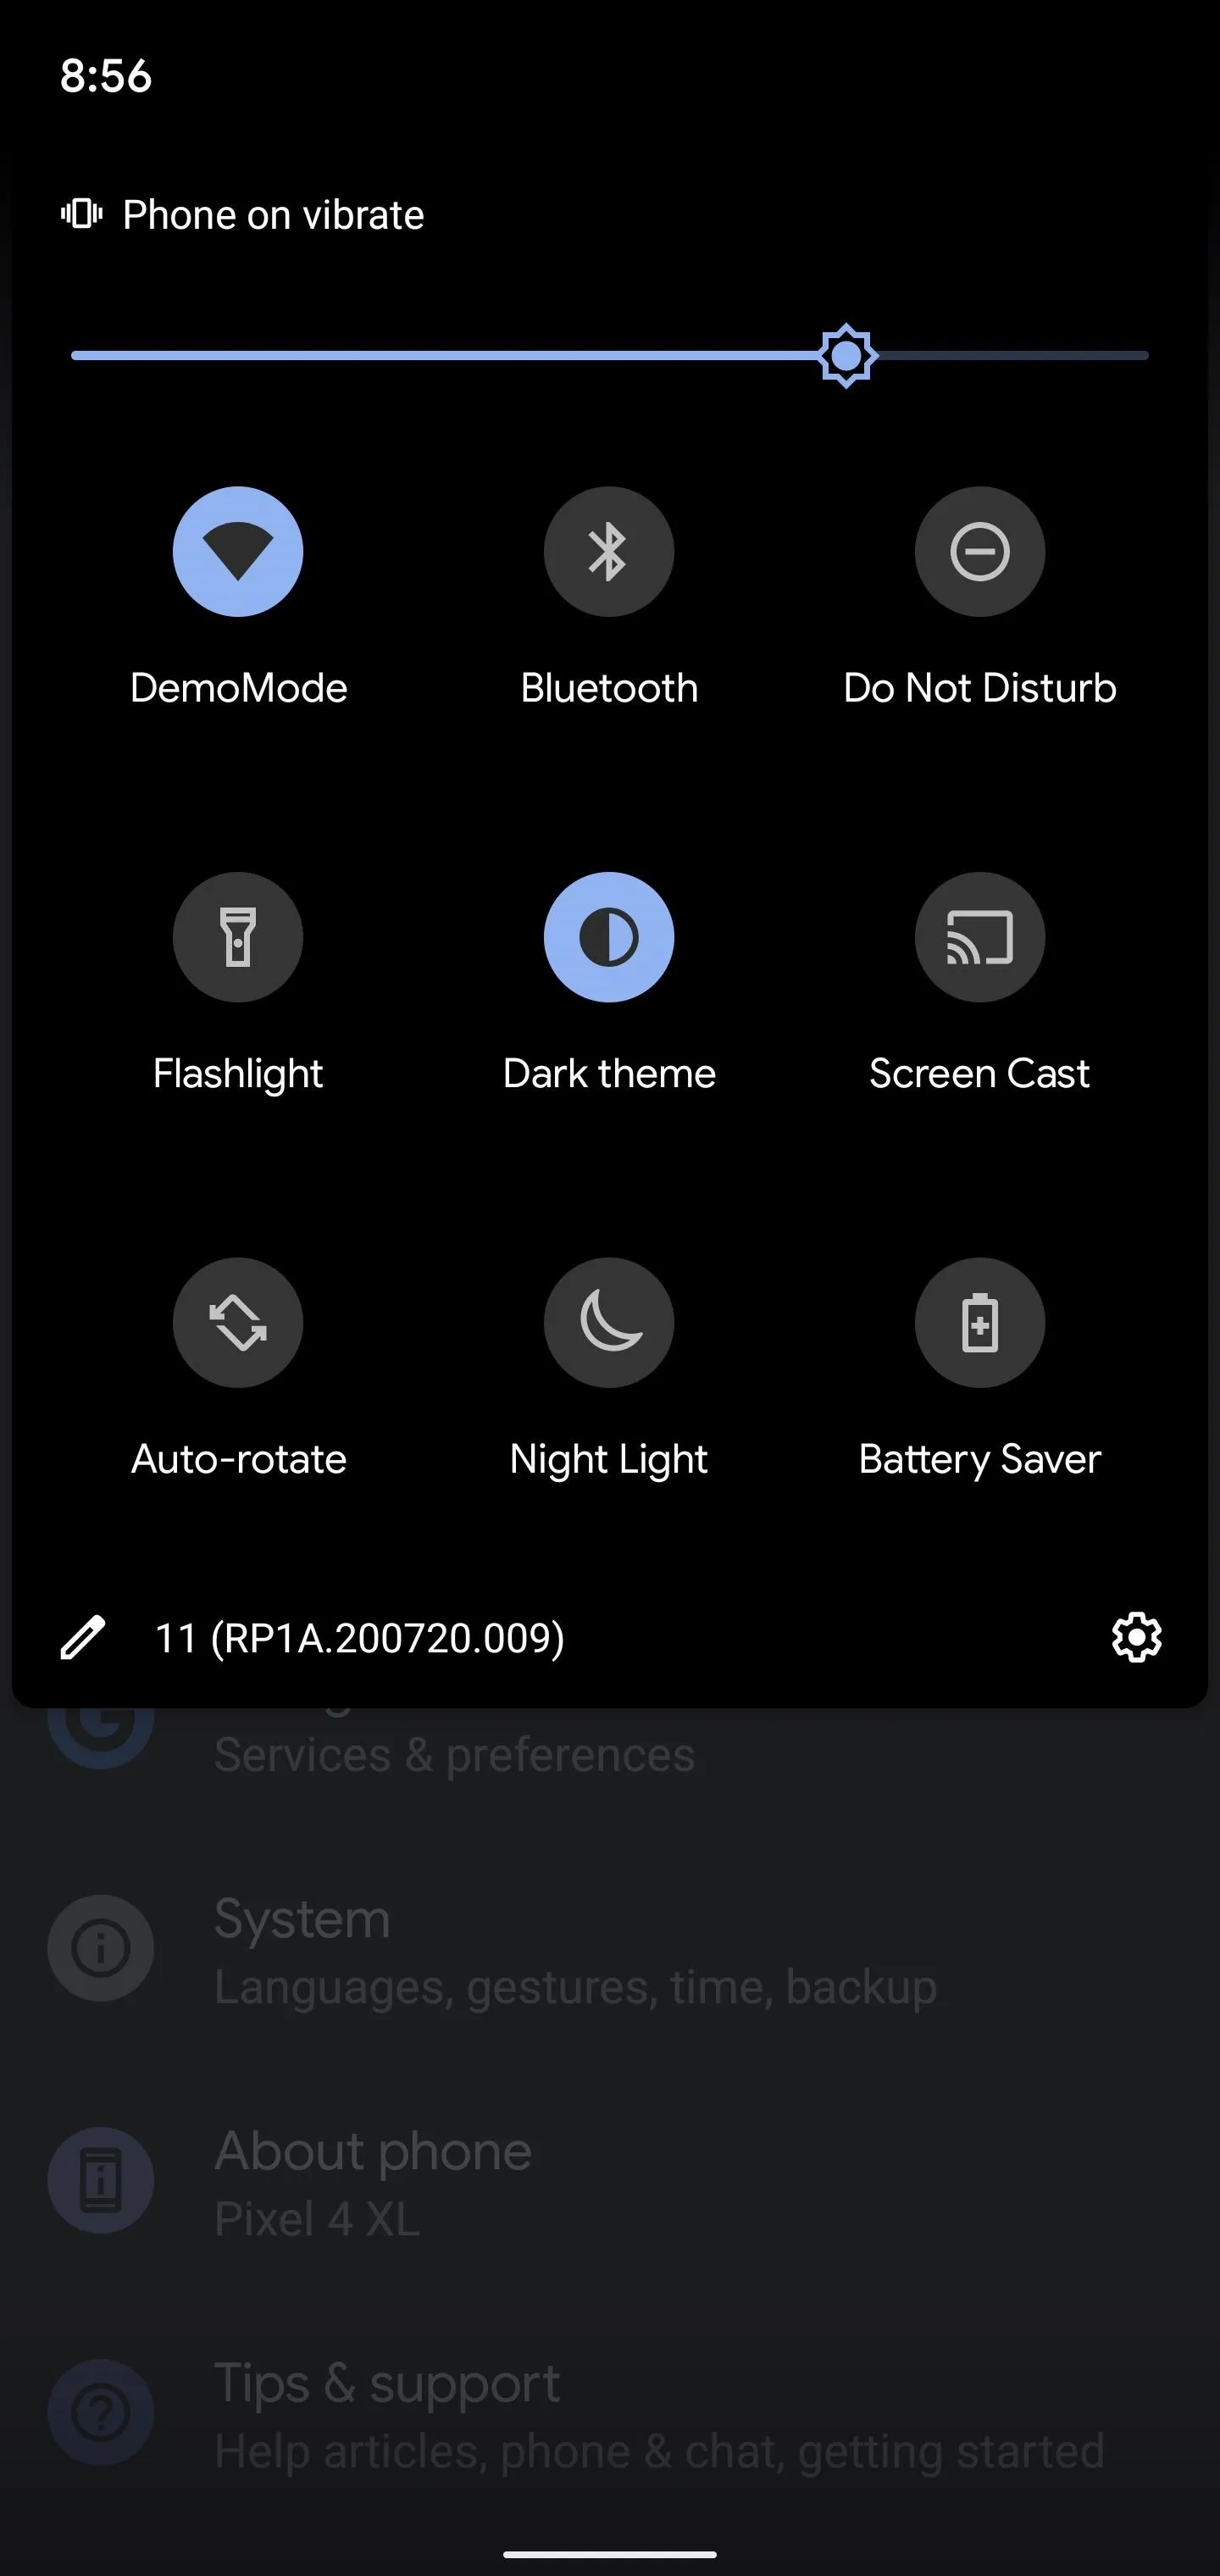
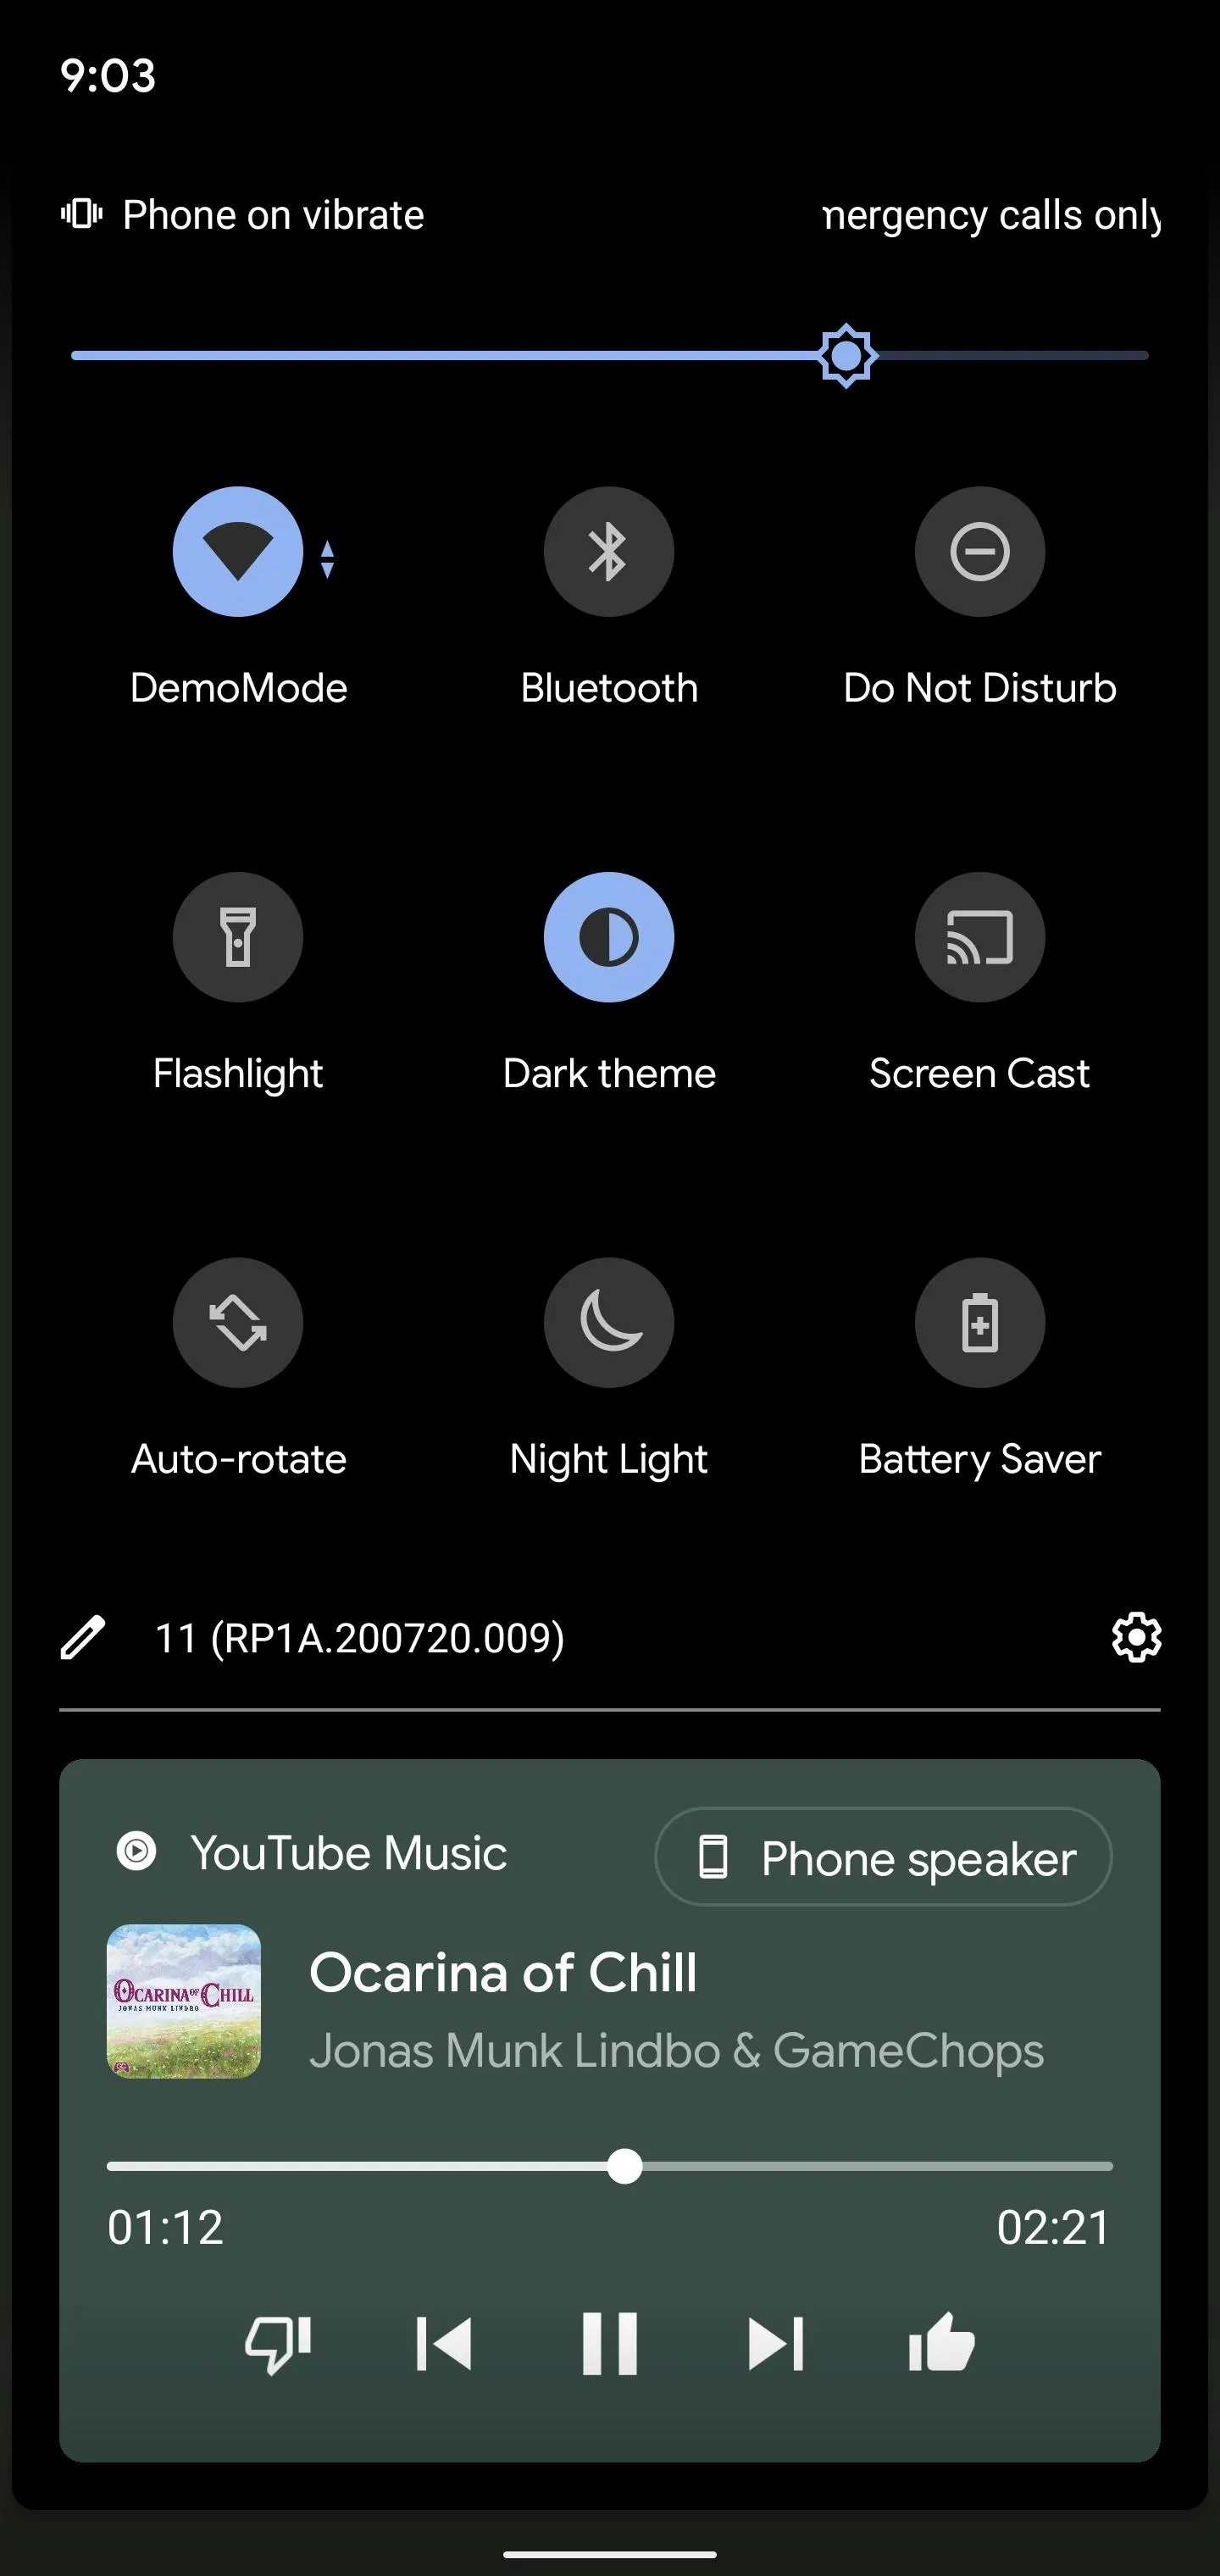
The new 9 QS tiles you get from using this Magisk module. It's just like Android 10 again!
The default 6 QS tiles you get from stock Android 11.
The new 9 QS tiles you get from using this Magisk module. It's just like Android 10 again!
Even with the embedded media controls when playing music, the 9 tiles should stay put most if not all the time. I have seen it push the bottom column back up occasionally, temporarily going to the stock 6 tiles. However, the latest version of this mode doesn't do this anymore during my testing and stays active all the time now.
Final Note
If you ever want to go back to the default number of Quick Settings tiles, you can do so with ease. Open Magisk Manager, go back to the "Modules" section, then hit "Remove" under the "Tulsadiver Increased Tiles to 9" entry. Press the "Reboot" button at the top to remove the module and restart your device. After the reboot, it's back to the default settings as per usual.
Cover image and screenshots by Stephen Perkins/Gadget Hacks


Comments
Be the first, drop a comment!