


Most Android launchers limit you to three choices: Icons, widgets, and folders. It's better than nothing, but it's still pretty hard to find the best look without overcrowding your home screen. You could fill everything up with icons, but then you'd have an iPhone. You could toss everything into folders, but that would always require an extra tap. You could mix in some widgets, but that would take up valuable space. So what do you do? Action Launcher has the answer.
Two of the best features in developer Chris Lacy's popular home screen app are Covers and Shutters. On the surface, they look and behave exactly like regular icons, so when you tap them, the associated app will open. However, when you swipe up on one of these icons, Covers will expand to show more icons like a folder, and Shutters will reveal a widget.
Ultimately, this gives you the ability to access key information with a quick glance, or to group apps together to save space on your home screen — in other words, all of the benefits of widgets and folders, but without the drawbacks. So if you're tired of widgets taking up space, or if you're done with folders breaking up the look of your home screen, I'll show you how to set up Covers and Shutters below.
Install Action Launcher Plus
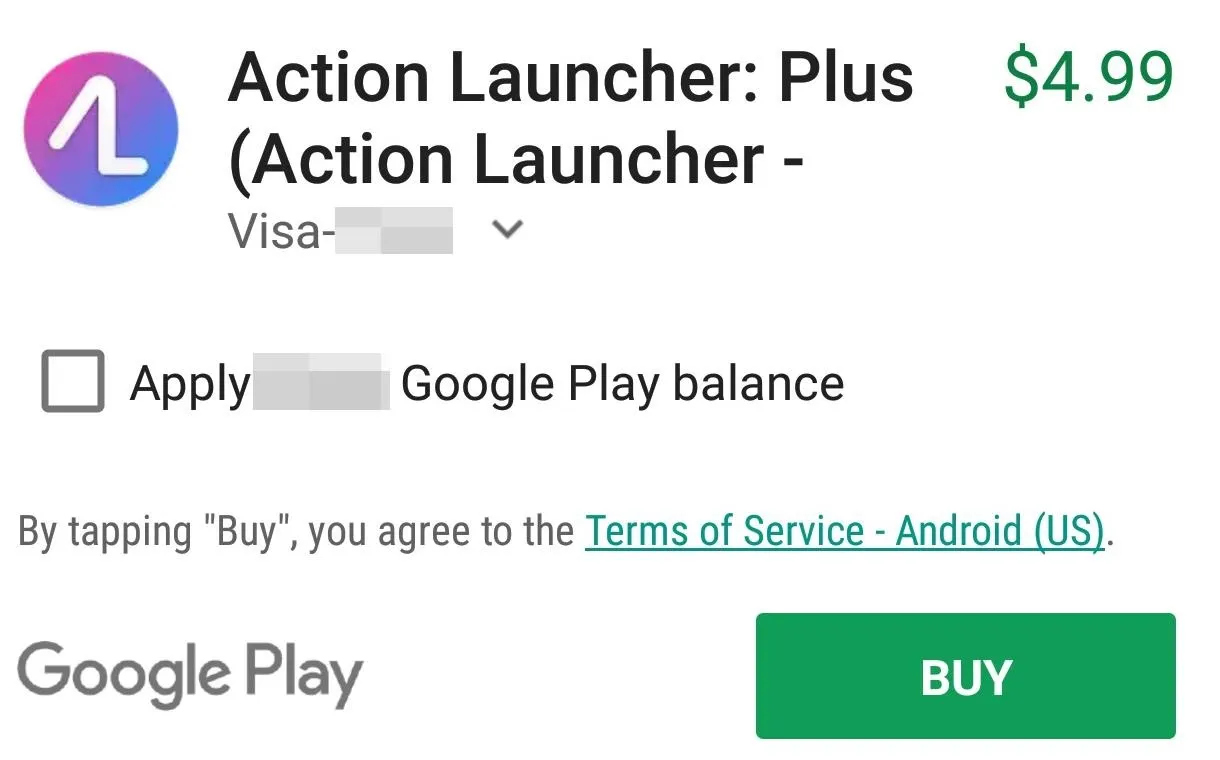
Covers and Shutters are a pro feature, so if you haven't already, install Action Launcher to begin. Next, head to Action Launcher's main settings menu by long-pressing any empty space on your home screen, then choosing "Settings." From there, tap "Get Plus" in the top-right corner, then press "Upgrade to Plus" to activate the pro features. From there, confirm your purchase, then return to the app's main settings menu.
Enable Shutters & Auto-Covers
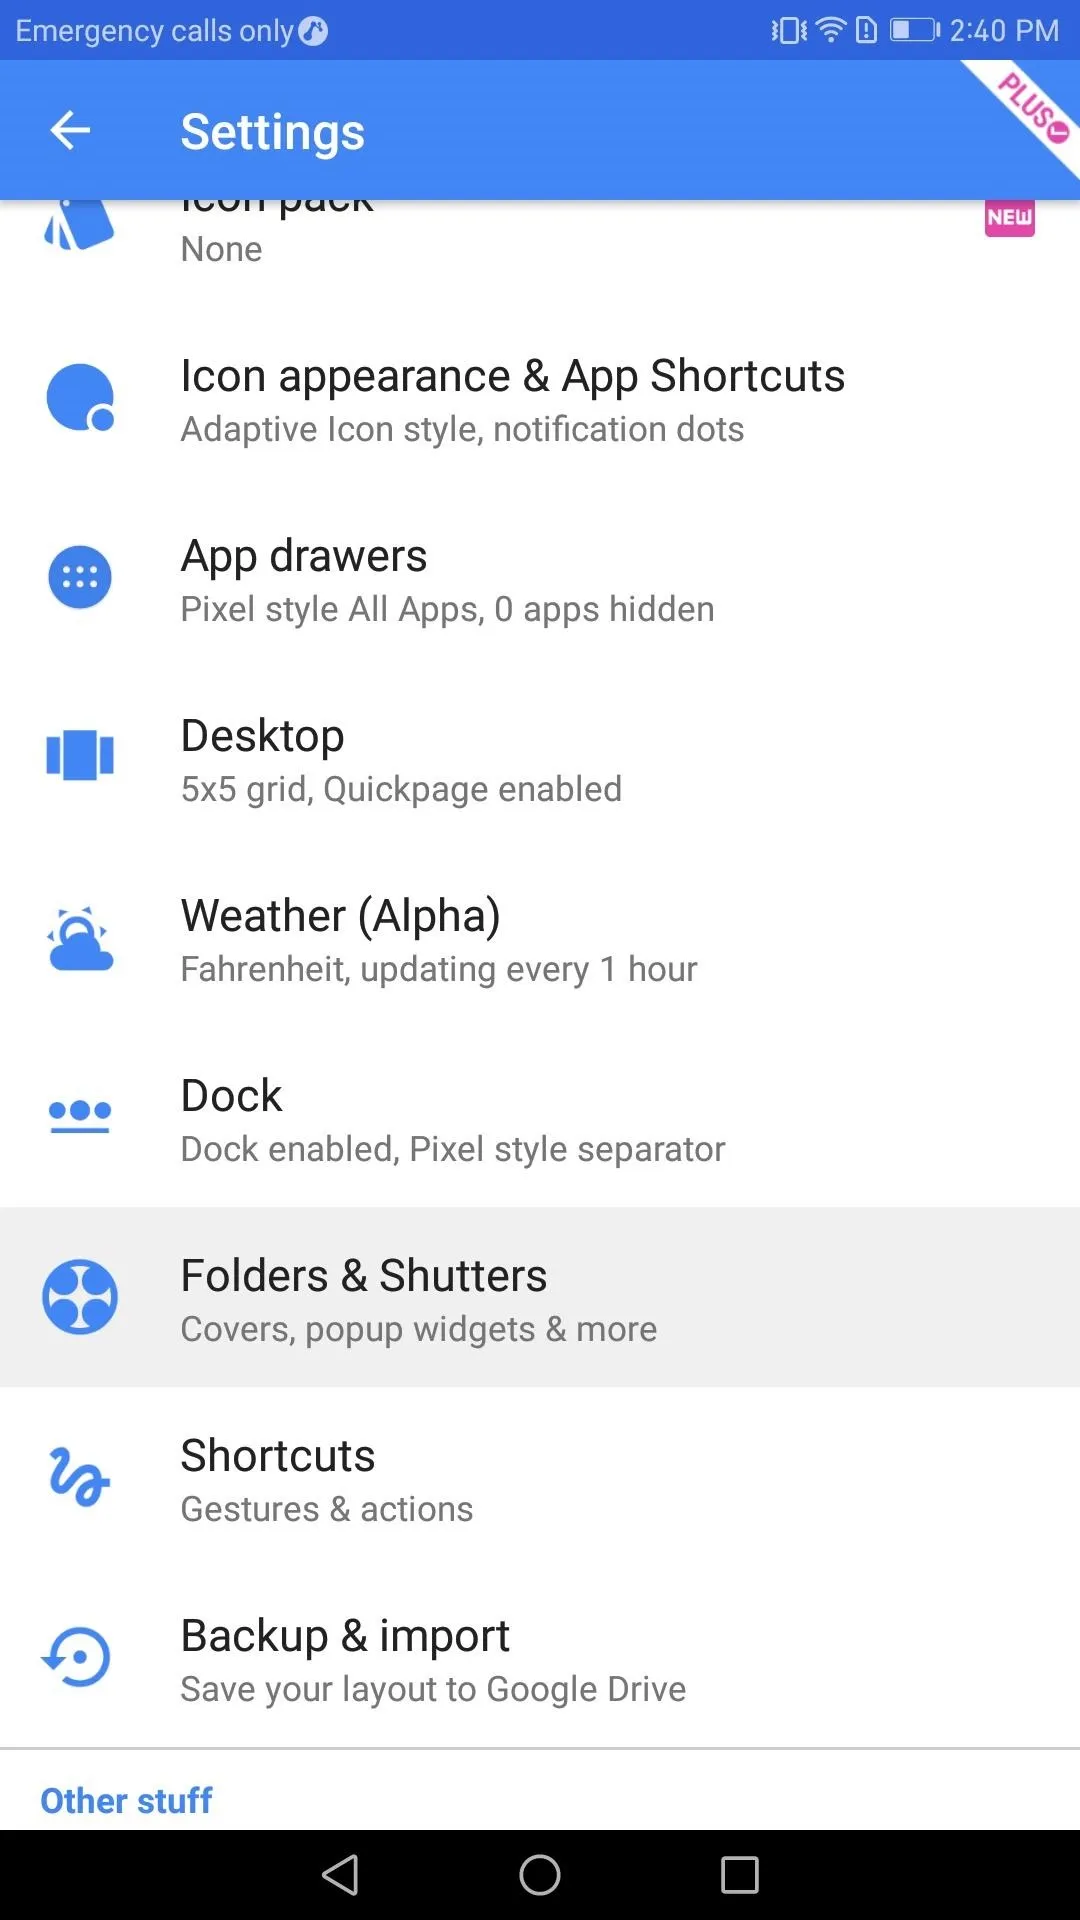
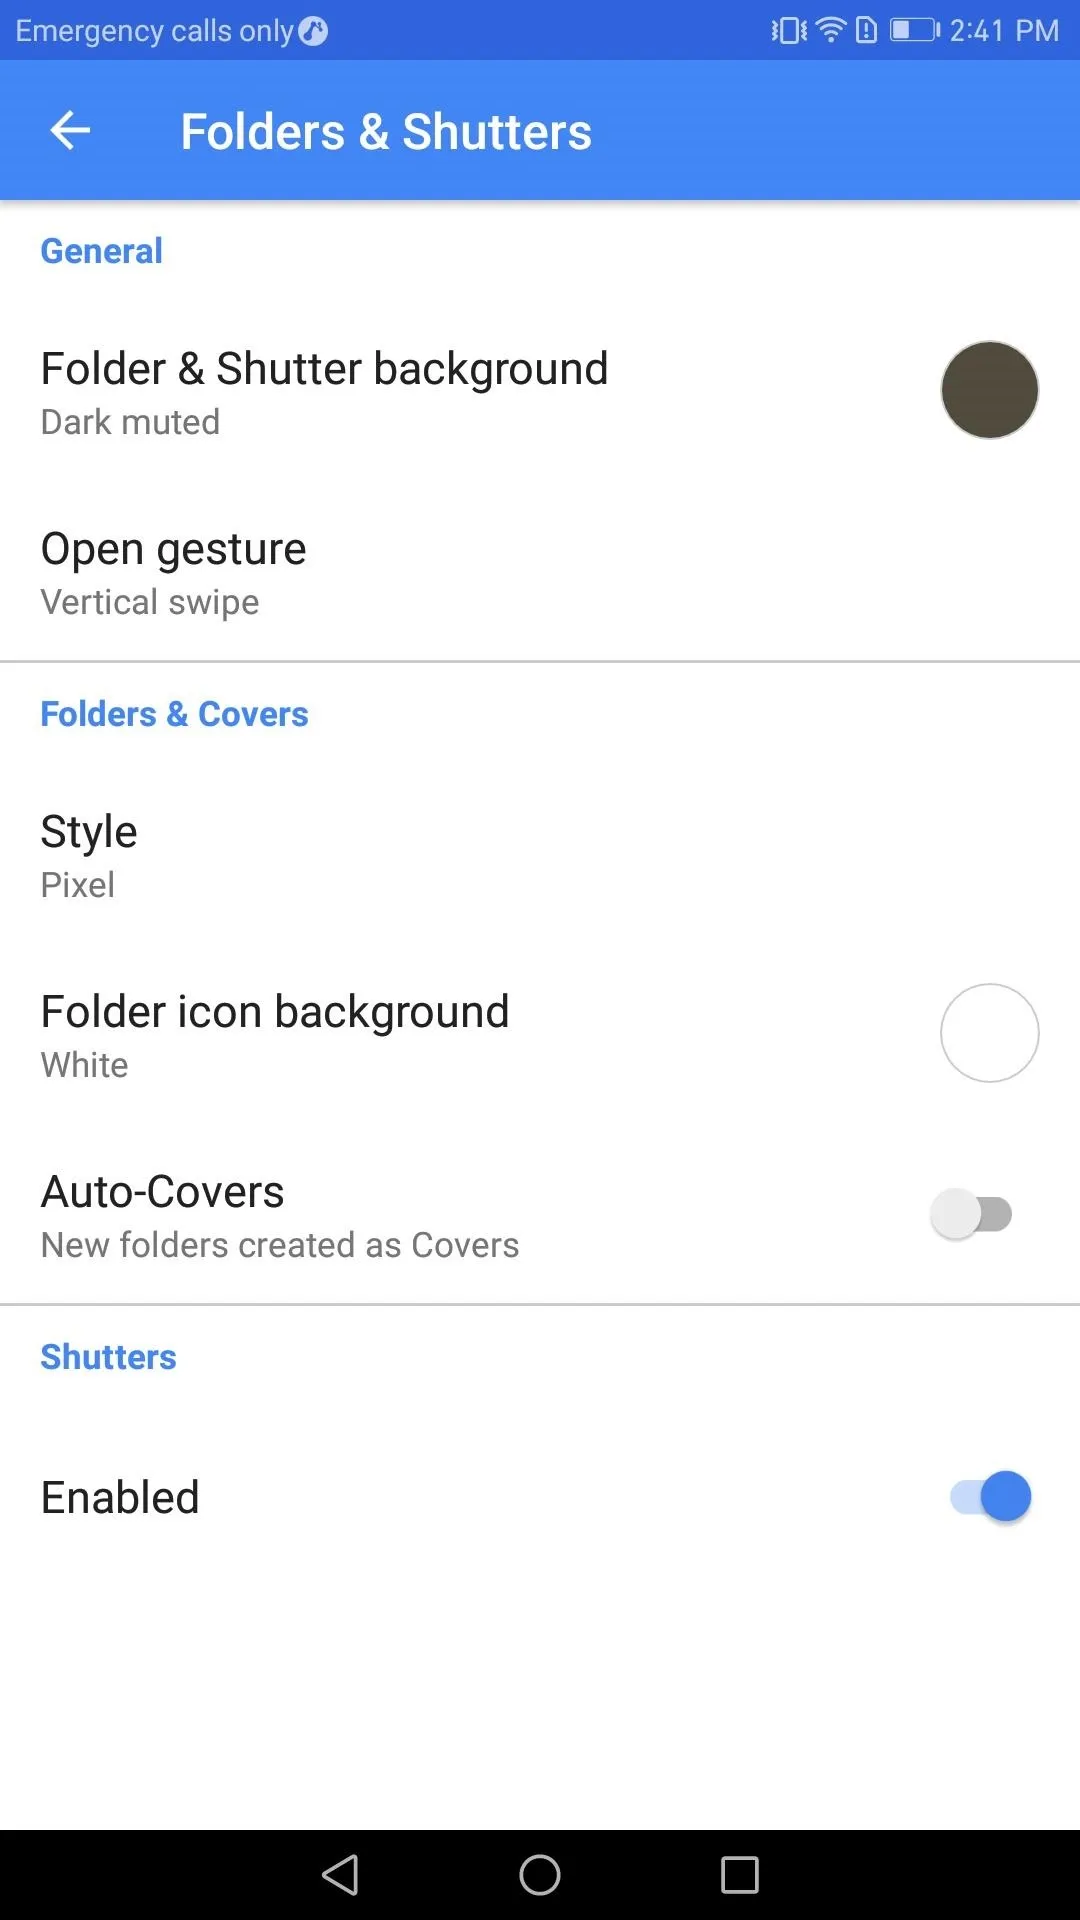
Next, select "Folders & Shutters" from Action Launcher's settings menu, then scroll down and make sure the "Enabled" switch is in the Shutters section is toggled on. From there, we also recommend turning on the "Auto-Covers" option, which makes new folders that you create in the future automatically turn into Covers.
Create & Use Shutters
From now on, if an icon that you add to your home screen has a widget, it will automatically become a Shutter. But to verify that the Shutters feature is enabled for your existing icons, long-press any app on your home screen and select "Edit" from the popup. A menu will emerge from the bottom of your display, and you'll see either "Shortcut" or "Shutter" next to a drop-down arrow.
If "Shutter" is selected by default, you're good to go. However, if "Shortcut" is enabled, then this application doesn't have a widget. If this is the case, you can manually select "Shutter" instead, then press your back button, at which point you'll be prompted to select a widget to associate with this app.
With the Shutter set up, swipe up on the icon to bring up the widget. If this is your first time enabling the widget, you may be taken to a menu where you can configure the widget. After the initial setup, anytime that you swipe up on the icon, its widget emerges.

Create & Use Covers
Next, let's set up some Covers. Create a new folder on your home screen following the traditional method of dragging an icon on top of another icon, then letting go. As you may have noticed, the icon you dragged disappears behind the other icon — a Cover has been created! Rather than showing a folder, it shows only the original app's icon instead.
From there, you can add more apps to your pseudo-folder by dragging them onto the initial icon just like you would with a regular folder. Then, if you swipe up on the icon, it will bring up the contents of the folder. If you want to use the app shown, just tap the icon and it will open as normal.
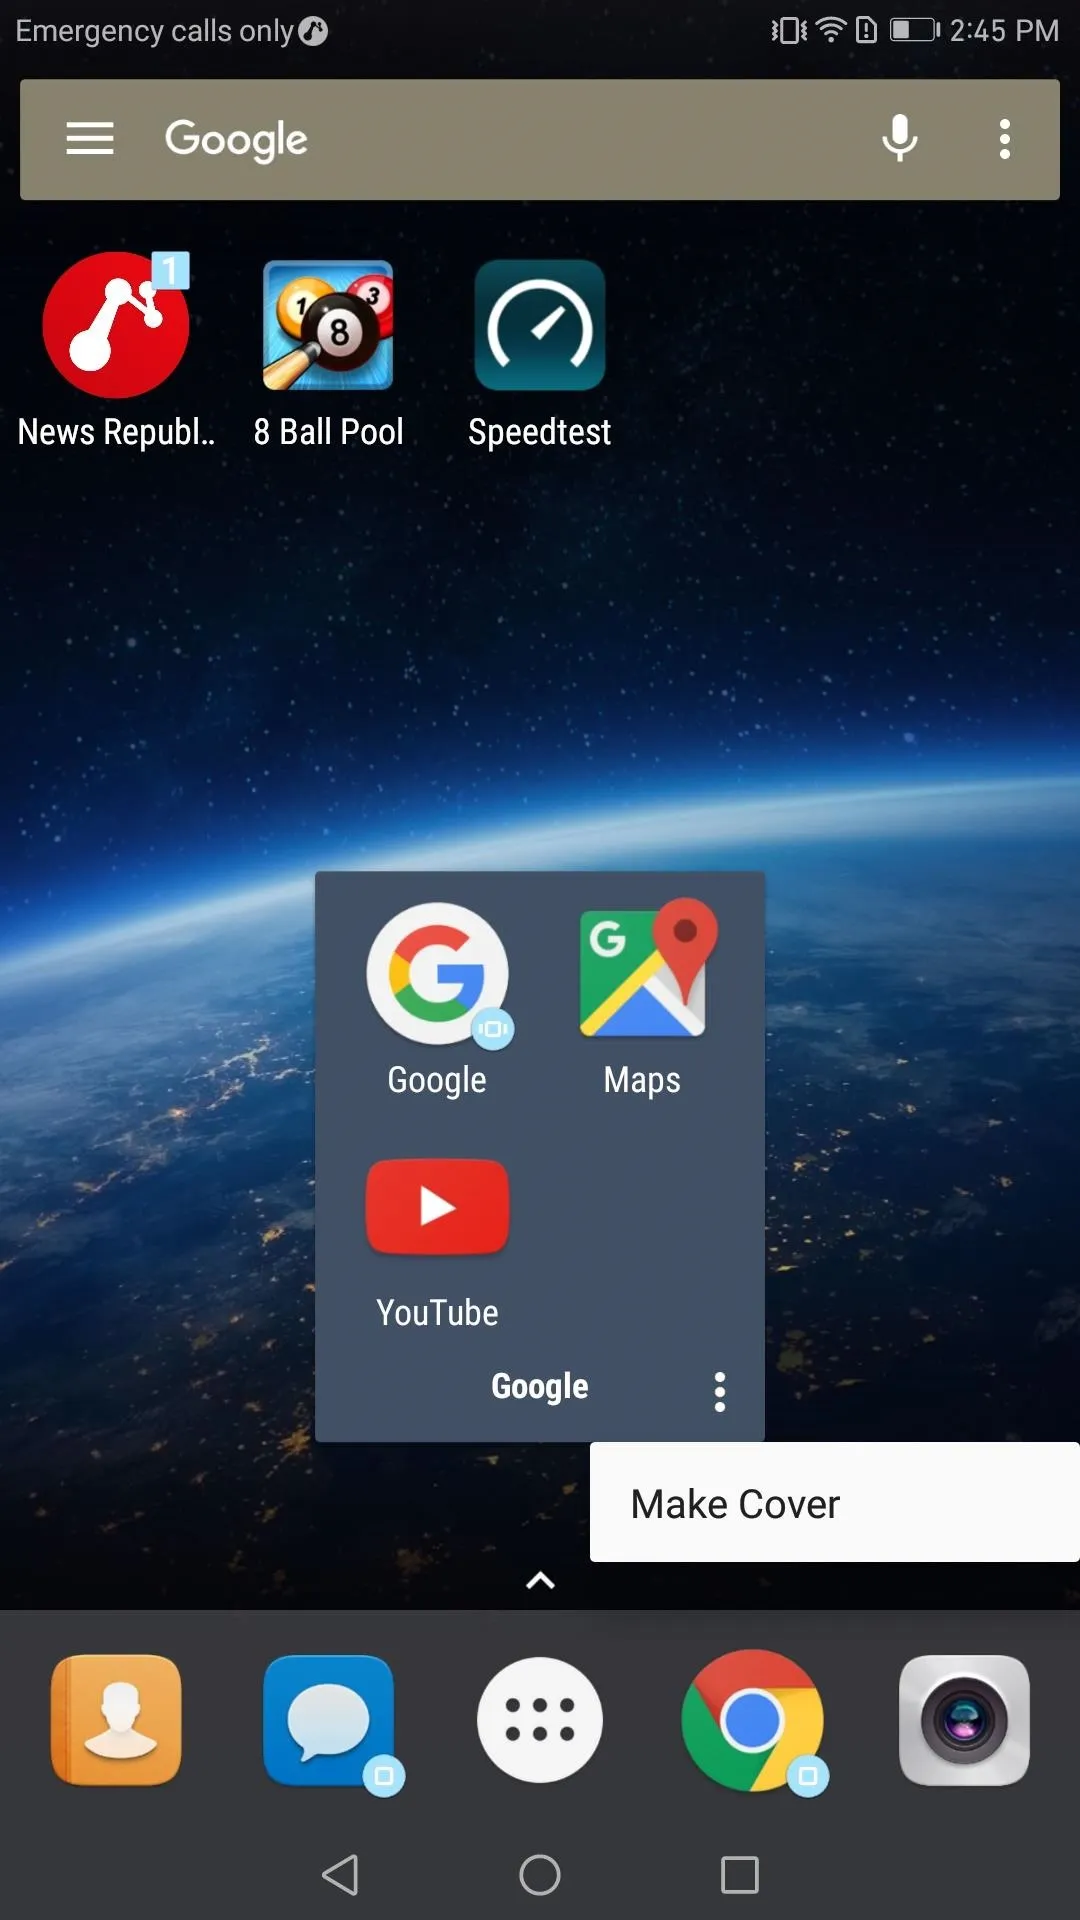
If you already have a folder on your home screen and wish to convert it to a Cover, tap the folder to reveal its contents. From there, tap the three vertical dots in the bottom-right corner of the folder, then choose "Make Cover," and now your folder is a Cover. Immediately the view will change, and your collapsed folder will now display just the first app in the folder.
Customize Shutters & Covers
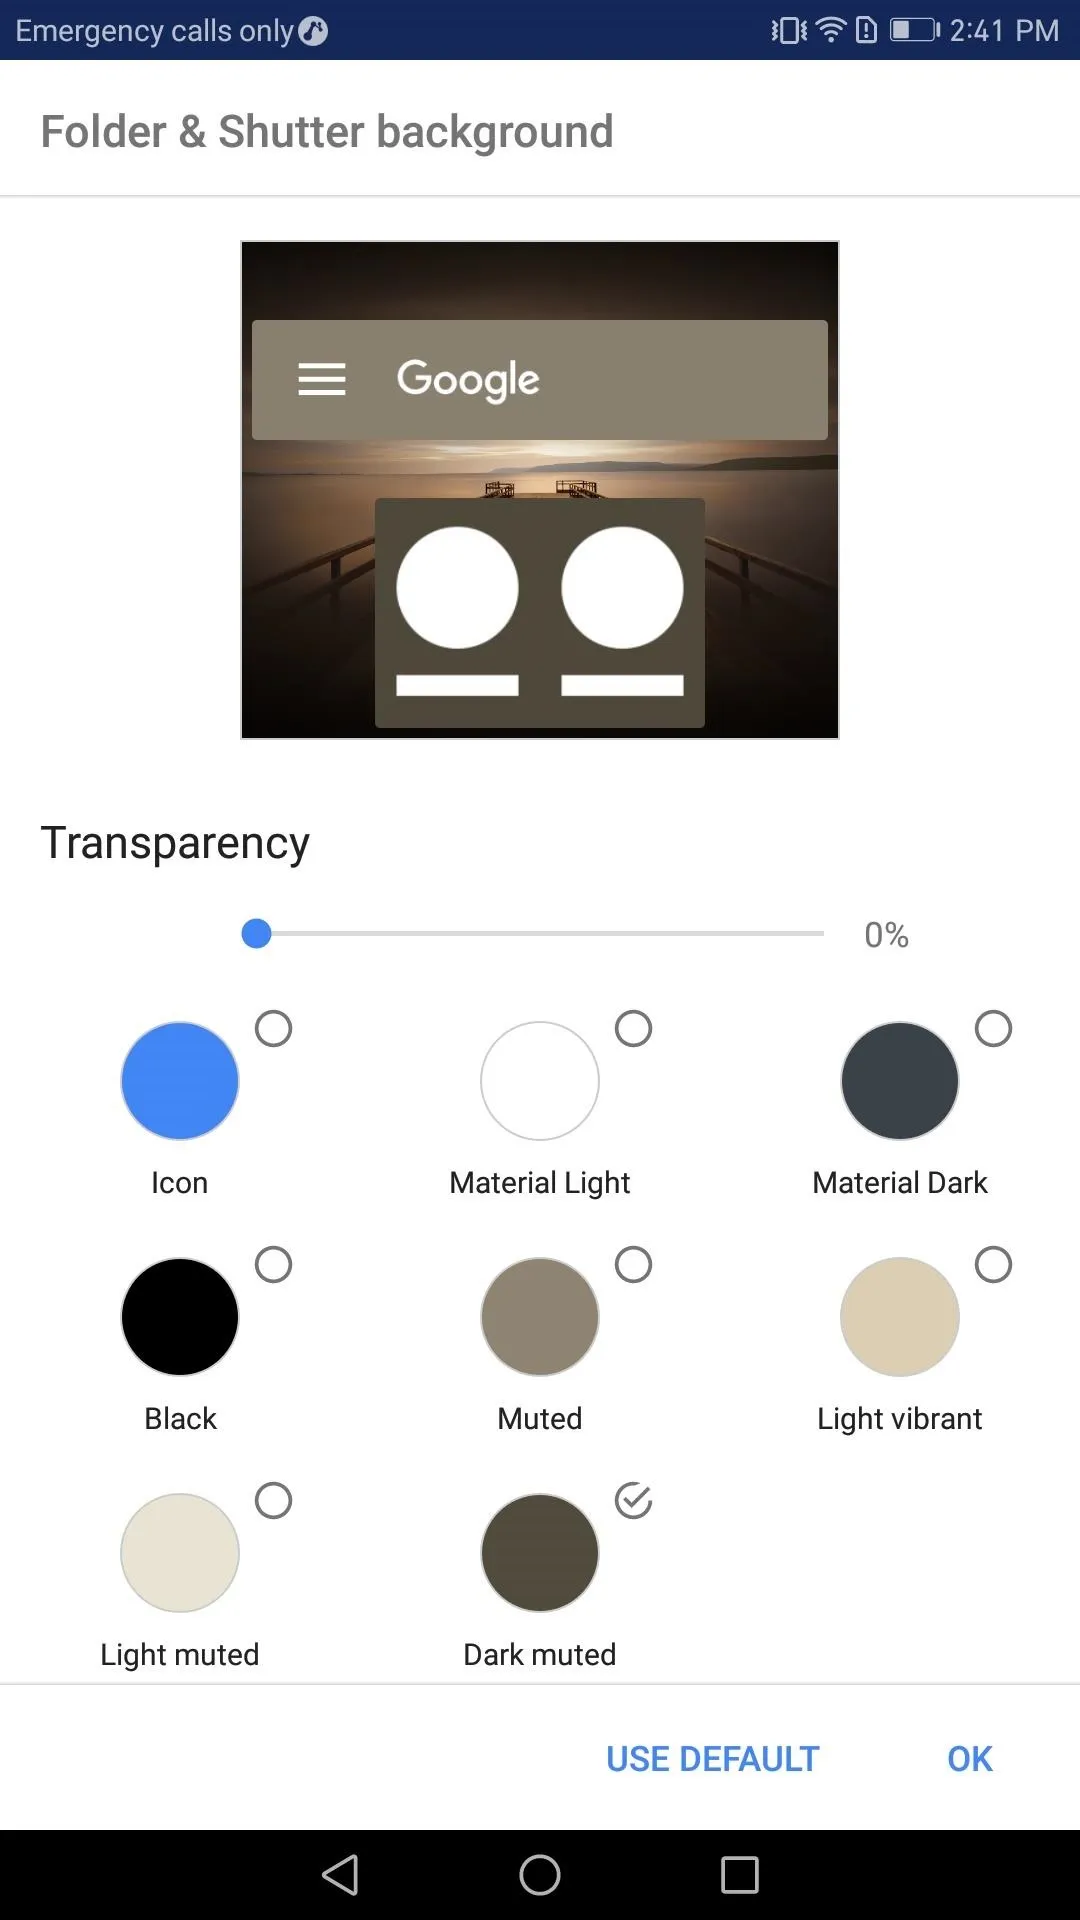
Now that you have both Shutters and Covers enabled, let's customize the experience. To start, return to the "Folders & Shutters" menu as depicted in Step 2, then choose "Folder & Shutter background." In this menu, you can choose the background color and transparency of your Shutters and Covers.
Next, return to the previous screen and select "Open gesture." This will present you with three choices as to how Shutters or Covers are opened. You may choose to swipe up, double tap the icon, or both.

With Shutters and Covers, you can indeed minimize the clutter of a typical home screen without sacrificing functionality. What do you think about Shutters and Covers? Are you using these features on your home screen? Let us know in the comment section below.
- Follow Gadget Hacks on Facebook, Twitter, Google+, YouTube, and Instagram
- Follow WonderHowTo on Facebook, Twitter, Pinterest, and Google+
Cover image and screenshots by Jon Knight/Gadget Hacks


Comments
Be the first, drop a comment!